Notices
964 Forum 1989-1994
Sponsored by:
Sponsored by:

964 C4 light refurb

Thread Tools
 
Search this Thread
 
Old 02-11-2022, 03:16 PM
  #1636  
John McM
Rennlist Member
Thread Starter
 
John McM's Avatar
 
Join Date: May 2001
Location: Auckland, New Zealand.
Posts: 13,247
Received 589 Likes on 351 Posts
Default

“Houston, we have a problem”.

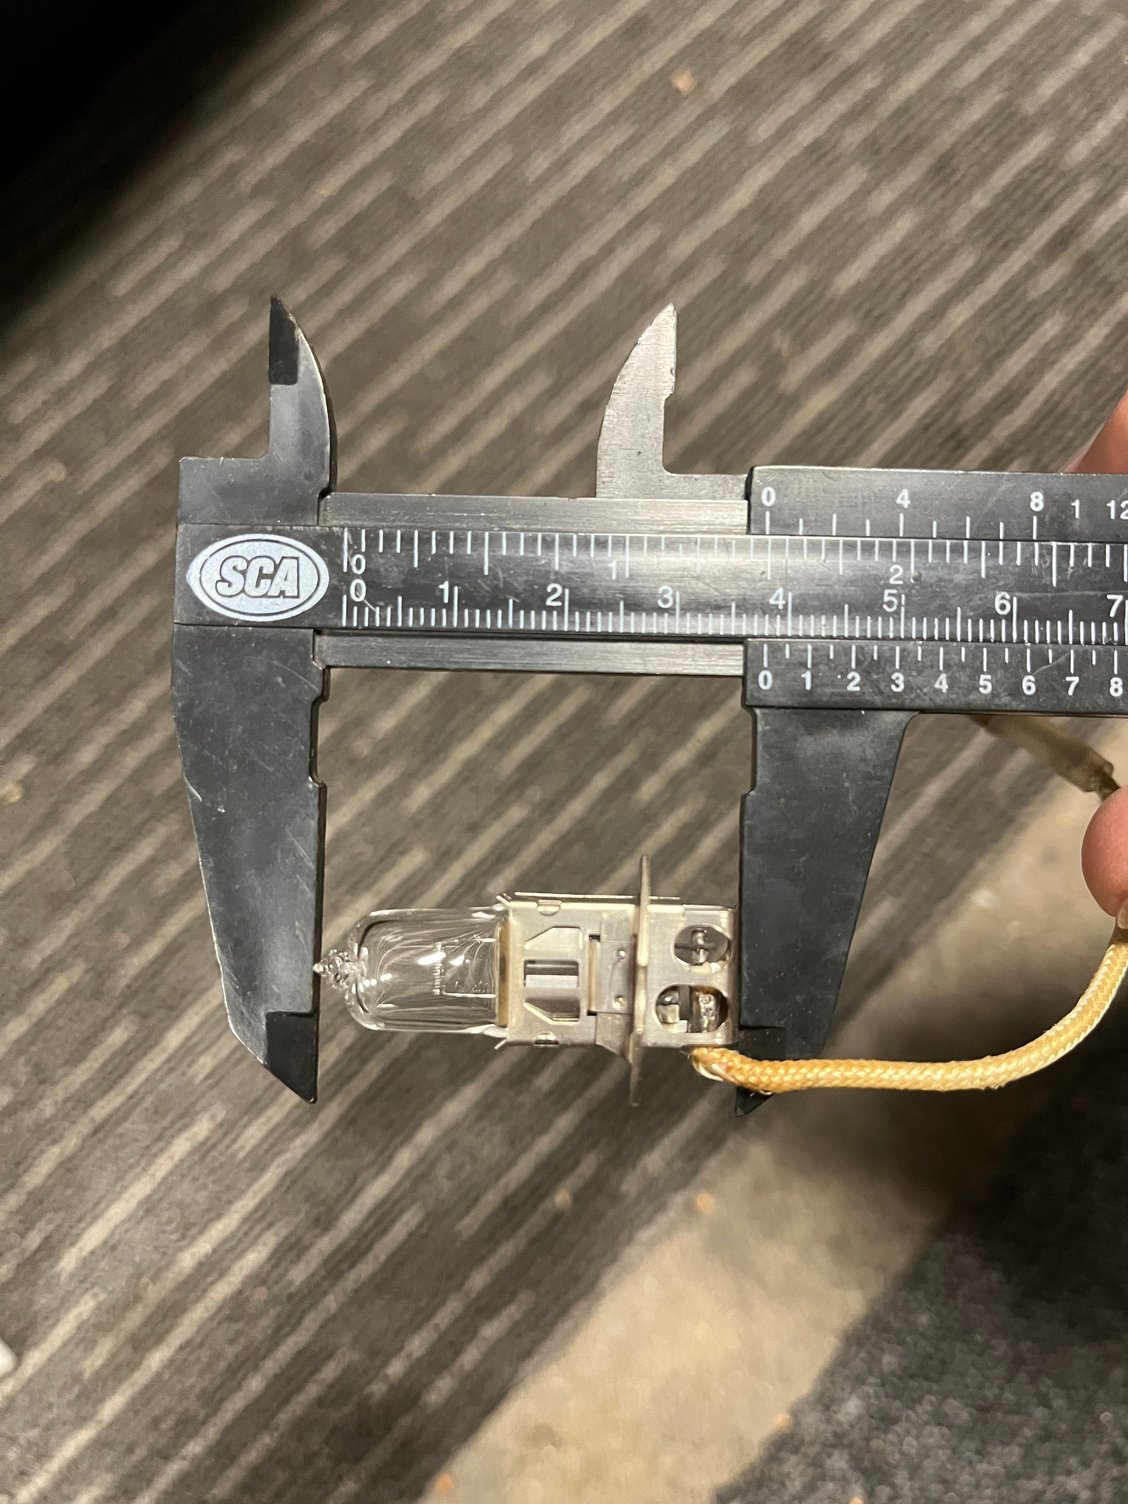
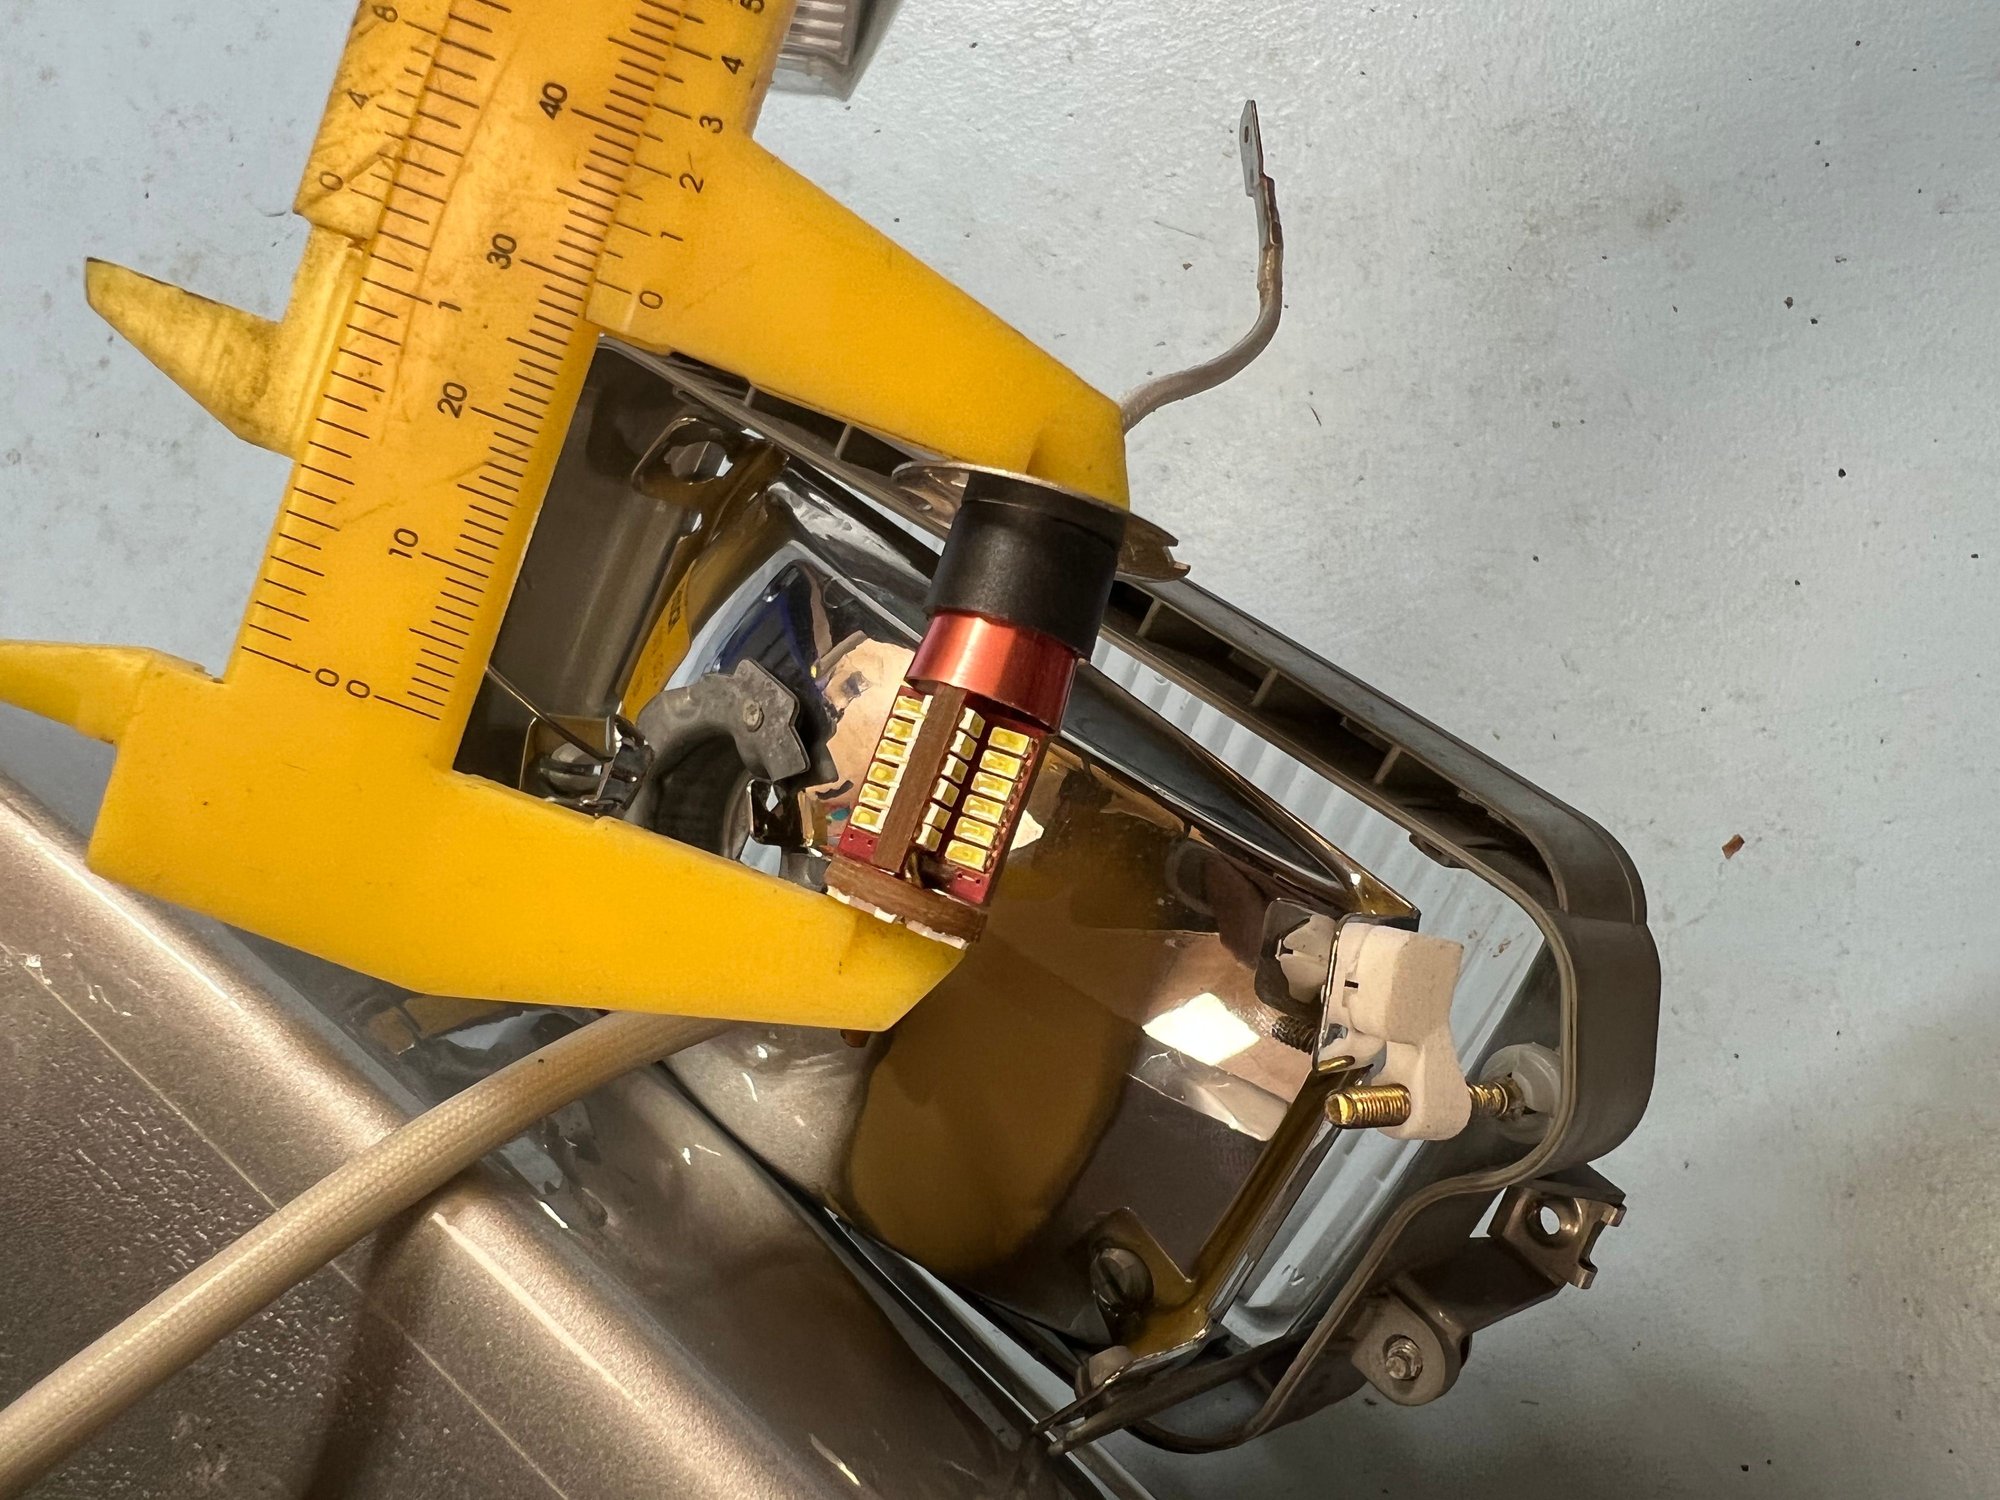
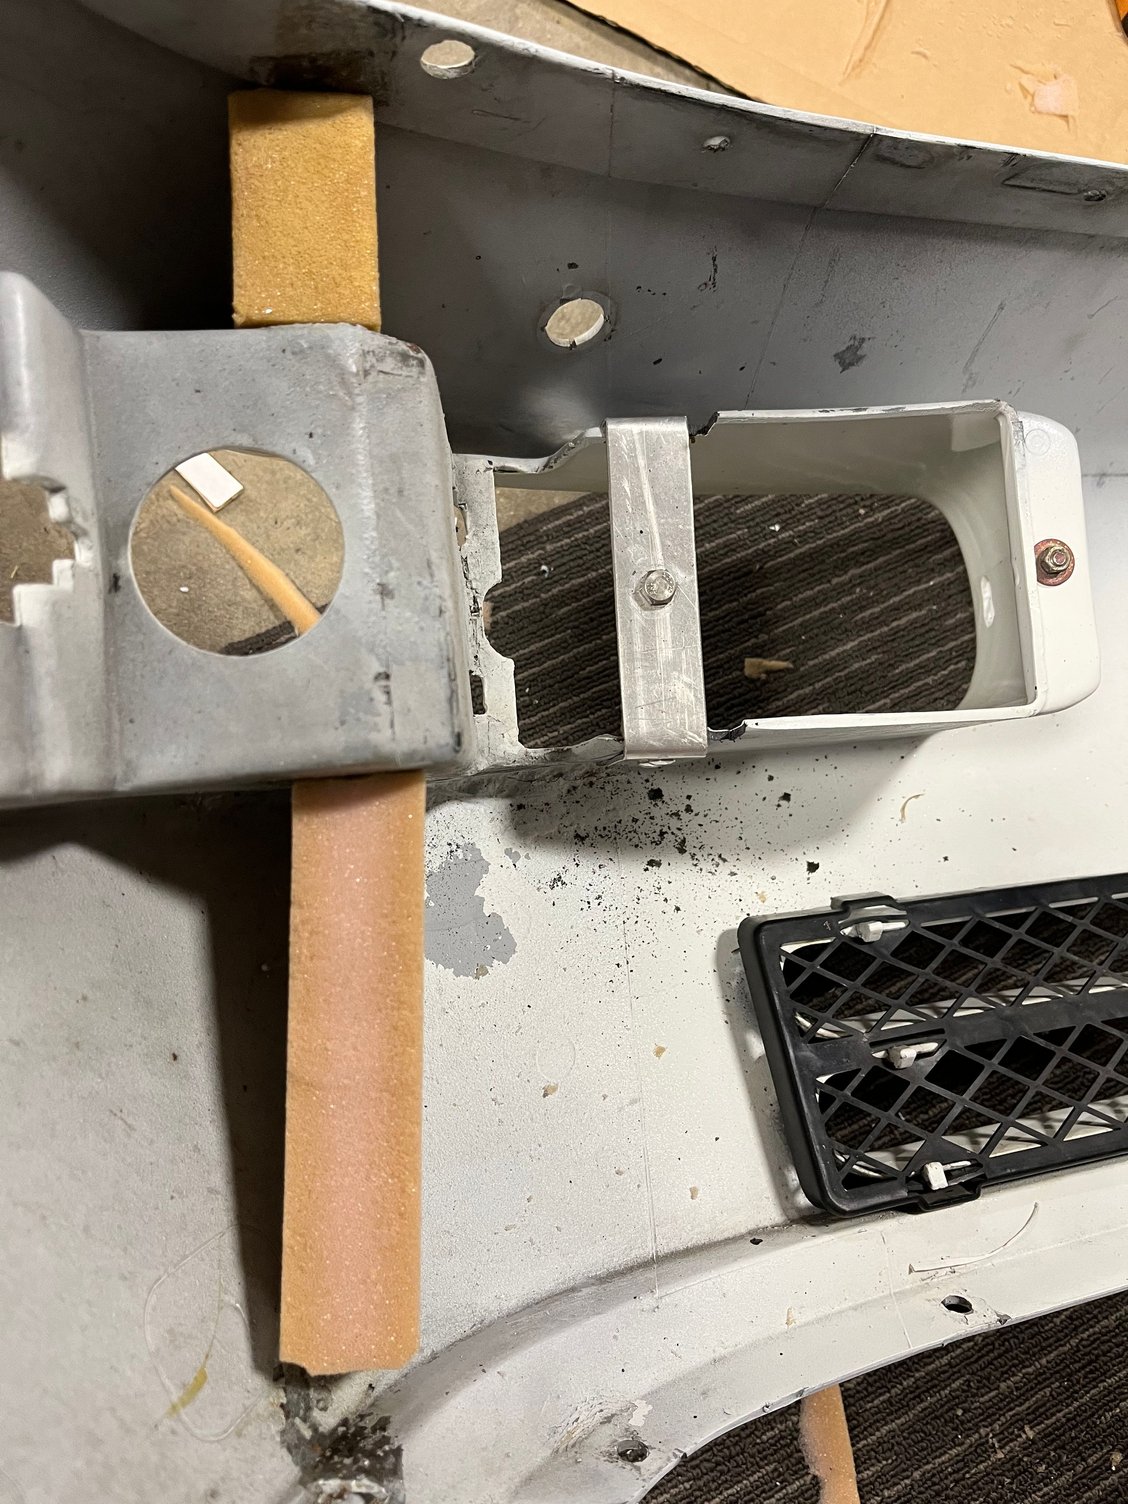
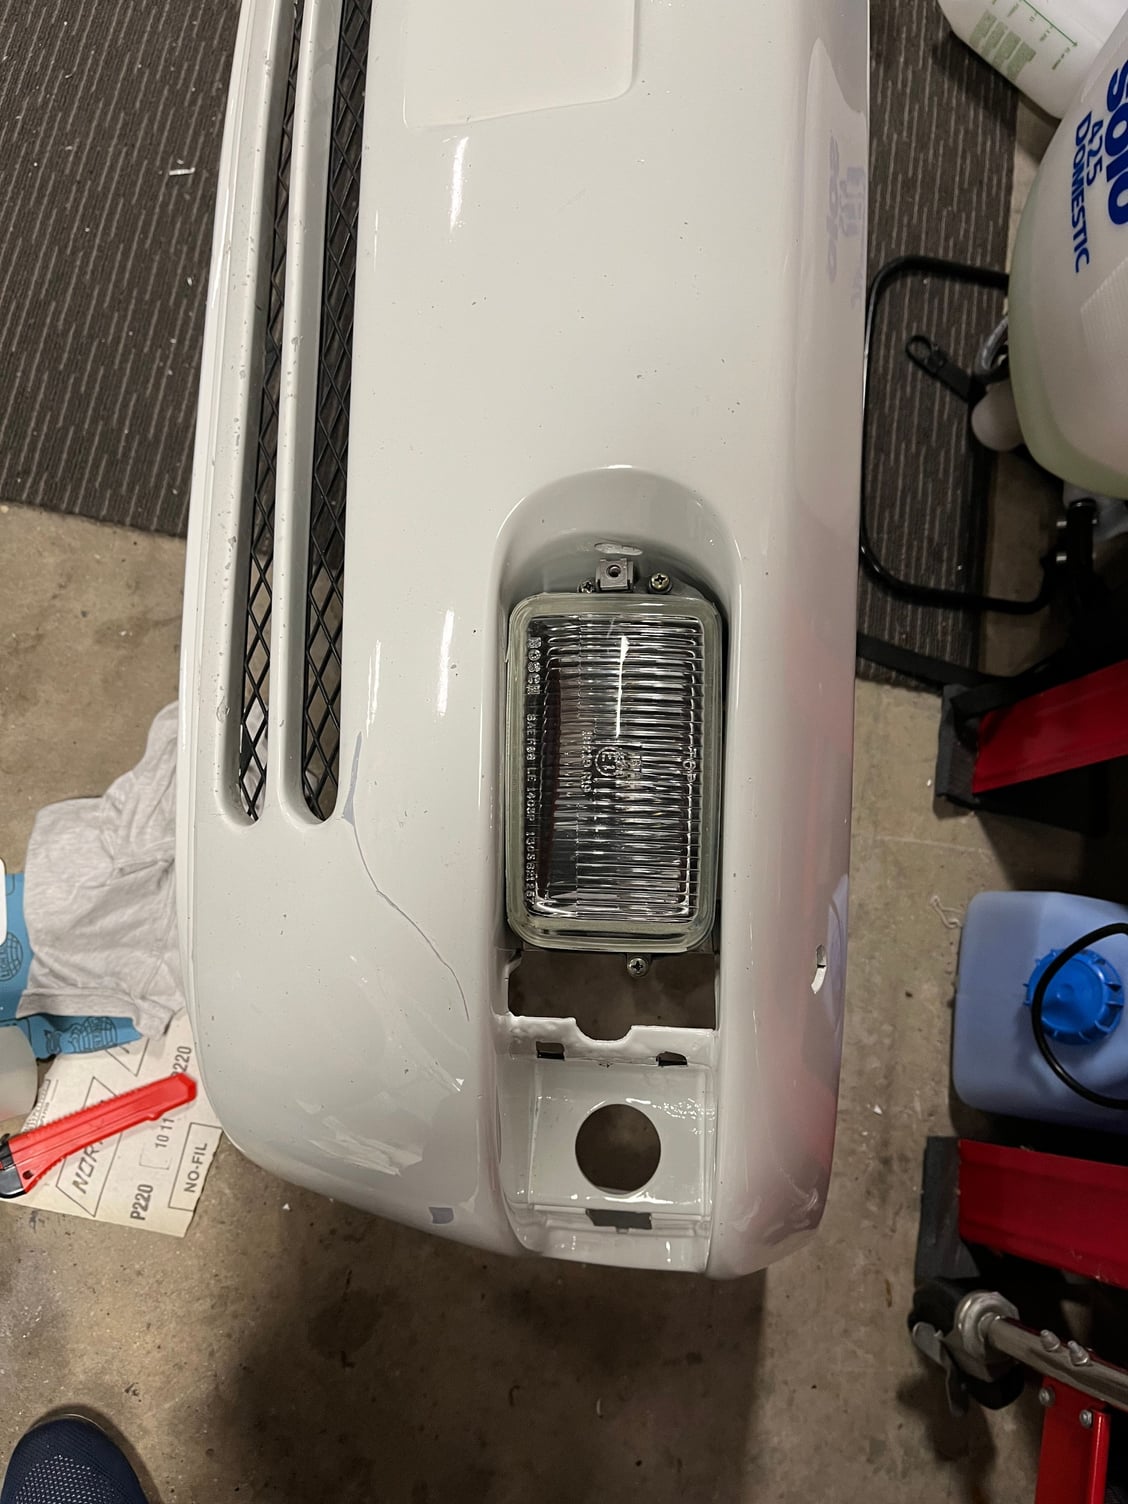
The total length of the existing bulb is 3.8cm. The bulb protrudes 2.9cm into the housing. The distance it can protrude before you hit the internal reflector/shade is 3.1cm

The conclusion is that you either need a very compact H3 Led bulb or you need to remove the reflector/shade. I will do the latter as I have two spare units. EDIT I decided to buy bulbs that fit as is.


Last edited by John McM; 02-28-2022 at 05:21 PM.
The following users liked this post:
sooner964 (02-11-2022)
Old 02-11-2022, 05:10 PM
  #1637  
John McM
Rennlist Member
Thread Starter
 
John McM's Avatar
 
Join Date: May 2001
Location: Auckland, New Zealand.
Posts: 13,247
Received 589 Likes on 351 Posts
Default

More pics

Old 02-11-2022, 07:23 PM
  #1638  
Spokes
Rennlist Member
 
Spokes's Avatar
 
Join Date: Dec 2012
Location: NZL
Posts: 1,340
Received 314 Likes on 145 Posts
Default LEDs

This is what I fitted


The following 2 users liked this post by Spokes:
John McM (02-11-2022), sooner964 (02-11-2022)
Old 02-12-2022, 06:25 AM
  #1639  
John McM
Rennlist Member
Thread Starter
 
John McM's Avatar
 
Join Date: May 2001
Location: Auckland, New Zealand.
Posts: 13,247
Received 589 Likes on 351 Posts
Default

Originally Posted by Spokes
This is what I fitted


I have ordered two sets of similar.


The following users liked this post:
Spokes (02-12-2022)
Old 02-18-2022, 03:57 AM
  #1640  
John McM
Rennlist Member
Thread Starter
 
John McM's Avatar
 
Join Date: May 2001
Location: Auckland, New Zealand.
Posts: 13,247
Received 589 Likes on 351 Posts
Default

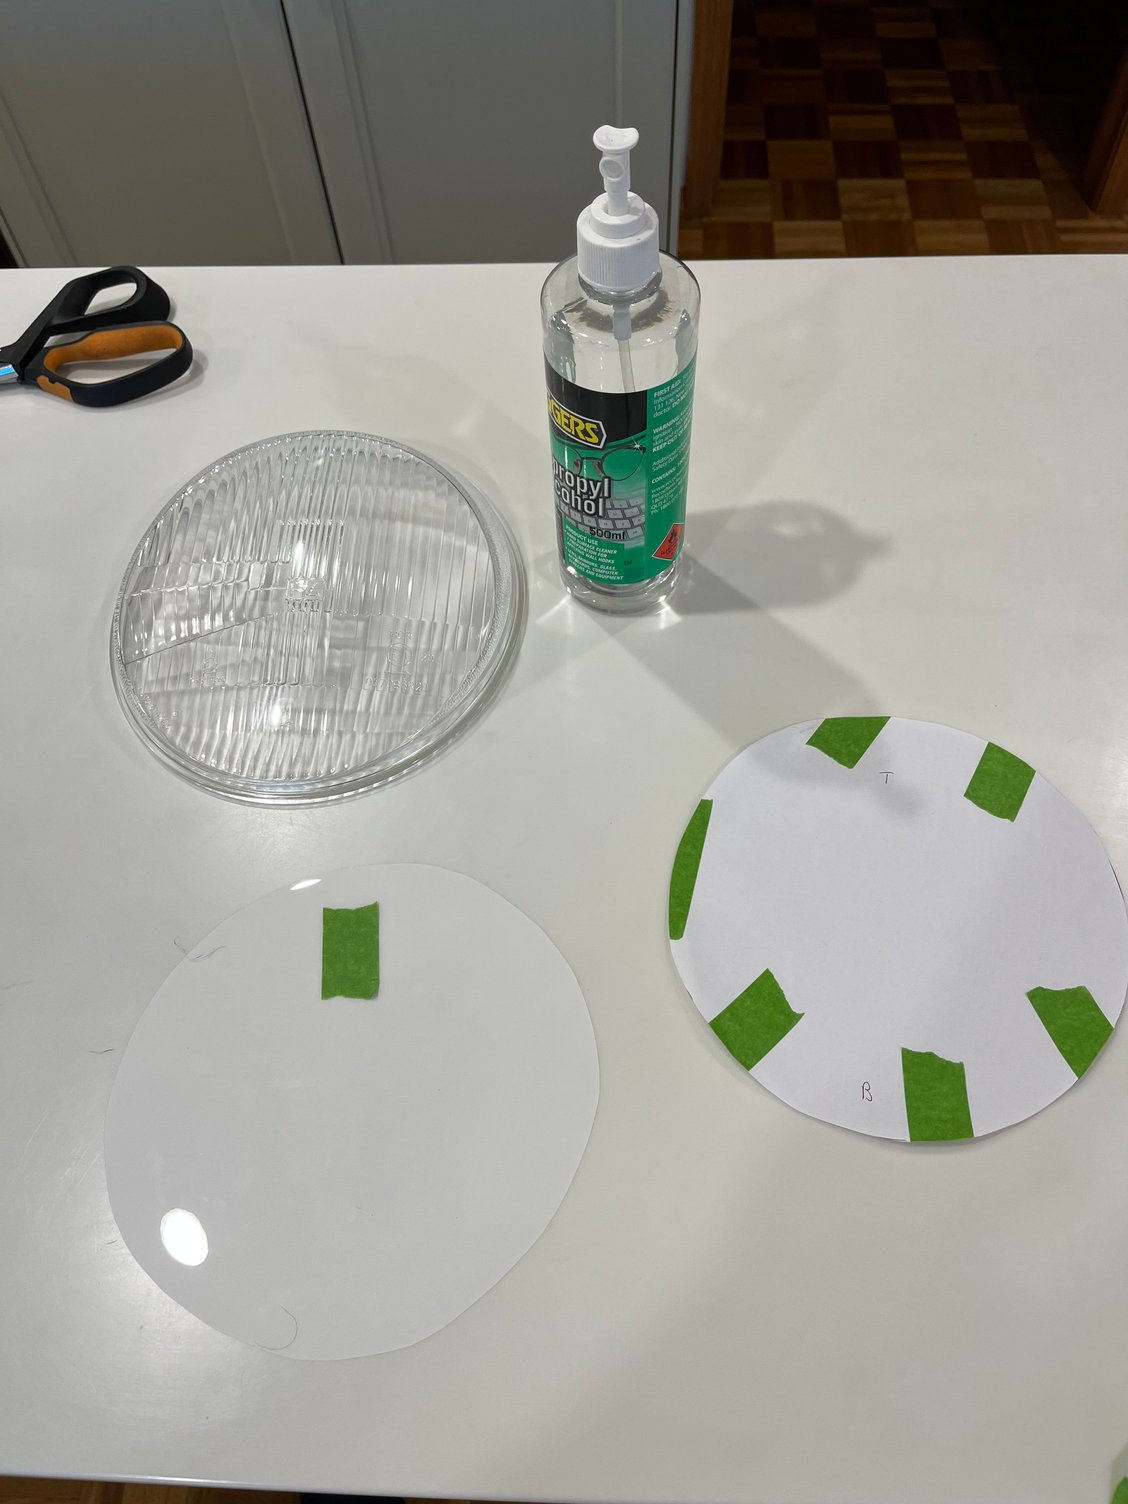
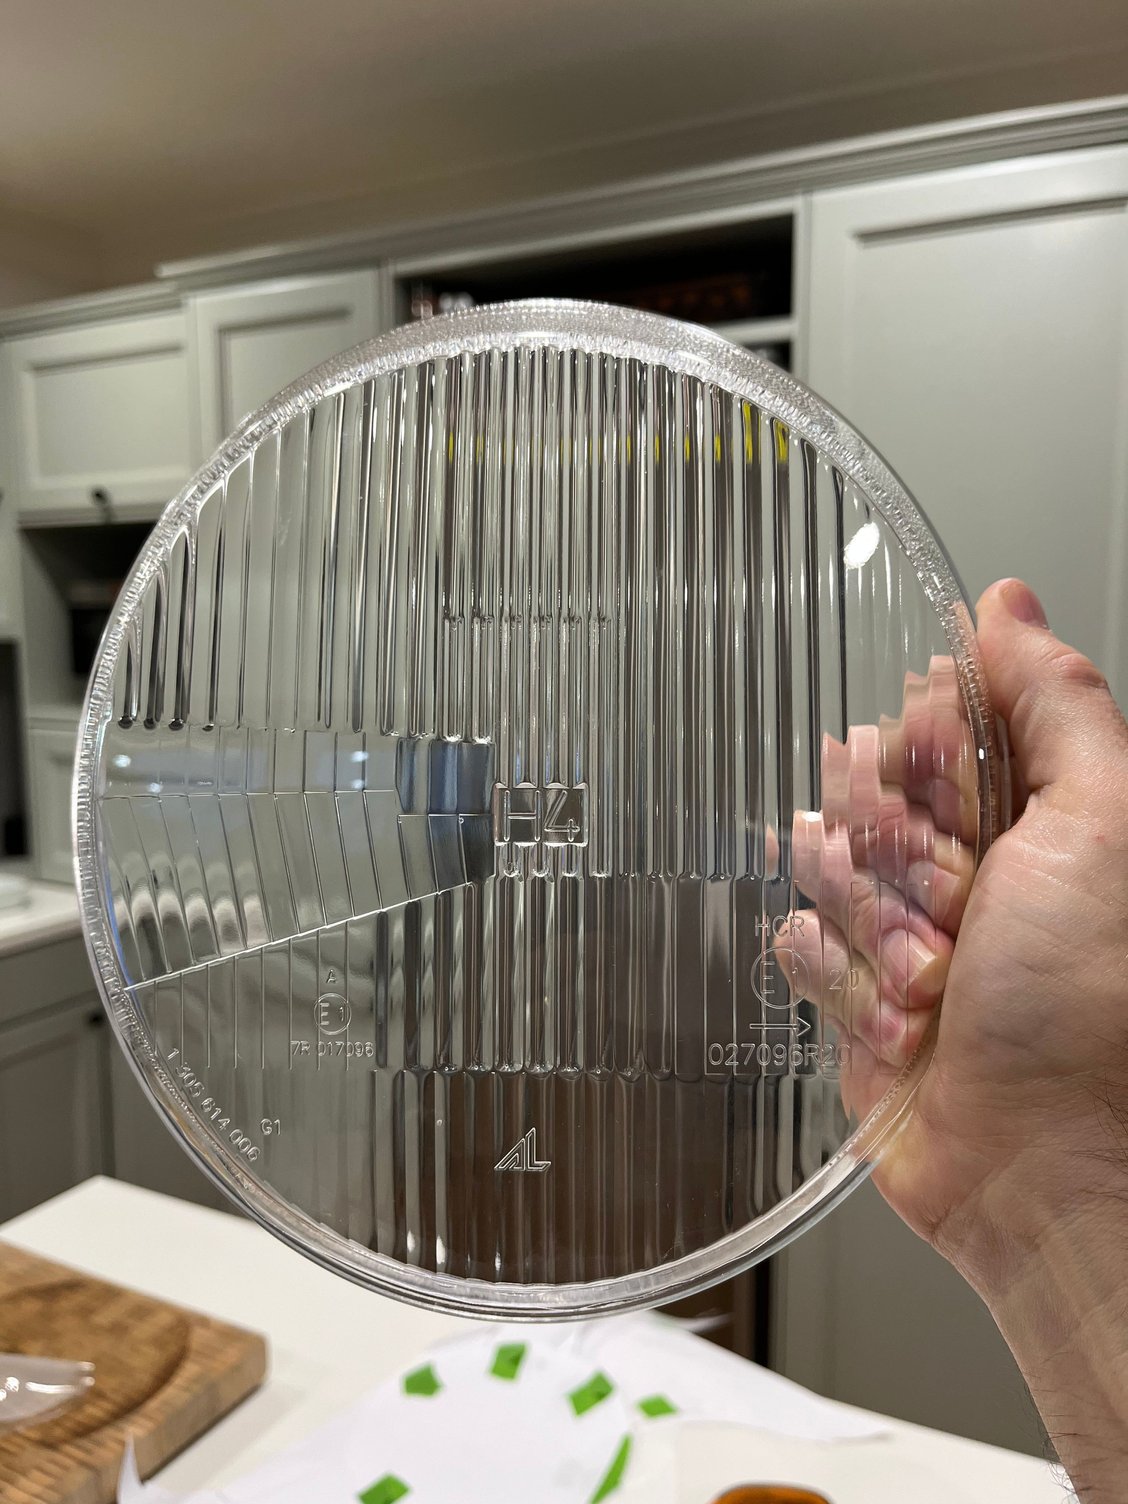
While I wait for some parts to arrive, I decided to PPF the new headlight lenses. Cut a paper pattern, transfer it to PPF, clean the lense with isopropyl alcohol, then squirt water with a dash of dishwashing liquid over the lense and adhesive side of the PPF, place and lightly squeegee the water out.

The following users liked this post:
sooner964 (02-18-2022)
Old 02-27-2022, 12:05 AM
  #1641  
John McM
Rennlist Member
Thread Starter
 
John McM's Avatar
 
Join Date: May 2001
Location: Auckland, New Zealand.
Posts: 13,247
Received 589 Likes on 351 Posts
Default

Fog light lenses cleaned and covered with PPF.

Old 02-27-2022, 12:09 AM
  #1642  
John McM
Rennlist Member
Thread Starter
 
John McM's Avatar
 
Join Date: May 2001
Location: Auckland, New Zealand.
Posts: 13,247
Received 589 Likes on 351 Posts
Default

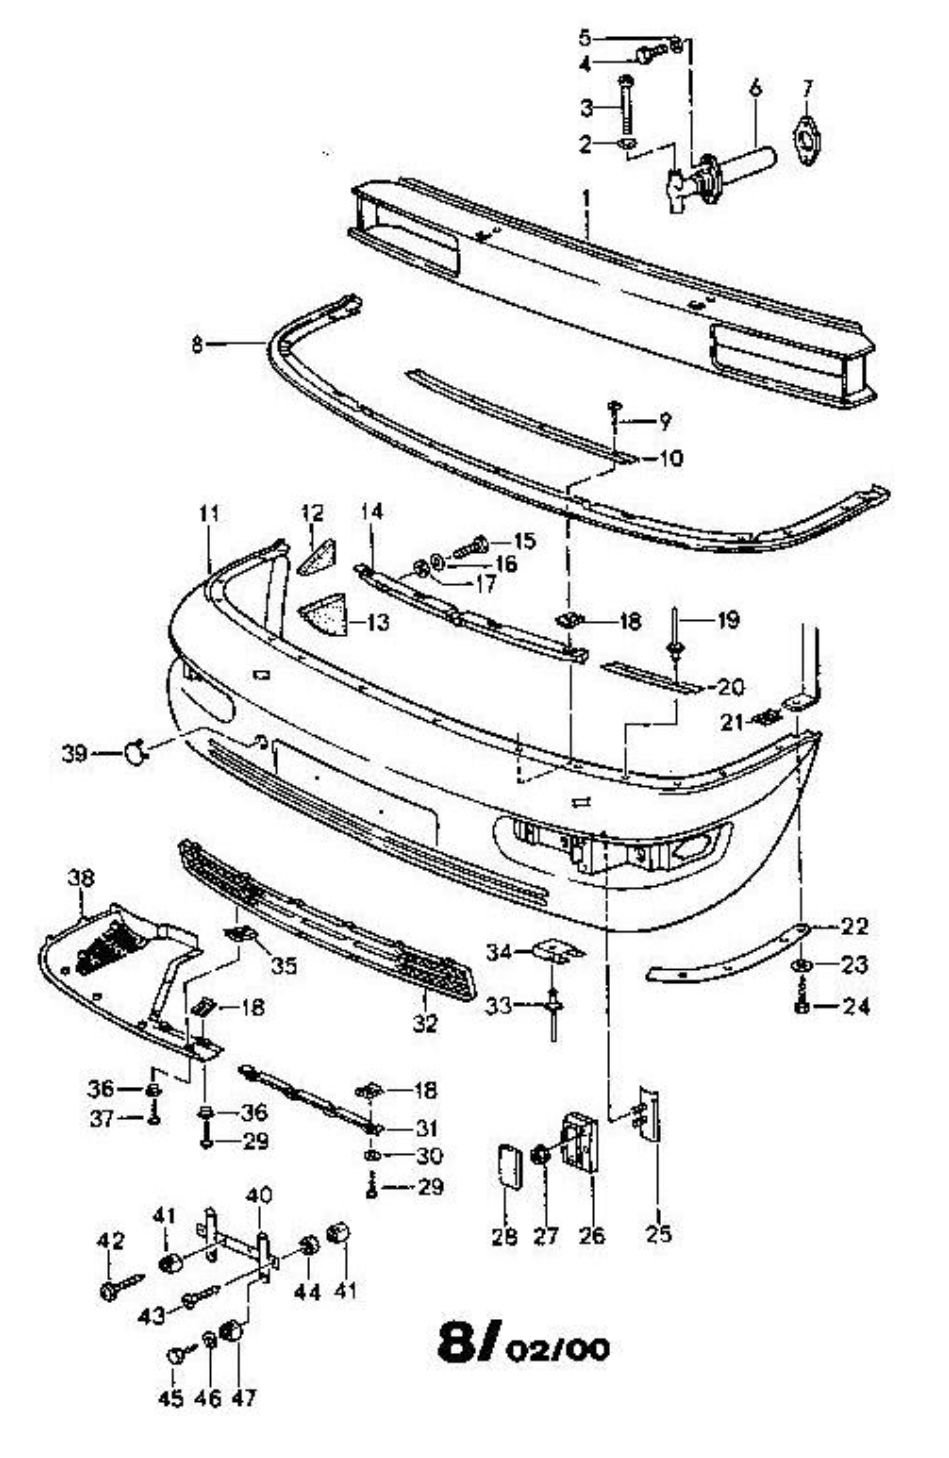
Thanks to the bumper cover thread I realised my car bumper was missing foam parts that ensure the air is directed to the oil cooler and air conditioning condenser. Parts #12 and #13 in the diagram. You can buy the parts or make them. I chose to make them. Maybe not the prettiest part but I’m not paying up for parts that may take months to arrive.
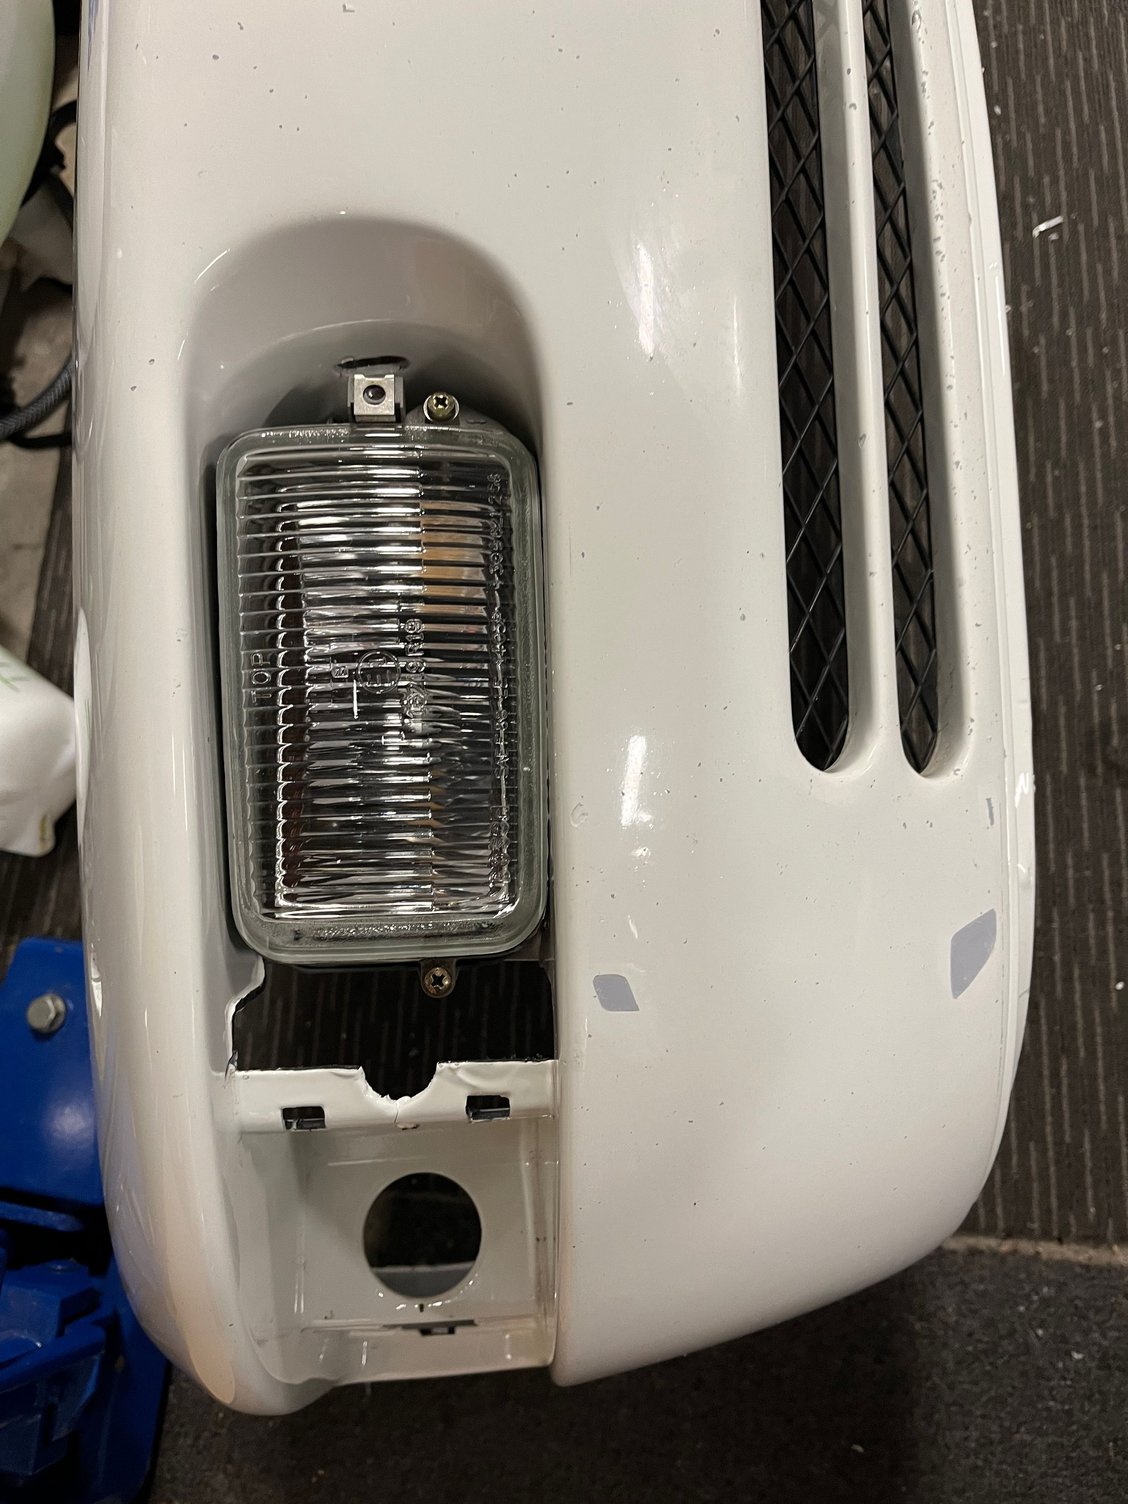
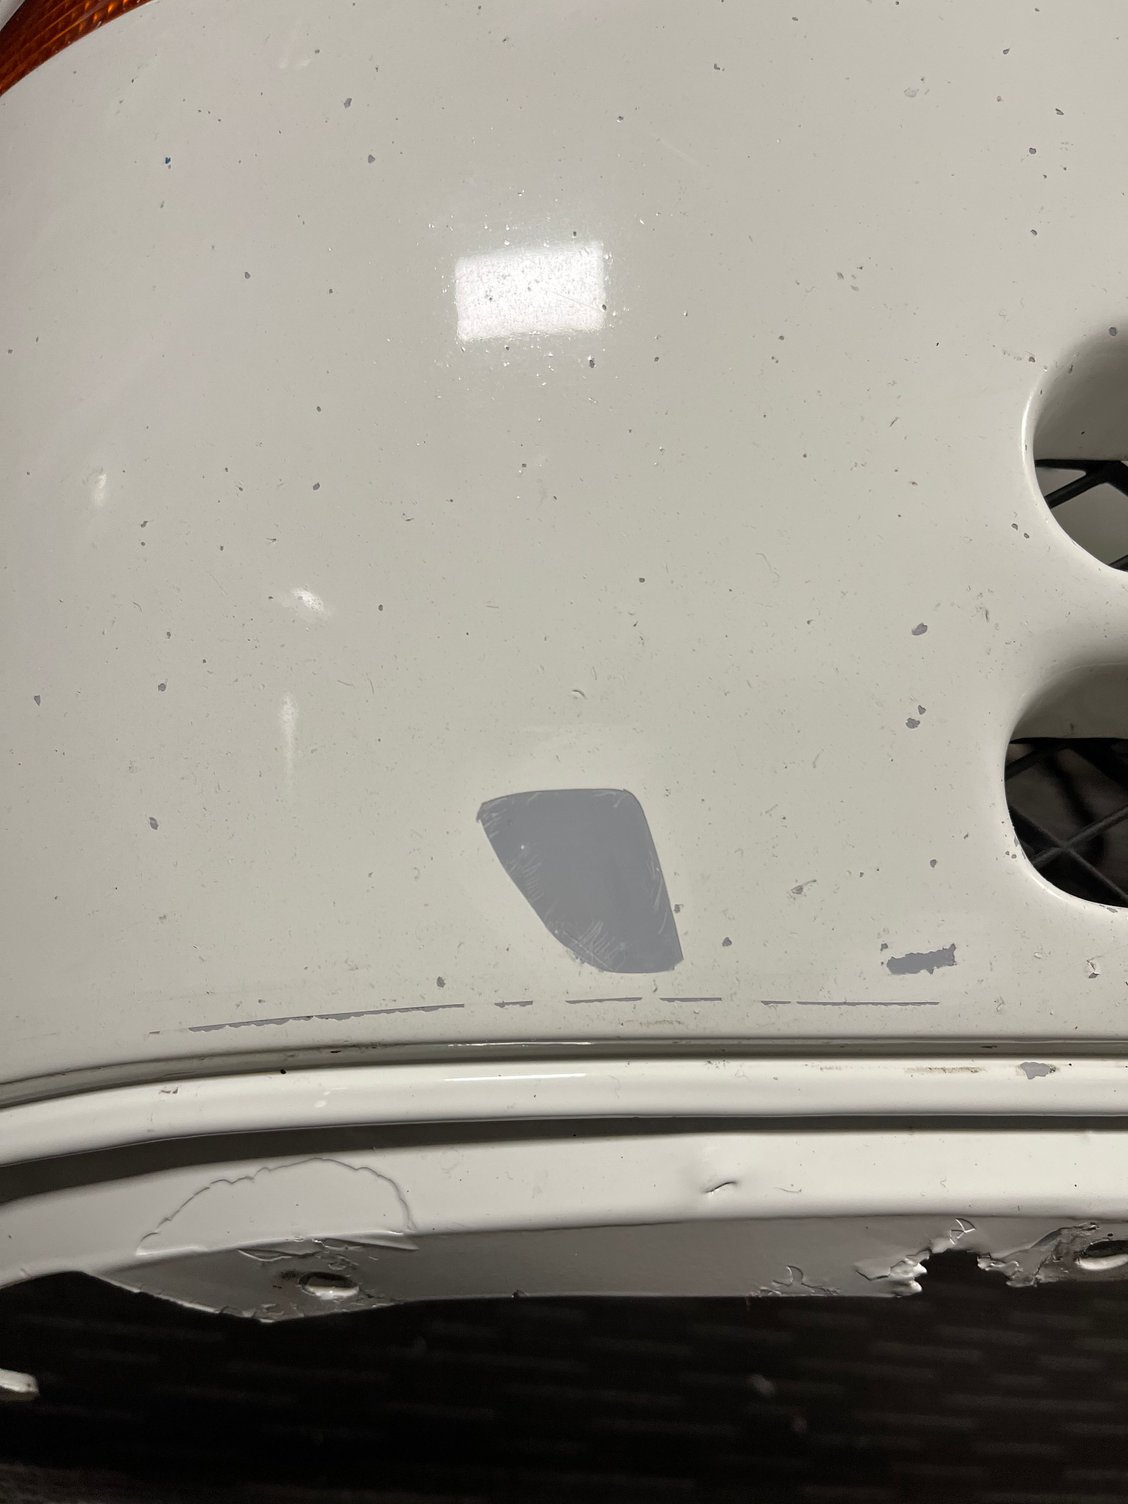
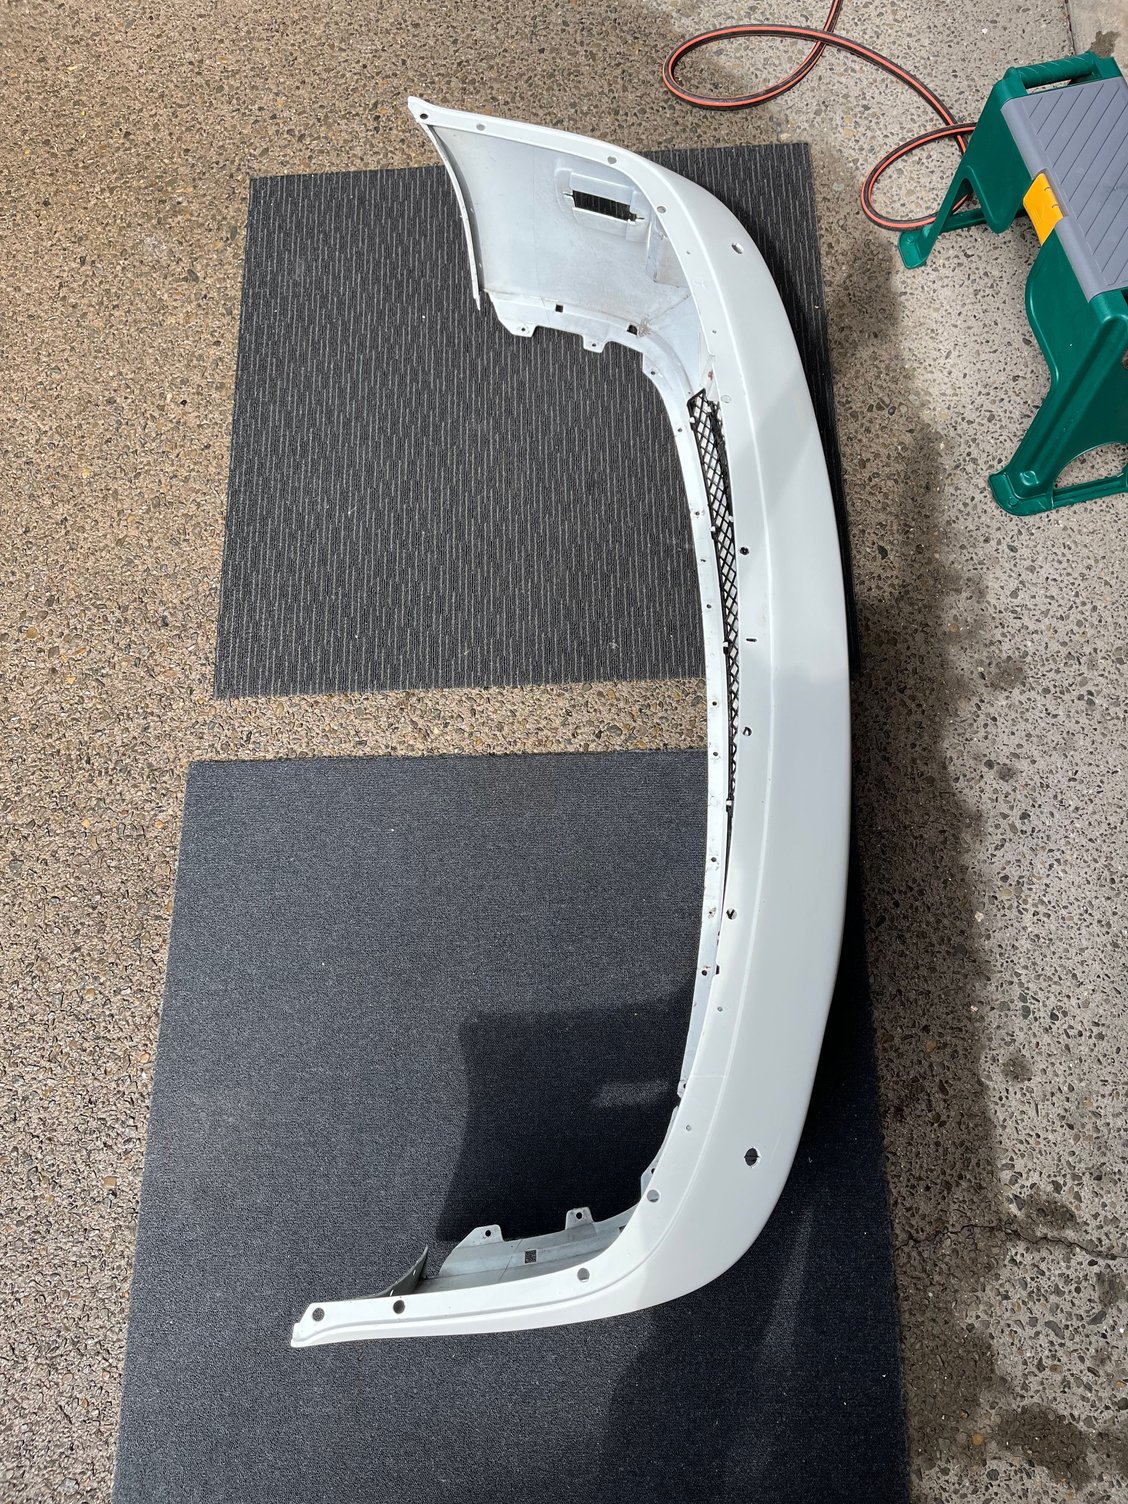
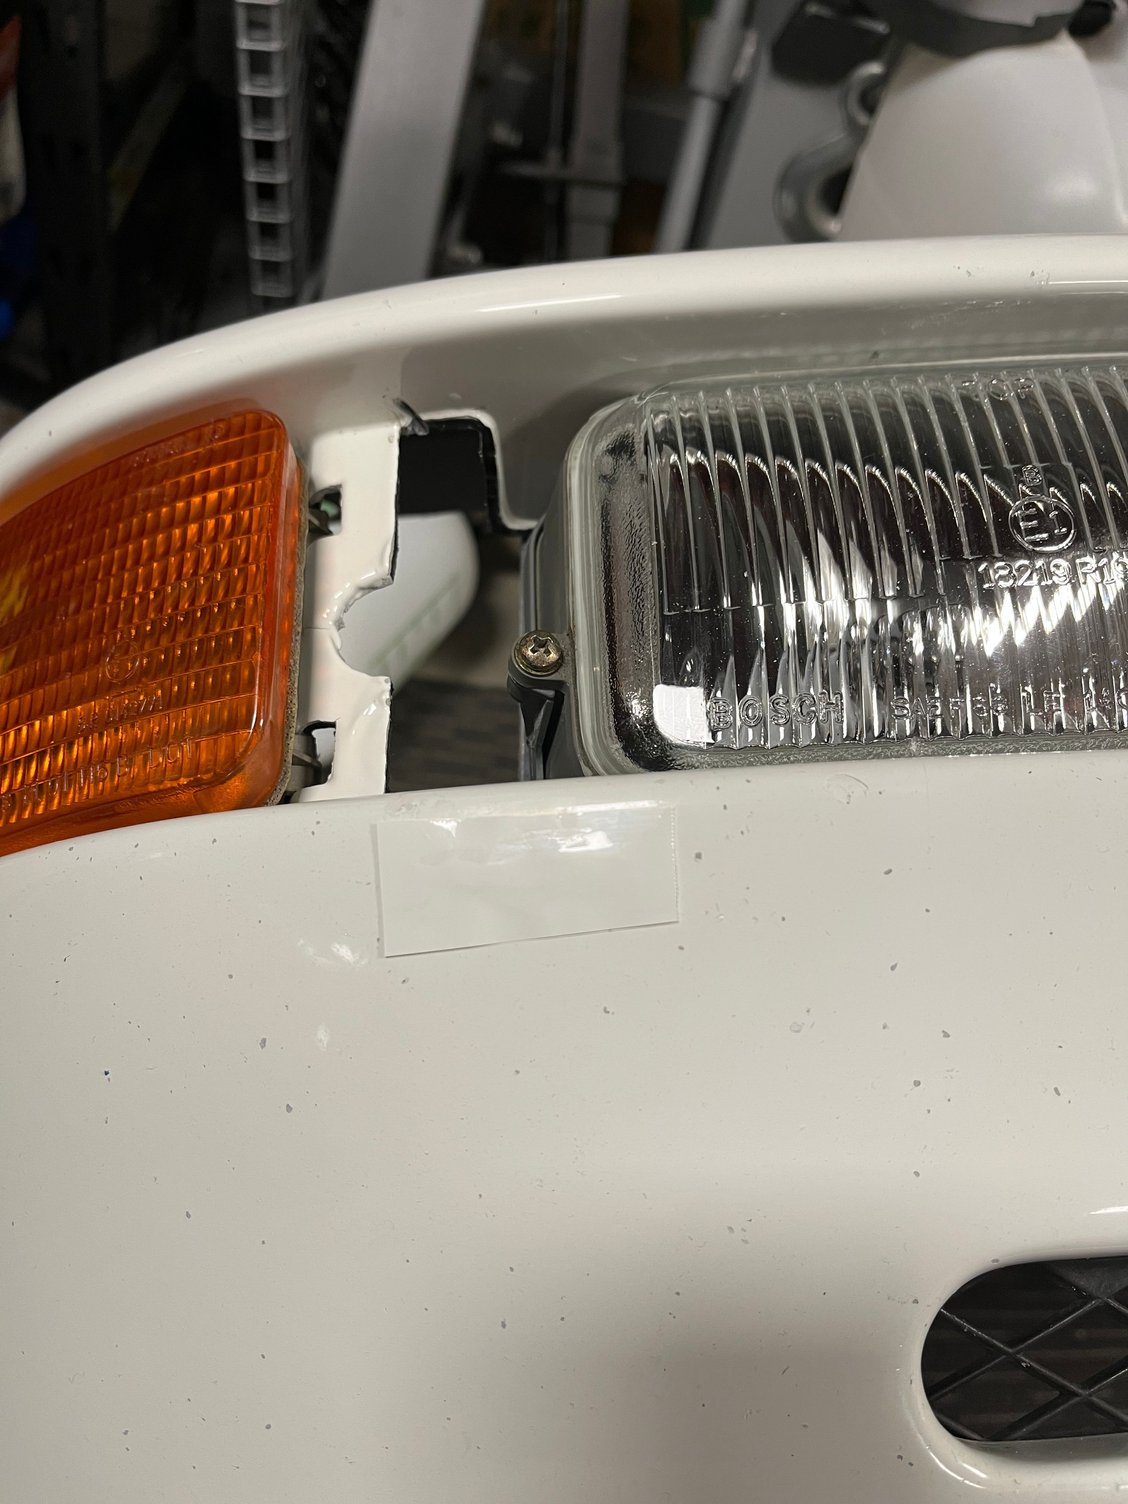


Last edited by John McM; 02-27-2022 at 02:03 AM.
The following 3 users liked this post by John McM:
964Luftballoon (02-28-2022), Deserion (02-28-2022), Ken D (02-27-2022)
Old 02-28-2022, 02:35 PM
  #1643  
John McM
Rennlist Member
Thread Starter
 
John McM's Avatar
 
Join Date: May 2001
Location: Auckland, New Zealand.
Posts: 13,247
Received 589 Likes on 351 Posts
Default

It’s taking an age to source some of the plastic trim around the fog lights. In the meantime, it’s moving onto the bumper paint issues. While the paint on the top and side edges is in very good condition, the grille bars have taken a beating as have some of the front, plus there is PPF removal damage to fix.


Last edited by John McM; 02-28-2022 at 02:37 PM.
Old 02-28-2022, 02:46 PM
  #1644  
John McM
Rennlist Member
Thread Starter
 
John McM's Avatar
 
Join Date: May 2001
Location: Auckland, New Zealand.
Posts: 13,247
Received 589 Likes on 351 Posts
Default

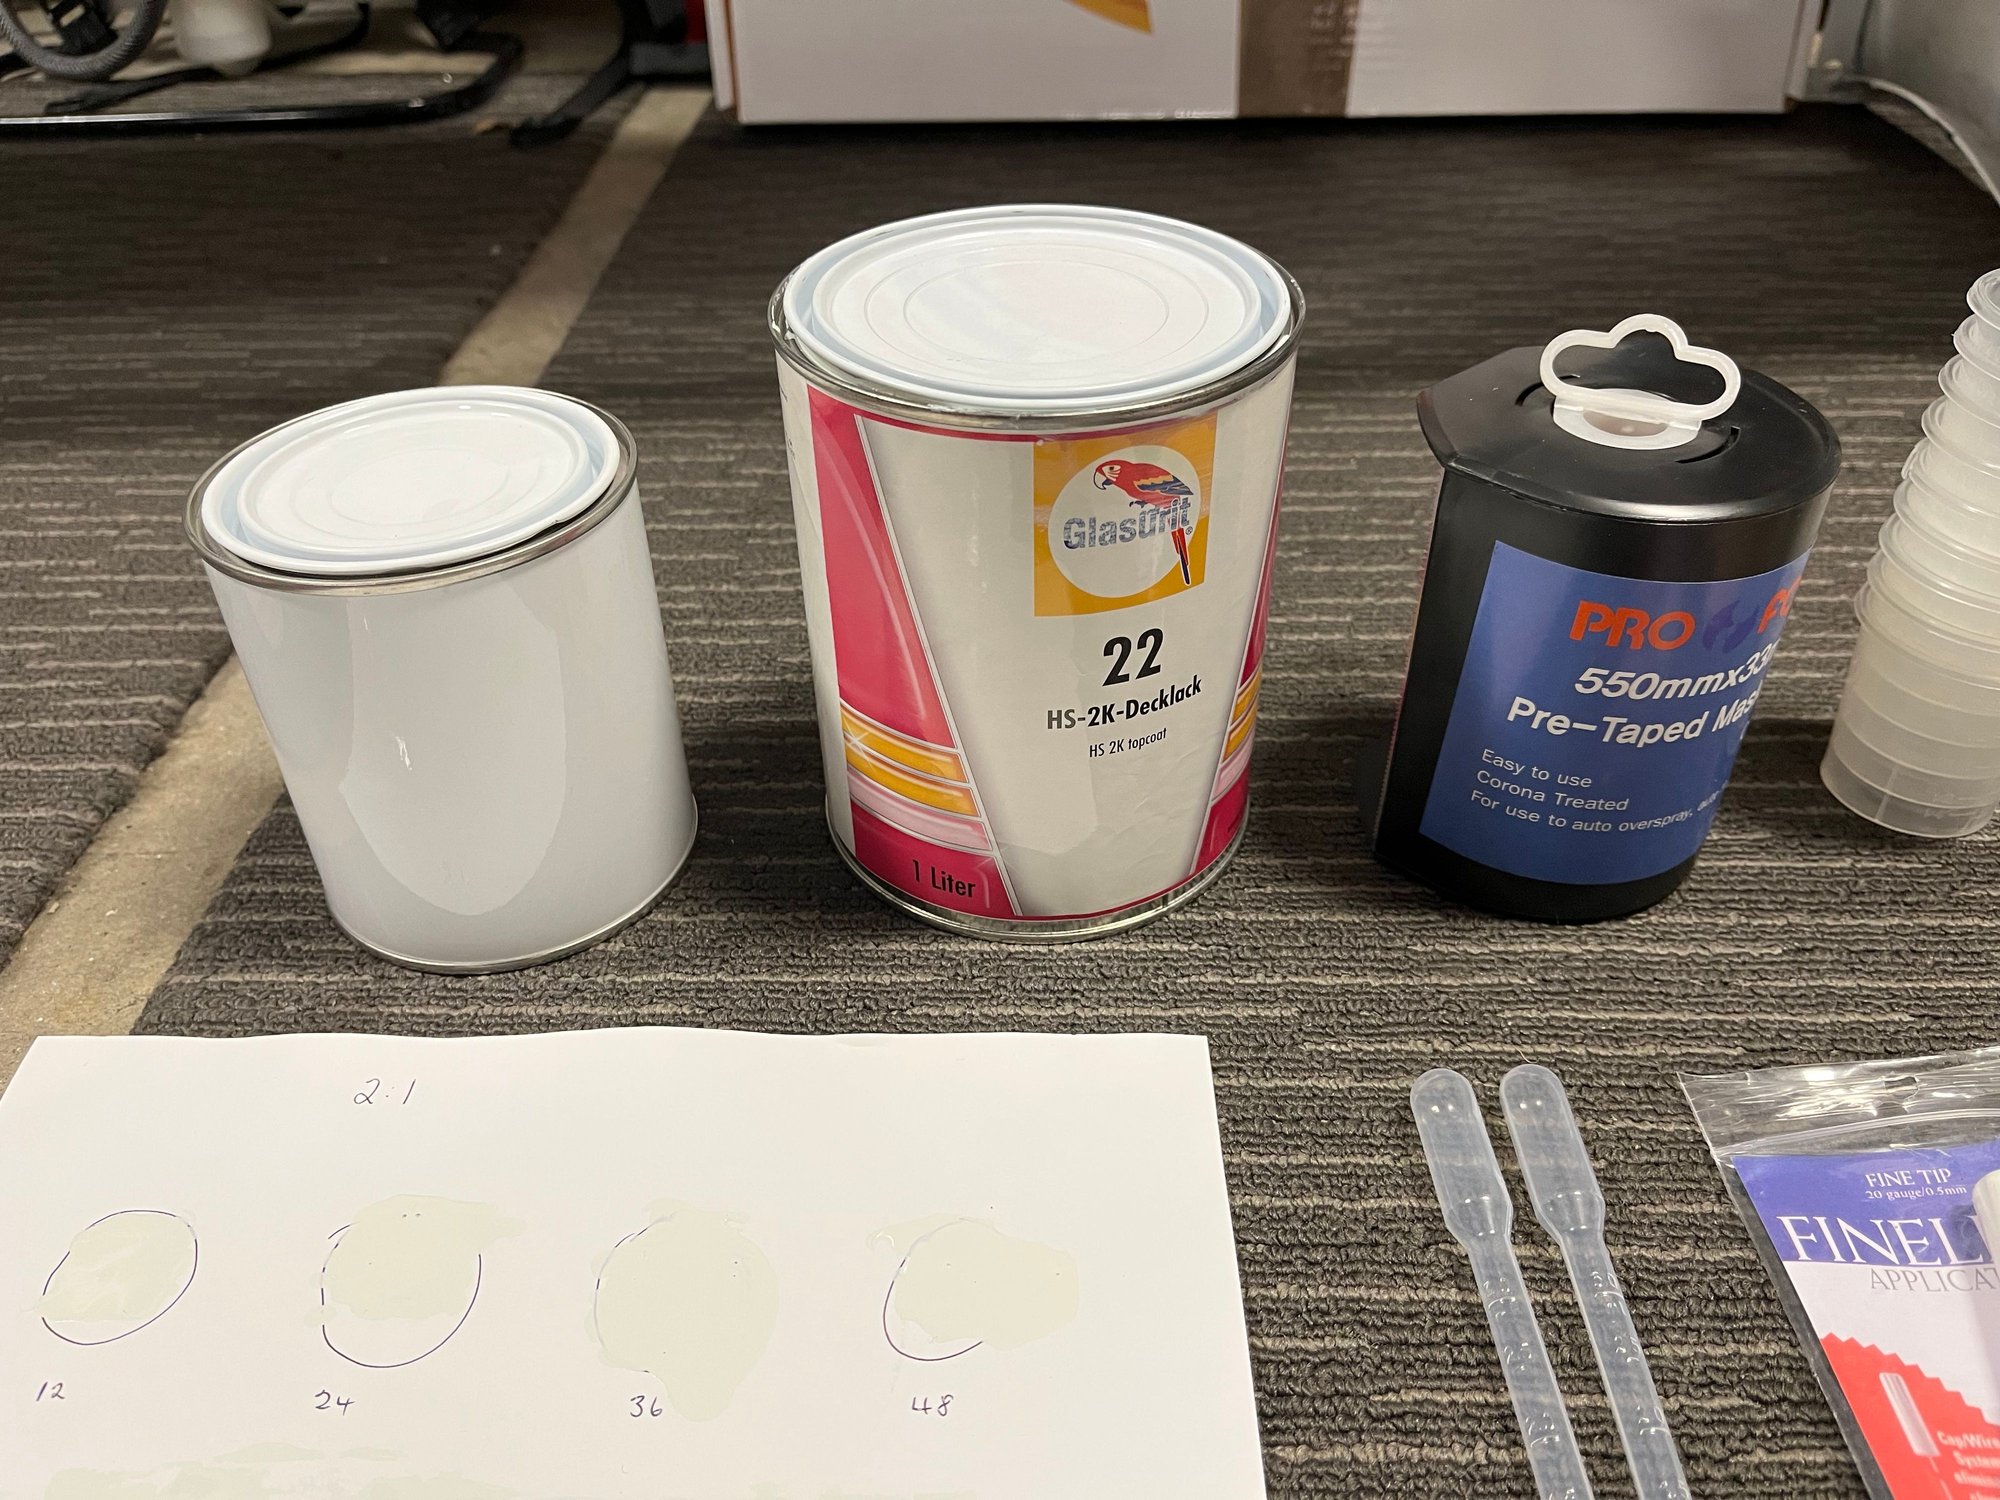
The standard stone chip paint is lacquer. It’s fine for small chips but not for large areas. It tends to shrink and doesn’t match the gloss of 2k paint. I can’t use that for my bumper.

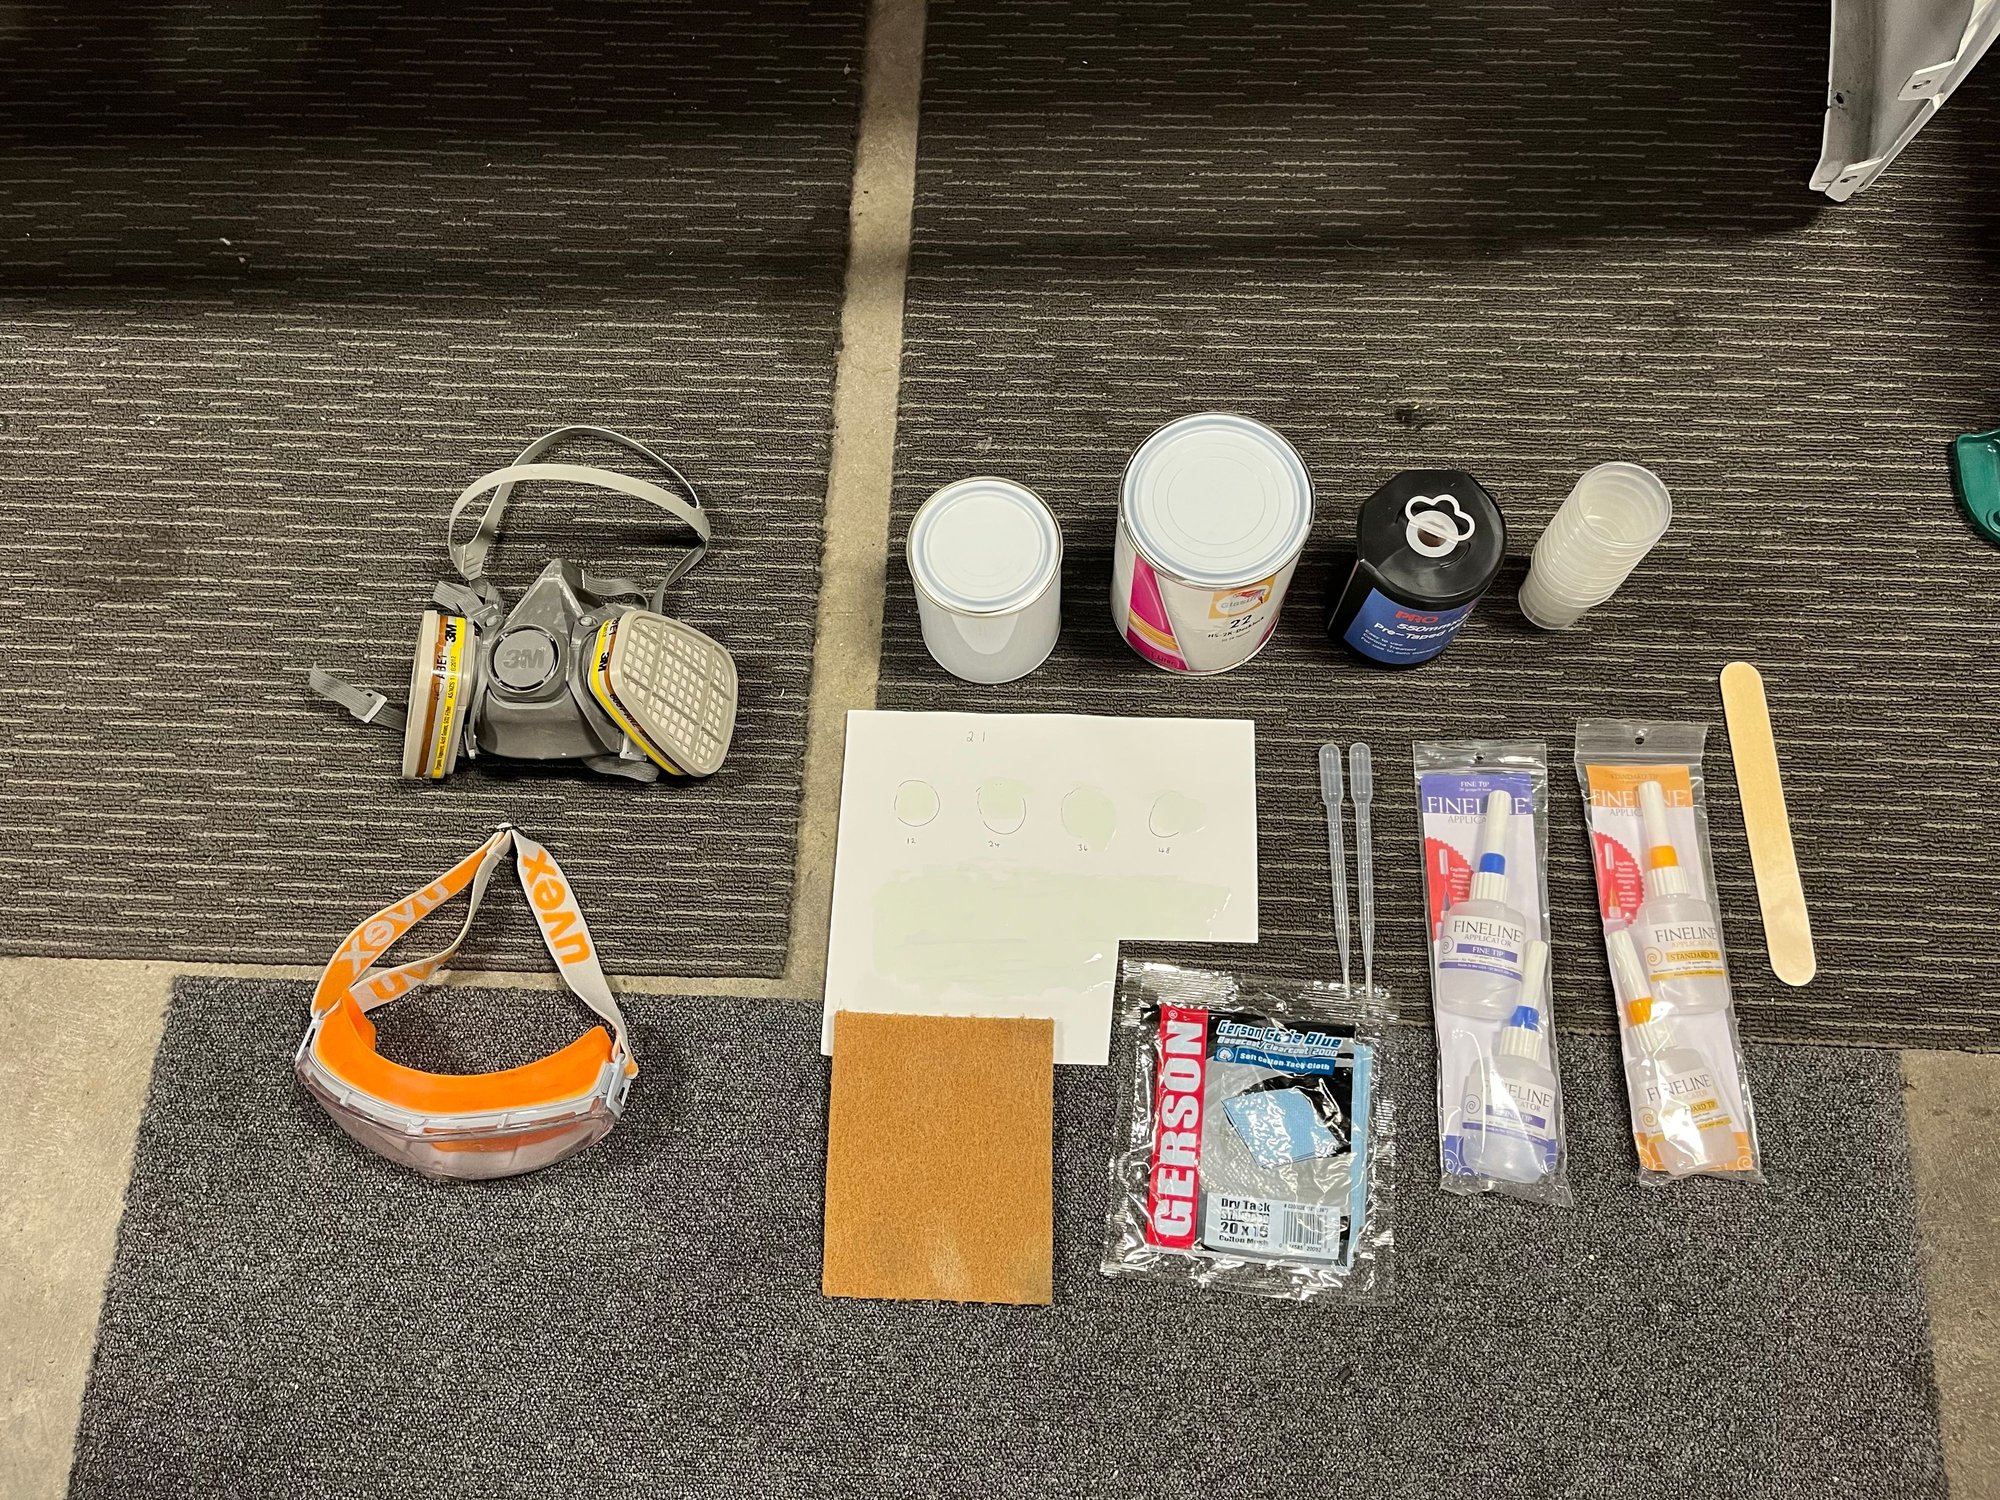
2k paint has a lot more going for it, but is full of nasty chemicals. It also tends to come in large containers for professionals.

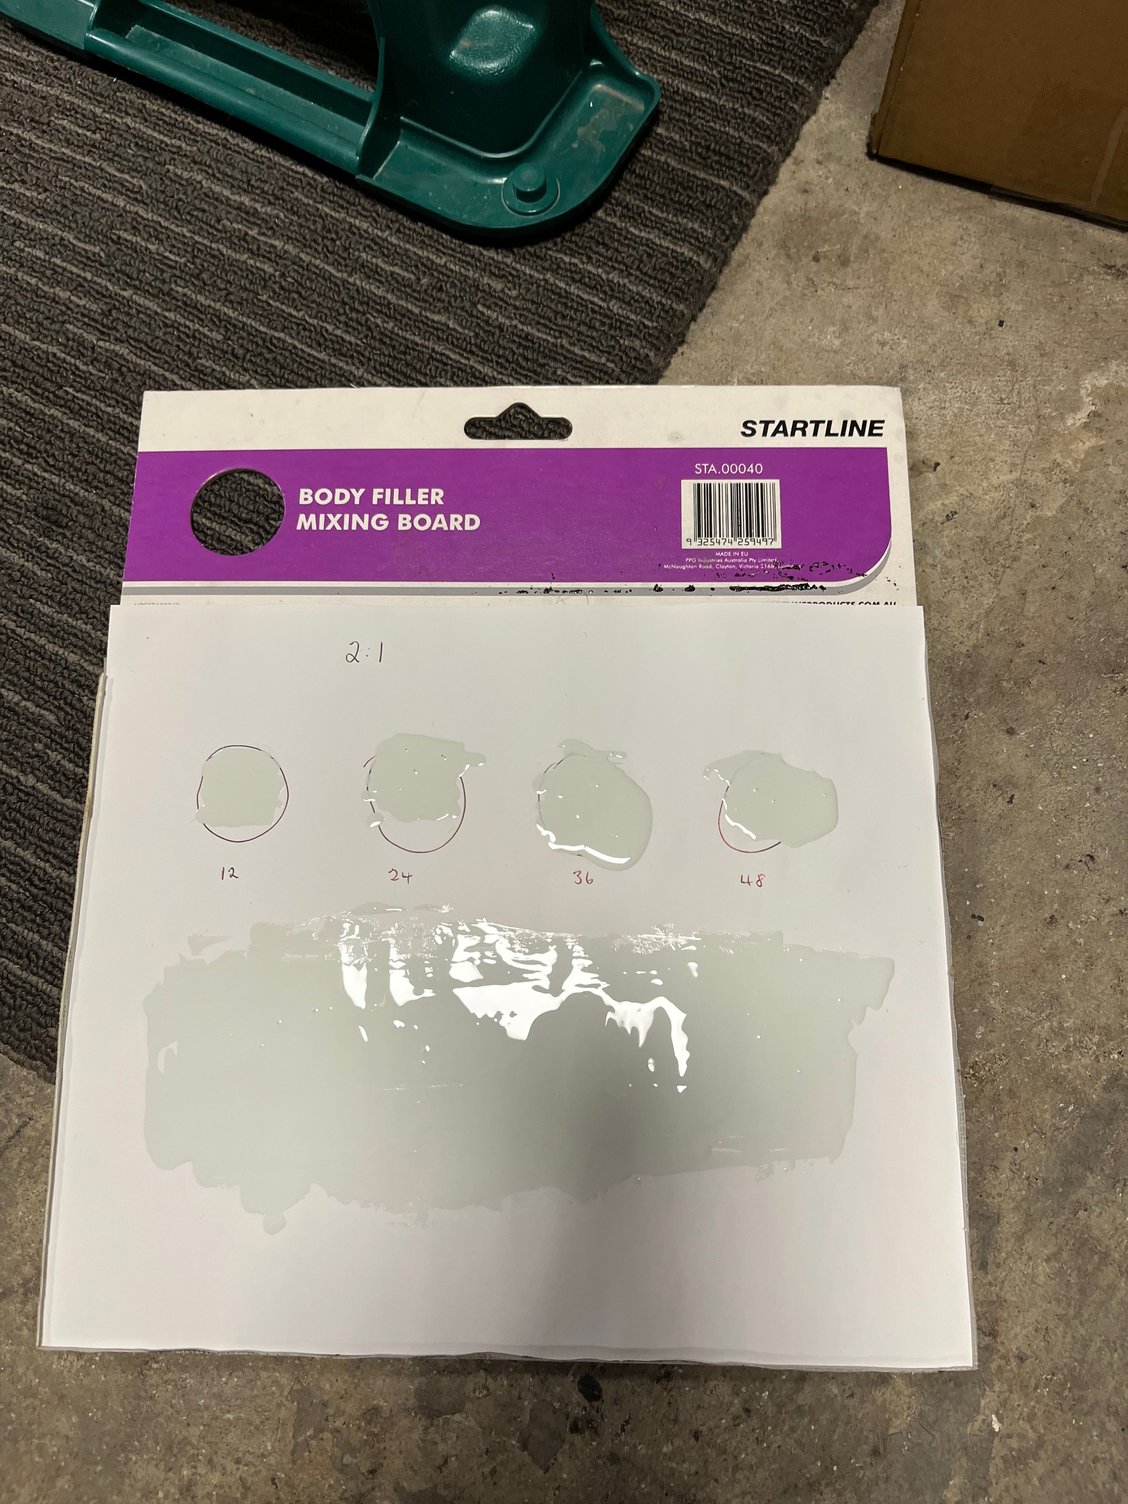
Luckily, I was given about 300ml of the original Glasurit 2K high solid paint left over from the 2015 respray. I just needed to get a hardener to use with it. The local agent gave me 150ml of Glasurit fast hardener. The mix of 2:1 paint to hardener means I have all I need.

I did a test patch to make sure it works.


Old 02-28-2022, 02:51 PM
  #1645  
John McM
Rennlist Member
Thread Starter
 
John McM's Avatar
 
Join Date: May 2001
Location: Auckland, New Zealand.
Posts: 13,247
Received 589 Likes on 351 Posts
Default

The test patch was exceptional. The paint gloss is high, the paint is flexible but durable and importantly looks like a good match


painted paper
The following users liked this post:
Jacke2c (03-07-2022)
Old 02-28-2022, 02:57 PM
  #1646  
John McM
Rennlist Member
Thread Starter
 
John McM's Avatar
 
Join Date: May 2001
Location: Auckland, New Zealand.
Posts: 13,247
Received 589 Likes on 351 Posts
Default

I have a strategy to apply the paint.

1. I will spray the grille bars

2. I will build up the PPF damage areas with a brush, then wet sand flat.

3. I will fill stone chips using Stew Mac applicators full of paint. They are designed for apply glue to guitars.

The above will require wearing a respirator. A small price to pay for hopefully an enduring repair.

Old 02-28-2022, 03:07 PM
  #1647  
John McM
Rennlist Member
Thread Starter
 
John McM's Avatar
 
Join Date: May 2001
Location: Auckland, New Zealand.
Posts: 13,247
Received 589 Likes on 351 Posts
Default

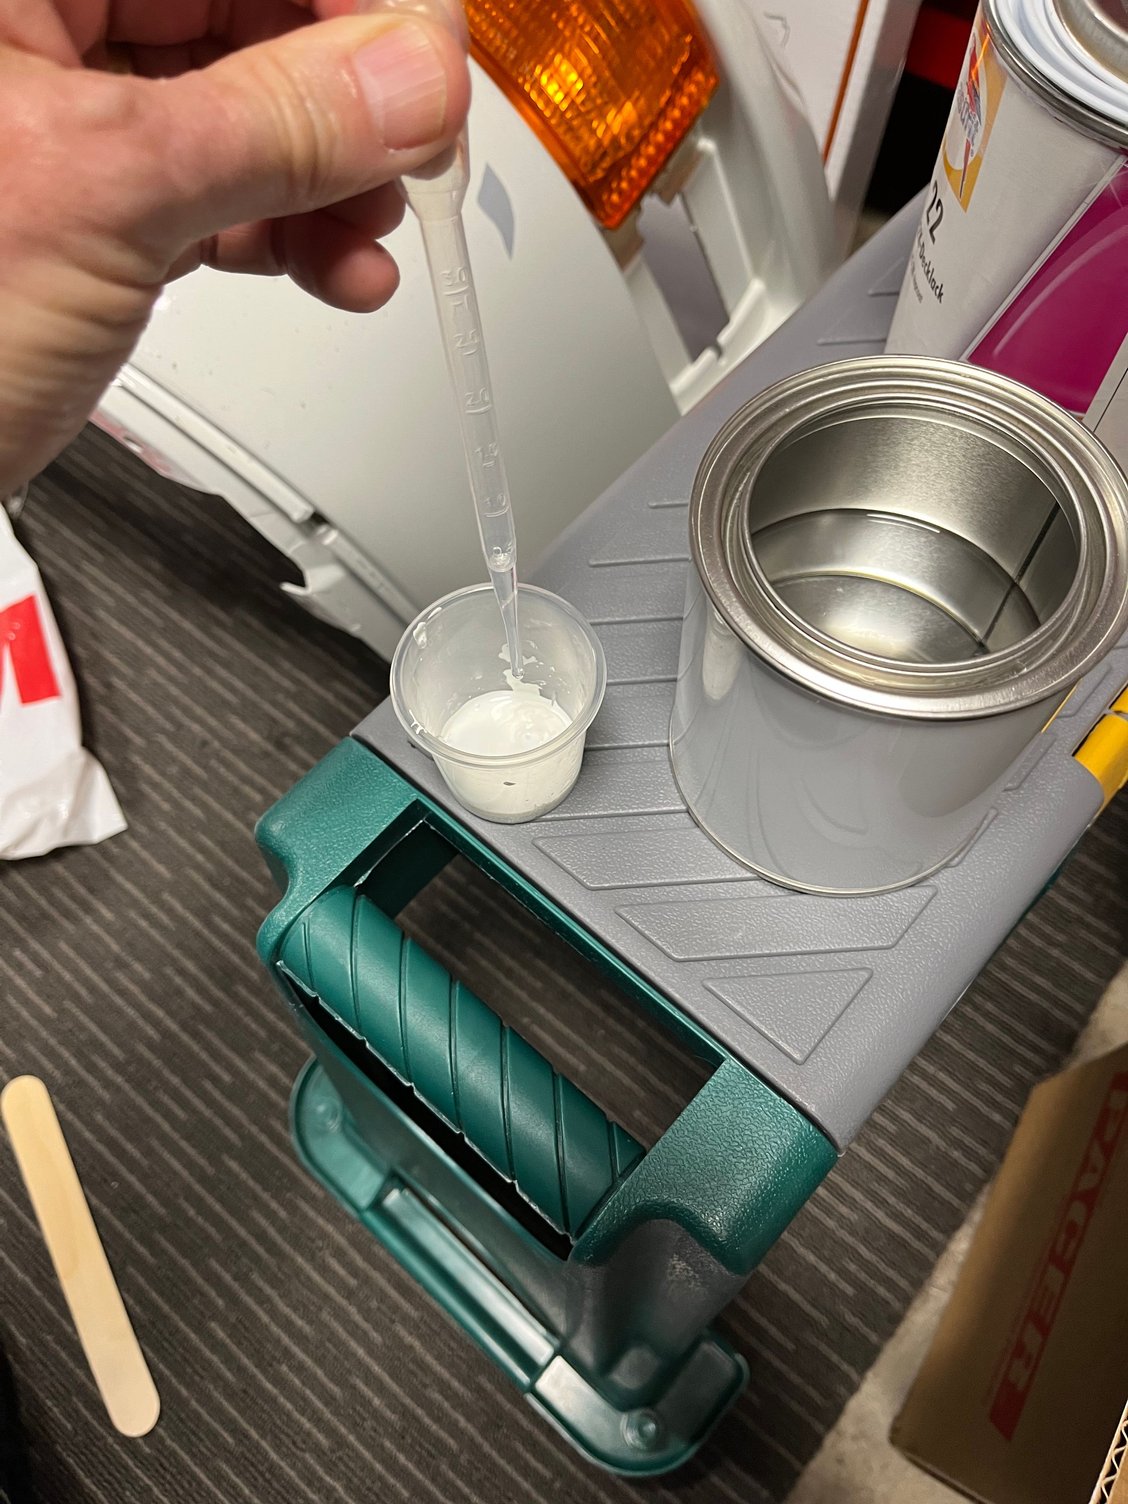
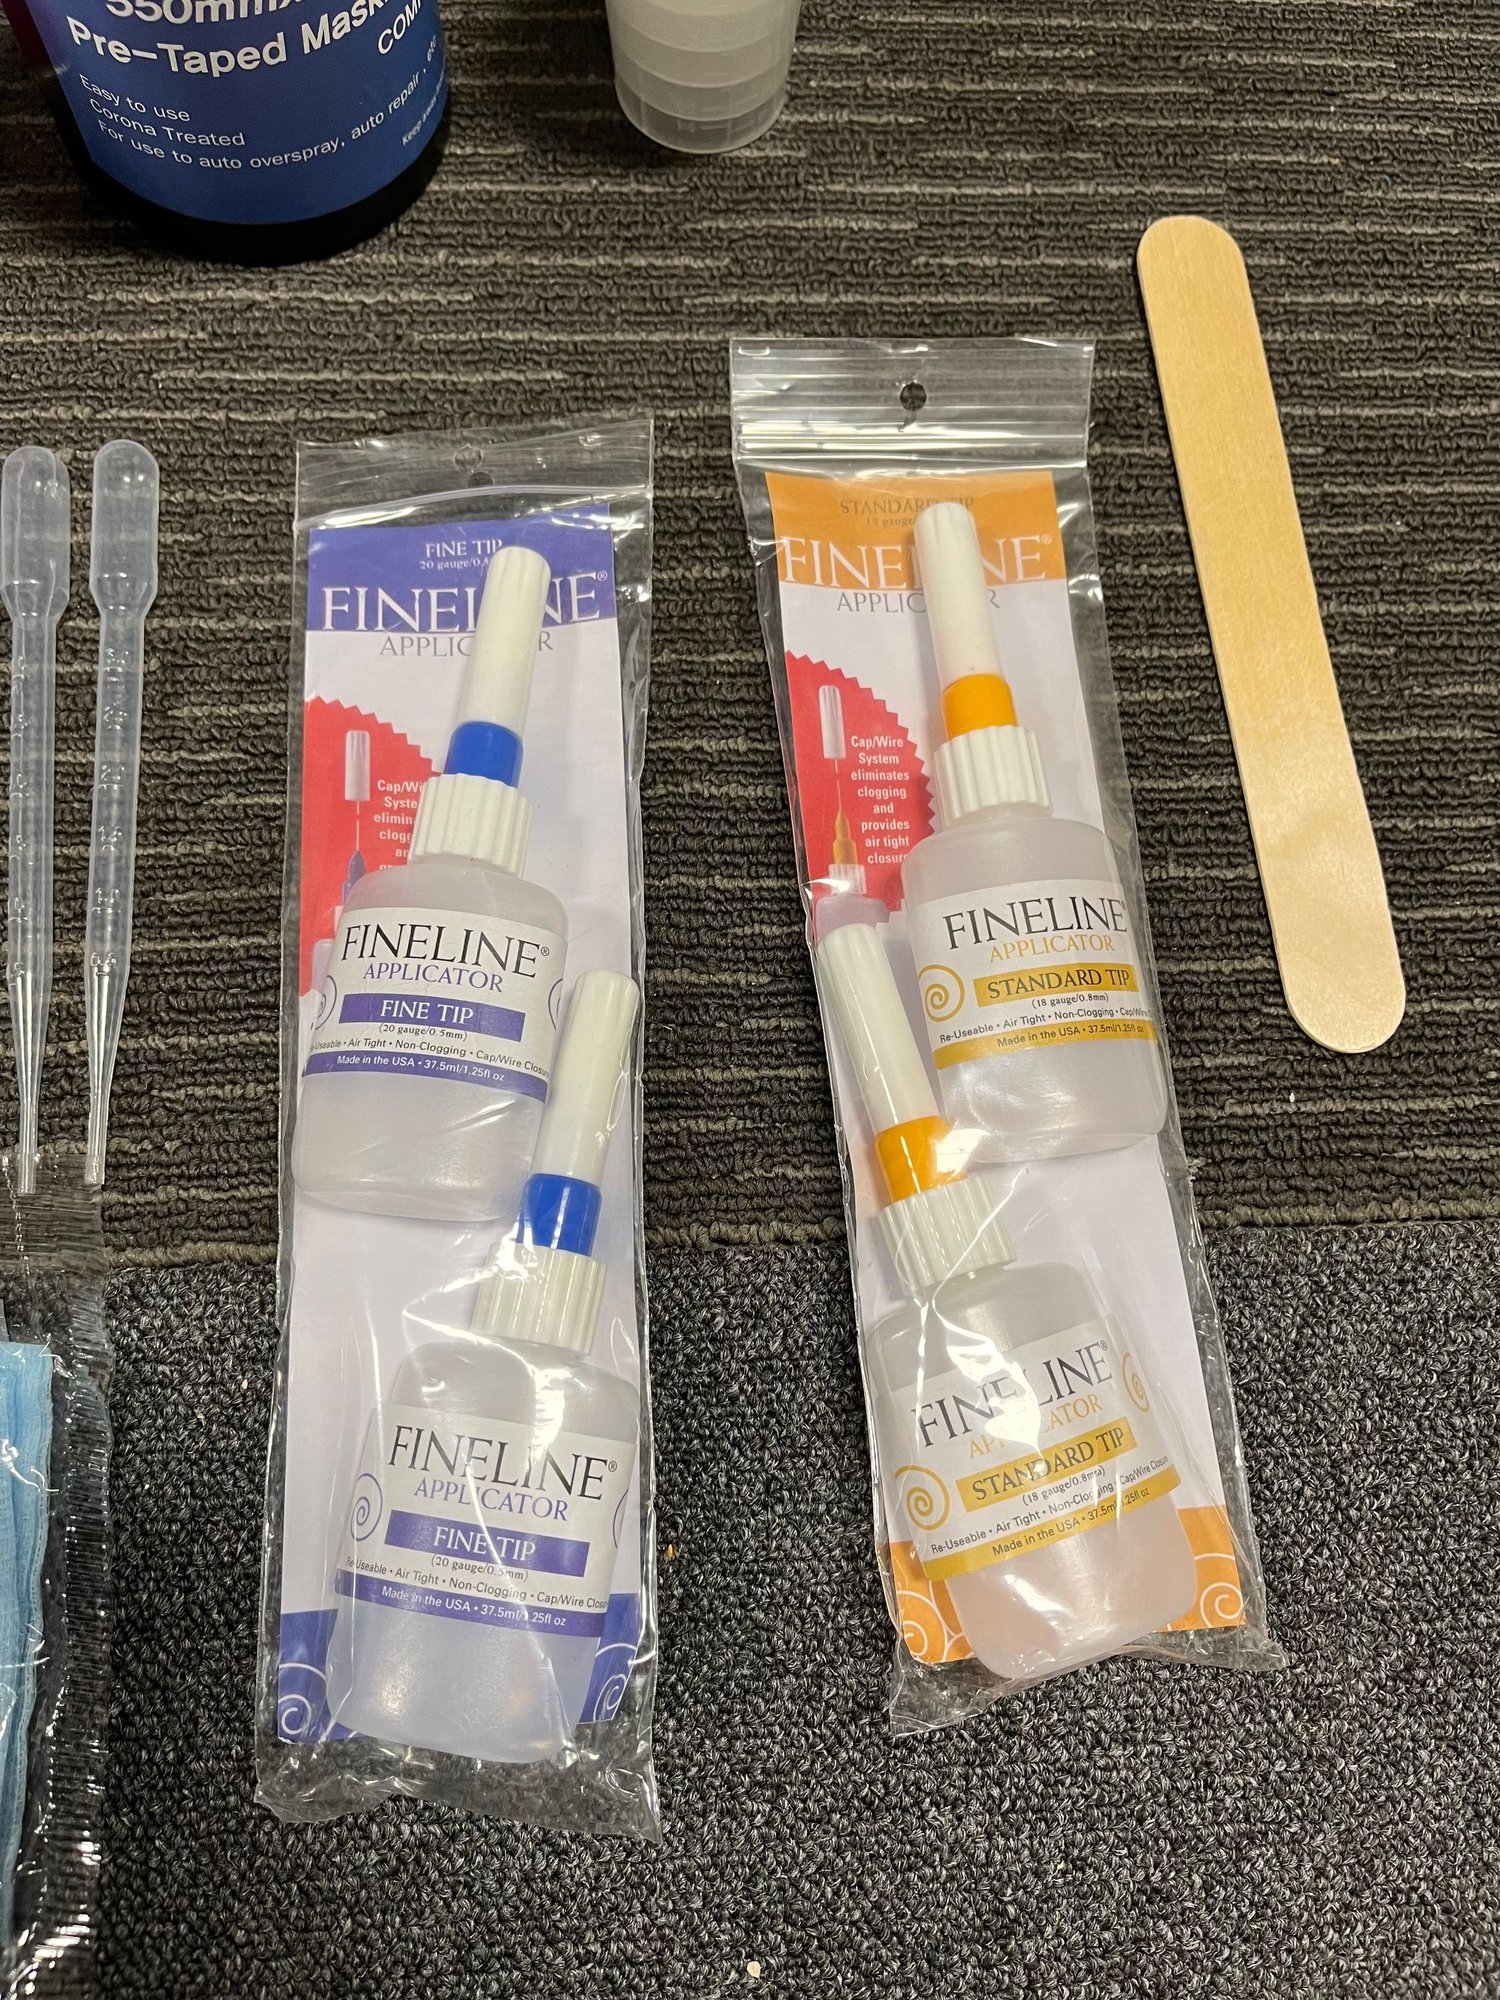
A closer look at the Stew Mac supplied product. It’s a squeeze bottle with a fine precision nozzle. With 2k paint it will likely be a single use, despite the nozzle cleaner. I figure it will be easier to use than a syringe.

No affiliation

https://www.stewmac.com/luthier-tools-and-supplies/tools-by-job/tools-for-gluing/fineline-applicators/


Last edited by John McM; 02-28-2022 at 03:12 PM.
Old 03-01-2022, 08:56 PM
  #1648  
John McM
Rennlist Member
Thread Starter
 
John McM's Avatar
 
Join Date: May 2001
Location: Auckland, New Zealand.
Posts: 13,247
Received 589 Likes on 351 Posts
Default

H3 LED have arrived for the fog lights. They fit nicely but next time I will check the description. I wanted four, not eight.


Old 03-17-2022, 10:53 PM
  #1649  
John McM
Rennlist Member
Thread Starter
 
John McM's Avatar
 
Join Date: May 2001
Location: Auckland, New Zealand.
Posts: 13,247
Received 589 Likes on 351 Posts
Default

Ok. Turning fog lights into Daytime running lights. Remove R31 and jumper #3 and #5. The front fog lights light up when ignition is on.


The following 3 users liked this post by John McM:
Deserion (03-17-2022), Spokes (03-19-2022), spooky69 (03-18-2022)
Old 03-18-2022, 03:22 PM
  #1650  
John McM
Rennlist Member
Thread Starter
 
John McM's Avatar
 
Join Date: May 2001
Location: Auckland, New Zealand.
Posts: 13,247
Received 589 Likes on 351 Posts
Default

Steering angle limiter install today. Nice to have a DIY thread to follow https://rennlist.com/forums/diy-964-...p-install.html


Quick Reply: 964 C4 light refurb


All times are GMT -3. The time now is 07:21 PM.