When you click on links to various merchants on this site and make a purchase, this can result in this site earning a commission. Affiliate programs and affiliations include, but are not limited to, the eBay Partner Network.
Imagine having John McM as your neighbor to help you out with your 964. Lucky neighbor. Great looking car.
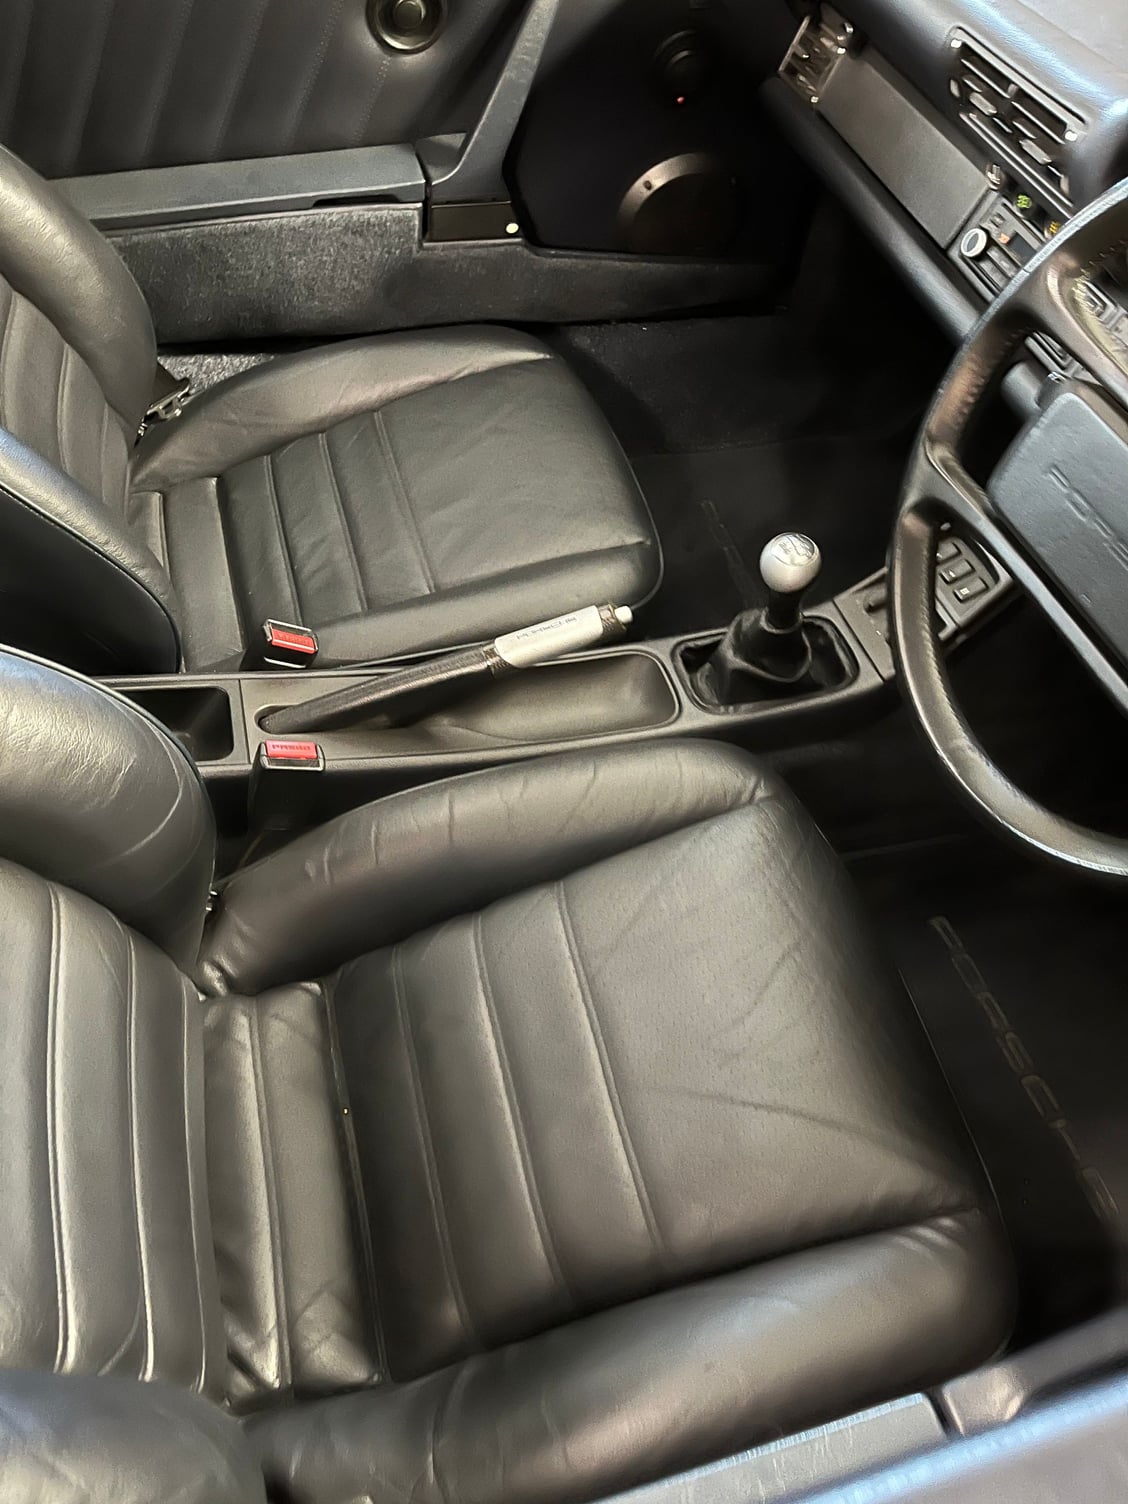
I love these cars but it will be a nice change to have the fun without hitting my wallet. The new owner is interested in originality so we will have fun reversing many of the mods. It�s surprisingly low optioned. Cruise control, sunroof and cassette radio with amplifier. We are hoping it might have a LSD. Need to get it up on a lift and check the gearbox number.
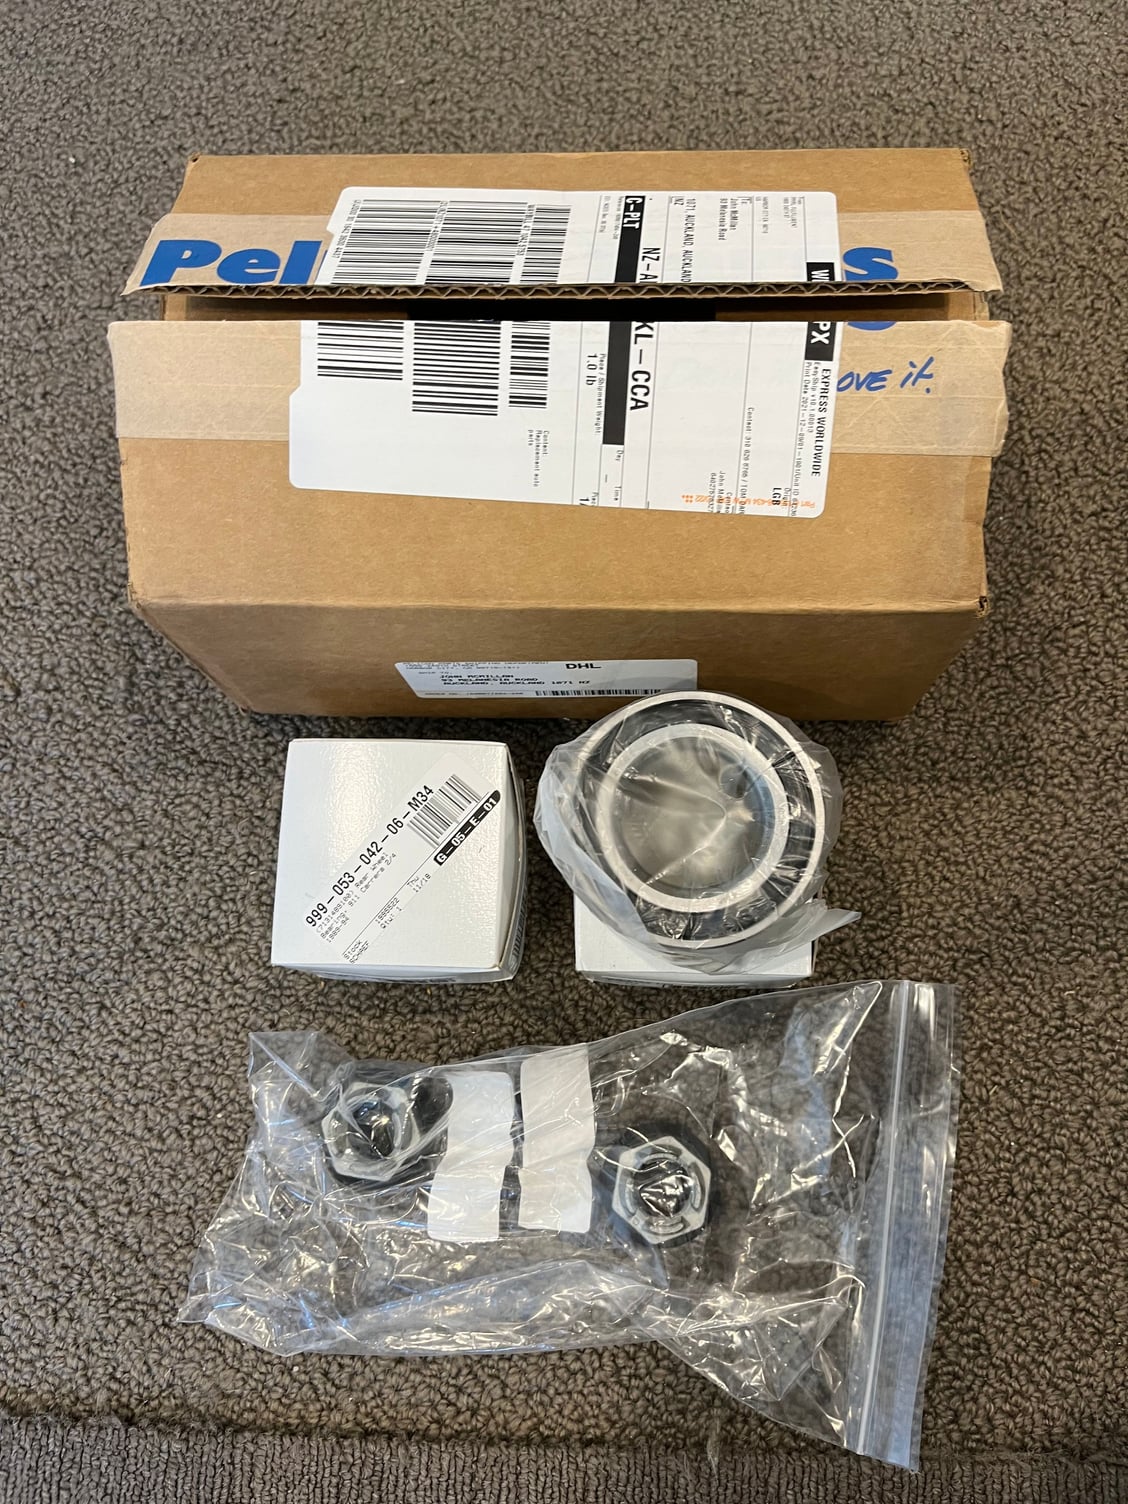
The final push on the C4 (I can only hope). Coming up in the Christmas period I have the following work to do:
1. Replace all four wheel bearings
2. Replace two front shock absorbers
3. Replace headlight lenses
4. Replace front plastic valances
5. Replace rear seat backs (I have acquired a perfect set in Marine Blue)
6. Fit front fog lights
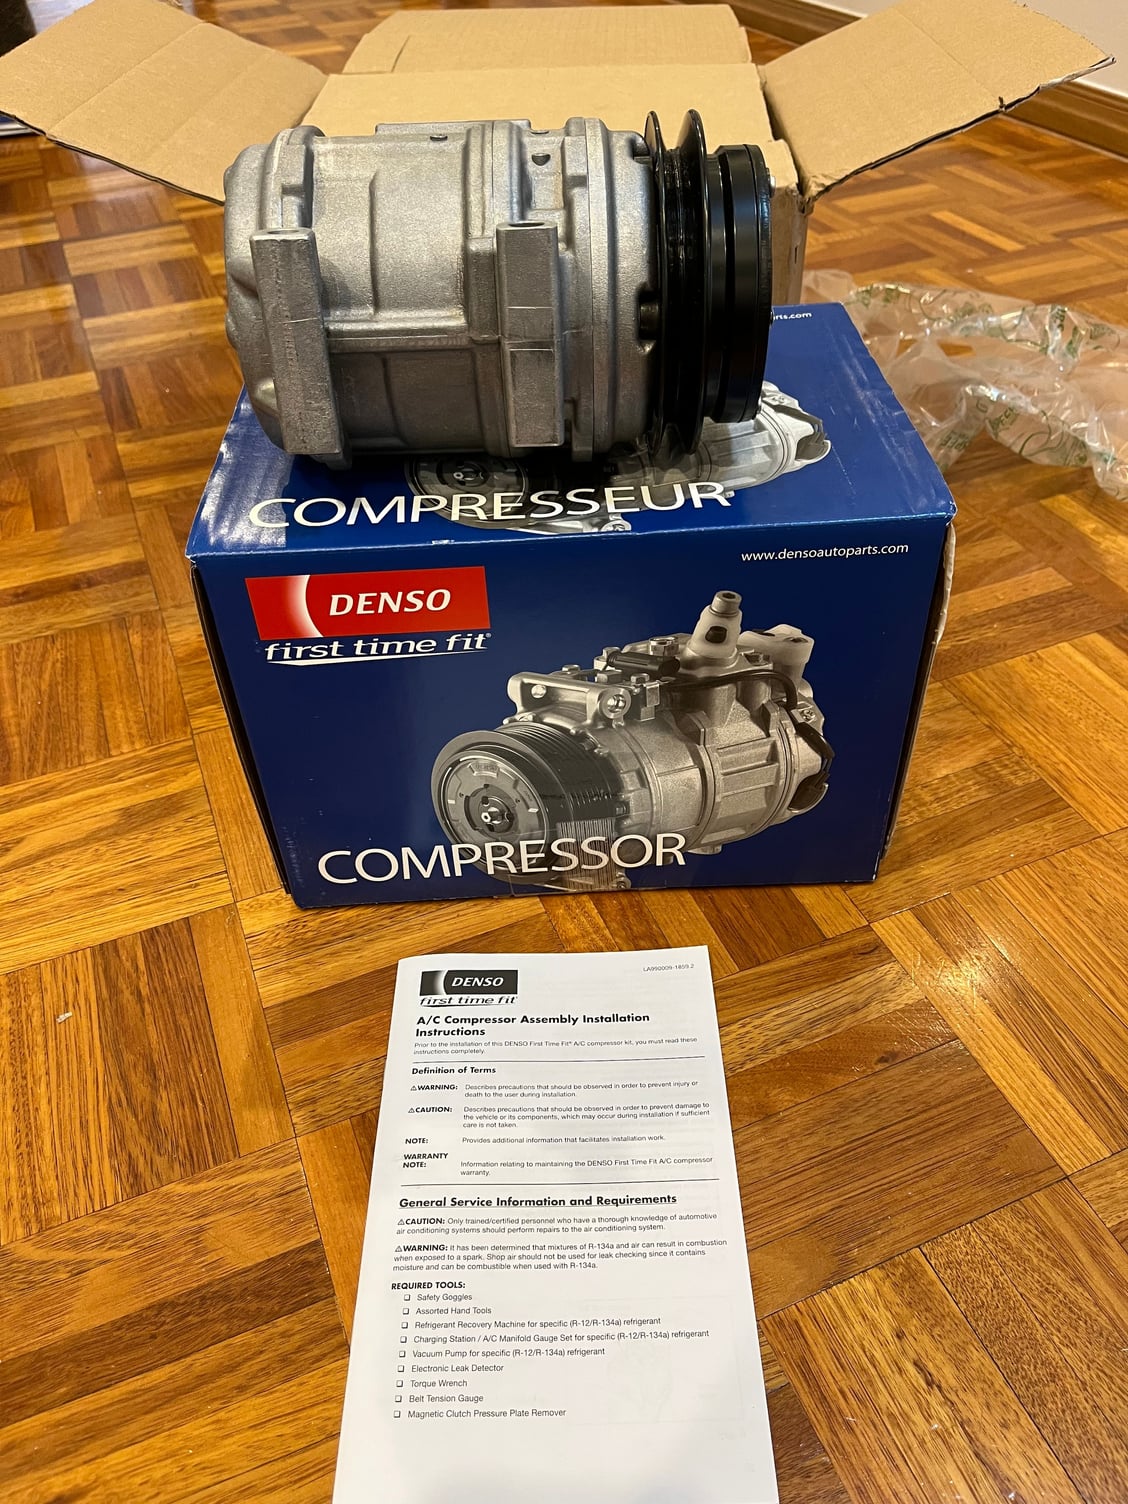
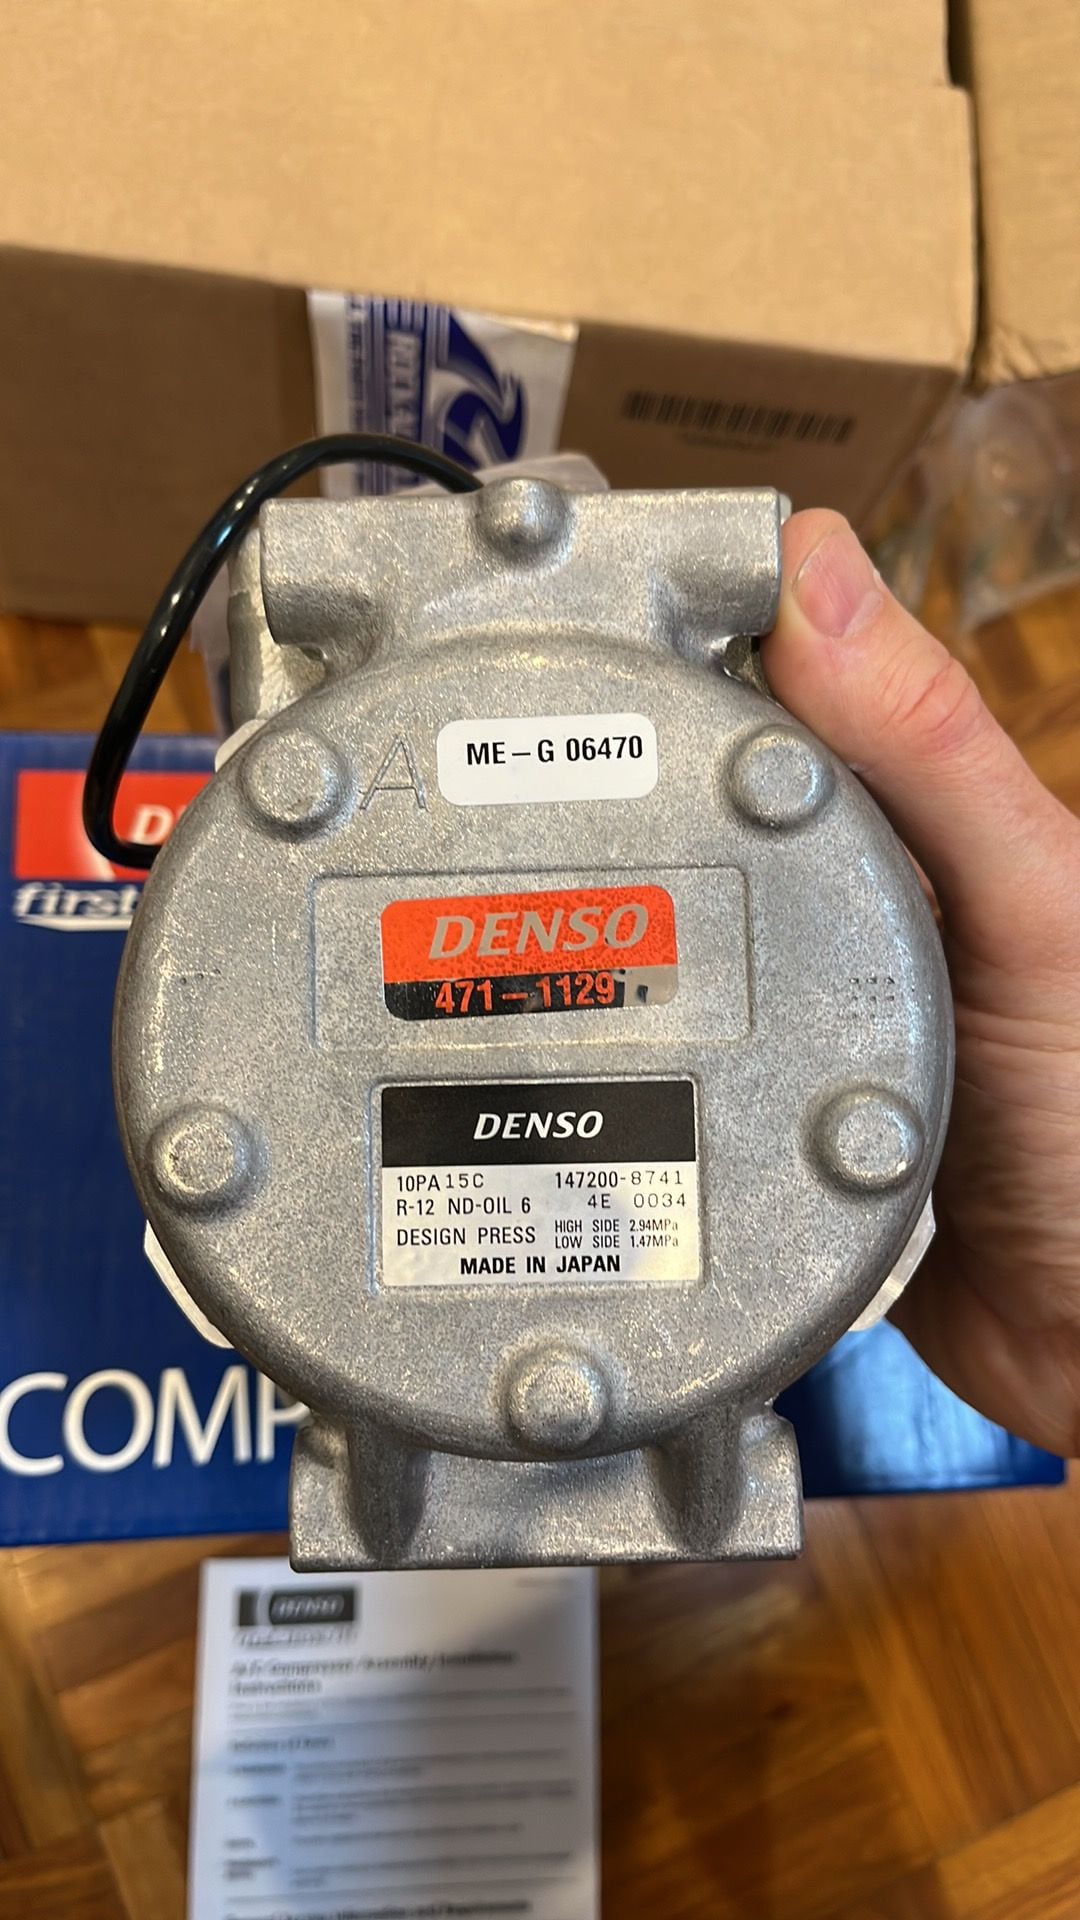
7. Replace air con compressor.
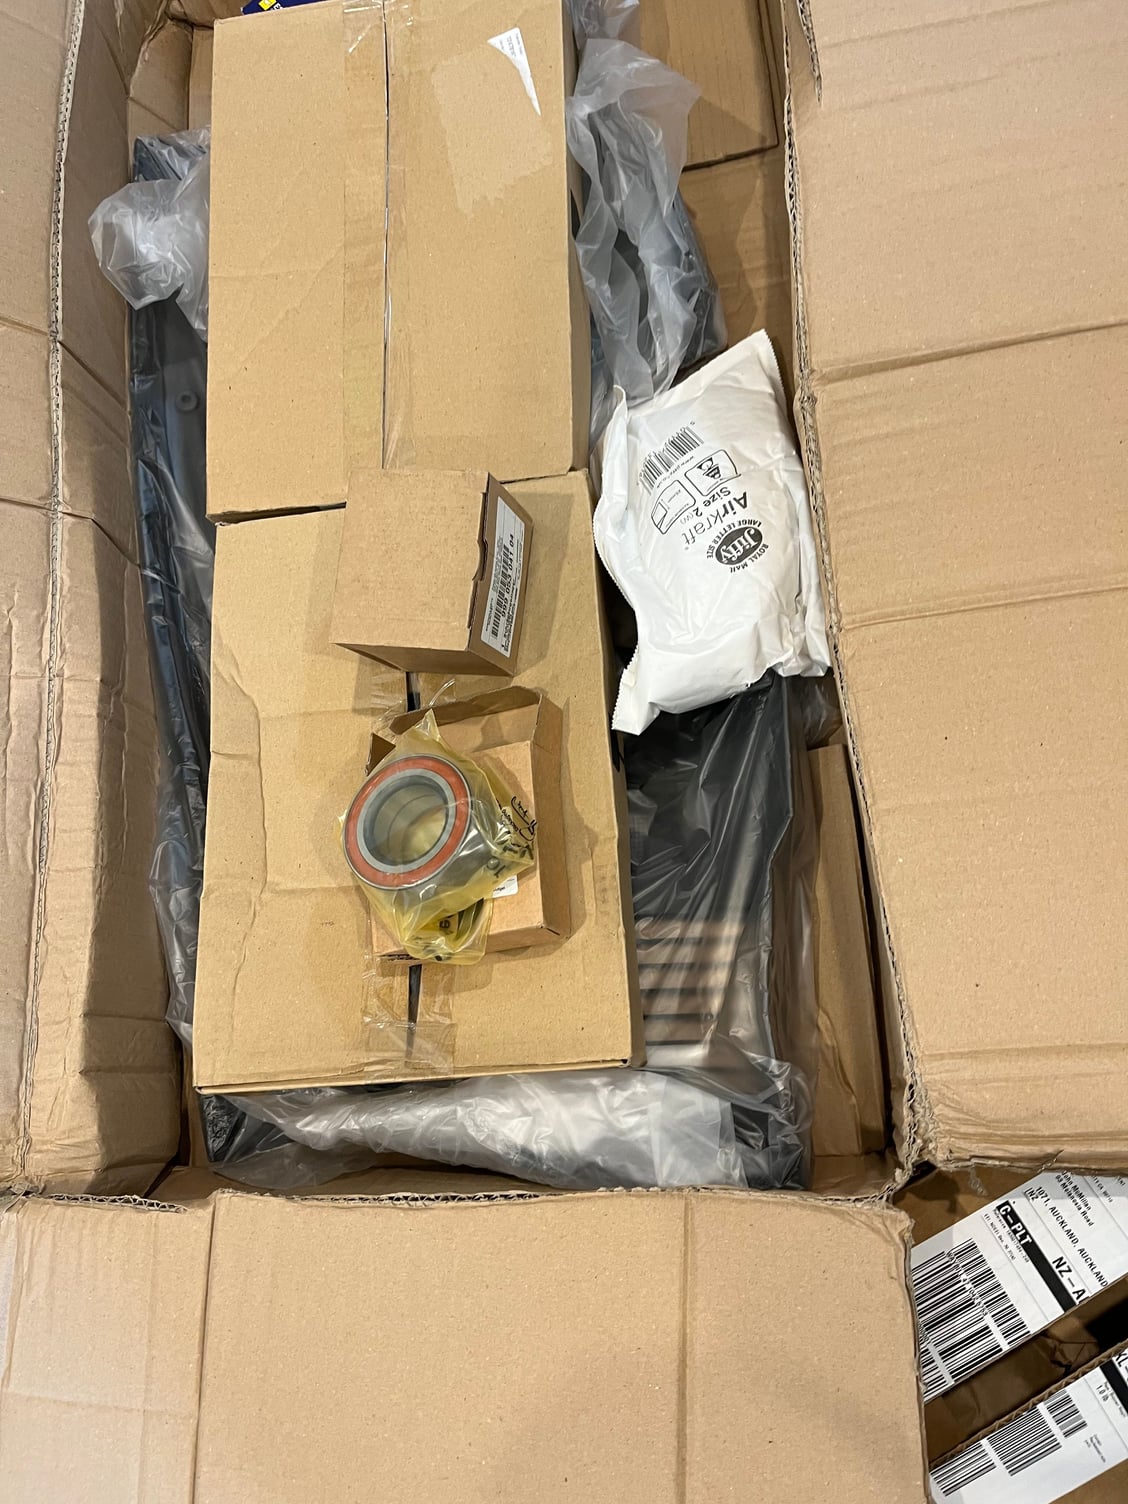
Half the fun is ordering the parts and unpacking them.
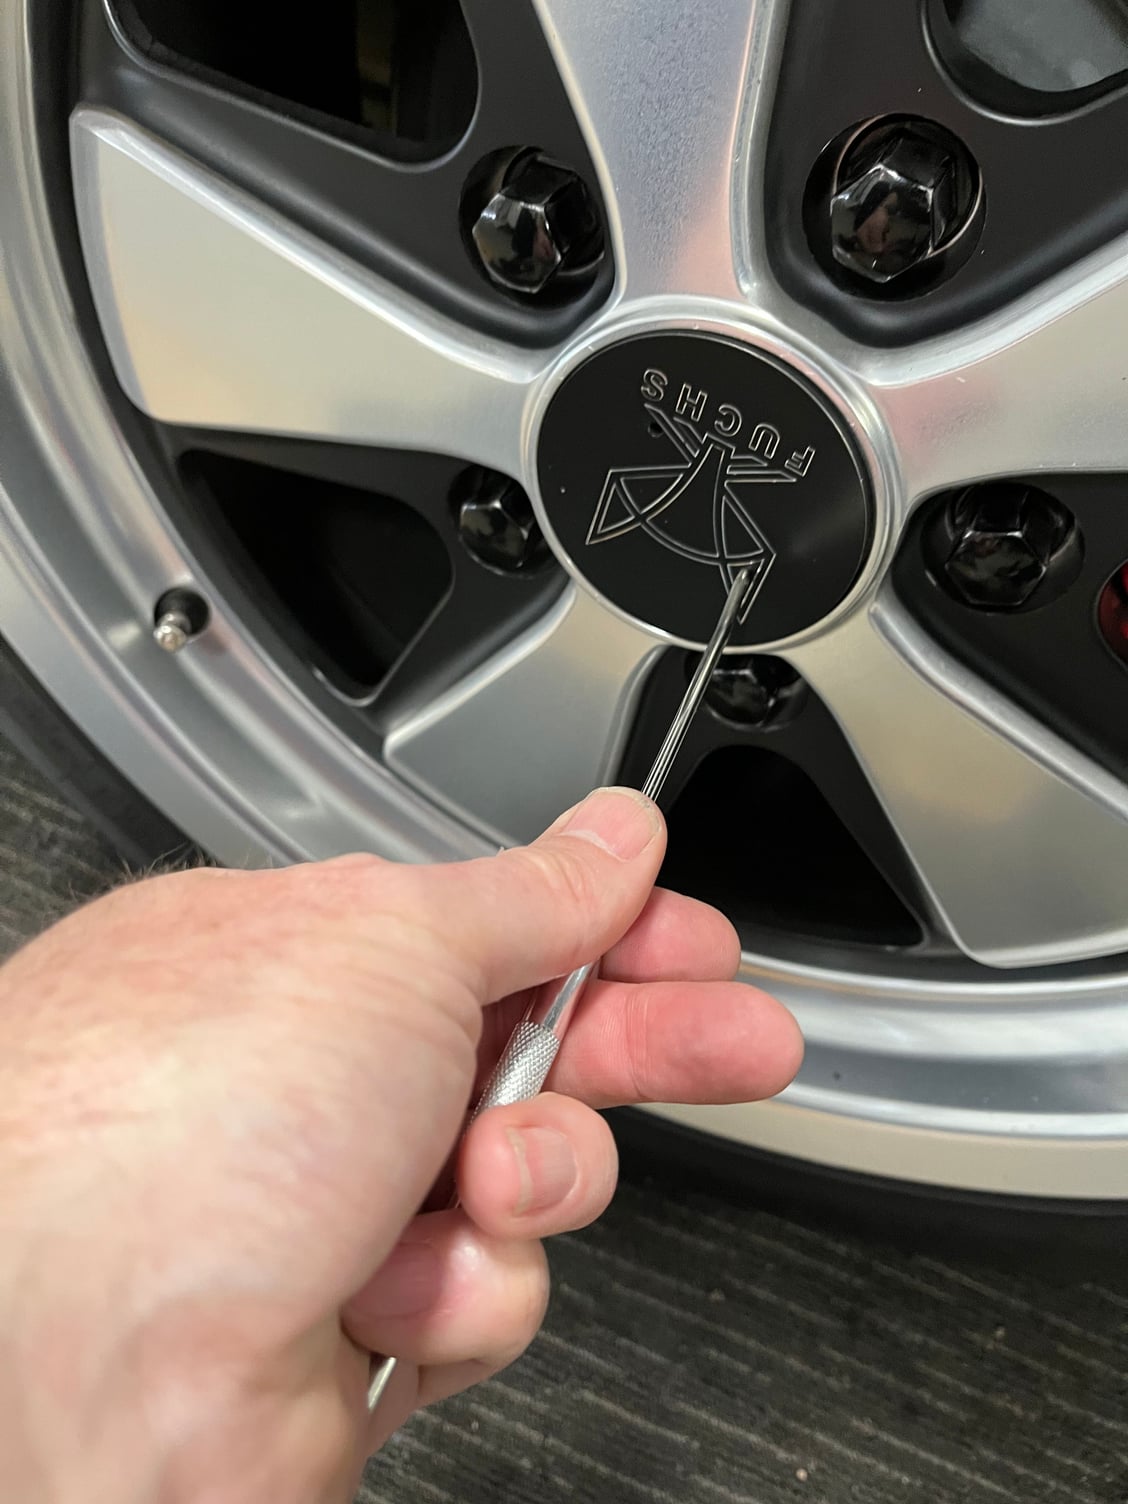
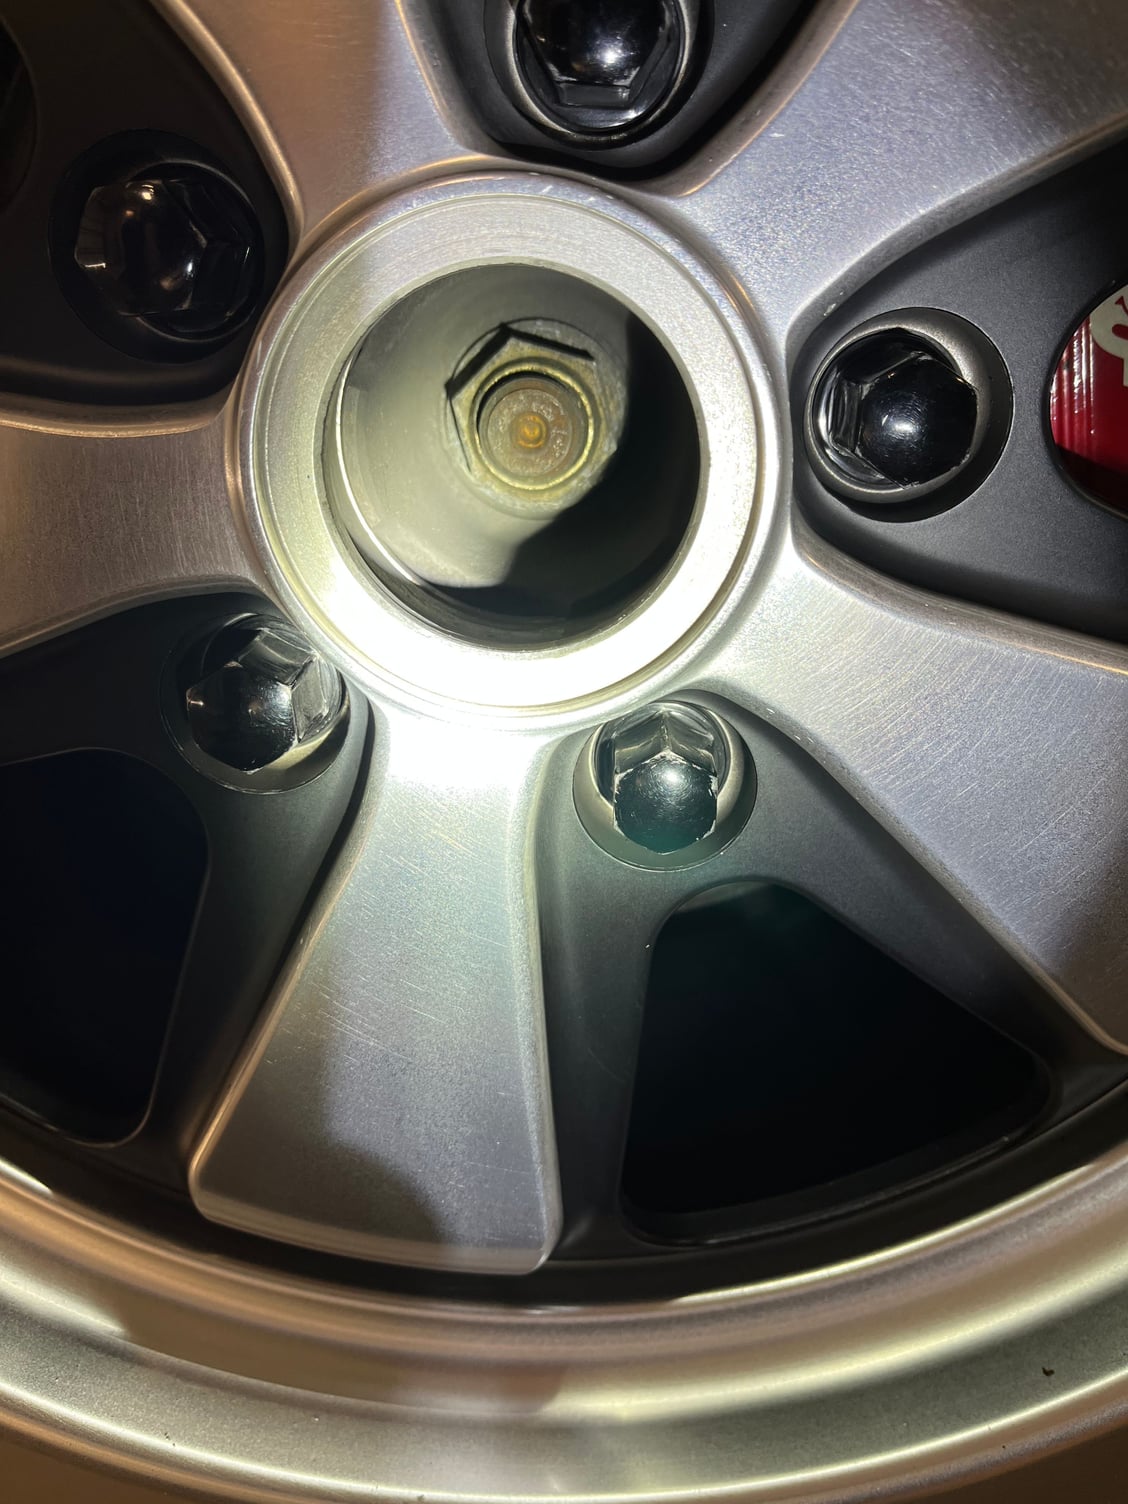
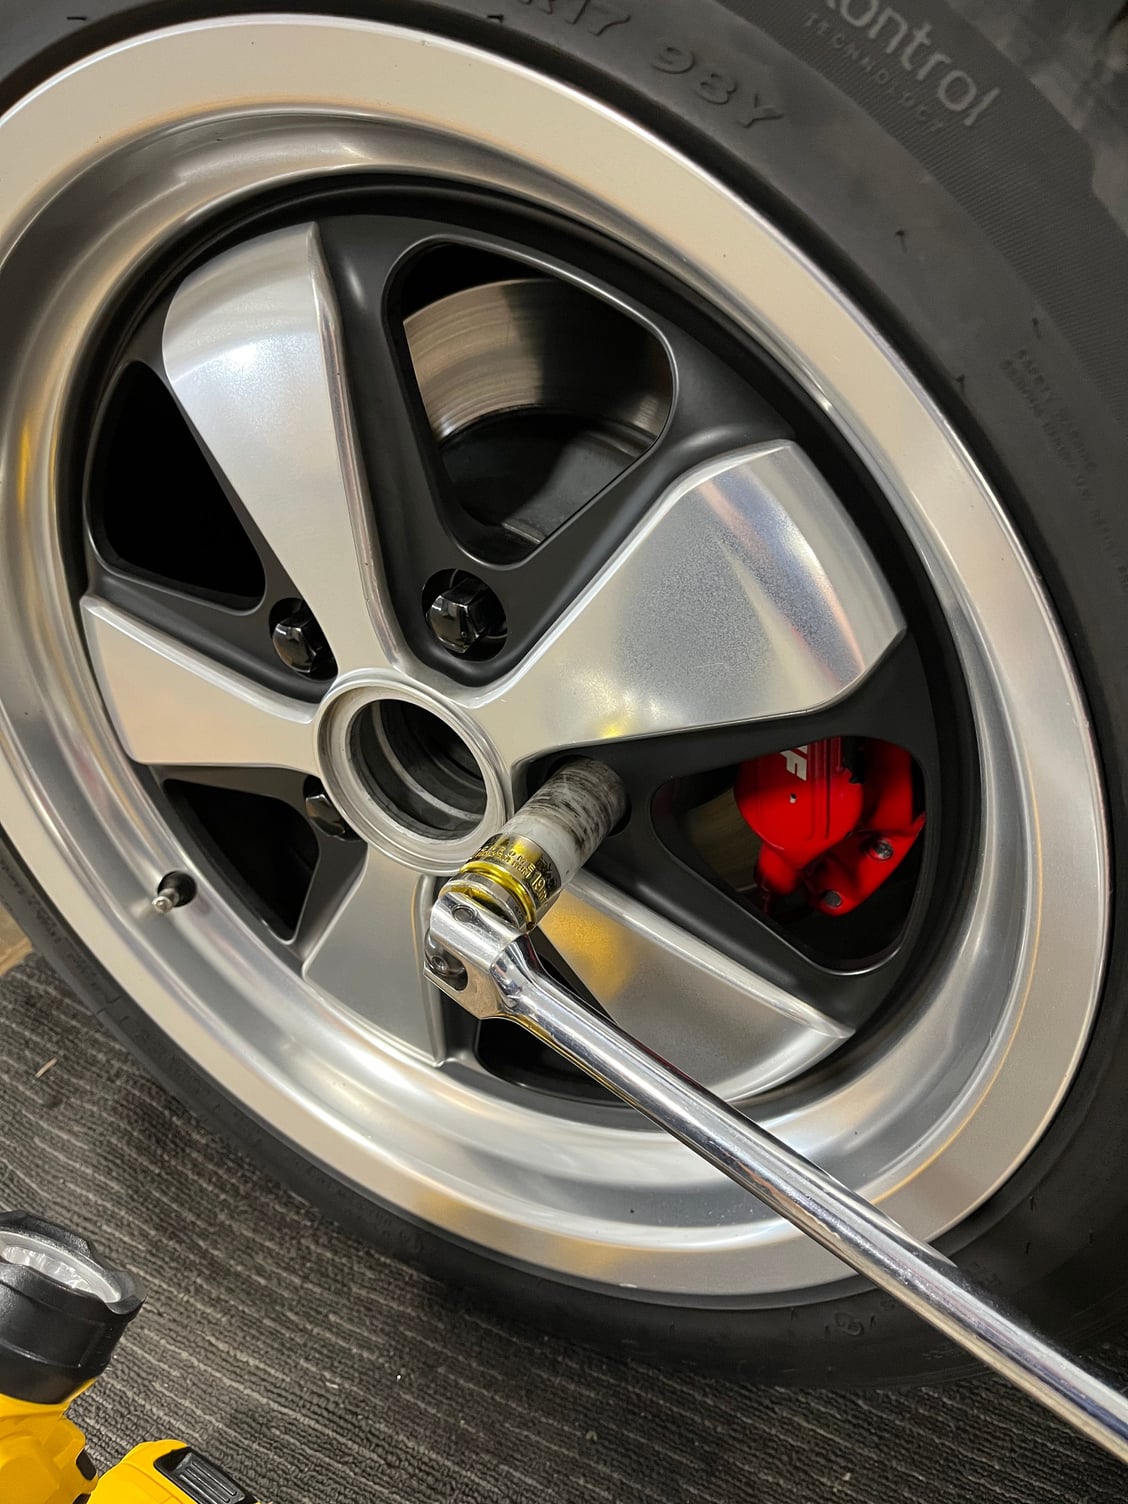
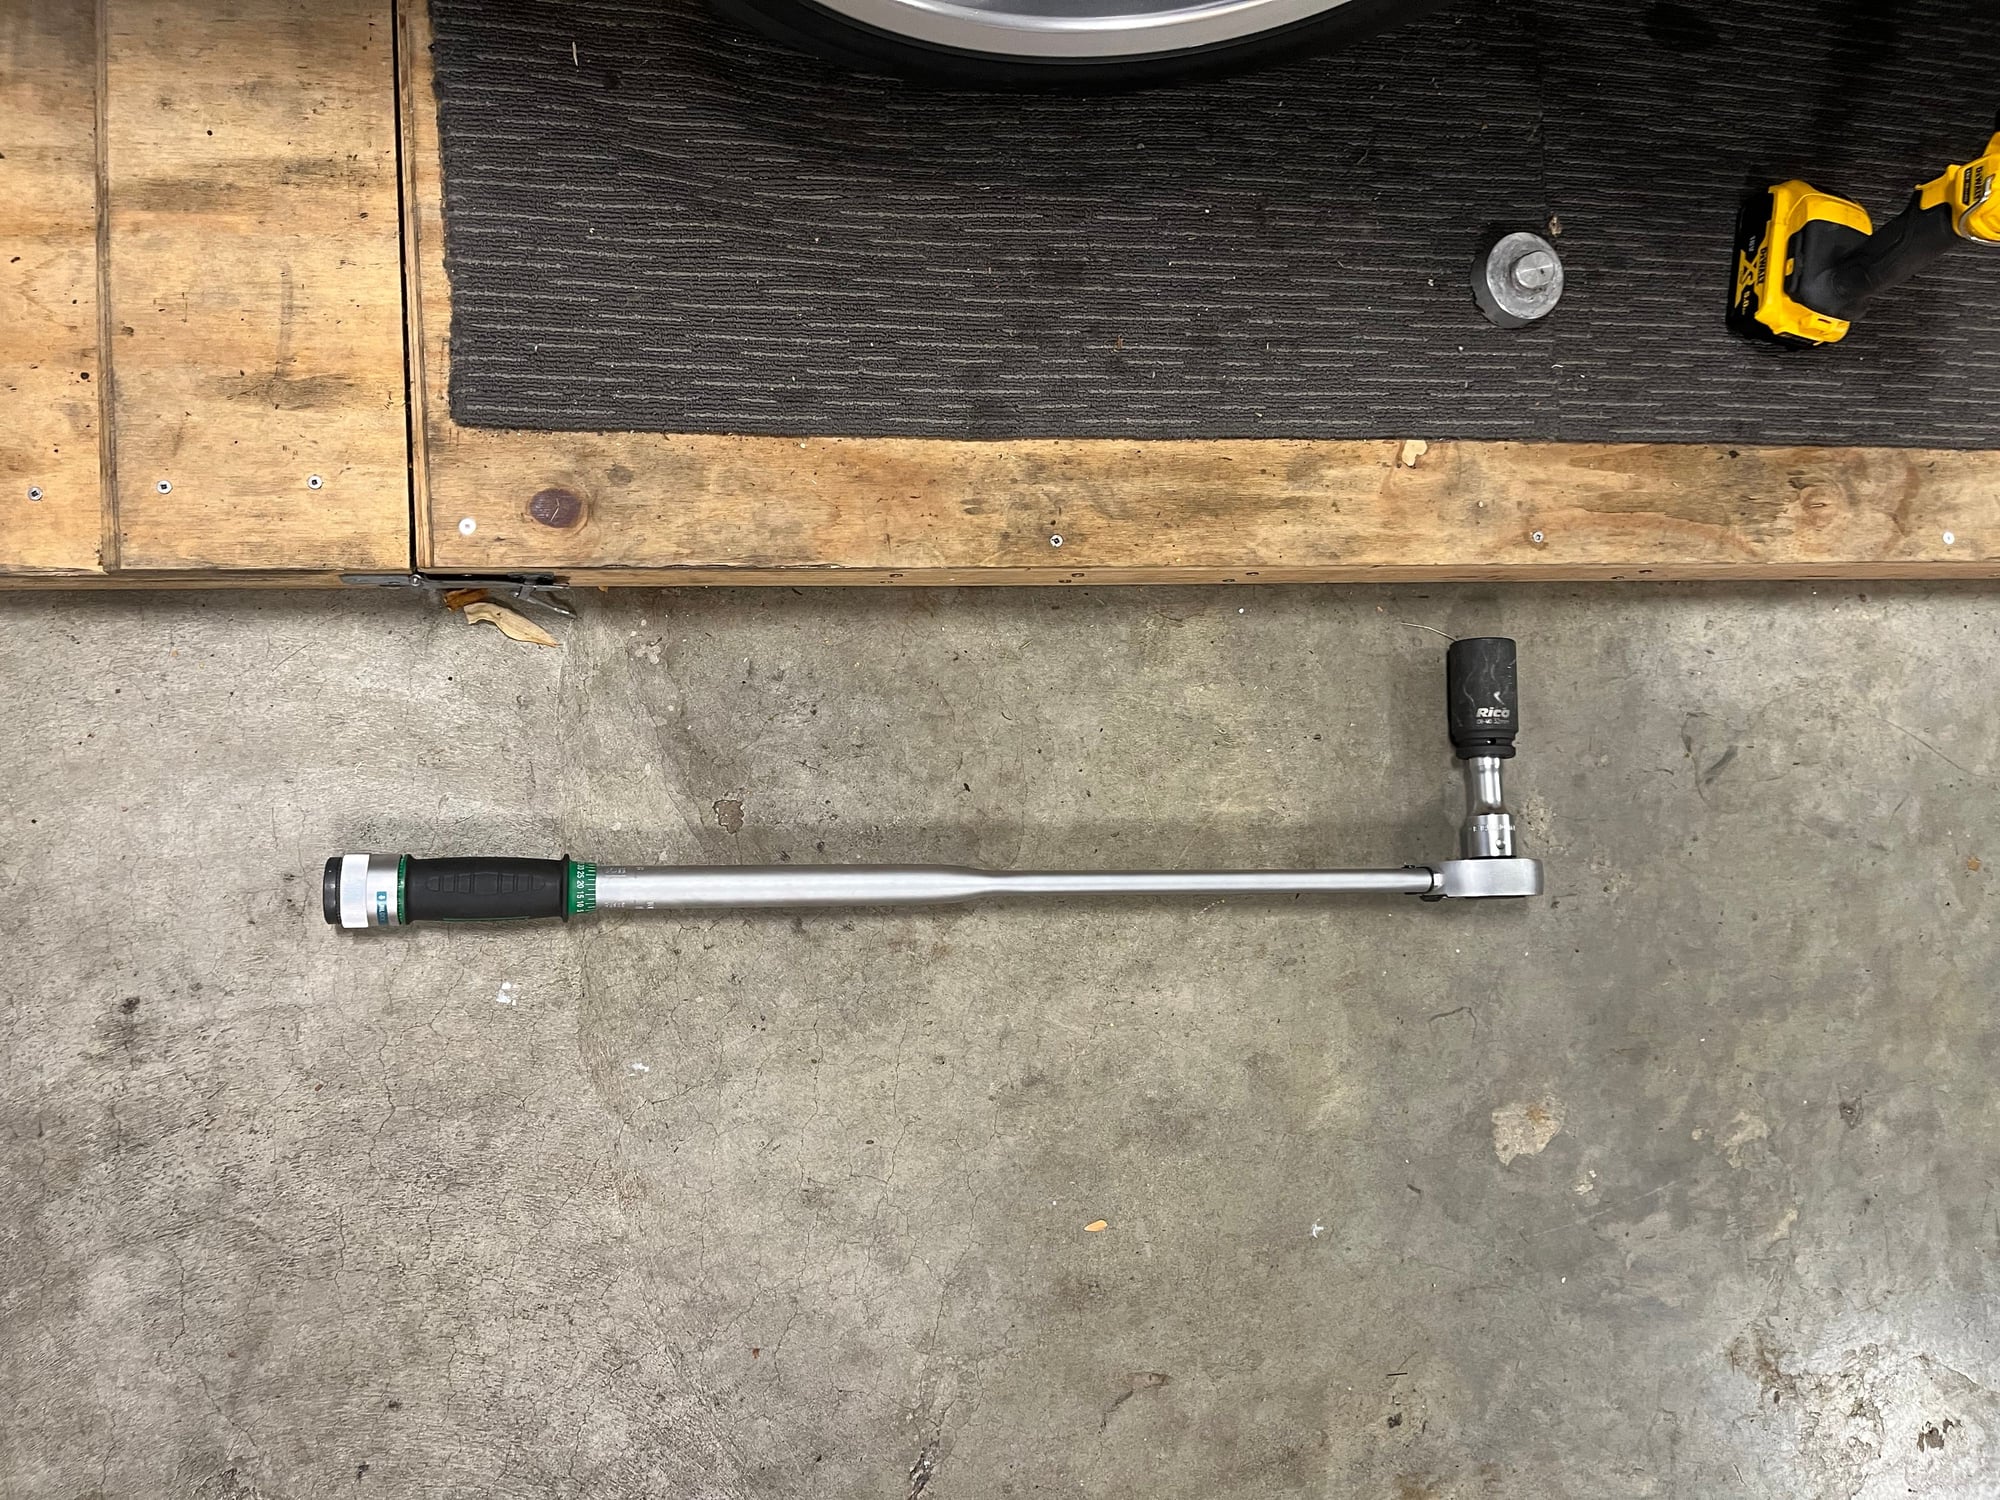
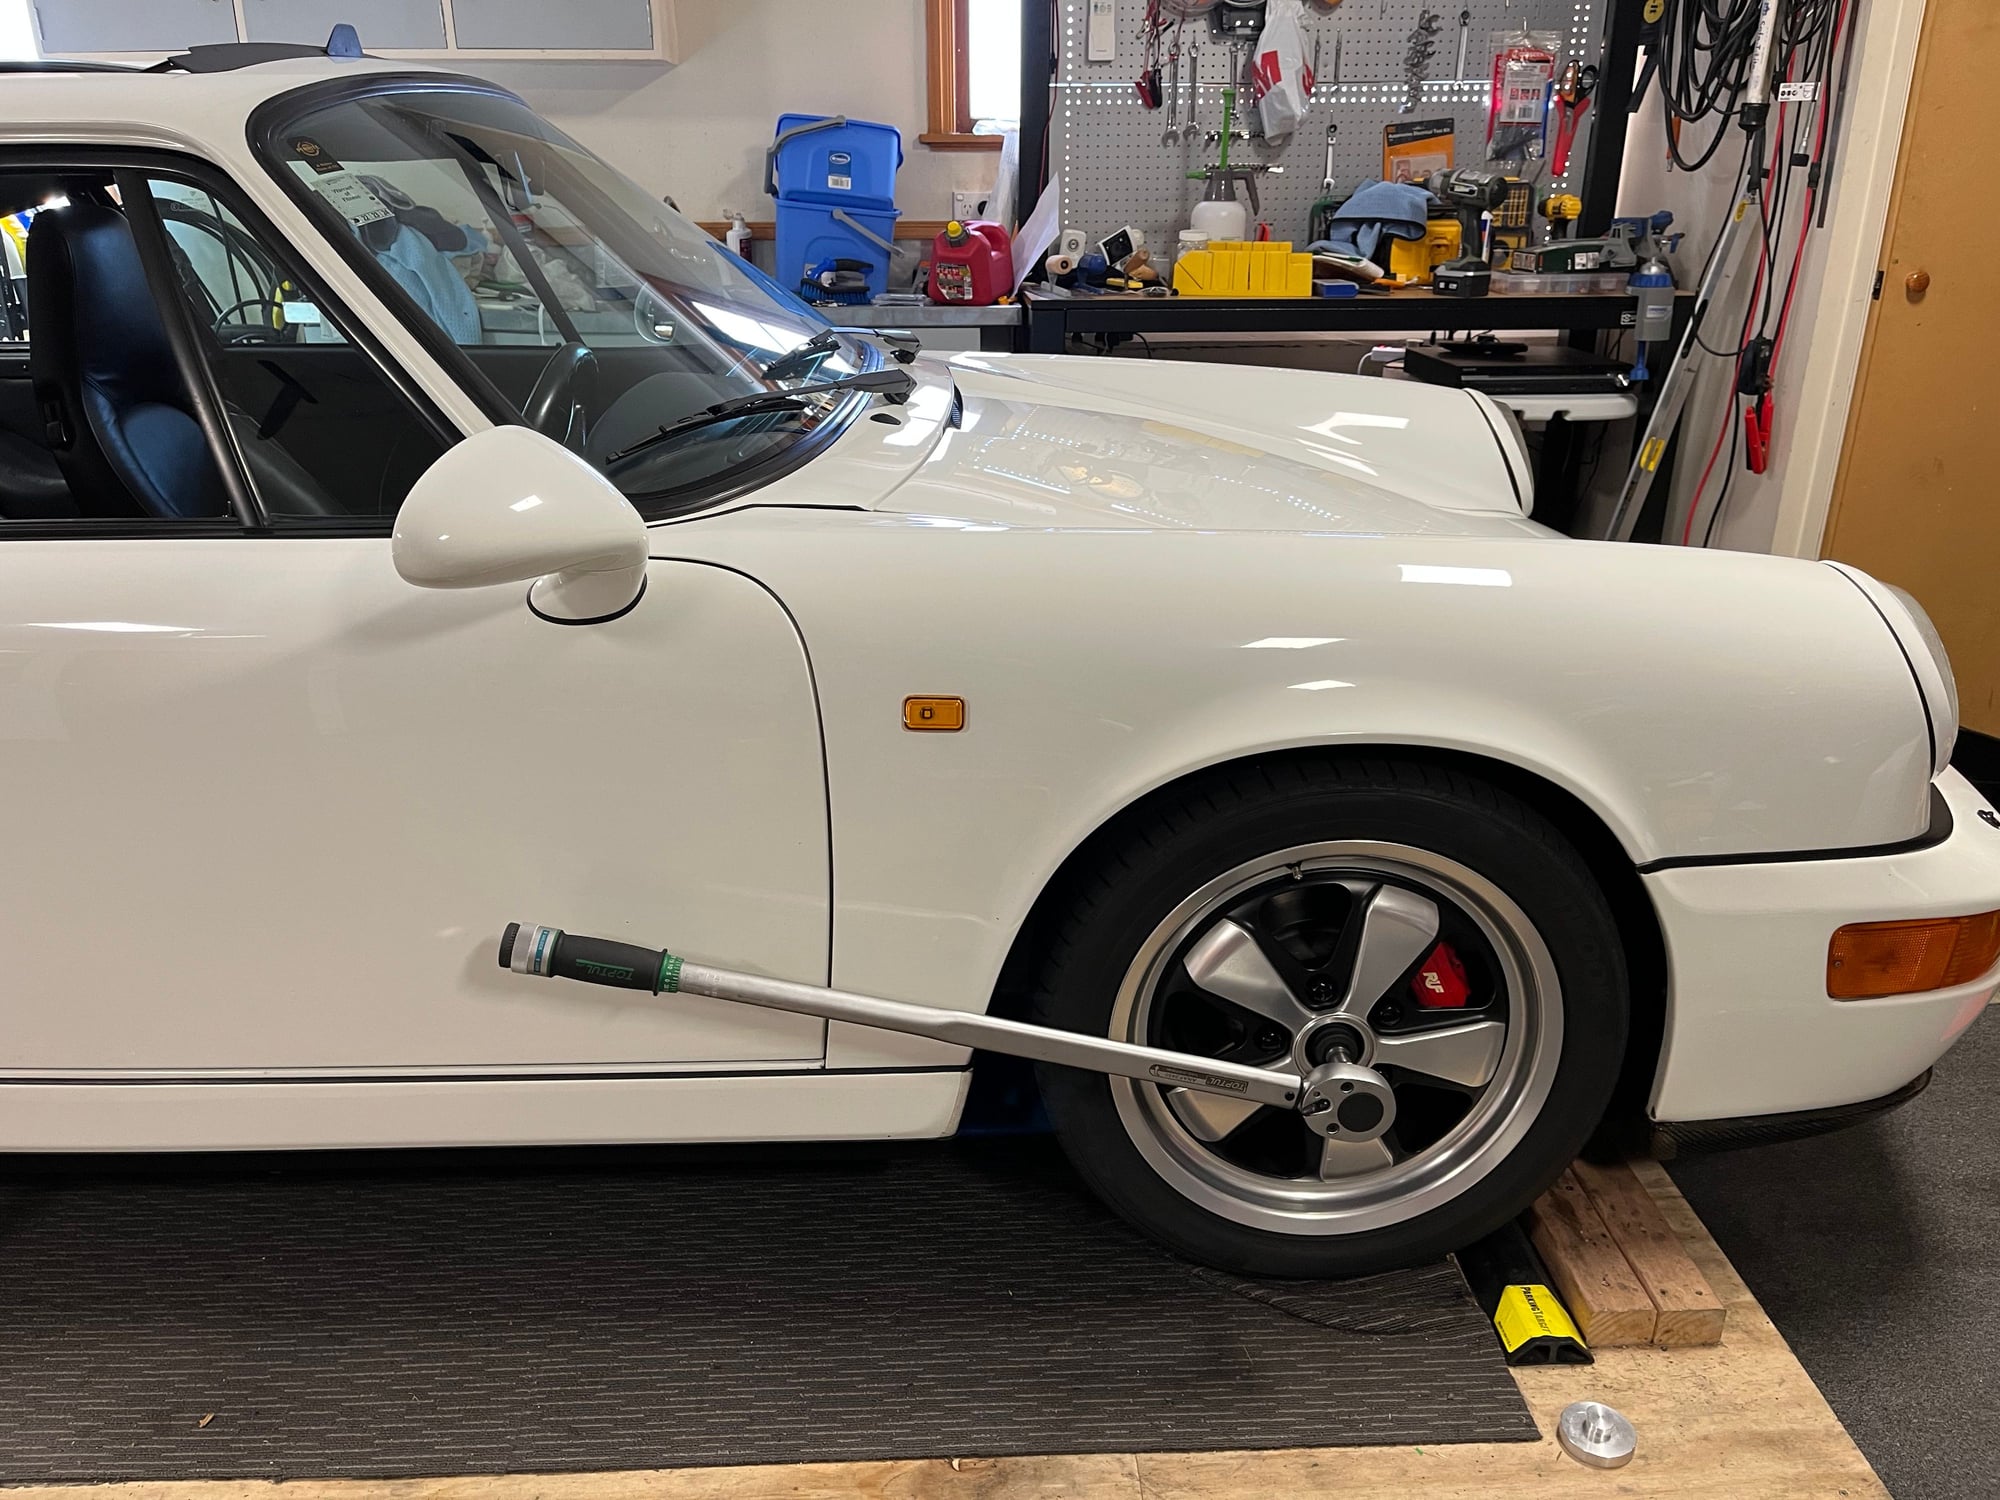
With Xmas dinner not until later it�s time to get cracking on the wheel bearings. Apply handbrake. Remove wheel centre caps. Crack wheel lug nuts. Get out the big mother torque wrench, a 3/4 extension and a high strength 32mm socket. Place a chock under the wheel and put some weight on. One wheel needed all 100kg standing on the wrench. Raise car and remove wheels. NB in a perfect world you don�t use a torque wrench to undo nuts. I don�t have a 3/4� bar and I know that the torque required breaks 1/2� bars.
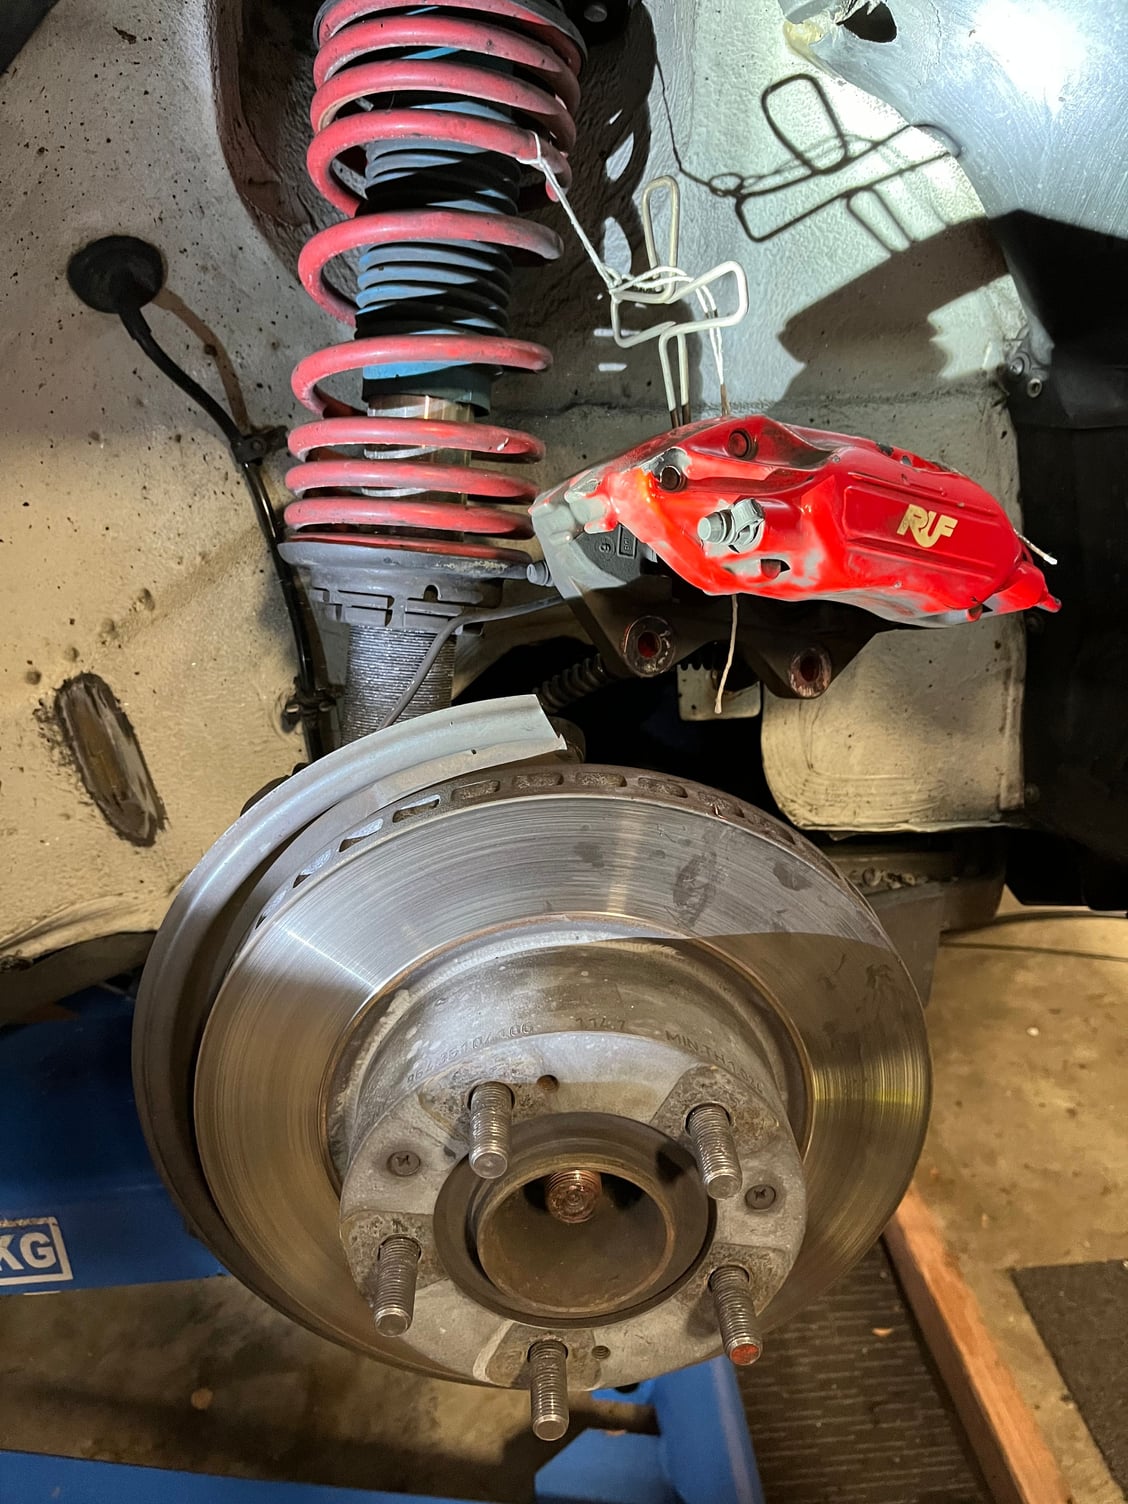
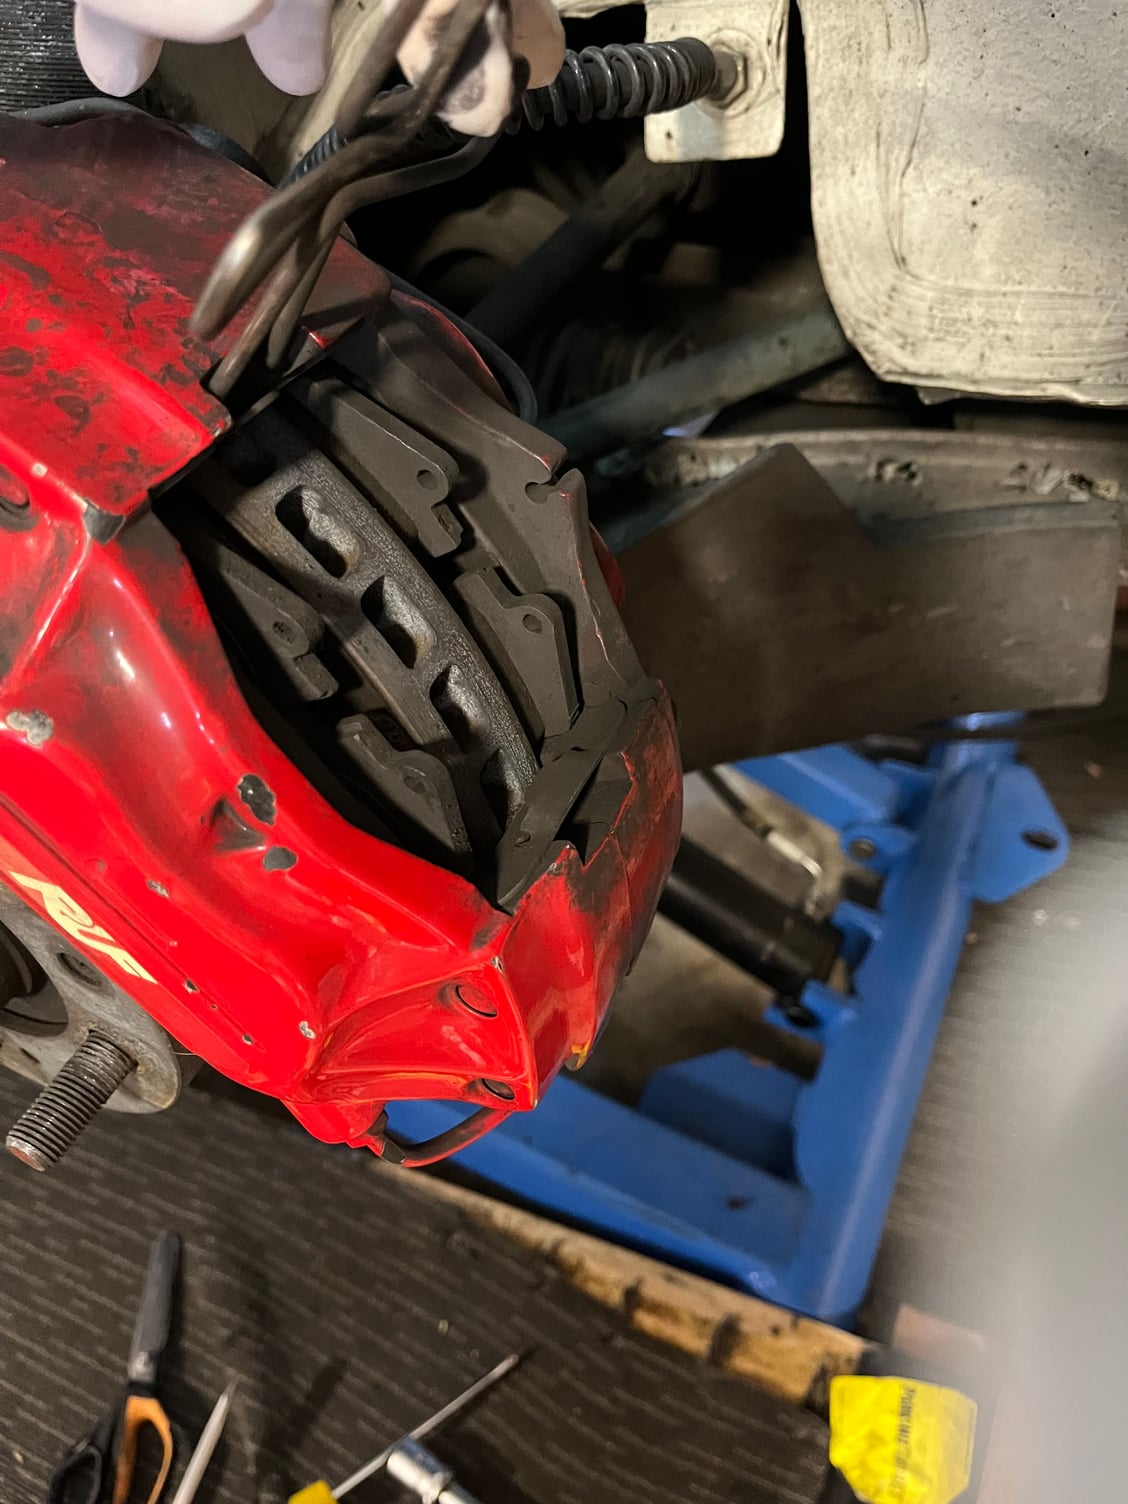
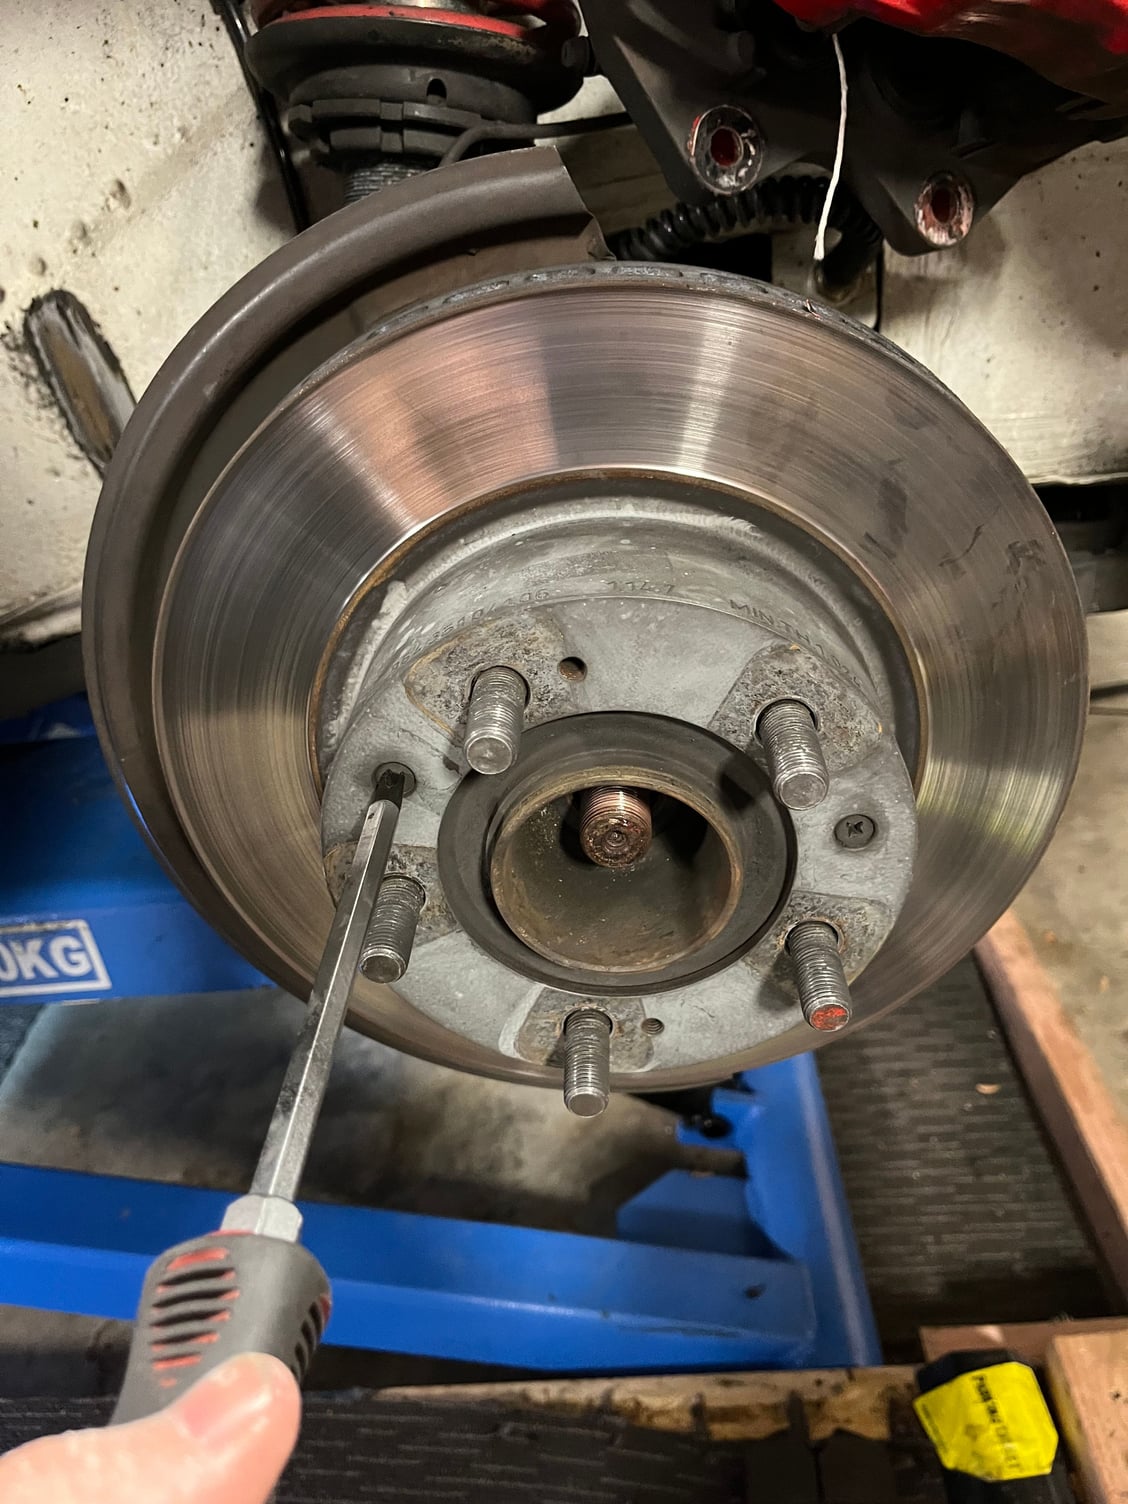
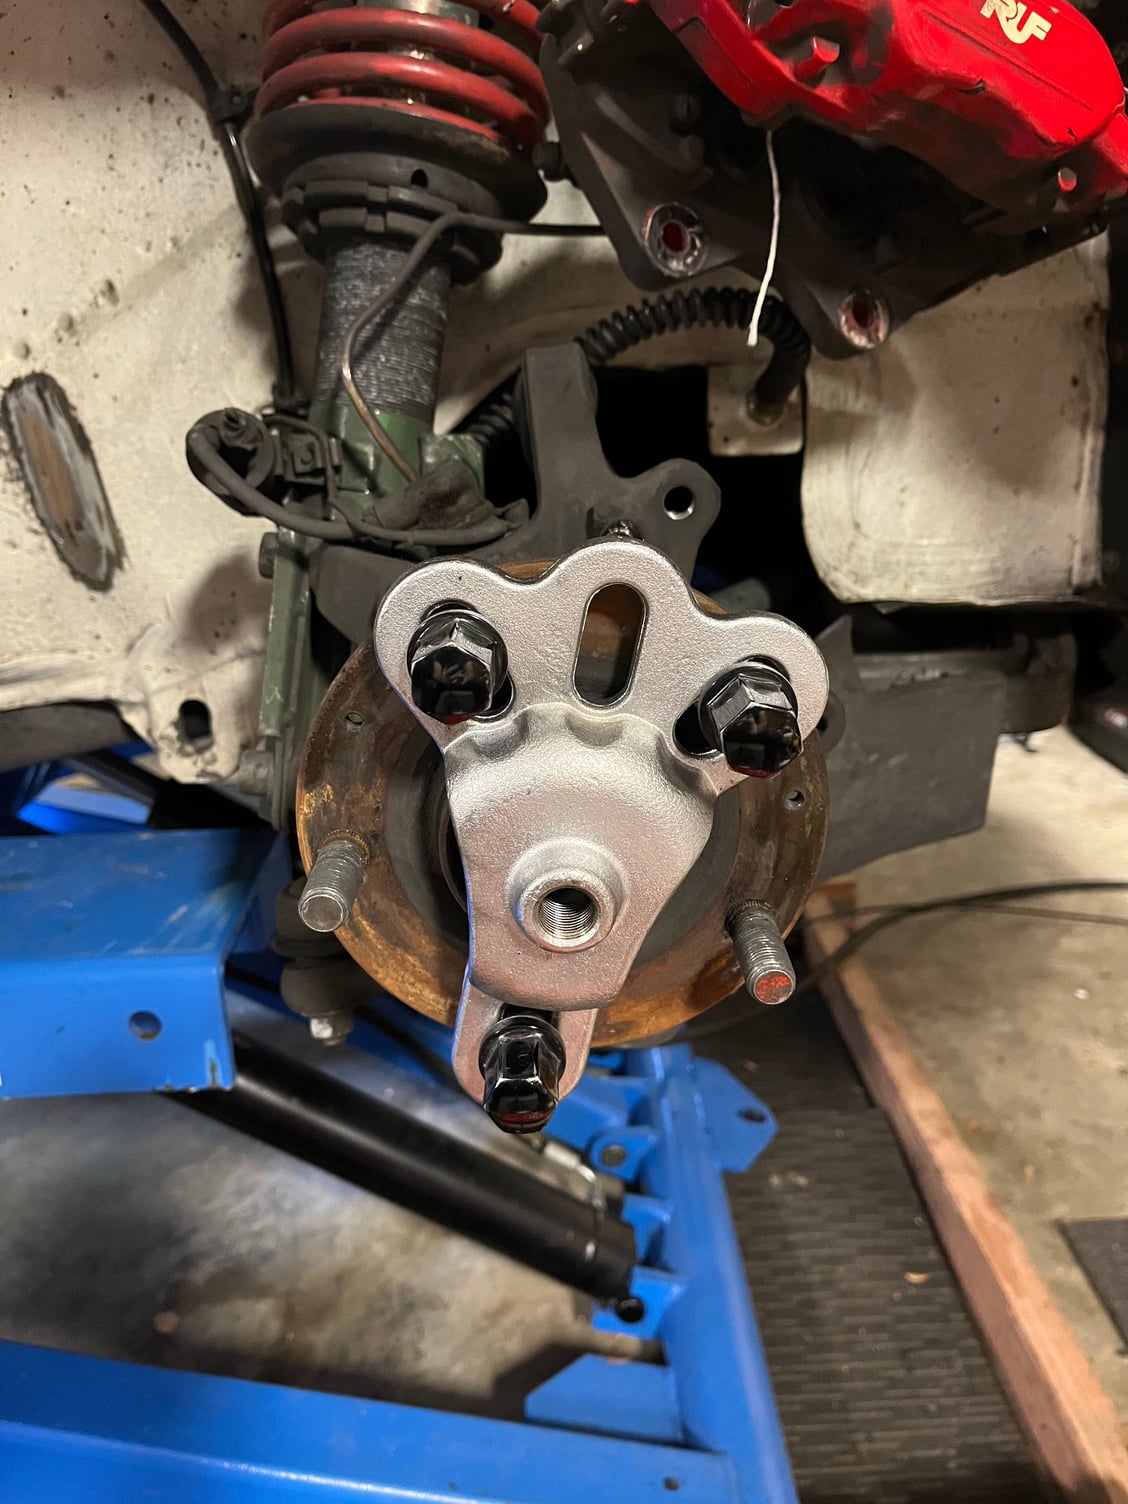
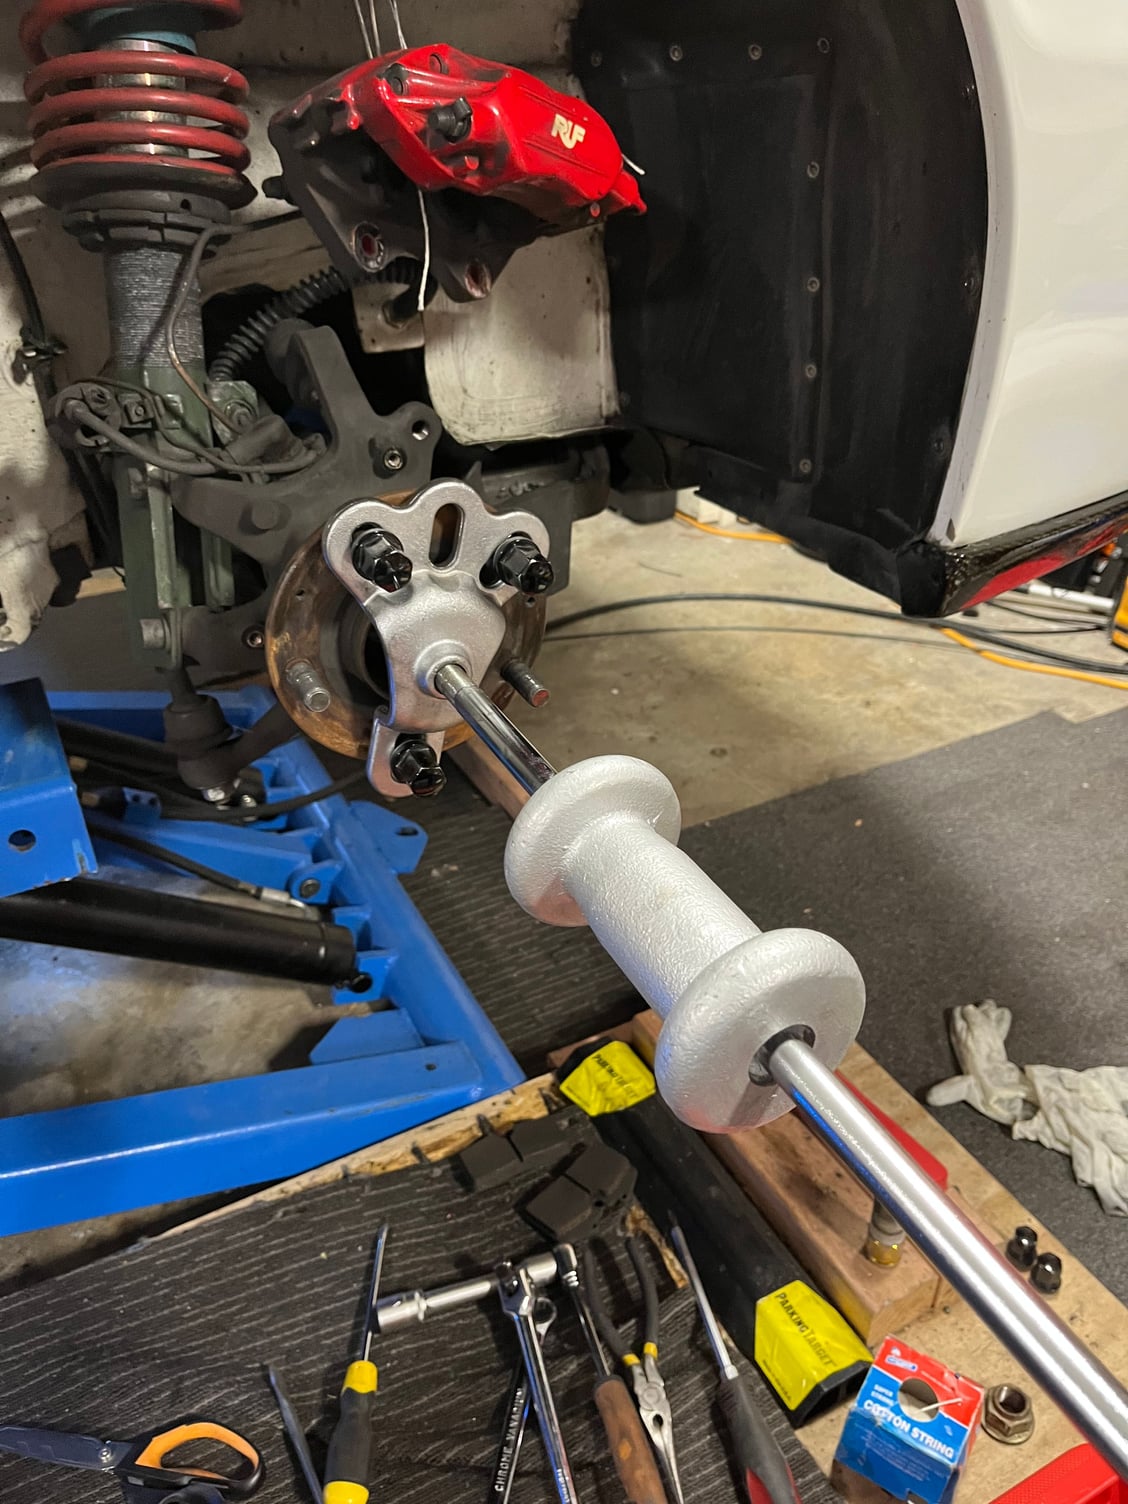
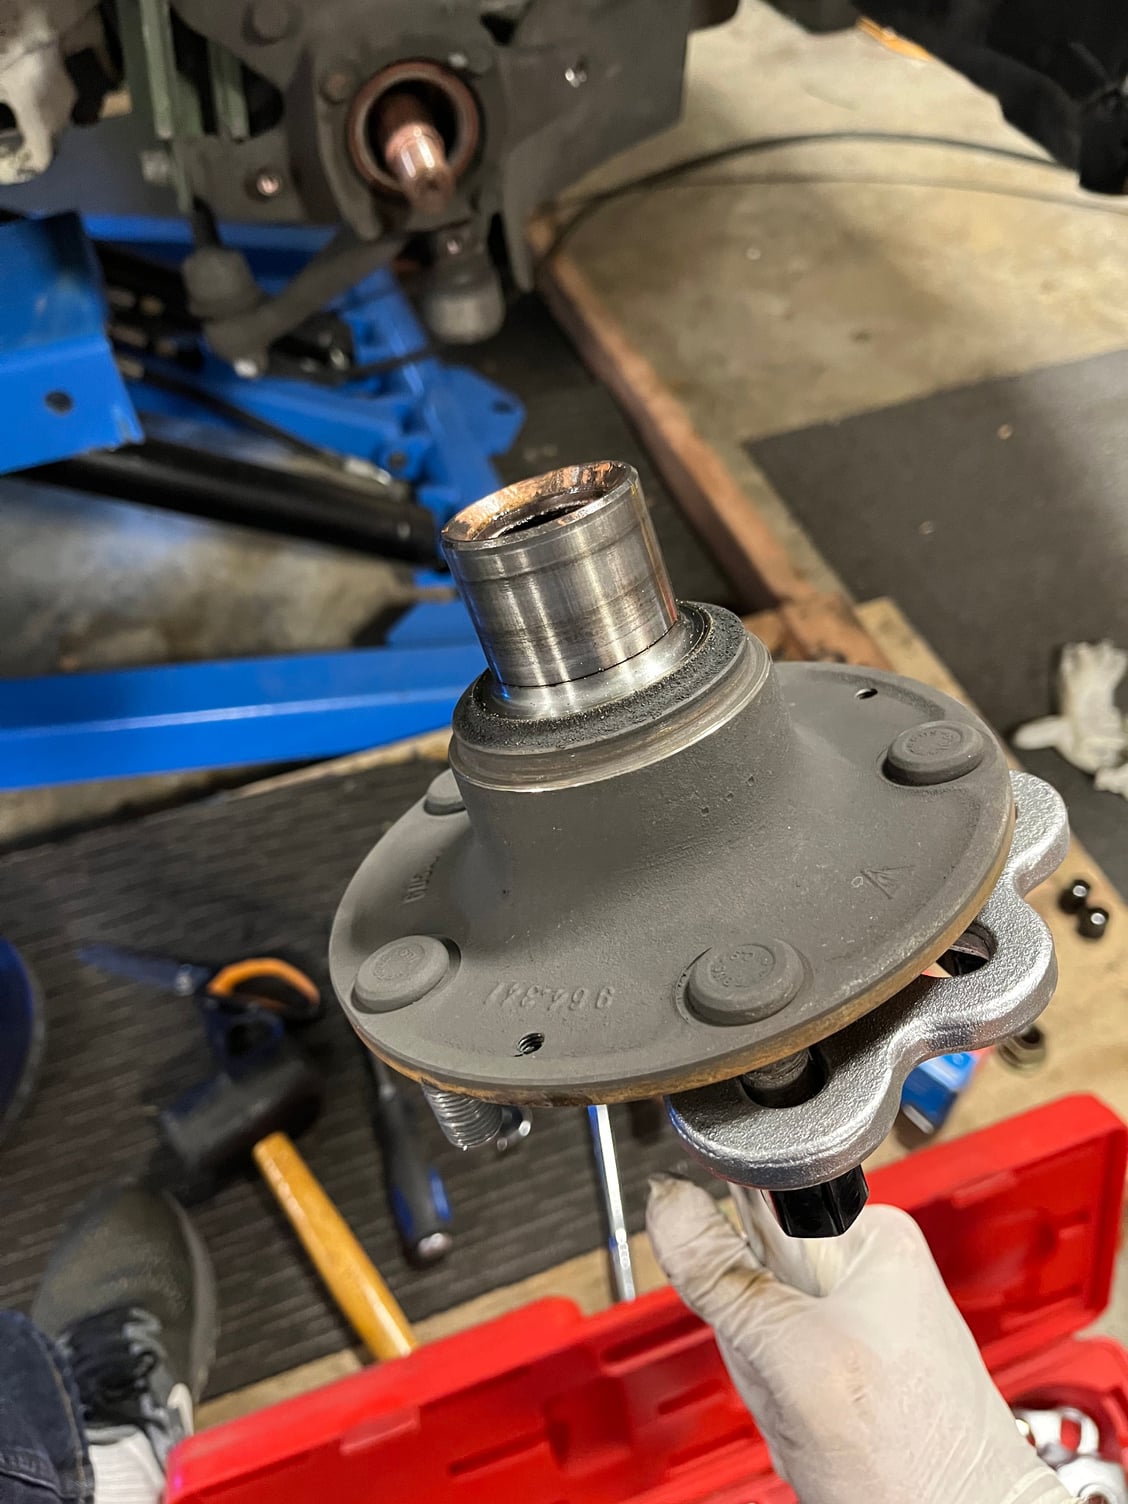
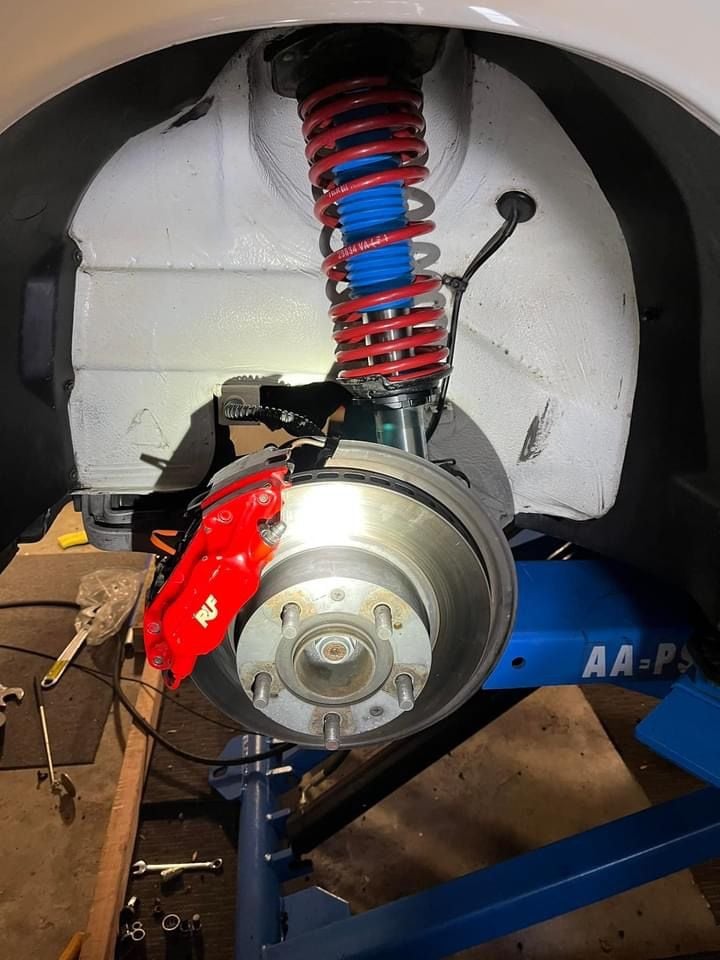
Wheel Bearings post 2. Further down the rabbit hole. Undo the clip holding the brake line to the strut. Remove the brake pads or at least push them back in the calipers. Remove the two 19mm bolts holding the caliper to the hub. Move the caliper off the rotor and tie it up out of the way. Undo the screws holding the rotor to the hub. Remove the rotor. Remove the rotor backing plate. Fit a slide hammer to the wheel hub using the wheel nuts to hold it. Firmly strike the hammer to remove the hub. Remove the wheel bearing cover.
I haven�t posted updates for a few days as I struck problems.
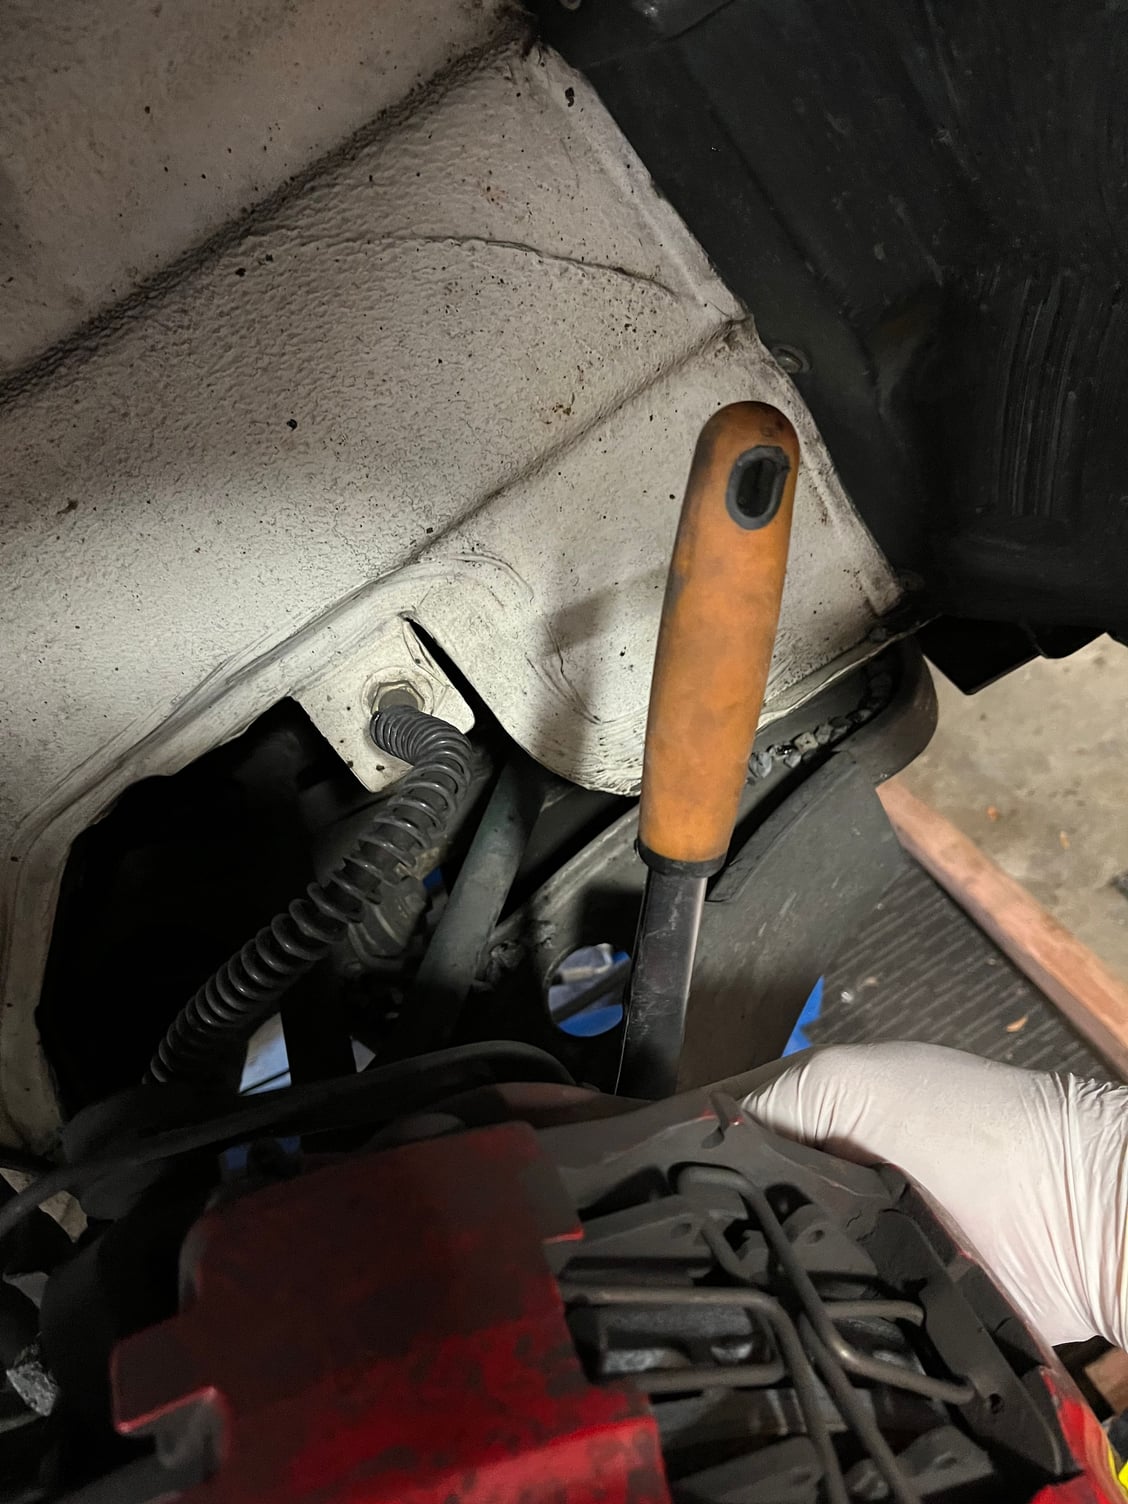
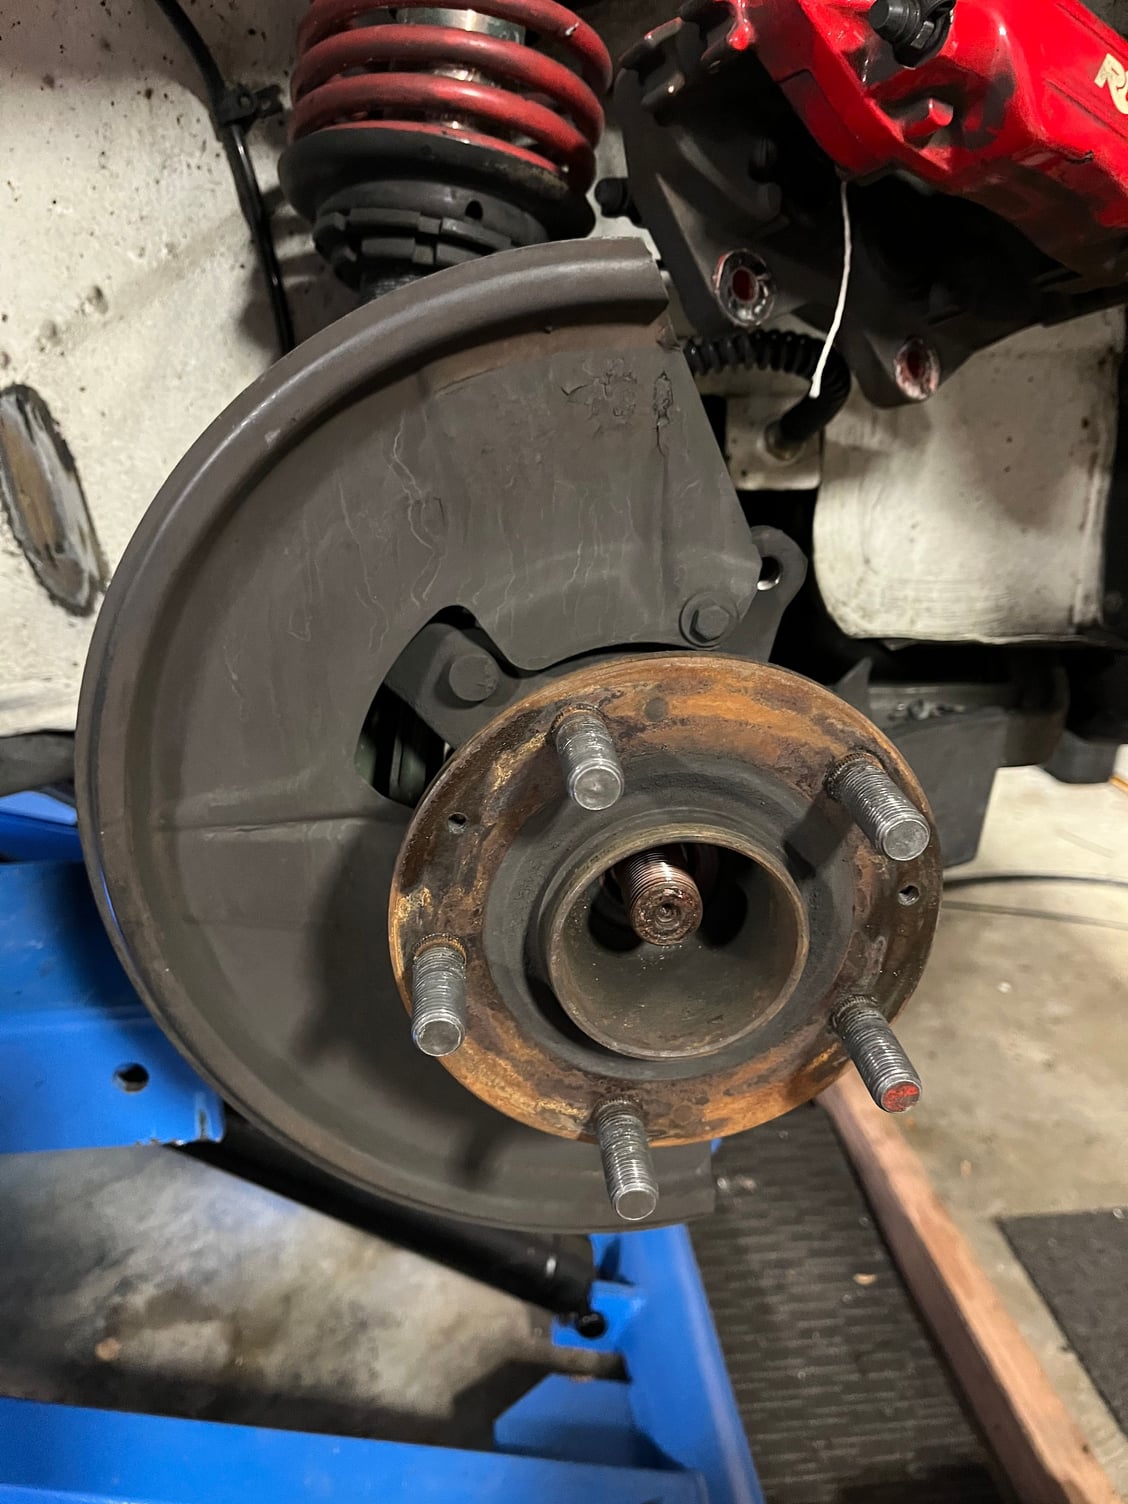
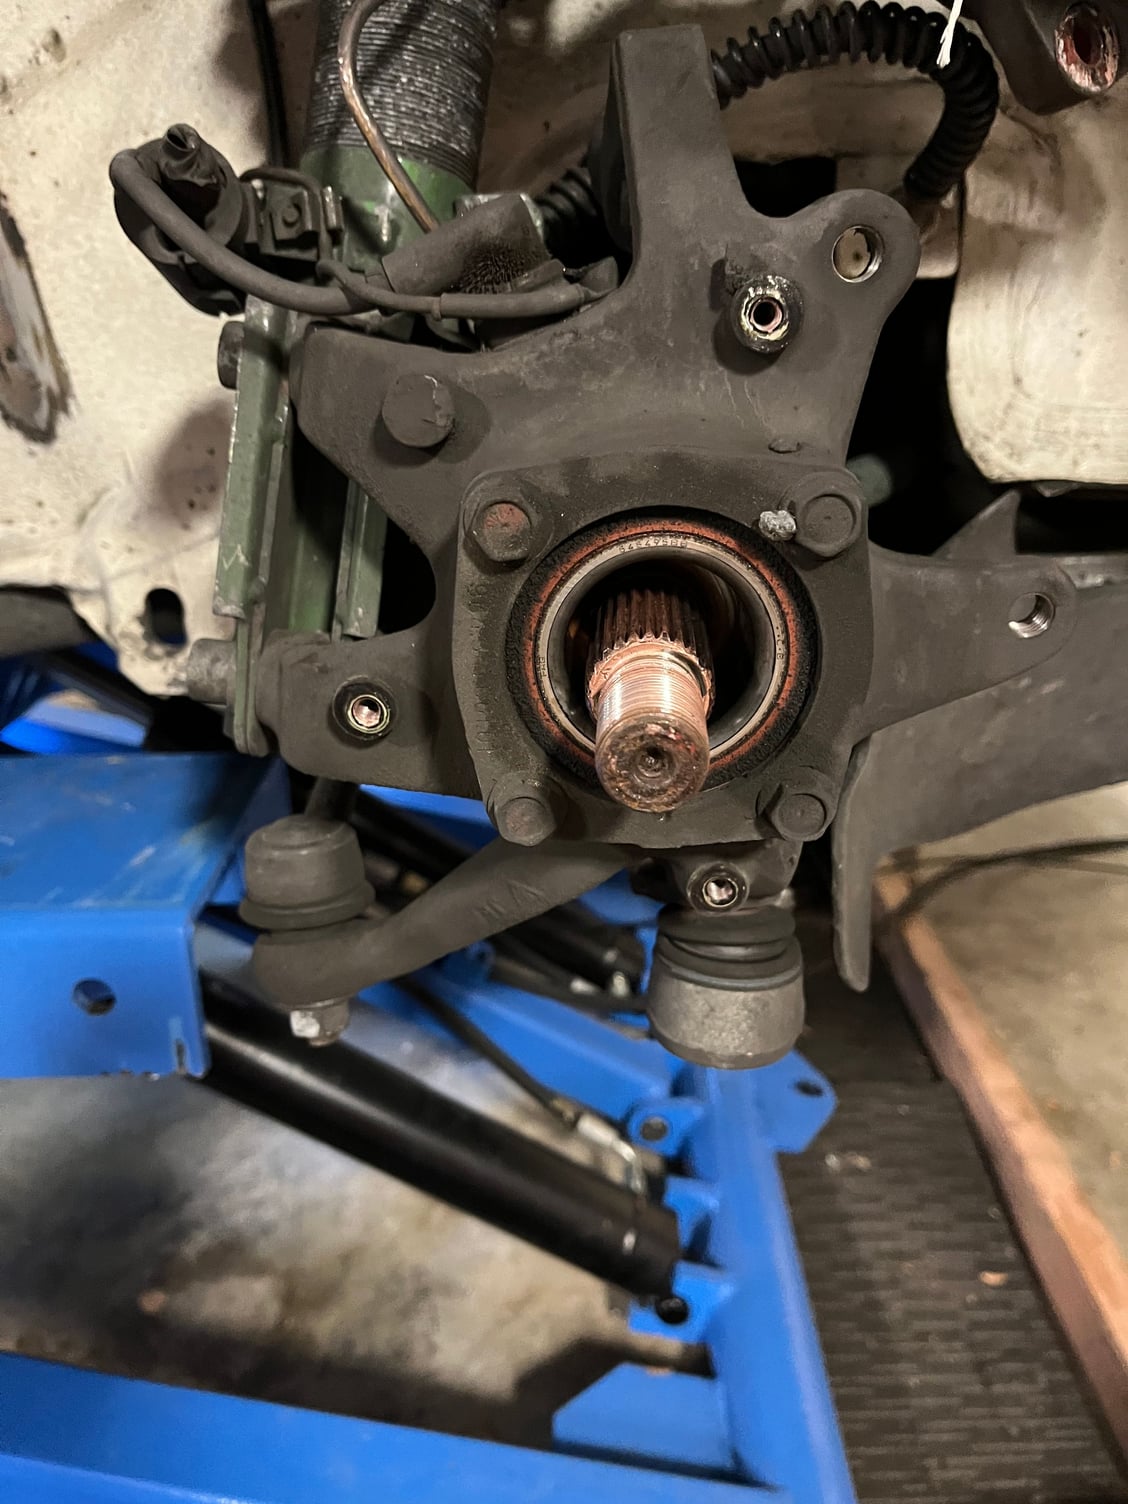
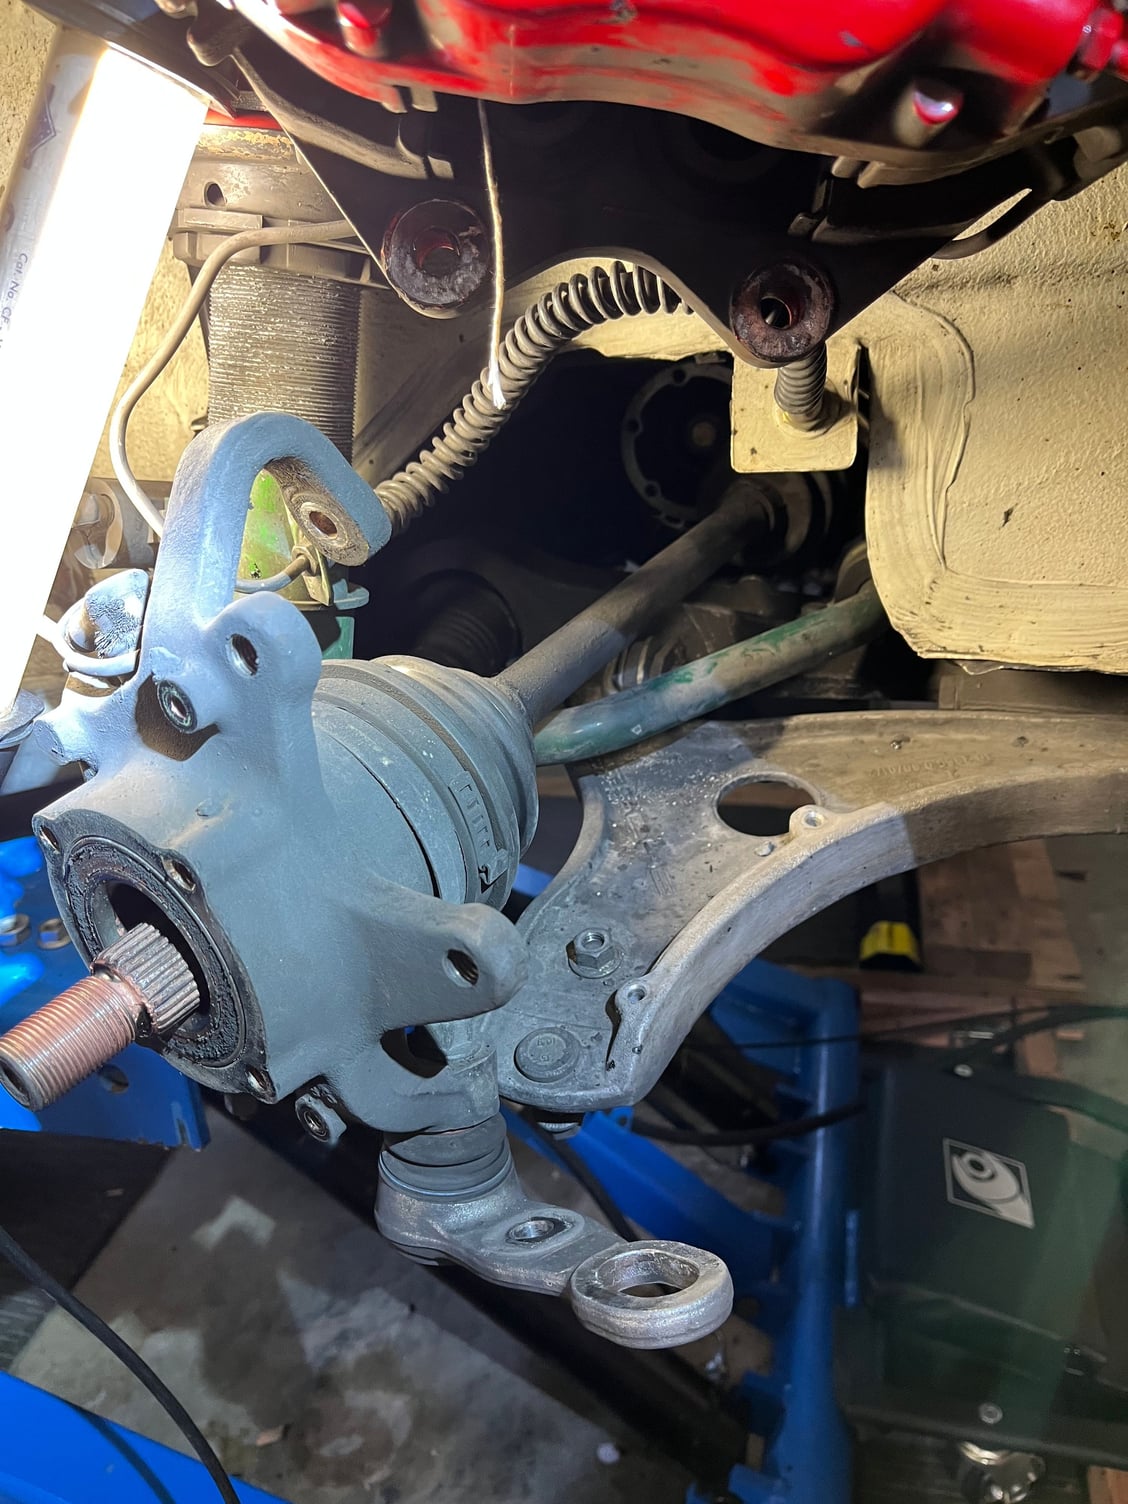
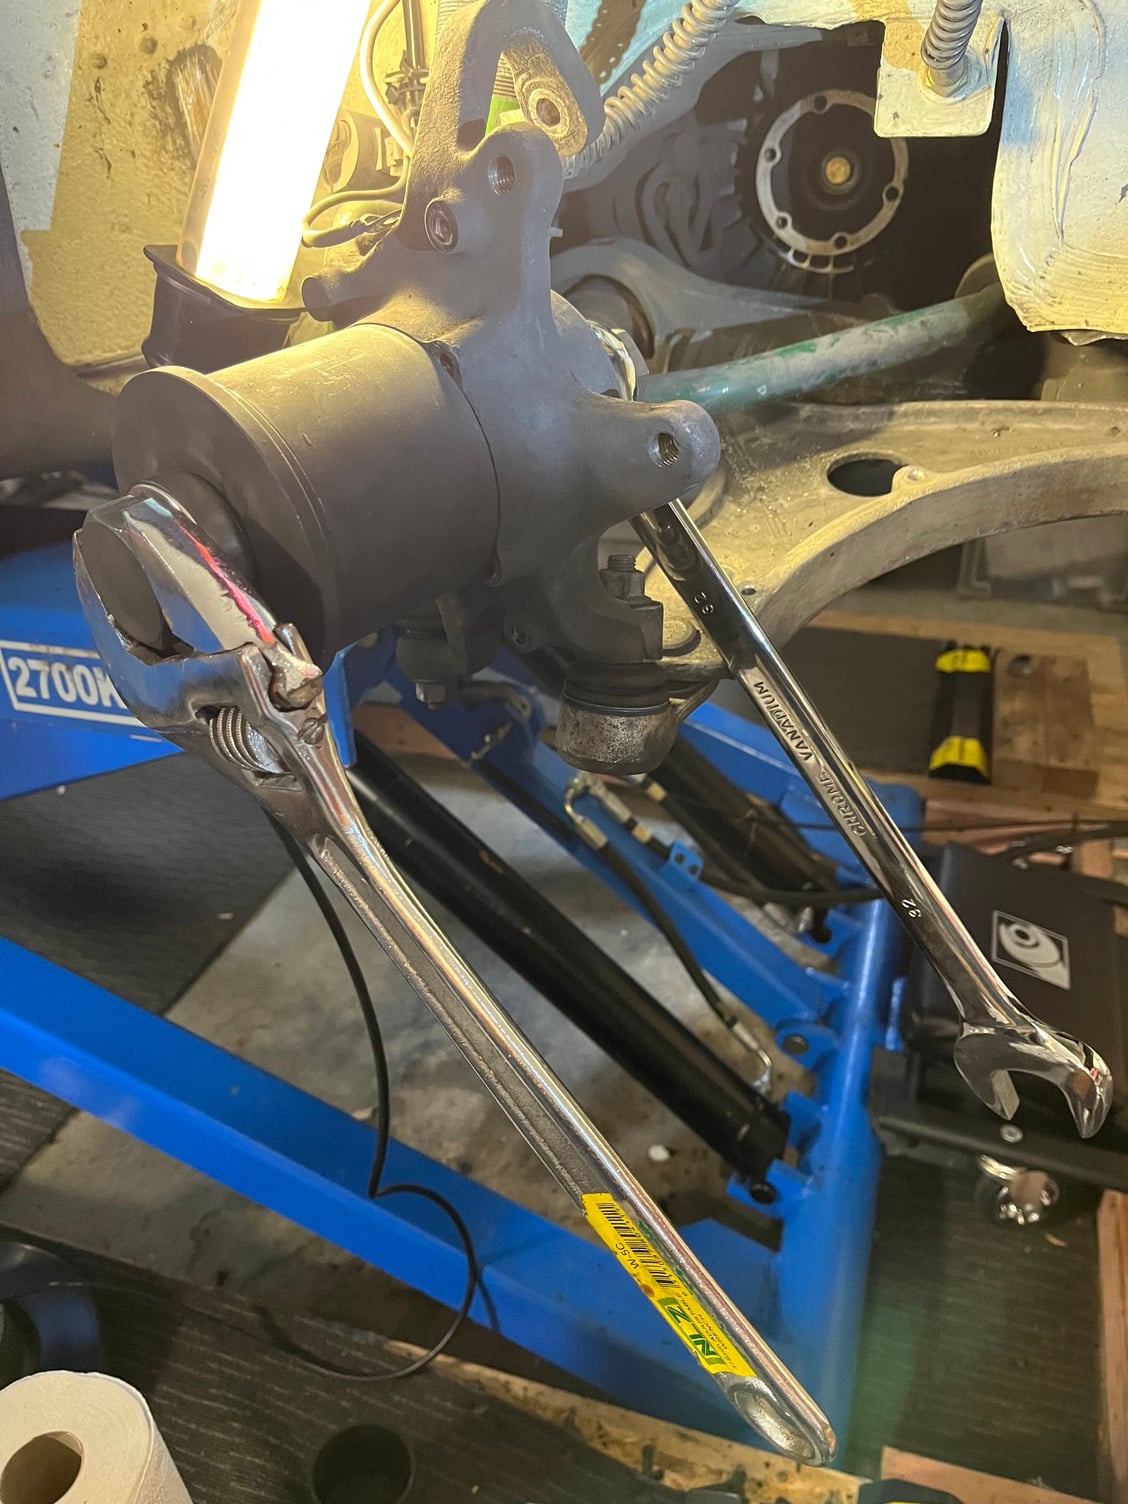
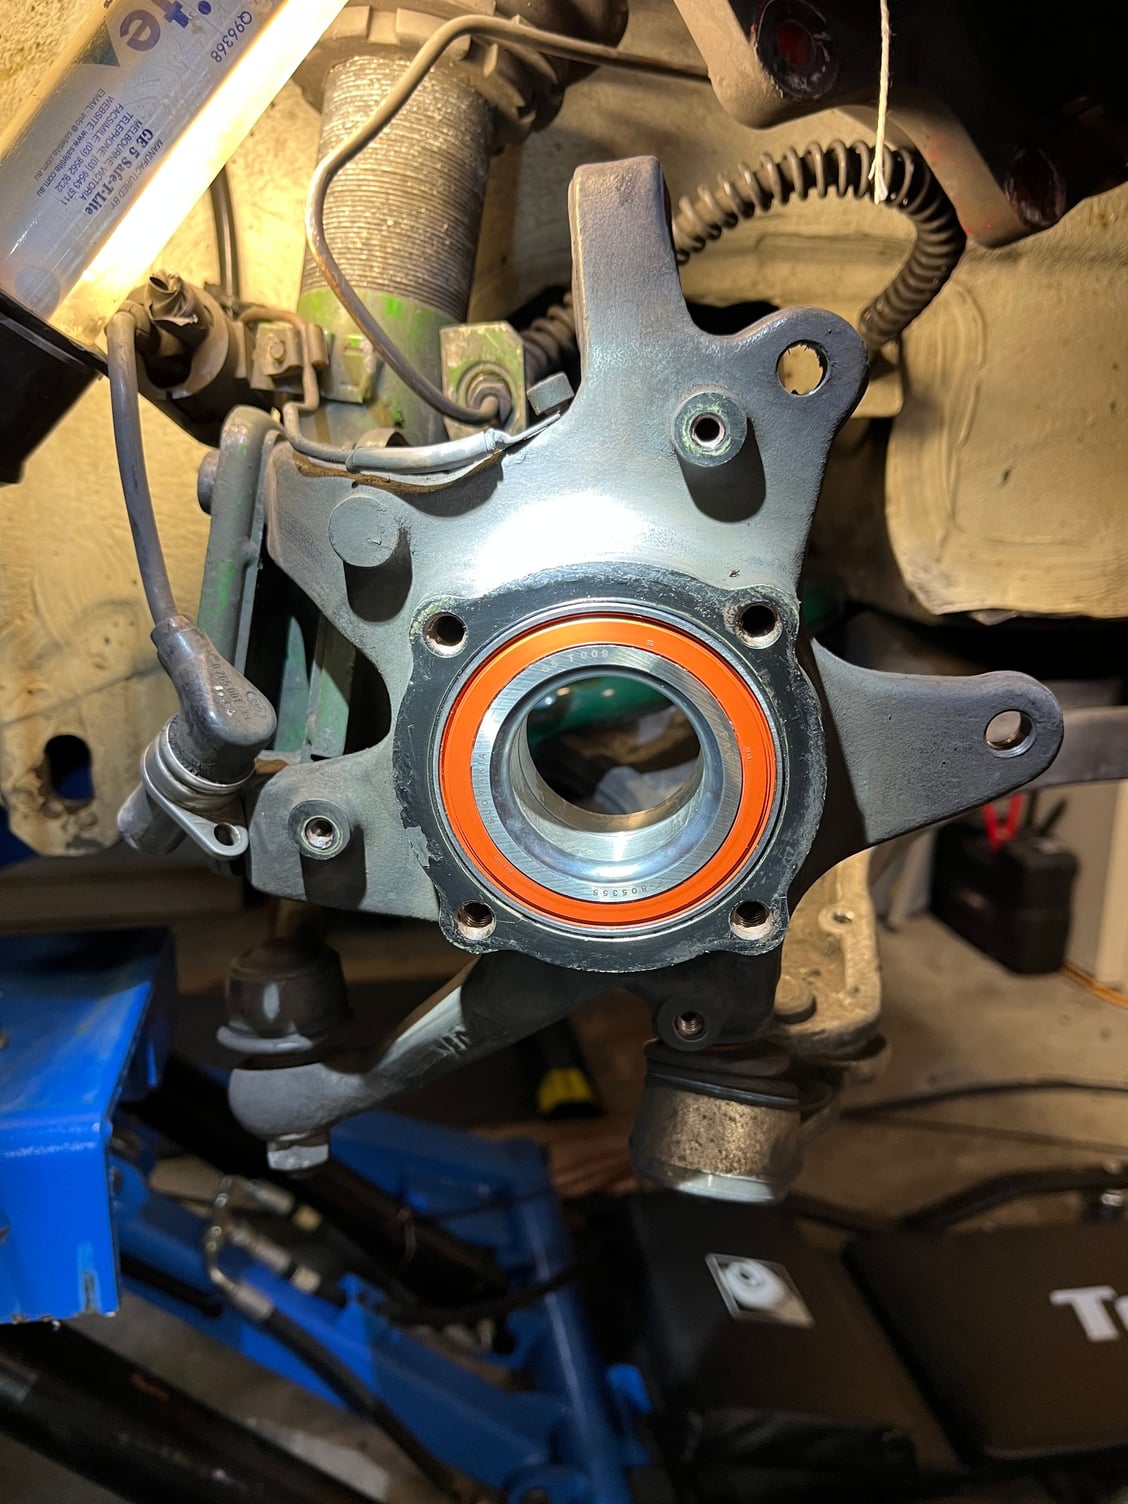
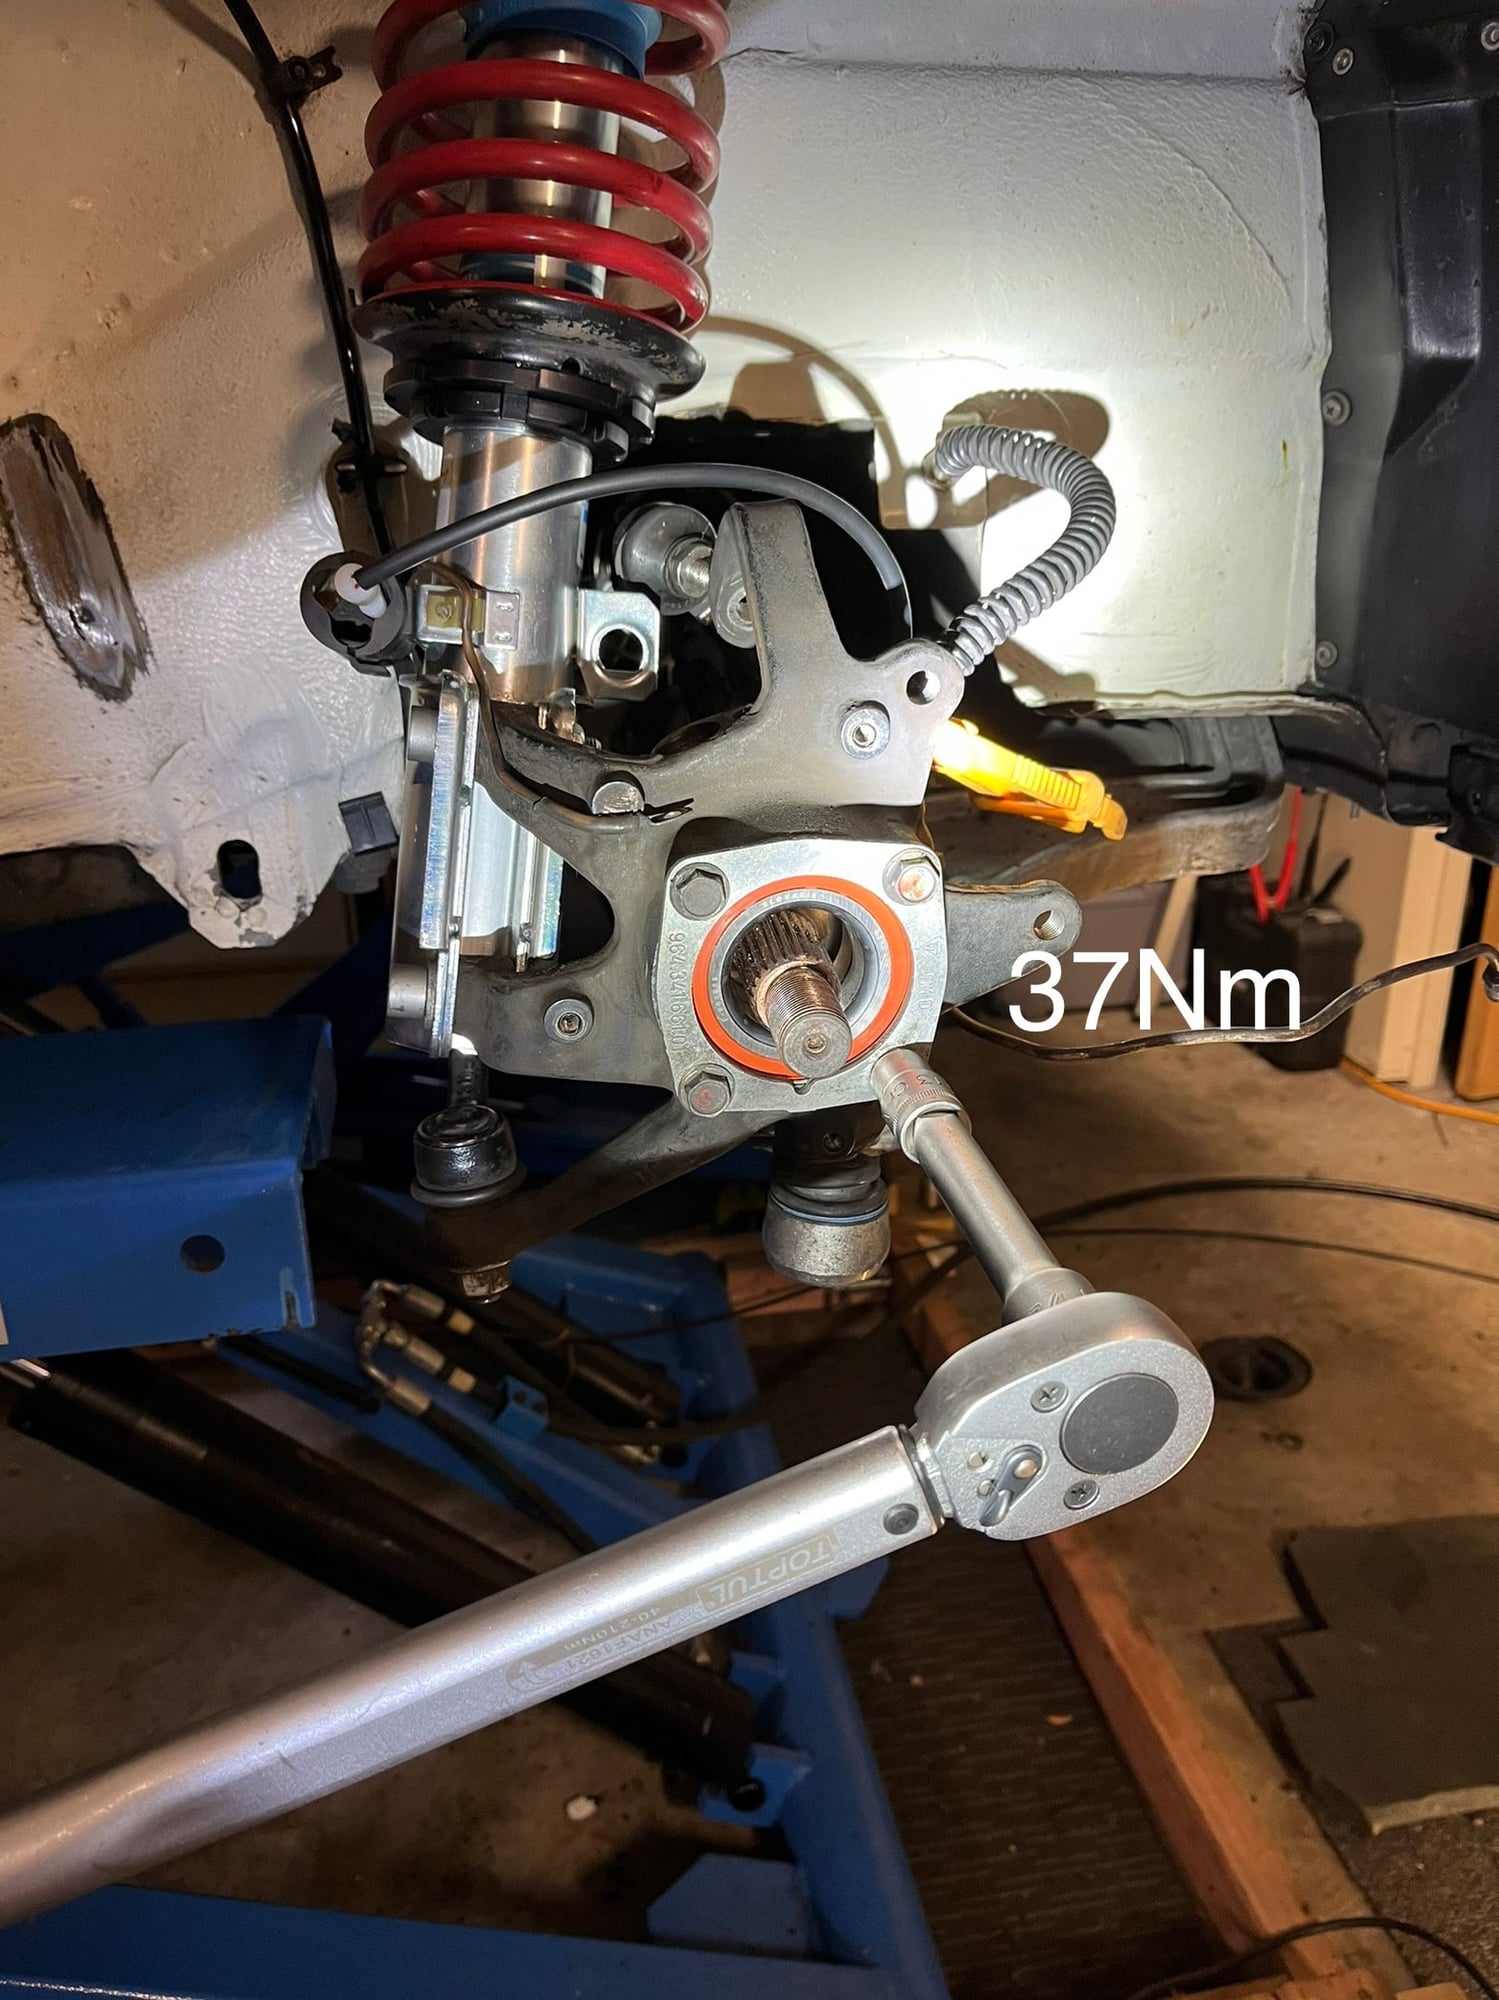
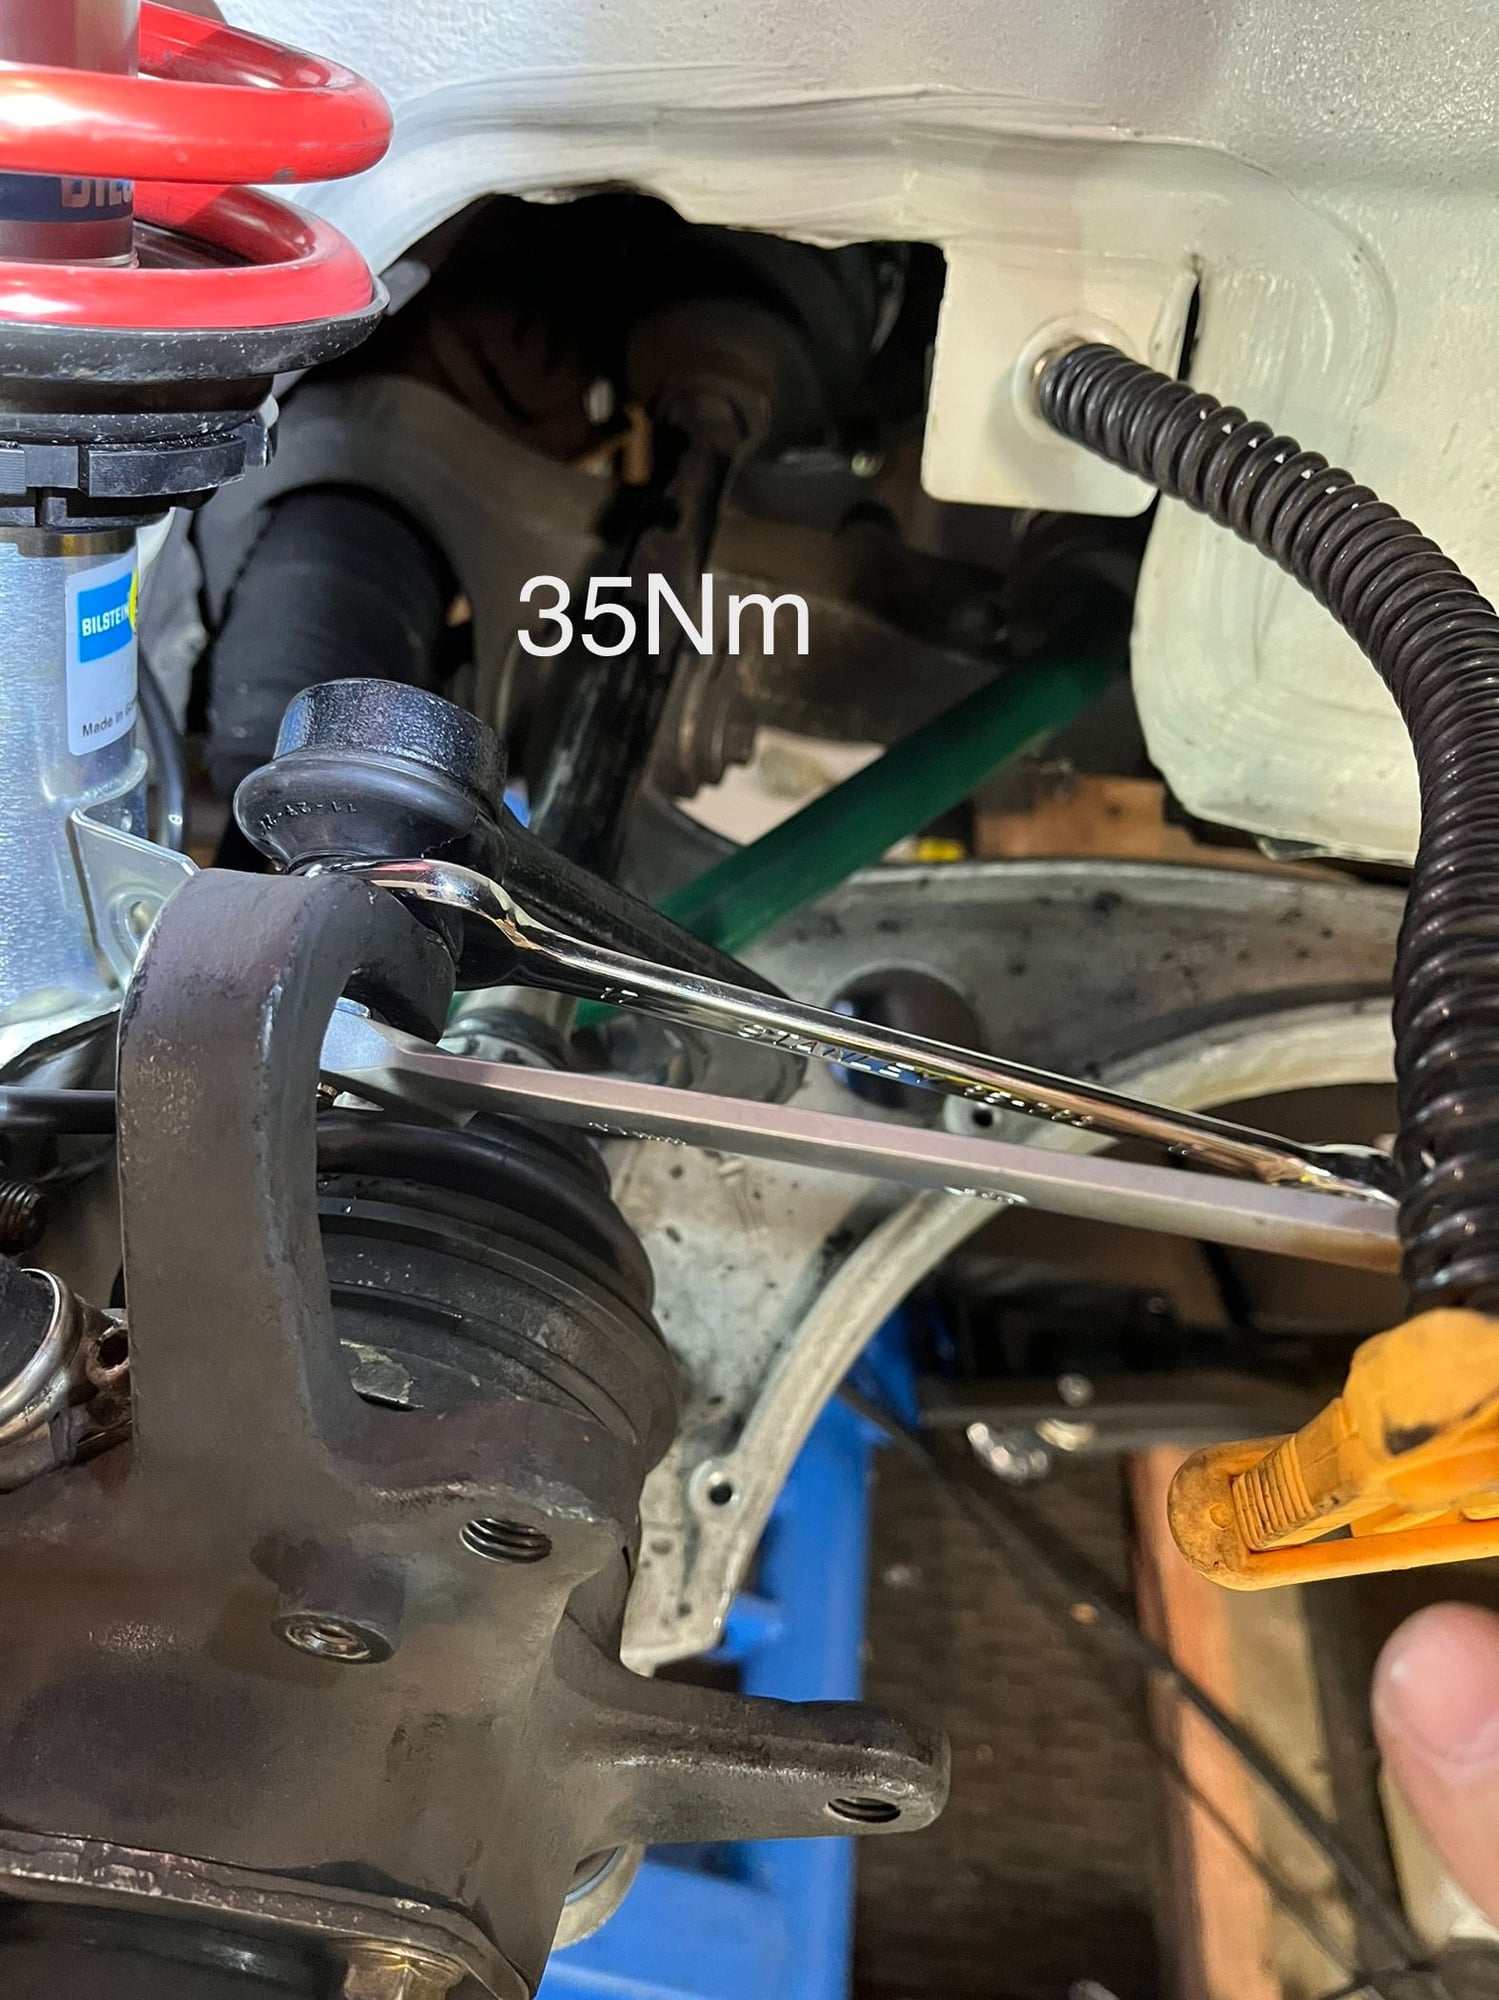
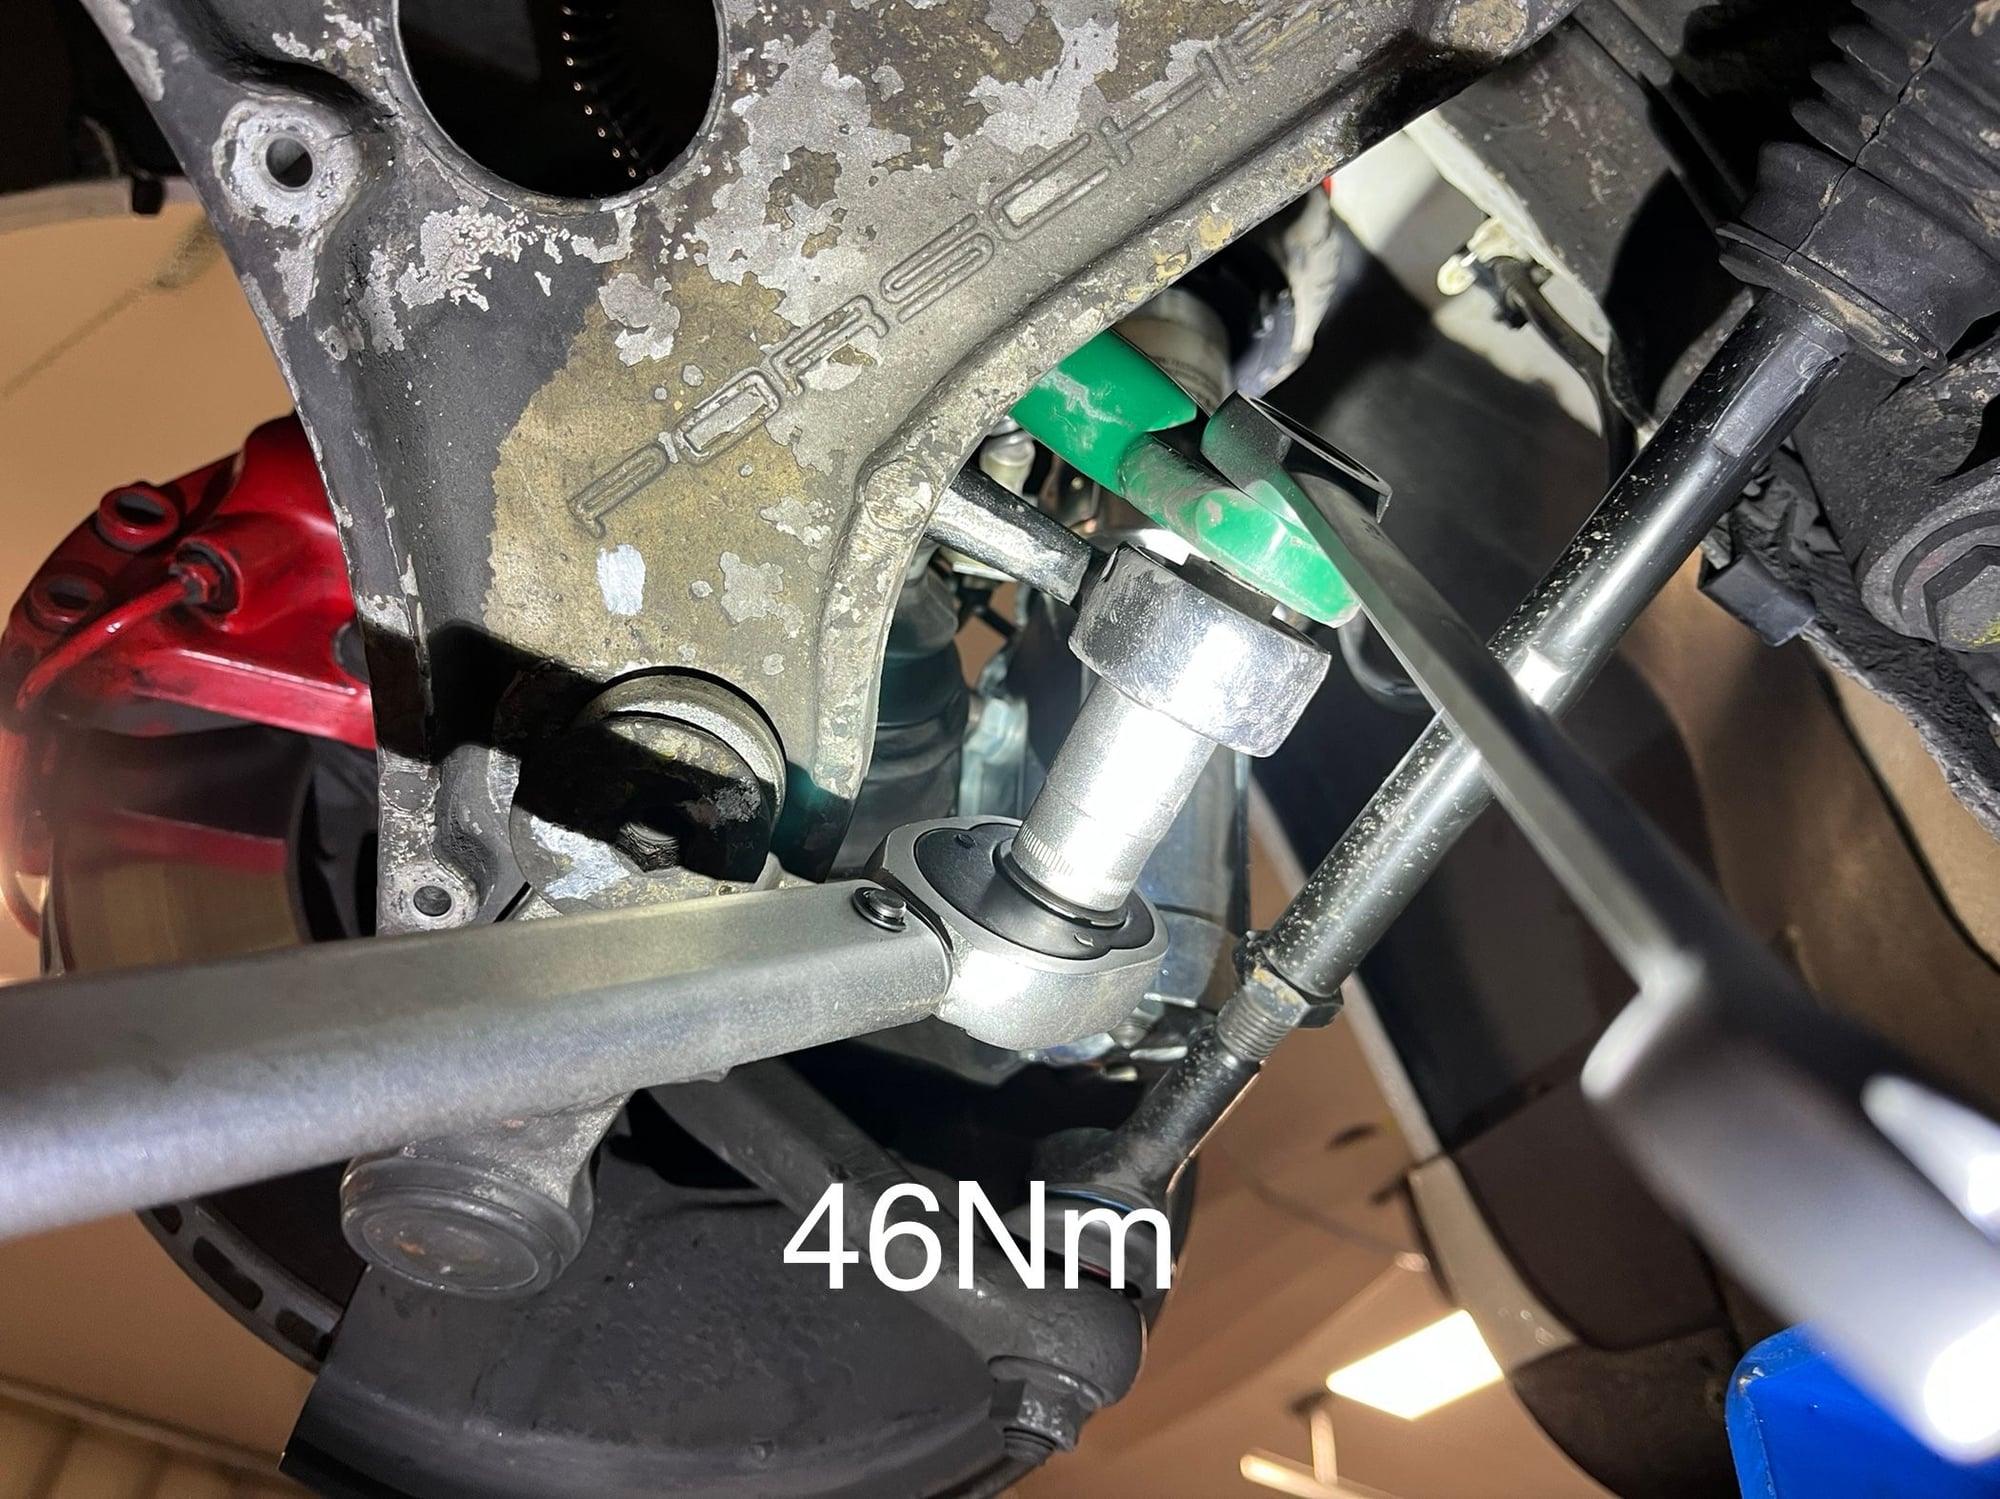
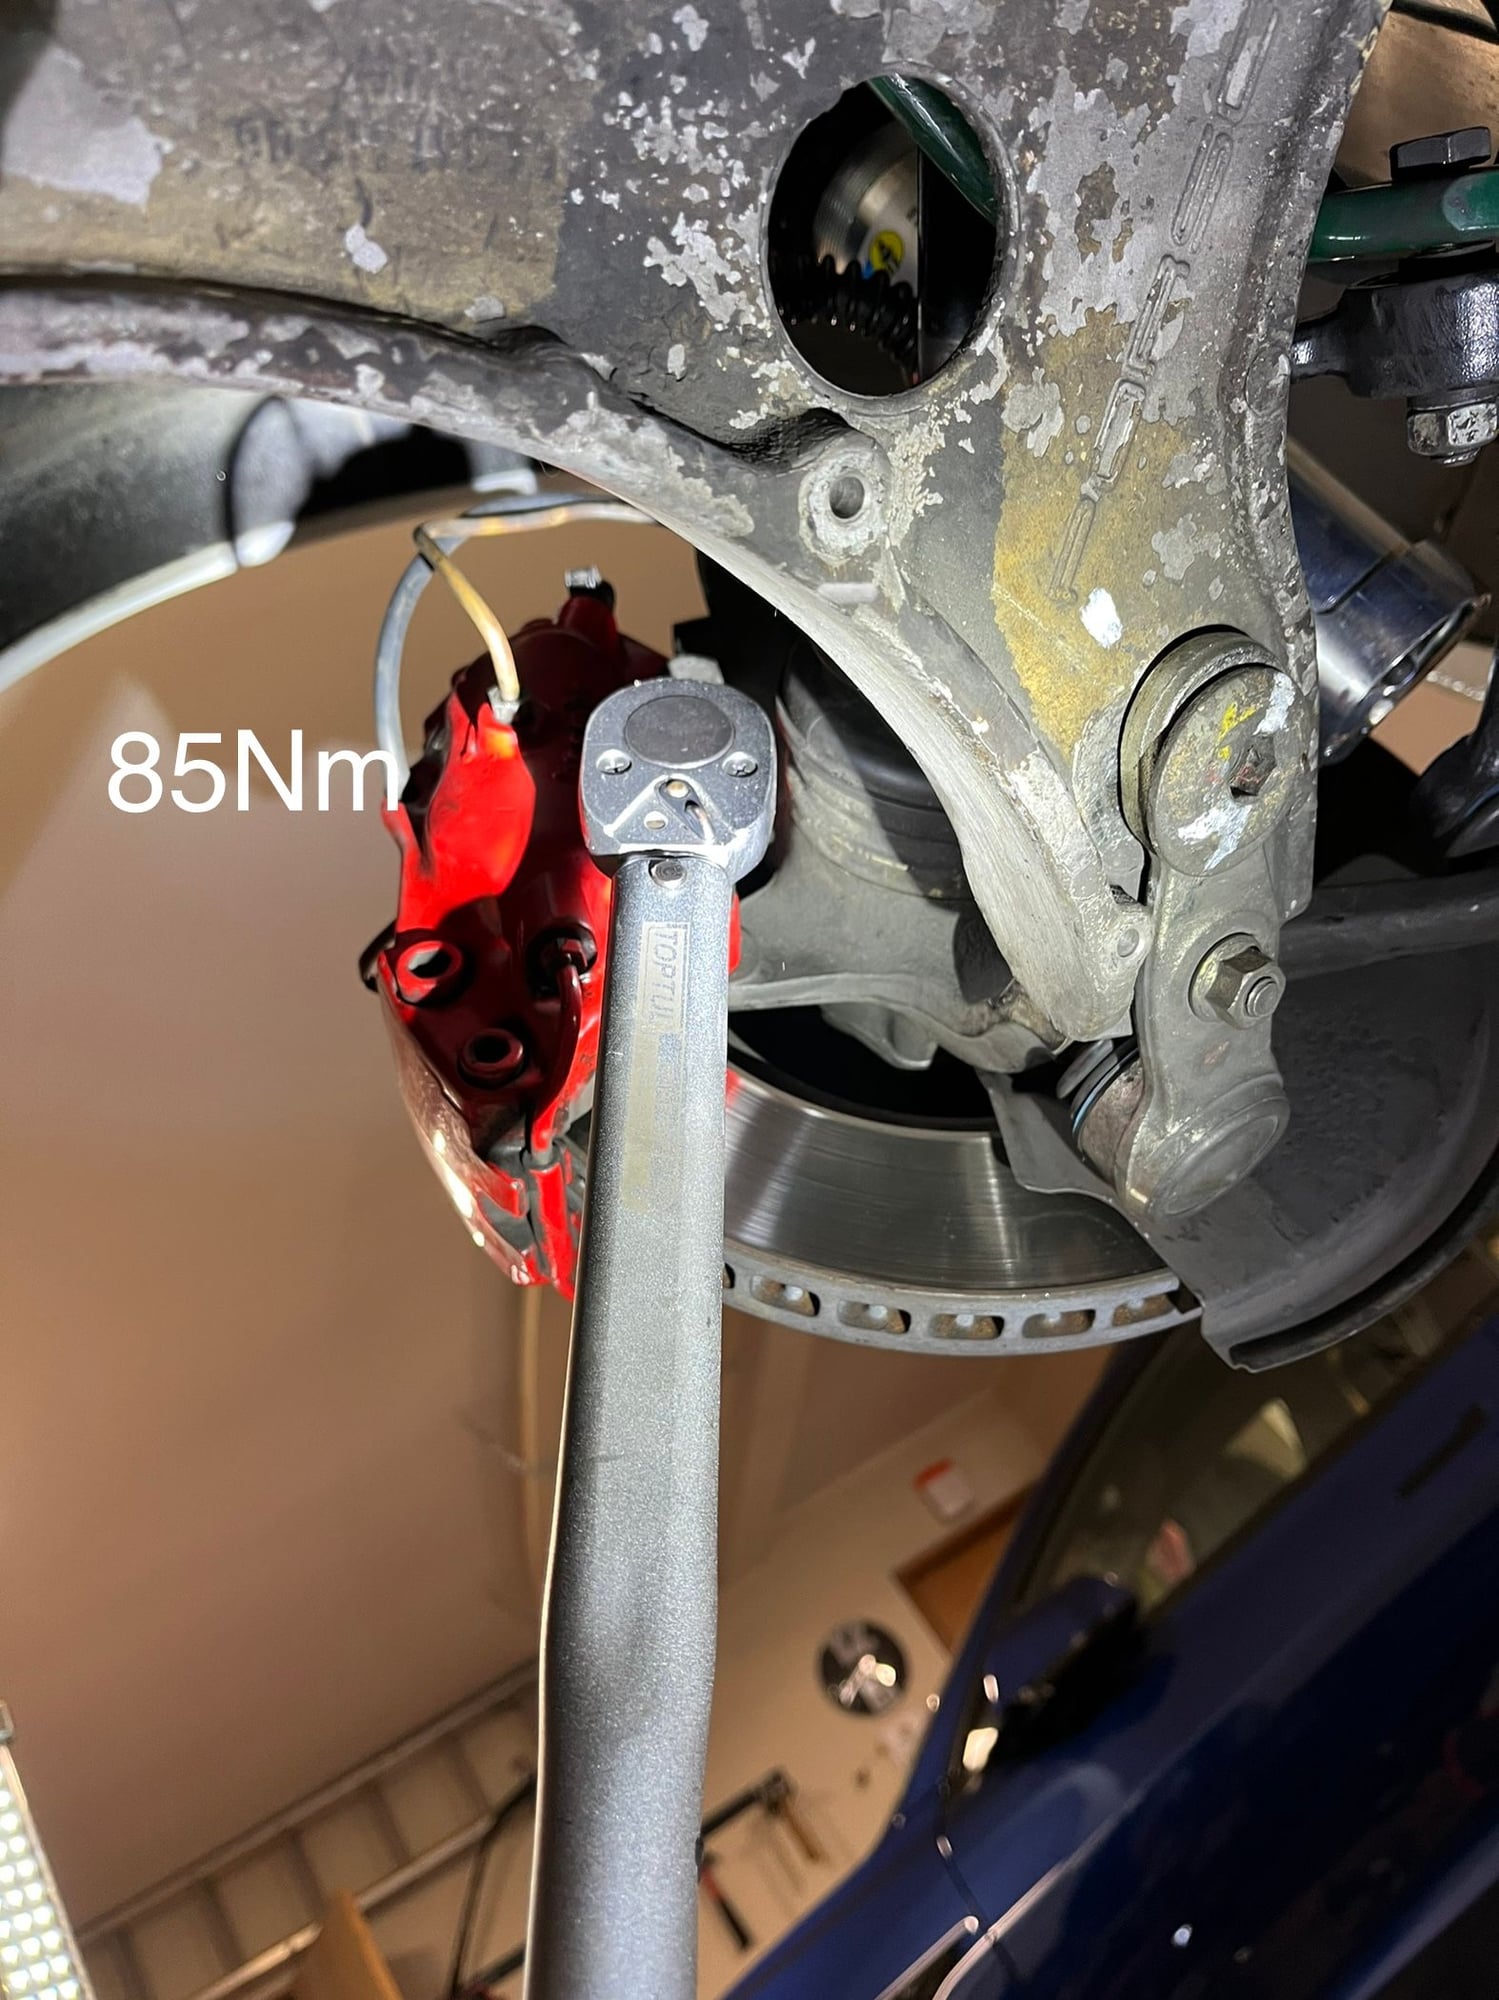
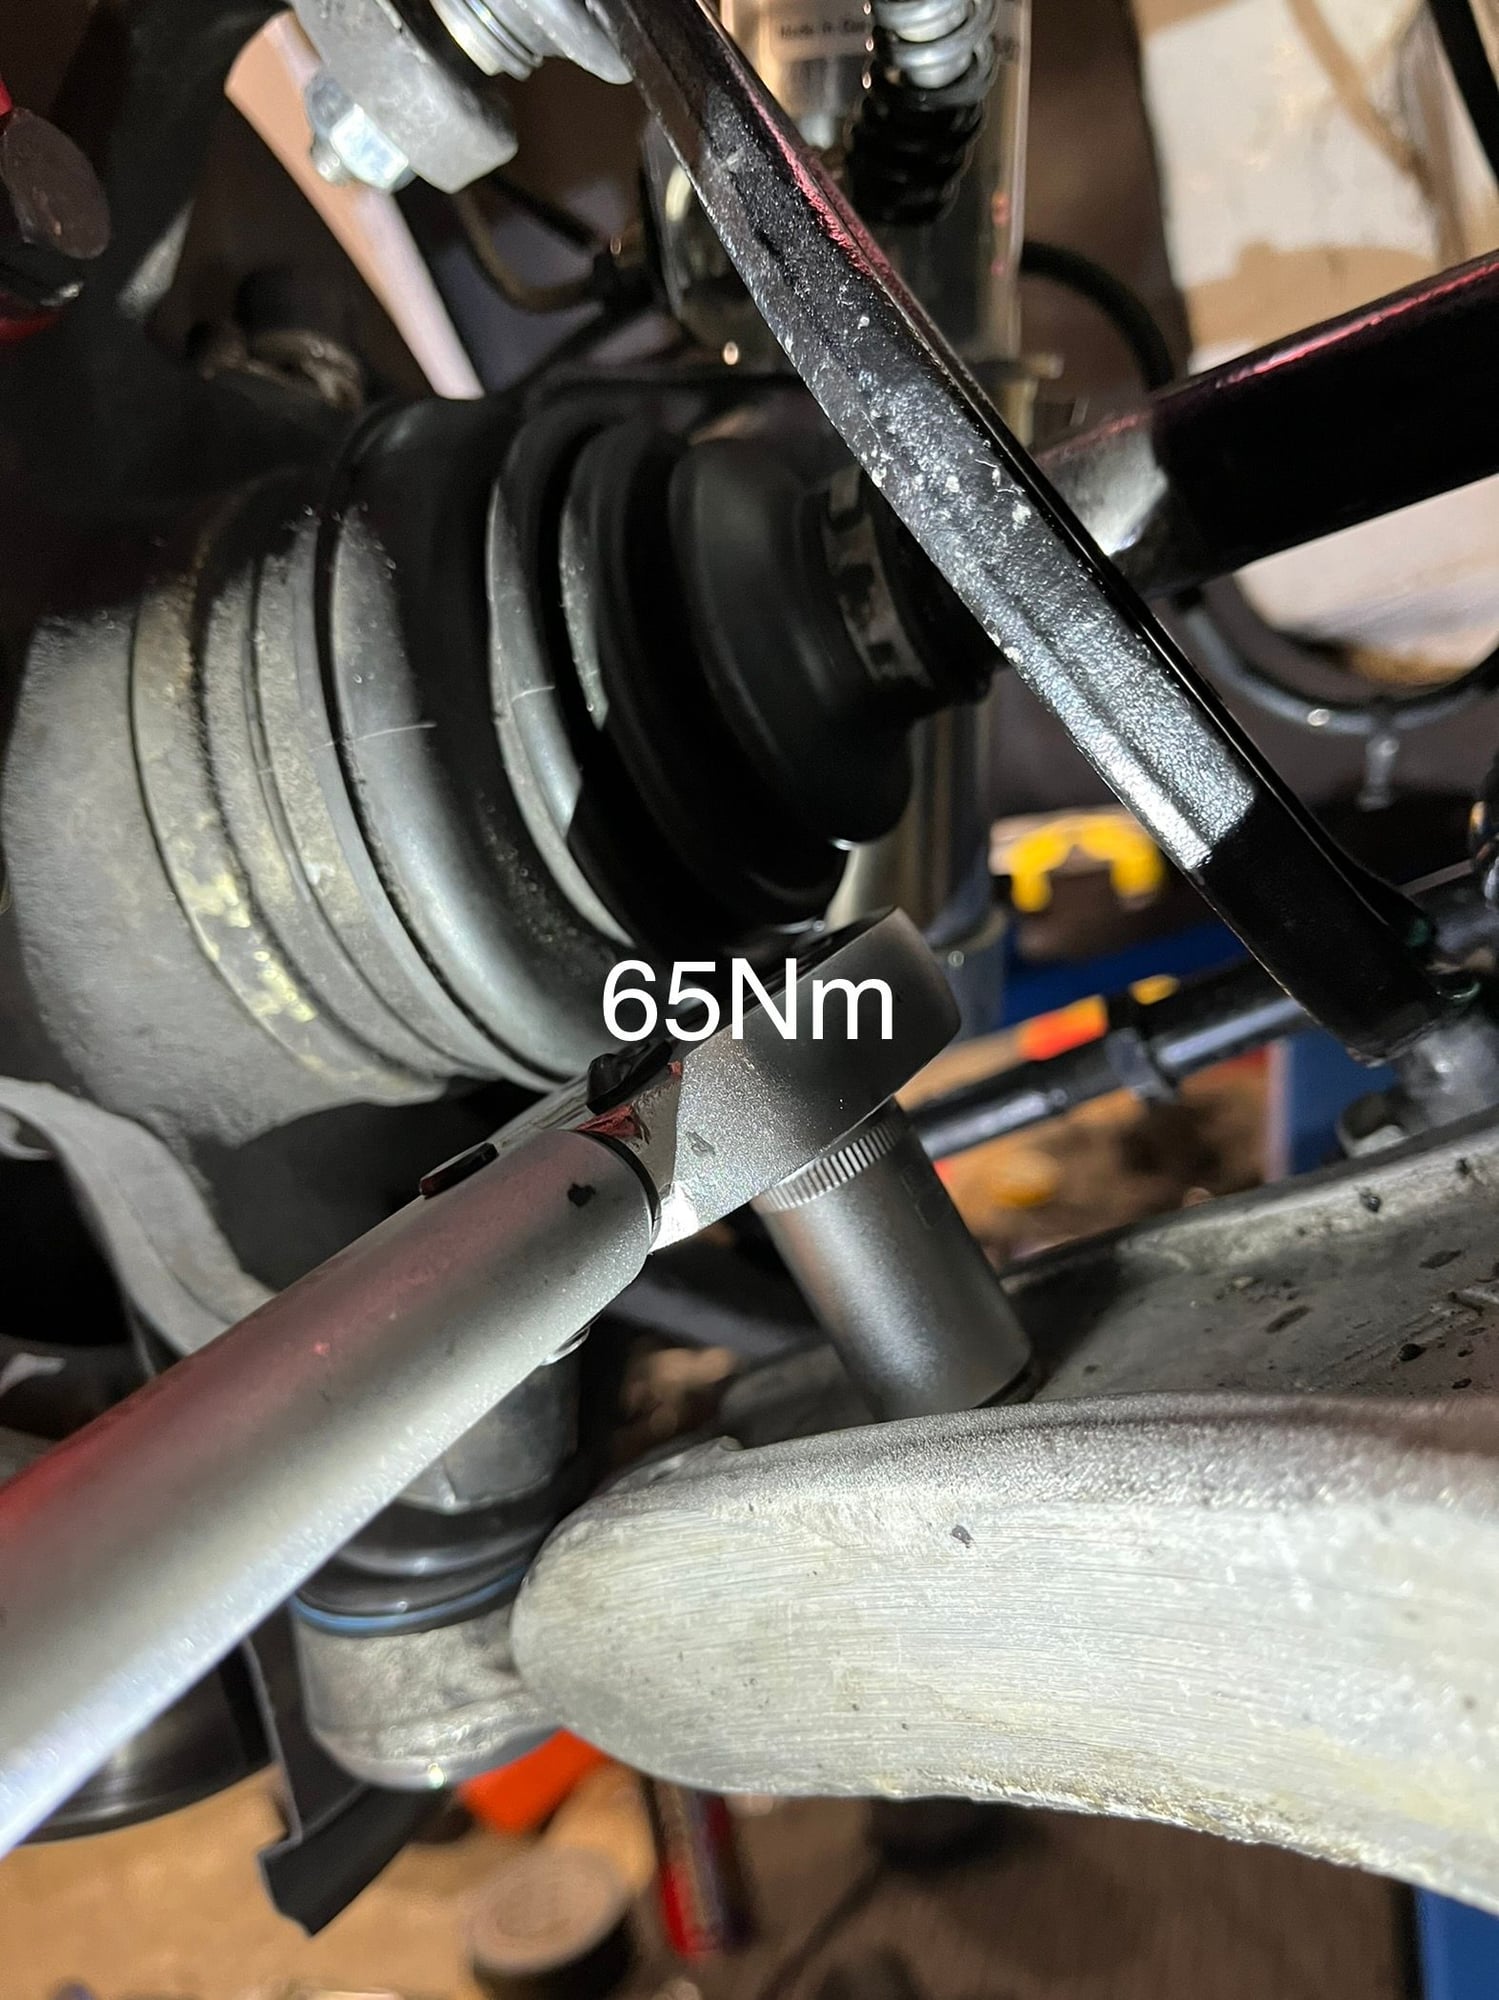
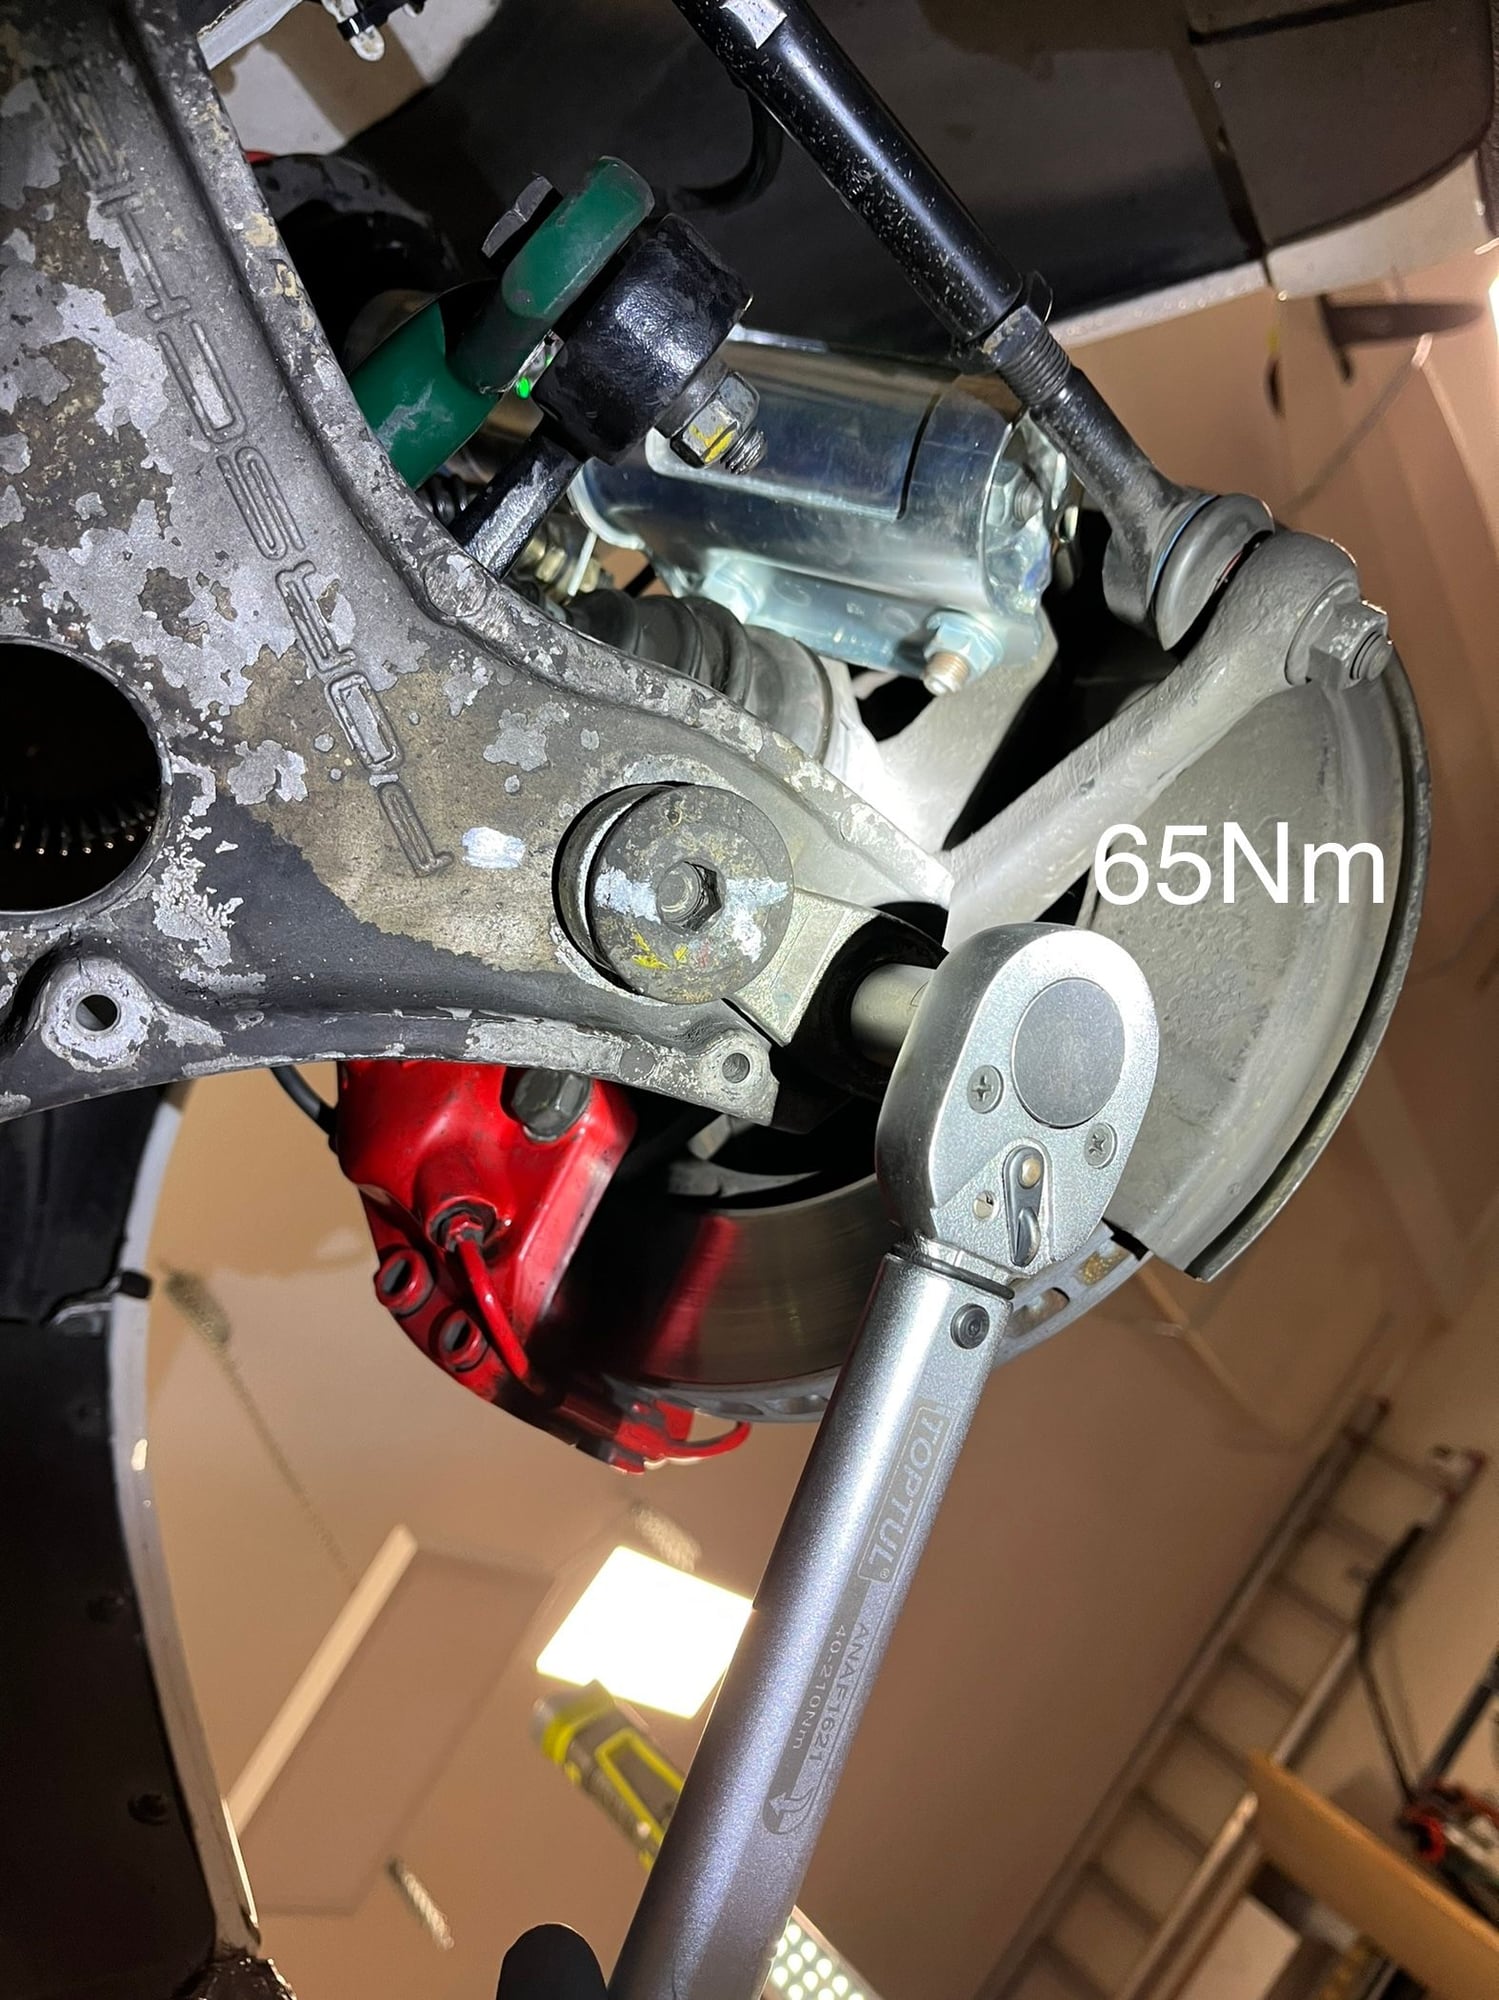
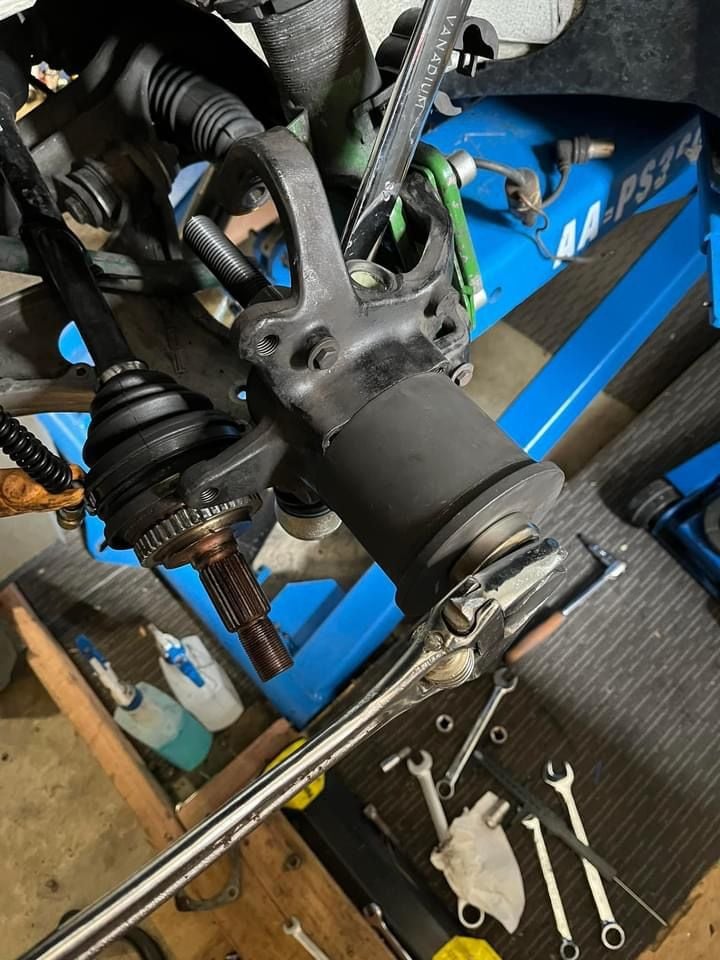
To remove the bearing on a C4, you need to get the half shaft out of the way. With the first try, I undid the pan head bolts on the driveshaft. They were way tighter than 41Nm and it took half a day, especially as I needed to hold the half shaft steady and that wasn�t easy with a diff and the car in the air. When the bolts were undone, it was clear that there was insufficient room to manoeuvre the half shaft out of the hub. So I had to undo the ball joint and ARB arm connection to swing the hub out of the way, pivoting on the strut and tie rod. Pic before I did the swing.
This method preserves the camber adjustment but is a lot of work.
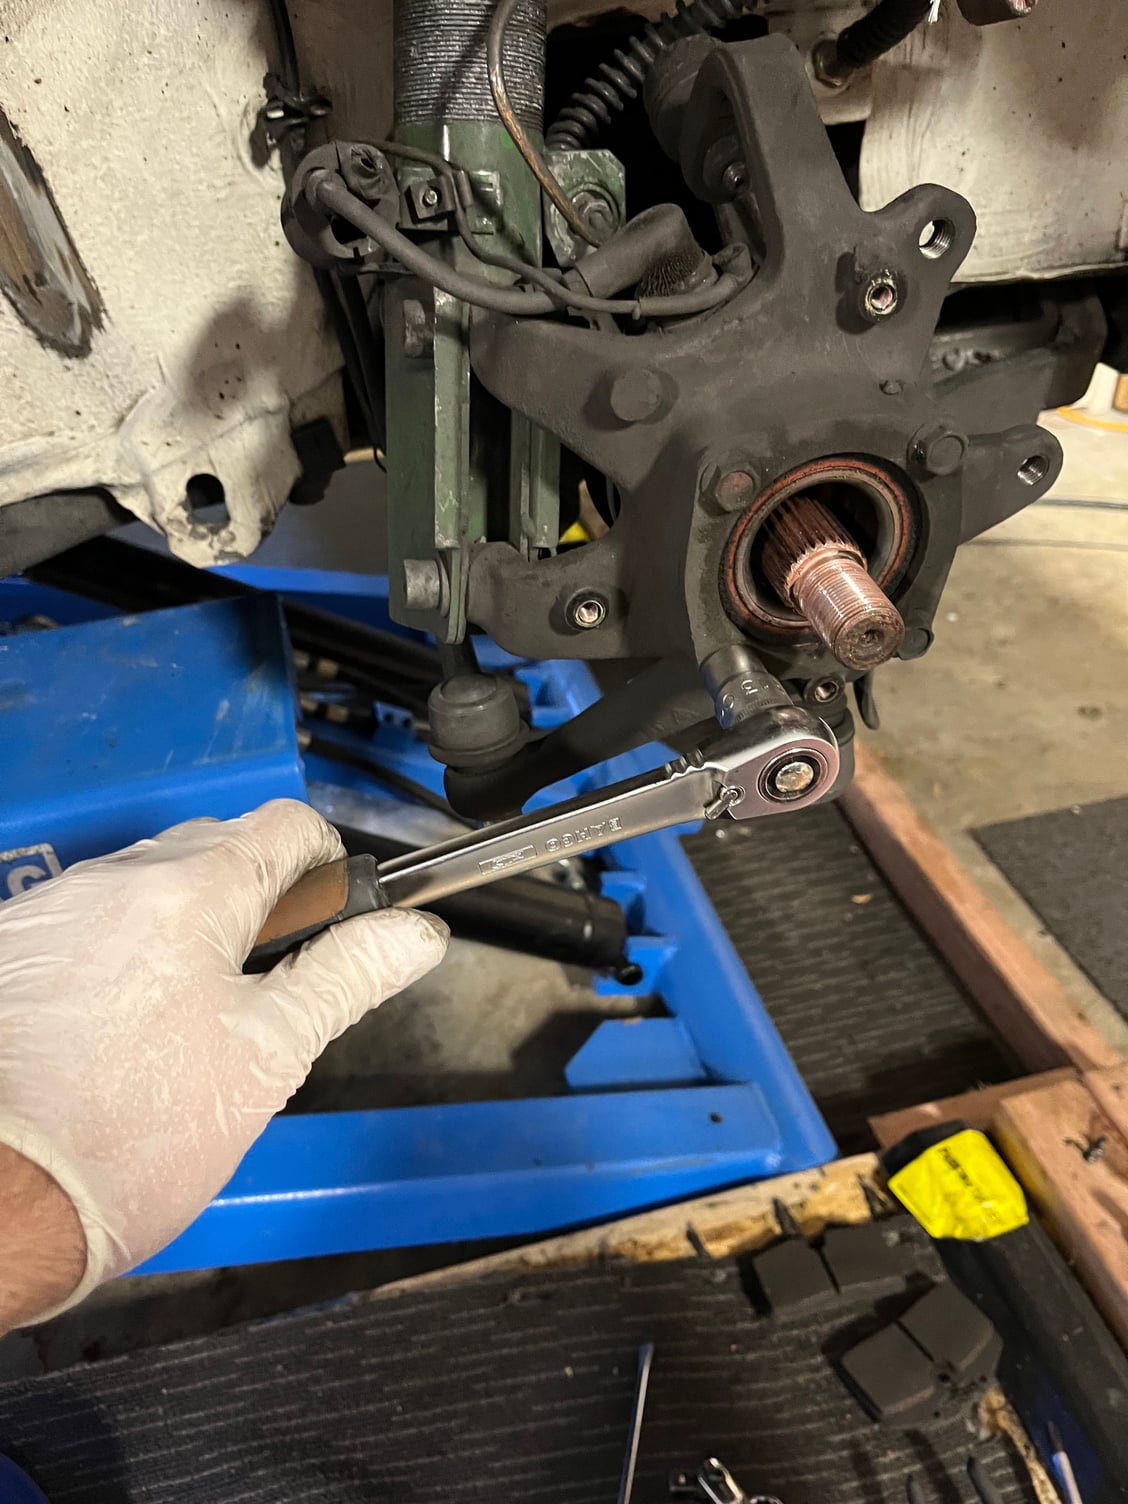
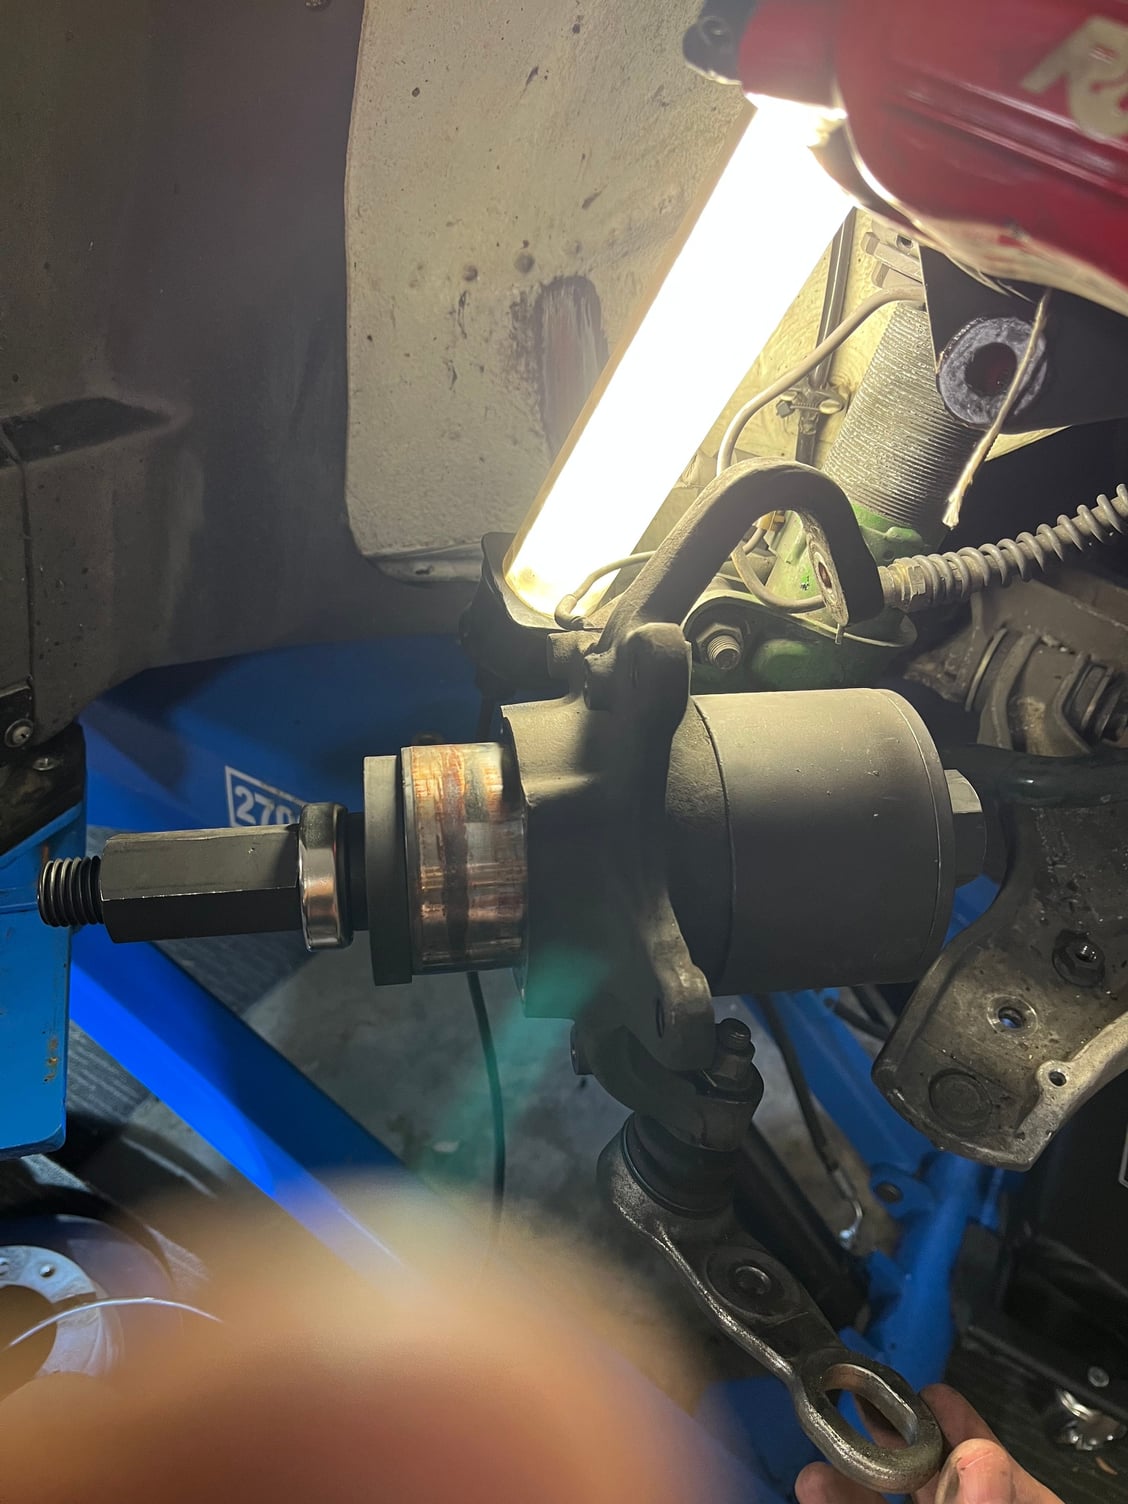
The removal of the bearing is relatively straight forward. The Baum kit had the right sizes. Be aware that you need a 32mm spanner and a 38mm socket. The kit specifically says no warranty if power tools are used. I used an adjustable spanner at the 38mm end as I didn�t have a socket that big. It took a lot of force as the leverage was not ideal.
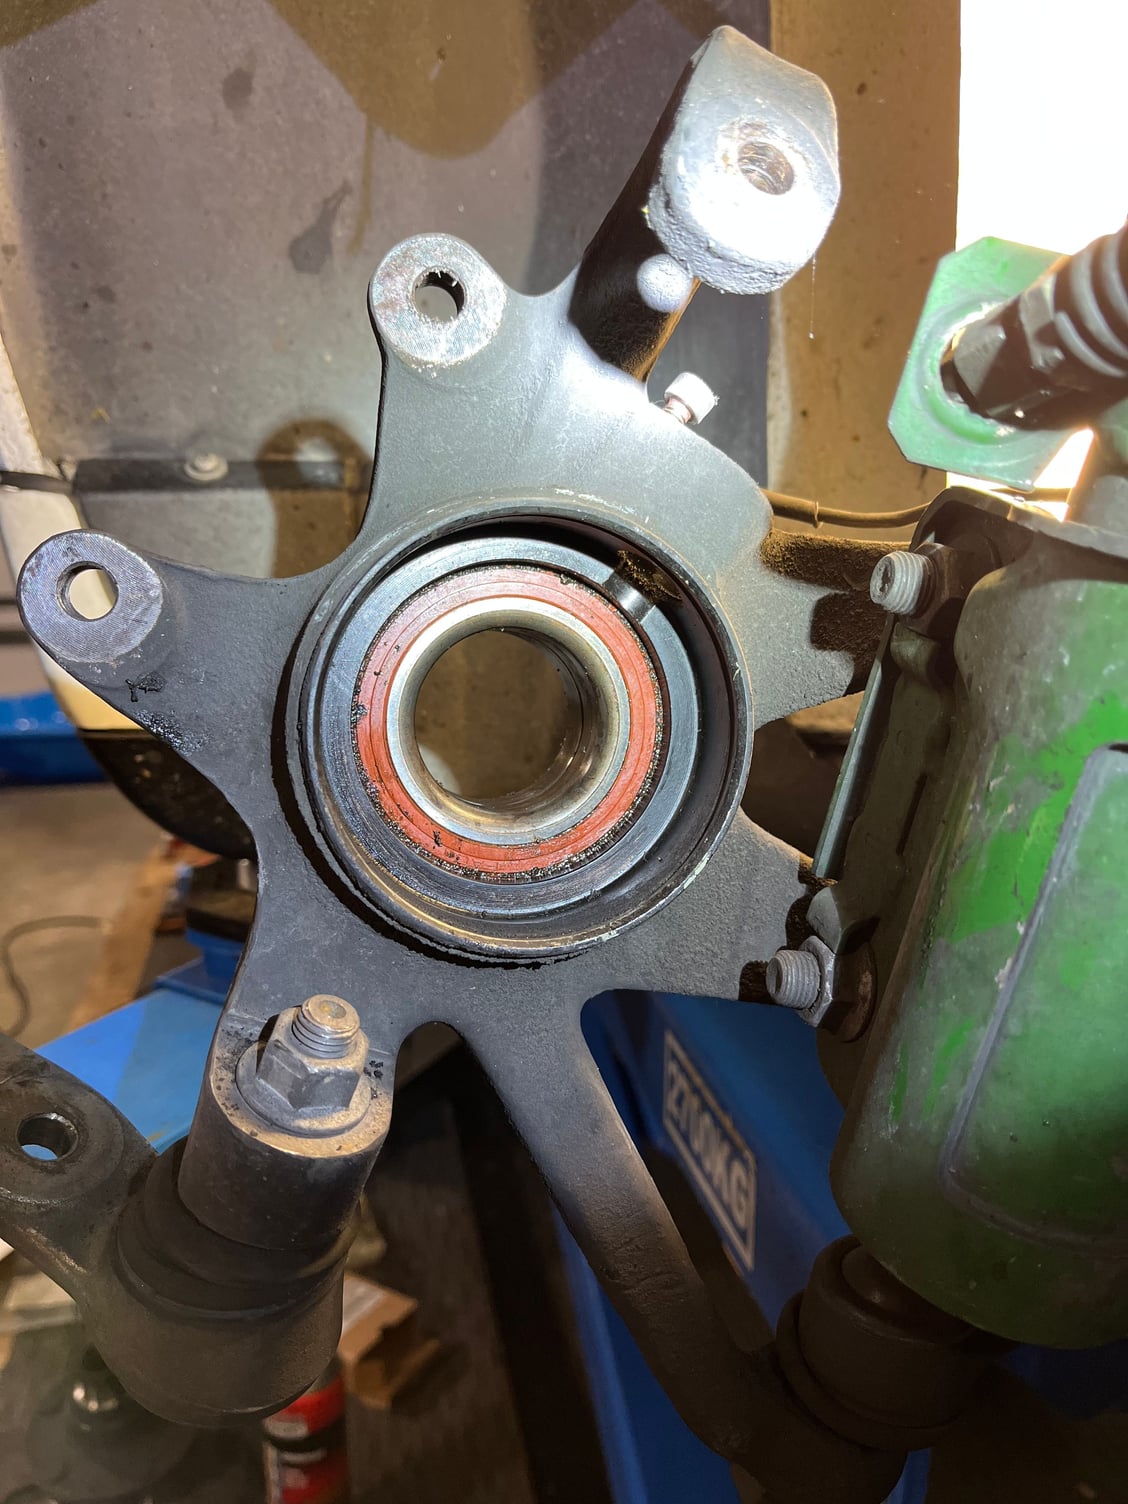
The only critical thing to note is that the bearing is held in with a lip at the rear. The puller plate must fit inside that lip so it is only pulling on the bearing.
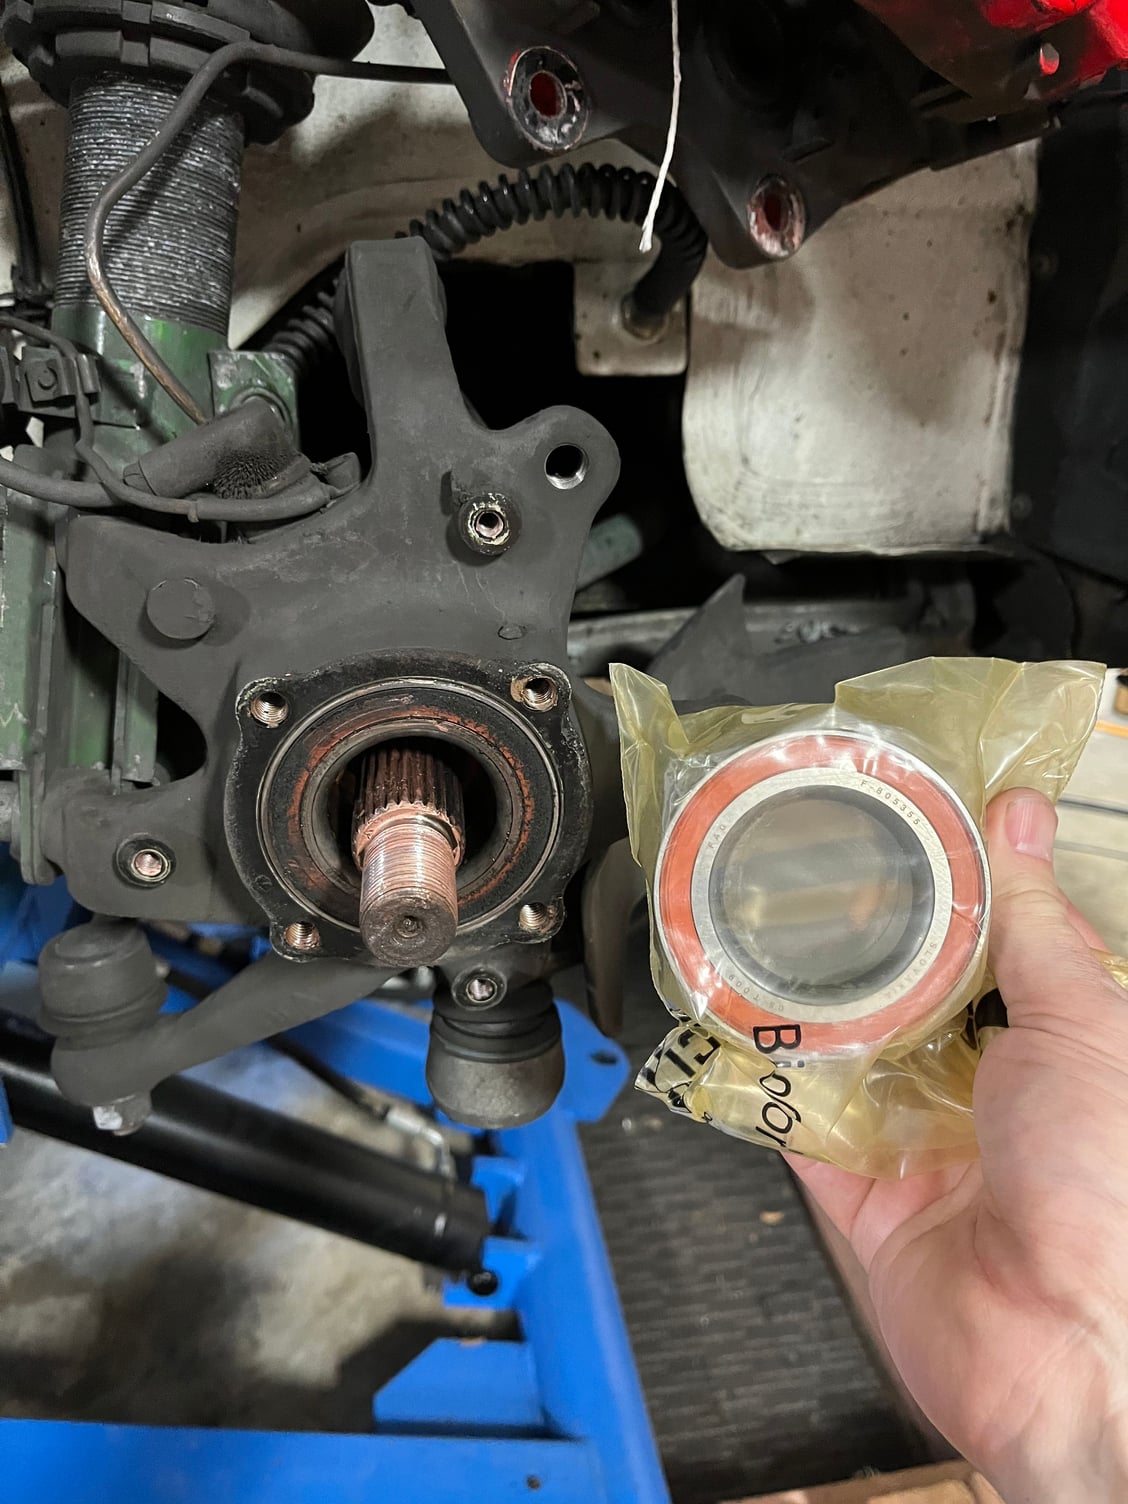
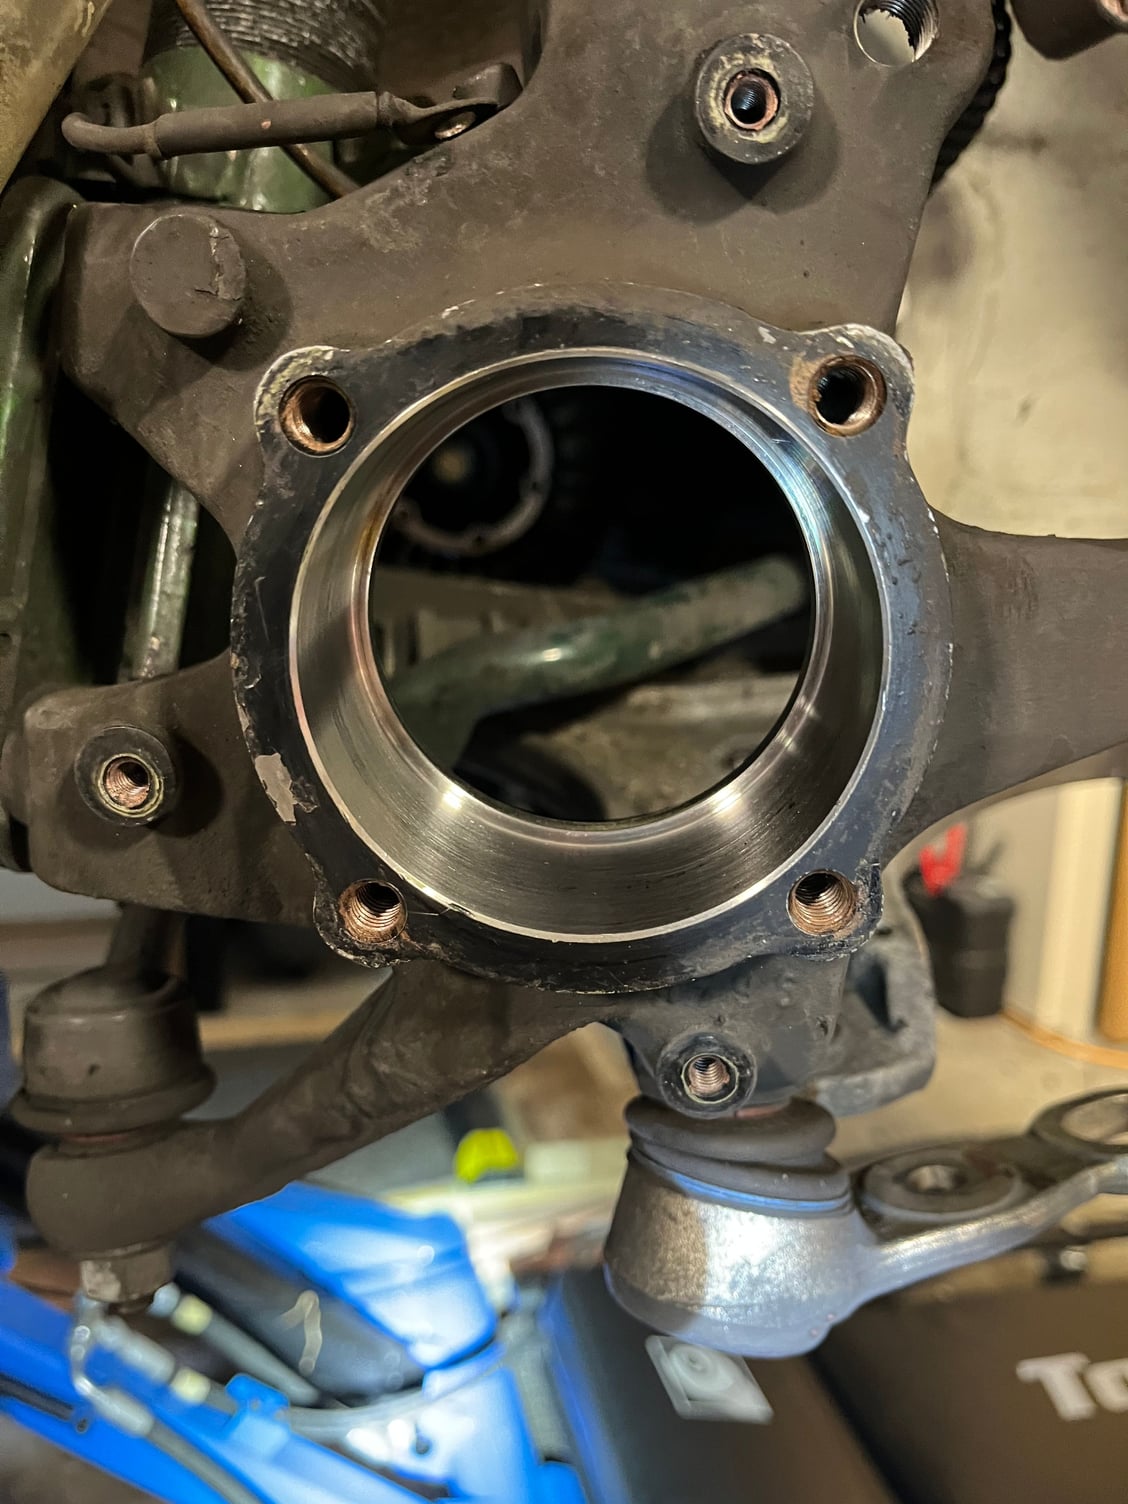
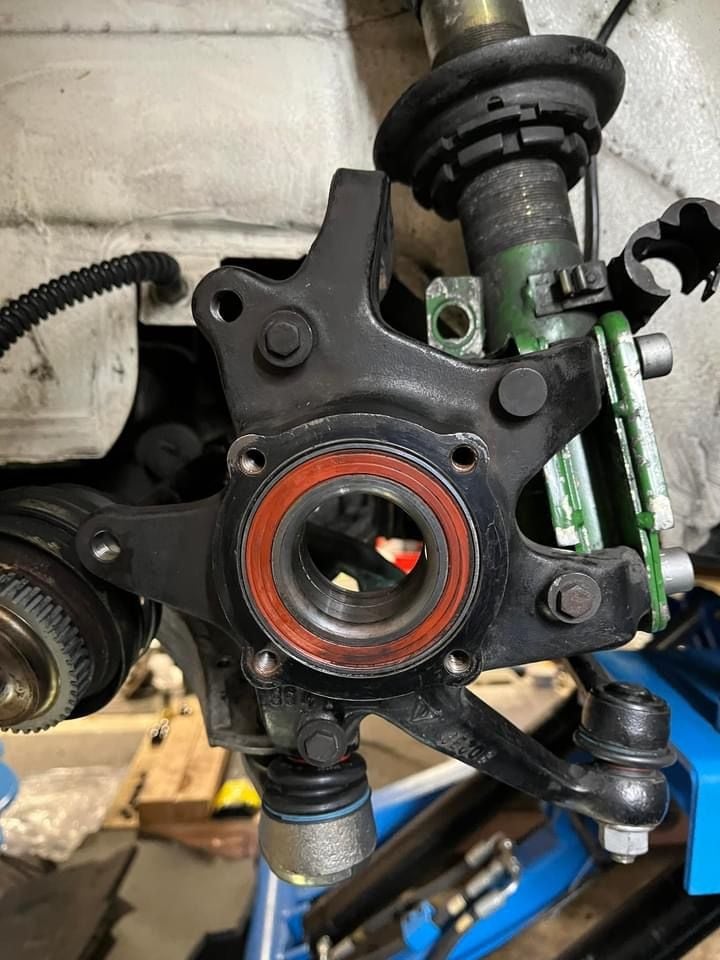
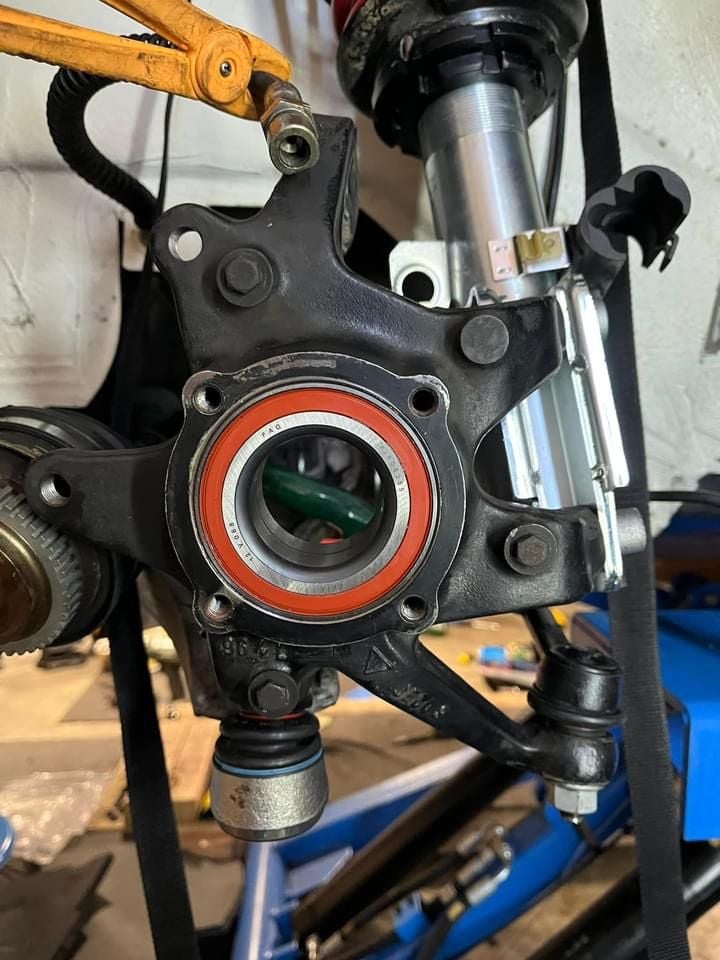
With the bearing out, I used brake cleaner and a Scotchbrite to clean the inner part of the hub.
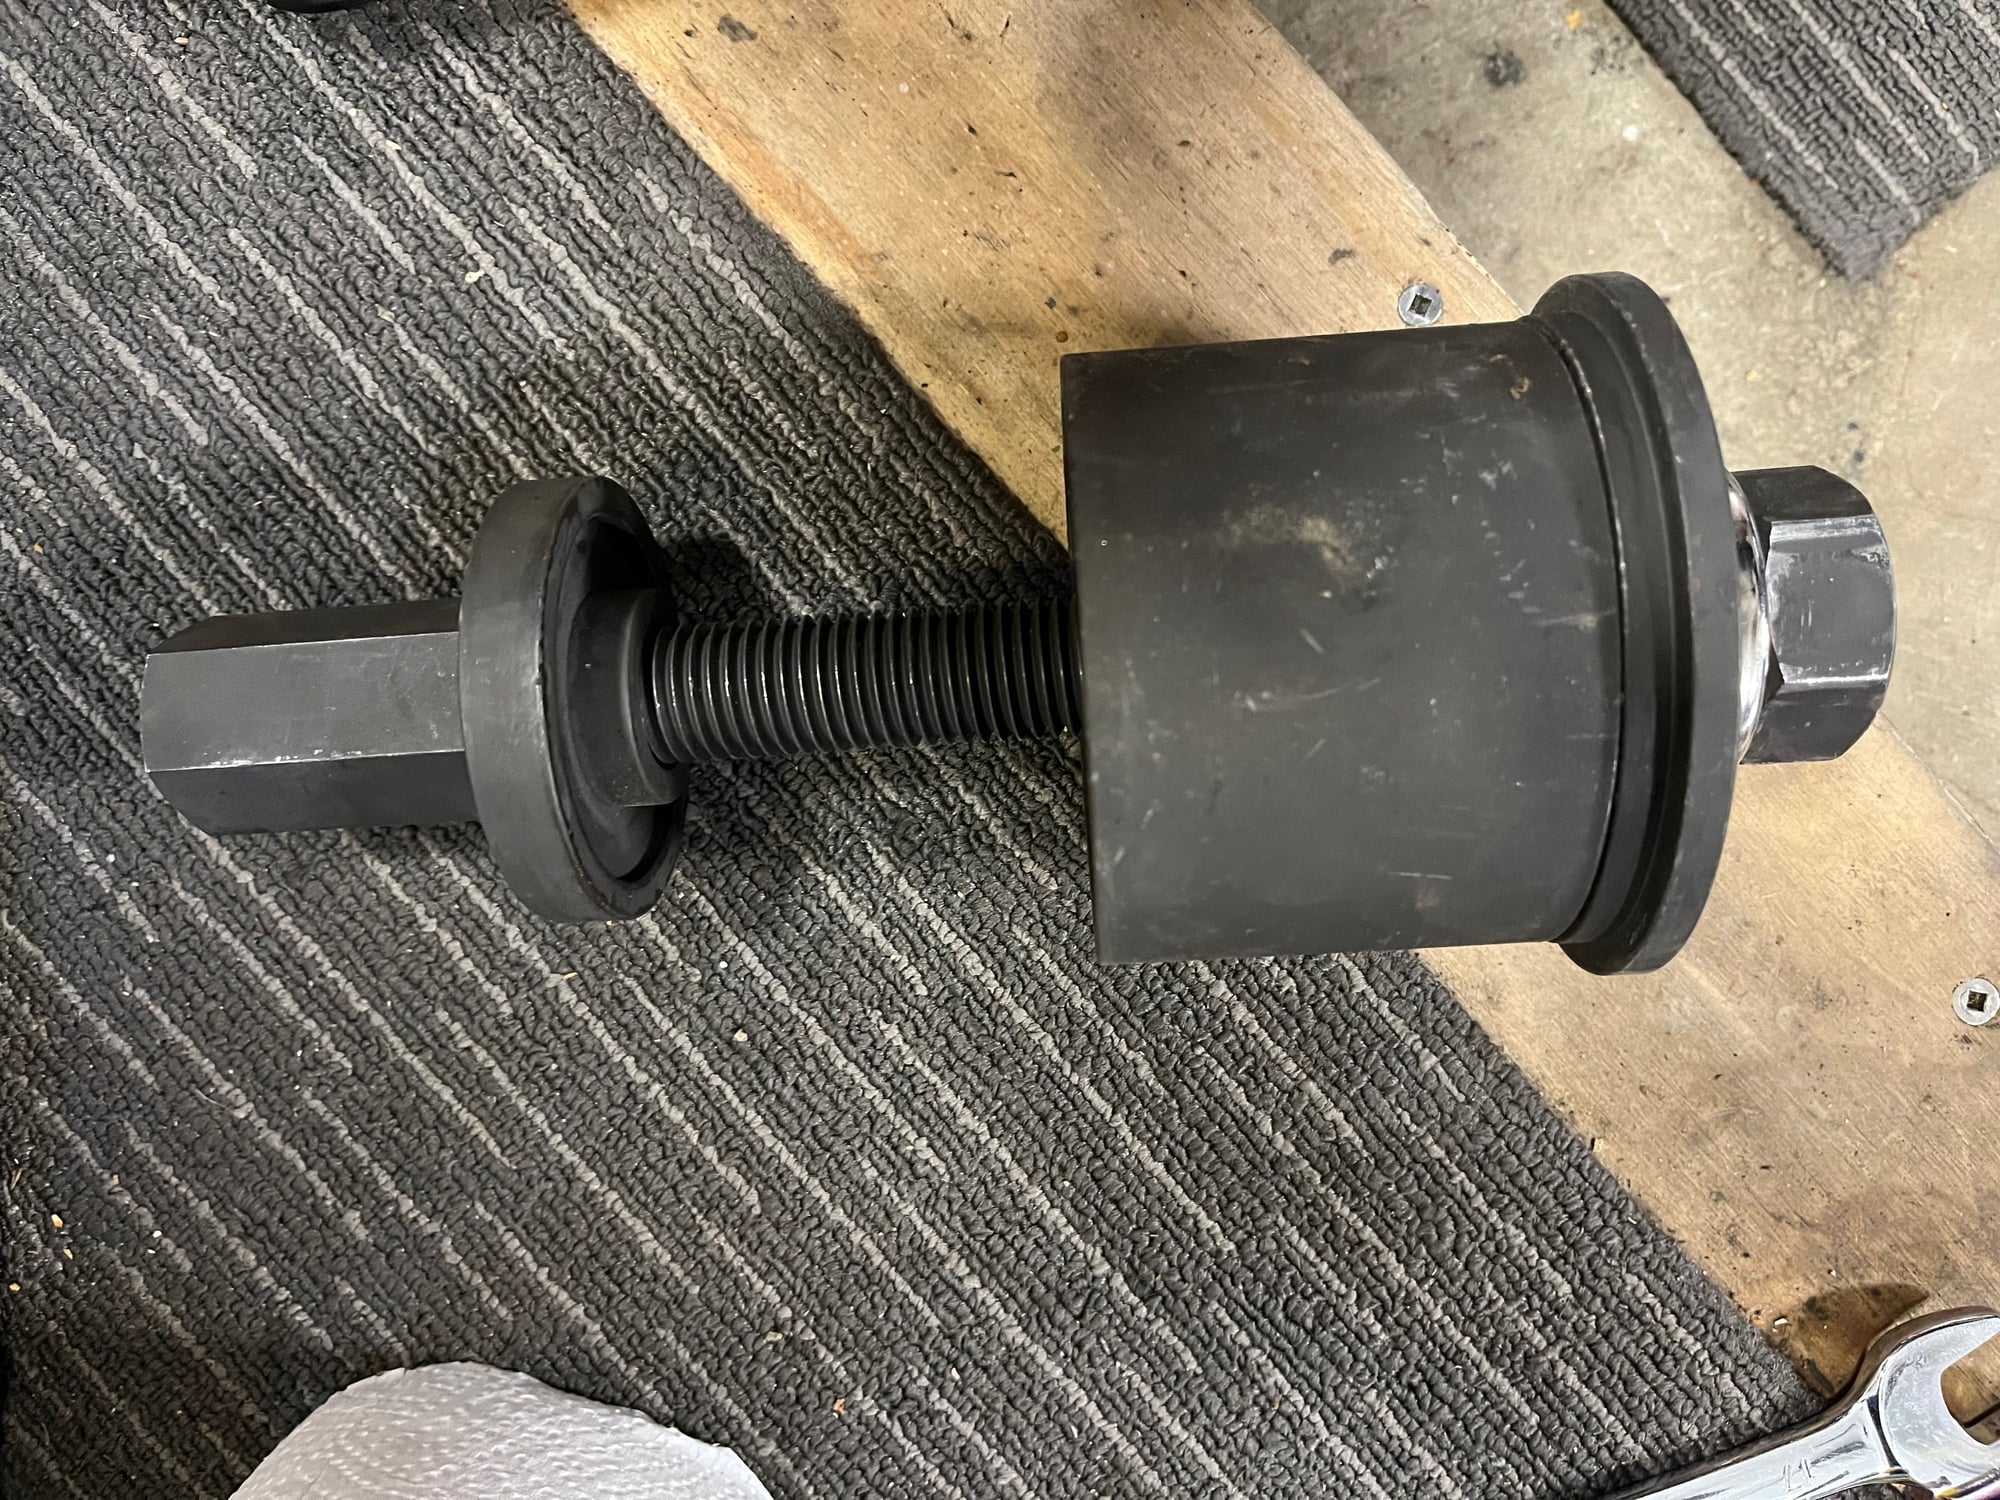
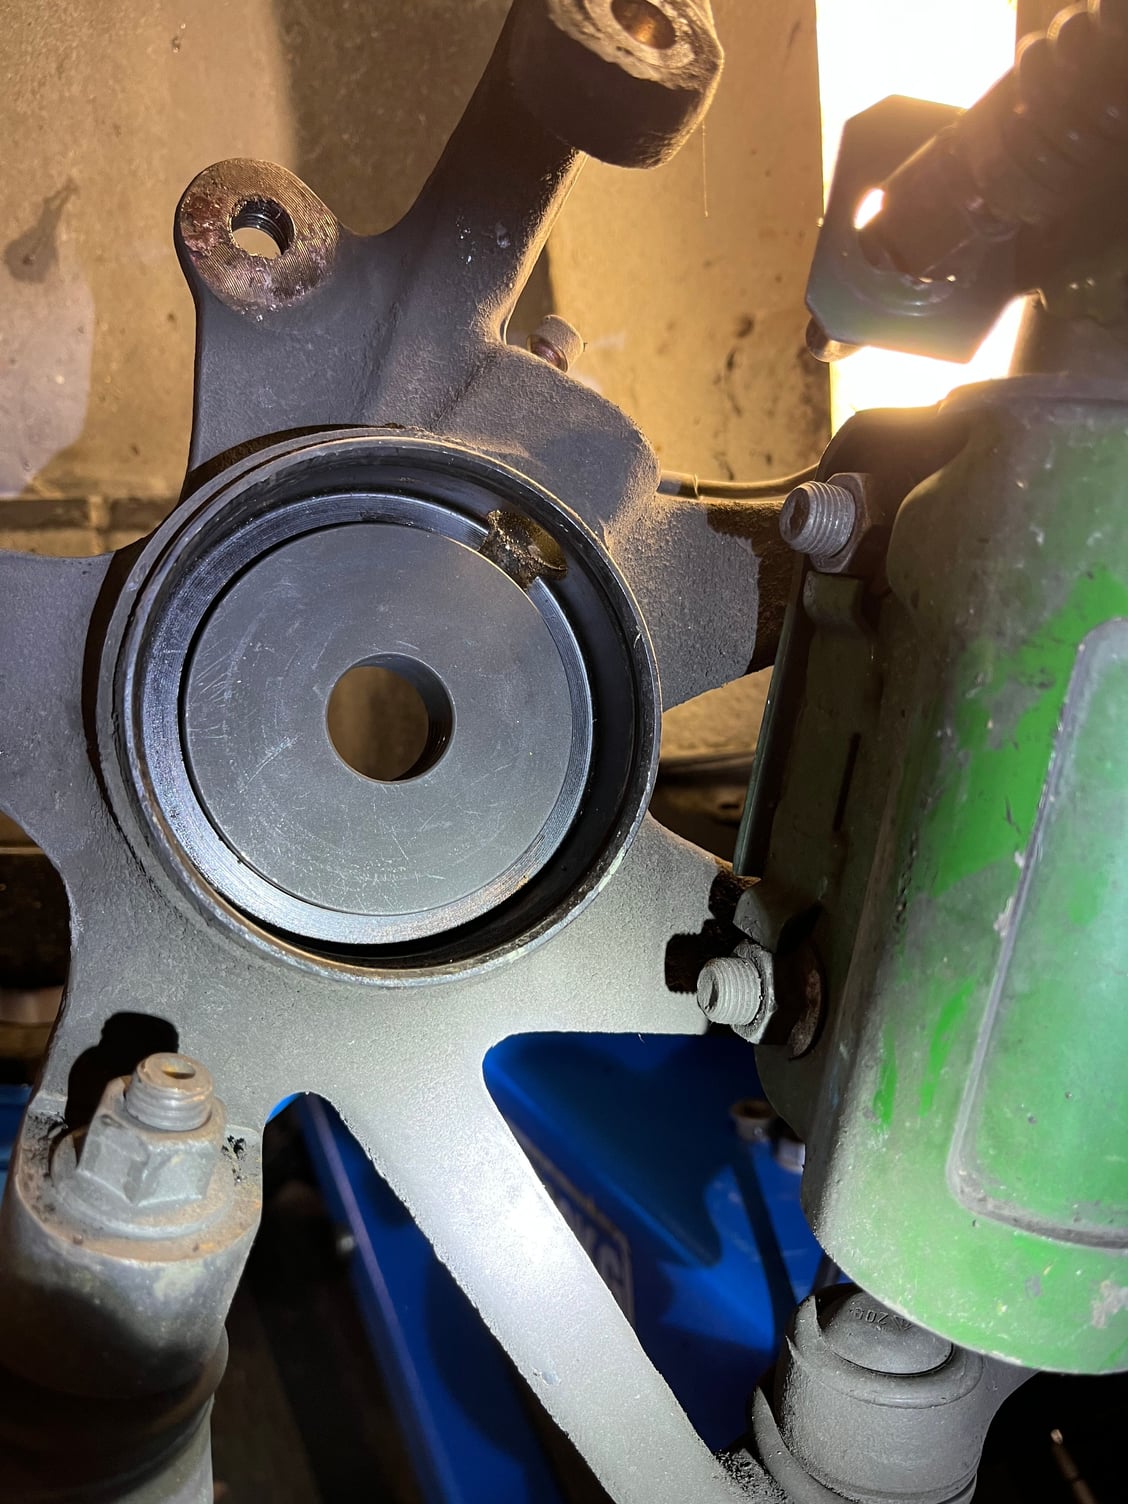
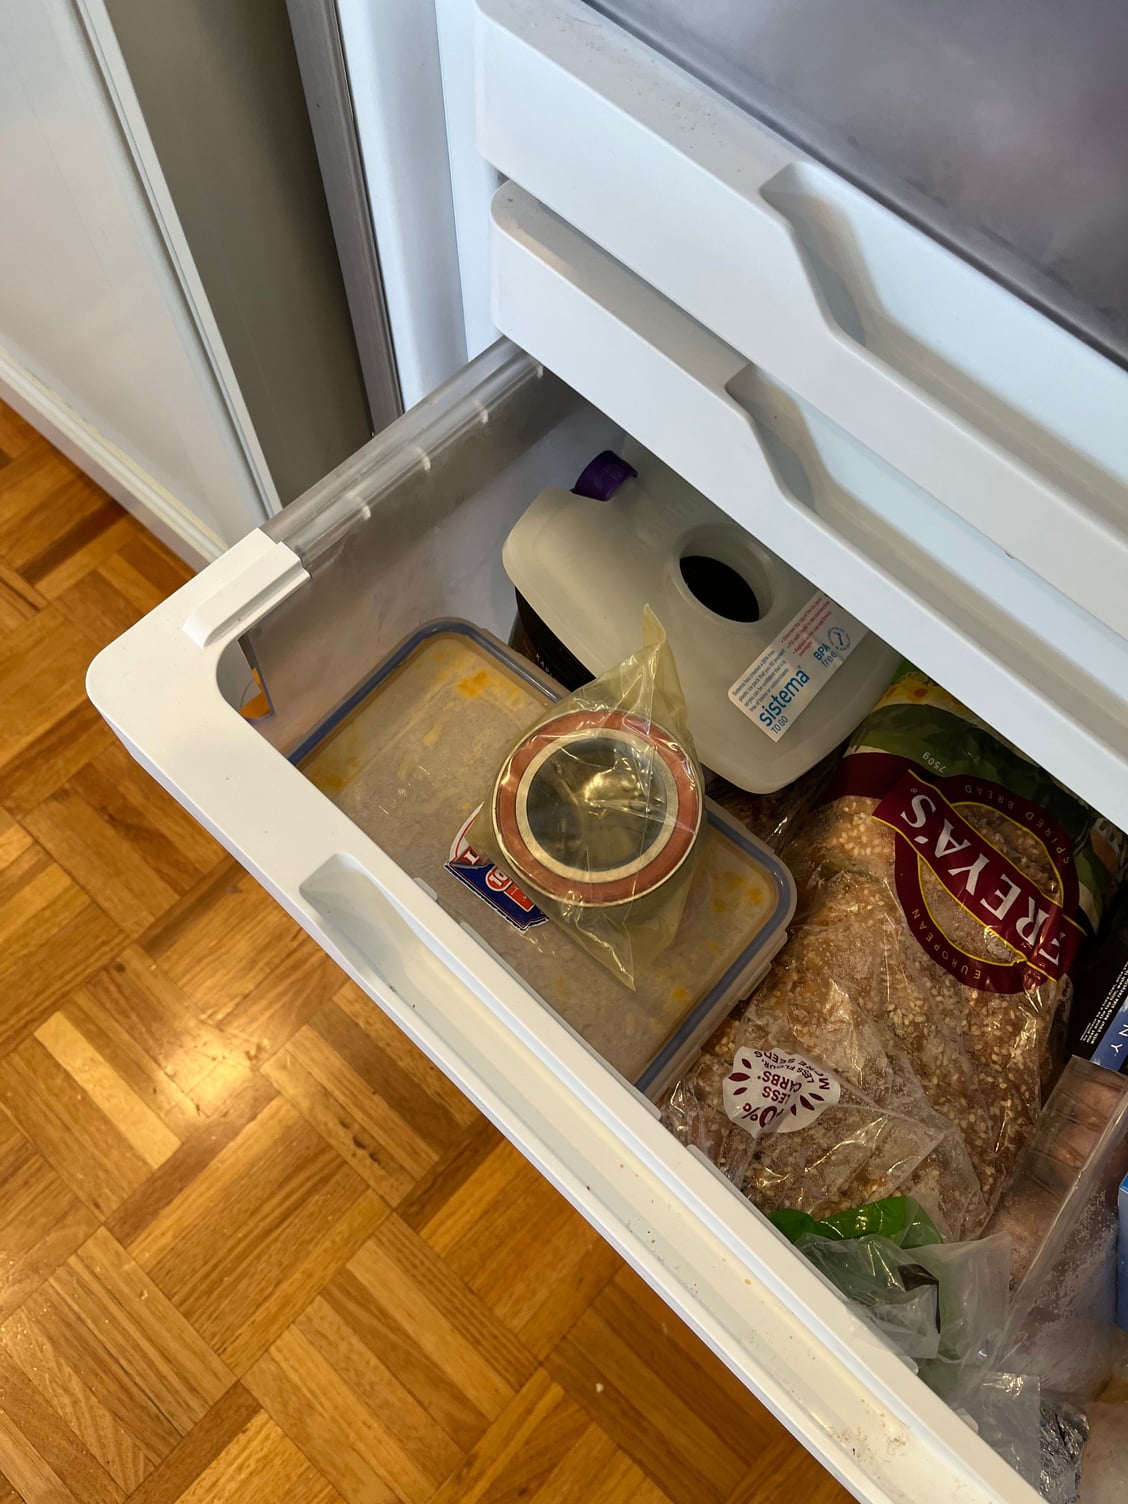
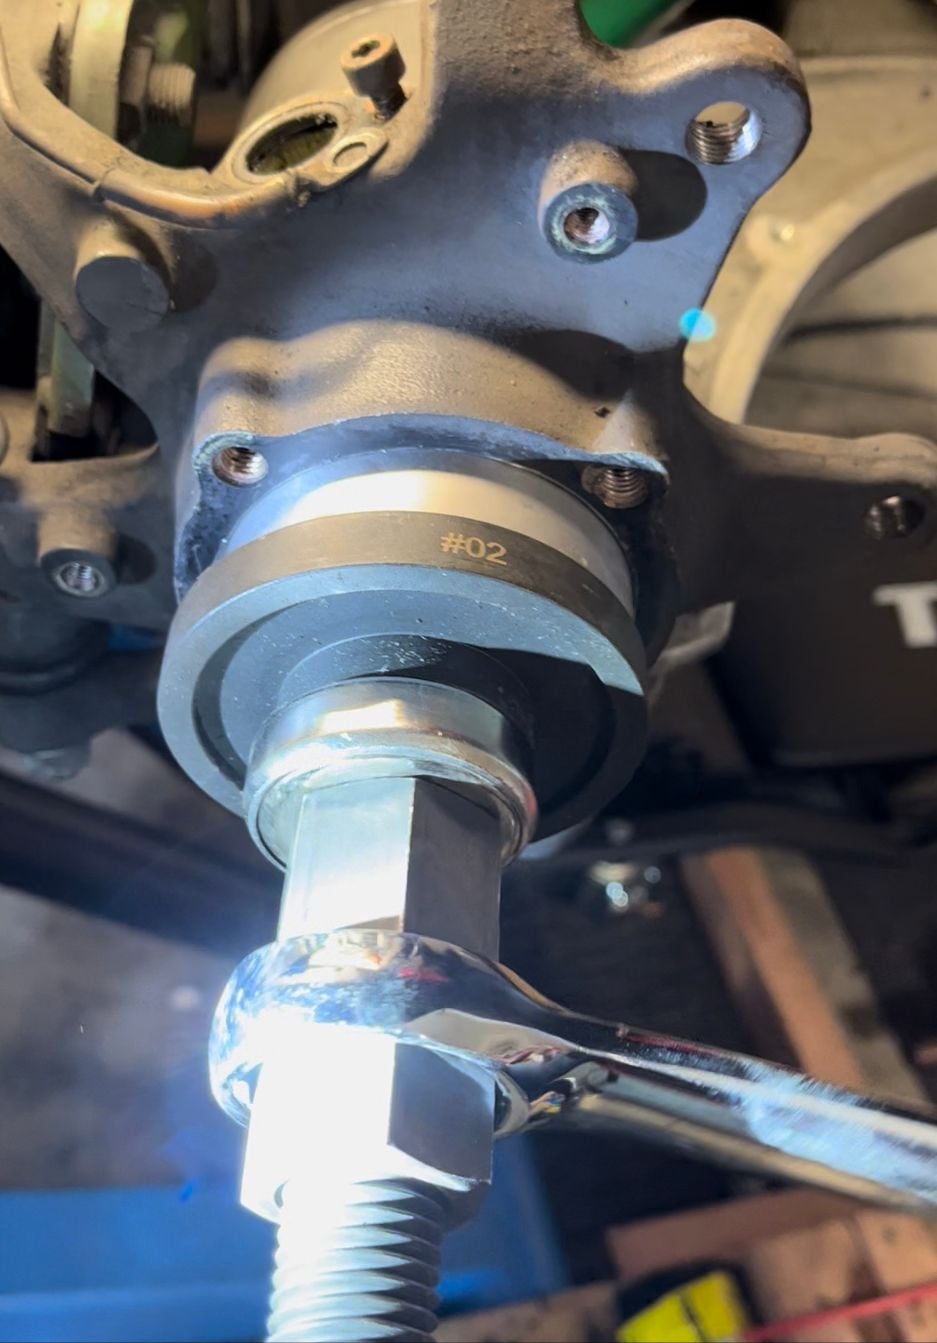
I had placed the new bearing in the freezer overnight. I reversed the bearing puller with a larger plate for the bearing. It must cover all of the bearing so it pulls on the outer. I put a small amount of copper grease on the edge of the hub and used a rubber mallet to start the bearing square with the hub. I then installed the puller and it went in like a hot knife through butter.
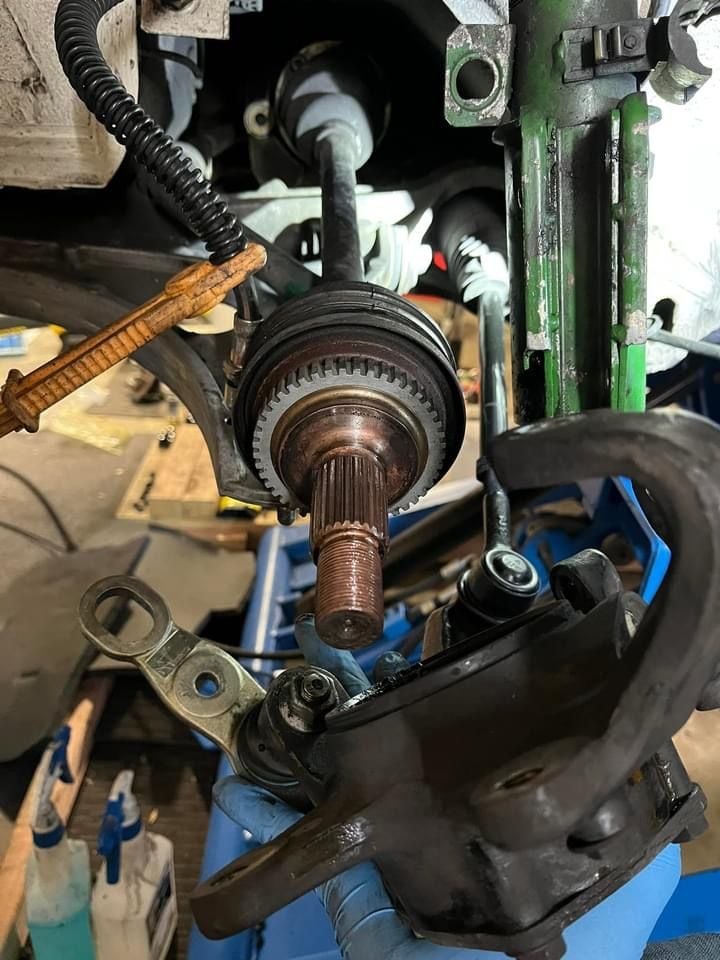
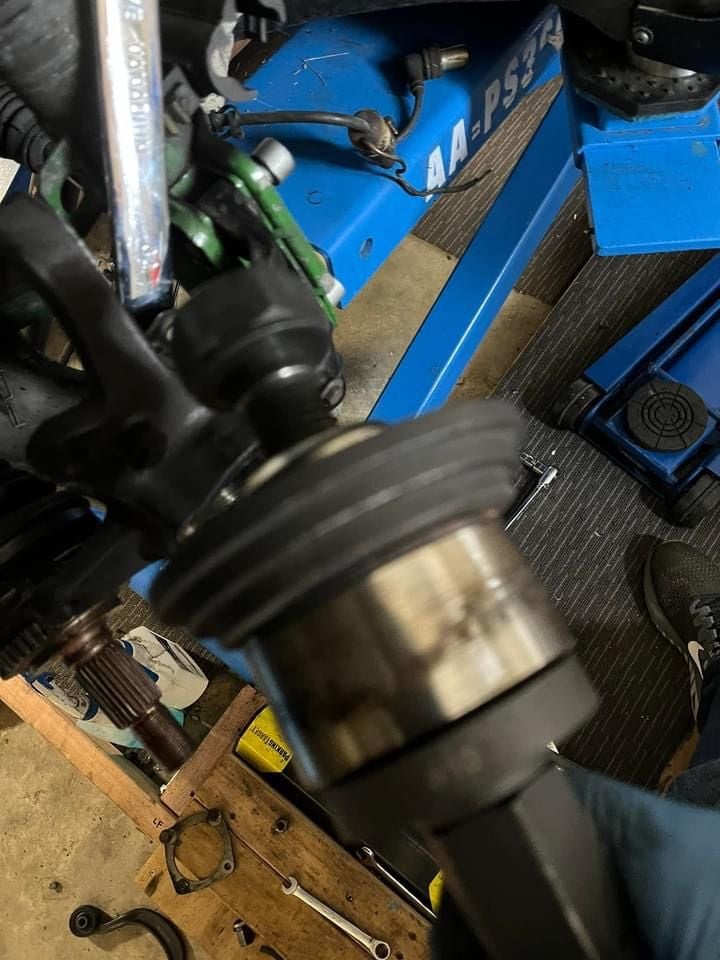
Next up the half shaft has to be reinserted inside the bearing, the retainer clamp fitted and then the wheel hub spindle inserted. This is where it almost went pear shaped.
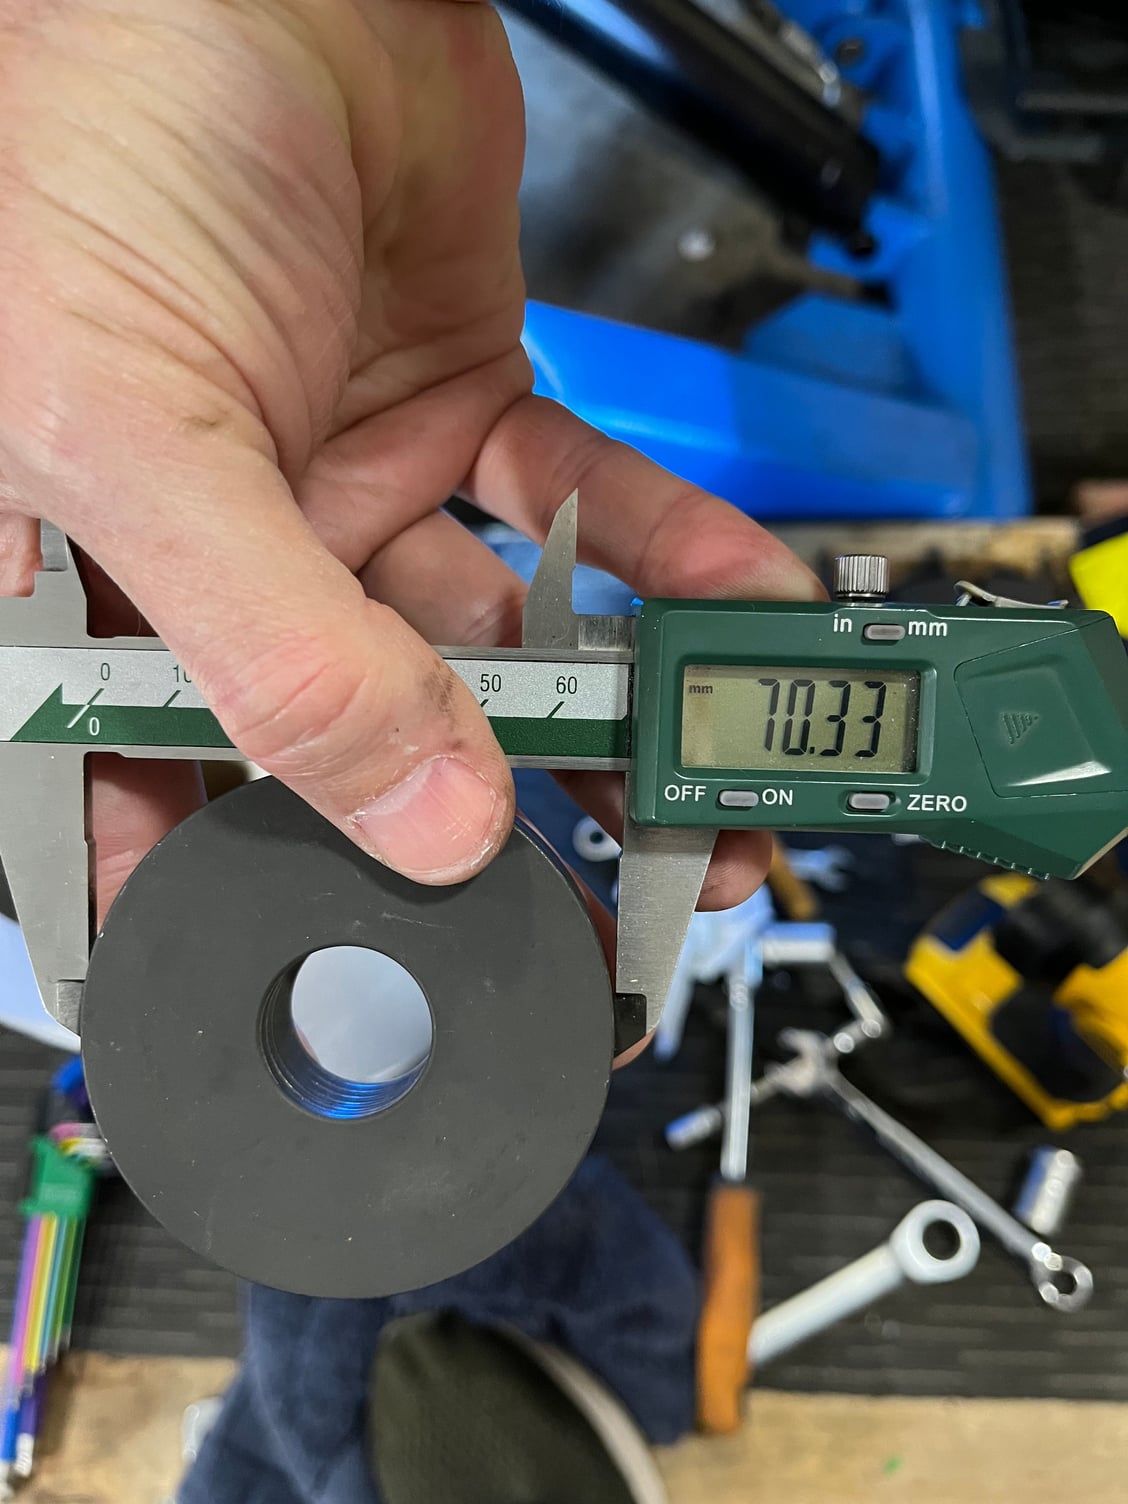
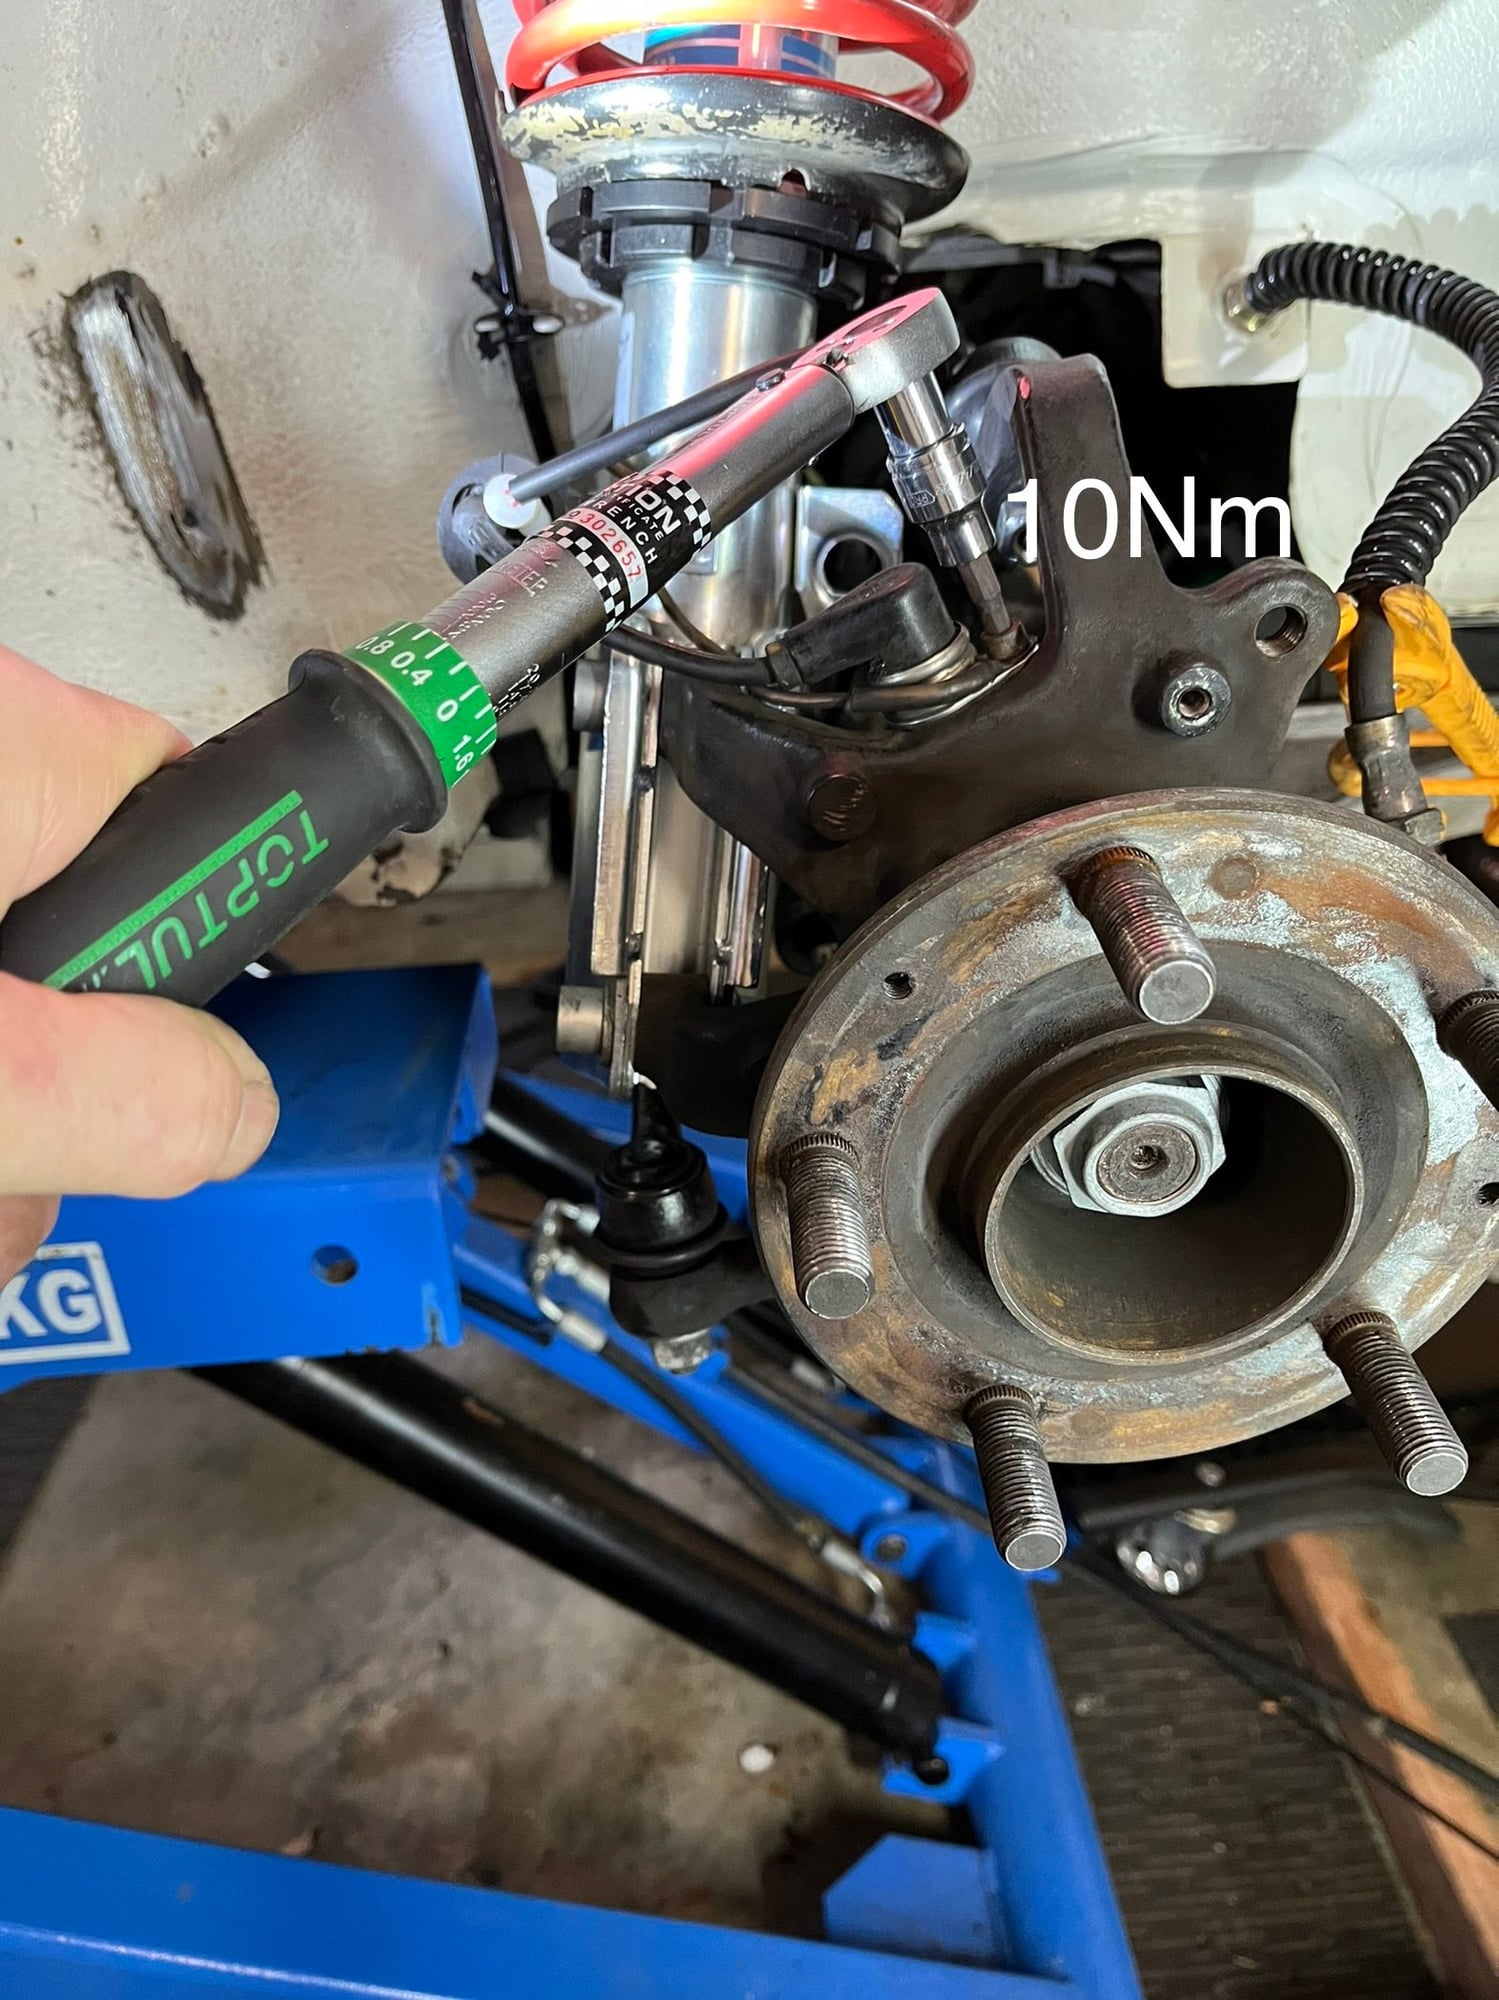
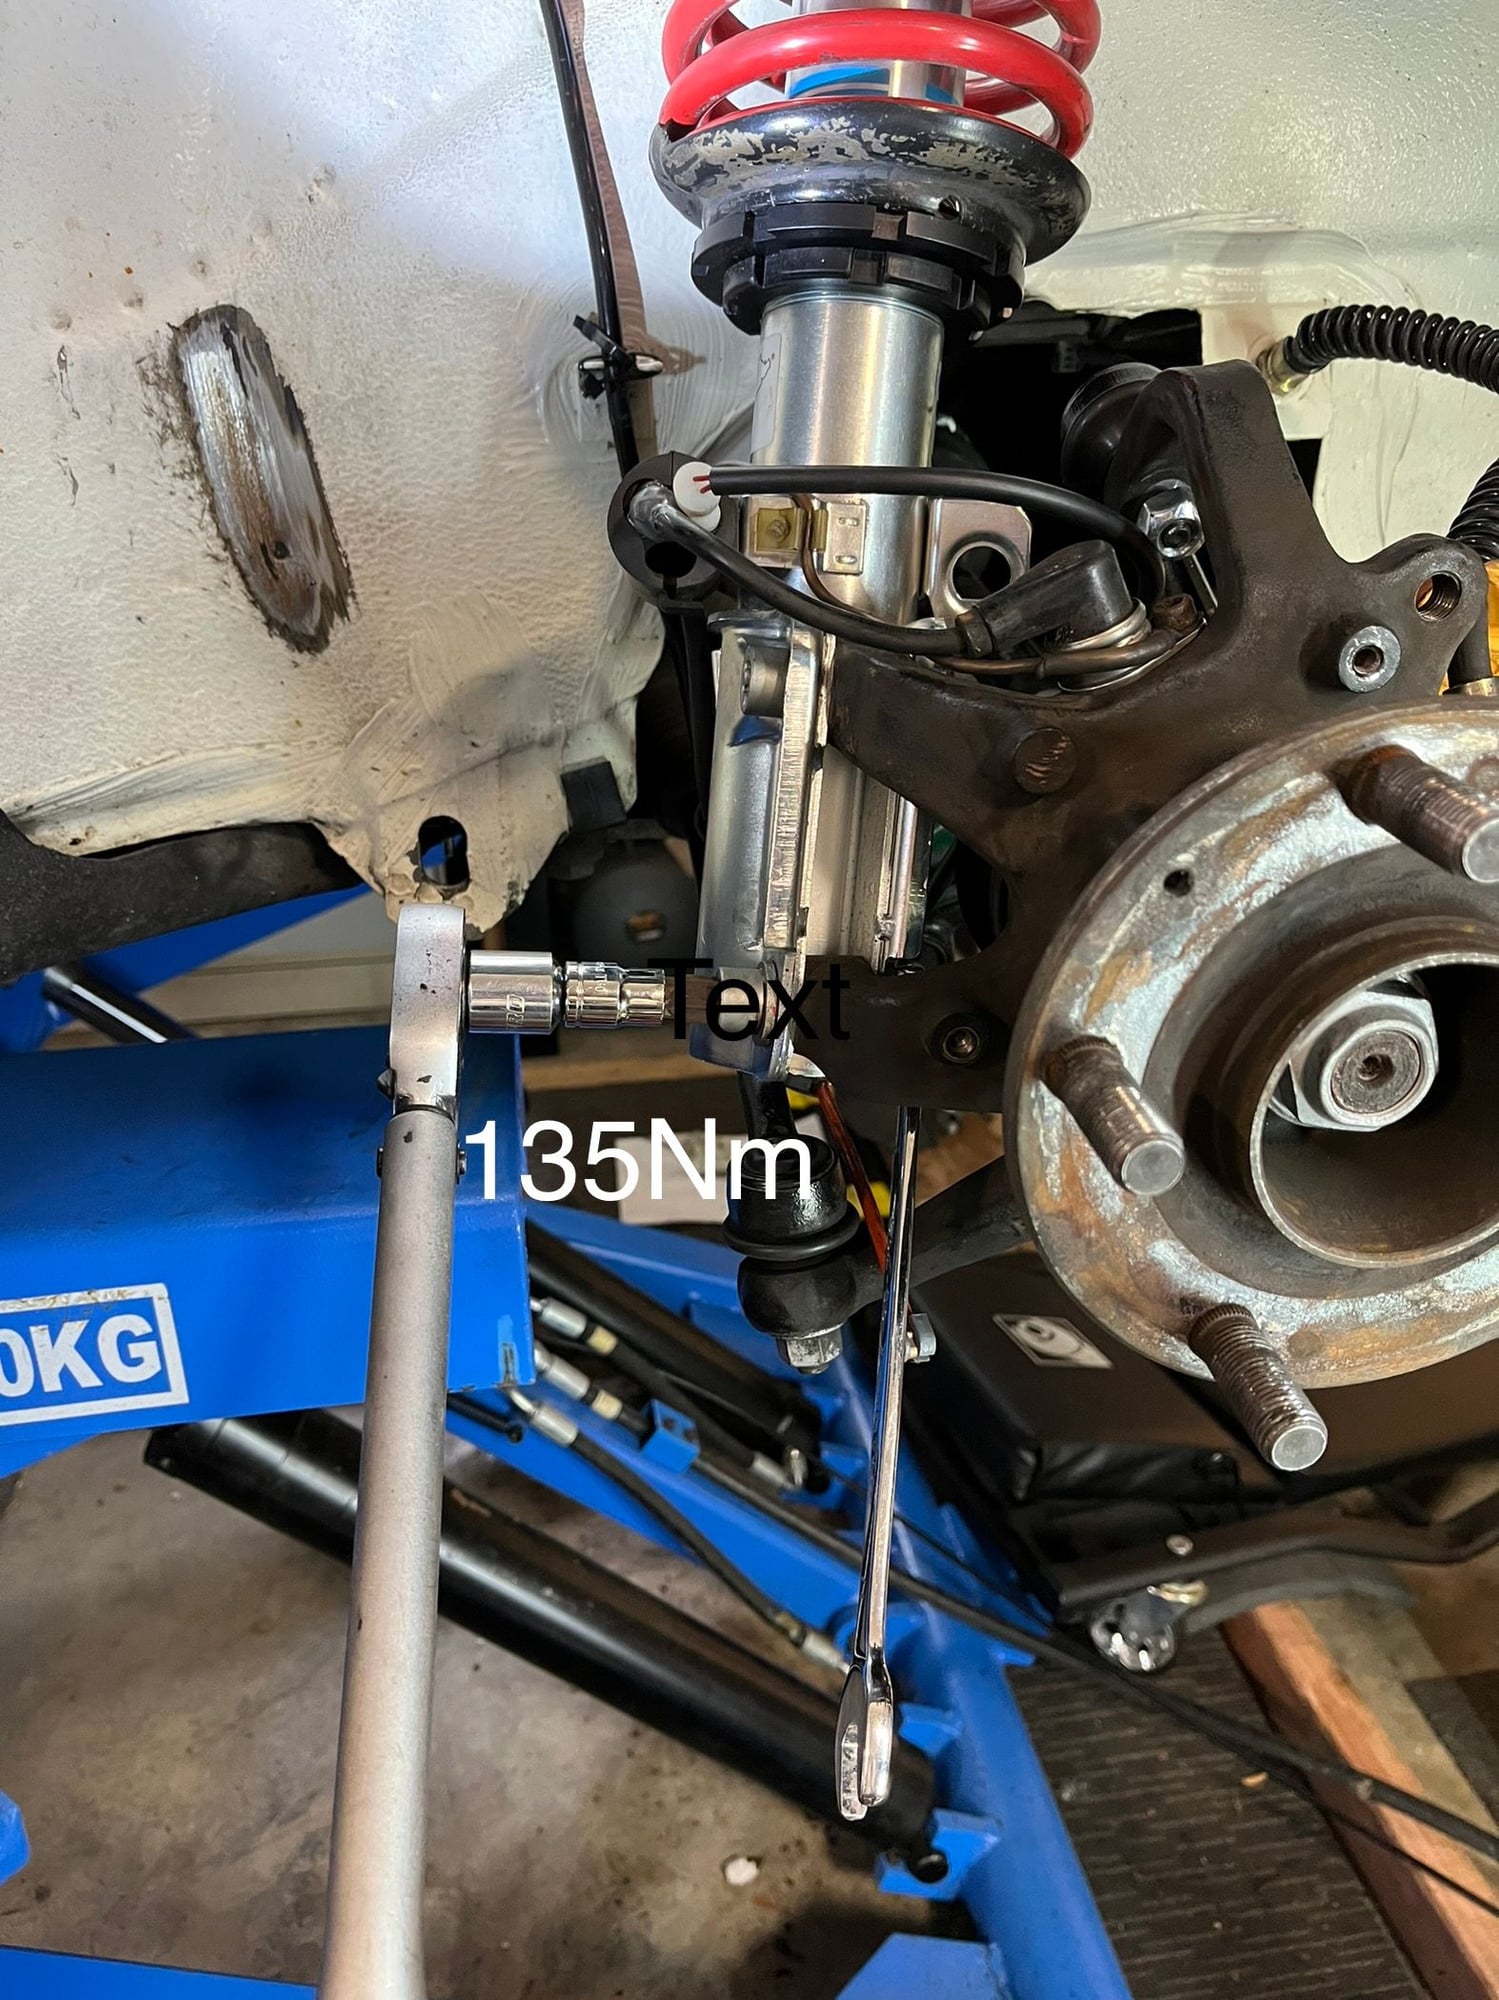
I put the wheel hub spindle in the freezer overnight. The theory is that you insert it far enough in the bearing inner to allow the old axle nut to be threaded on, then use a rattle gun to have the nut pull the spindle on, take off the old nut and put on the new nut. Great in theory.
Firstly, the freezing had no obvious effect. The spindle did not want to glide in.
Secondly, it took a lot of rubber mallet hits, while ever mindful that you are pushing on the unsupported inner bearing race, to get the half shaft showing the thread. Then it took a long time on the rattle gun to get the spindle on.
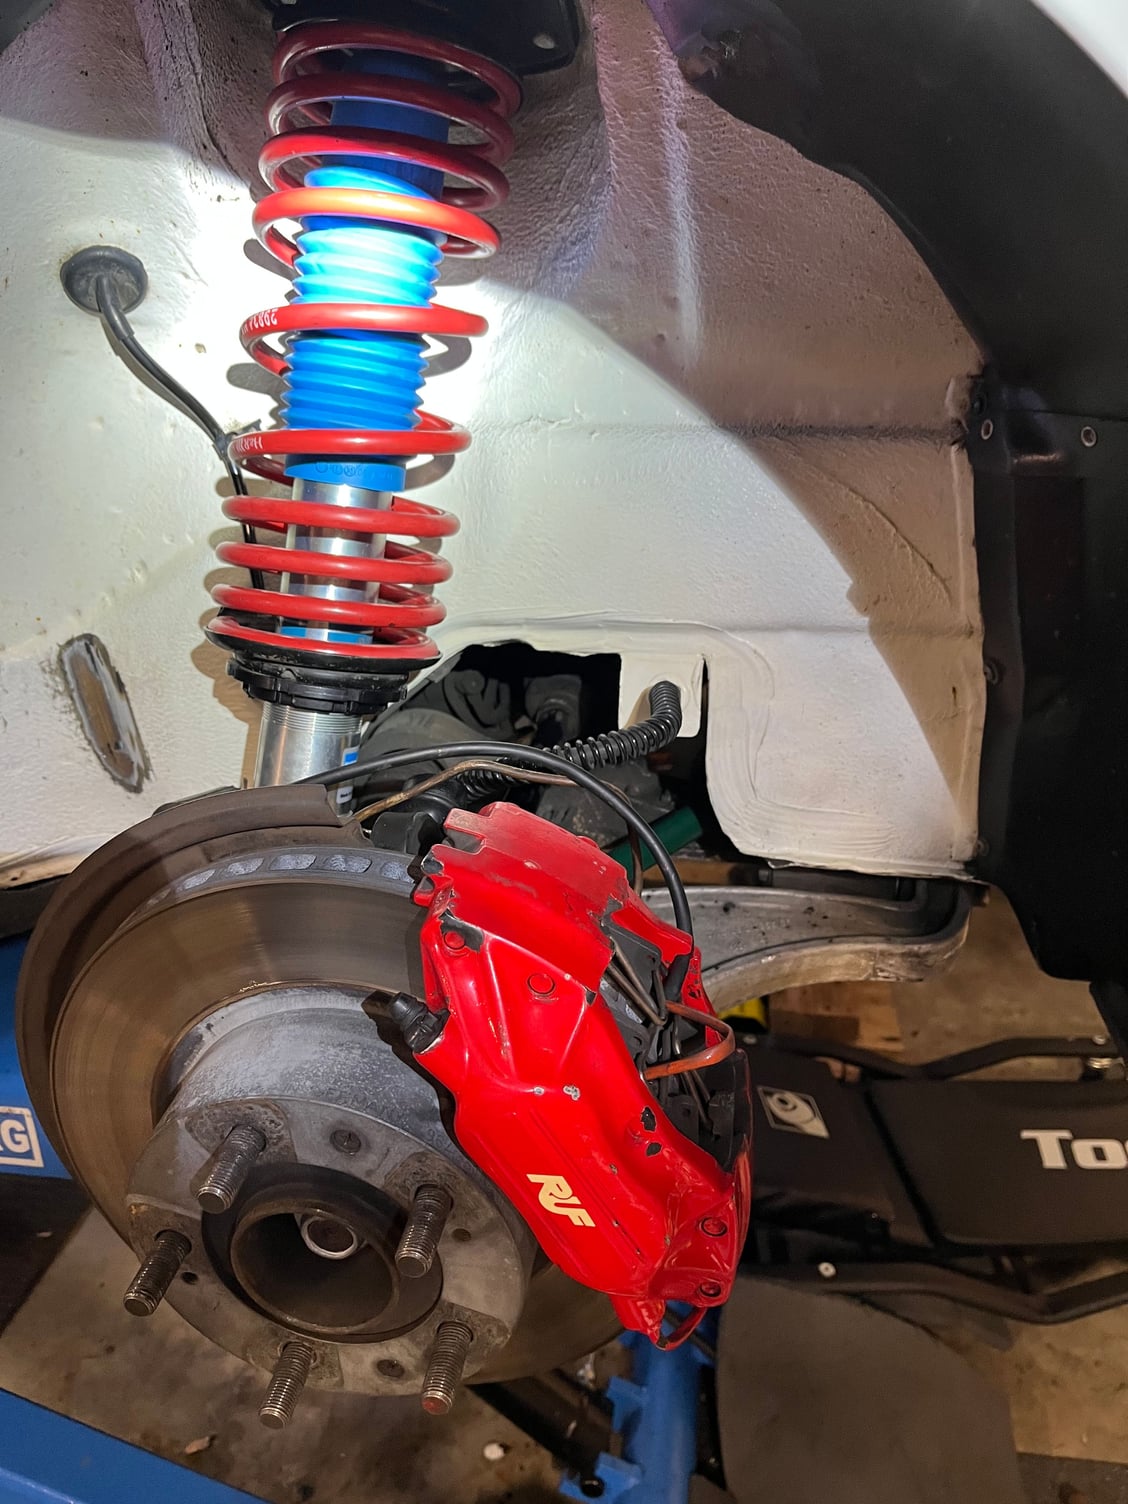
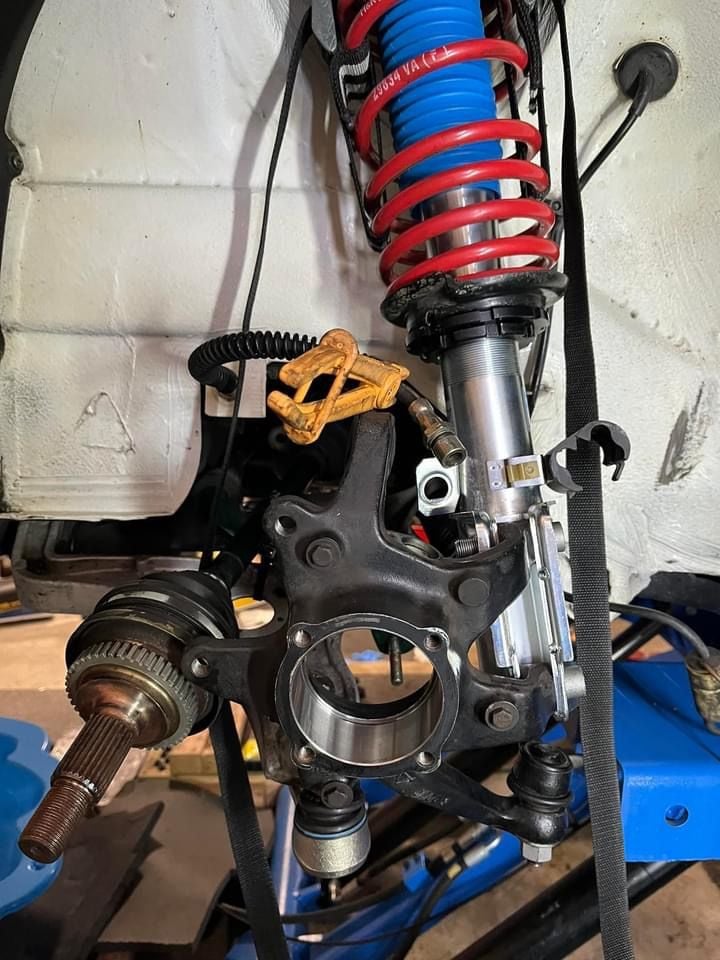
Thereafter it was reassembly. Note that I changed to a Bilstein B6 strut while I was doing this.
For the other side, I decided it was easier to dismantle the hub connections and leave the half shaft bolts in place. This does work, however you lose the camber settings on the strut. The only item I could leave connected was the tie rod. This made me think if you have to do all of this, why not take the hub off and get a shop to press the bearing? It makes sense if you don�t have the Baum tools. Of course you still have to do the spindle. Maybe it�s smarter with a C4 to let a shop do it? That crossed my mind many times. This is a crap job. In any case I got it all done.
Thanks for sharing the bearing change process. I need to replace my inner drive shaft boot and replacing the bearings is one of my "while you're in there" tasks. I think the reassembly of the drive shaft to the wheel hub is something i'm not looking forward to
Thanks for sharing the bearing change process. I need to replace my inner drive shaft boot and replacing the bearings is one of my "while you're in there" tasks. I think the reassembly of the drive shaft to the wheel hub is something i'm not looking forward to
A while back, I fitted Poweflex control arm bushes. I used this opportunity to re-grease them with Rubber Grease. An easy while you are in there job. Note that the single bush metal insert is pictured on the wrong side here.
One of my biggest annual costs seems to be getting geometry redone on the 964 and 997 after a winter of undoing stuff. Both already got their appointments booked for the spring!

 10-13-2021, 07:18 PM