
Teardown begins. Suspension madness...

 01-31-2016, 11:08 PM
#482
Race Car
Thread Starter
Sorry there aren't many pics lately and I haven't been writing much of the process...
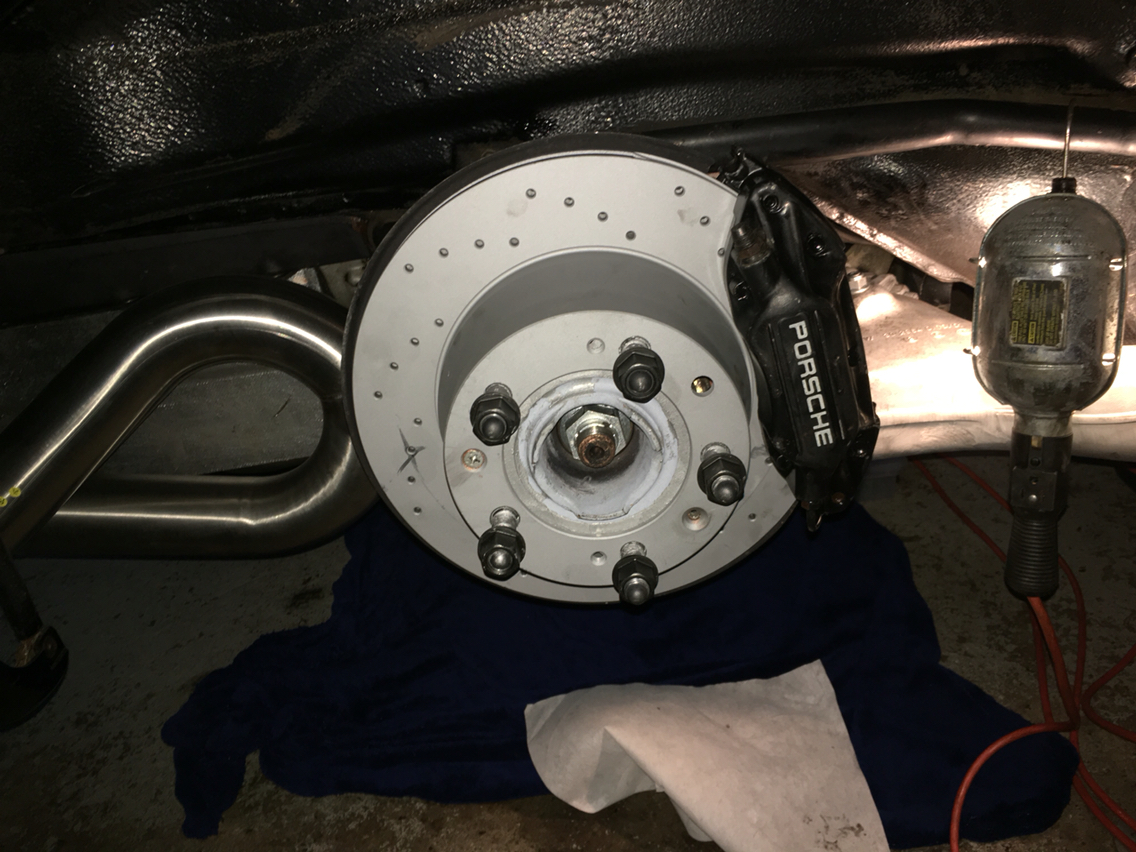
The entire rear end is in, everything but the hub nuts are torqued. Ride height has not been set on the god speeds, because I have no idea yet where to set them yet.
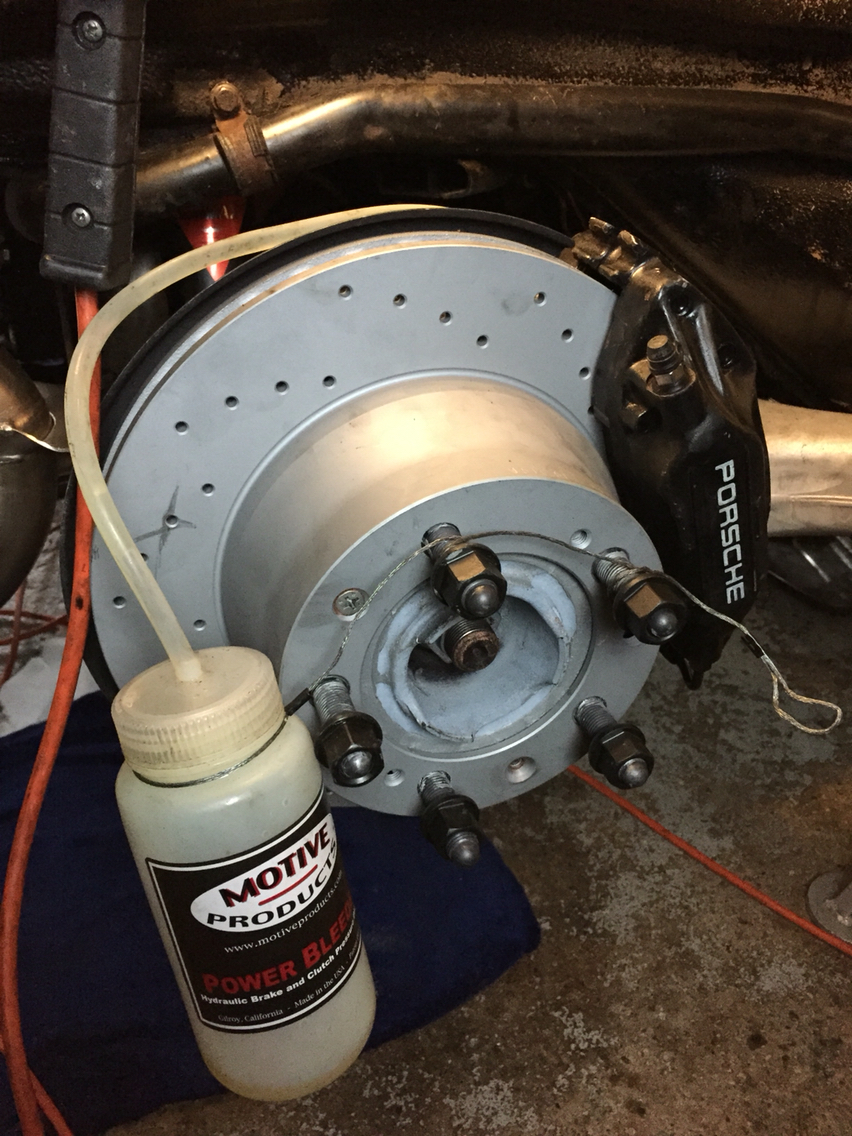
Front calipers get rebuilt in the morning. And then full 13 pint bleed and fluid flush and on go wheels and the car will be set down. I expect the ride height will be too low and so we will have to futz with it till it's right. We aren't corner balancing this car as the new springs will need time to break in and no need to spend the money just yet. So this will be set ride height, align and drive. Corner balance and align again maybe next year.
The entire rear end is in, everything but the hub nuts are torqued. Ride height has not been set on the god speeds, because I have no idea yet where to set them yet.
Front calipers get rebuilt in the morning. And then full 13 pint bleed and fluid flush and on go wheels and the car will be set down. I expect the ride height will be too low and so we will have to futz with it till it's right. We aren't corner balancing this car as the new springs will need time to break in and no need to spend the money just yet. So this will be set ride height, align and drive. Corner balance and align again maybe next year.
02-01-2016, 09:15 AM
#484
Race Car
Thread Starter
Originally Posted by C4inLA
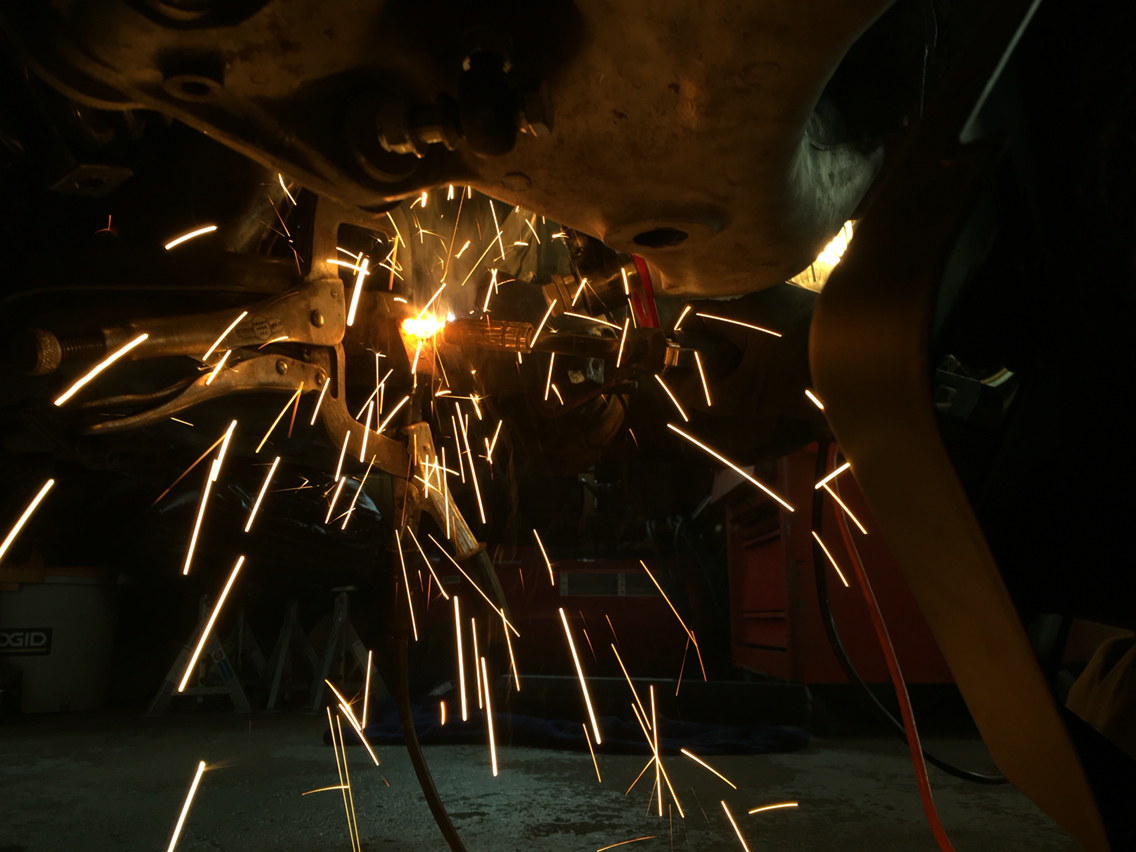
Nice firework pic. On the new rotors, no need to remove coating on rotor where pads contact?
 02-01-2016, 06:43 PM
#486
Can't wait to hear that pipe on the lobster rocket. But today I did a high performance mod of my own.
Replaced the crest-less, blown bulb key heads with the latest version from Porsche. Those finicky little bulbs have been replaced with LEDs. This is an LED upgrade even Goughary can love. And an amazing deal at $23 from the boys at Sunset.
Replaced the crest-less, blown bulb key heads with the latest version from Porsche. Those finicky little bulbs have been replaced with LEDs. This is an LED upgrade even Goughary can love. And an amazing deal at $23 from the boys at Sunset.
02-01-2016, 08:54 PM
#488
Race Car
Thread Starter
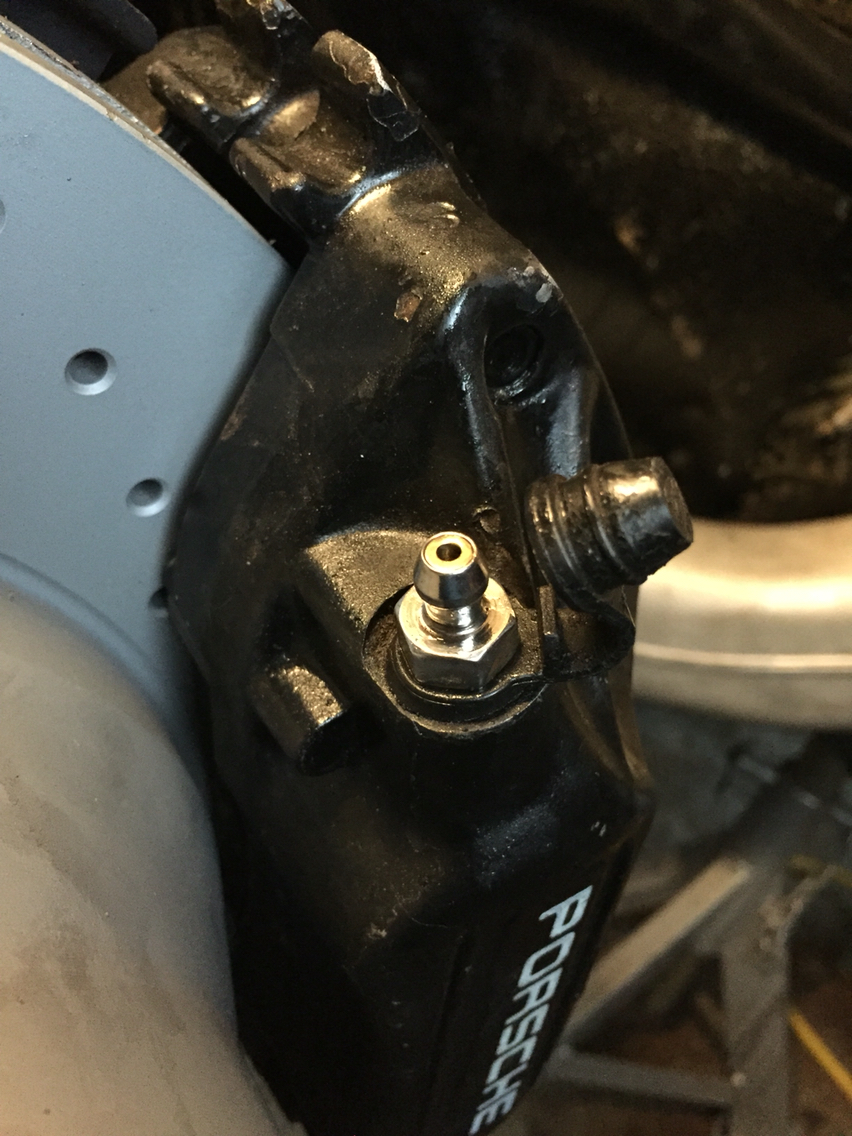
Car is basically done. Front calipers were rebuilt today. Stainless speed bleeders all around. Everything but the hub nuts are torqued.
Speed nuts, washers and 10mm stainless bolts arrived today, so I can put the heat sheilds back on.
Wednesday I bleed the car and then I can set it down on the godspeeds and set the ride height prior to alignment.
And Friday it goes to alignment hopefully.
Speed nuts, washers and 10mm stainless bolts arrived today, so I can put the heat sheilds back on.
Wednesday I bleed the car and then I can set it down on the godspeeds and set the ride height prior to alignment.
And Friday it goes to alignment hopefully.
02-04-2016, 12:21 AM
#489
Race Car
Thread Starter
Speed bleeders make everything a bit more worry free, plus they are stainless so hopefully as the car gets driven rain or shine the my worn corrode like the old bleeders I removed.
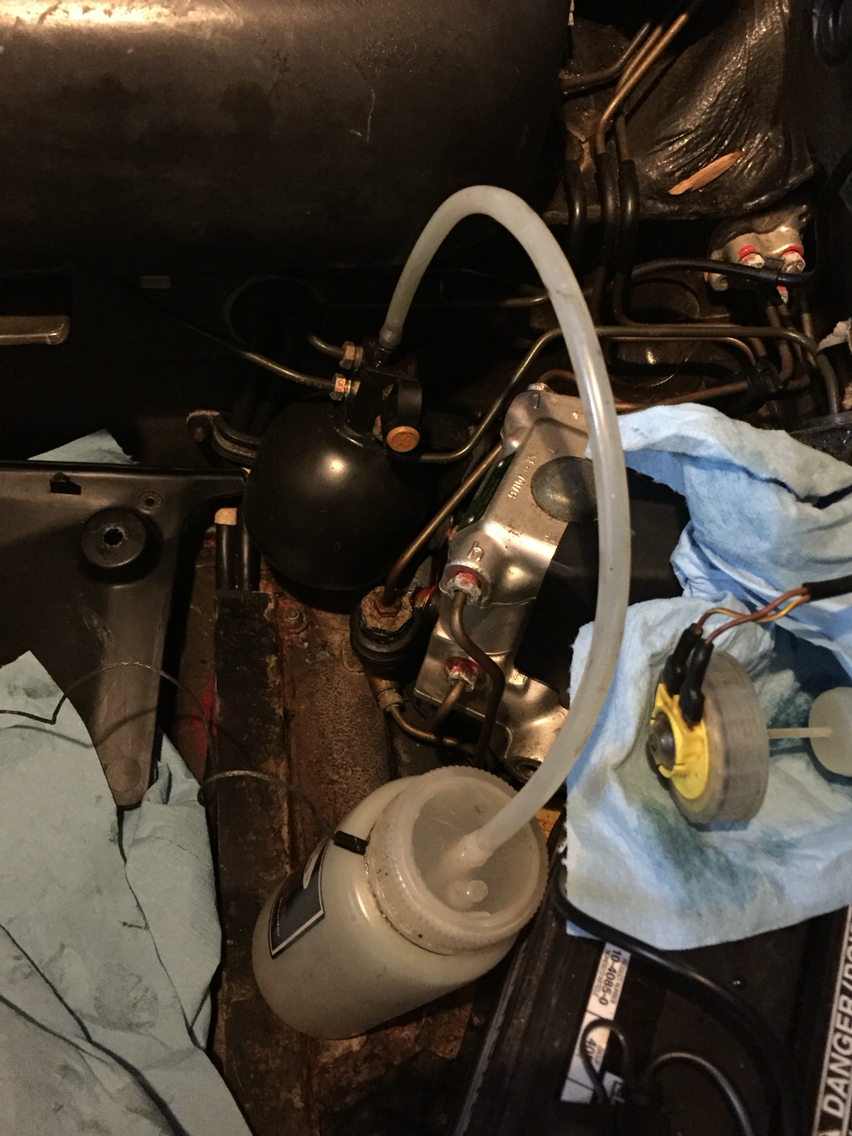
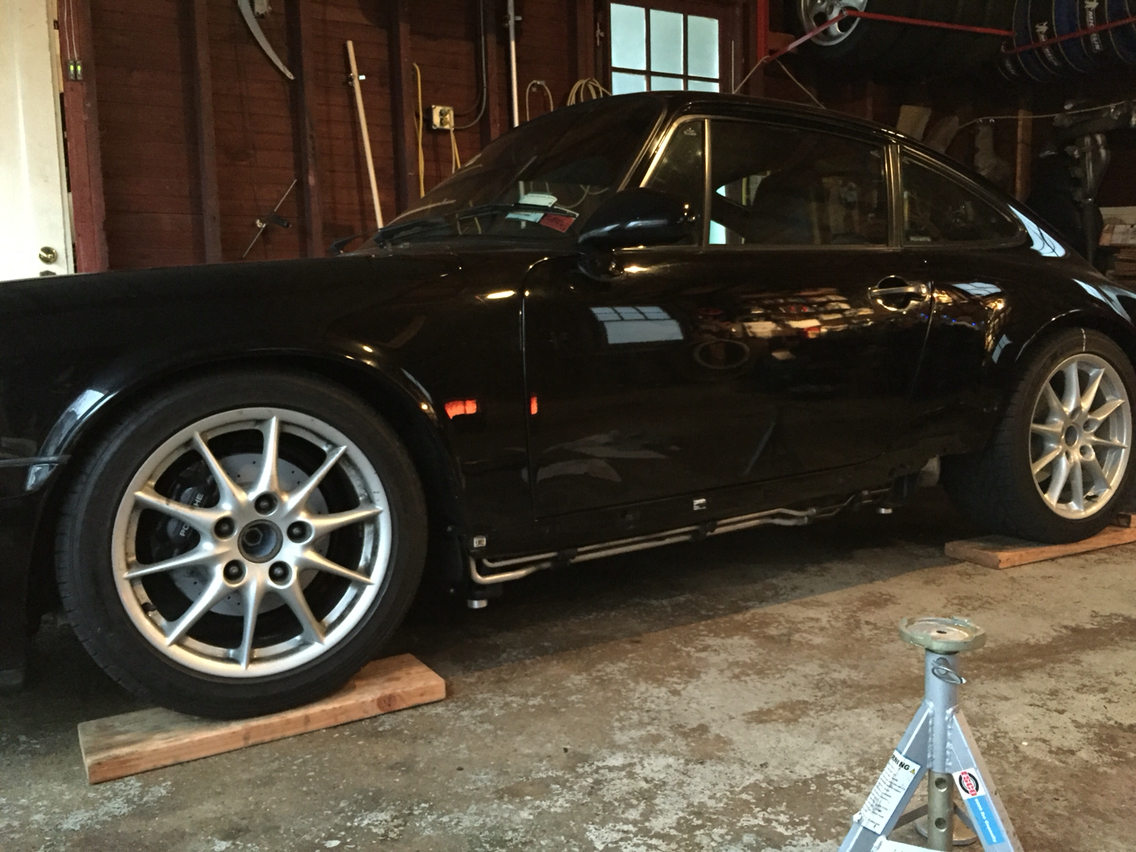
After a full fluid flush/bleed, the car finally got dropped to the ground. Tomorrow we set the ride height to RS plus 15. Then we torque the hub nuts and the strut bolts to the trailing arms and tie up a couple loose ends and out it goes for alignment. Very exciting stuff...
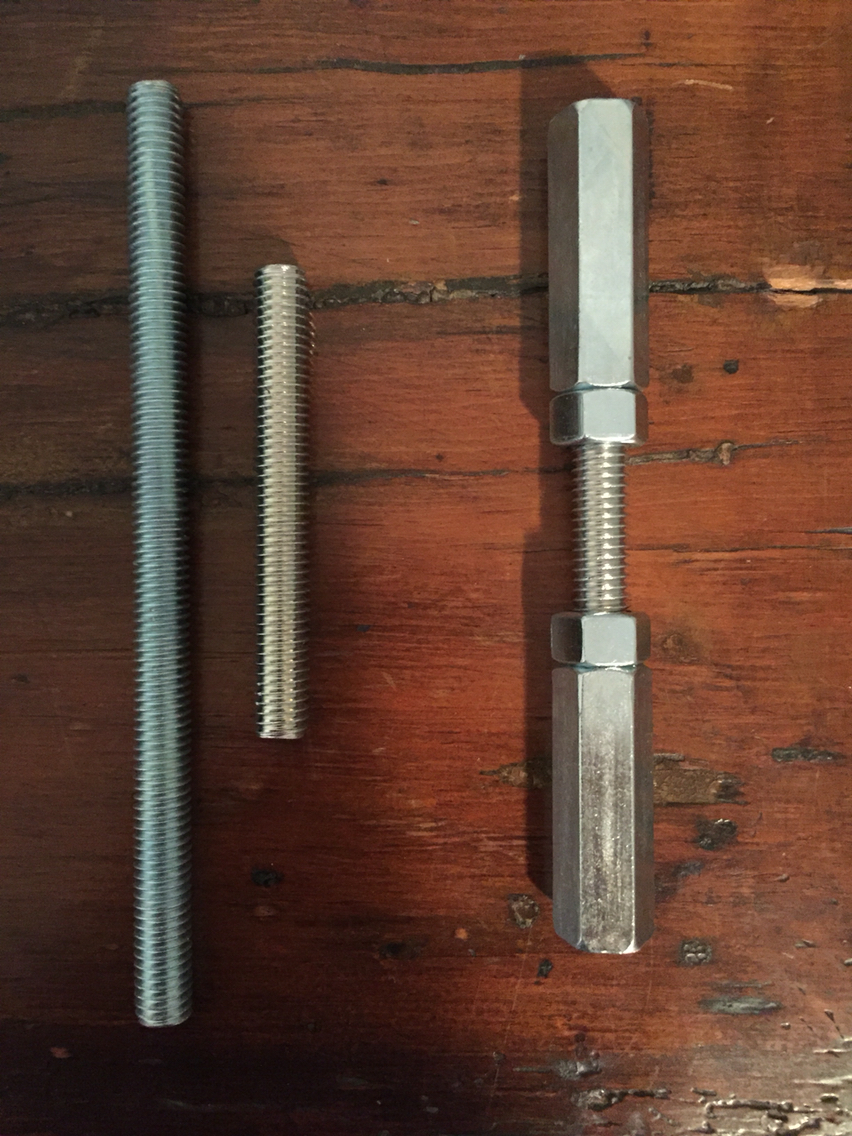
This is the tool I'll use to measure the ride height...
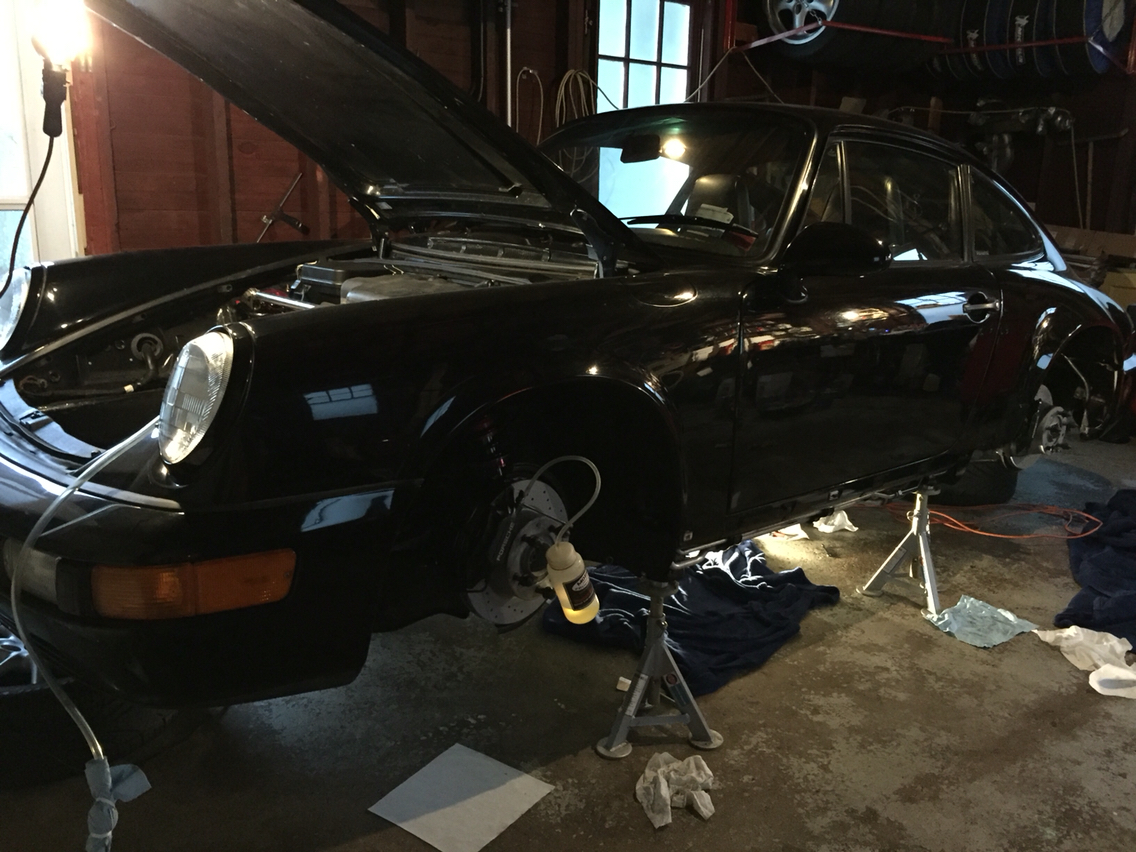
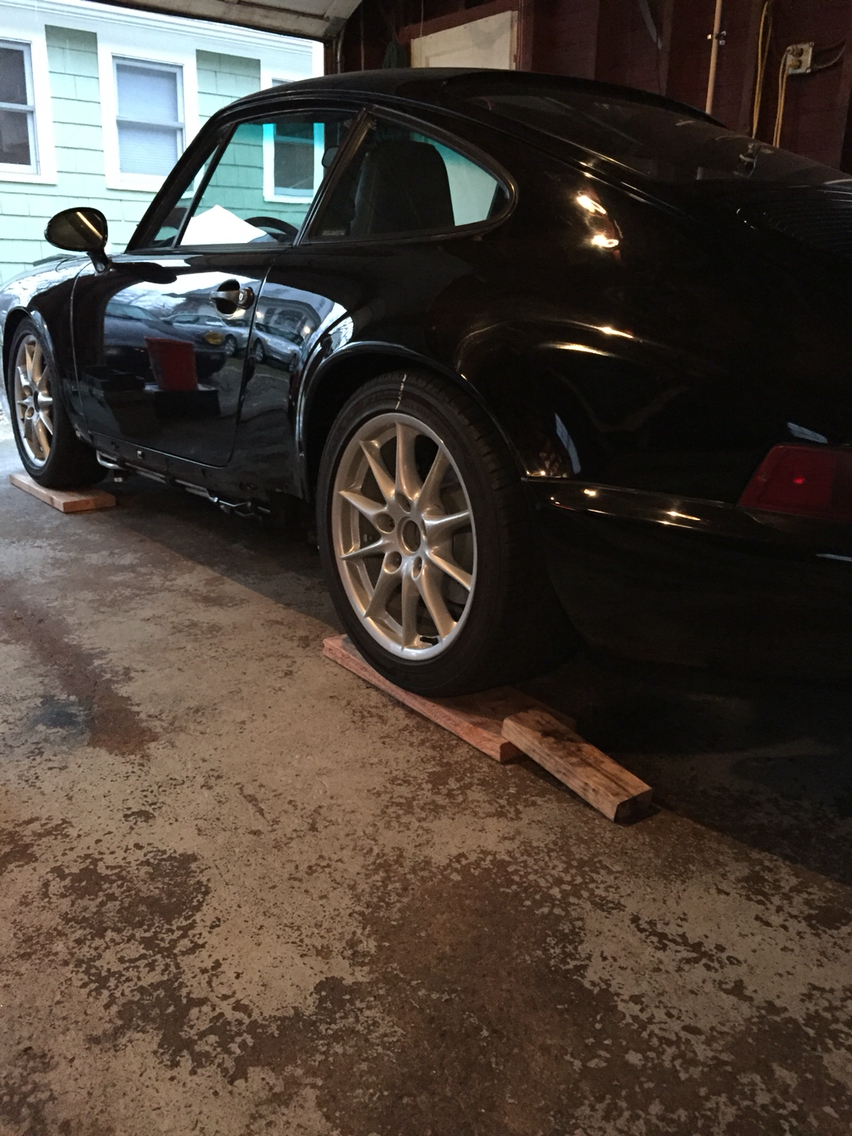
And the car on the ground
Can't wait to see the interior in it...
After a full fluid flush/bleed, the car finally got dropped to the ground. Tomorrow we set the ride height to RS plus 15. Then we torque the hub nuts and the strut bolts to the trailing arms and tie up a couple loose ends and out it goes for alignment. Very exciting stuff...
This is the tool I'll use to measure the ride height...
And the car on the ground
Can't wait to see the interior in it...
02-04-2016, 01:28 AM
#490
Burning Brakes
If you have time to share your ride height process or general ideas, I'd be listing... When I put in bilstein setup was just gonna wing it by setting mid to high and let alignment shop bring things down to final set up....
02-04-2016, 06:10 PM
#491
Race Car
Thread Starter
Ride height. Like I said, since the springs were going to settle anyway, no reason to corner balance. We just set the ride height today with this tool I made...
Attachment 1017444
Basically it's a lot of up and down while you tweak once side, then the other, then back...400-500 times is about right to get both sides the same. We ended up with RS plus 10mm since RS plus 15mm looked too high.
And then we torqued the last remaining bolts and out it went today for alignment.
Attachment 1017443
I can't believe it's done.
On to The Spotted Owl.
02-04-2016, 08:44 PM
#492
Burning Brakes
Car looks good.
So, your homemade tool fits top of wheel to top of fender well? Or, under-carriage to ground?
Think I found answer on pg 44-4 of service manual, "measure distance from point of wheel/floor contact to the outer cross member to body bolt head's lower edge" ...
So, your homemade tool fits top of wheel to top of fender well? Or, under-carriage to ground?
Think I found answer on pg 44-4 of service manual, "measure distance from point of wheel/floor contact to the outer cross member to body bolt head's lower edge" ...
Last edited by C4inLA; 02-04-2016 at 11:15 PM.
02-05-2016, 10:33 AM
#494
Rennlist Member
Car looks great. How many are on the list?

