When you click on links to various merchants on this site and make a purchase, this can result in this site earning a commission. Affiliate programs and affiliations include, but are not limited to, the eBay Partner Network.
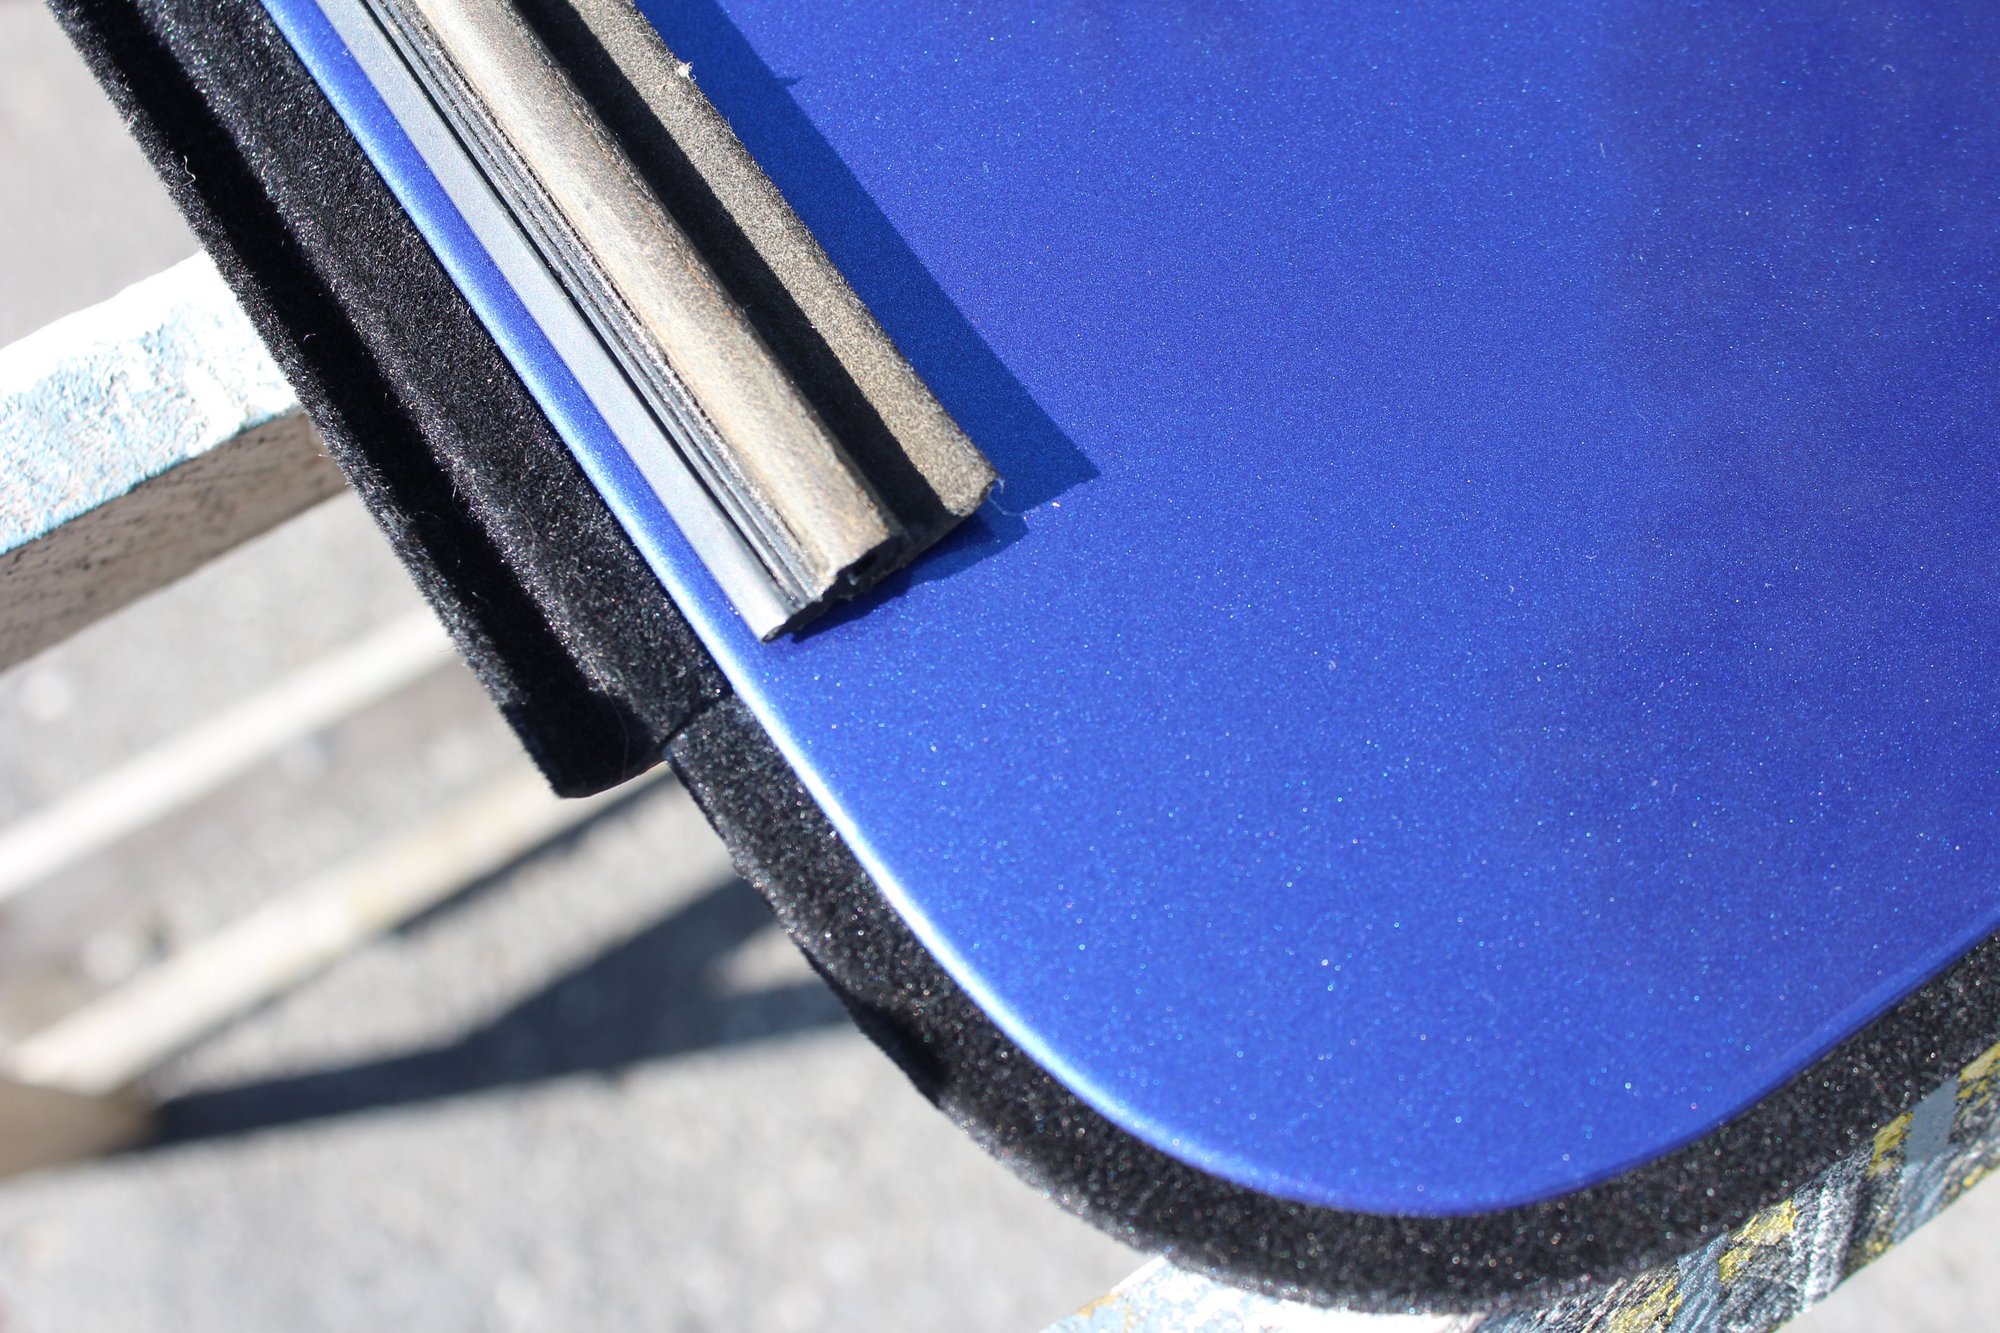
So after all the stories I heard about the nightmare job it was, it was actually much easier than the 911's. It took me longer to locate the seals than it did to do the job.
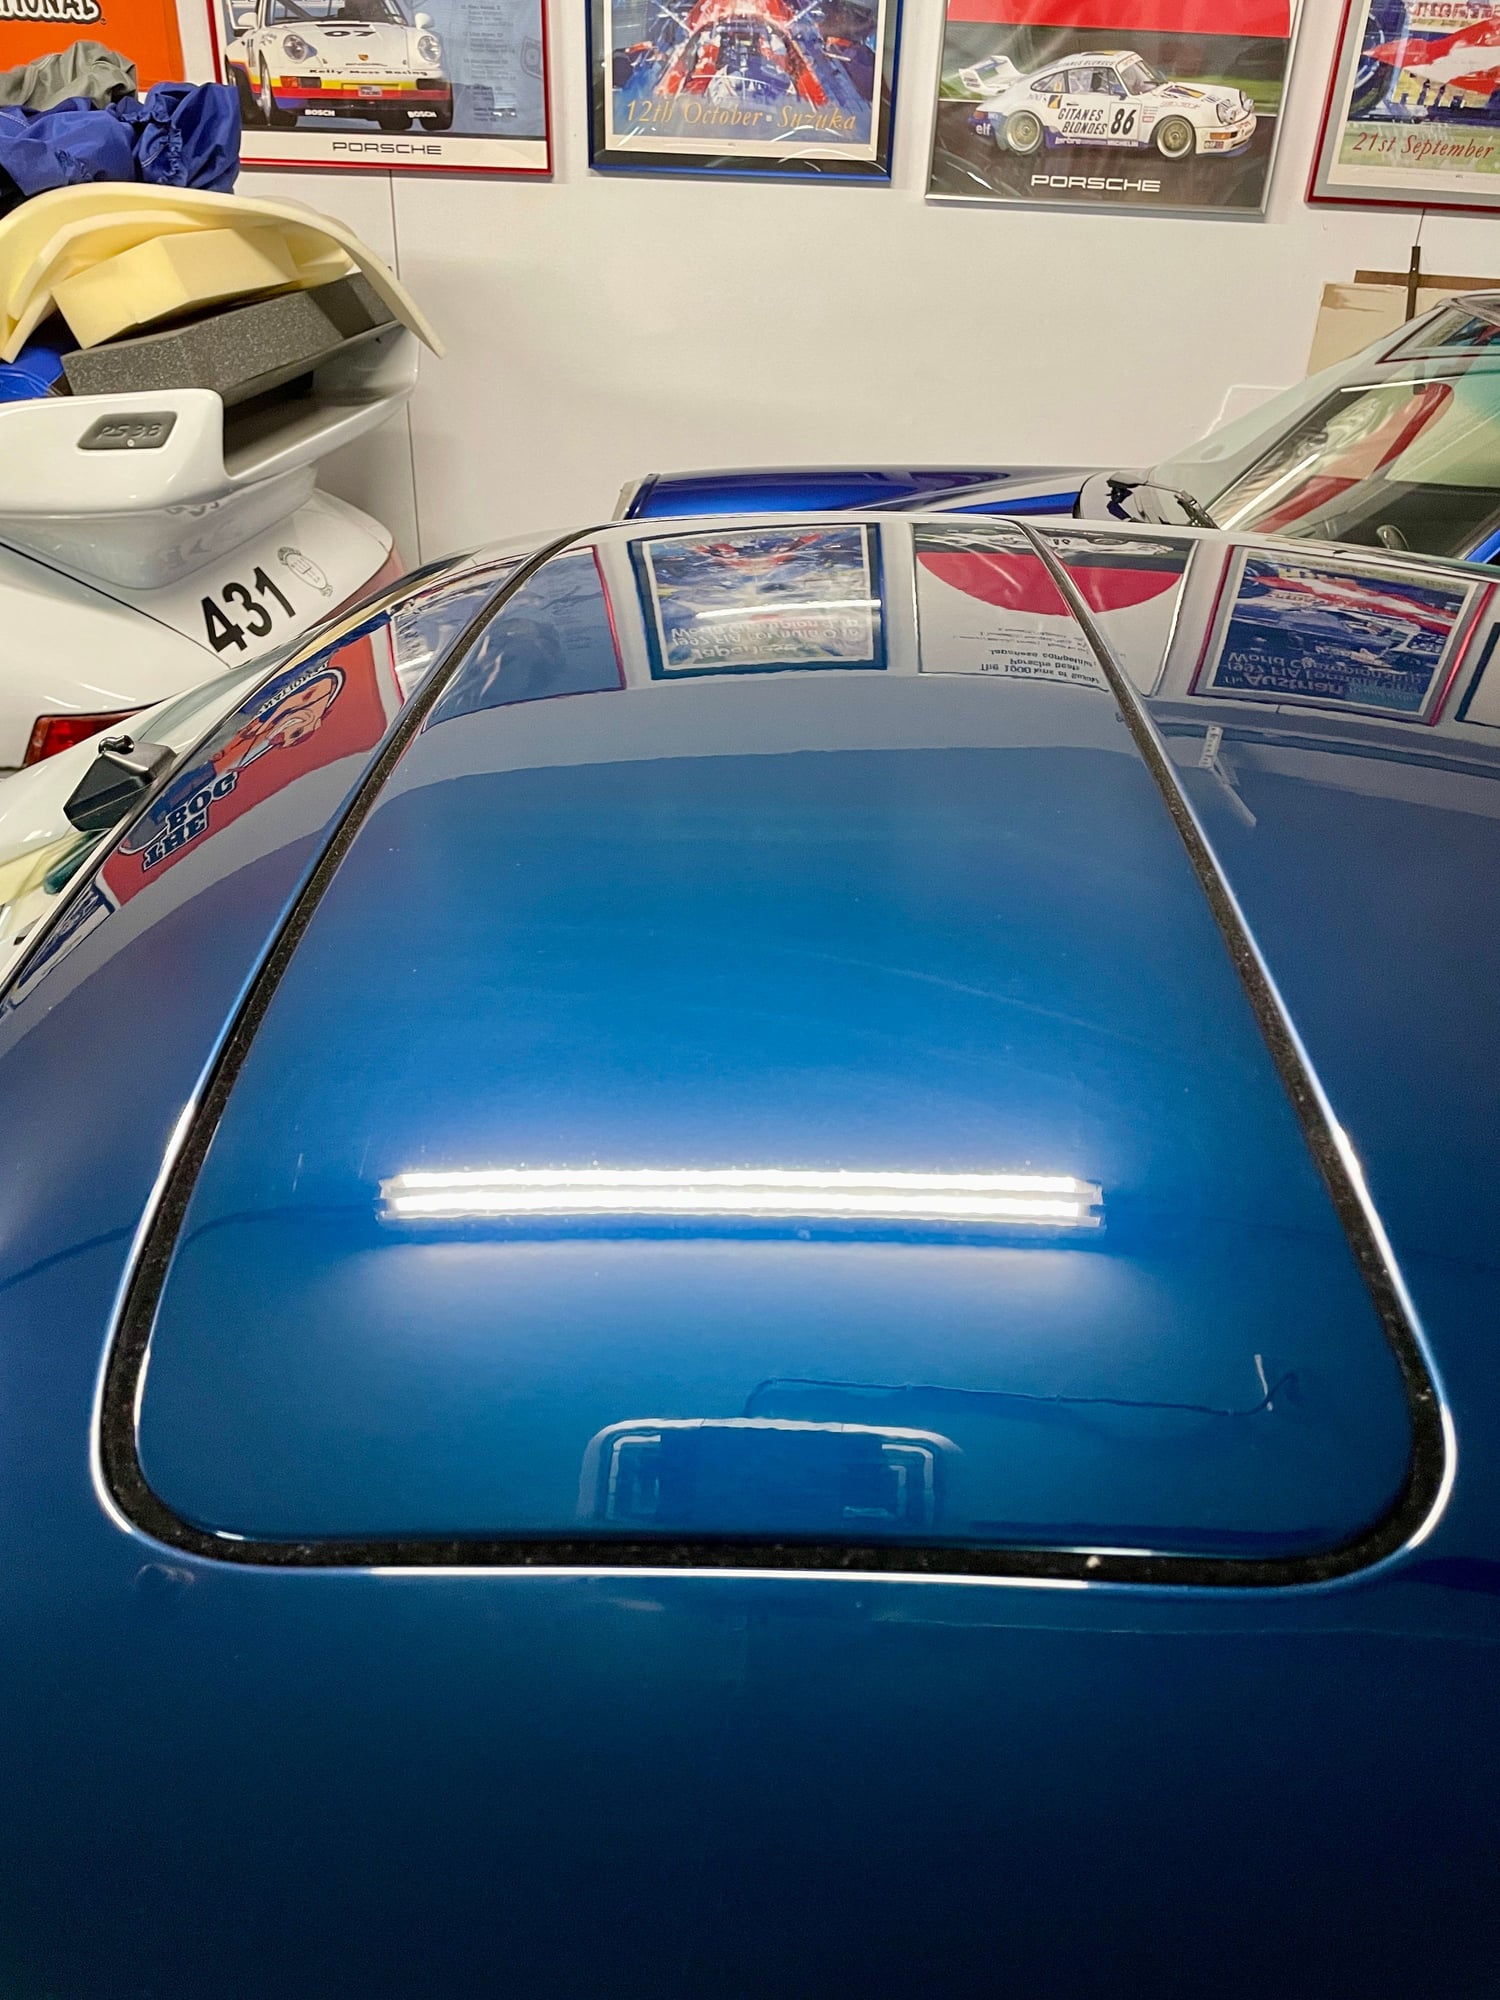
I am letting it sit overnight and will adjust in the AM but looks so much nicer than the old worn out seal. Of course I forgot to take before pics.
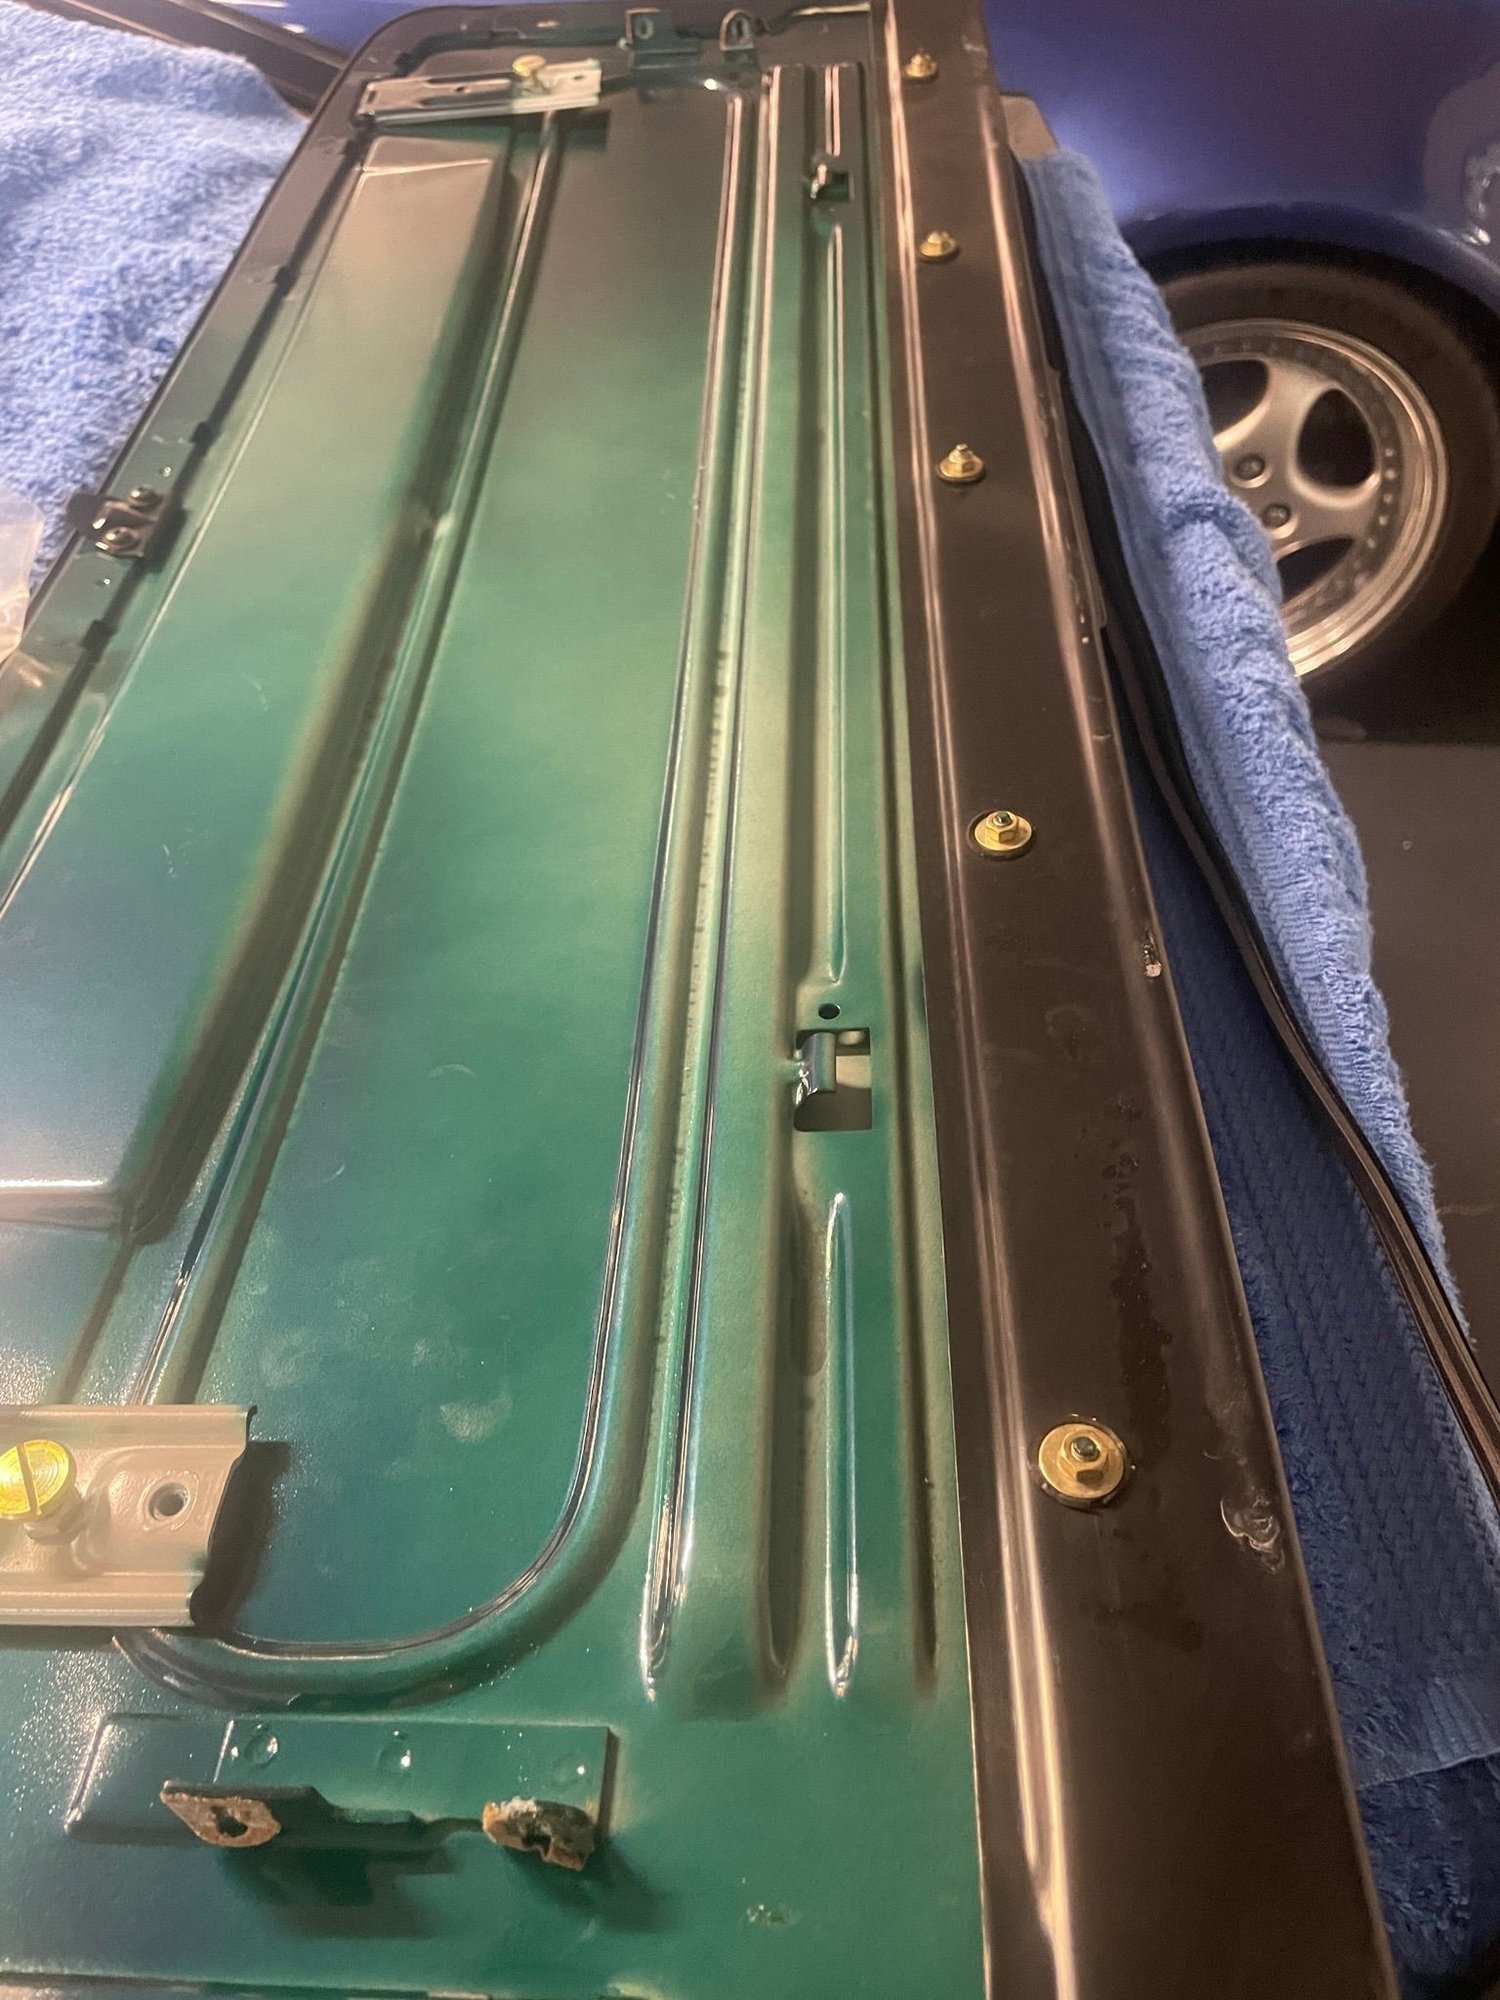
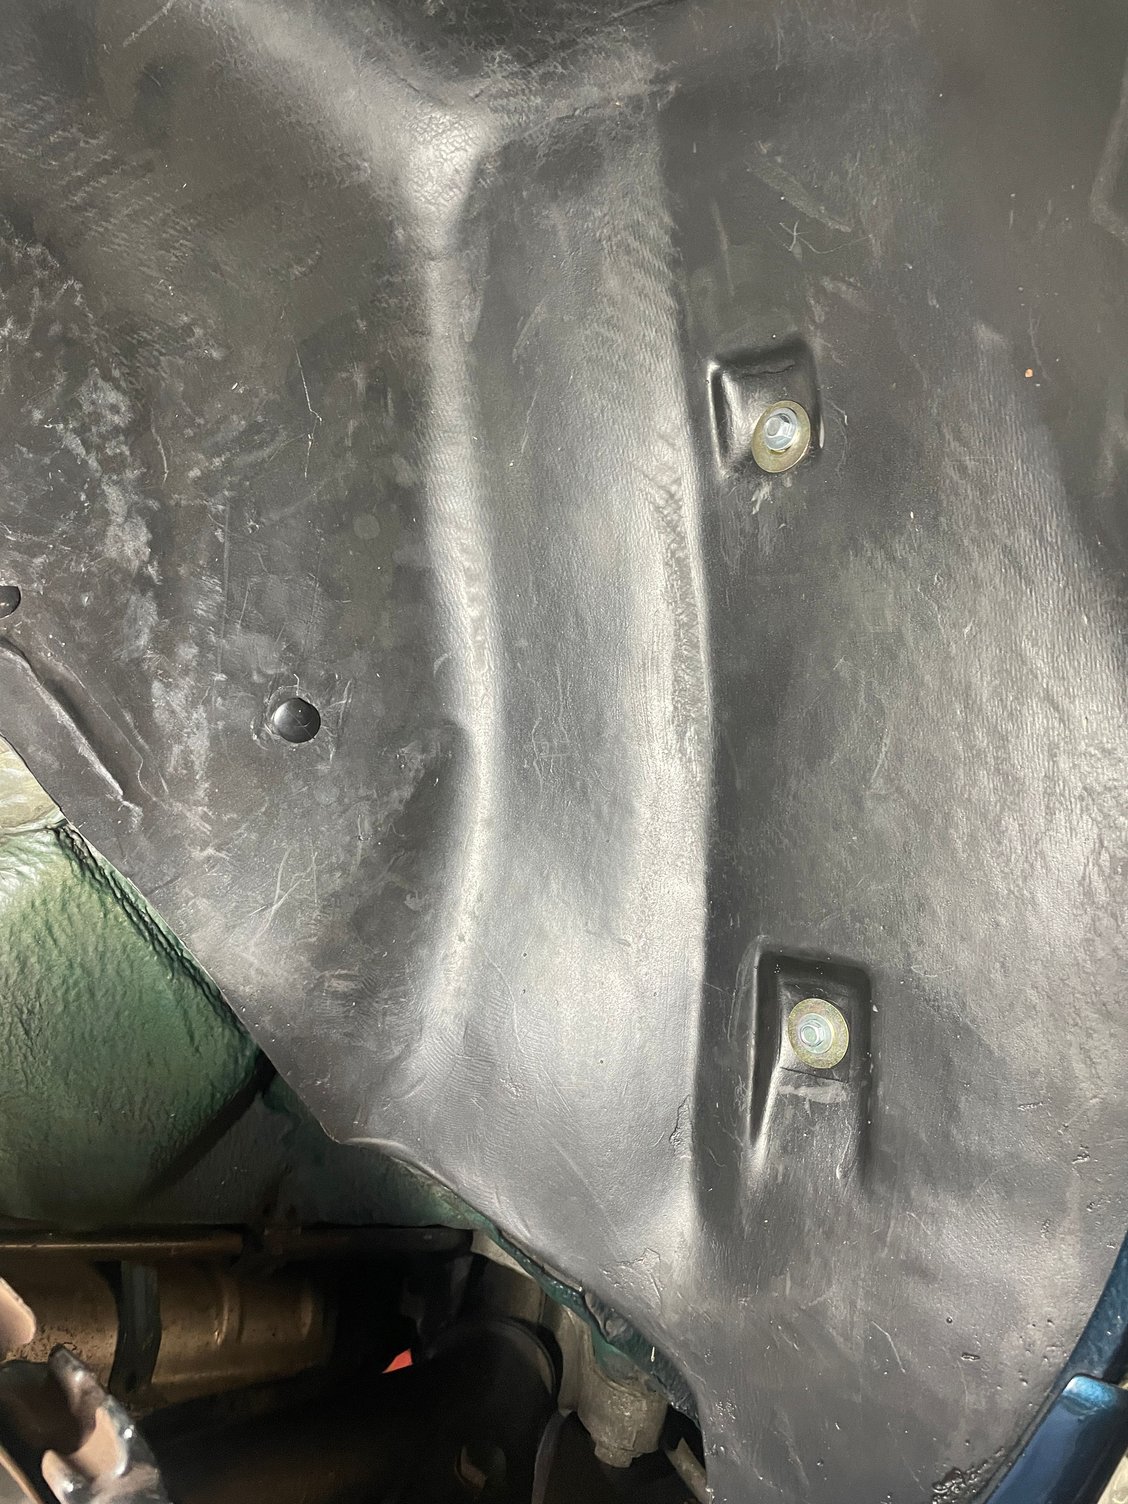
So after going through the write up it would appear that some changes were made over the years. You definitely do not need to remove the screws to remove the liner.
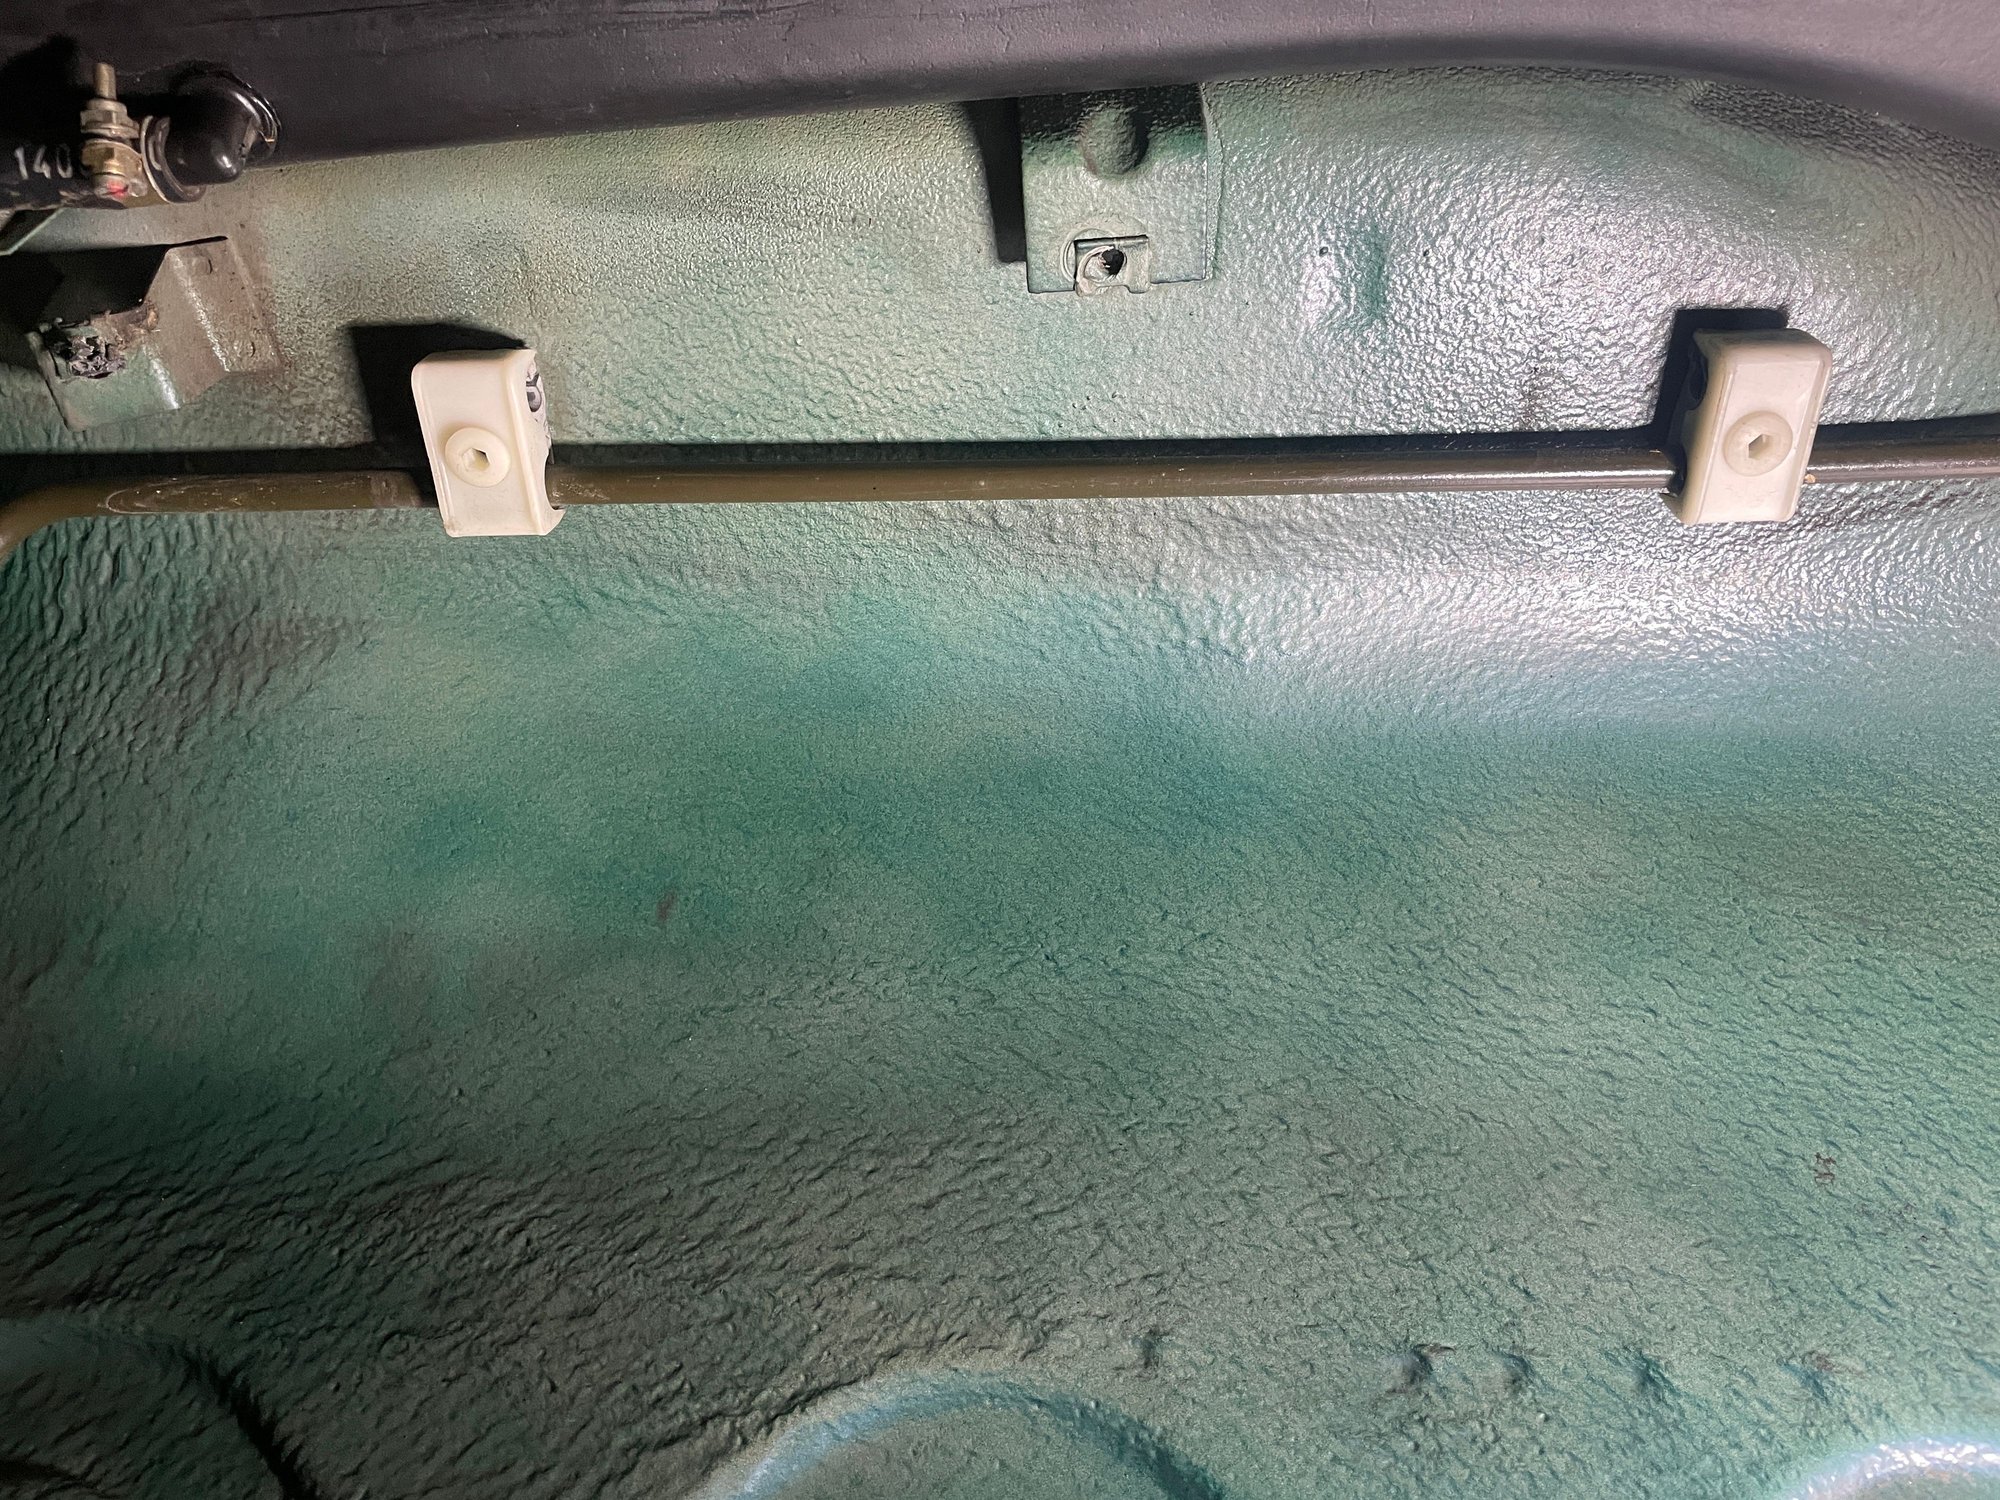
It would appear the later cars now have 5 8mm nuts and a single metal and rubber washer on the top of the plate and 2 washers below. Cutting to length was easy and I made sure I did not stretch it so it doesn't gap where the two seals meet.
Good job!
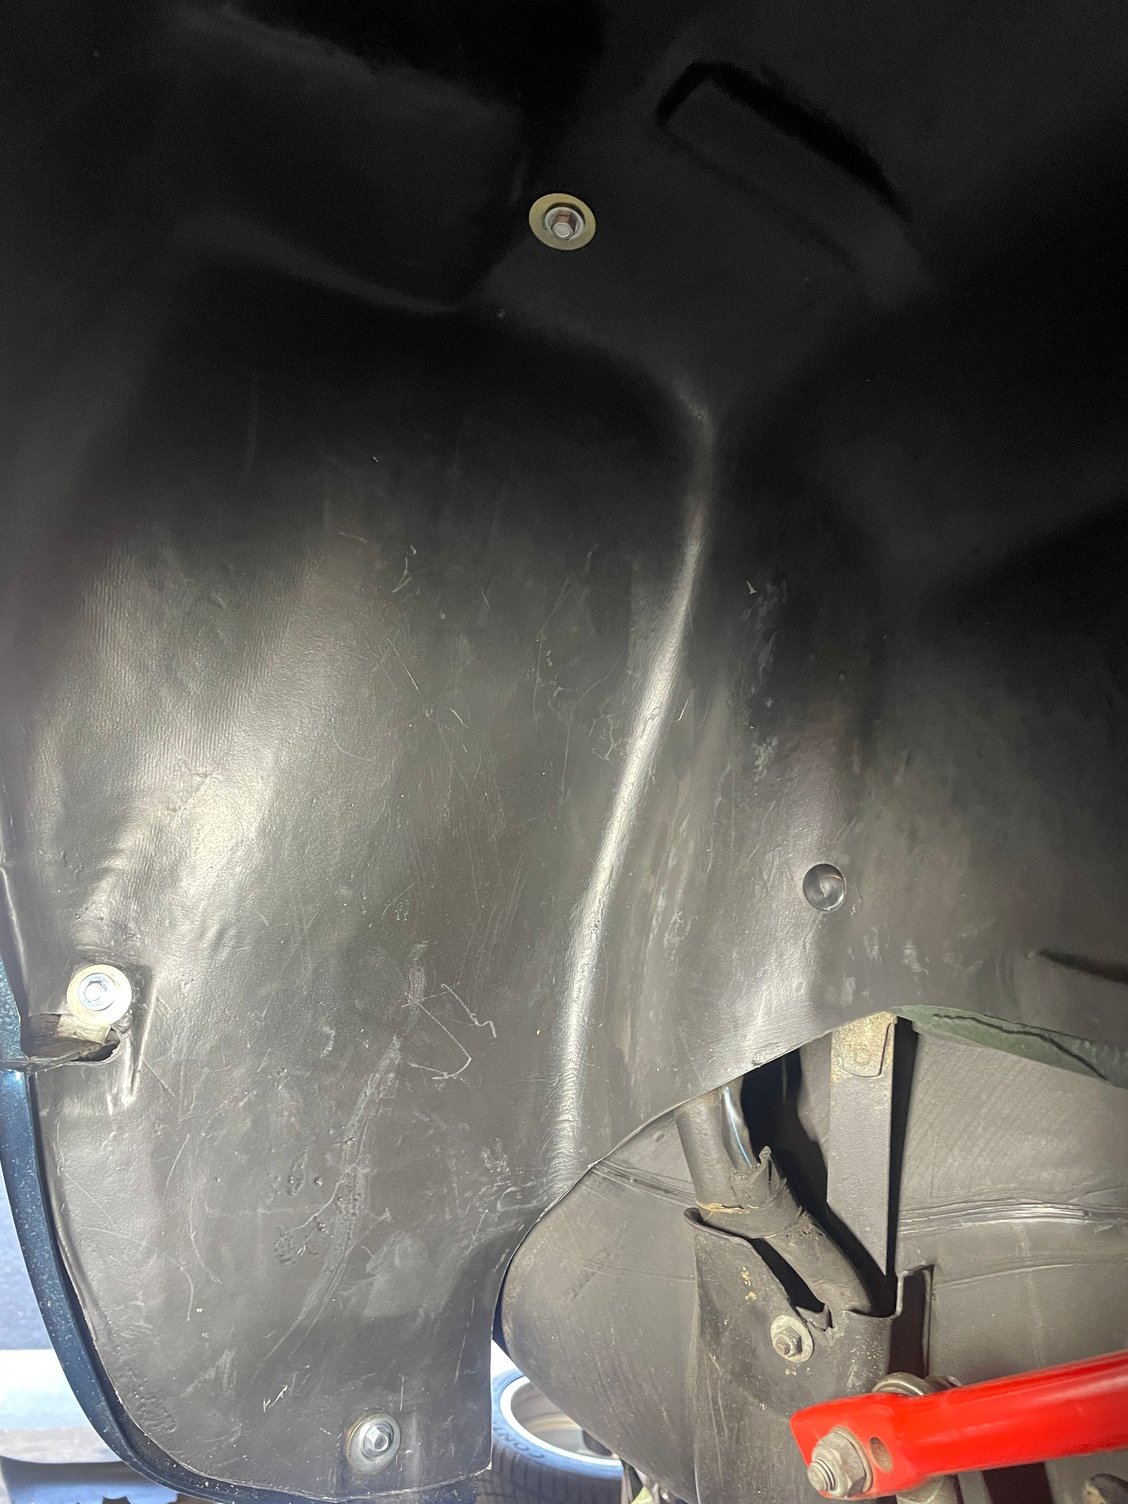
From my side, I removed the three screws to put back the liner.
Found it was easier than trying to put u-shape bracket behind the screw head AND the two washers...
Look so much better now than the old, faded one!
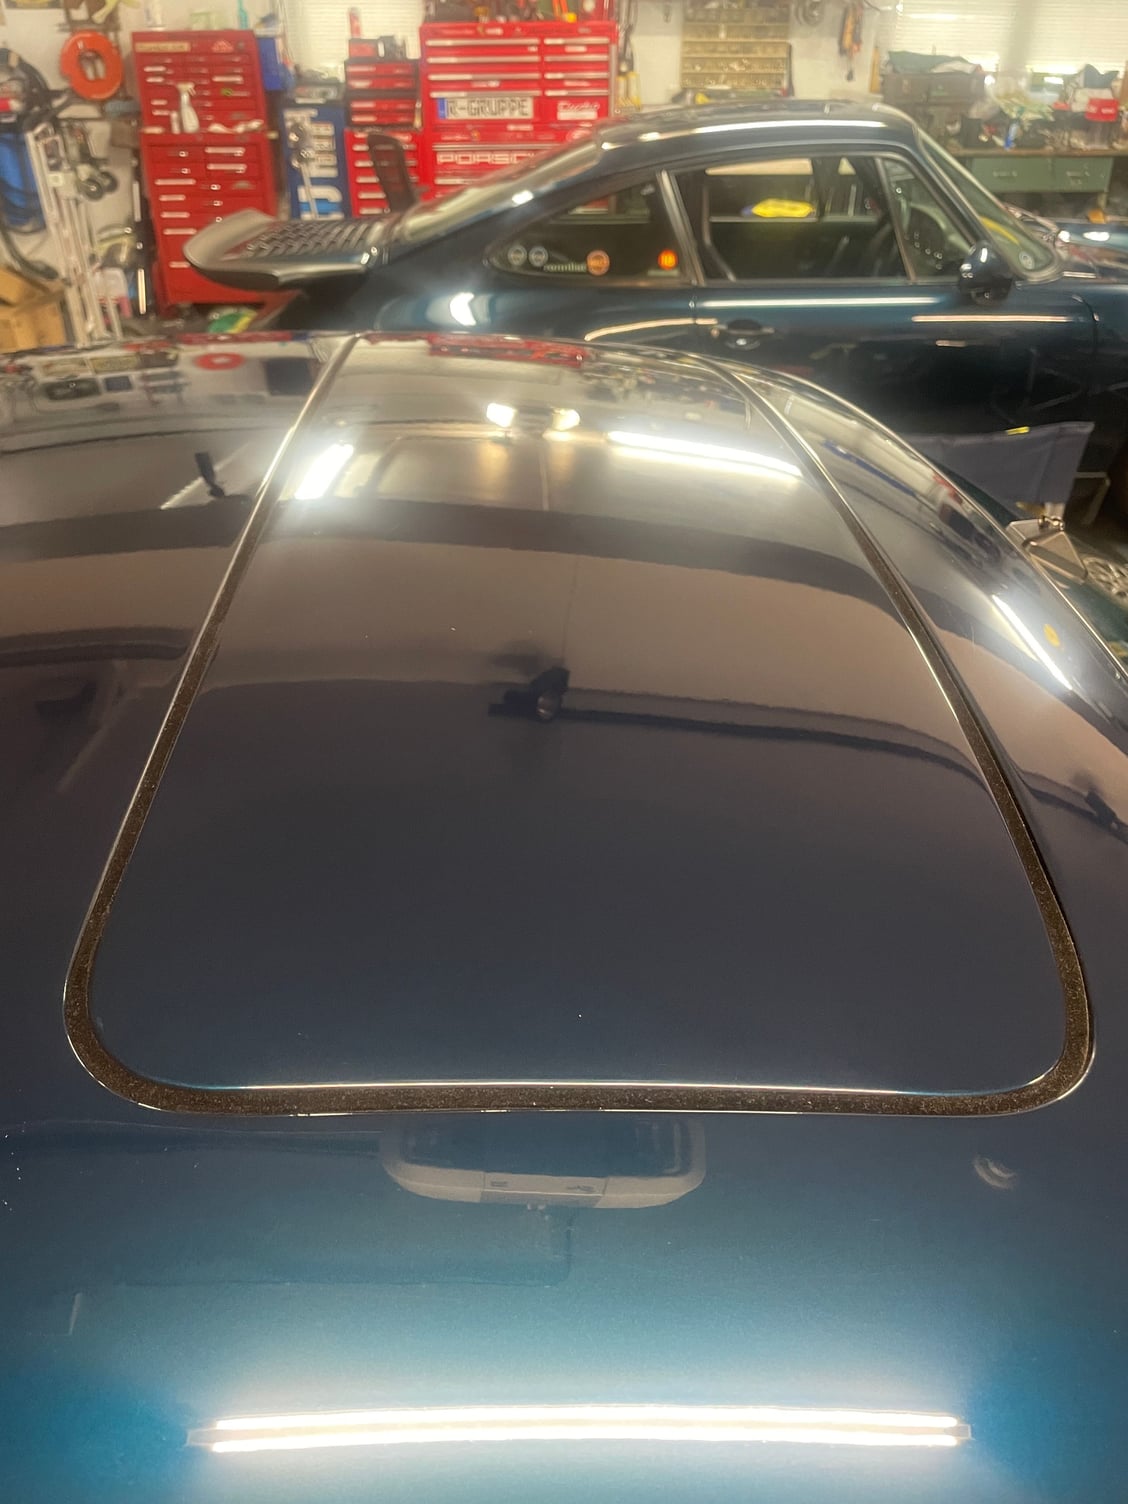
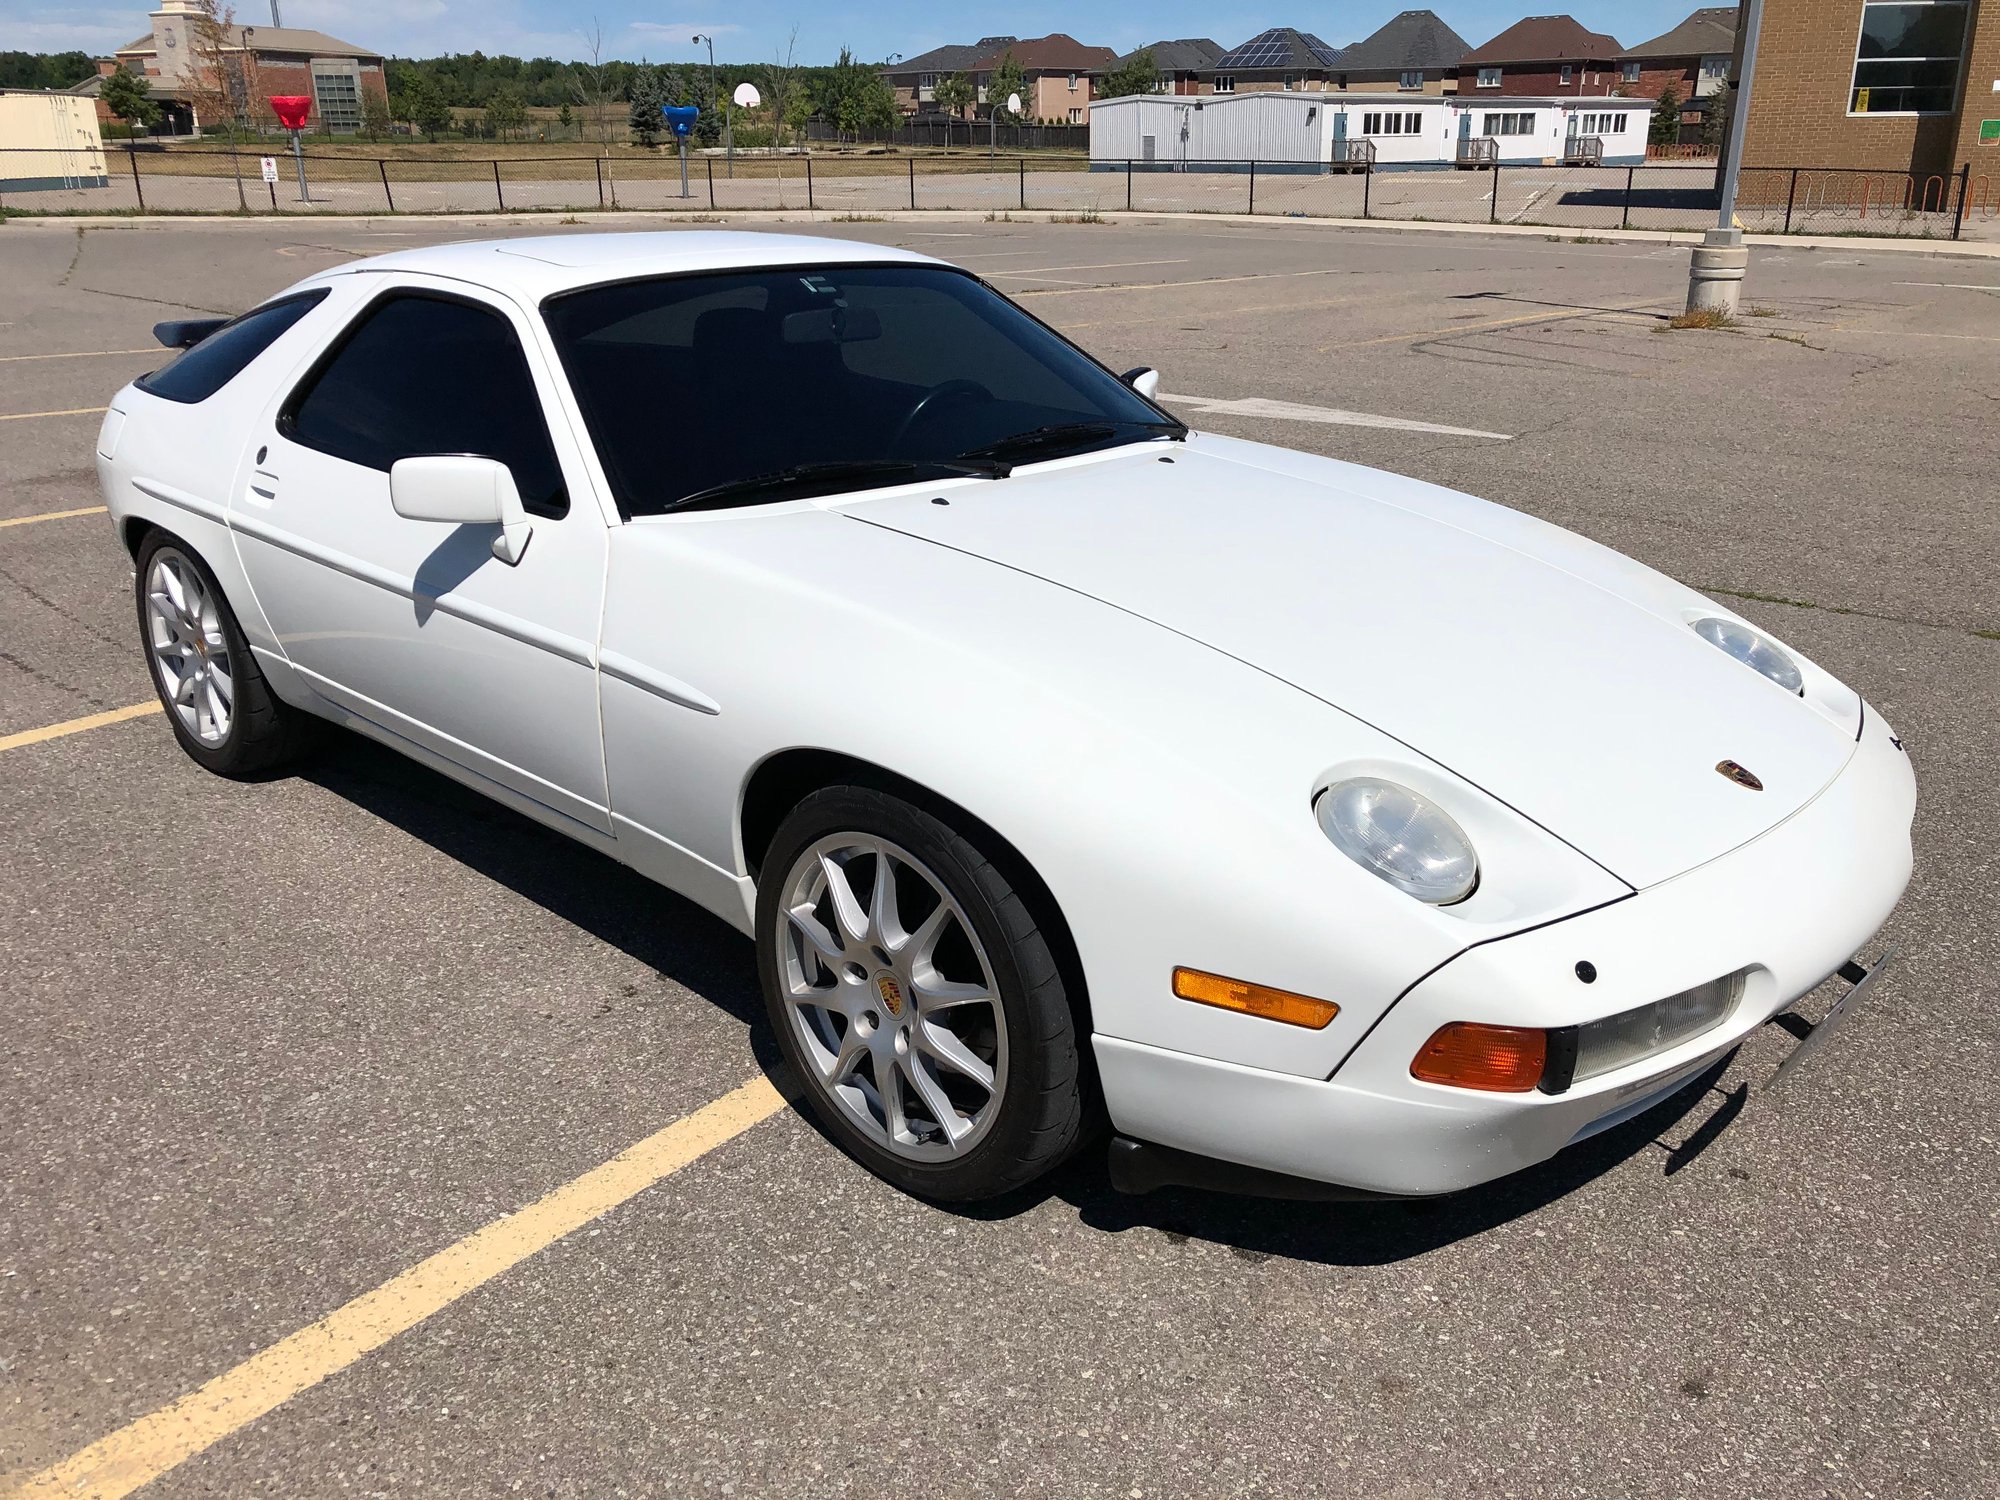
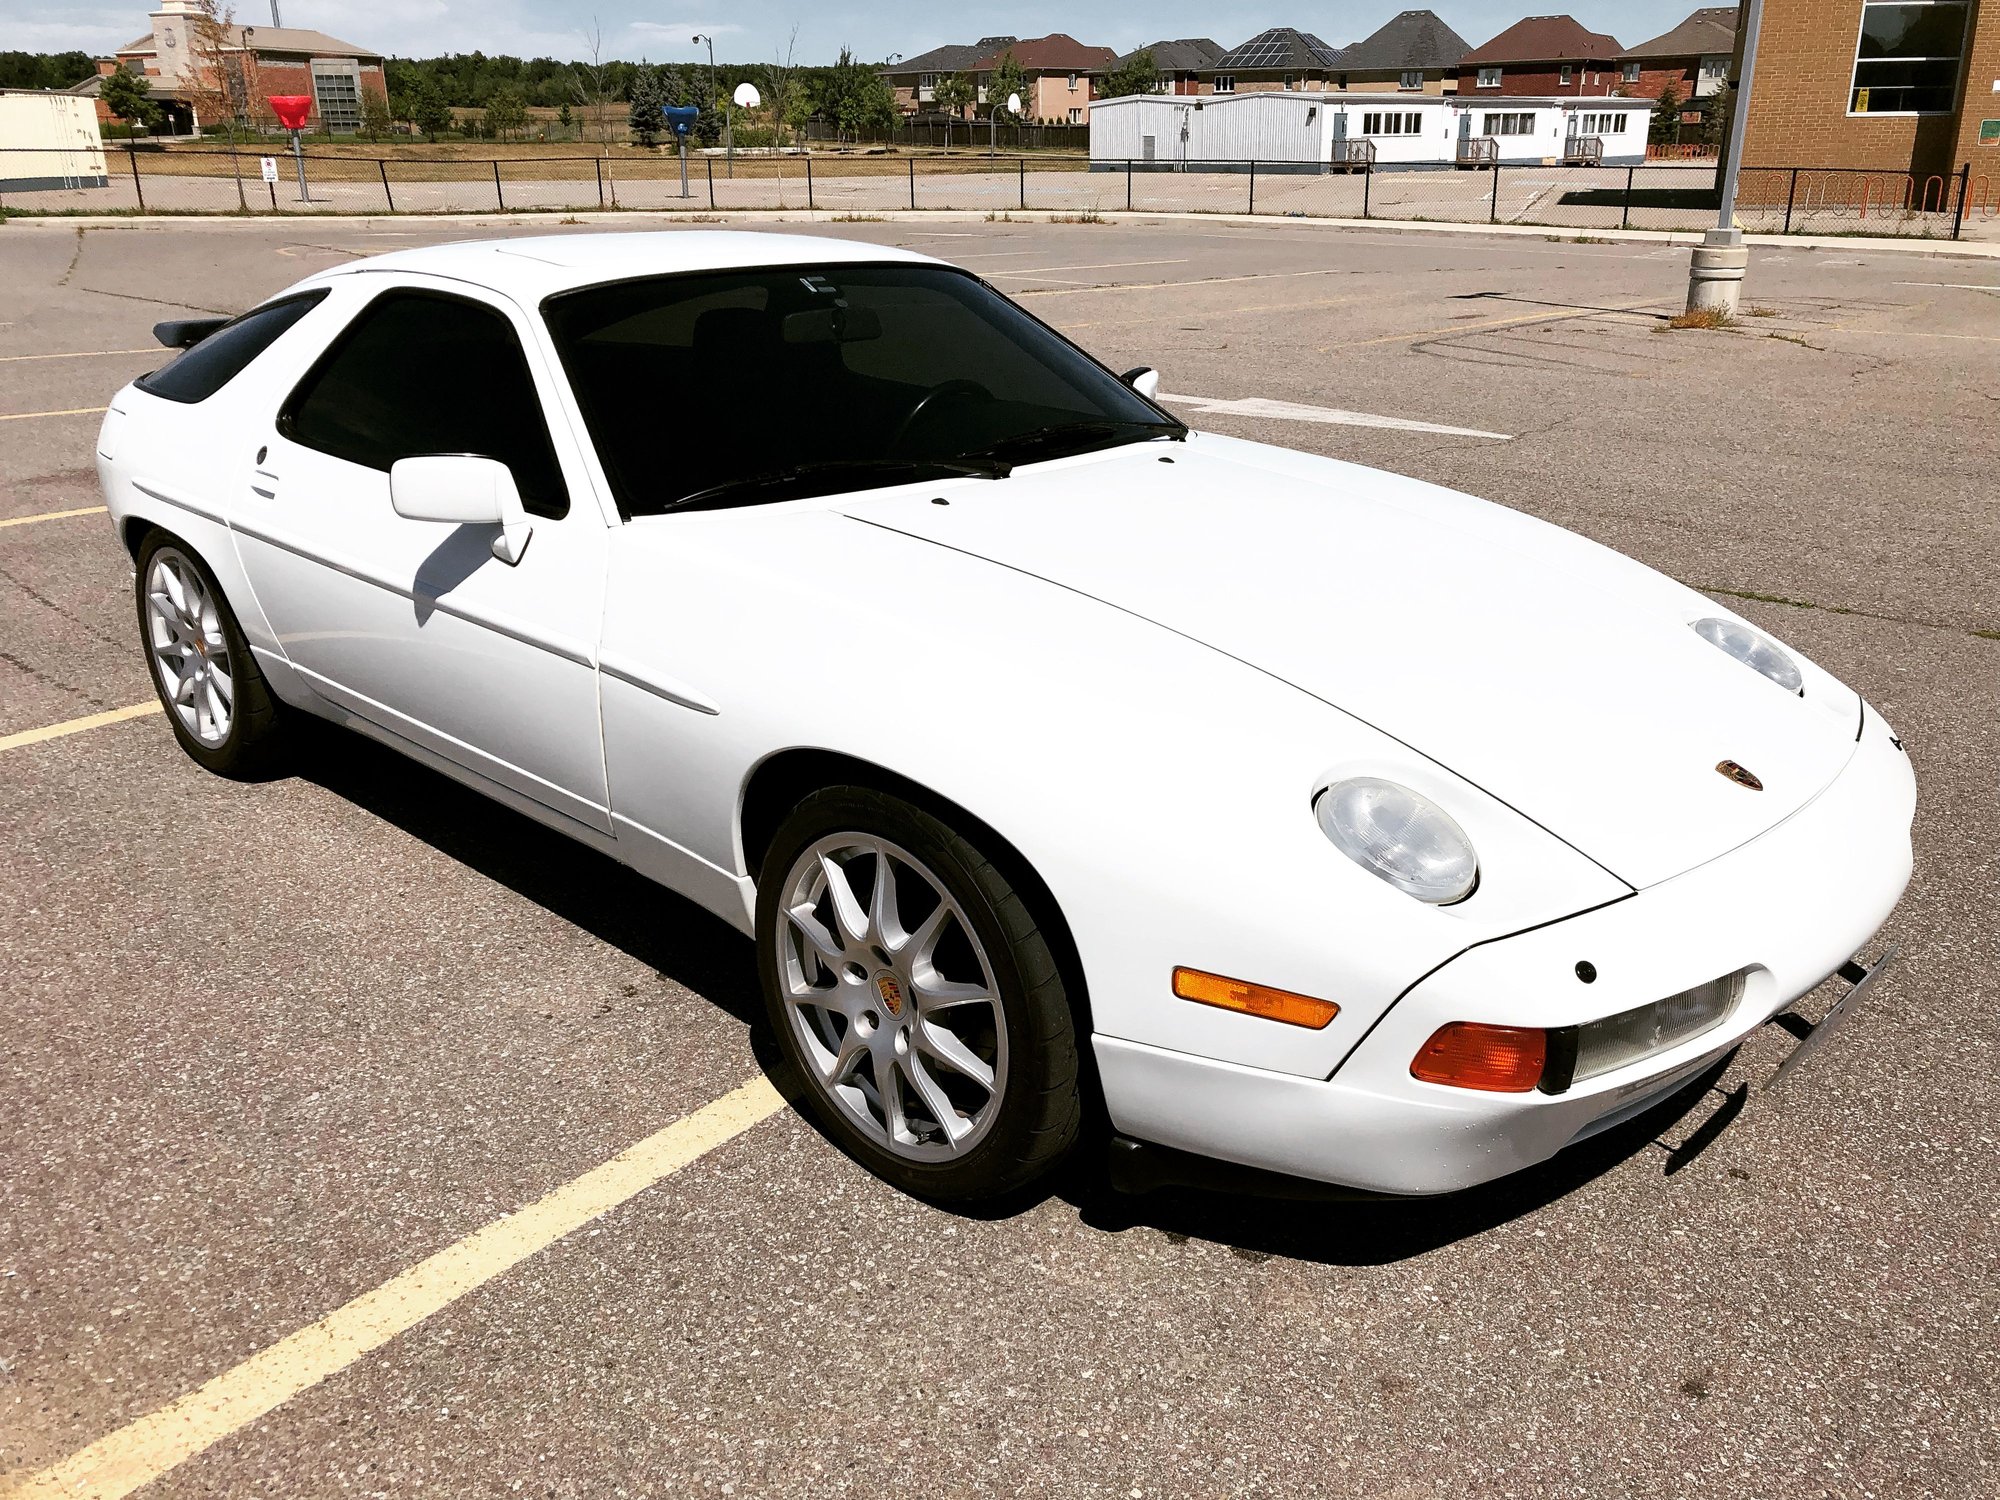
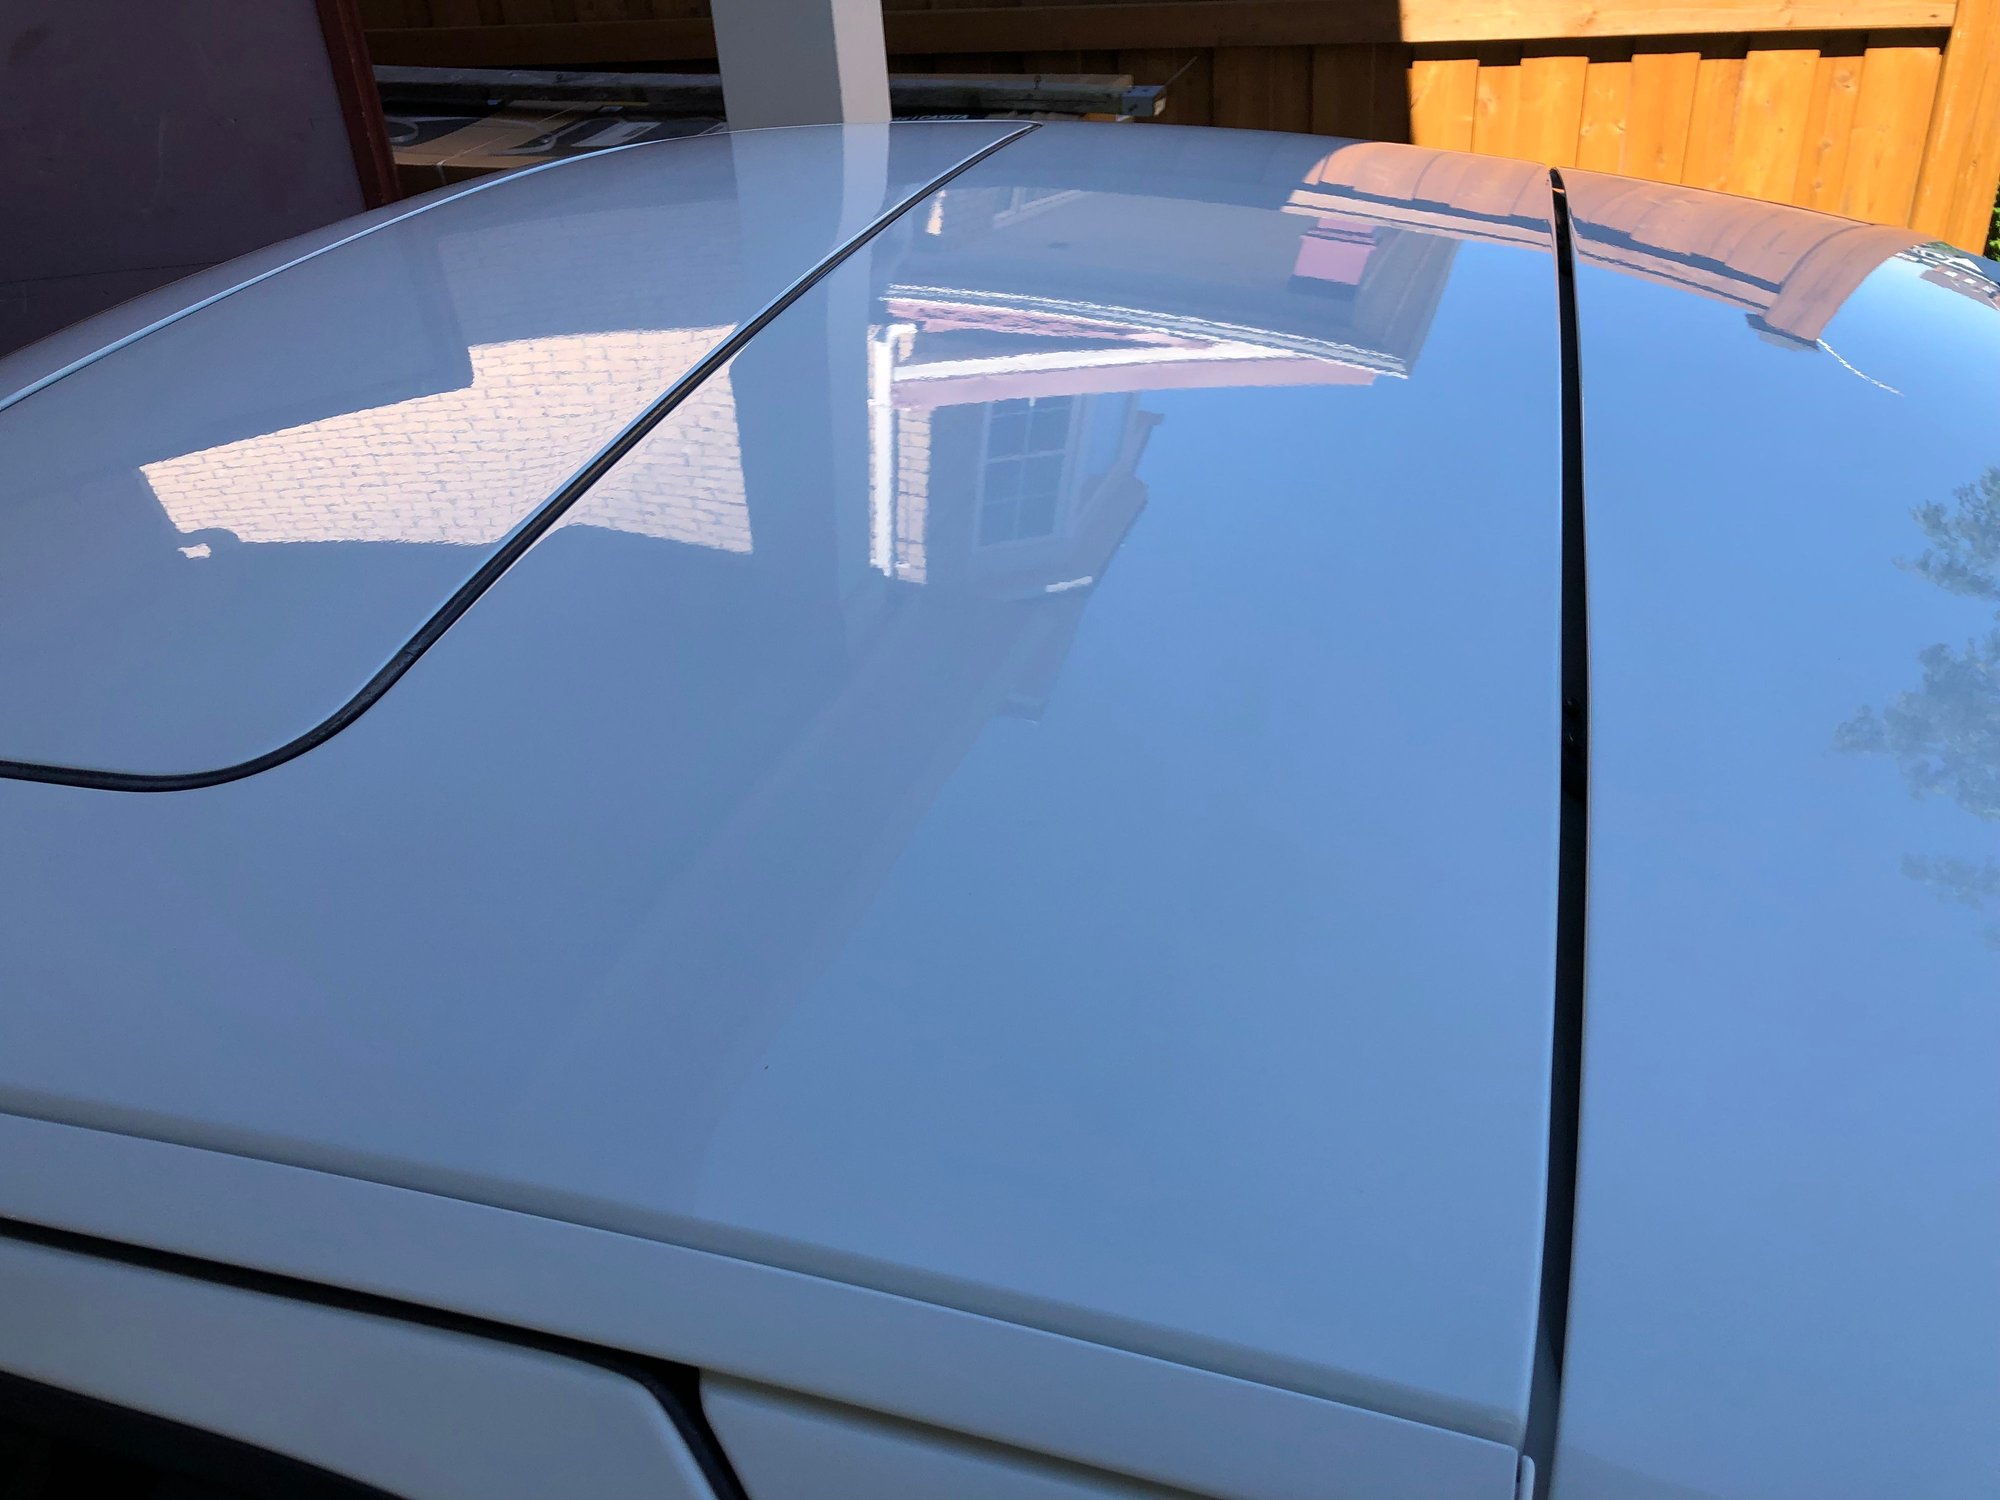
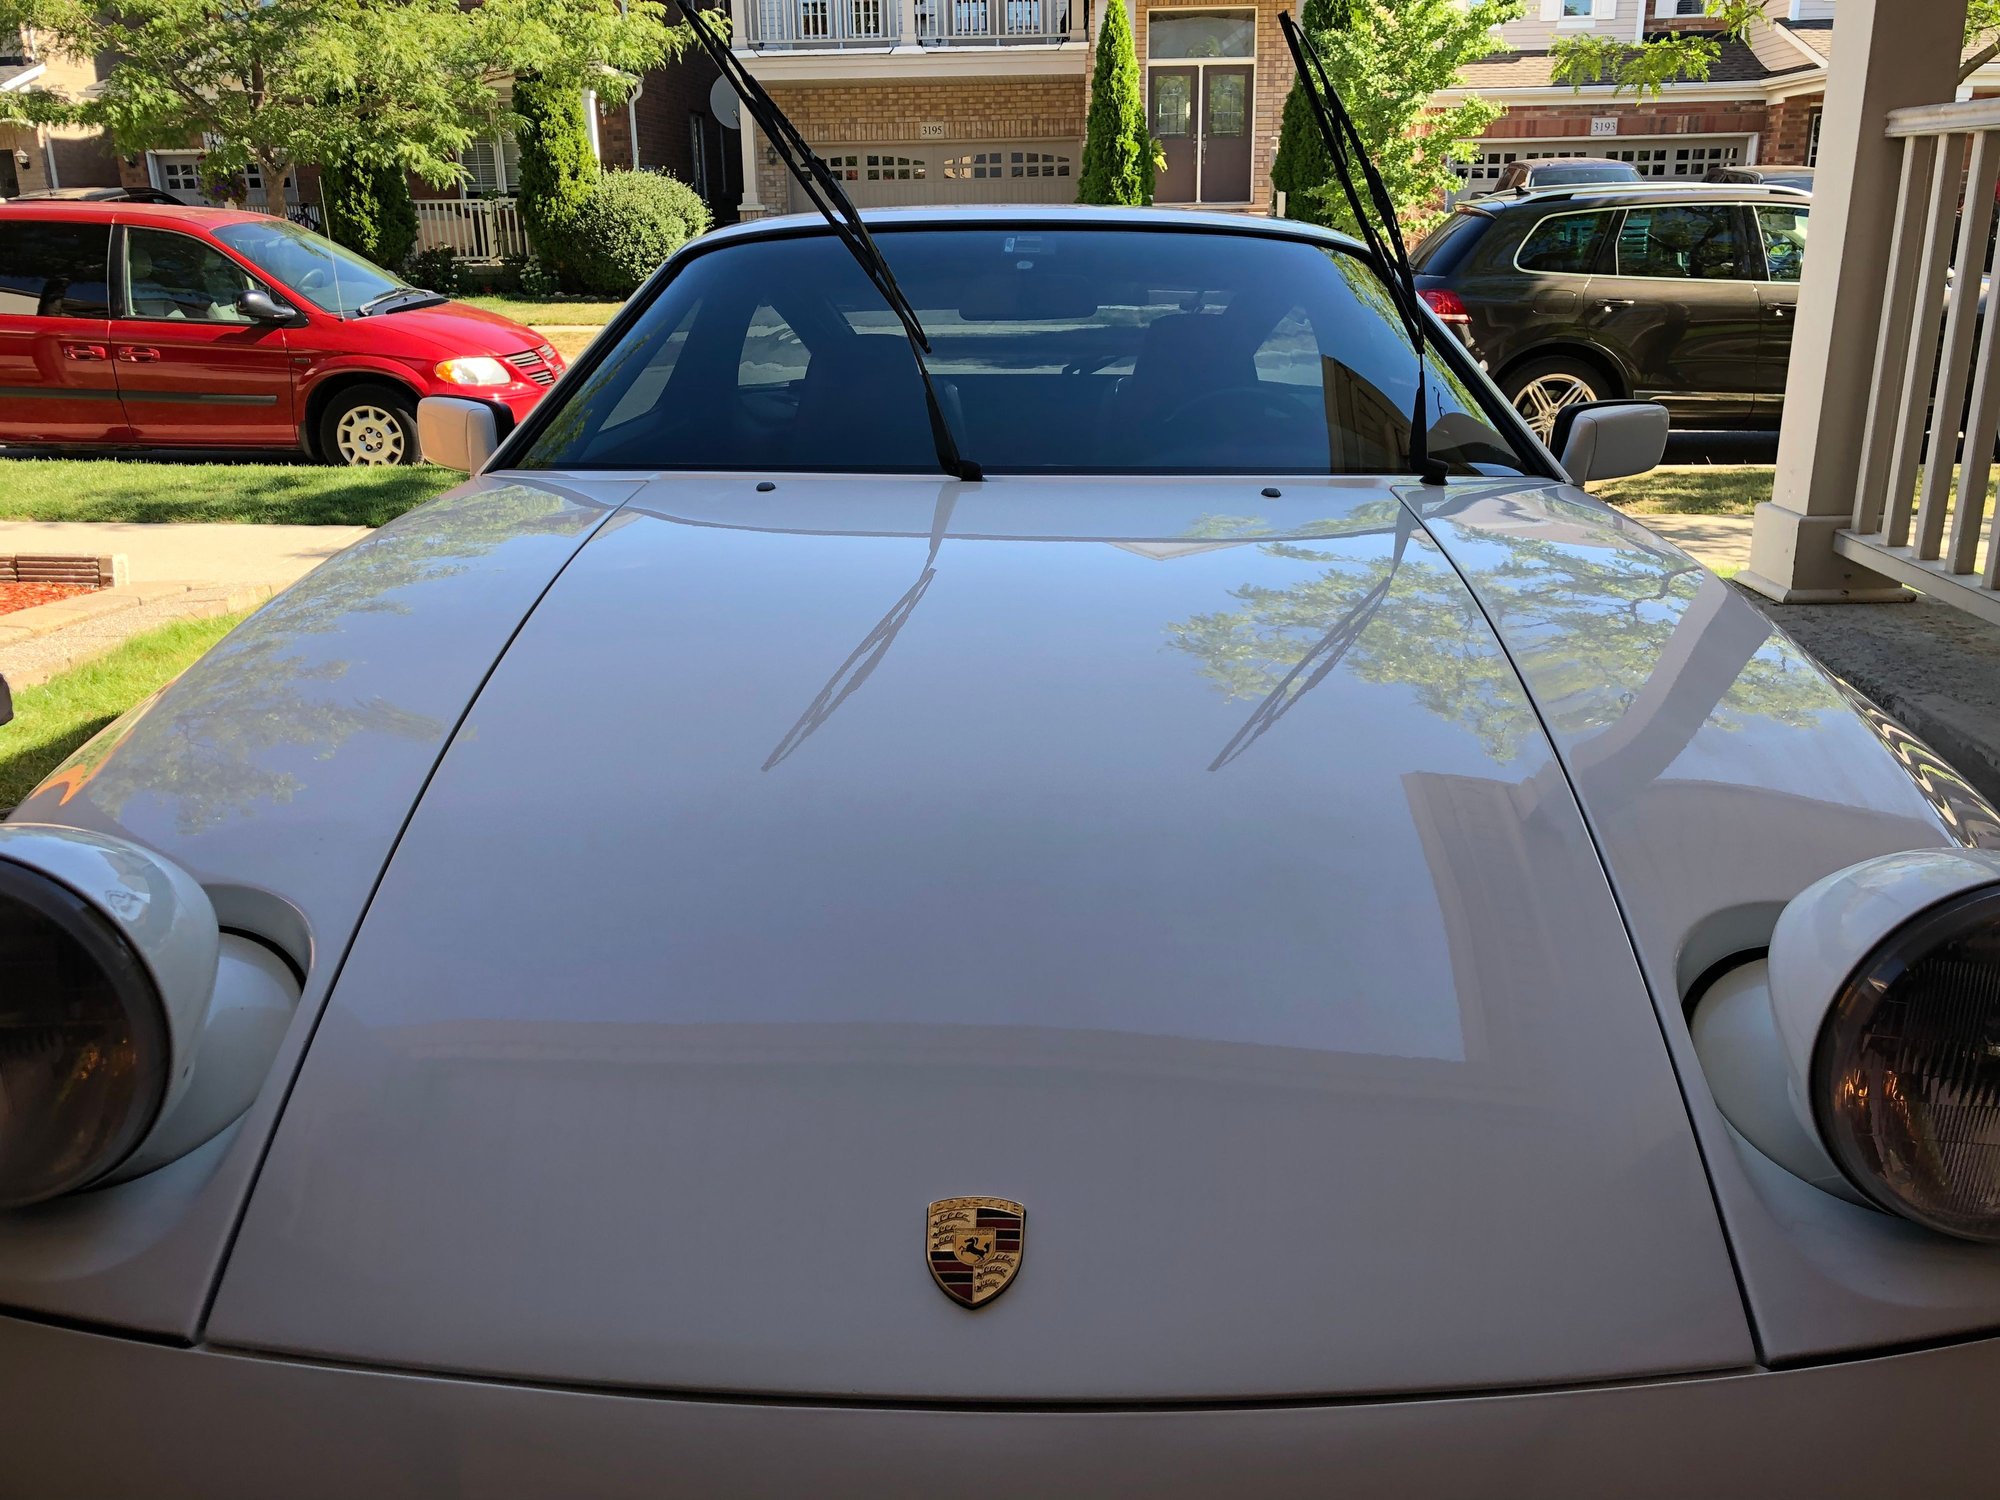
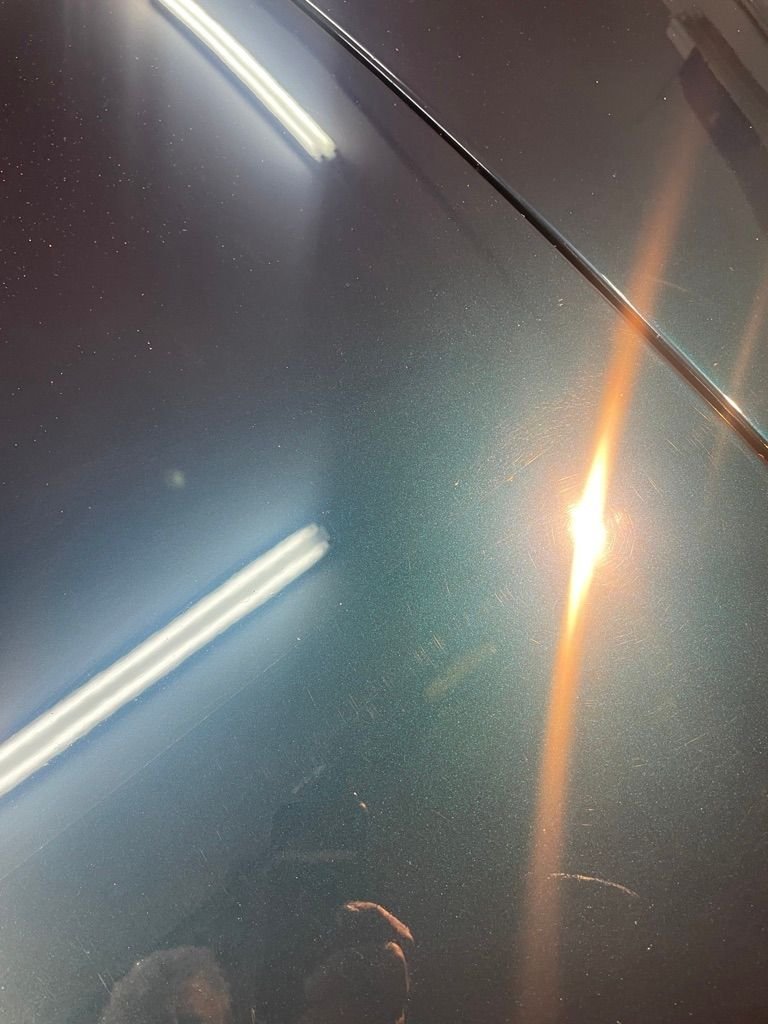
Just completed a 3 stage polish. I had not realized the paint had gotten a bit yellow all over. It�s back to white now. I also cleaned and coated all trim, cleaned small gaps with a towel and plastic razor blade. And a final treatment by q-tips on the sunroof seal.
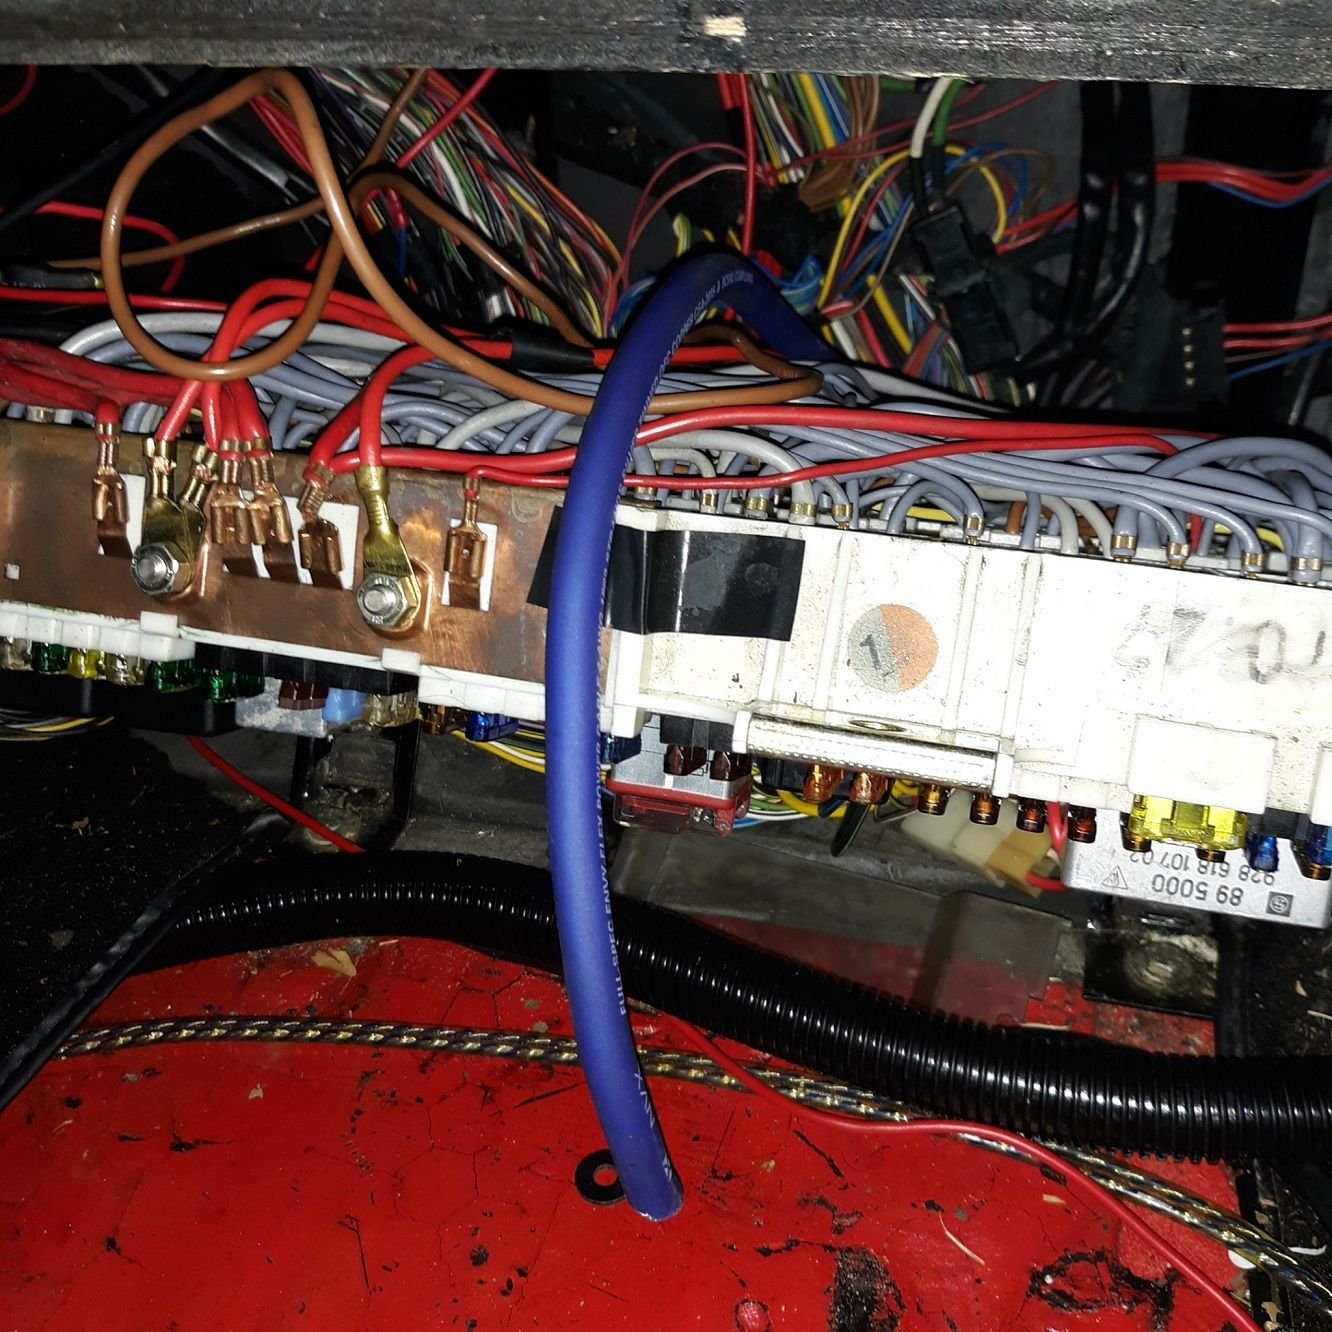
Starting the process: Going to power the CE panel from lead running directly from battery and remove connection to jump post.
1. Picked up the 4 gauge tinned copper OFC wire..20 feet...this stuff is adding about 6 pounds ...more than all the anodized lug nuts....I guess we'll have to make up for it somewhere...
2. Wire laid into car...some of it is covered (btm of pic) and some not...this stuff is wonderfully flexible. Wire jacket is oversized but sure is lot easier to deal with... The 3 wires on top that go out through the firewall will remain connected...but removed from jump post side...
3. The 3 wires on the jump post end are removed terminated...total of 2 connections...each connection is in it's own plastic wire loom jacket...then whole thing well wrapped. I originally just loomed both terminals together but decided to separate them to prevent any weirdness in case of any random touching; the loop terminals remained for reconnection if need/wanted.
more coming......tomorrow we use AML fuse holder and connect within battery box with 60 amp fuse. Shiny stuff contains wiring for cooling fans; insulated on the inside...not pretty there but neatly fits under stock upper portion of fan shroud....
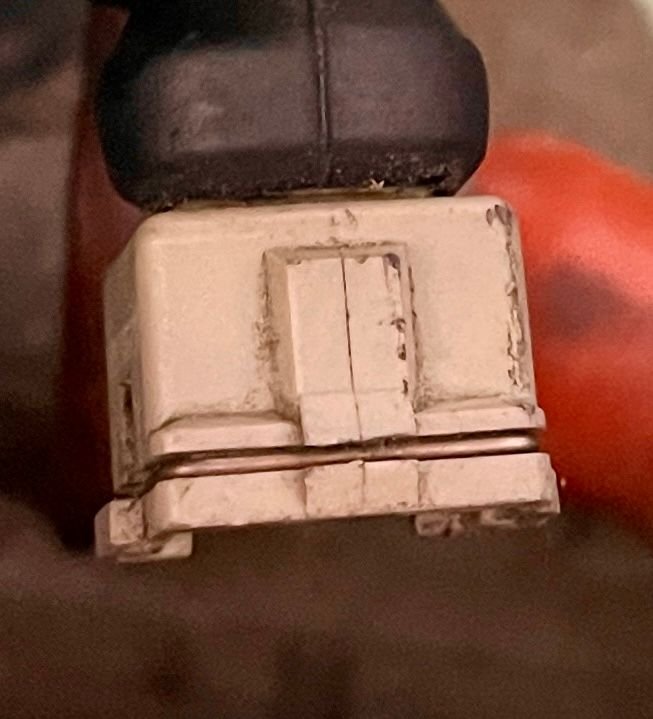
I removed the fuel rails and injectors. These little wire clips on the fuel injector connectors are real pitas to deal with. You really have to use a pick, or perhaps a regular screwdriver to get them loose, but be careful because you're dealing with nearly 40 year old plastic. Also, that plastic boot that covers the injector wires off the wiring harness is often brittle and easily broken. Connector from a Bosch fuel injector, 1983 928S.
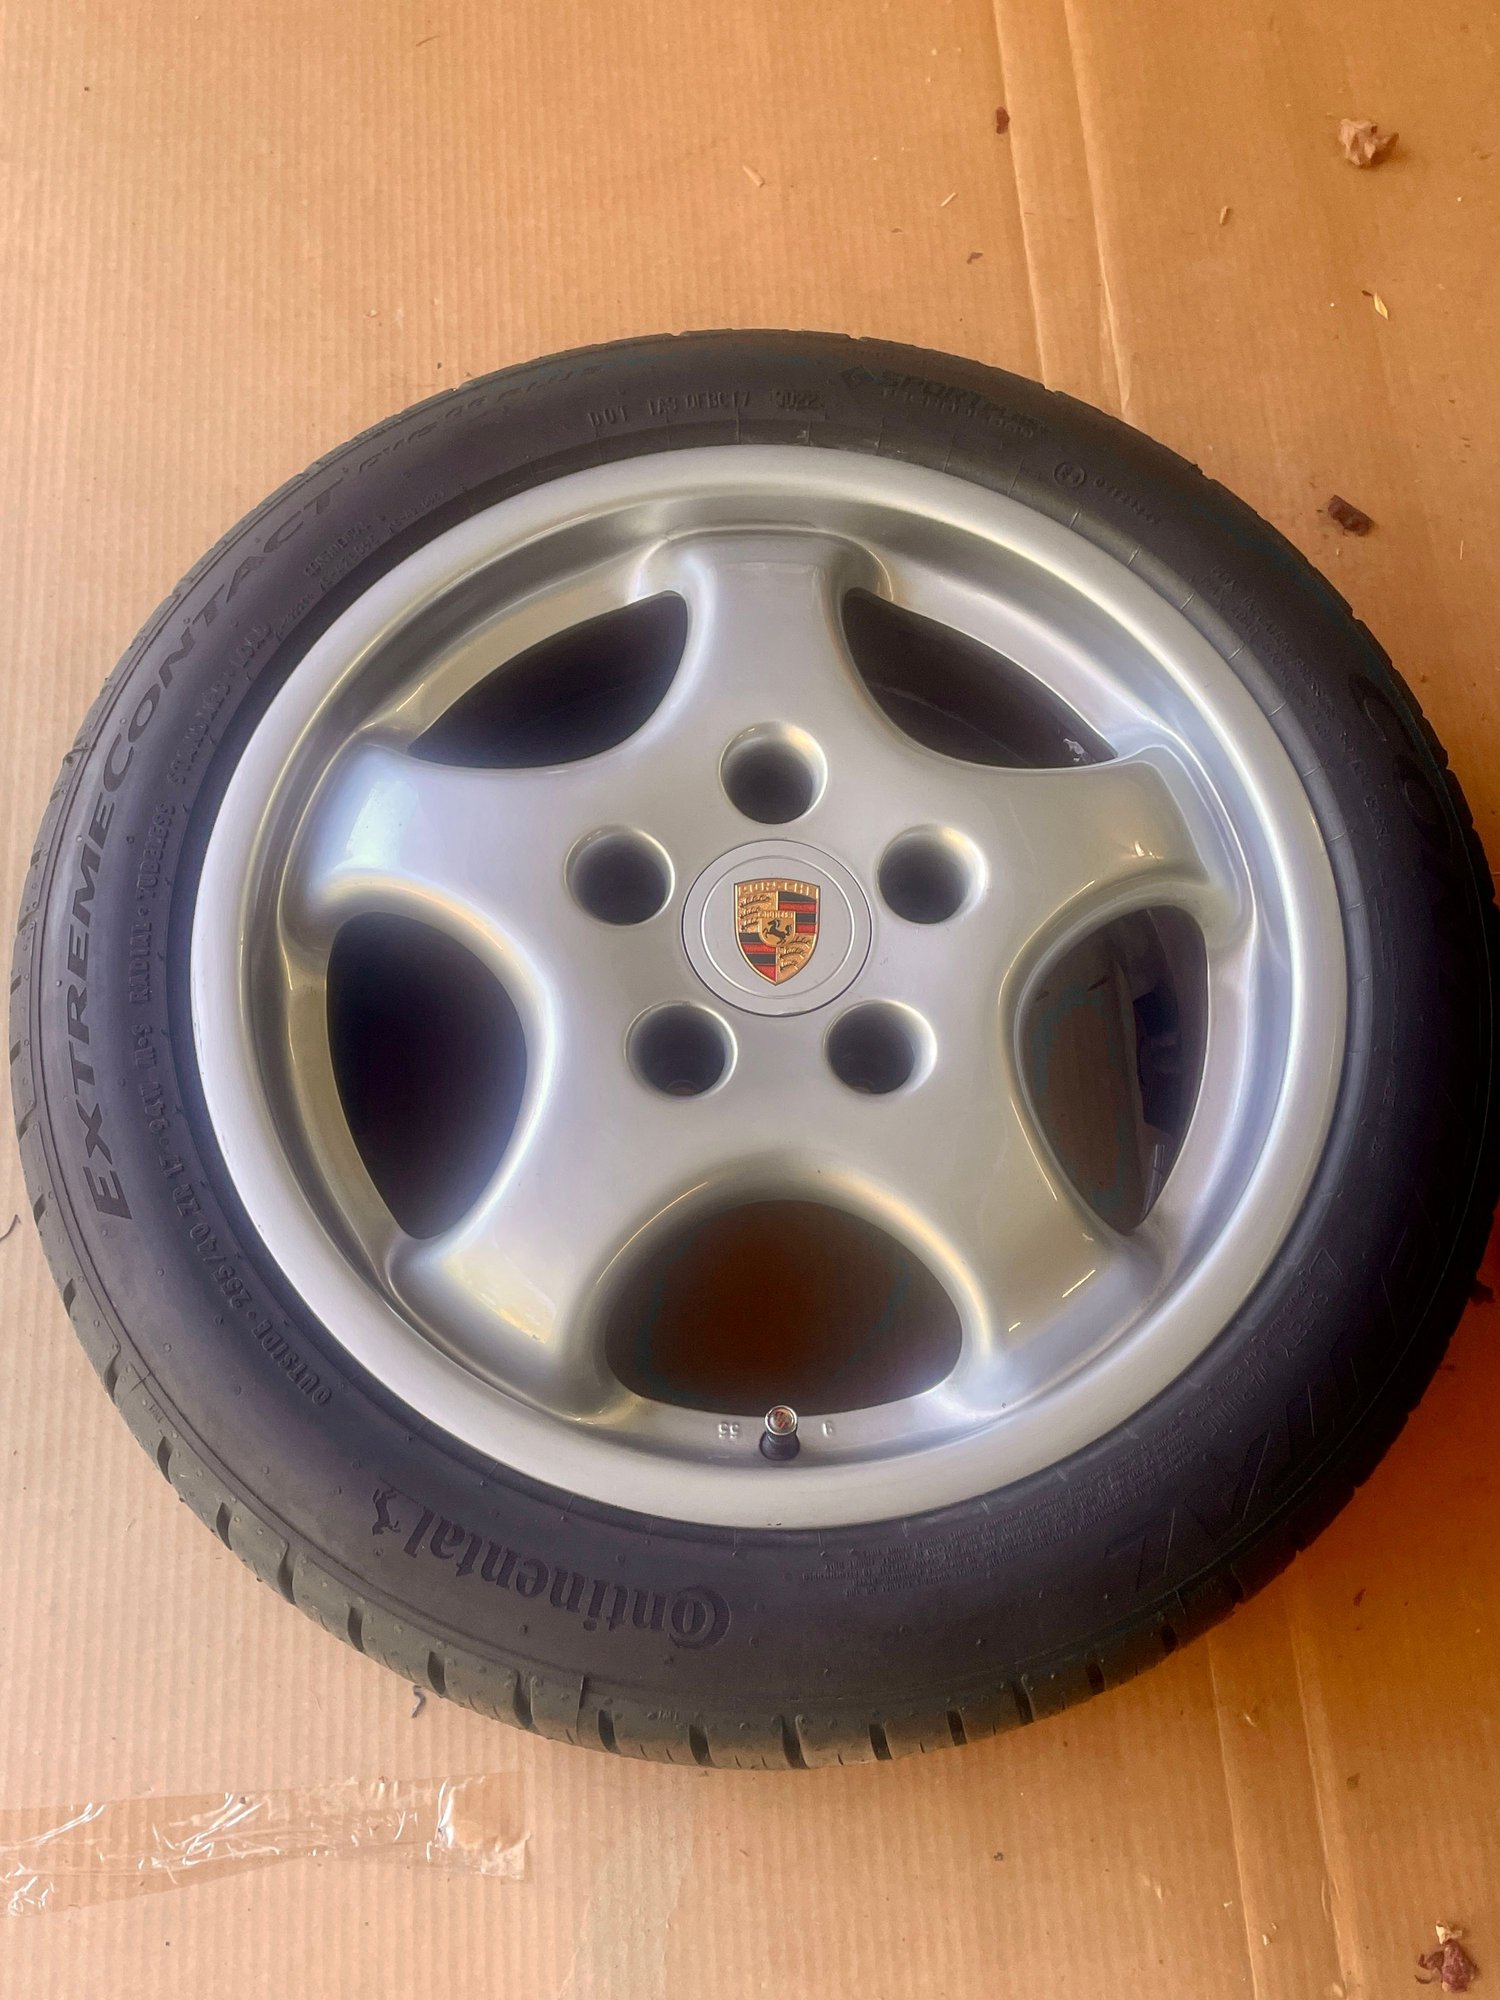
New shoes. Best I can get in such short notice. Everything in stock sizes for summer tires are out of stock for months. Although the DWS's are a decent all around tire and far quieter than my old PS2's
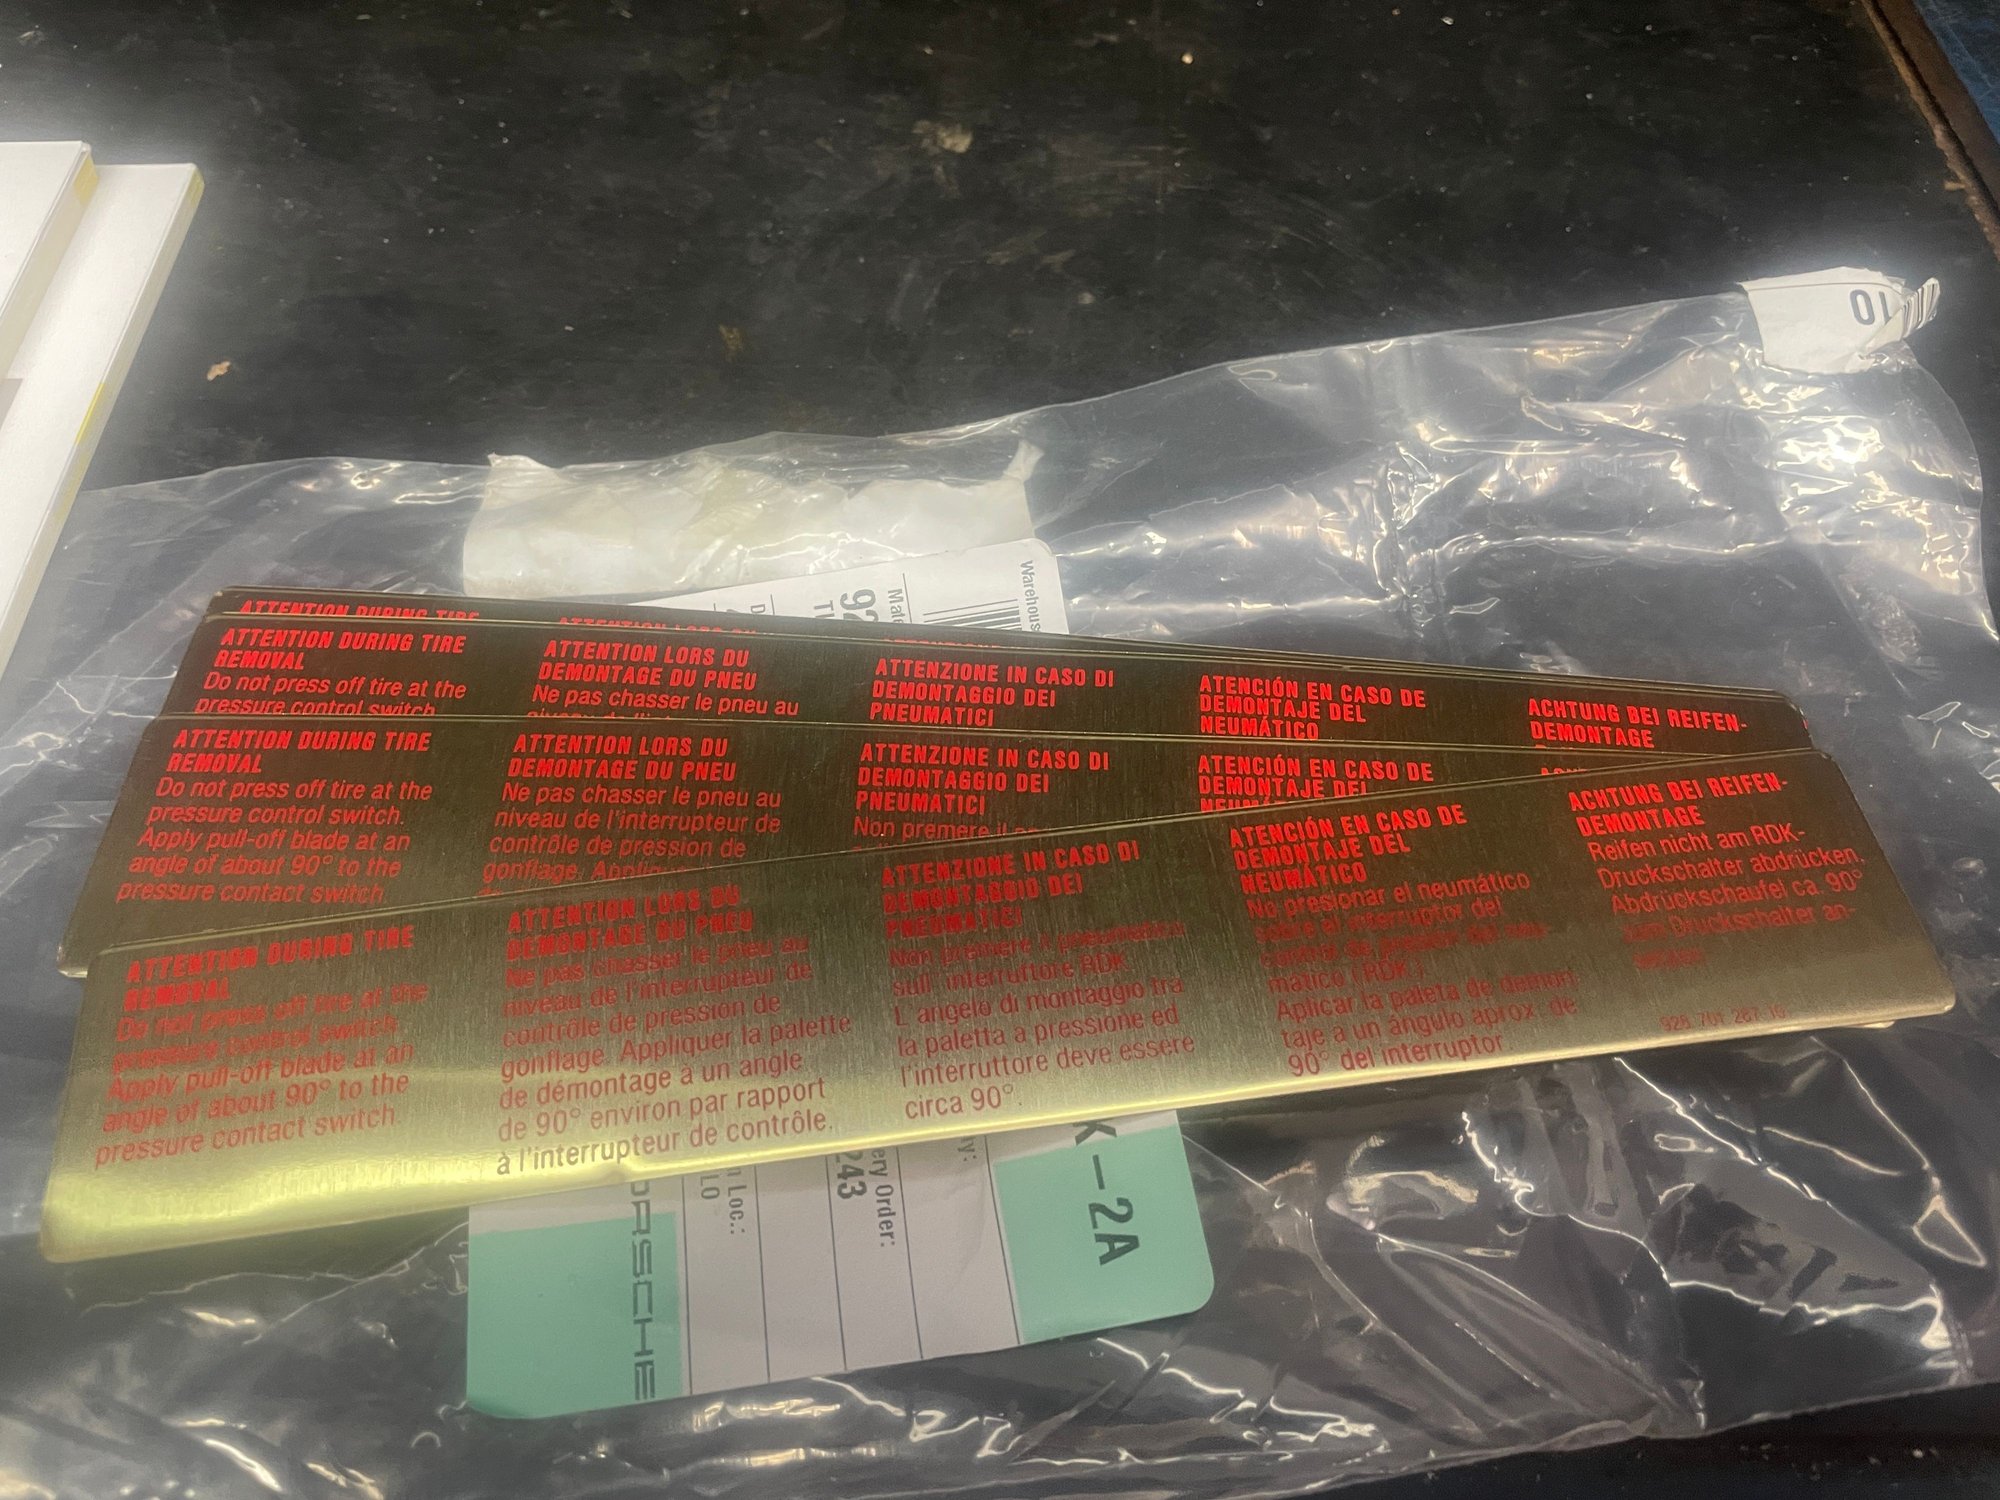
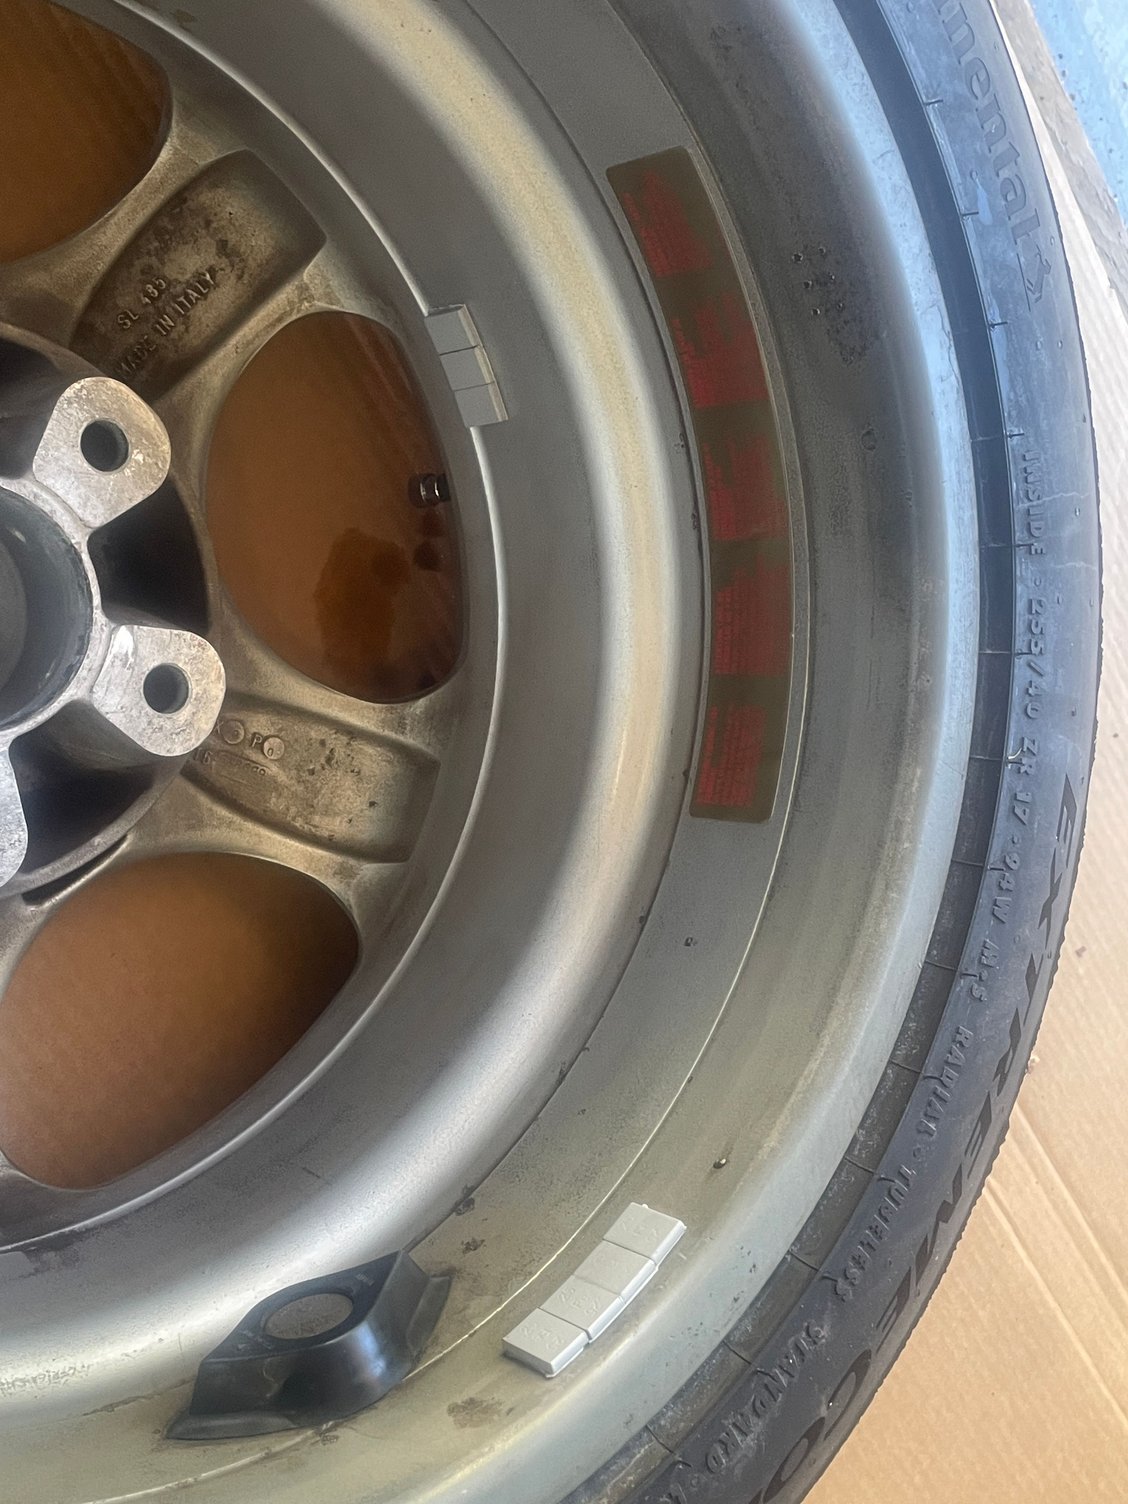
New warning labels and RDK sensor boots installed the old ones were faded or broken.
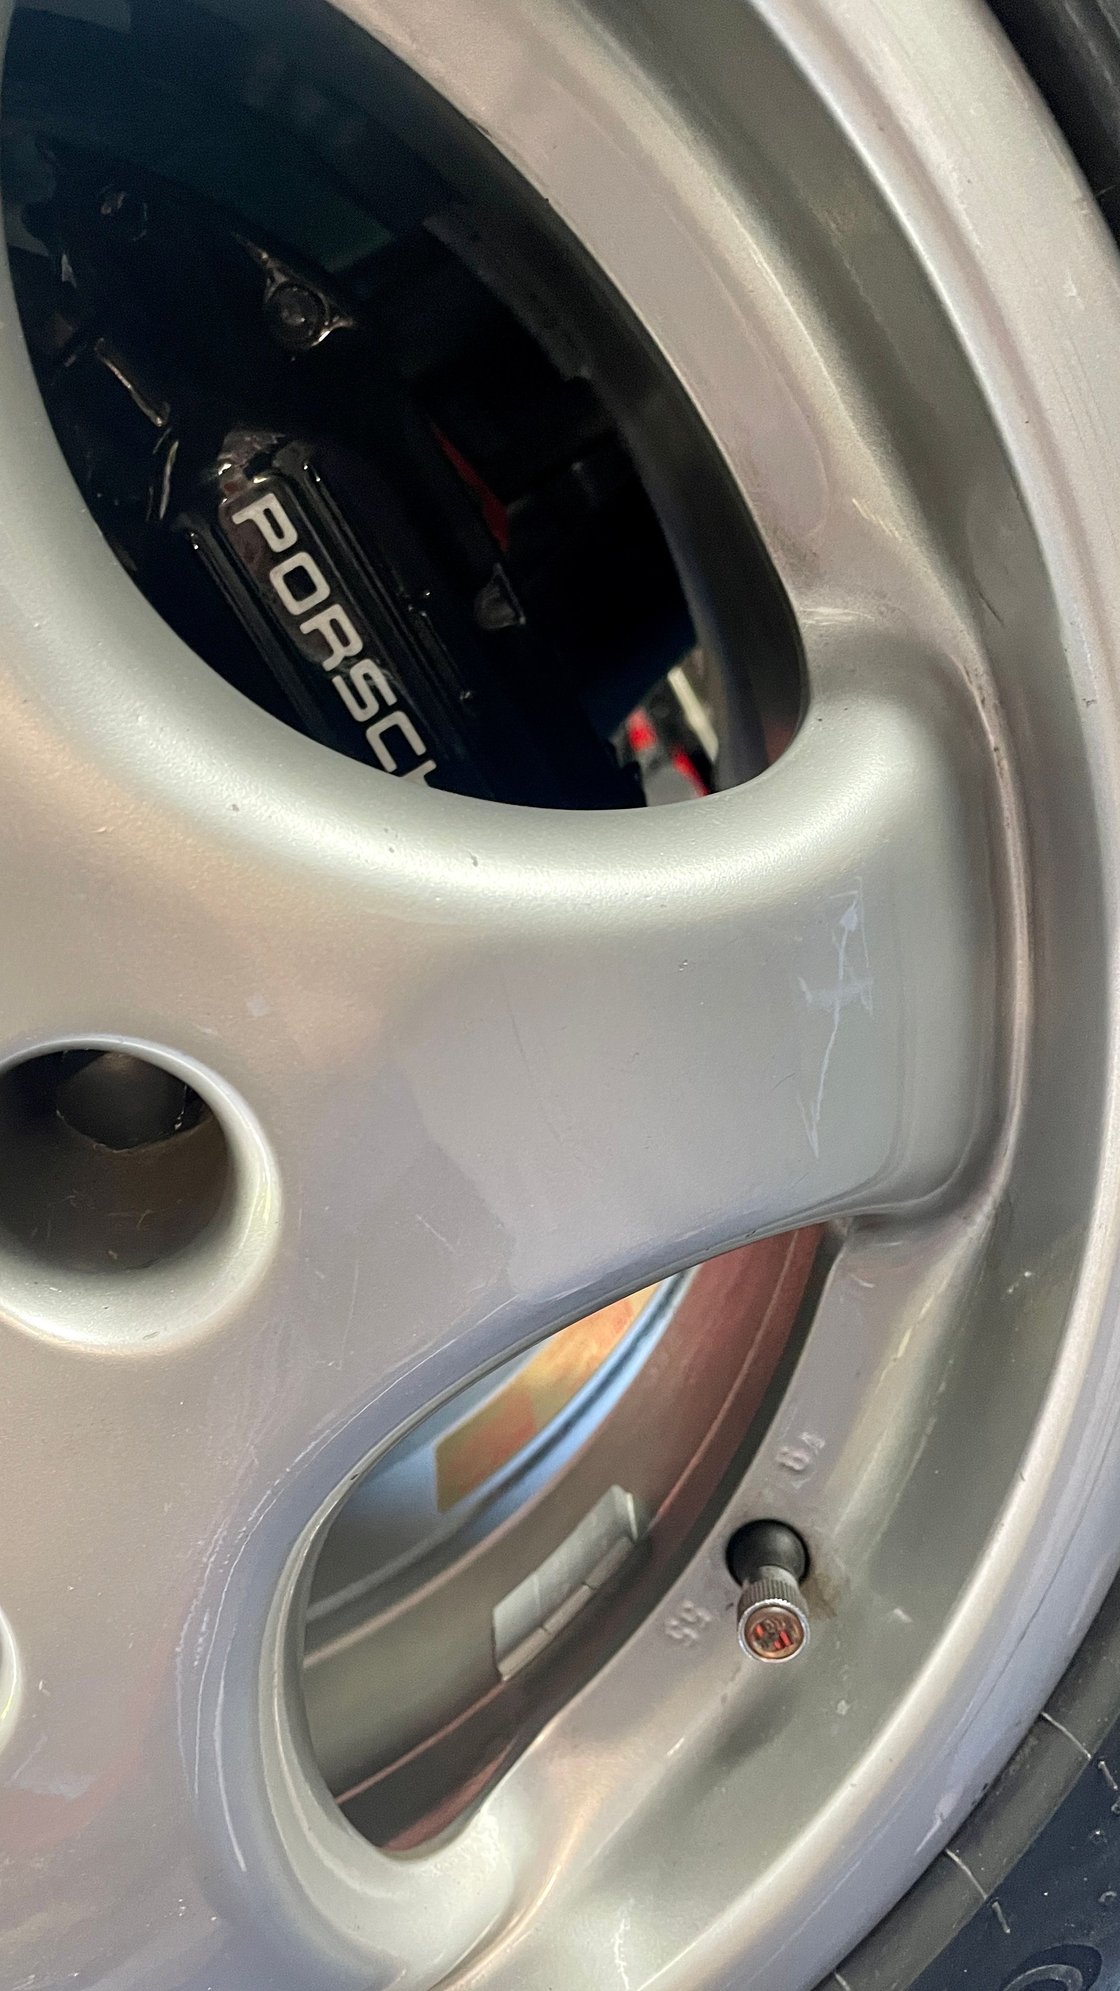
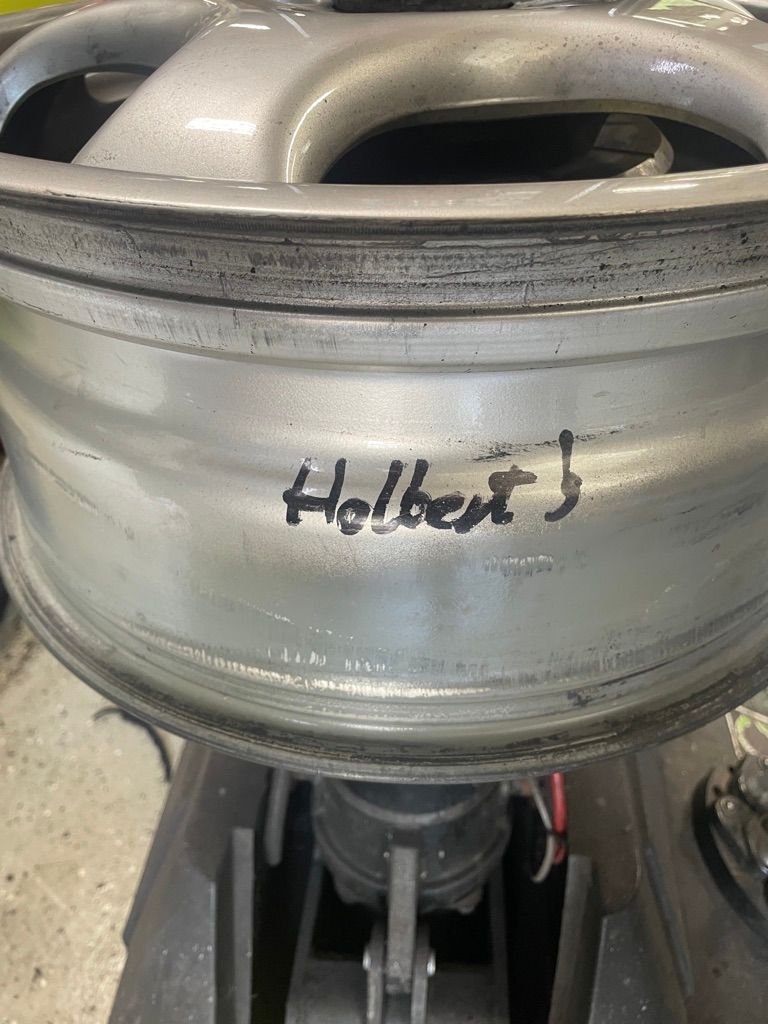
I always knew my wheels were refinished. Looks like Holbert motors refinished them so sometime between new and 2001.
Installed new PCCM radio mostly for apple carplay.
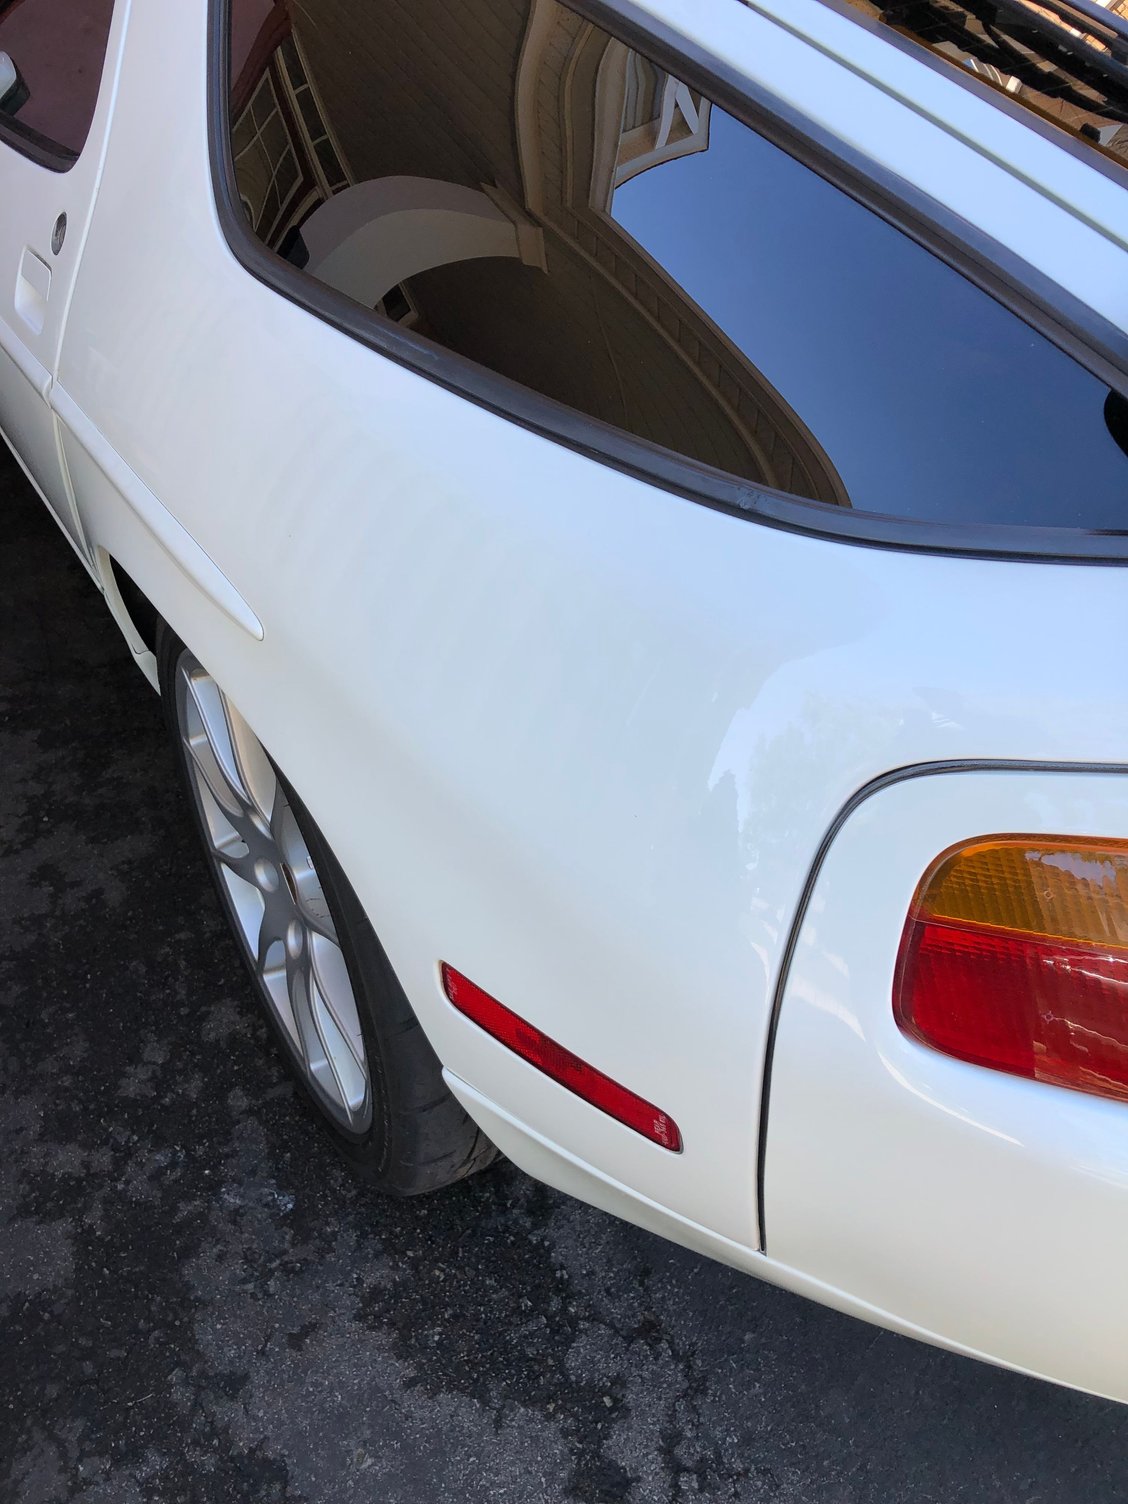
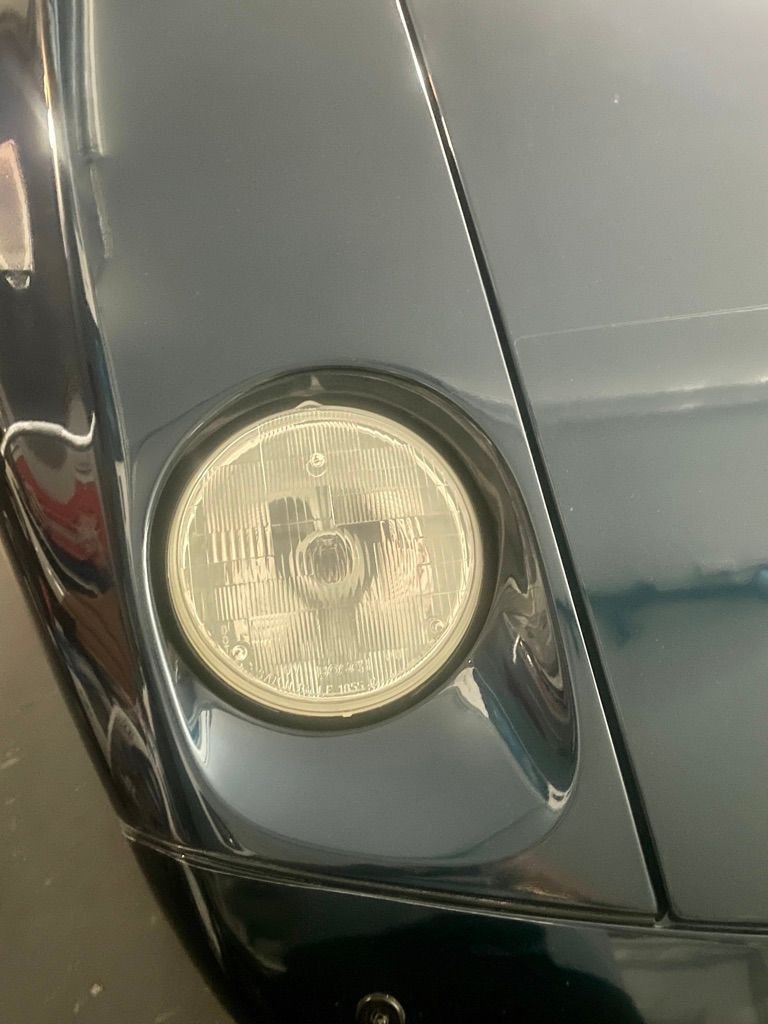
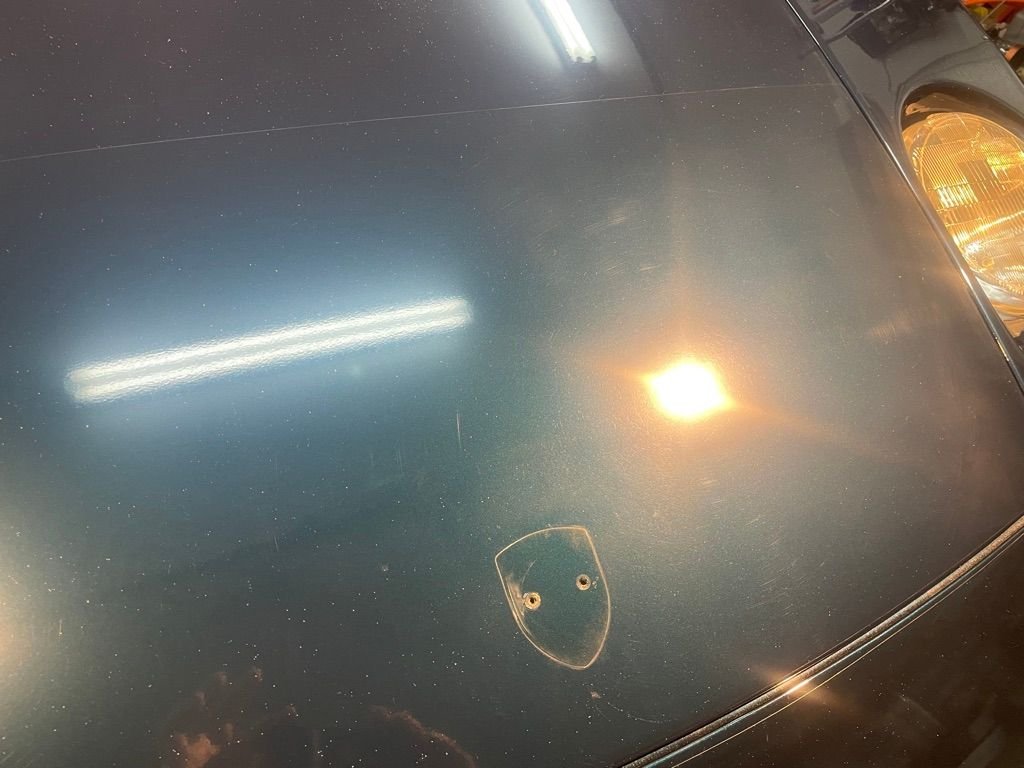
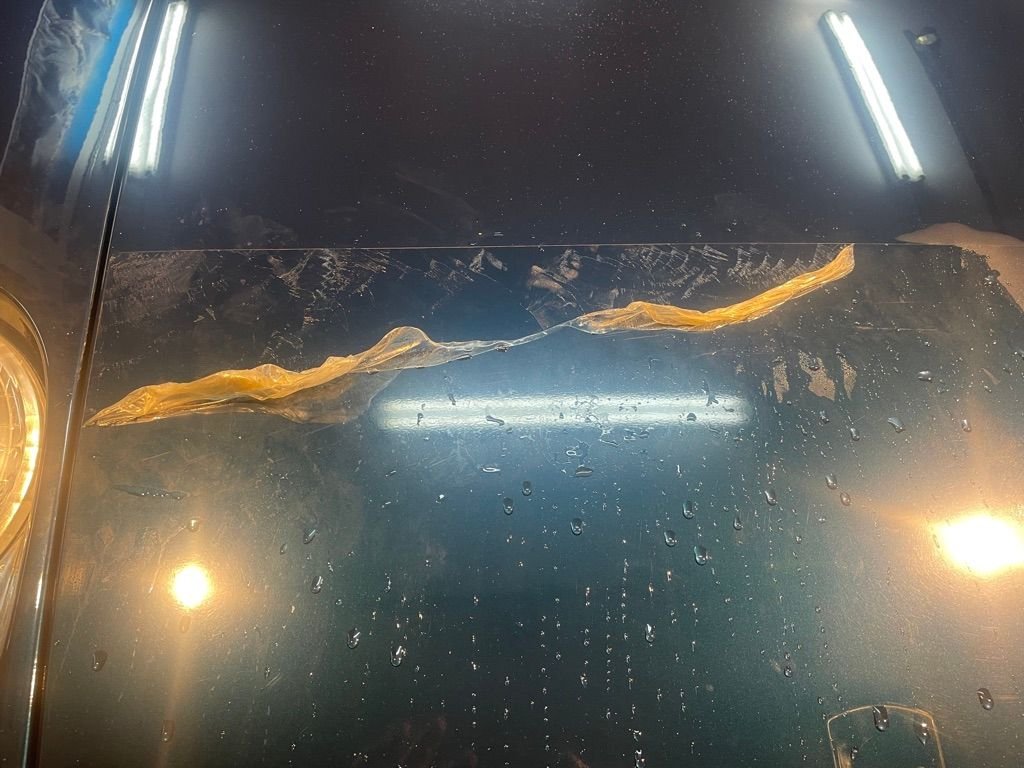
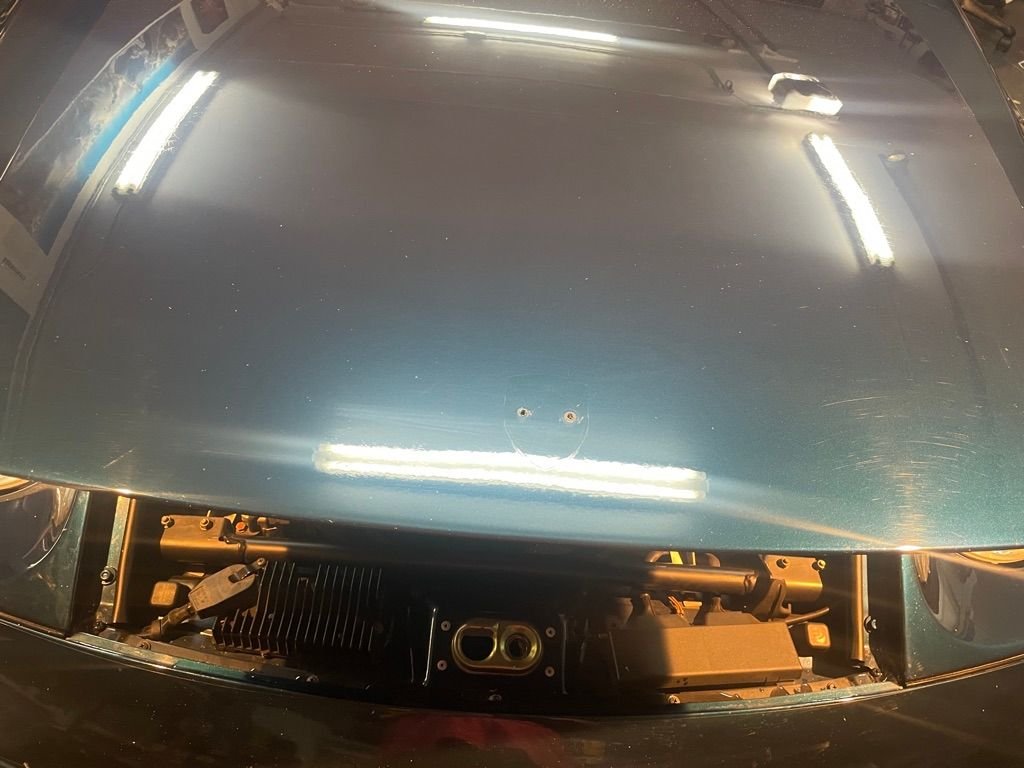
Removed 15 year old 3M PPF What a chore The headlight surrounds came off easily the hood not so much.
Pretty nasty and hard to remove.
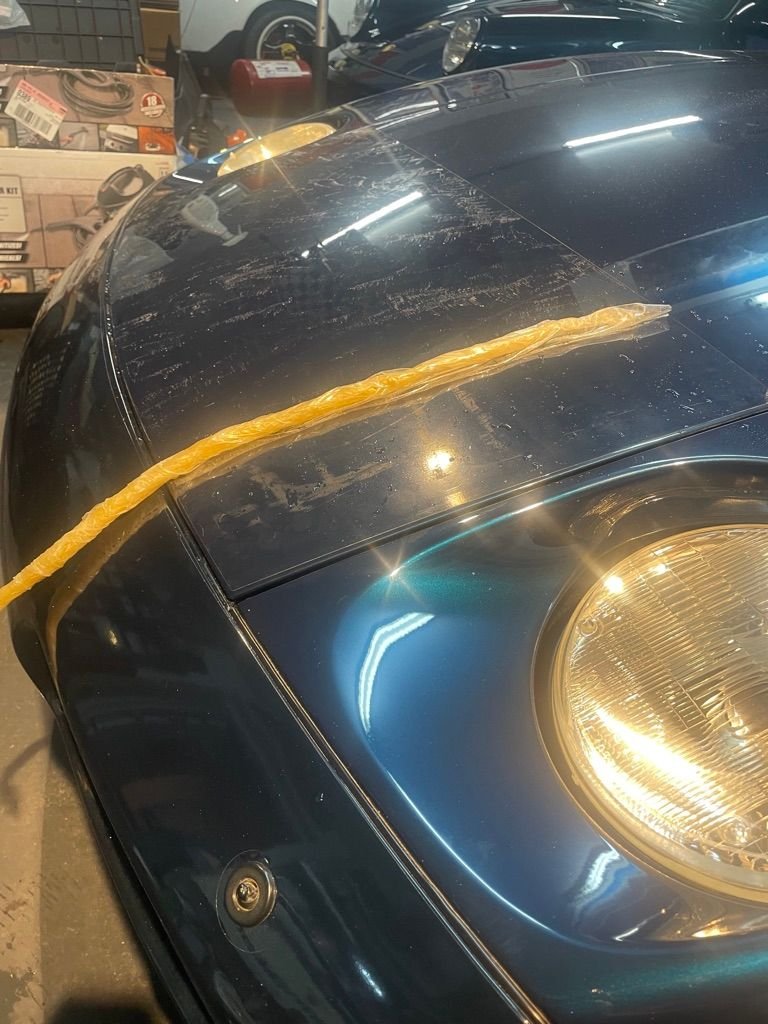
Surprisingly came off in one piece and quite yellowed.
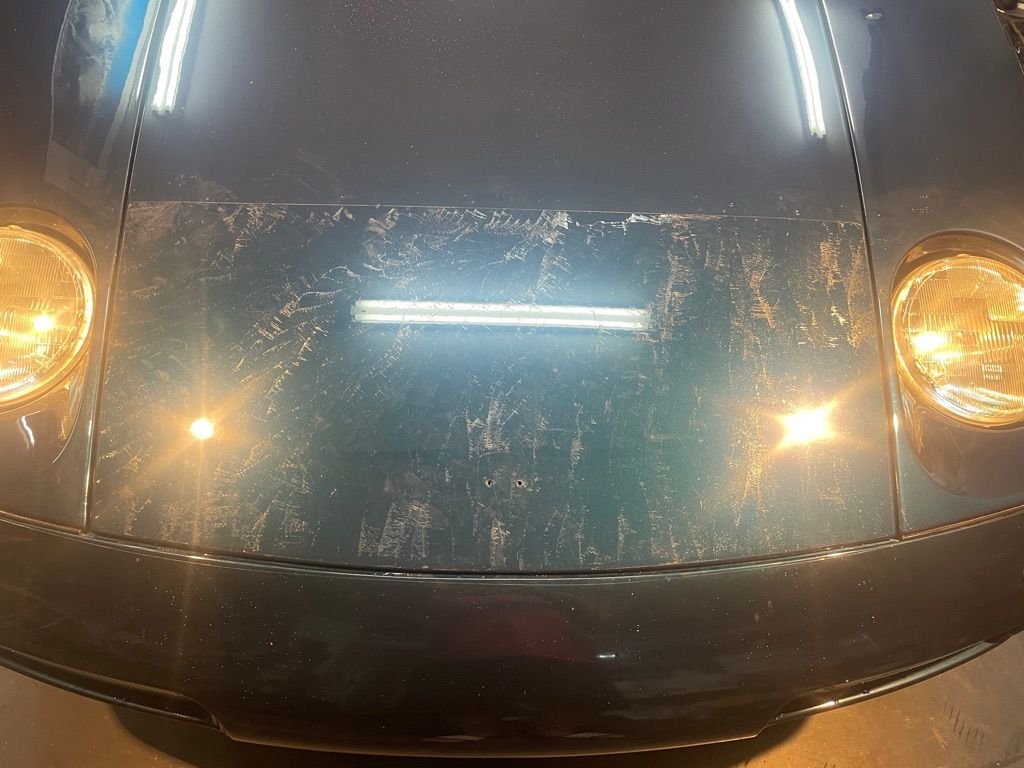
Lots of glue remained
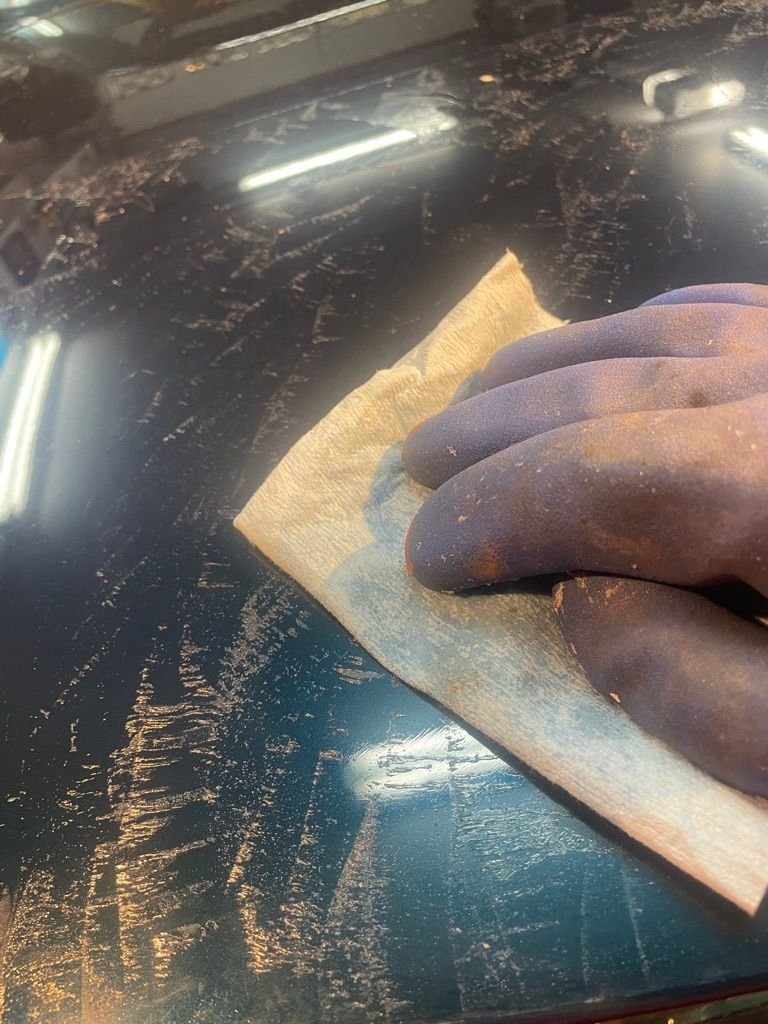
Xylene makes quick work of it. Luckily no damage or color change just a lot of detailing.
A bit more work and will be Good as new.
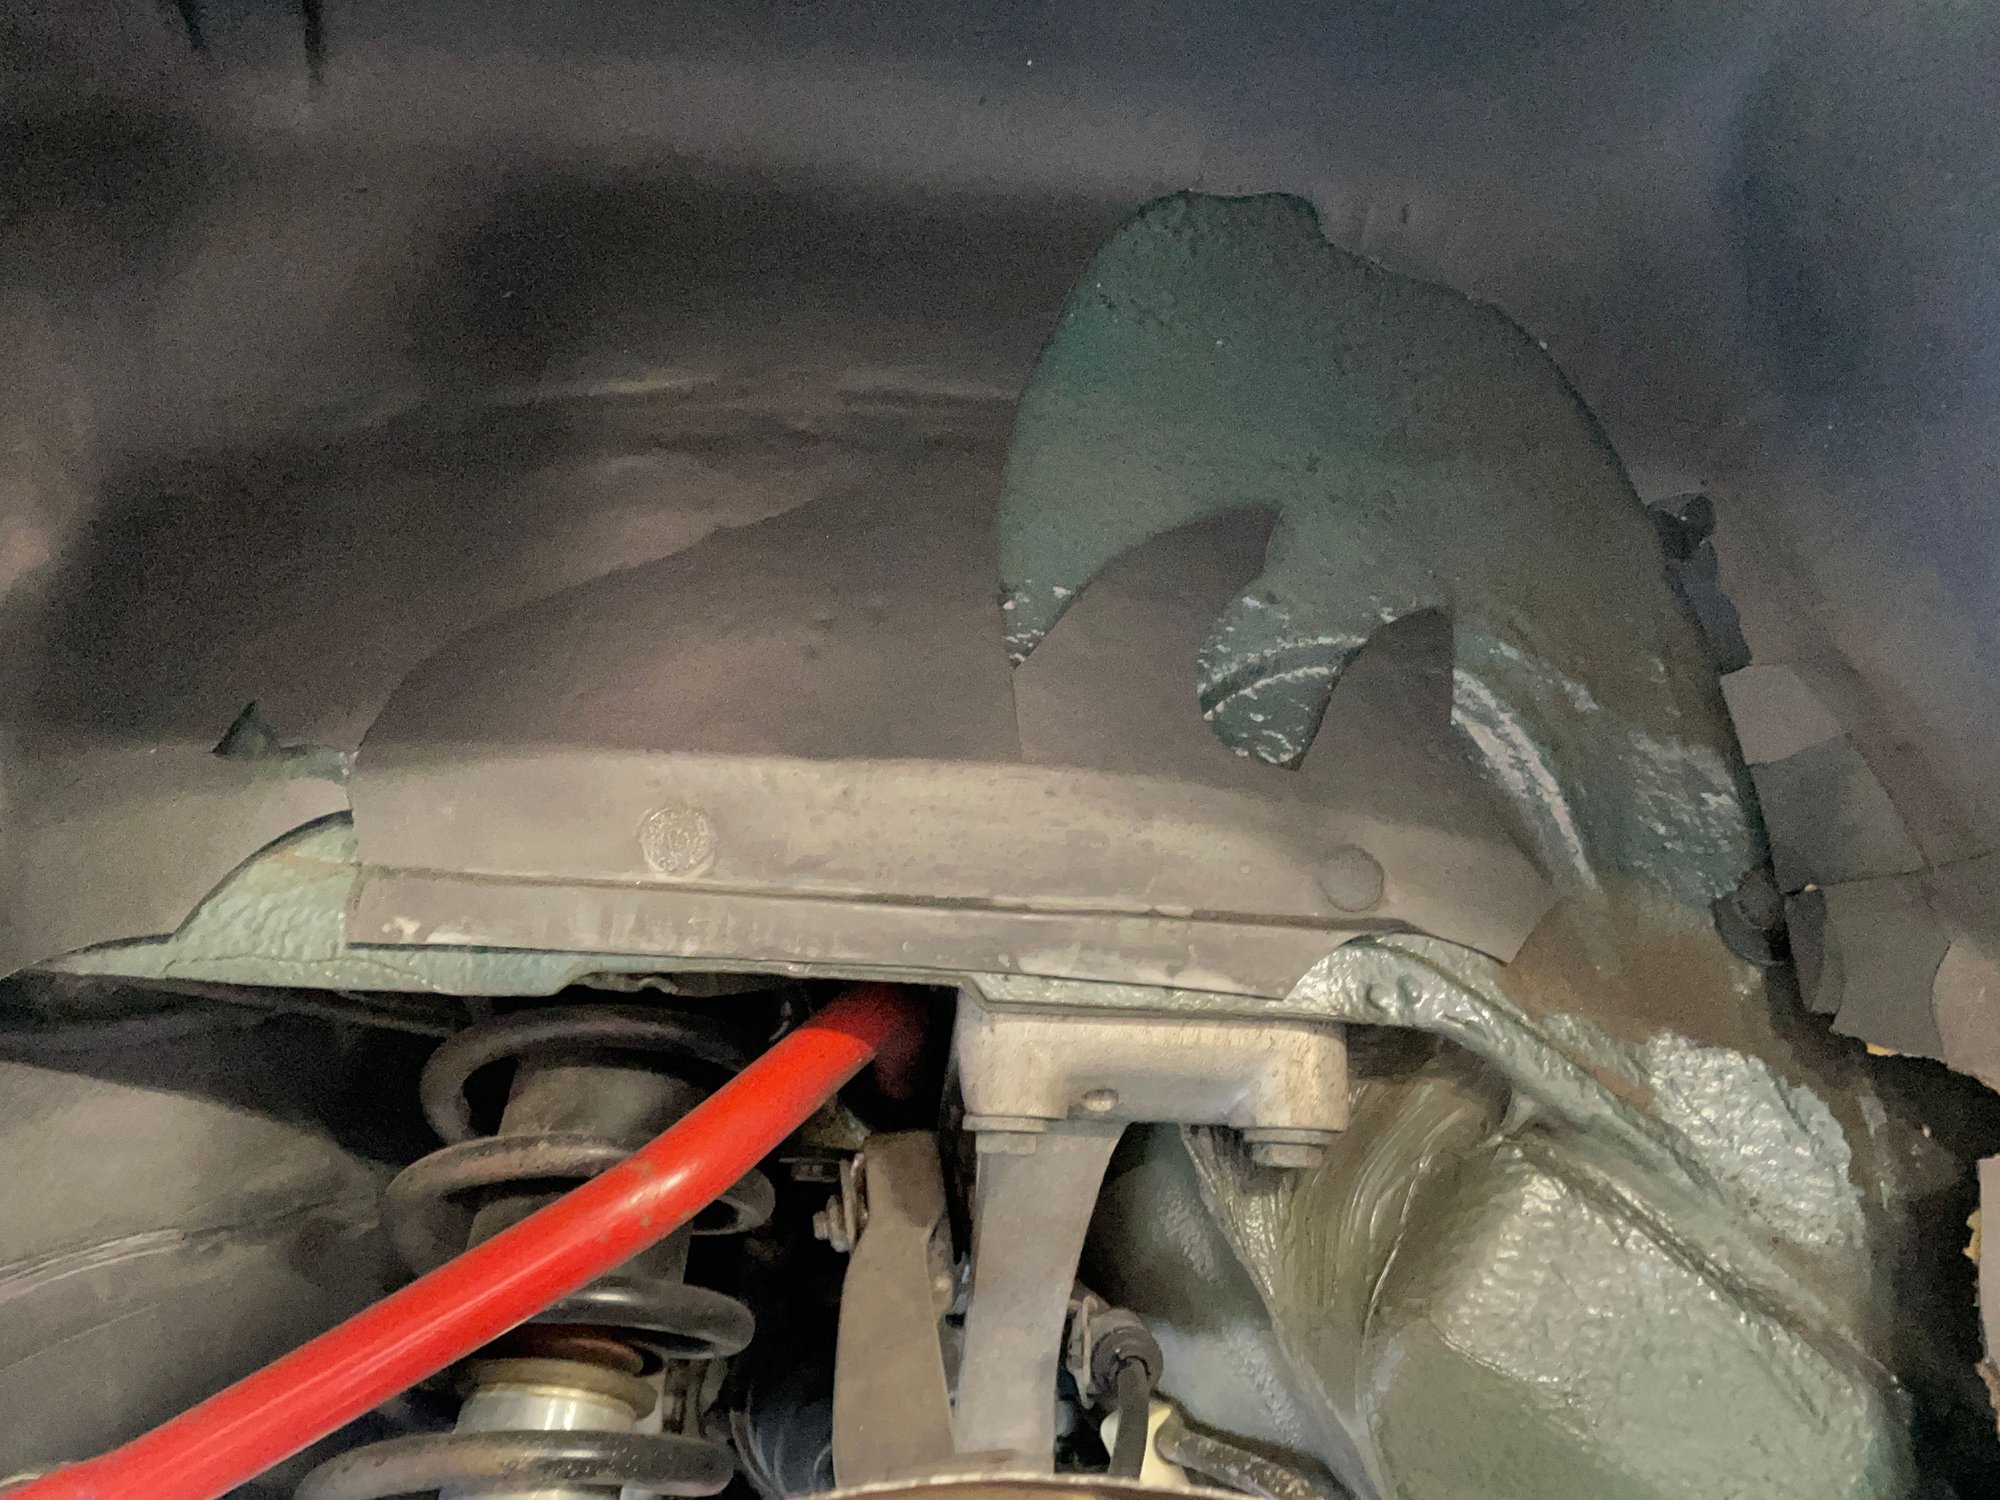
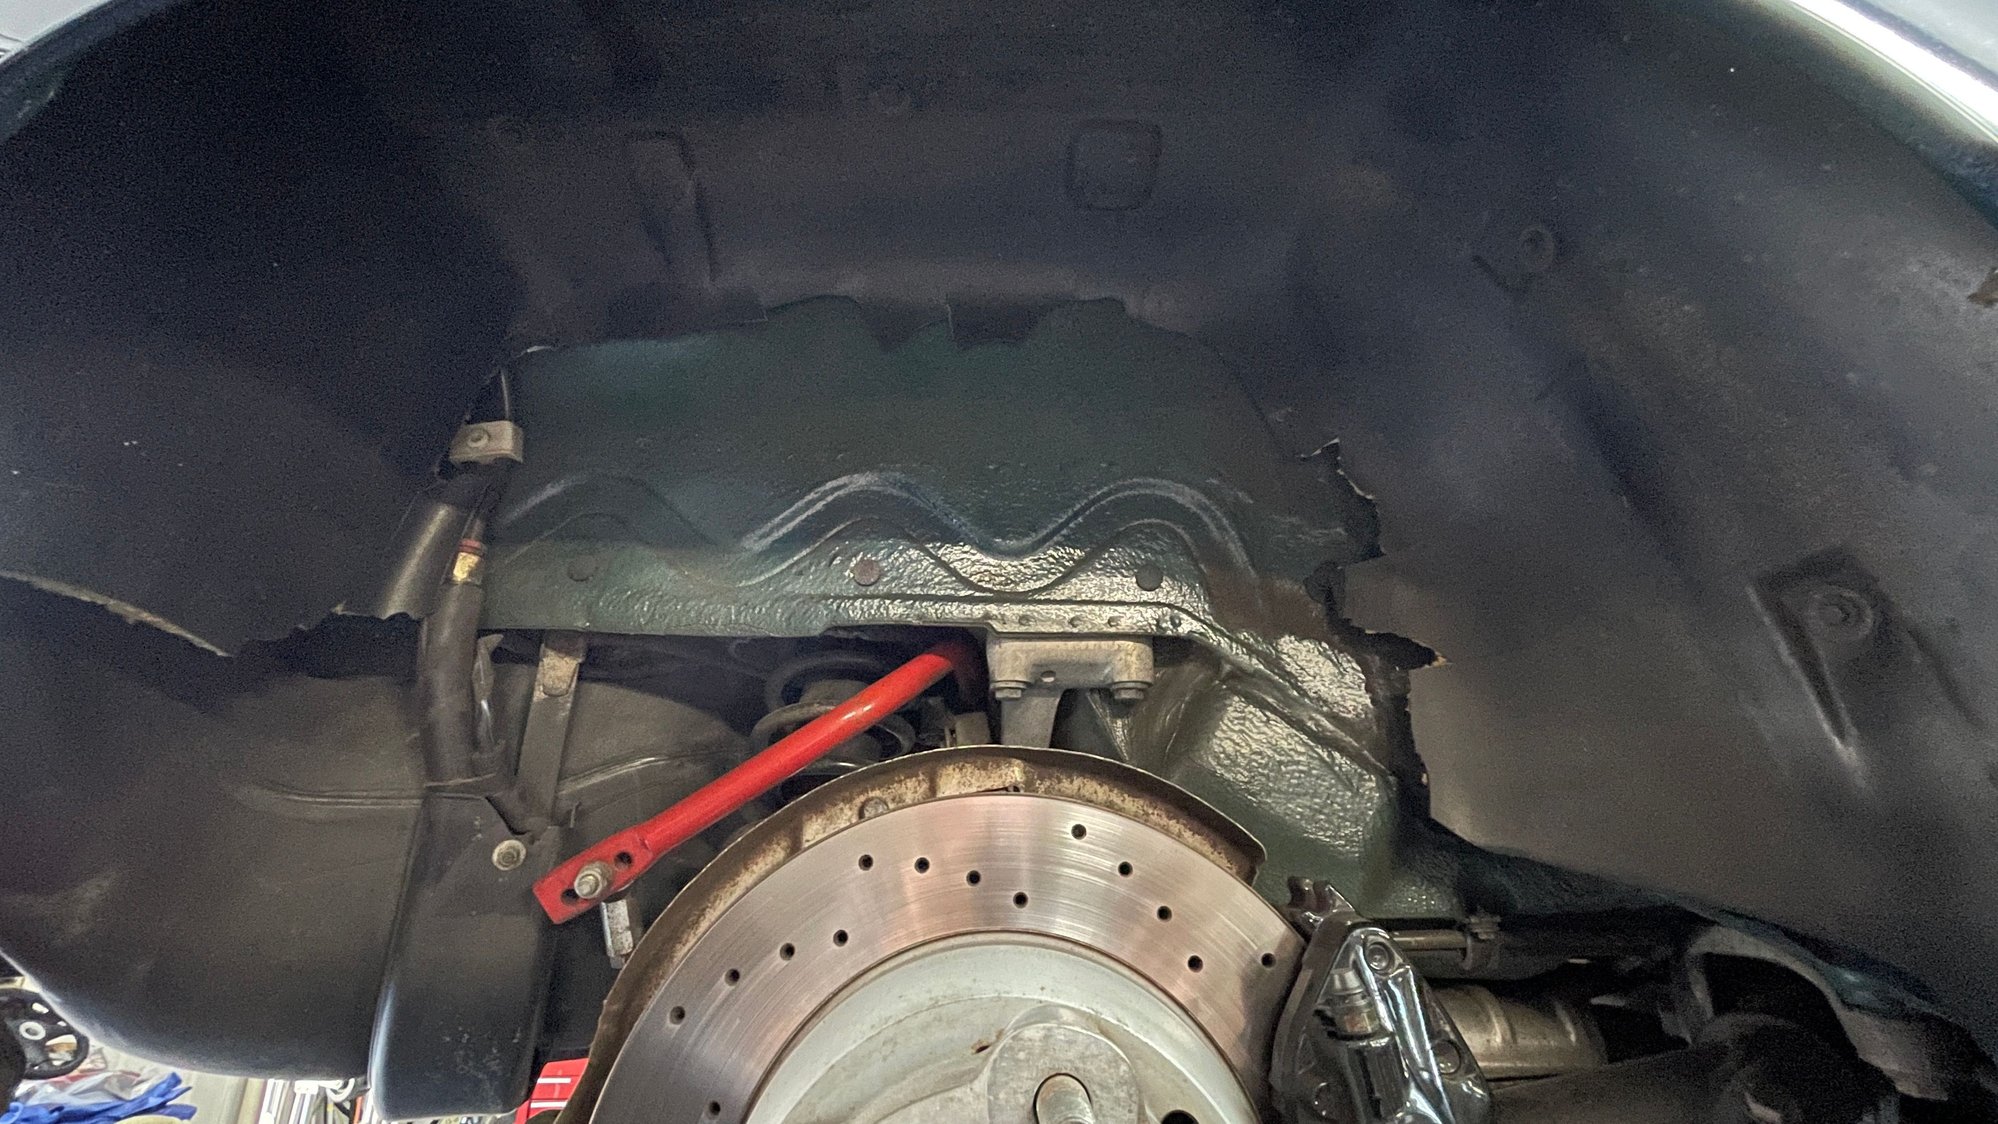
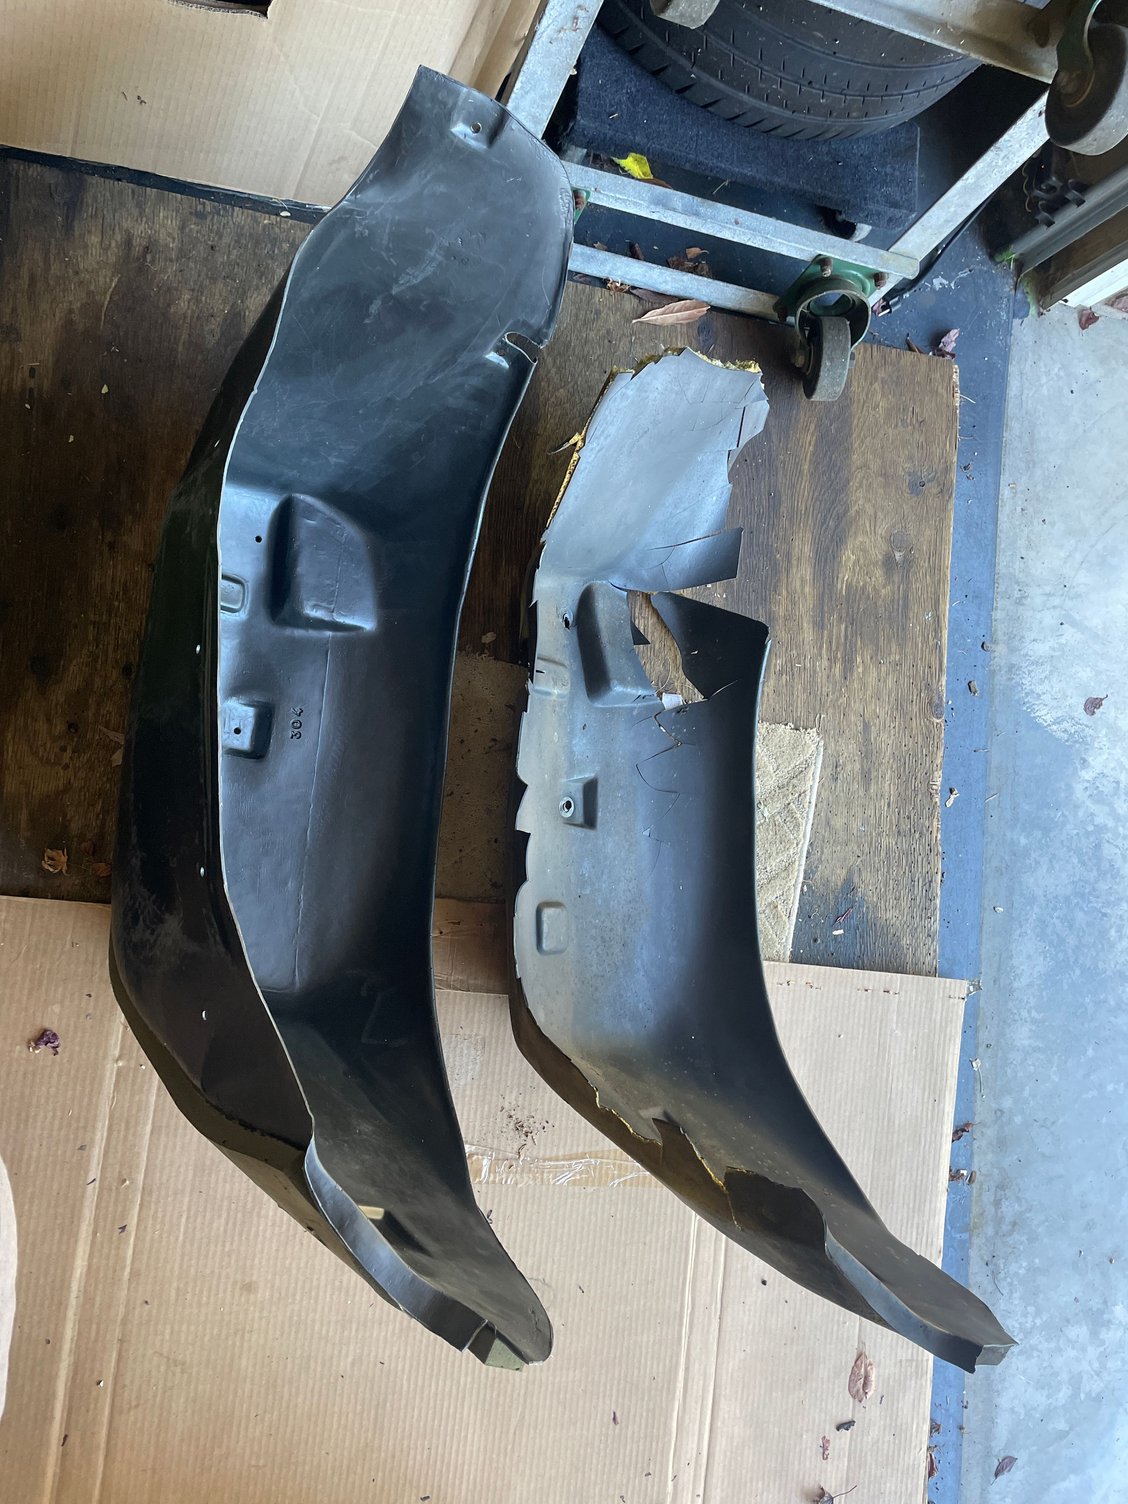
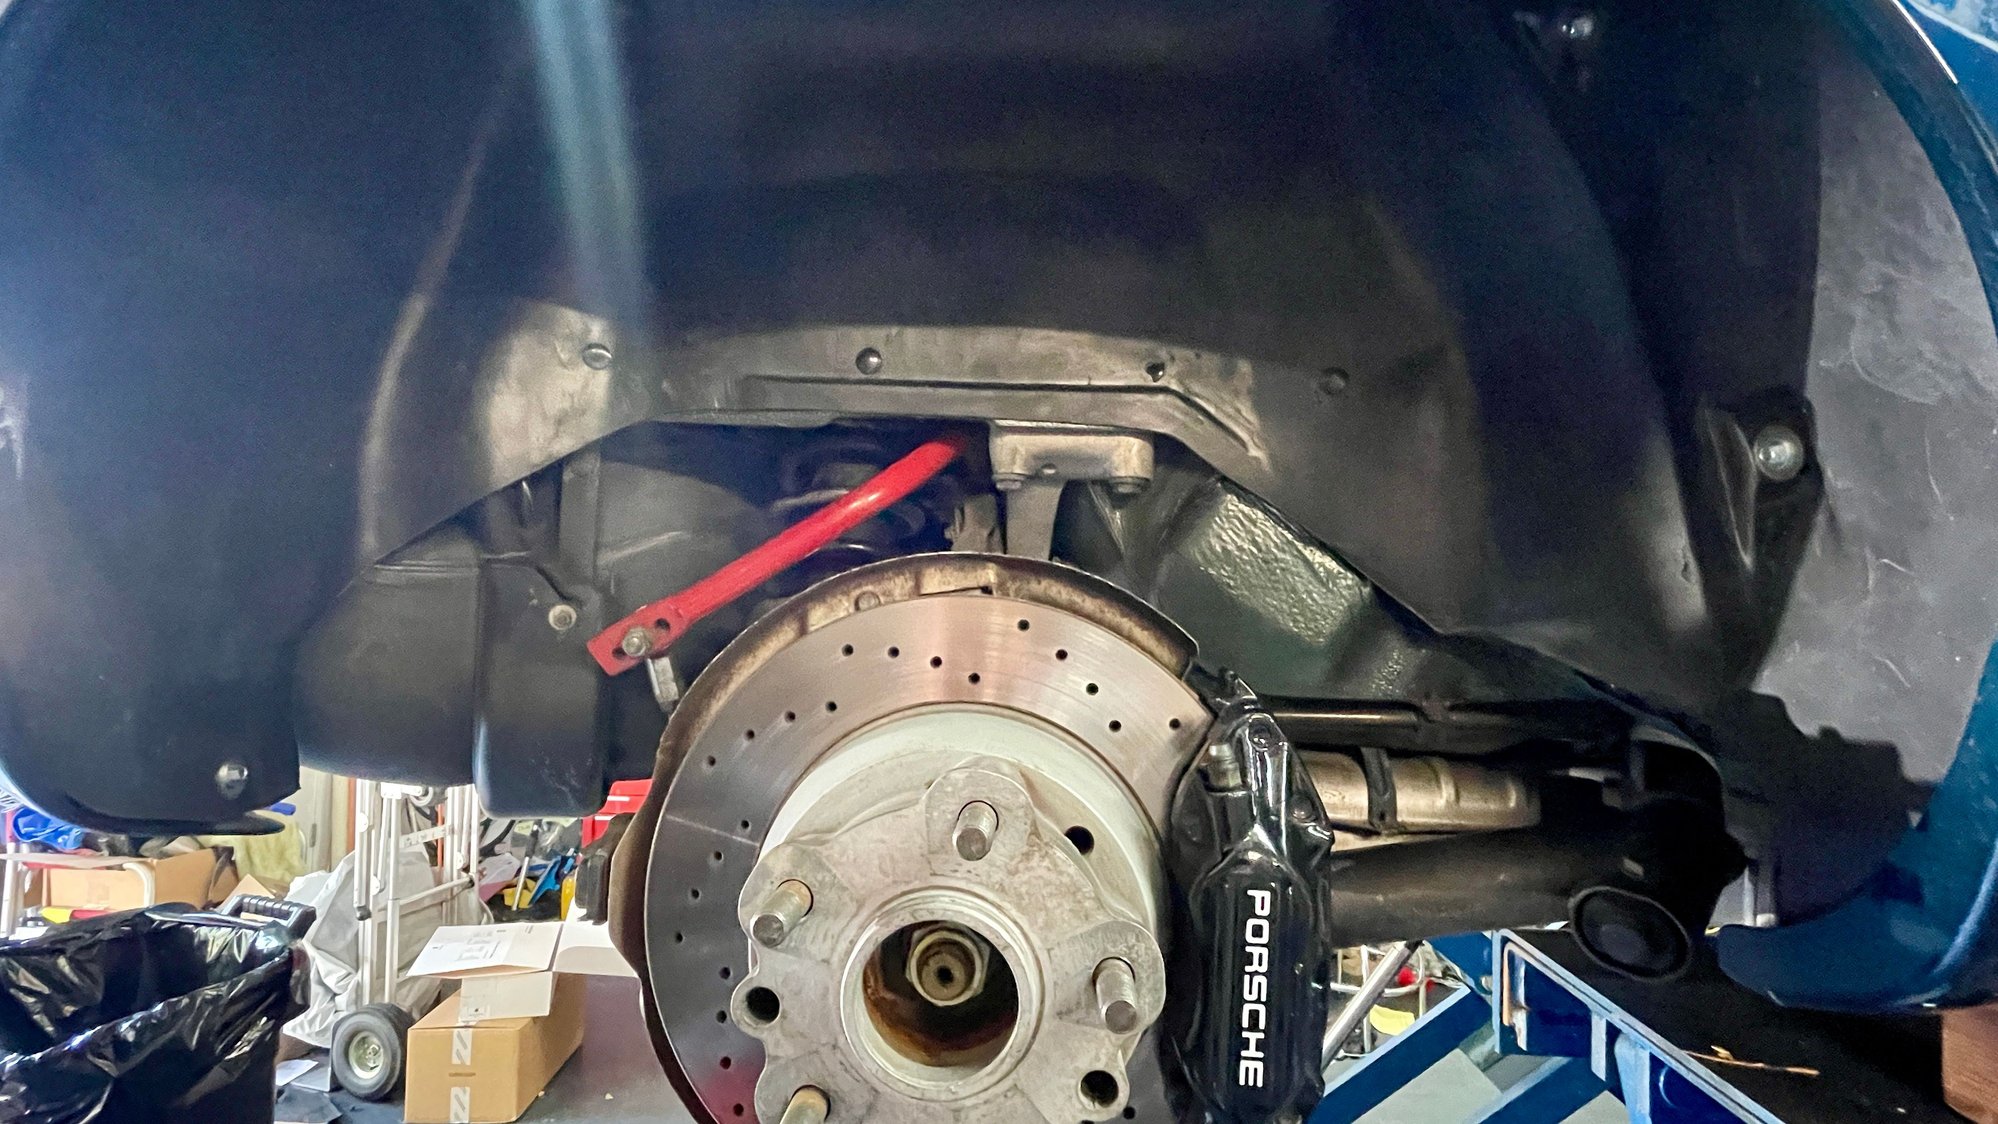
Left side wheel liner is like new condition although original the right side just crumbled. Is this a common issue? Just one side I thought both were prone. Typical classic Originale part not as good as original but does the job.
I don't think the cover had ever been removed.
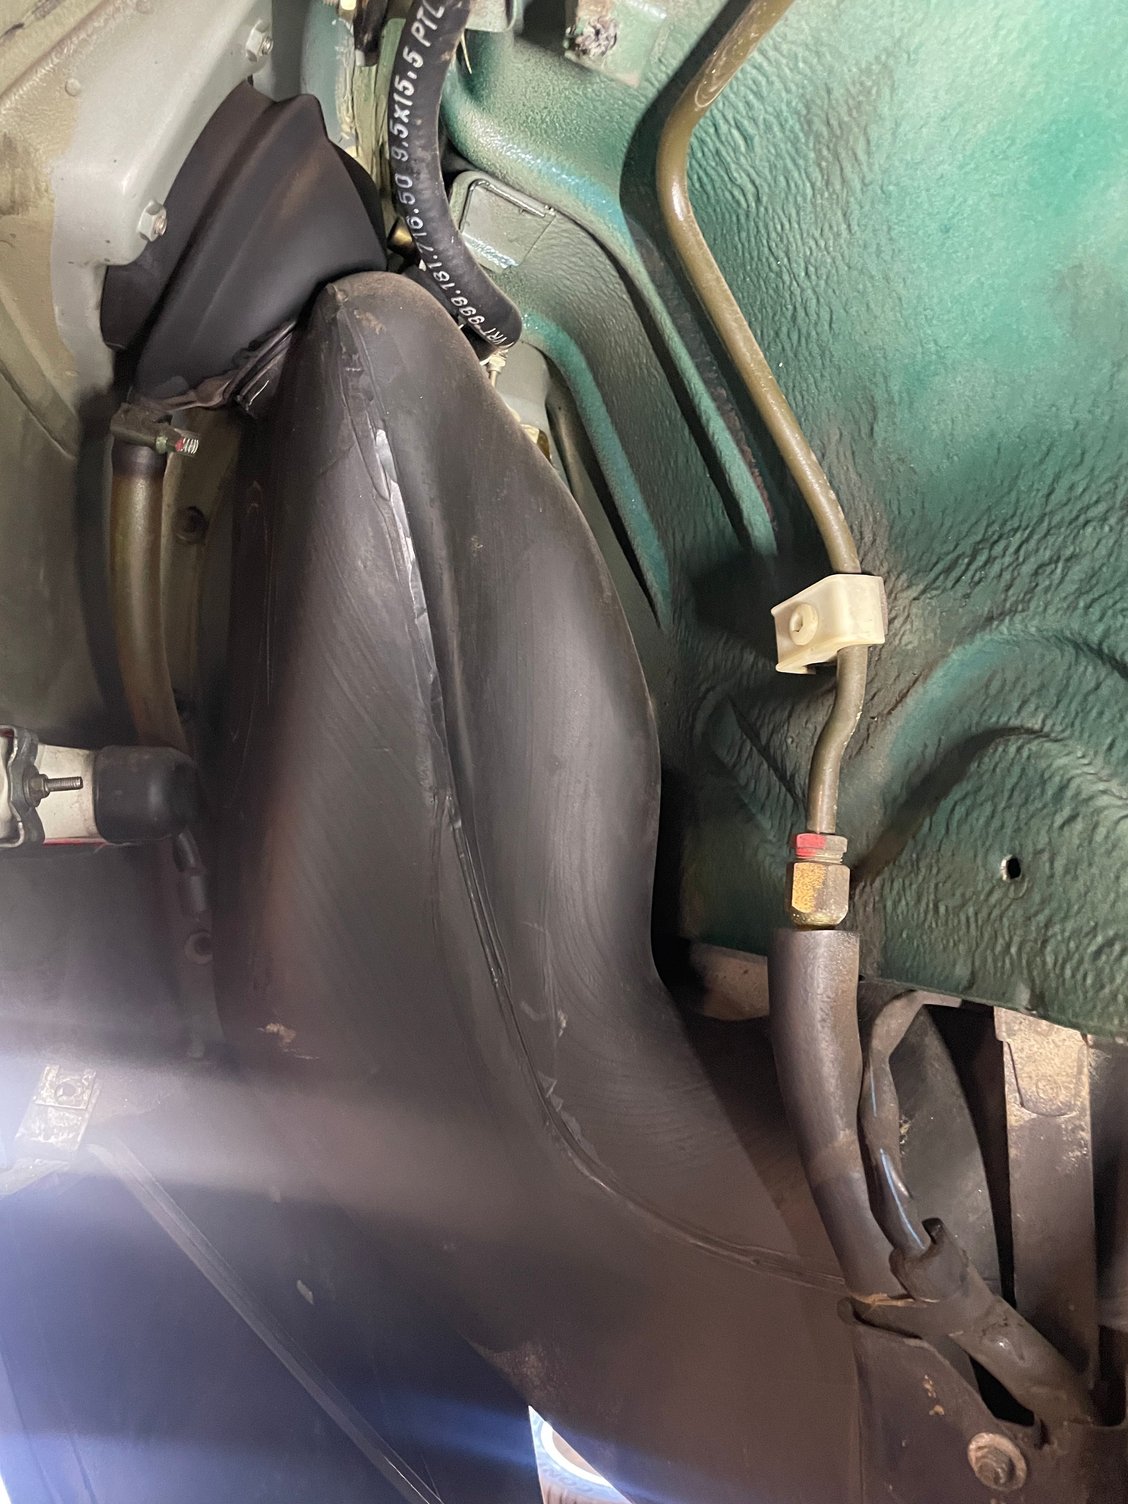
Took longer to fit this than removing the old PPF. What a PITA. I need new plugs as these broke as well vs the other side so they are on order. These will do until they arrive.
This is too funny...I also just serviced the install of the fuel injectors on my car and OMG these stupid plastic connector things were the objects of many 4 letter words thrown at it..and yes I had to use 2 stupid little pick things...one on each side...to work it gently loose without breaking the stupid plastic and still broke one...but only partway and the wire still works so I proceeded to complete re-installation...it's those white ones like the one in your picture...they totally suck.
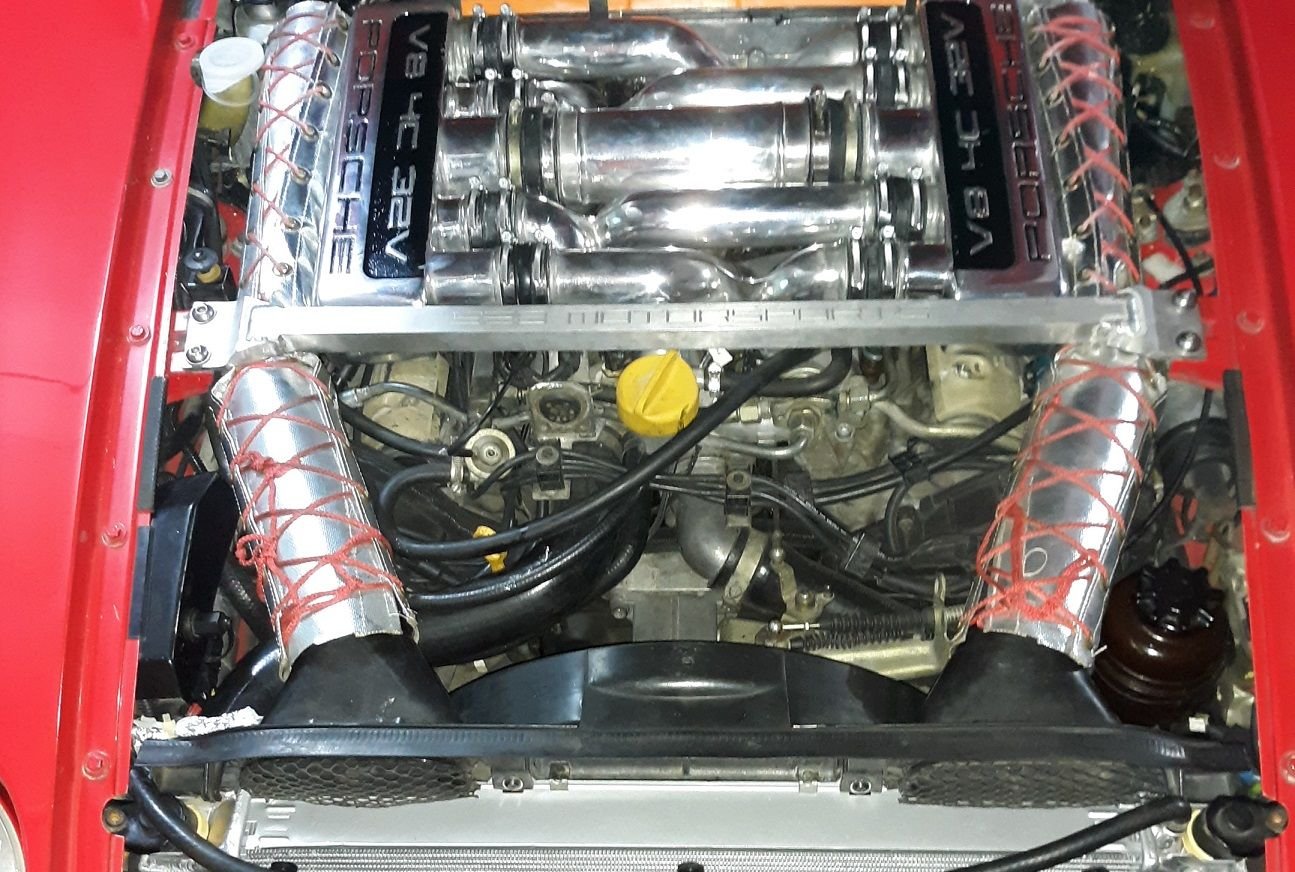
Re-did the install of the injectors; I was suffering from vacuum leaks through them..when I got to them I could see why...the worst one was passenger side against fire wall...it was gross and oily and full of garbage...no wonder it wouldn't seal. The polish job on the manifolds didn't get all the enamel off the injector bores so I was left with bores with partial enamel...a wonderful landscape for getting an airtight seal. Thankfully the o rings were serviceable and after going through a protracted cleaning process that involved some fairly abrasive material being used, a ton of WD 40 to rinse everything down (made a beautiful cloud of excellent smelling smoke when I first started it up..but the real cherry was how long I was able to keep that fun smelling smoke coming out of the tail pipe...a good 5 minutes...I realized it when with both garage doors open there was a visible fog...but I digest)....and lots of oil for all the o rings when going back together (also I'm sure was a helper for the new disco fog machine I'd discovered) I took it out and was immediately rewarded with not just nice even idle but better running and noticeably more power....
I had done a horrible job of cleaning the bores when I installed the injectors several years ago....did not do my due diligence reading up on how / what to do / make sure you do/not to do (basically don't slack off and look at a grody black hole and say yeah sure the rubber o ring will compensate for that, cause it won't).
When it was slower I could flog it closer to the edge...if I drove it today the way I drove it before I did the intake refresh..it would be halfway into a wall somewhere...or seen last airborne.......288 horsepower my @$$....maybe with 2 plug wires disconnected. Its really not possible to describe with words the kind of fast these cars are when they are running right...the horsepower numbers don't even come remotely close.
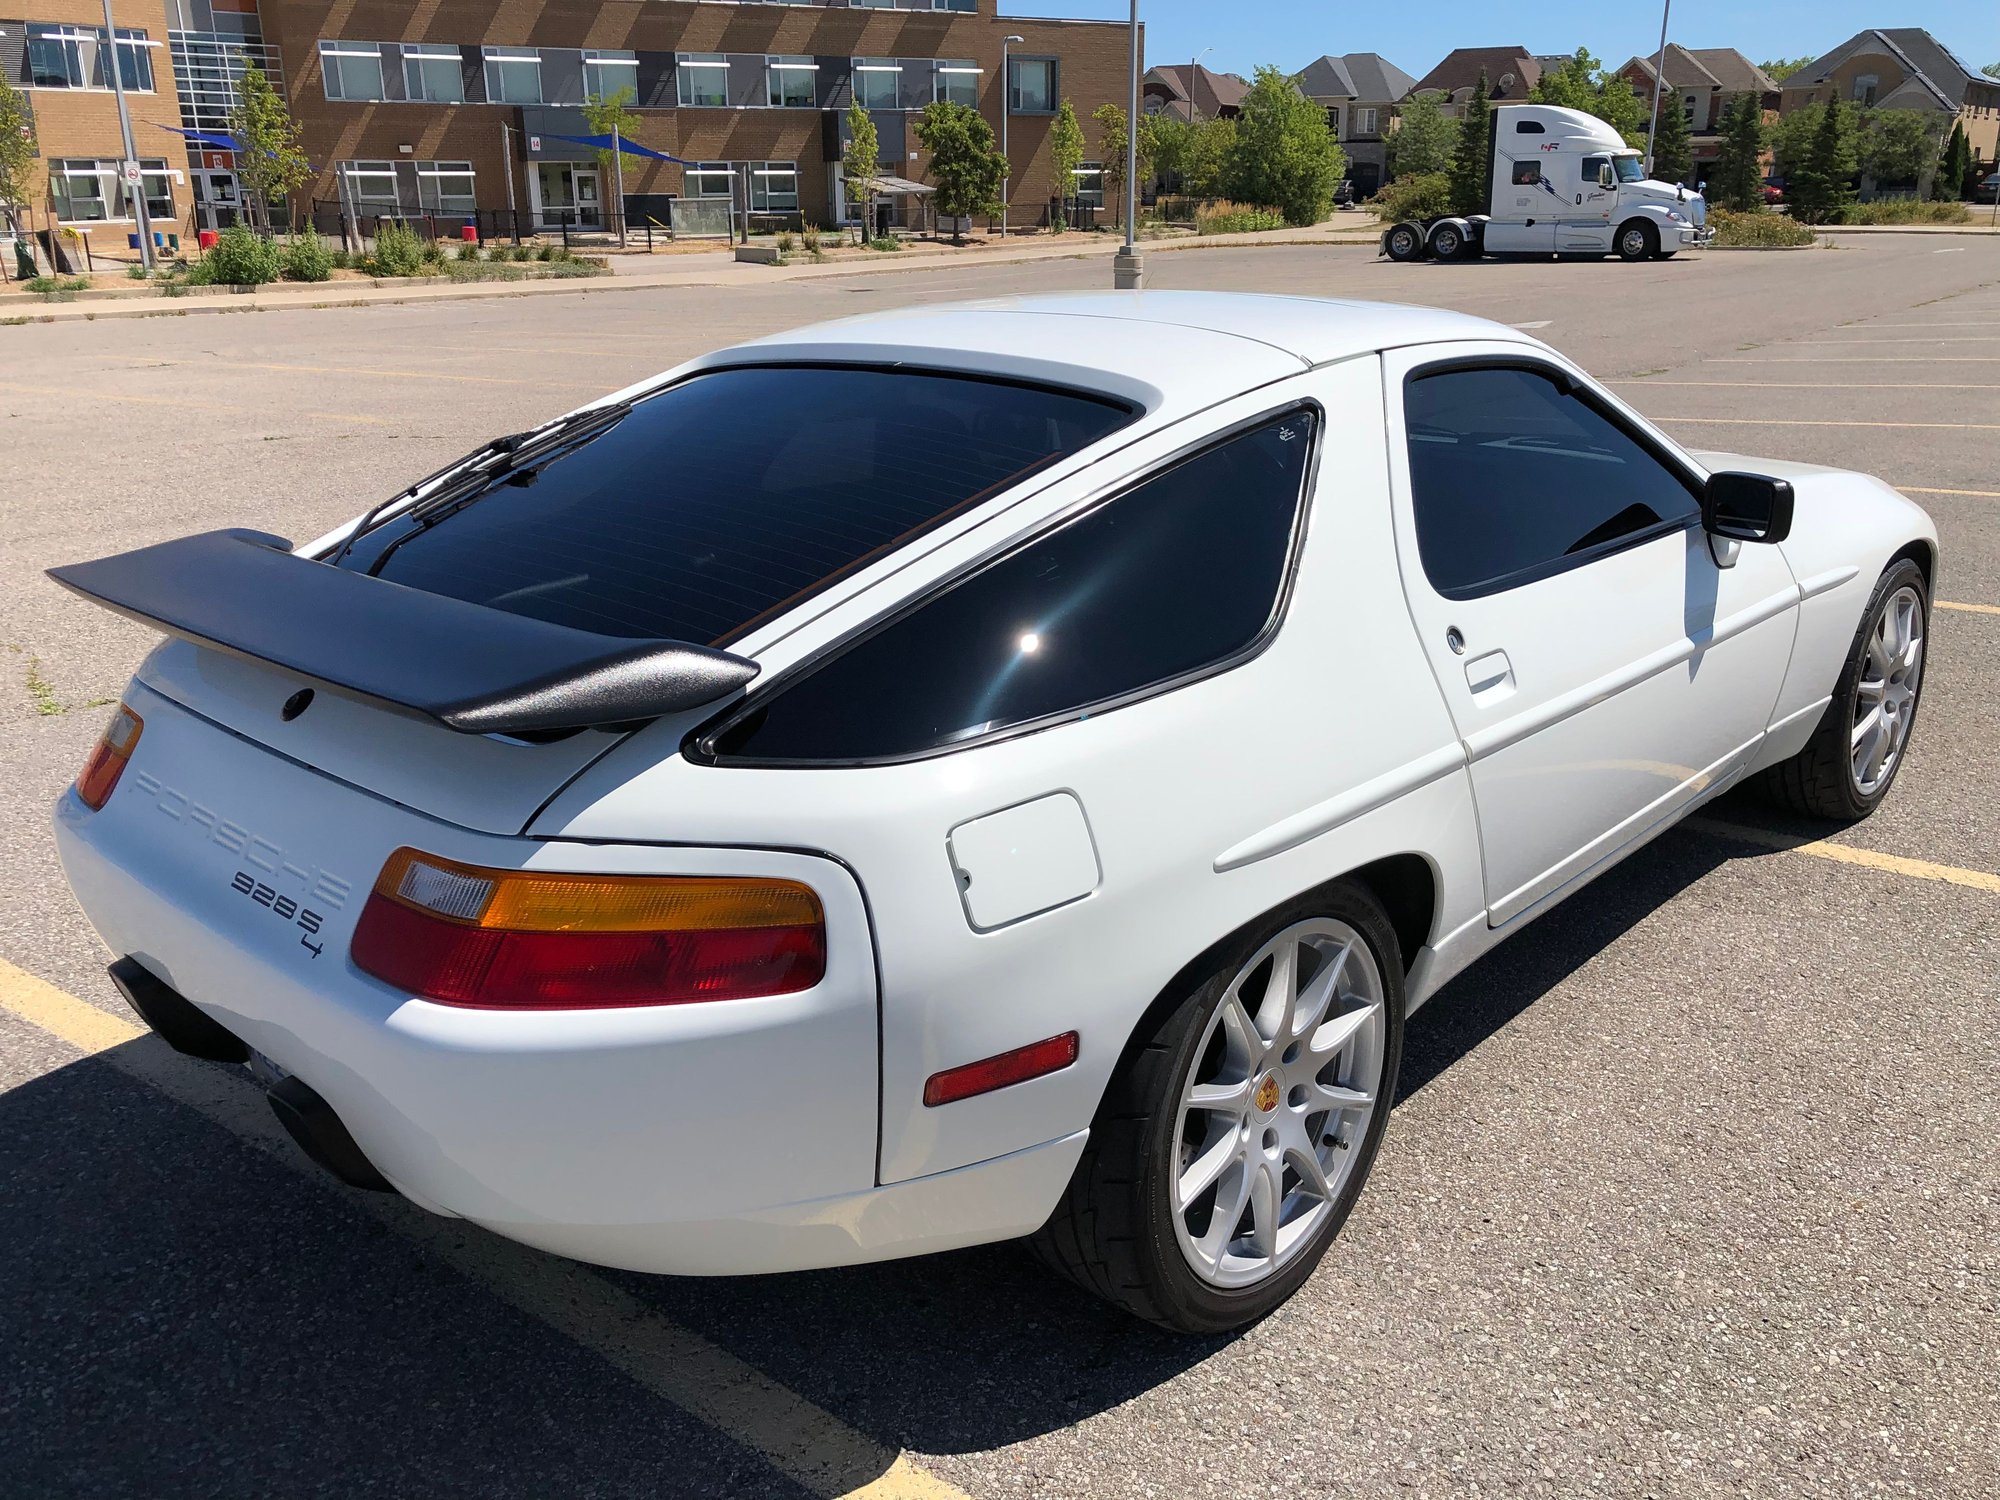
What we look like all back together. I let the intakes go and they etched quite badly...I'm having to restore them in phases so part of them still aren't done...but at least we're getting close.
Starting the process: Going to power the CE panel from lead running directly from battery and remove connection to jump post.
1. Picked up the 4 gauge tinned copper OFC wire..20 feet...this stuff is adding about 6 pounds ...more than all the anodized lug nuts....I guess we'll have to make up for it somewhere...
2. Wire laid into car...some of it is covered (btm of pic) and some not...this stuff is wonderfully flexible. Wire jacket is oversized but sure is lot easier to deal with... The 3 wires on top that go out through the firewall will remain connected...but removed from jump post side...
3. The 3 wires on the jump post end are removed terminated...total of 2 connections...each connection is in it's own plastic wire loom jacket...then whole thing well wrapped. I originally just loomed both terminals together but decided to separate them to prevent any weirdness in case of any random touching; the loop terminals remained for reconnection if need/wanted.
more coming......tomorrow we use AML fuse holder and connect within battery box with 60 amp fuse. Shiny stuff contains wiring for cooling fans; insulated on the inside...not pretty there but neatly fits under stock upper portion of fan shroud....
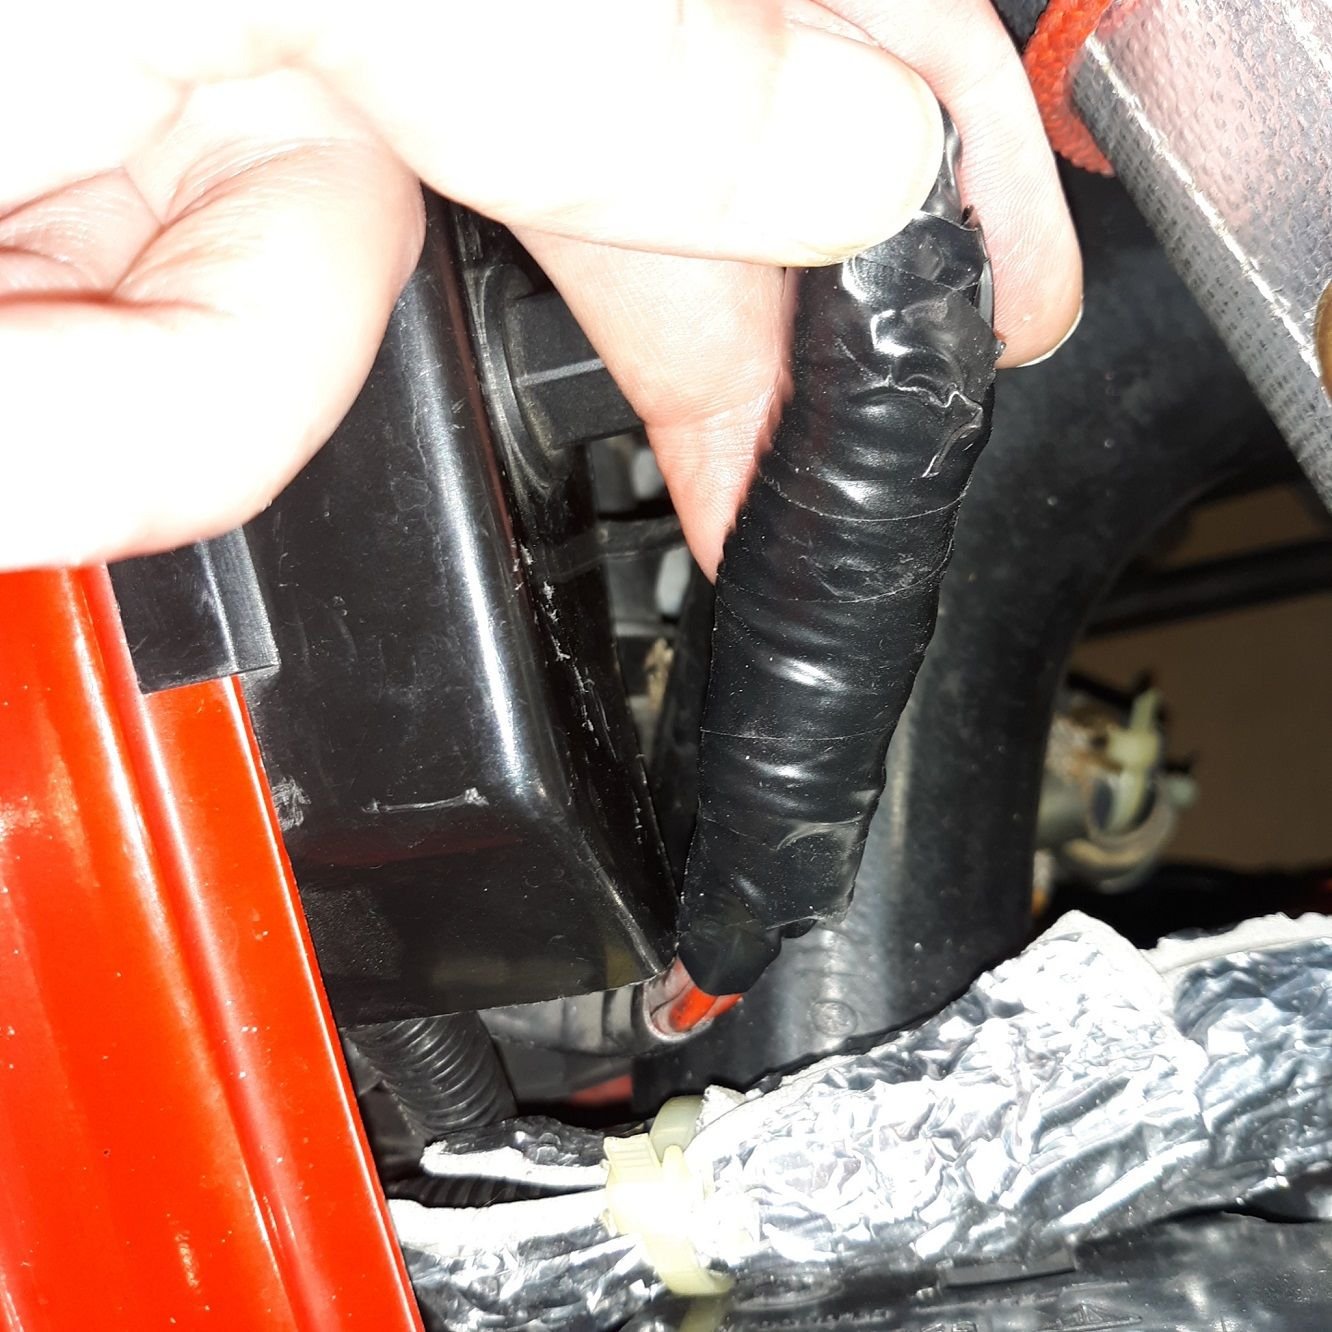
Assuming you want to leave the wires so you can revert later if desired - I'd remove them from the CE panel top and put heat shrink over the terminals . Do this at both ends. Powered wires hanging around in free space is a bad idea - your tape will get gooey really quite soon... Once they are disconnected and wrapped you can tuck them under the post cover again.
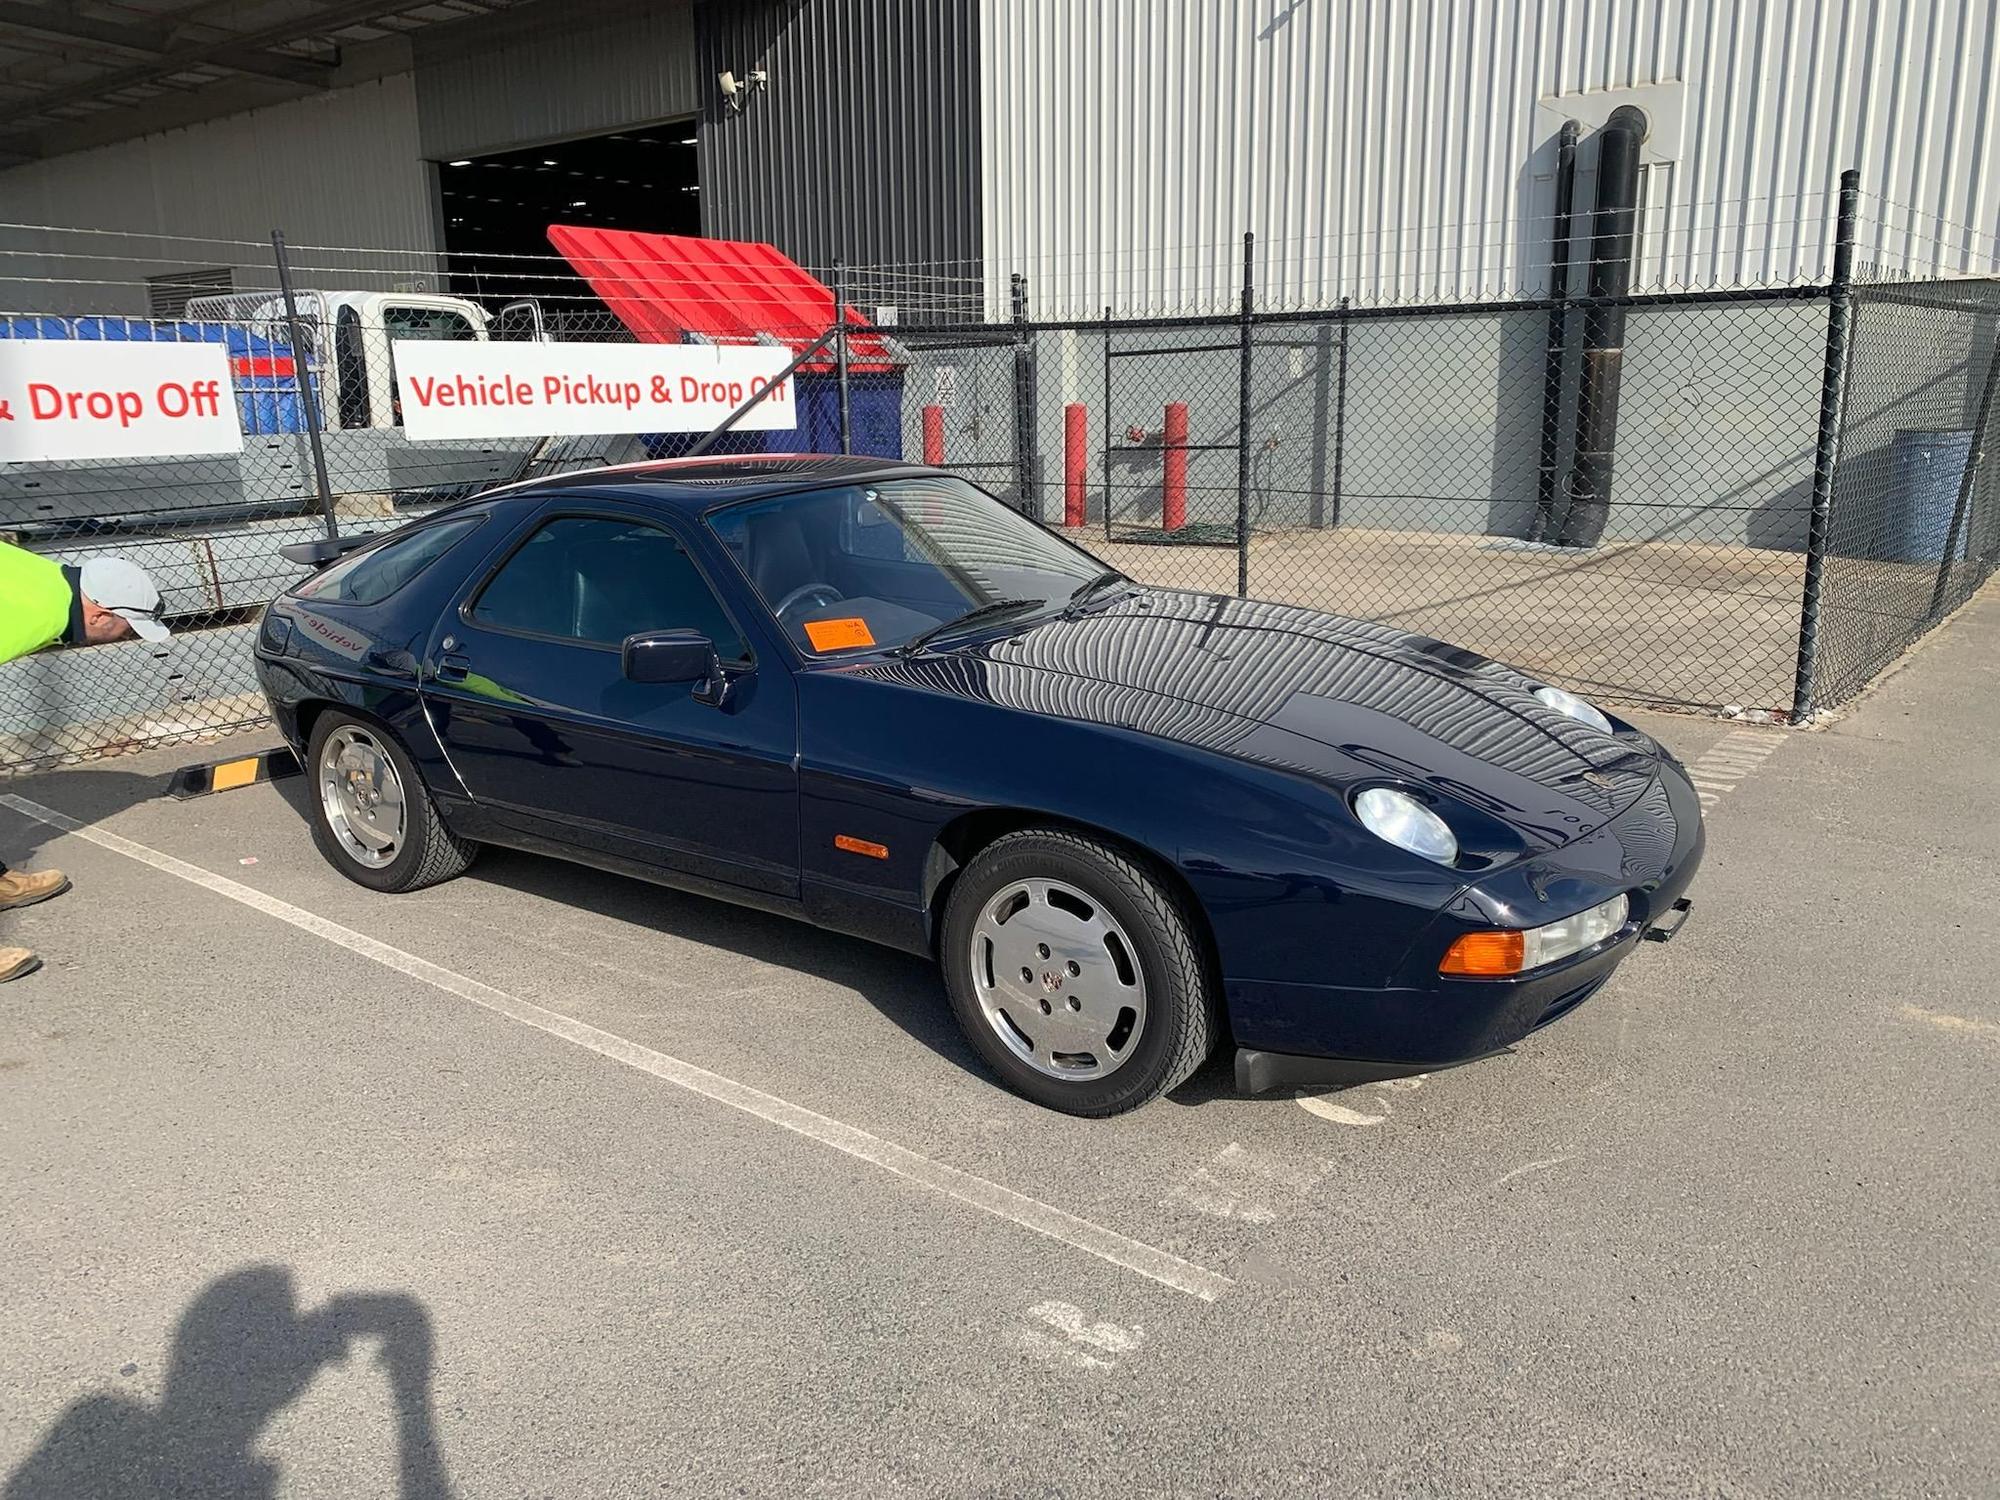
I bought another one. This time a 1987 S4 auto. Currently in transit from Brisbane to Perth (first leg is Brisbane to Adelaide by road) so I should have it soon. It's the same colour as one of my other 1988s so if I keep one at work, my partner might not realise the collection is growing (at least for a little while). I'll update my signature once it has arrived safely.
Newly acquired 1987 S4 Auto awaiting shipping to Perth
Assuming you want to leave the wires so you can revert later if desired - I'd remove them from the CE panel top and put heat shrink over the terminals . Do this at both ends. Powered wires hanging around in free space is a bad idea - your tape will get gooey really quite soon... Once they are disconnected and wrapped you can tuck them under the post cover again. Alan
Hey Alan
.I couldn't figure out why we would have 3 separate wires to power the CE panel so I thought well at least 2 of them are making a pit stop somewhere. I'm def. removing them now...but am curious what the logic would be behind using 3 wires...certainly not the first thing we've wondered why about...always appreciate your kind attention thanks
Well actually I don't know why they did it - it is considered very bad practice generally to have multiple parallel small conductors vs a single big one. The issue is that one or more of these conductors could become disconnected (loose) and as long as there is one left it will end up carrying all the current, overloaded and with a much larger voltage drop (and you still likely won't know). Three smaller conductors are of course cheaper and much easier to route but Porsche isn't usually cheap like that. Remember you could always repurpose these wires for CE panel to engine compartment connections for something else (now or later).
Before... Not a pretty sight, I really thought it was a write off and in the bin...
Ansa muffler restored and altered to fit new stainless endpipes, new front mount flanges and new suspension mount. The endpipes obviously mounts farther in and secures with M6 hexbolts. I will mount these last when everything is on the car. As you can see in the first picture the big patch is in the corner and goes around down to the seamweld where it was much bigger. 35-year old dirty metal gave me quite a hard time both with the tig-welder and the mig-welder. As you can see the welds look "spotty" and not linear. I was faced several times with the metal just "sparkled" away, and you had to VERY carefully with low amps mend the holes that formed...... I thought I cleaned every surface good too but it doesn't help every time...
So here we have the "new" puzzle. Cleaned "Bischoff" stainless middle pipe and middle-muffler with new flanges. It looks like an accordion with bumps but it is structually sound and no damage inside. The short middle pipes was timeconsuming to make, not welding but measuring and testmounting many times. It is really cramped under the rear suspension subframe, now I understand why the original pipes look like they've been beaten to scrap with a hammer. The flow will be increased a bit with my pipes, no restrictions there...


 08-12-2022 | 06:54 PM


 ... I thought I cleaned every surface good too but it doesn't help every time...