When you click on links to various merchants on this site and make a purchase, this can result in this site earning a commission. Affiliate programs and affiliations include, but are not limited to, the eBay Partner Network.
Local auto parts stores have gasket material in varying thickness you can cut using the OEM version as a template, too.
For sure. But, if not using the OEM gaskets, I was hoping to use something better. and it seems the silicone material is better. I may scan in an OEM gasket to my wife's Silhouette craft cutter, put in the thicker material cutting blade and see if it will cut a precision one for me out of the 1.3mm silicone.
Got everything cleaned back up and put the pieces together. Took a flexible USB light I have and ran it in through the thermostat hole to one side and then the next. No light leaking out the driver's side, but the passenger side, where my leak was, is low in the center and high at the sides on the top edge. The bottom edge looks ok. I'm going to look again tonight in the dark.
I assume it's better to mess with the water bridge side so if something gets messed up you can get a replacement water bridge much cheaper and easier than fixing the block, correct?
Or do I try and find out which side isn't straight and try to work on that side, even if it's the block side?
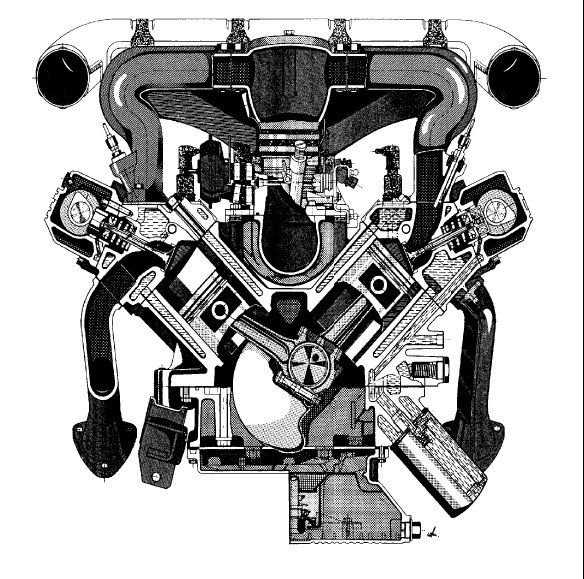
Keep in mind that the heads are mounted to the block with each one on roughly a 45 degree angle. Combined, they are about 90 degrees to each other. As the heads are milled, they move down AND TOWARD EACH OTHER. If the heads have been milled a lot or many times, or as Merlin explained, at the wrong angle - getting the water bridge to line up can be a bitch. Generally speaking though - if you can drop the water bridge mounting bolts through th flanges and into the the head and start the threads without too much trouble, then the heads can't be that far off.
About the silicone sealant that you found on your Thermostat housing O-Ring. That was not put there to seal the thermostat housing - that is the O-ring's job. But the O-ring cannot perform its job if it is pinched, not in correct position, or cut during assembly. So - Mechanic's Hack # 217: smear a slight coating of silicone sealant on the O-ring and the bore that is about to receive it - just to function as a lubricant during assembly. It helps the O-ring install without great force and you will find it will slide right into place. Prevents cuts and pinches of the O-ring that can happen during assembly.
Carl, that makes sense and helps me to understand this phenomenon where when I set the water bridge in place, on the driver's side, the threads in the head line up pretty well with the holes in the flange.
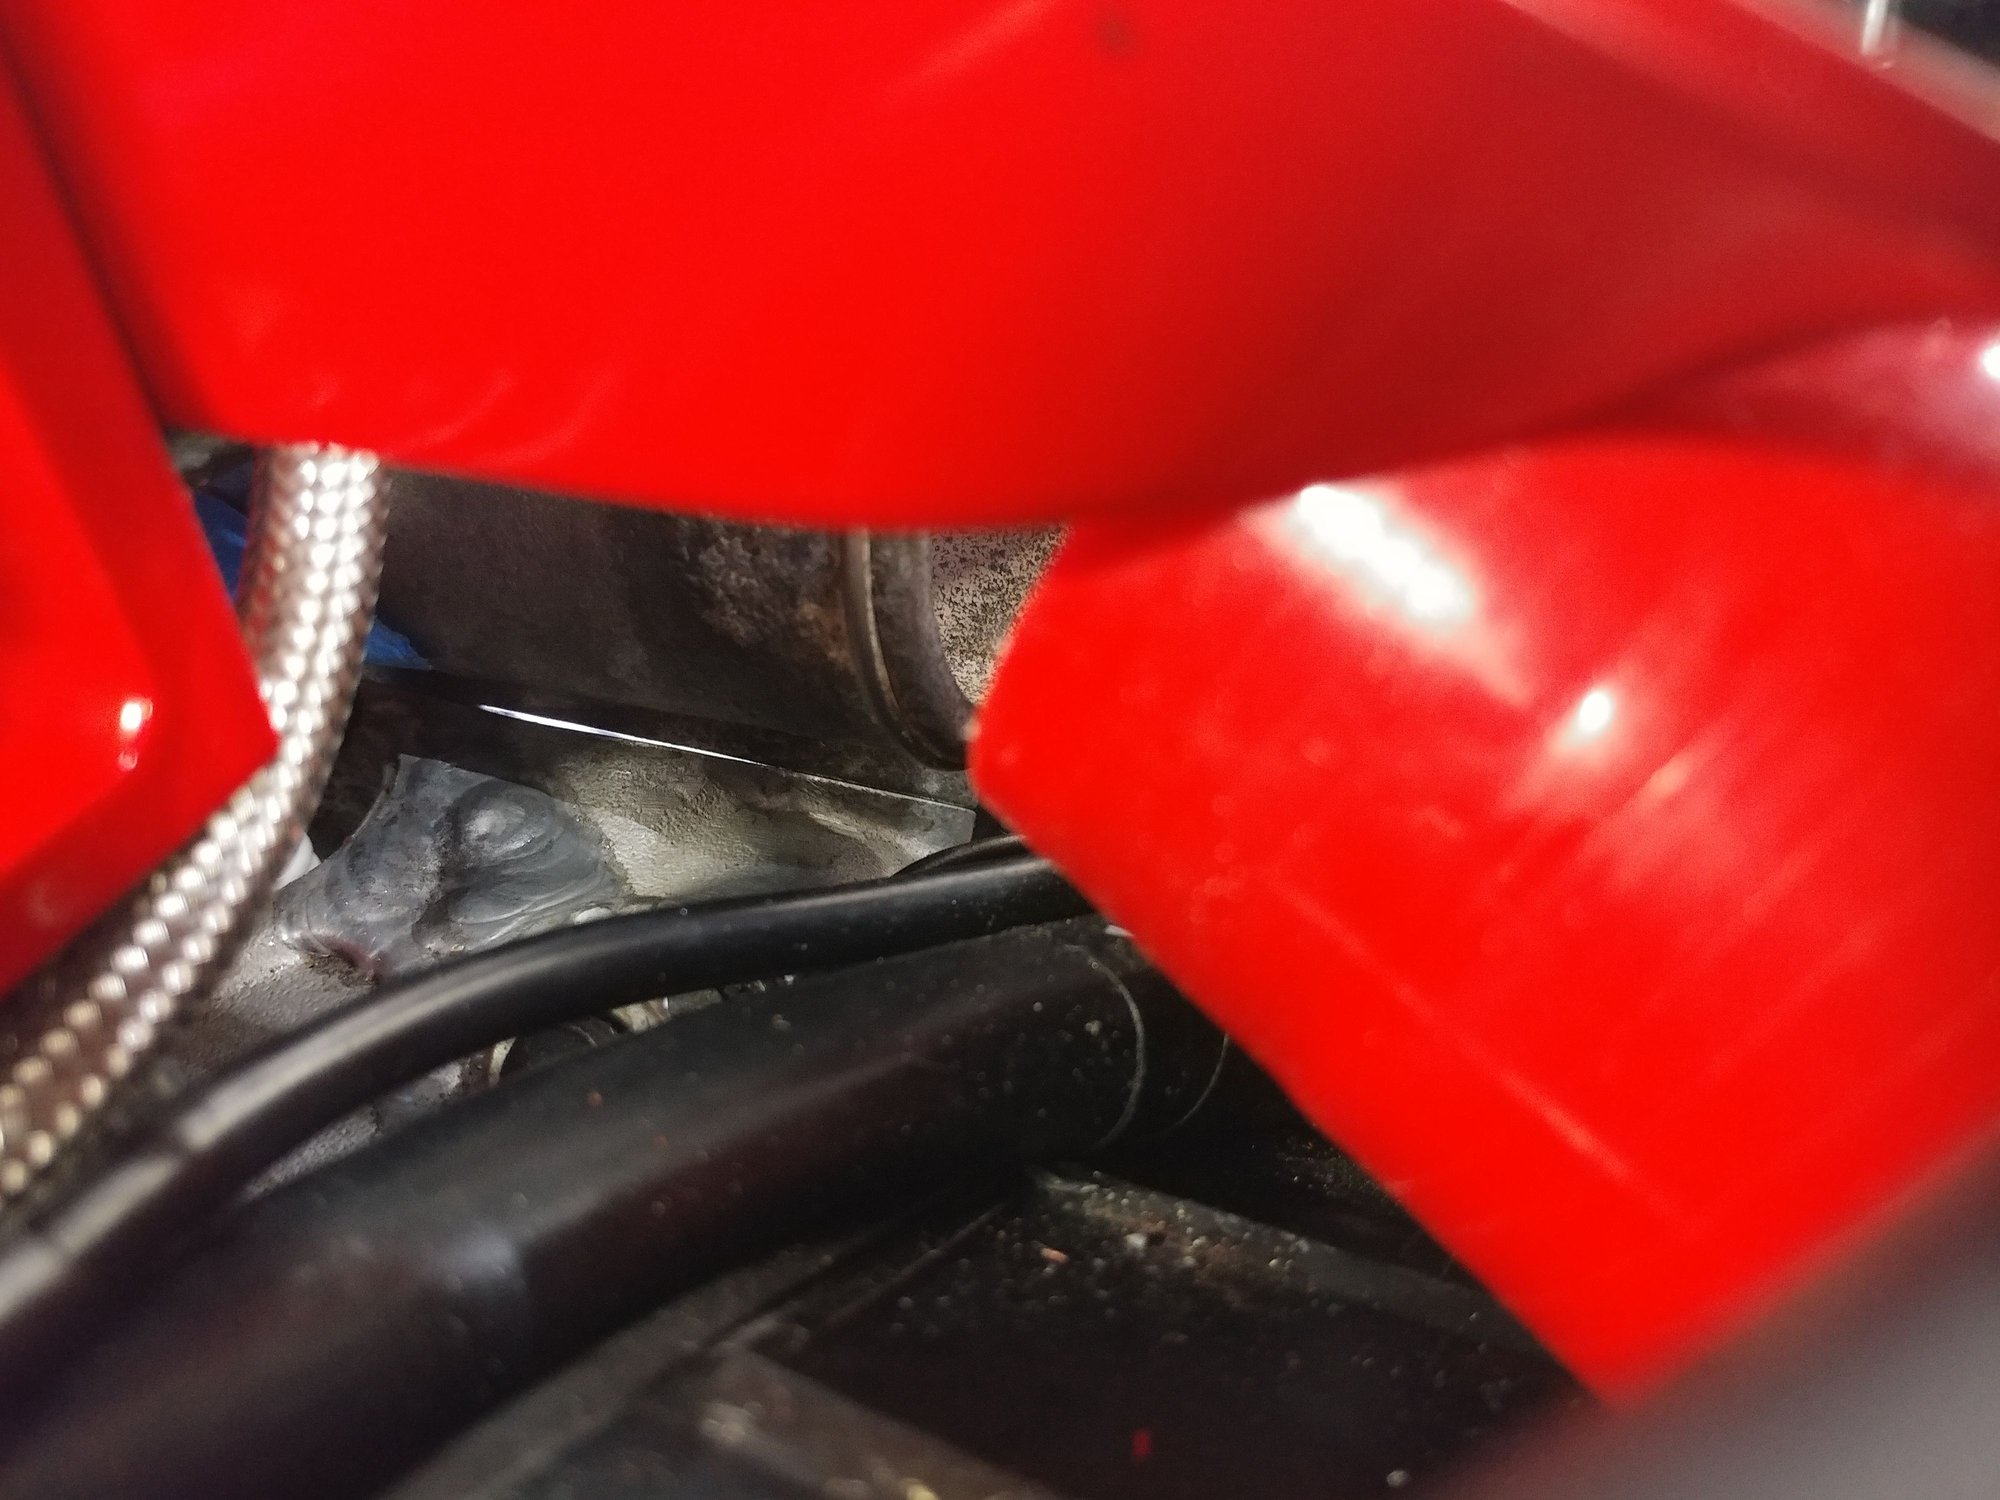
On the passenger side, aside from the flange to head surface having a center gap, the flange also drops lower as you can see in this picture (though a little tough to get the angles and lighting right).
So, that side of the head is farther away than originally and why the water bridge sets down on it. To recreate the proper geometry it seems like using a thicker gasket (the 3.4mm silicone) on this side and a thinner gasket (the 1.6mm silicone) on the other side might square things up and allow better alignment of the flange holes to the head threads and of the head to bridge coolant passageway.
With them the way they are, the hole alignment from the bridge to the head threads might actually be keeping the water bridge from sitting down all the way on the head surface. I could enlarge the water bridge holes one size also (though there's not a lot of extra material on that flange around the holes) if you think that would help, so it drops all the way down and doesn't hang up on the bolt I'm trying to thread in, or a combination of the gasket idea and the holes idea.
Good ideas or bad ideas?
For the o-ring, I have some silicone grease that's not sealant I can use so it can slide into place properly.
Question: Is the large hole in the block that the large round fitting of the waterbridge with the large o-ring on it fits into a consistent diameter / circumference from just below the entry point all the way down to the milled flange? Or put another way, does the waterbridge have to go in an exact distance in order for the o-ring to seal it properly or as long as the o-ring is a snug fit in the cylinder, will is seal up properly whether it's all the way down against the interior flange or 2mm higher than the internal flange. If getting the sides to square up is going to cause me to have the center section slightly raised, should I also cut and put a seal or get an appropriate o-ring on top of that inside flange to make a seal against the bottom of the water bridge round section?
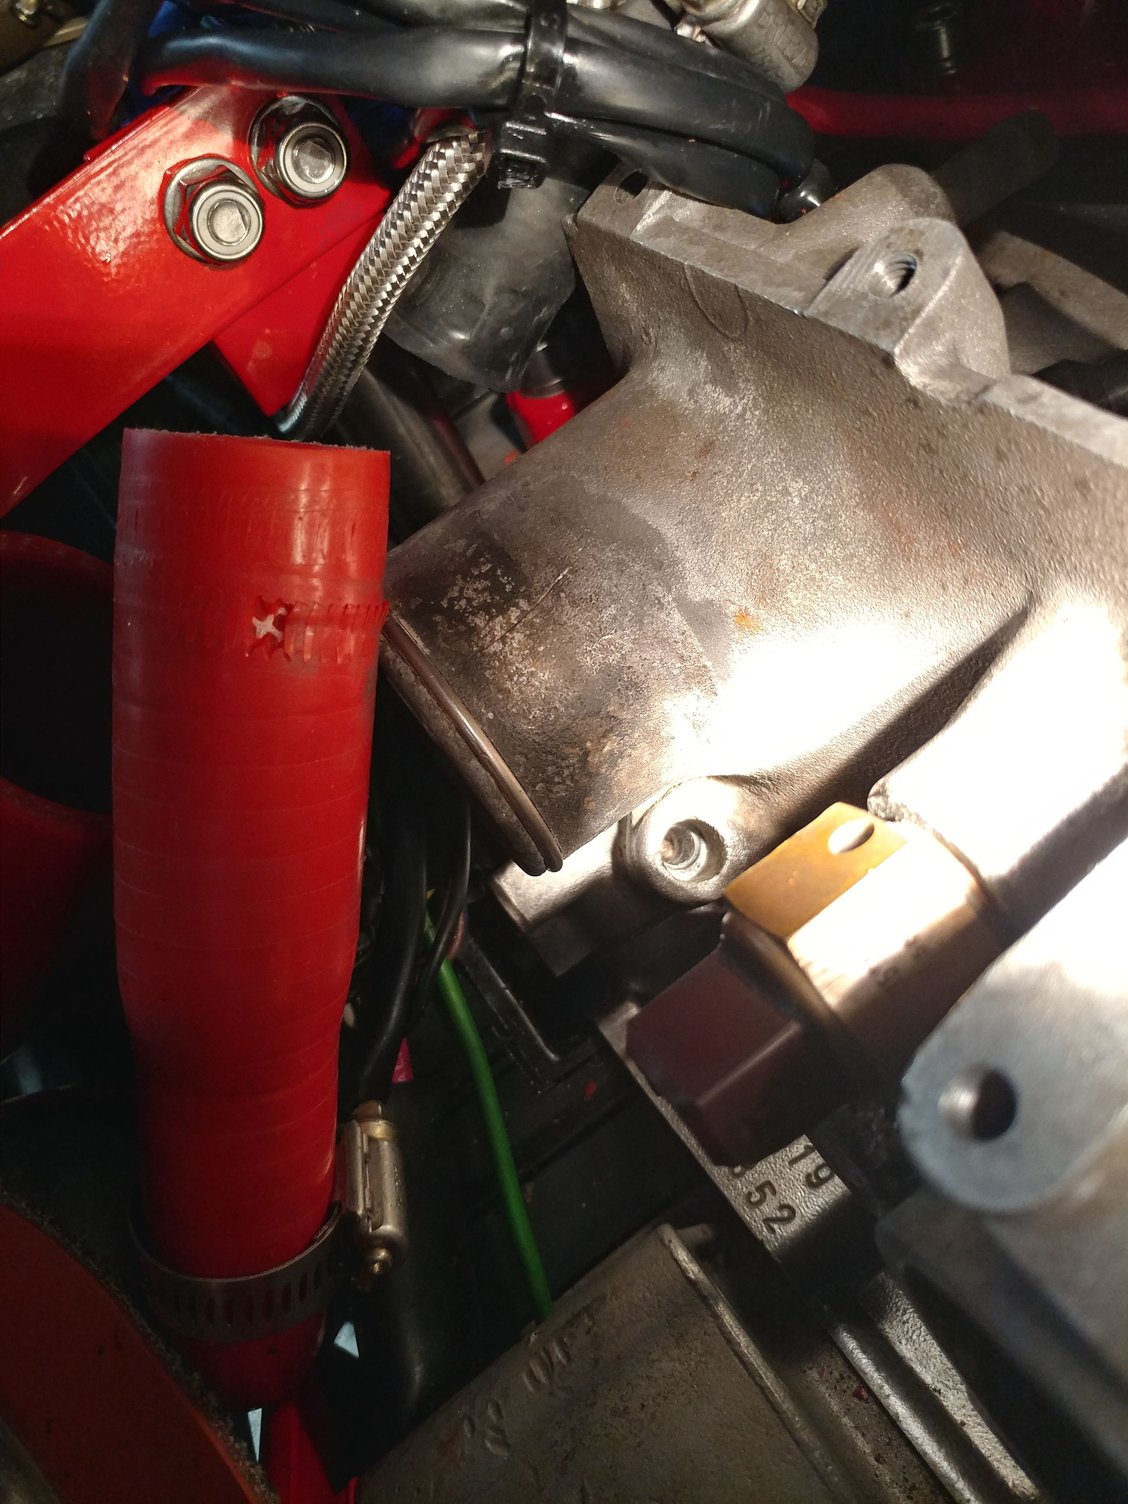
You are looking at the root cause of the problem now - that RS head has been machined too far, or it is just a mis-match wit the other head not having been machined as much. The picture you took clearly shows the water bridge is wider than the gap it is trying to cross.
I would avoid silicone gaskets in this application completely. The gap is too wide and they are inherently unstable. I would take a paper water bridge gasket out and use it as a template to cut a spacer from aluminum, and then sandwich that aluminum spacer between two of those OEM paper water bridge gaskets that you got from Roger.
Like Kevin said: bolt the water bridge with one gasket on the good side, then measure the gap on the bad side. Make up that dimension with a combo of 2 paper gaskets and the aluminum spacer. Because you will have less thread to work with in that head, insert studs and use nuts to tighten it down instead of bolts.
The two cylinders you have that are miss-firing: would they happen to be on that RS head?
No, that's the weird thing. This is side 1-4 and the misfires (or fouled plugs) are on 5 & 7, so the other side.
I had thought about the studs idea, so that's something I'll pursue now that you mention it will be better and I'll see if I can figure out the aluminum spacer thing too, but will have to cut that myself from hand as I don't have a way to machine one, unless someone could send me a compatible file for that shape that I could have my brother-in-law cut on the Water-Jet machine they have where he works.


 08-25-2019, 04:36 PM