When you click on links to various merchants on this site and make a purchase, this can result in this site earning a commission. Affiliate programs and affiliations include, but are not limited to, the eBay Partner Network.
So, I put a few quarts of oil into the pan, a filter on, and spun up the oil filter with a drill. Looking in through the water bridge assembly hole, oil is flowing out of the crankshaft bearings.
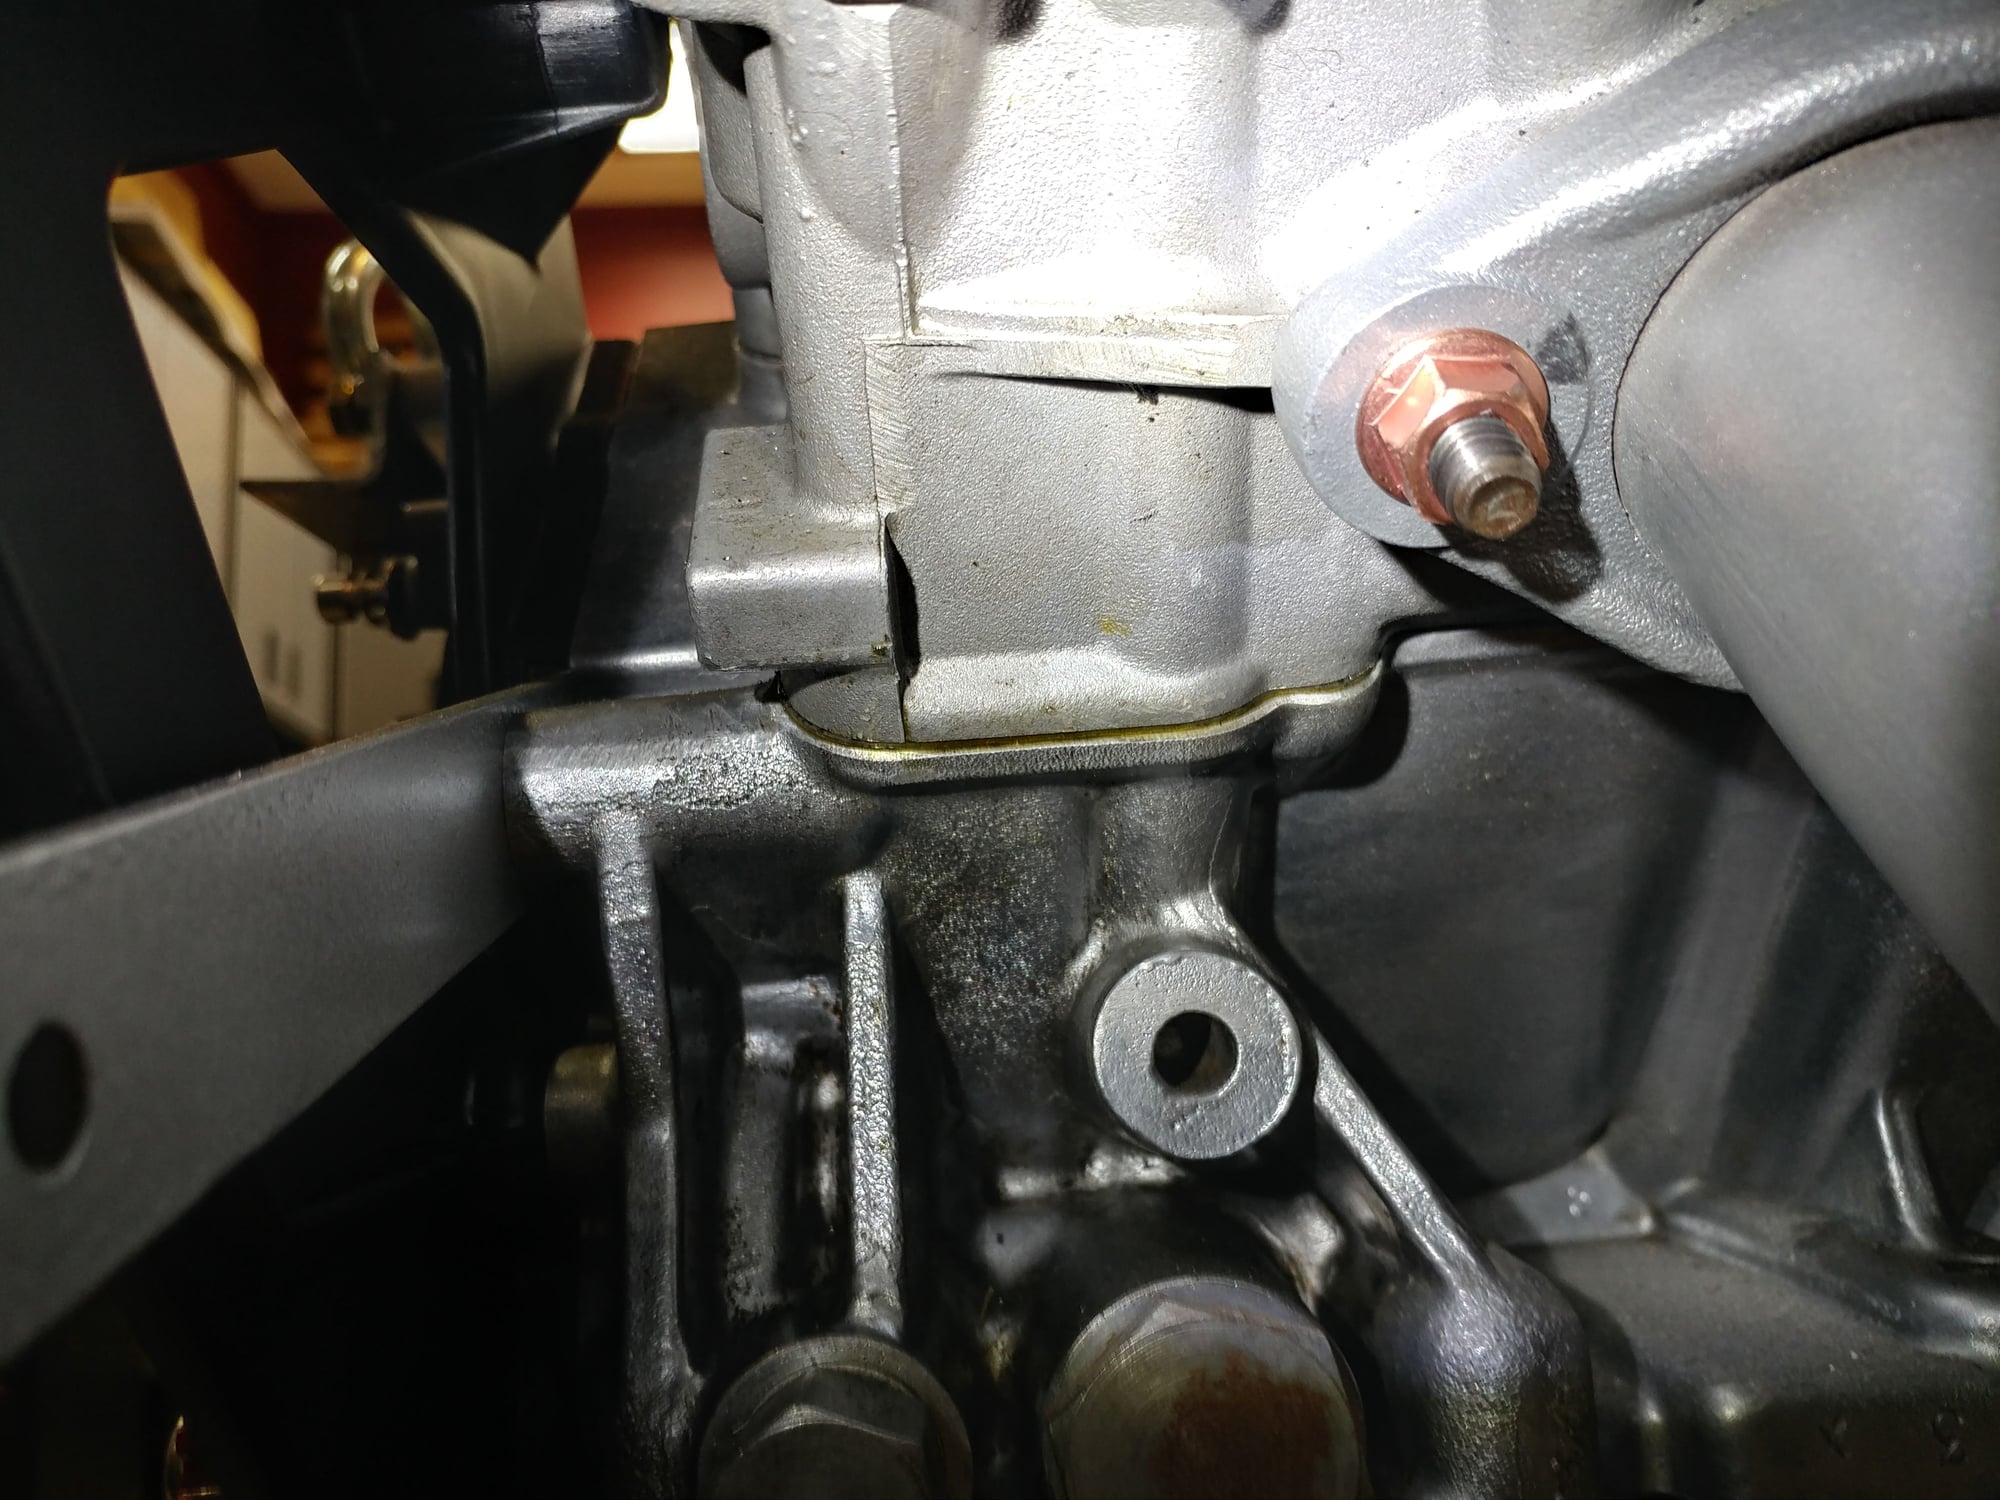
Unfortunately oil is also seeping from the bottom of the head gaskets on cylinders 1,5, and 6.
What do I do now? I can check the tension of the top head bolts, but where are the bottom ones and will tightening them resolve the issue or do the heads need to come off and new gaskets be installed, where I have to undo a bunch of what I've already done?
Any chance these gaskets will swell back up and reseal themselves?
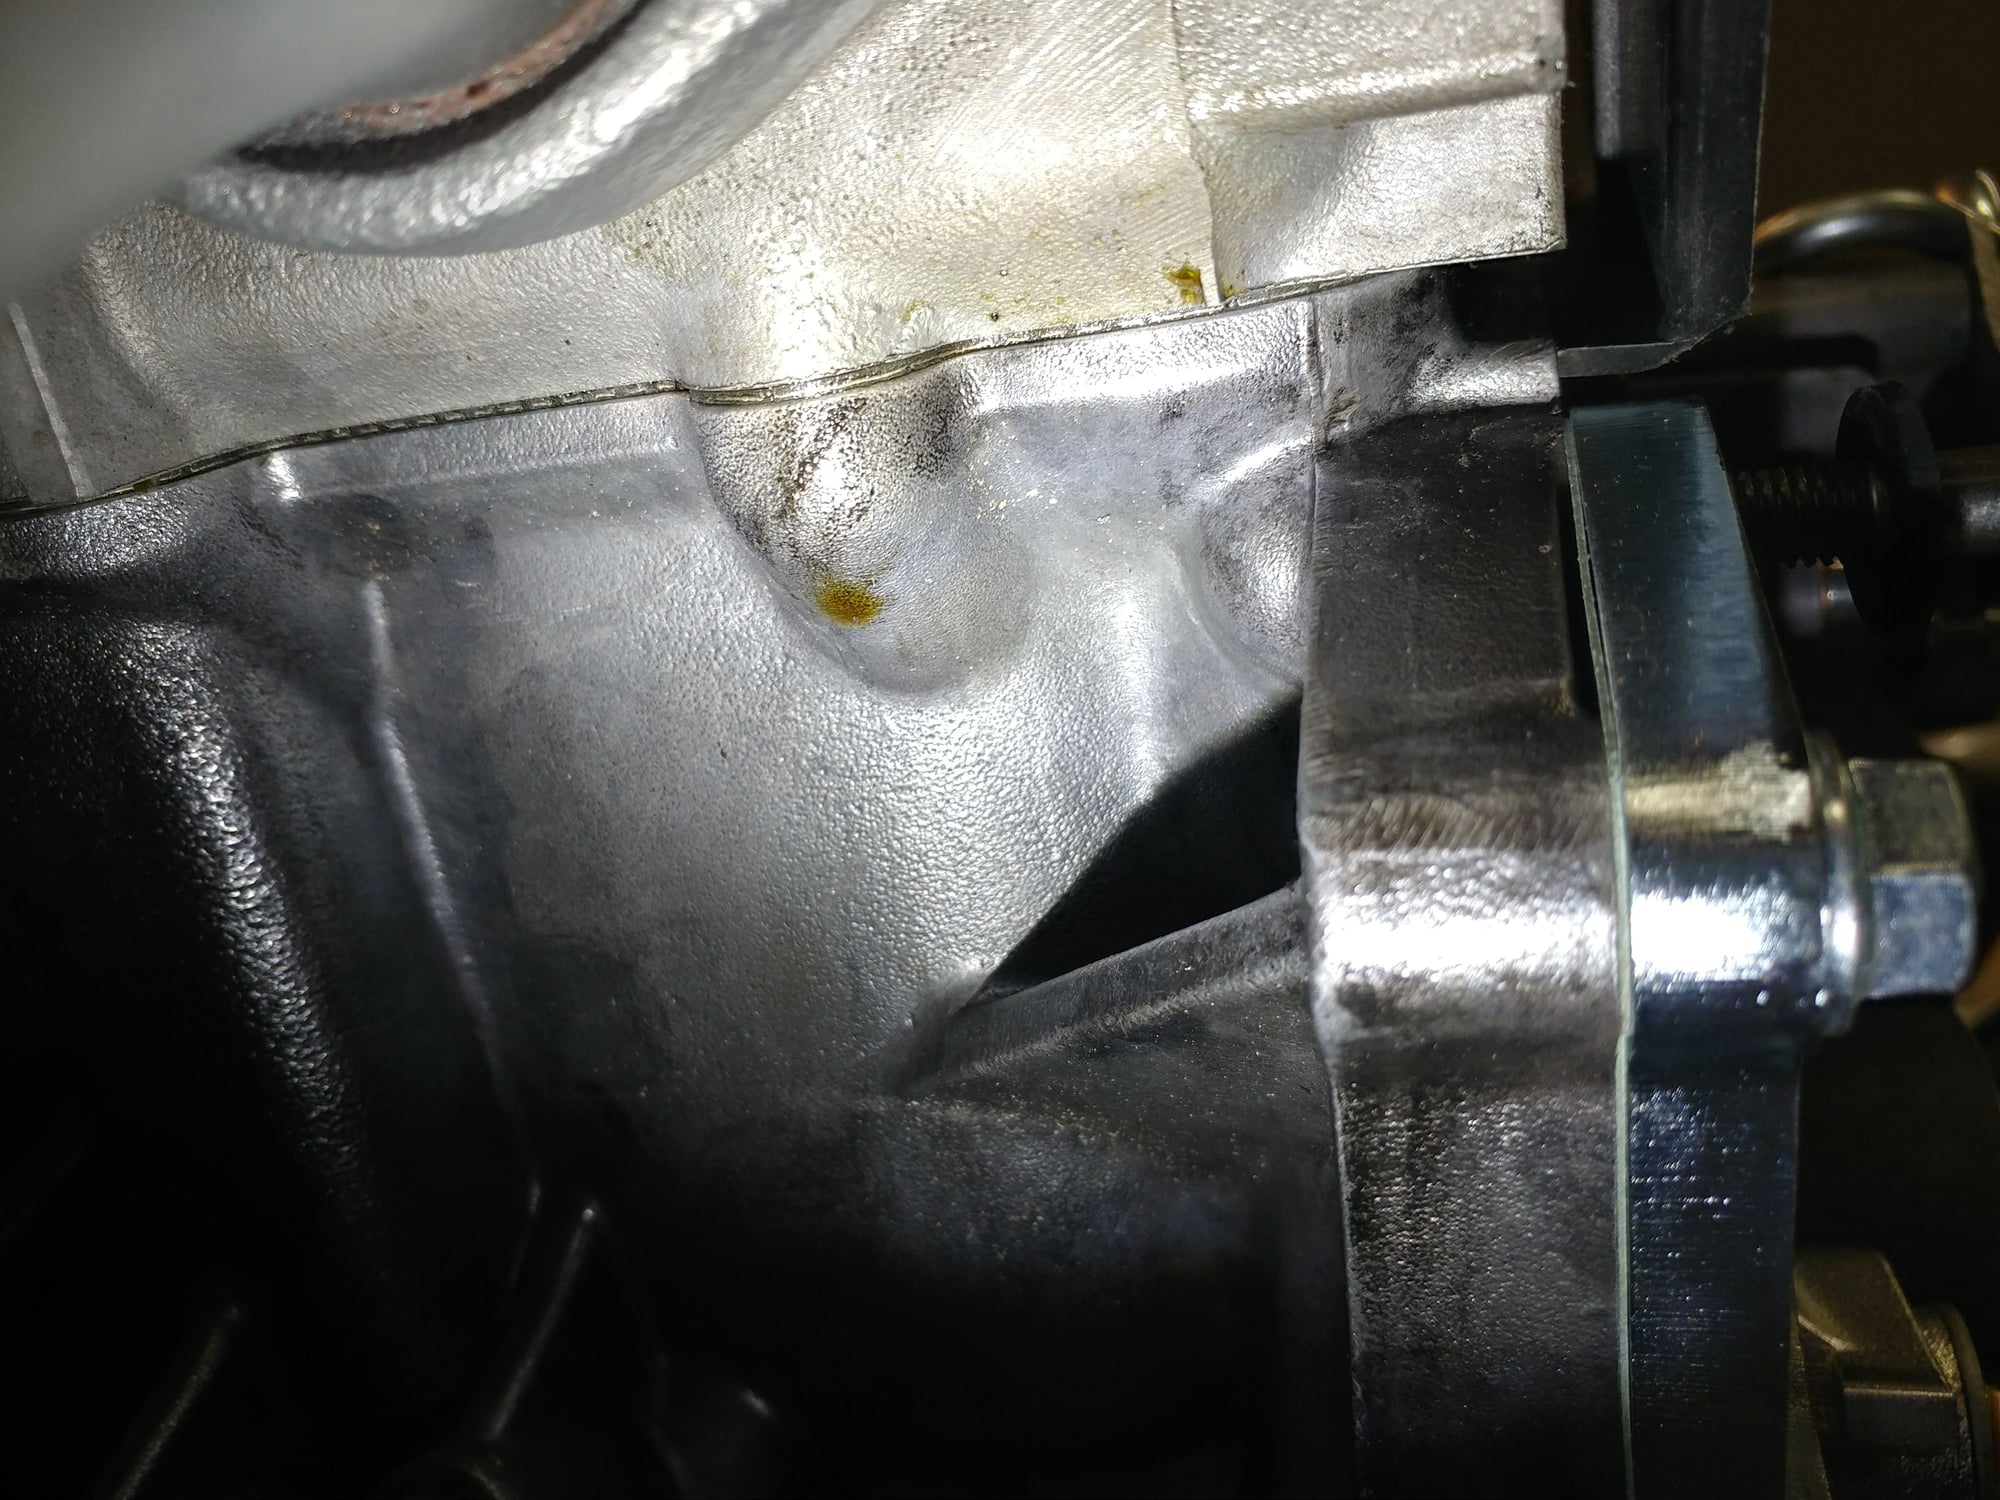
Previous post might be a false alarm. I wiped off what I saw in those pictures and spun the pump a good bit more and there is no new evidence of oil there.
I'm now thinking that maybe when the motor was upside down and I was working on the pan that some oil may have settled there and that's what I saw when I was looking for leaks. I'll spin it a few more times to see if there's any new evidence of oil there, but don't see any on either side now.
🤞
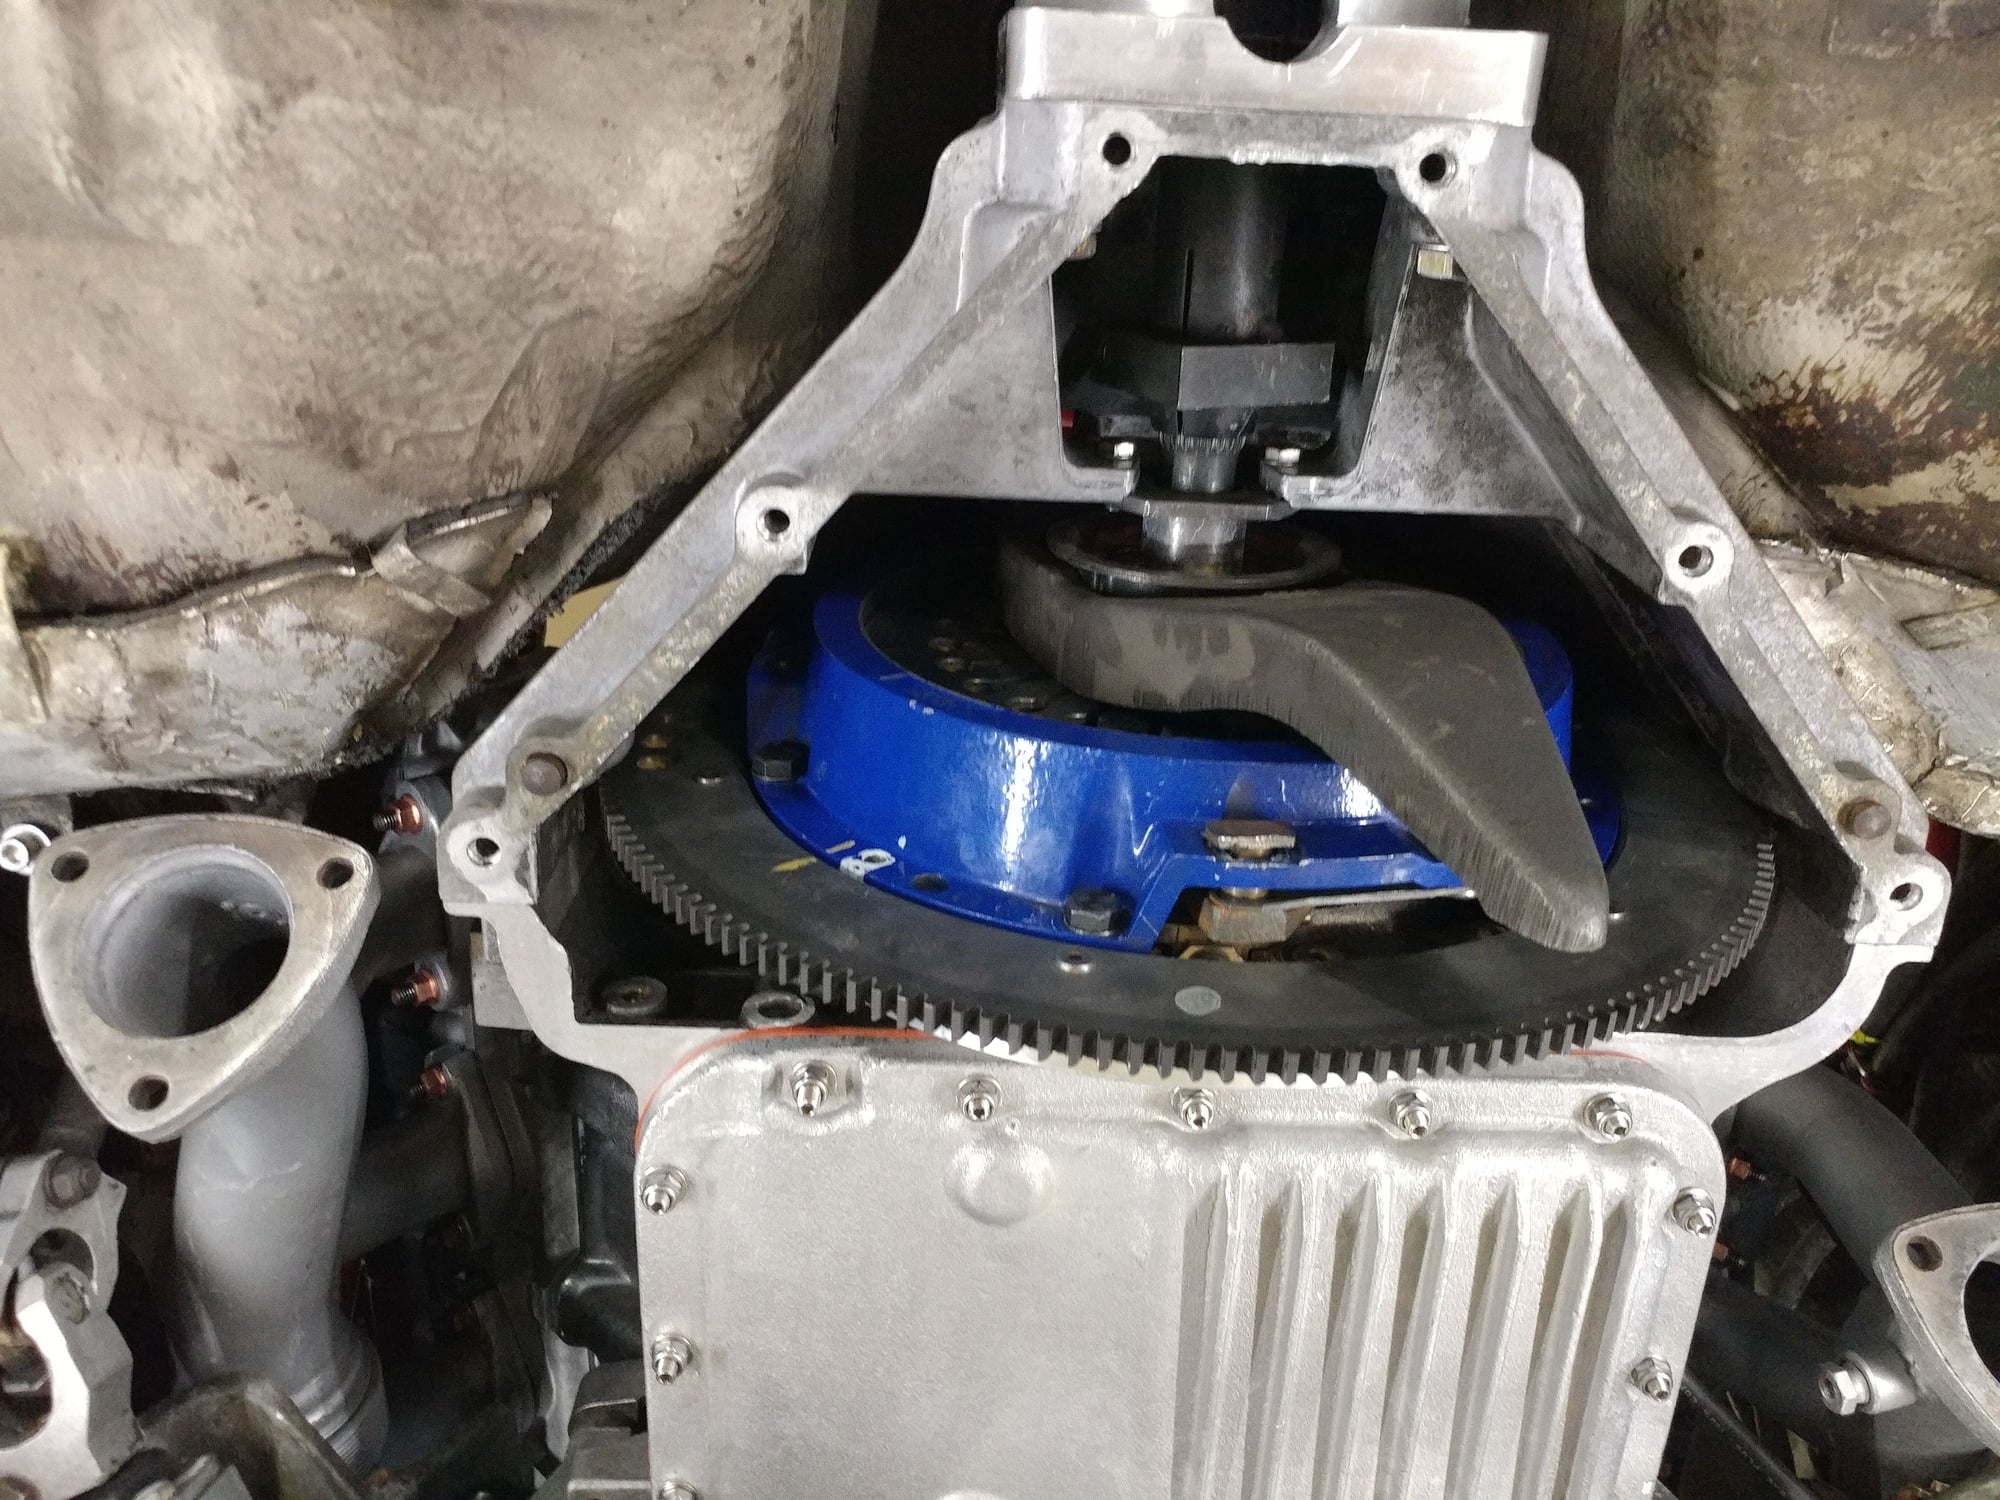
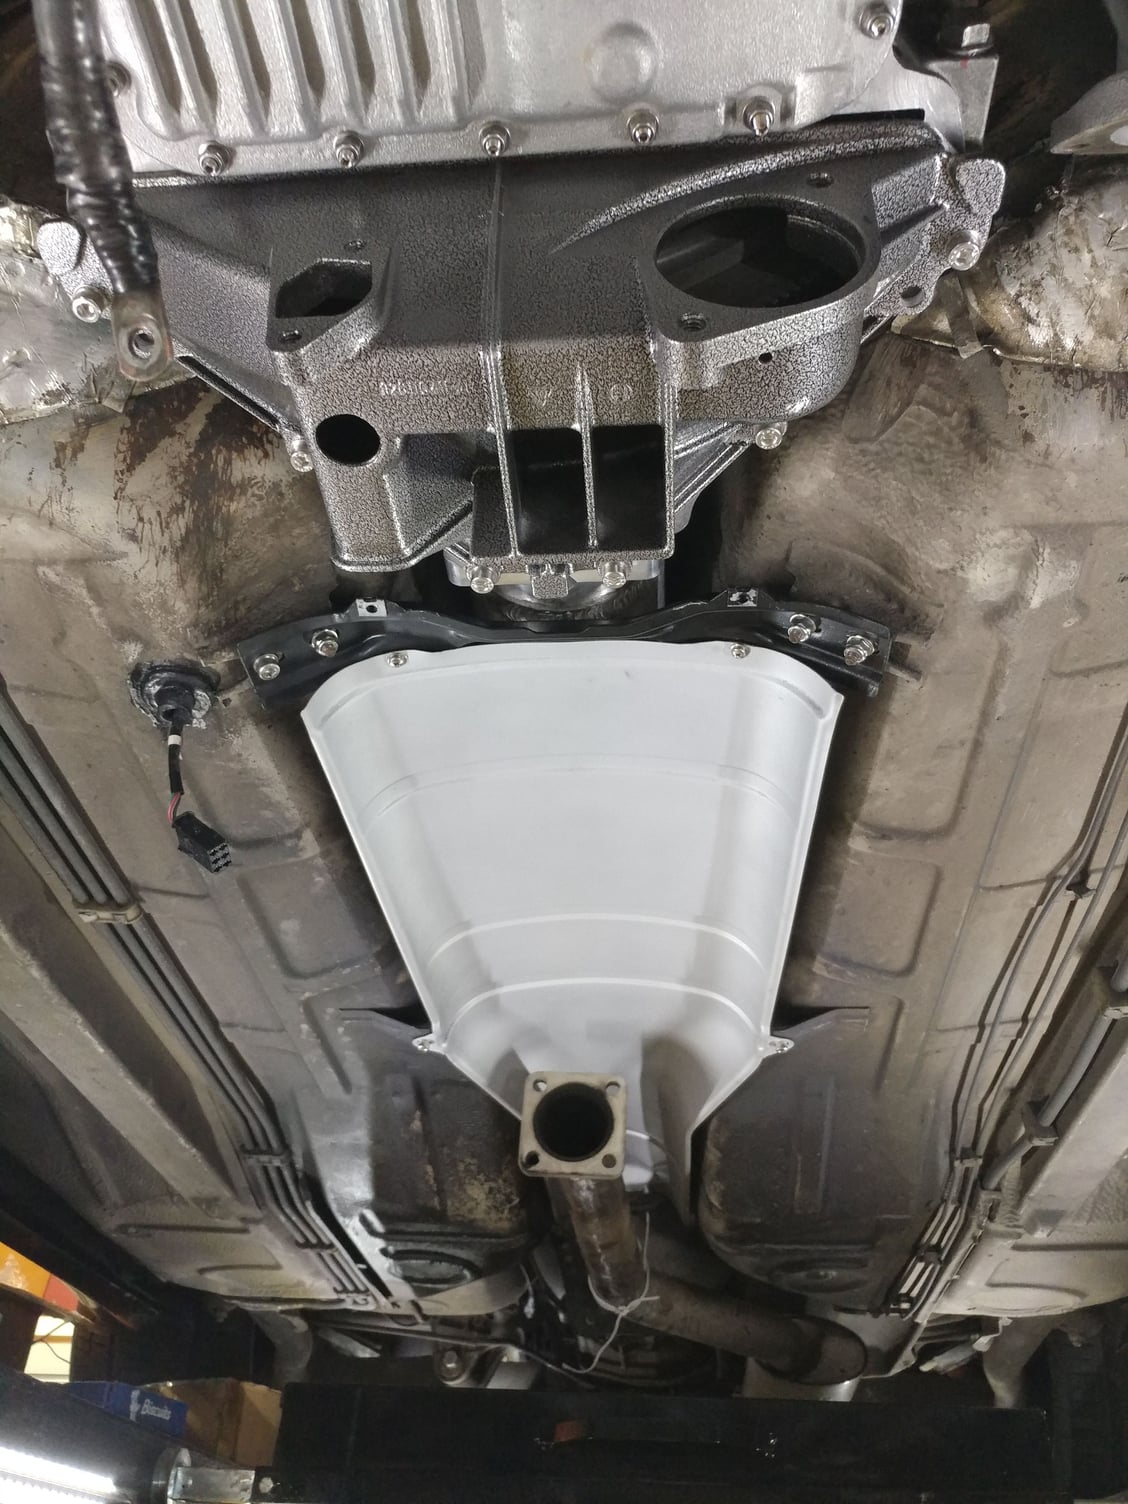
Look carefully....that "bulge" to the right of the exhaust stud (in your first picture) is the oil passage to the cam carrier.
You need to spin the pump enough to build up pressure to check for leaks, BTW.
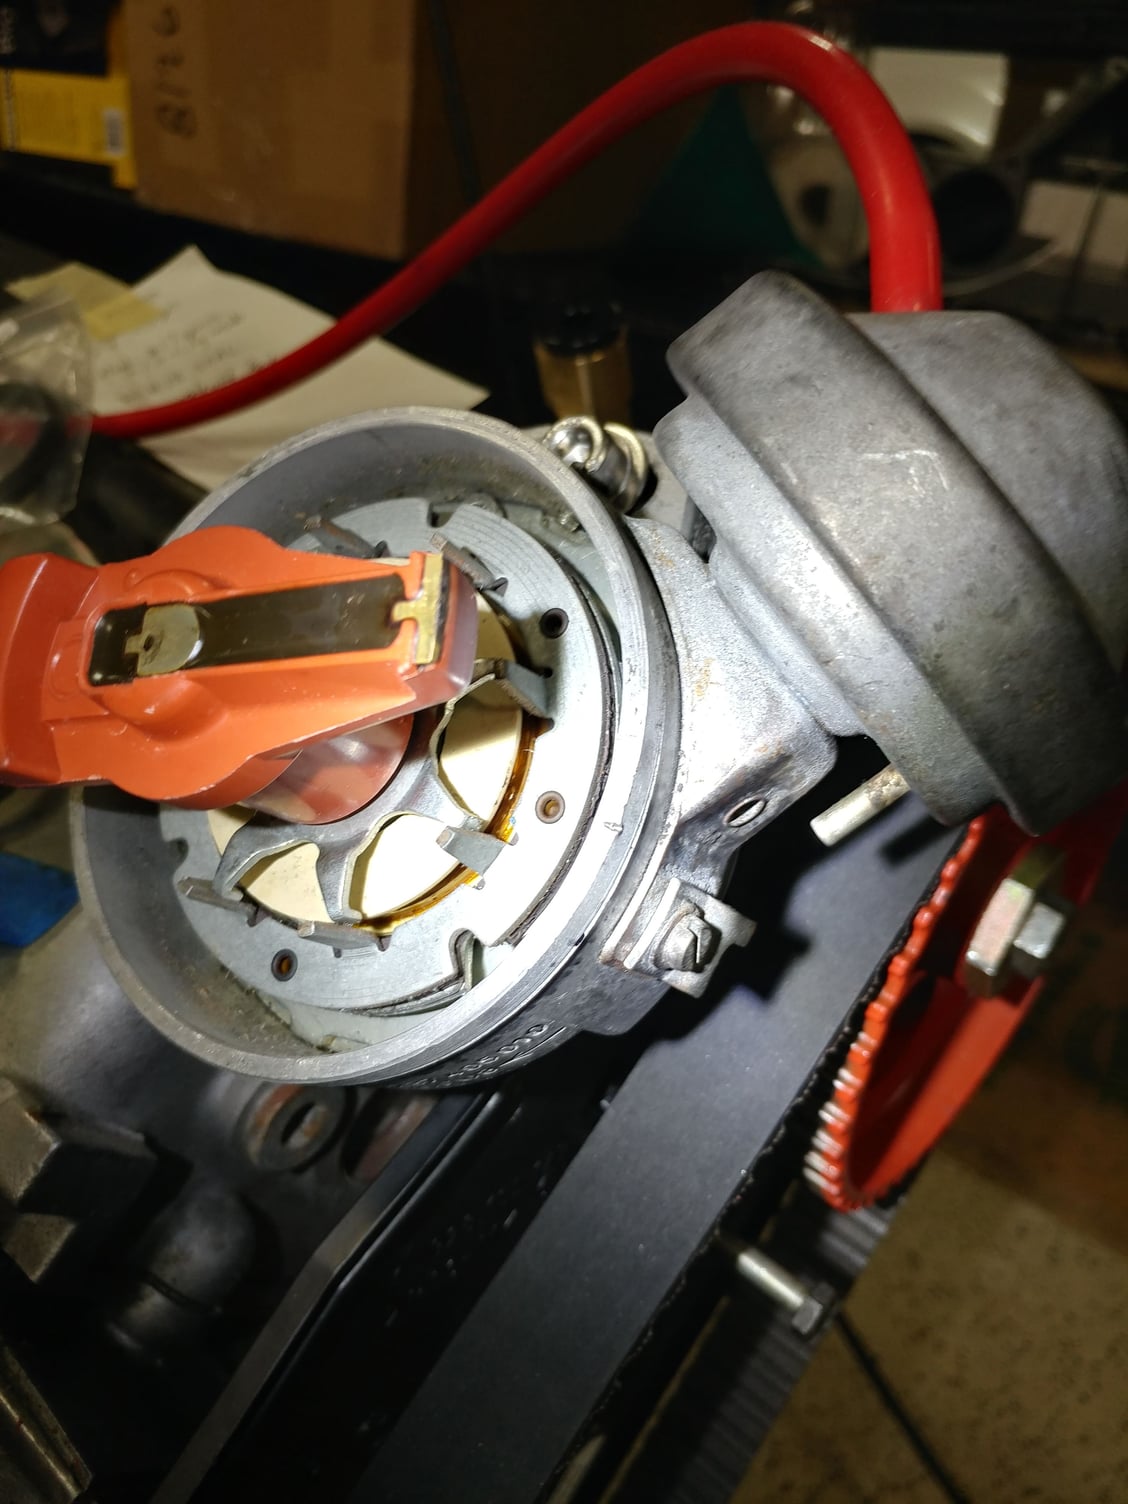
With the crank at TDC, the cam marks look perfect. I'm less confident about the distributor, my understanding is the rotor should point straight forward. I think you're a distributor gear tooth or two behind. But maybe it's different for L-jet motors, I don't know.
With the crank at TDC, the cam marks look perfect. I'm less confident about the distributor, my understanding is the rotor should point straight forward. I think you're a distributor gear tooth or two behind. But maybe it's different for L-jet motors, I don't know.
There's a mark on the rim of the distributor that doesn't show in the photo - the one that shows is a scratch. The rotor points right at that mark you can't see with the crank at TDC. The rotor should point directly at the #1 contact with the crank at TDC, correct?
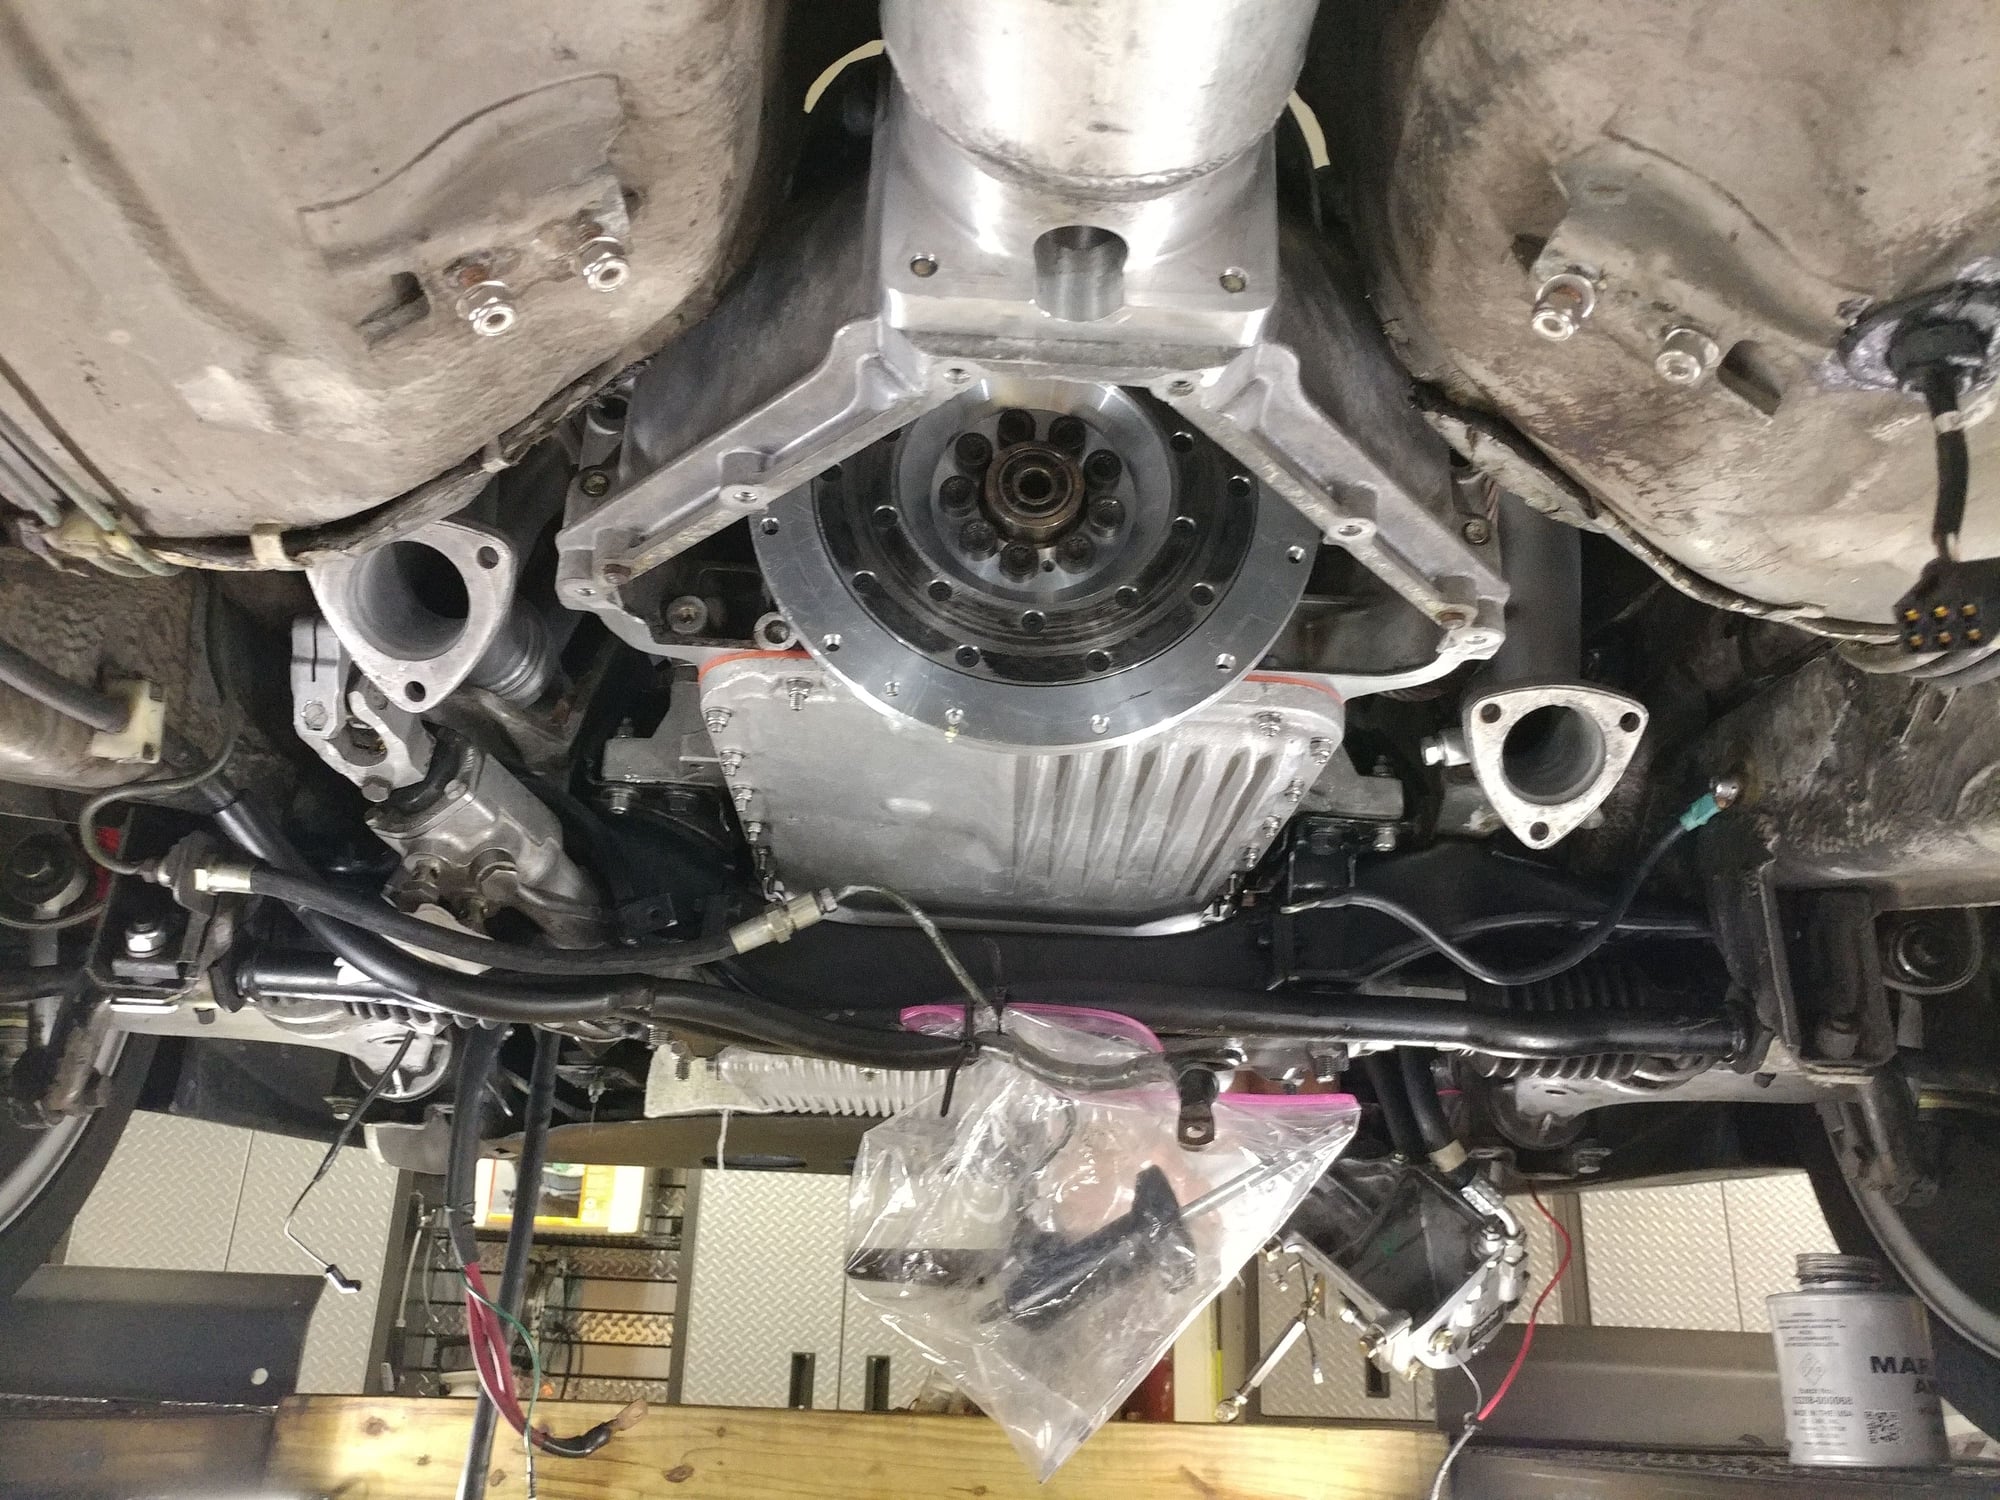
I think the starter is grounded through the mating surface of the lower bellhousing cover. I'm not sure if the bolts will be able to pass enough current. If you have a weak or no crank situation I will bet that is why and the powder coating will have to be sanded off that area.
I think the starter is grounded through the mating surface of the lower bellhousing cover. I'm not sure if the bolts will be able to pass enough current. If you have a weak or no crank situation I will bet that is why and the powder coating will have to be sanded off that area.
Thanks for the tip. I'll take a look at that today.
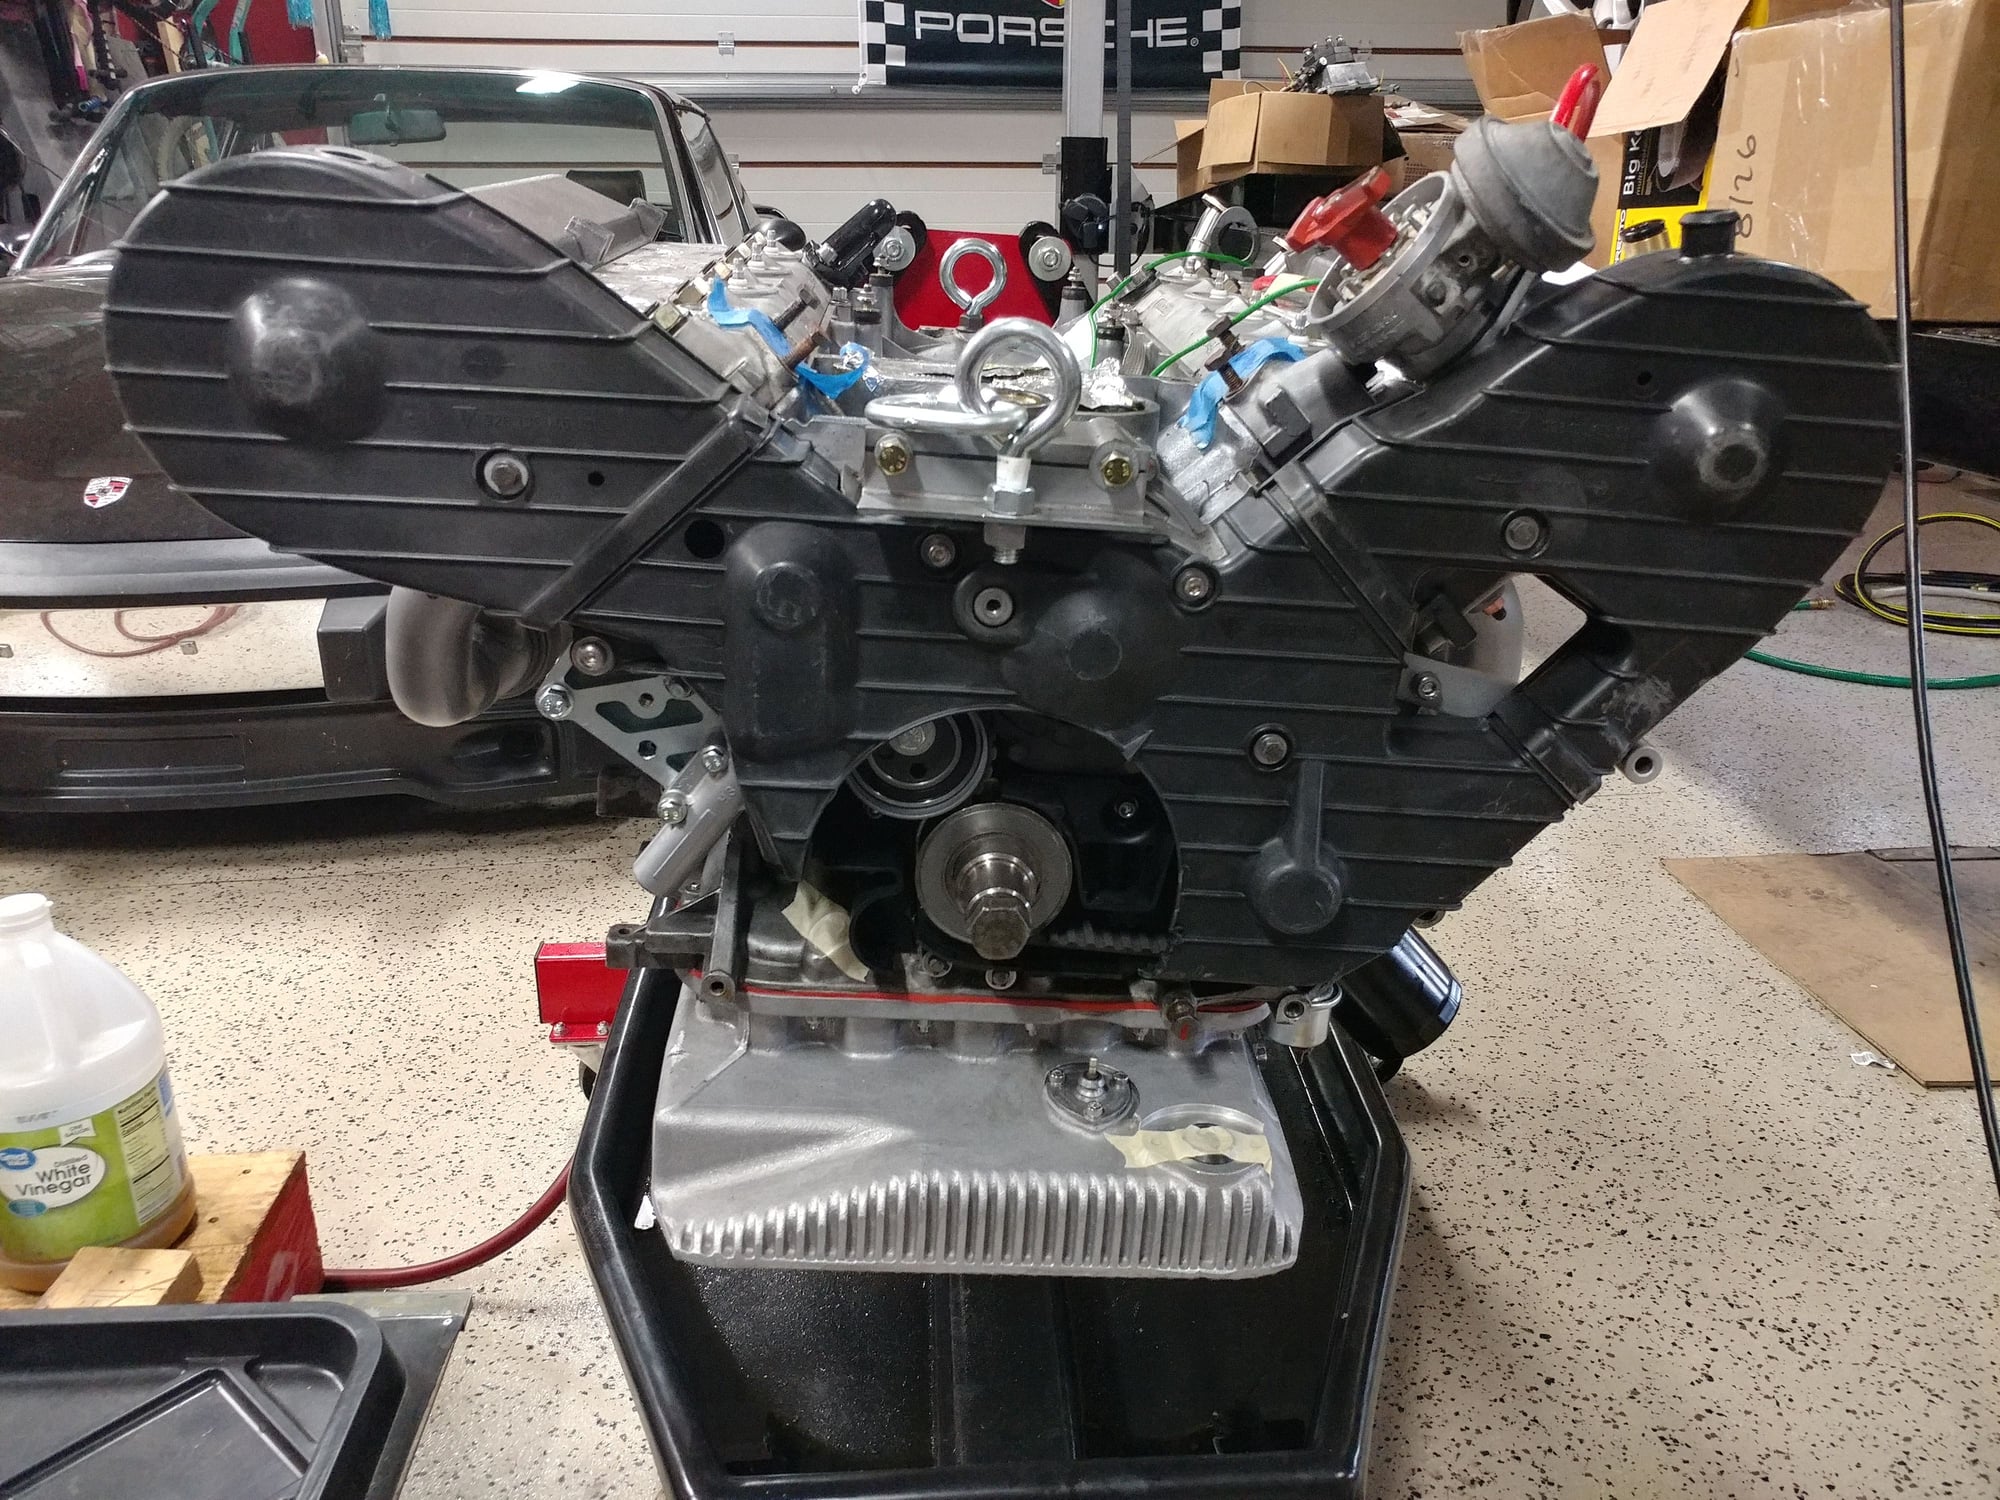
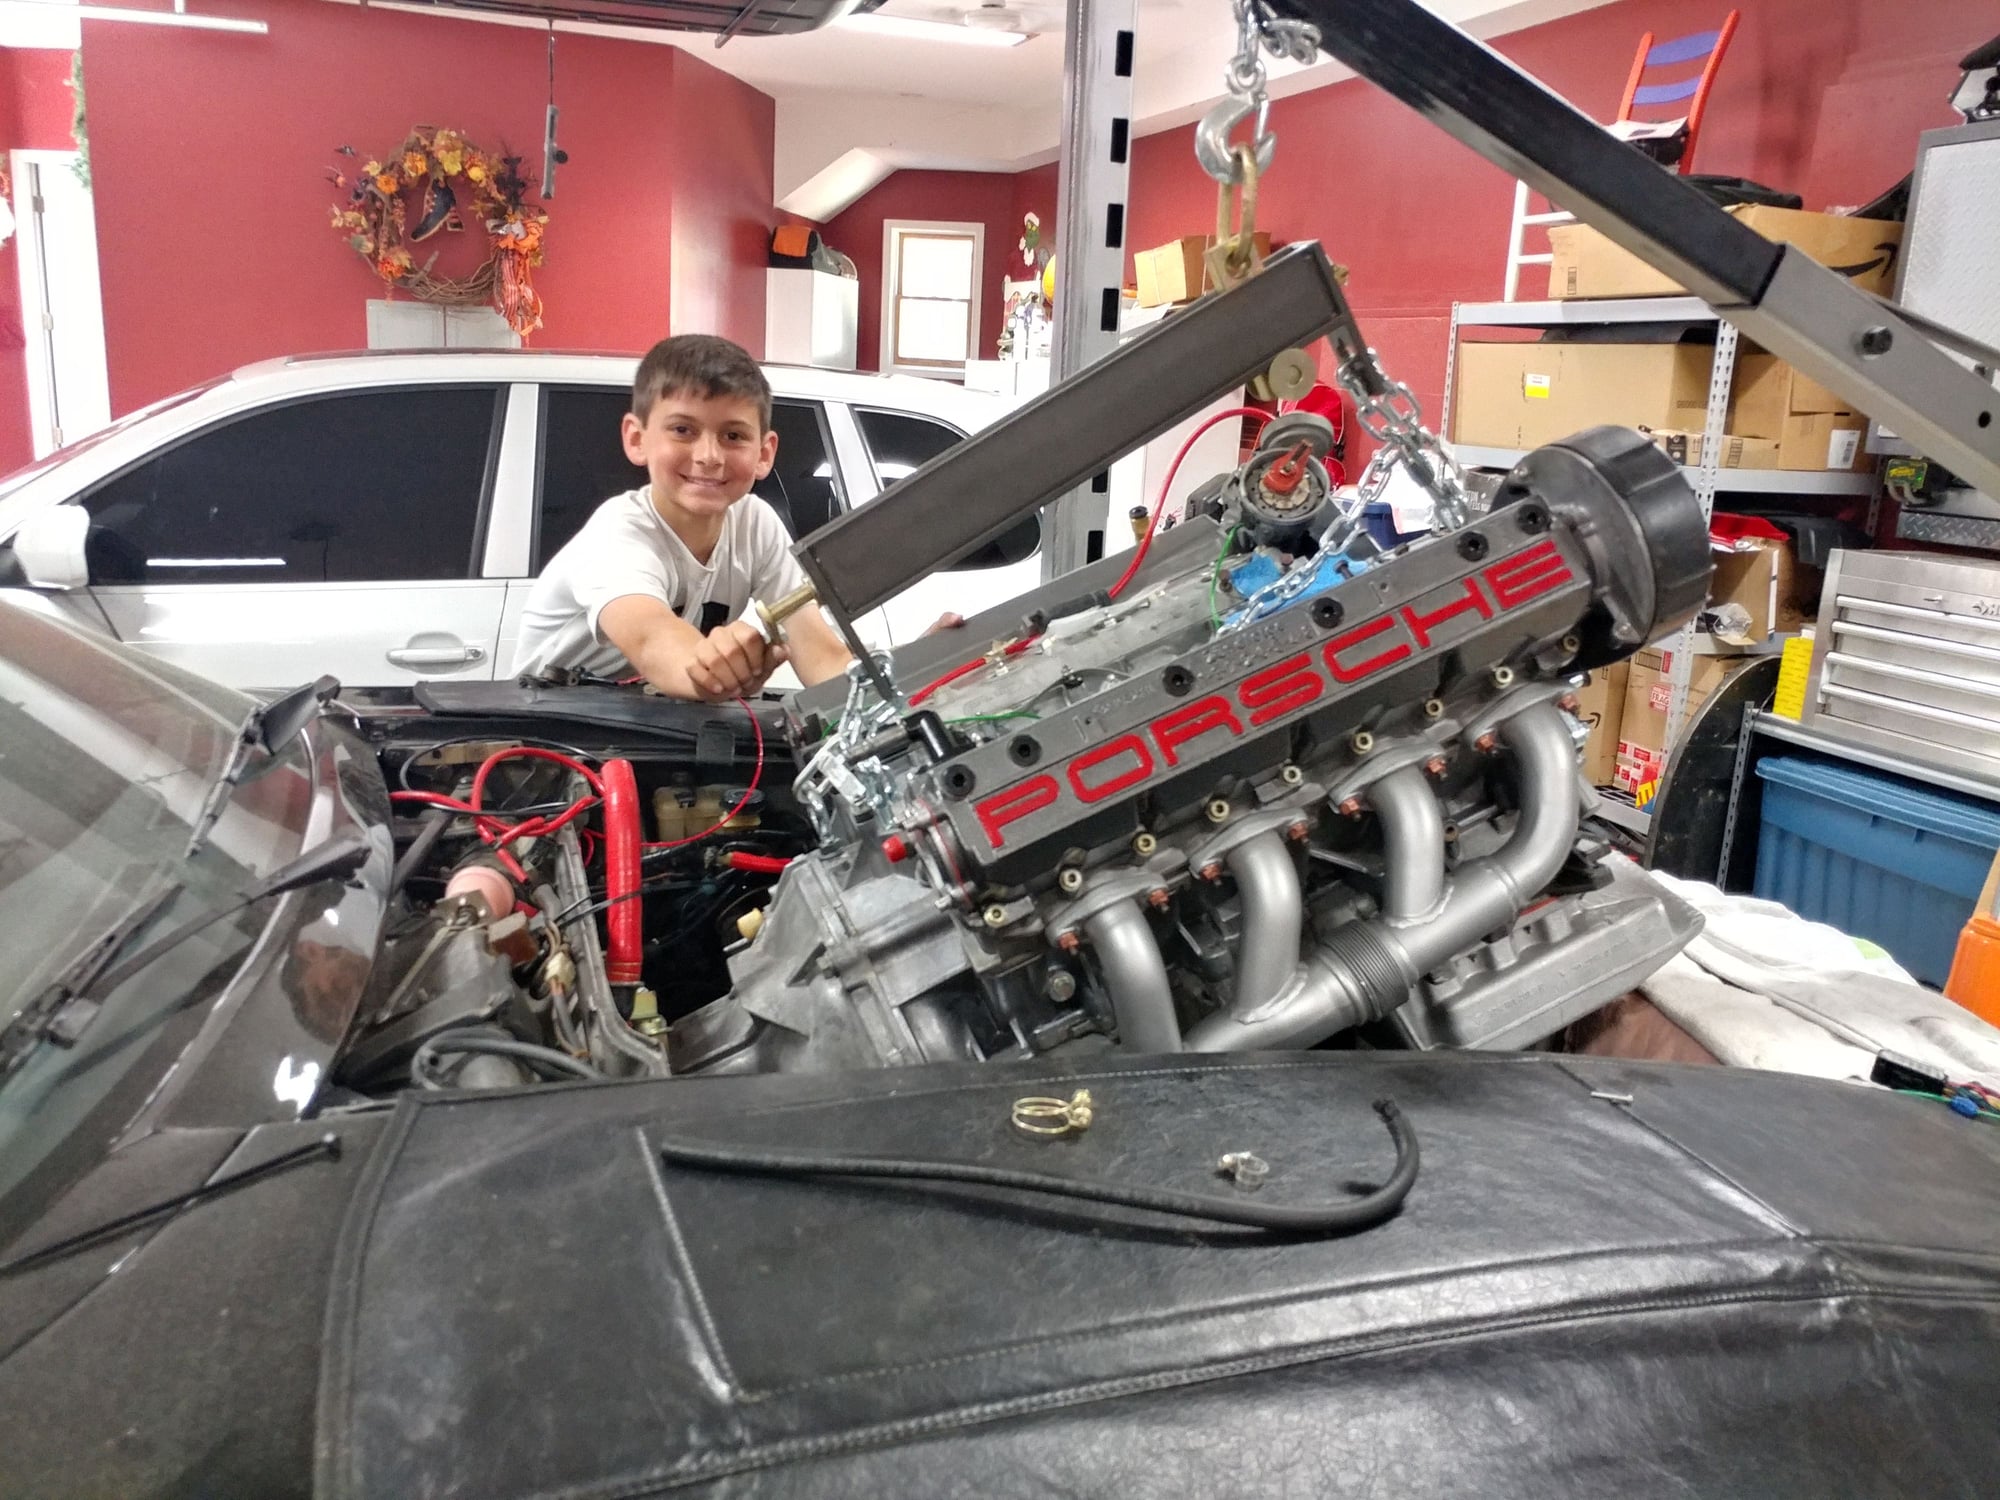
Nicely done. You dropped it in with the bellhousing and clutch installed?
Kevin.,
Yes, it came out with the bellhousing on - figured it would go back in the same way. Just the bellhousing though - I installed the clutch again from underneath. With my Z06 torque tube, there is virtually no space between the torque tube and upper bell housing and am not sure I would have been able to get it attached with the alignment pins the other way.
I also had the motor brackets installed on the mounts already so once the motor was in place, fattened it with the 4 long bolts from underneath.
The leveler on the hoist helps a lot, but it would have been better if I had set the chains longer and had the leveler handle on the hoist side rather than the car side.


 05-17-2019, 09:53 PM