When you click on links to various merchants on this site and make a purchase, this can result in this site earning a commission. Affiliate programs and affiliations include, but are not limited to, the eBay Partner Network.
Those counterweight marks seem a little unusual, but the crank is forged and the major diameter of that section simply did not flow out far enough to be machined off like the rest of the counterweight. Not the best job on a crank from Porsche that I have seen, but not a failure point, either.
Disagree with your decision not to even inspect the rod bearings while you are here. At the least, pull rod caps on #2 and #6 and inspect. That will tell you a LOT. If you don't, and it has worn or damaged bearings, your time with this motor in the car could be real short. Its up to you.
Carl, is removing the caps as simple as rotating the motor clockwise until the nuts for one of the connecting rod caps are facing up, and removing the two nuts? What keeps the piston and connecting rod or rod bolts from then falling away into the cylinder? For reassembly, can the same bolts and nuts be reused or would I have to have new ones on hand, how do you keep the bolt head from turning as you torque the nut since it's on the bottom side, and what's the nut torque spec?
If you remove the caps WSM calls for replacing the rod end nuts.
You can see the slippery slope in the distance....
Yes, I can. This motor only has 1500 miles on it since a rebuild and the videos I've seen of it running and driving seem like it doesn't have any issues. I'm forging ahead without removing the bearings or rod caps.
Quick question - when installing a Porken Tensioner, do you install it with the OEM tensioner gasket (I have a new one on hand) or just right up against the metal framework of the engine?
What kind of rebuild did it get that the internals are that gummy after only 1500 miles?
At the very least (re-) torque each rod nut with a 12 point 14 mm socket to 54 ft lbs. Don't loosen, just a nice slow pull to ensure that they're all at spec.
What kind of rebuild did it get that the internals are that gummy after only 1500 miles?
At the very least (re-) torque each rod nut with a 12 point 14 mm socket to 54 ft lbs. Don't loosen, just a nice slow pull to ensure that they're all at spec.
It's Josh's (ladybug83) motor from this thread that I bought from BC
I guess I am just a little less trusting. Its a long way in when rod bearings are bad. I always feel that a used engine was removed from a car for a reason, and I'd like to know that the reason wasn't the engine. I do not know the providence of this motor, so if you do, then perhaps you can skip some of these checks.
Ah, I see- Josh did nice work on that motor, the head work is first rate and the compression figures look good, but he didn't touch the bottom end on a ~200+ K mile motor. They're _probably_ fine, but at the very least I'd pull the 2-6 bearing caps and mic the bearings, just for giggles. It's $10 worth of new rod nuts and an excuse to buy a ball-end micrometer.
I took Rob's advice and removed all the lock nuts and washers that I had loosely installed last night. Checking the torque on the connecting rod cap fasteners, all were essentially properly tensioned - 2 of them moved just a hair, like maybe 1-2 ft.lbs..
Forged ahead with the silicone pan gasket install, but while I had the pan back off took a look at the stud kit that was on the pan of my 4.5L motor, which is the 928MS version that Carl installed during my original engine work, as I thought I would remove any that might interfere with the starter and clip them a little shorter as I have a metric screw cutter. In comparing them, the 928MS ones don't actually look like they protrude any less, so I didn't do anything about shortening them as the starter was bolted onto the 4.5L motor without any interference issues. Also, the Loctite gel I applied last night, held the studs that don't bottom out perfectly secure as I went through the torquing process on the oil pan to 25 in.lbs. It took a number of passes criss-crossing as I went to achieve the torque spec that would remain when I checked on the next pass, but now all 30 fasteners are torqued the same and holding that value - looking forward to a dry engine and garage floor now.
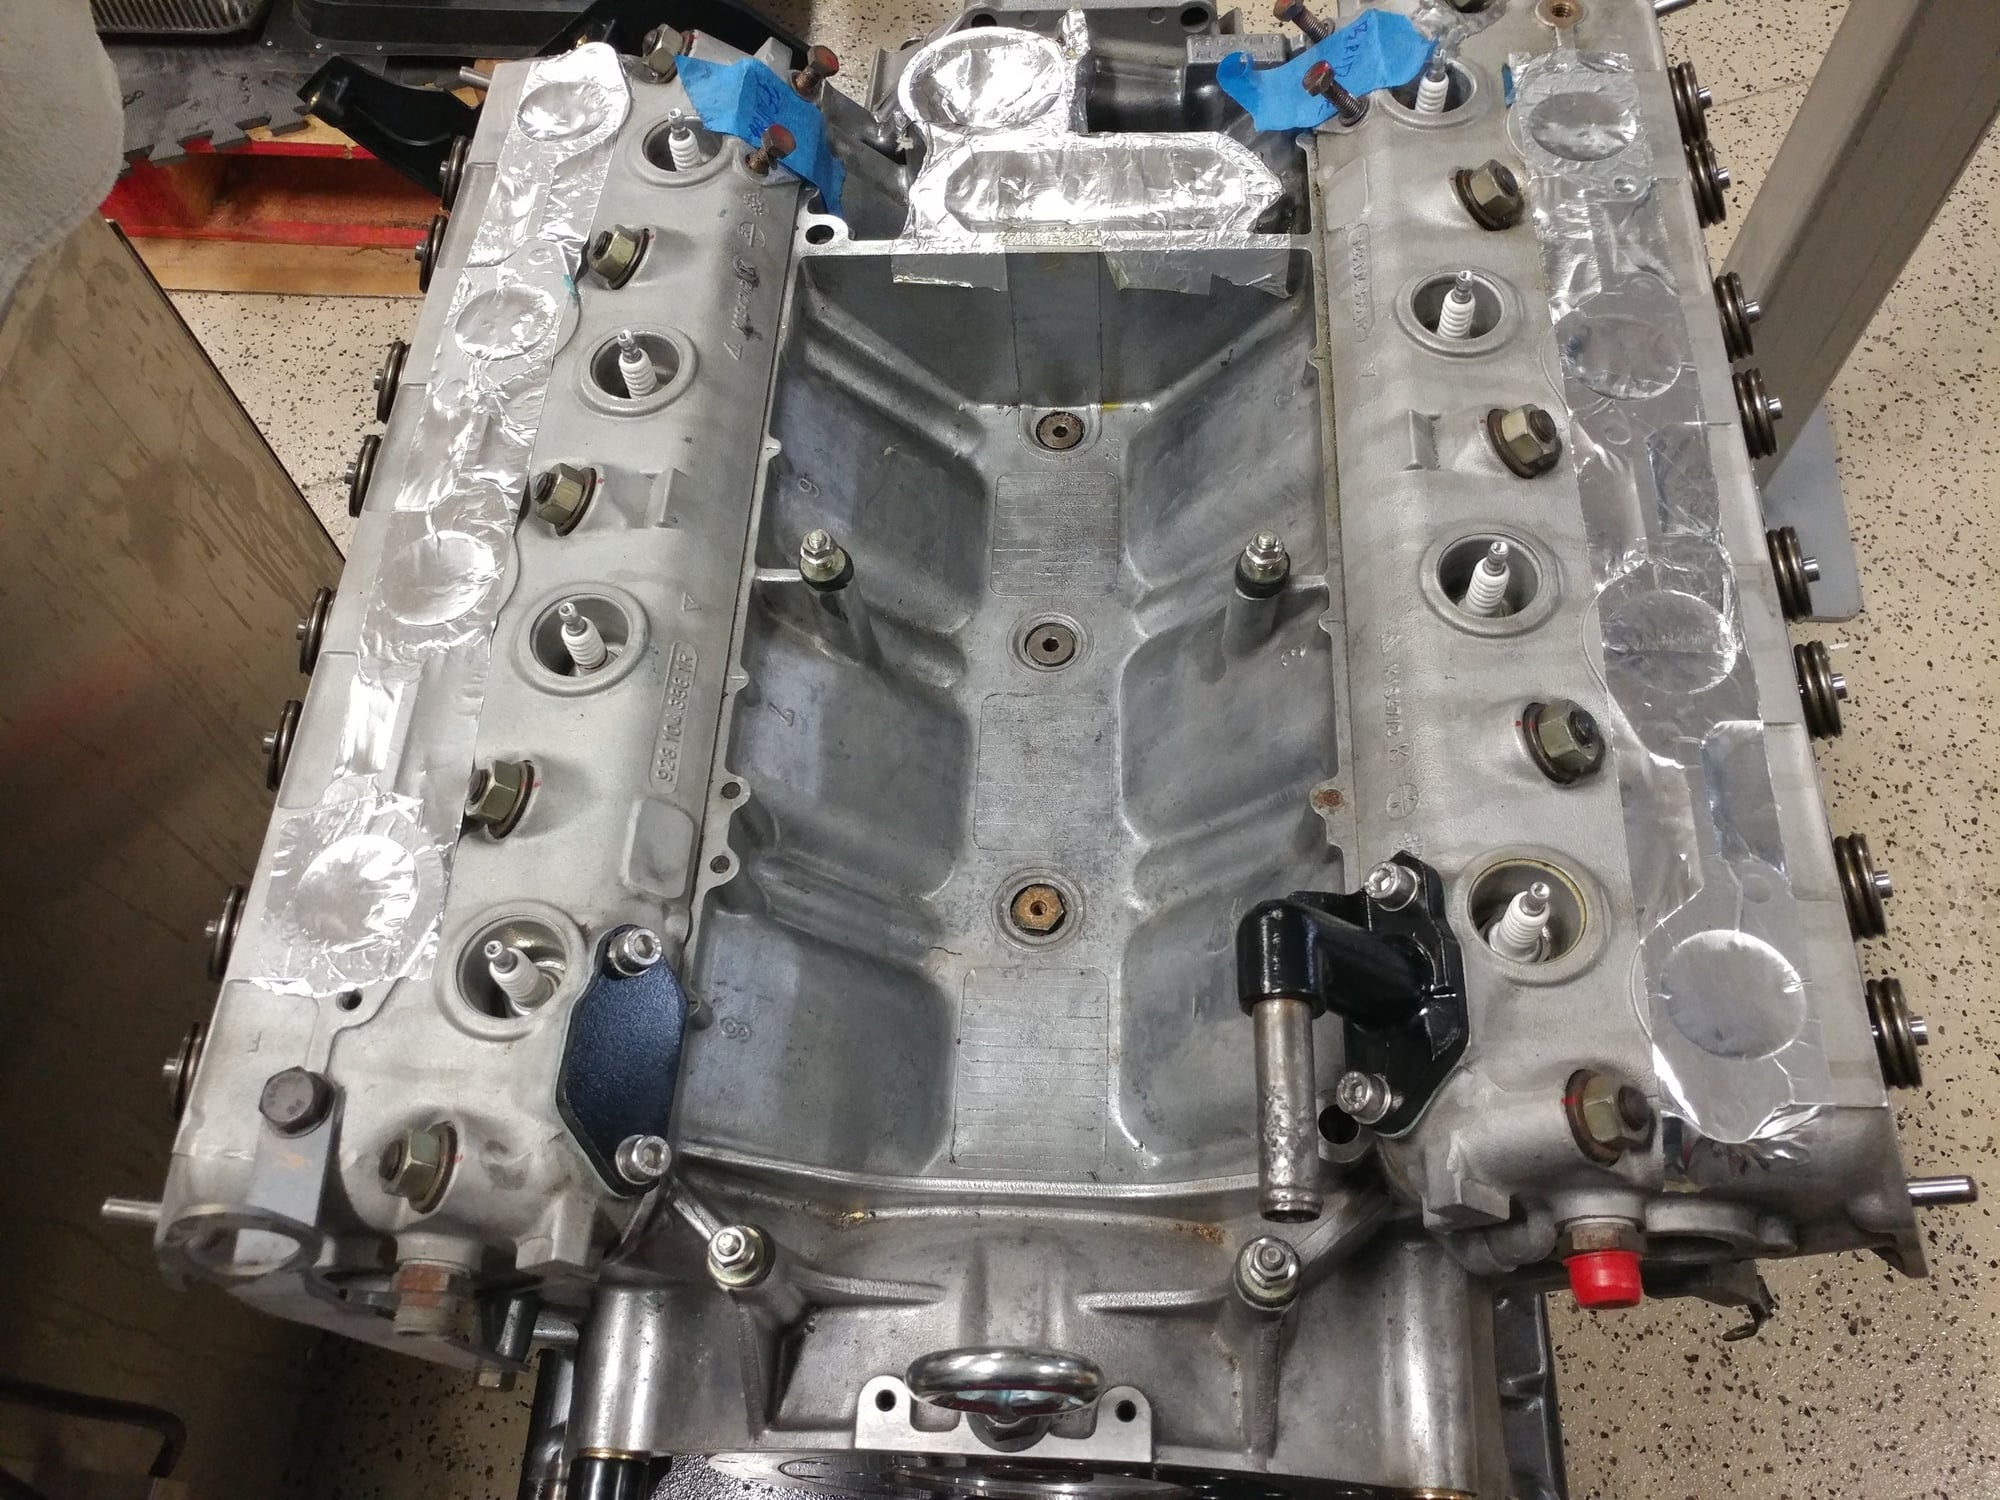
Here are both versions of the stud kits for comparison - Rogers on the shiny clean engine and Carl's on the dirty 4.5L engine.
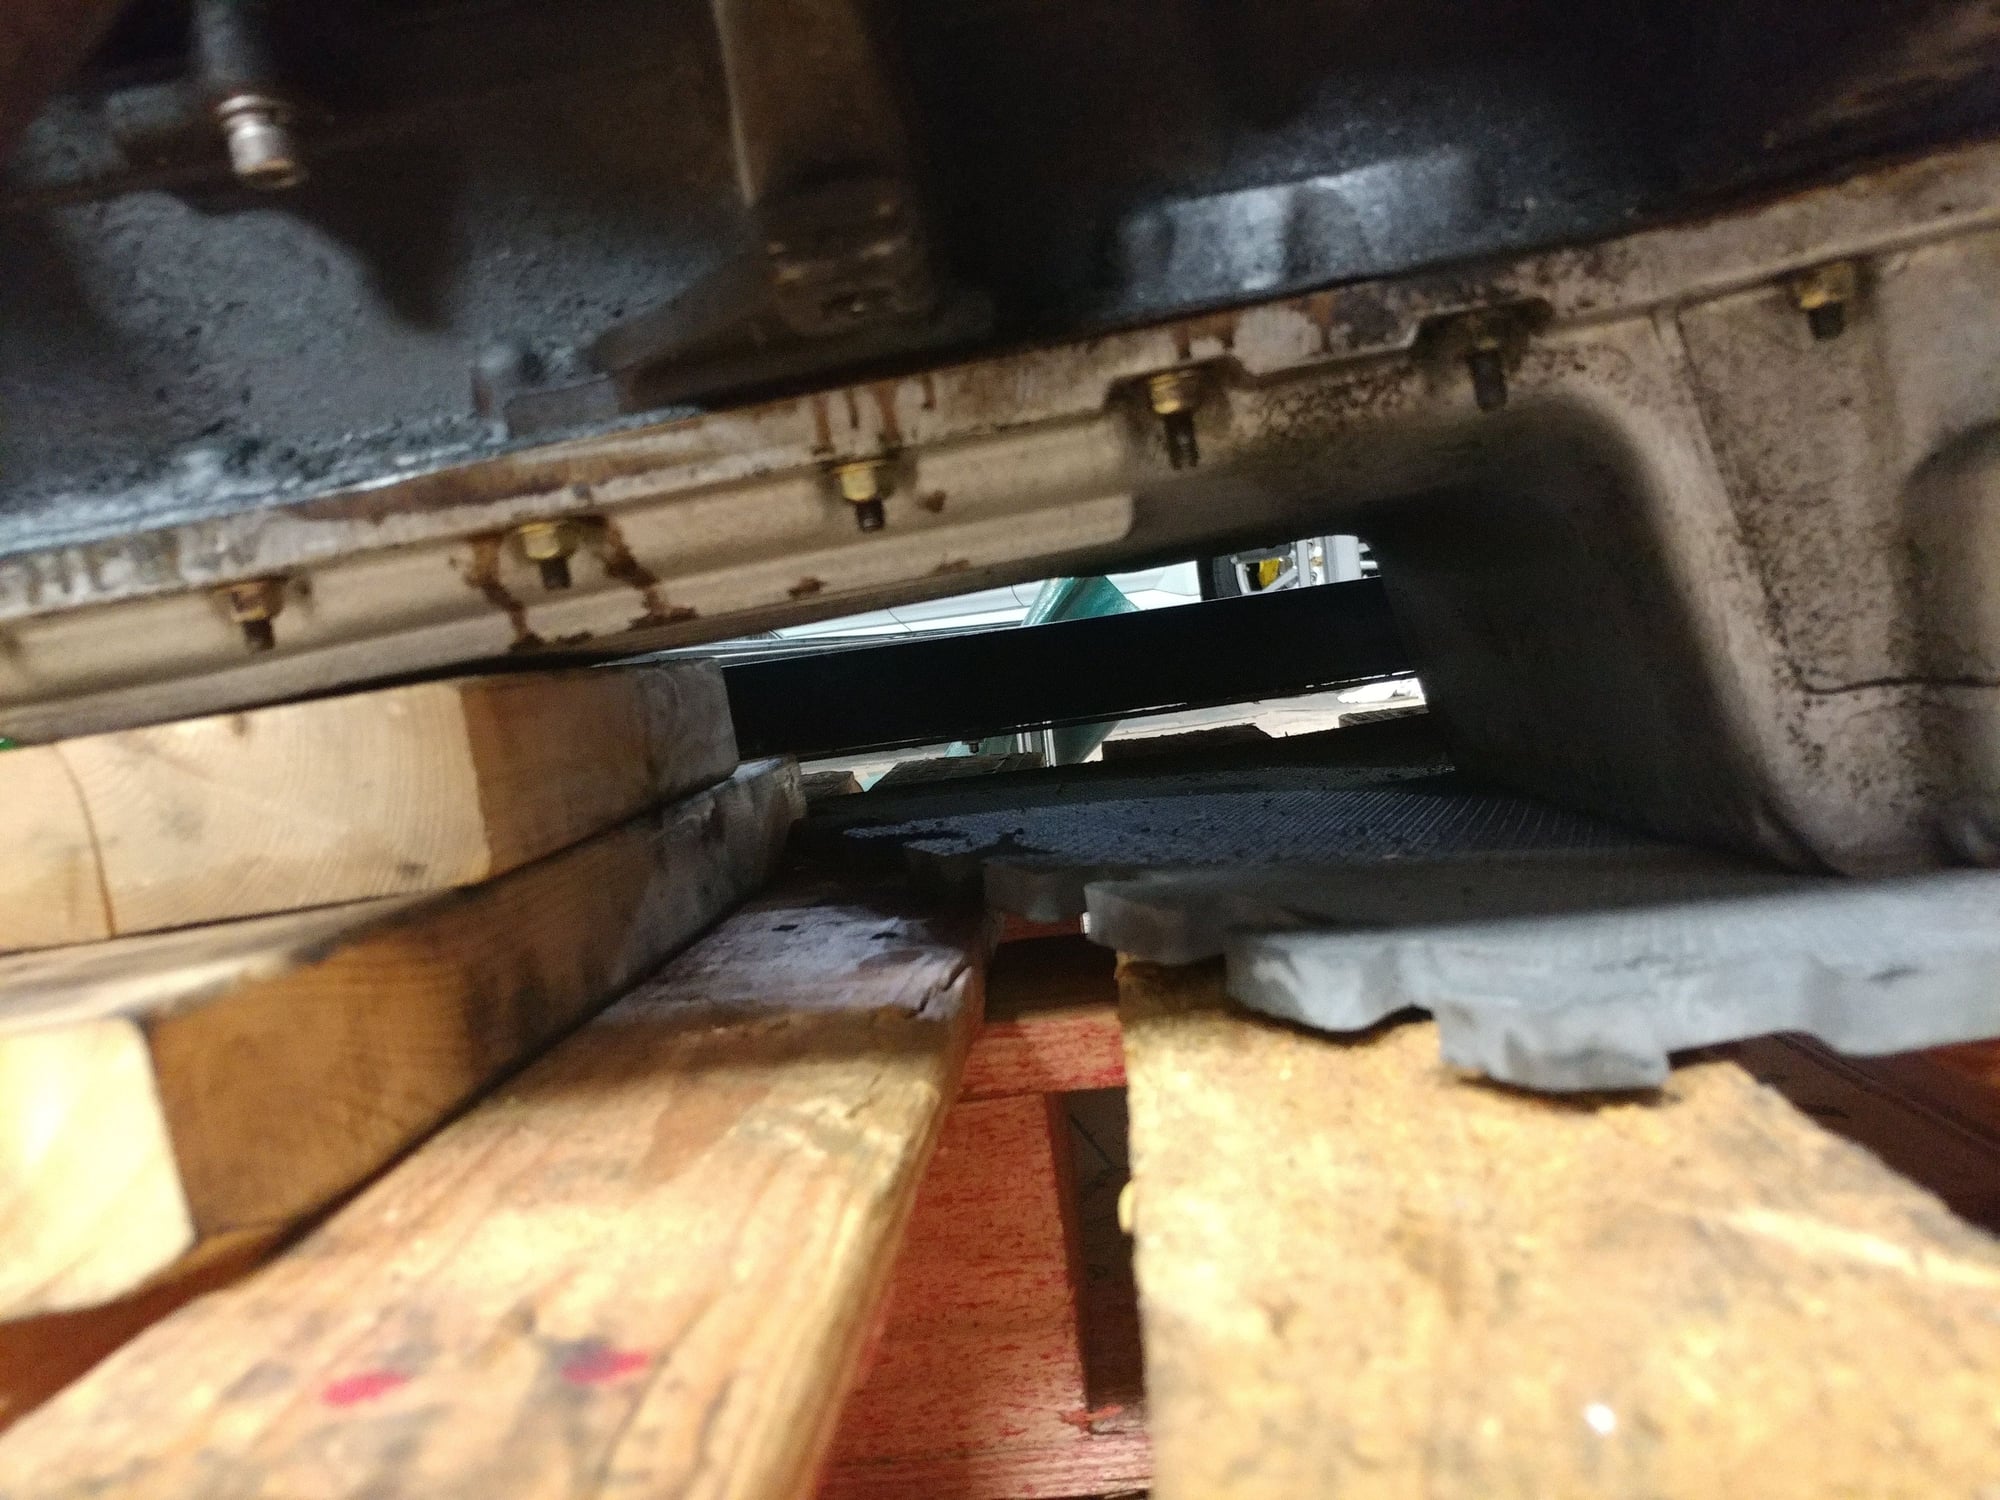
Then I flipped the motor back over and mounted a couple of the cooling system pieces I had painted with new gaskets, including the inlet elbow at the rear of the motor I had modified and the opposing side block-off plate. Can't do the front water bridge yet as it adds a lot of height and will make reinstalling the motor into the car while it sits on the lift more challenging, which is why I removed them when I was pulling the motor.
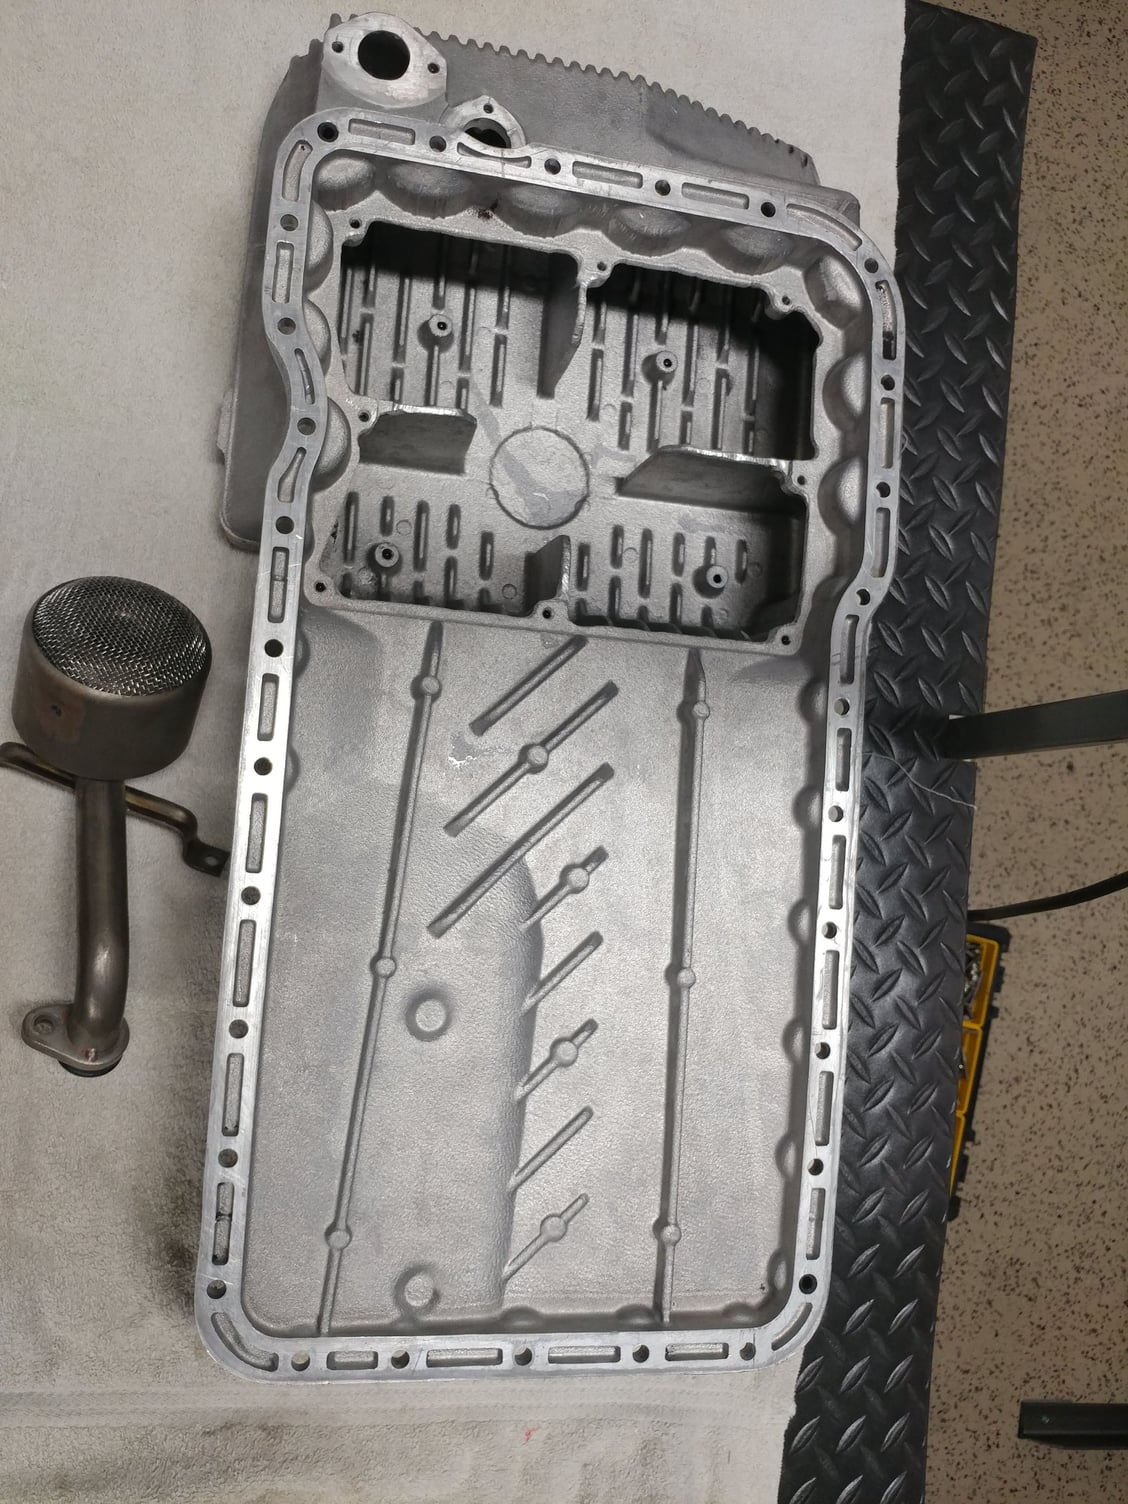
Then I cleaned up the pan and pickup that came on the 4.7L motor and will probably list them for sale or take them to SITM.
On the rod question, you DO have the three piece cross brace, so it will be amazingly easy for you to do this in the future. Still, without knowing about your time constraints, I would probably do it now because it will be still easier on with the motor upside down.
Pete since you dont have the belt on yet I would suggest to remove the oil pump and fill it with STP oil,
then put it back in, The STP will make it easy for the oil pump to prime and pump.
NOTE the oil is better than the grease and wont plug up the oil filter.
please post pictures of the 2/6 rod bearings and crank for an accurate diagnosis.
I would suggest to use PTFE non setting pipe sealant on the water pump bolts so the next time they come off they will.
Use new bolts for the pump
Same for the water bridge and the HCV housing and block off plate
Good advice as always Stan.
I actually put the same BR30 oil into the pump that I'll be using for the engine start-up, before installing it. Turning the pump pulley by hand it makes a good sucking sound, so seems like it has a good seal and will pump just fine.
What I have tried to do is loop the oil cooler and just before the belt goes on, and everything else is on, I prime the oil pump with pressure. Not sure if that helps or hinders, but I have done that a few times.
Pete, you may want to get one of these. Allows you to connect a hose to deliver the used oil without the usual mess.
I bought one of those, but it was a different model that was specified for the early cars and it doesn't thread in properly, like the thread pitch is incorrect. Maybe I need to try the one you've shown. Will that one fit my early to mid oil pans?


 05-06-2019, 04:37 PM