When you click on links to various merchants on this site and make a purchase, this can result in this site earning a commission. Affiliate programs and affiliations include, but are not limited to, the eBay Partner Network.
Robbed the 87 of it's correct hatch struts and put them in the 86. Also worked on the hatch pins (Ended up swapping them left to right) and worked on the hatch release motor cable. I now have a correctly popping hatch, rear defrost, and a hatch light that lights when the hatch is open. Amazing what the correct struts will do for you.
Also ordered OD gear, oil cooler gaskets, tester, and alignment tool for the 87, to start putting it back together.
Ordered floor mats, sunvisor clip, led light kit, temp sensor grill cover thingy, cigarette lighter (to charge stuff), engine bulb, rebuilt digital clock, OD gear, and all 3 wipers for the 951.
Yeah, working on two at once should be fun!! At least the 86 runs....
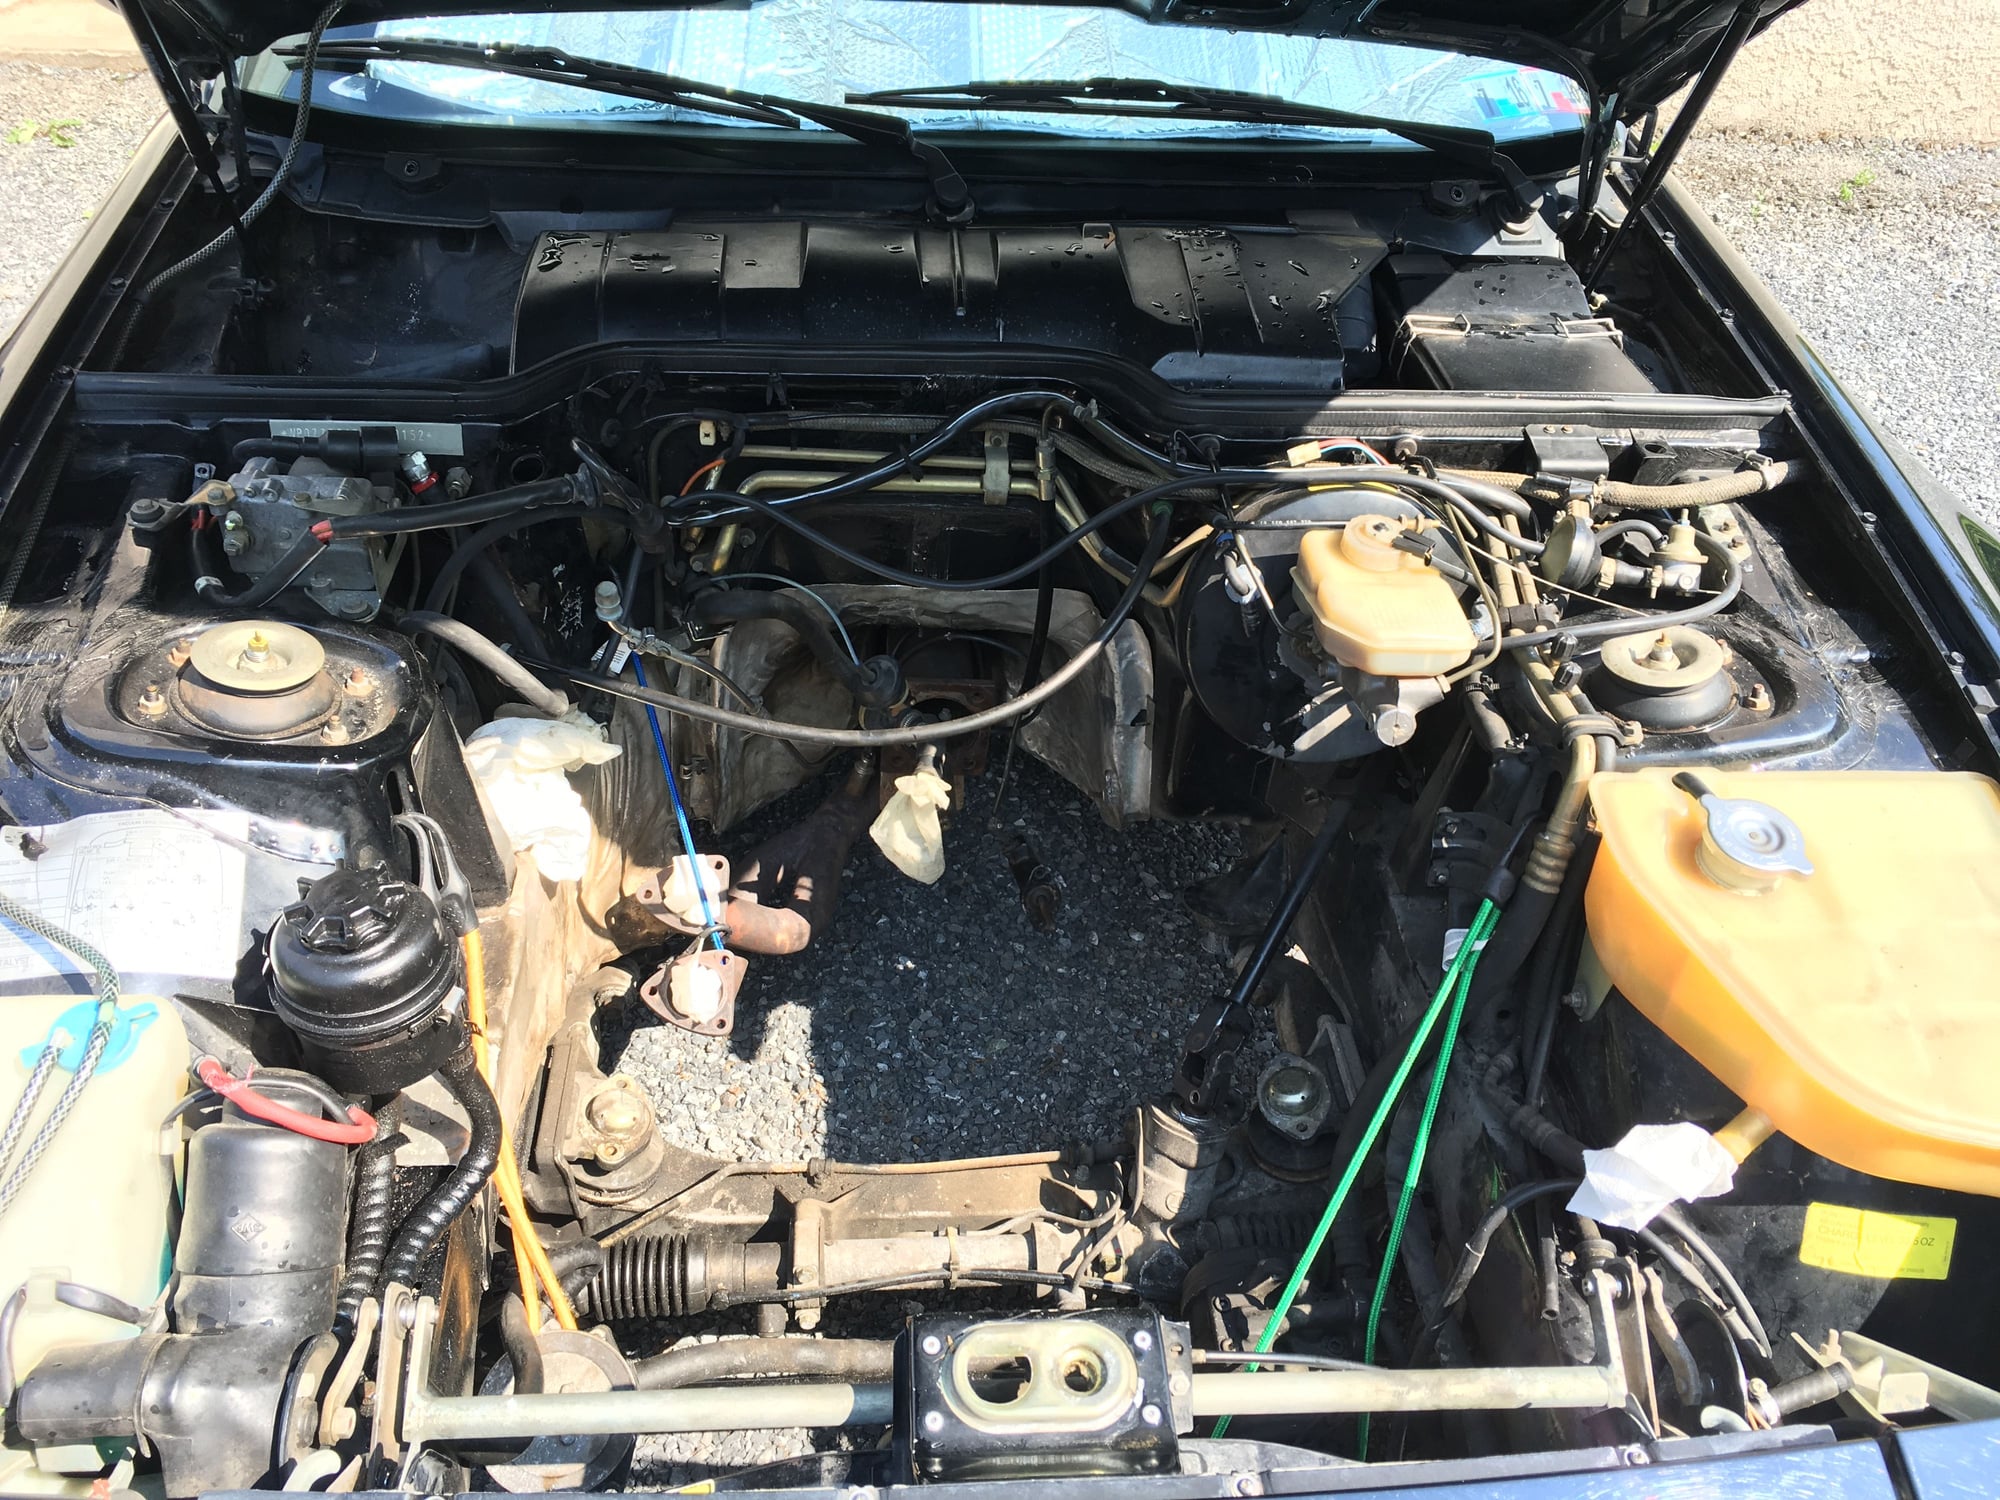
Started cleaning out the grease from the engine bay so I can continue removing and rebuilding components before the (almost) finished engine can go back in the car.
Before:
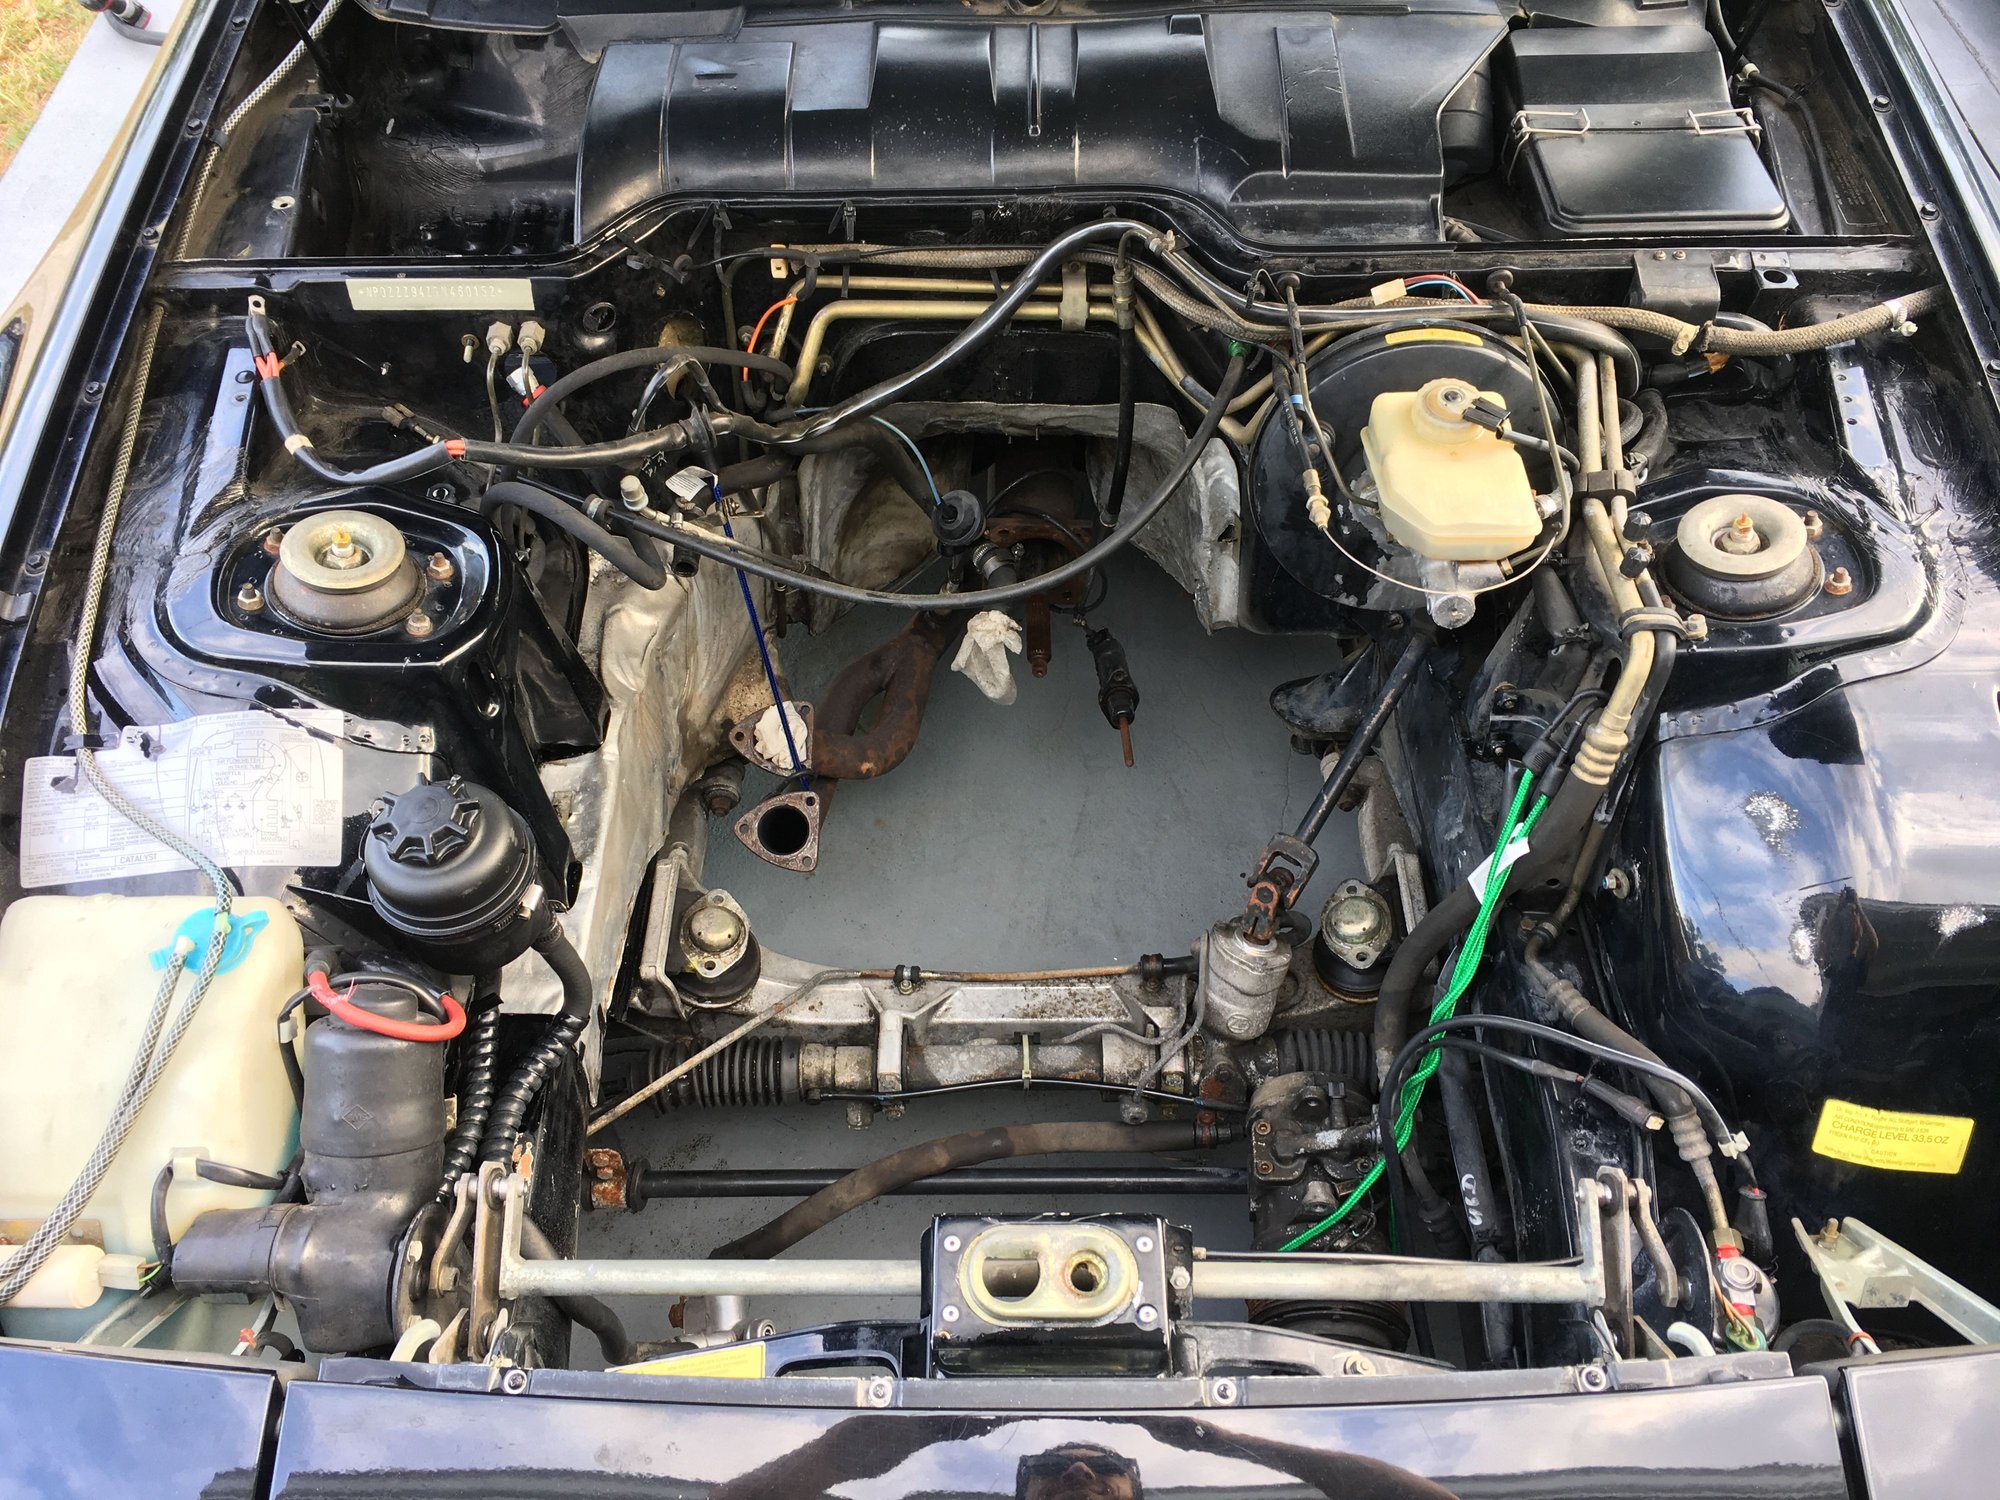
After:
Still have a long way to go but we're getting there...
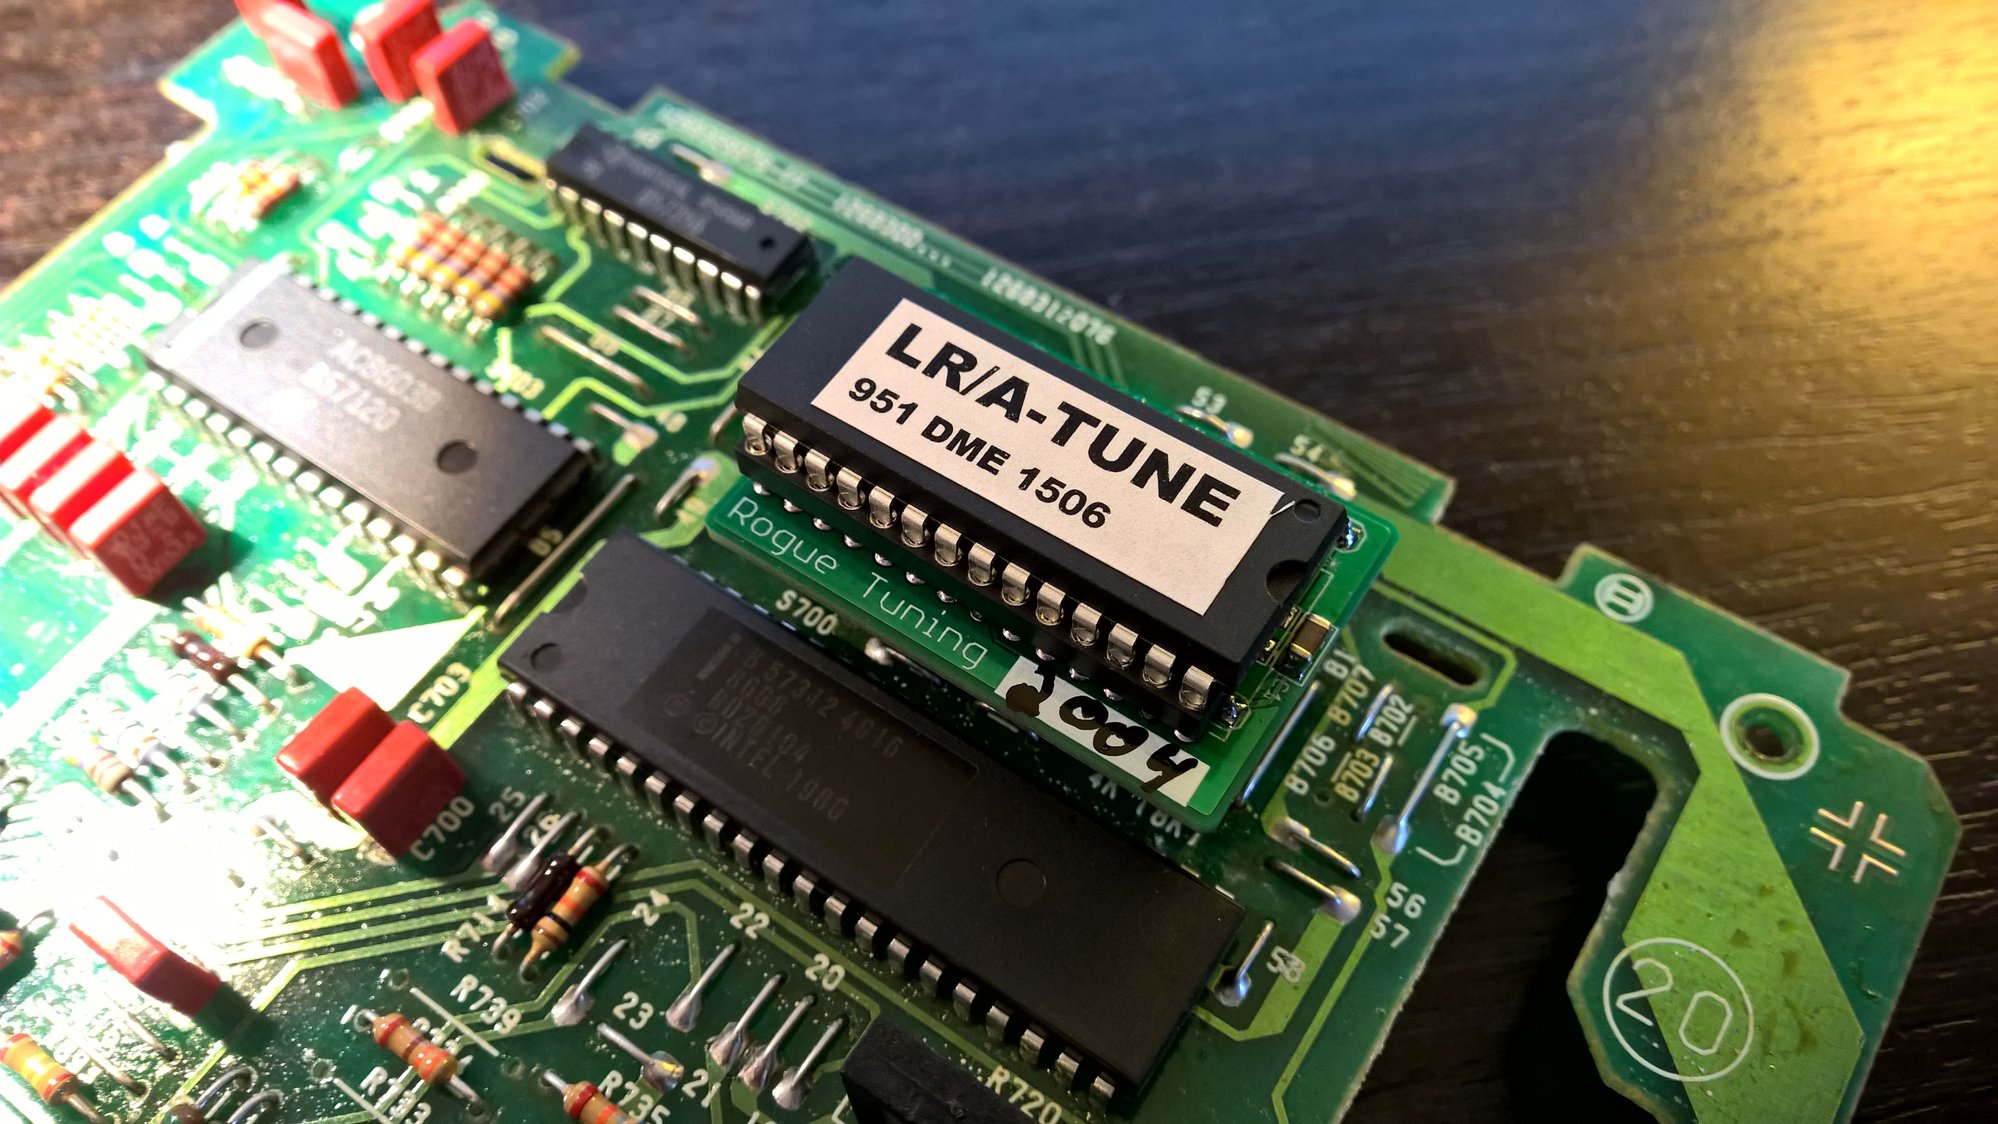
Despite not having the recommended 'spade' soldering tip, nor having the 60/40 lead based solder with flux core and in a fine gauge, I gave it my best try.
With a pointy solder tip and lead-free solder I just couldn't get it to work. He made it look so easy in the video, and it wasn't working for me at all.
So today I picked up a spade tip and the leaded flux-core solder and it worked effortlessly with PERFECT results just like the video.
Heck of a great deal!!
Your photos above are just killer. Have you gone to school for photography or self taught?
Those are the prices for good quality parts for the 924, tensioner is the same as many vws and audis, belt fits various vws and audis...used on more cars = cheaper = must be good otherwise many cars would be off the road.
Telling you, these are one of the moments I'm really happy with my 924s.
Easy to self service, cheap but good quality parts, smiles/miles factor choochin high!
No schooling for photography..just reading around and taking shots...learning as I do...exactly as you're doing with fabricating for your project.
You really have jumped in completely in modifying that 944 and you deserve the props just for doing it.
Nice looking spacers there, Shorty boy! AND I like the exhaust also..Did you fit a special muffler for the twin pipes, as most Porsches have only one..If so, please advise, as I'm a big fan of twin exhaust pipes. Thanks in advance, Tiger 03447
Nice looking spacers there, Shorty boy! AND I like the exhaust also..Did you fit a special muffler for the twin pipes, as most Porsches have only one..If so, please advise, as I'm a big fan of twin exhaust pipes. Thanks in advance, Tiger 03447
Hi Tiger,
Thanks for the kind words. Its custom, I bought a magnaflow 3" to two 2.5" Y-Pipe and two 3.5" 18" long exhaust tips. I can get the part numbers if you want.
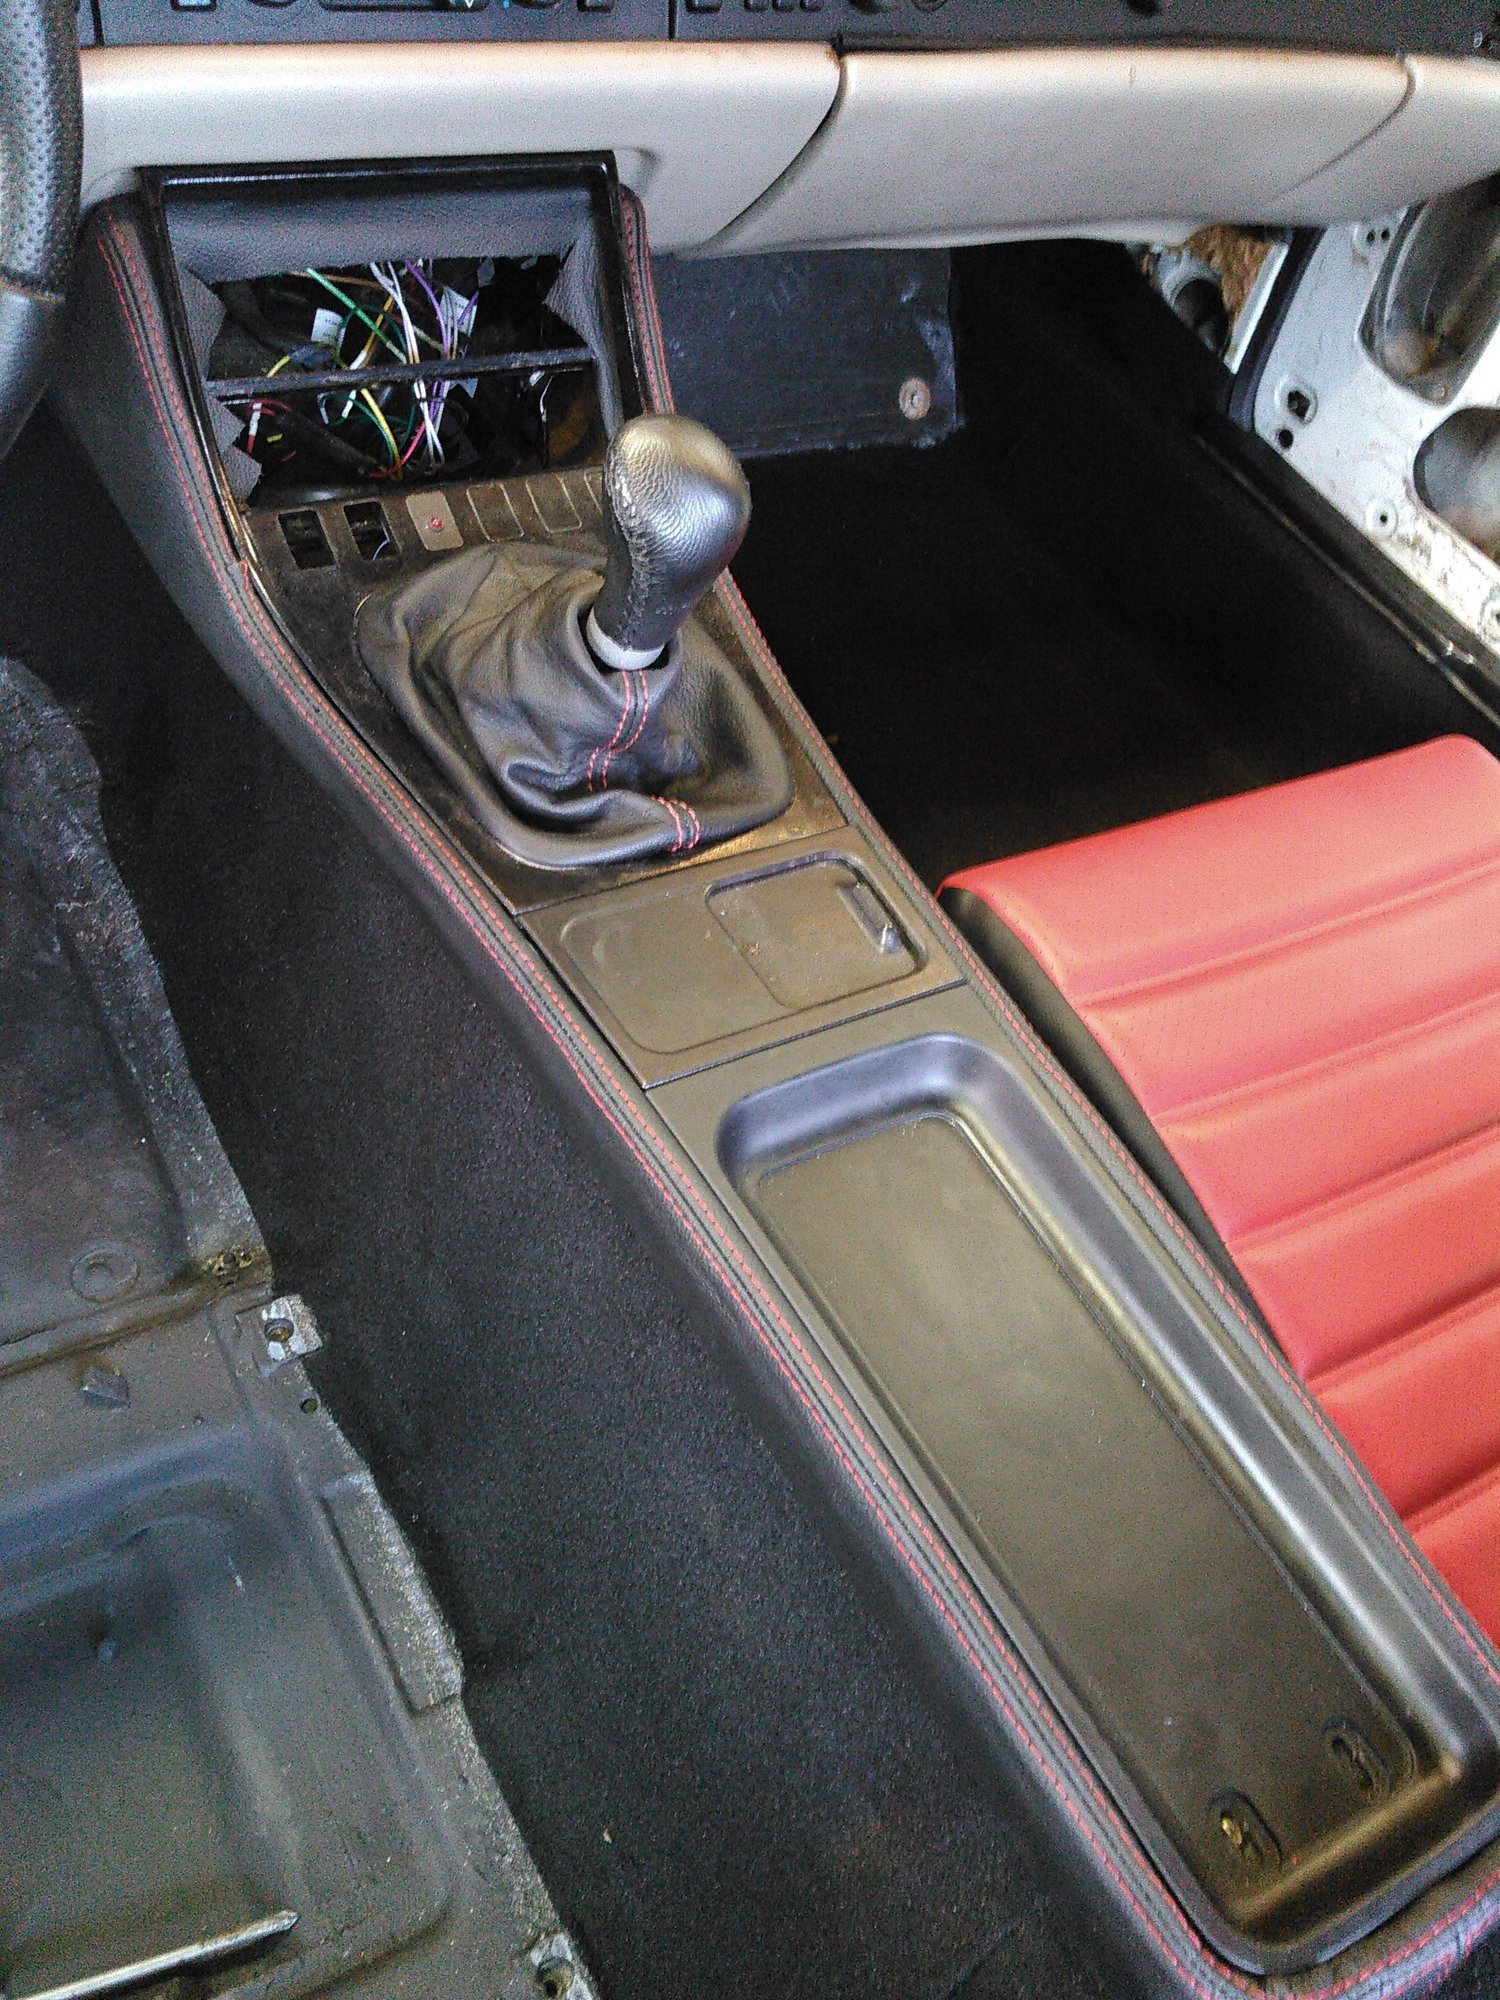
The interior renovations proceed apace. Unfortunately, I had some small rust spots starting in the rear driver's side floor, so I had to attack those before I can lay down the last couple pieces of carpet. But while the primer was drying, I wanted to keep my momentum up so I took the opportunity to fit the leather center console cover I bought a while back.
It took a bit of fiddling and some careful cutting, but the end result is Not Too Shabby If I Do Say So Myself:
I have a bit more work for final fitment but all in all I'm pretty pleased with myself. I ordered a matching dashboard cover today as well, so before long all the 80s-tastic tan vinyl will be gone.
Had a lot of motivation today, I guess! After the floorpan treatment and leather-wrapping the center console, I tackled another project that's been sitting on a shelf for months.
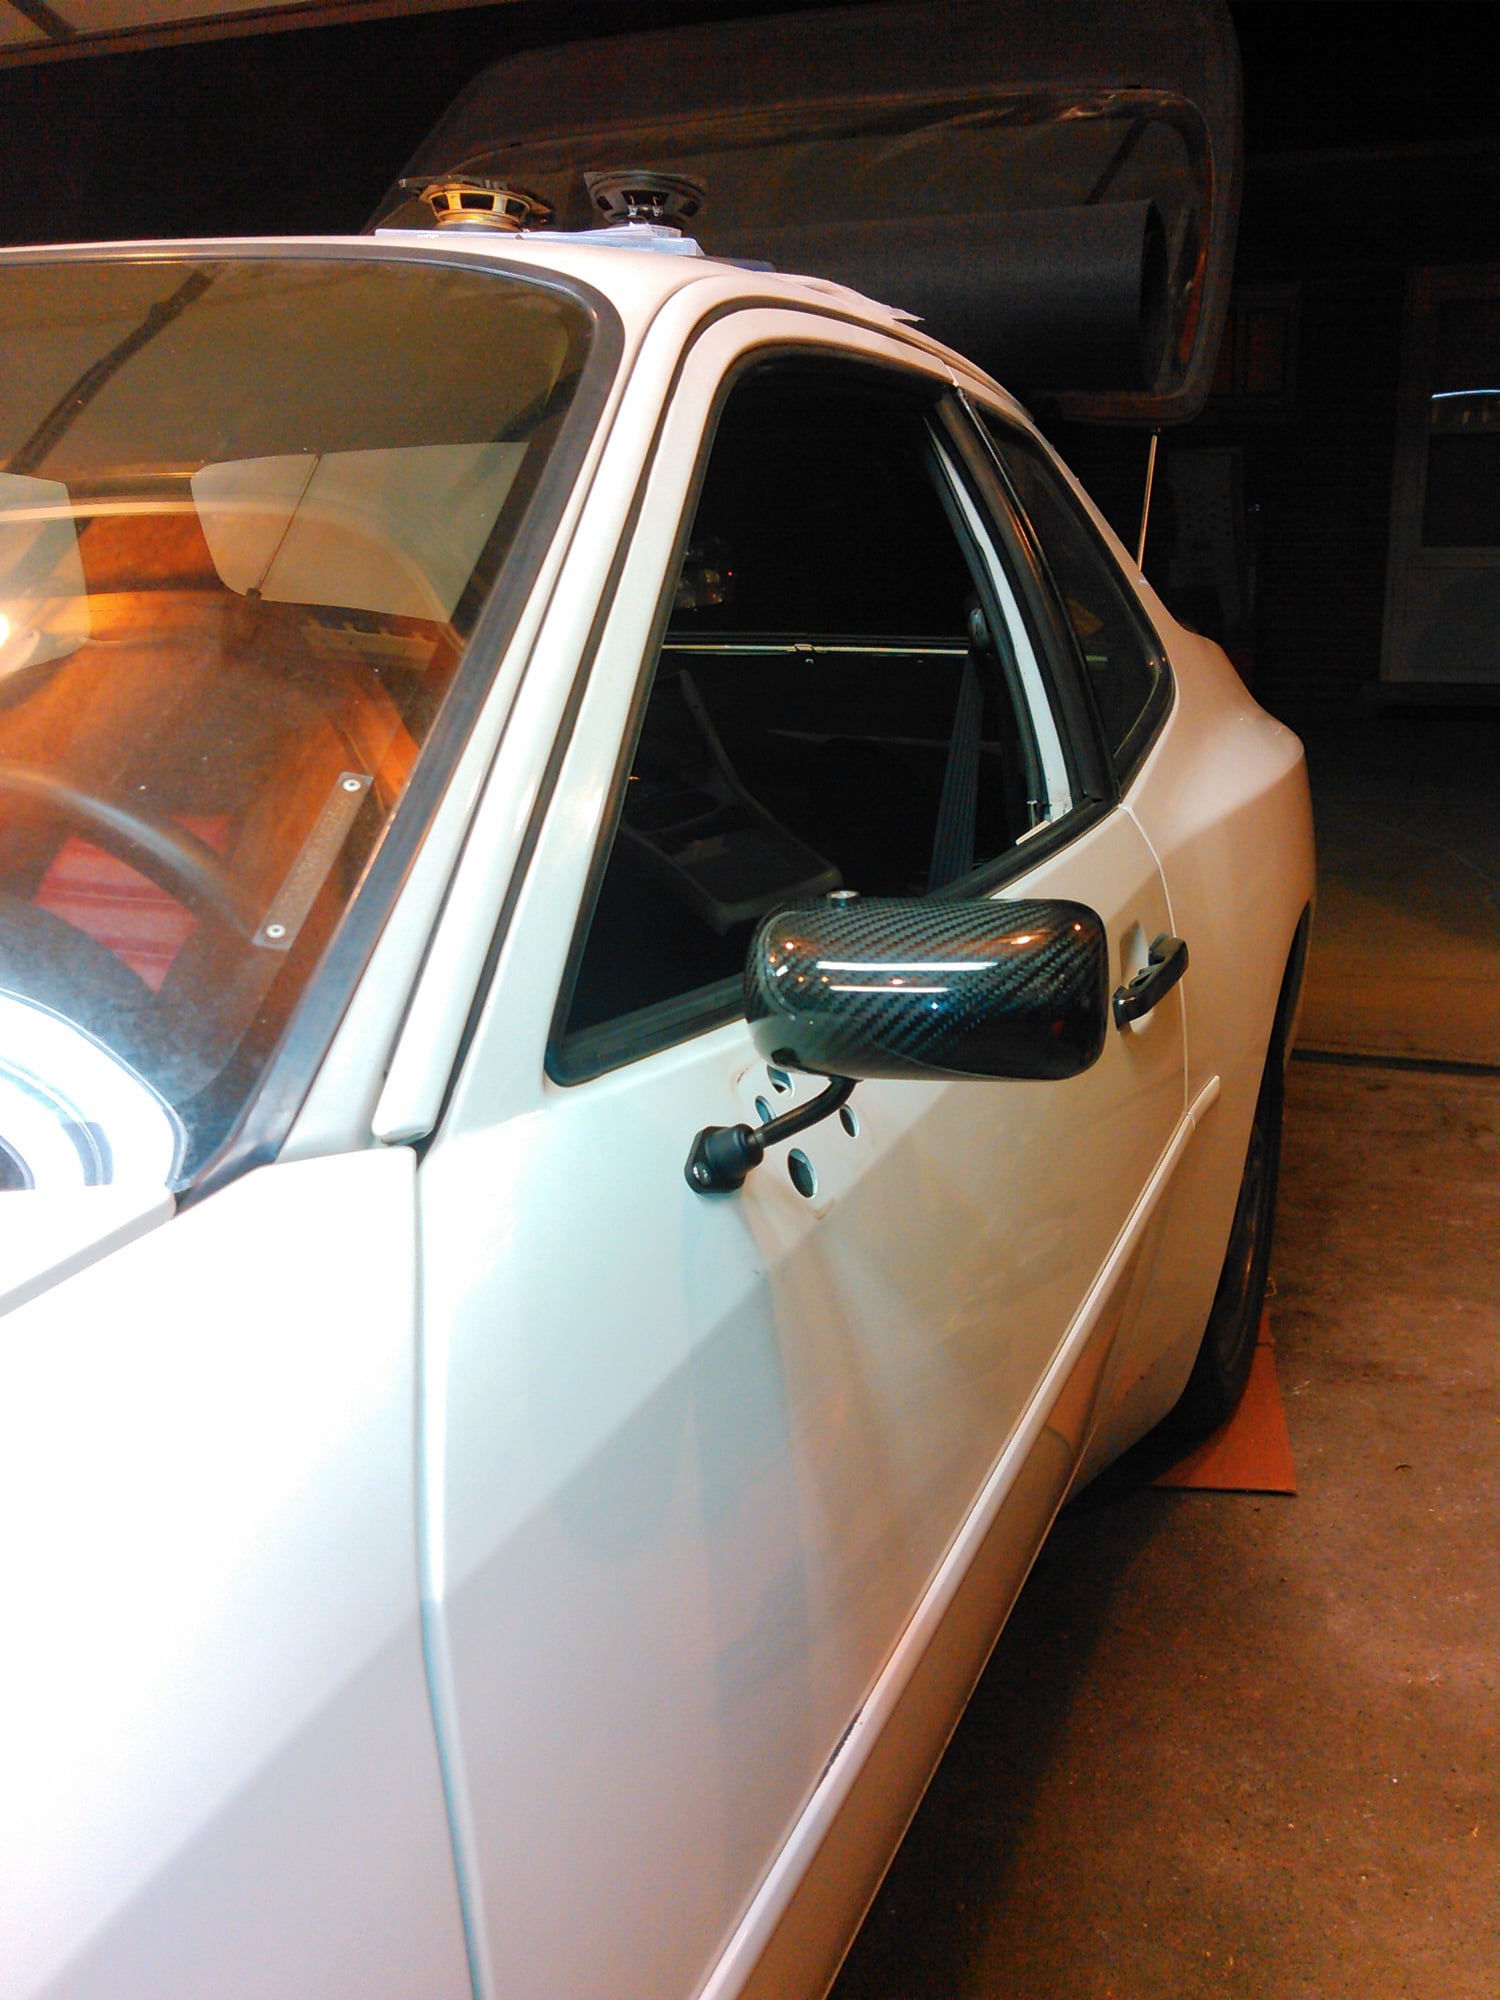
A while back, I got a really good deal on a pair of super lightweight CF mirrors. Not normally something I'd go in for since the weight loss is minimal for the expense, but at the price I paid, it was (almost) worth it. Plus, getting rid of the power mirrors fits with my build philosophy for this car anyway.
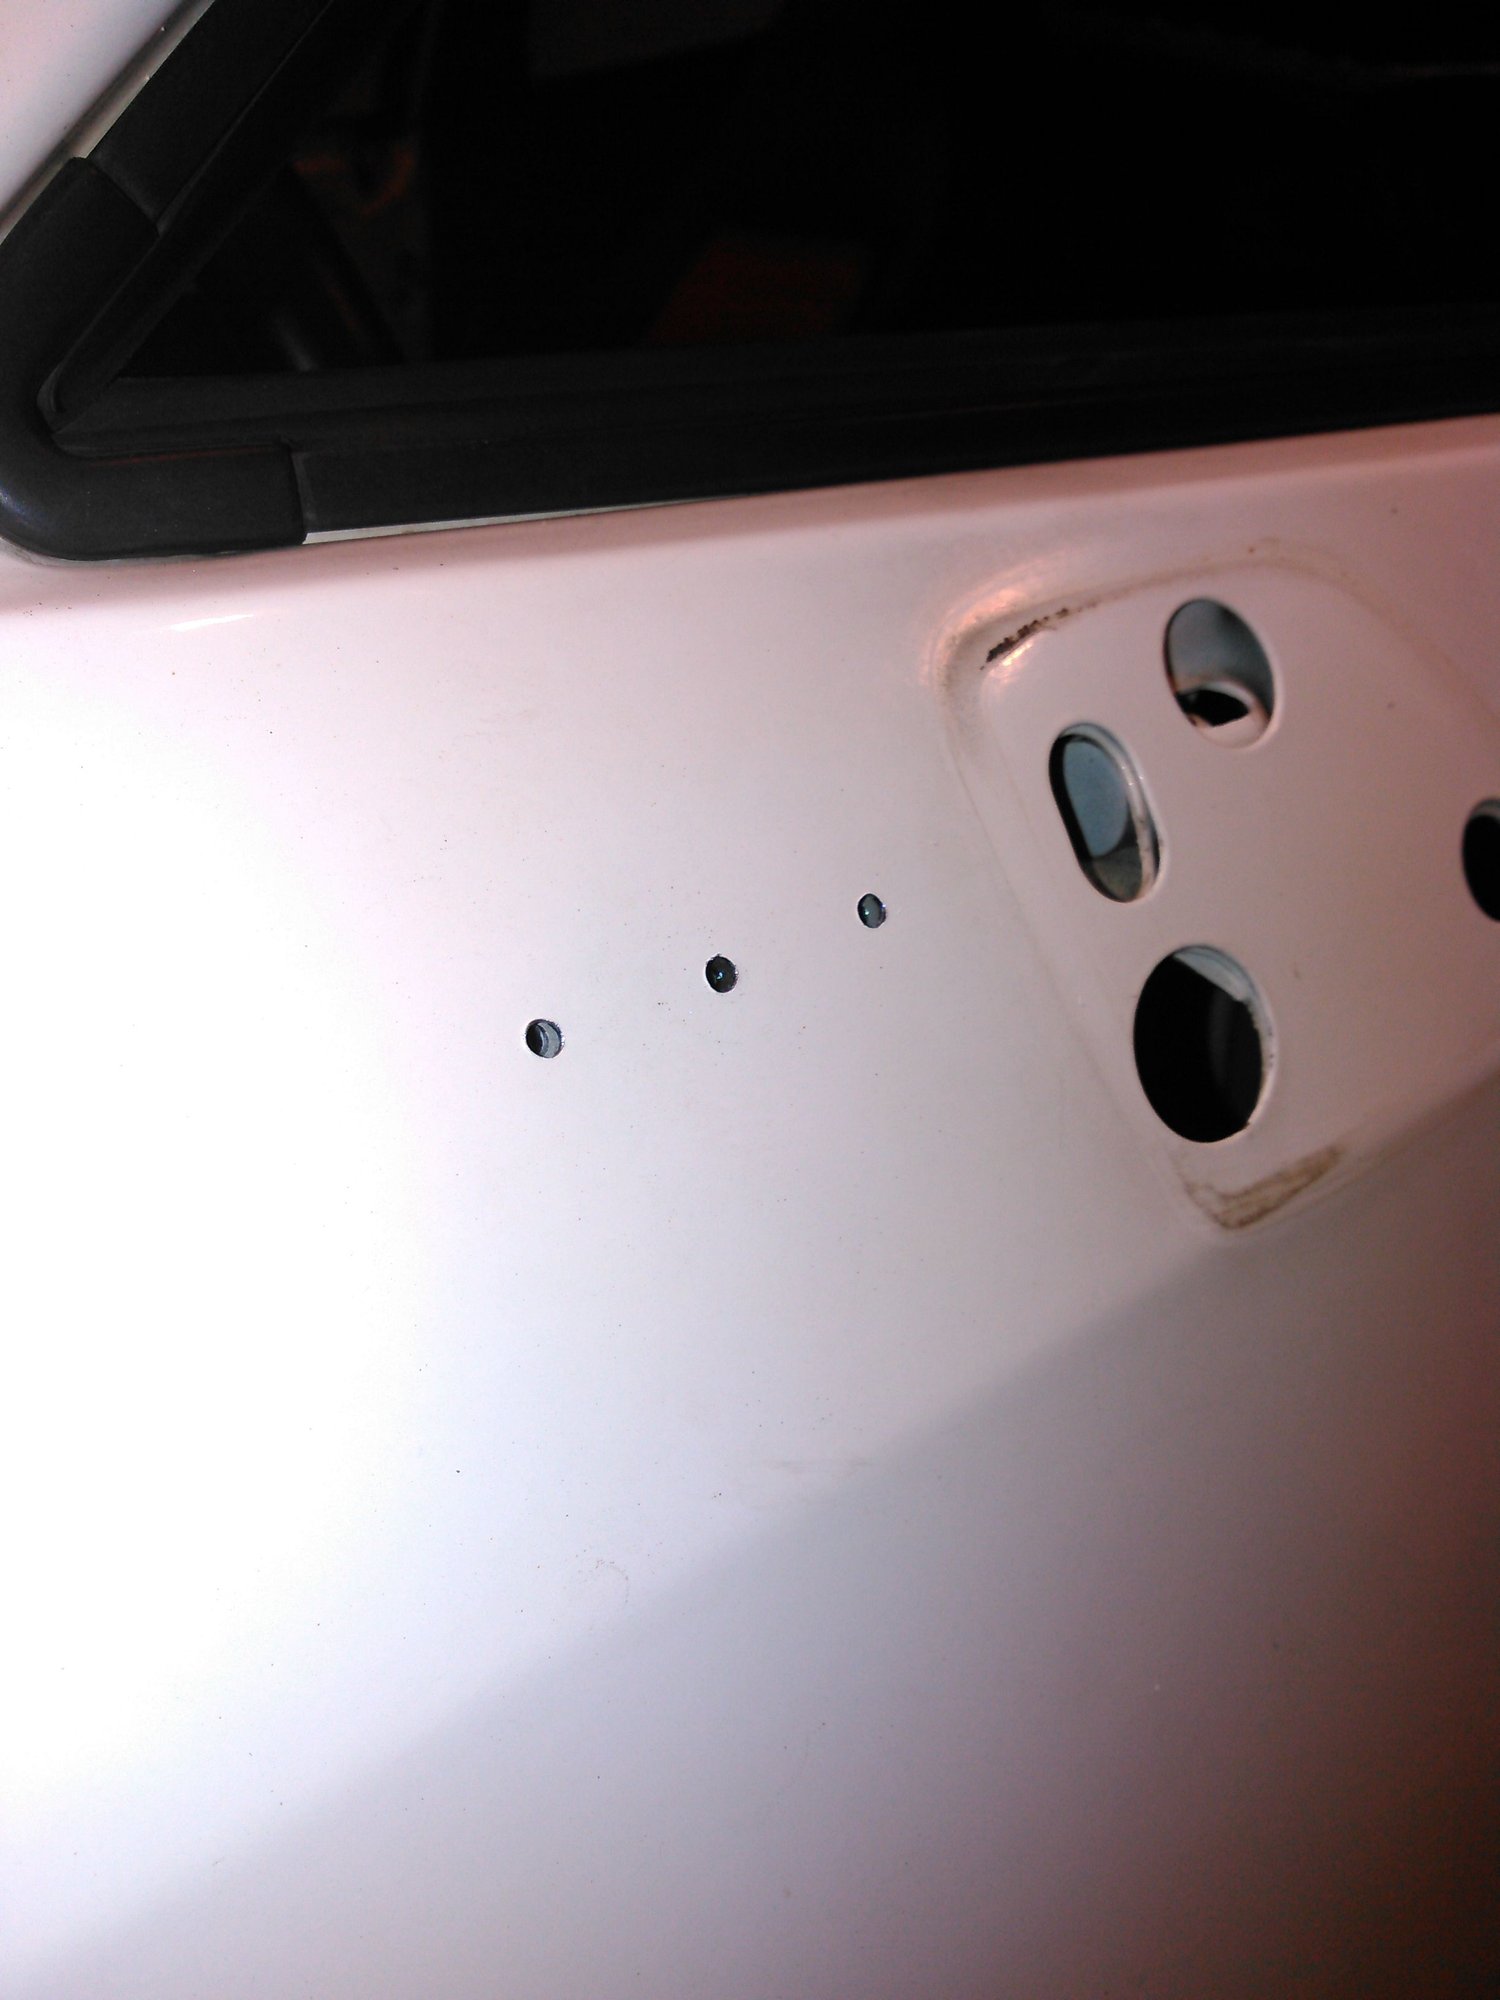
Of course, these mirrors aren't a direct bolt-on, so first I made a template using the factory holes to locate the new holes, so both sides will come out even.
Then, I took a deep breath, wished I wasn't out of beer, and whacked the center punch with a hammer:
Well, no going back now, so out comes the drill:
Fortunately, everything lined up right and the test fitting looks good to my eye:
I'll have to weld up the factory mirror holes, paint, and cut a gasket for the mirror base, but at least the scary part is over now!
Slomo, why didn't you make a plate/bracket that mounts on the existing holes and offsets & supports the new mirror?
This is easier/cleaner/lighter. My 944 was basically saved from the scrap heap and was never a candidate for the concours, so I don't mind making a few more permanent modifications.
I don't know if you've had the factory mirrors off before, but the mounting is rather odd and isn't really something I can easily duplicate in my garage. Plus, a bracket large enough to cover all the factory holes and mount the same way as factory would have weighed more than these mirrors do - they're only a few ounces each.
But yeah, a plate to mount where the factory mirrors fitted would have saved punching a few extra holes in my baby.

 04-22-2017, 04:25 PM