After a 25 Year Break, 914 Ownership Again
#781
A bit day for me, with the first hard parts installed. I started with the brake line in the tunnel.
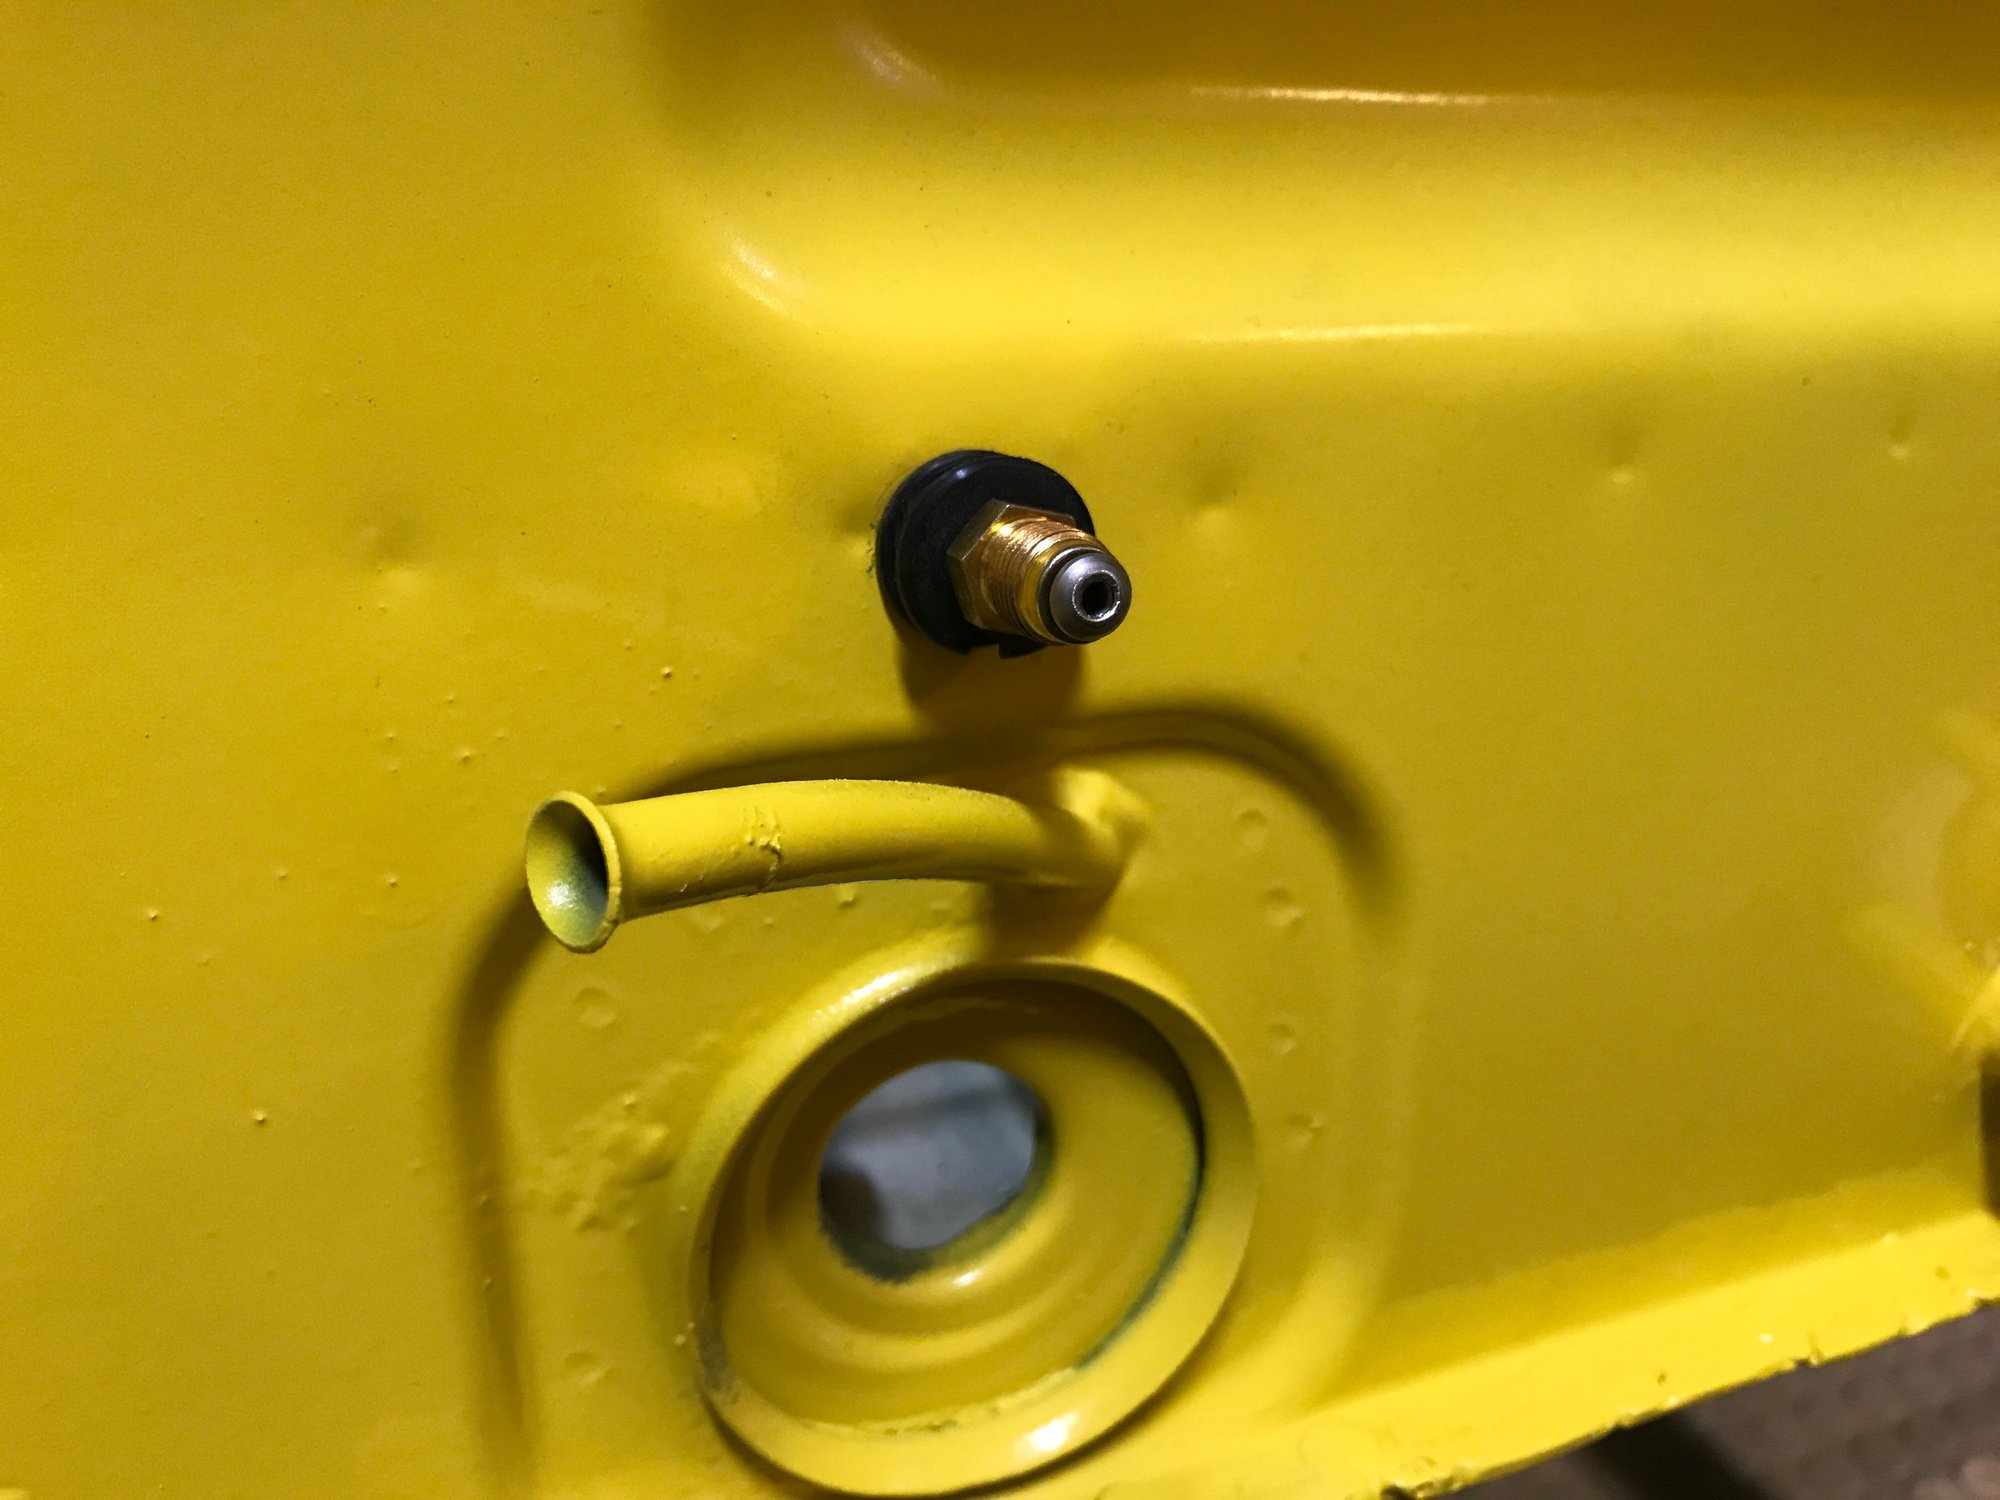
This includes a short section installed from the engine side of the fire wall.
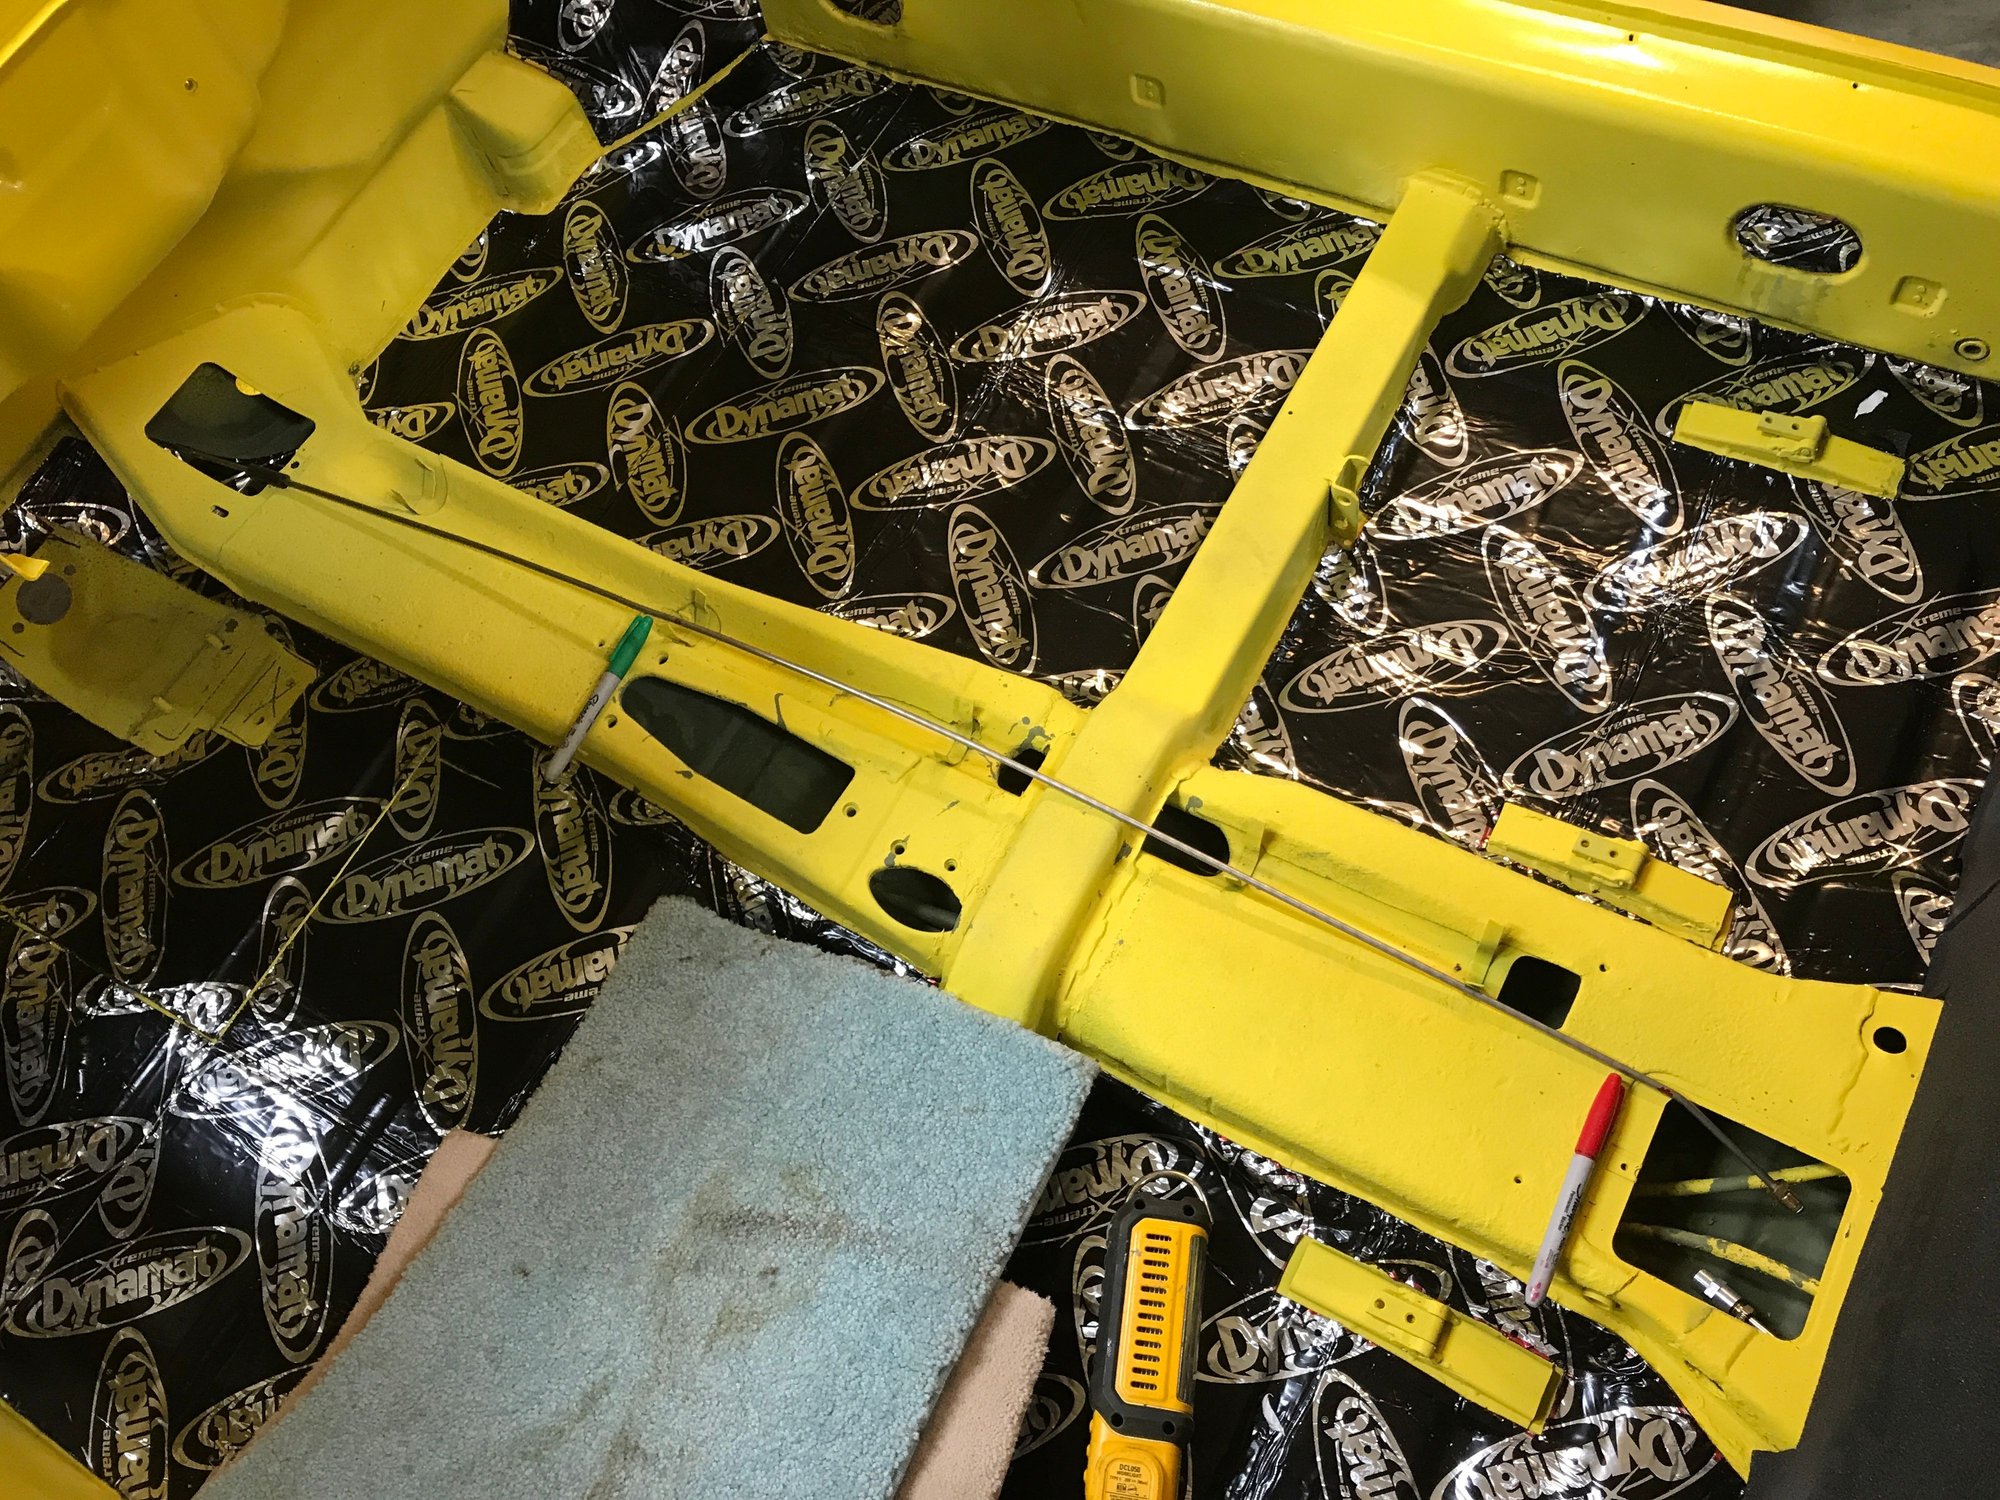
And a long section to the front. Here it is to mark the location of the retaining tabs inside the tunnel.
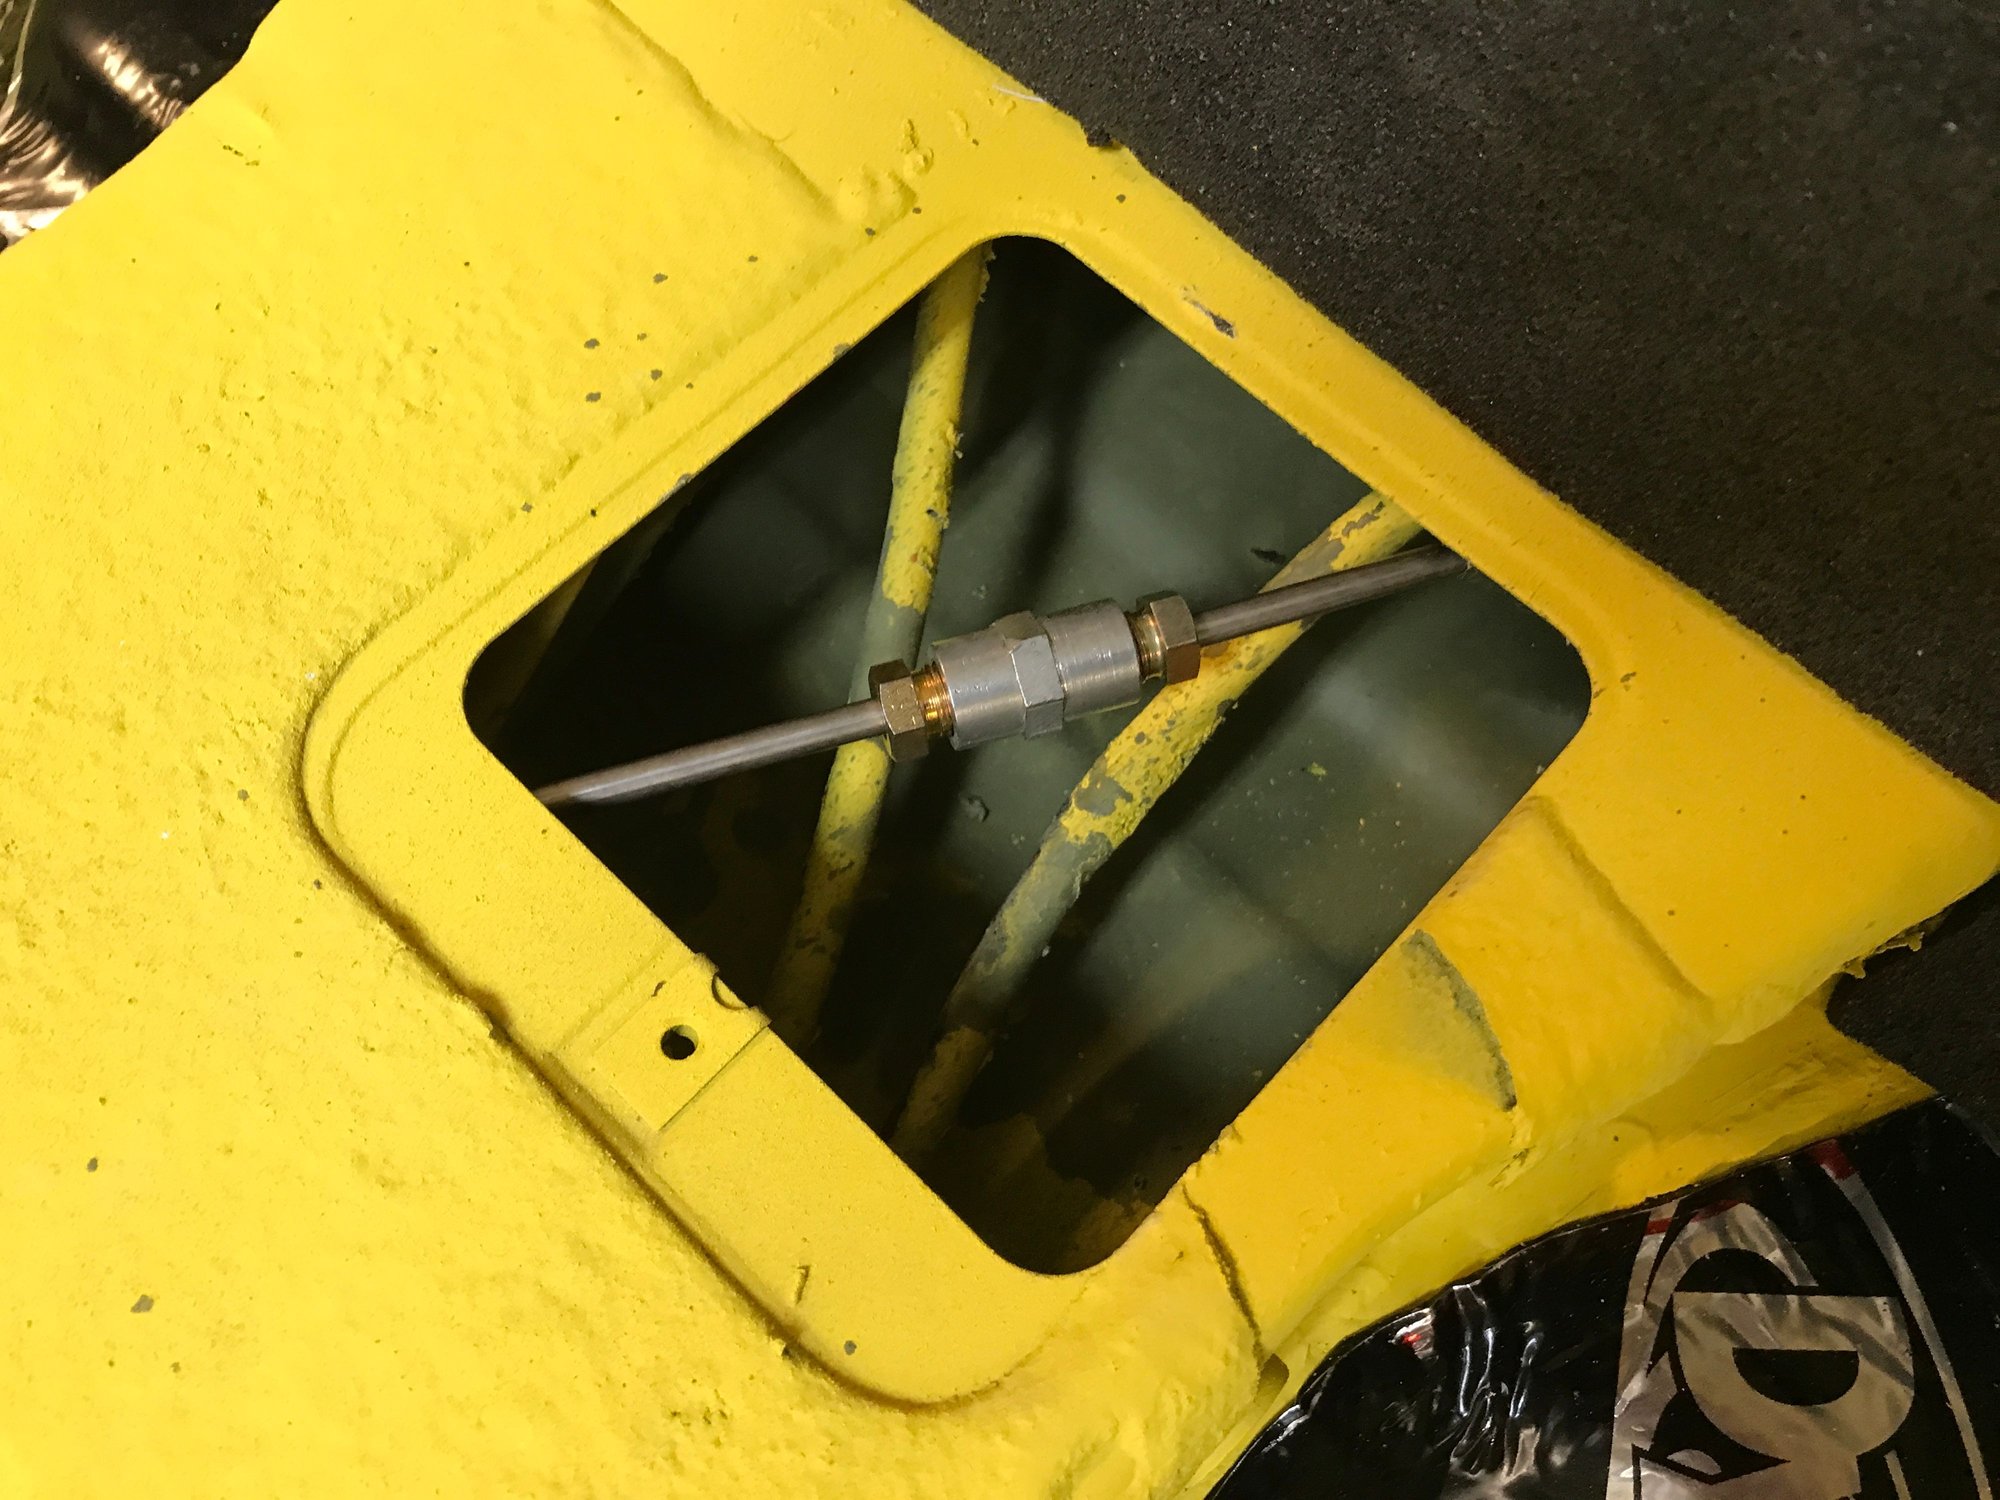
And the first time I used a wrench for the rebuild, on the in-line connector at the rear of the tunnel.
This includes a short section installed from the engine side of the fire wall.

And a long section to the front. Here it is to mark the location of the retaining tabs inside the tunnel.

And the first time I used a wrench for the rebuild, on the in-line connector at the rear of the tunnel.

#782
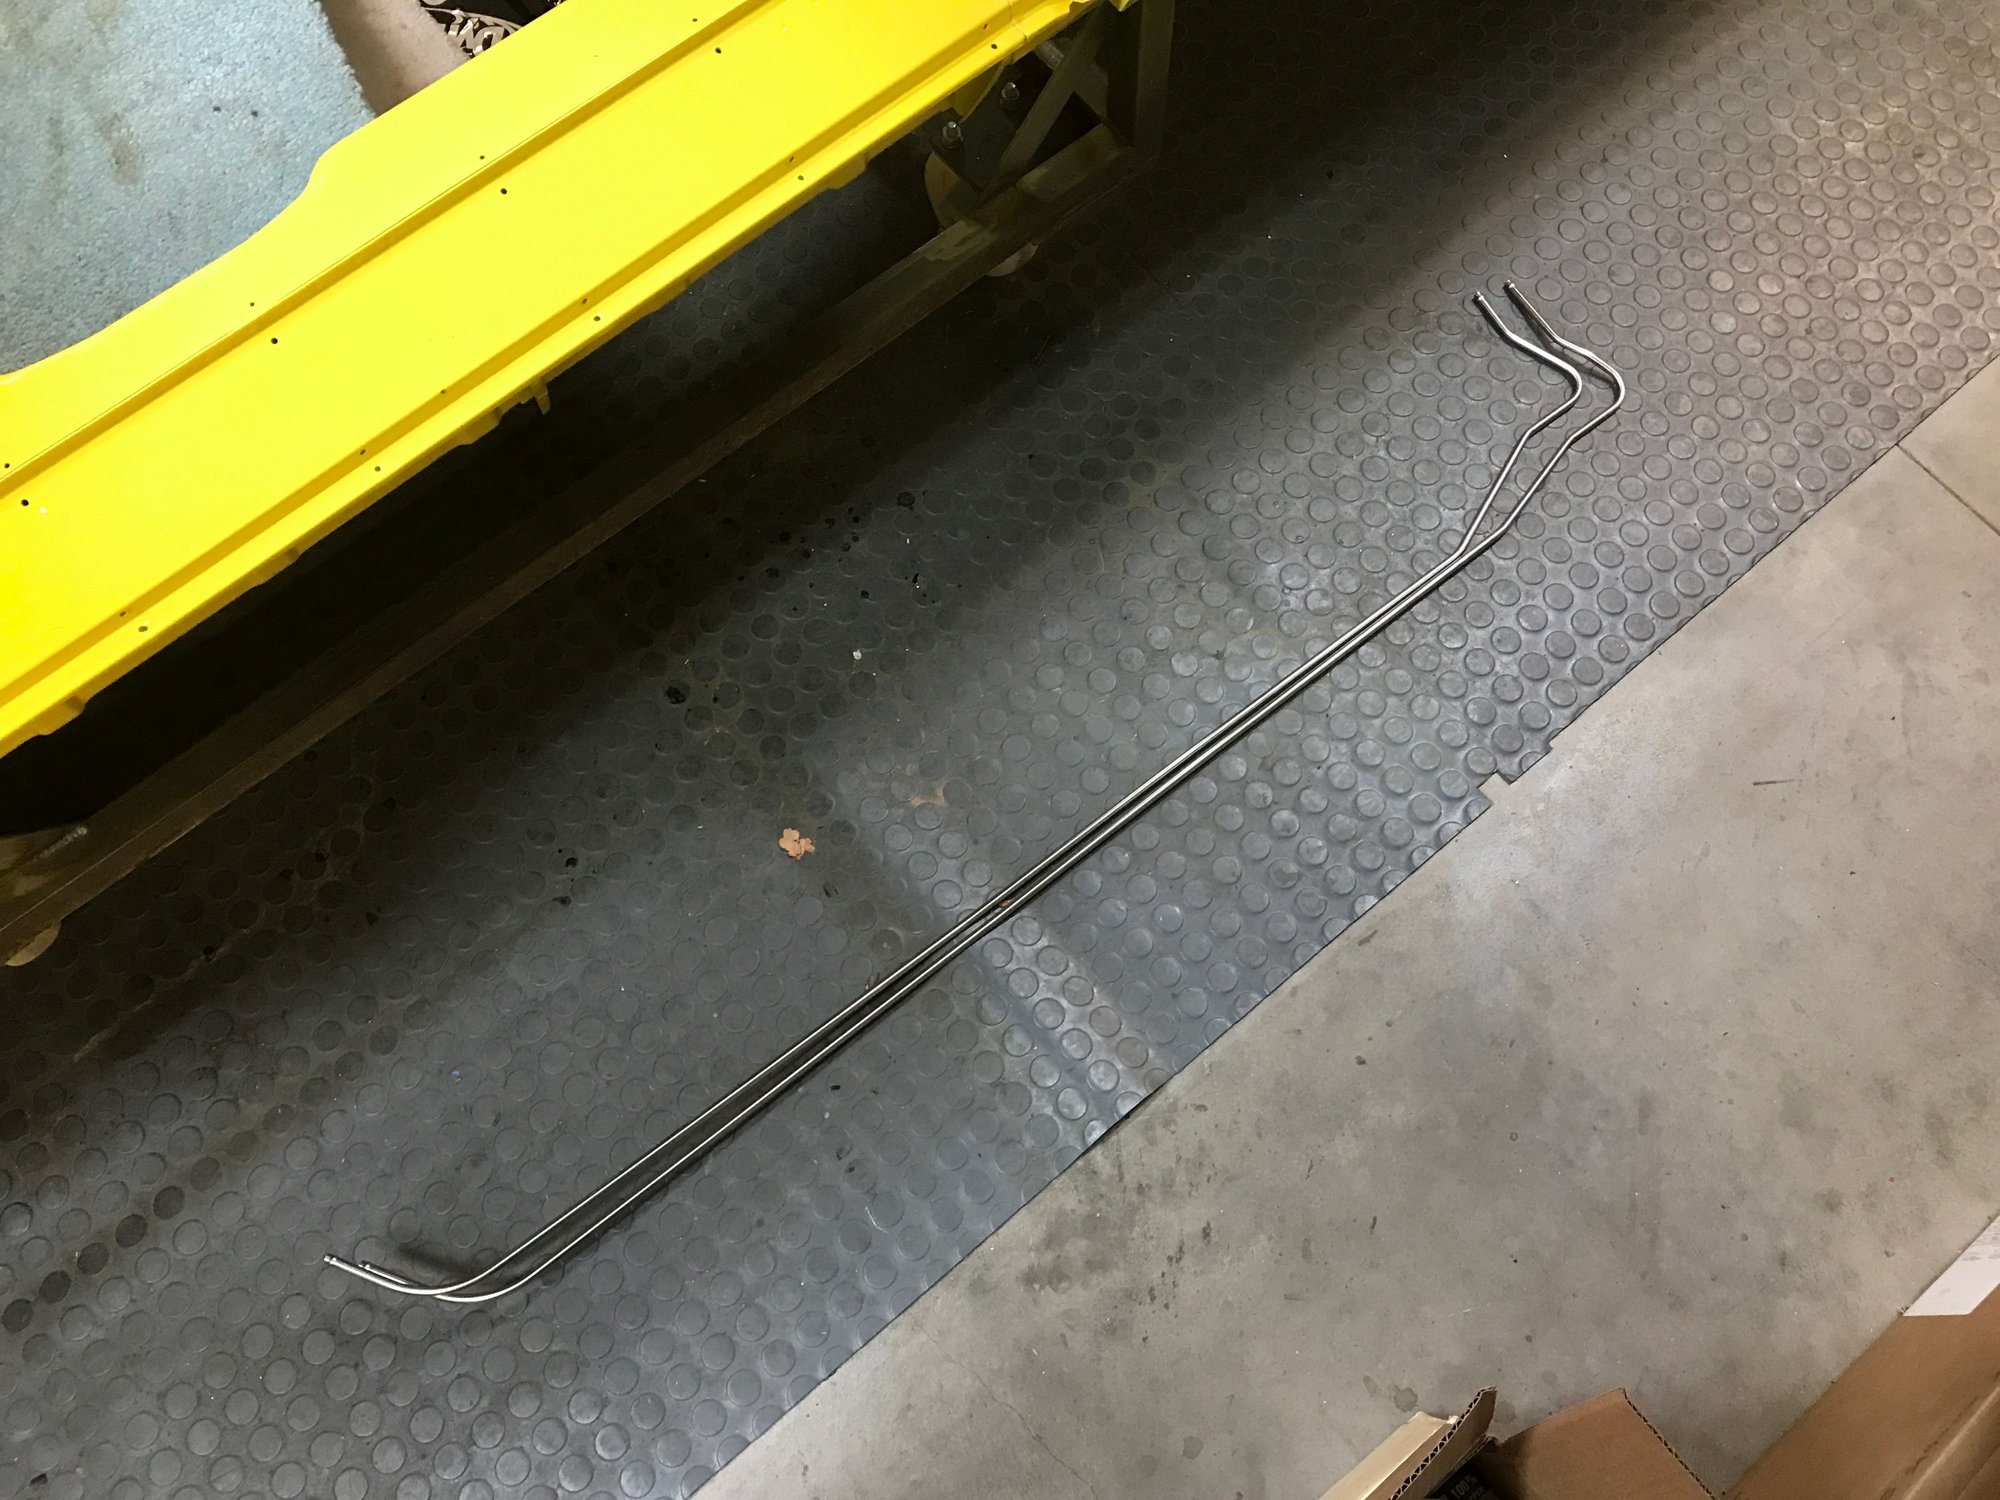
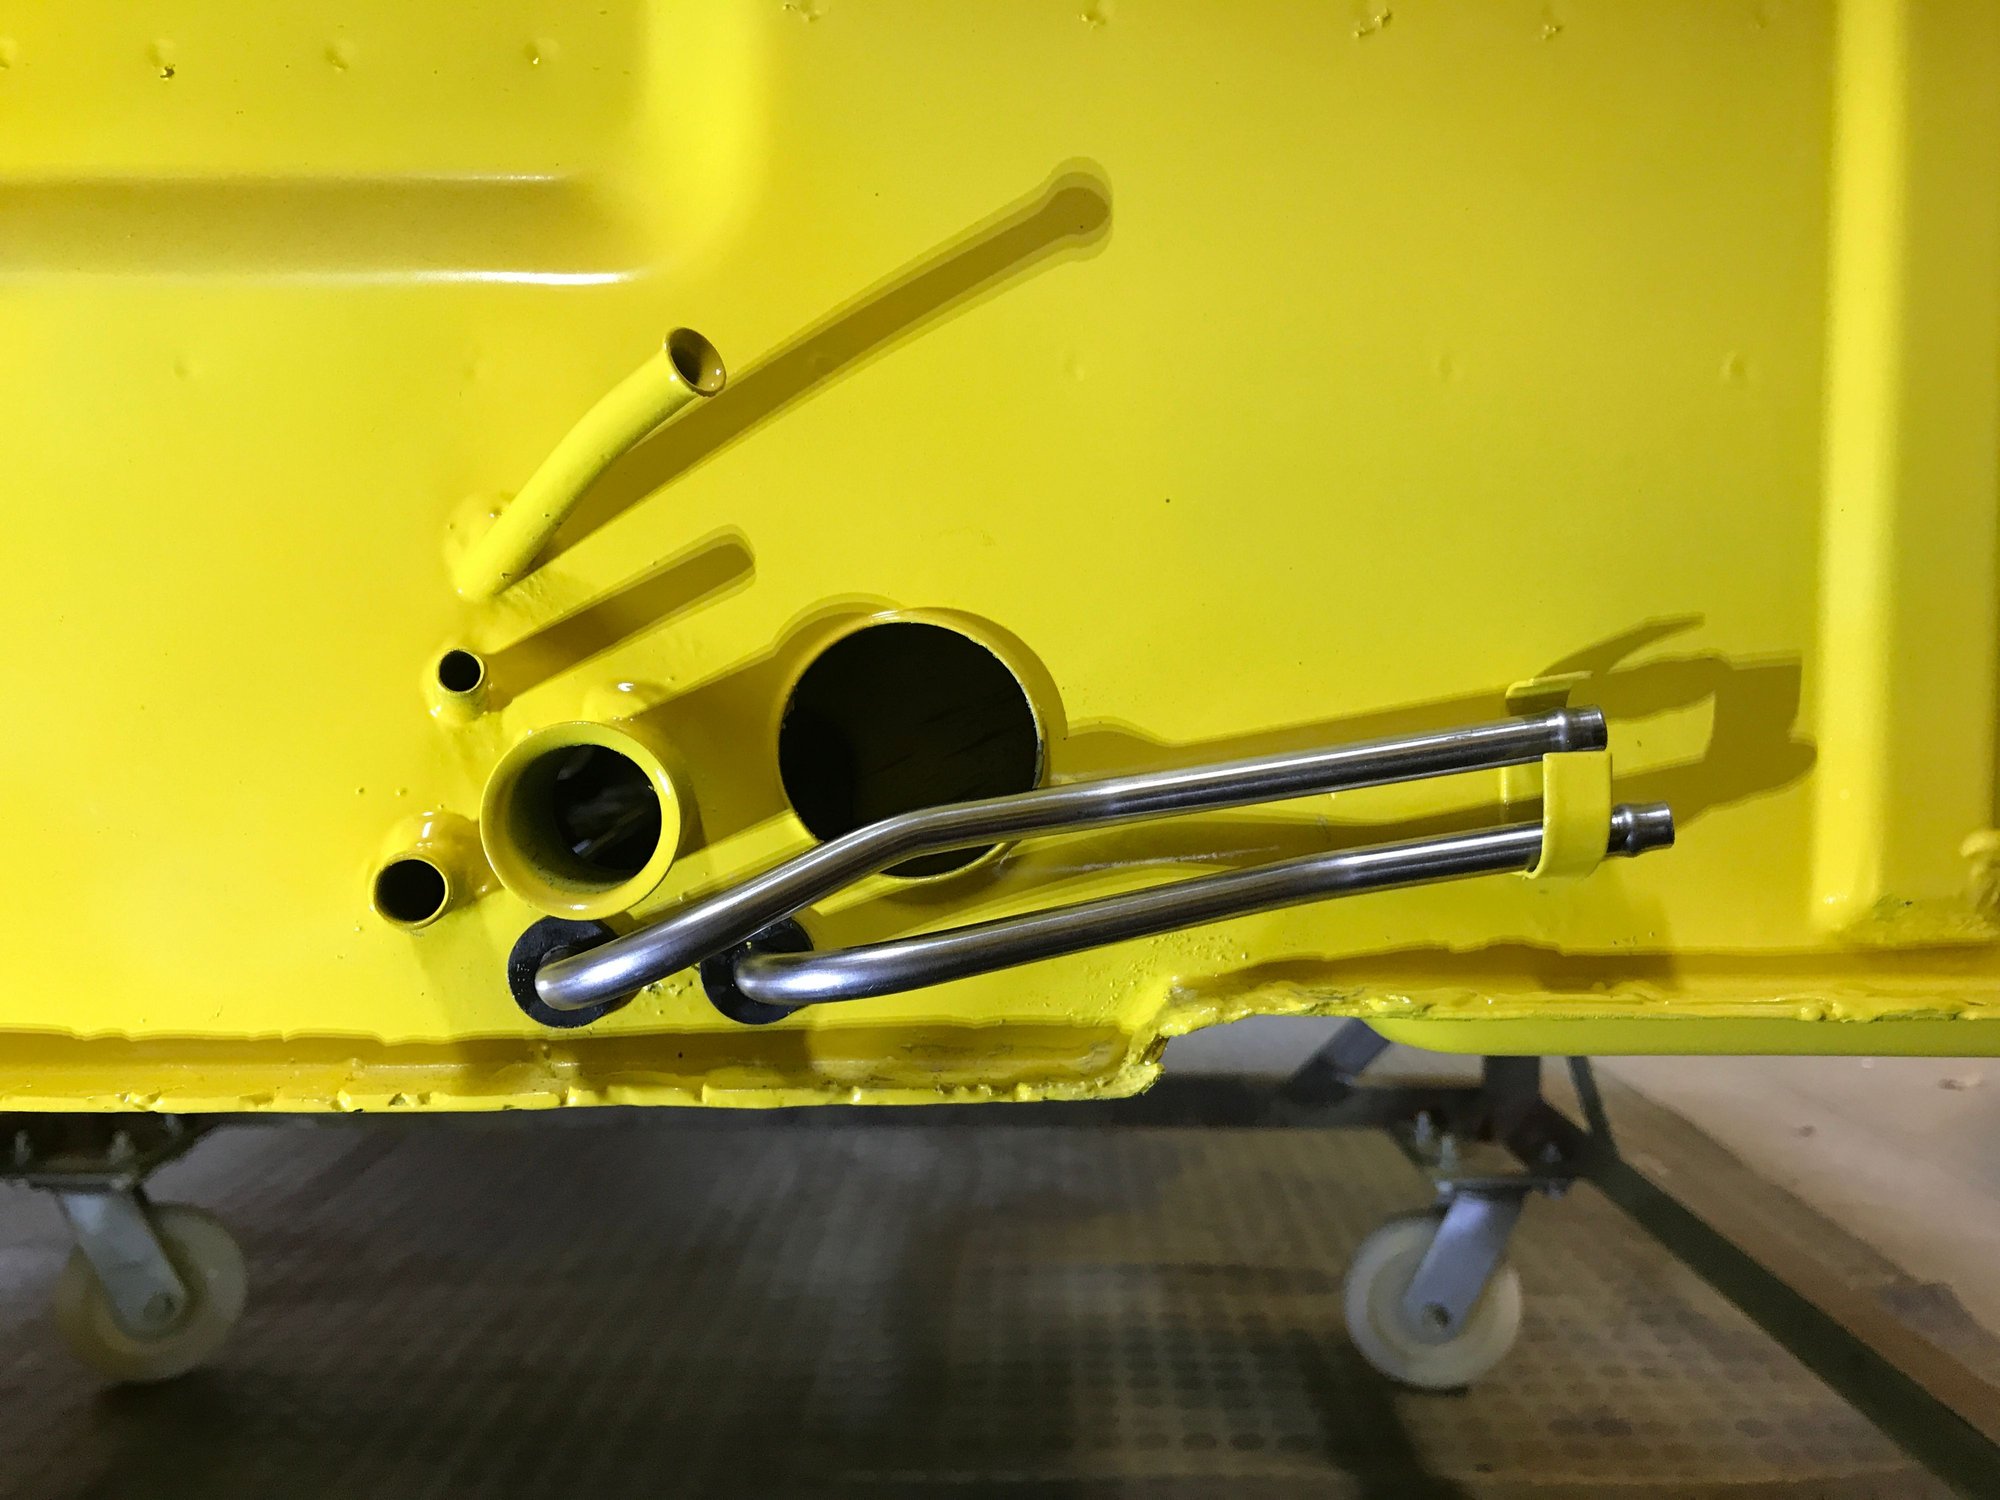
Next, I installed the SS fuel lines, from Tangerine Racing.
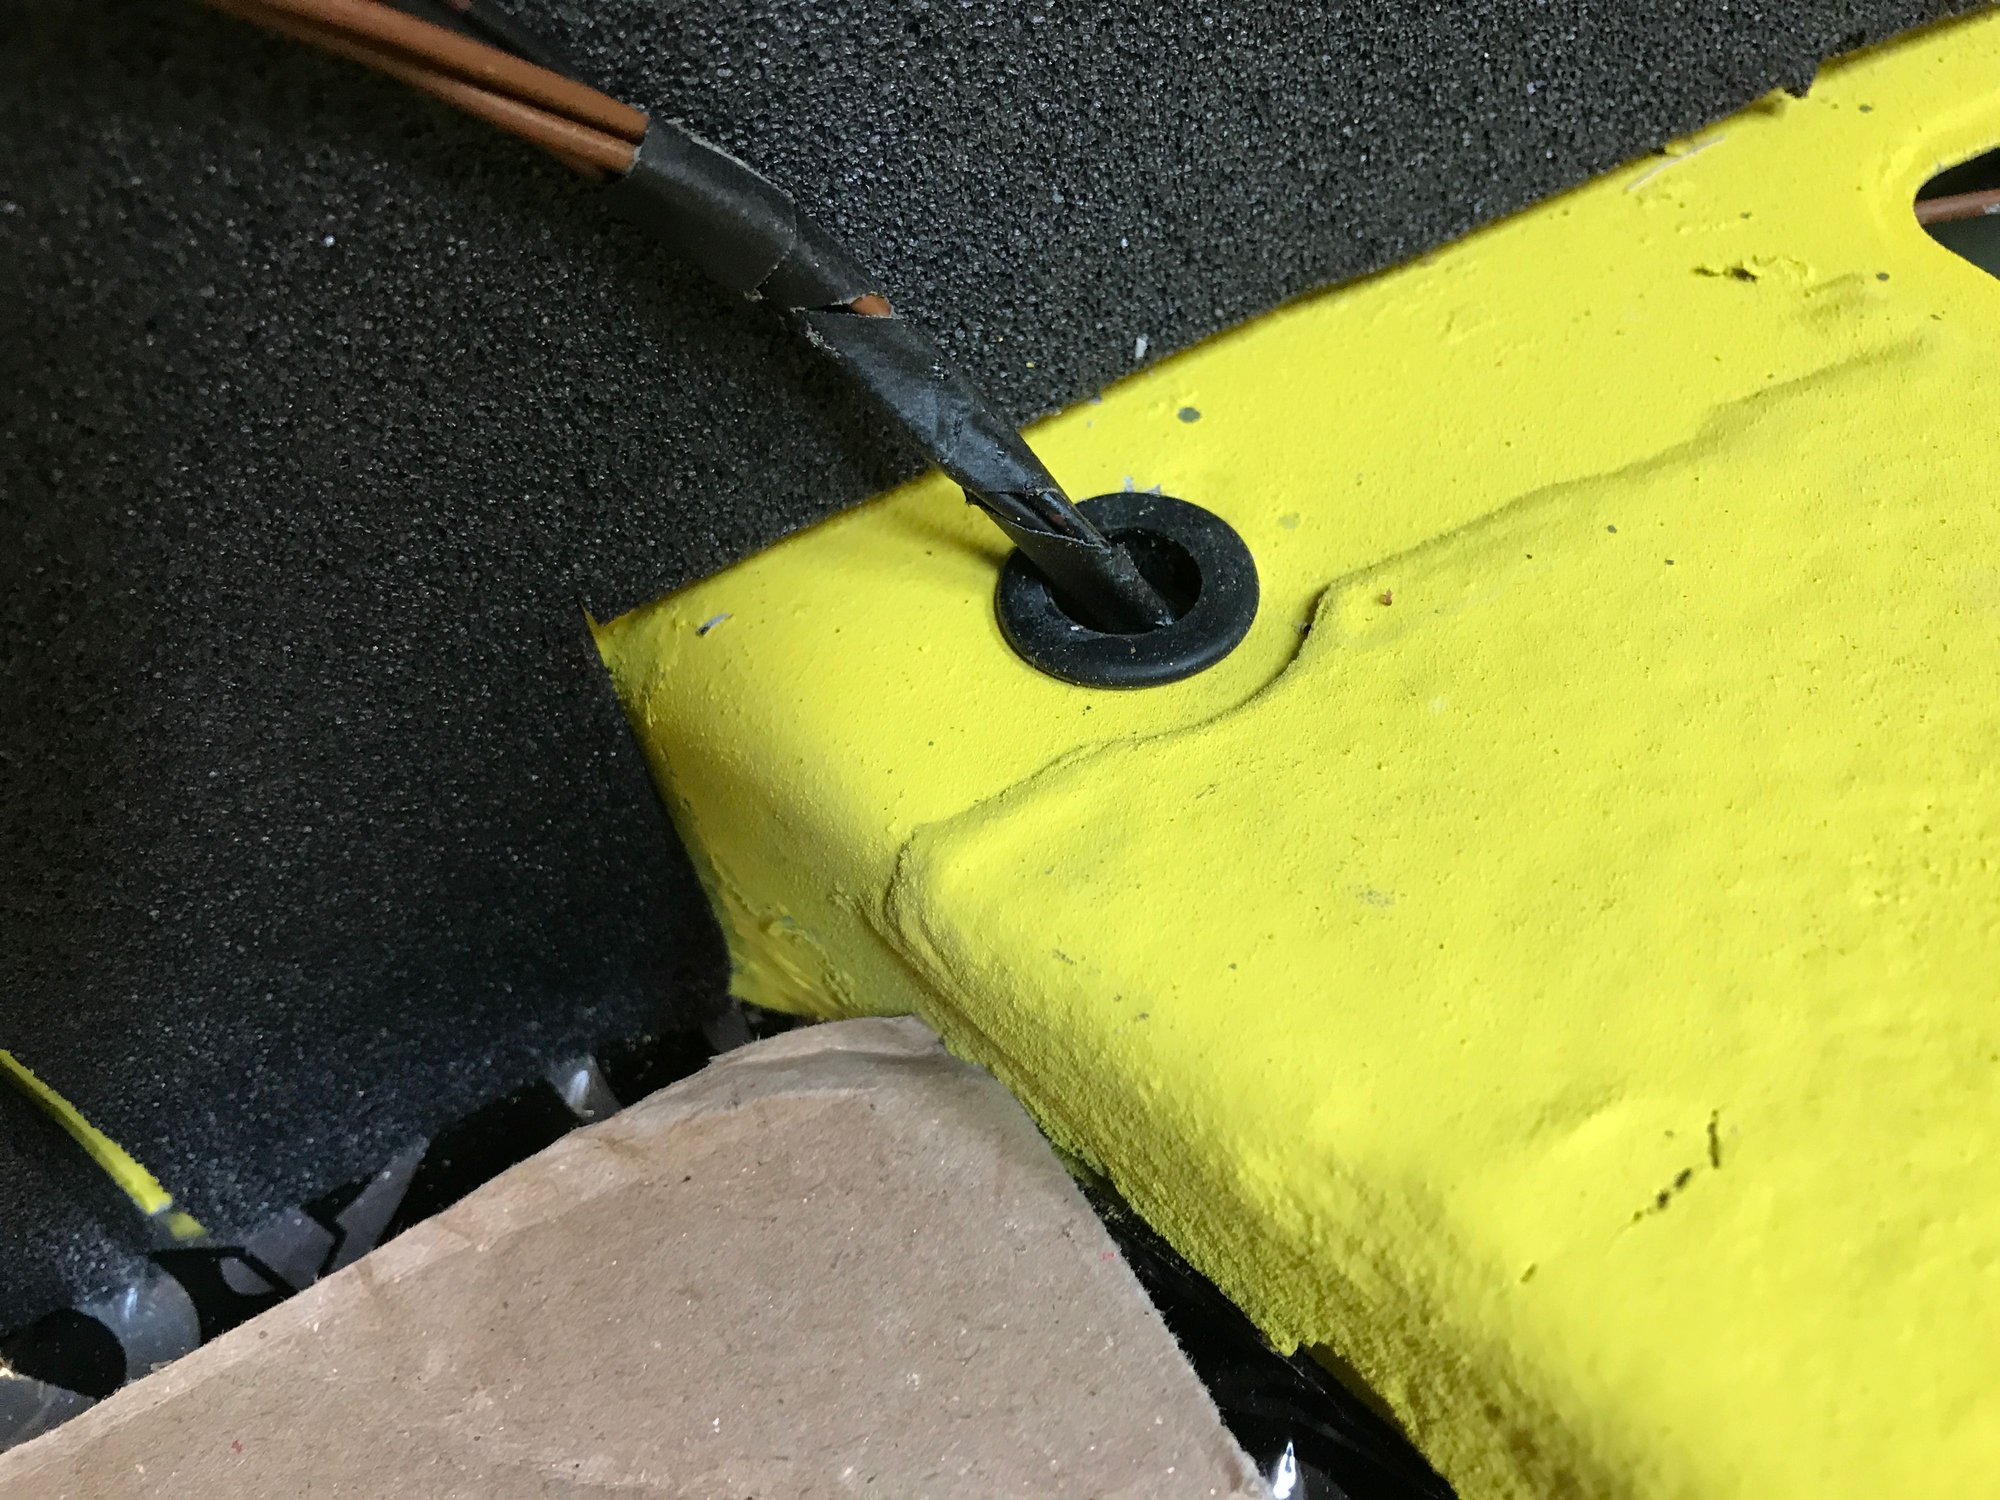
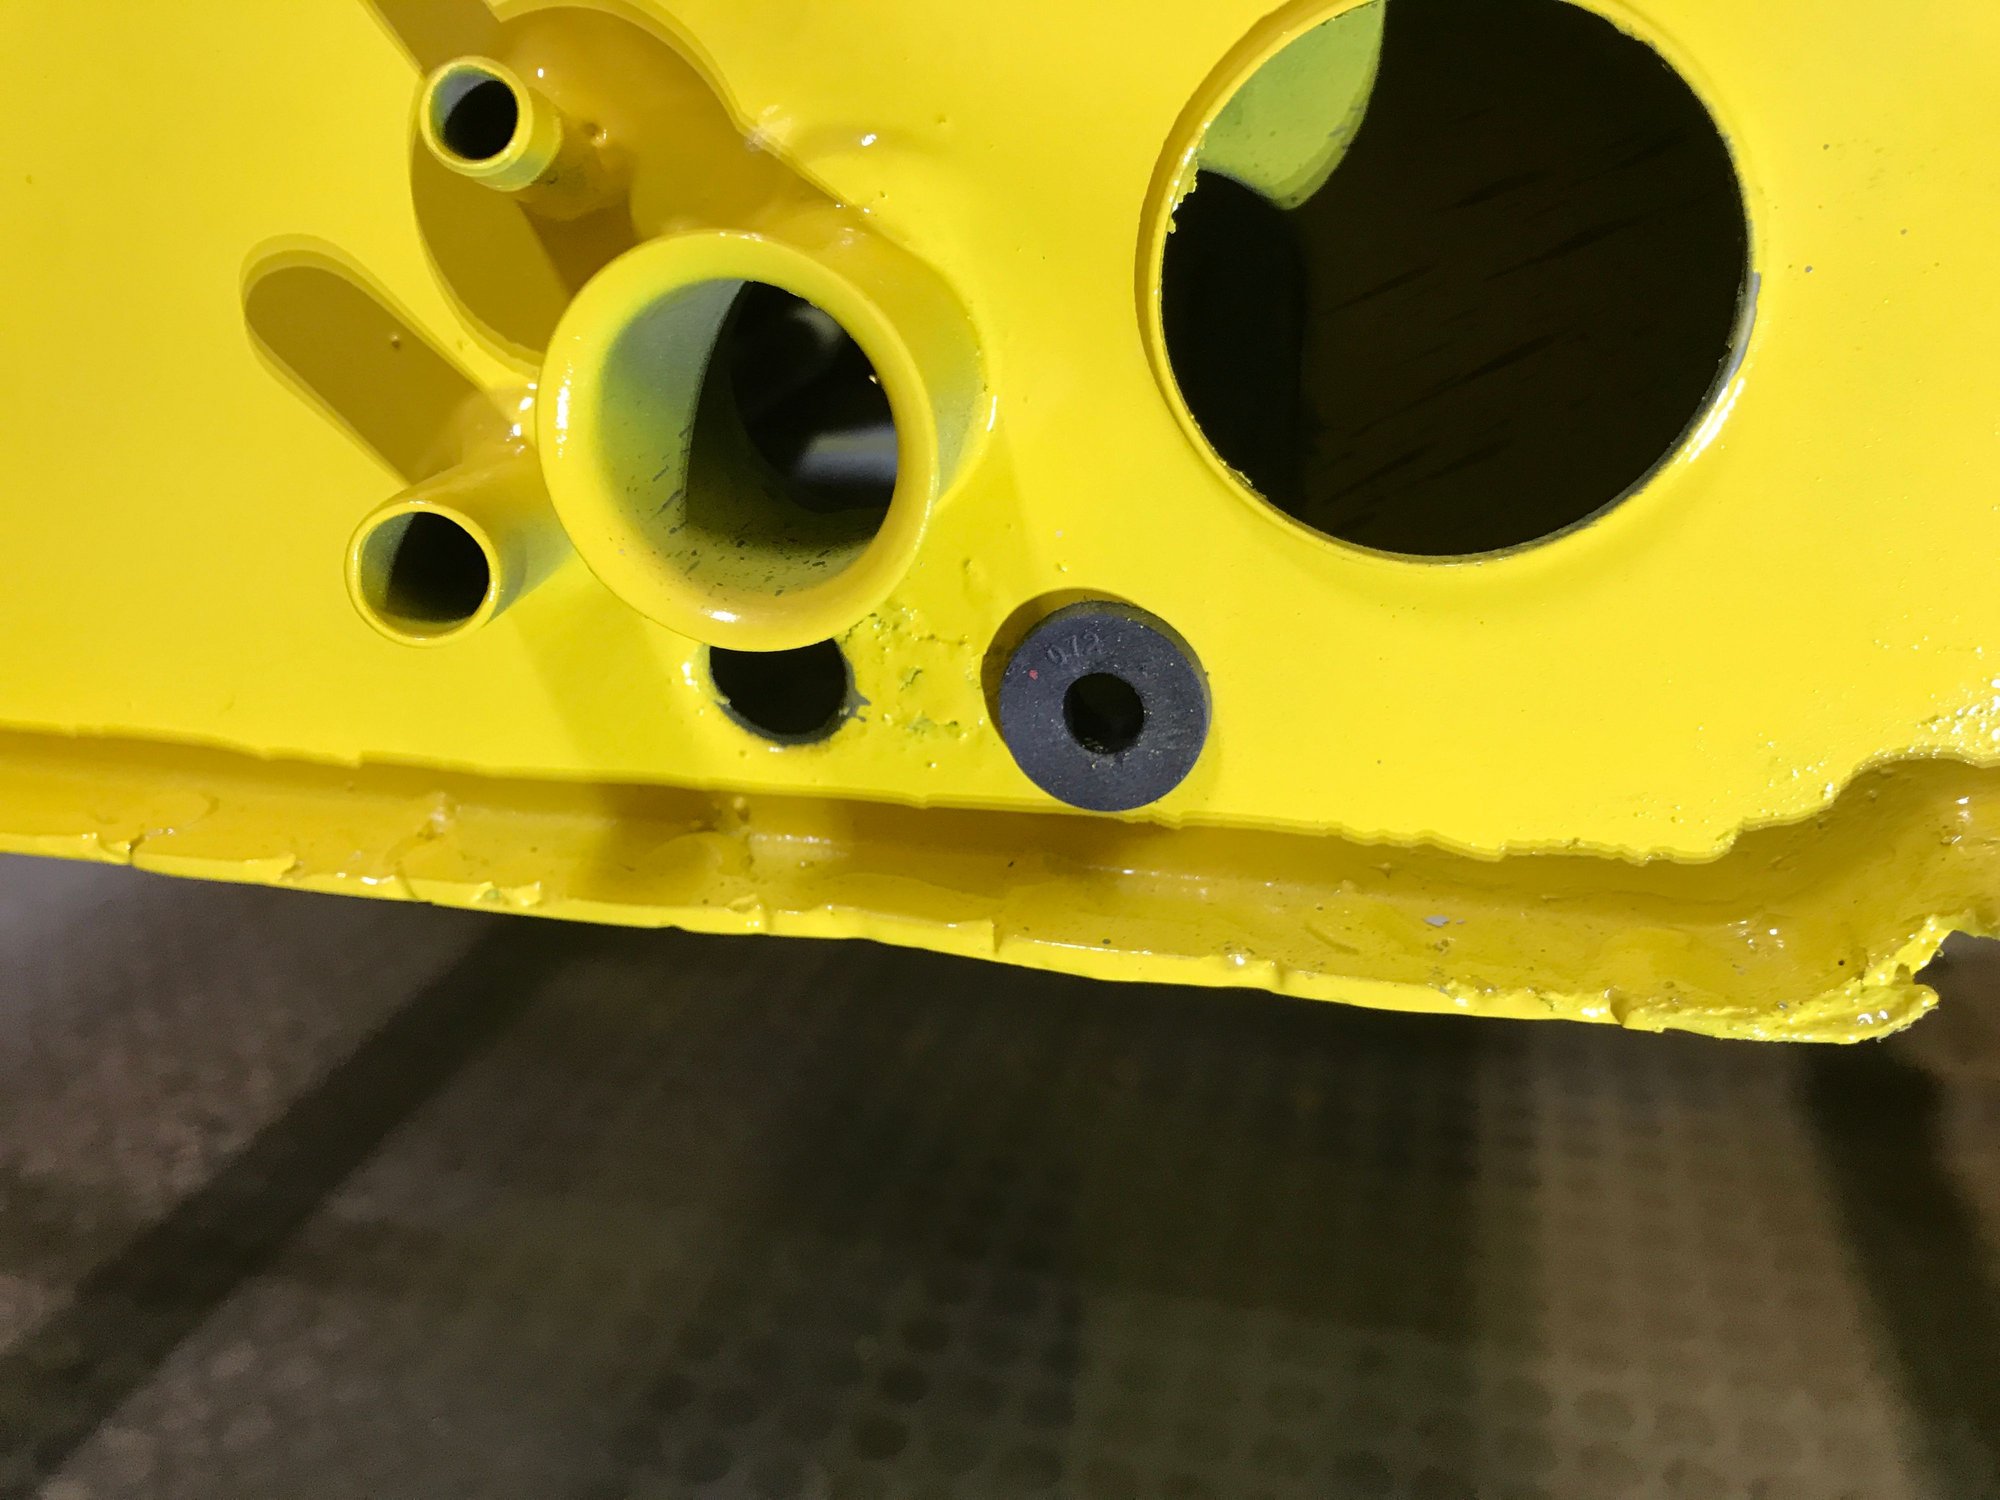
Here's one grommet installed in the fire wall.
The lines snake in pretty easy, with some teflon spray.
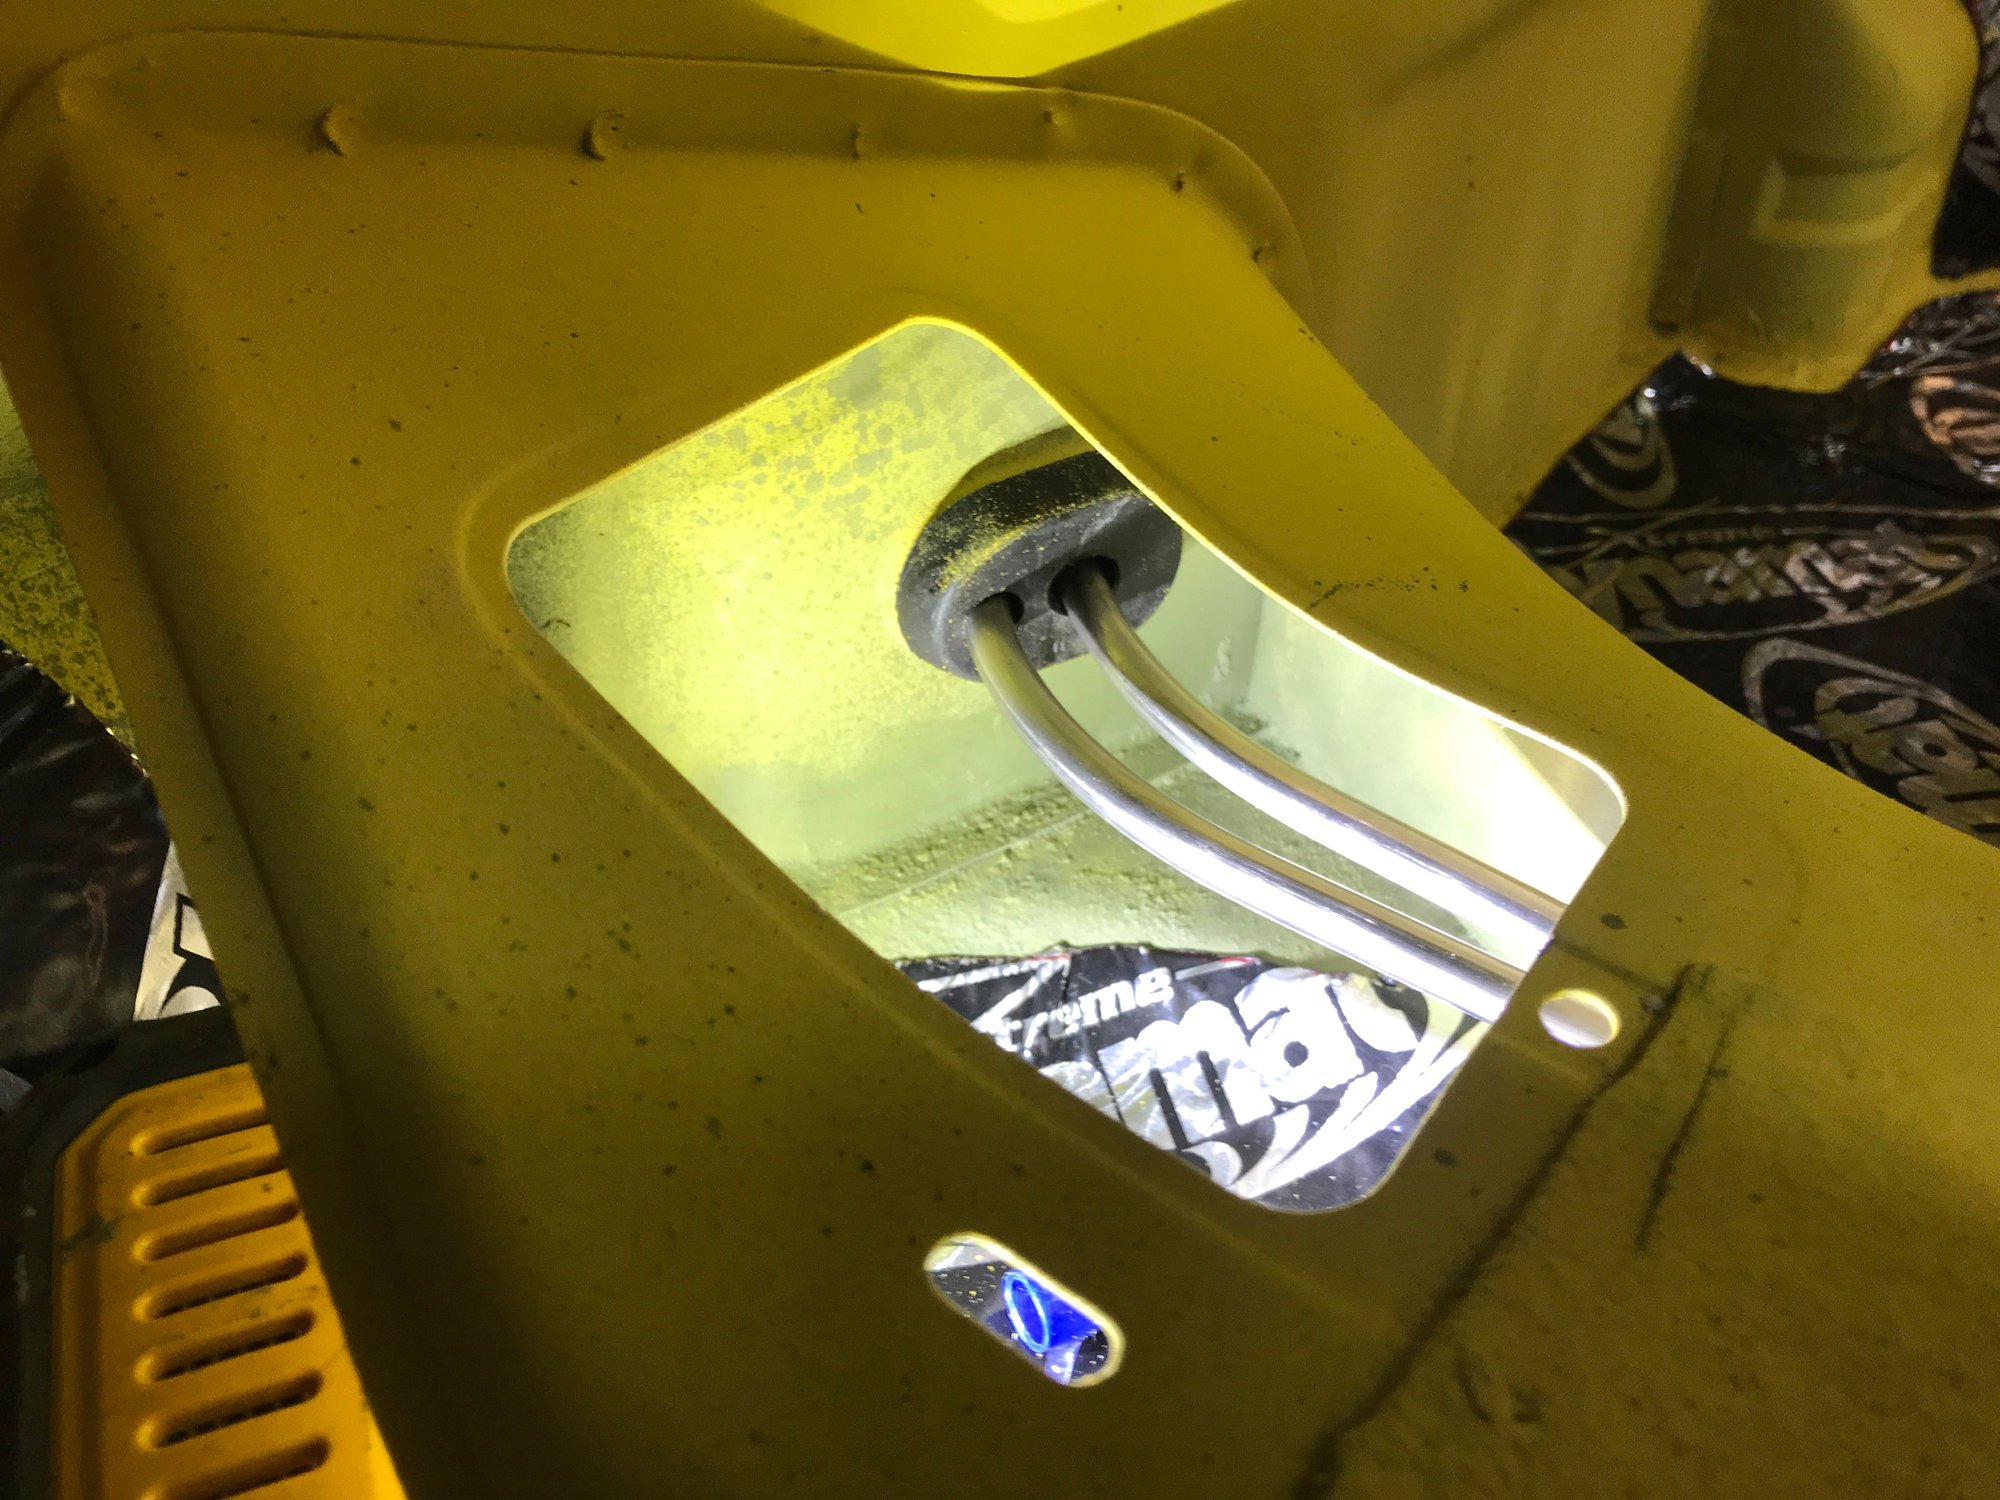
Through the front double-hole grommet...
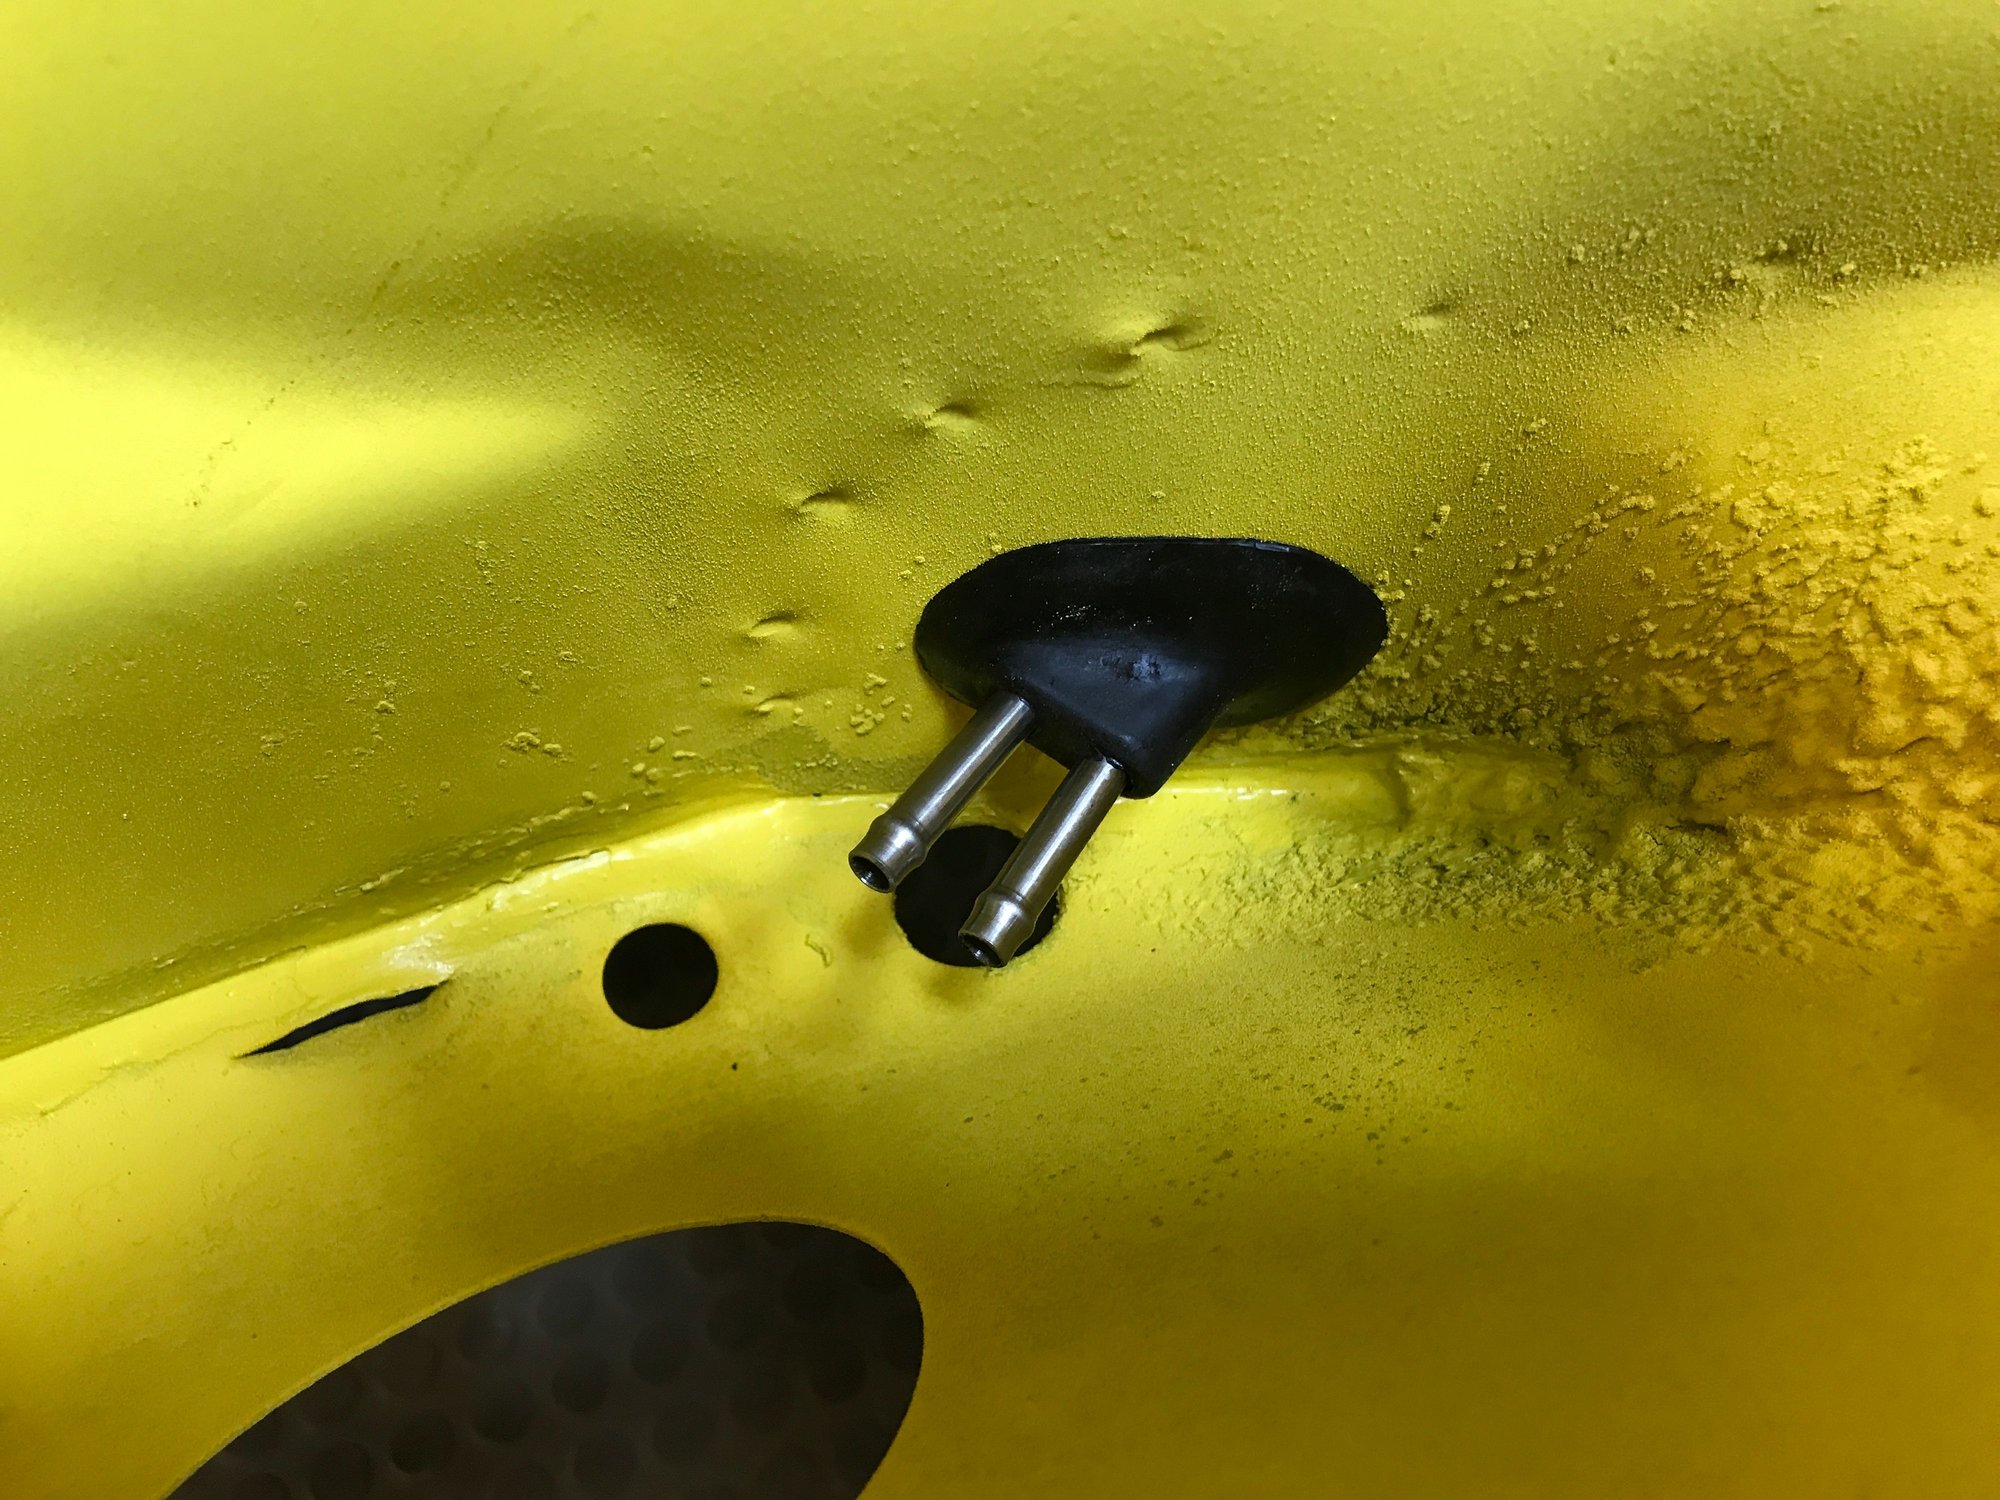
And into the fuel tank compartment.
One more detail: fixing the lines inside the tunnel, using the holding tabs.
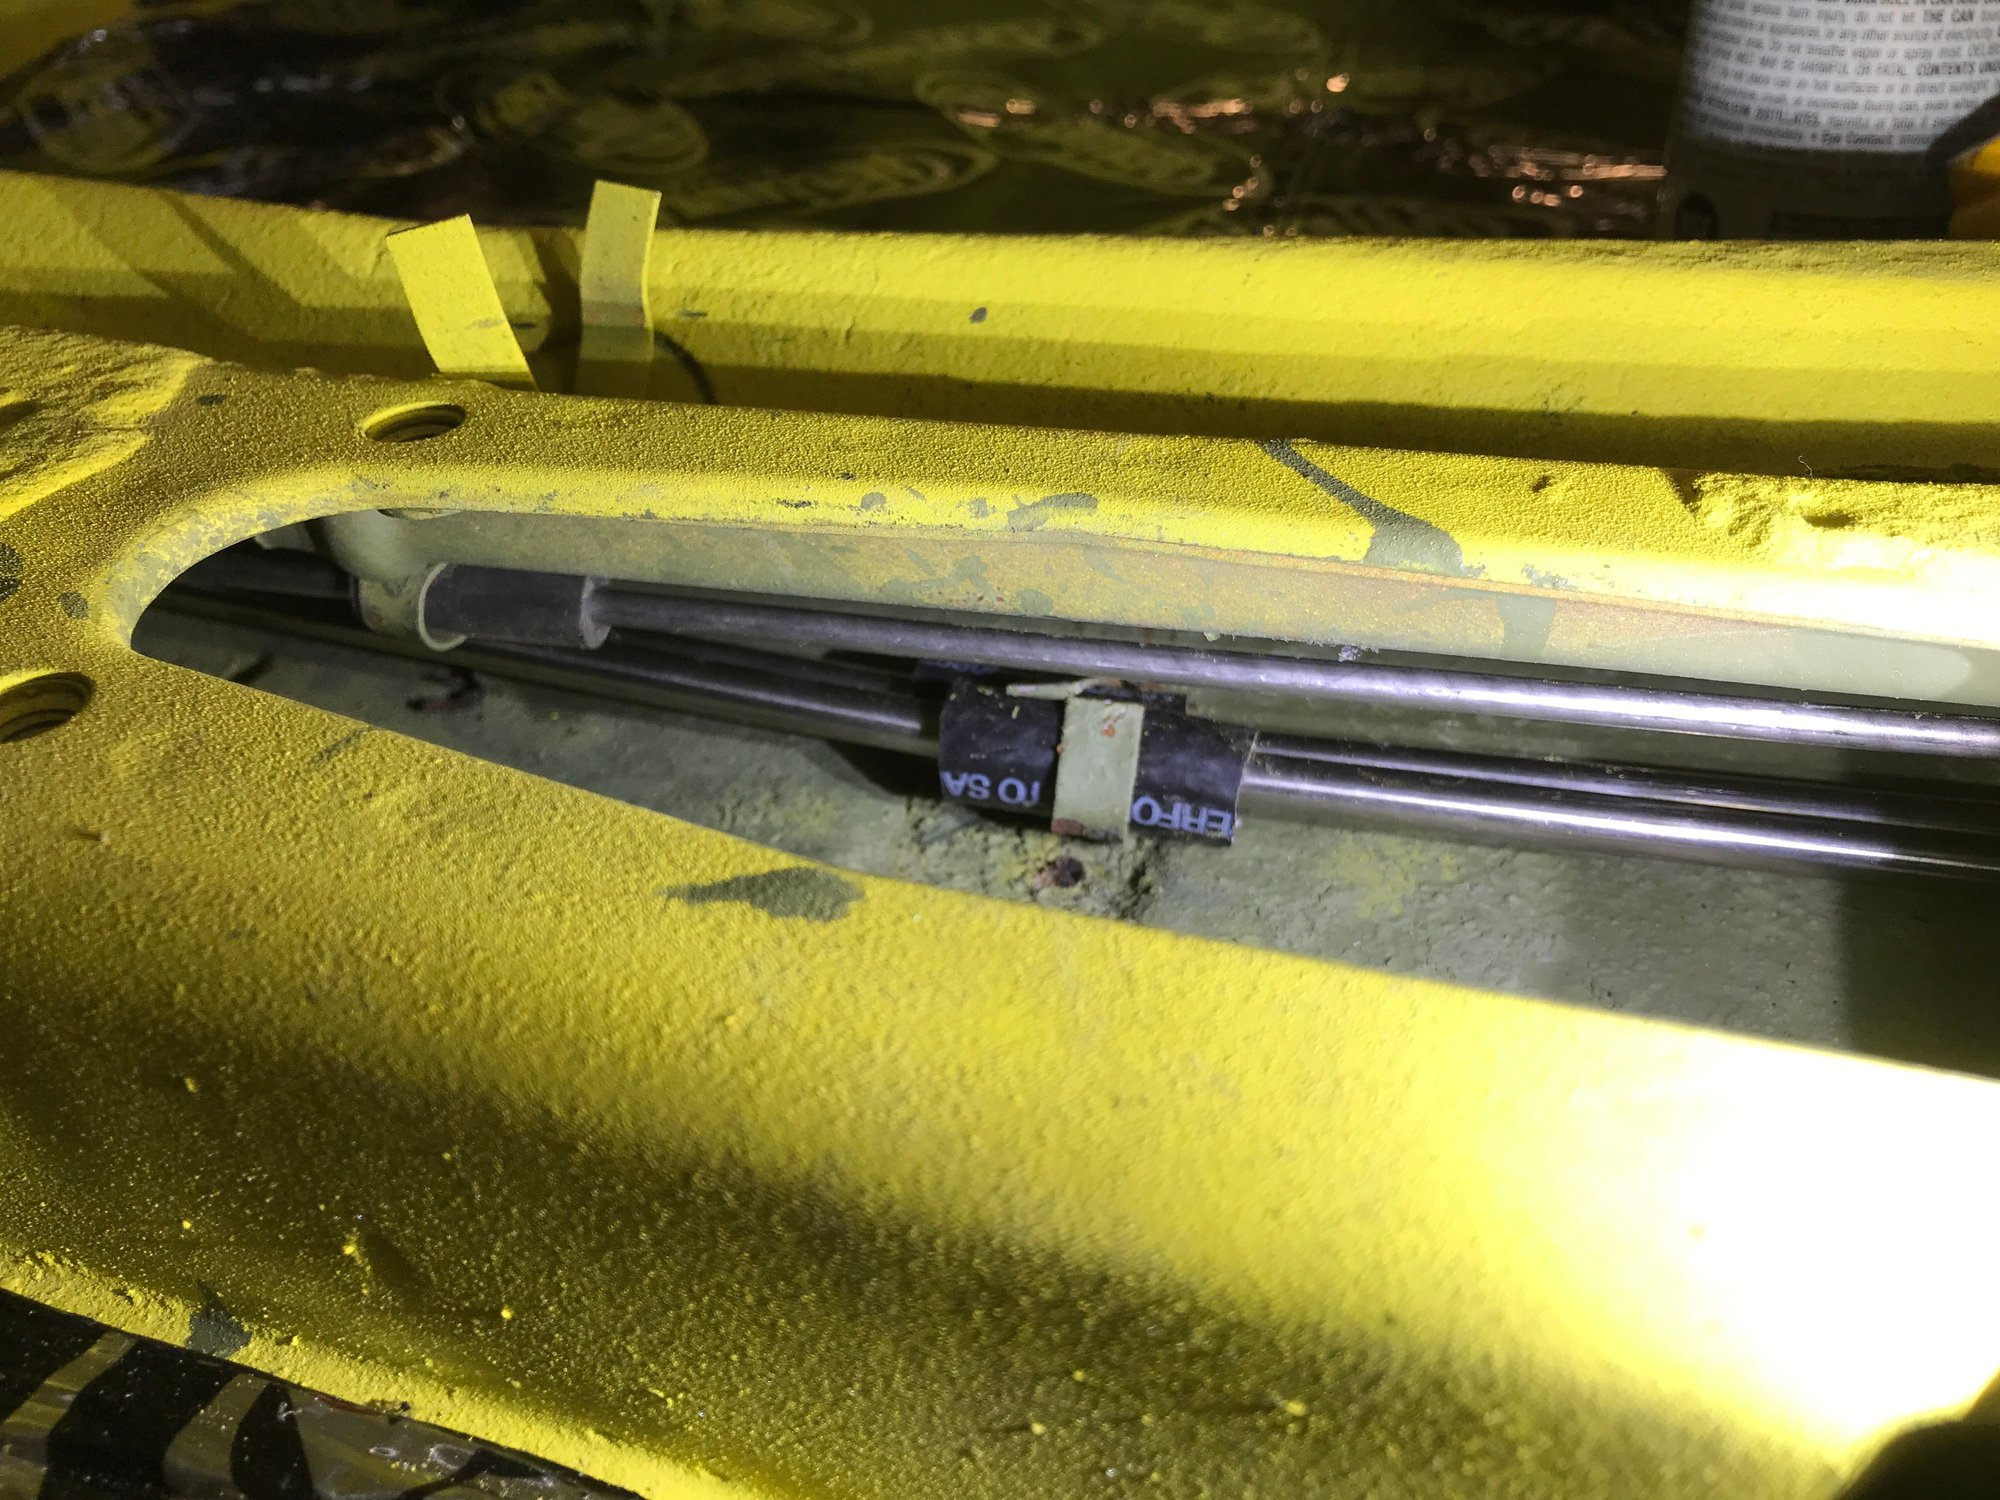
And some rubber collars to prevent vibrating against the rear tunnel floor.
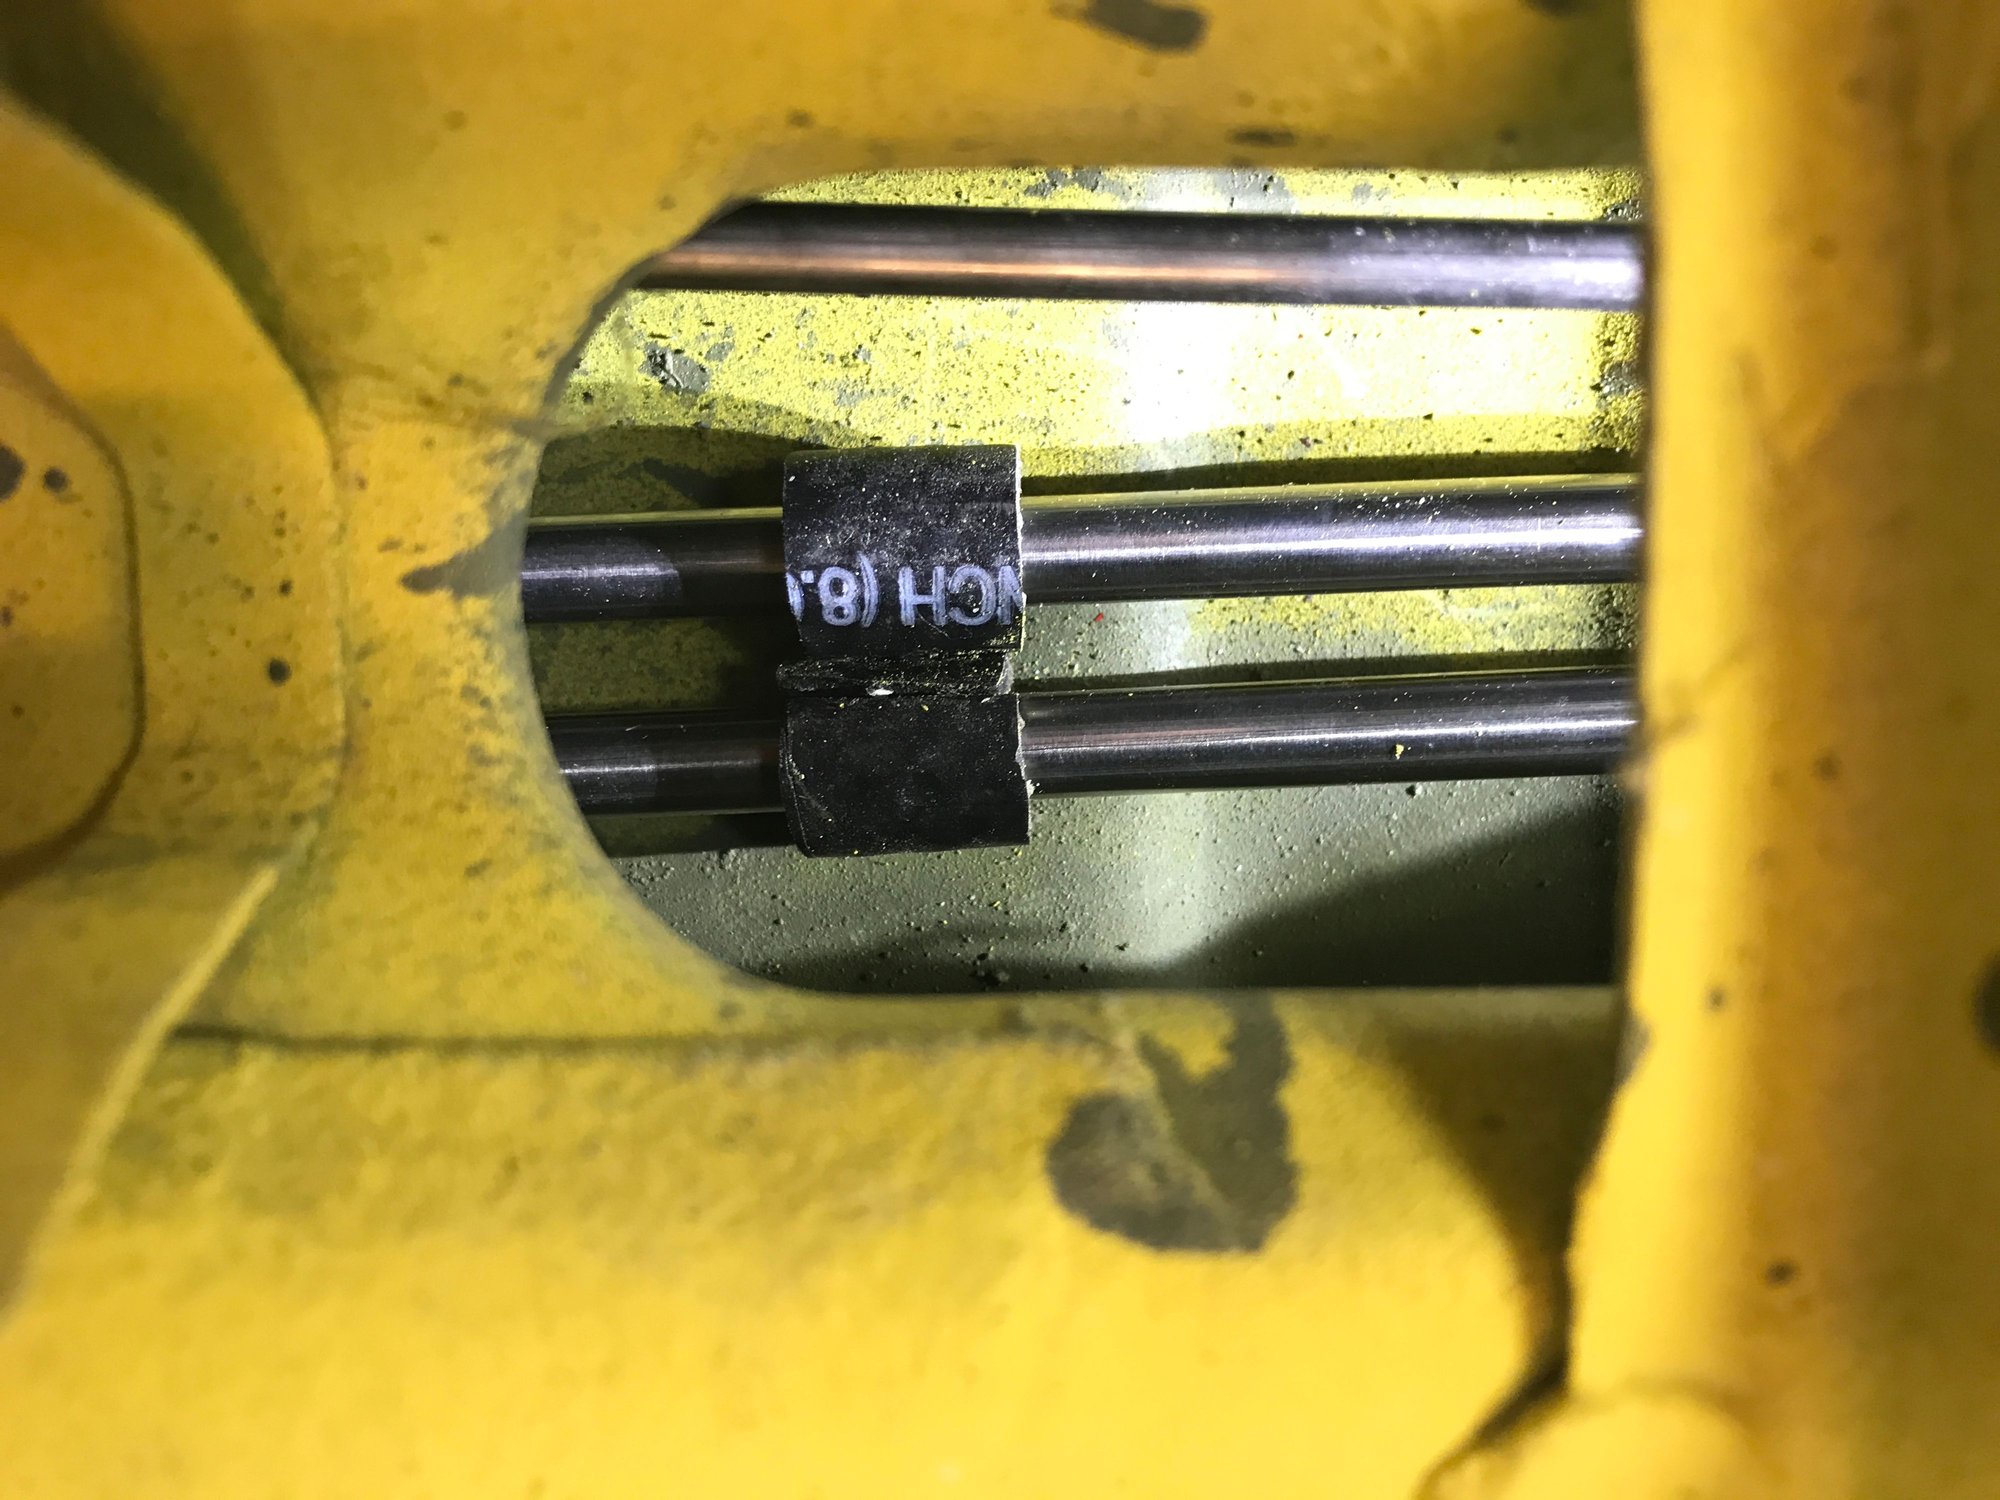

Here's one grommet installed in the fire wall.

The lines snake in pretty easy, with some teflon spray.

Through the front double-hole grommet...

And into the fuel tank compartment.

One more detail: fixing the lines inside the tunnel, using the holding tabs.

And some rubber collars to prevent vibrating against the rear tunnel floor.

#784
A 924 washer switch fits the 914 steering column and provides for an electric pump actuation with the arm. Automobile Atlanta supplies it and I'm not sure if it's a modfied version to work in the 914 or a regular 924 switch arm but that's what I have in my 914-4 for the washer fluid. No wet leg and no deflated spare.
#785
I finished my wiring detour today, with the fuse-relay panel cleaned, and the washer pump switch and relay wired in.
The new relay is lower left.
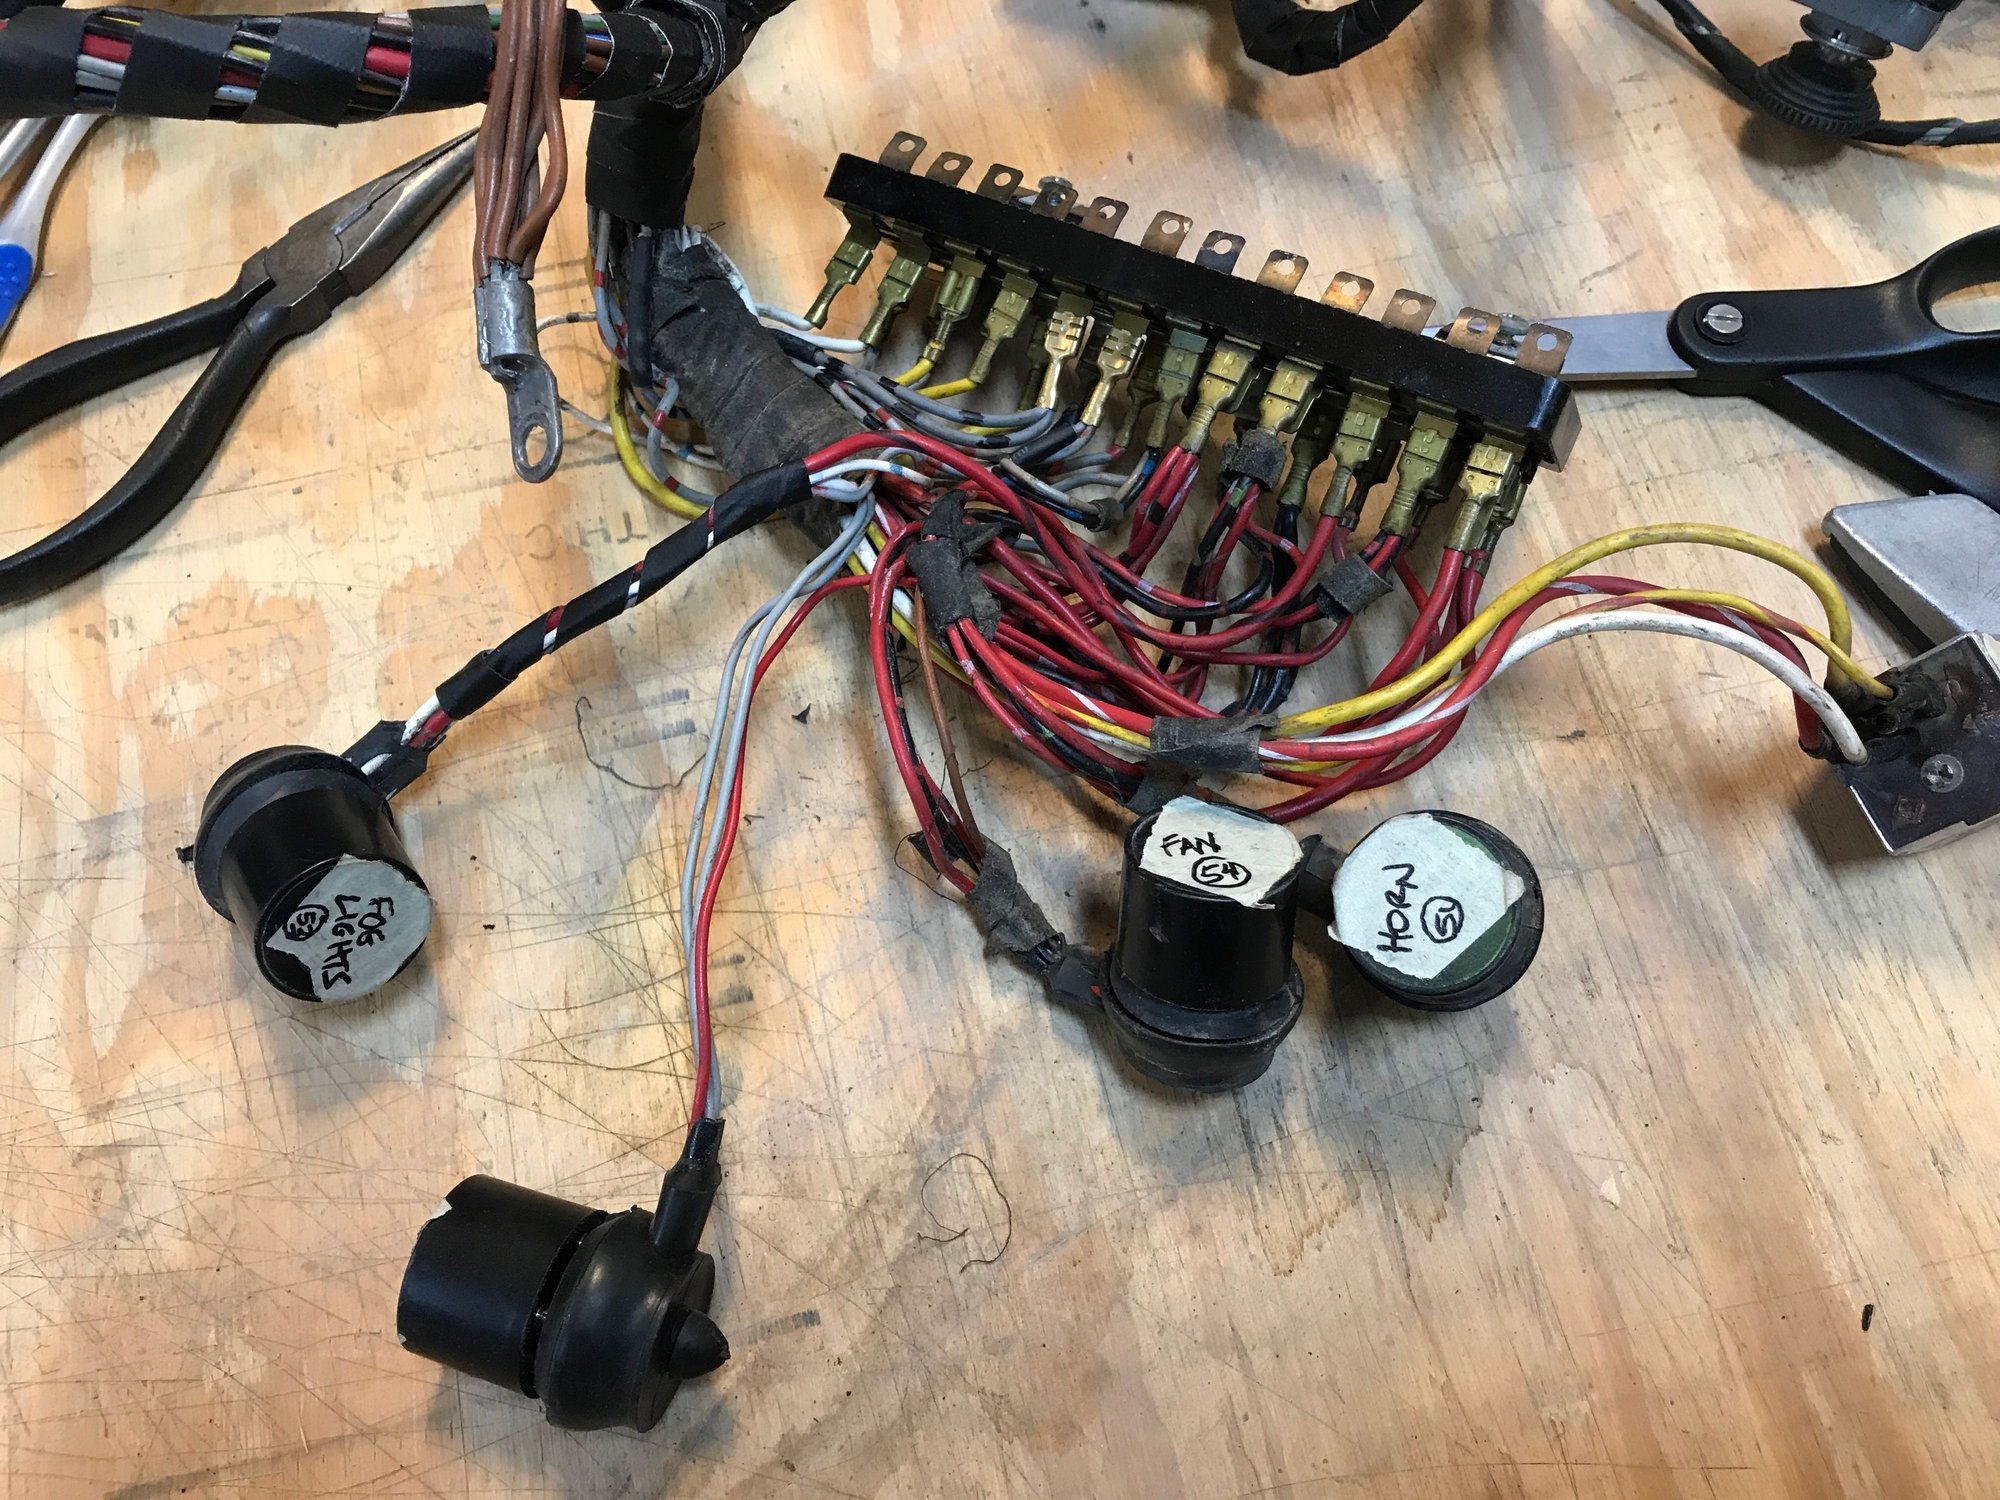
The new switch is top center, and the leads for the future washer pump upper left (coil of white and brown wires).
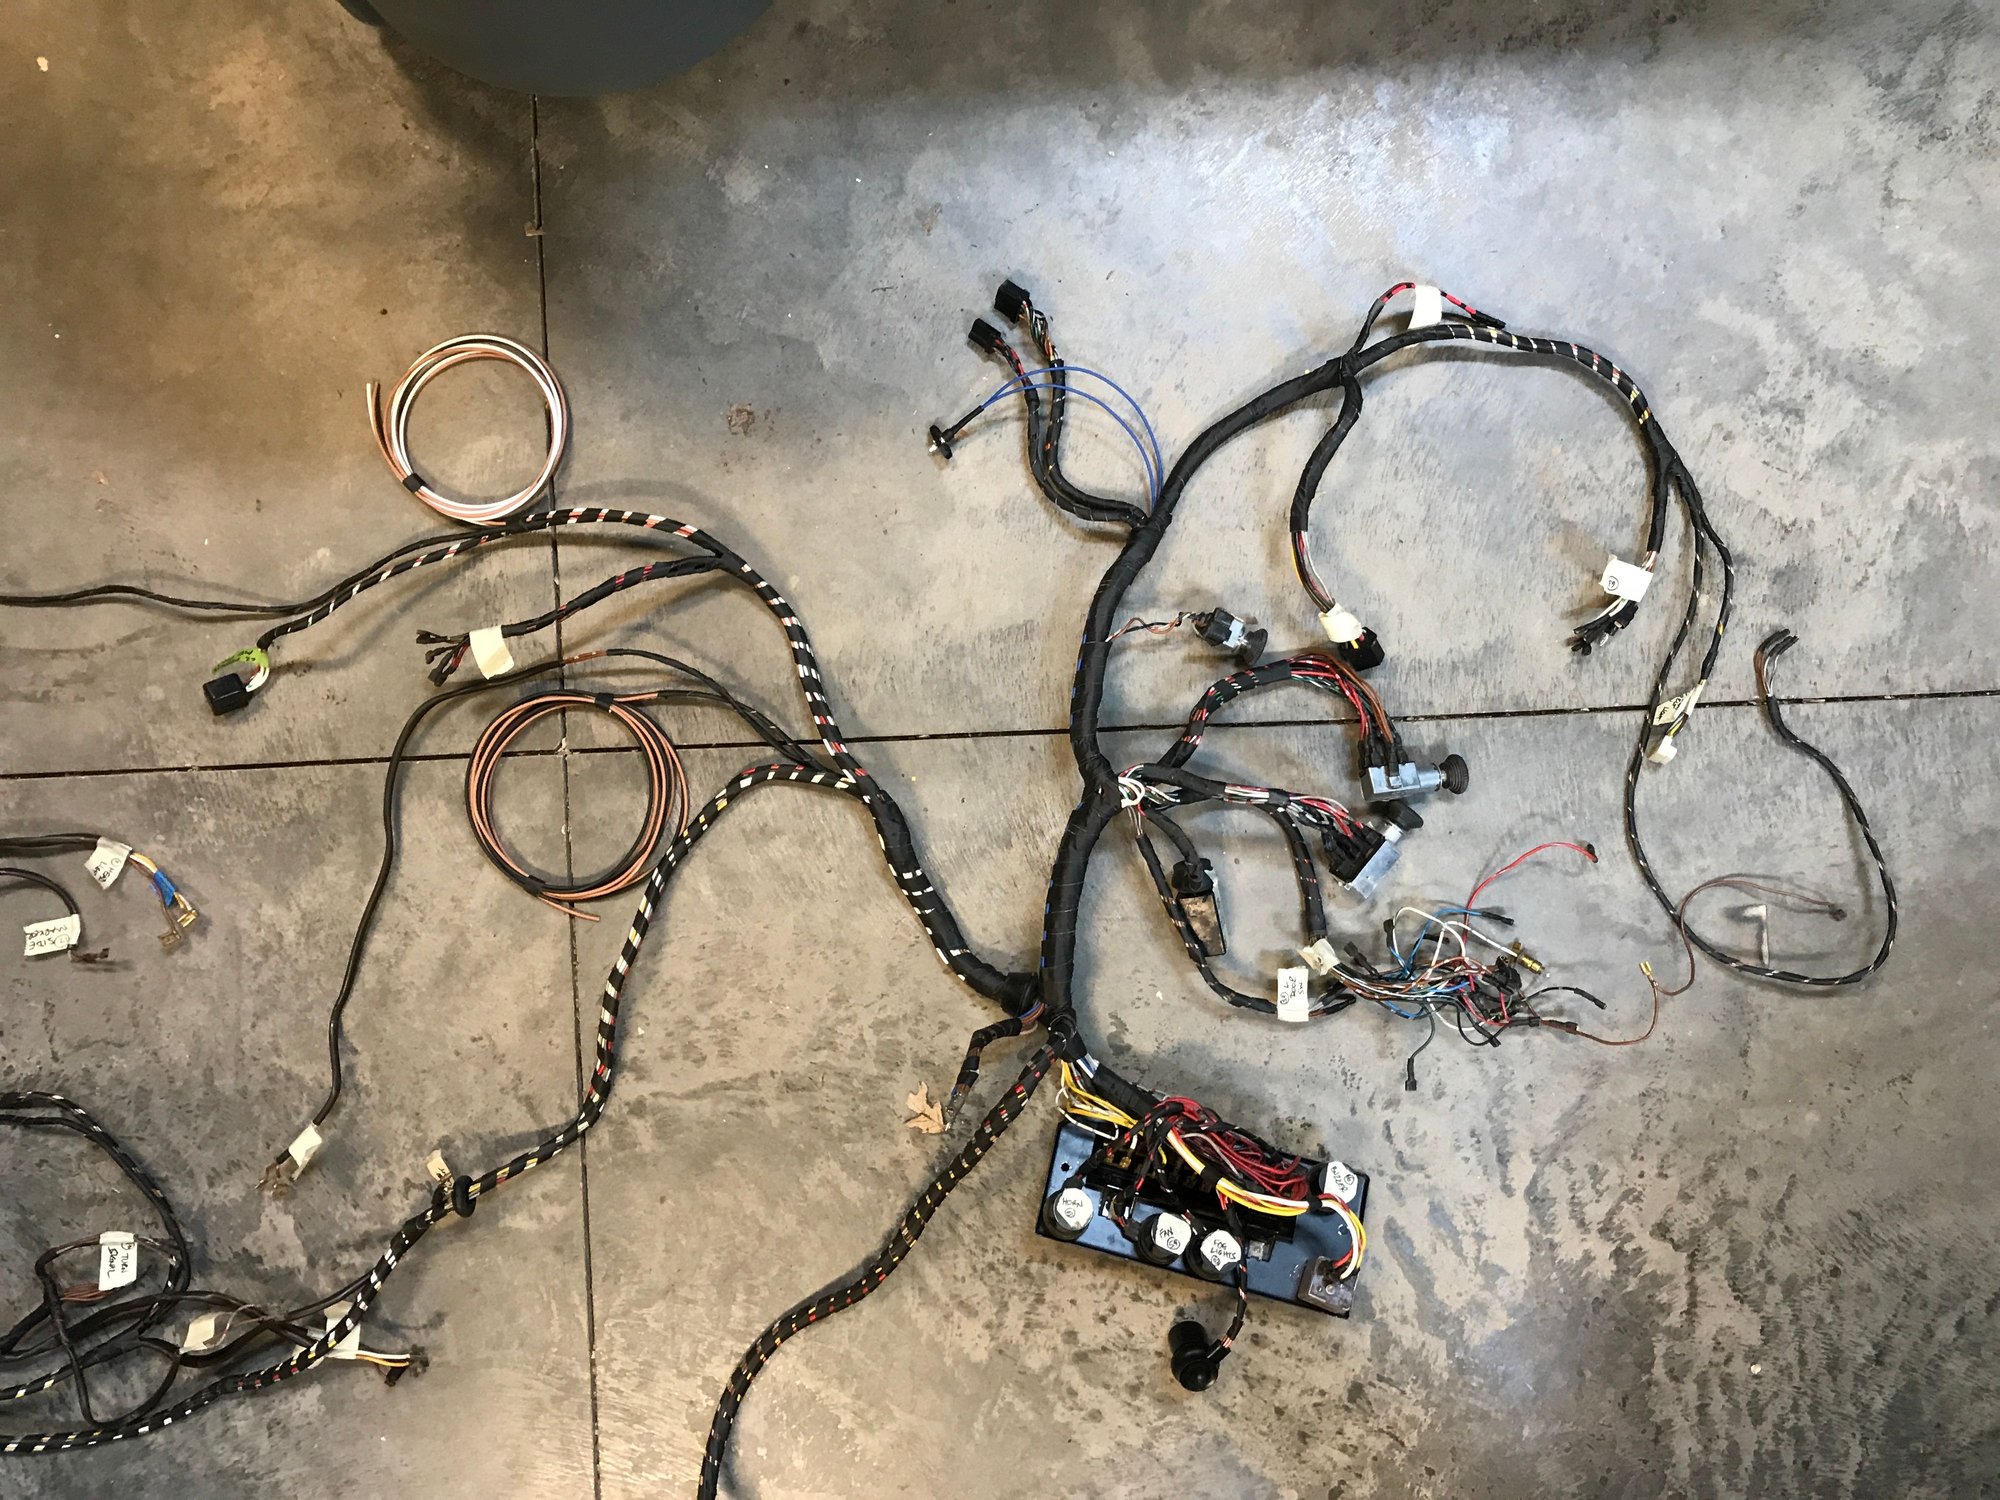
So, no more delays. Time to start installing the wiring harness.
The new relay is lower left.

The new switch is top center, and the leads for the future washer pump upper left (coil of white and brown wires).

So, no more delays. Time to start installing the wiring harness.

#786
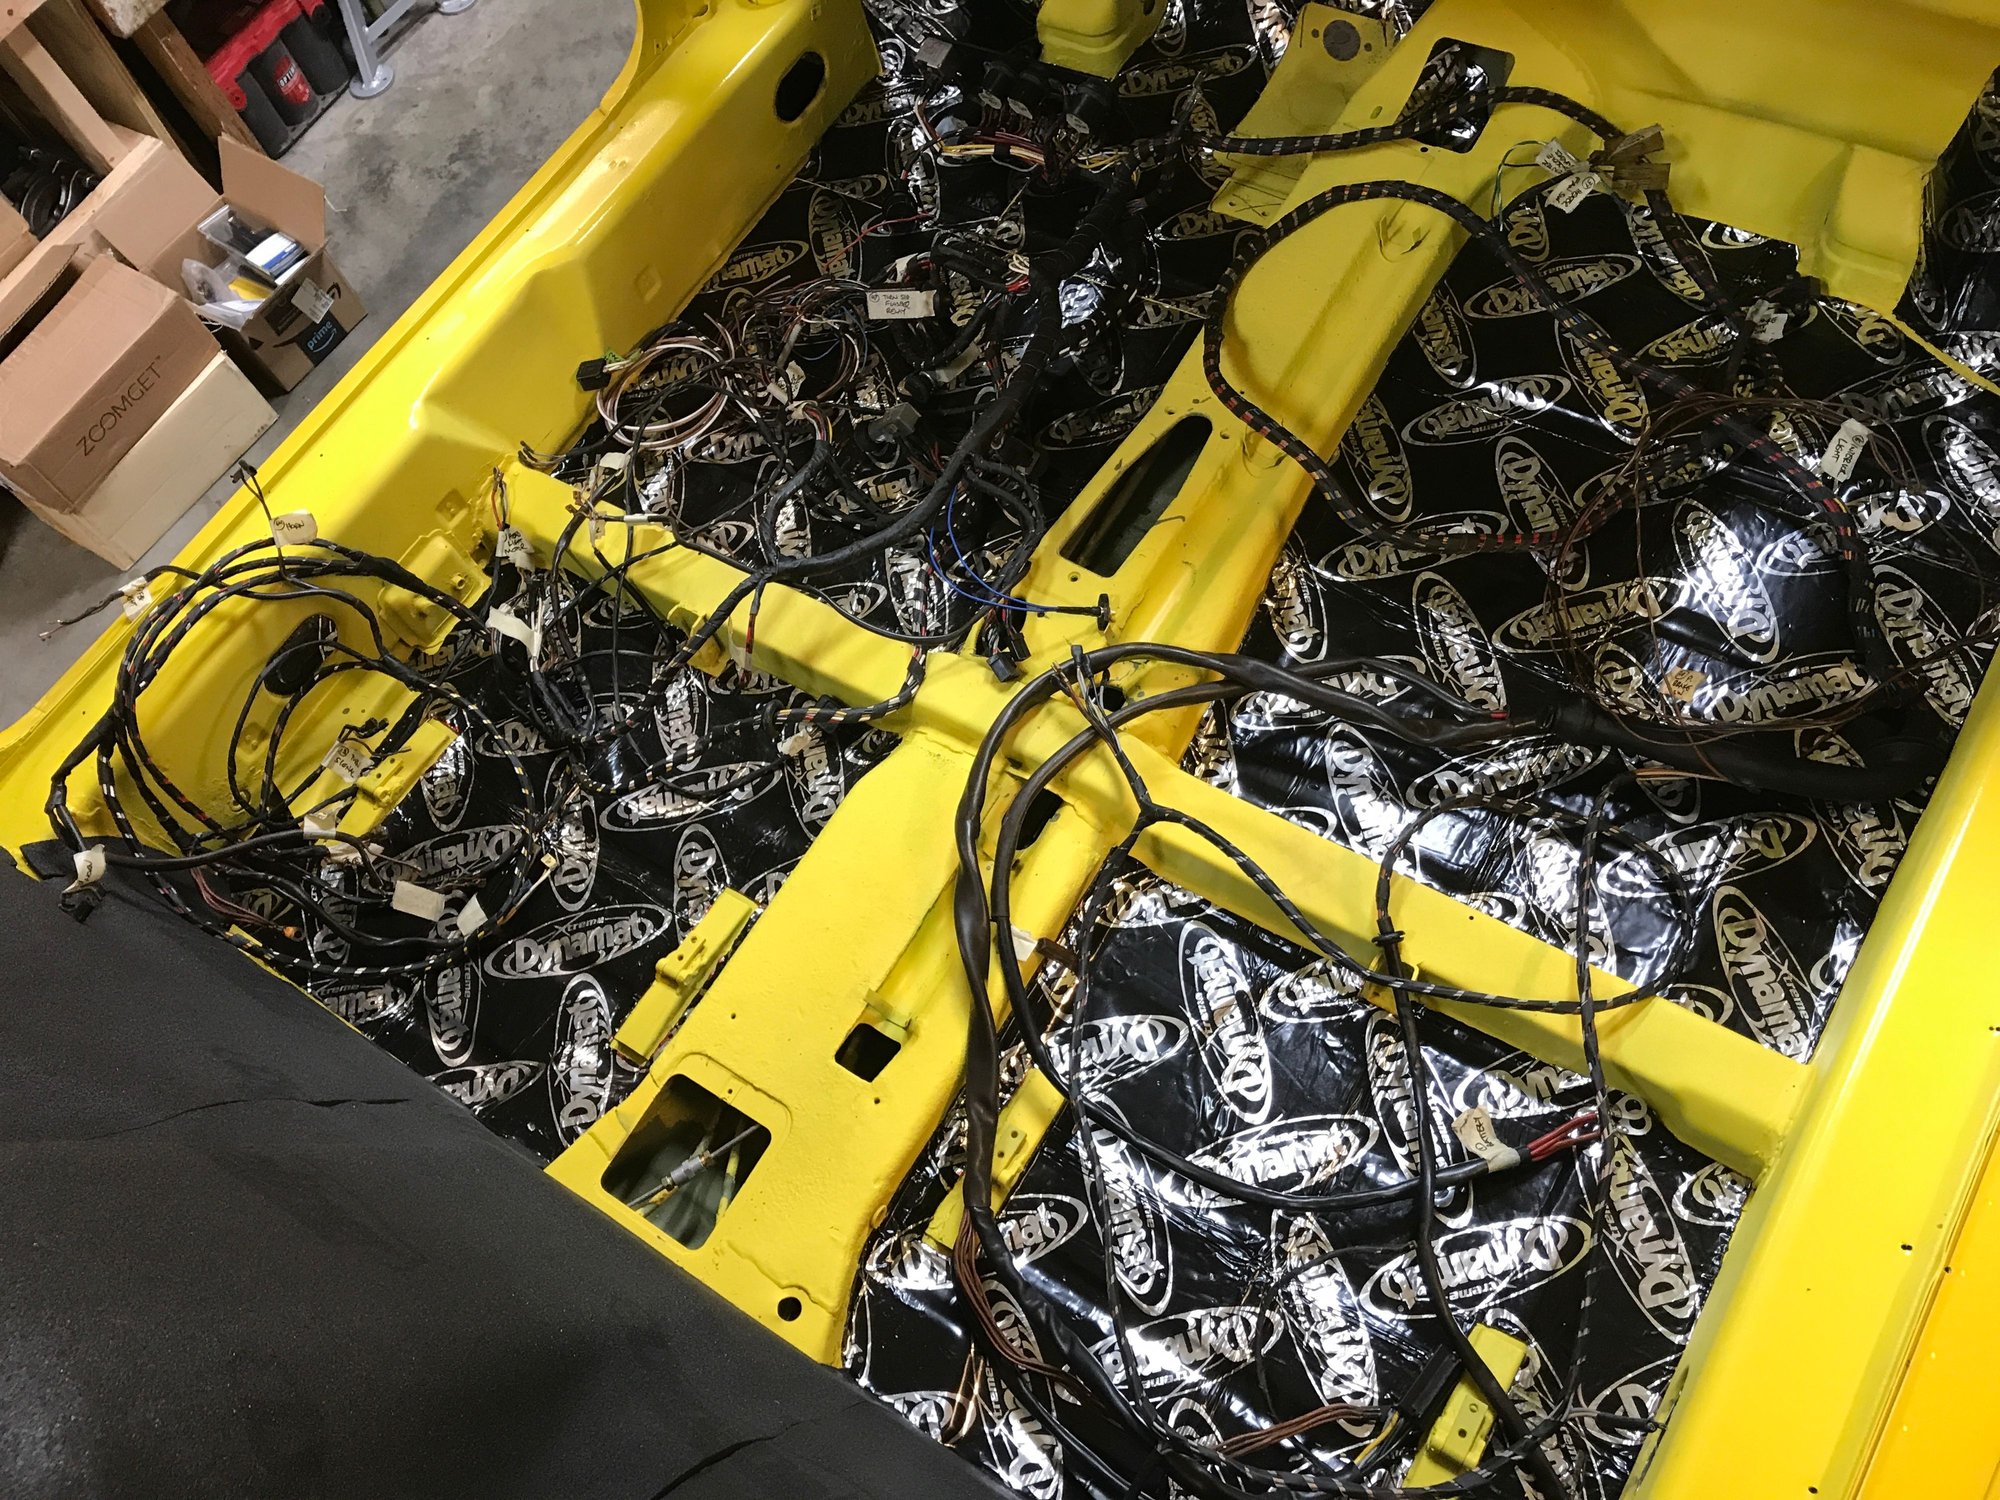
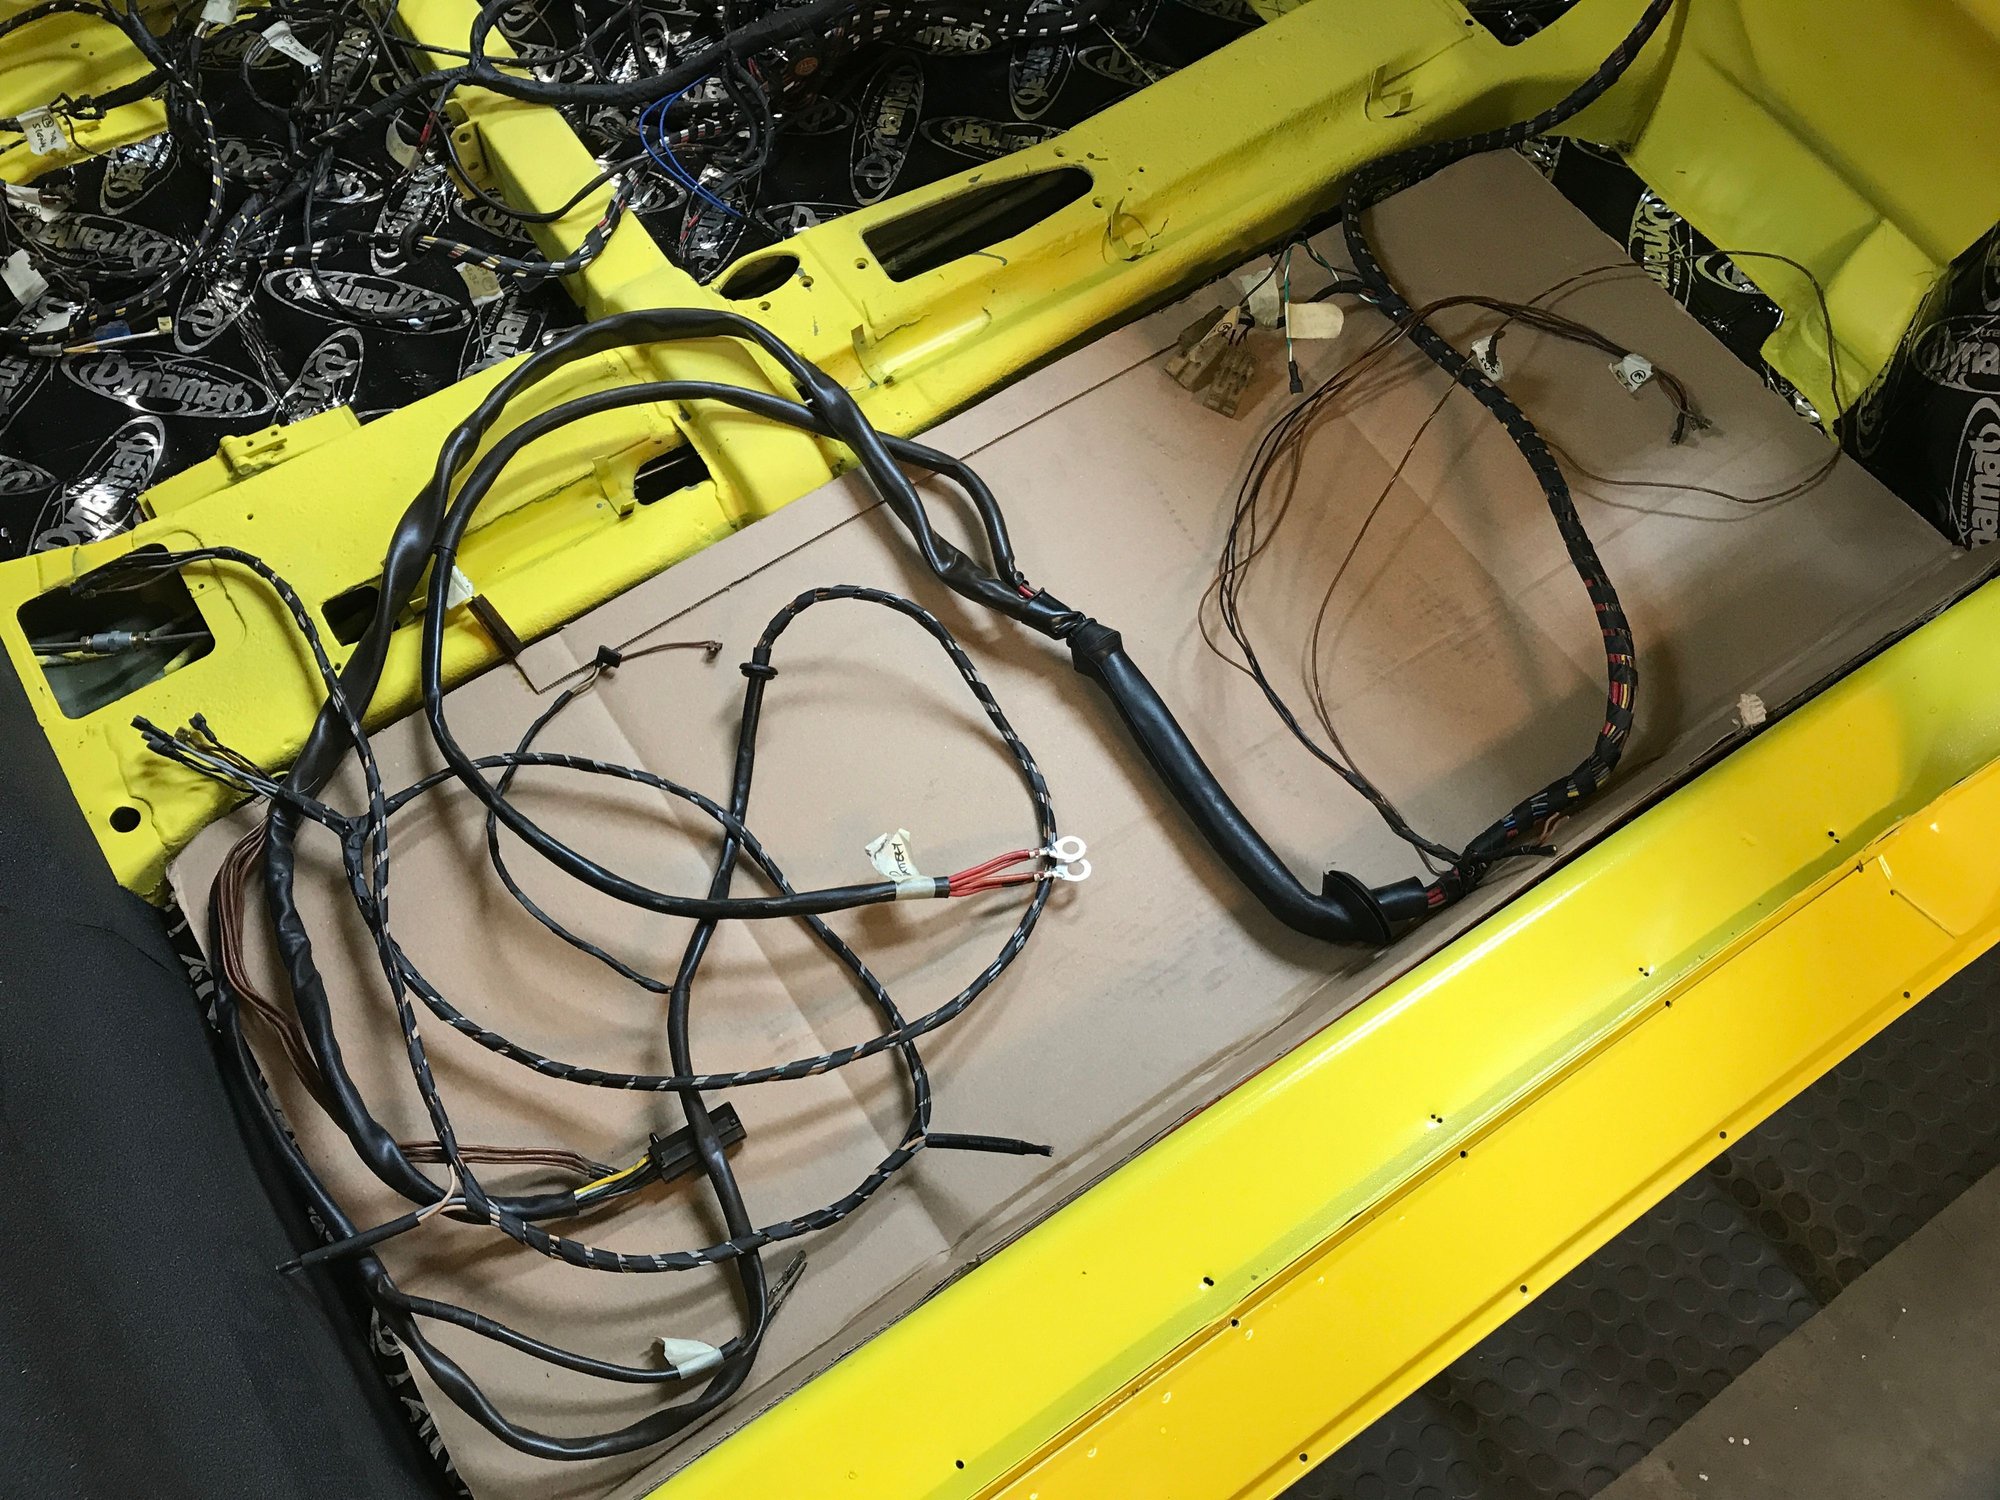
Time to start installing the harness, starting with the rear half that has to go through the tunnel and out the firewall into the engine compartment.
Start feeding the biggest thing: the relay board plug.
Then the tail light leads.
And the rest.
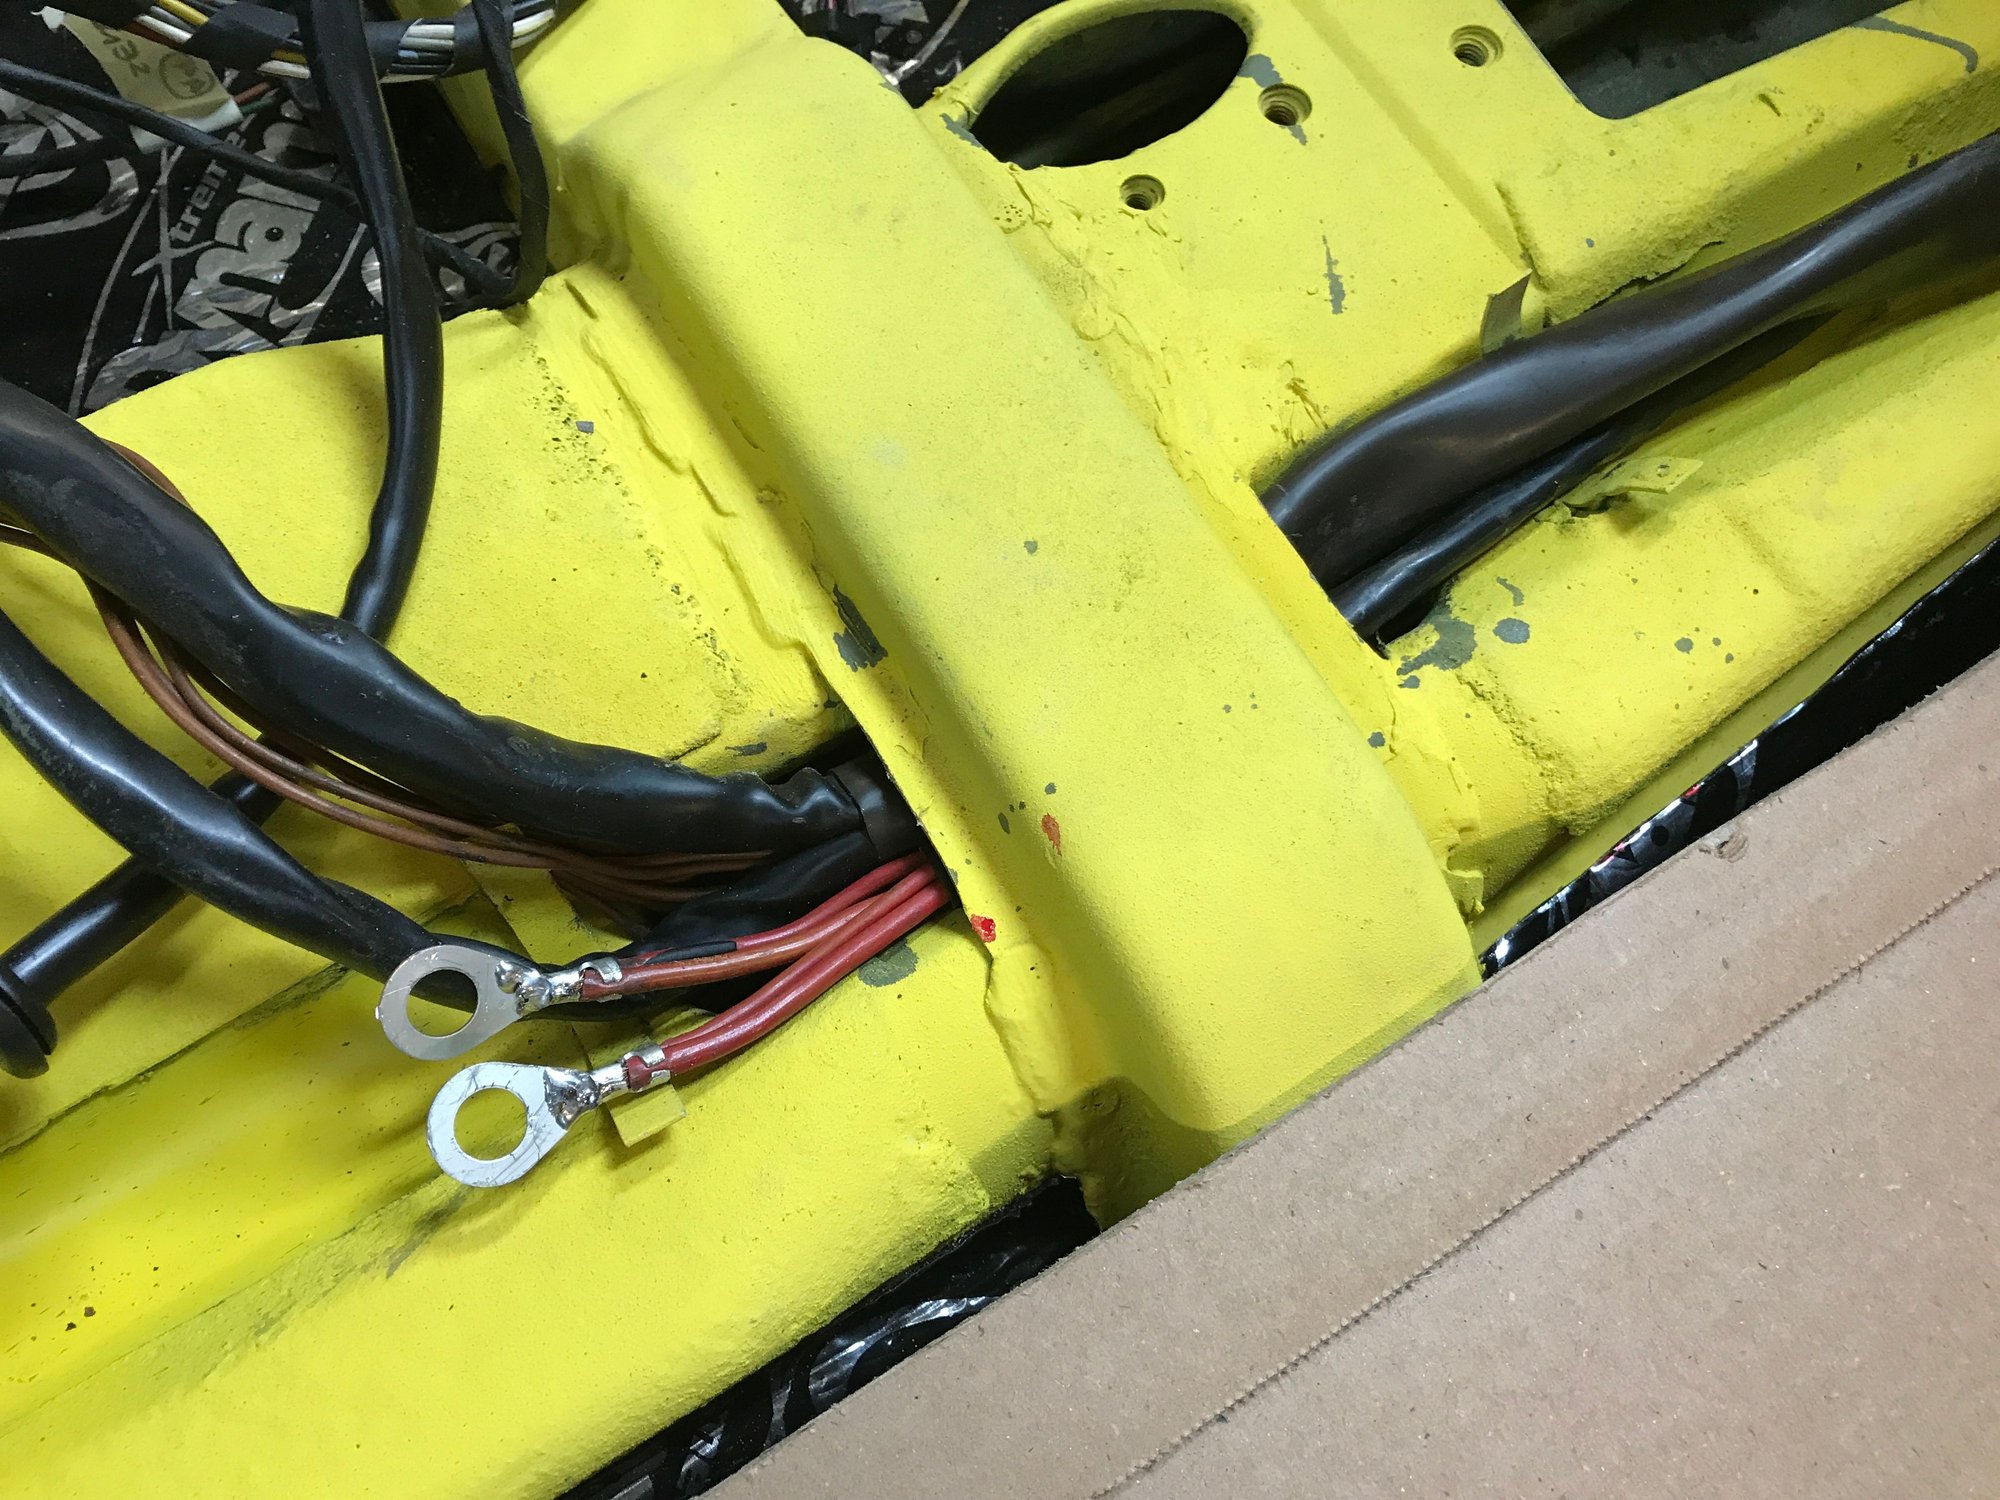
Now for the snorkel.
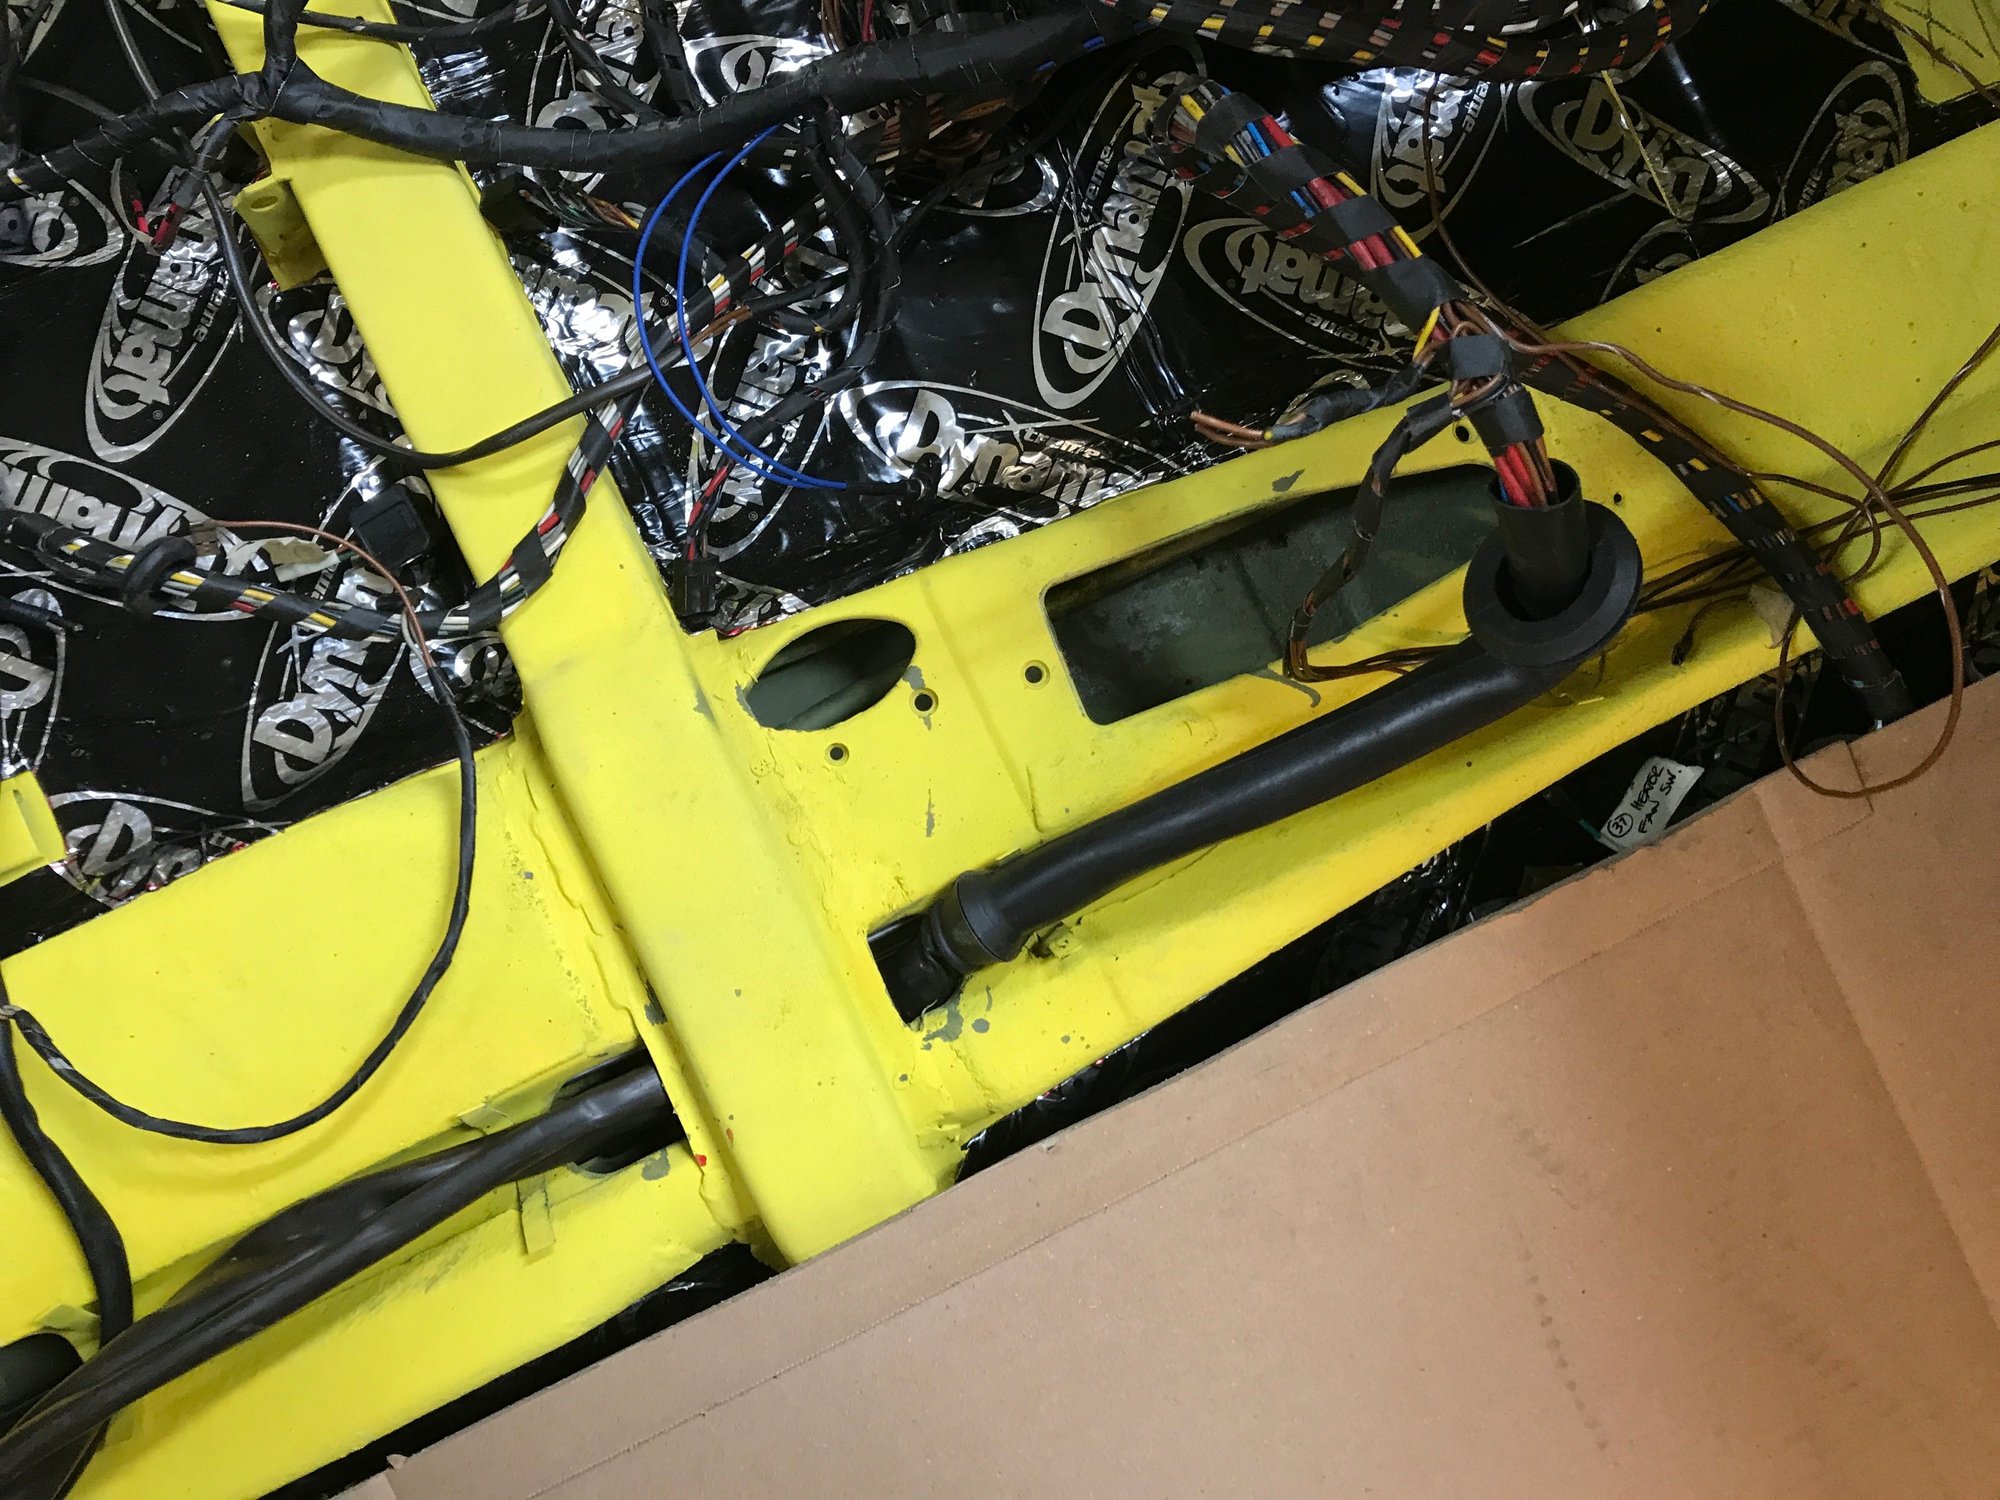
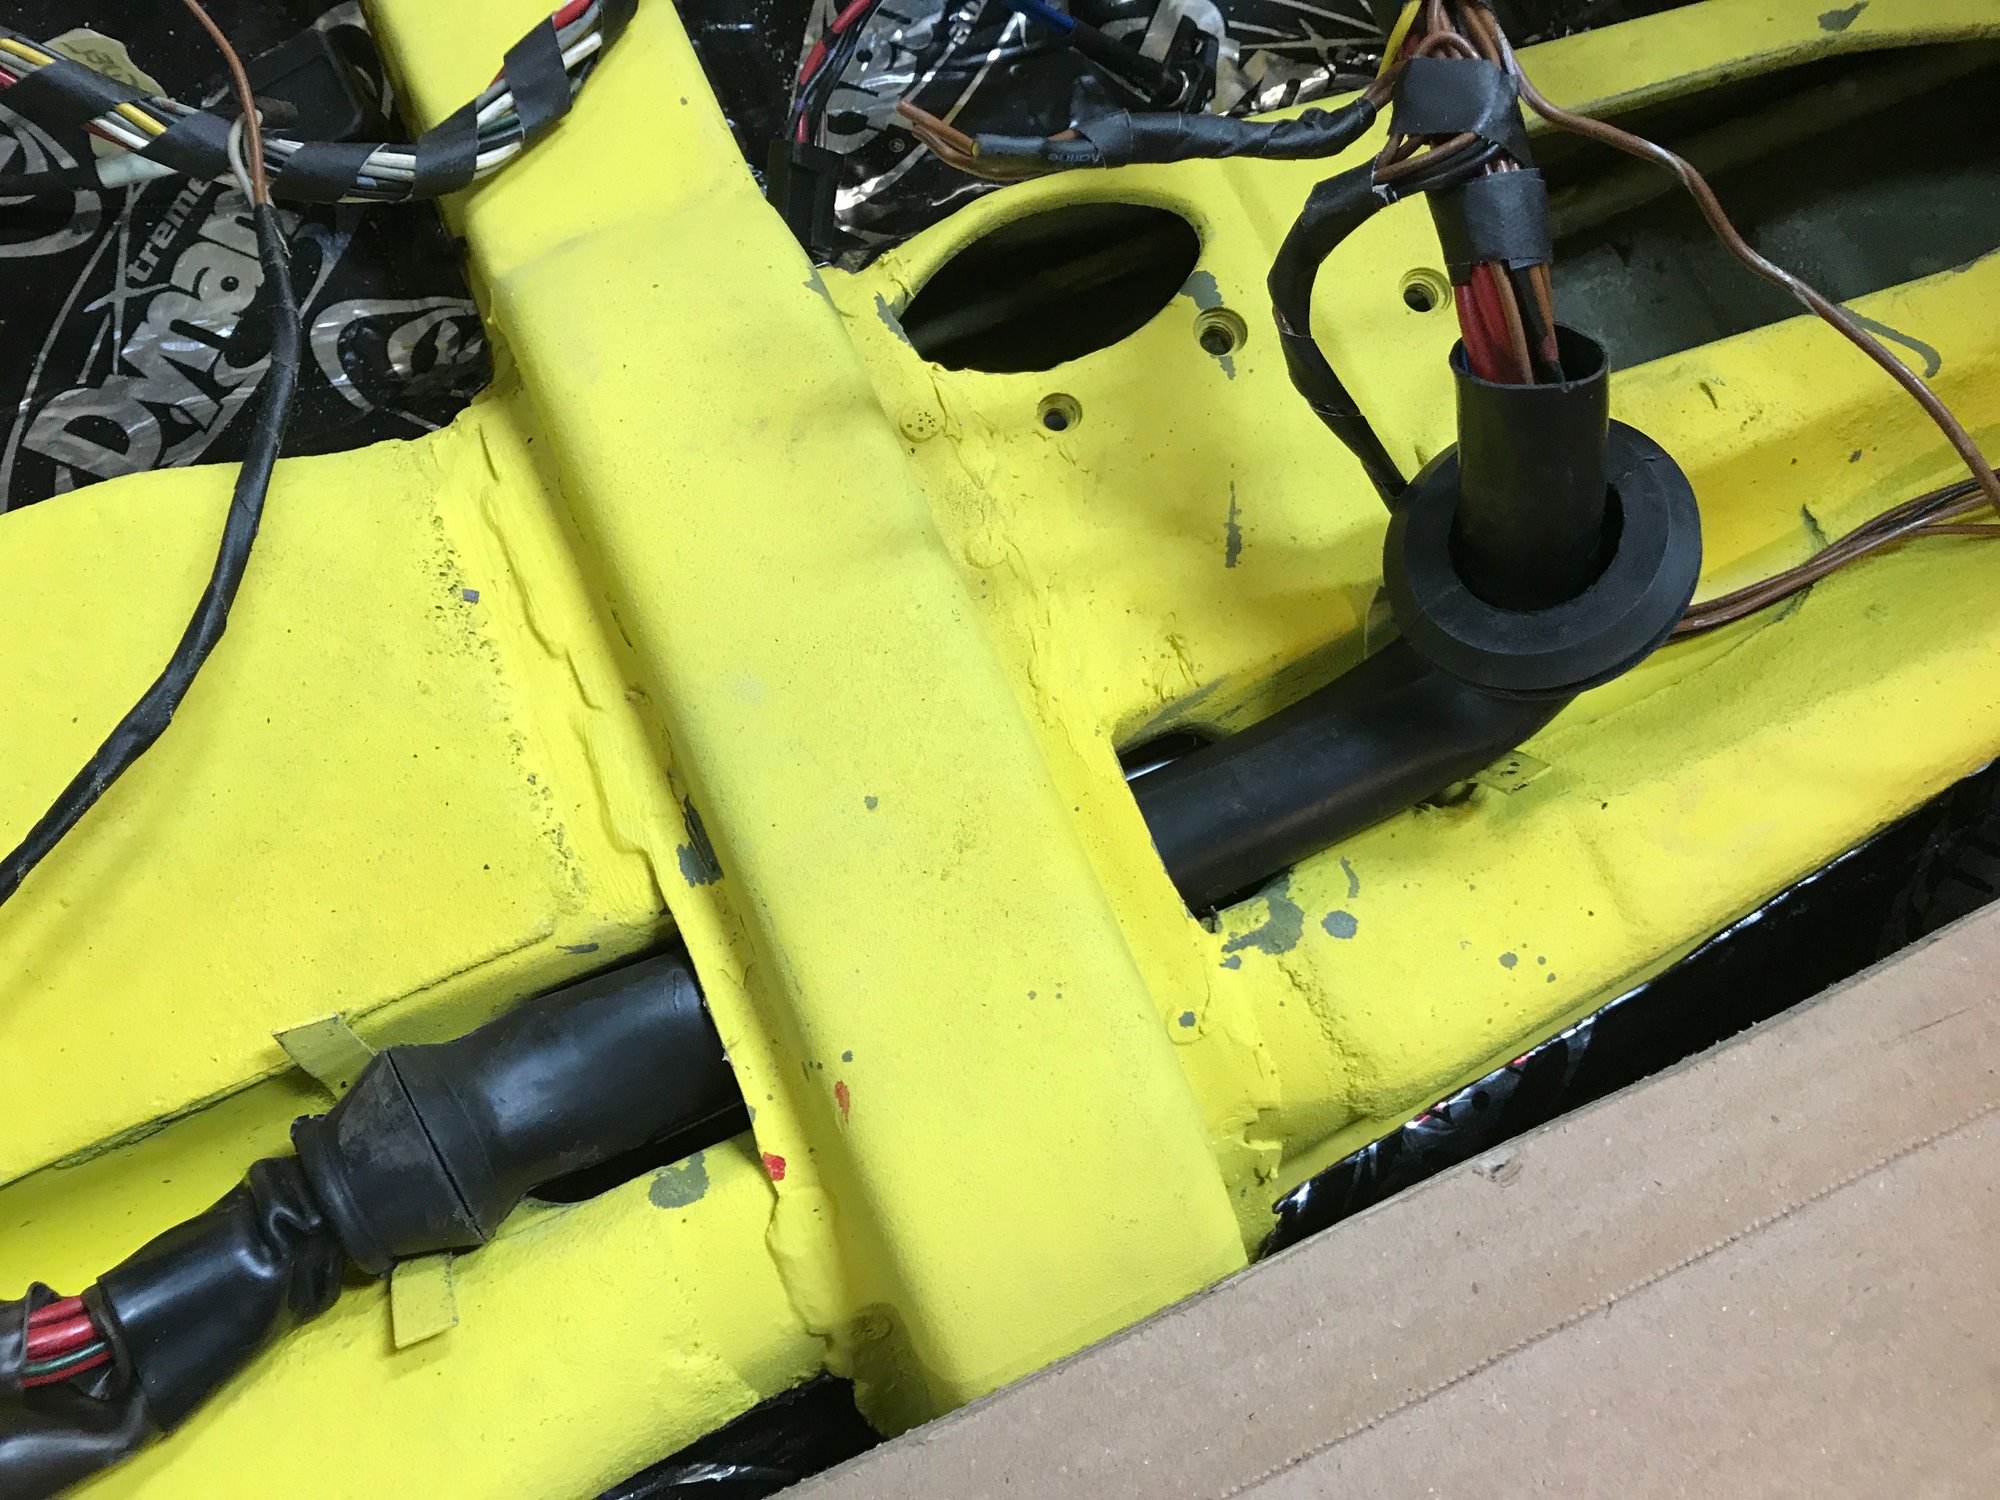
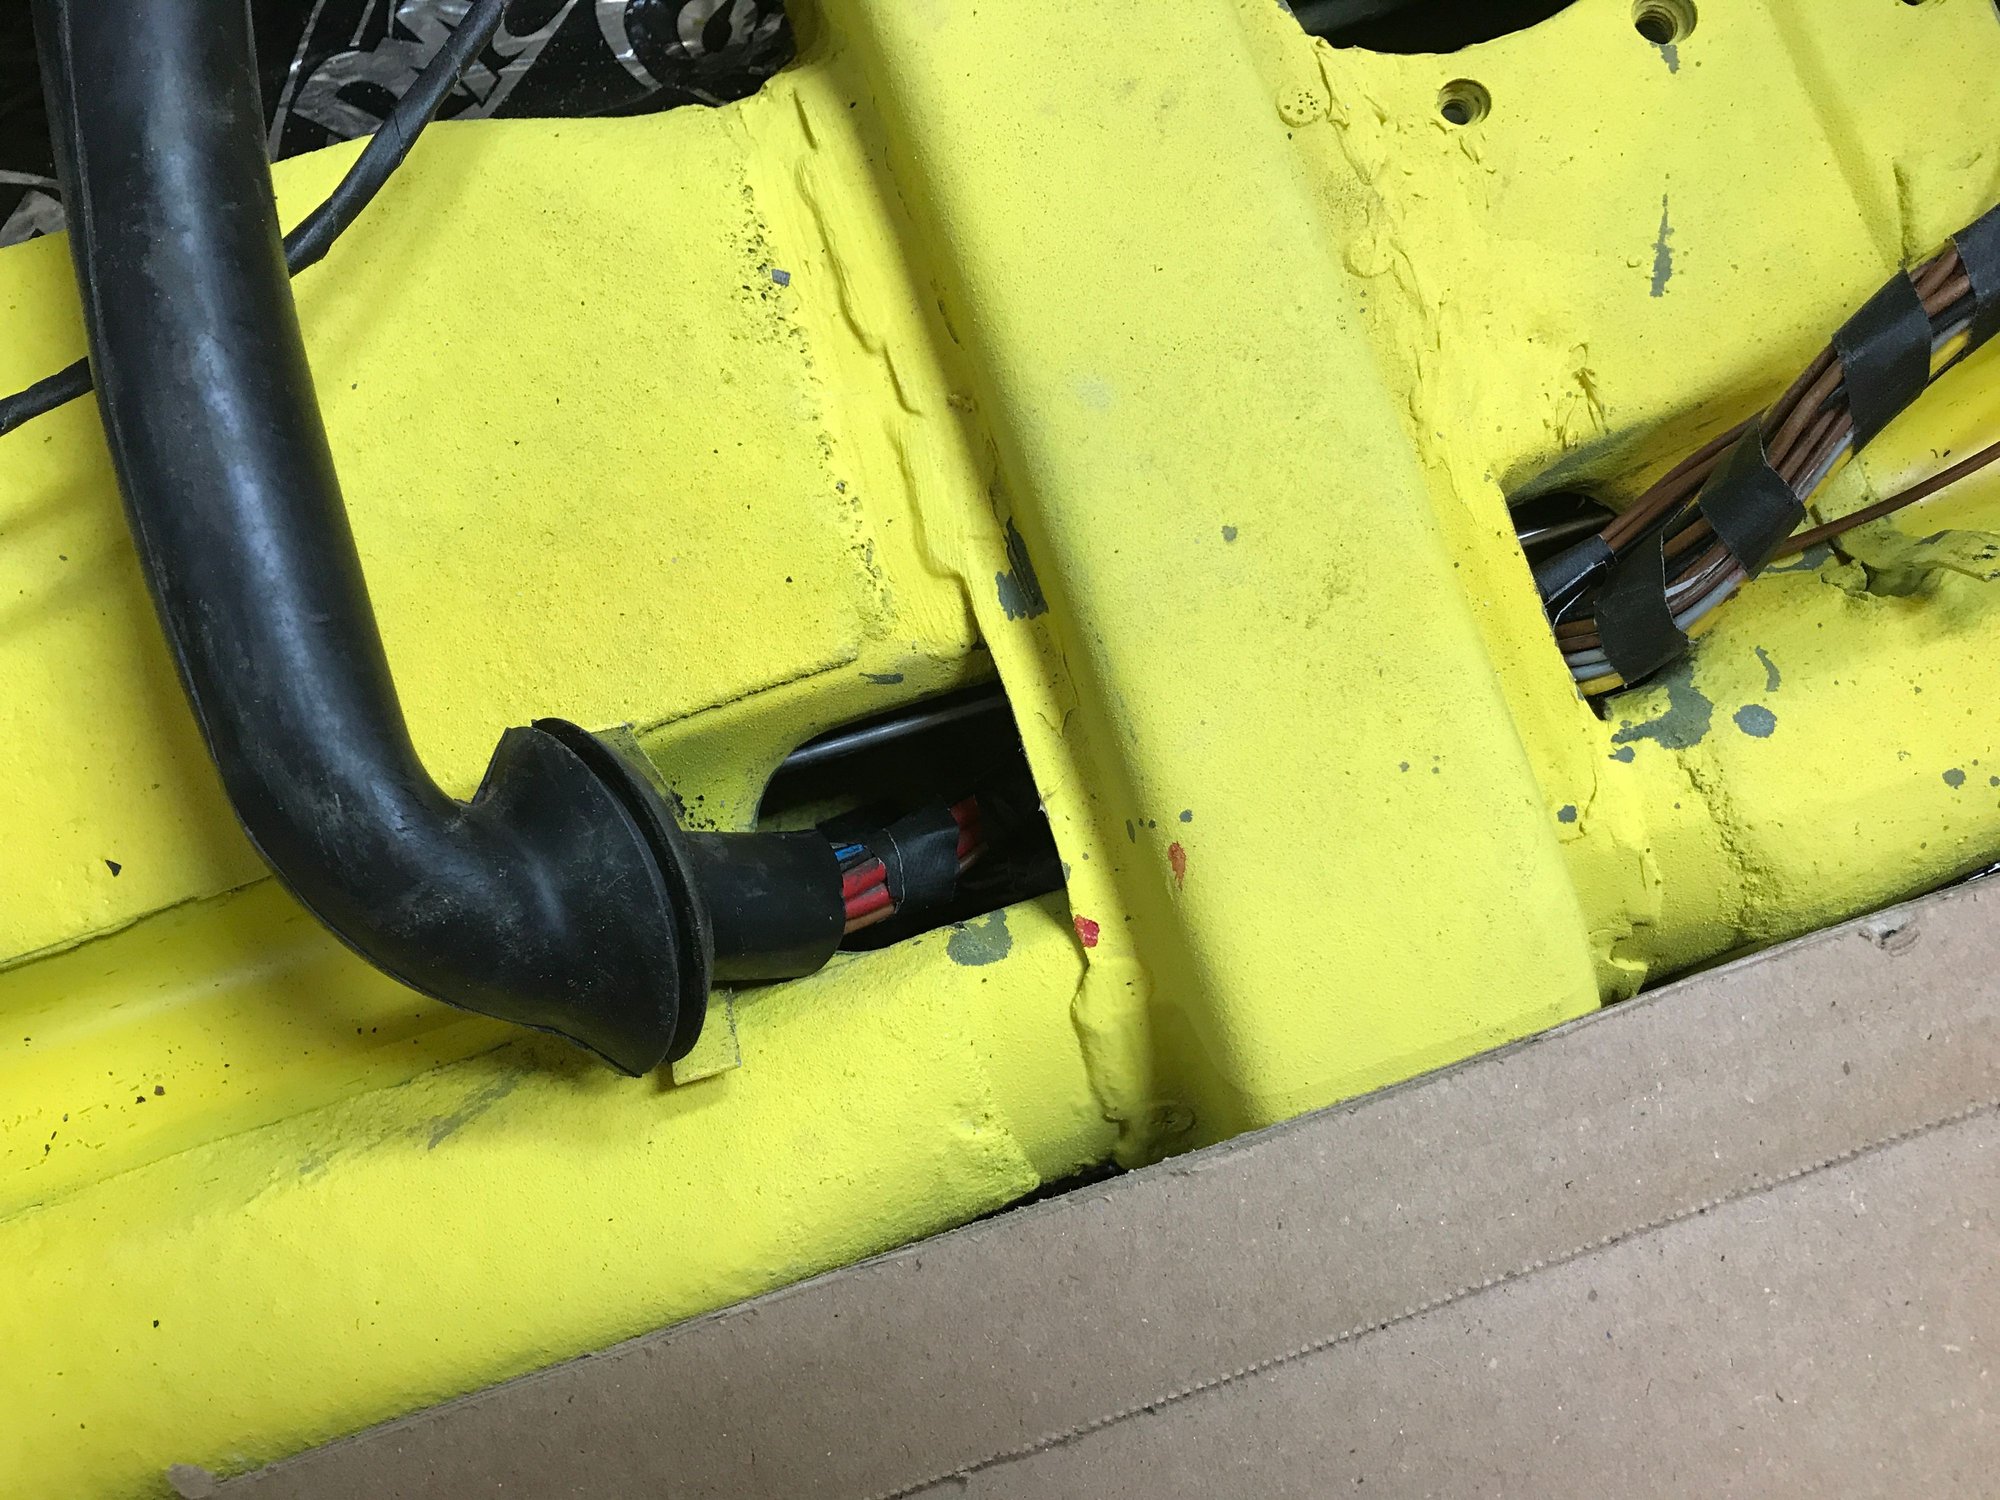
Done with the first obstacle.
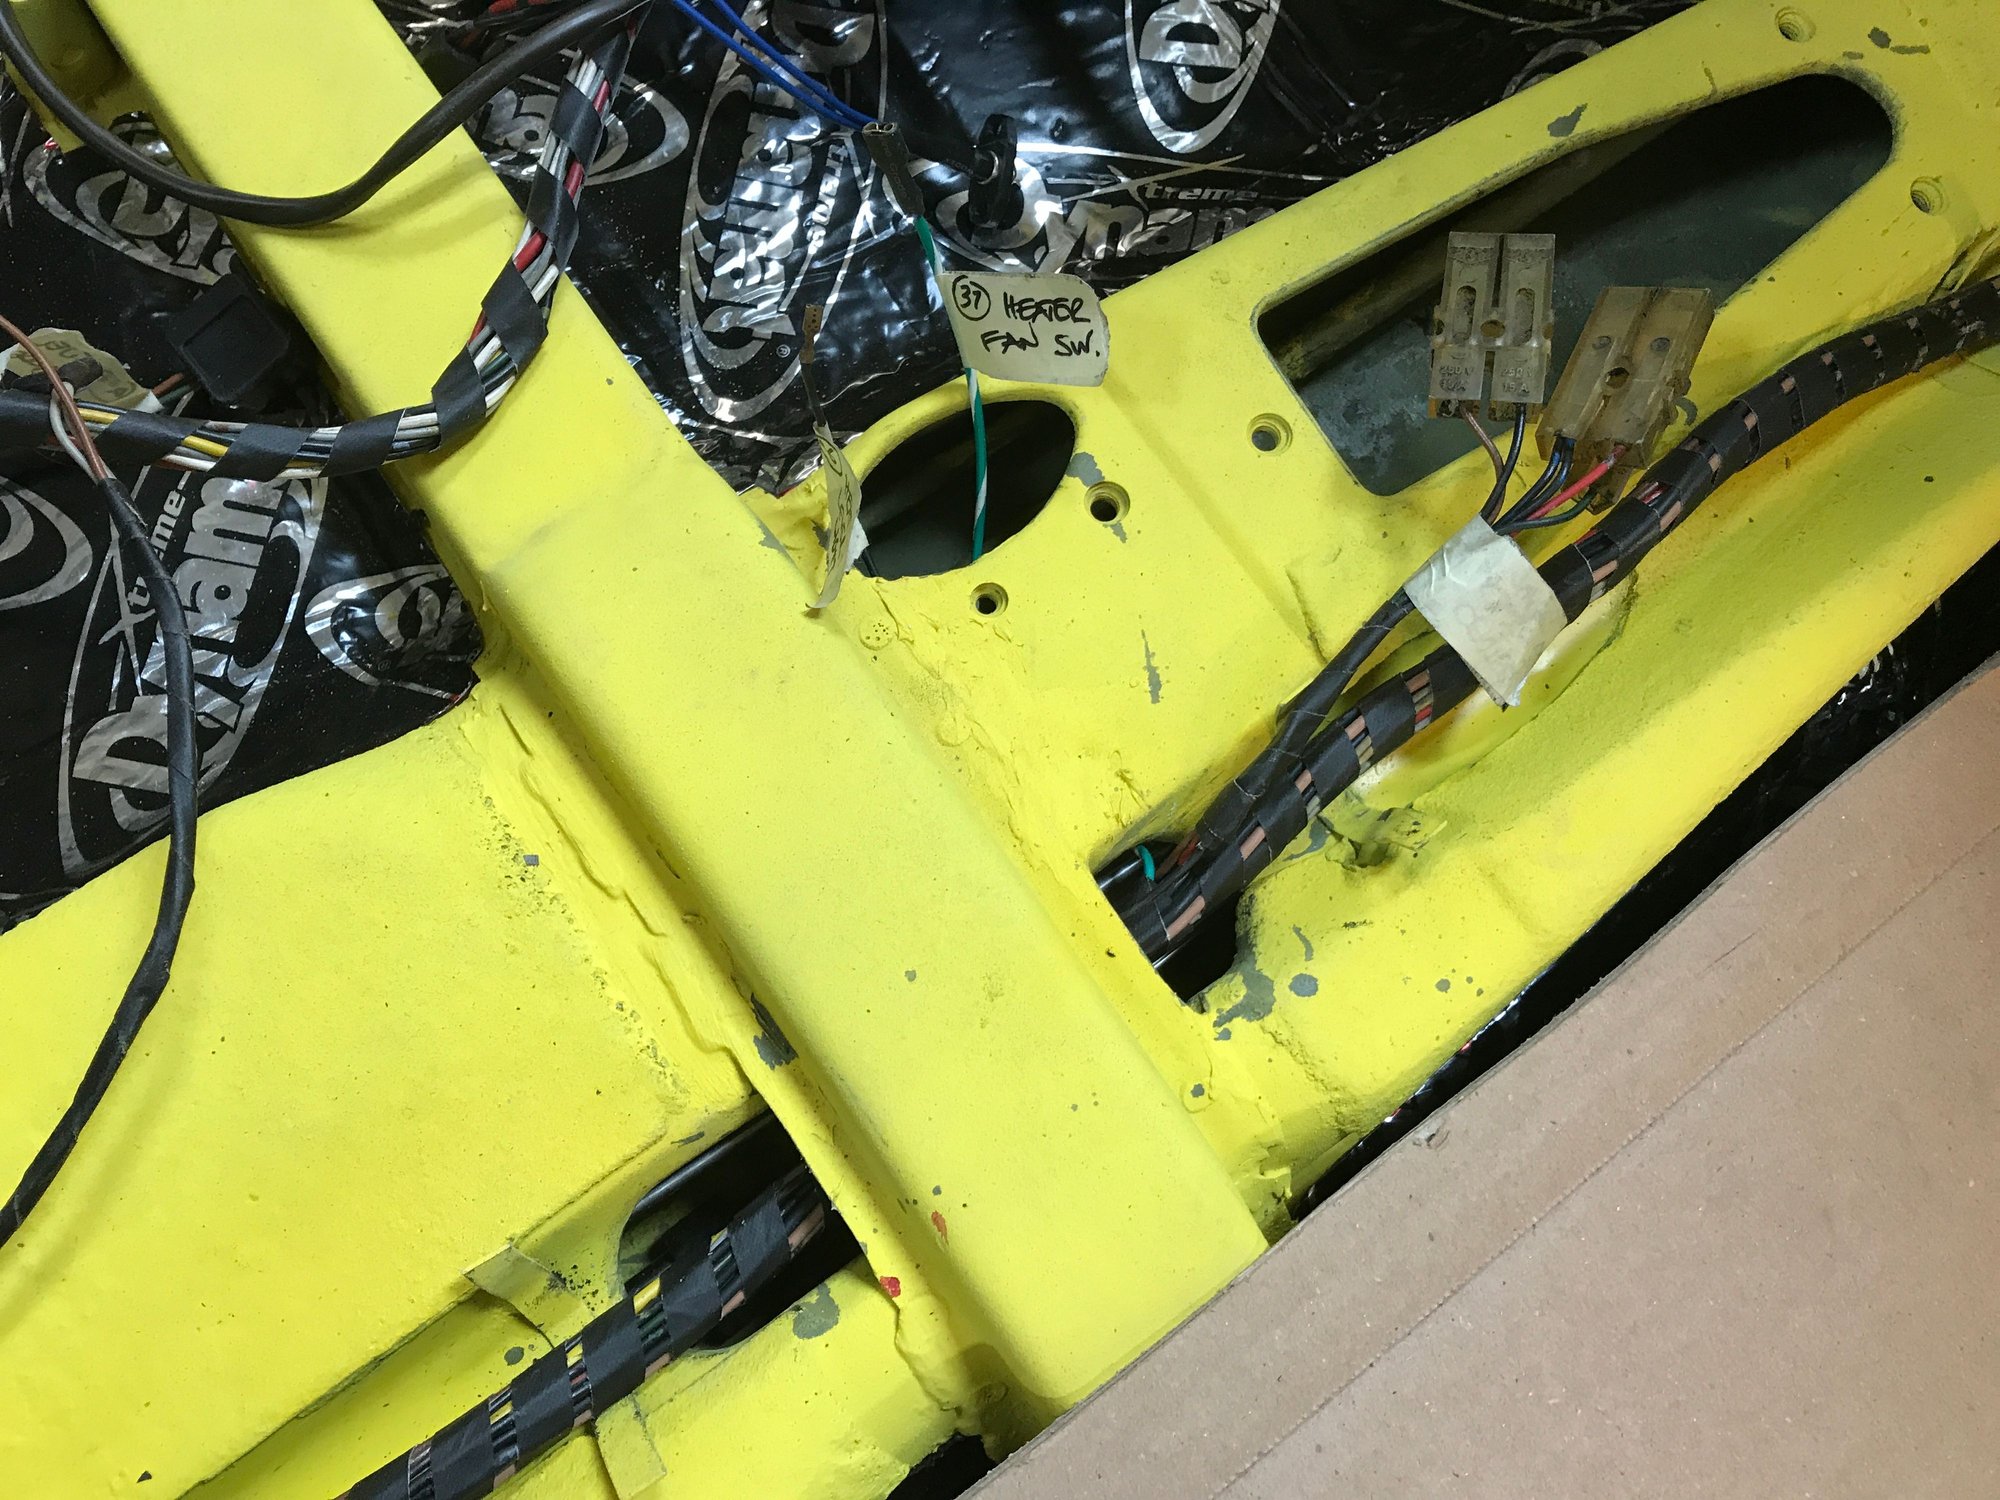
Now for the tunnel to firewall section.
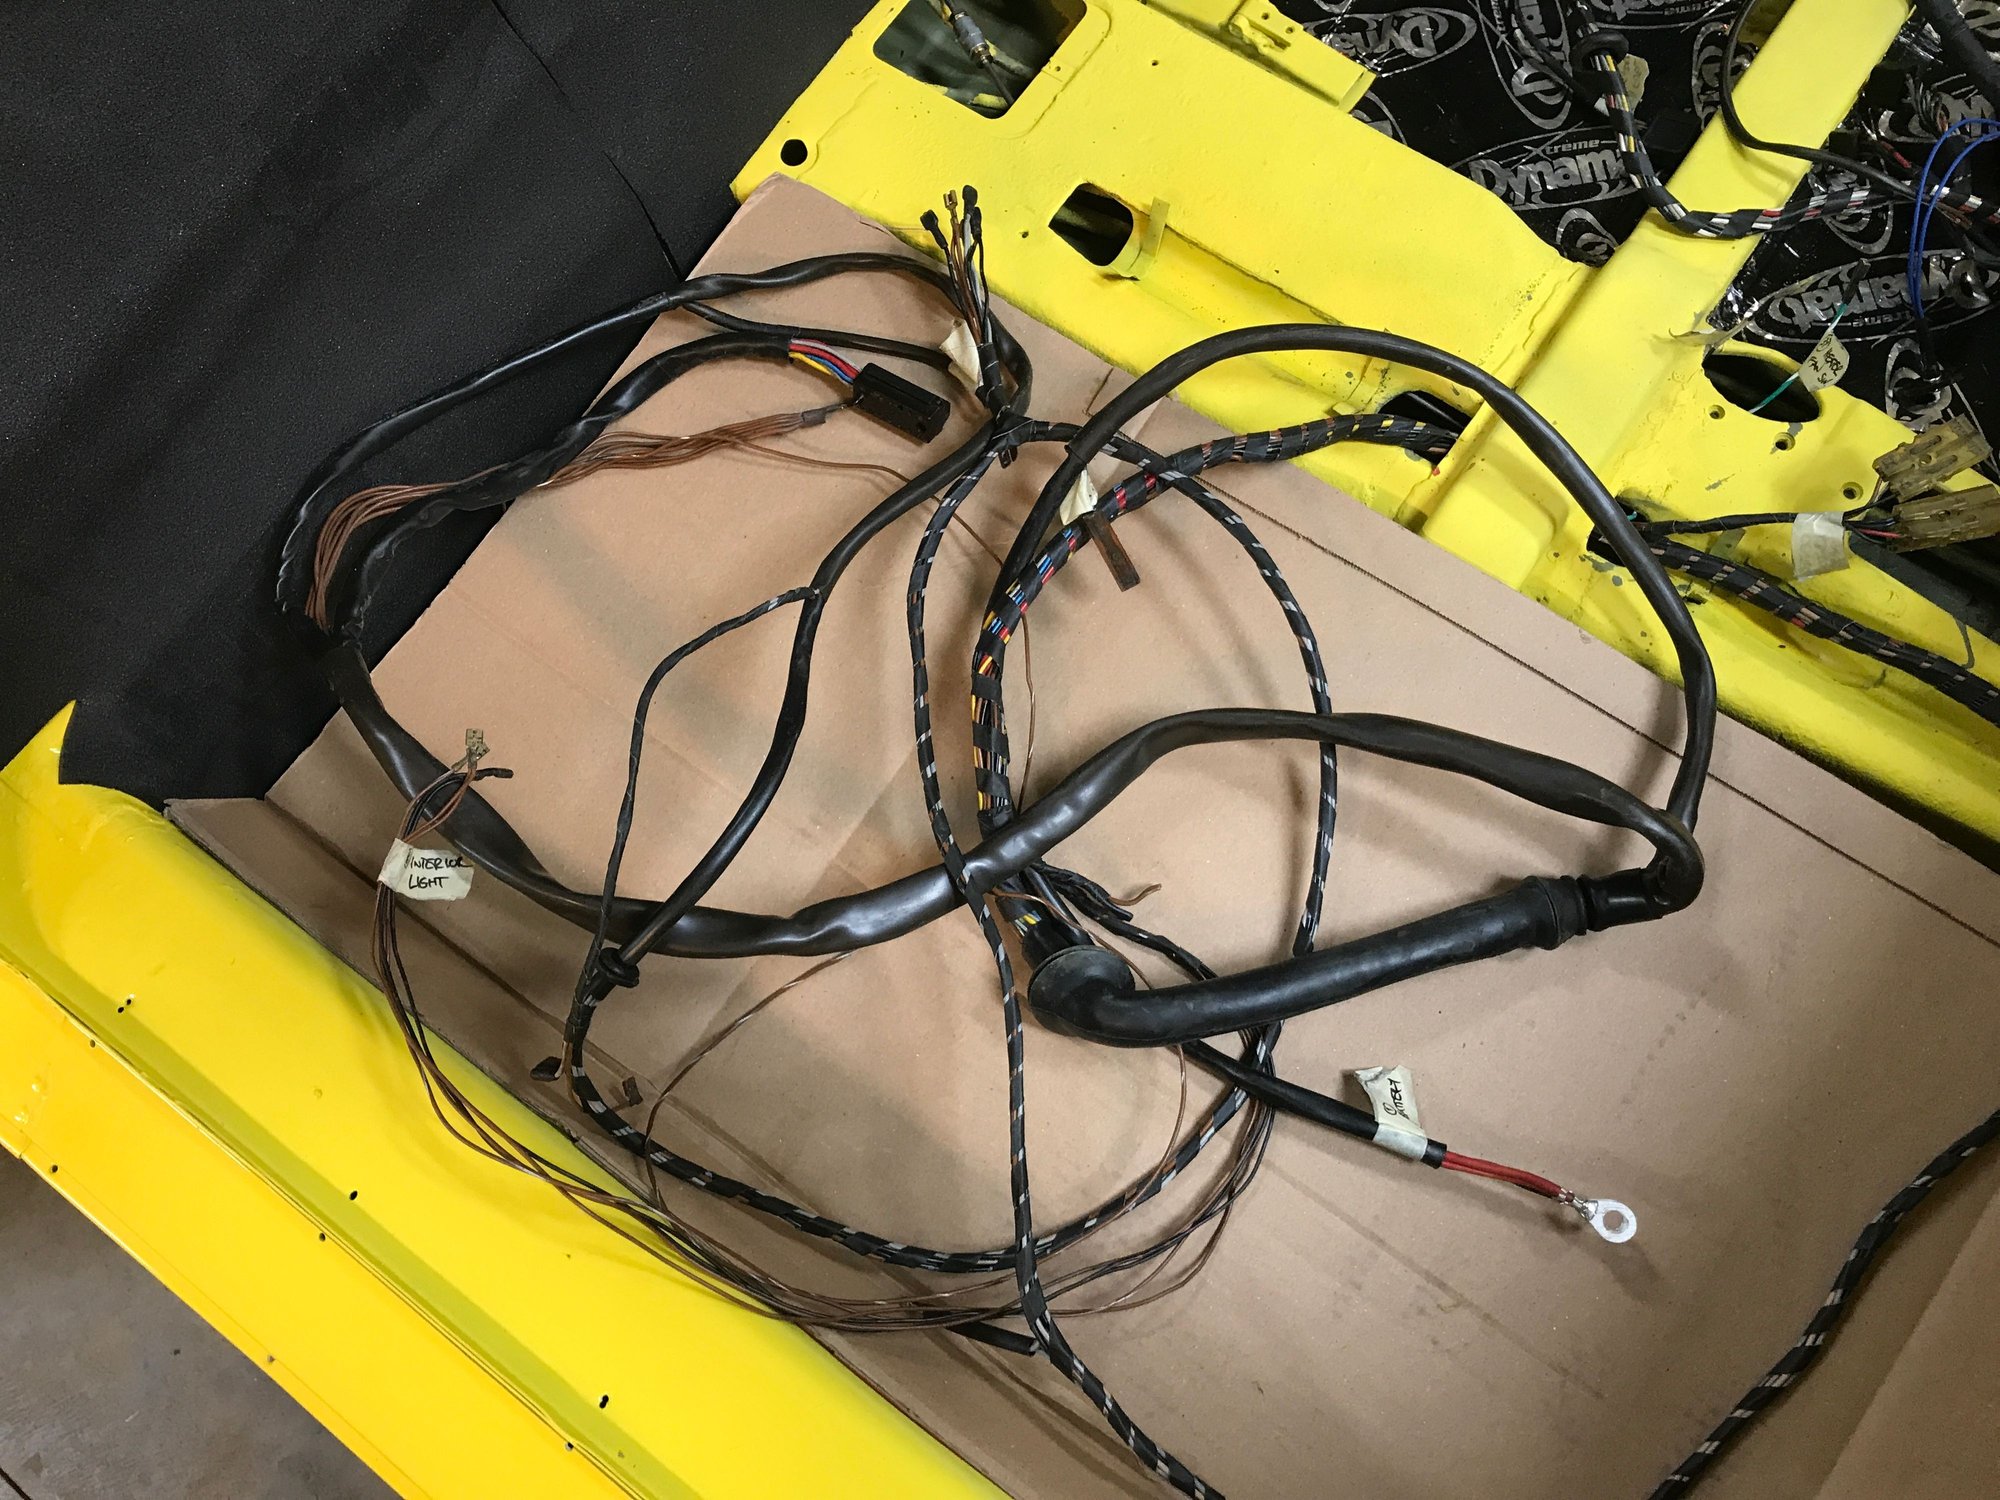
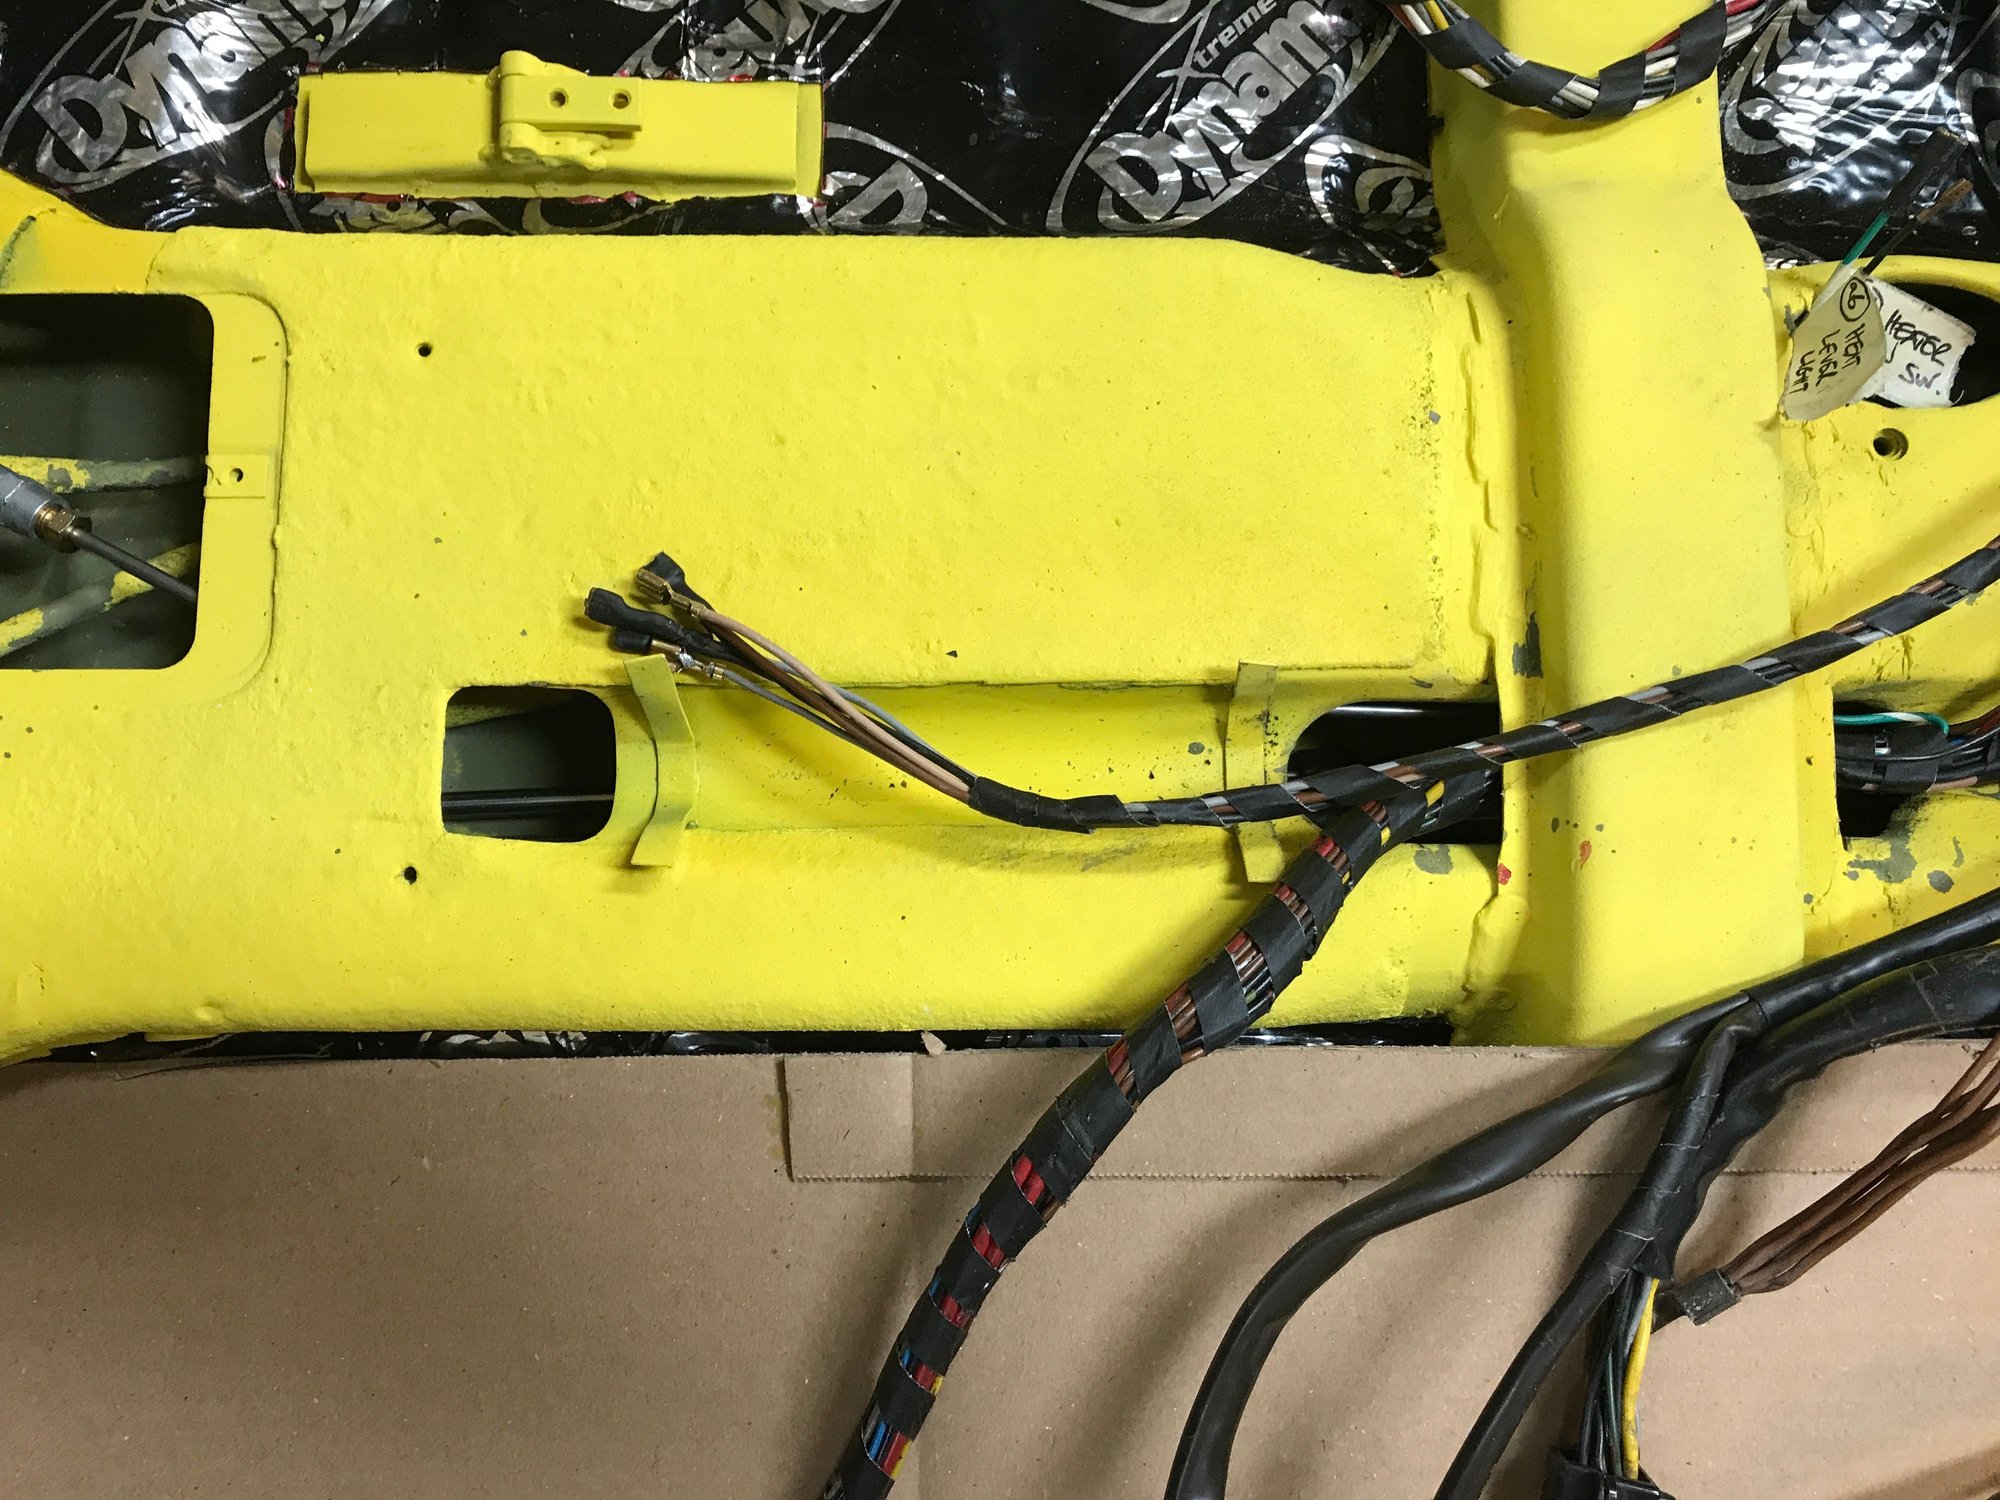
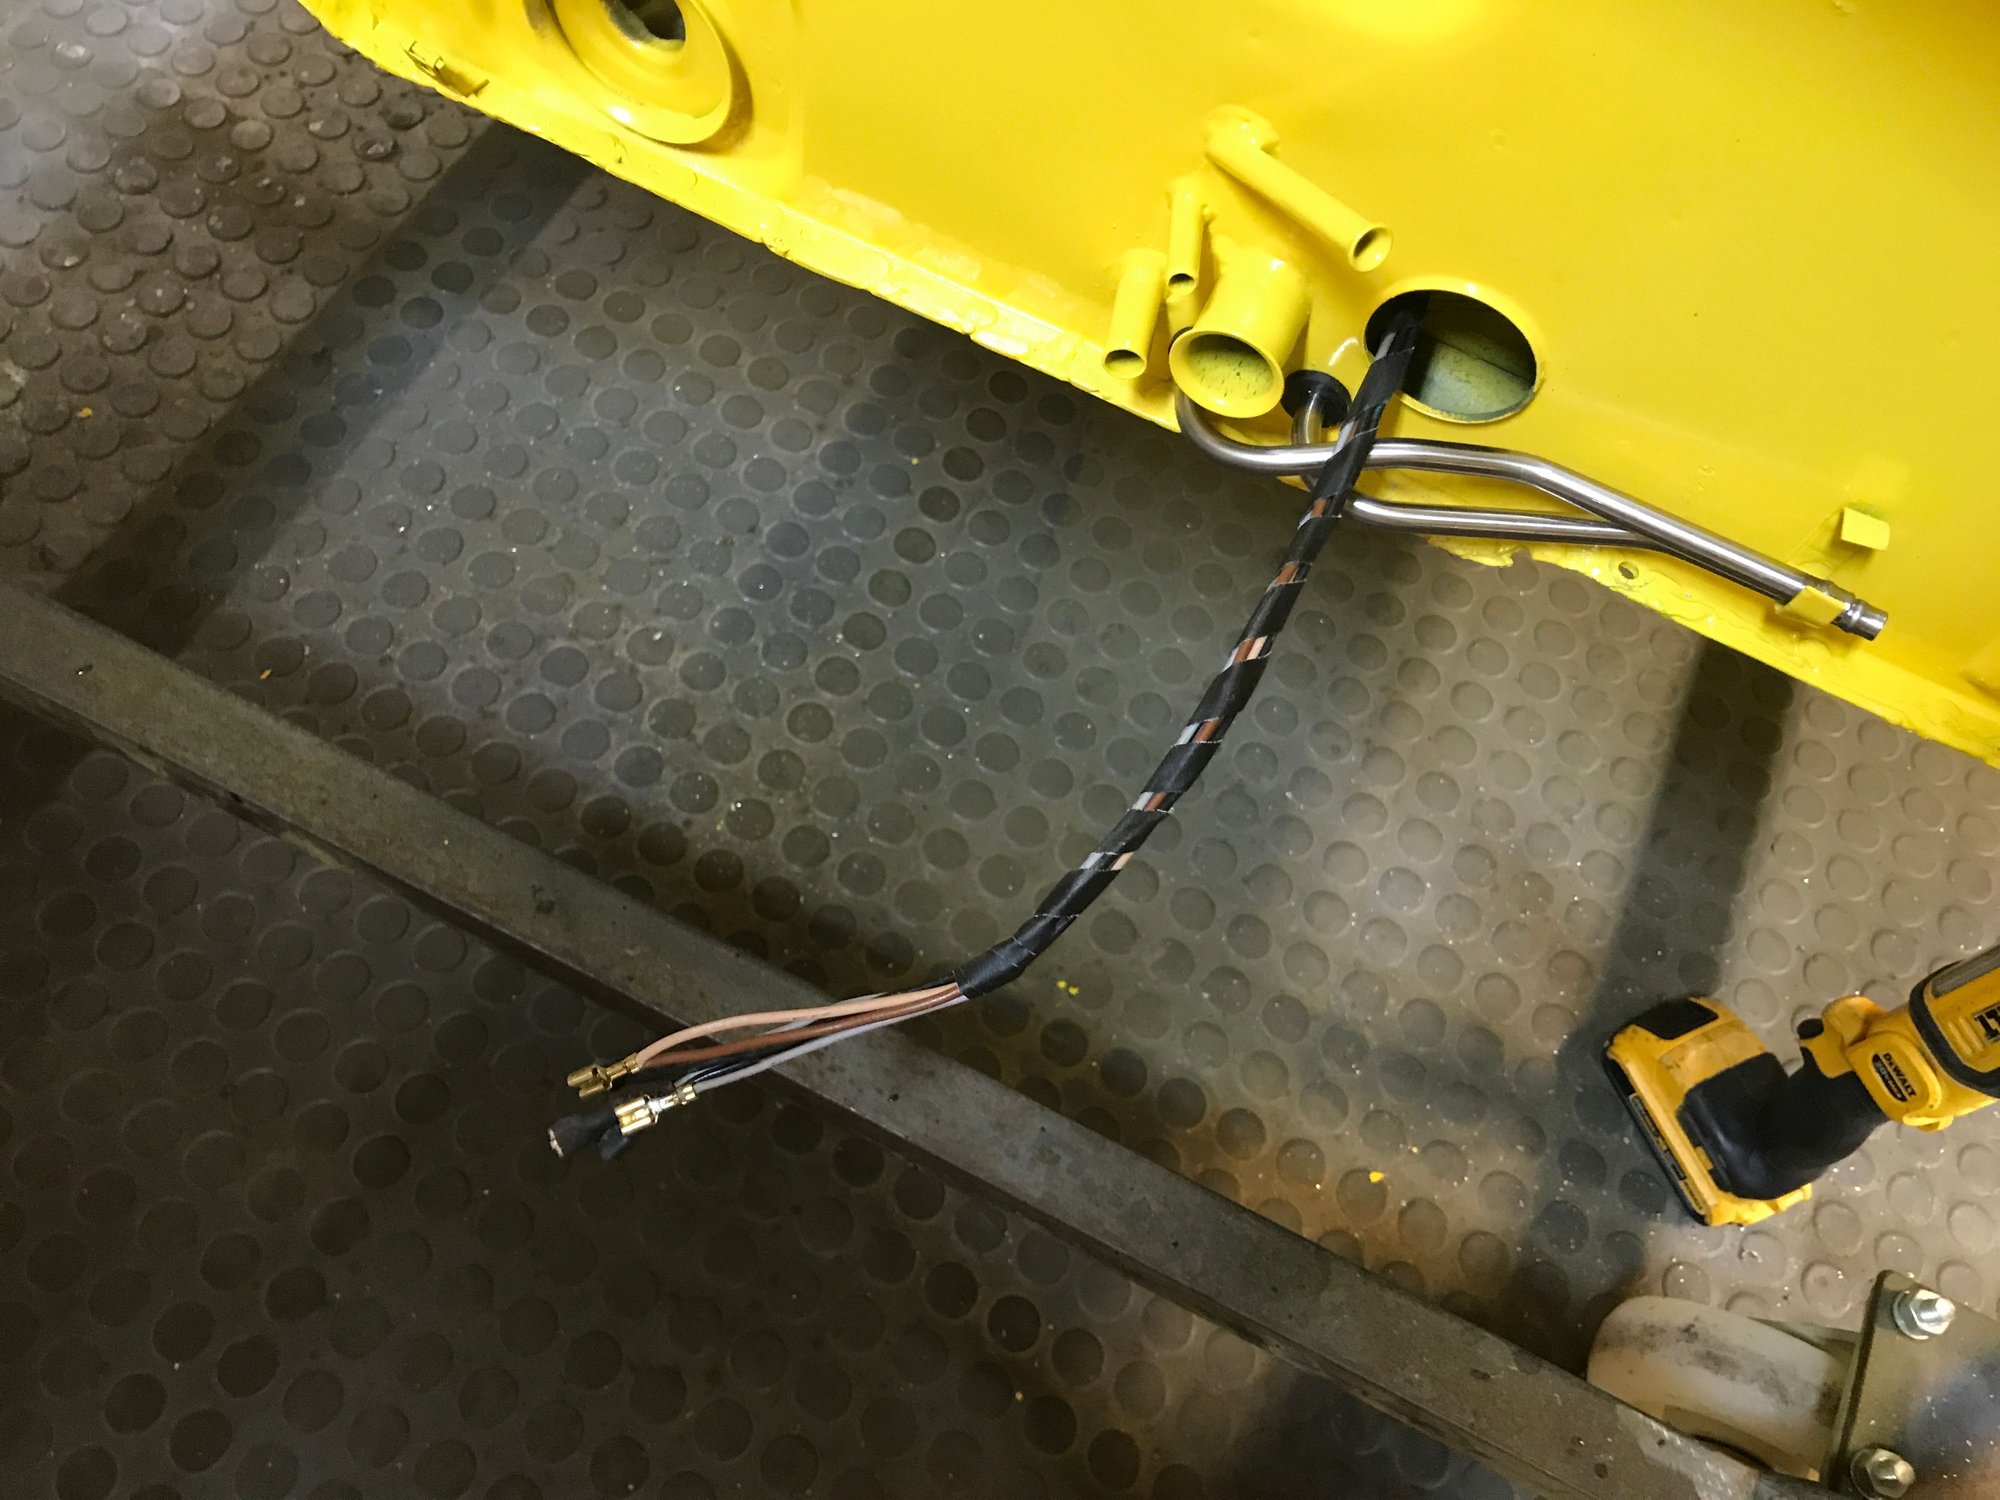
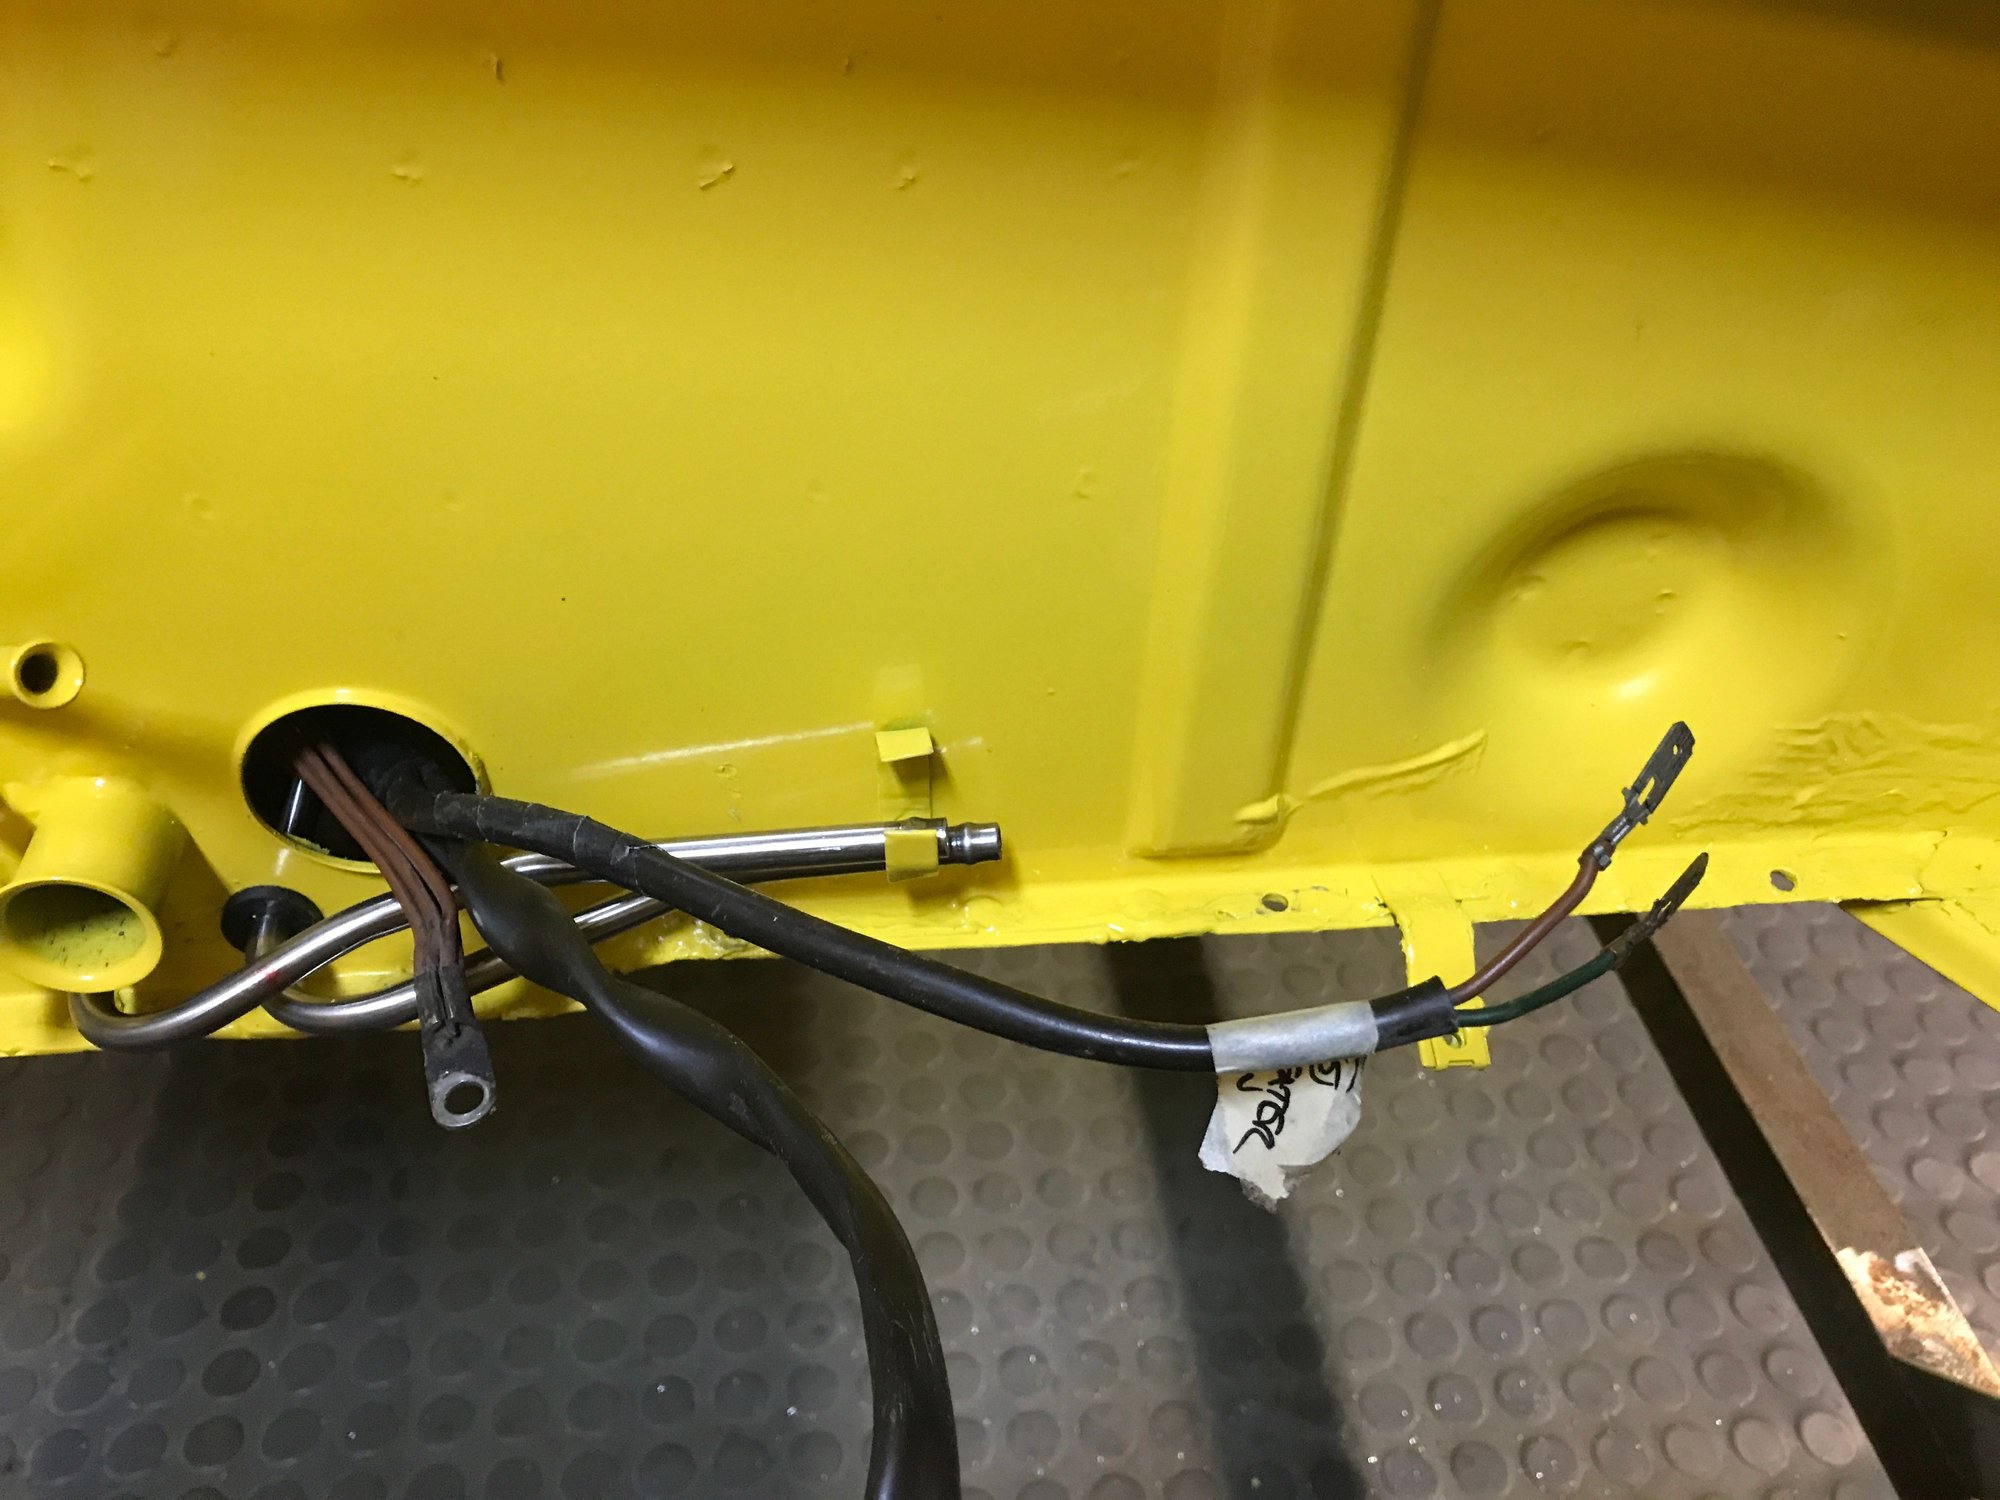
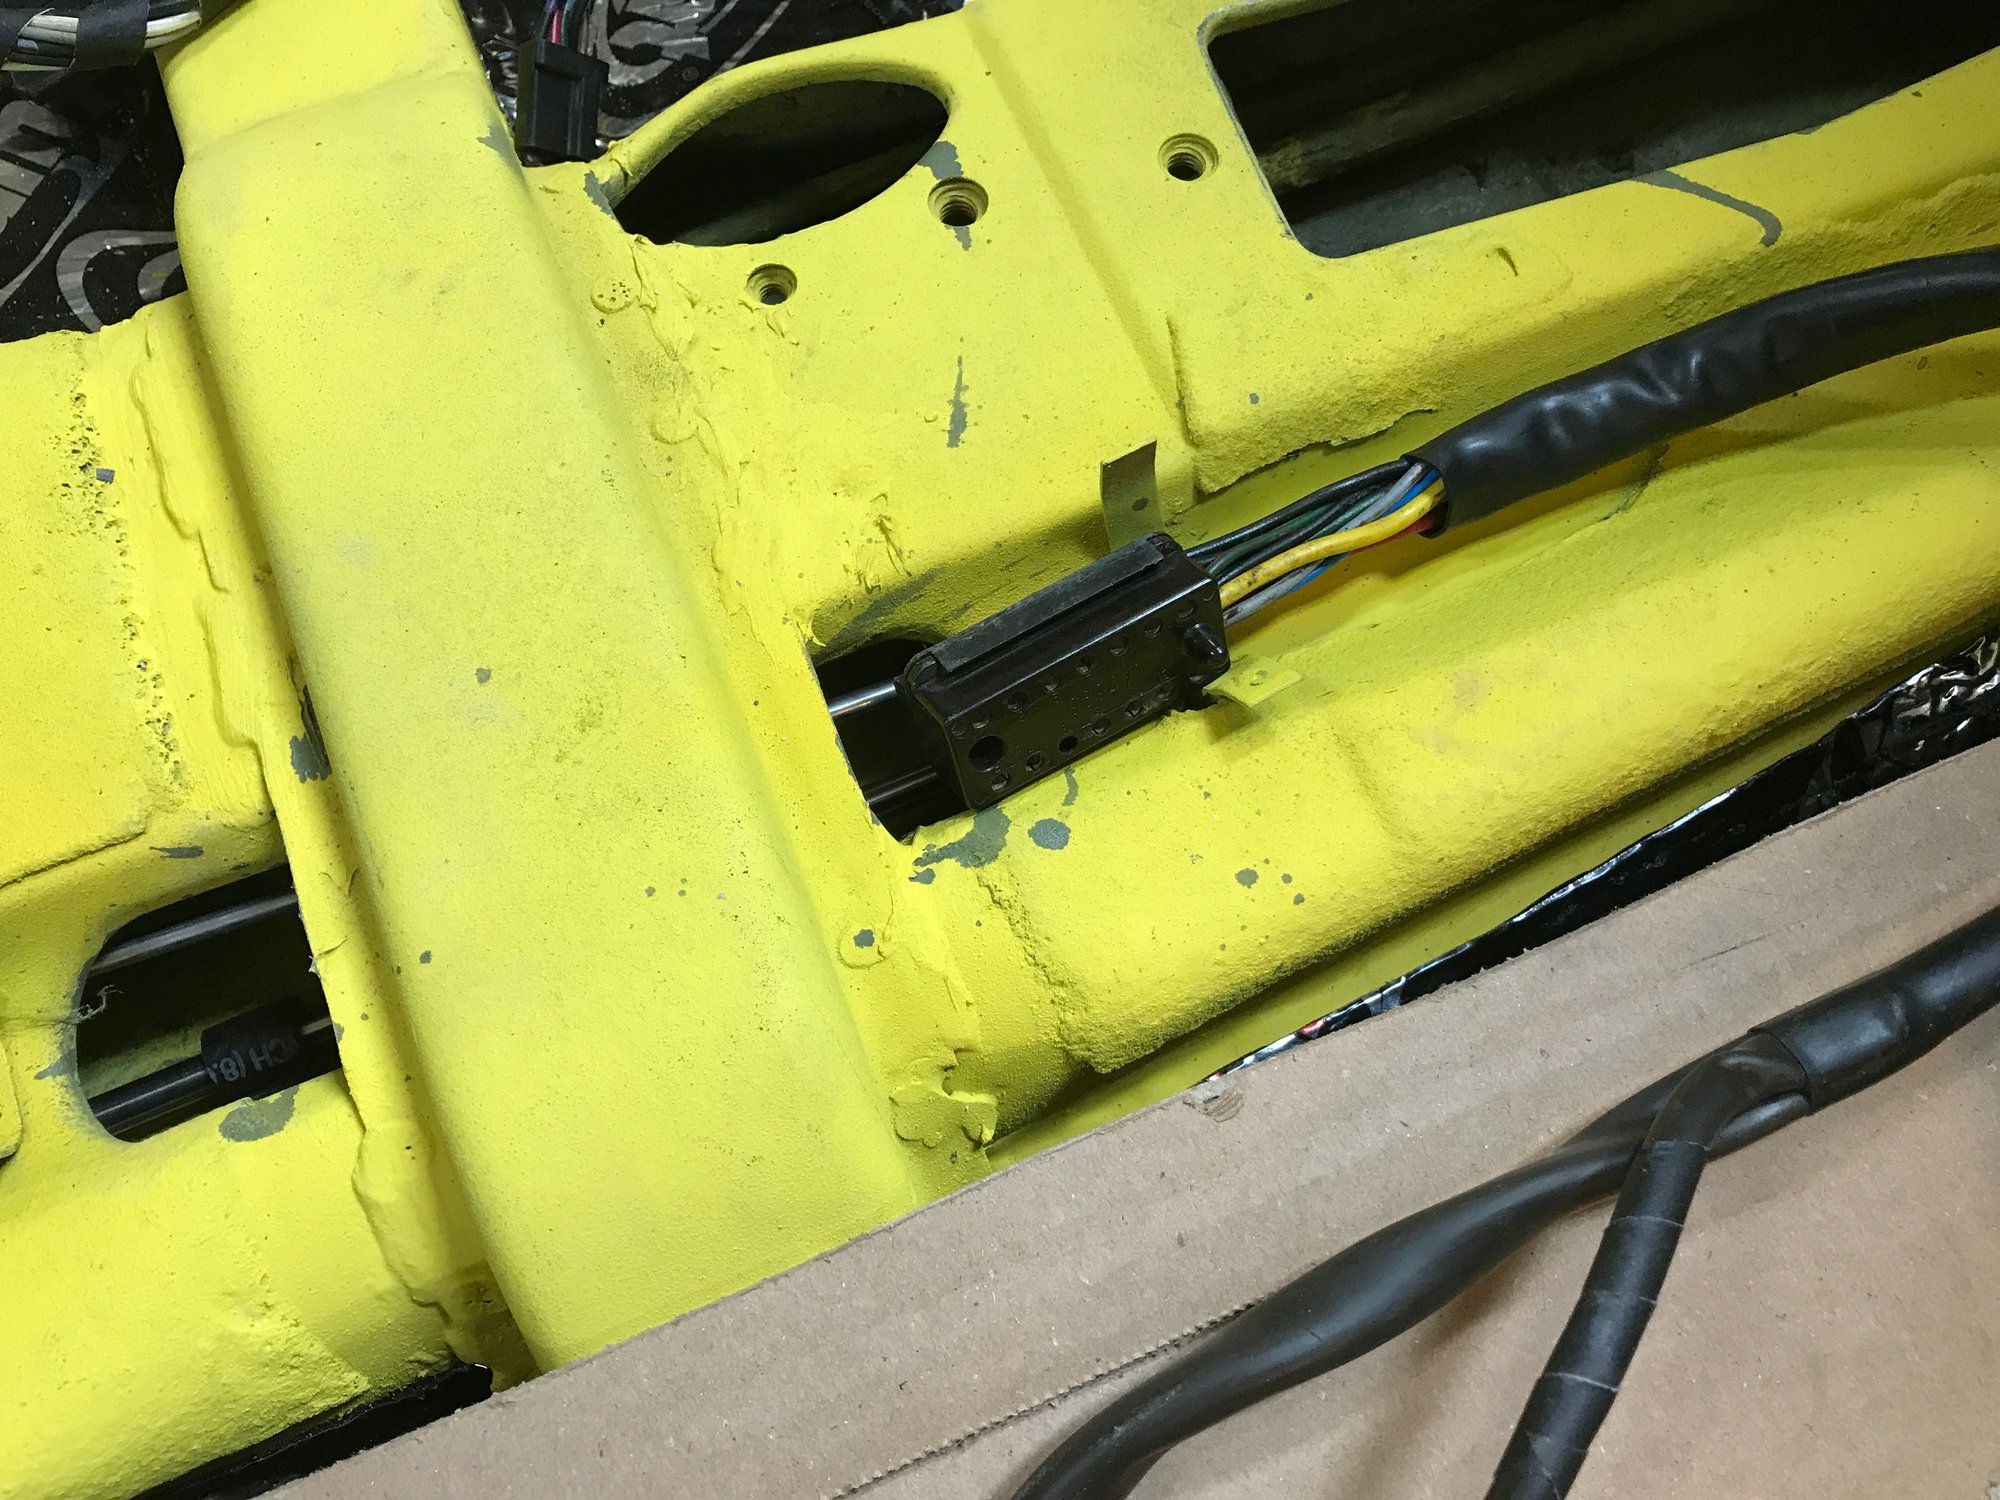
Tight fit for the big plug.
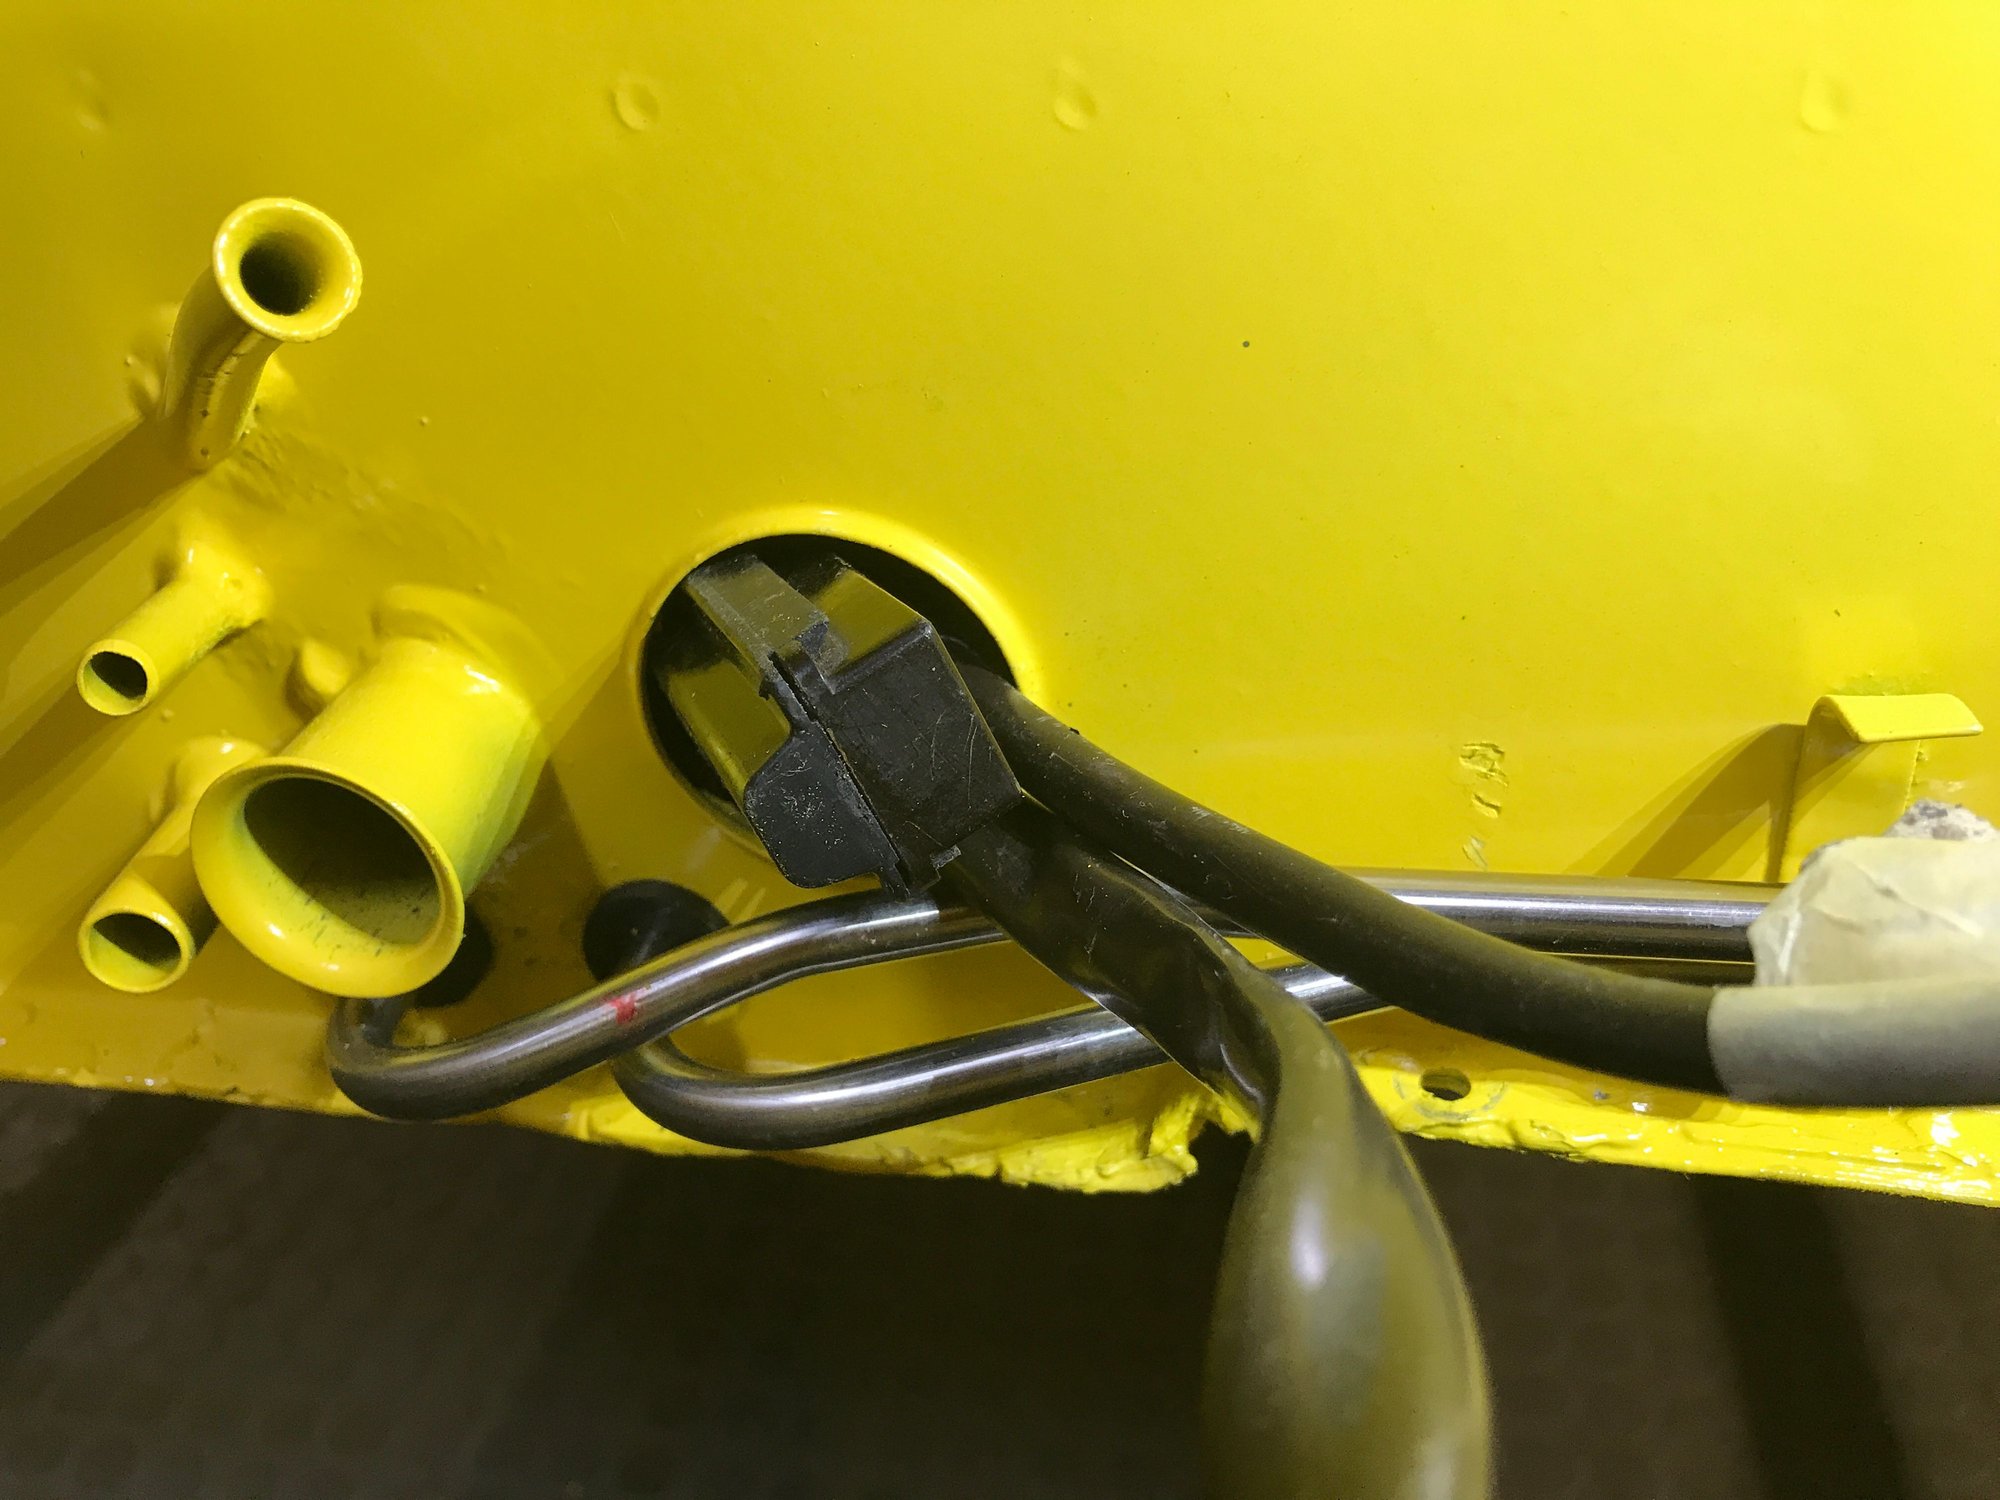
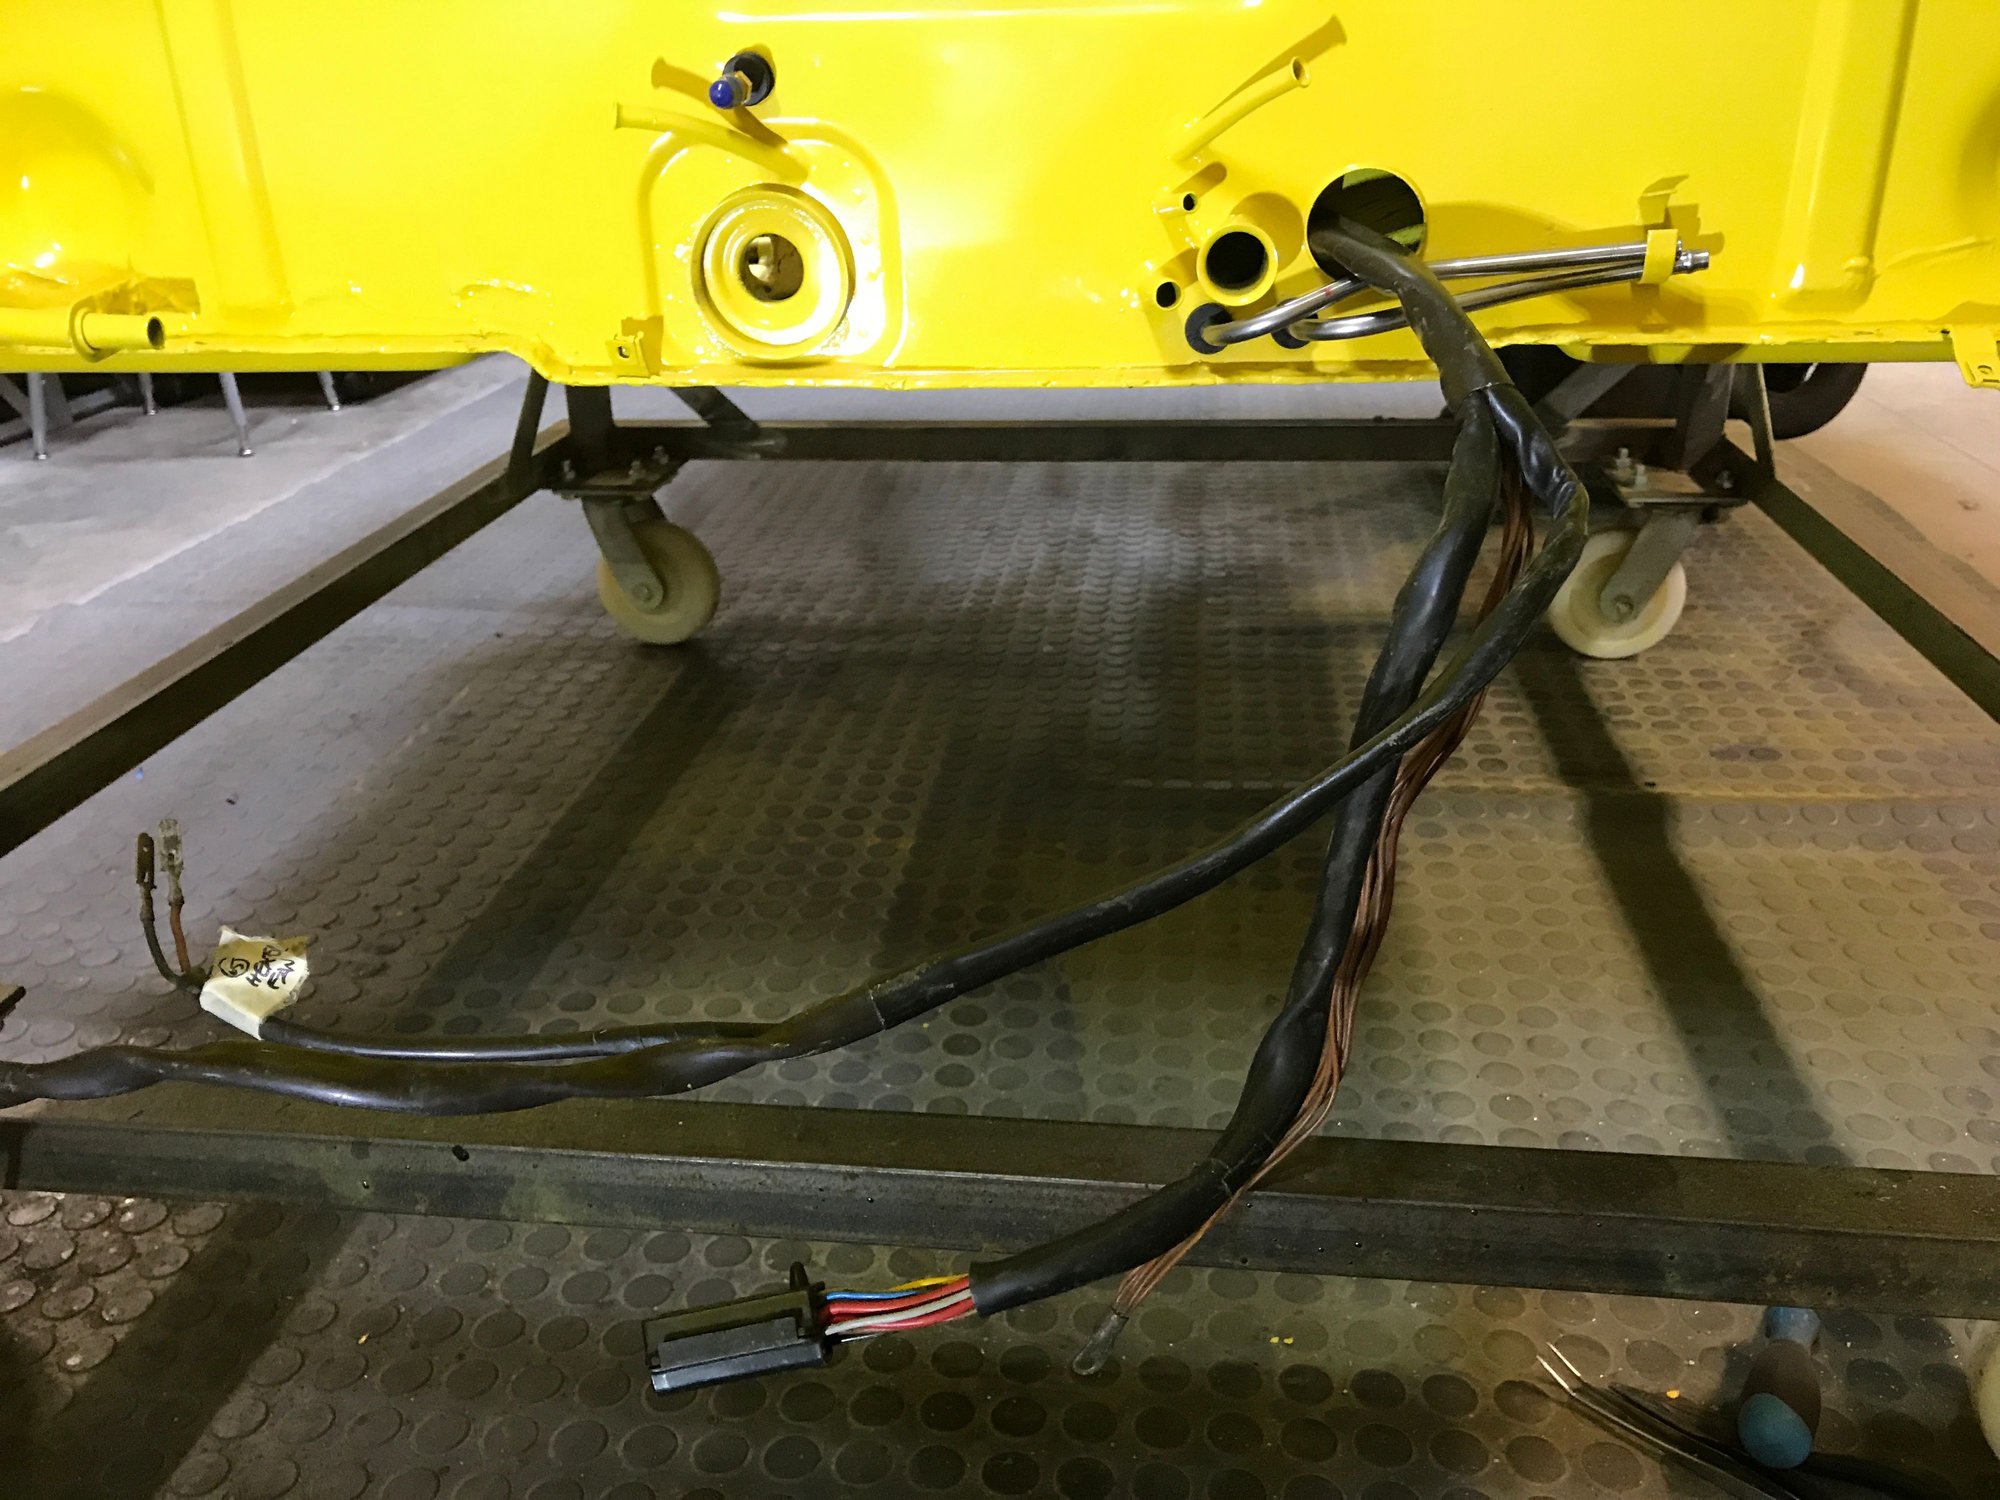
Battery leads.
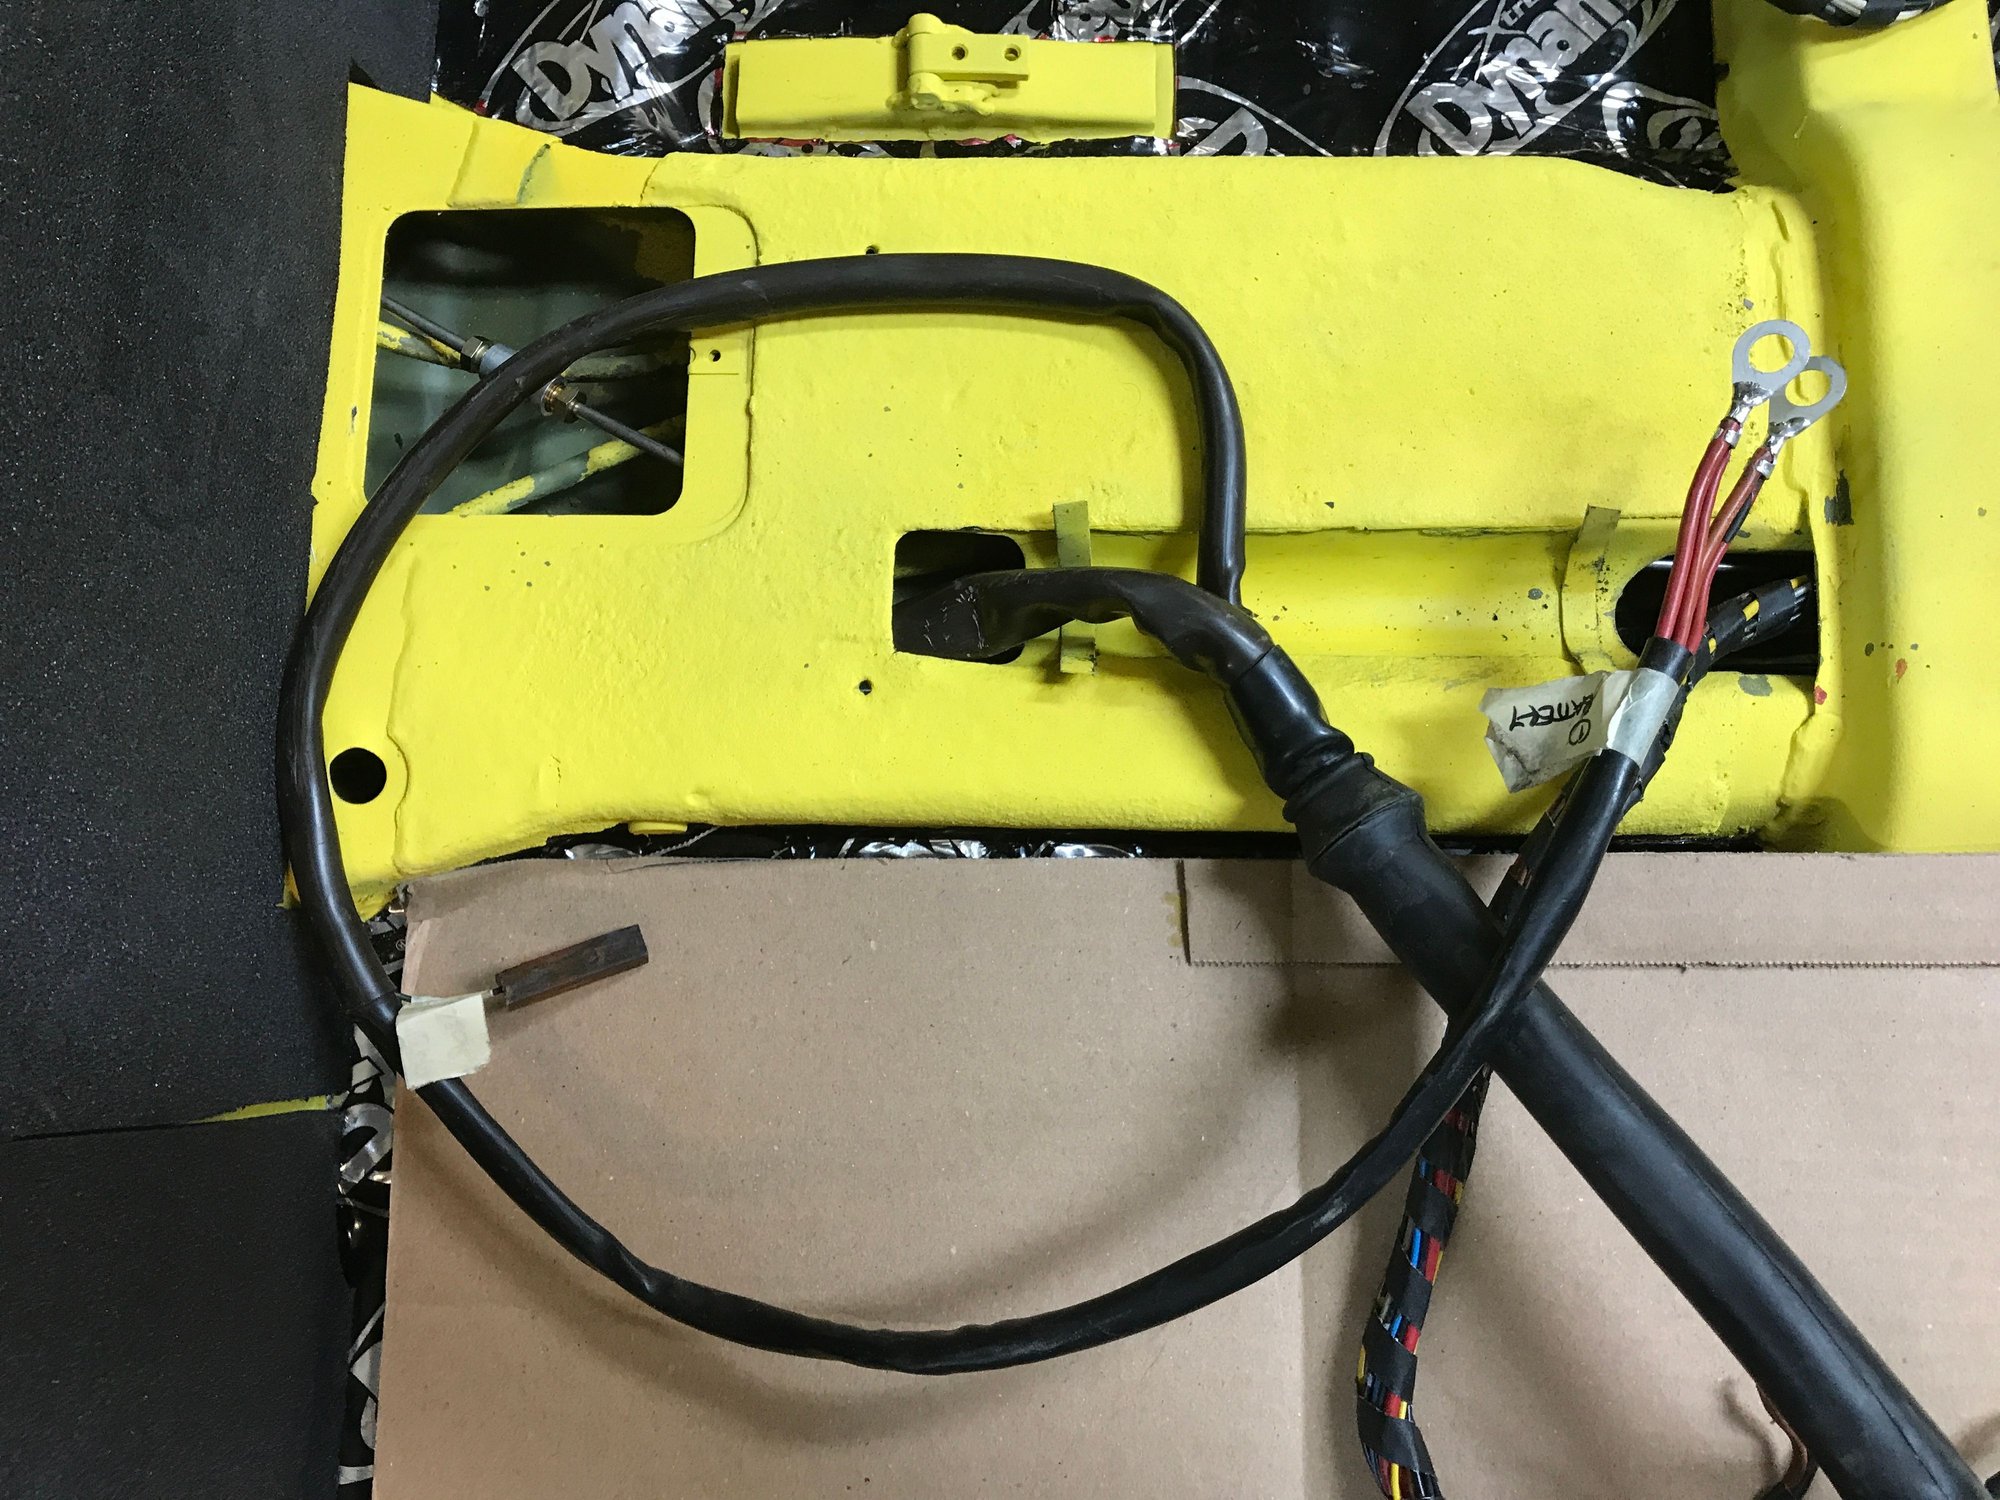
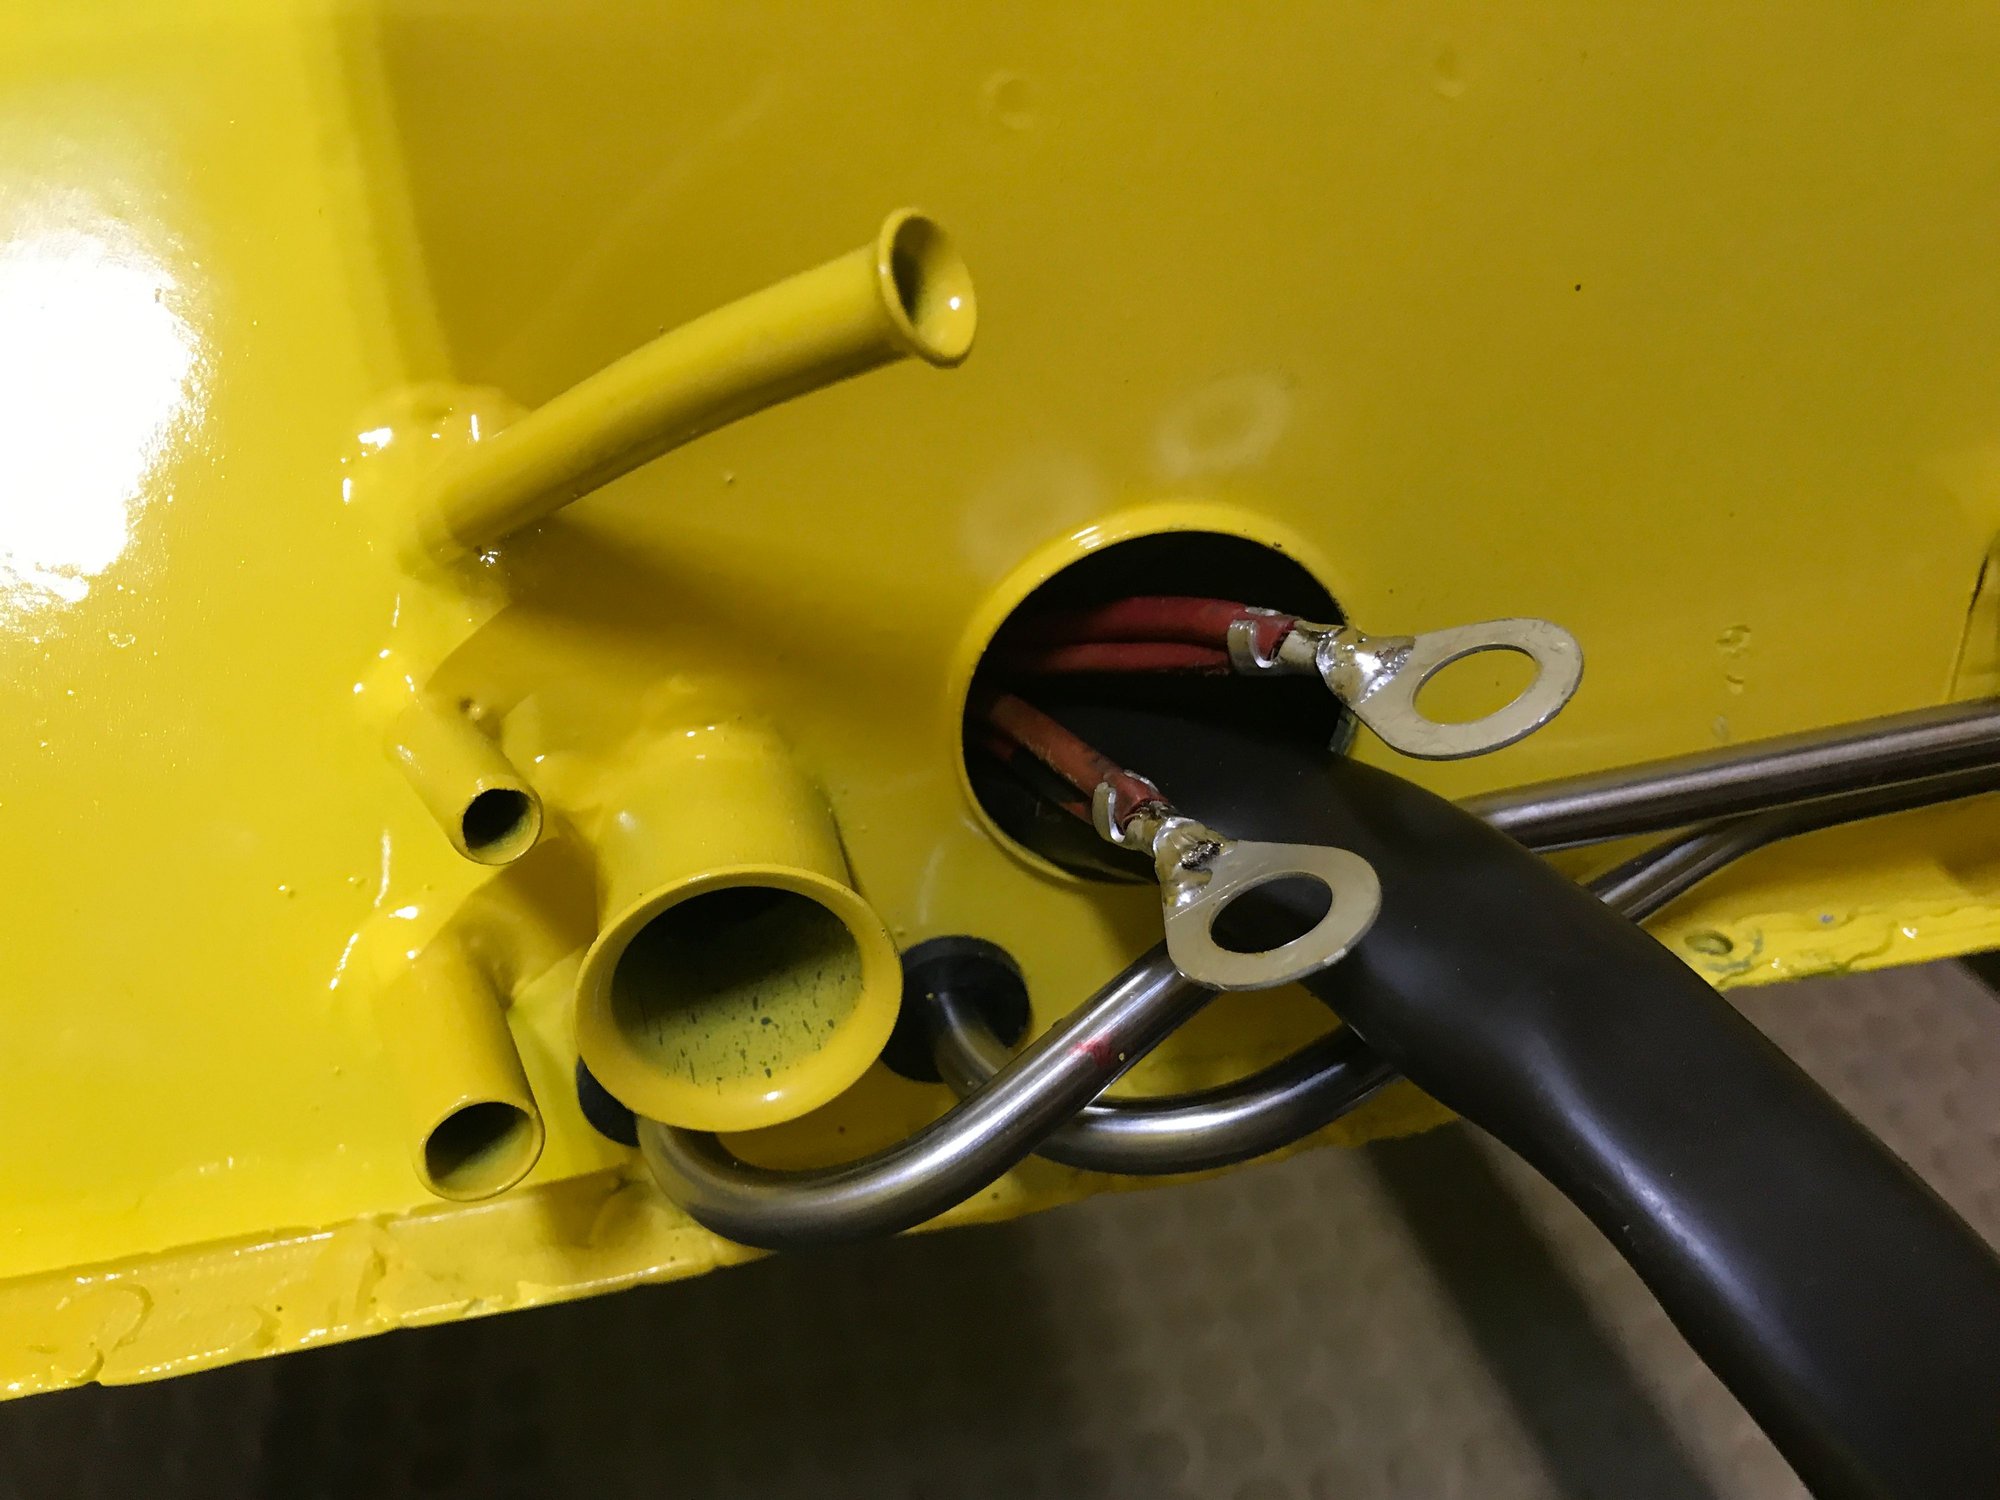
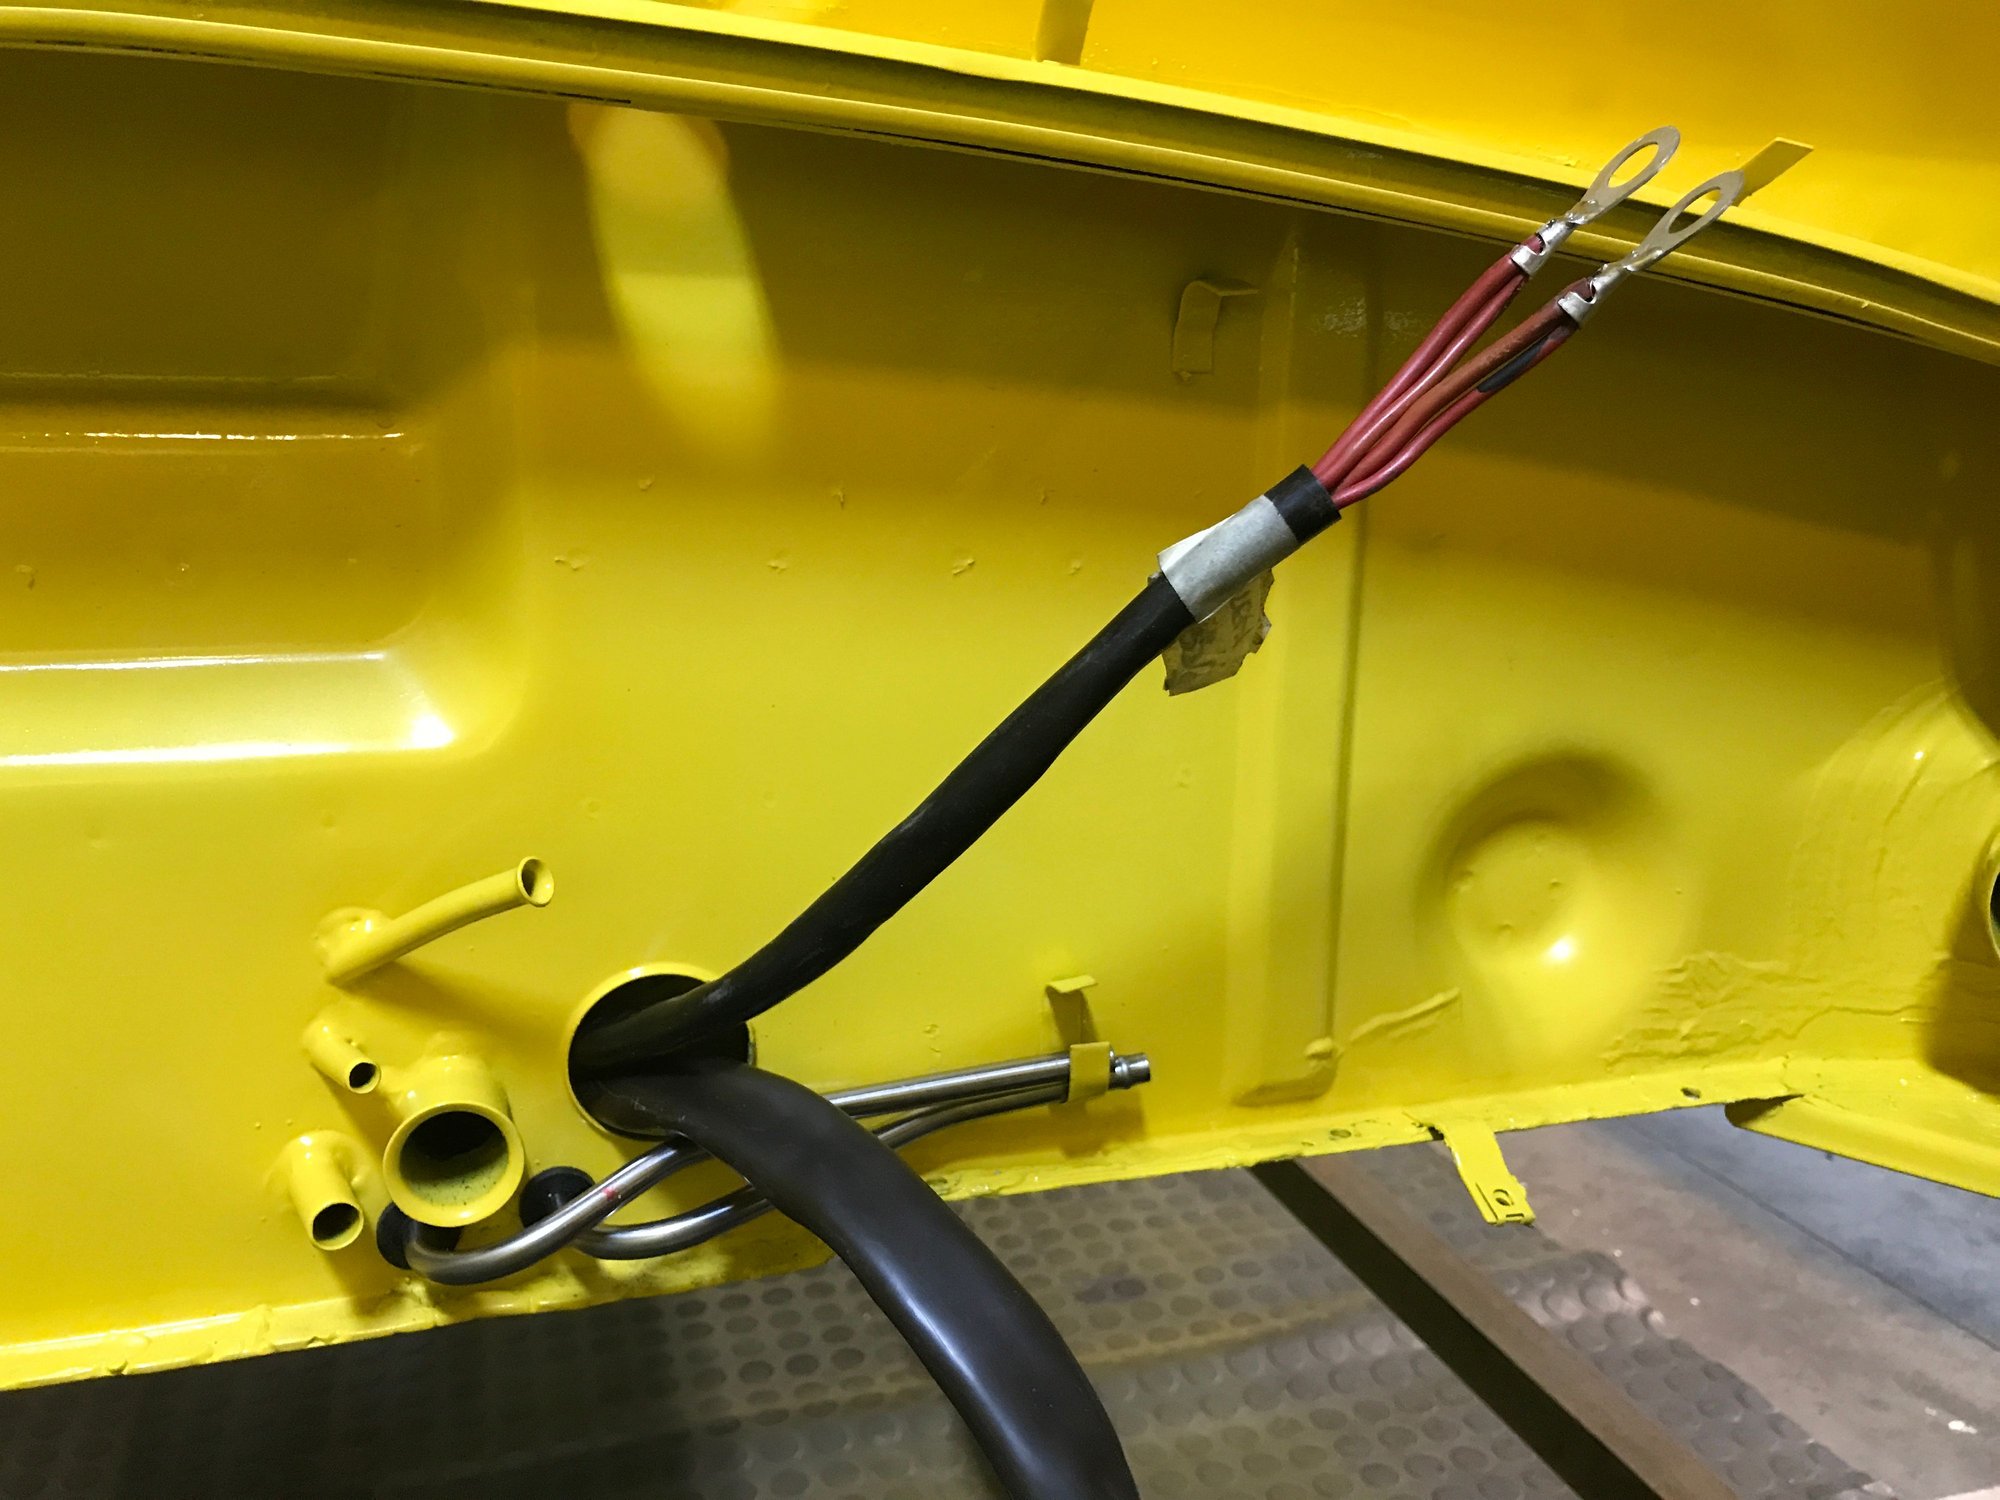
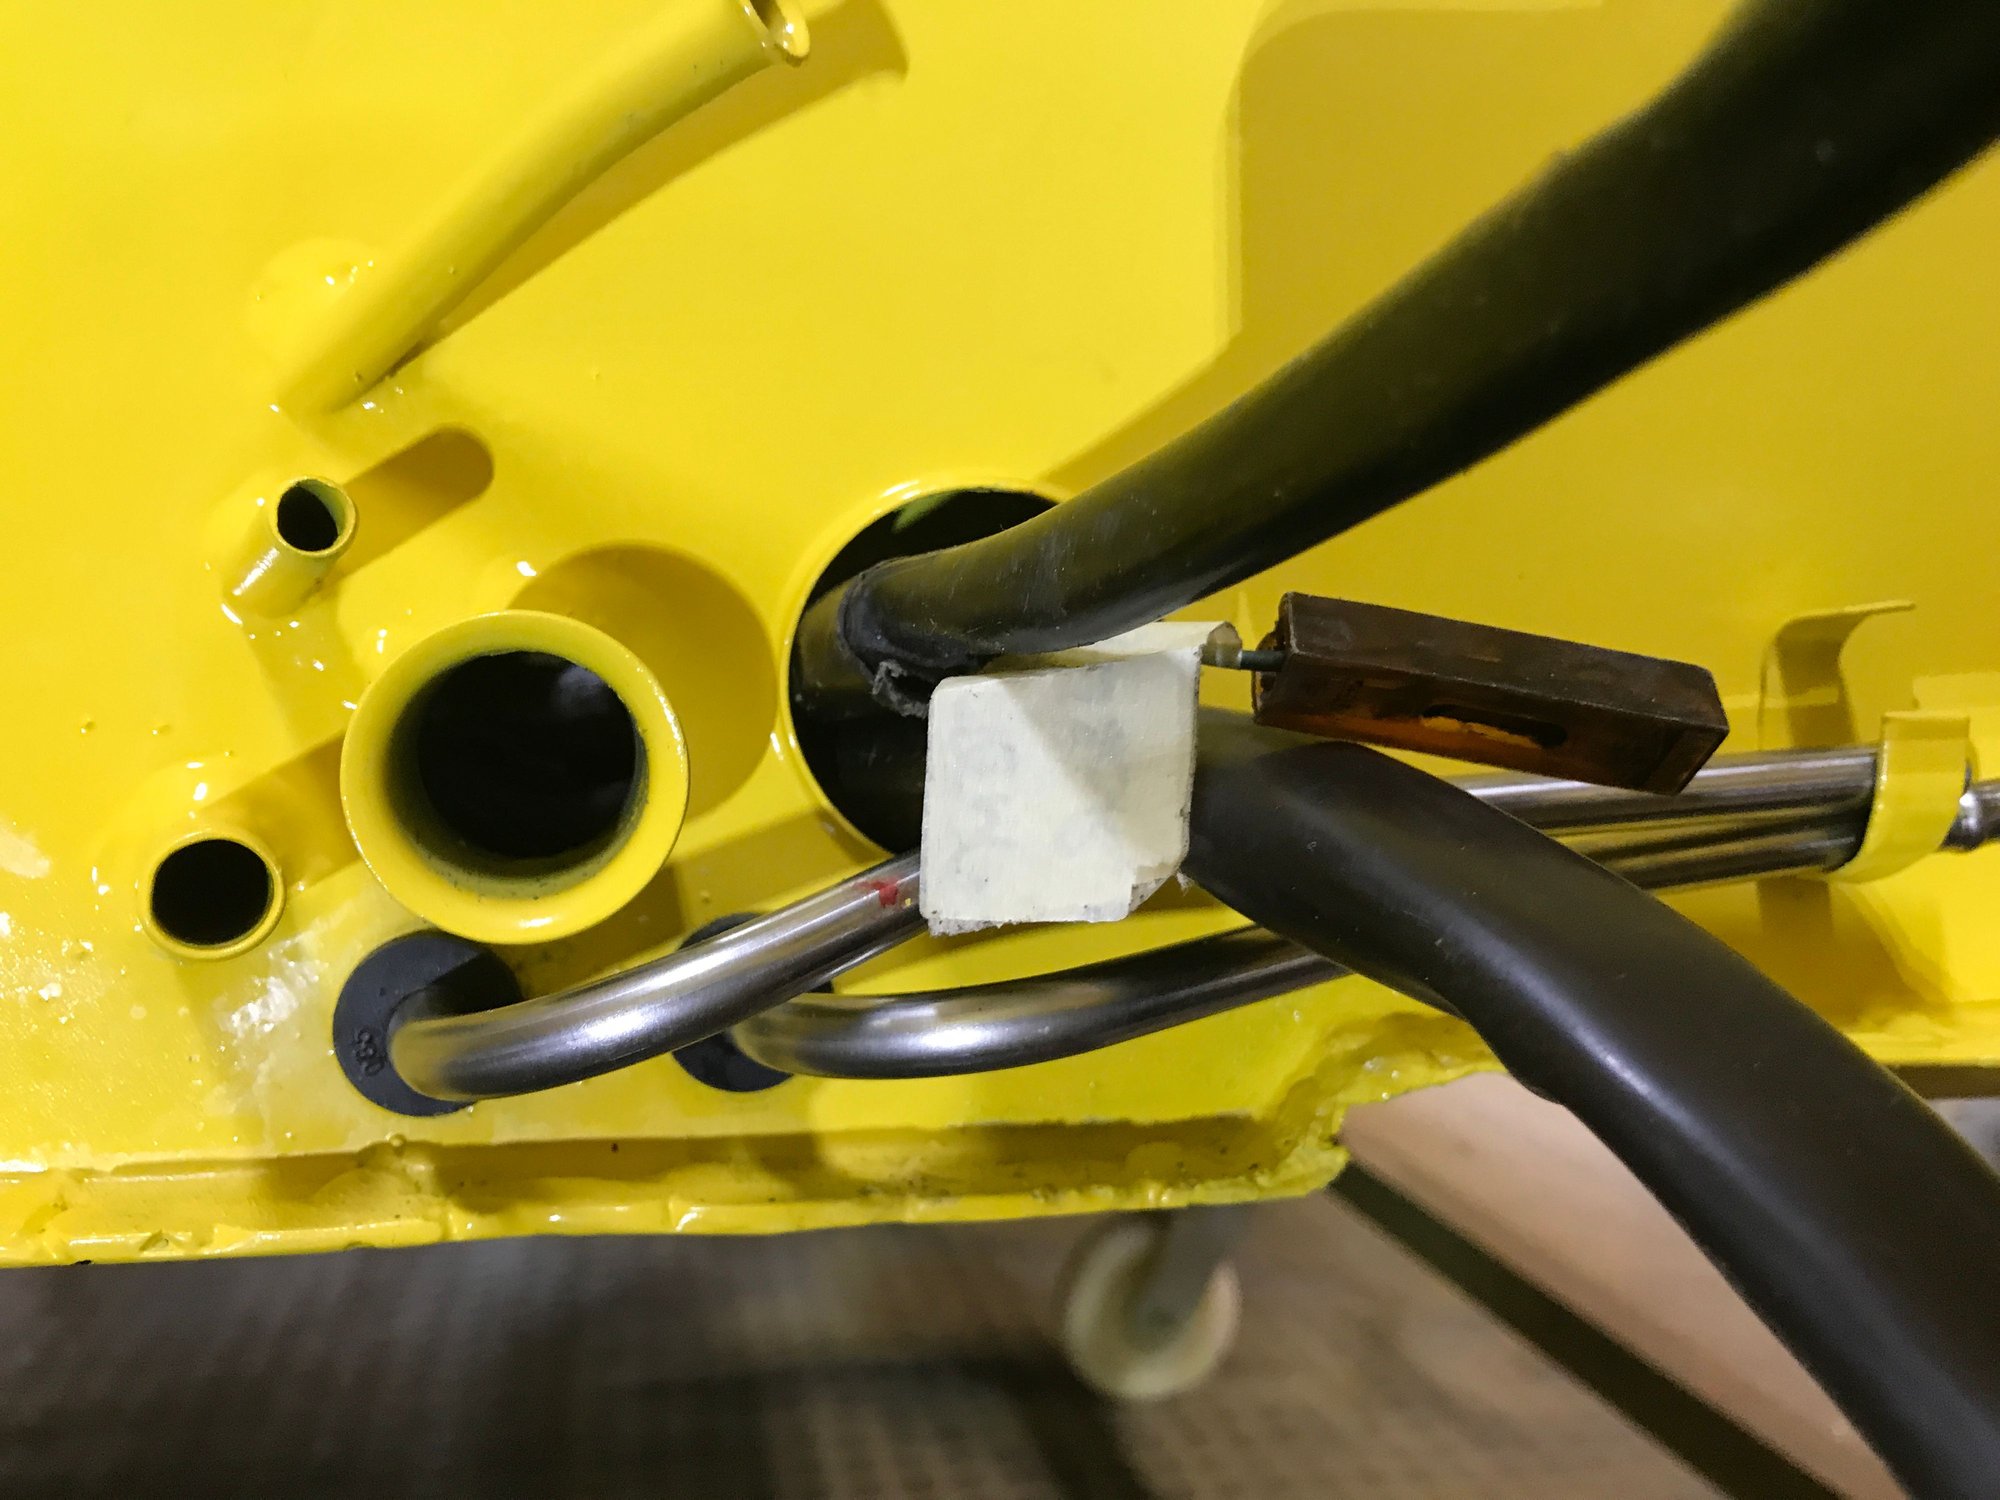
Here comes the snorkel.
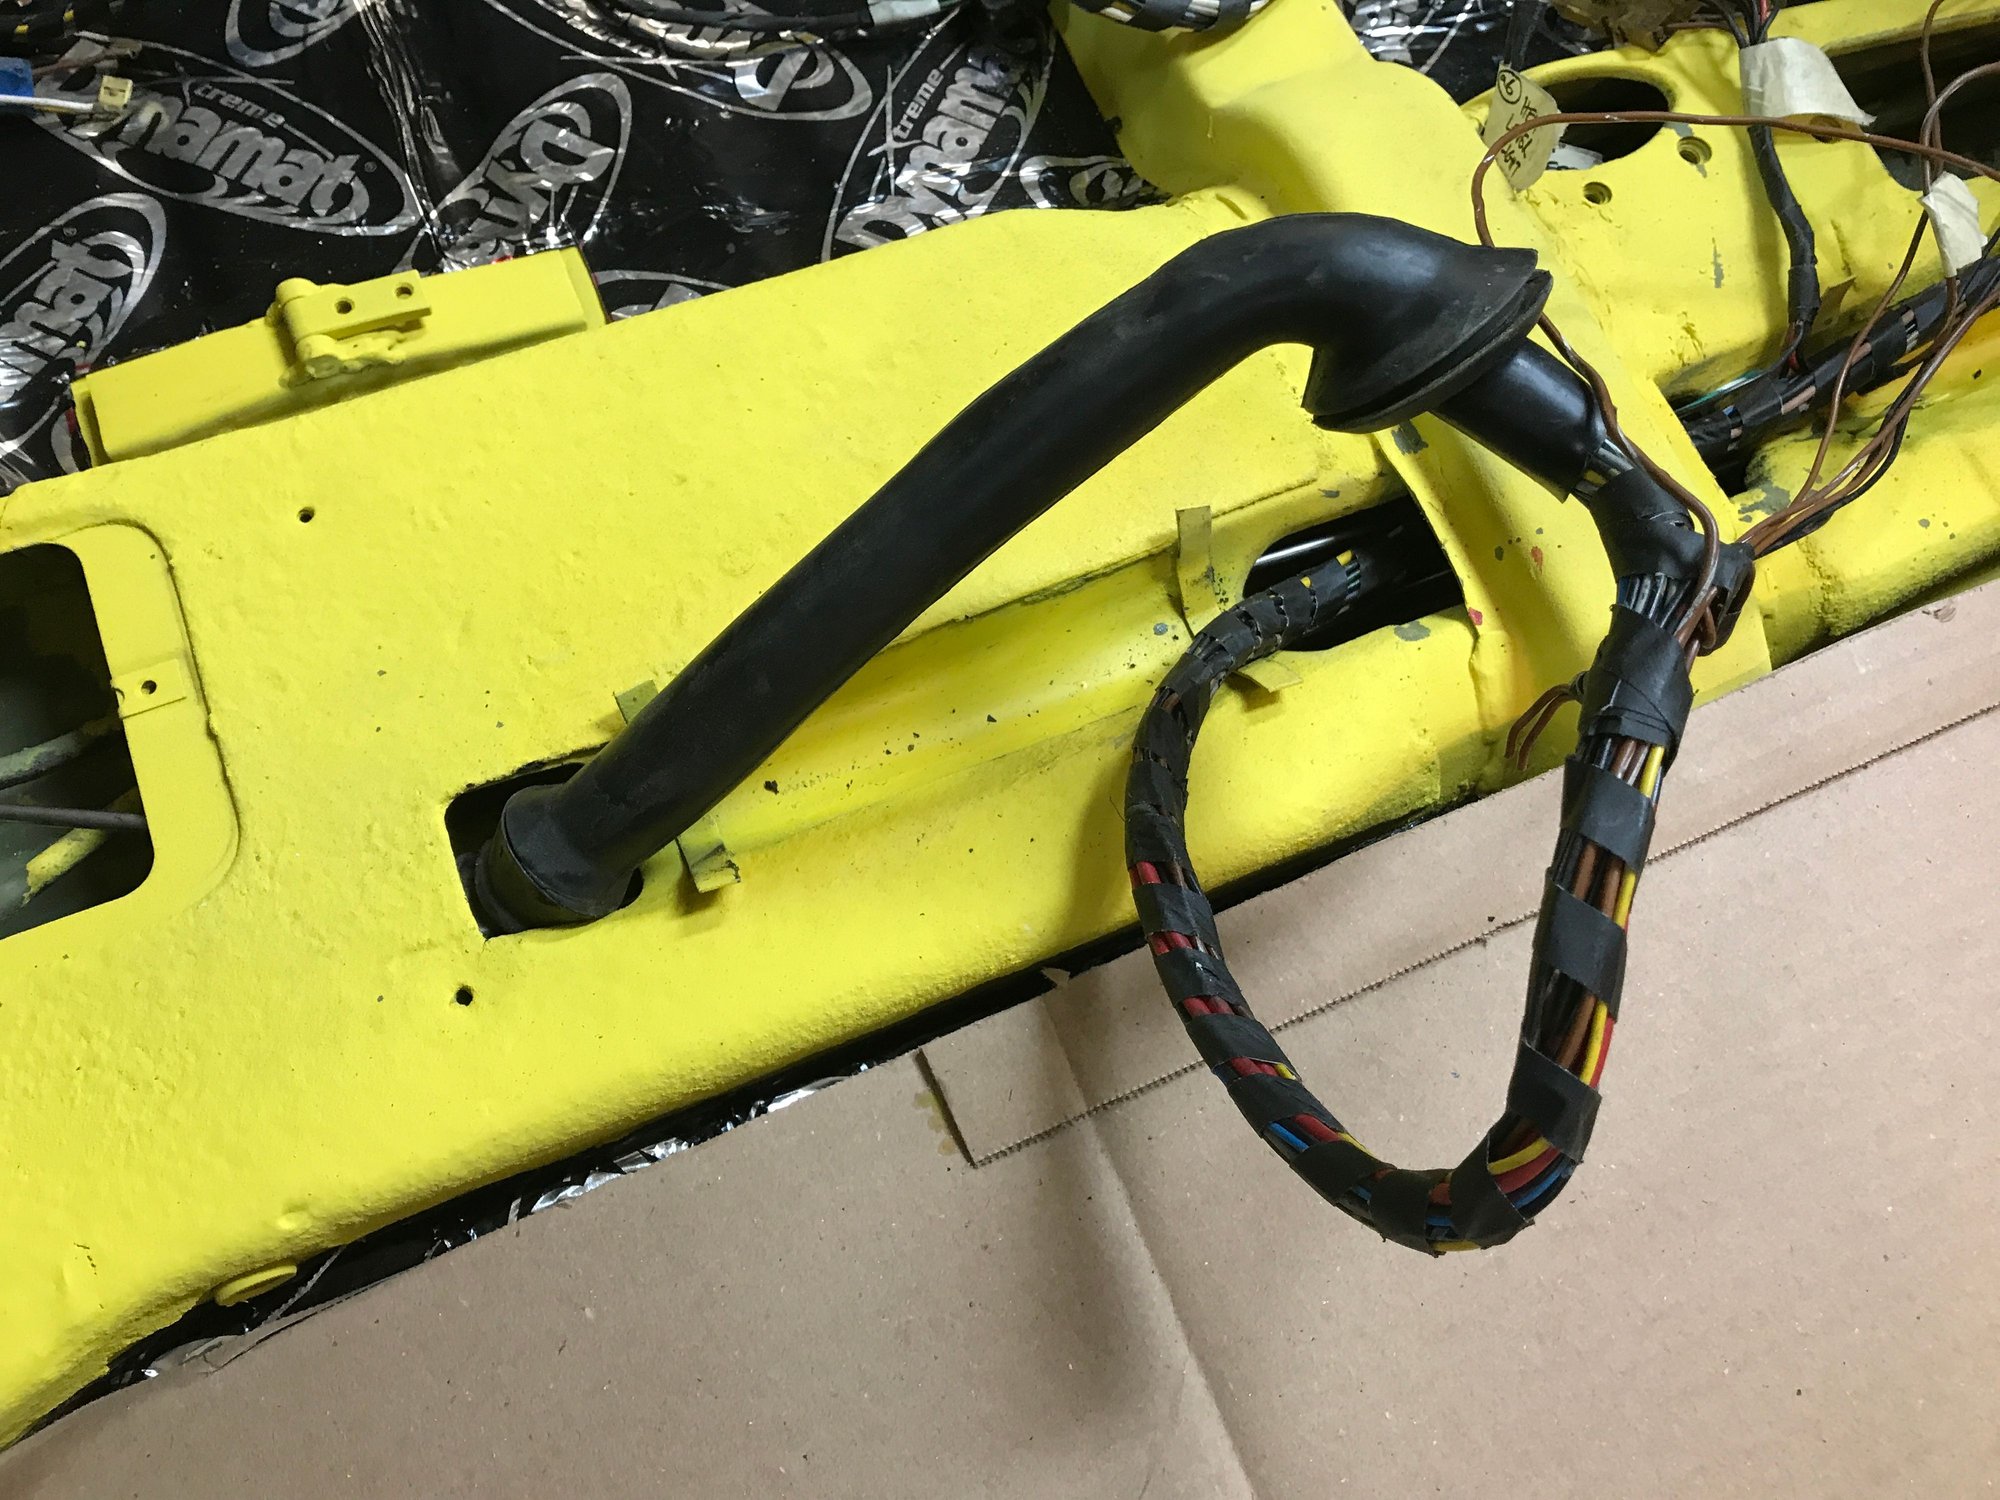
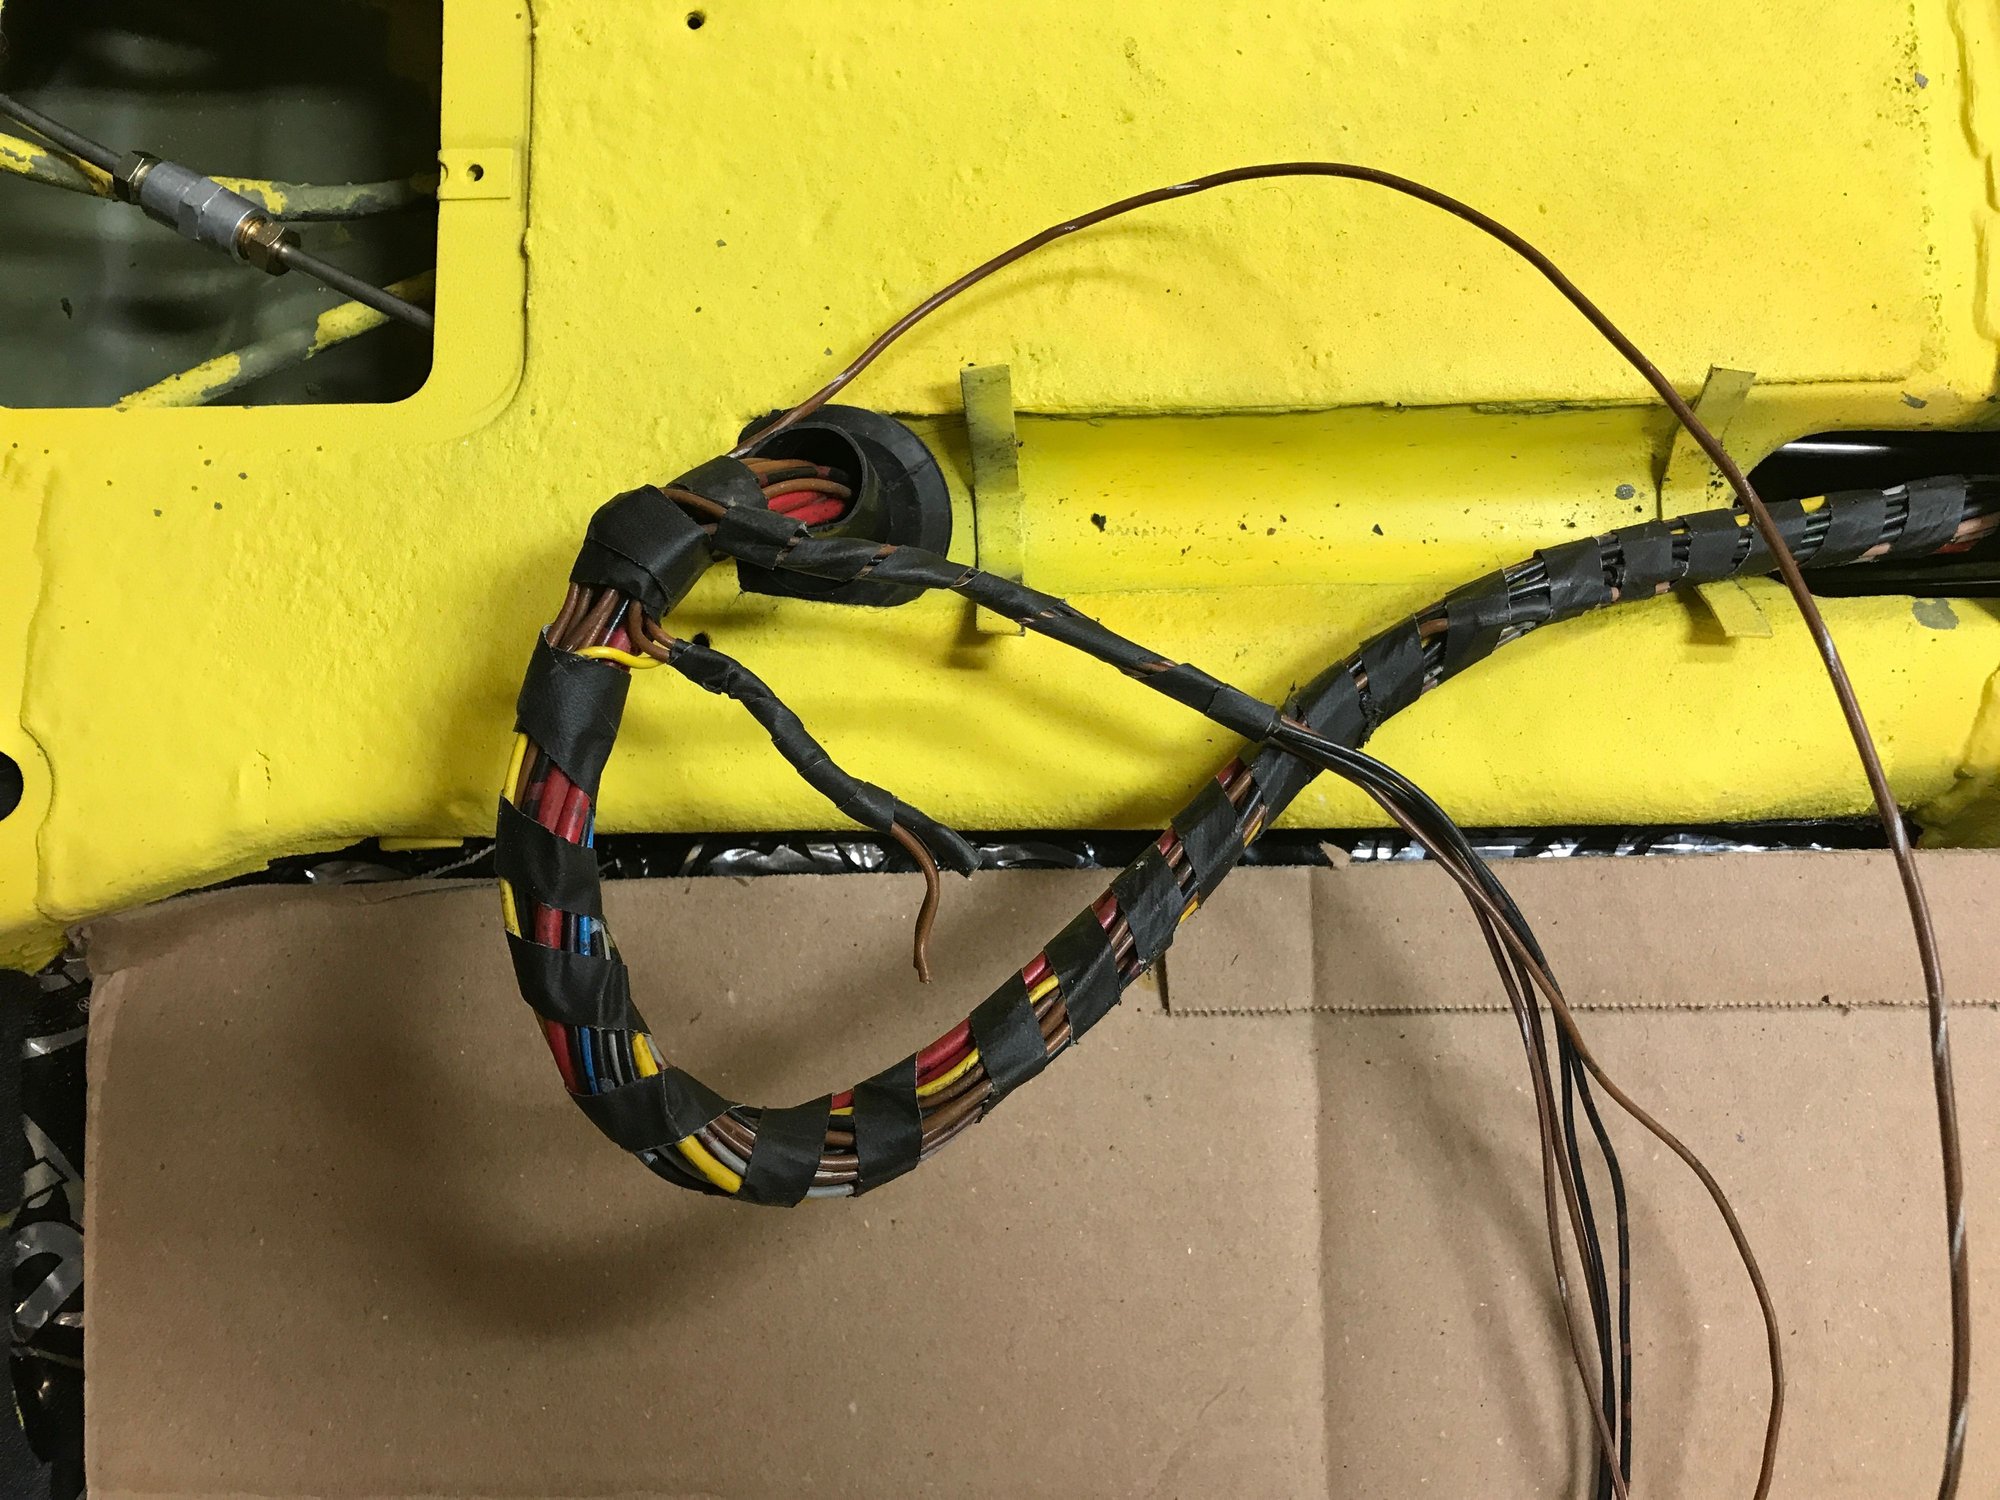
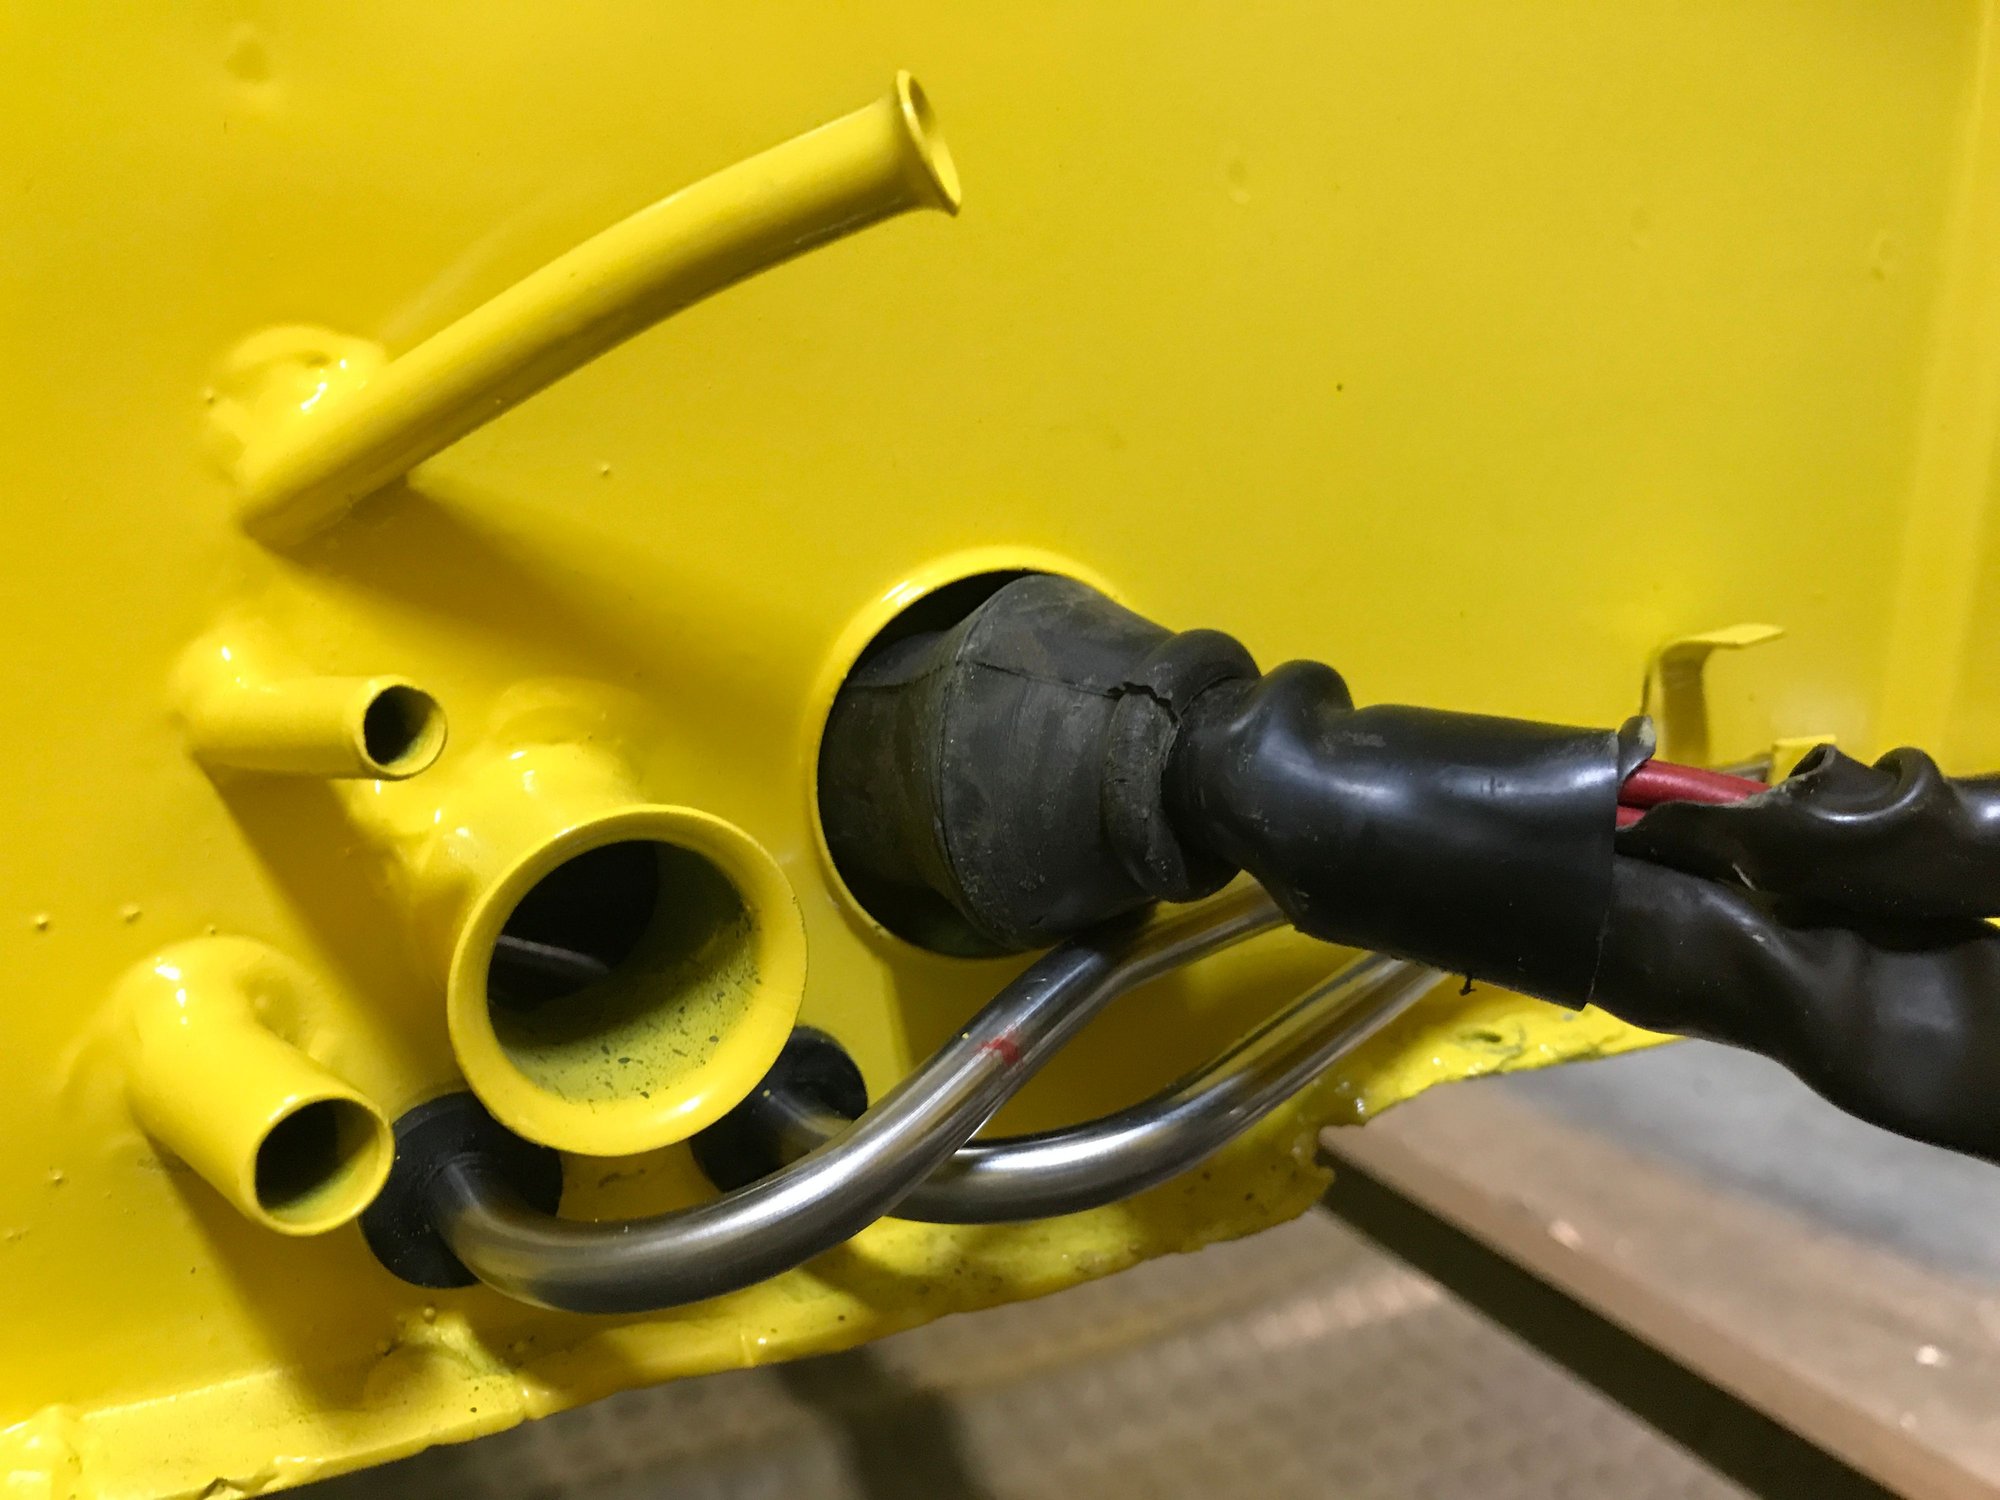
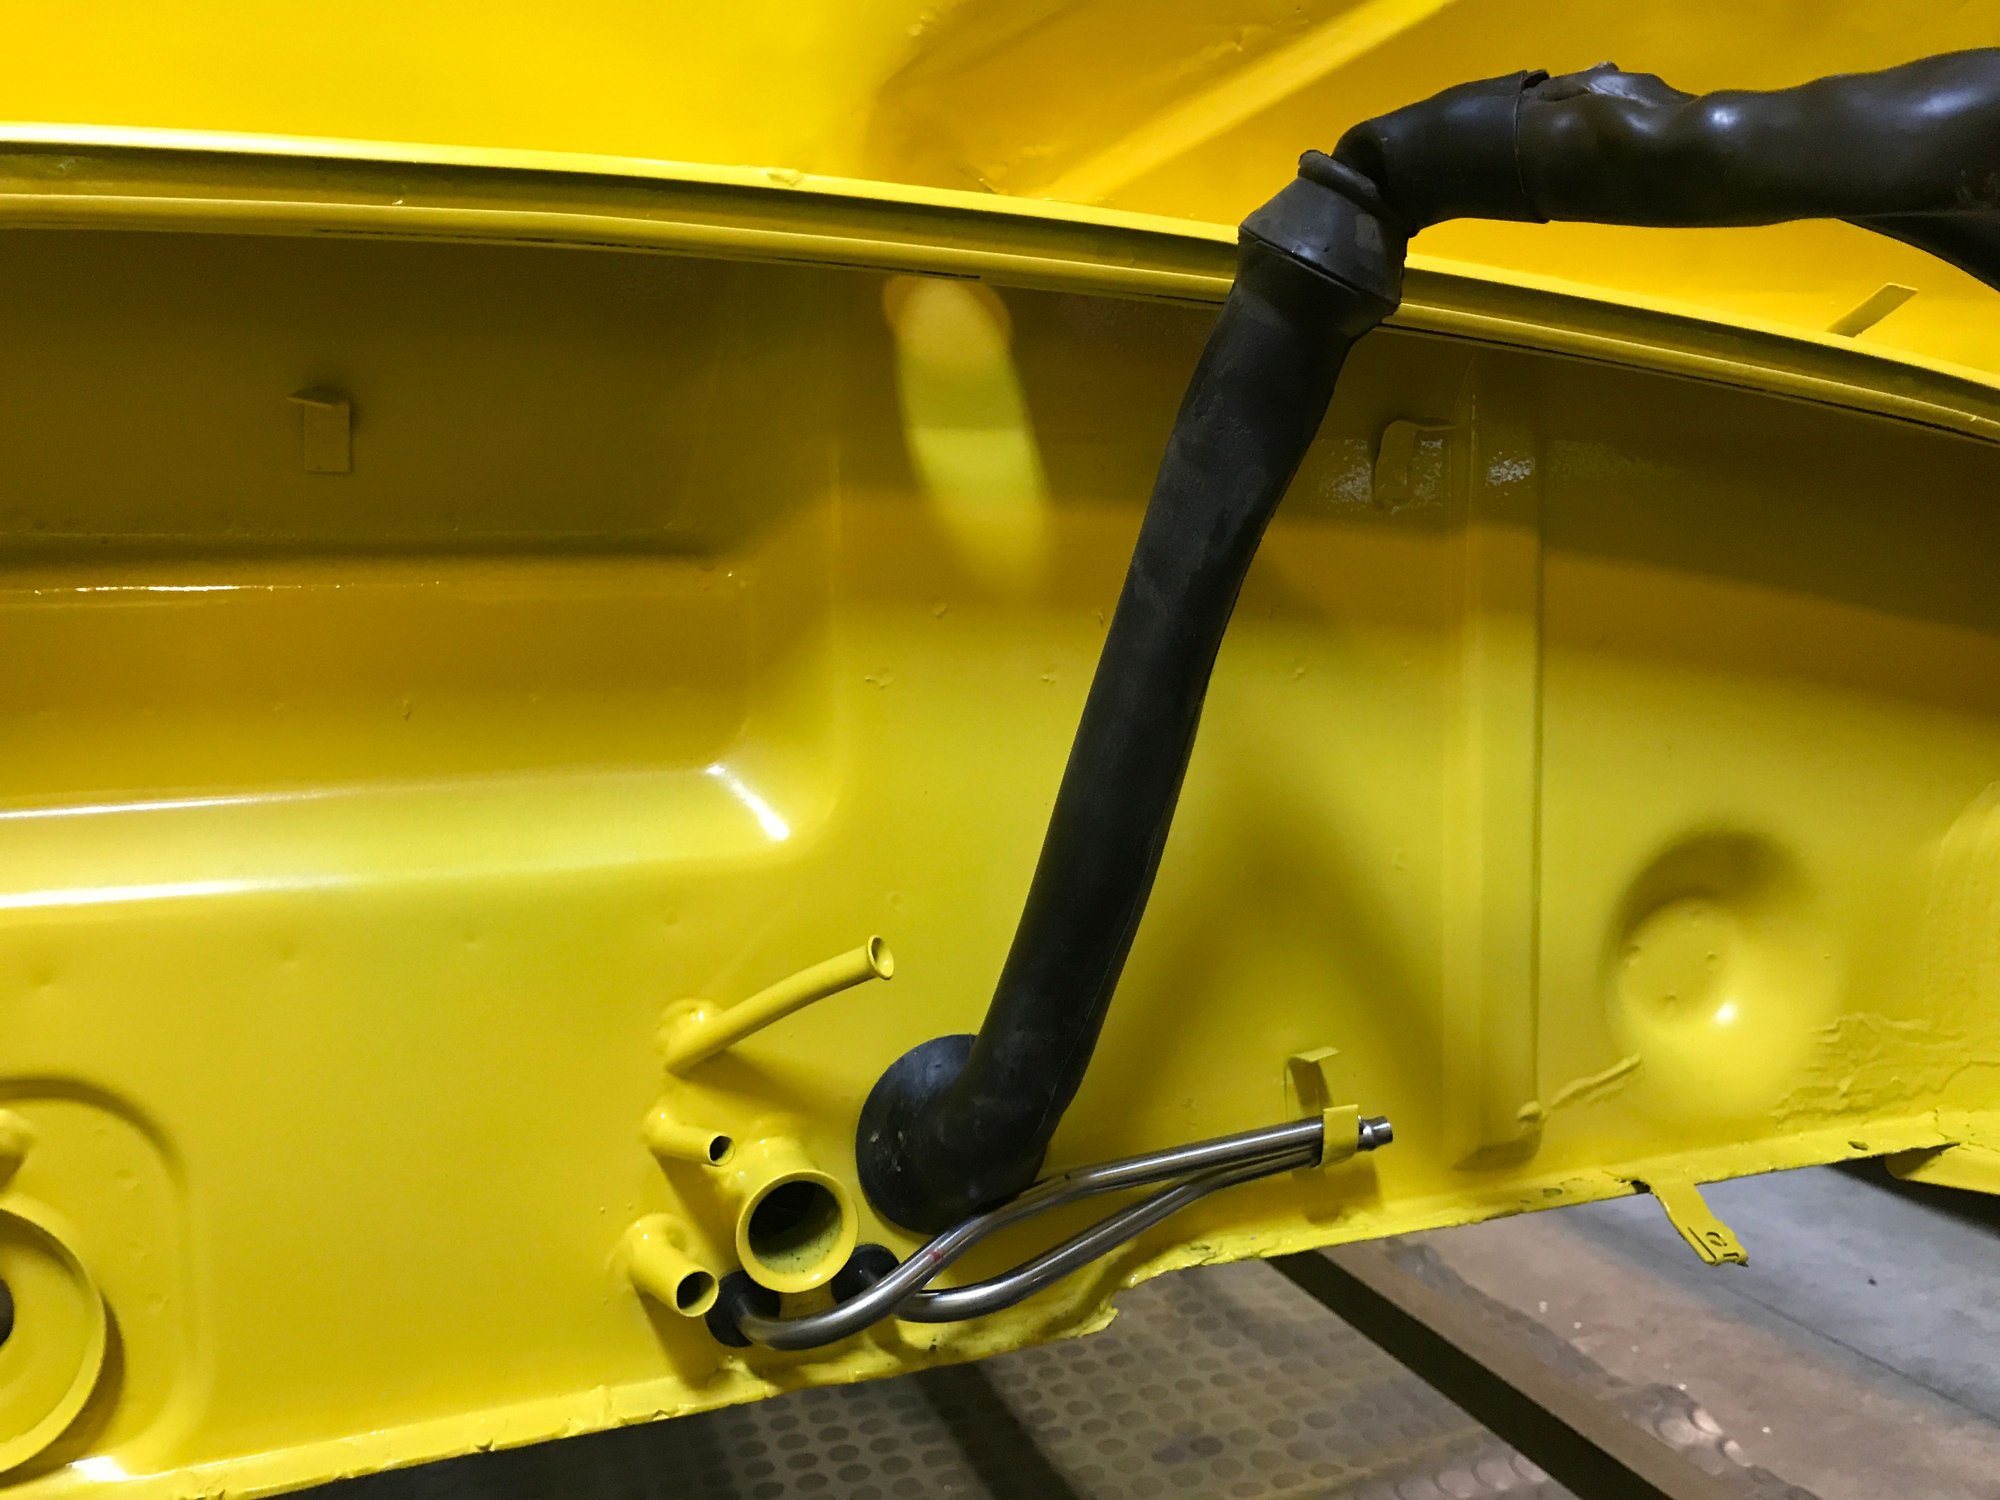
Now feeding up through the engine shelf hole.
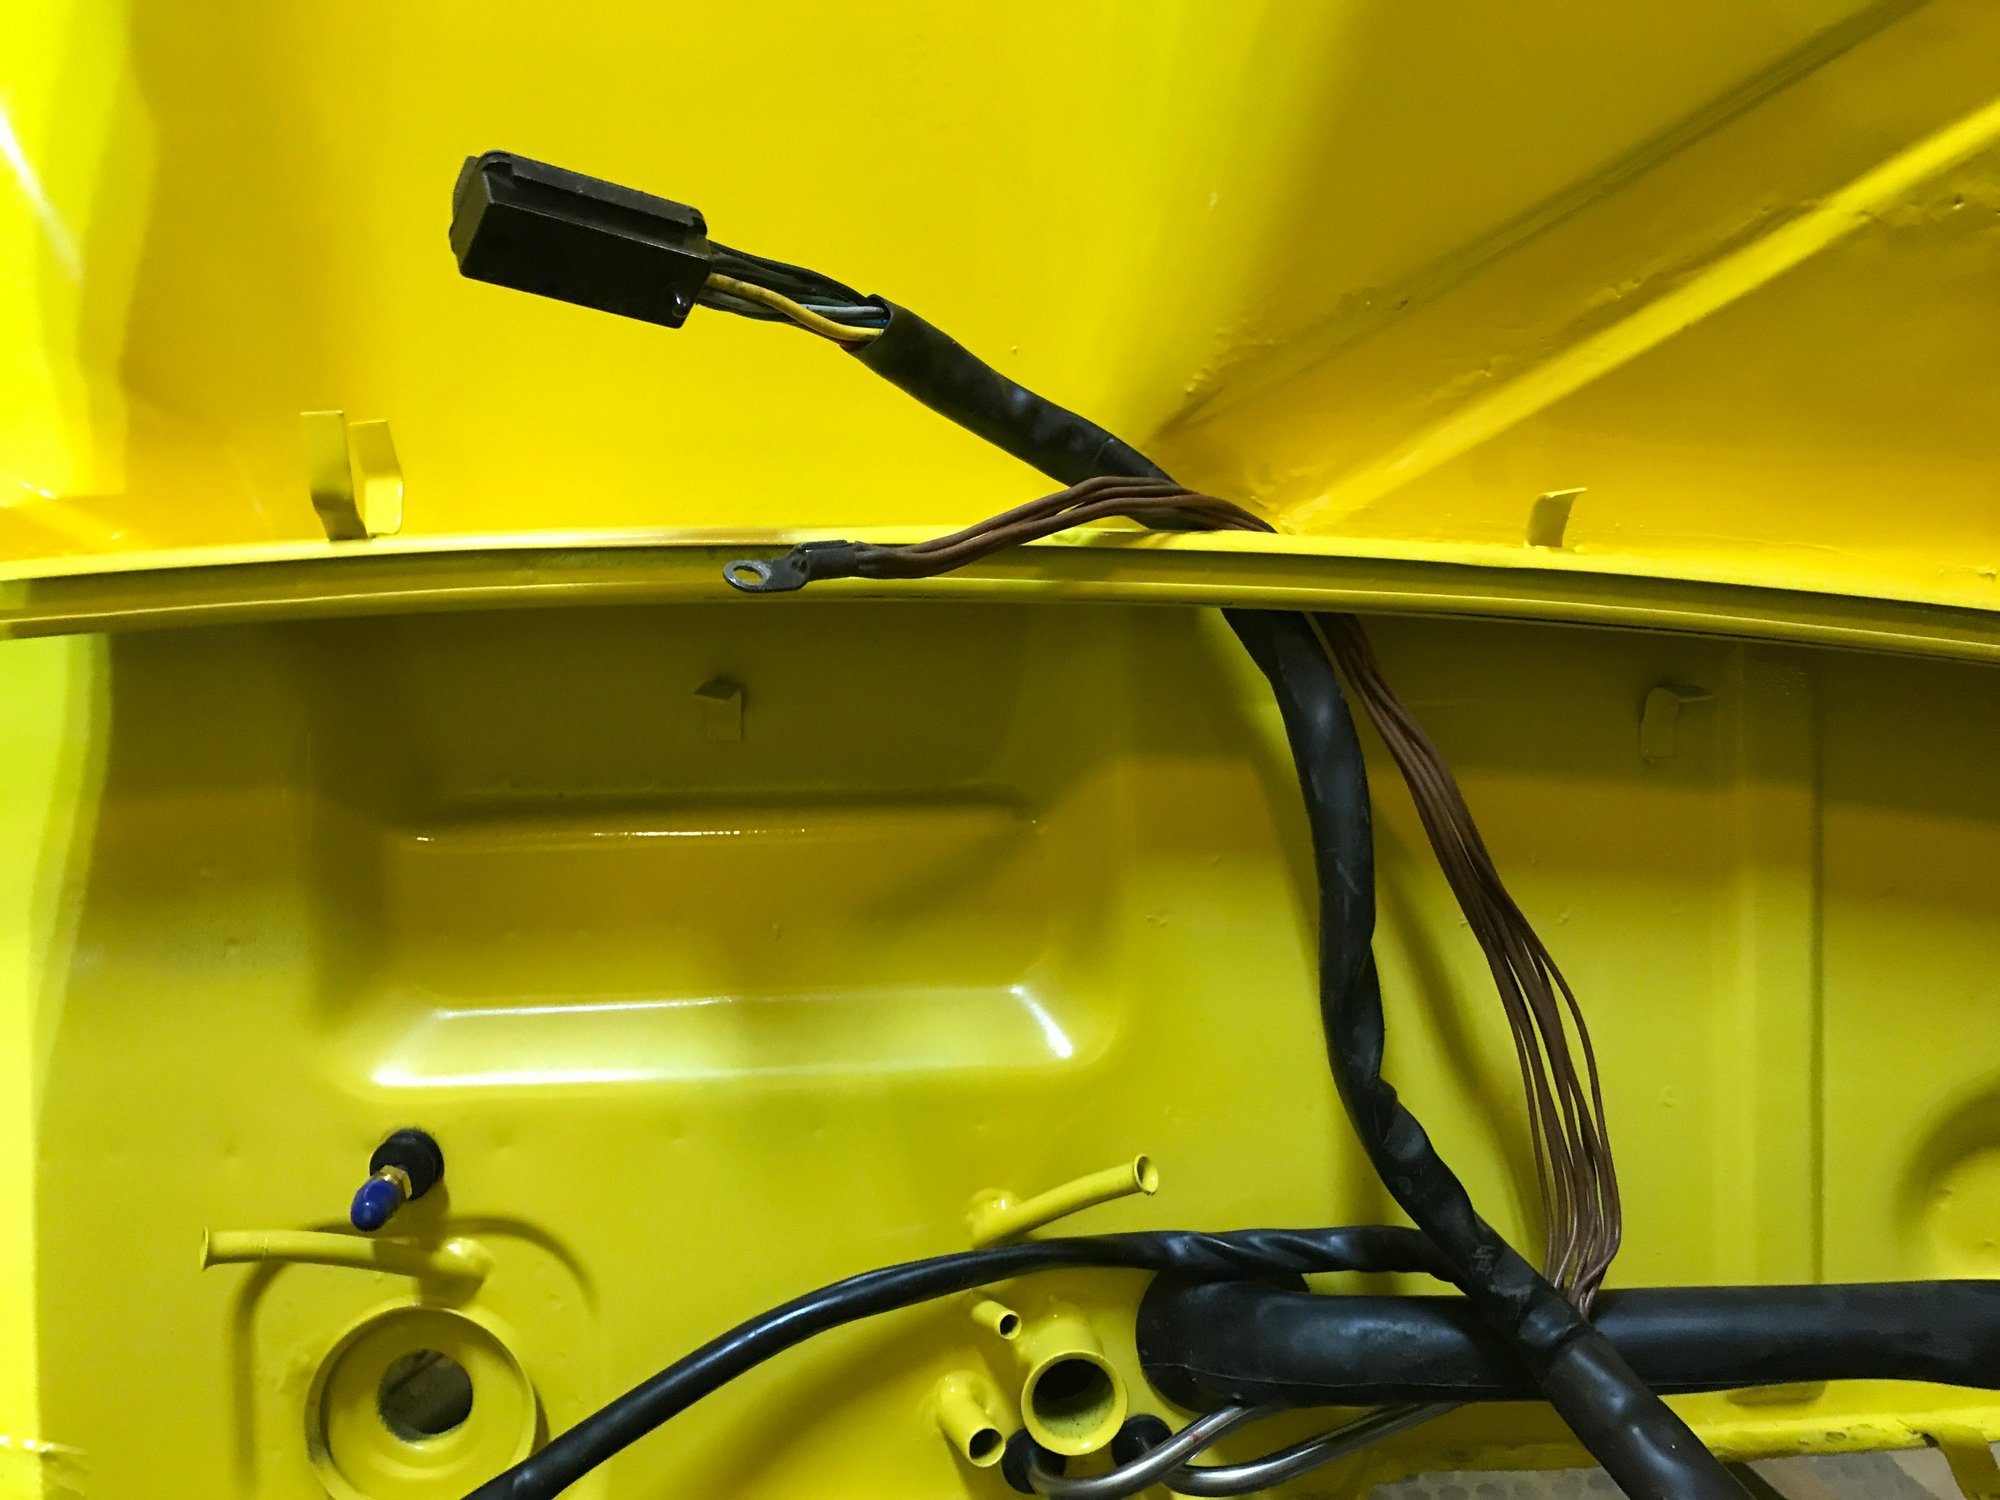
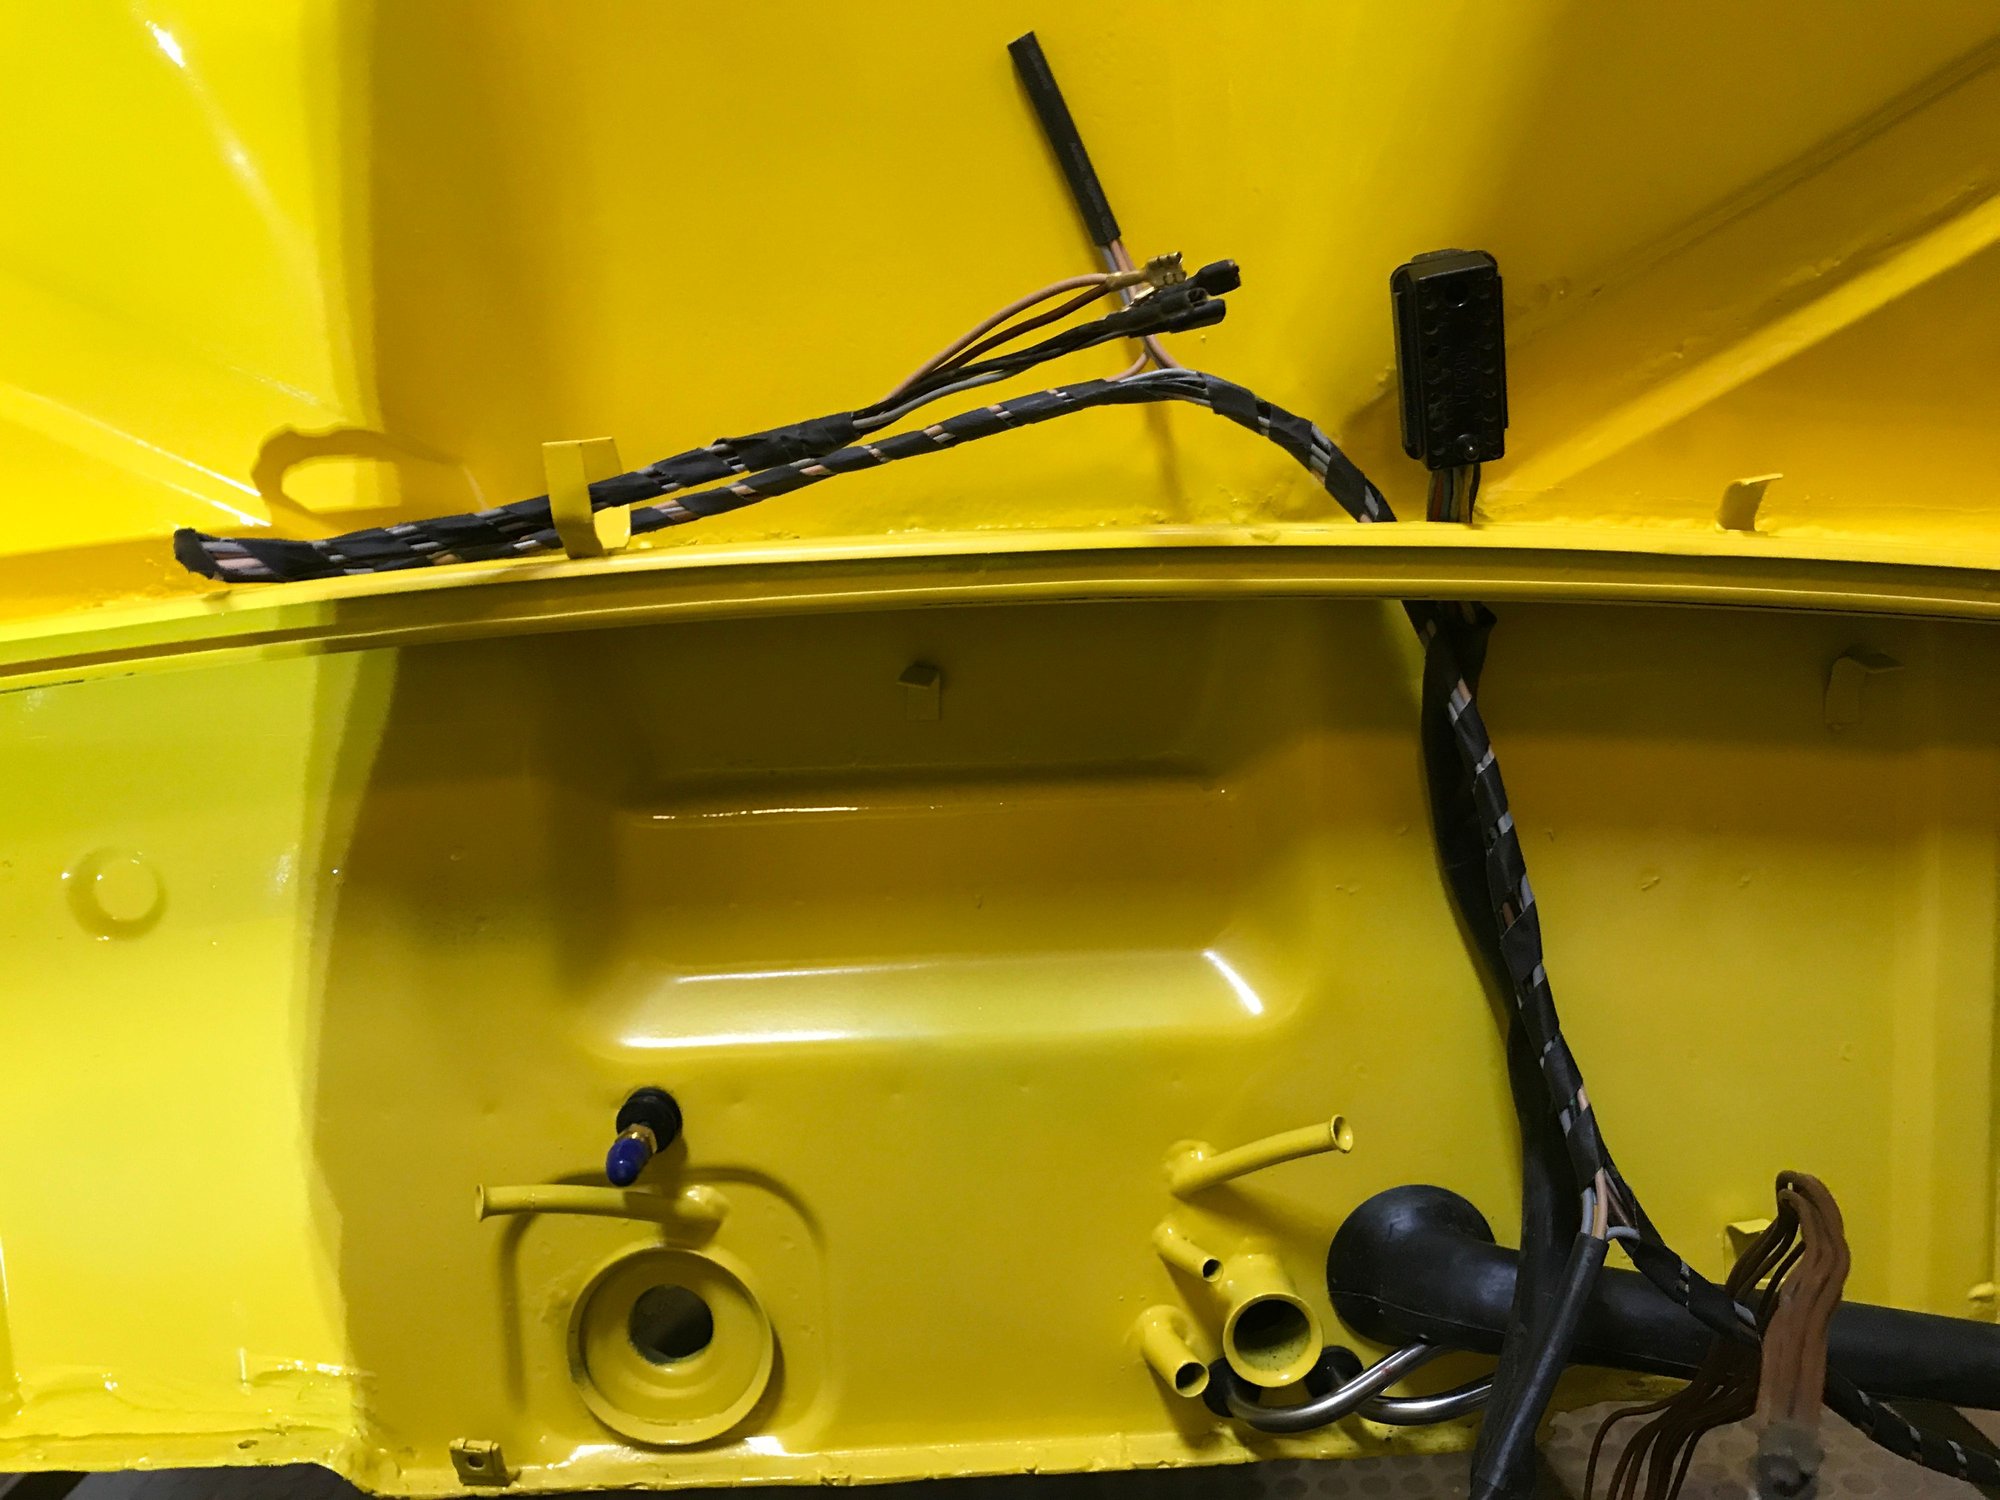
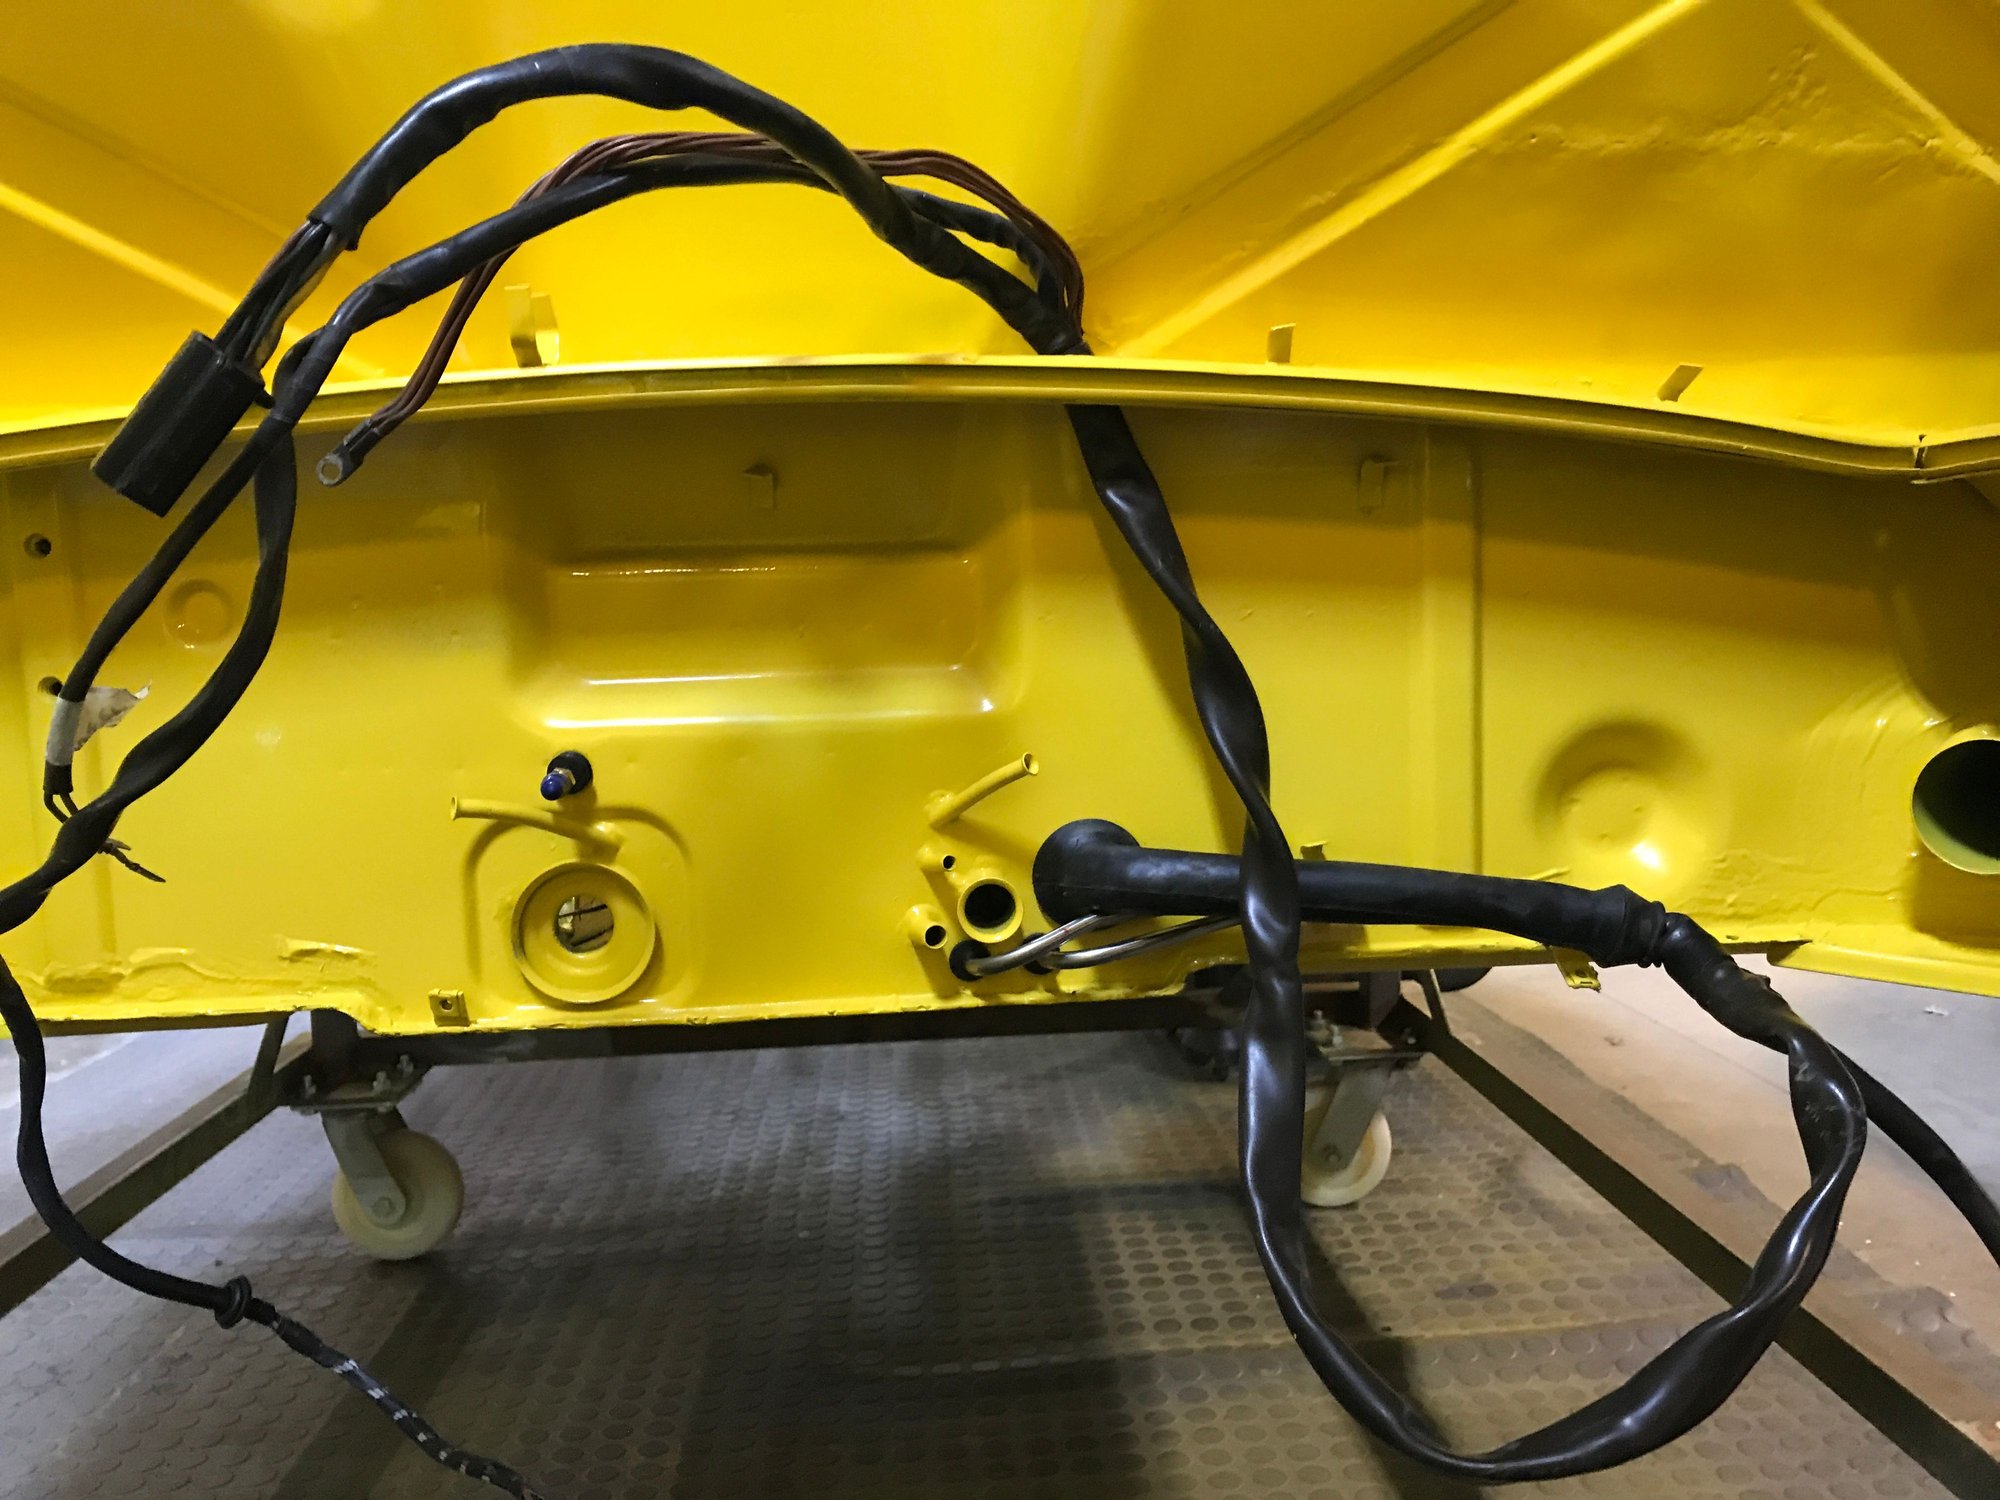
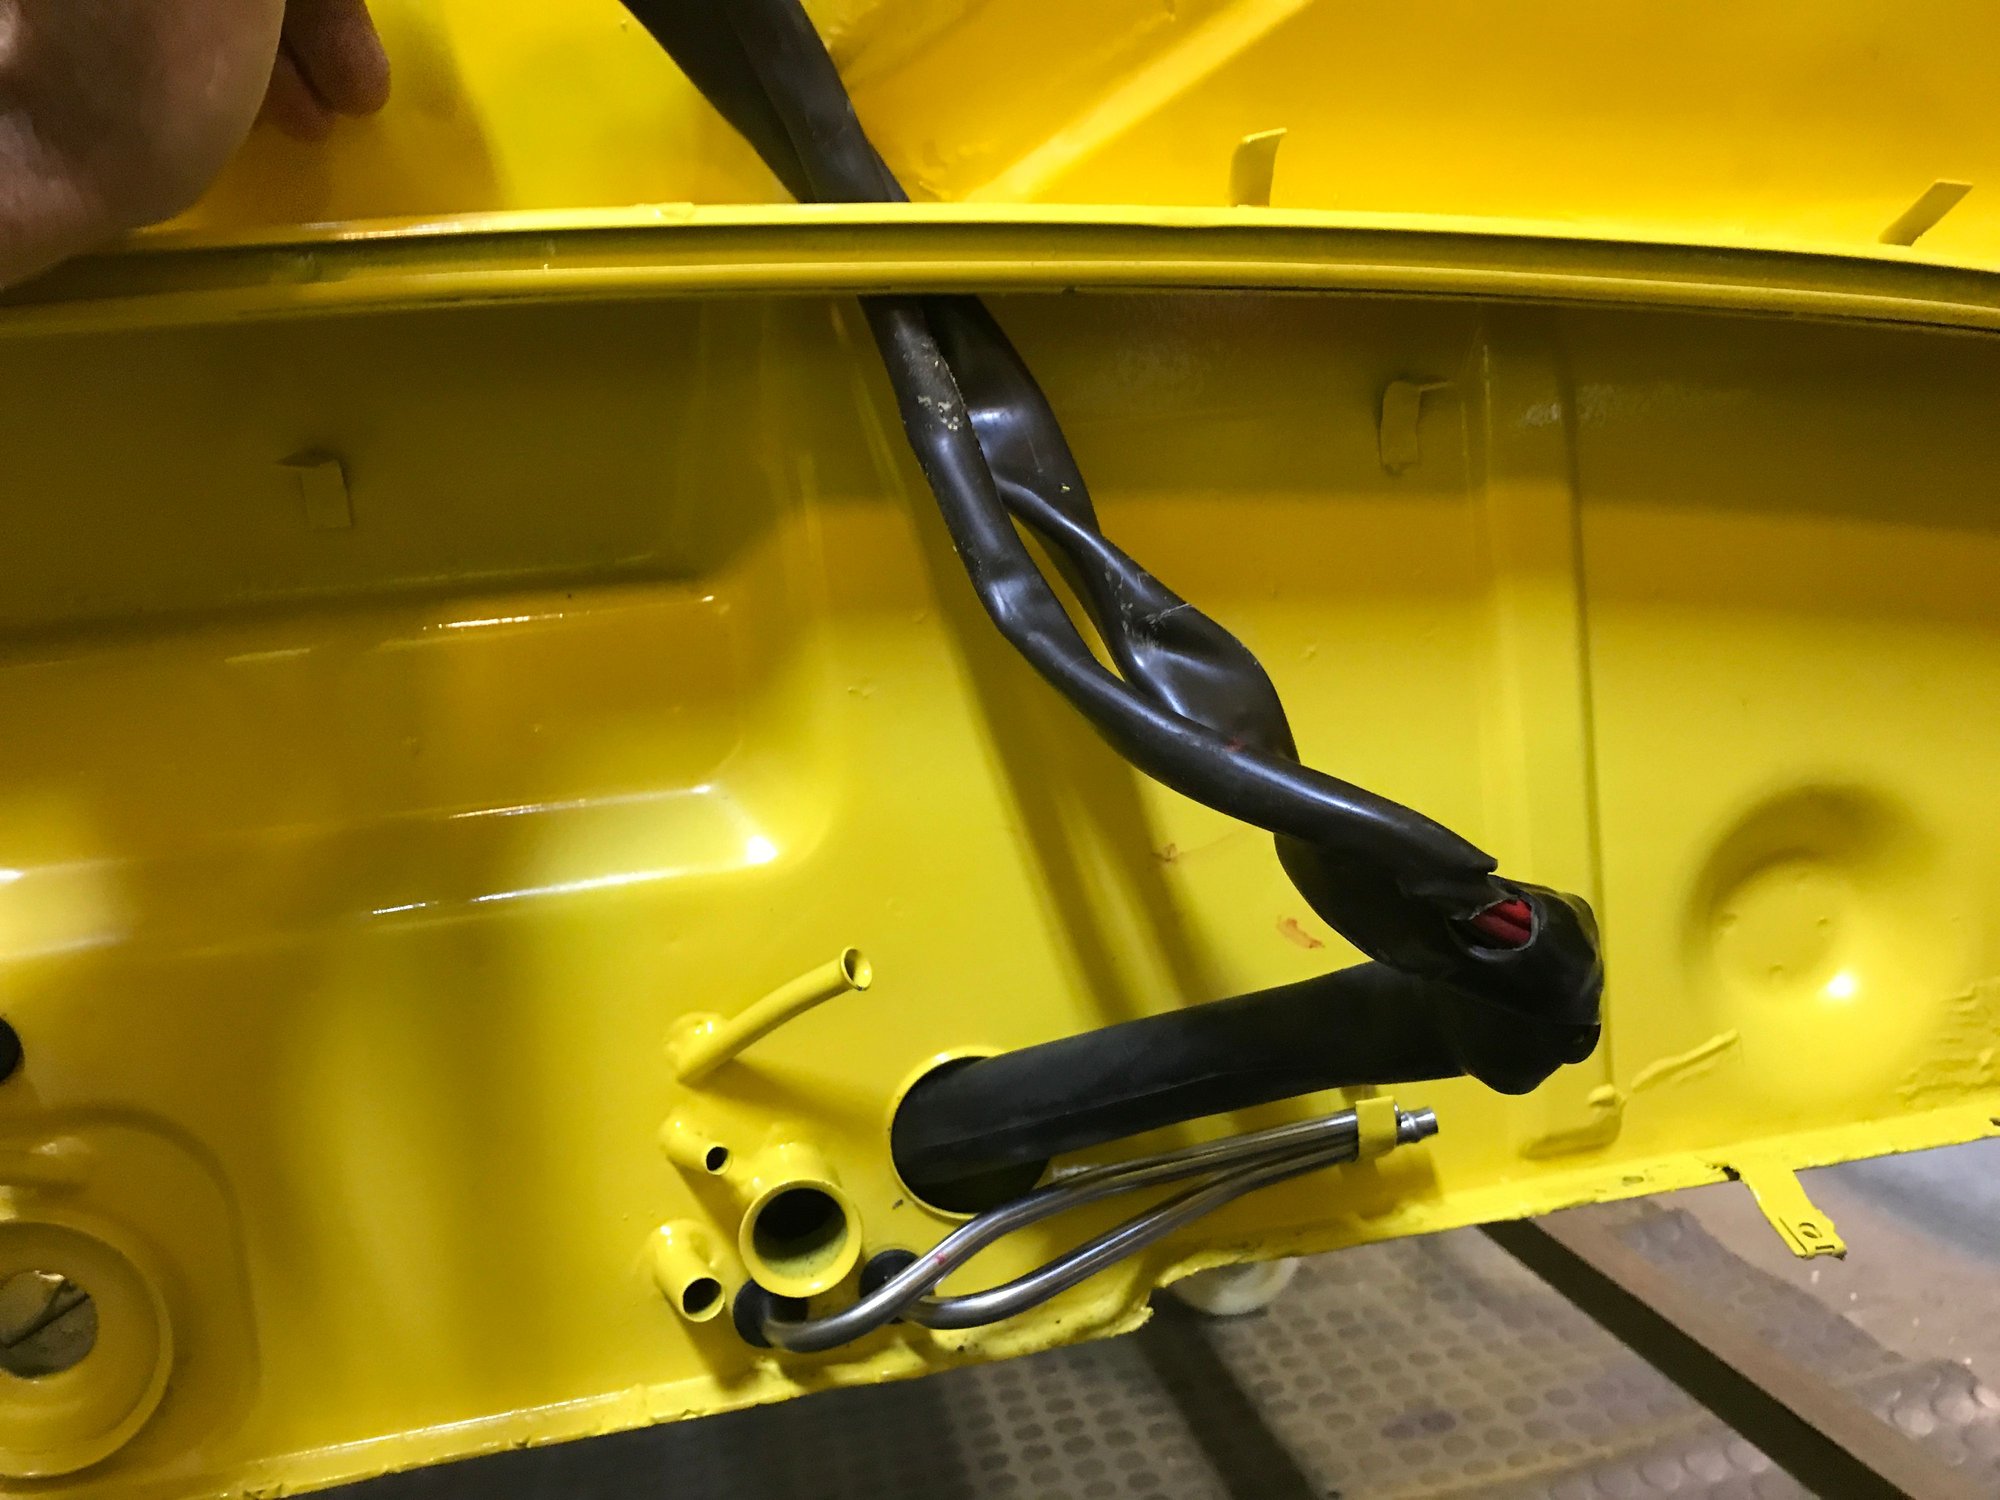
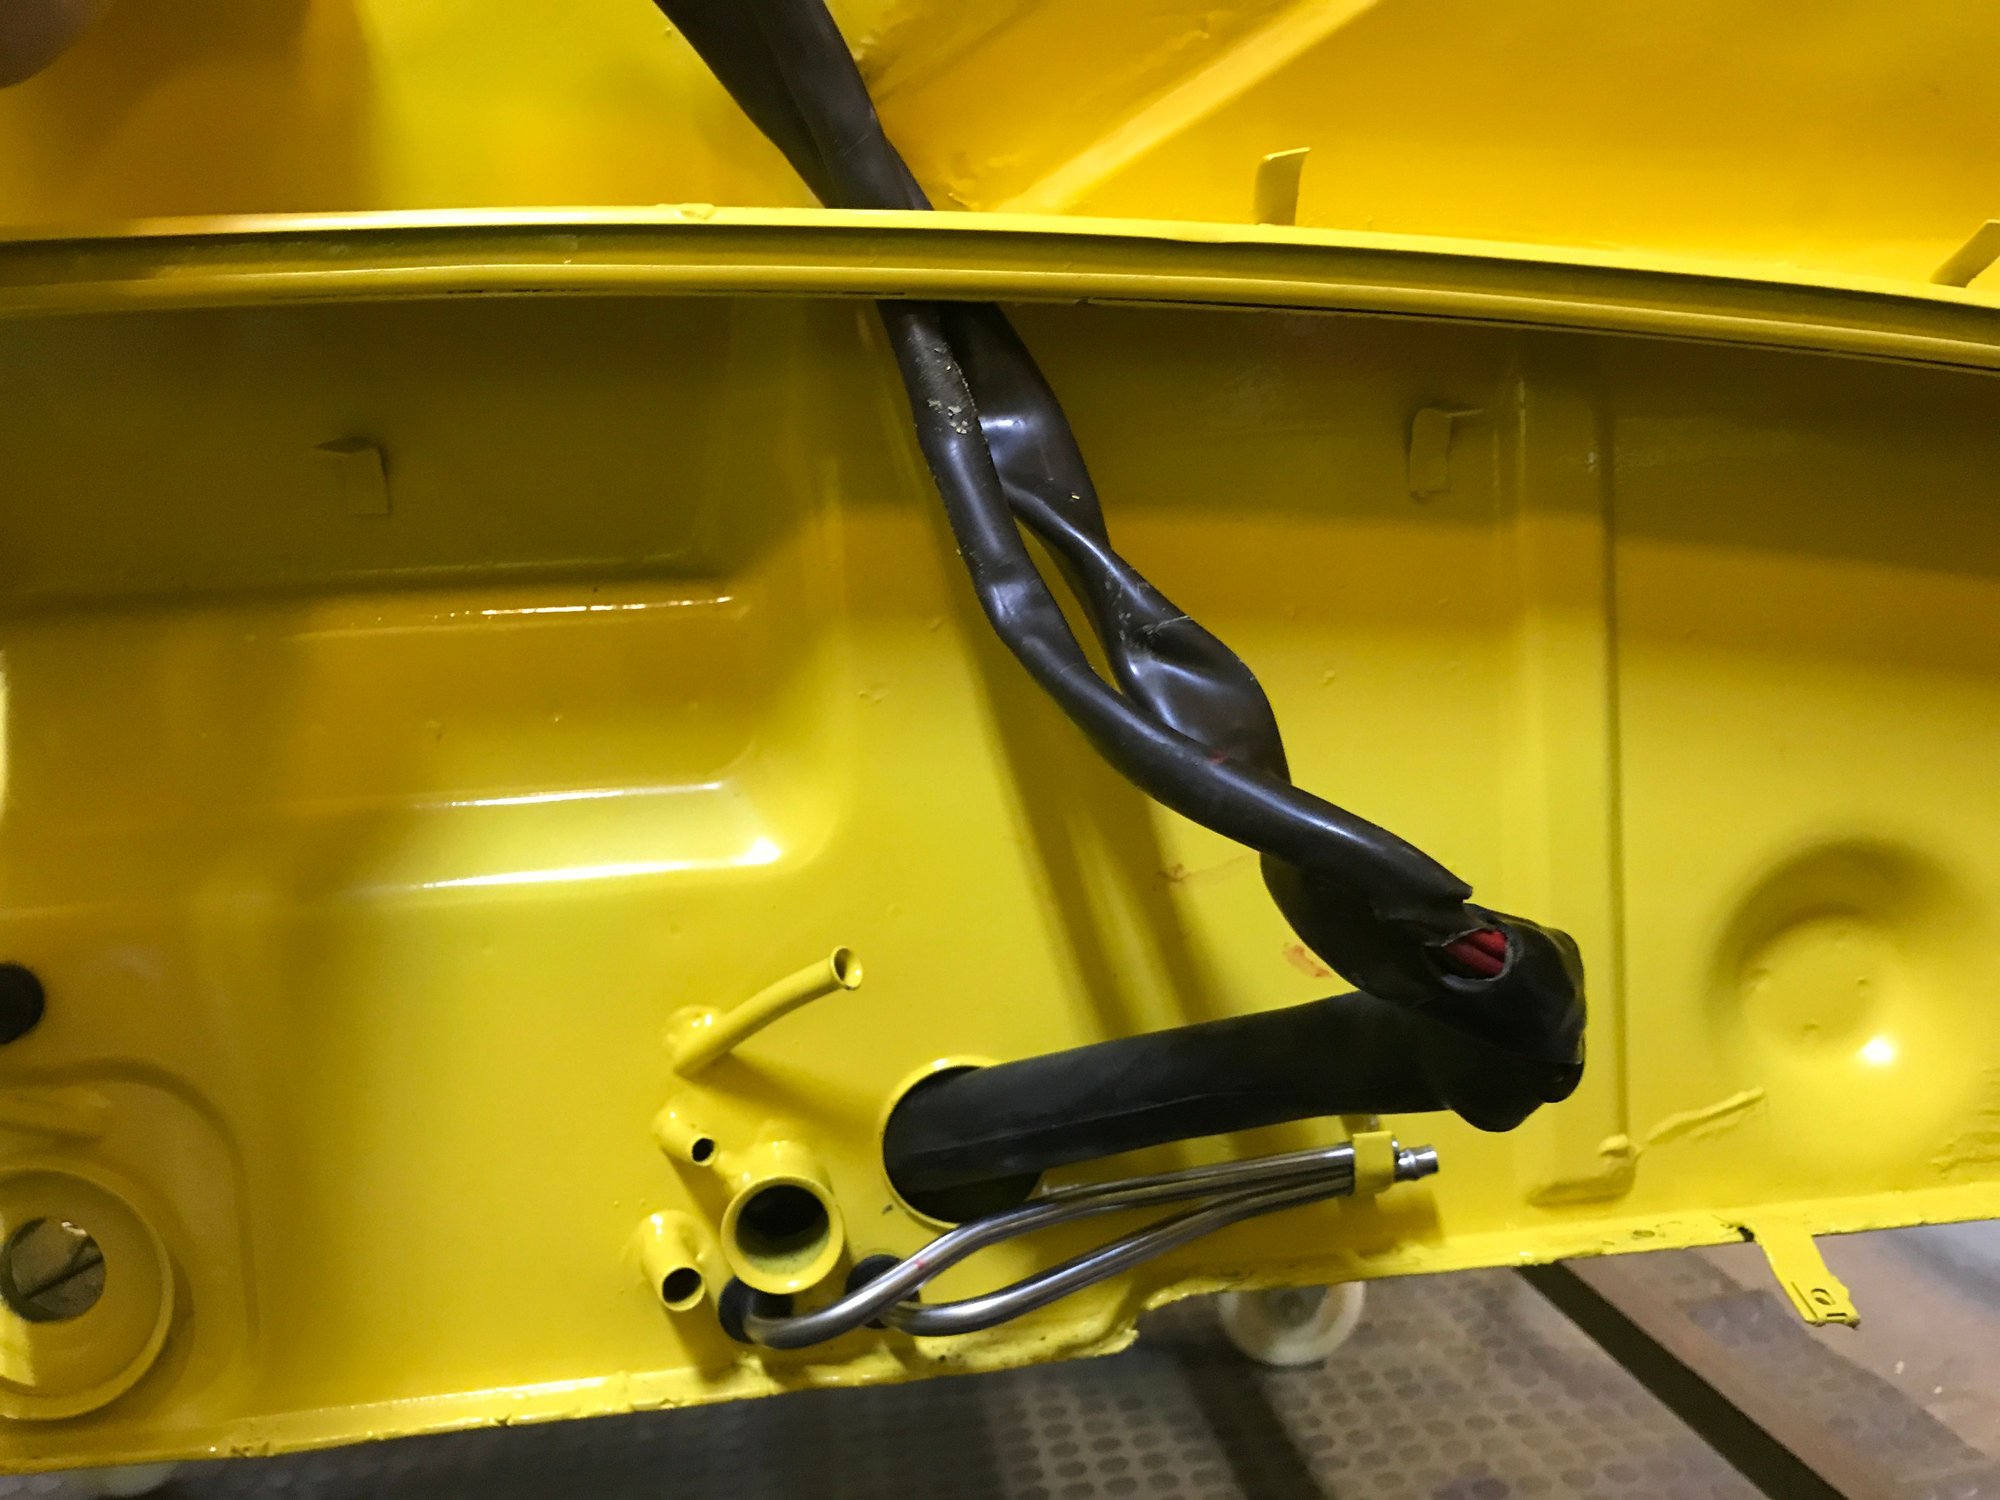
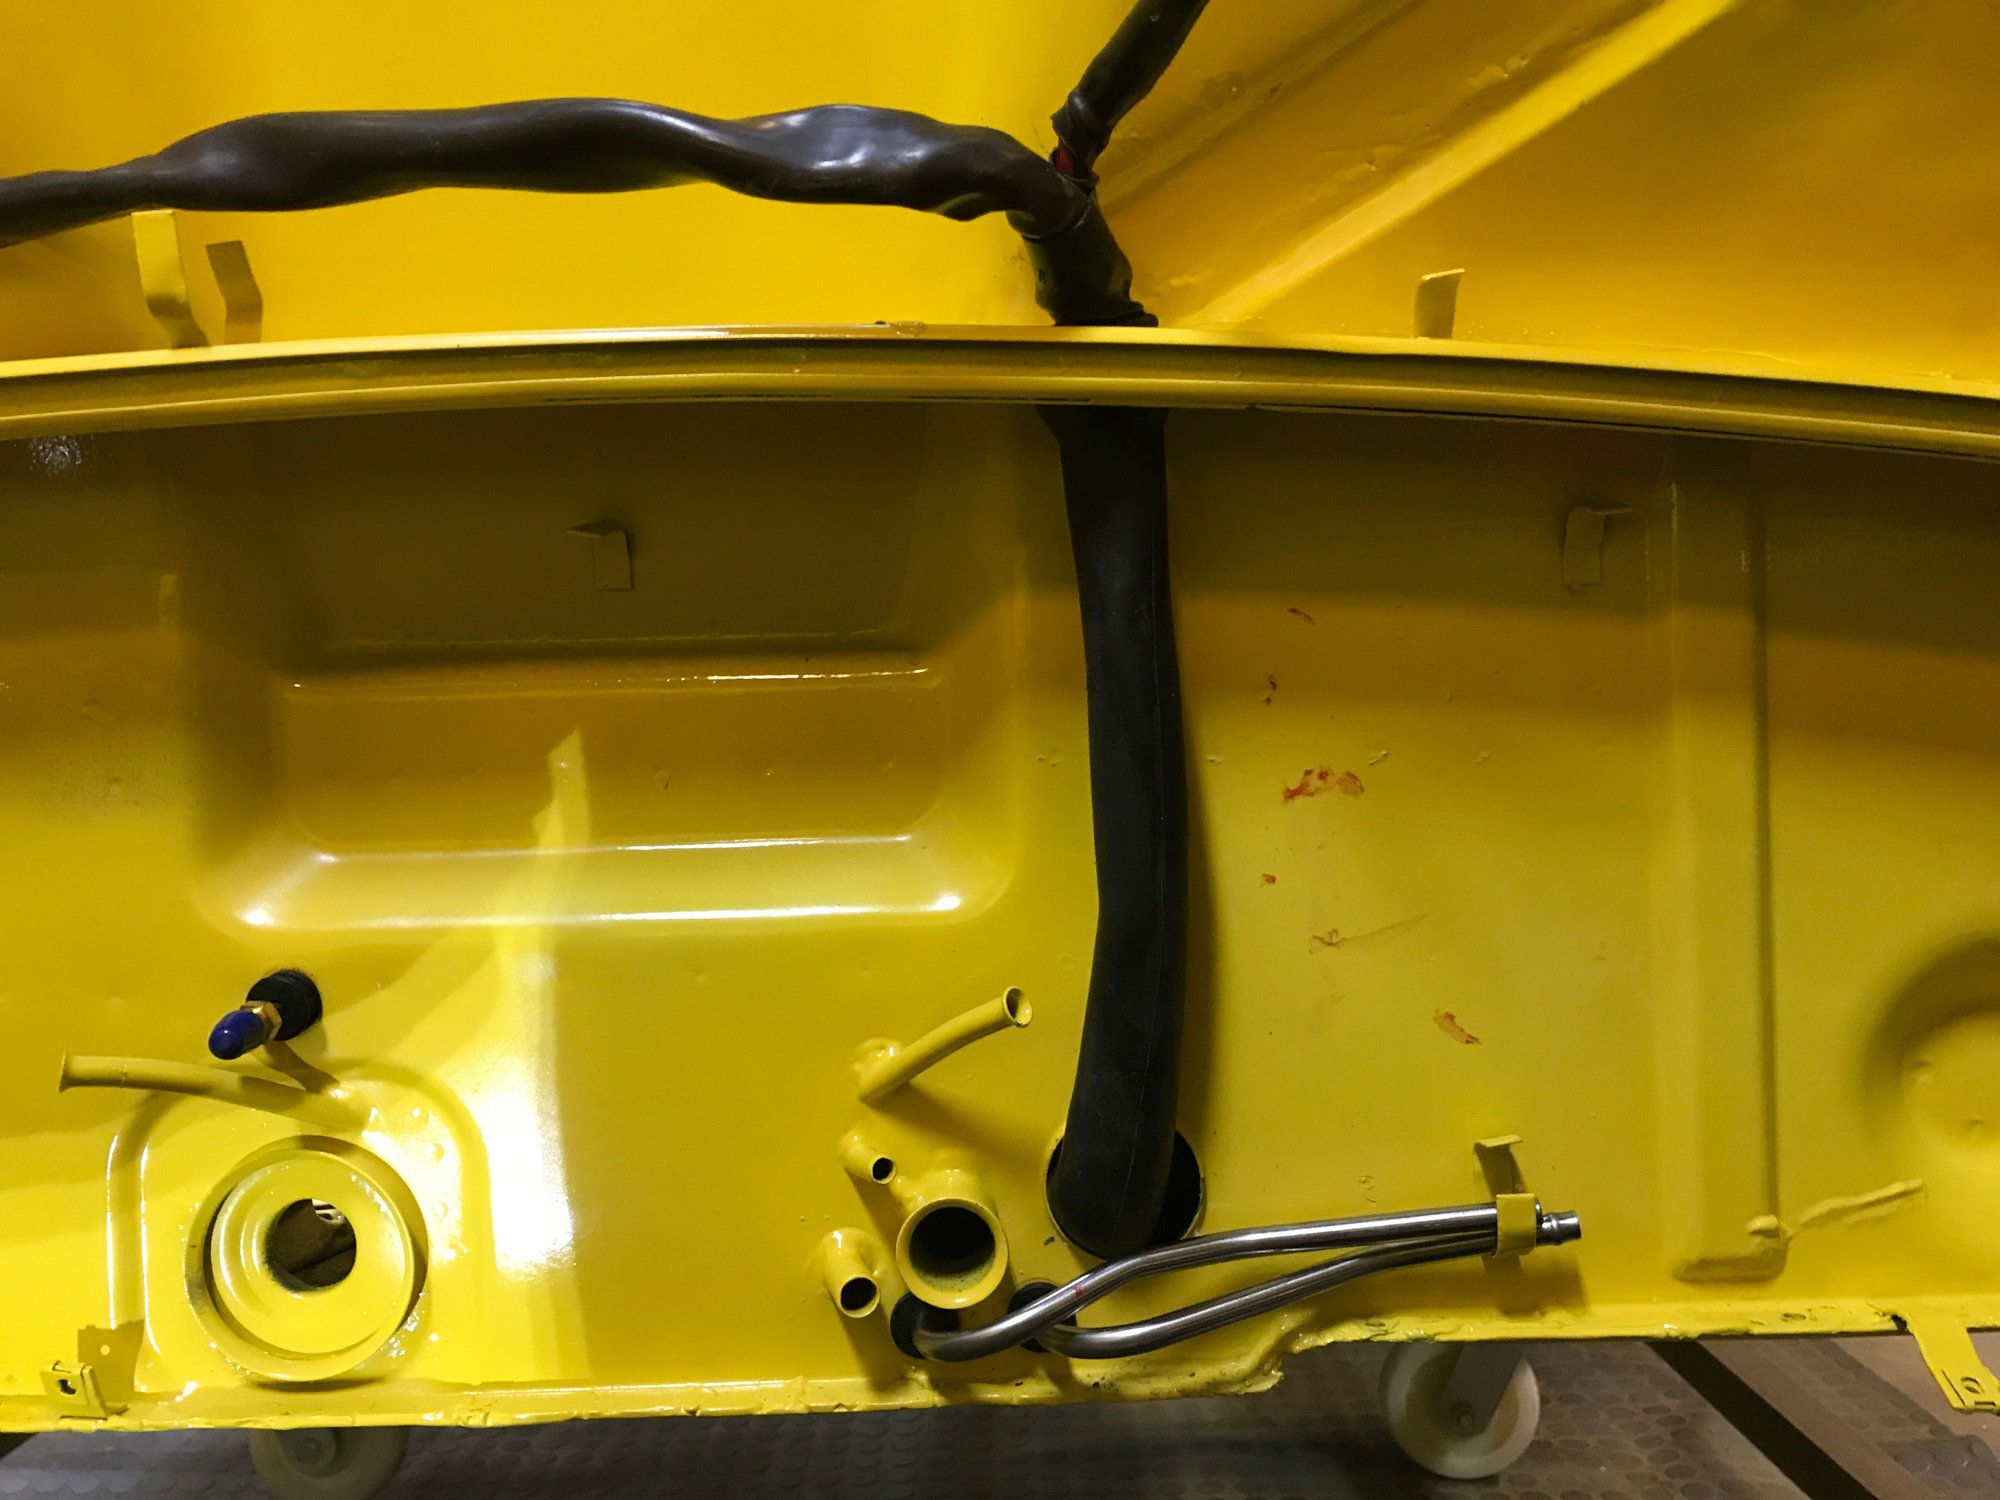
Shedding some blood--lots of sharp edges and leaky knuckles.
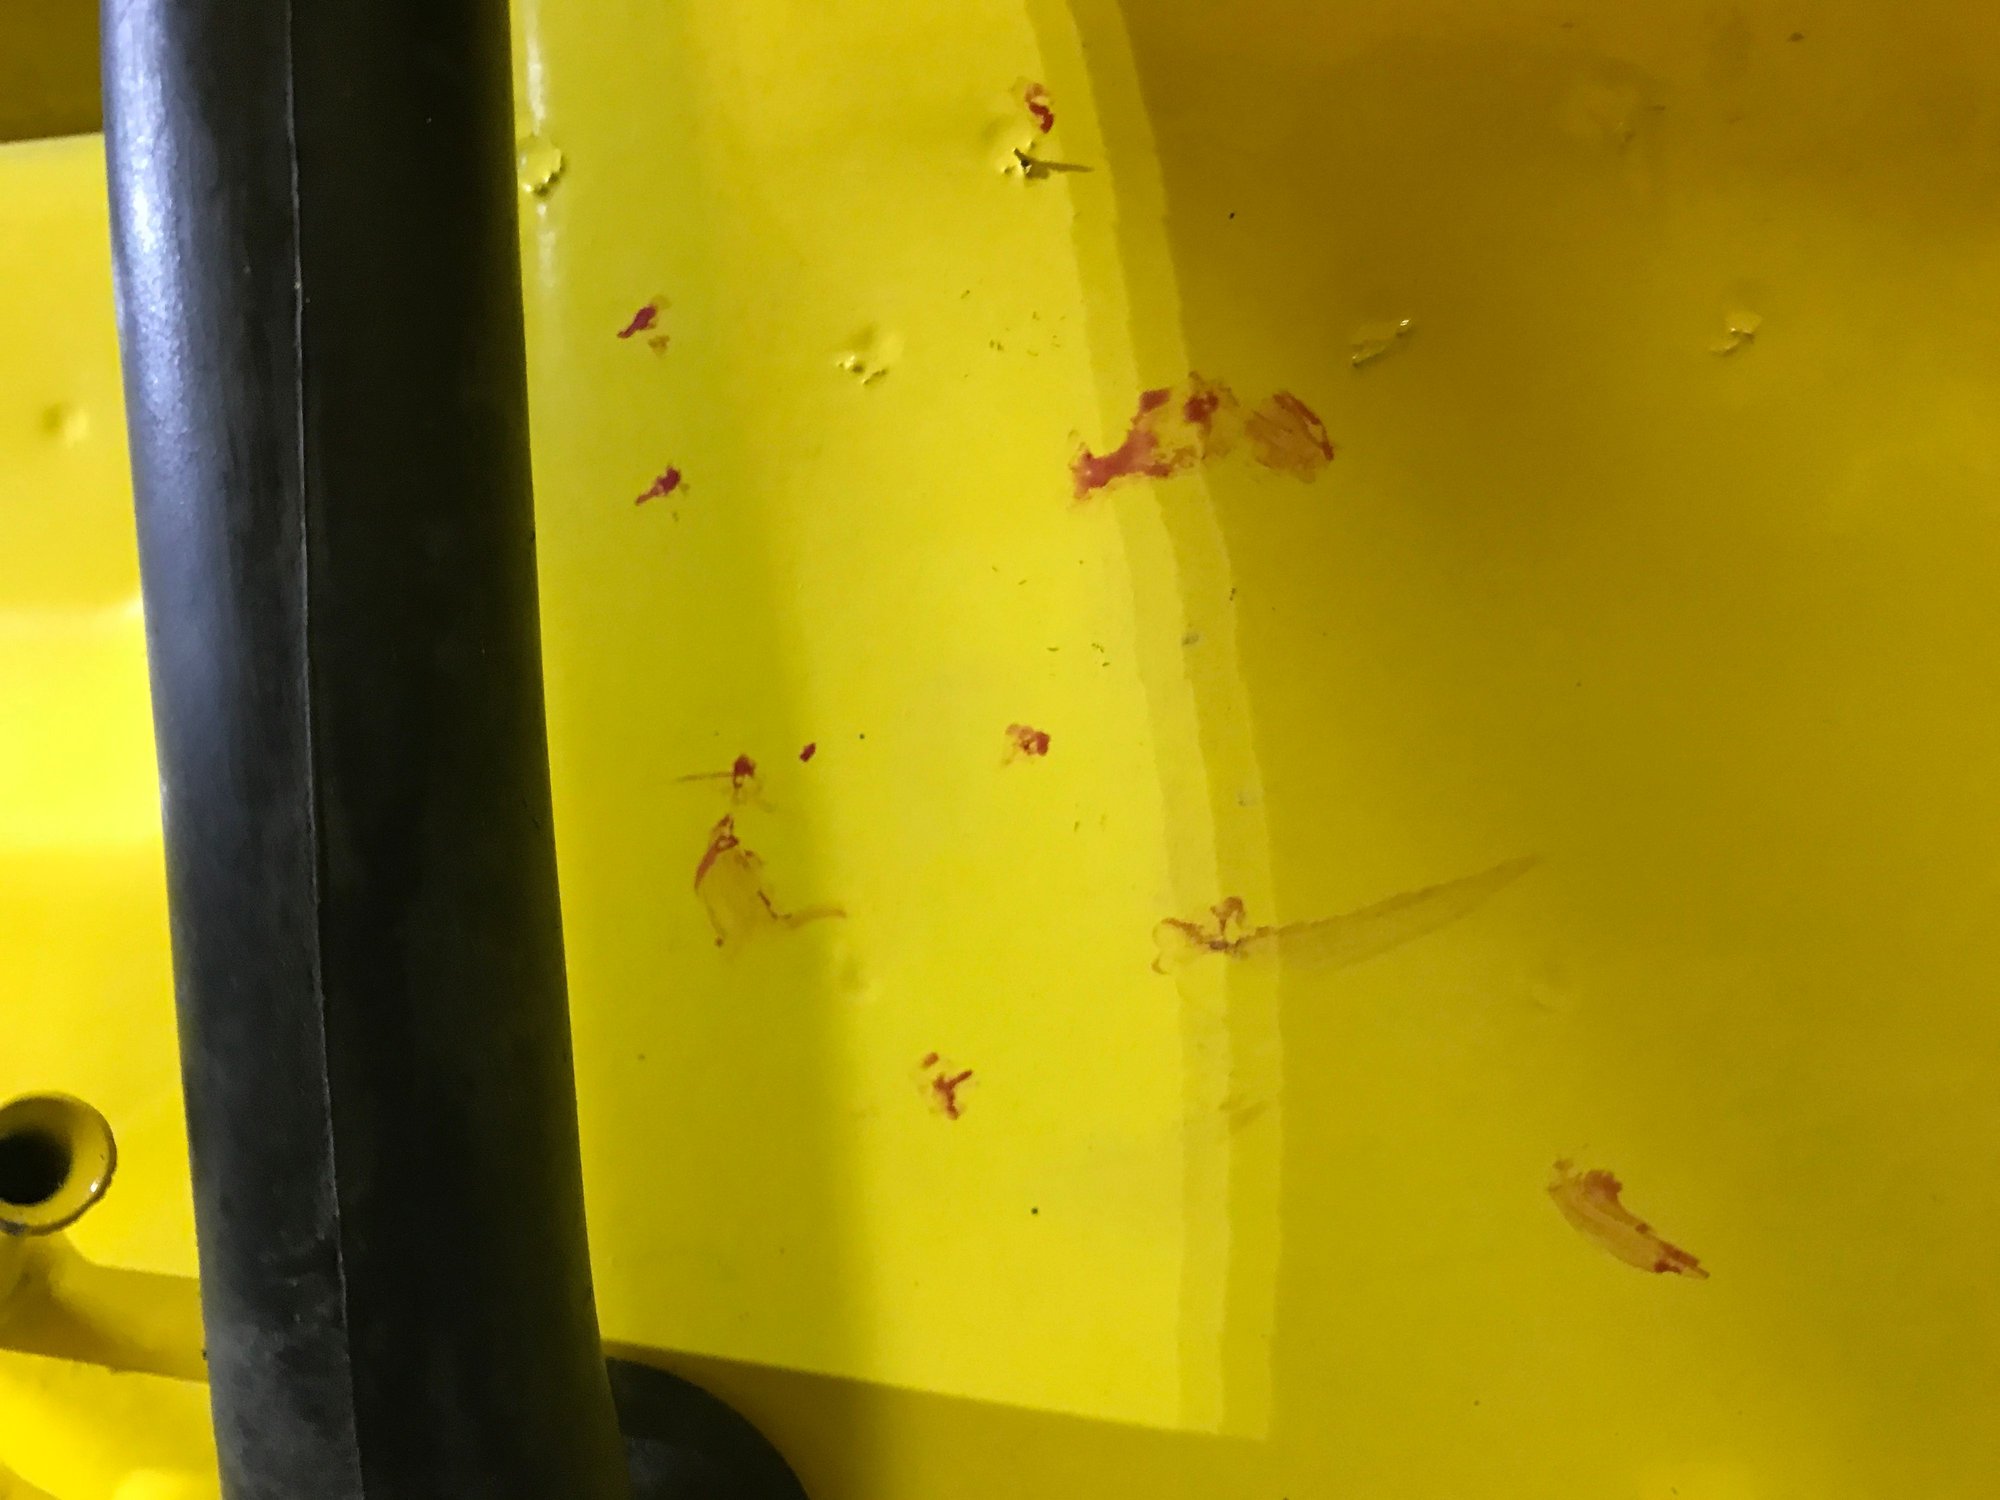
Rear tunnel area done.
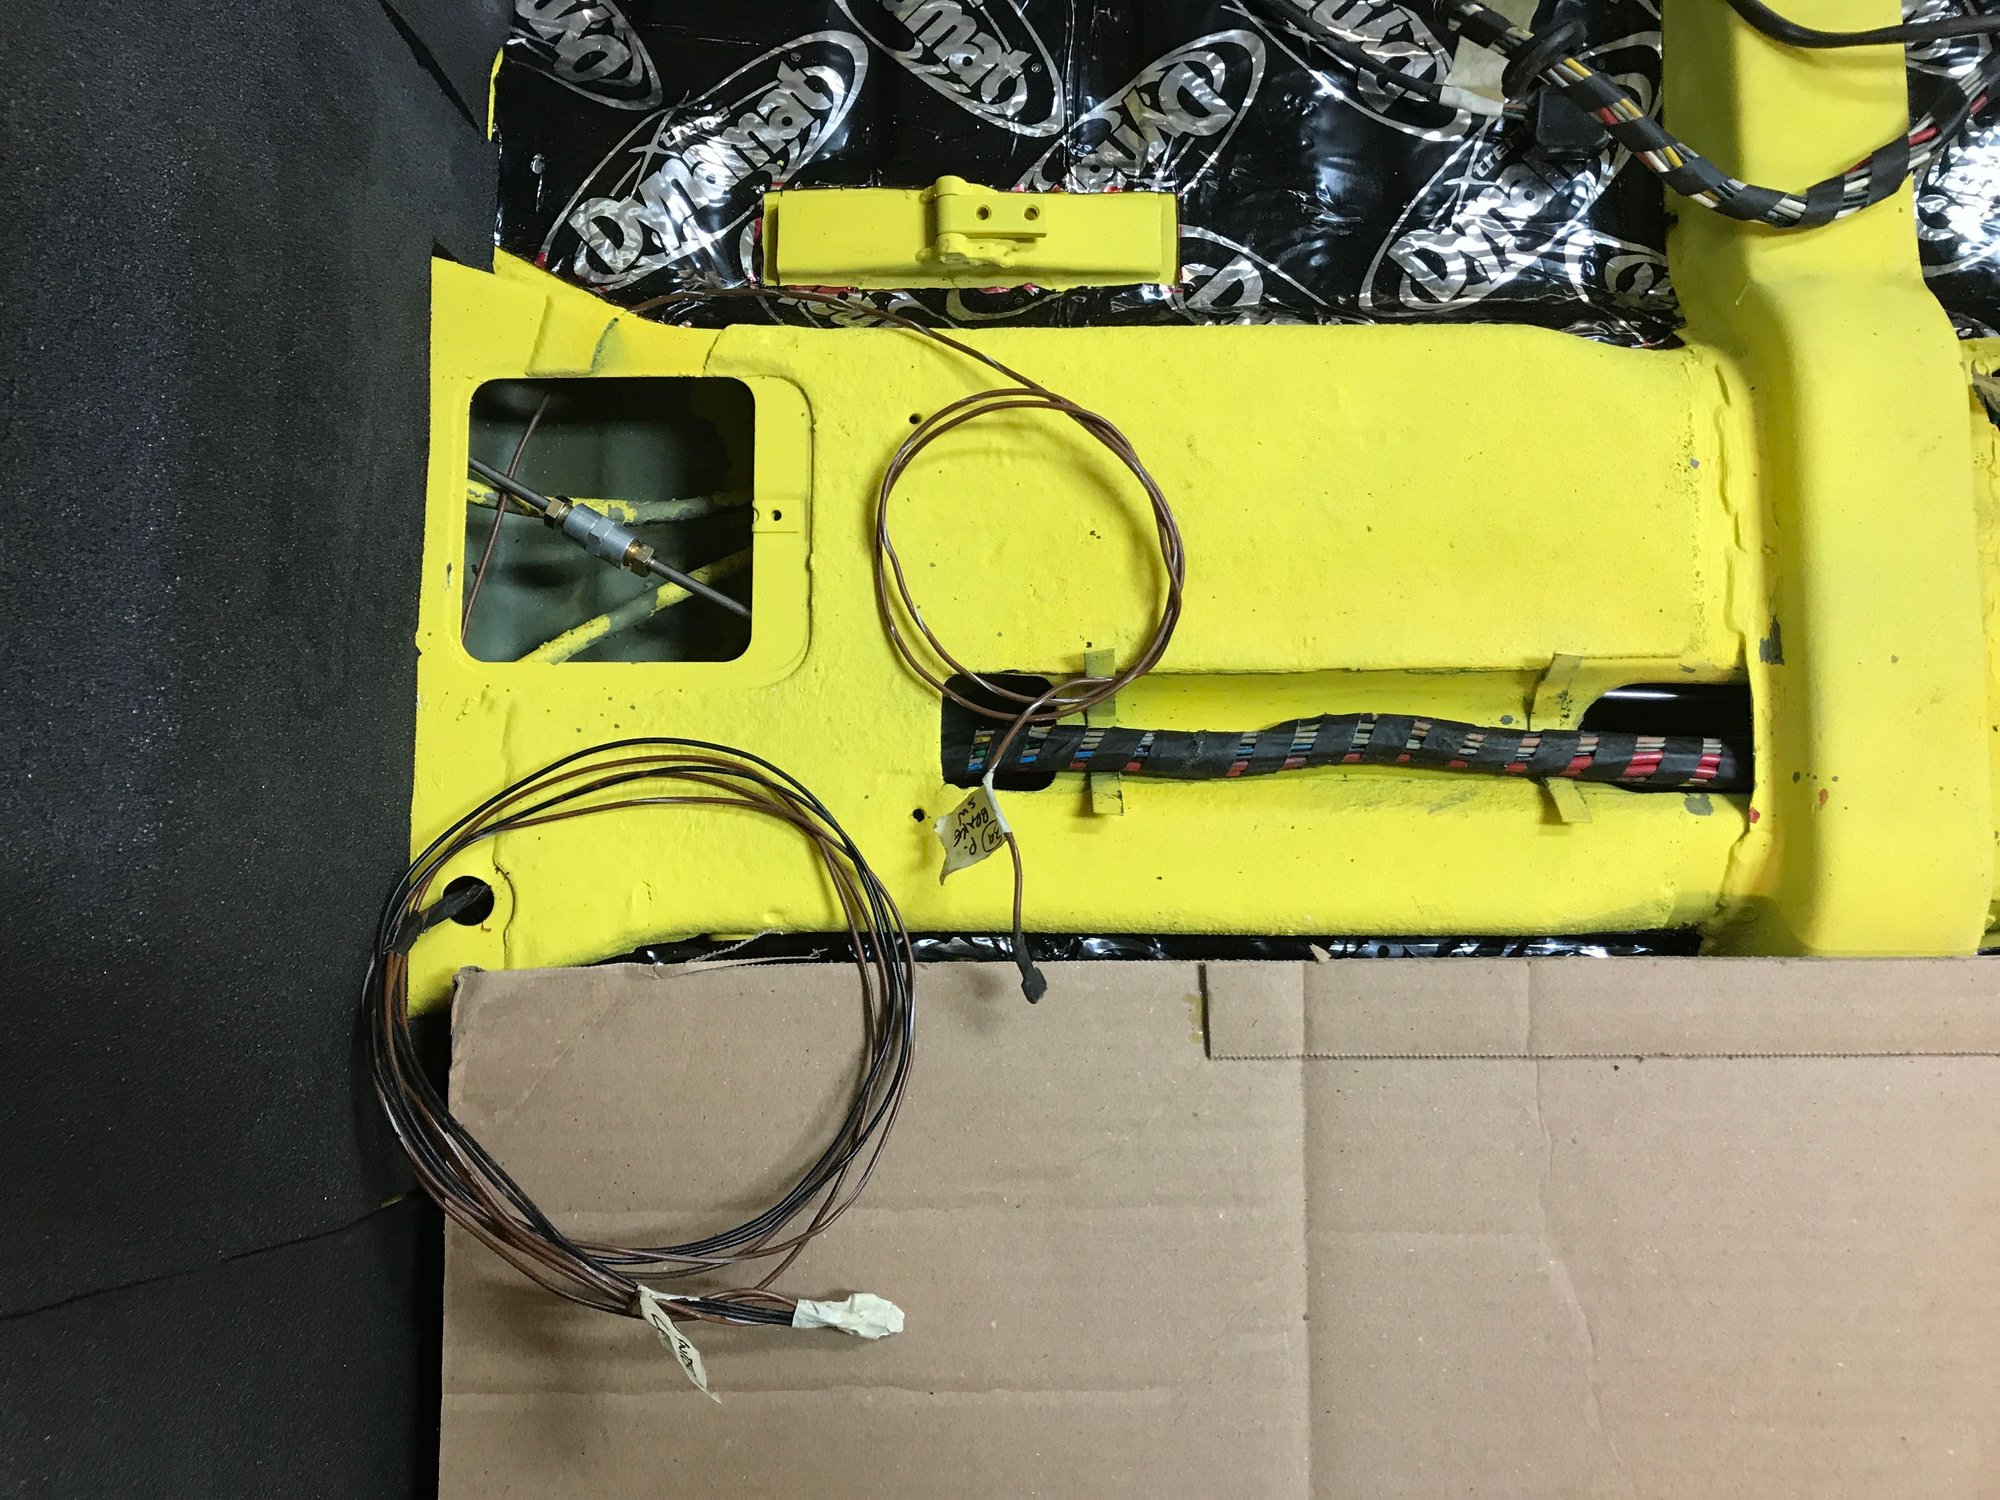

Start feeding the biggest thing: the relay board plug.

Then the tail light leads.

And the rest.

Now for the snorkel.


Done with the first obstacle.

Now for the tunnel to firewall section.


Tight fit for the big plug.


Battery leads.


Here comes the snorkel.


Now feeding up through the engine shelf hole.


Shedding some blood--lots of sharp edges and leaky knuckles.

Rear tunnel area done.

#787
Official Wednesday AM Red Bull F1 test driver
Rennlist Member
Rennlist Member
Joined: Apr 2003
Posts: 10,064
Likes: 987
From: North Scottsdale
Are you going with the original fuse panel, or one of the newer blade type panels? I put the J West fuse panel in both my 914 and have been happy with them.
#788
Right now, I plan to keep the original. Probably will regret not updating, but I was worried about another slippery slope, into electric fantasy land.
#790
Working on the front end wiring harness today.
This is what has to go forward.
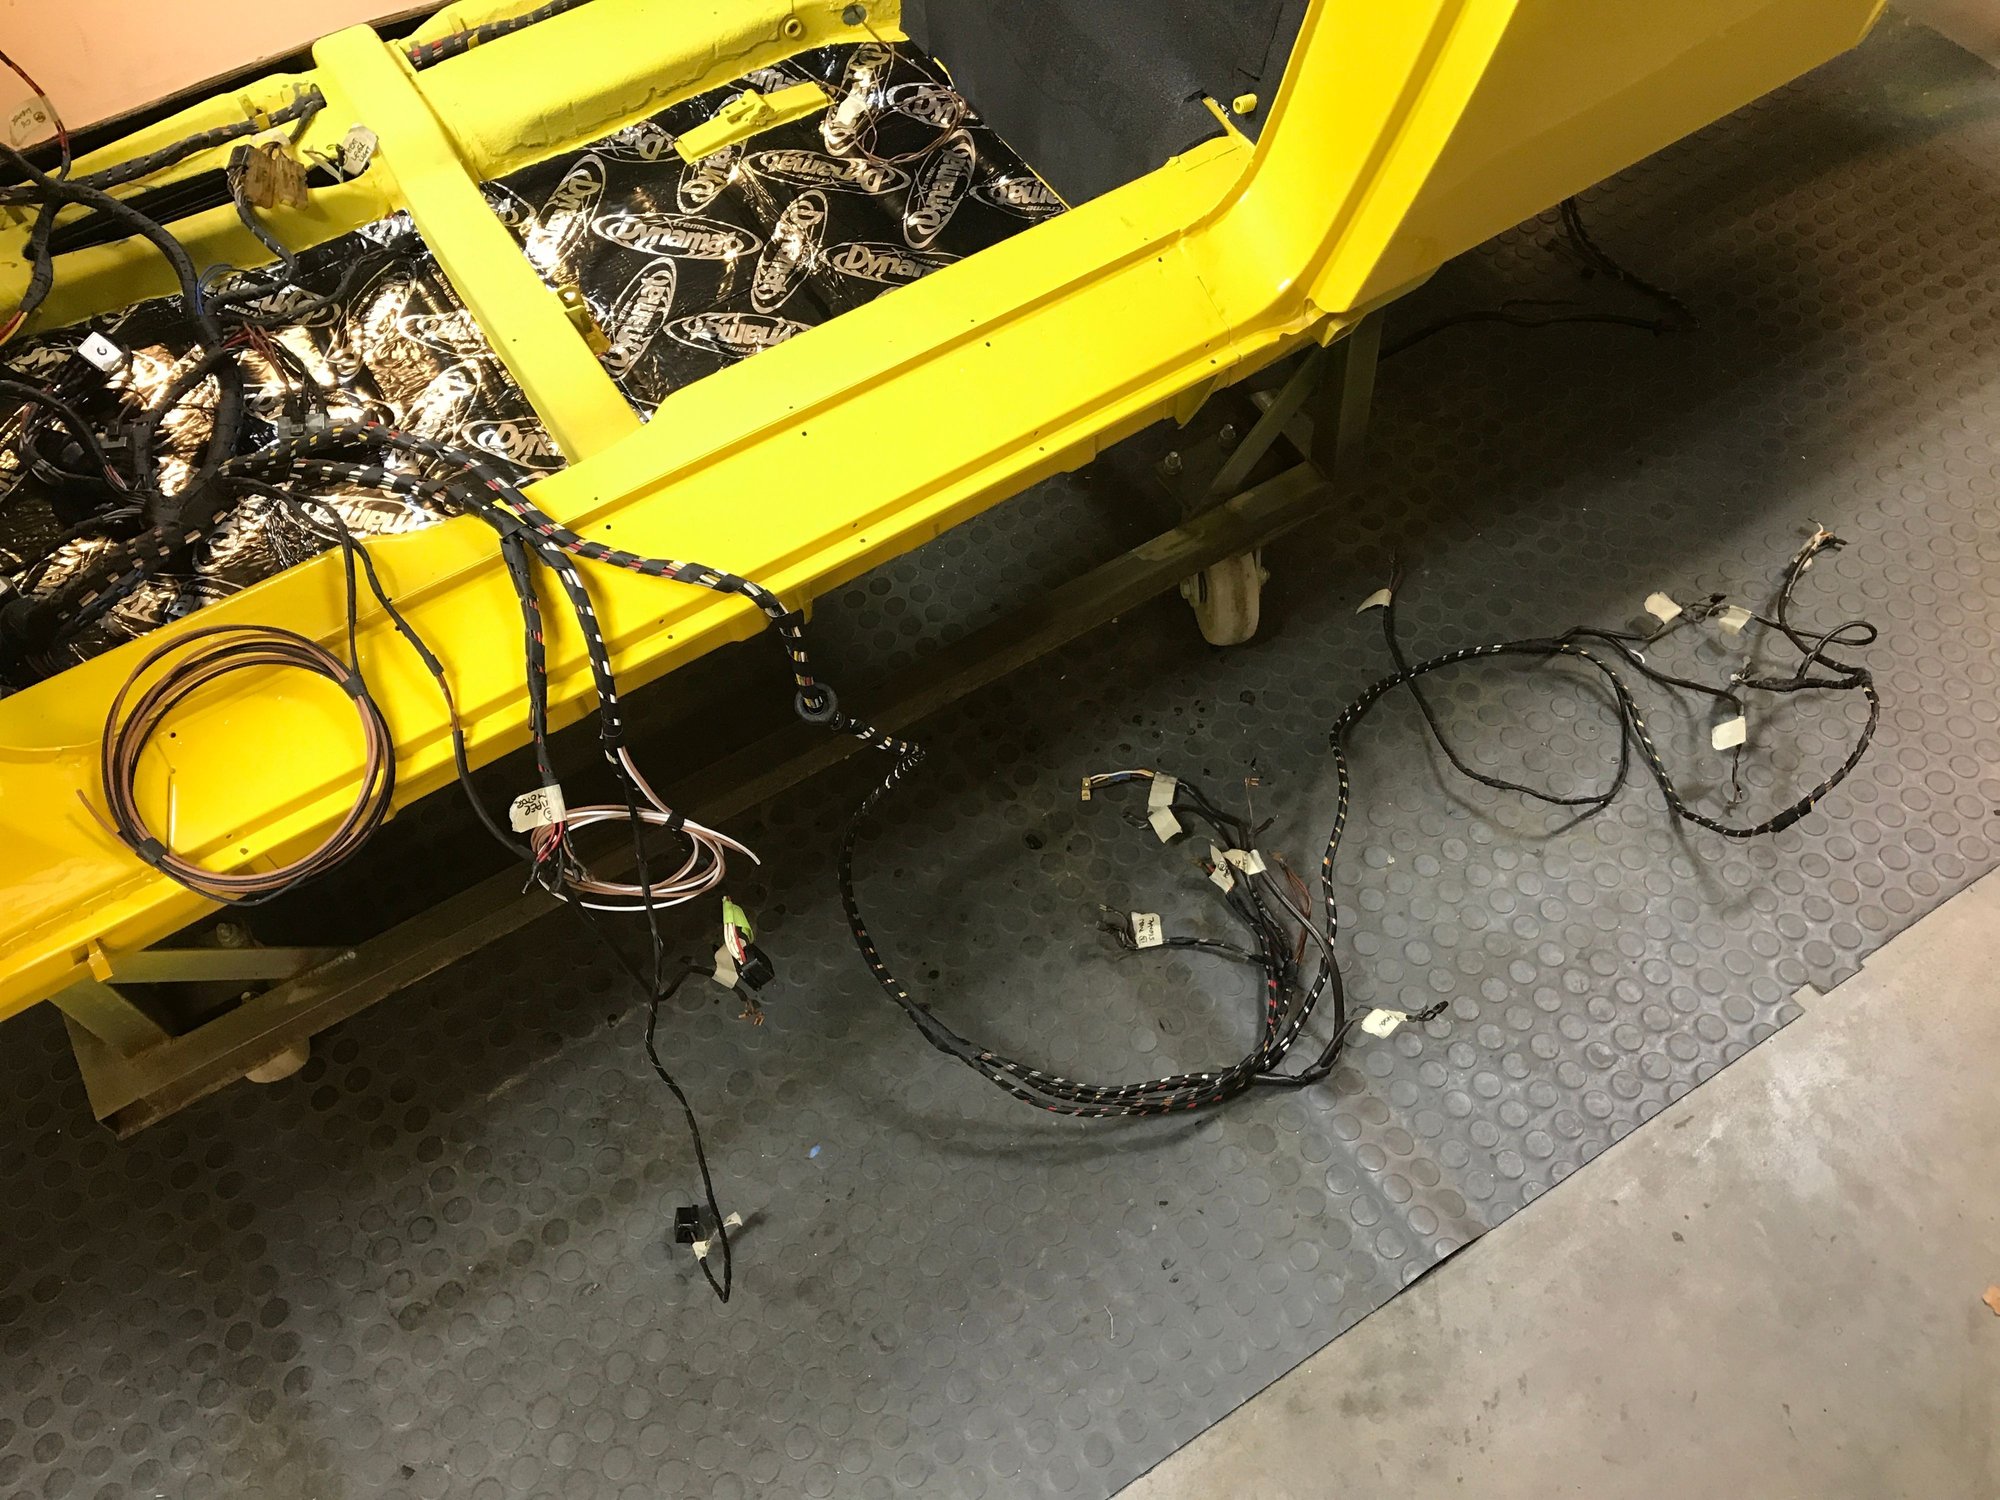
All through the small (upper) hole.
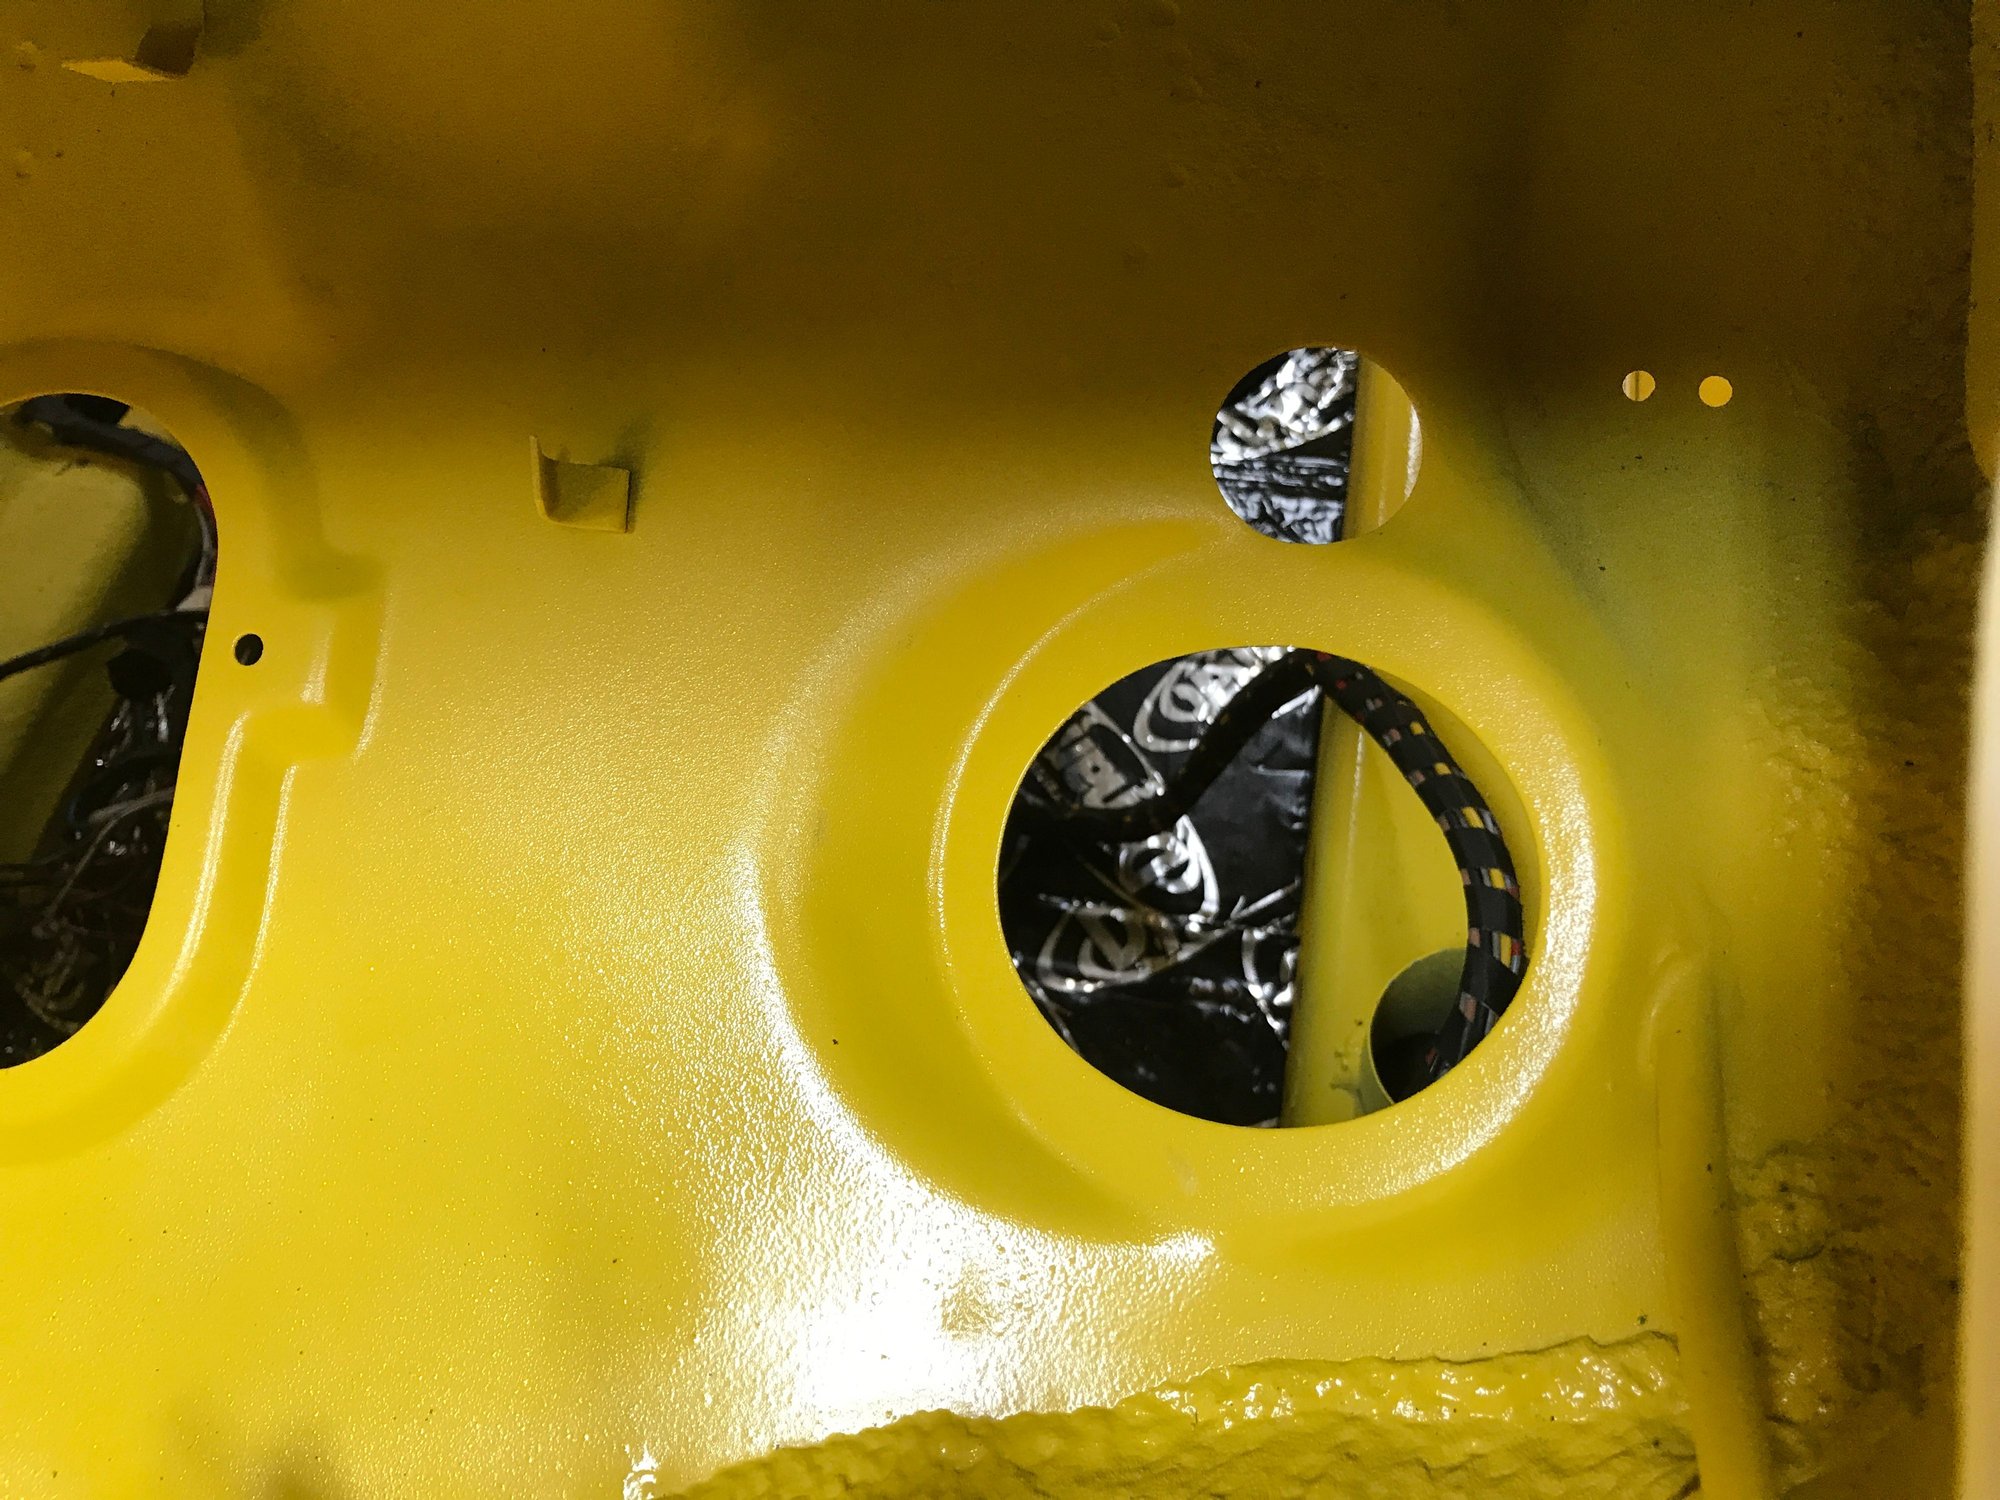
So, definitely the biggest things go first.
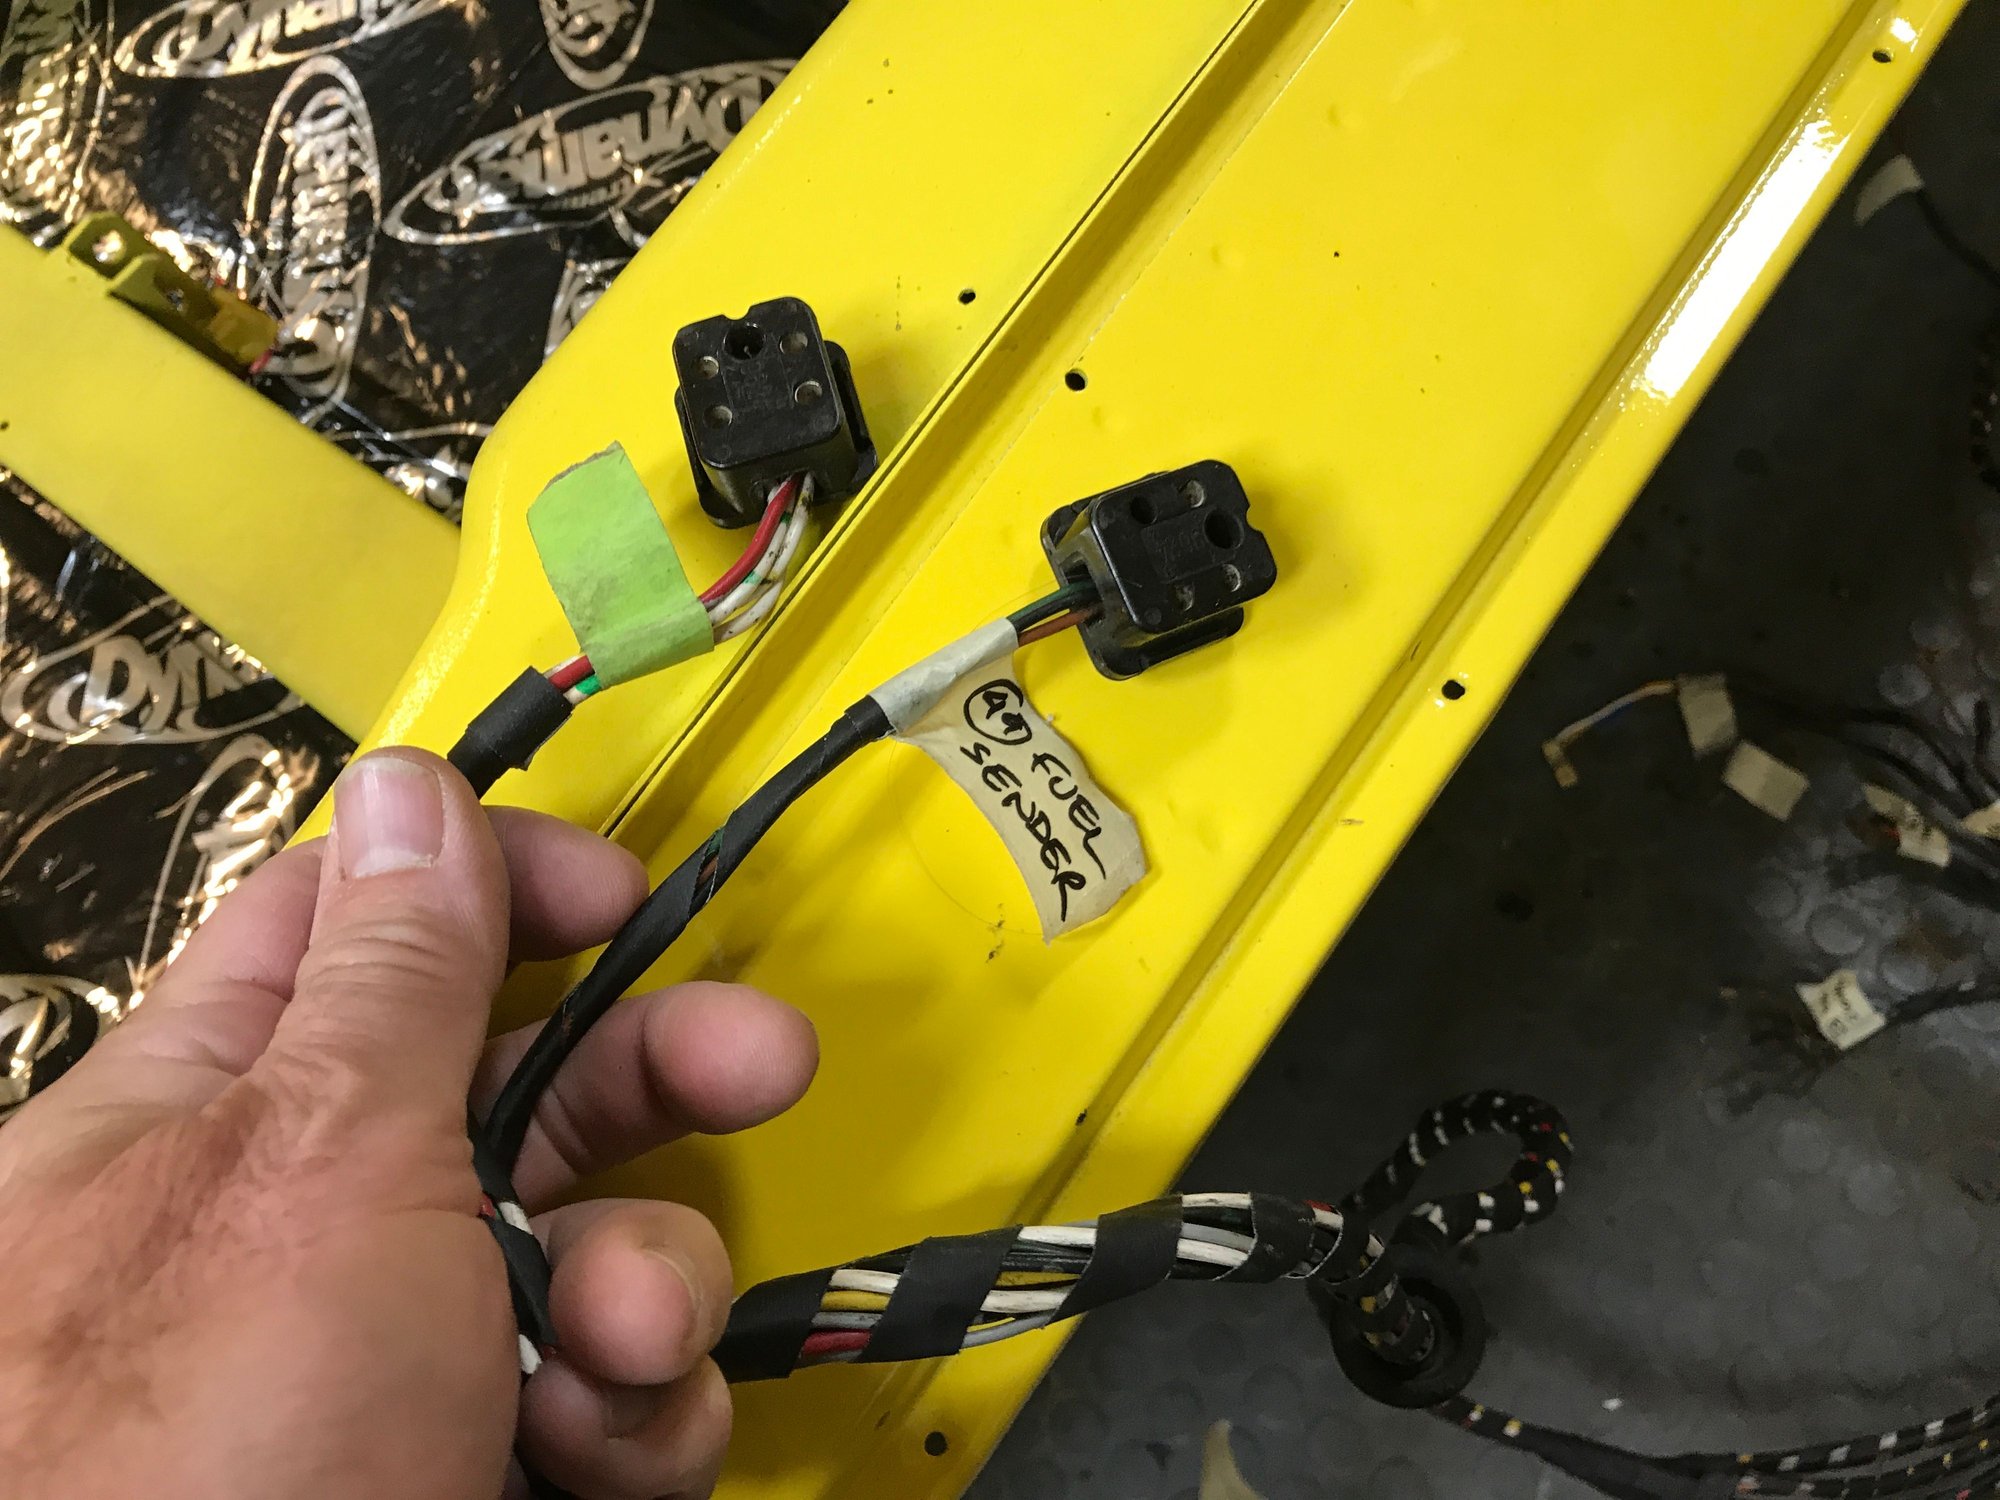
Started.
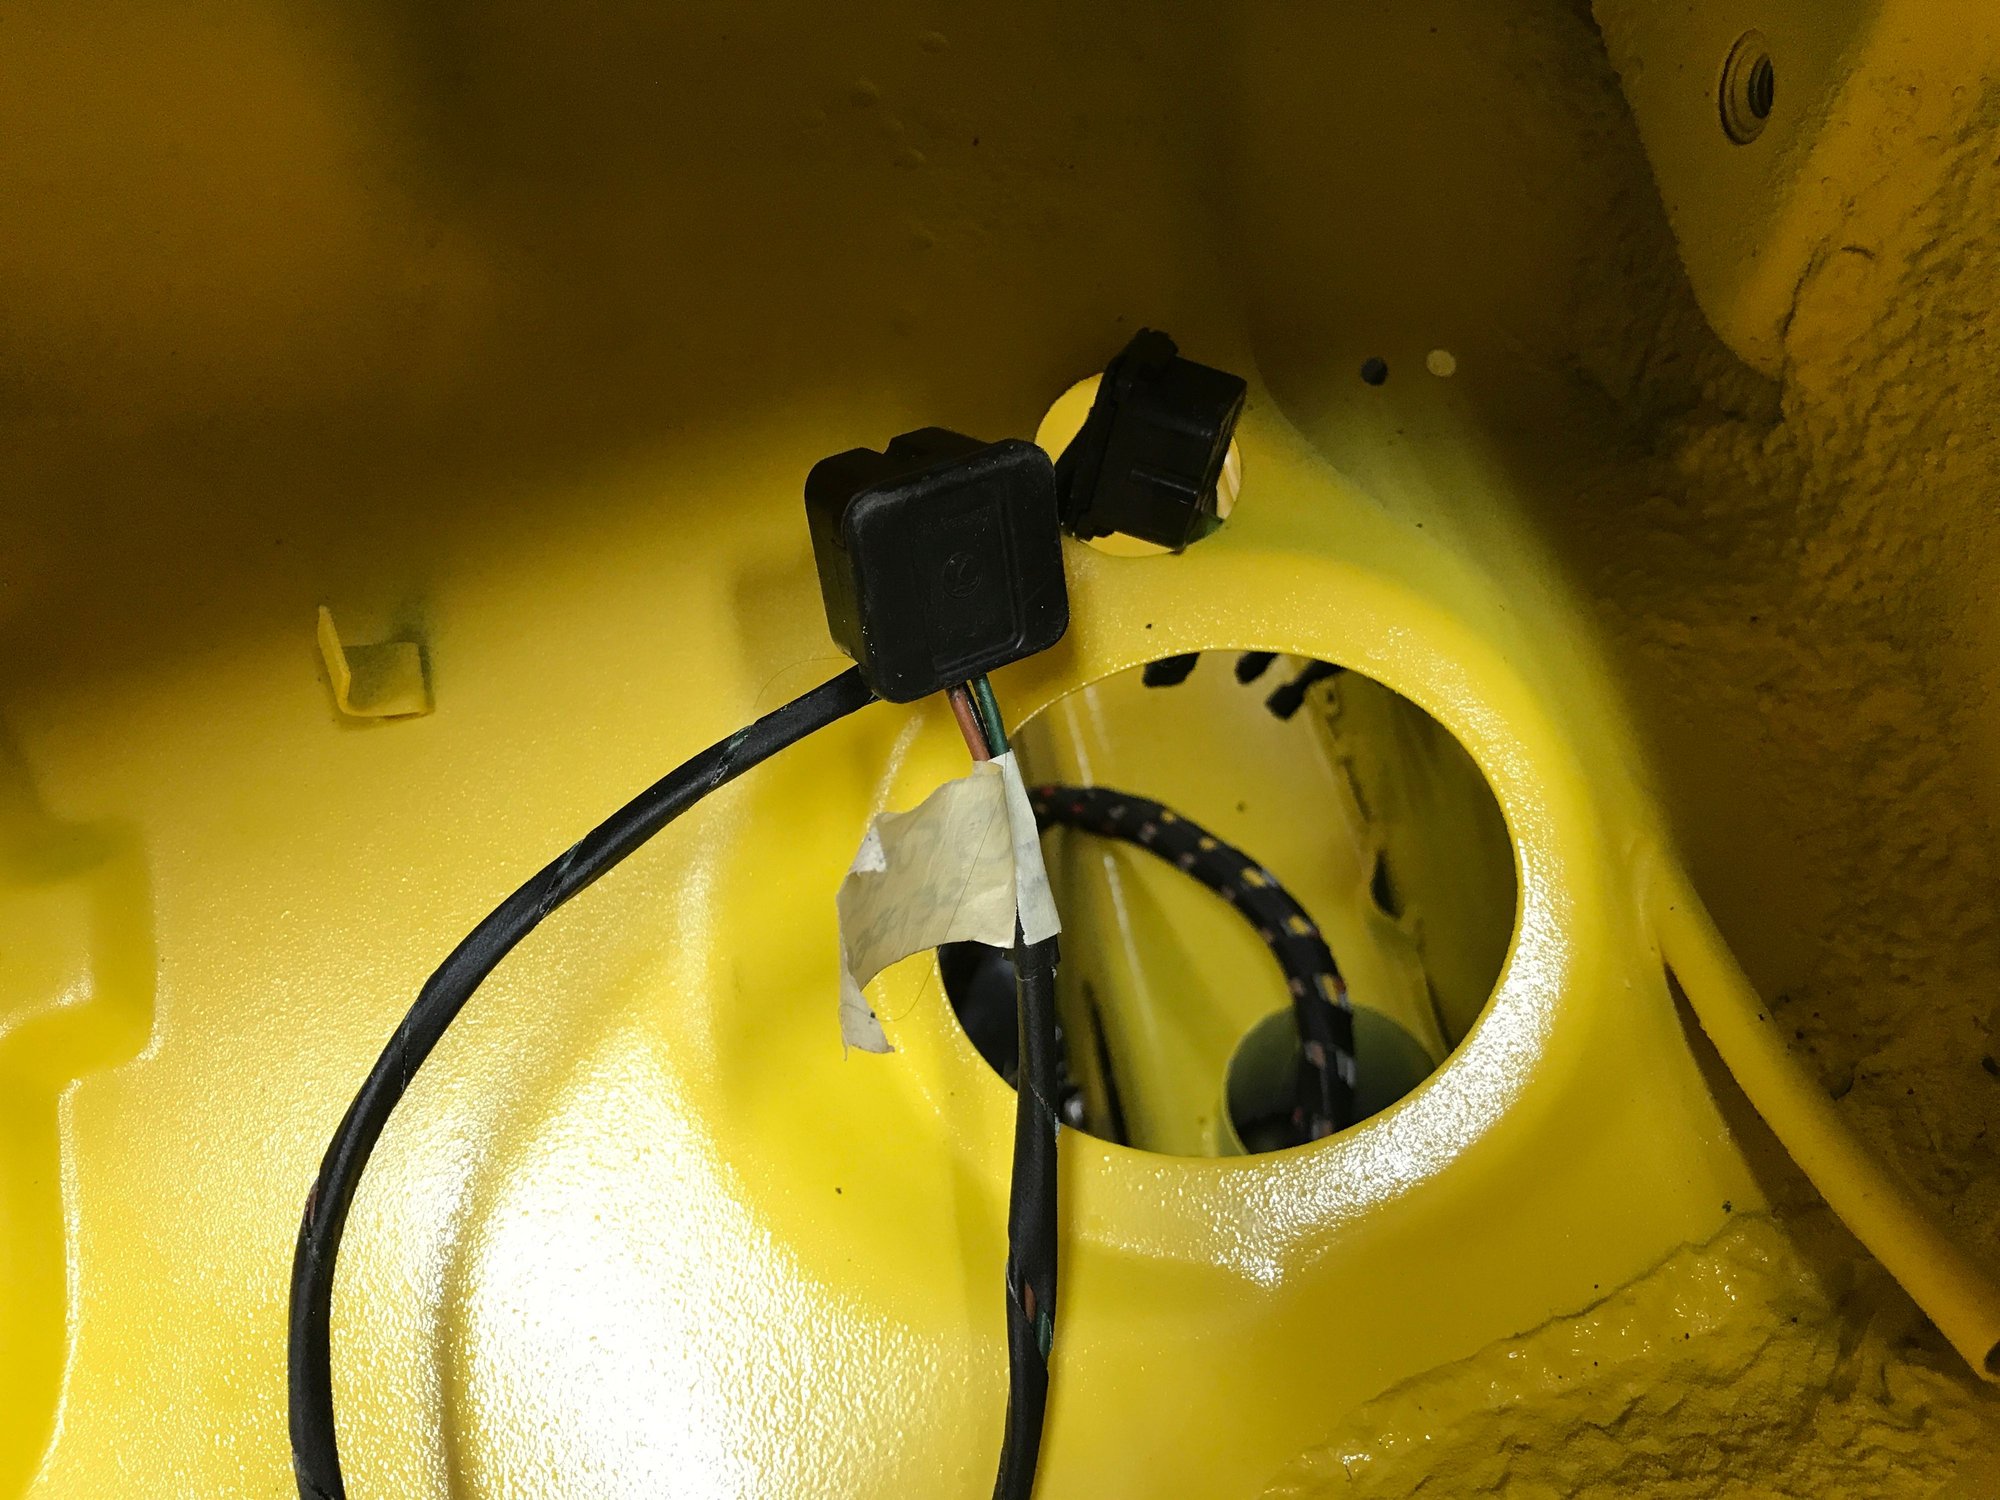
Then some other leads. The loose wires are for the future washer pump.
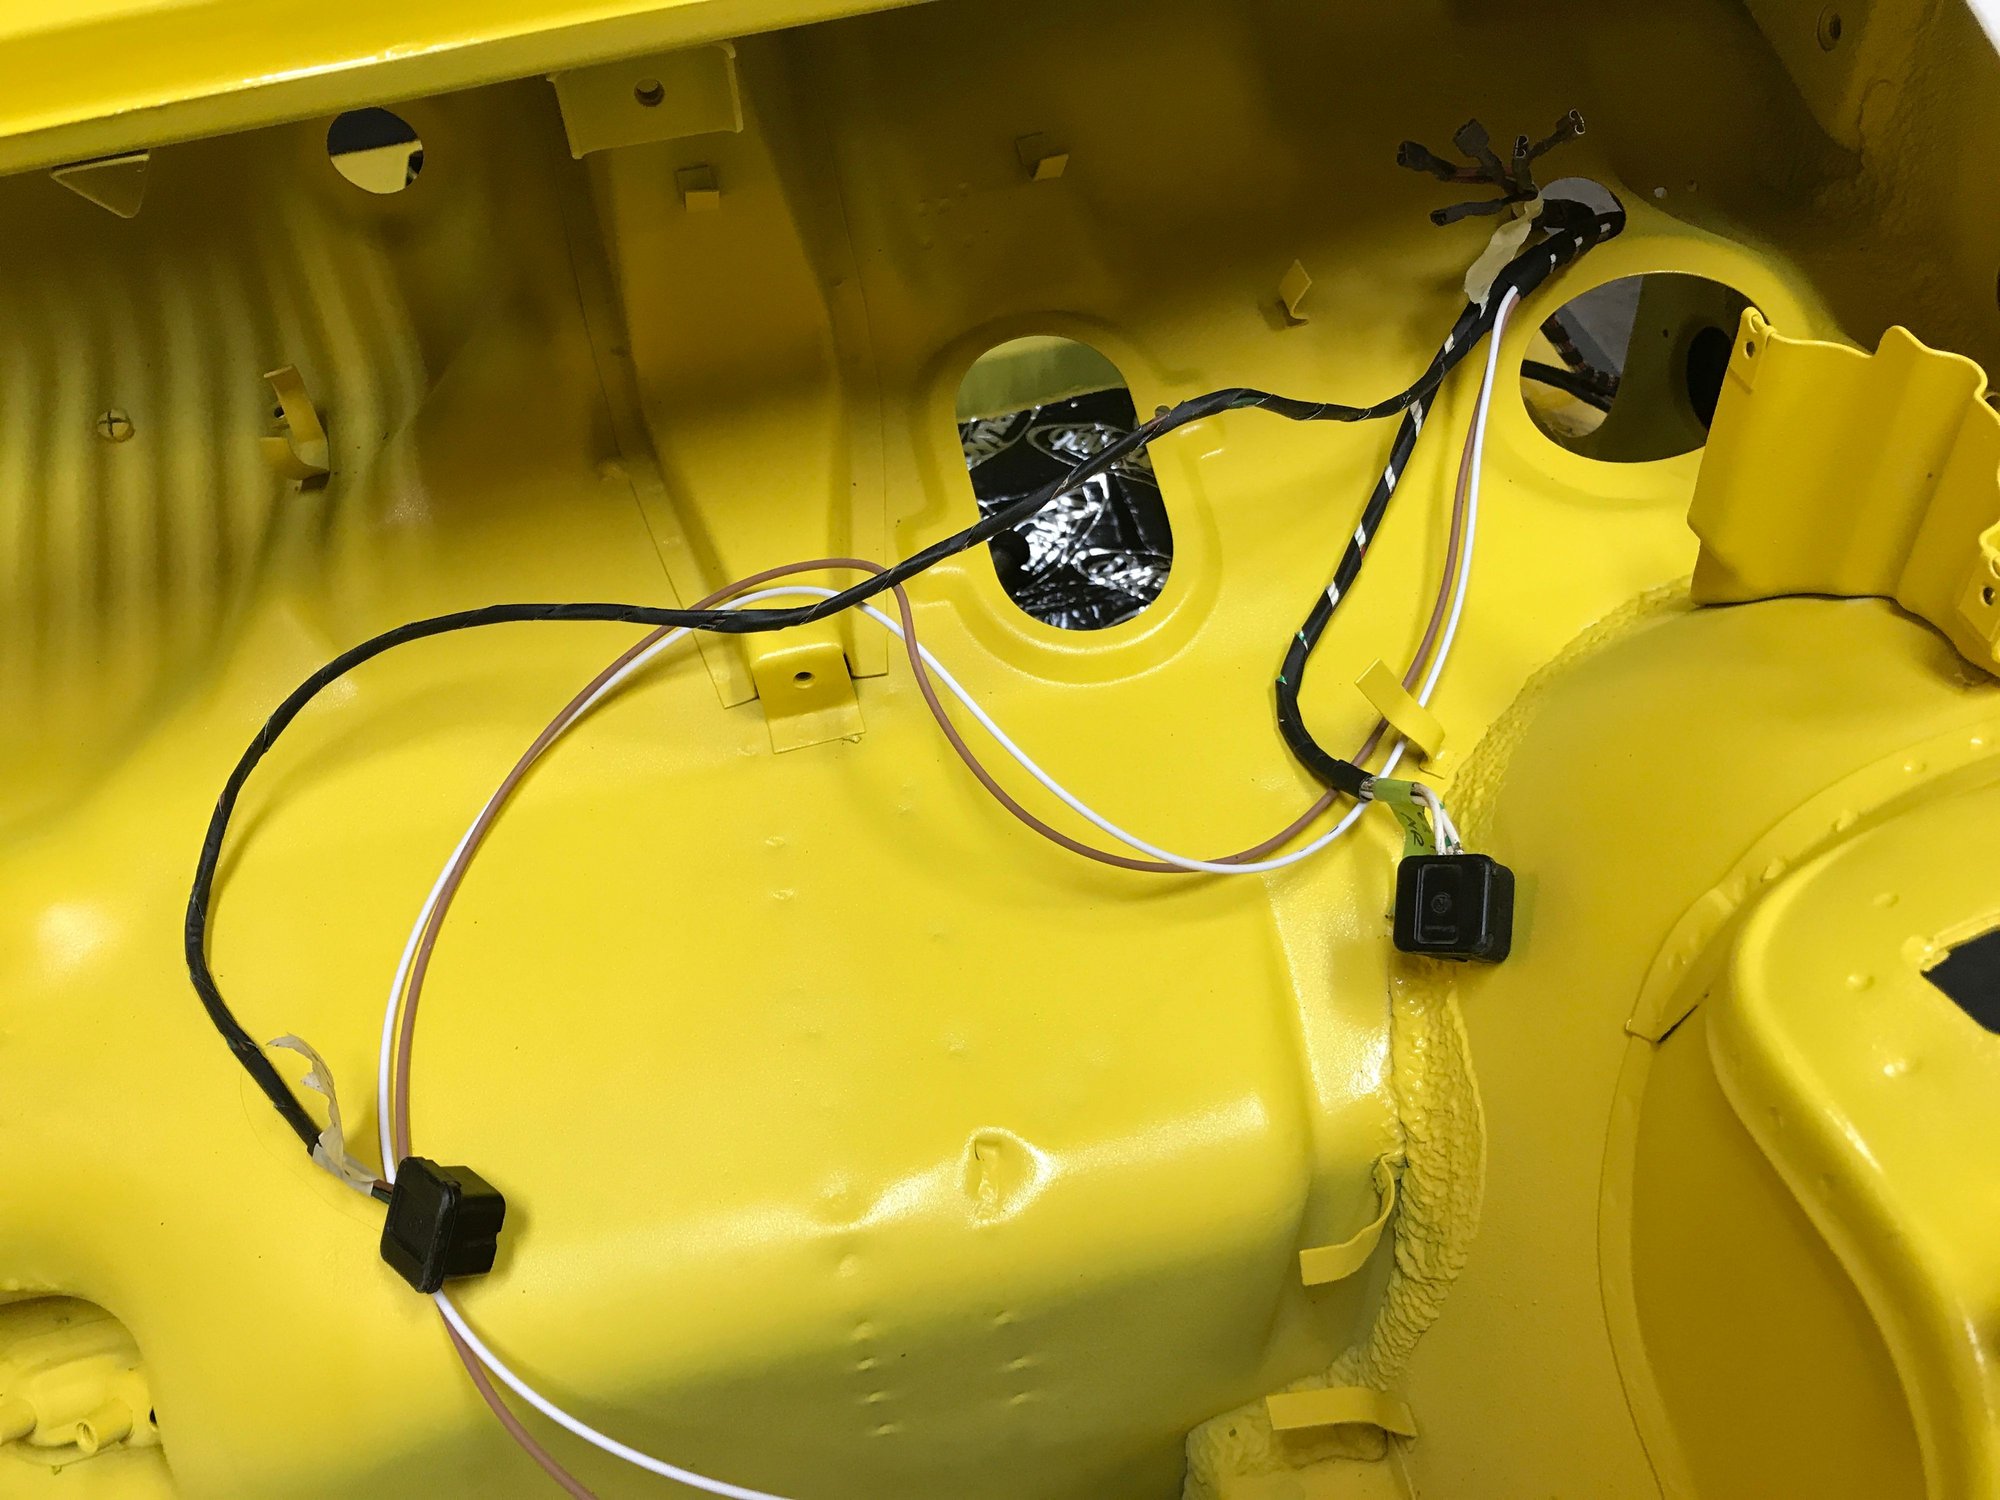
More leads.
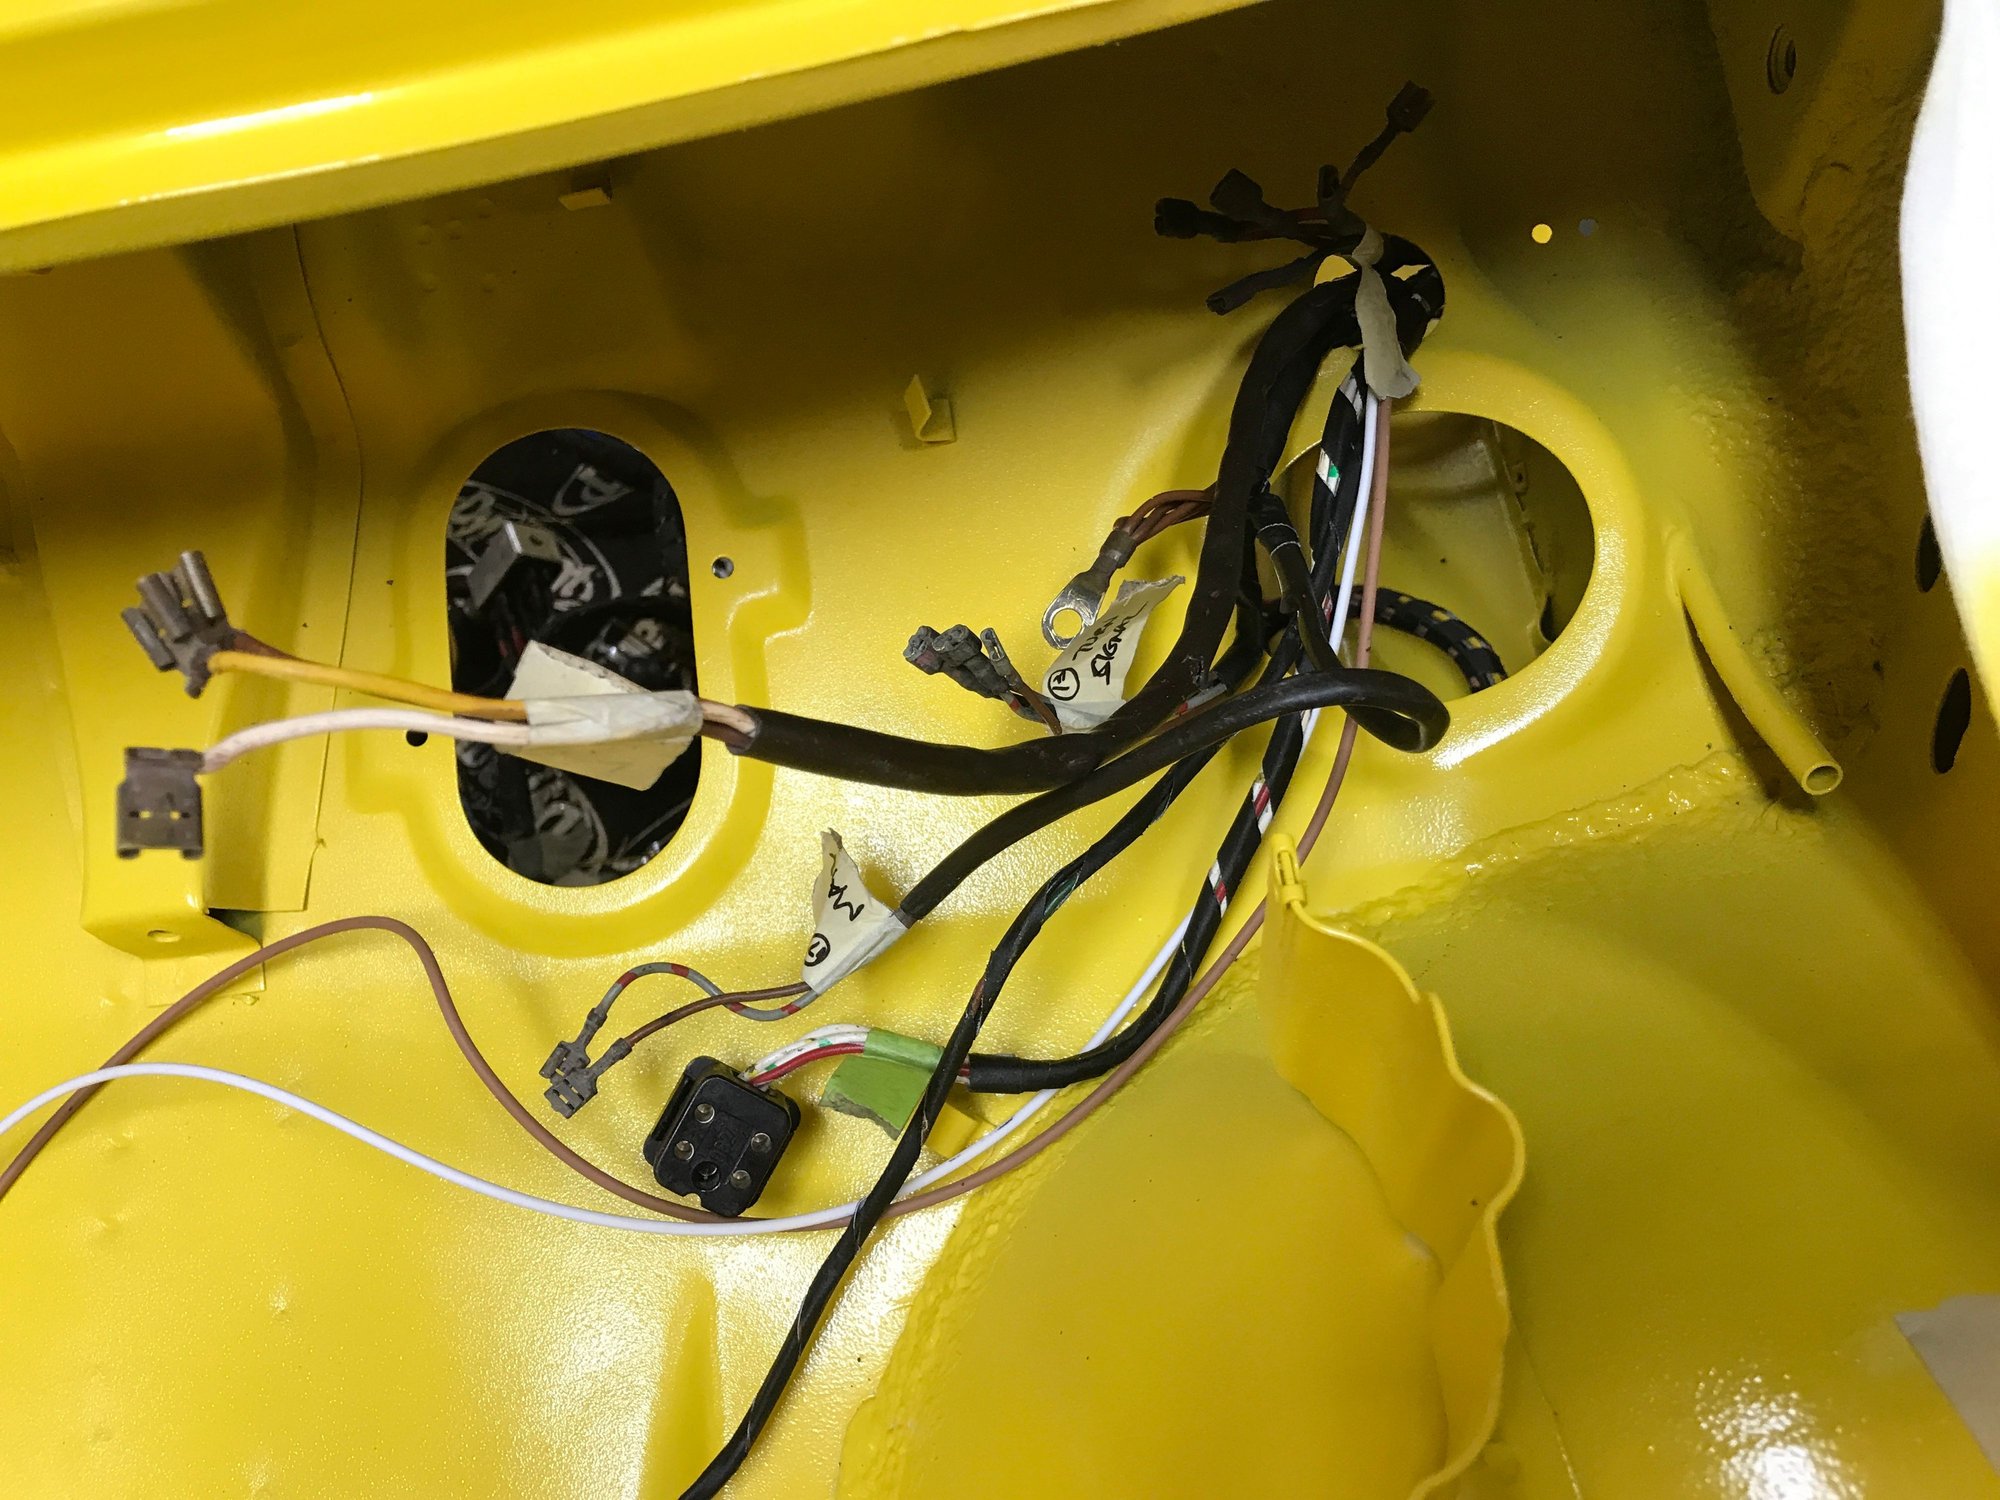
And from the inside.
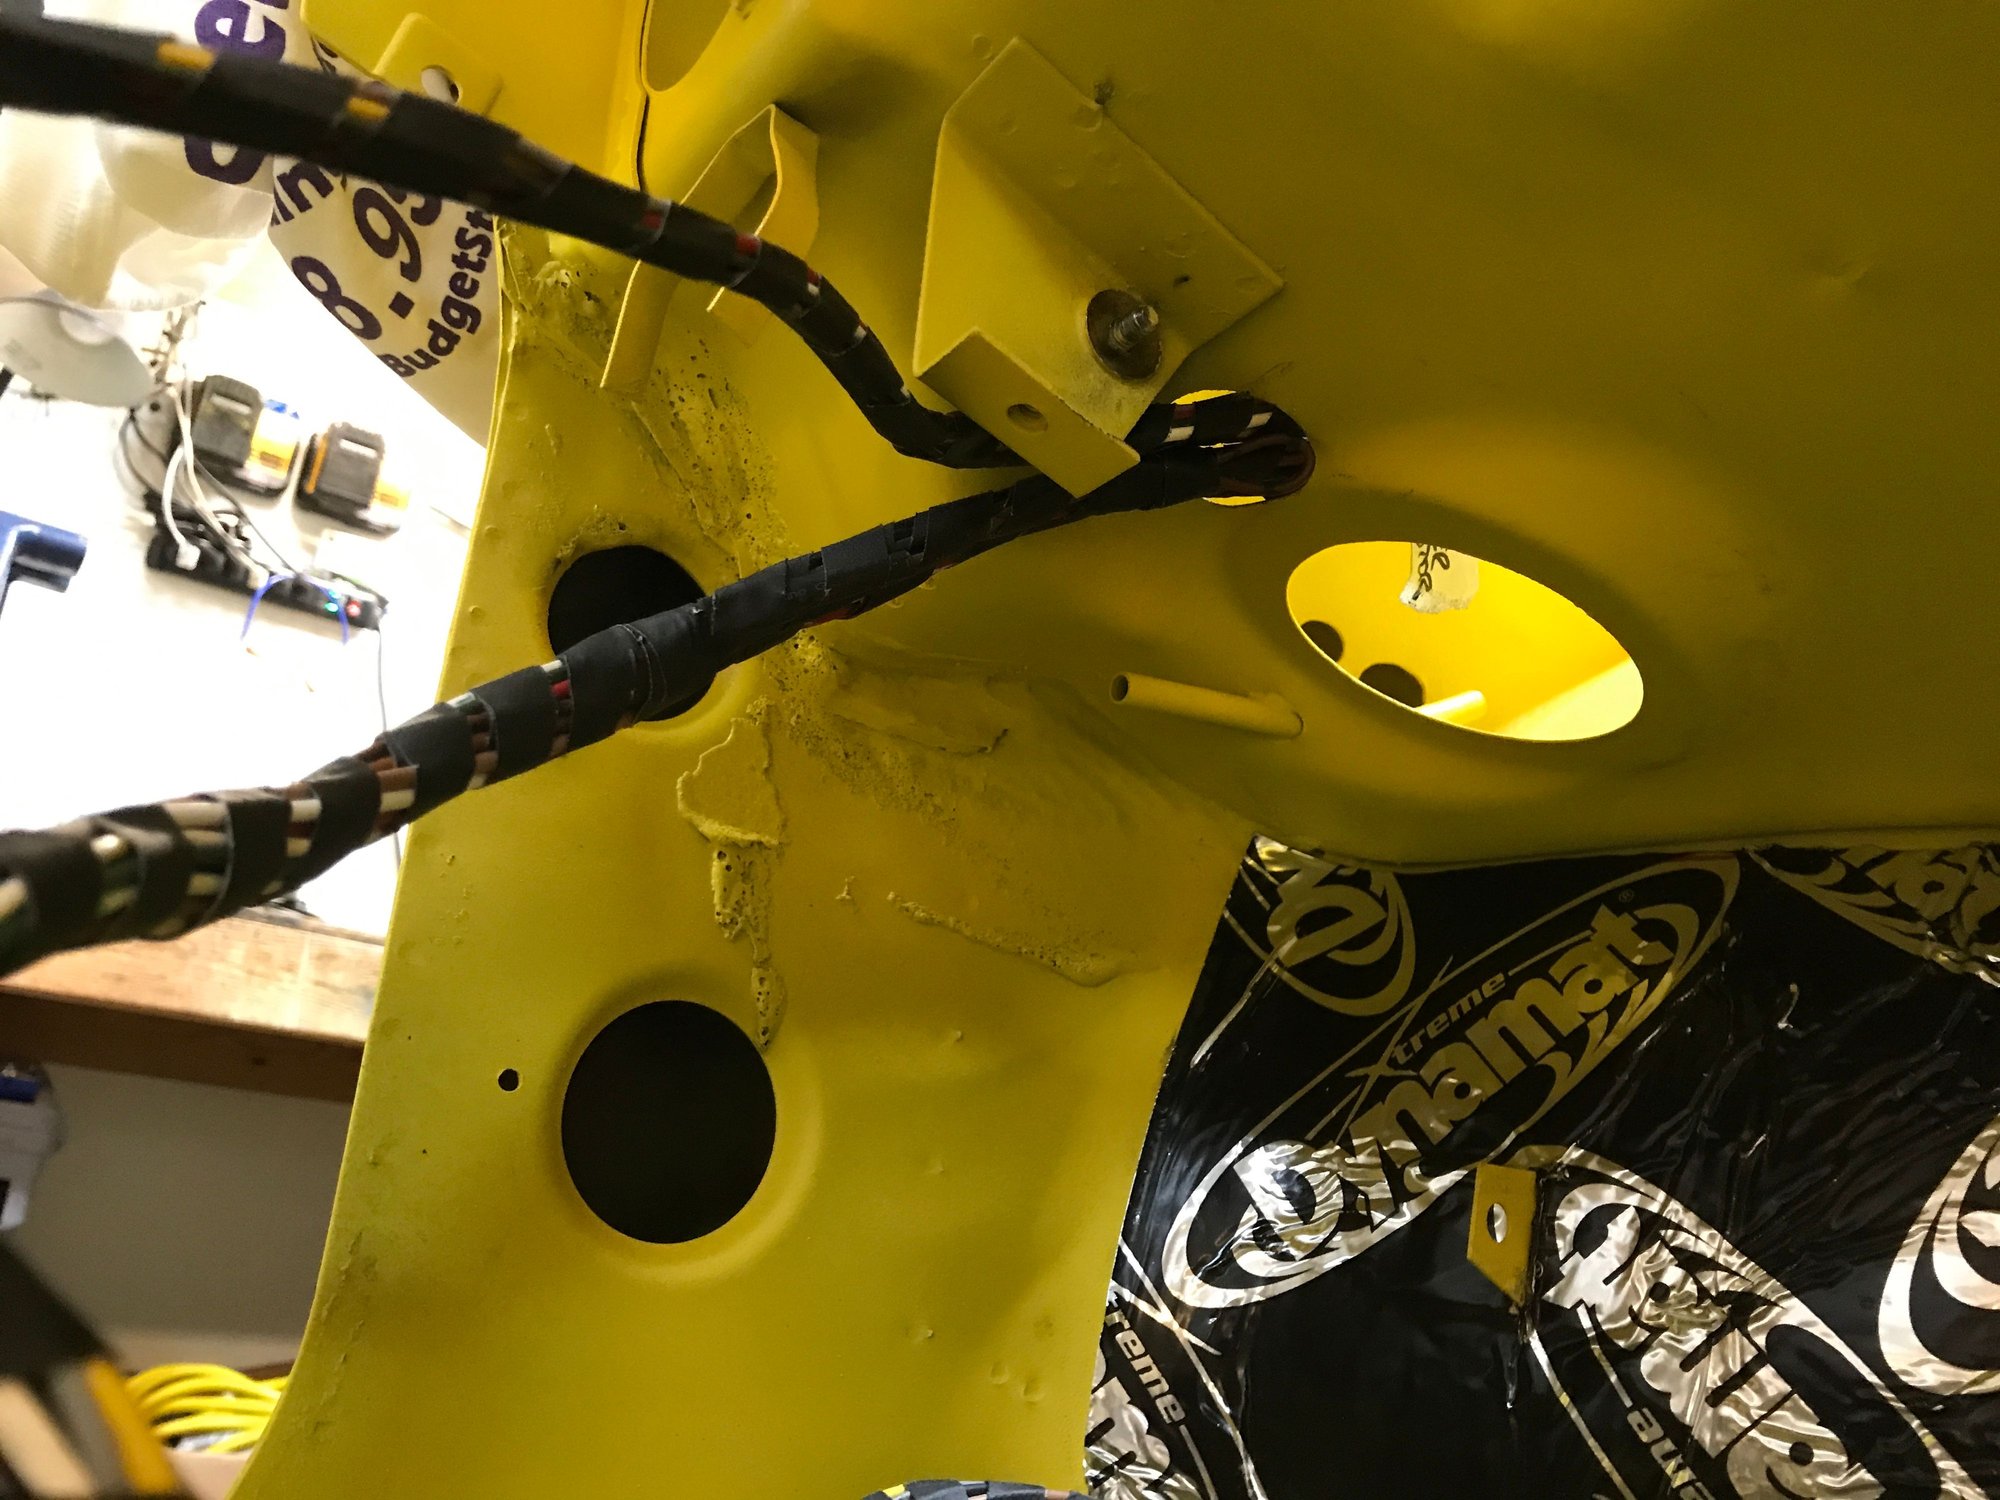
OK, everything at least started.
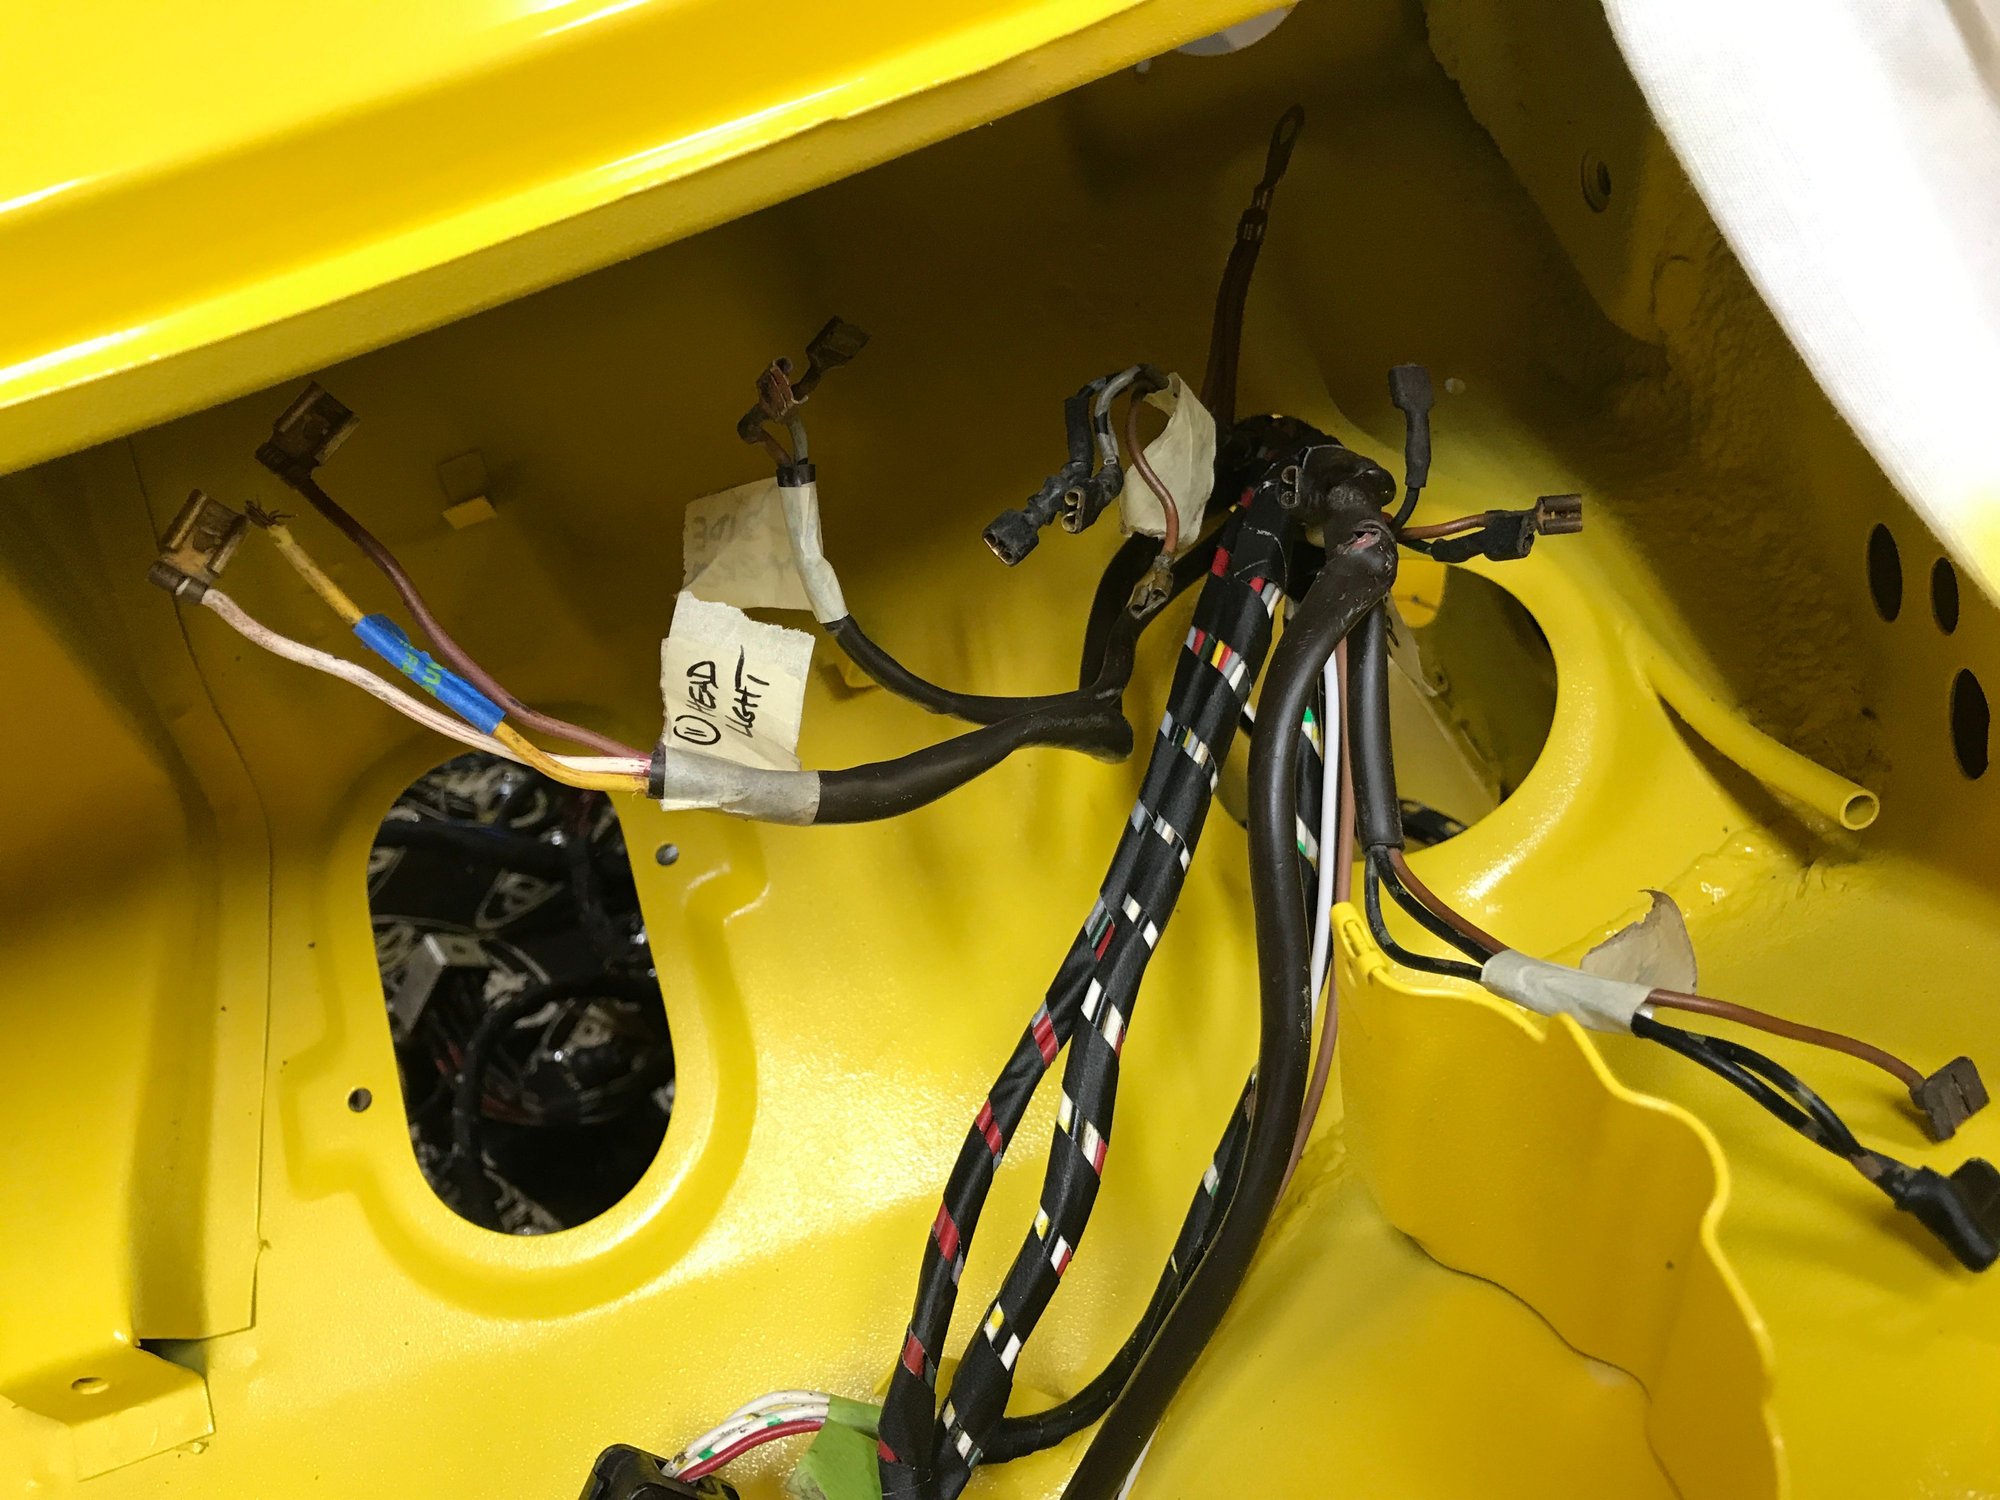
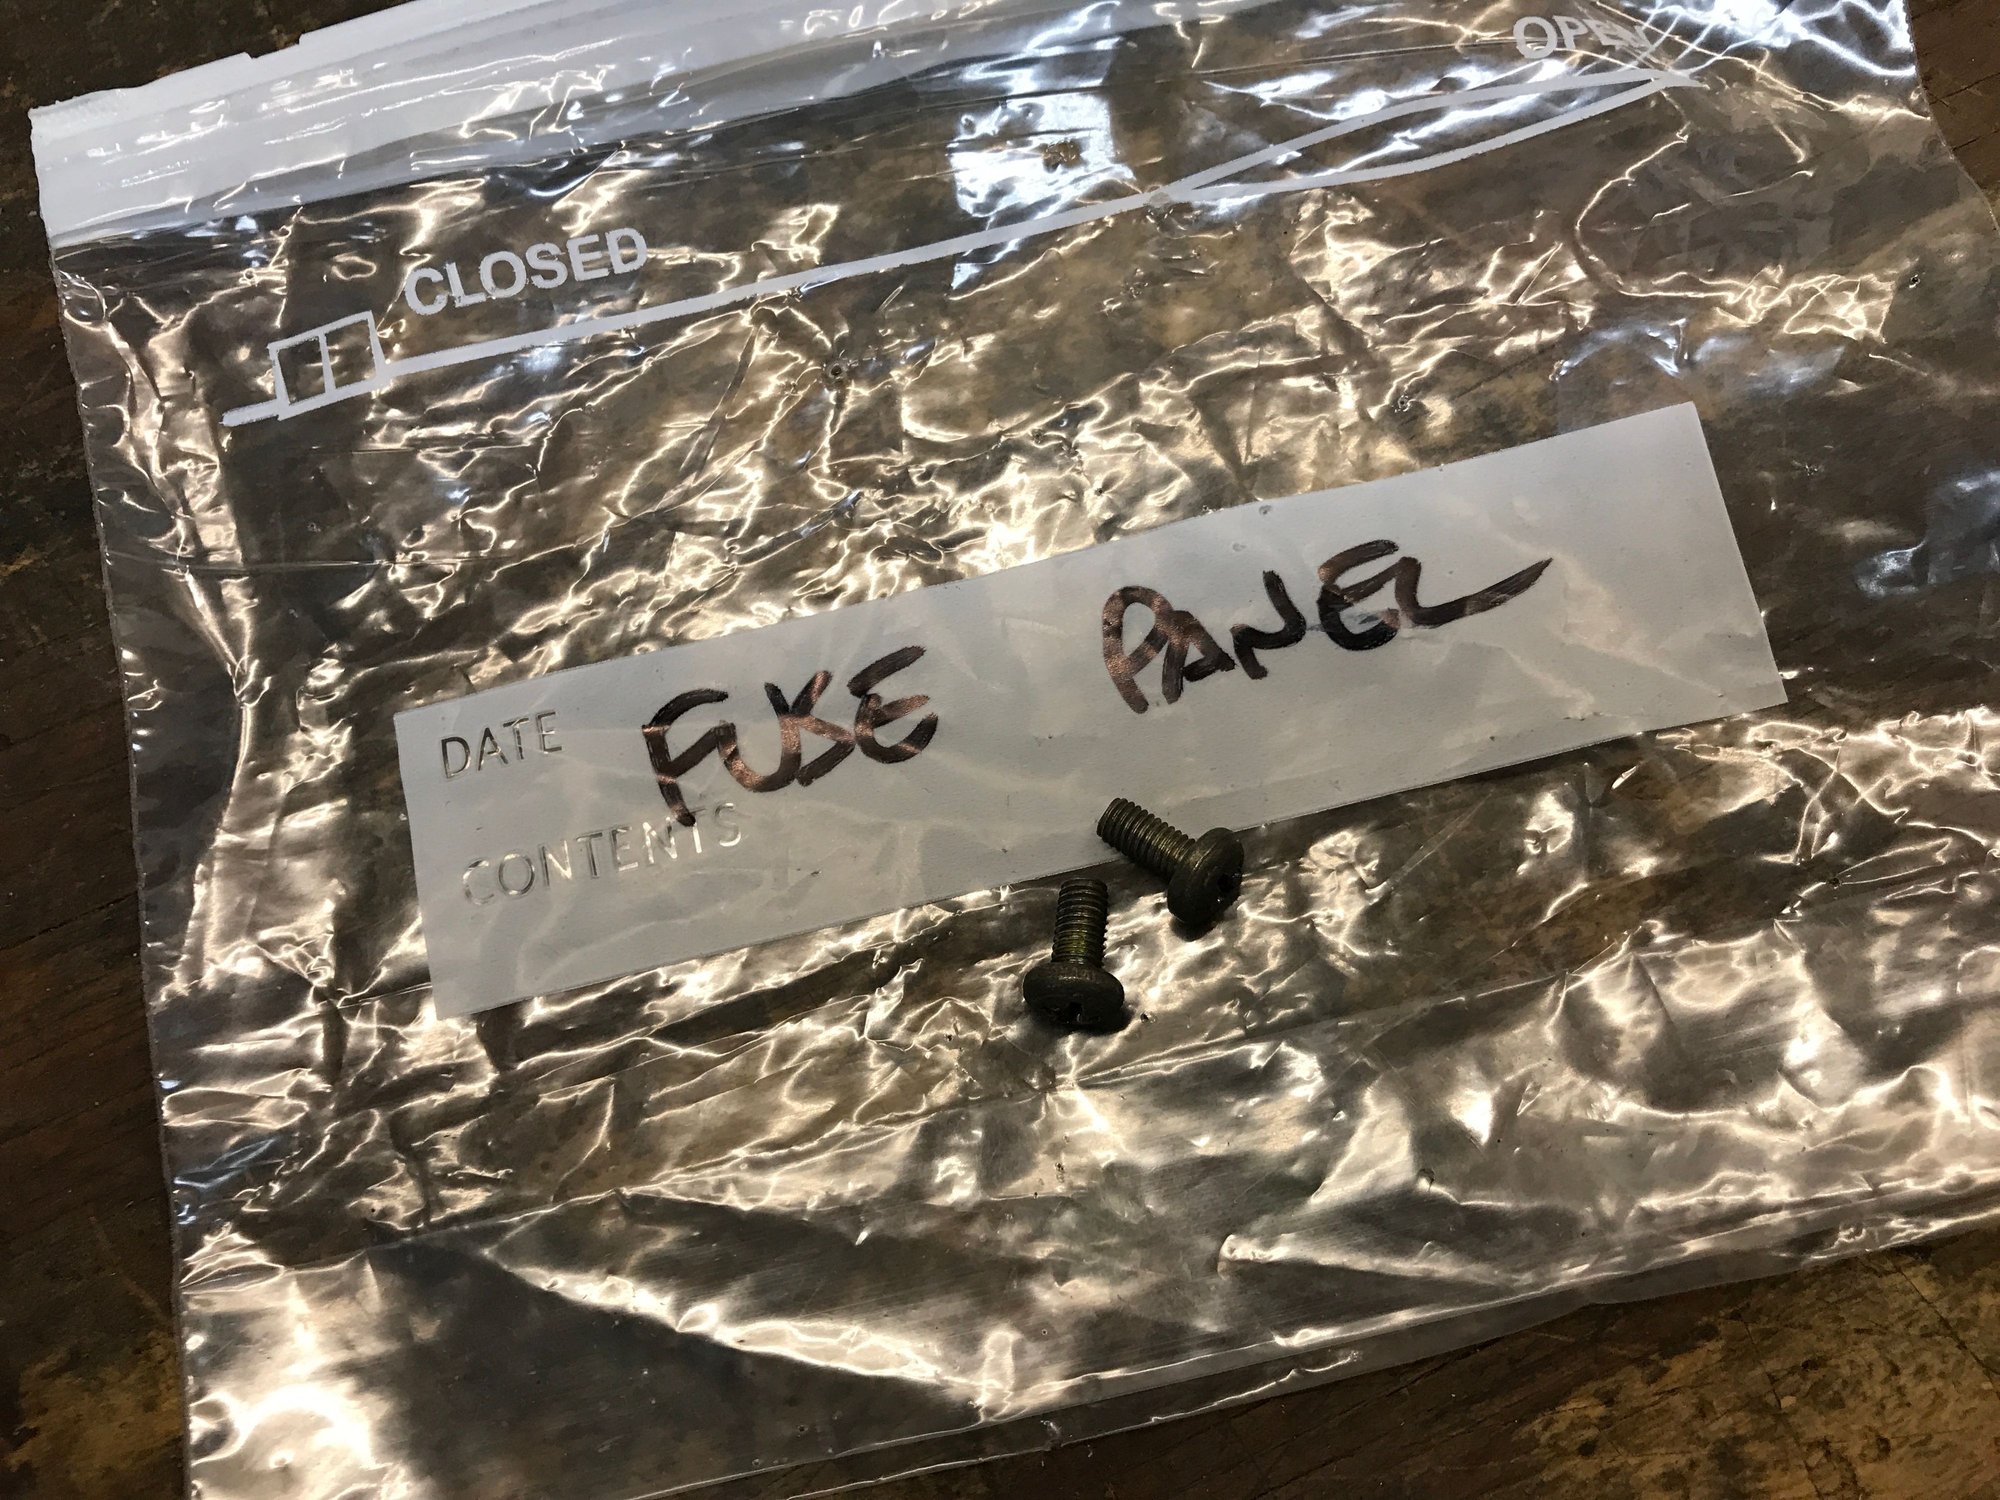
Time to open the first of hundreds of labeled bags from the disassembly a year ago.
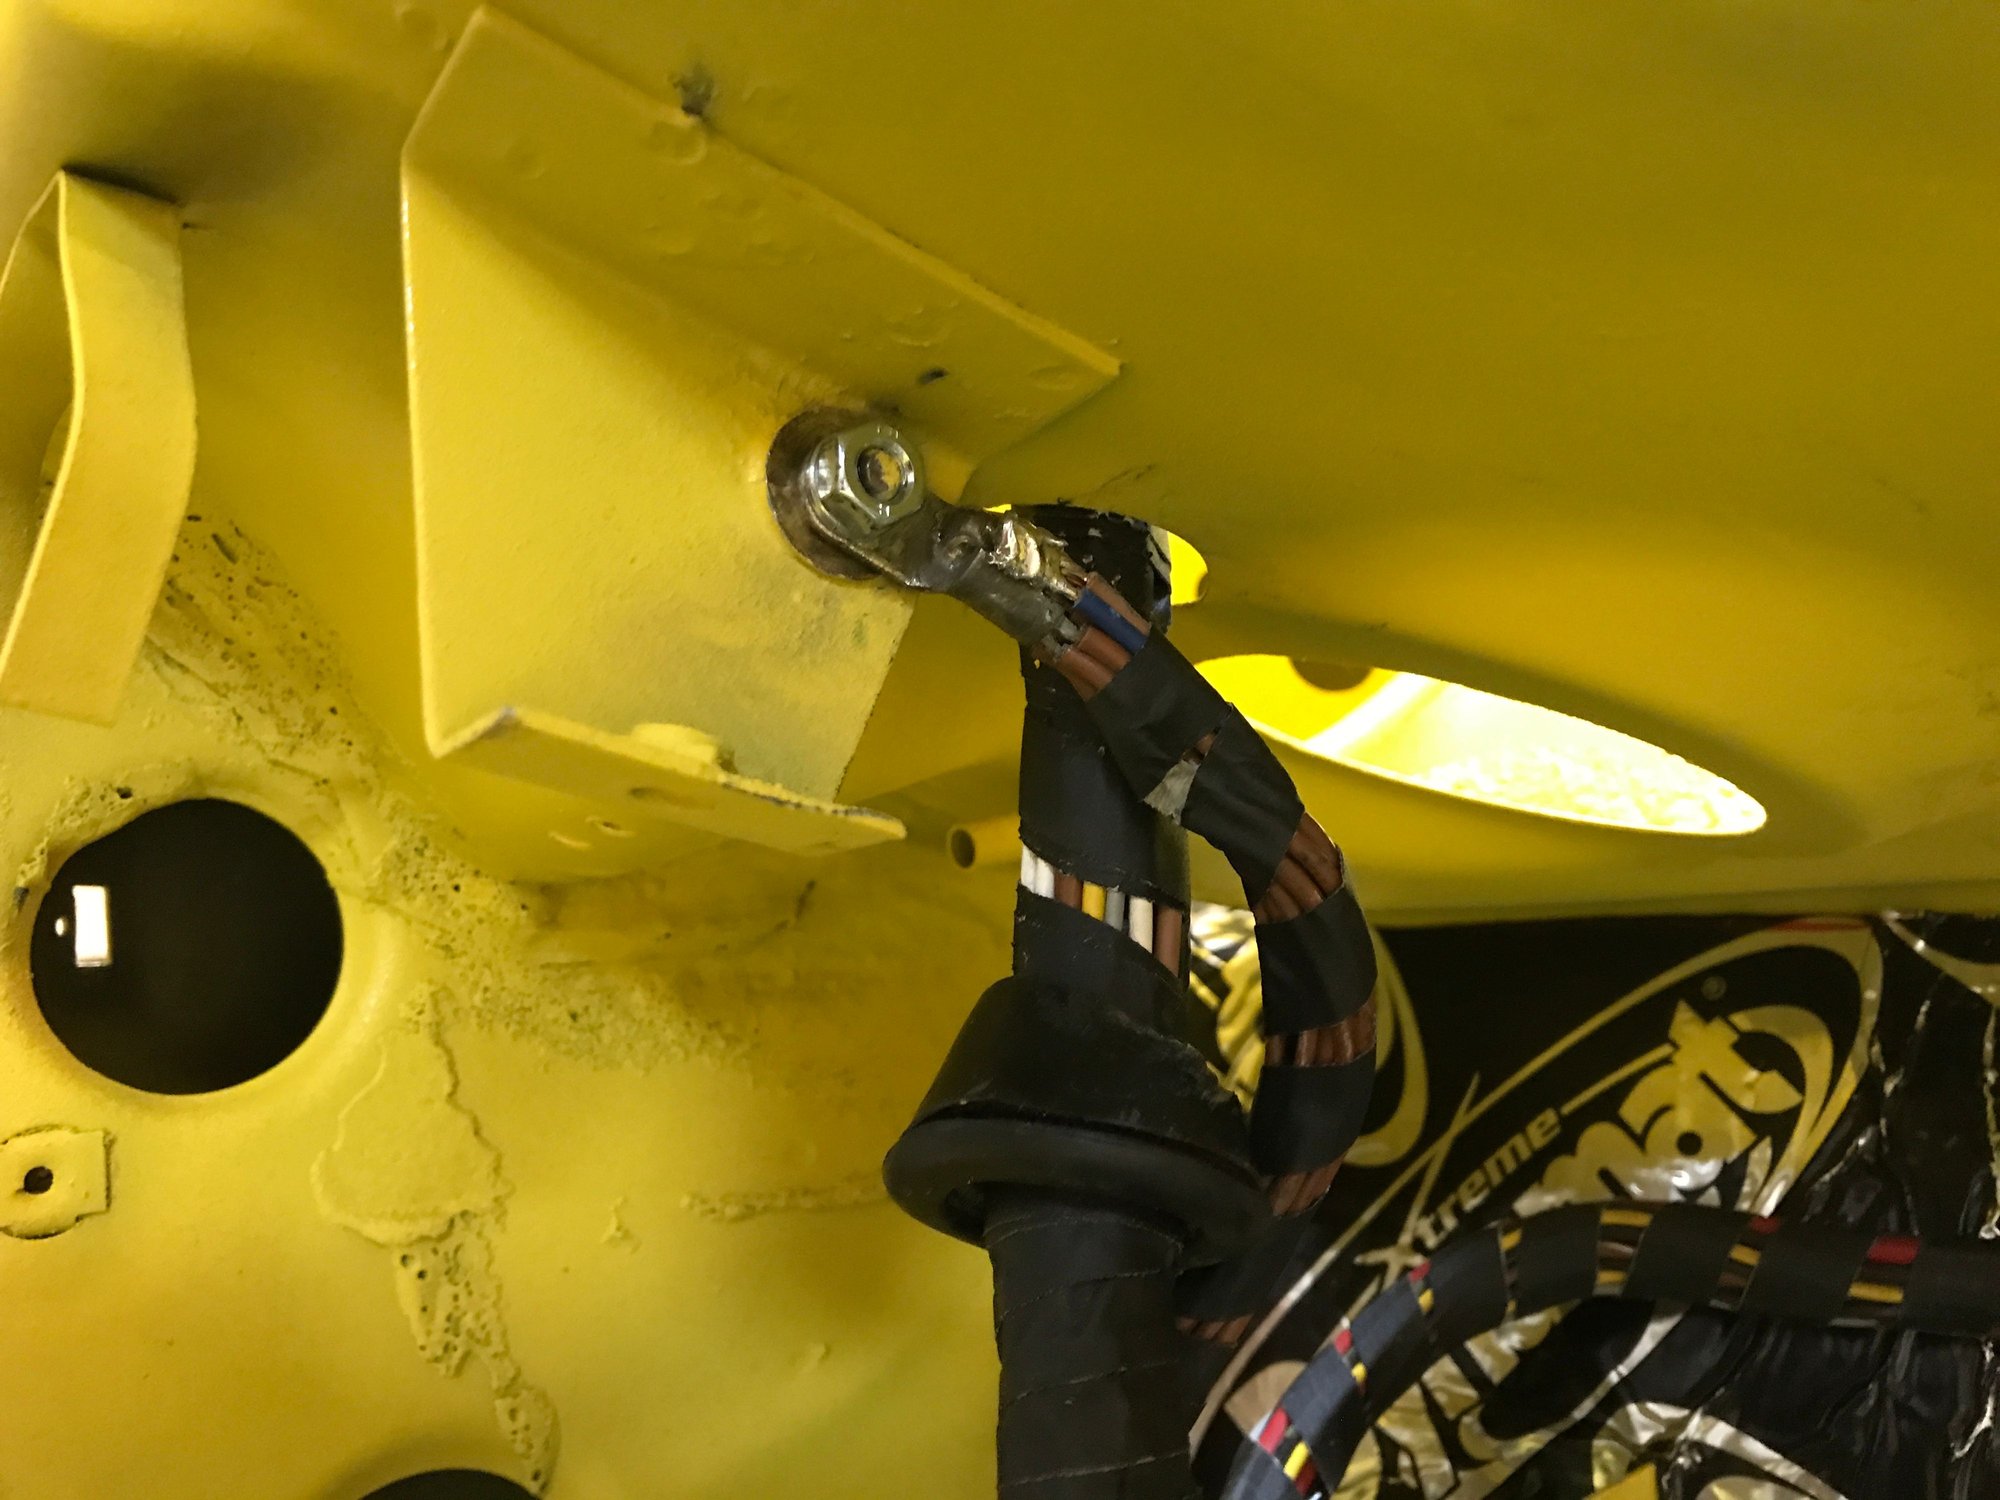
Ground leads connected to the chassis.
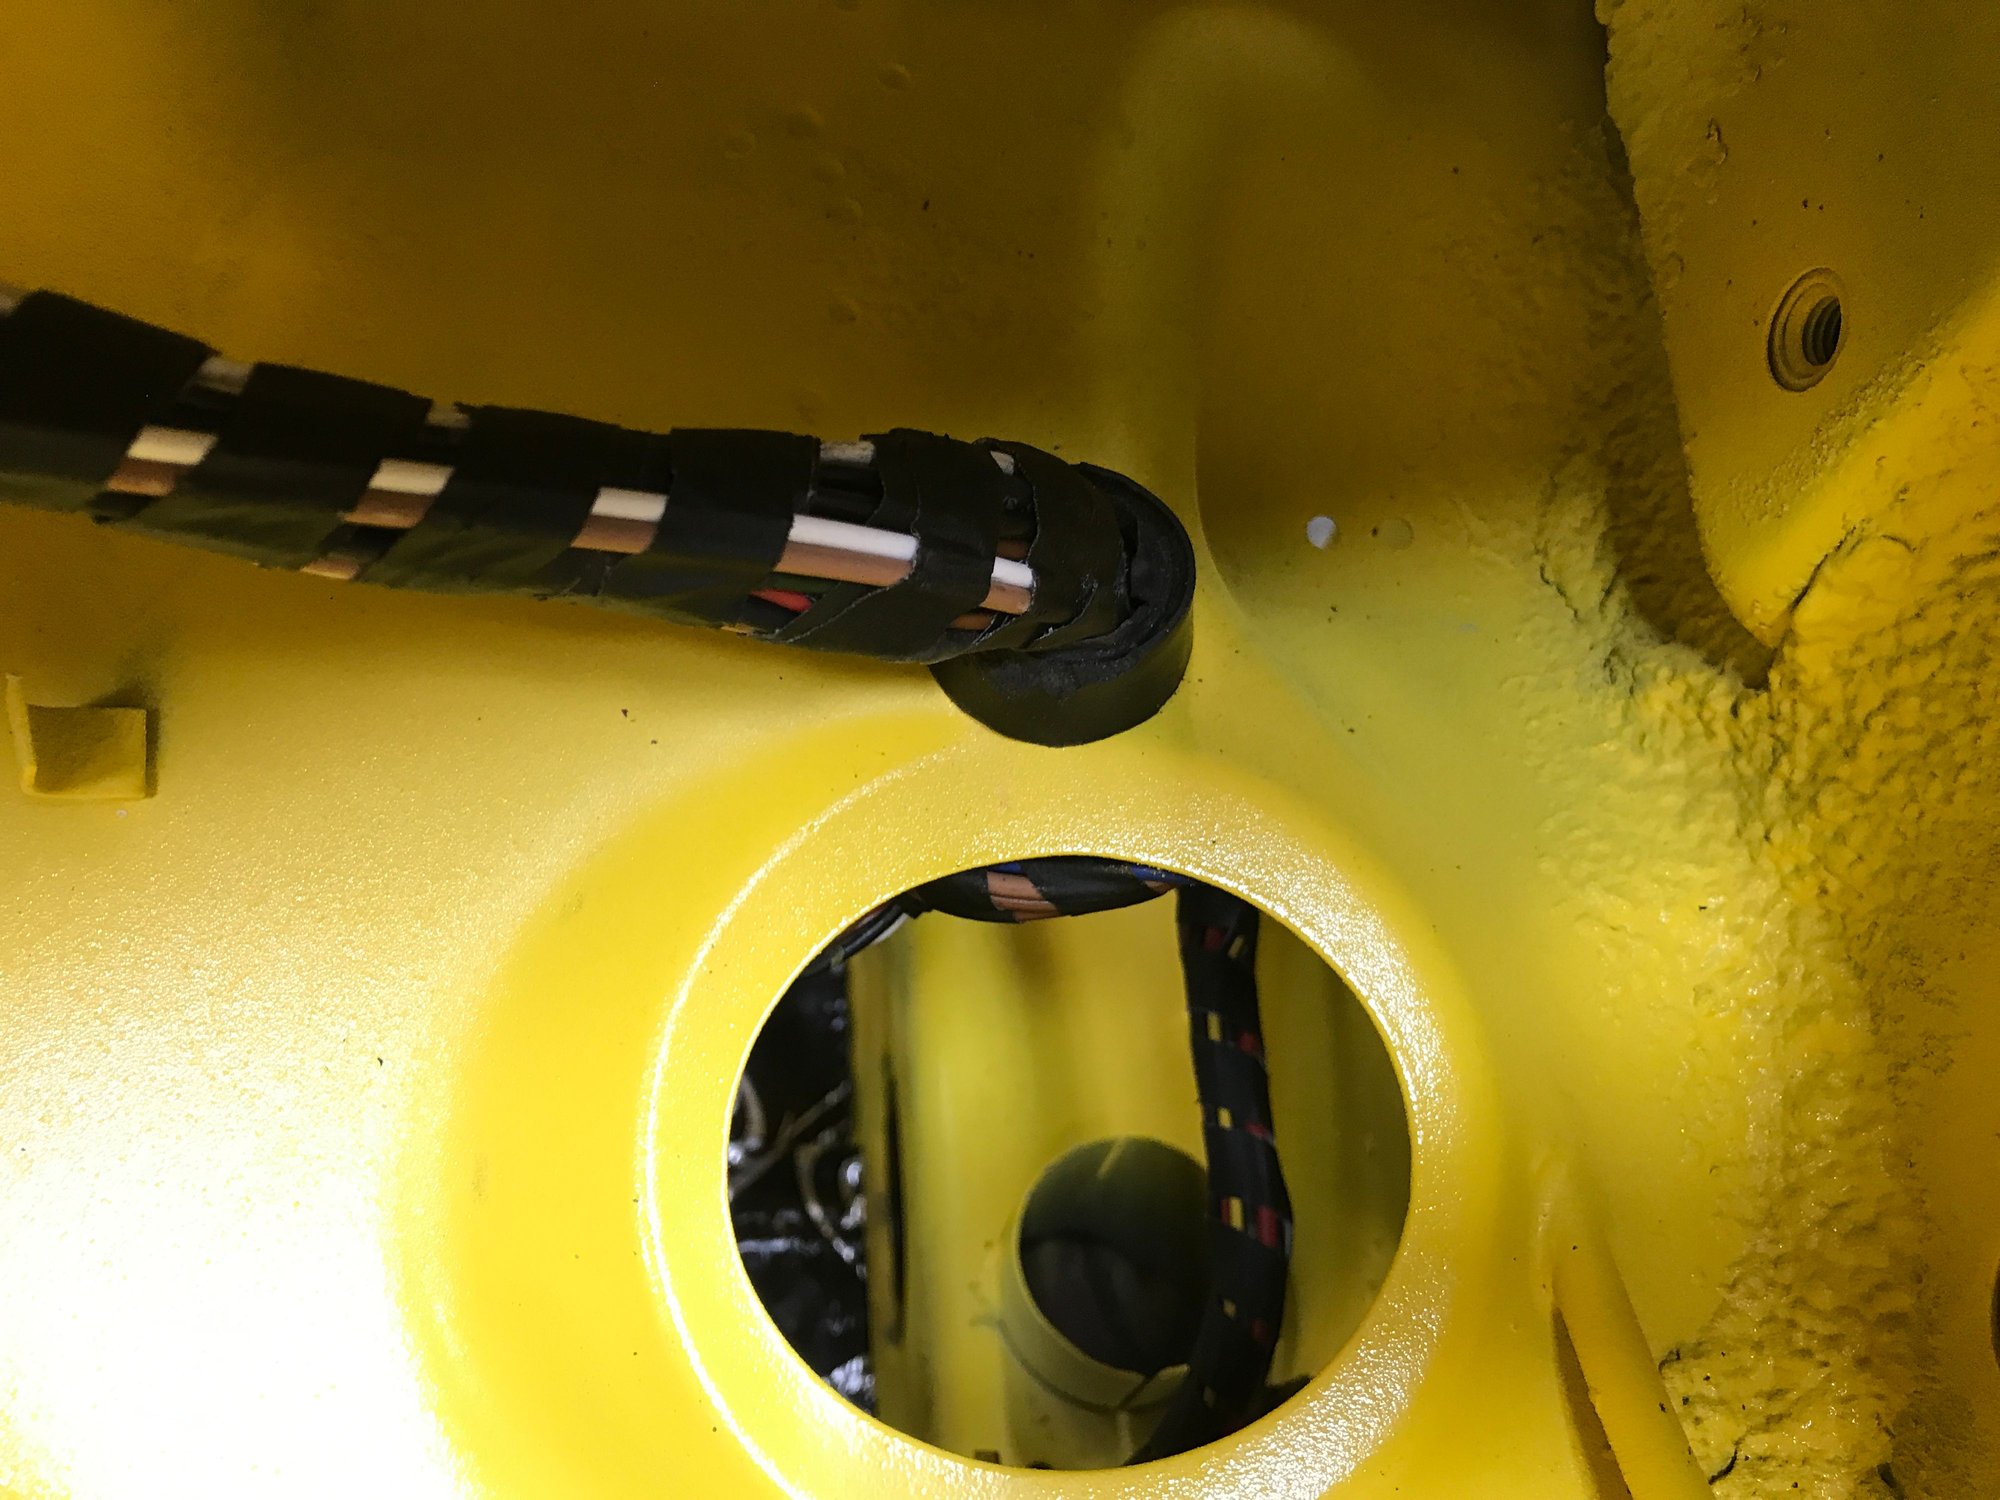
Everything in place, and the big grommet seated.
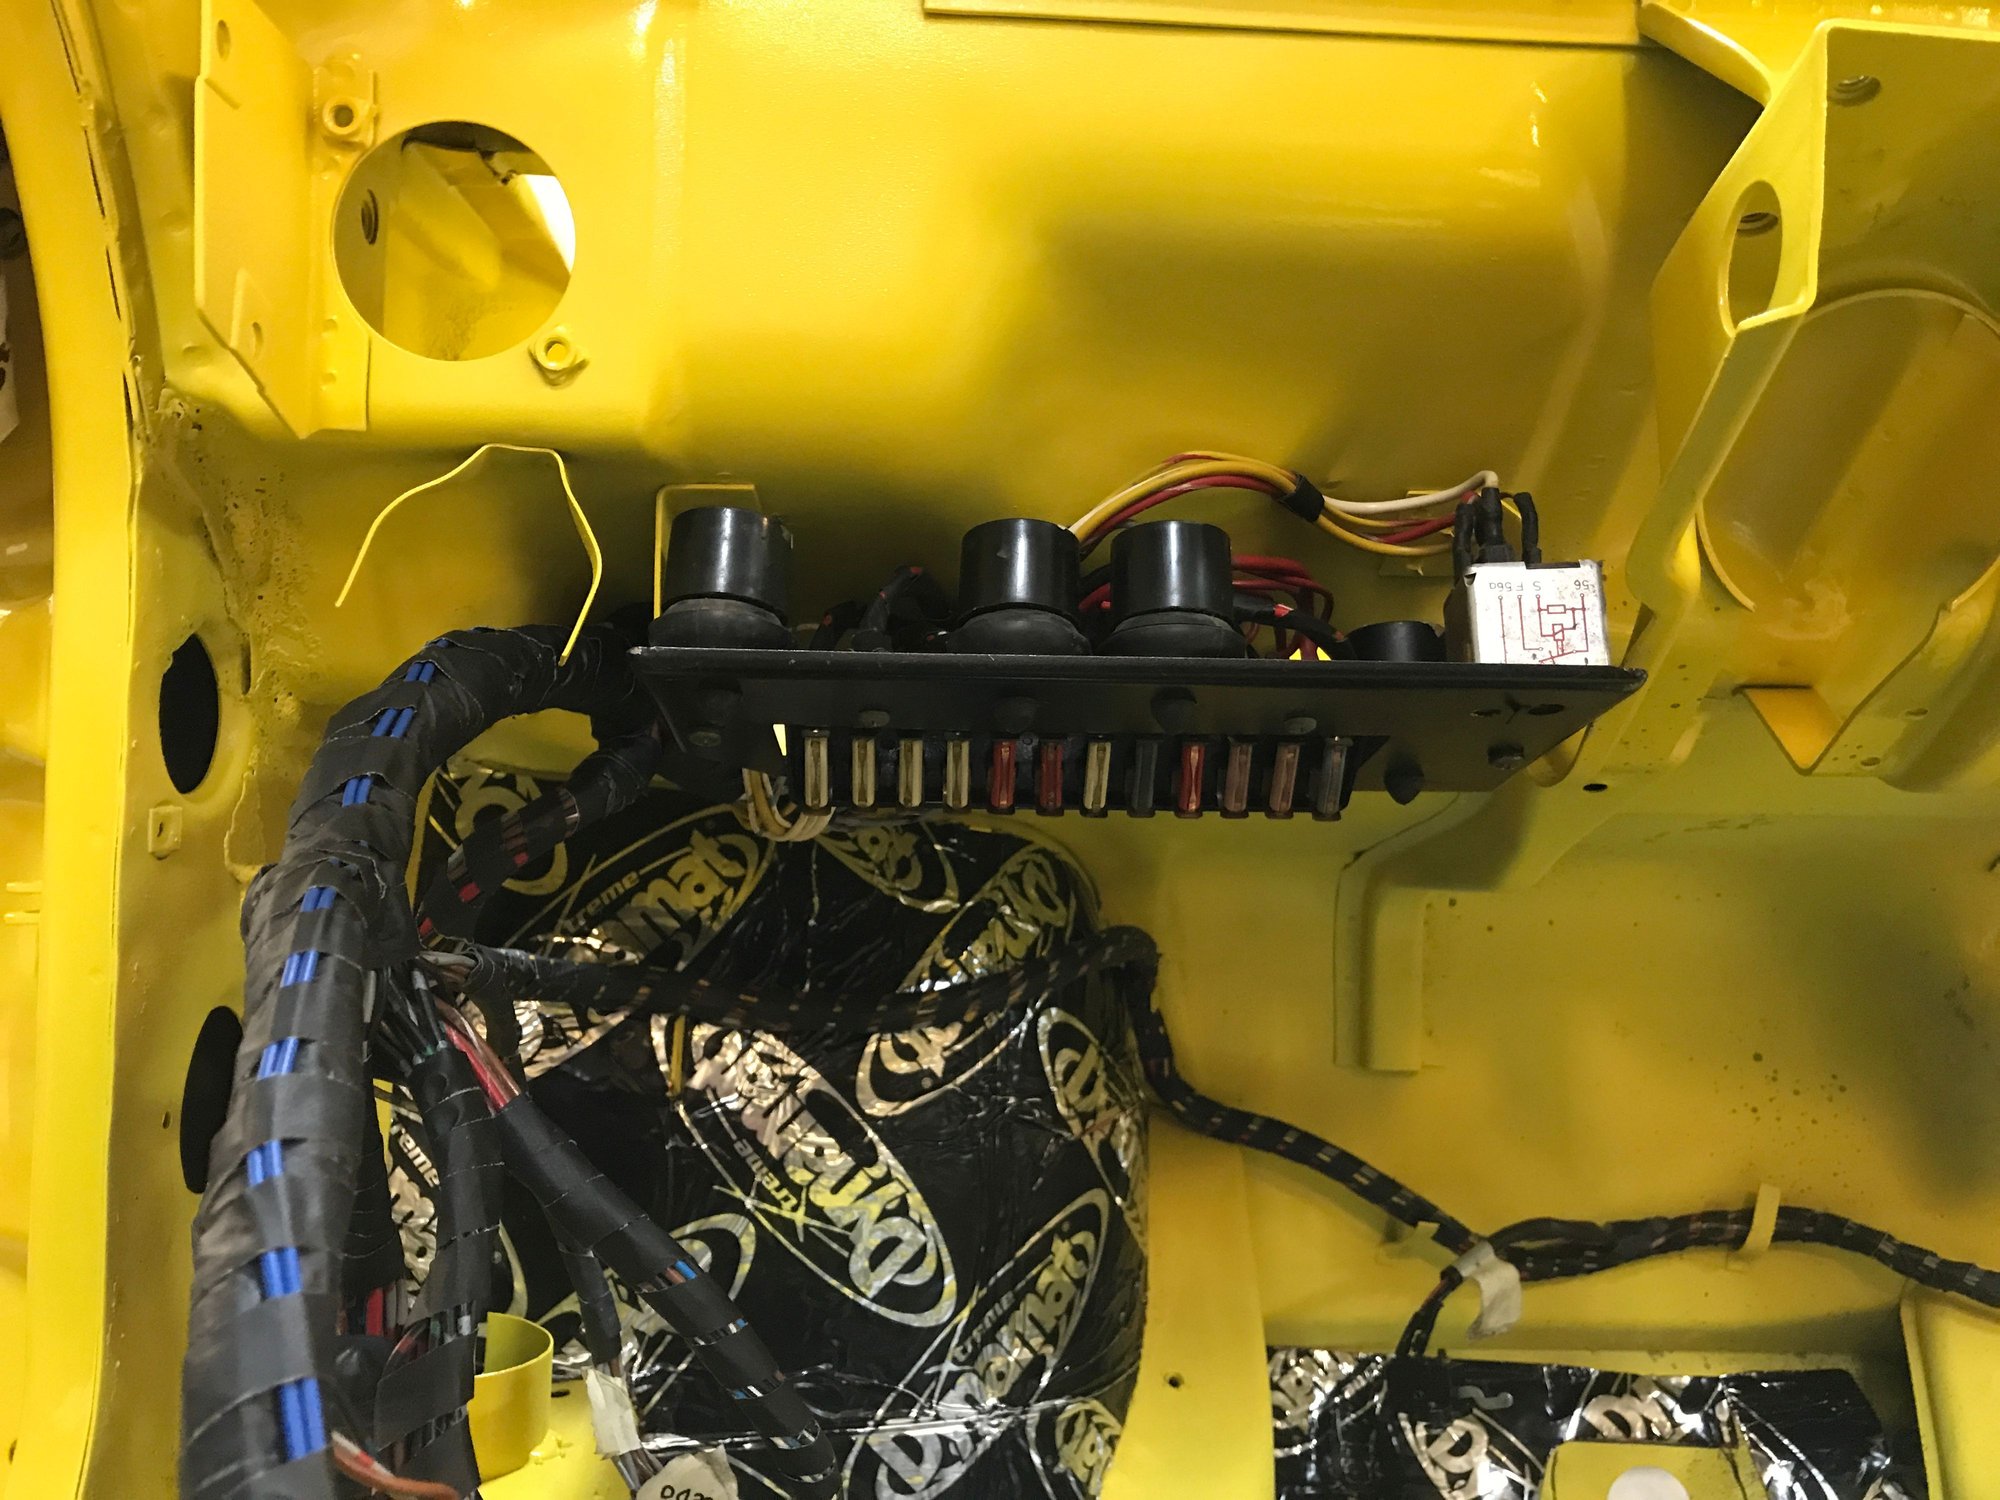
And the fuse-relay panel in place.
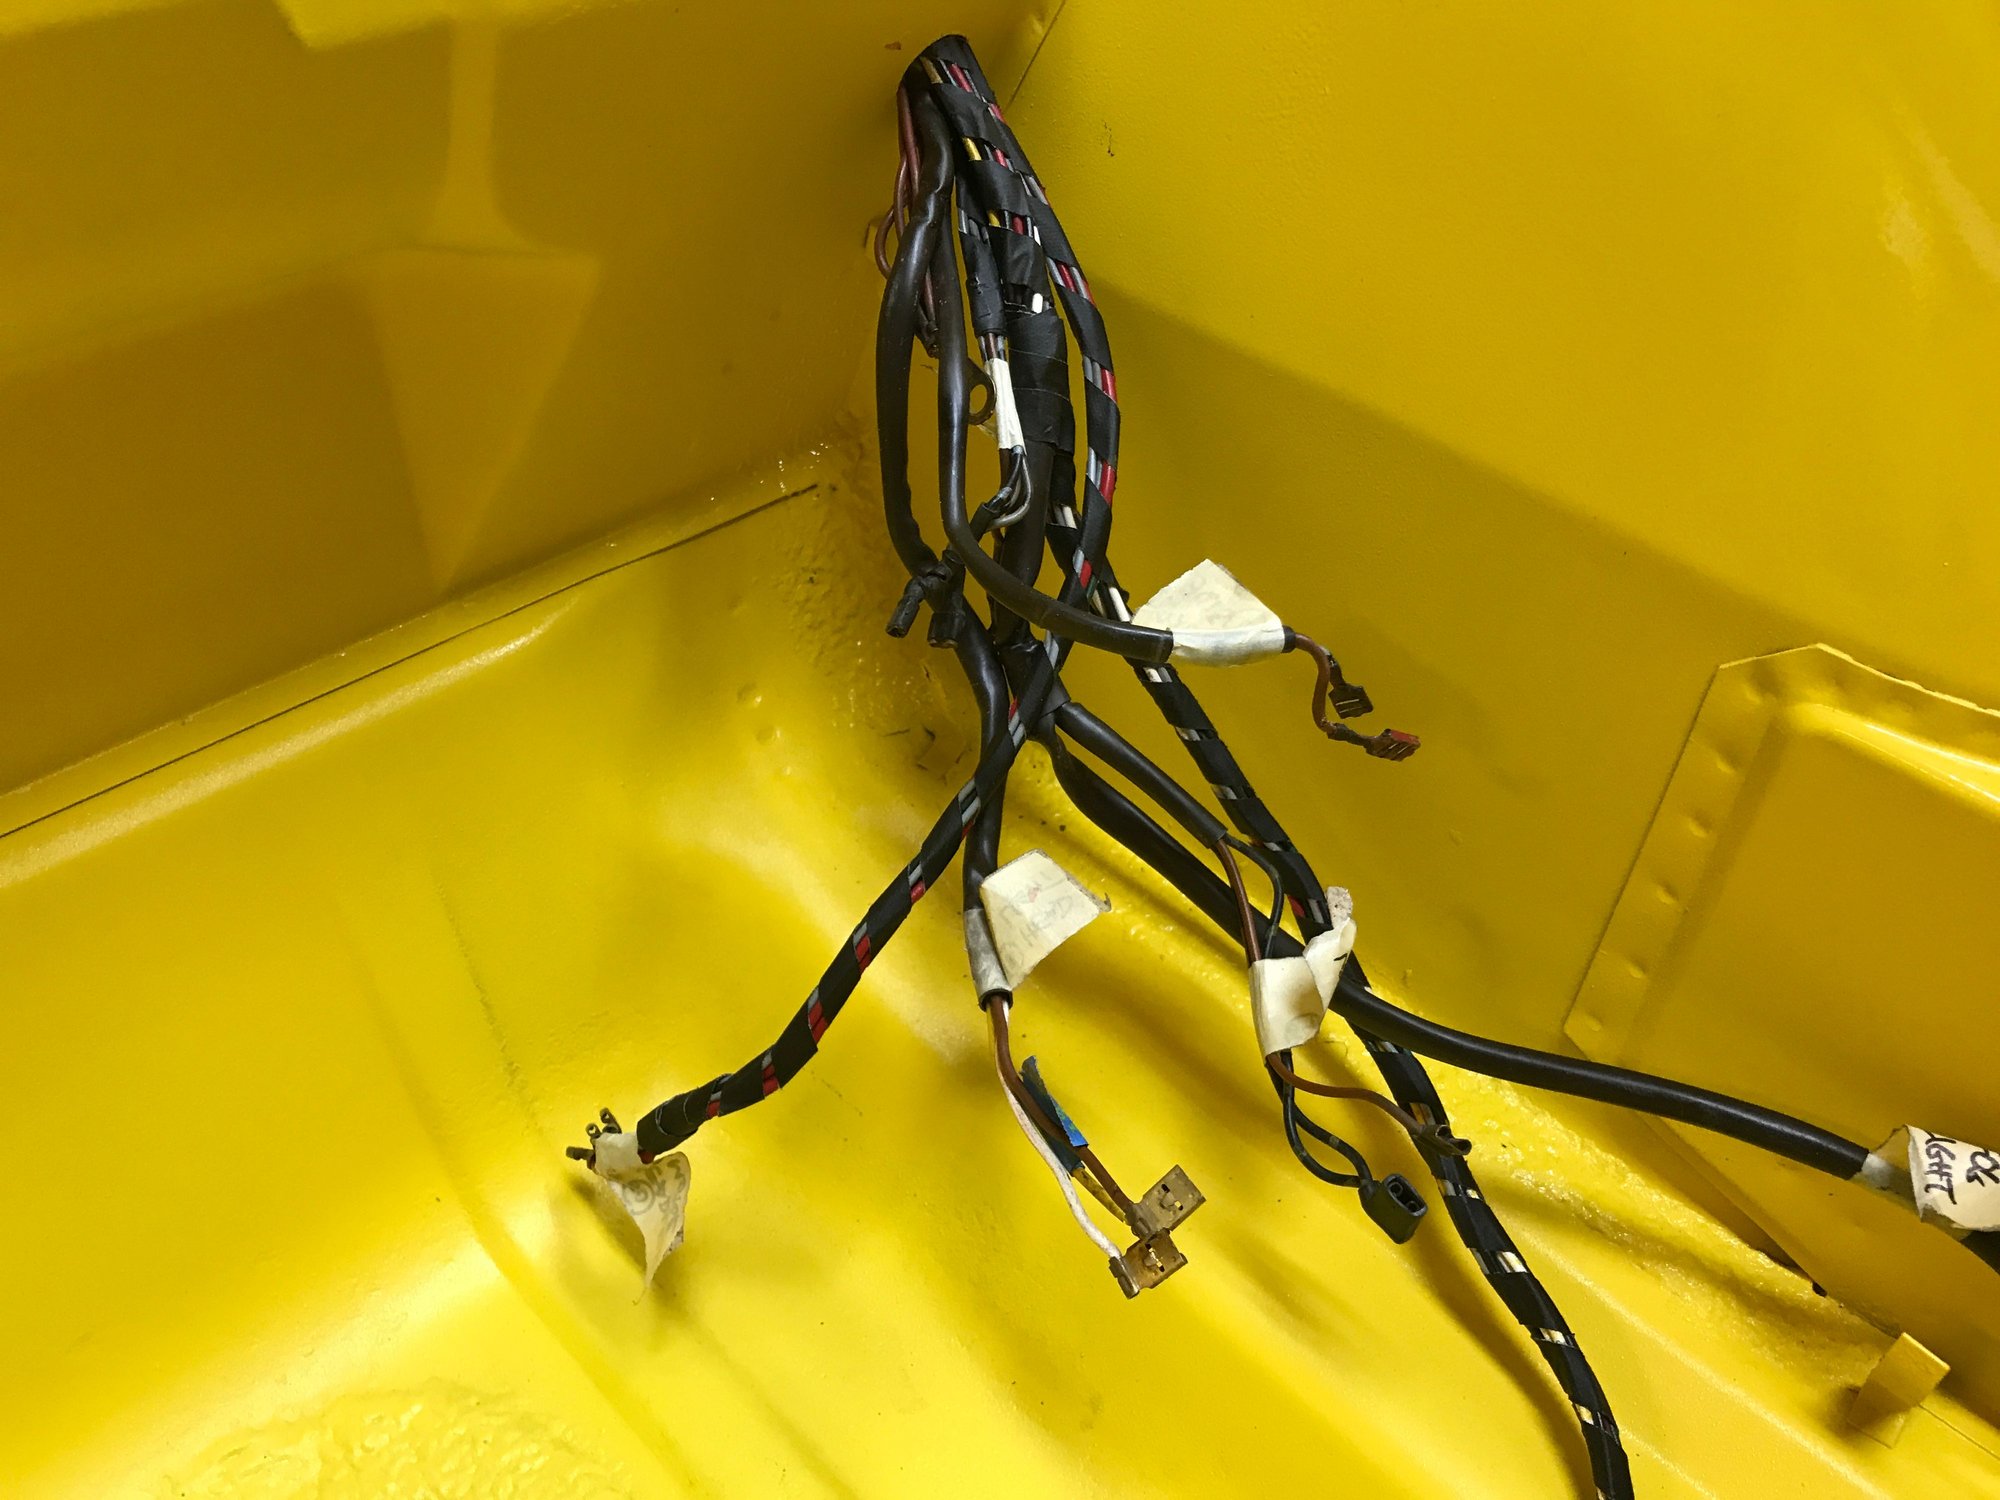
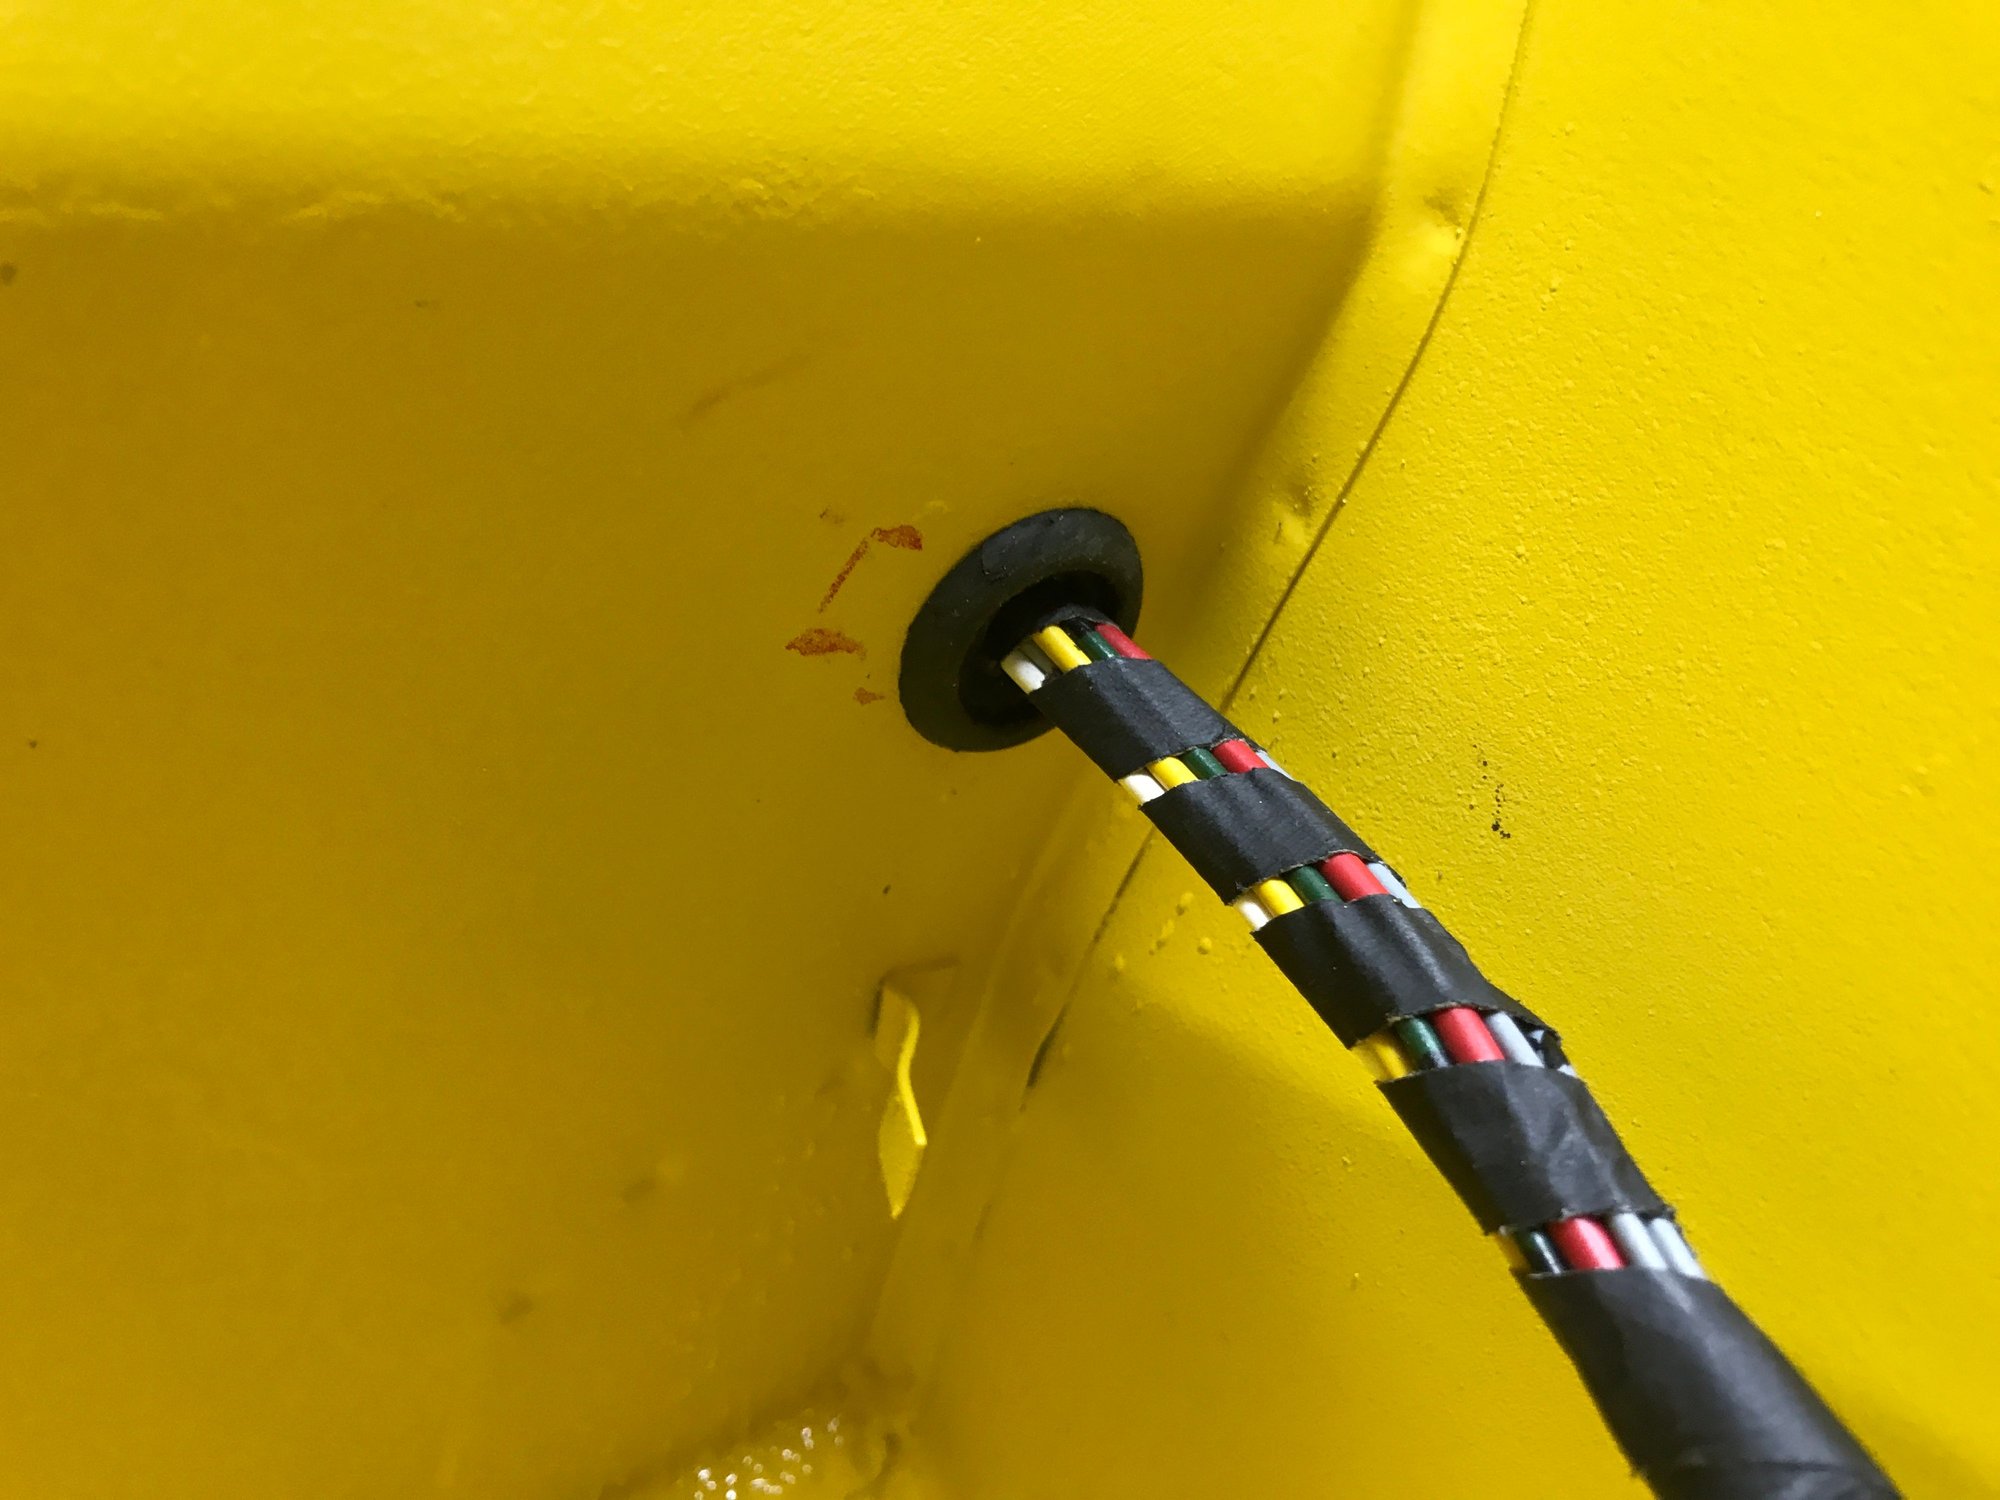
Now for the lighting leads, that have to go through the fuel tank bulkhead.
Starting through the little hole.
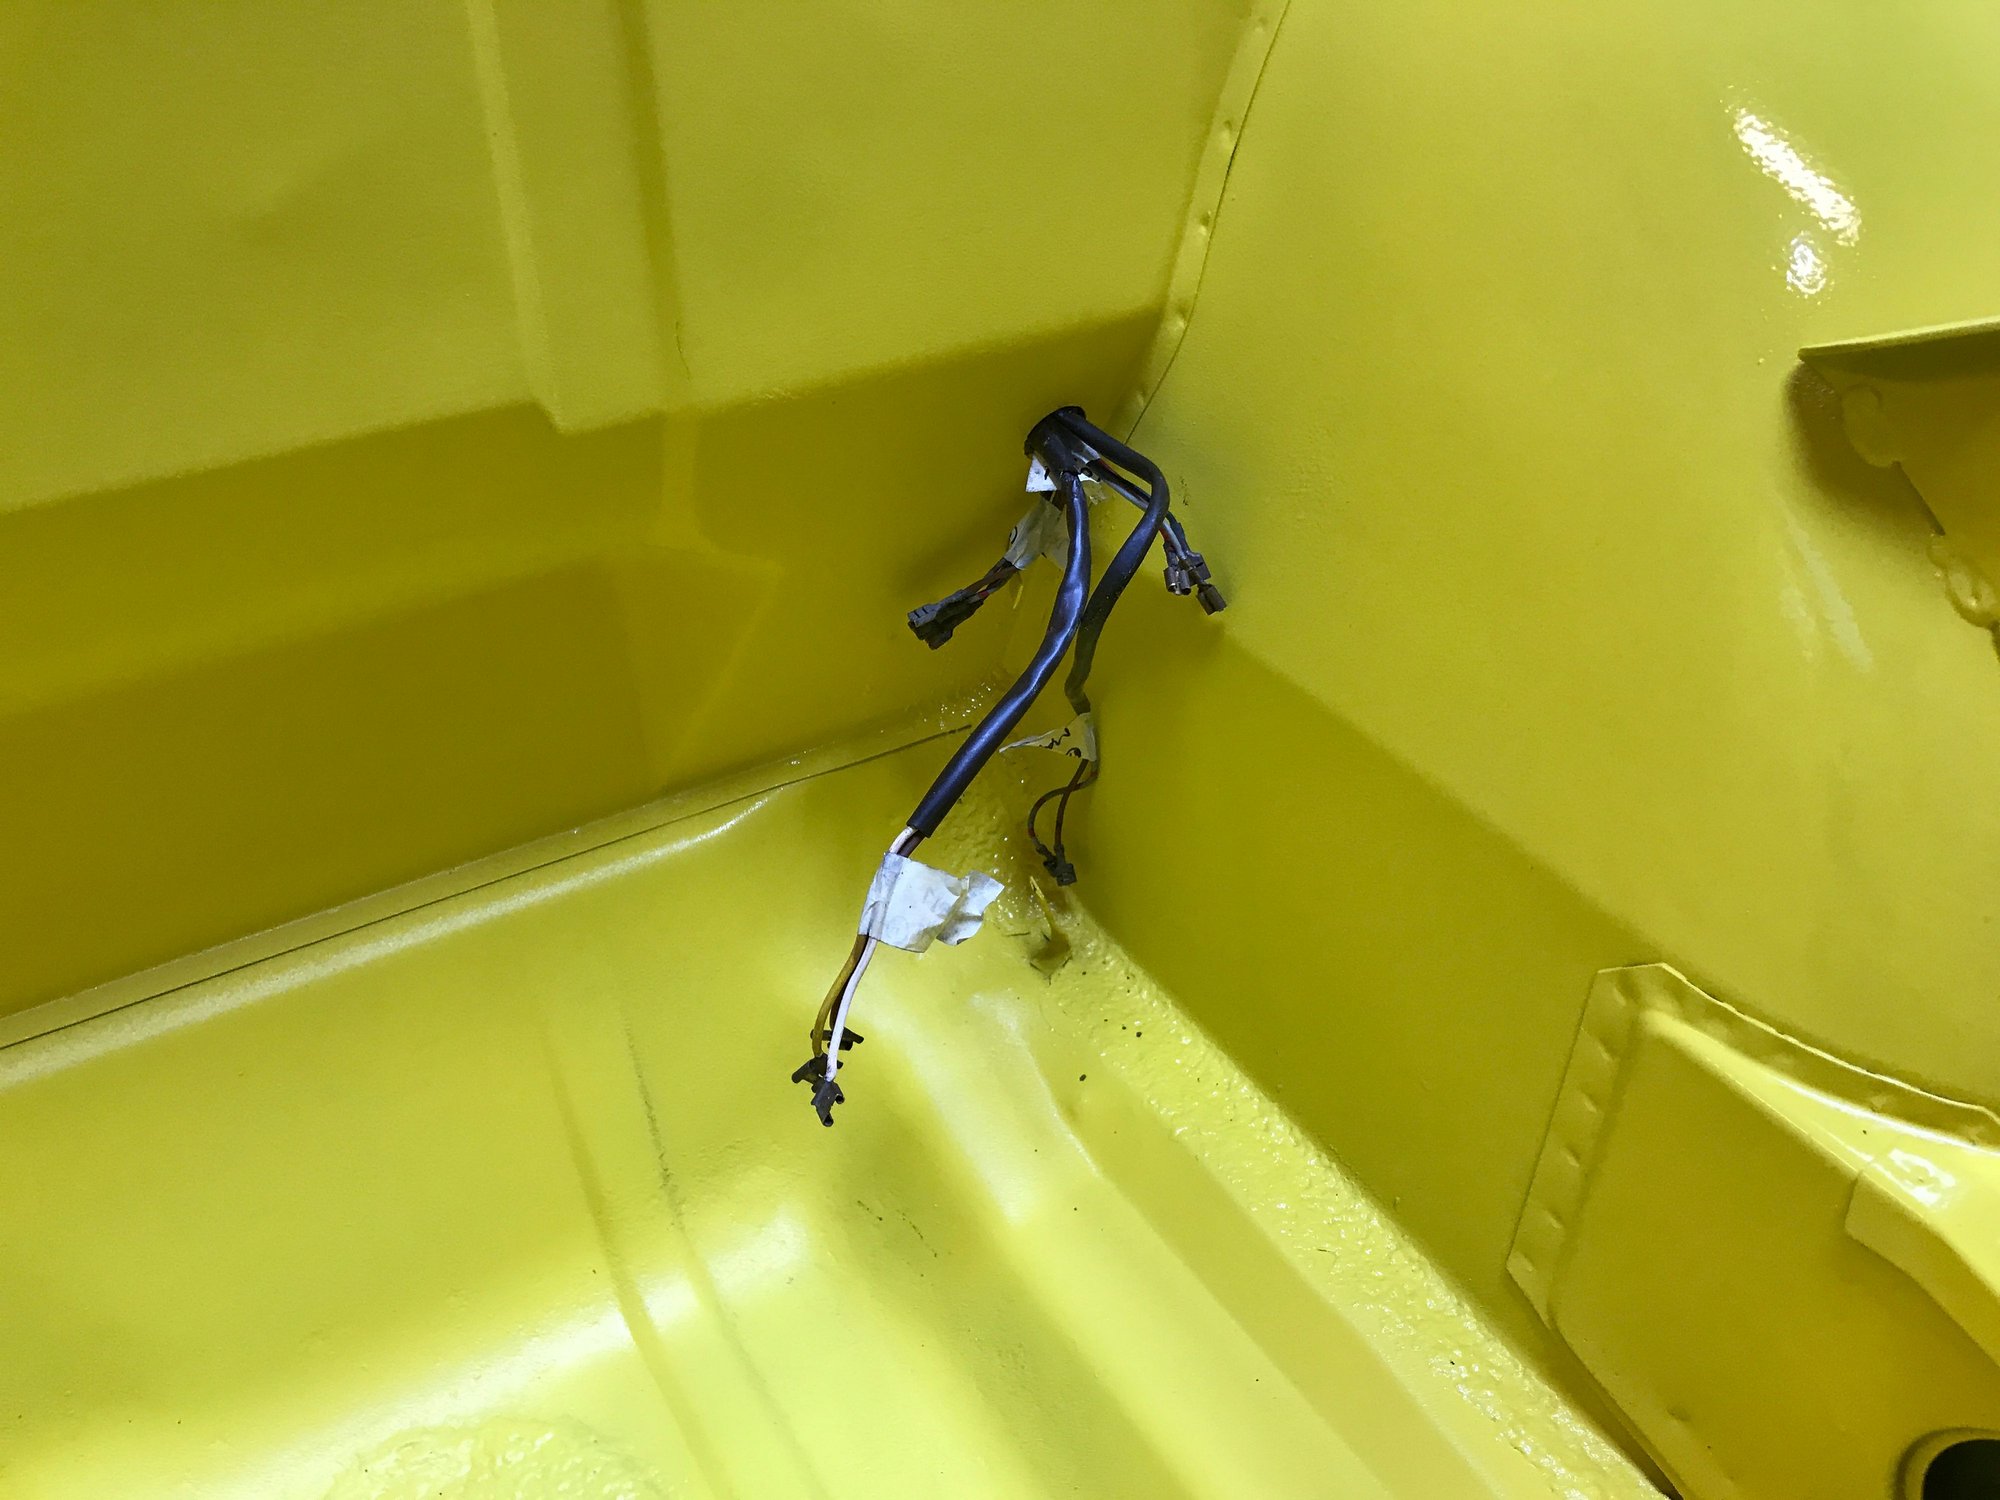
Almost everything...
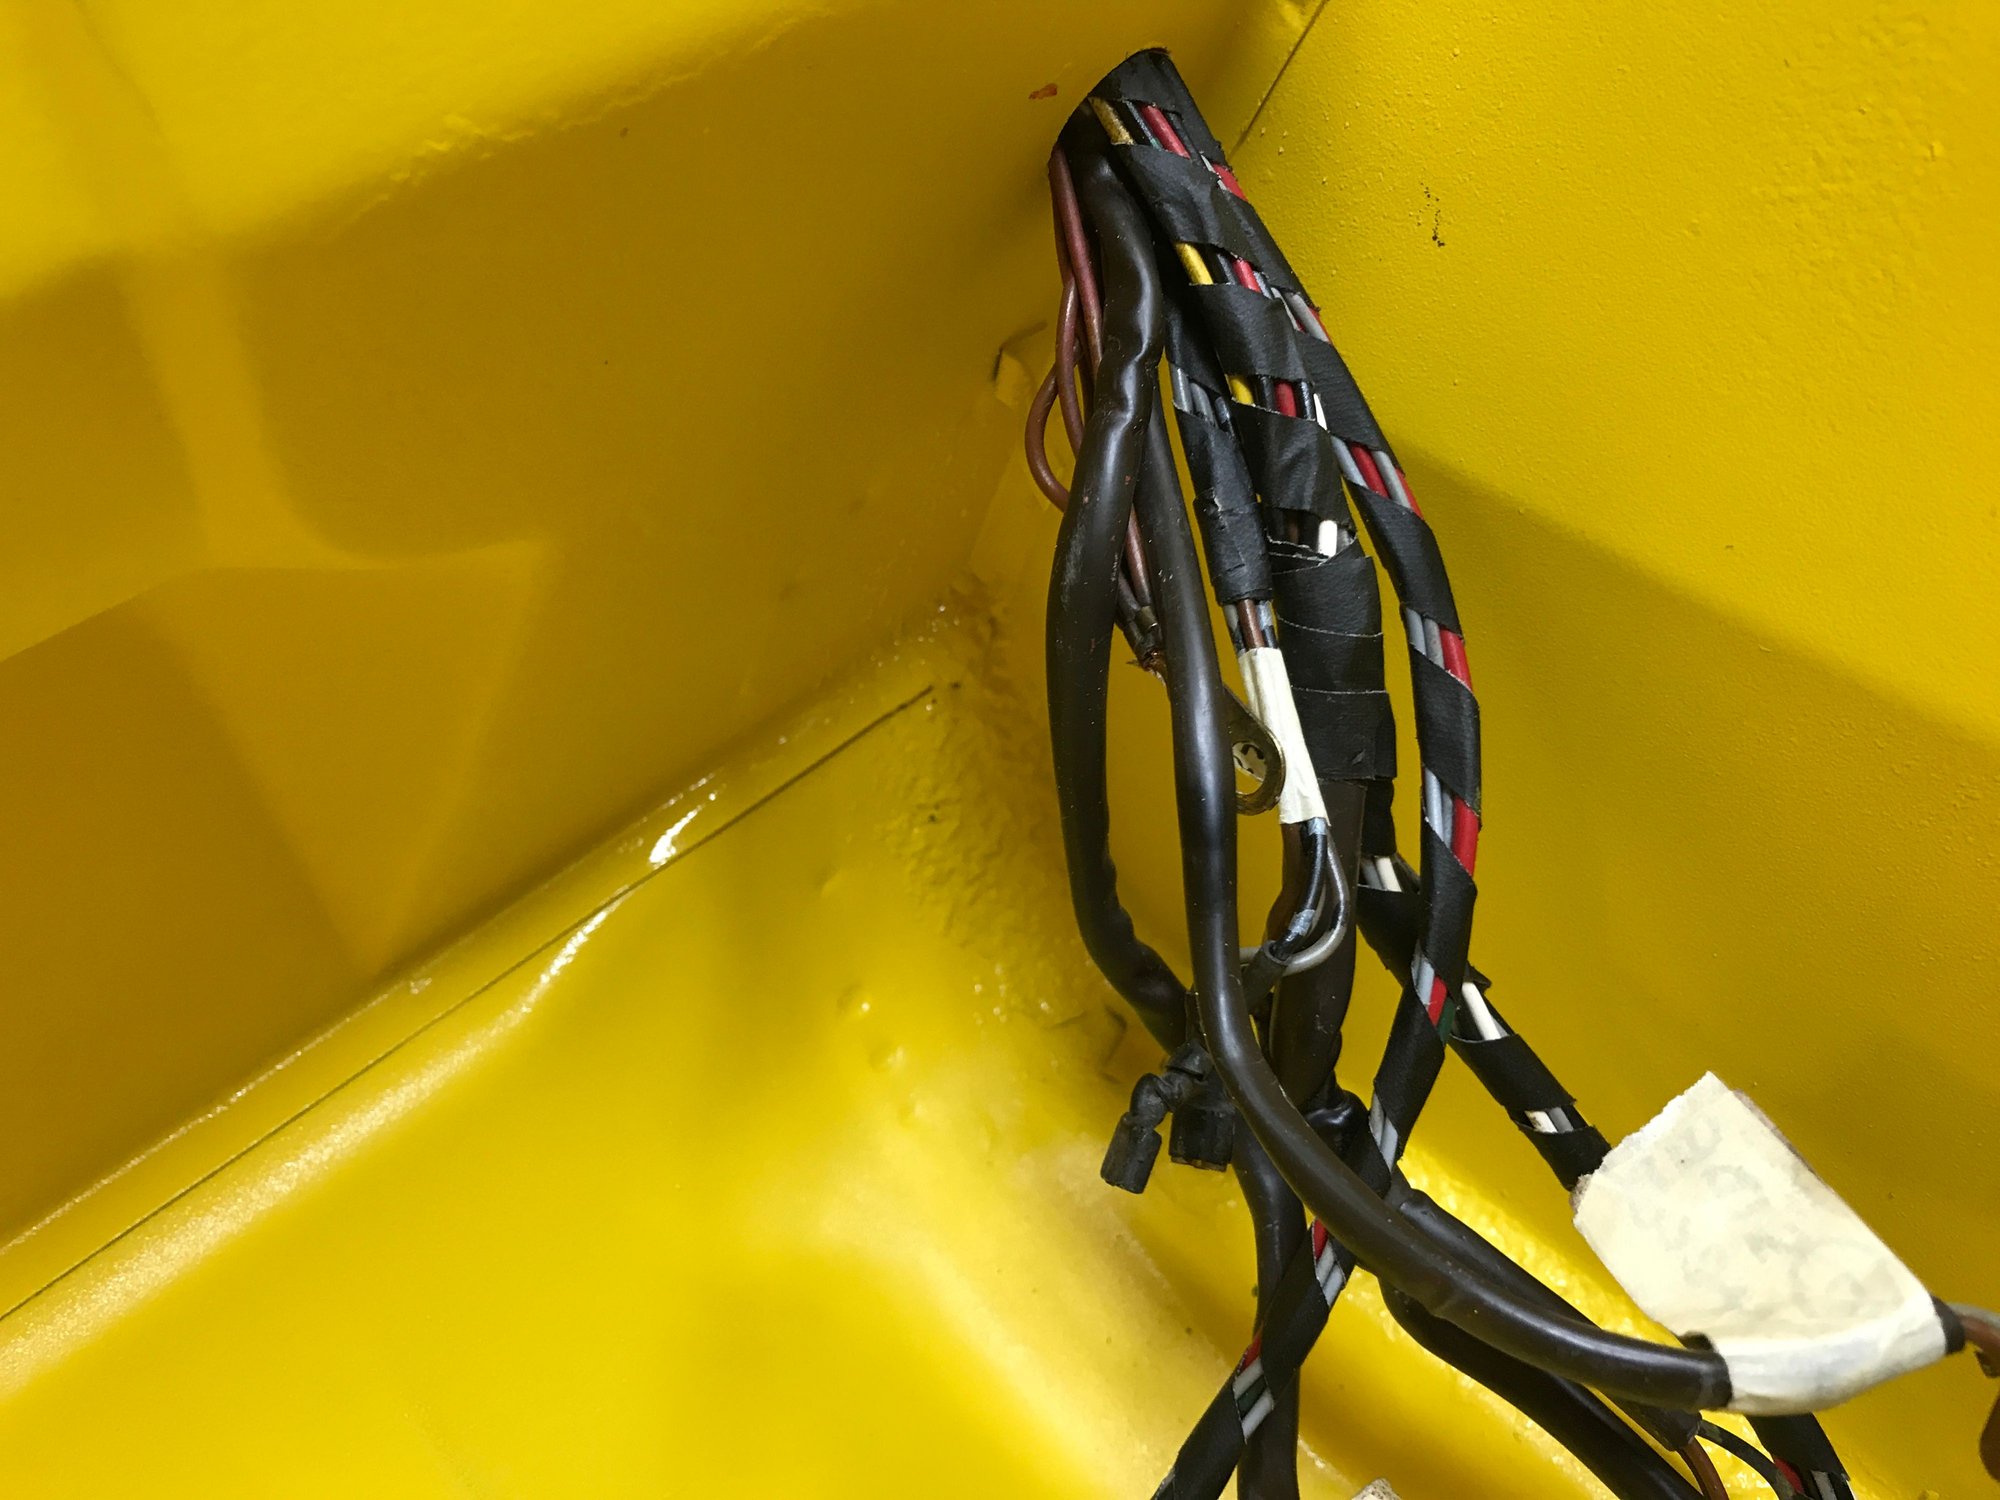
That's everything.
The grommet seated.
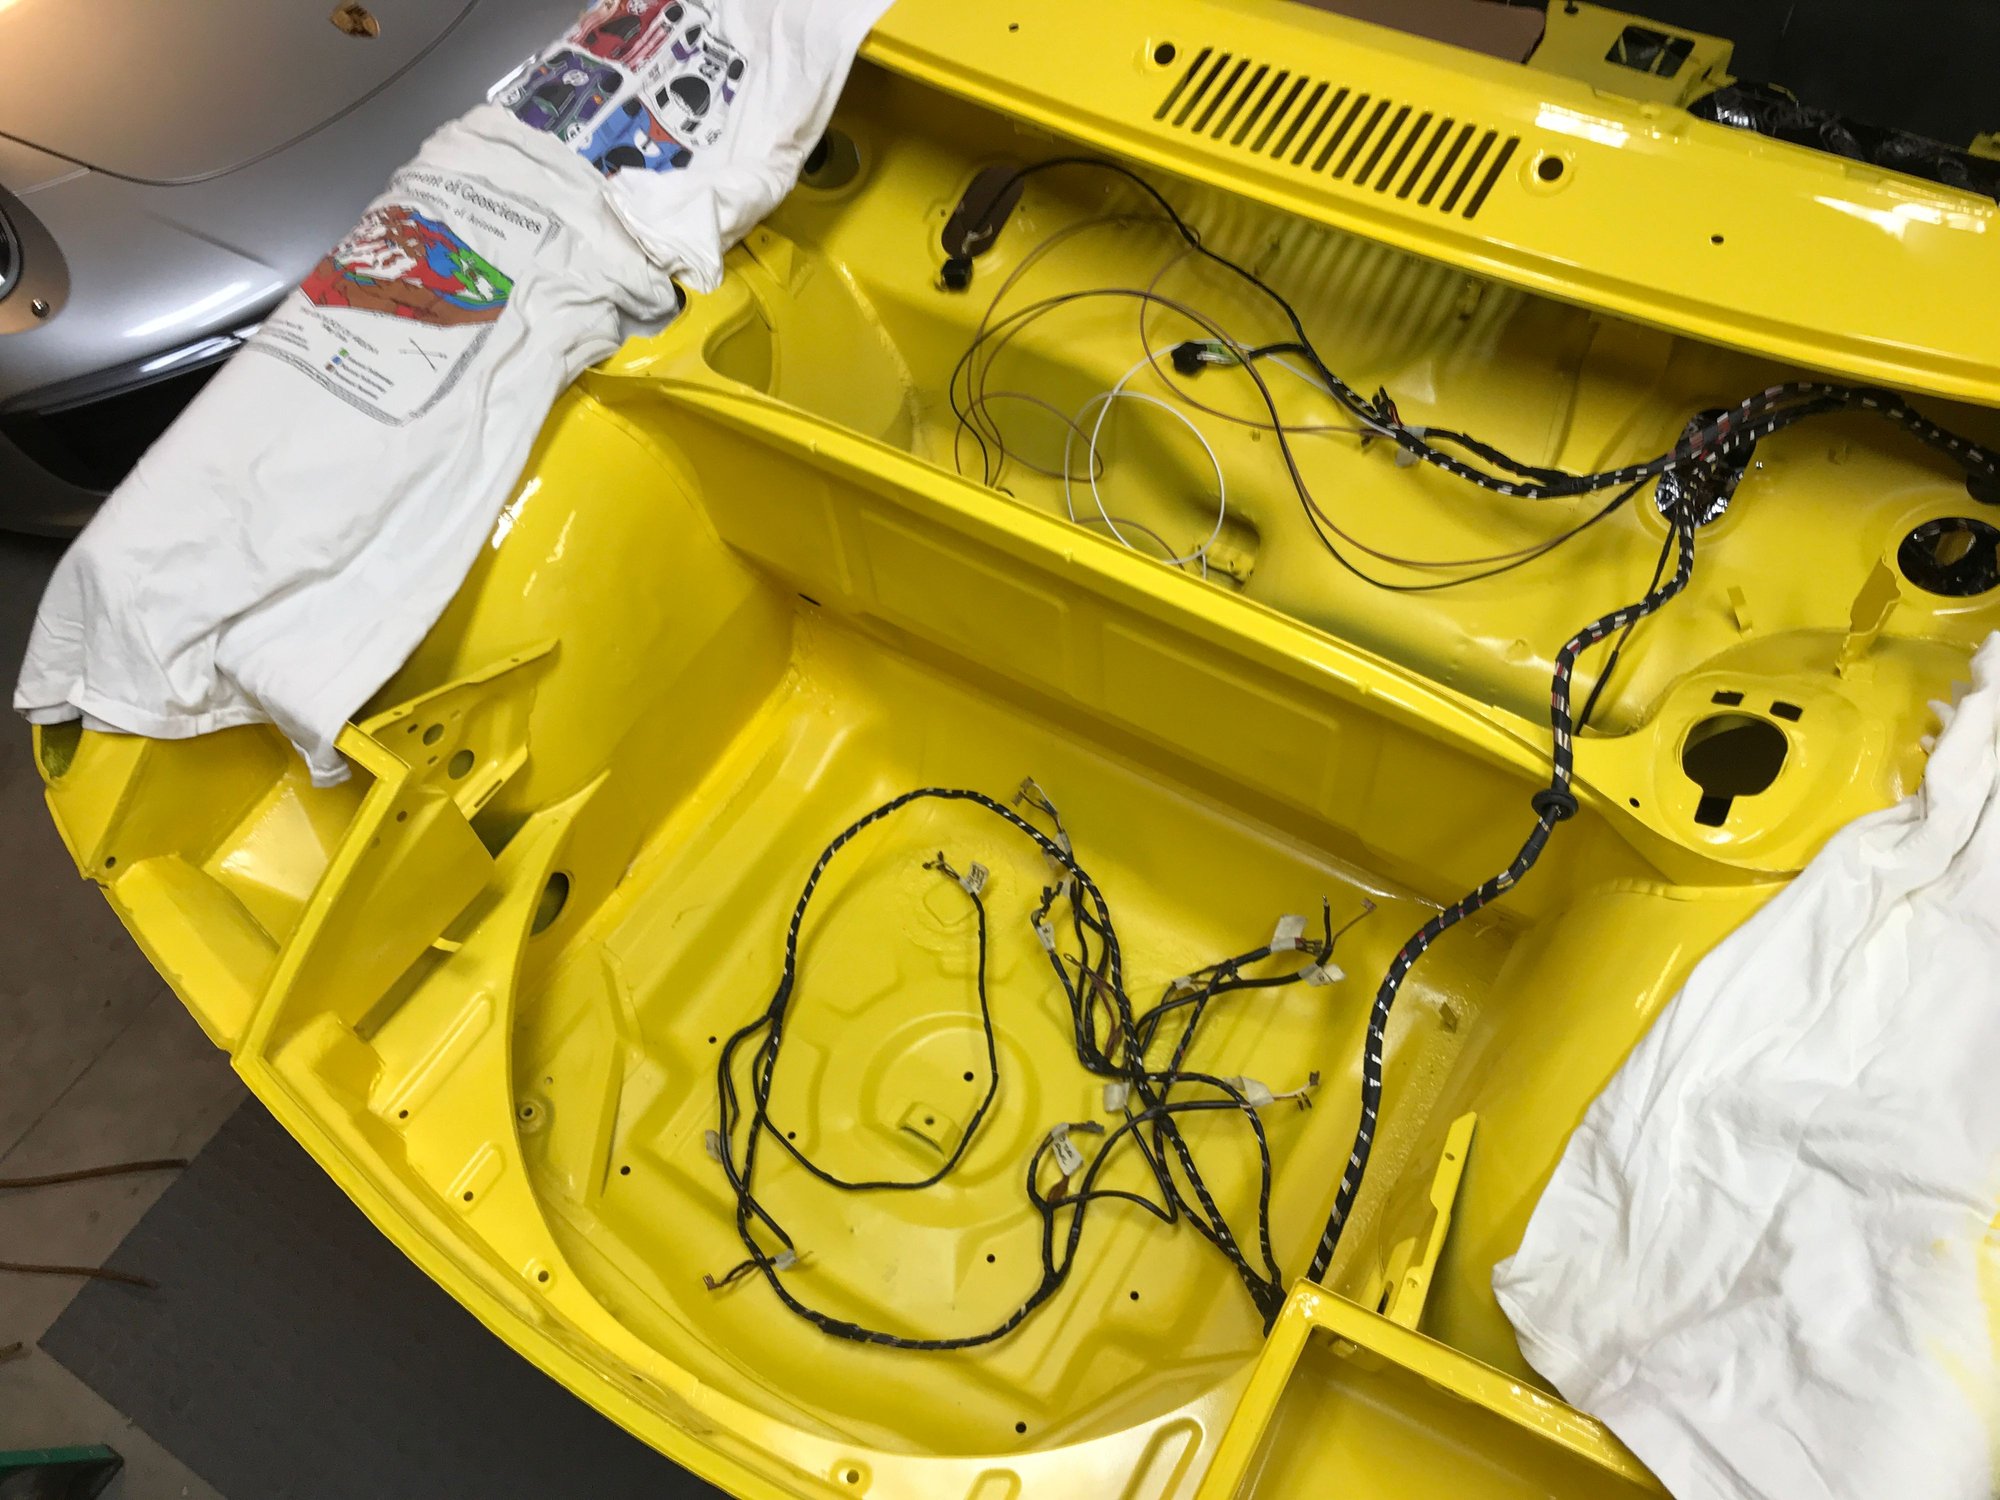
And a quick layout of the lighting leads.
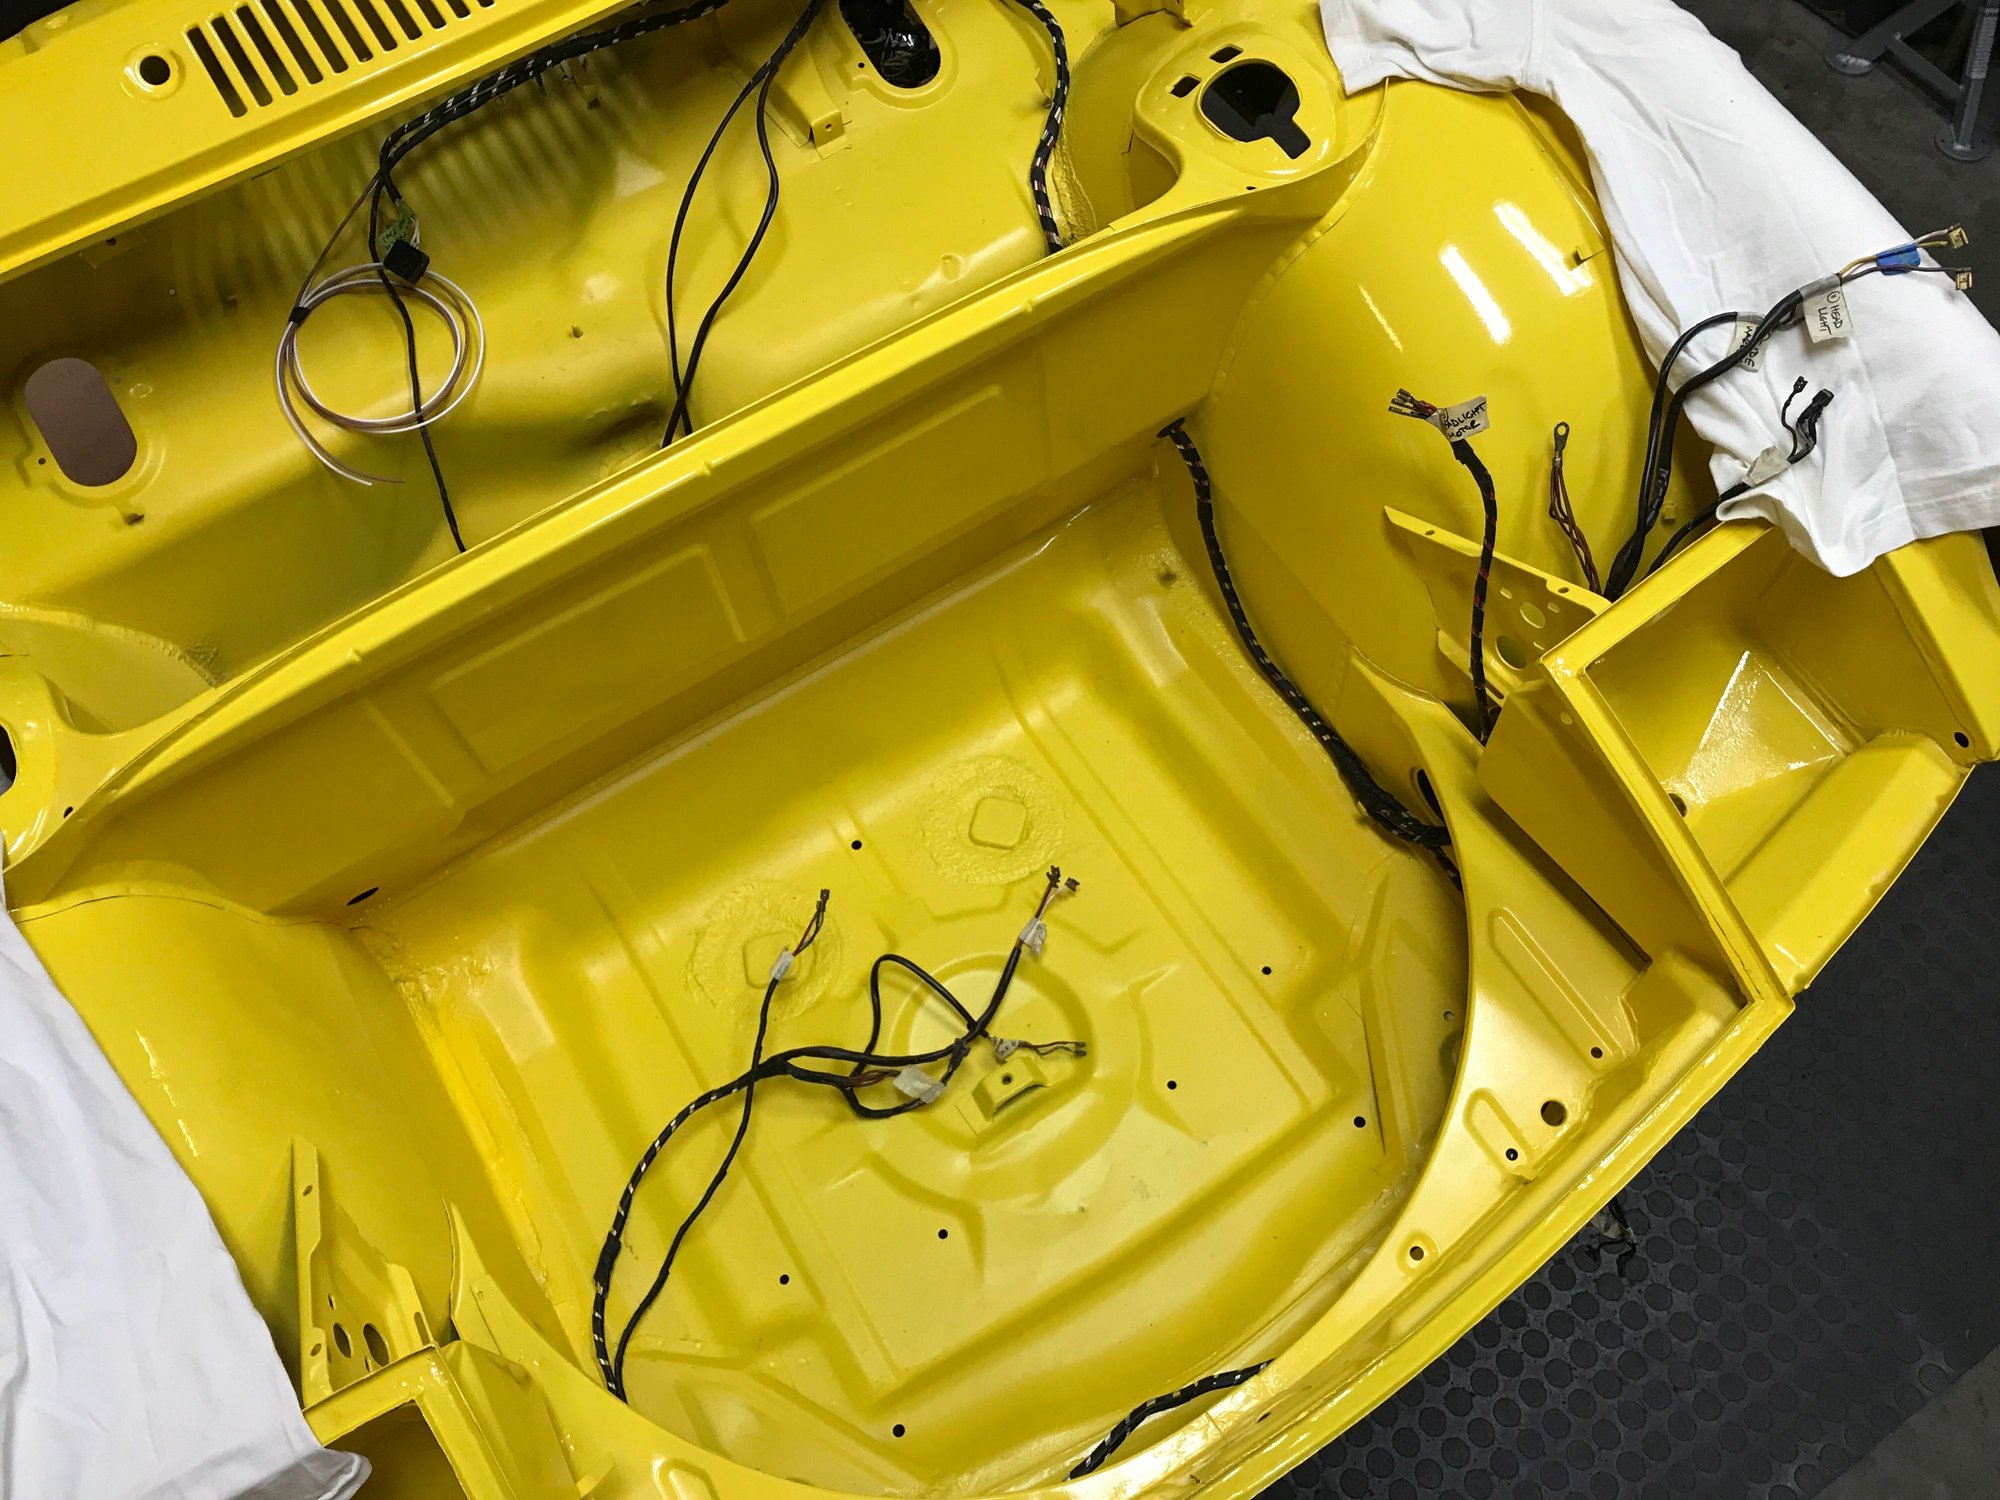
And the leads for under the cowl and fuel tank.
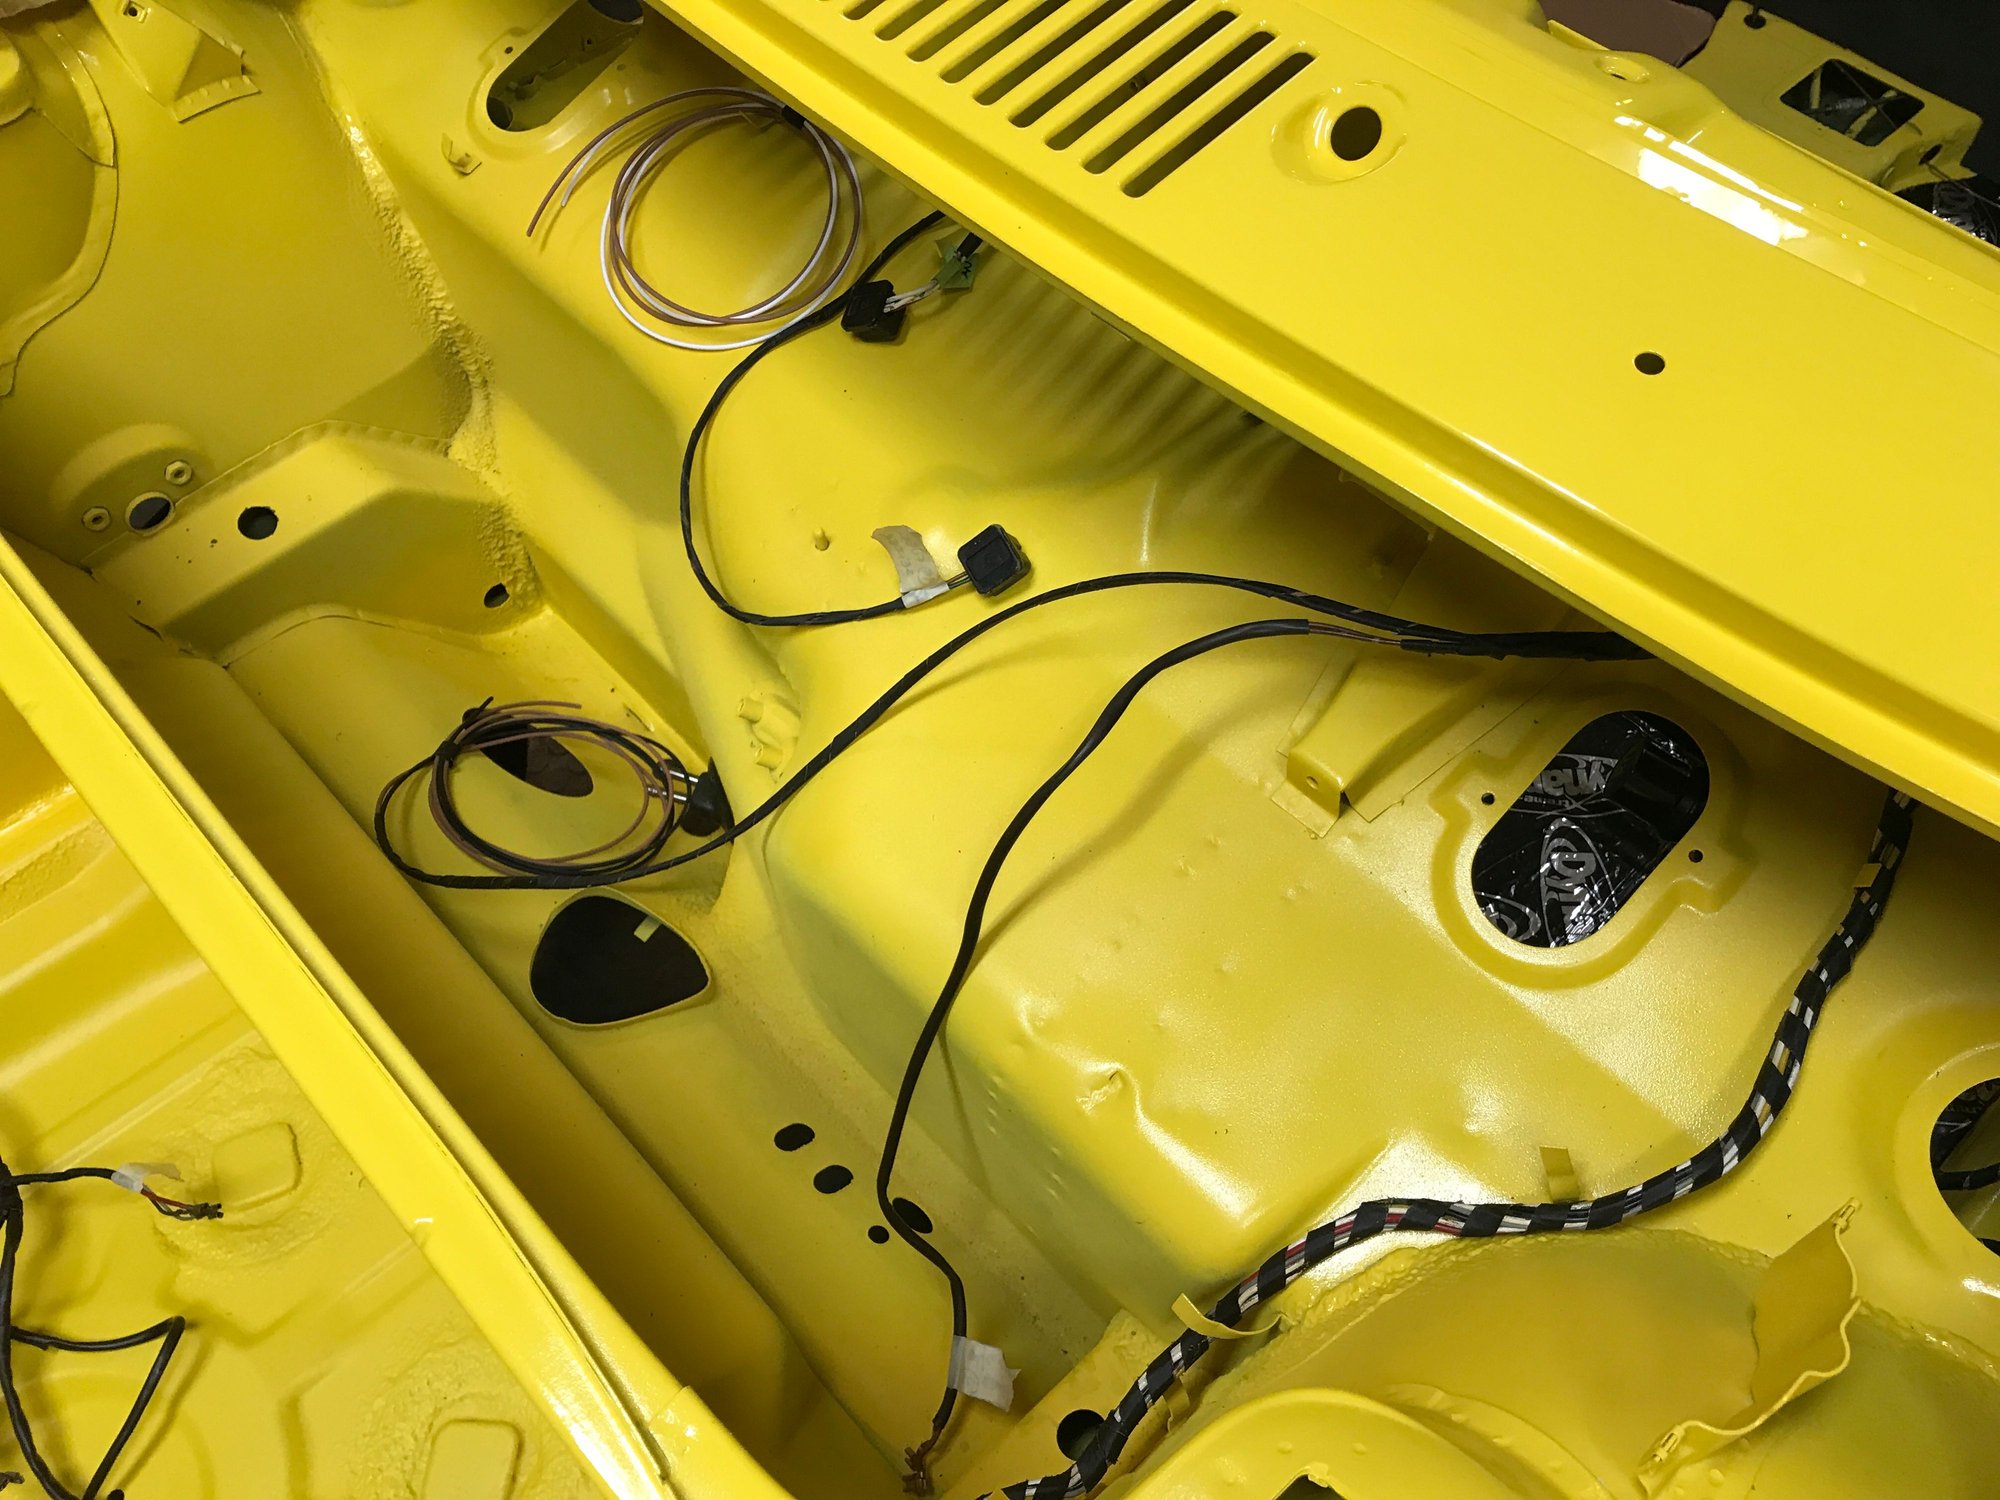
That just leaves the leads and components for the dash.
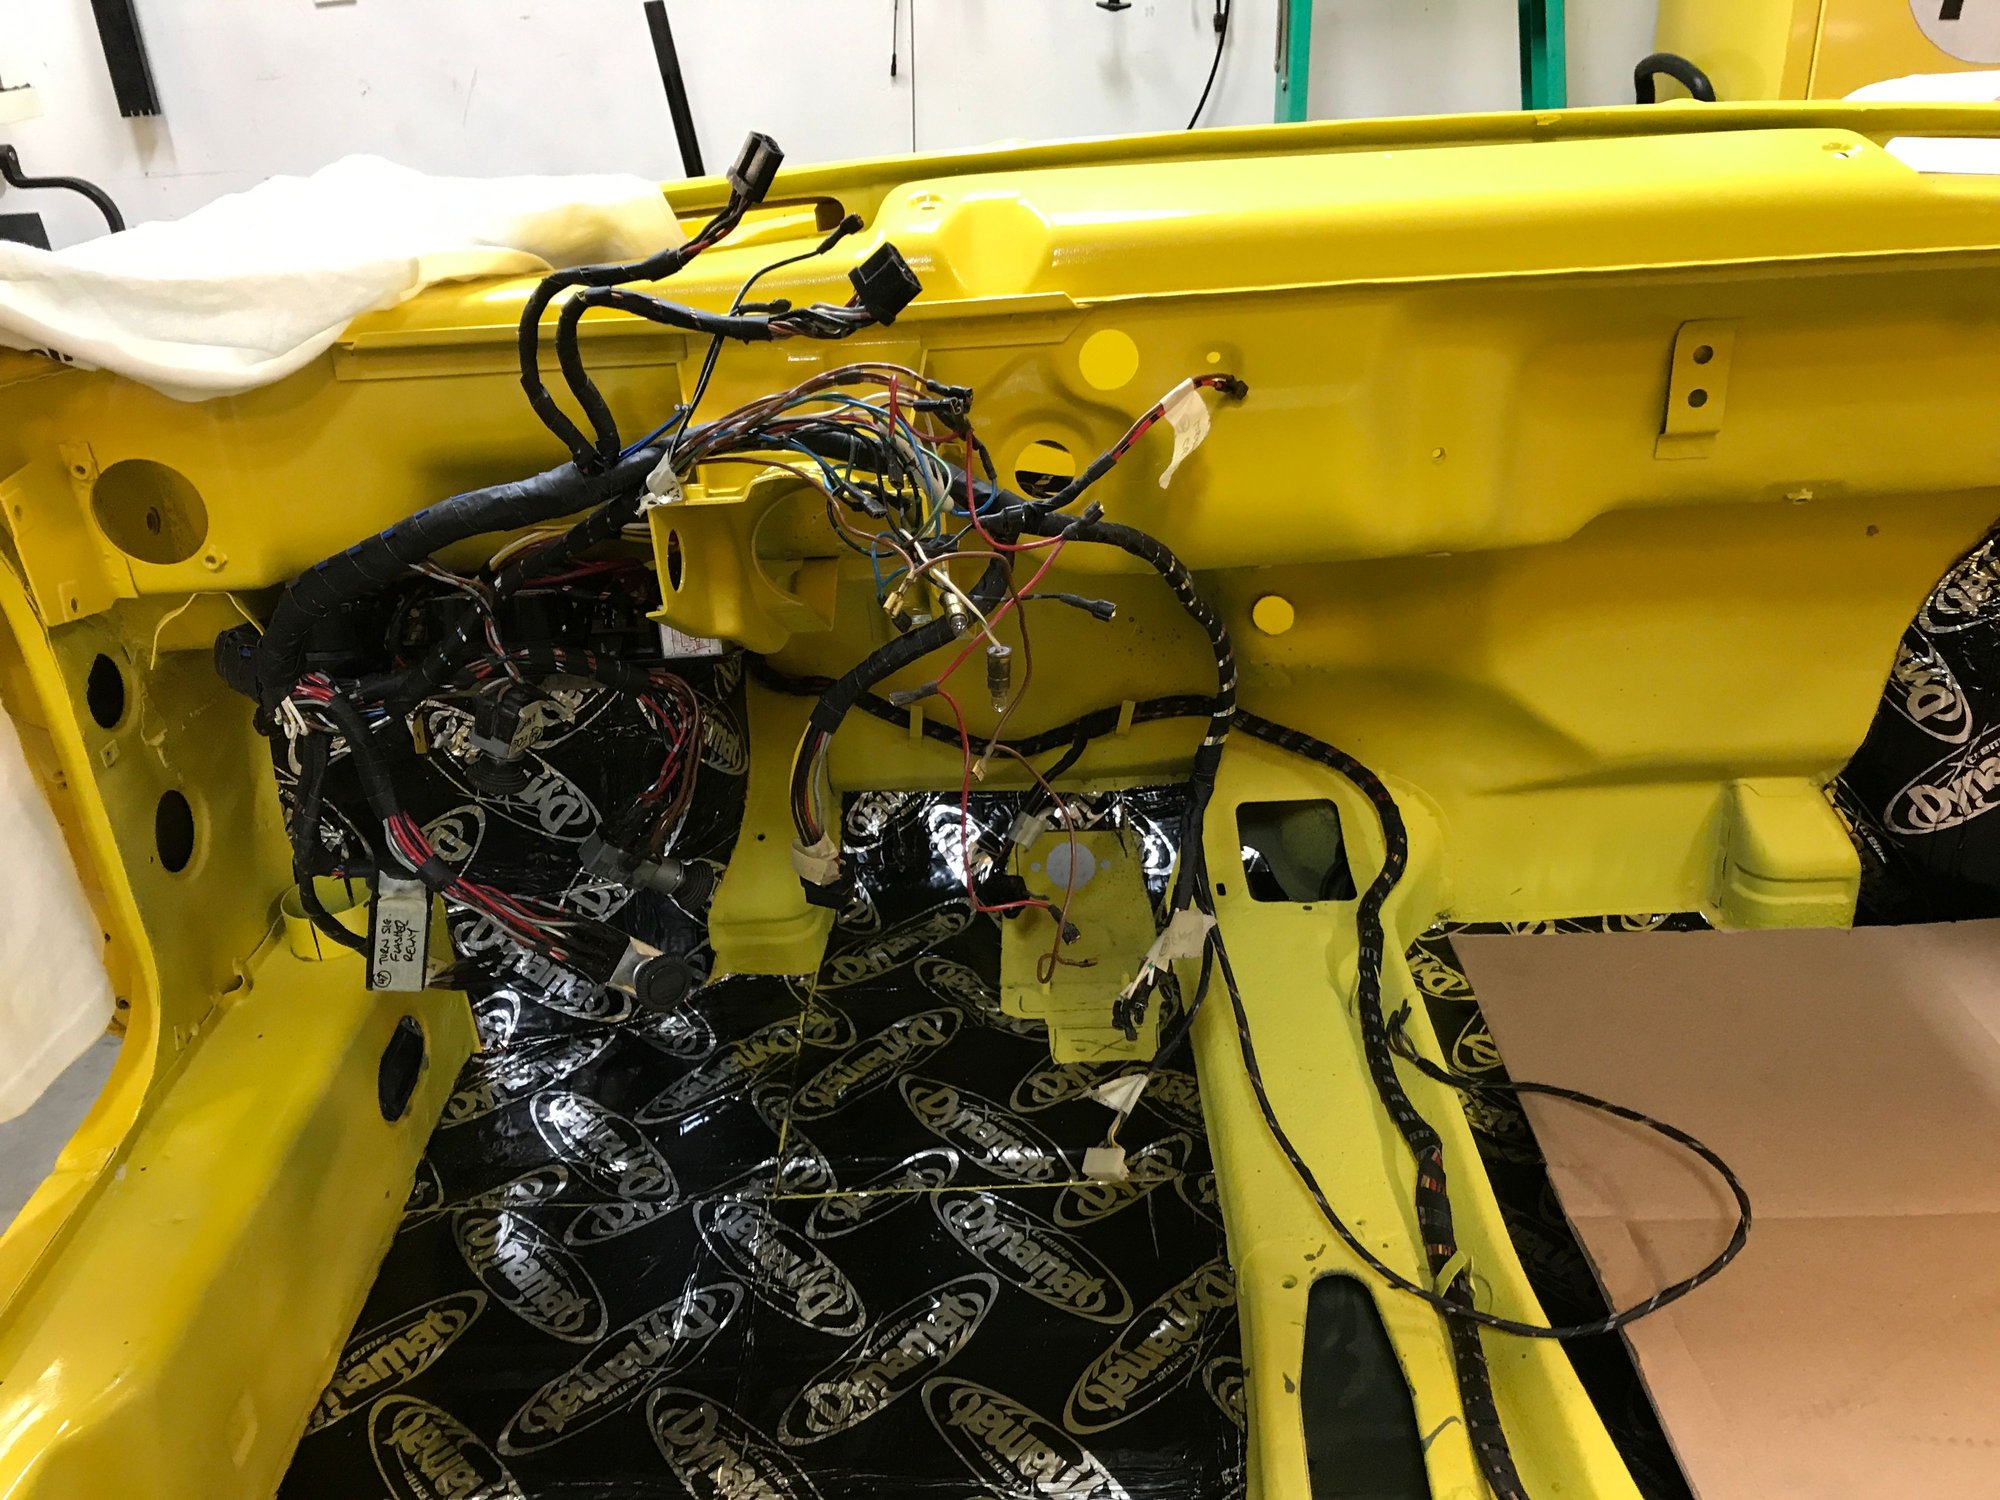
This is what has to go forward.

All through the small (upper) hole.

So, definitely the biggest things go first.

Started.

Then some other leads. The loose wires are for the future washer pump.

More leads.

And from the inside.

OK, everything at least started.

Time to open the first of hundreds of labeled bags from the disassembly a year ago.

Ground leads connected to the chassis.

Everything in place, and the big grommet seated.

And the fuse-relay panel in place.

Now for the lighting leads, that have to go through the fuel tank bulkhead.

Starting through the little hole.

Almost everything...

That's everything.

The grommet seated.

And a quick layout of the lighting leads.

And the leads for under the cowl and fuel tank.

That just leaves the leads and components for the dash.

#791
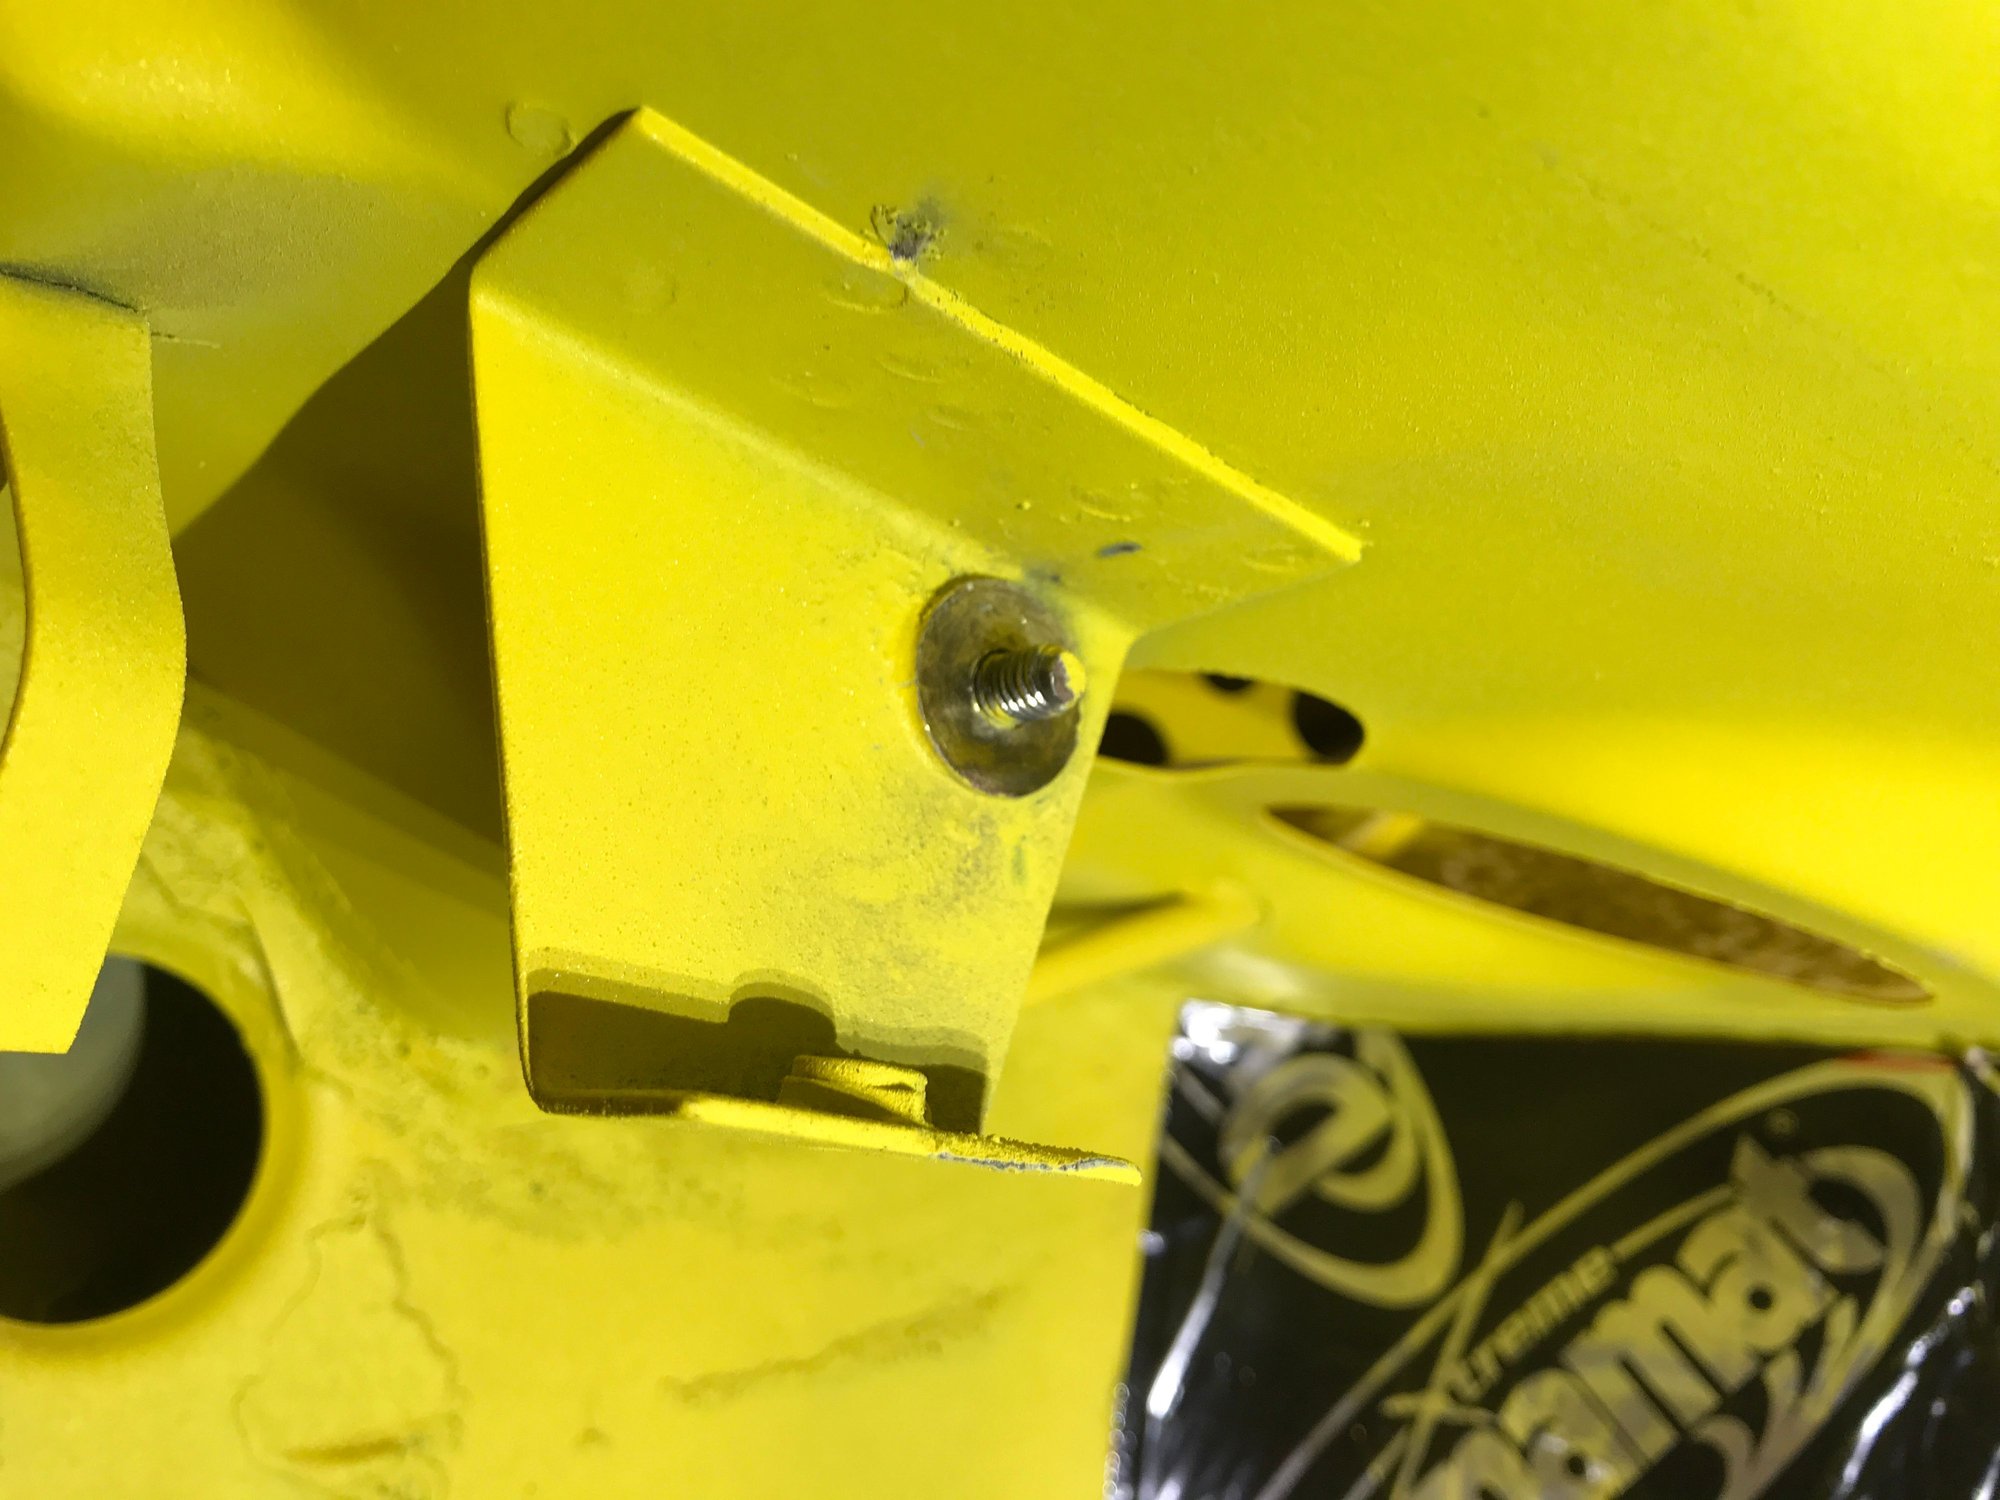
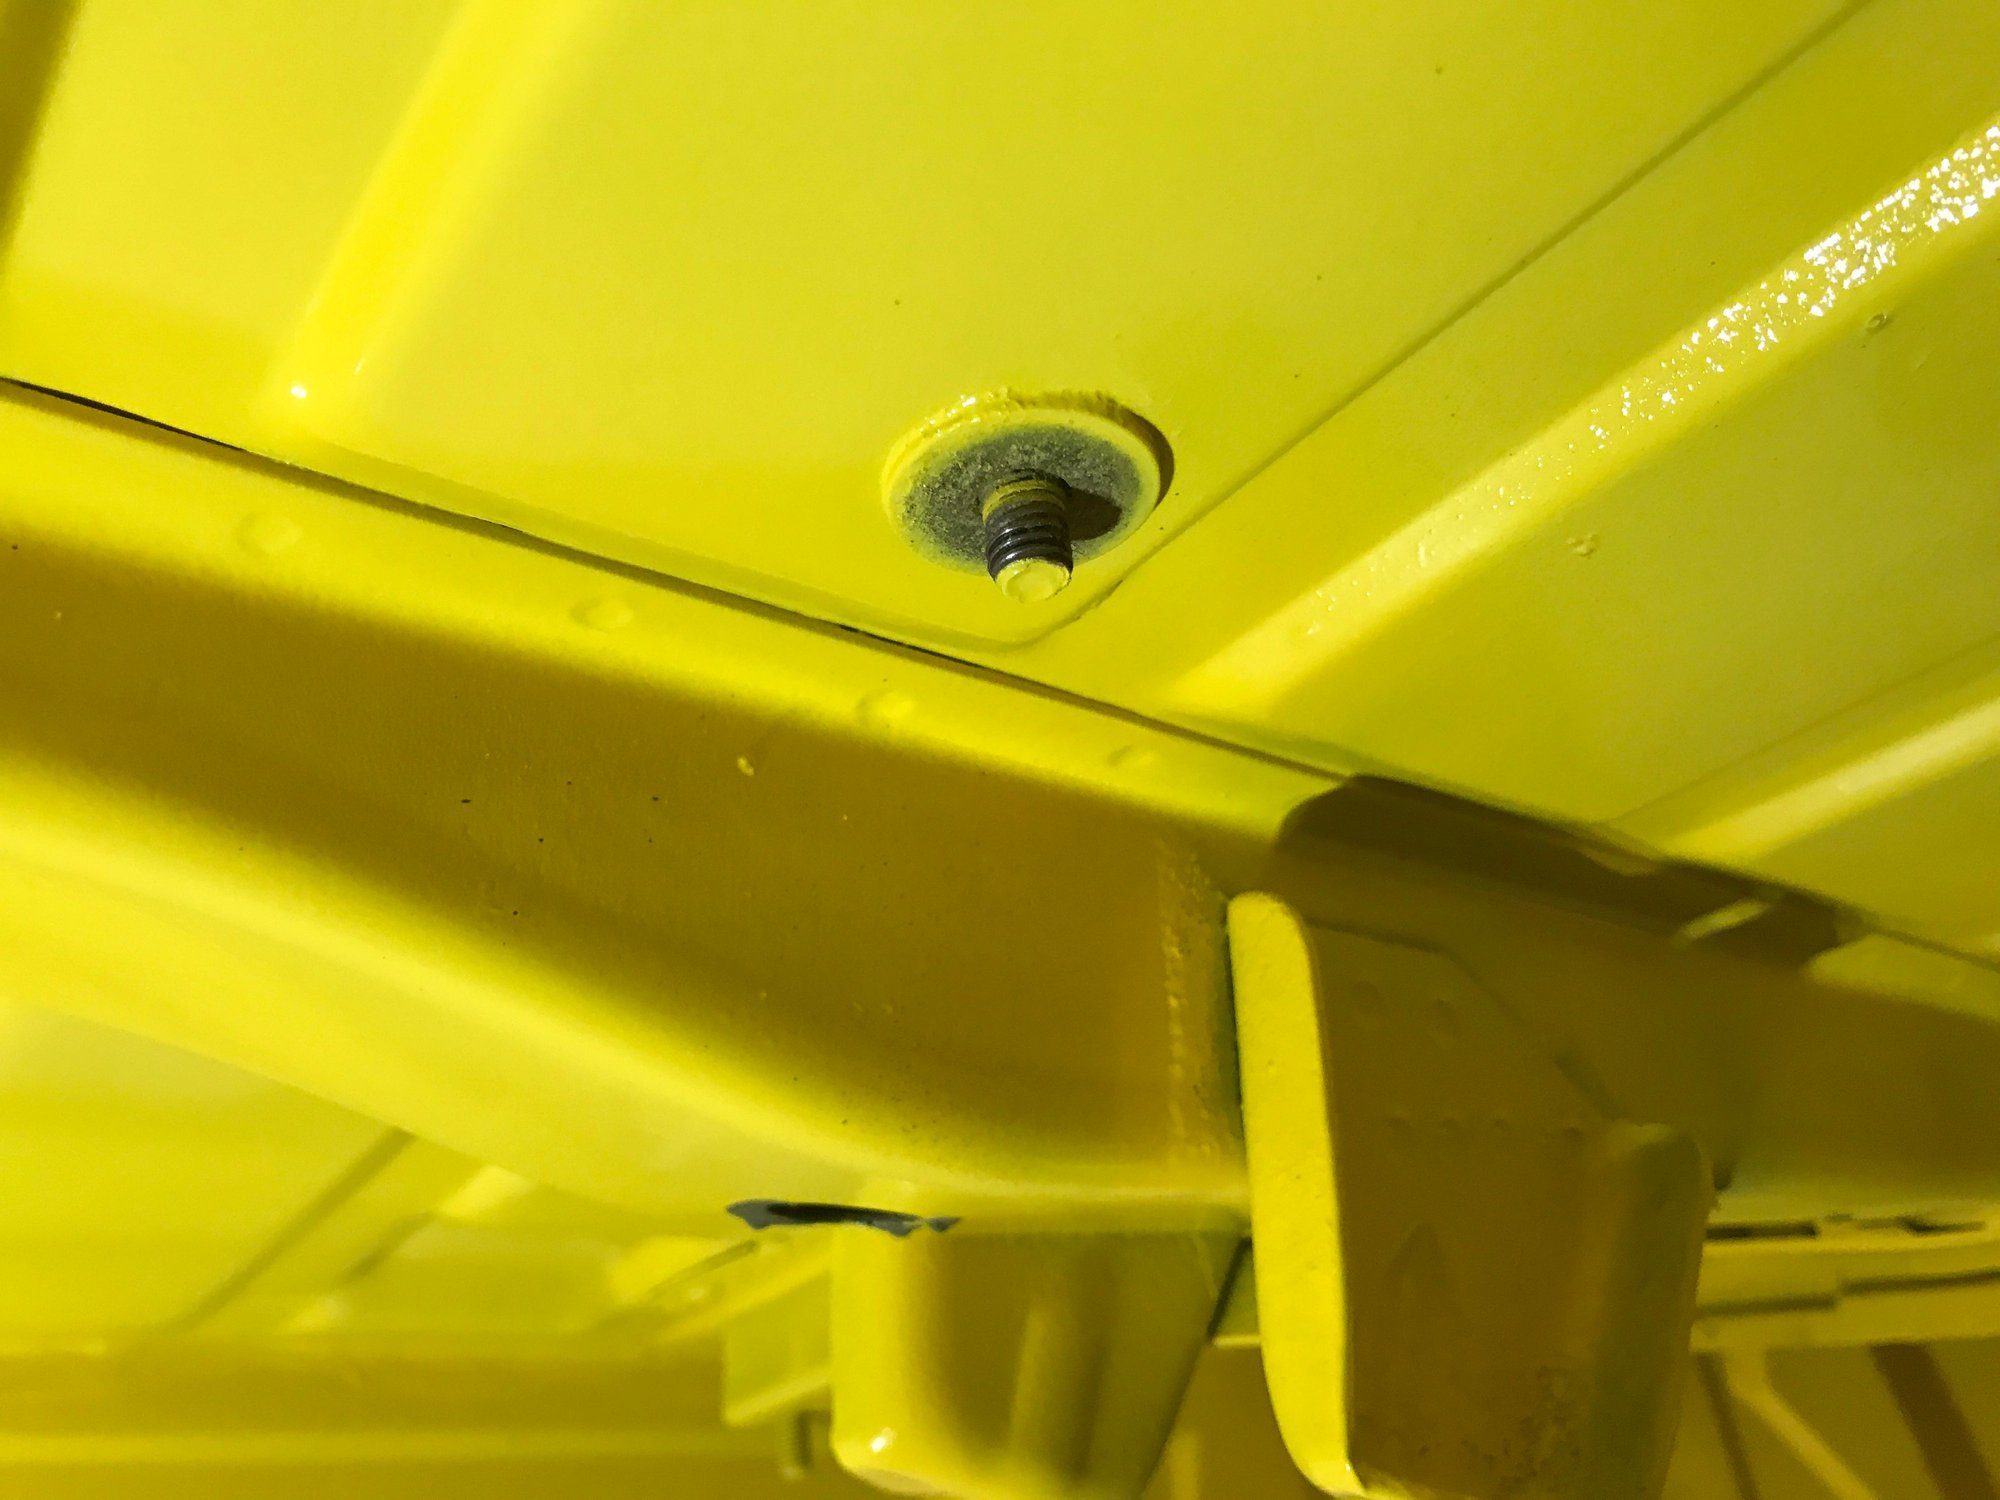
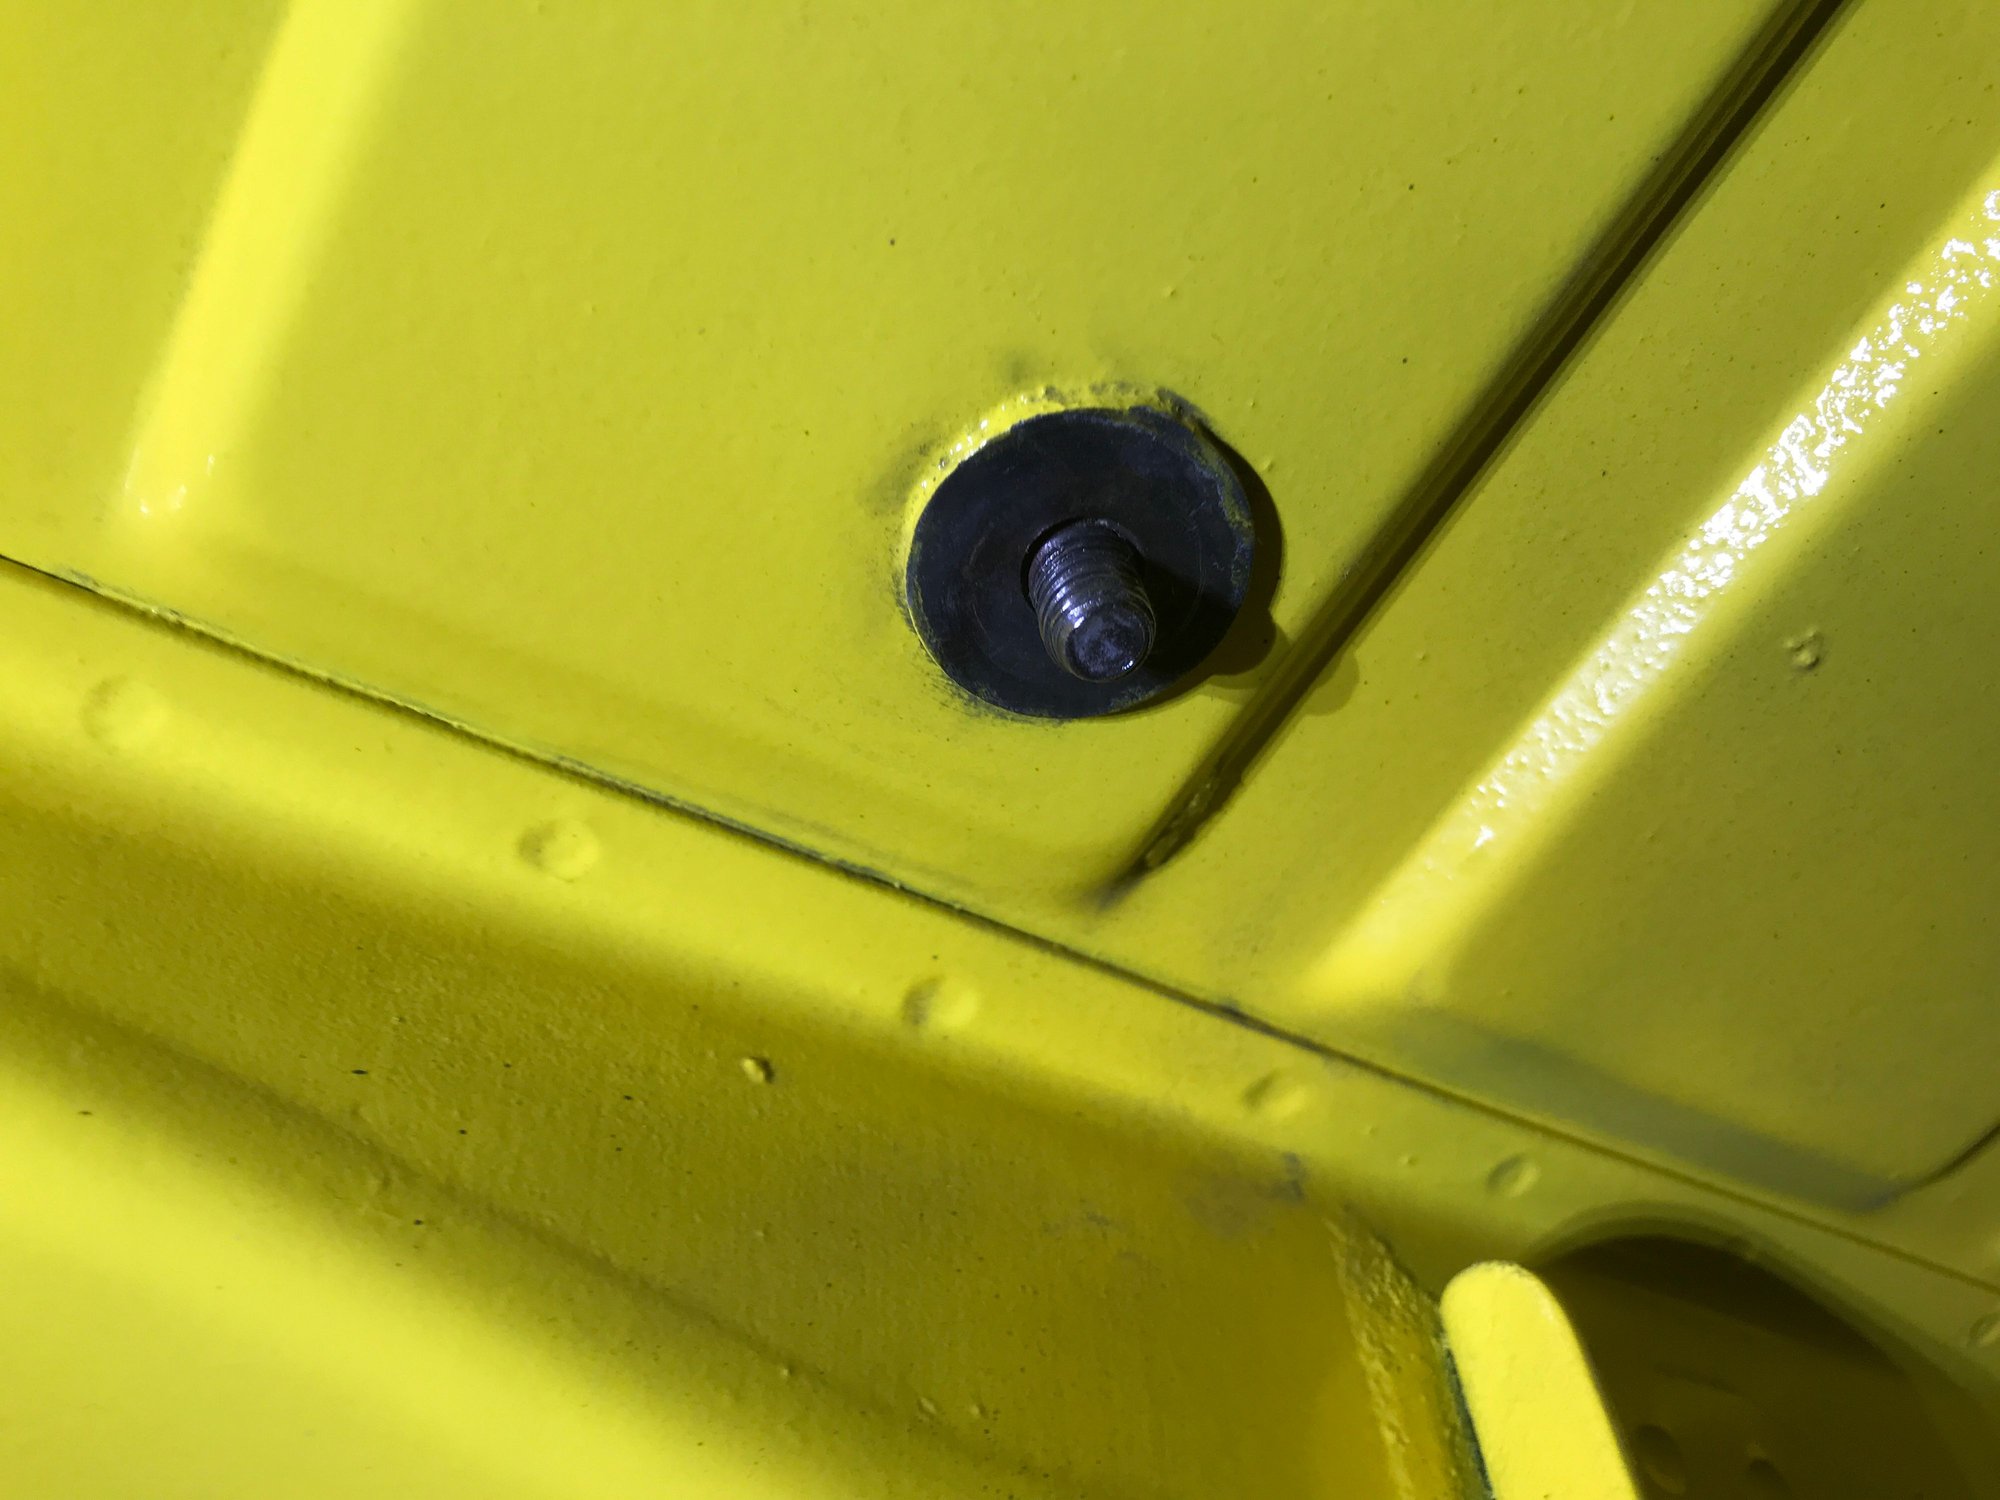
Before working on more harness routing, I worked to remove the paint from more grounding studs.
By the left side relay board.
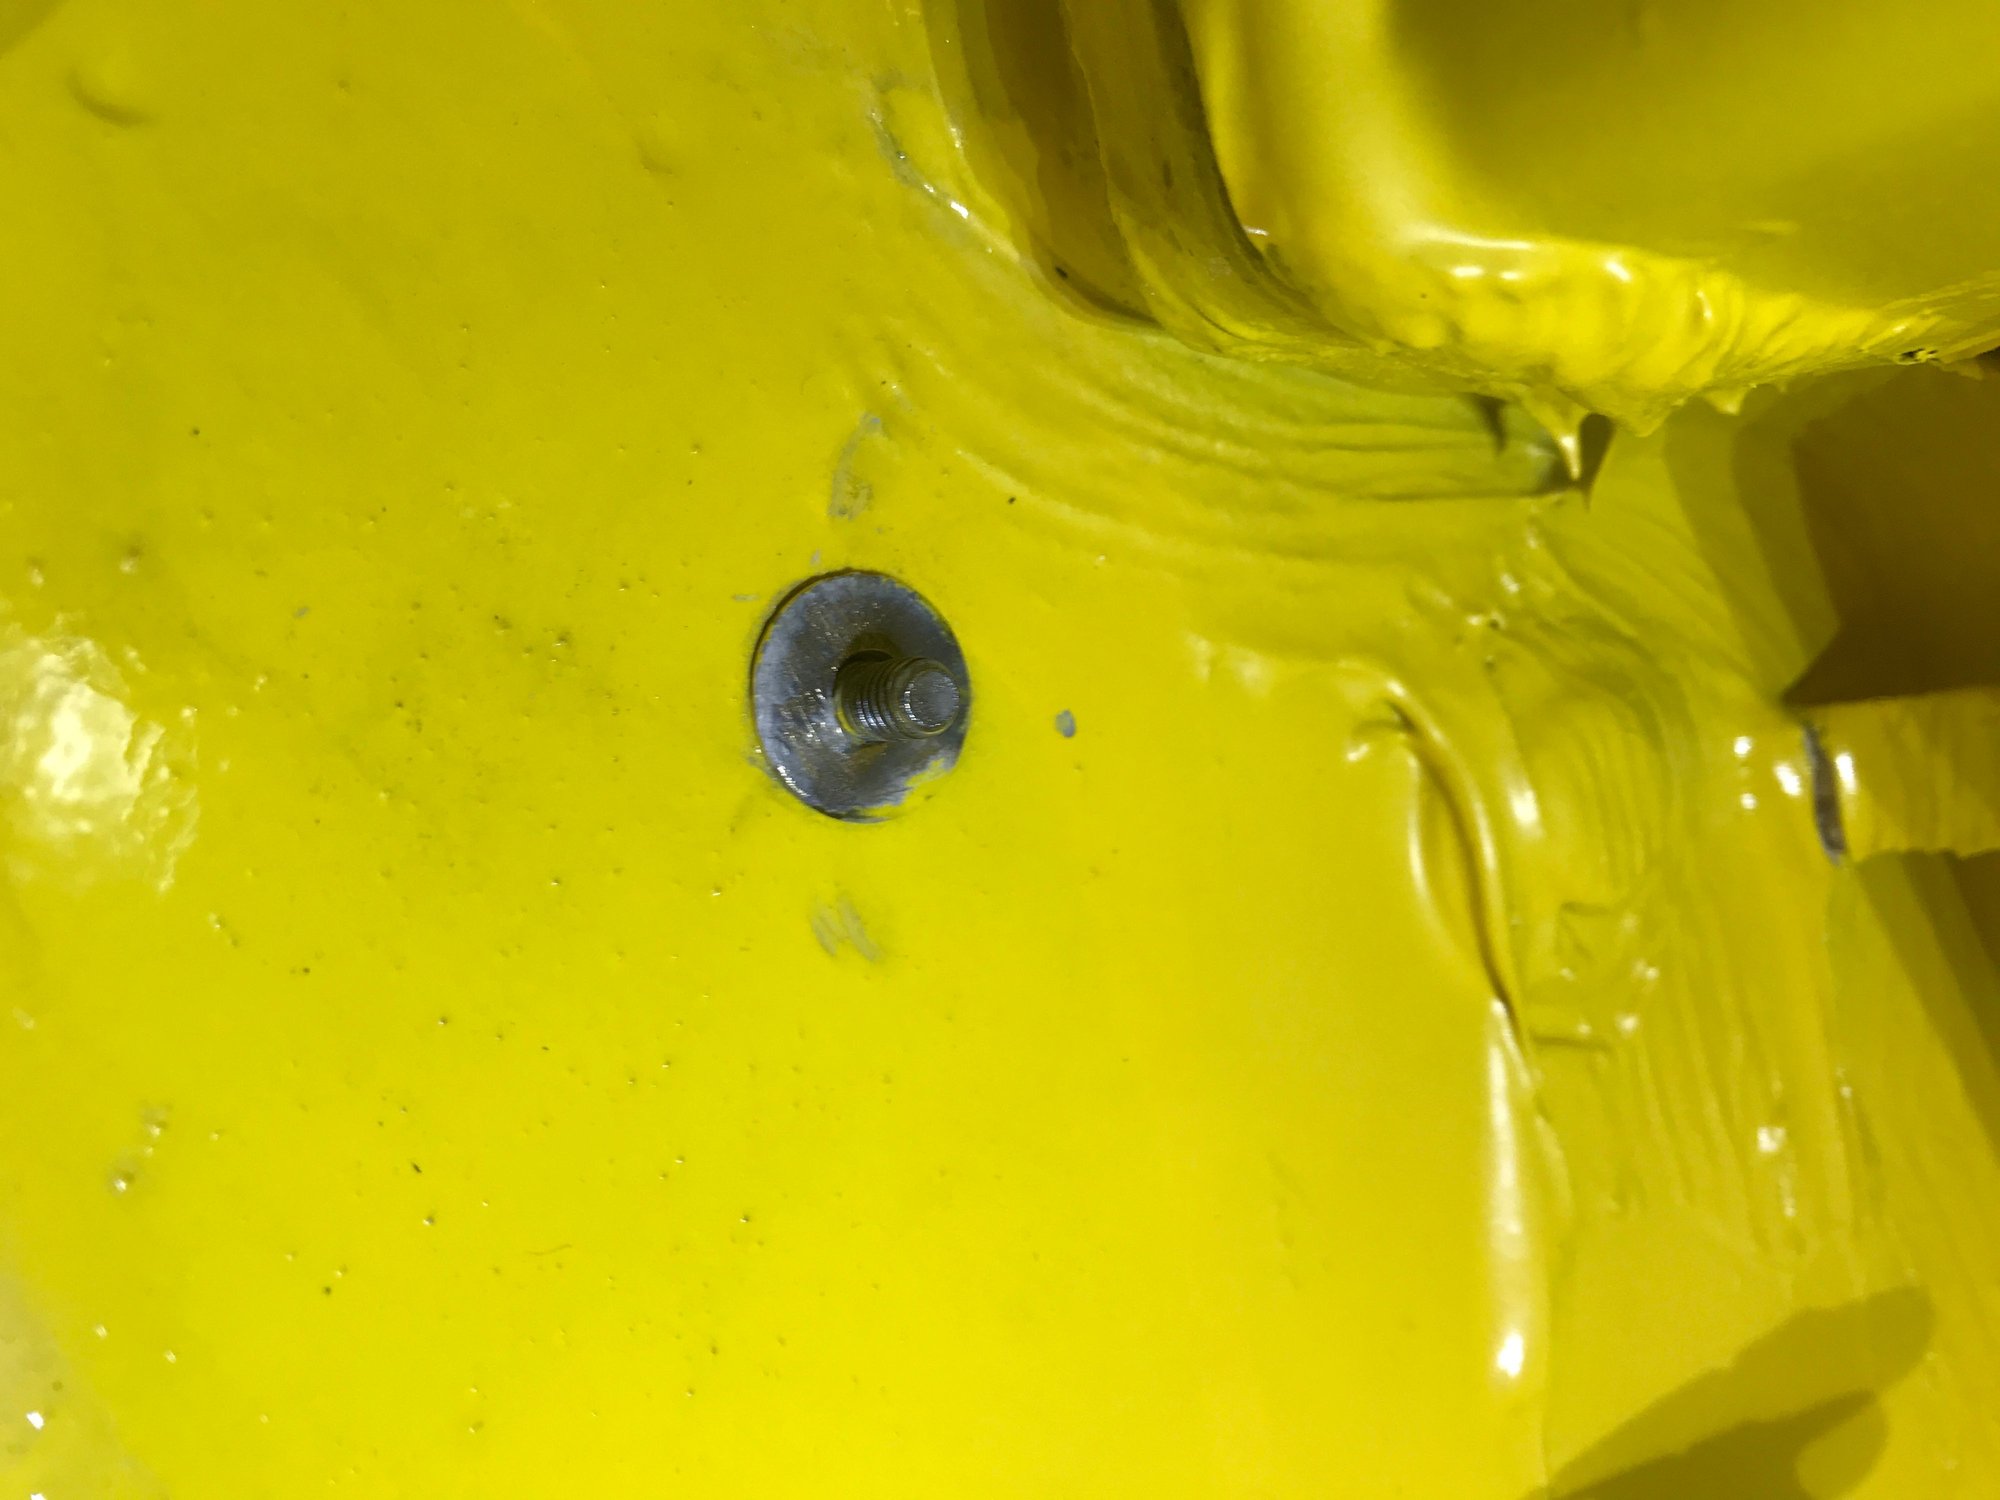
By the battery, before and after.
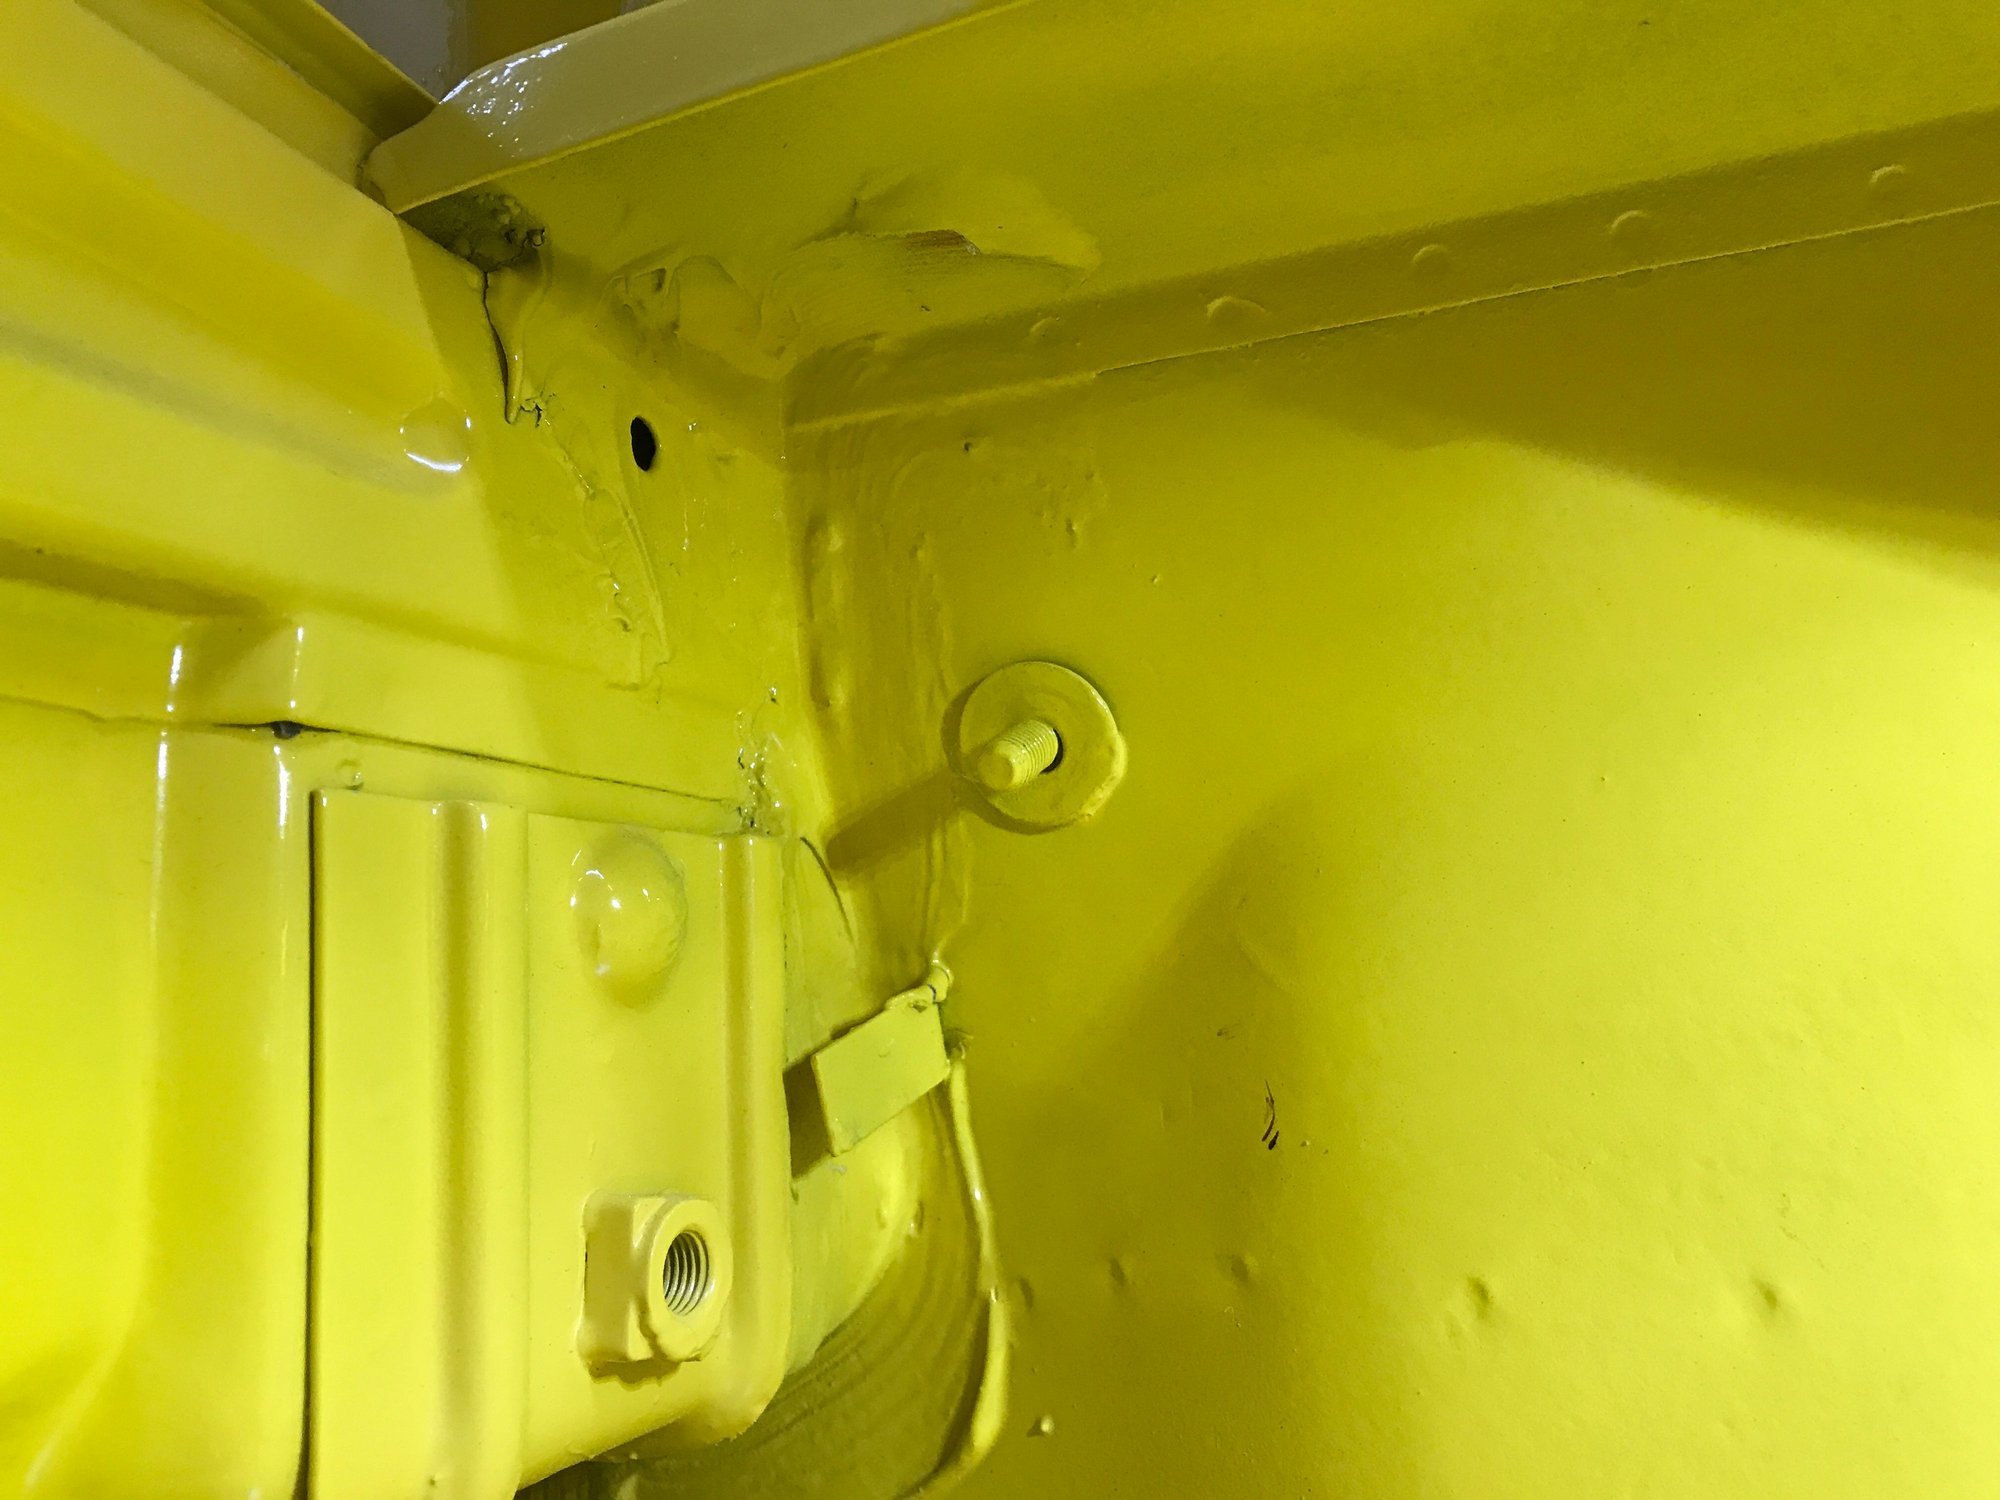
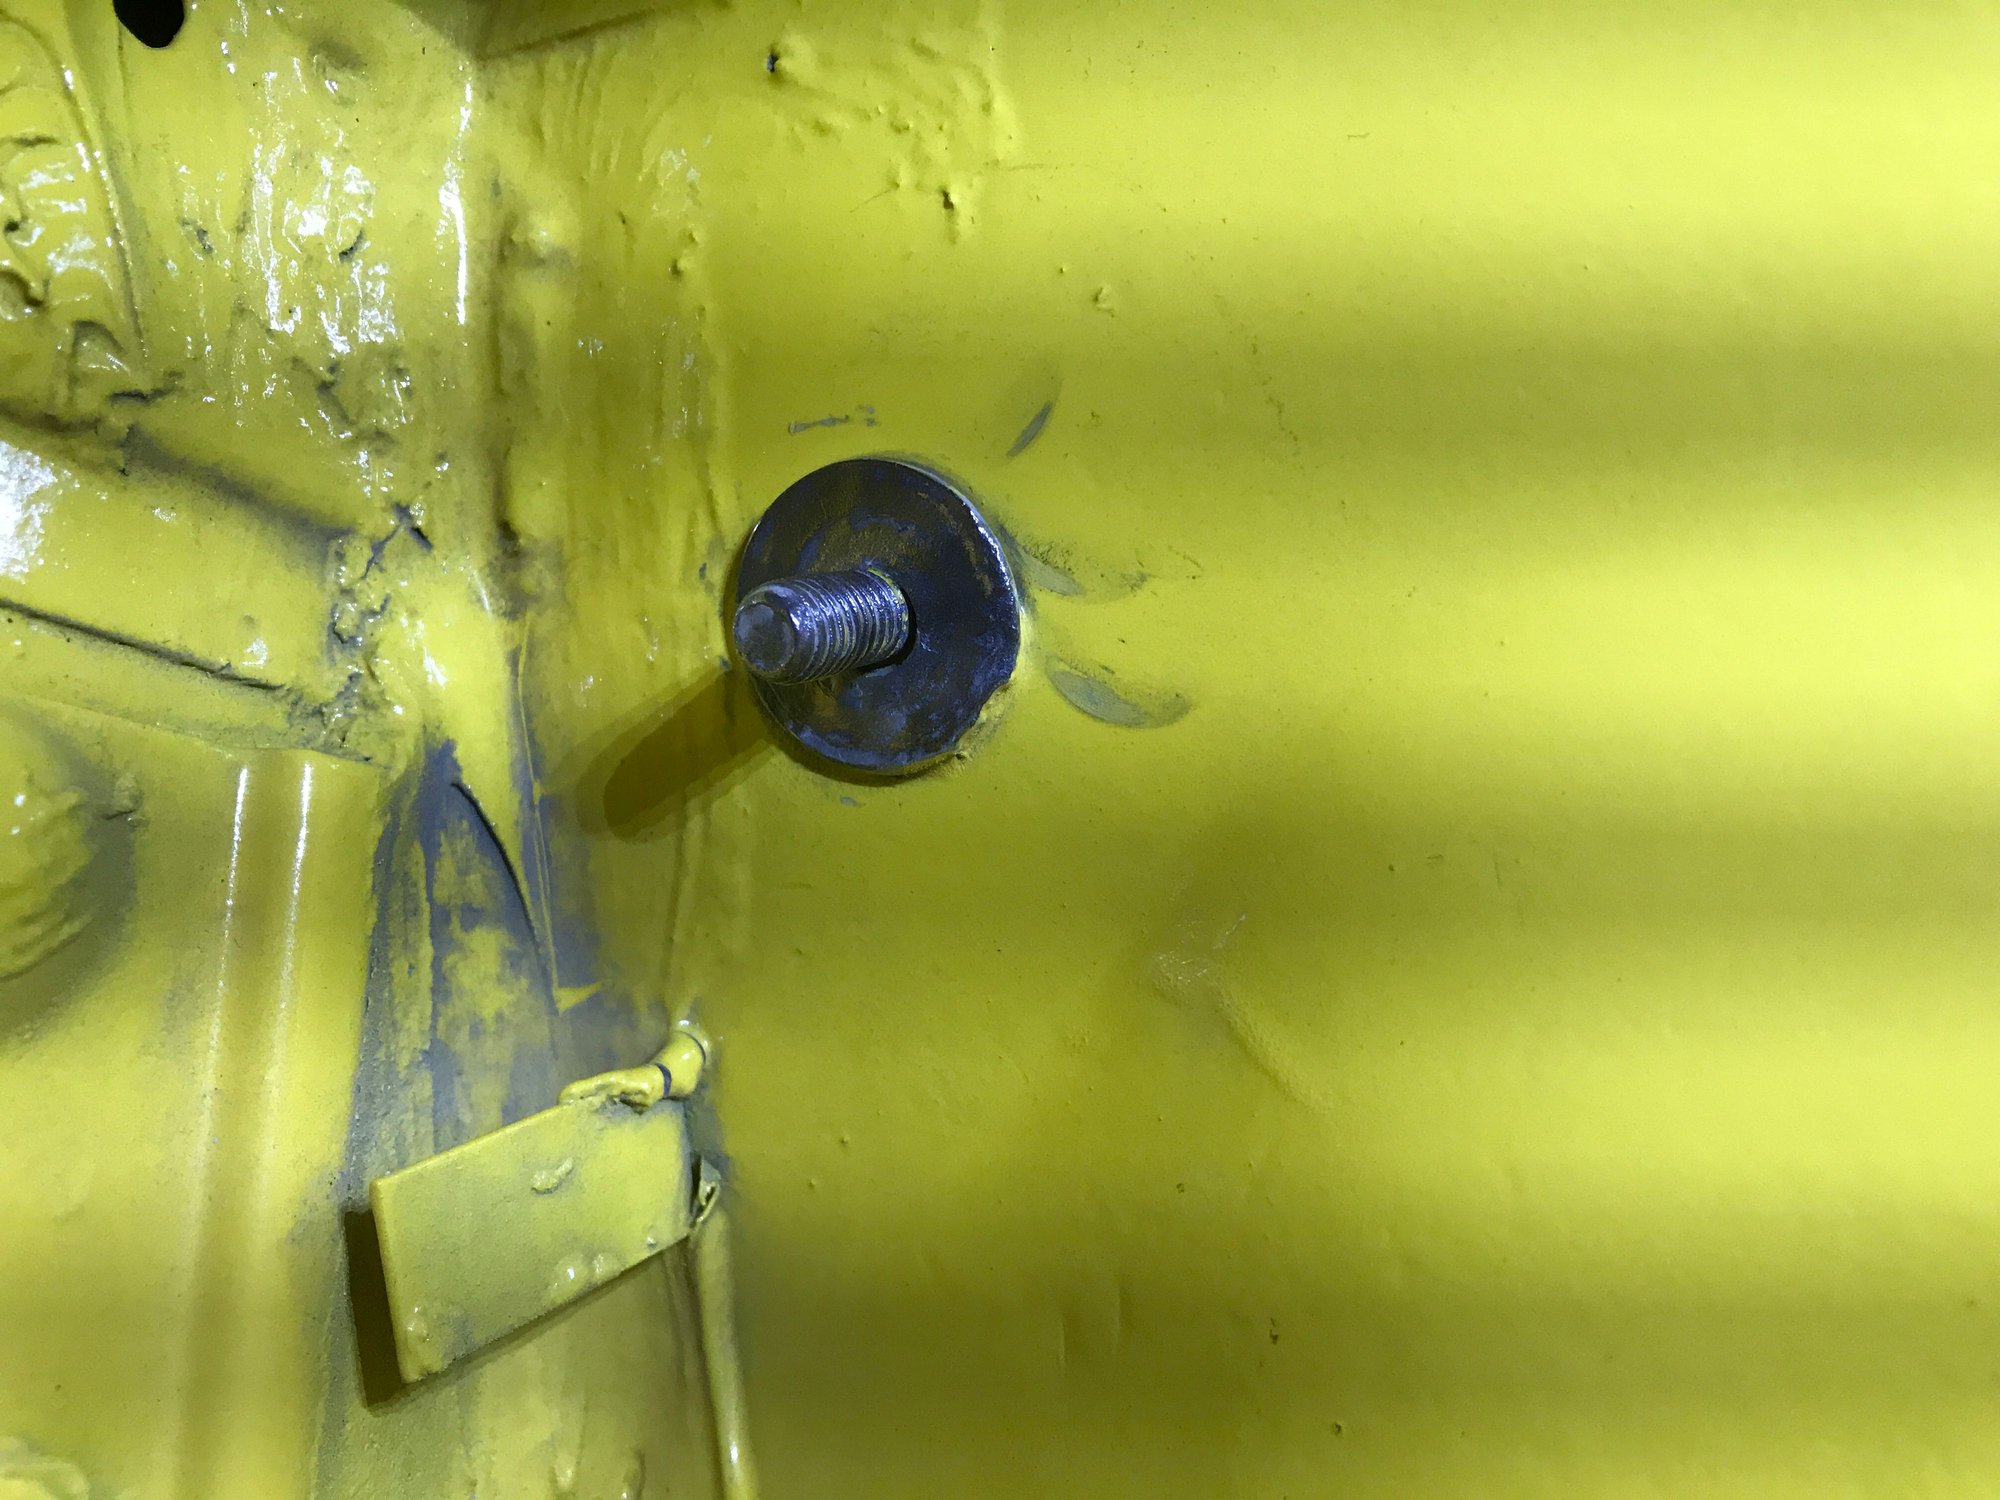
And for the transaxle grounding strap.
By the left side relay board.

By the battery, before and after.


And for the transaxle grounding strap.


#792
Now for the harness in the engine compartment. But first, I have to patch a hole in the plastic covering, just above the snorkel.
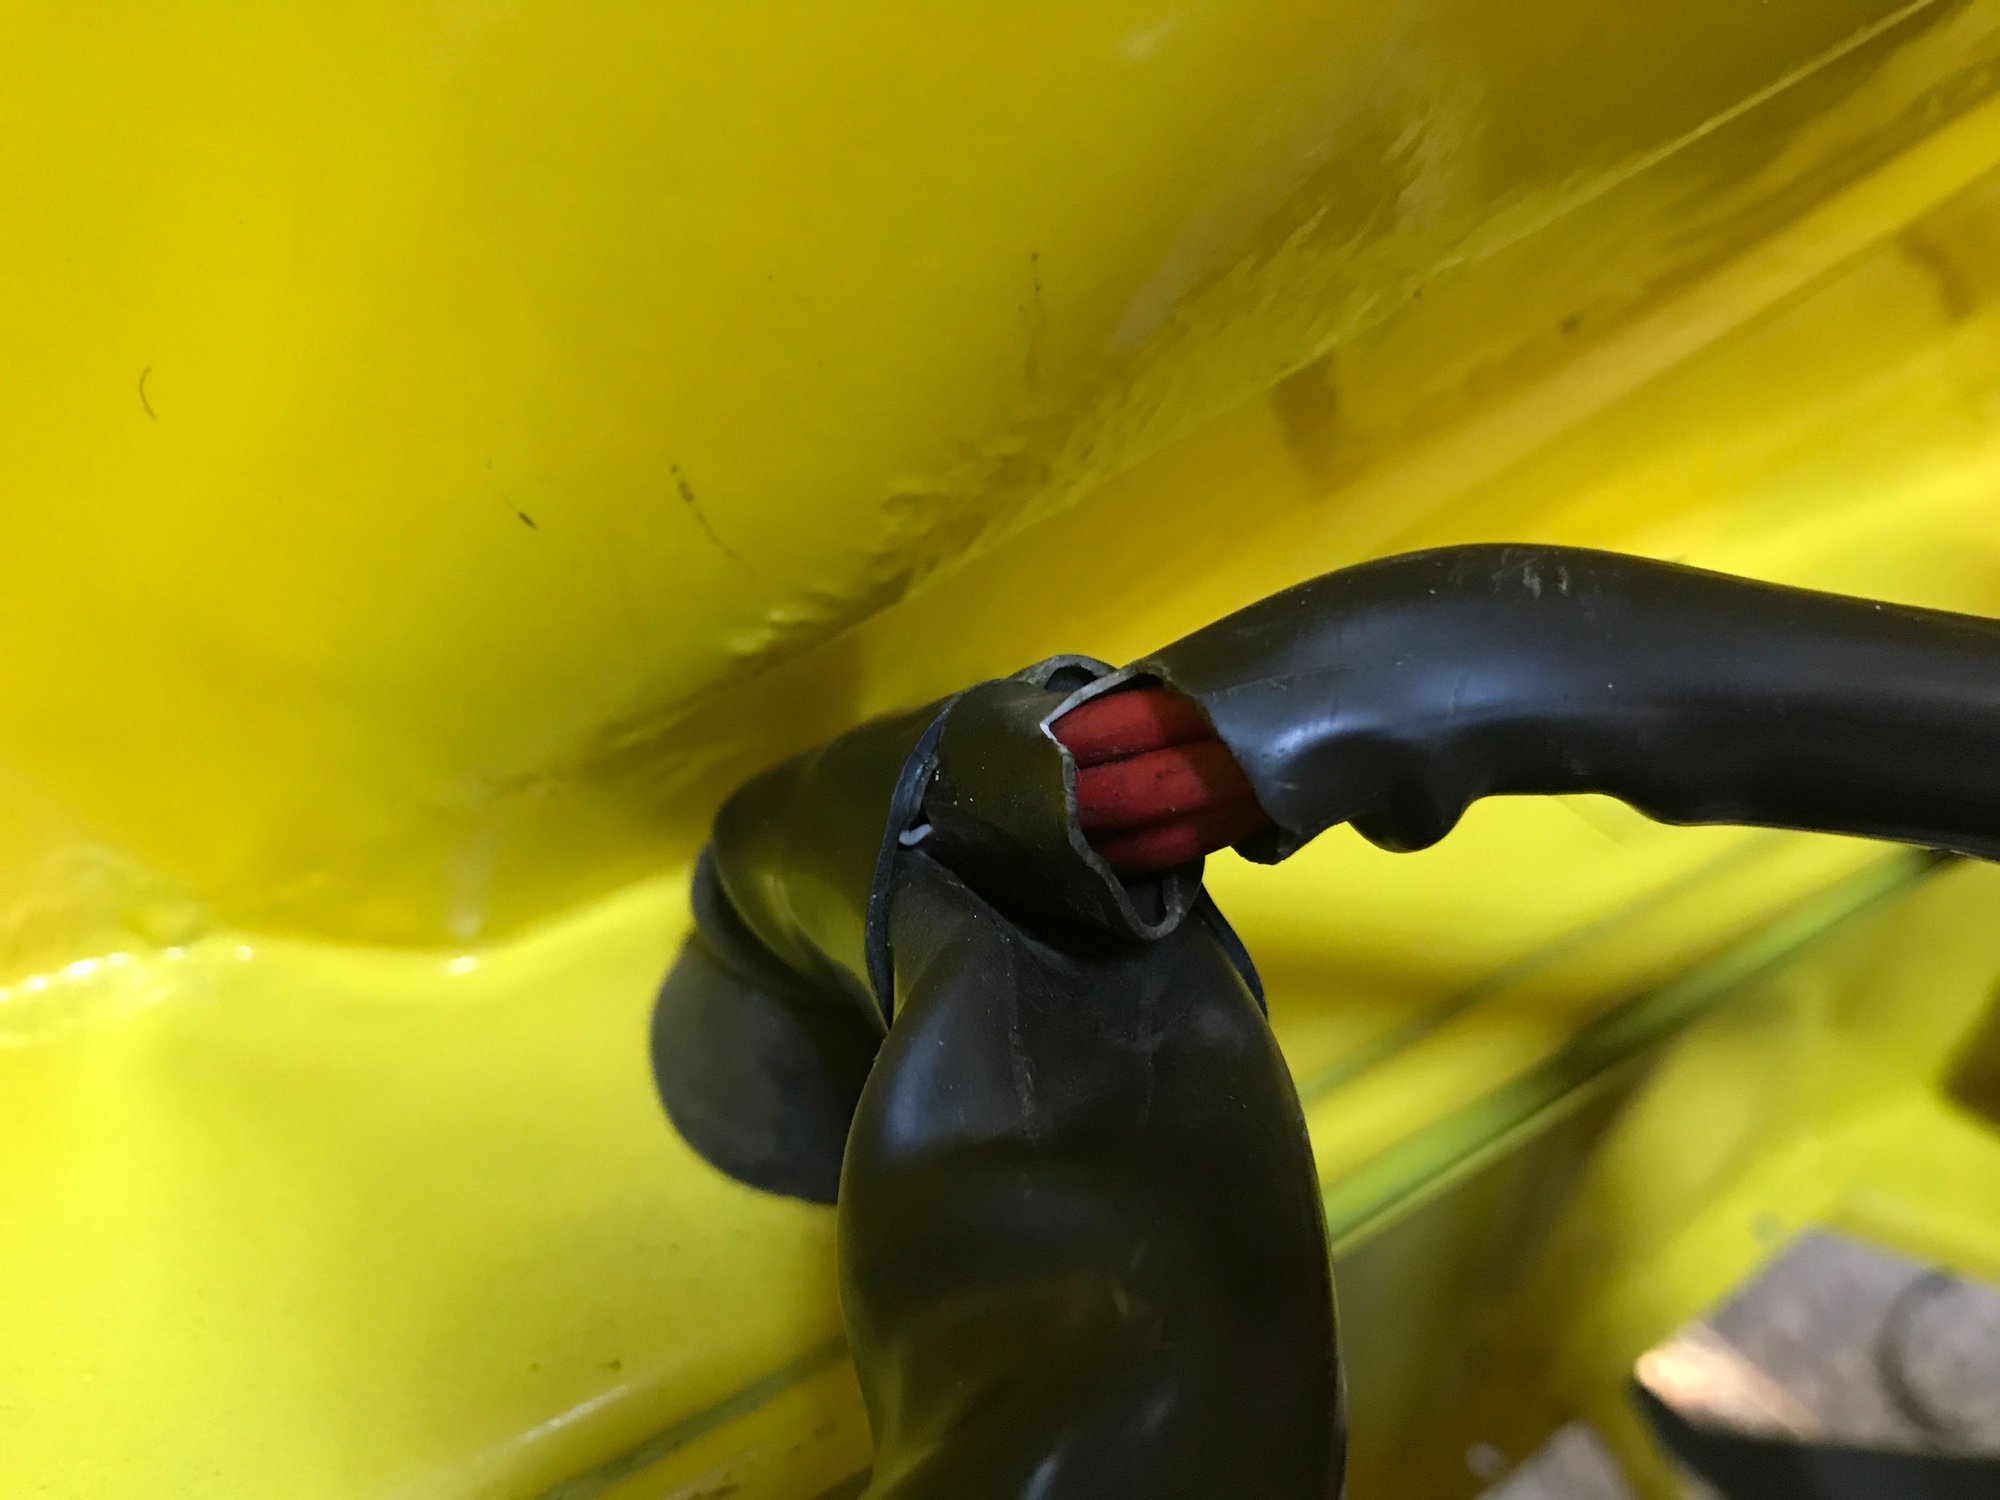
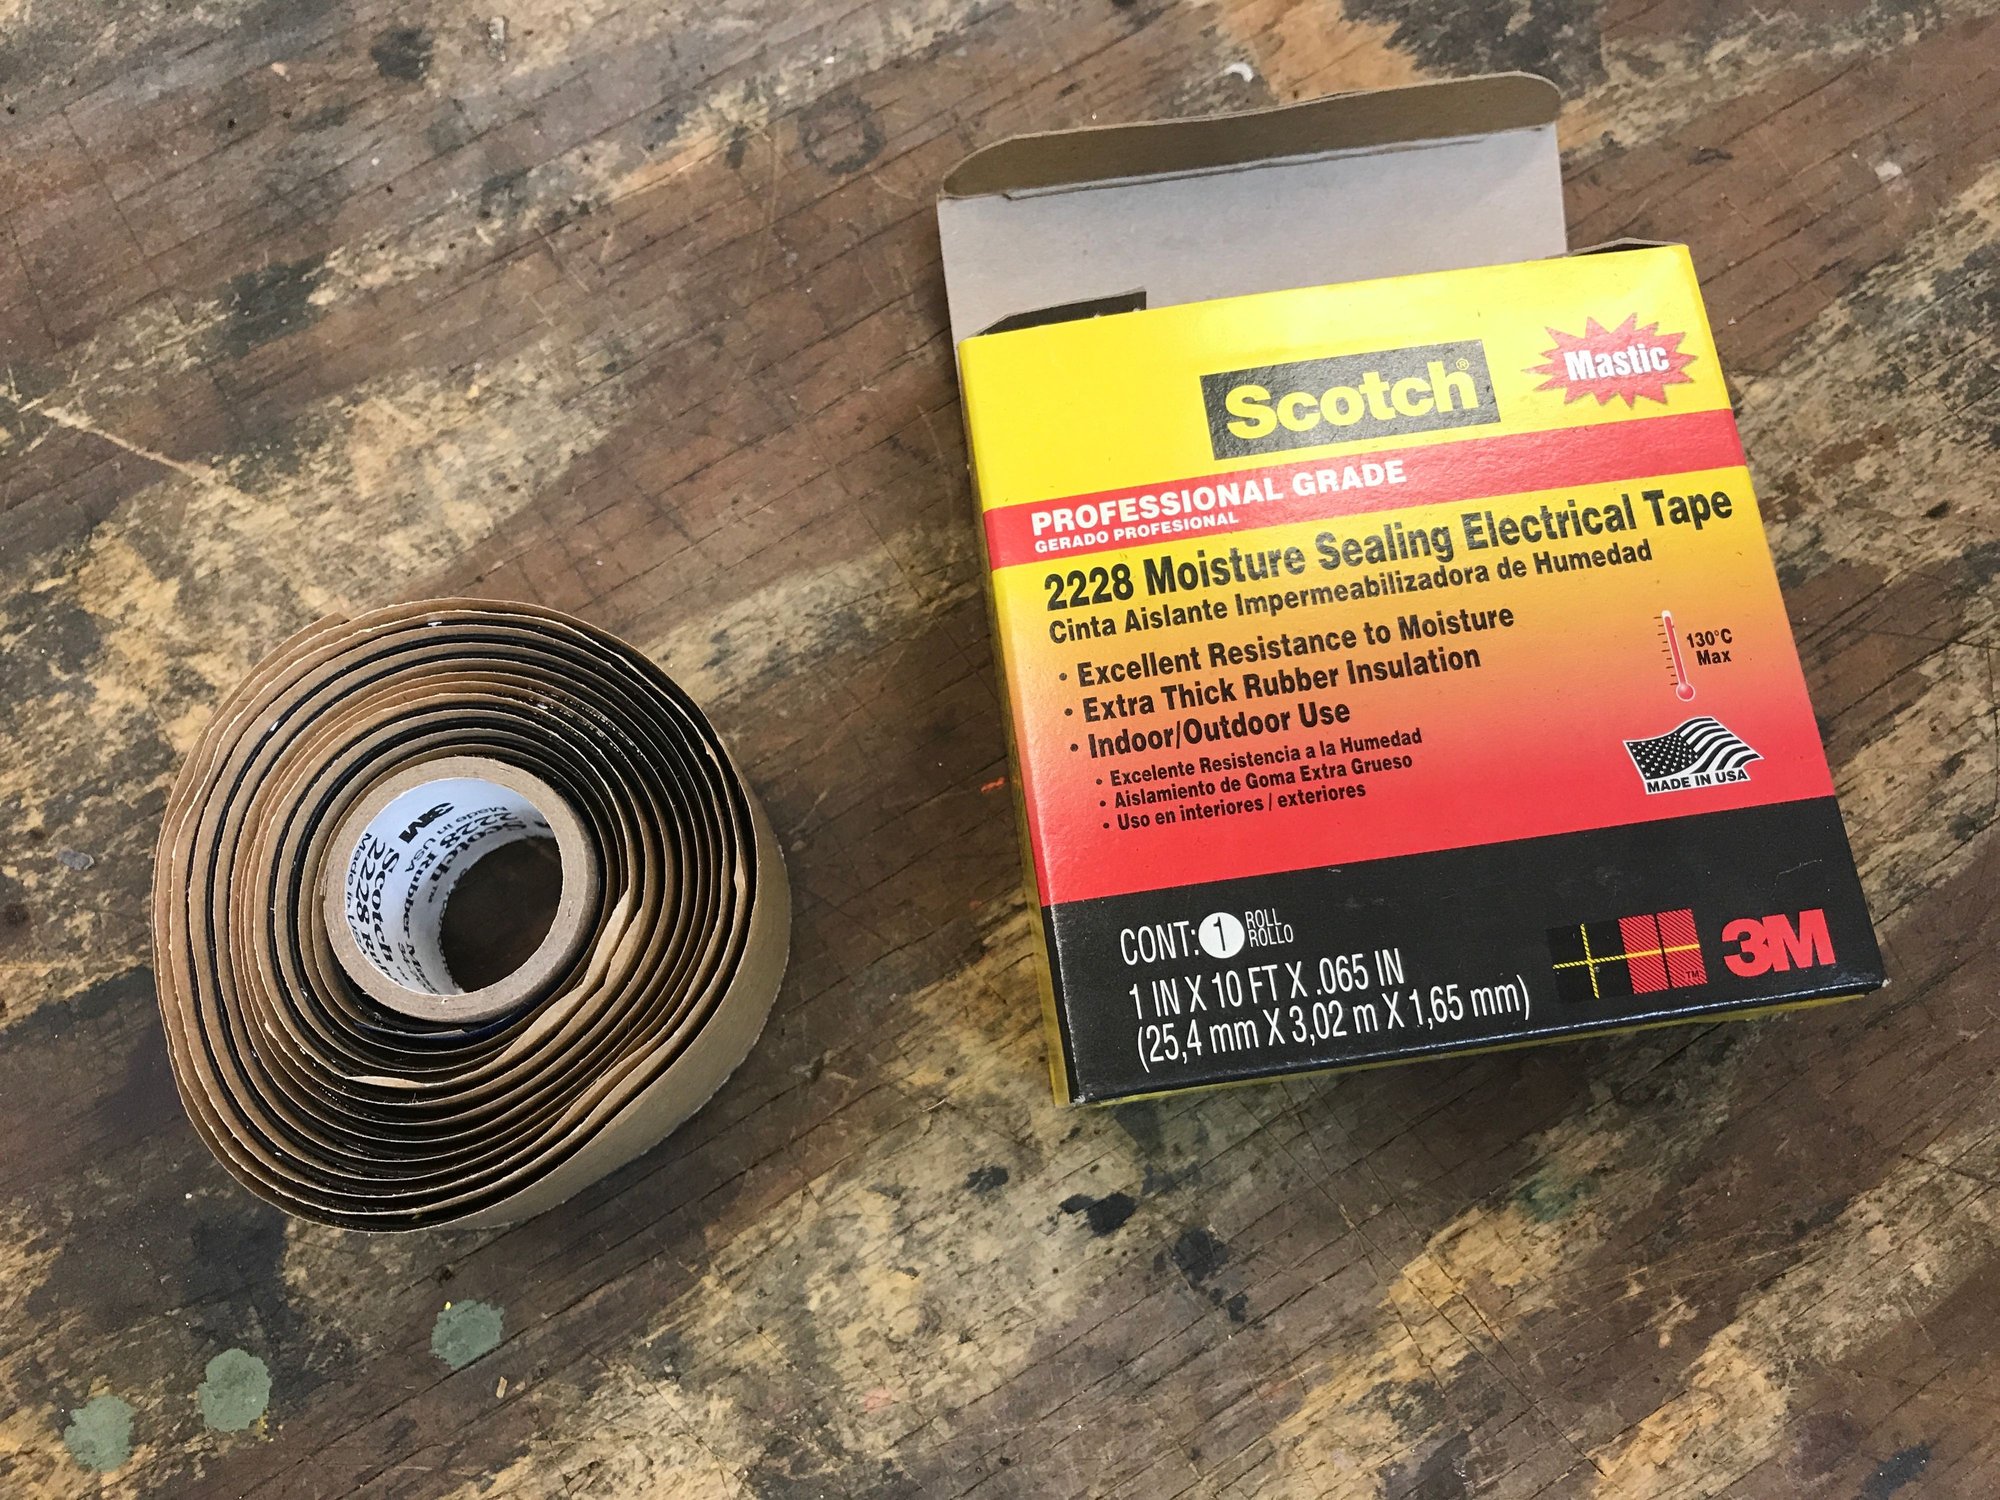
A good place to try some 3M waterproof rubber tape.
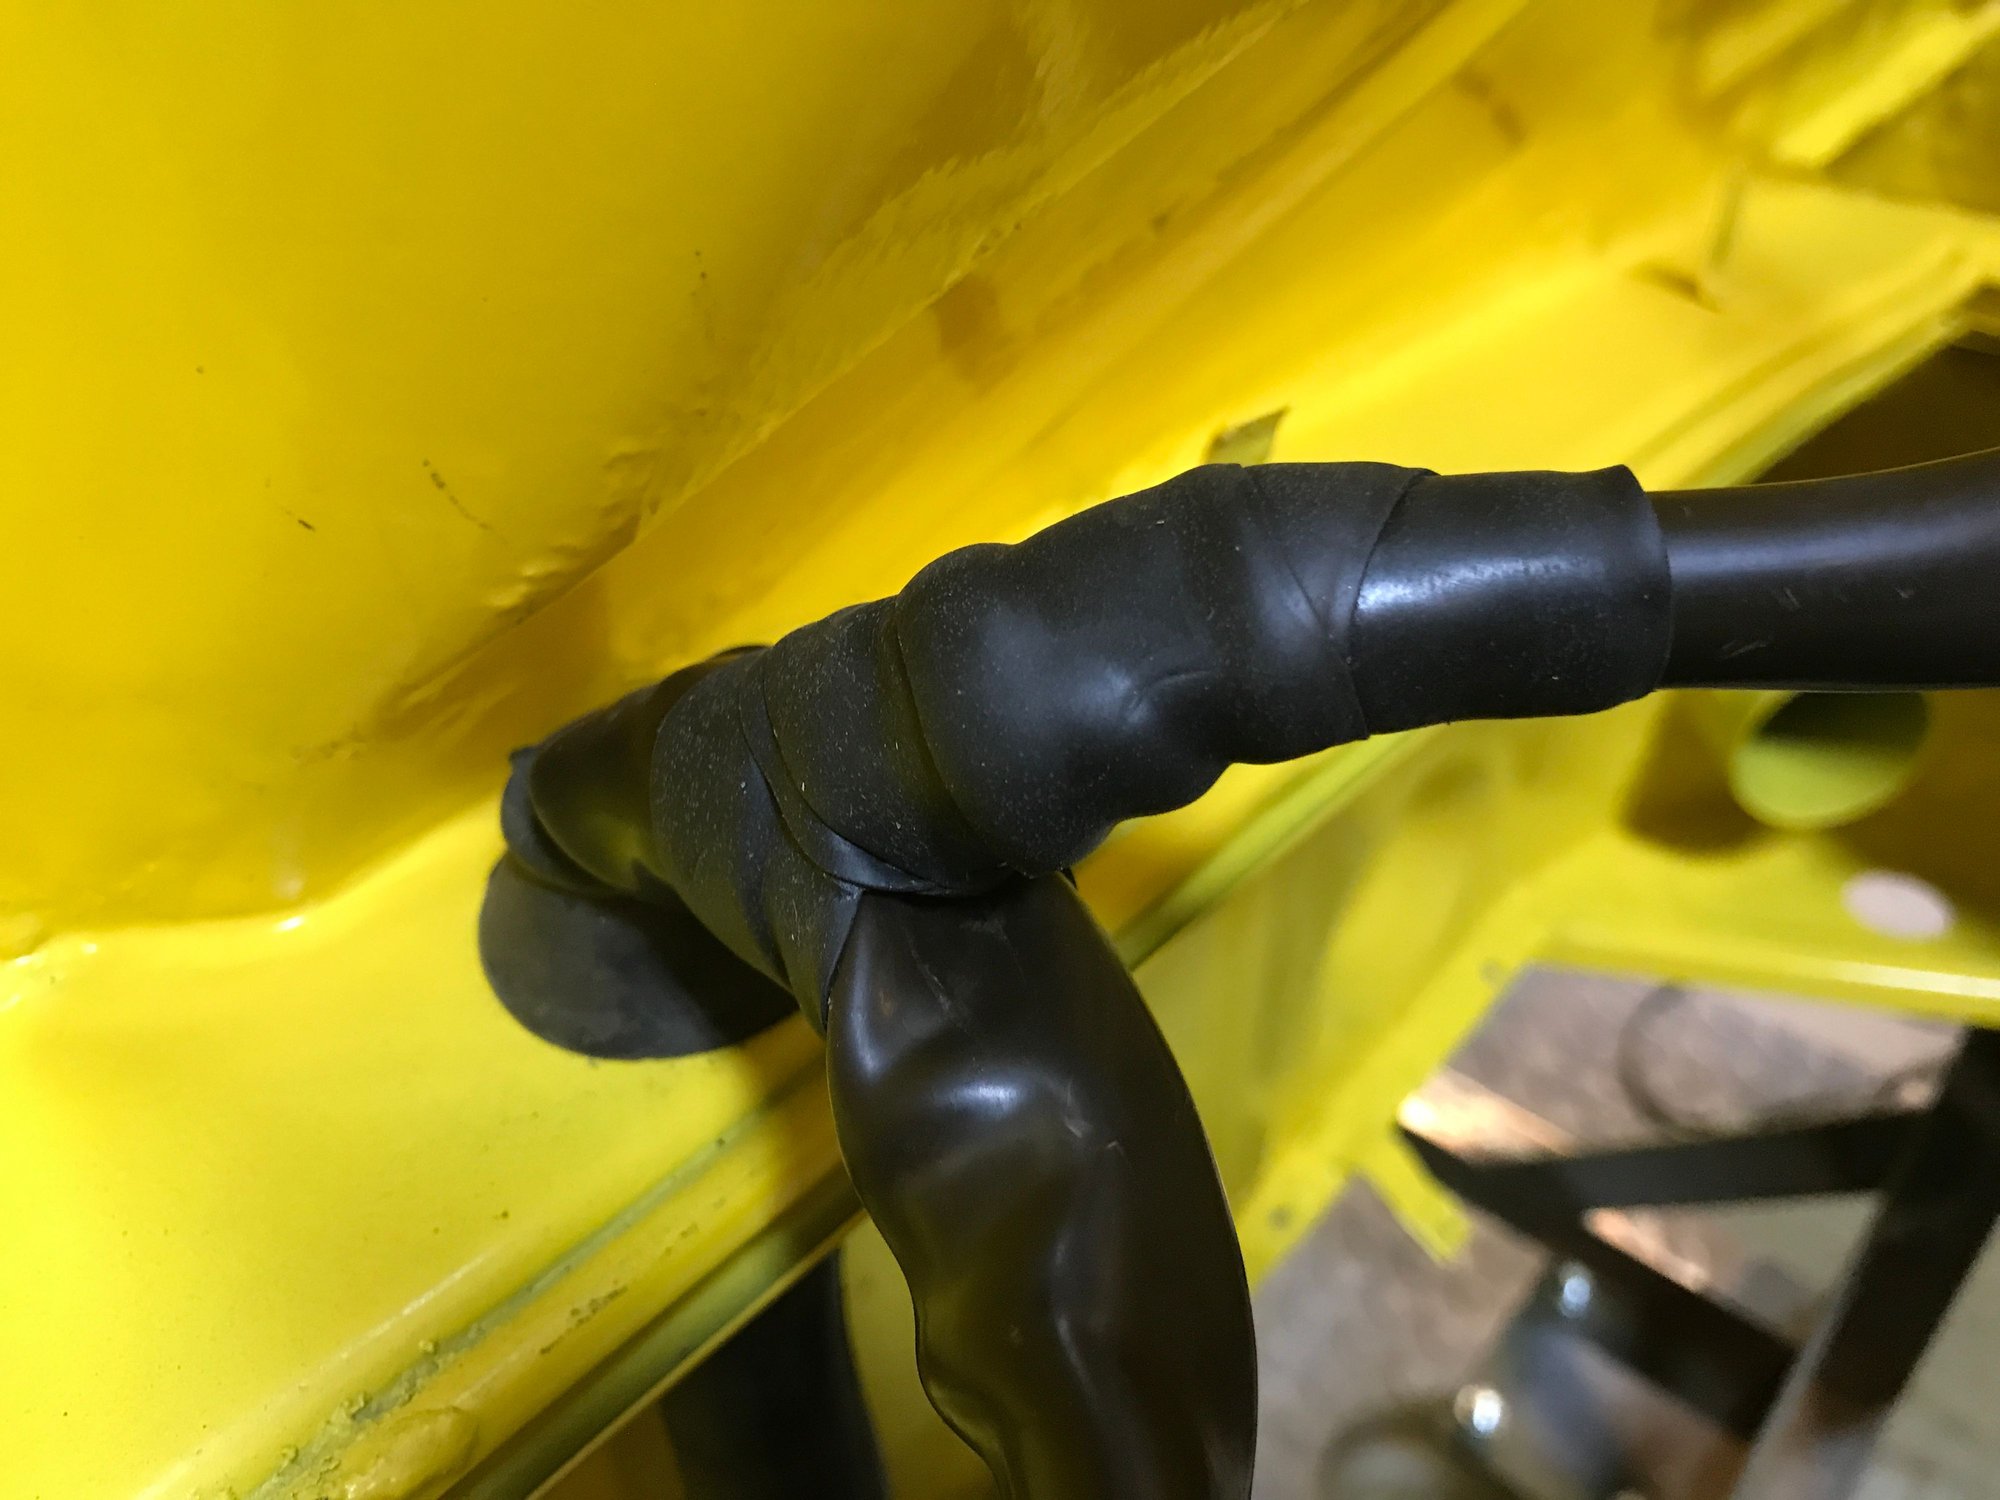
This will do for now.

A good place to try some 3M waterproof rubber tape.

This will do for now.

#793
Now for routing the harness.
Right side to the battery.
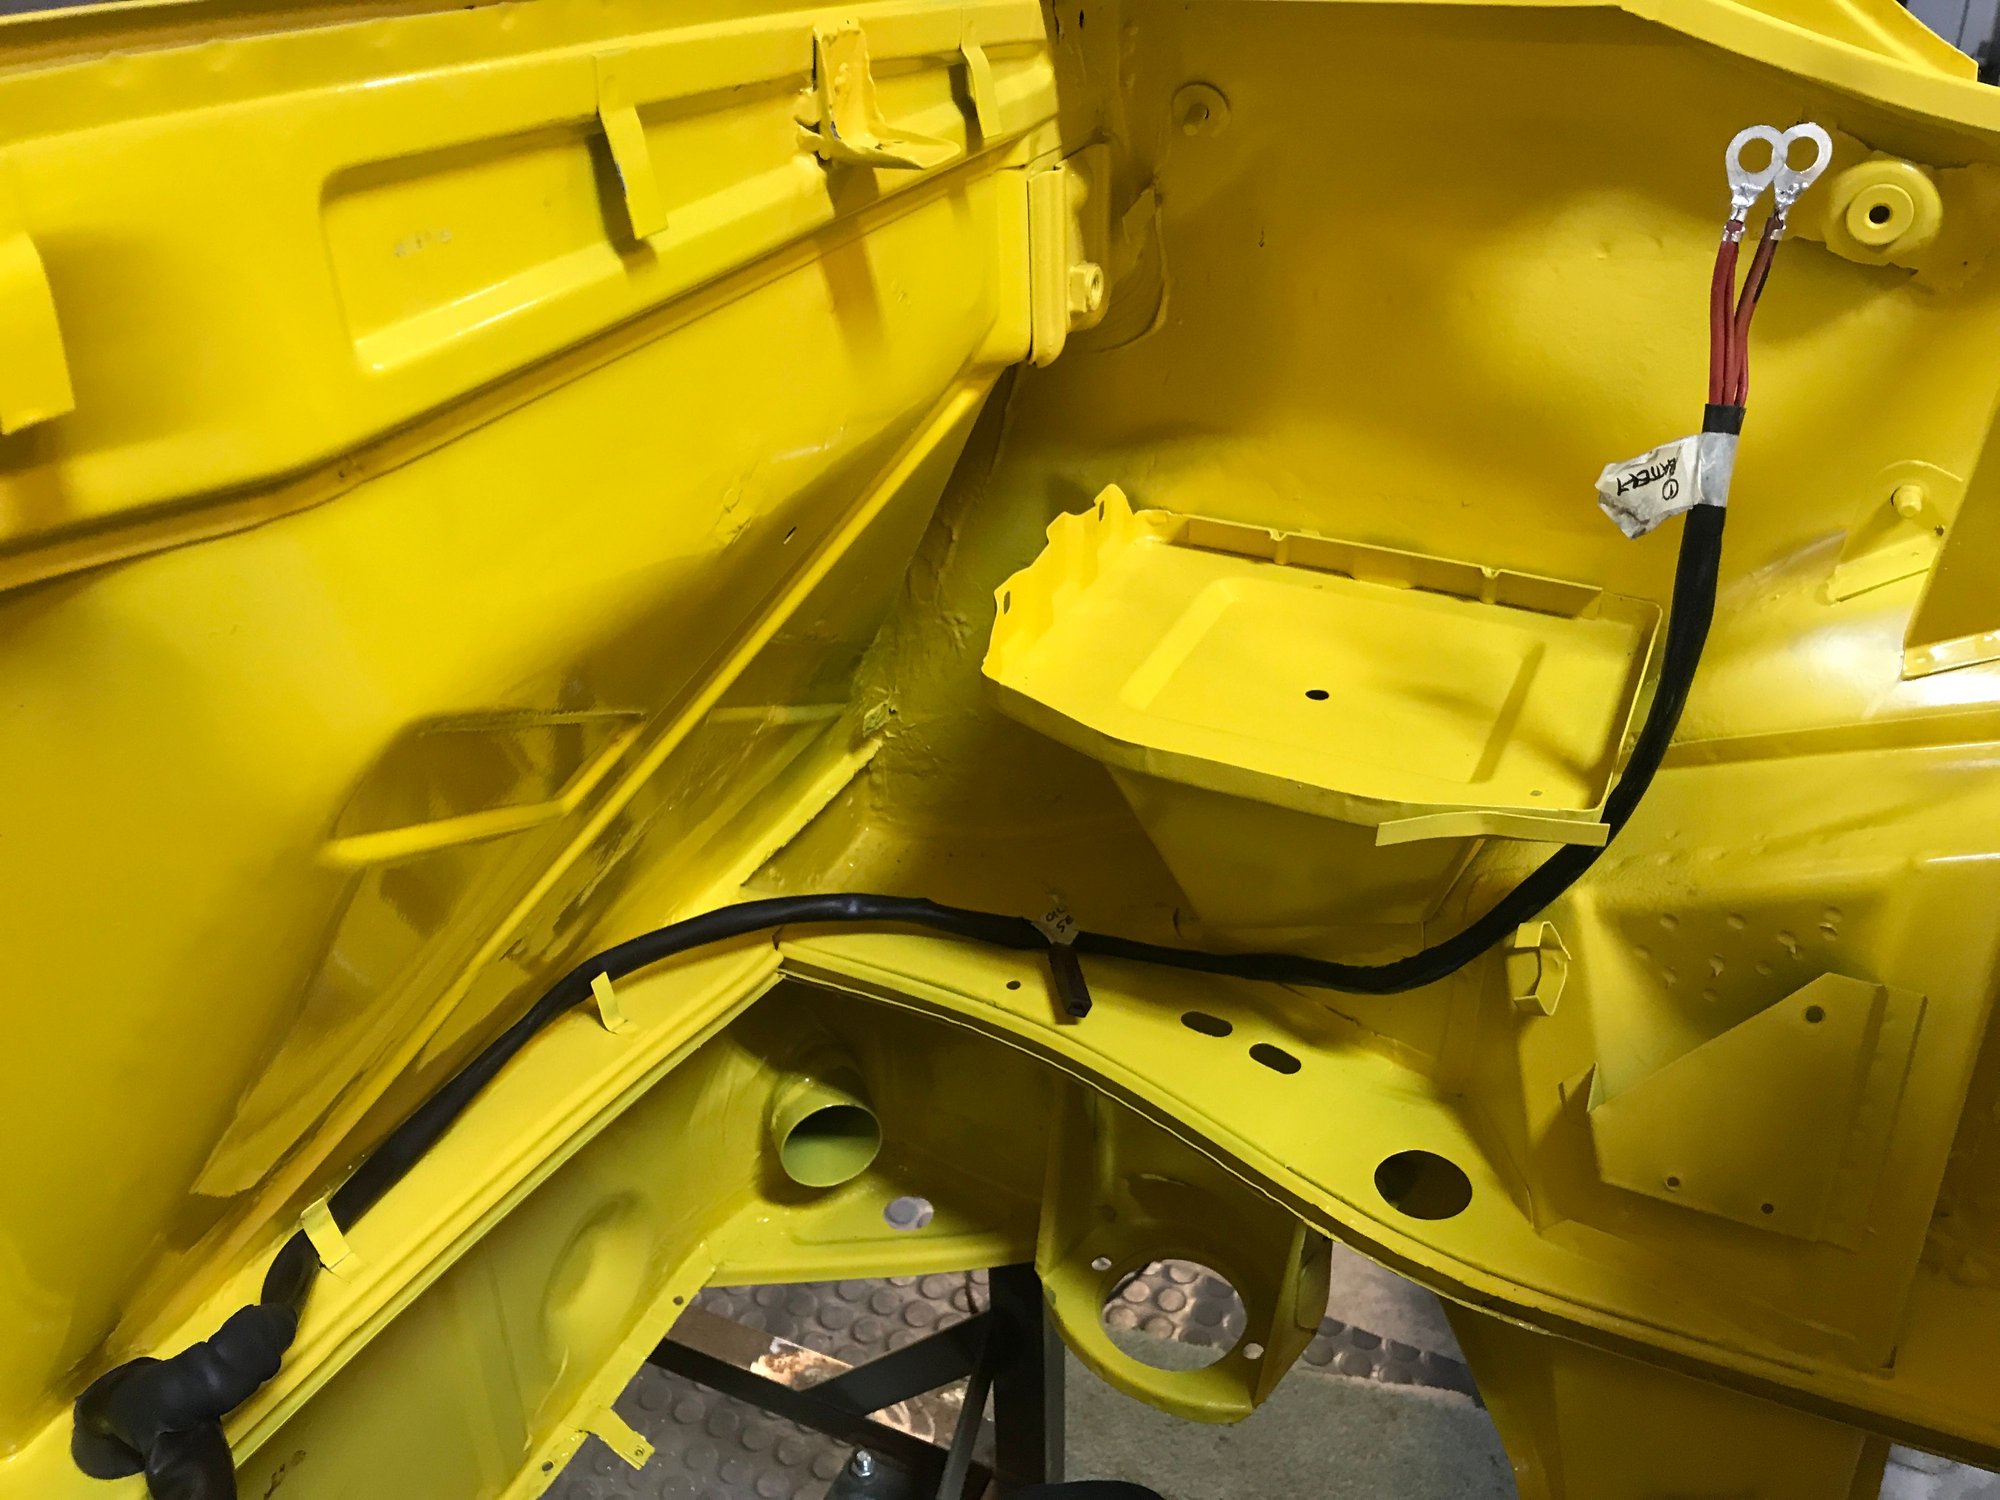
Left side to the relay board, grounding stud, and blower fan...
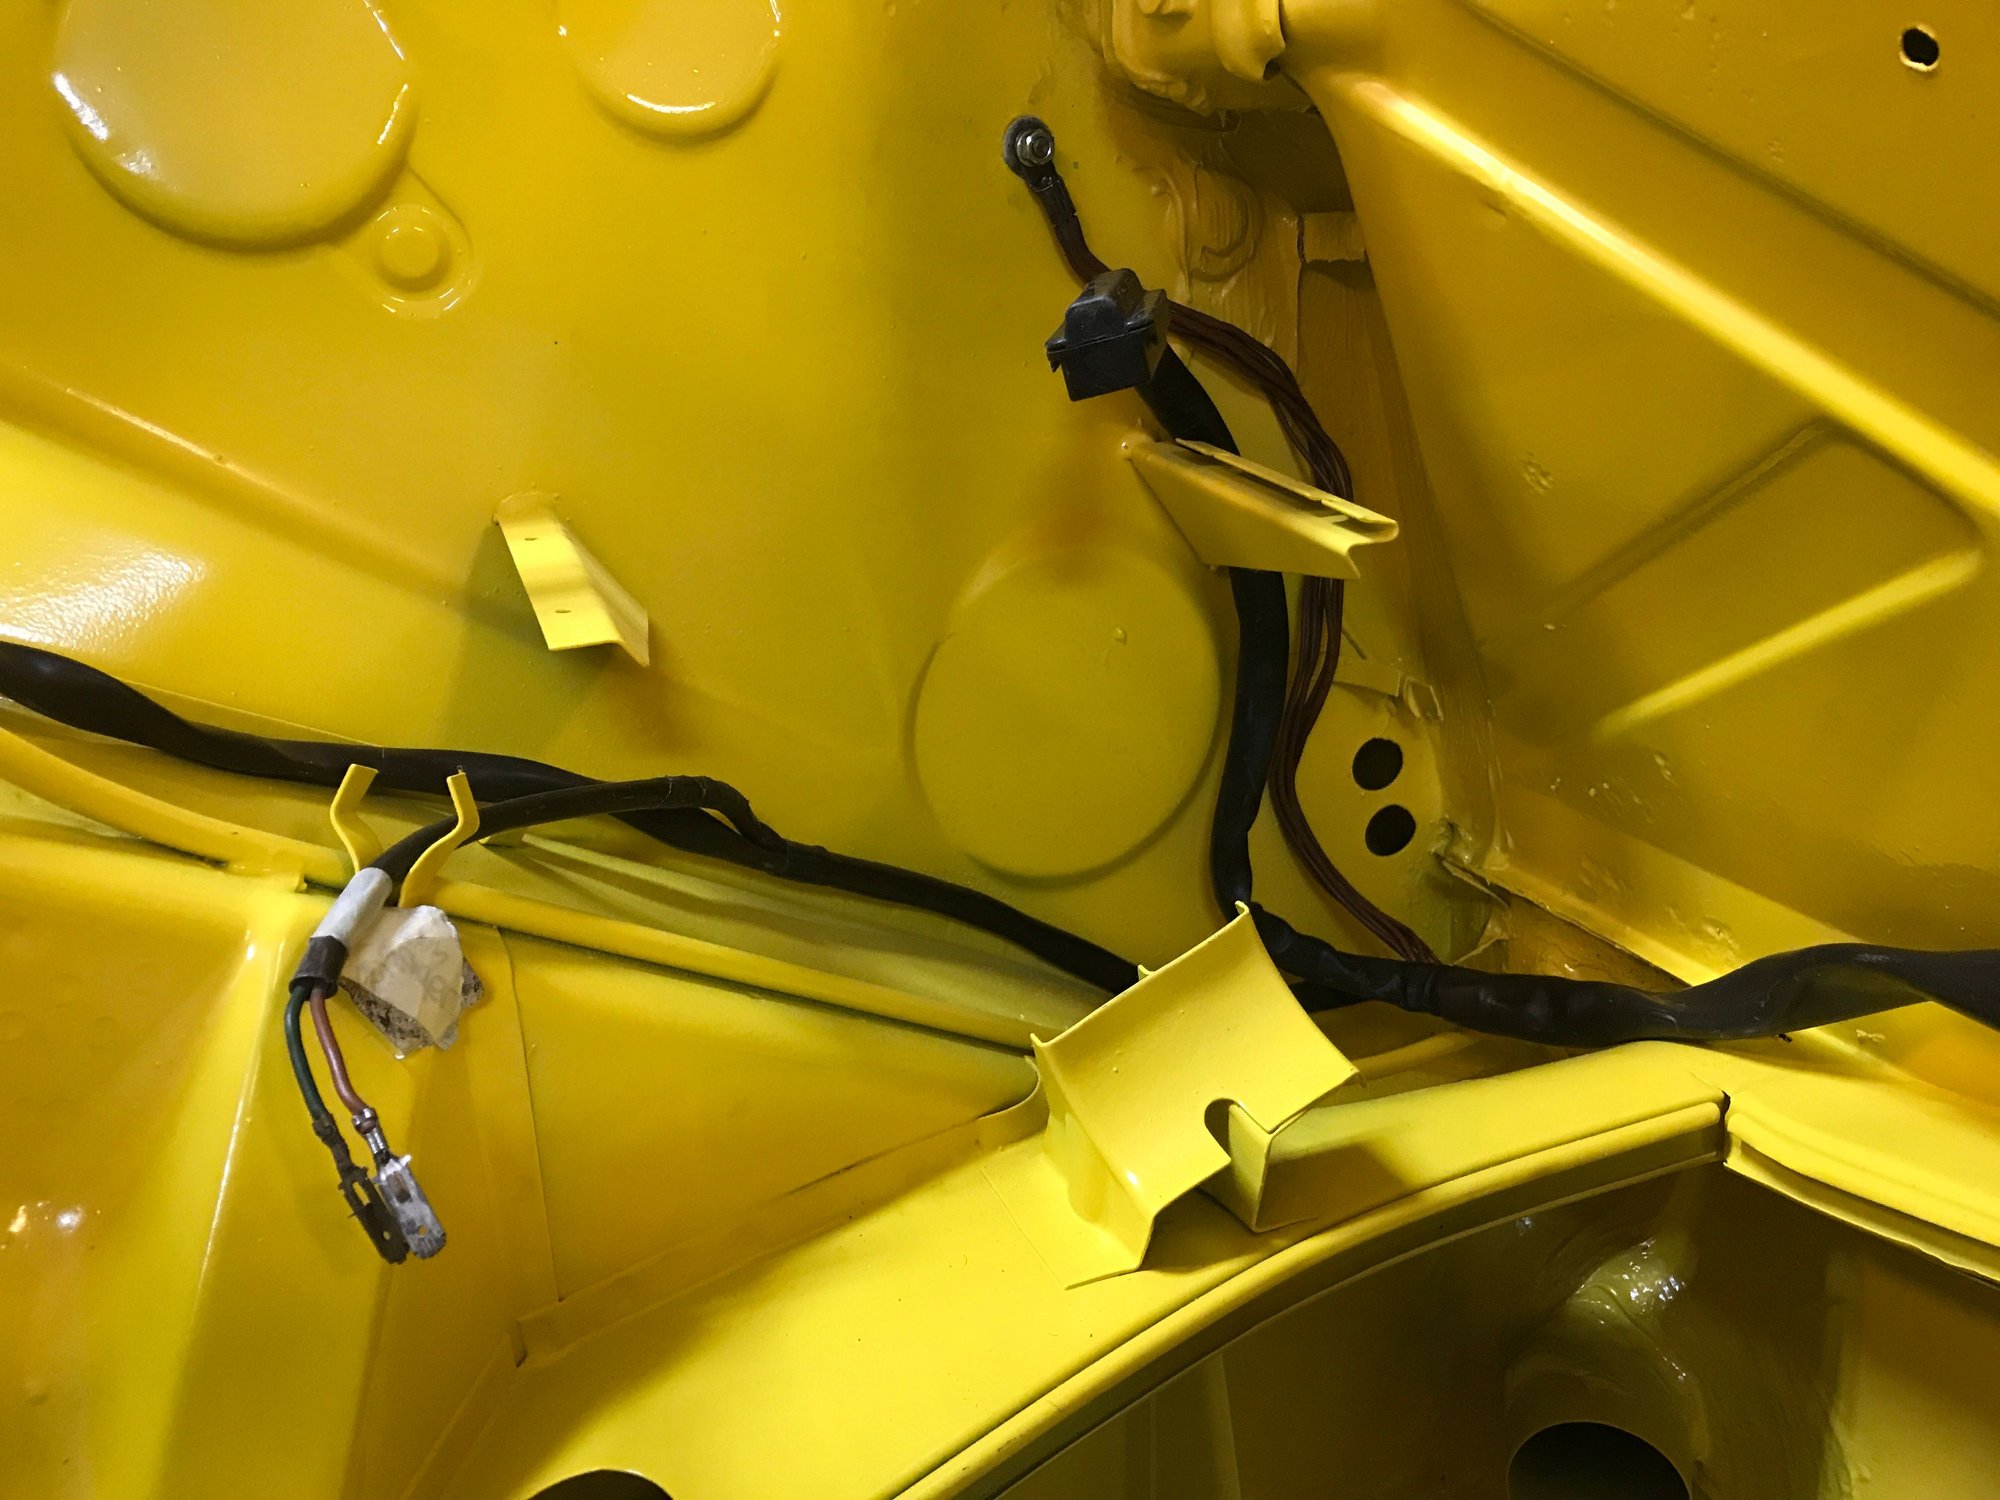
And then the trunk light...
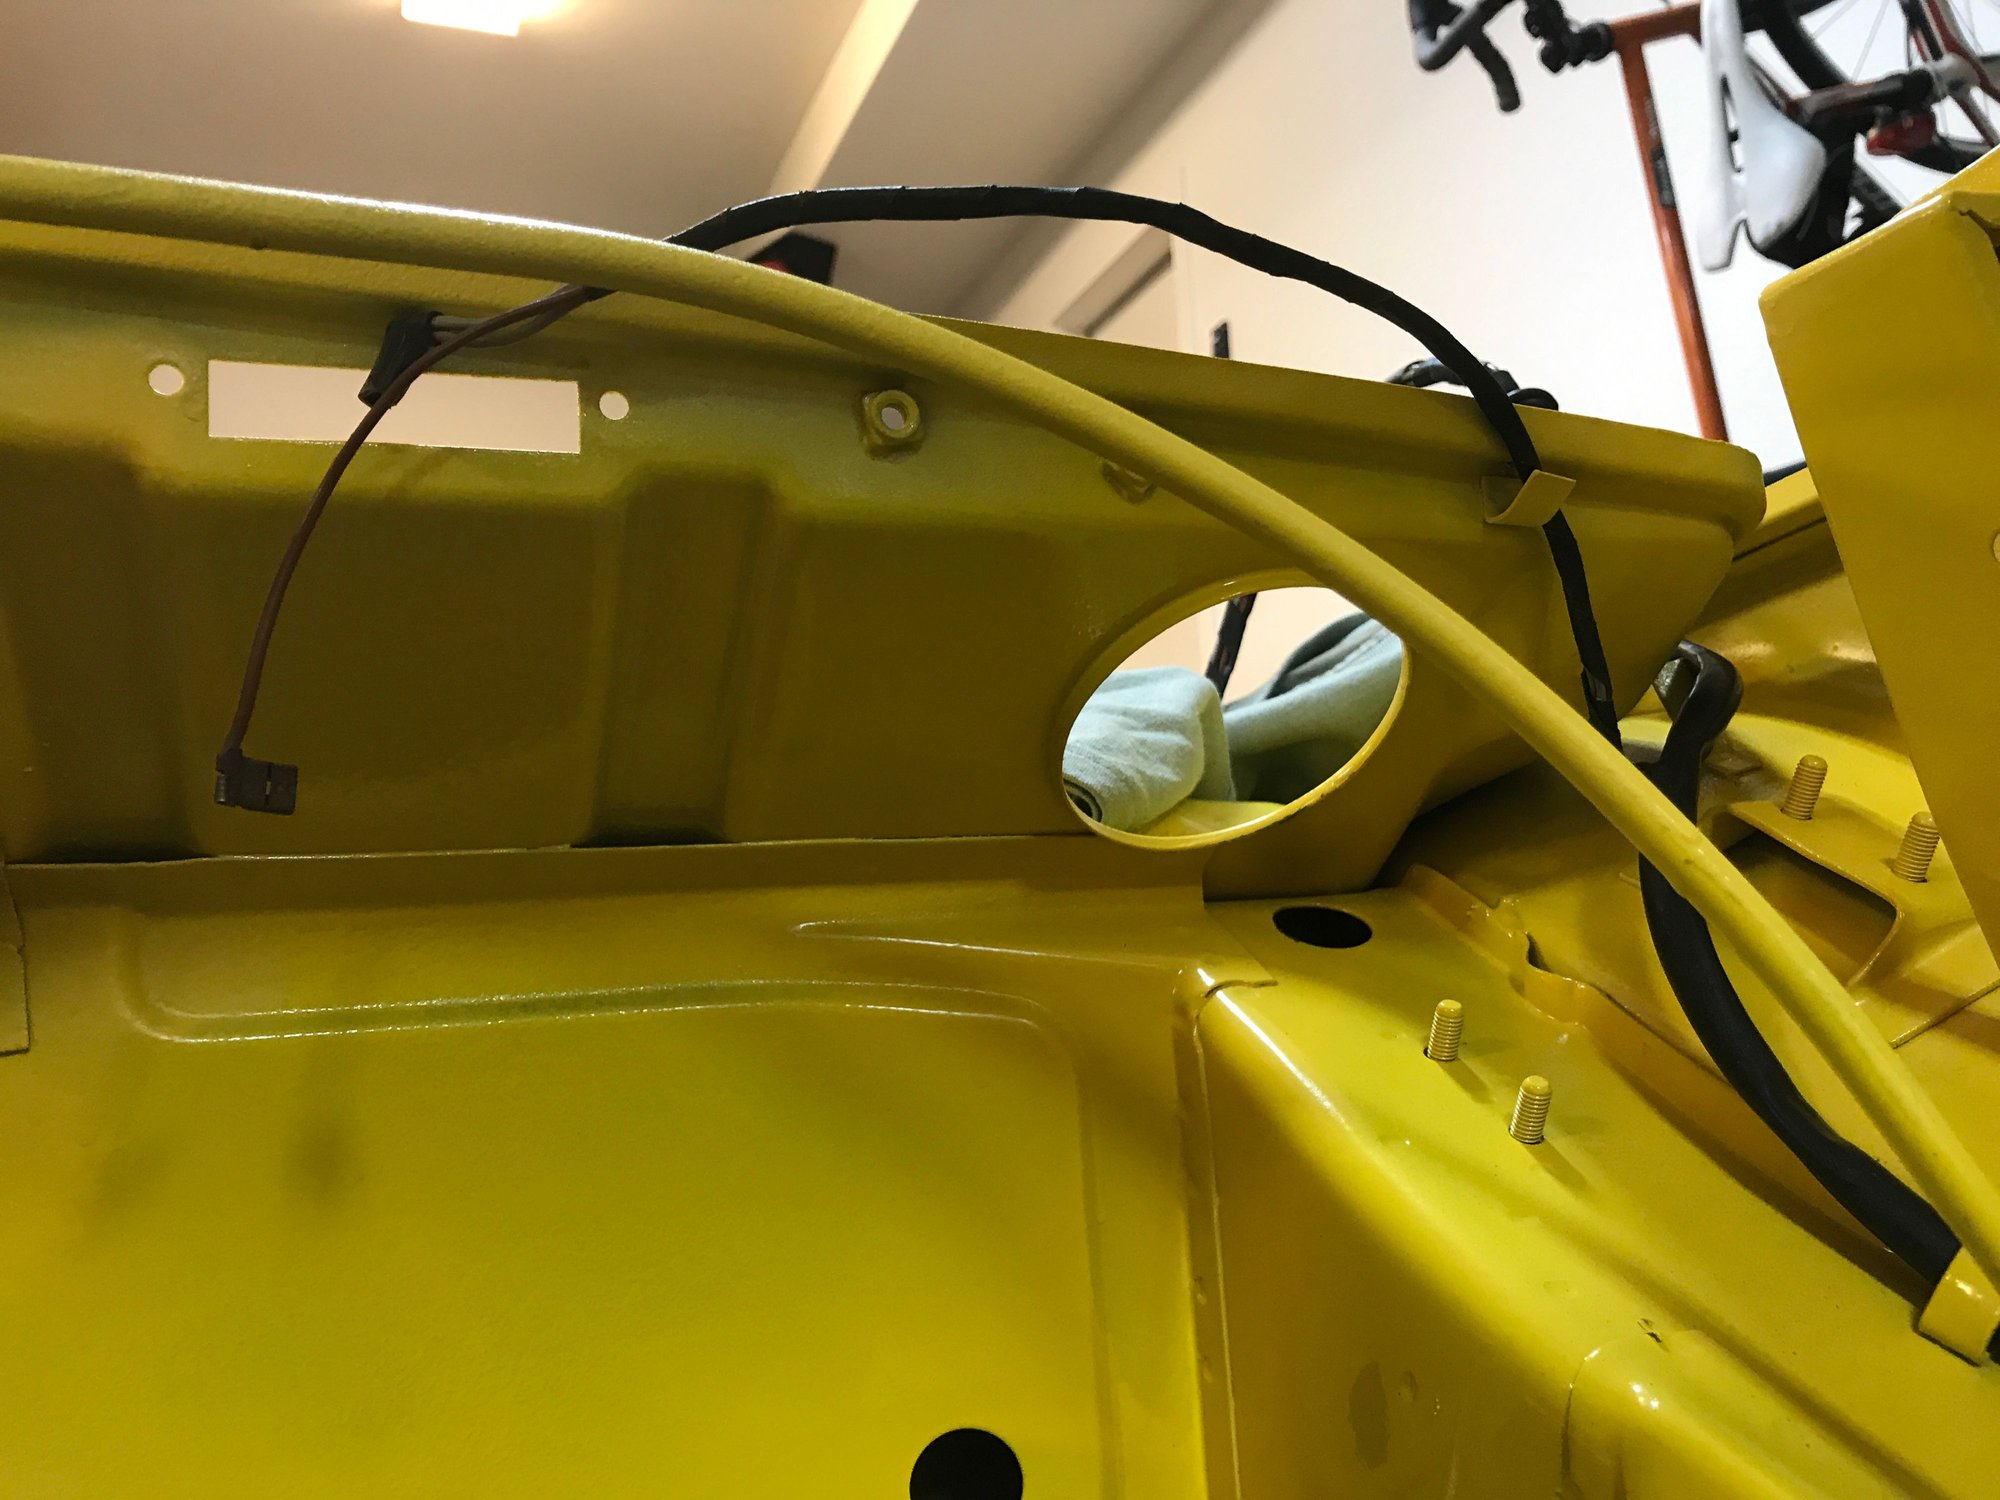
Leaving the rearmost section with leads to the tail lights.
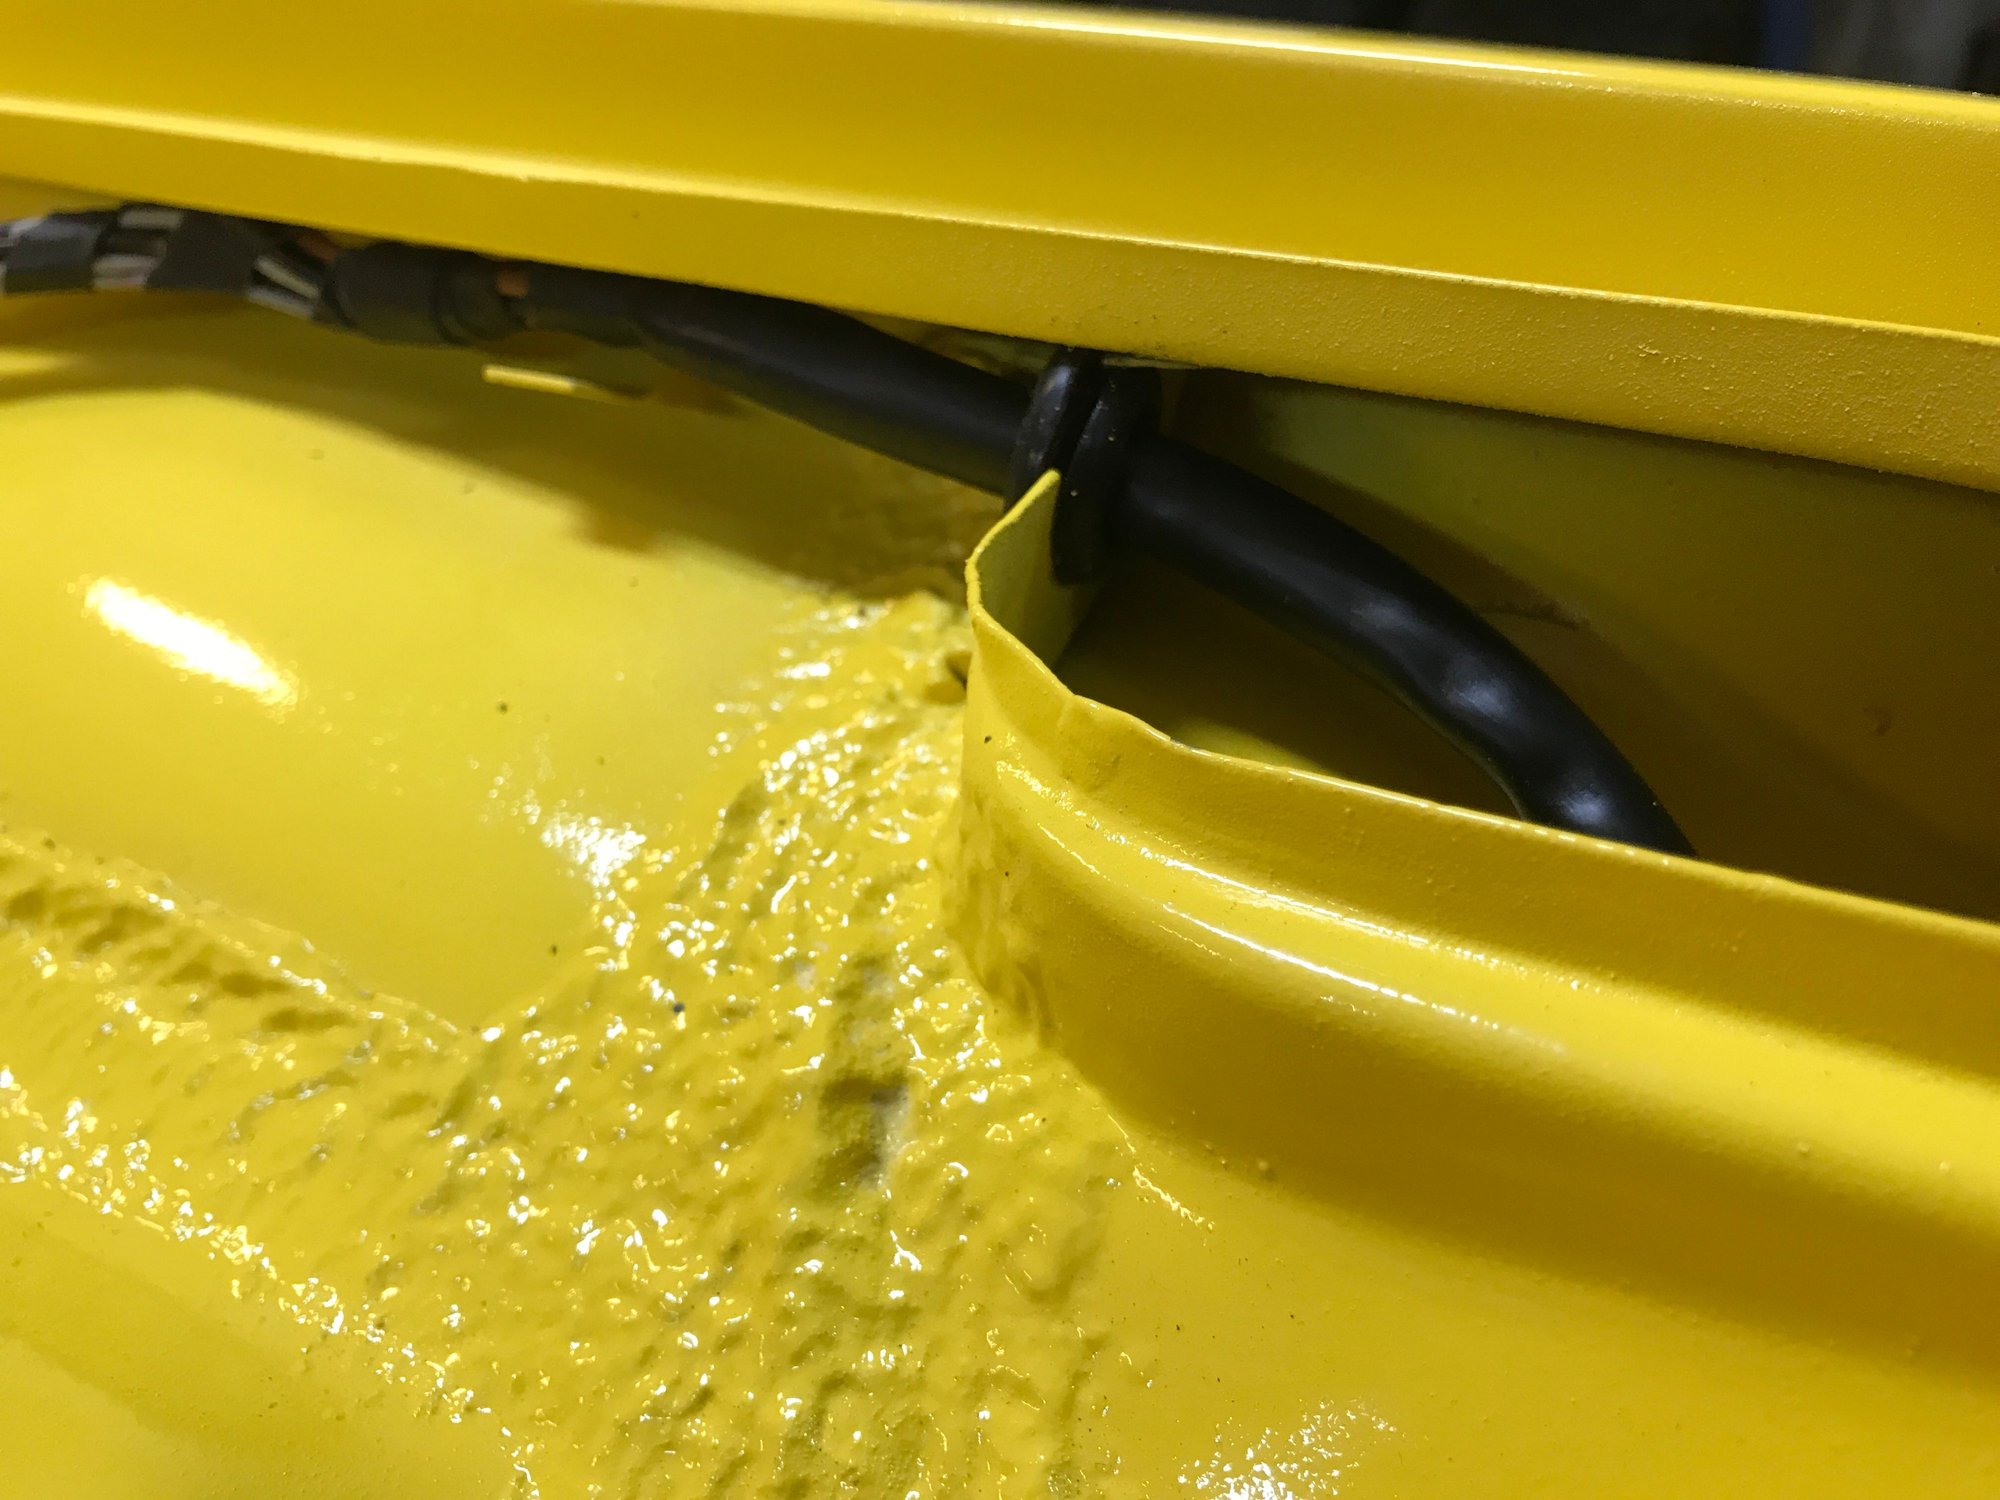
A bit tricky to seat the grommet under the fender channel.
And then laying out the rest of the leads.
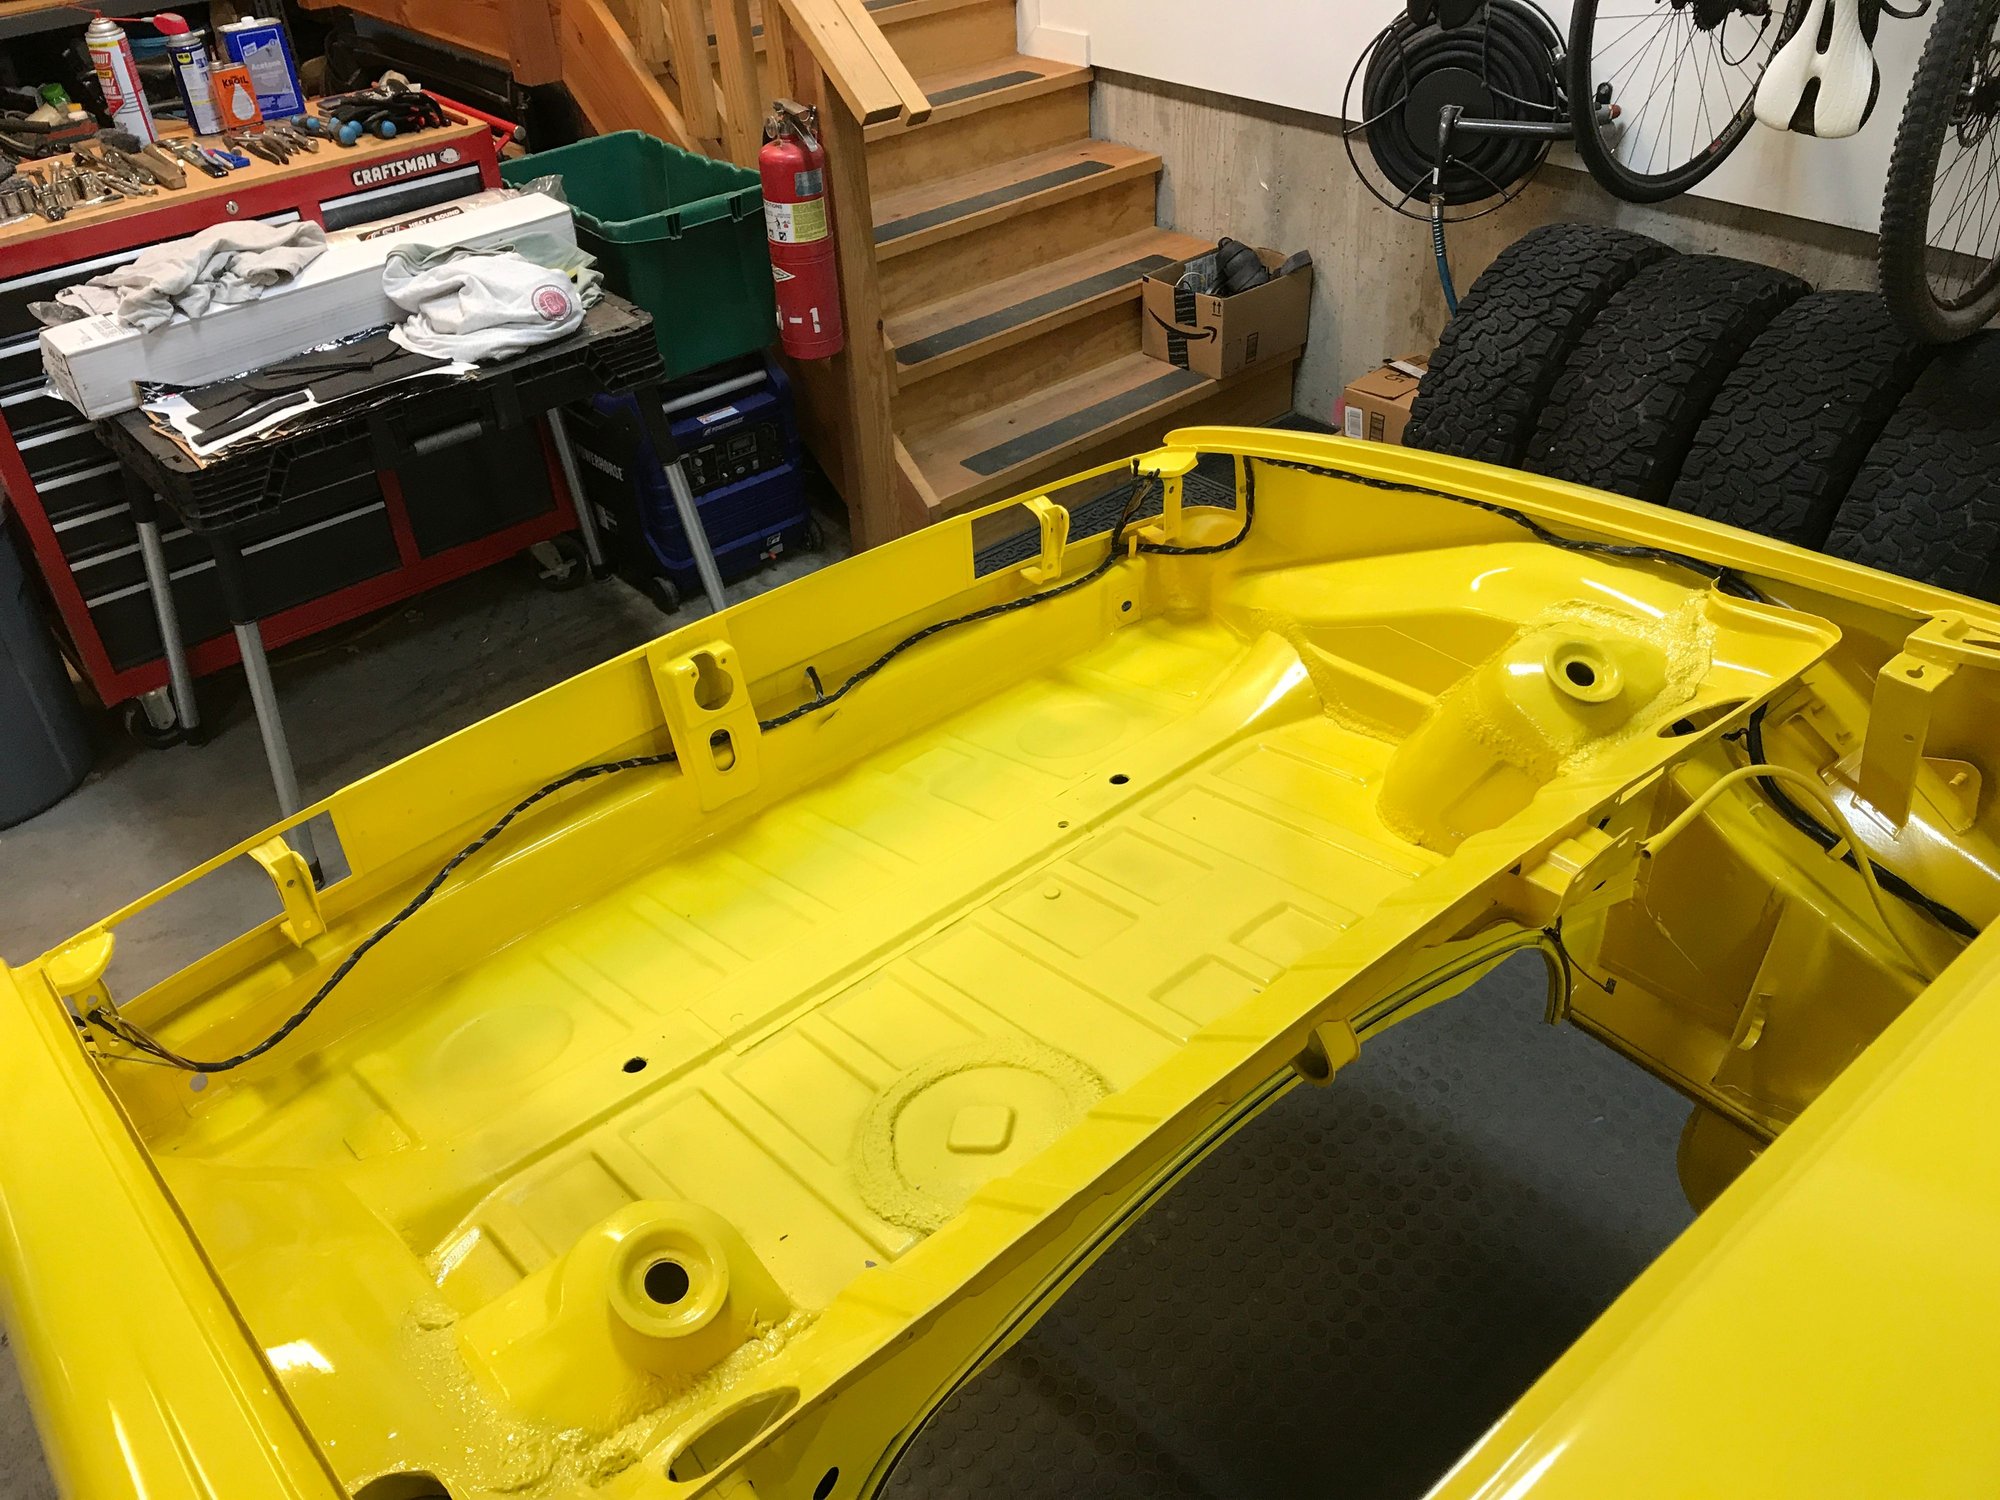
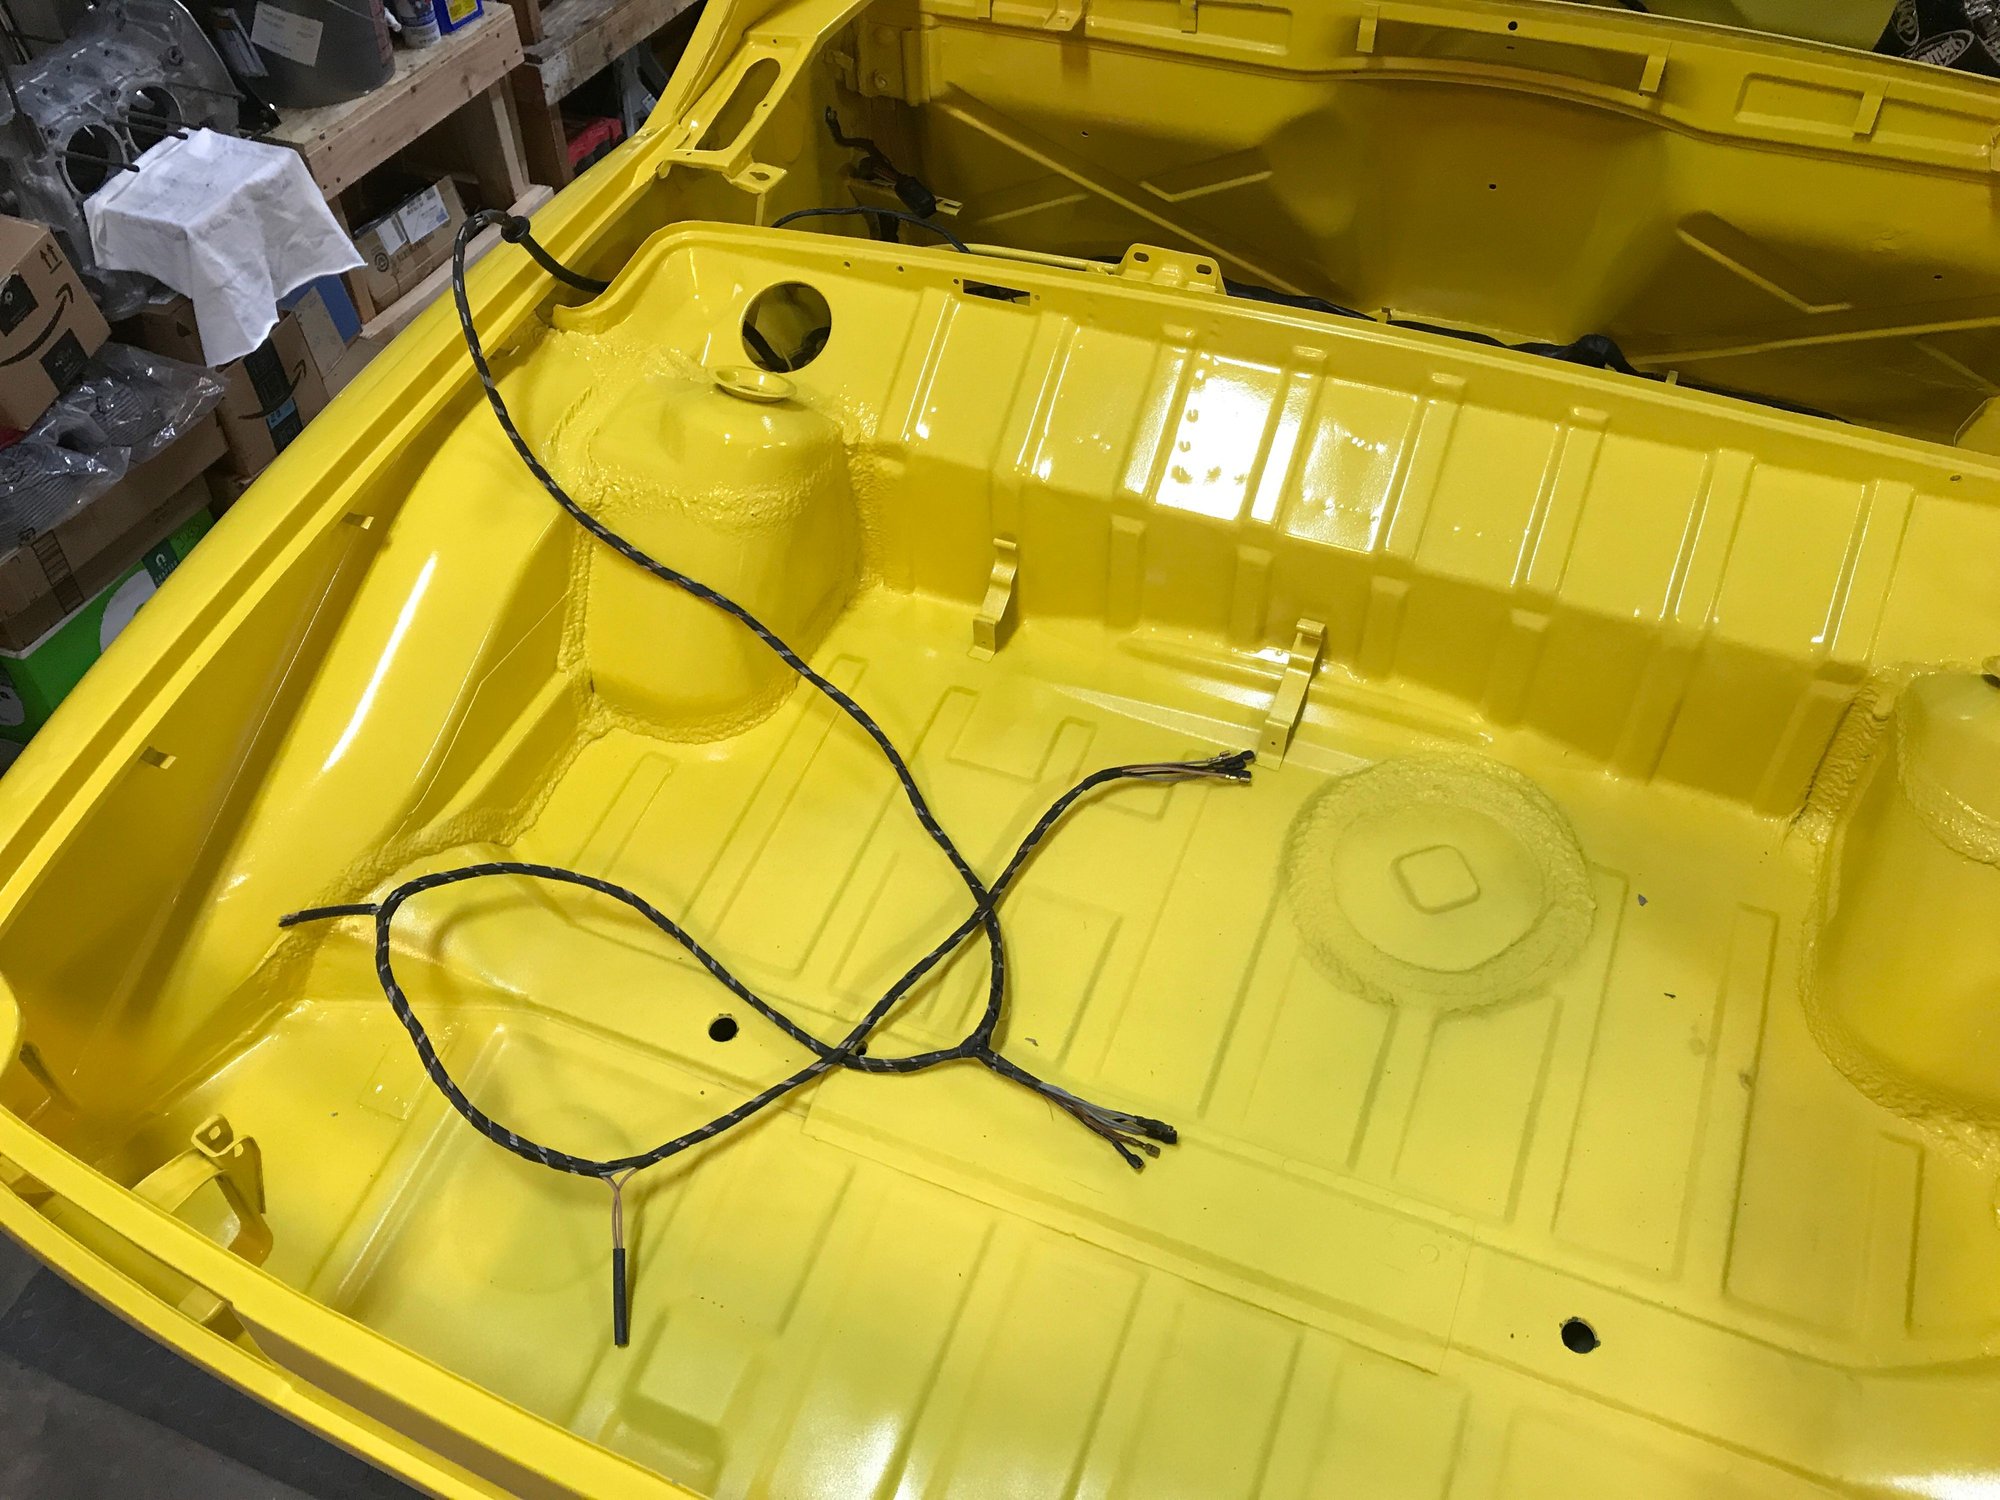
Including the license plate lights.
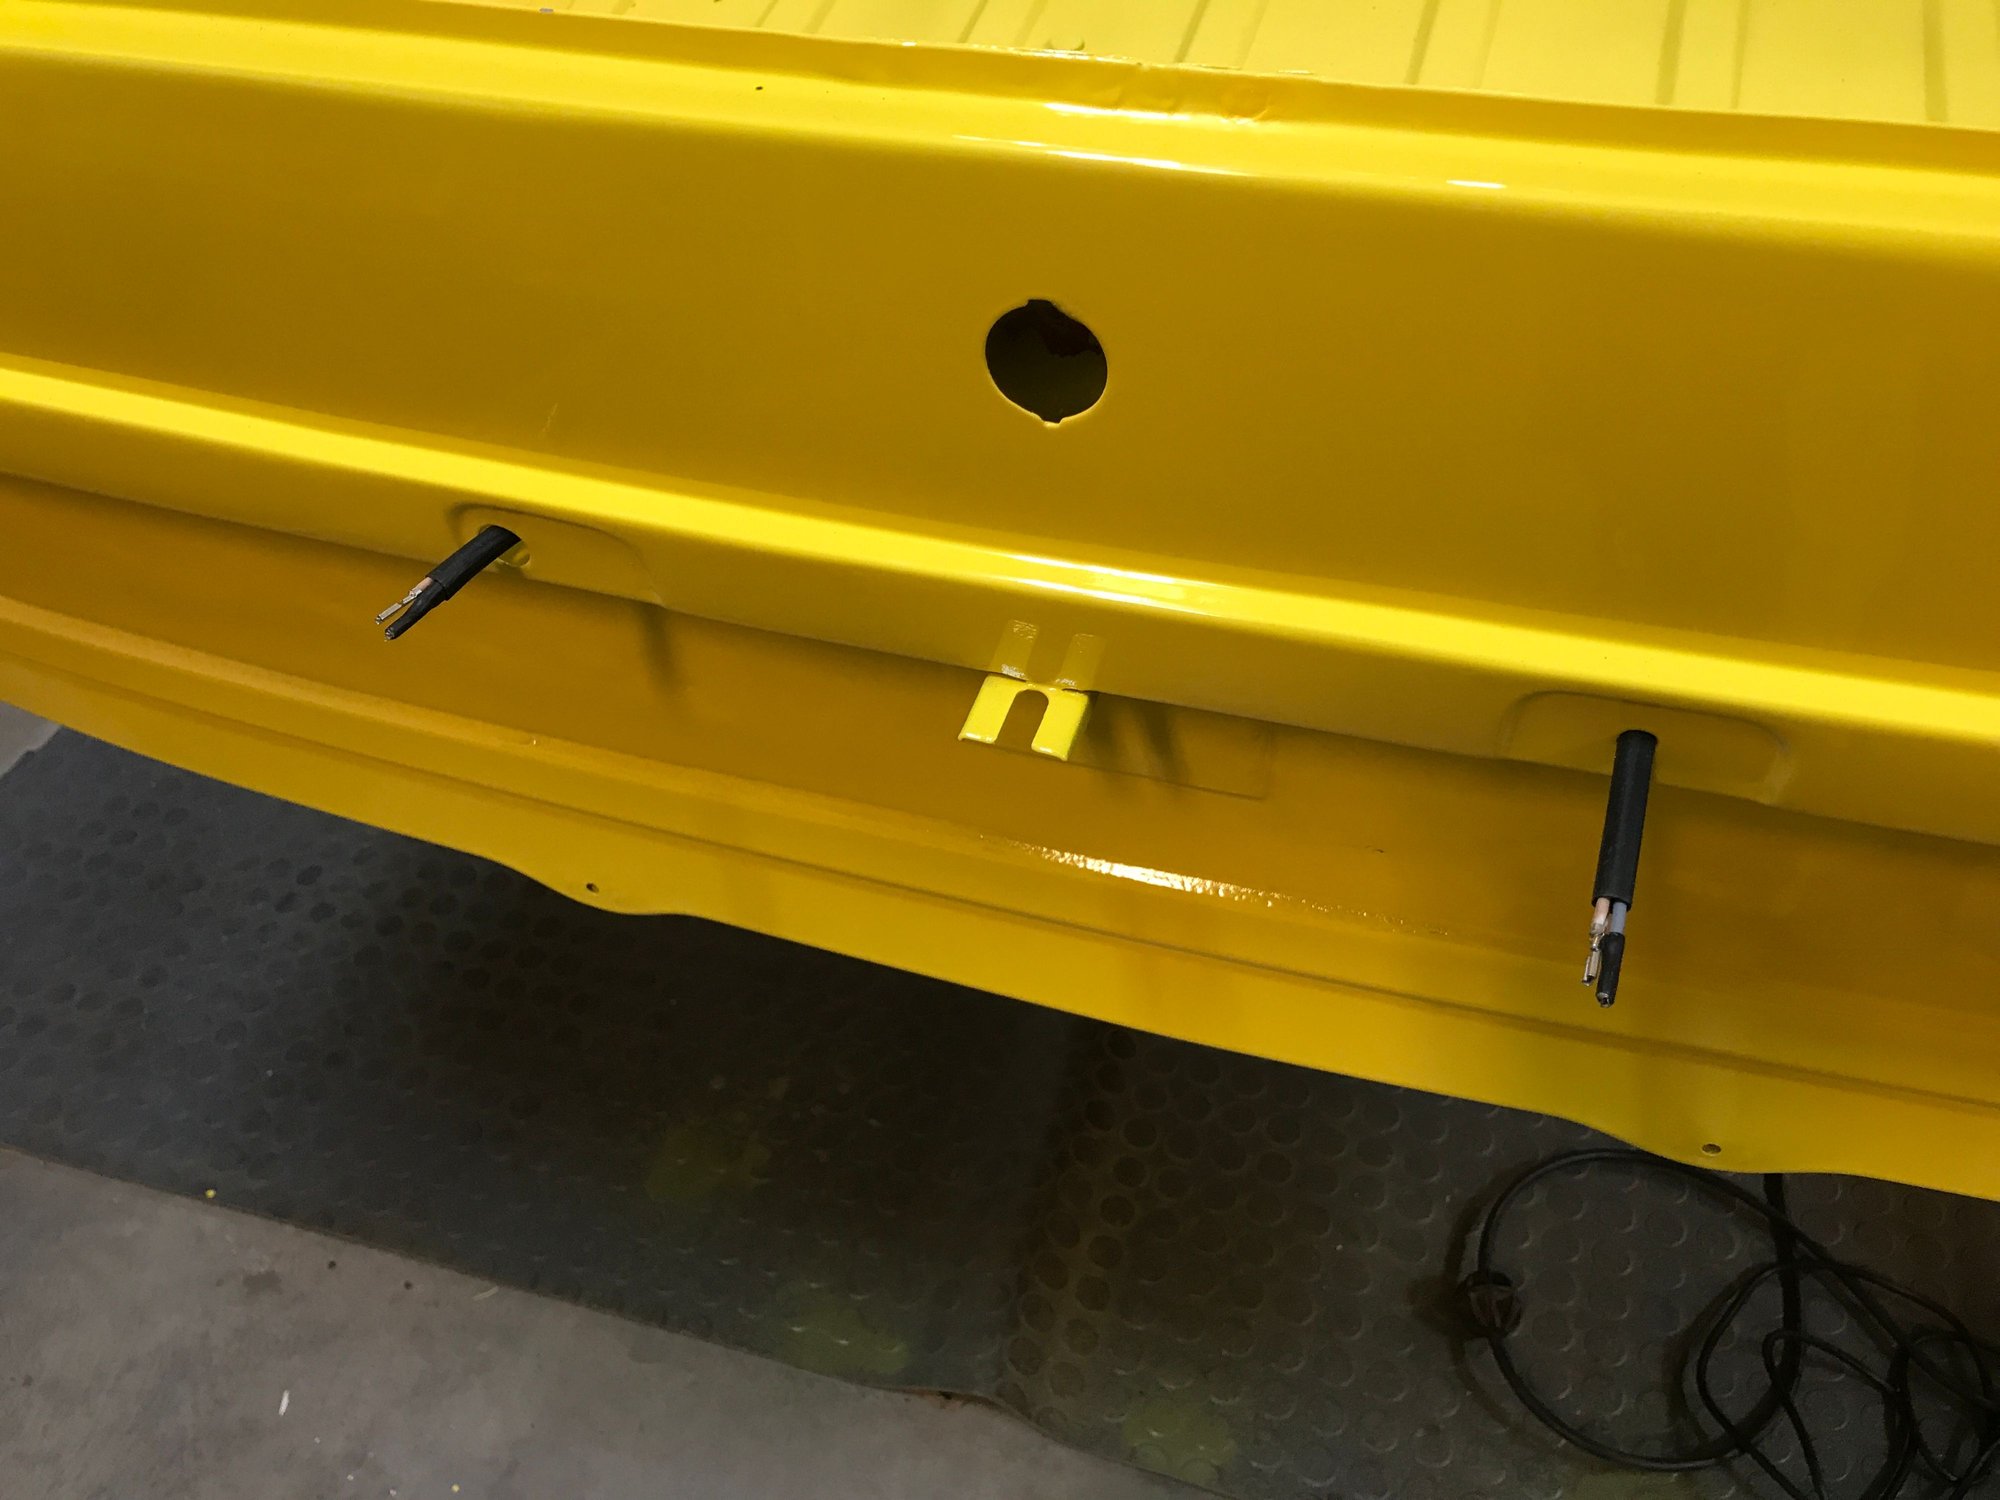
Right side to the battery.

Left side to the relay board, grounding stud, and blower fan...

And then the trunk light...

Leaving the rearmost section with leads to the tail lights.

A bit tricky to seat the grommet under the fender channel.

And then laying out the rest of the leads.

Including the license plate lights.

#794
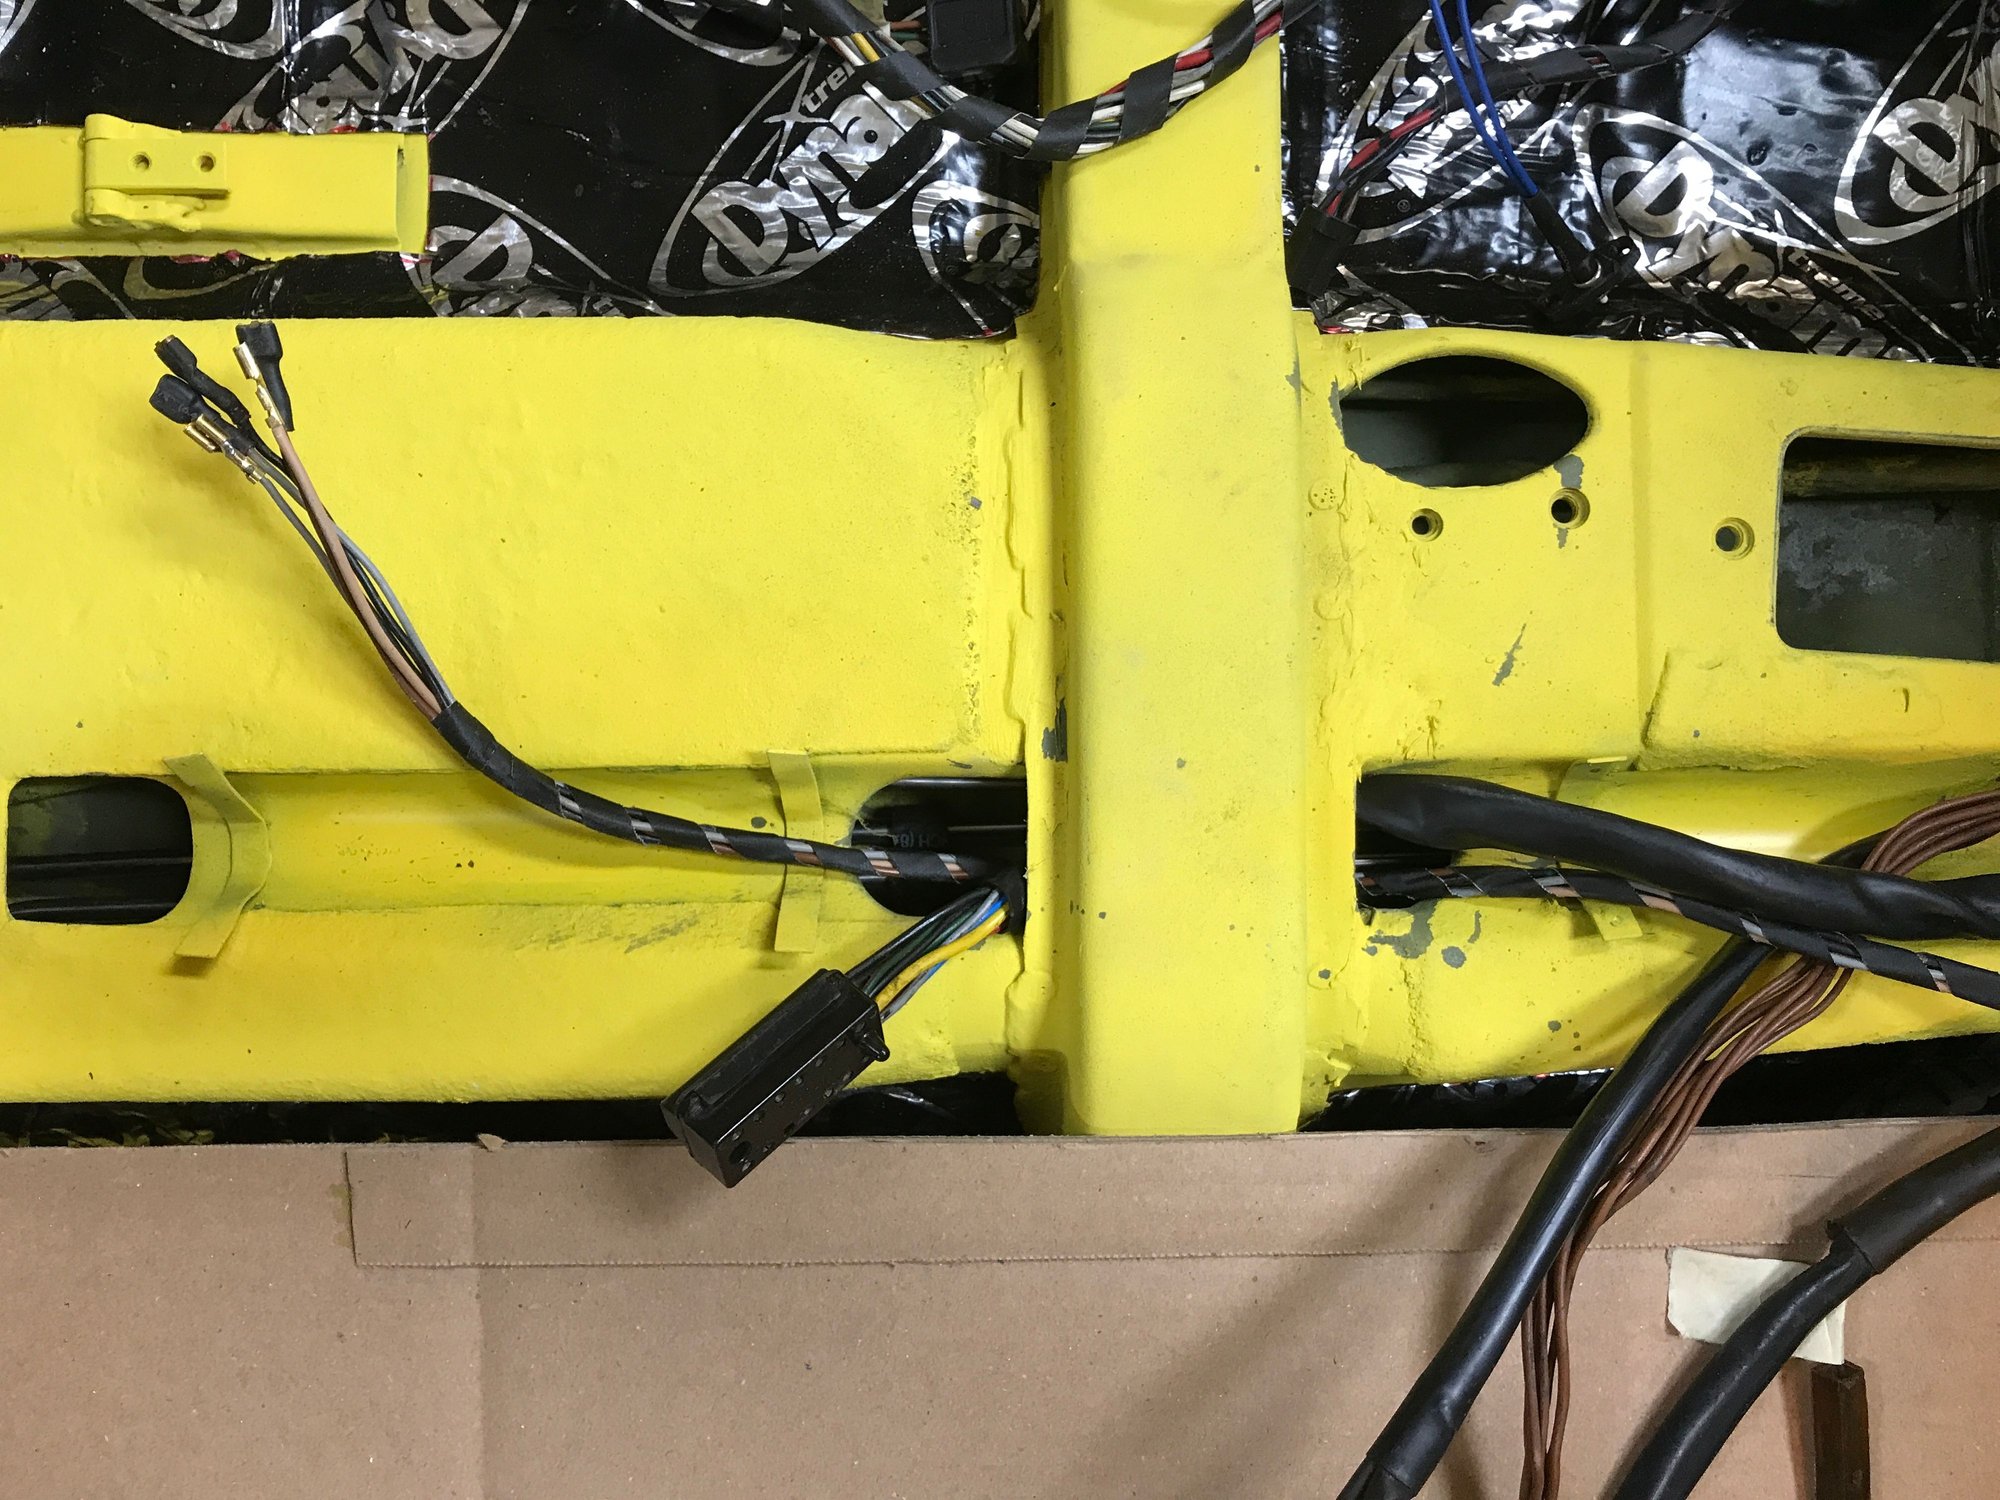
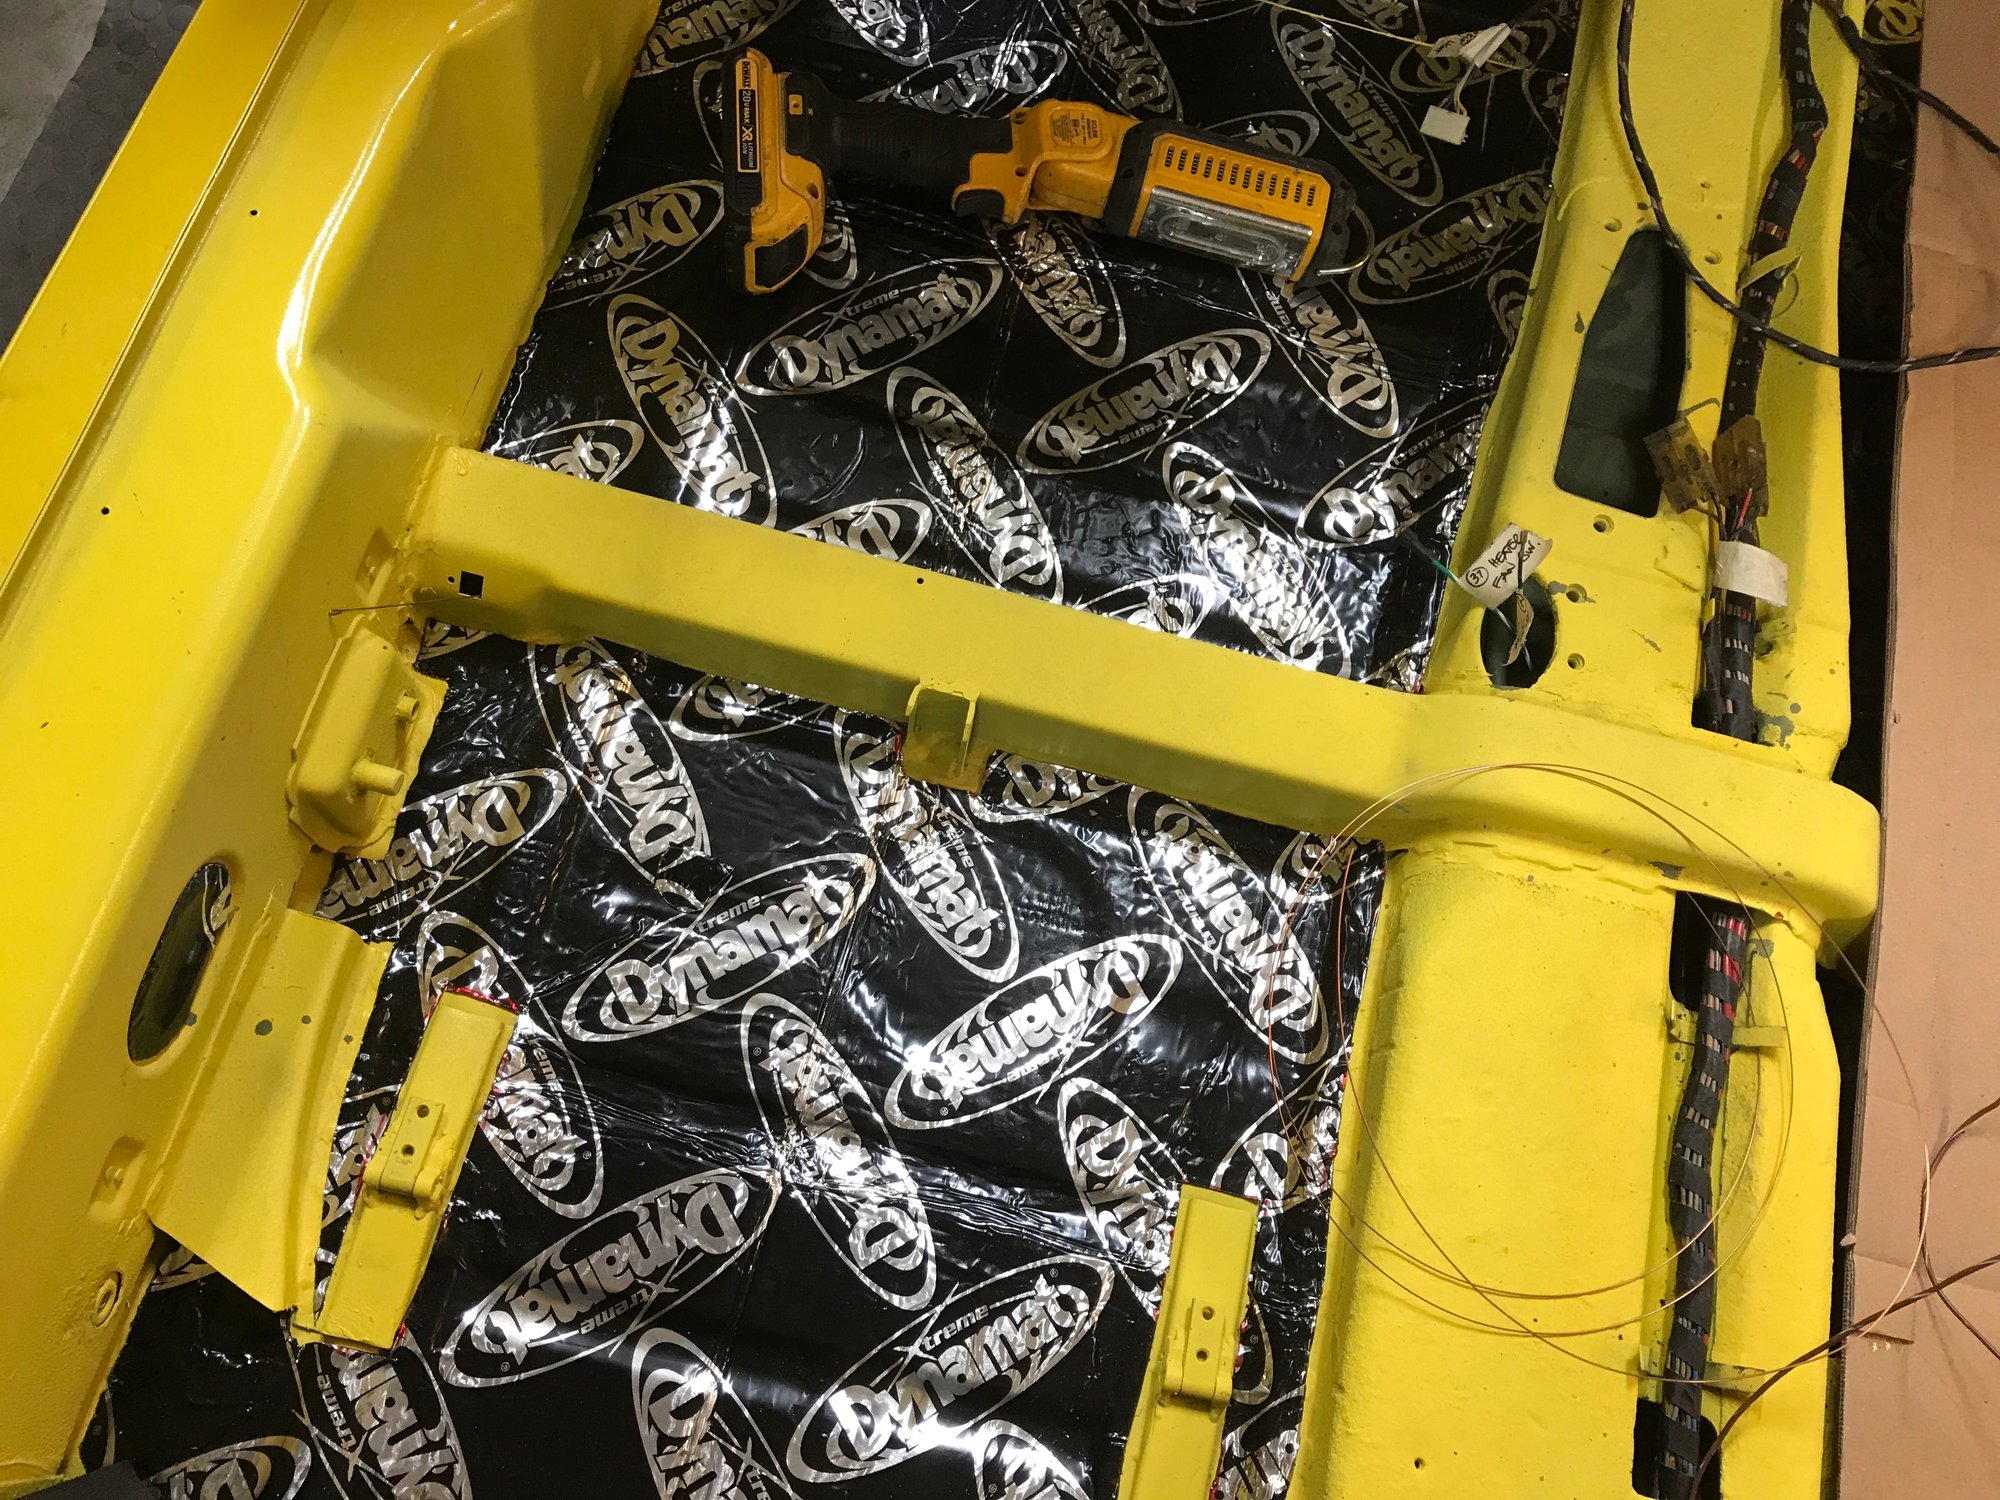
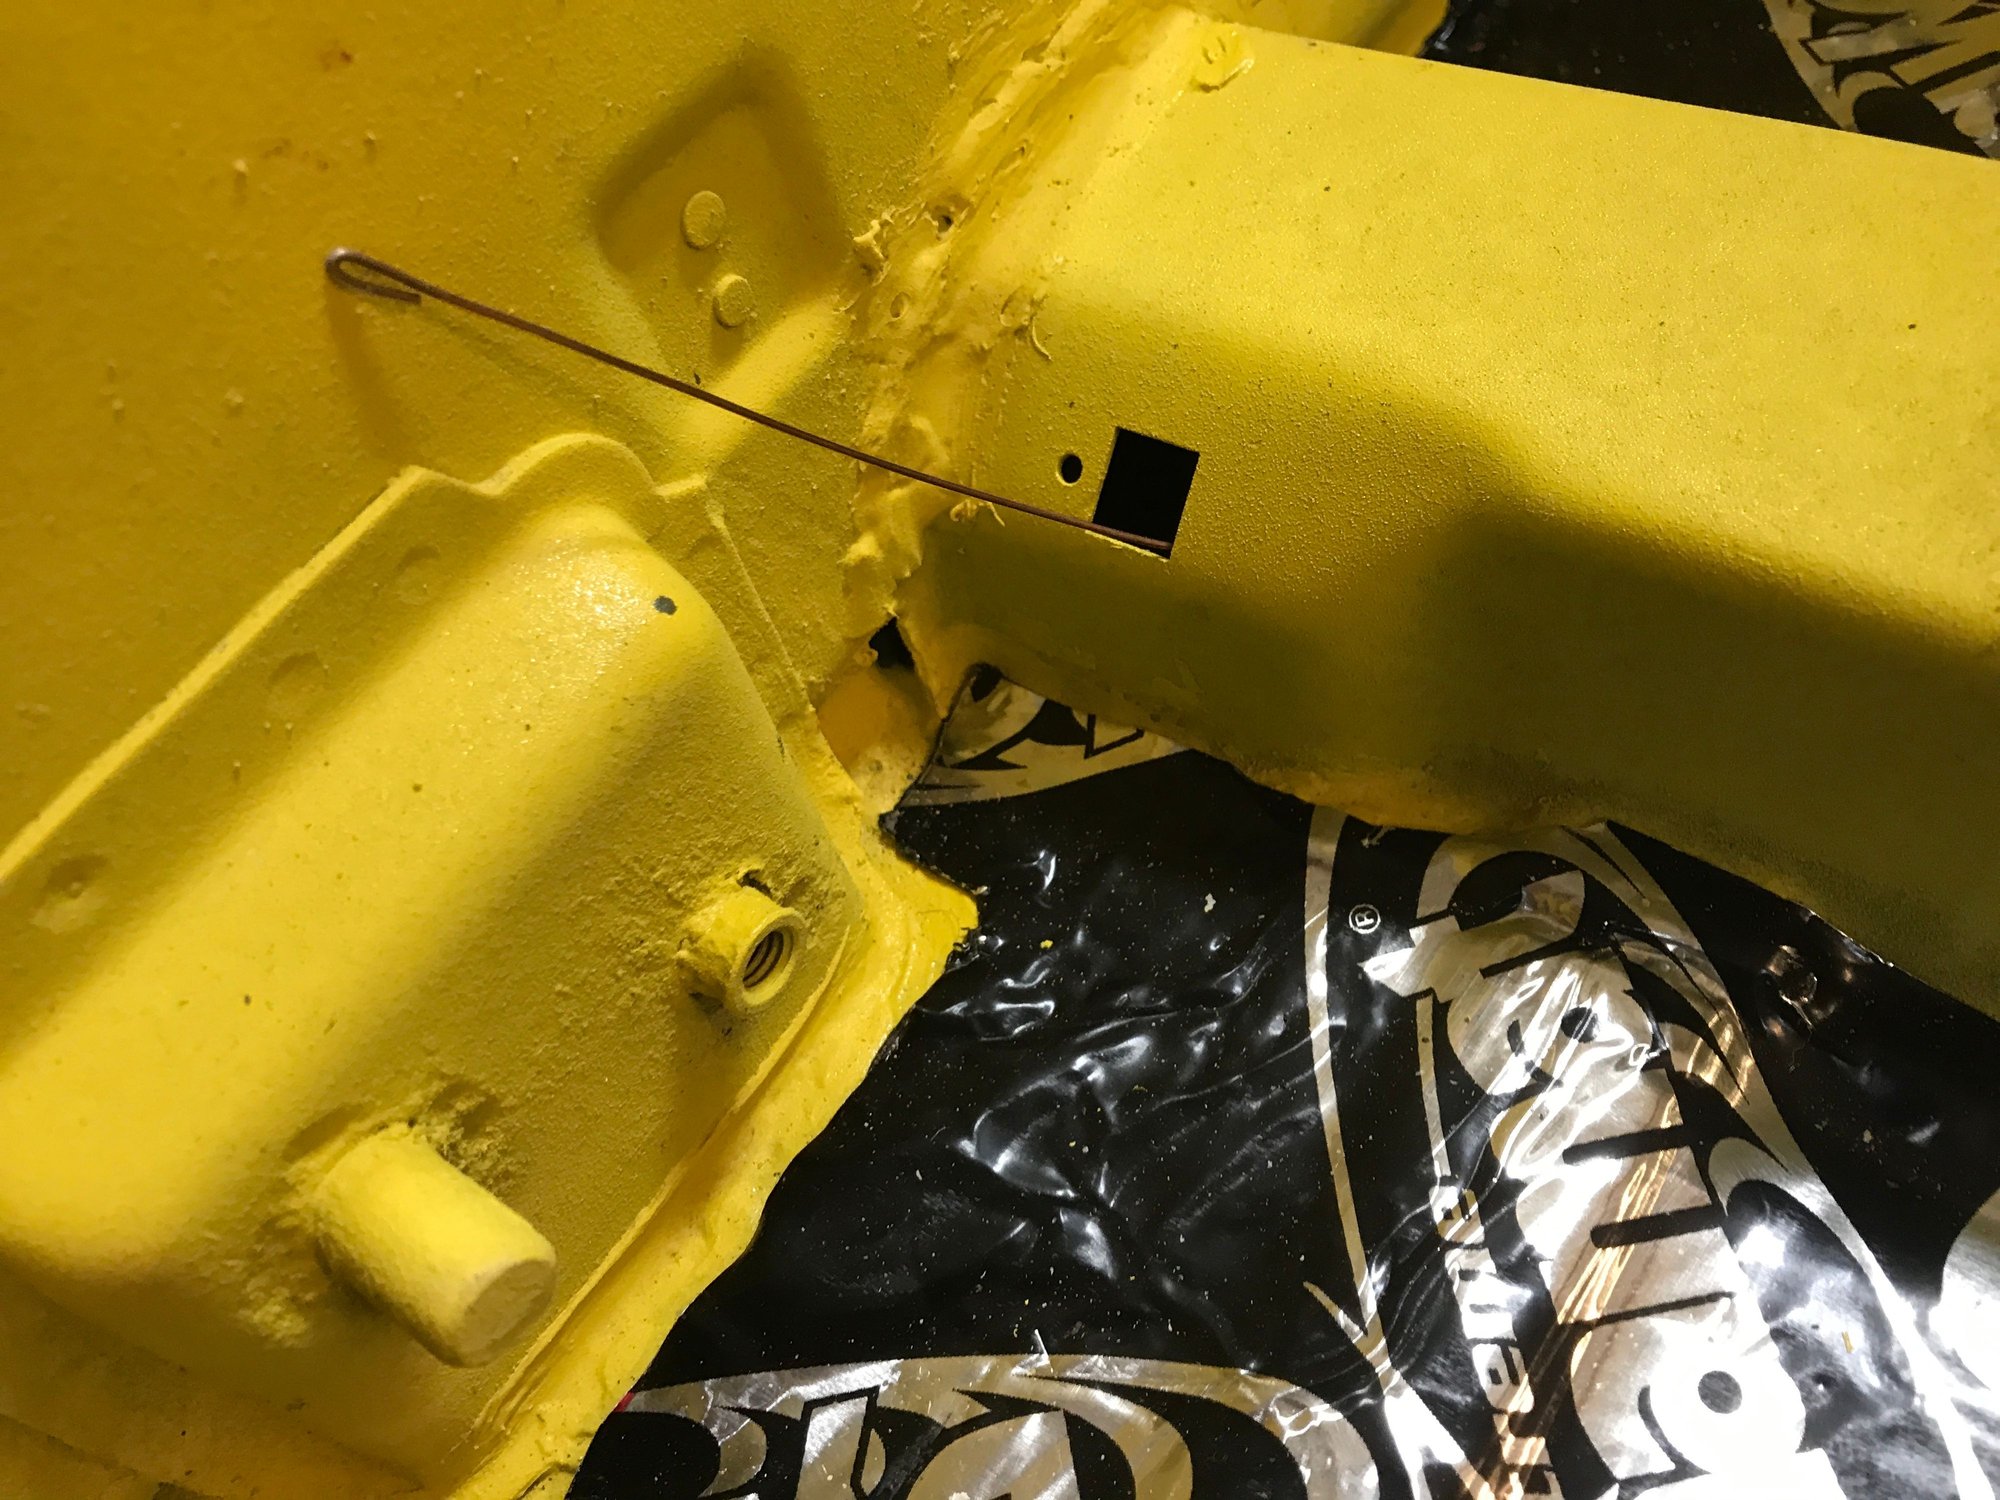
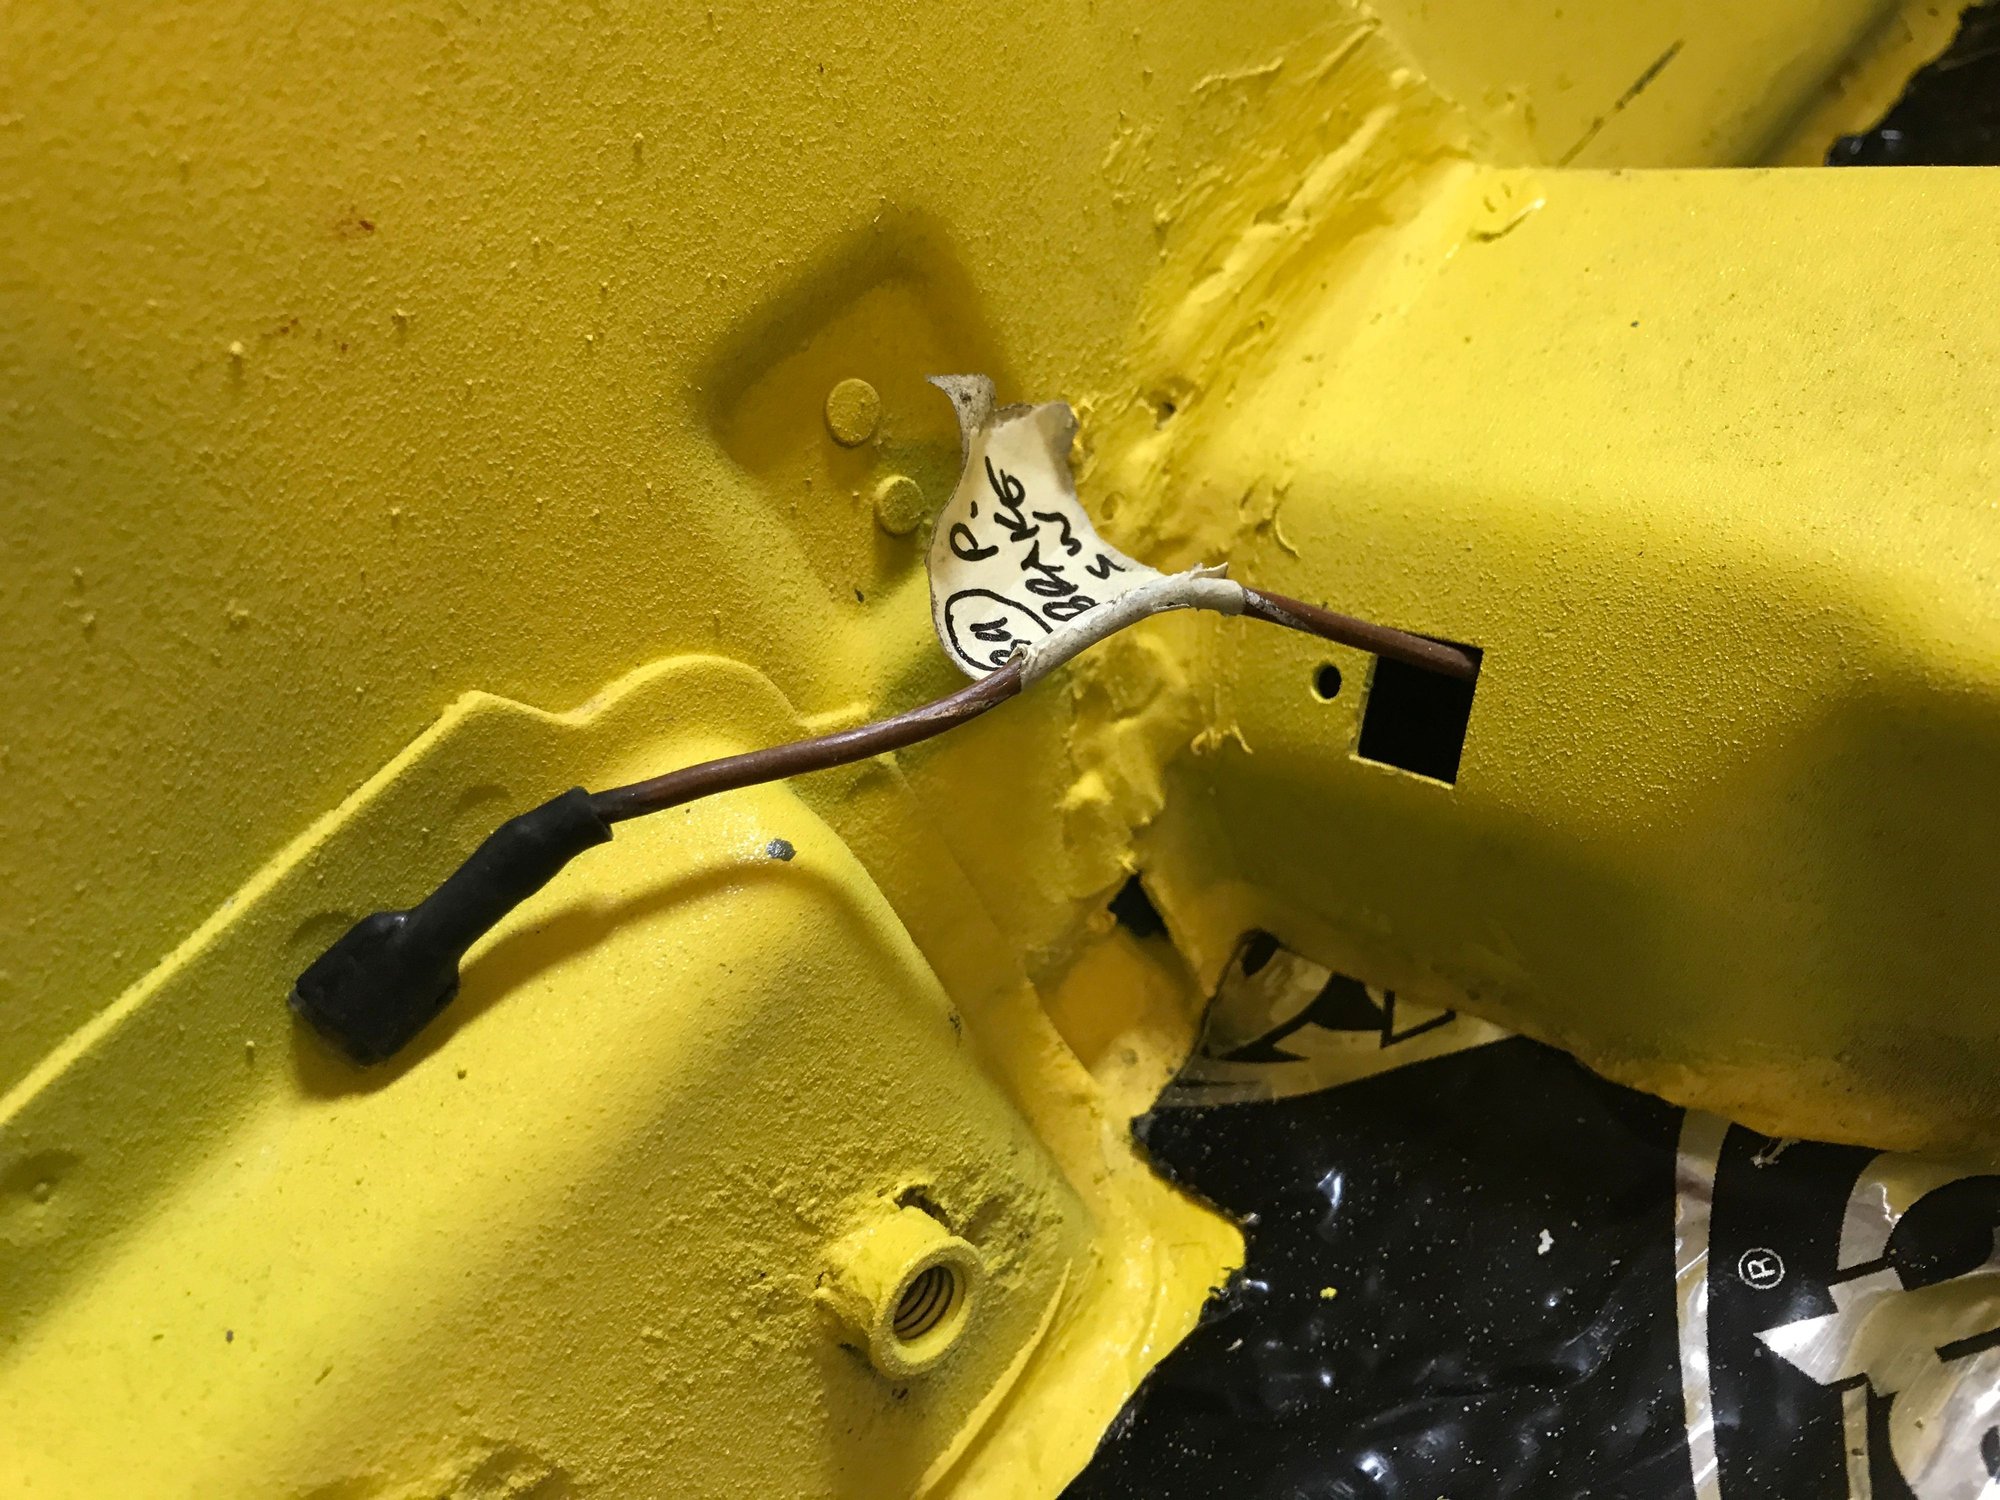
I also re-routed the lead to the parking brake handle switch.
The switch connector will be inside the cross brace.
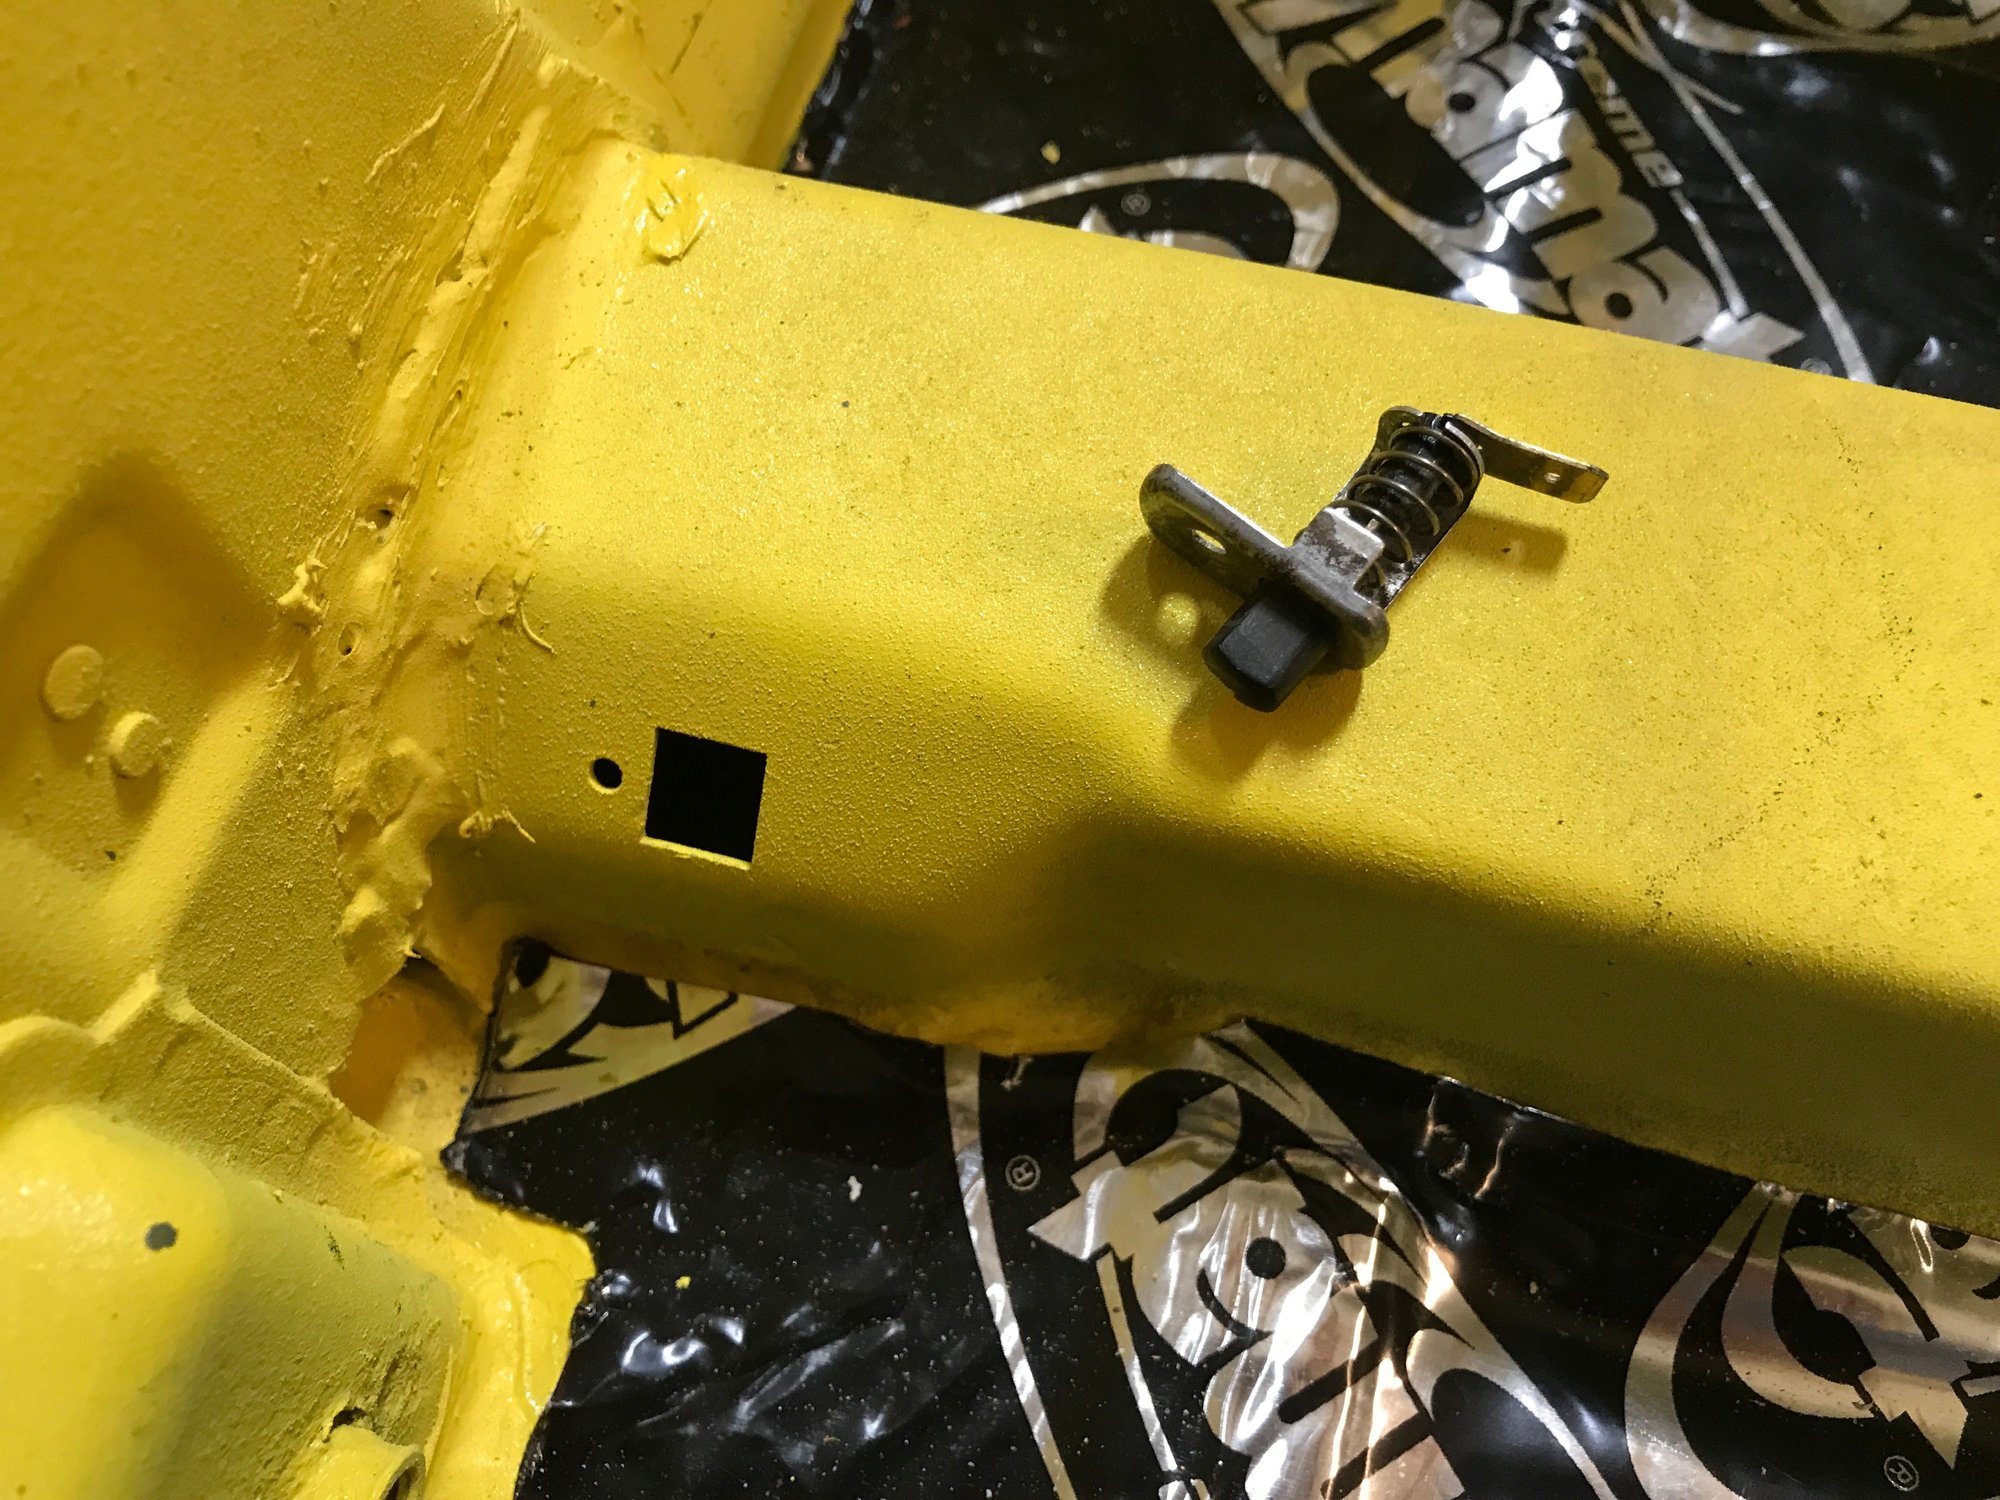
Here's all the existing wire.
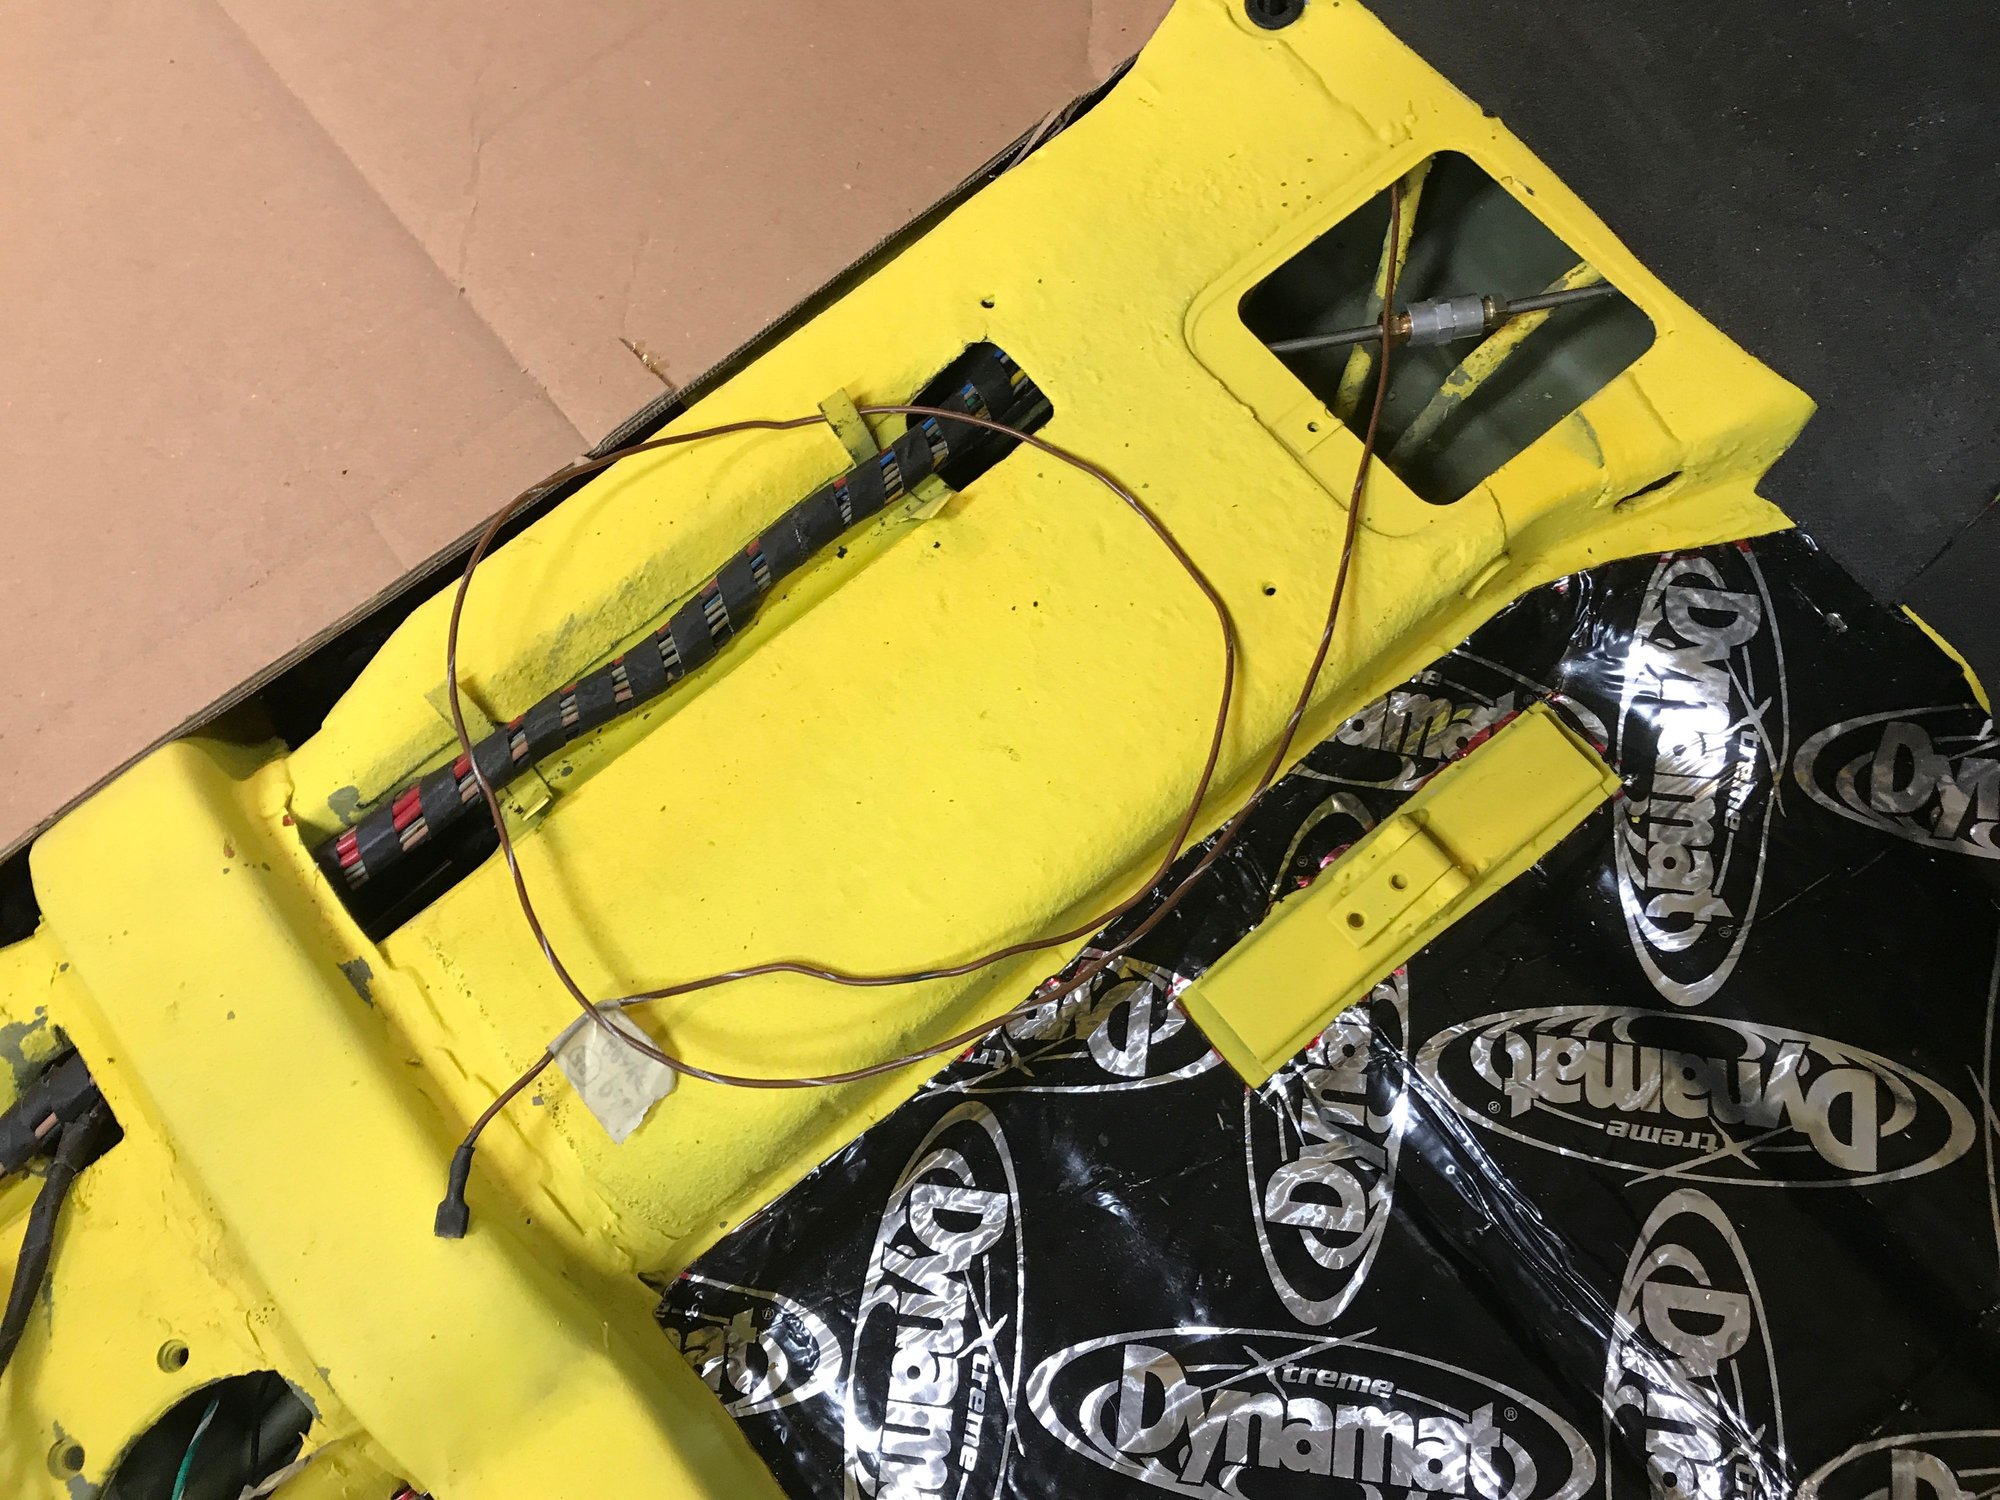
Should be enough to reach across inside the brace.
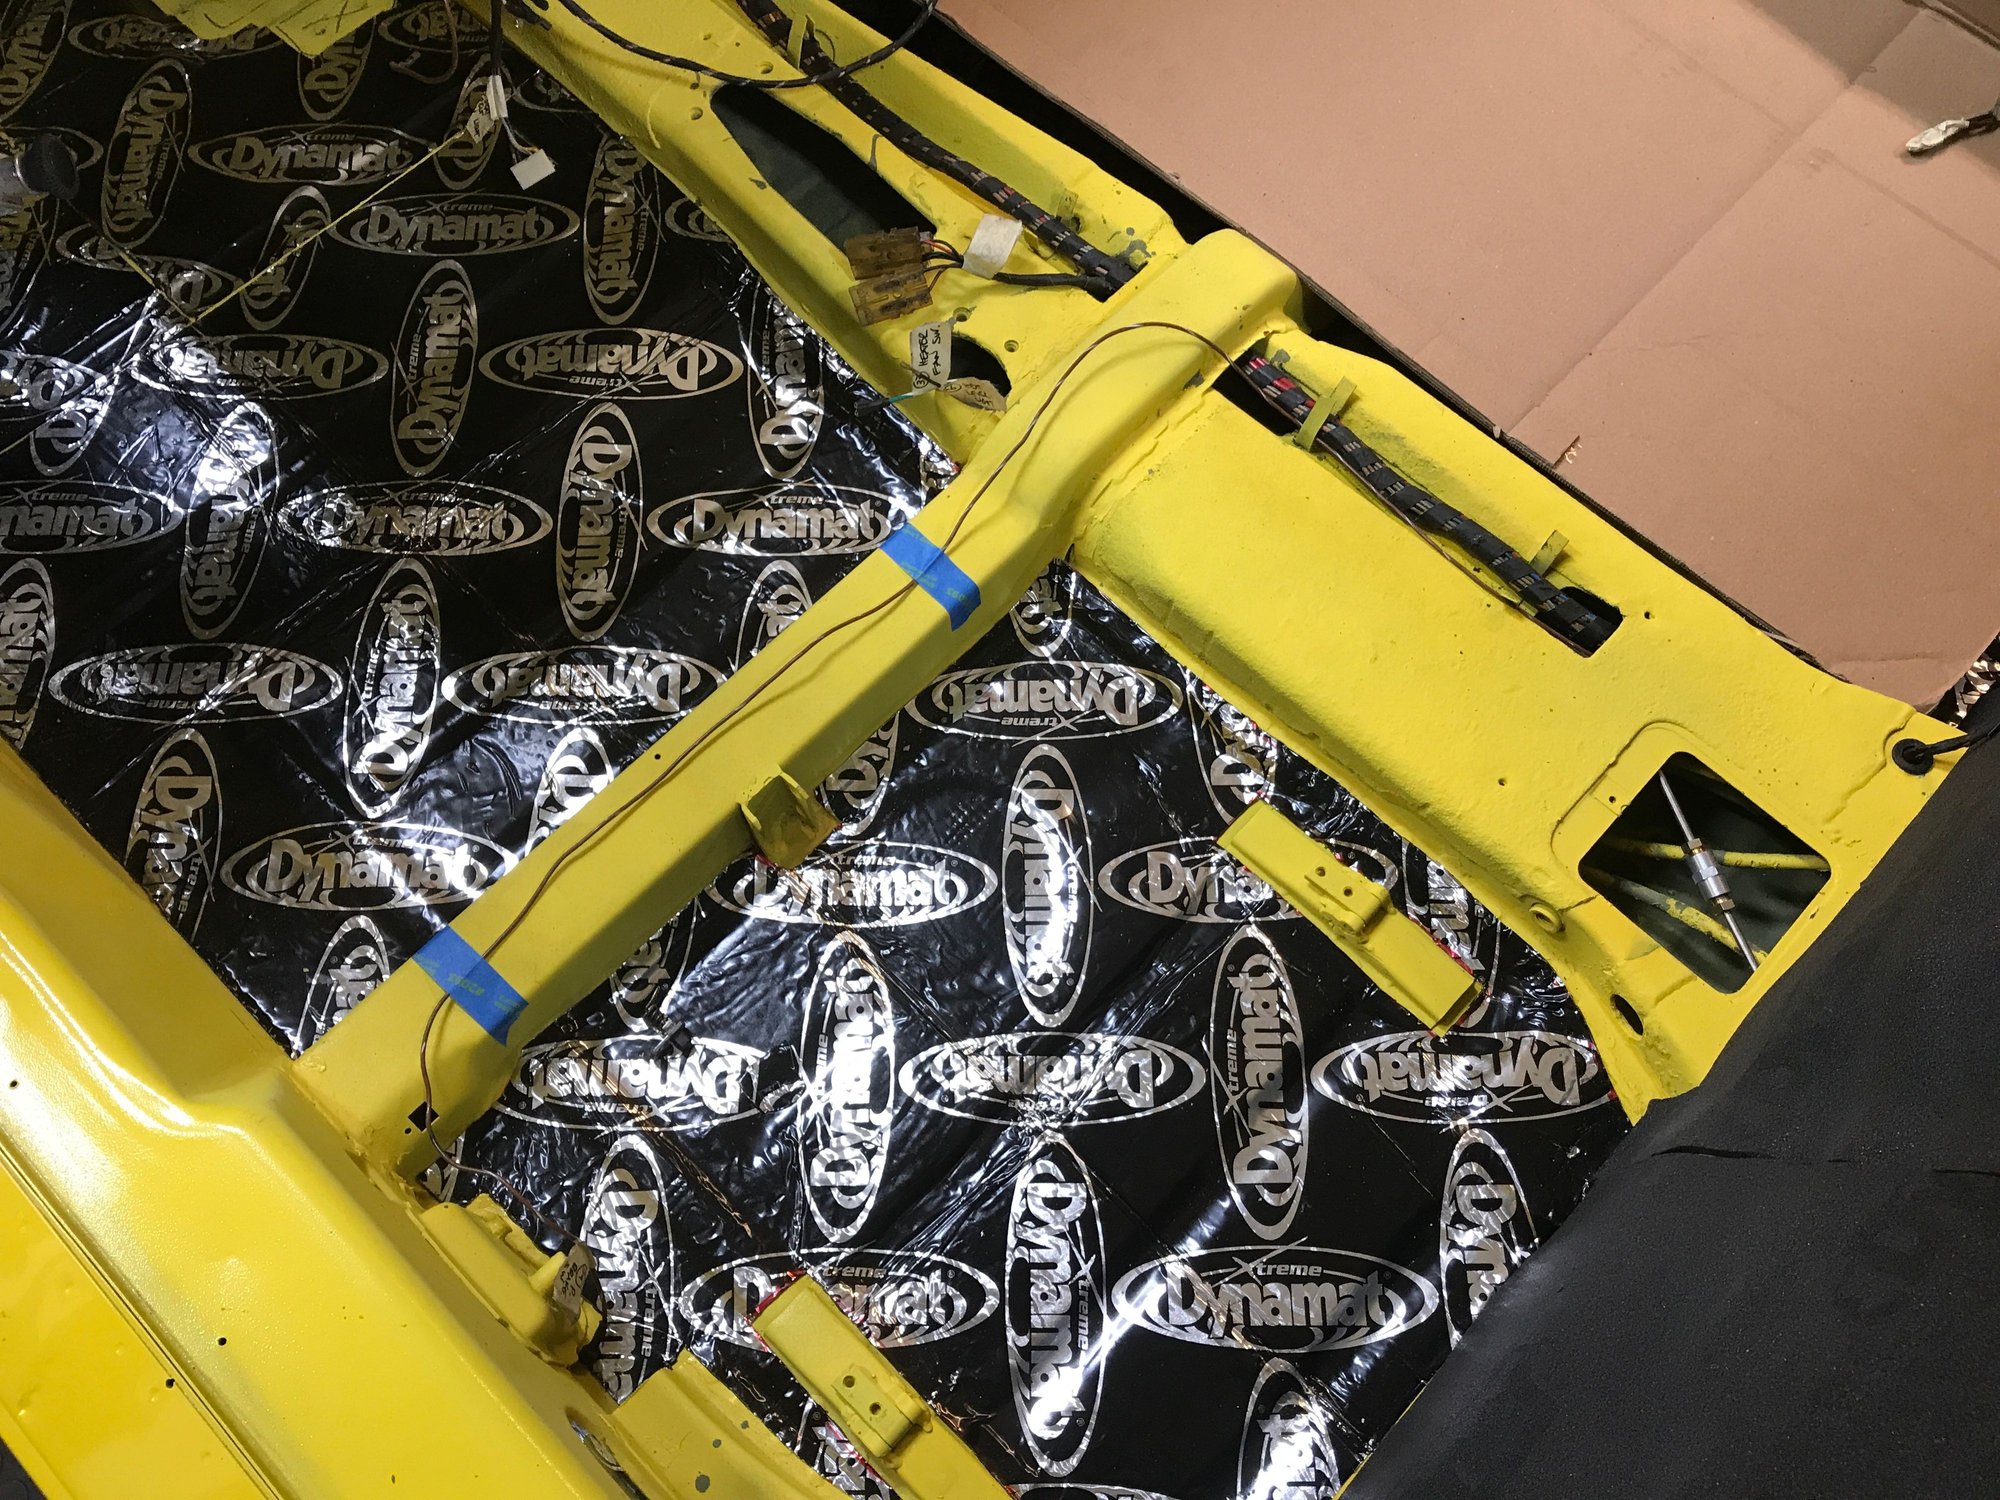
I used a length of welding wire, starting from the center tunnel.
The end popped out the hole for the switch on the first try.
Switch lead fished and ready to connect.
The switch connector will be inside the cross brace.

Here's all the existing wire.

Should be enough to reach across inside the brace.

I used a length of welding wire, starting from the center tunnel.

The end popped out the hole for the switch on the first try.

Switch lead fished and ready to connect.

#795
Heat shrink, after splitting the Y, might have been an option prior to loom installation?


