When you click on links to various merchants on this site and make a purchase, this can result in this site earning a commission. Affiliate programs and affiliations include, but are not limited to, the eBay Partner Network.
Finally had the opportunity to have the back half of the 6-point cage fitted. Let me tell you, it definitely wasn't an easy bolt-on like the popular 4-point roll bars!
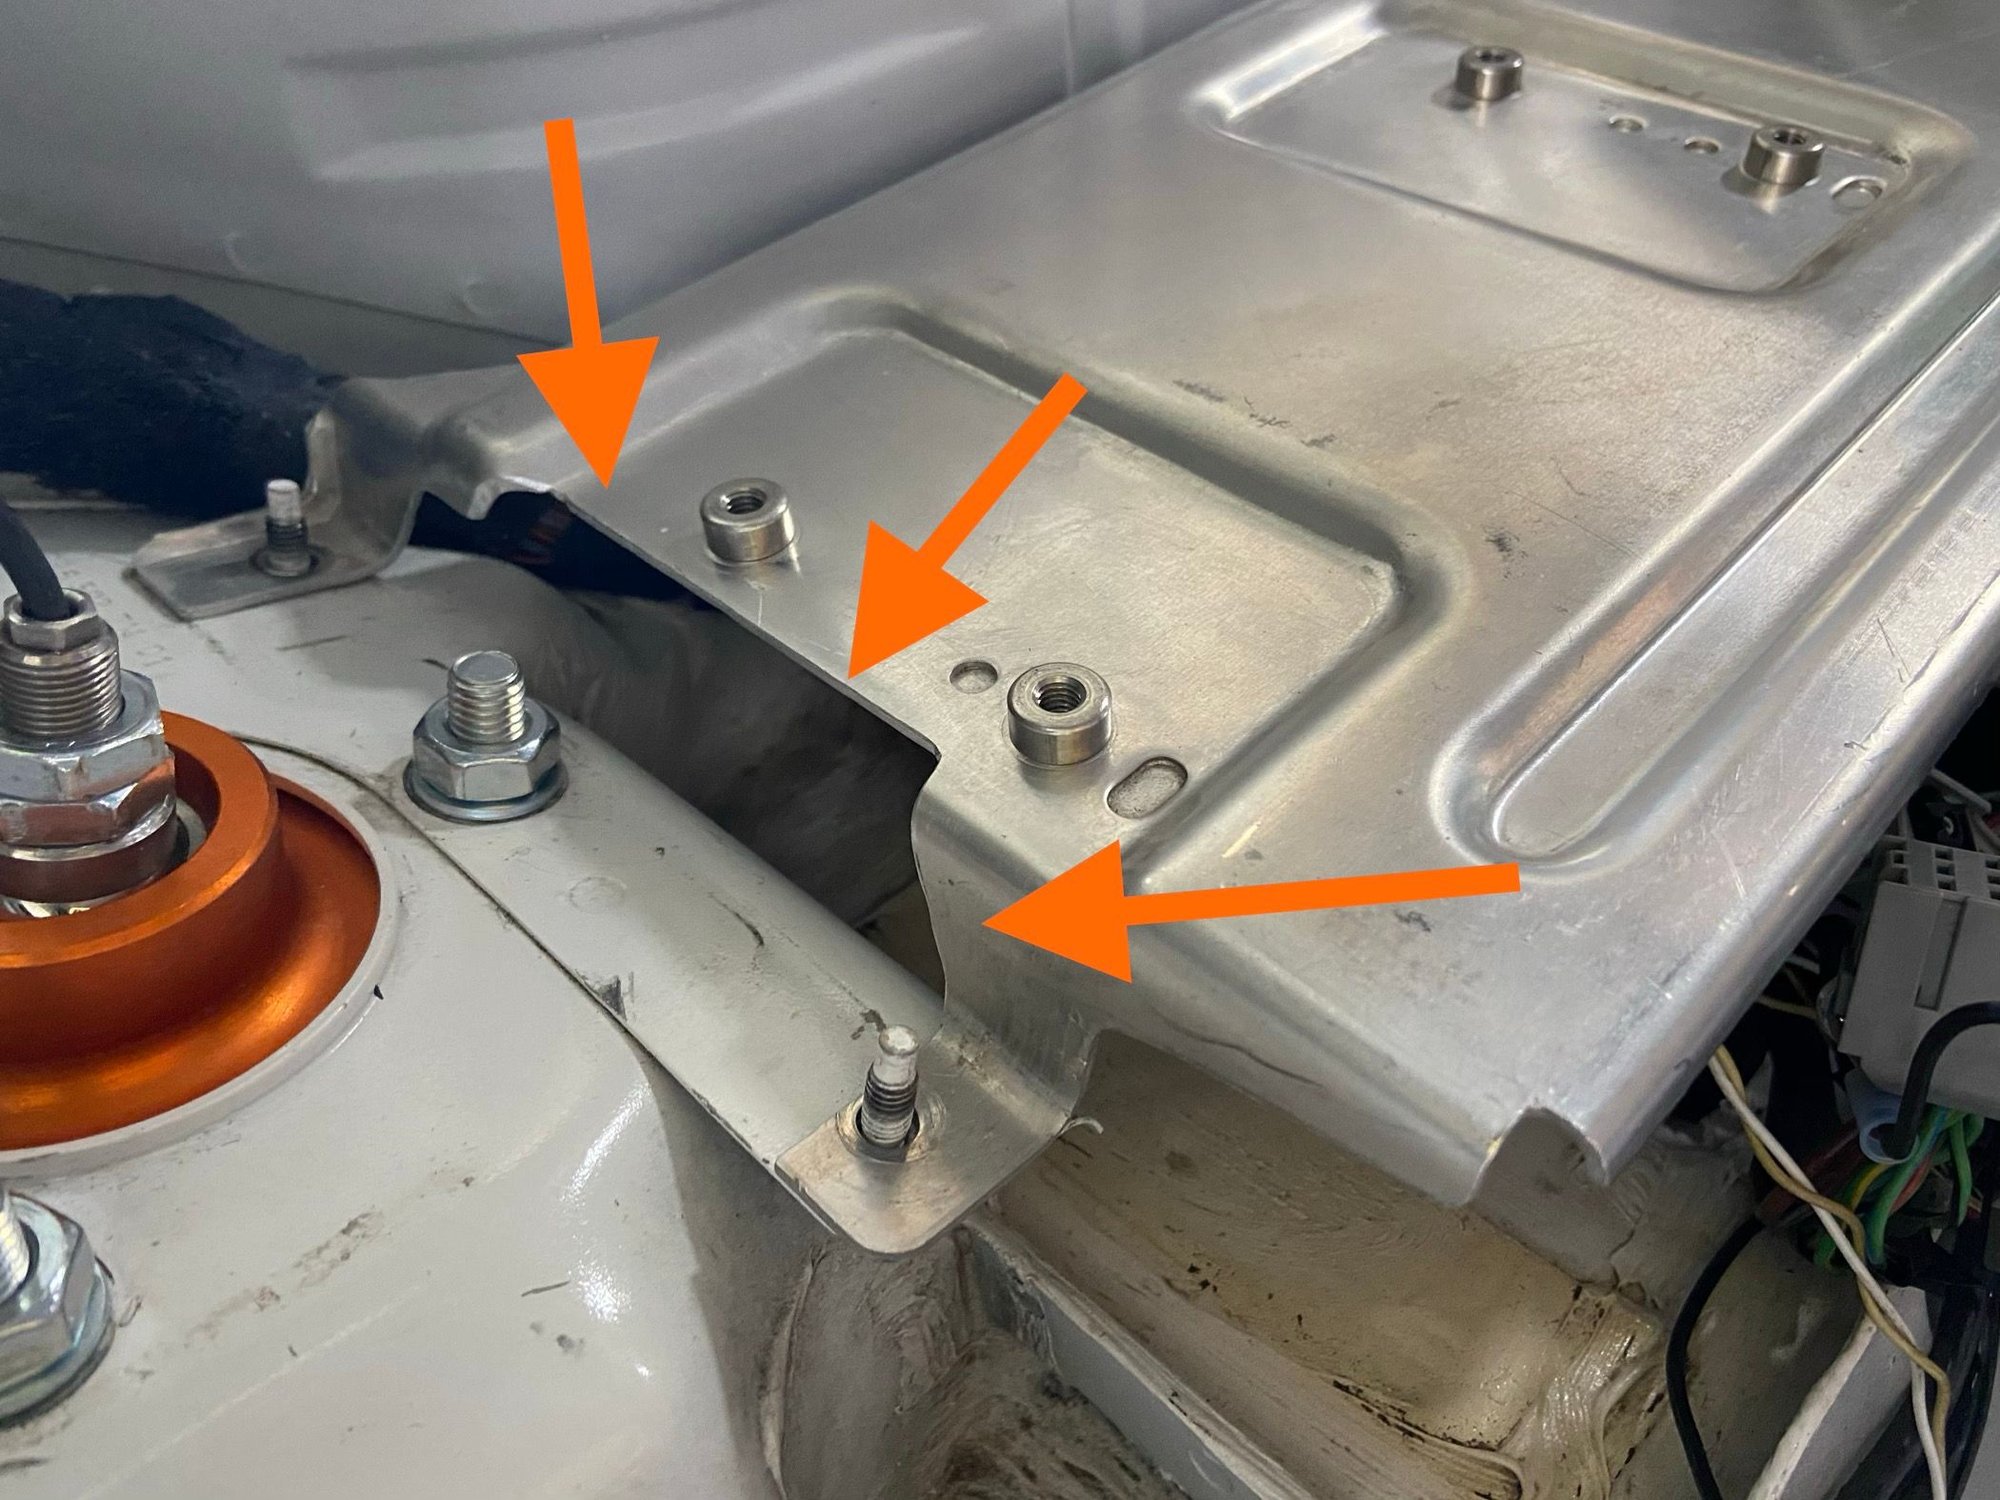
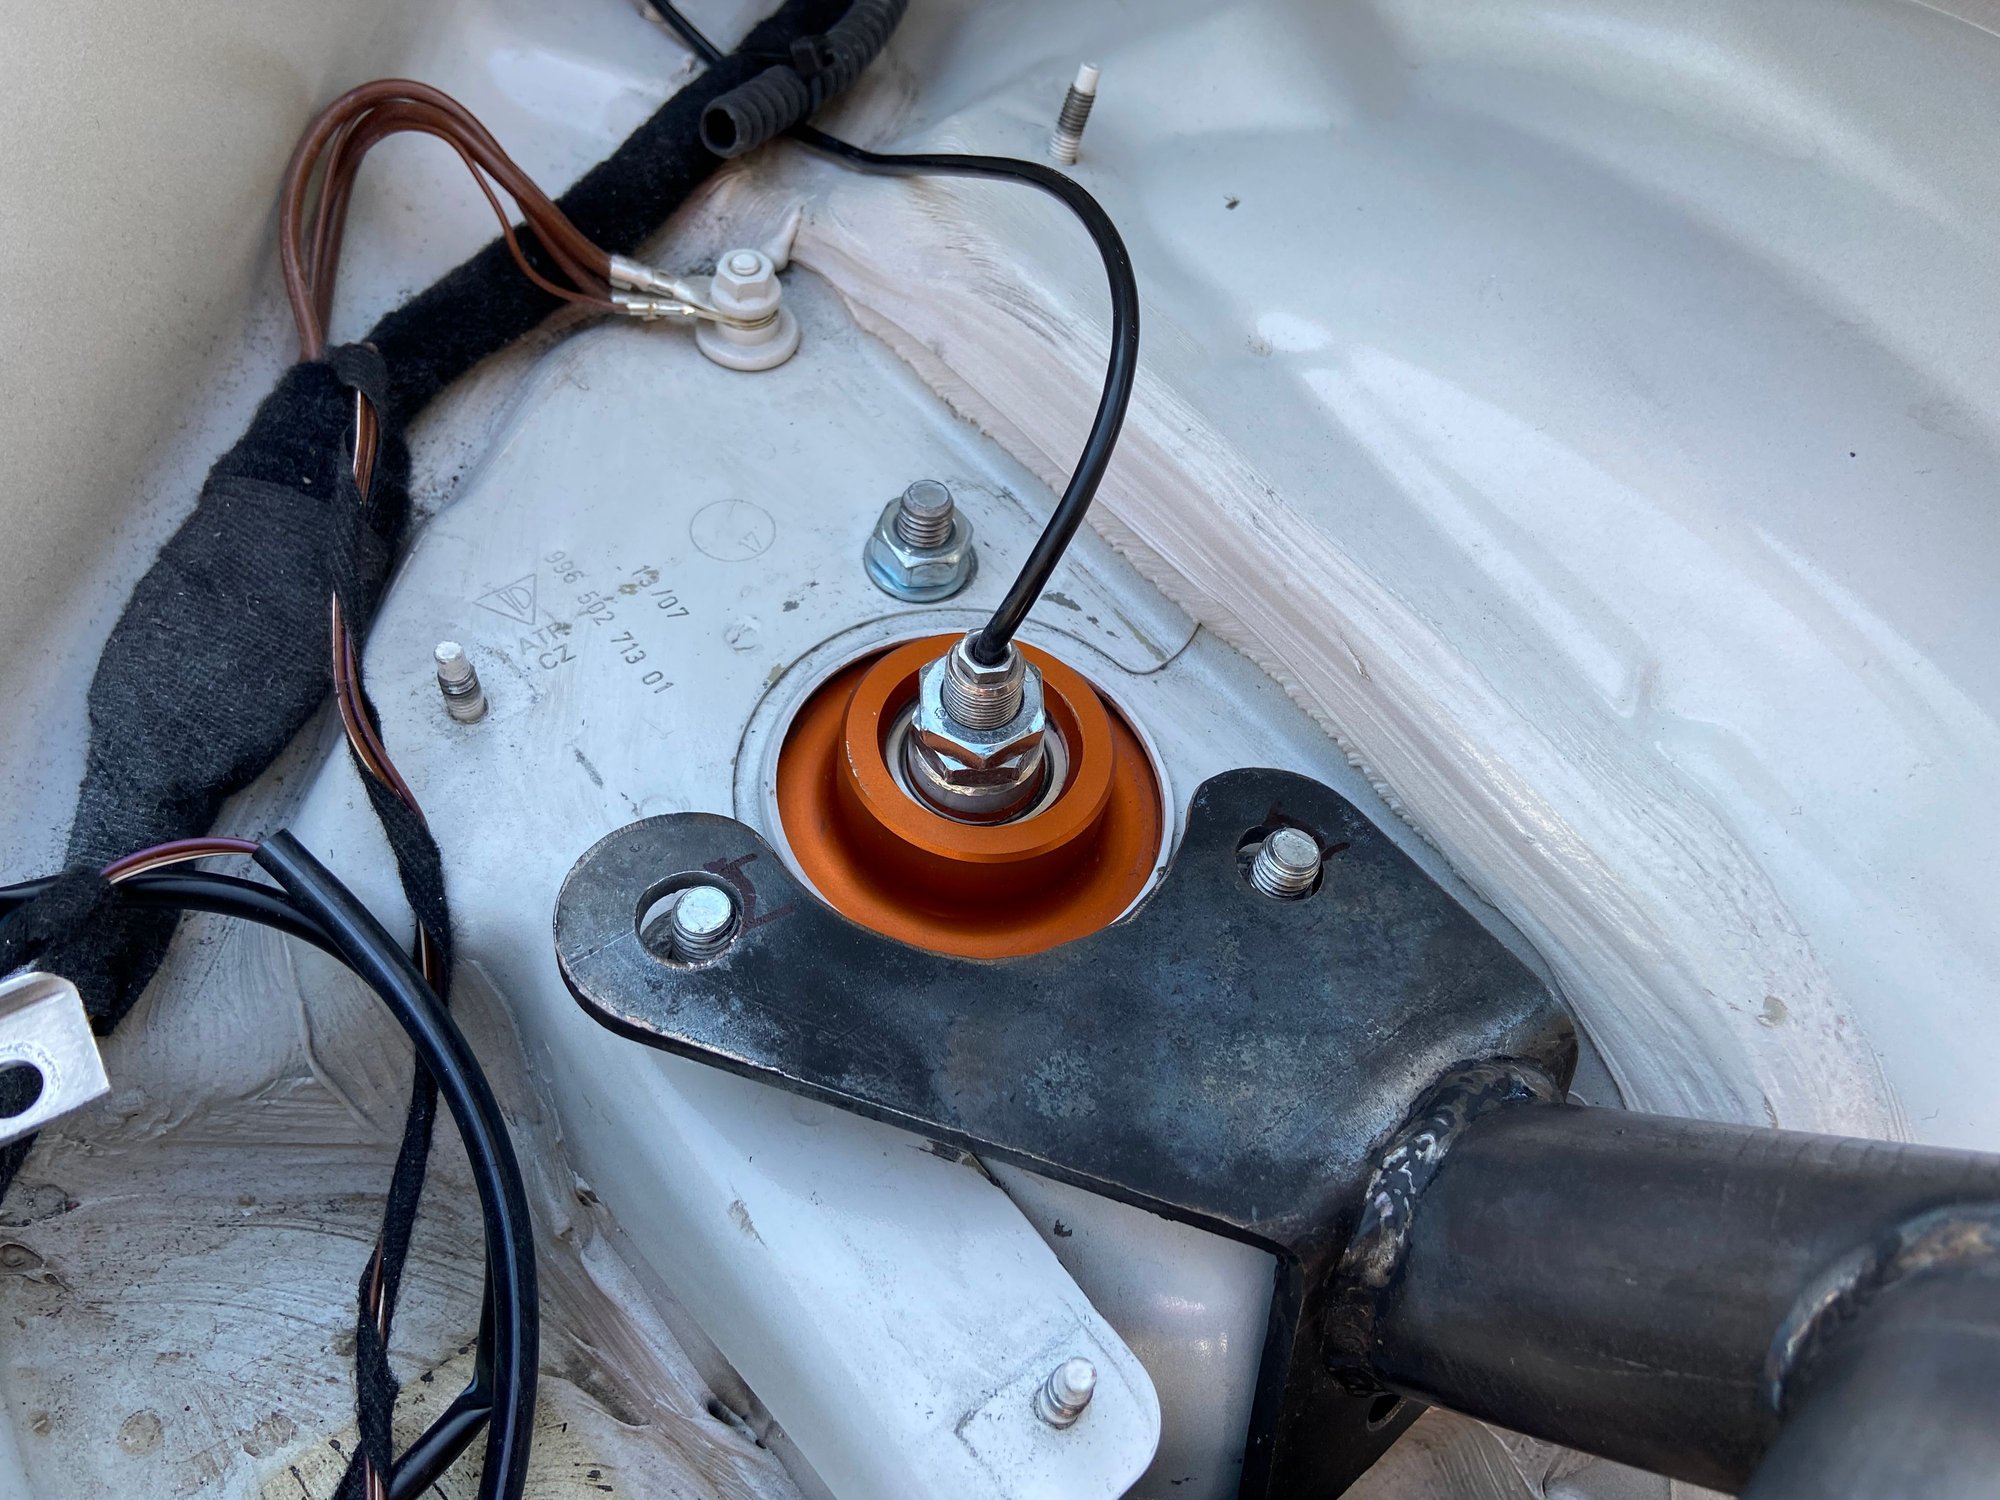
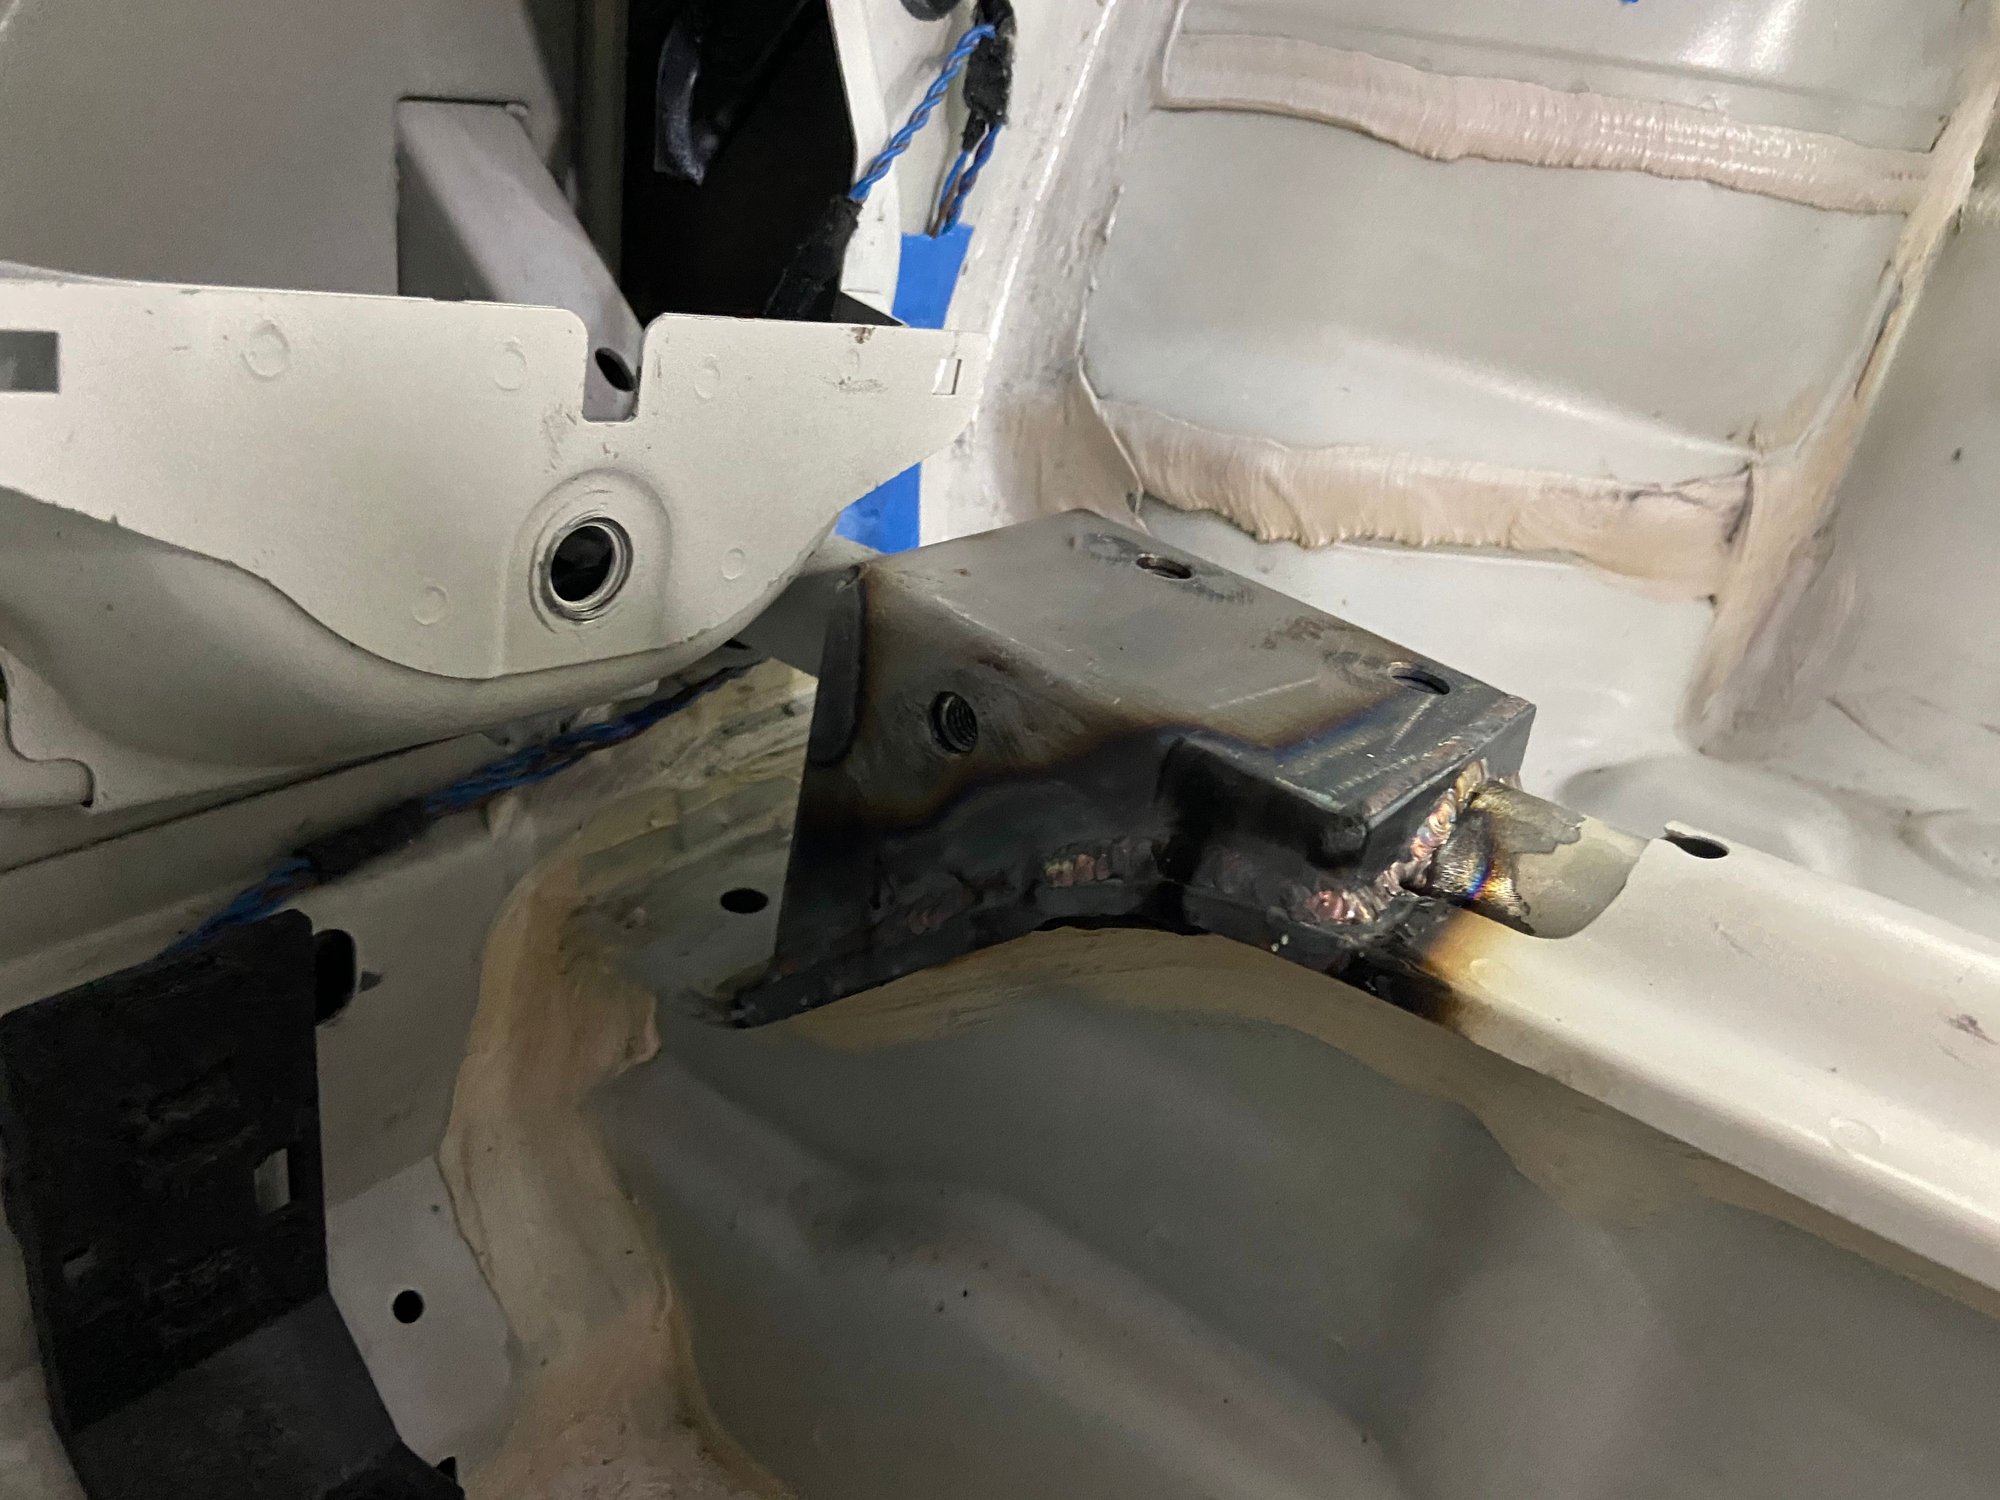
It took about 3 hours to tuck away the wiring harnesses and to modify the ECU plate the clear the footing of the cage to the rear shock towers.
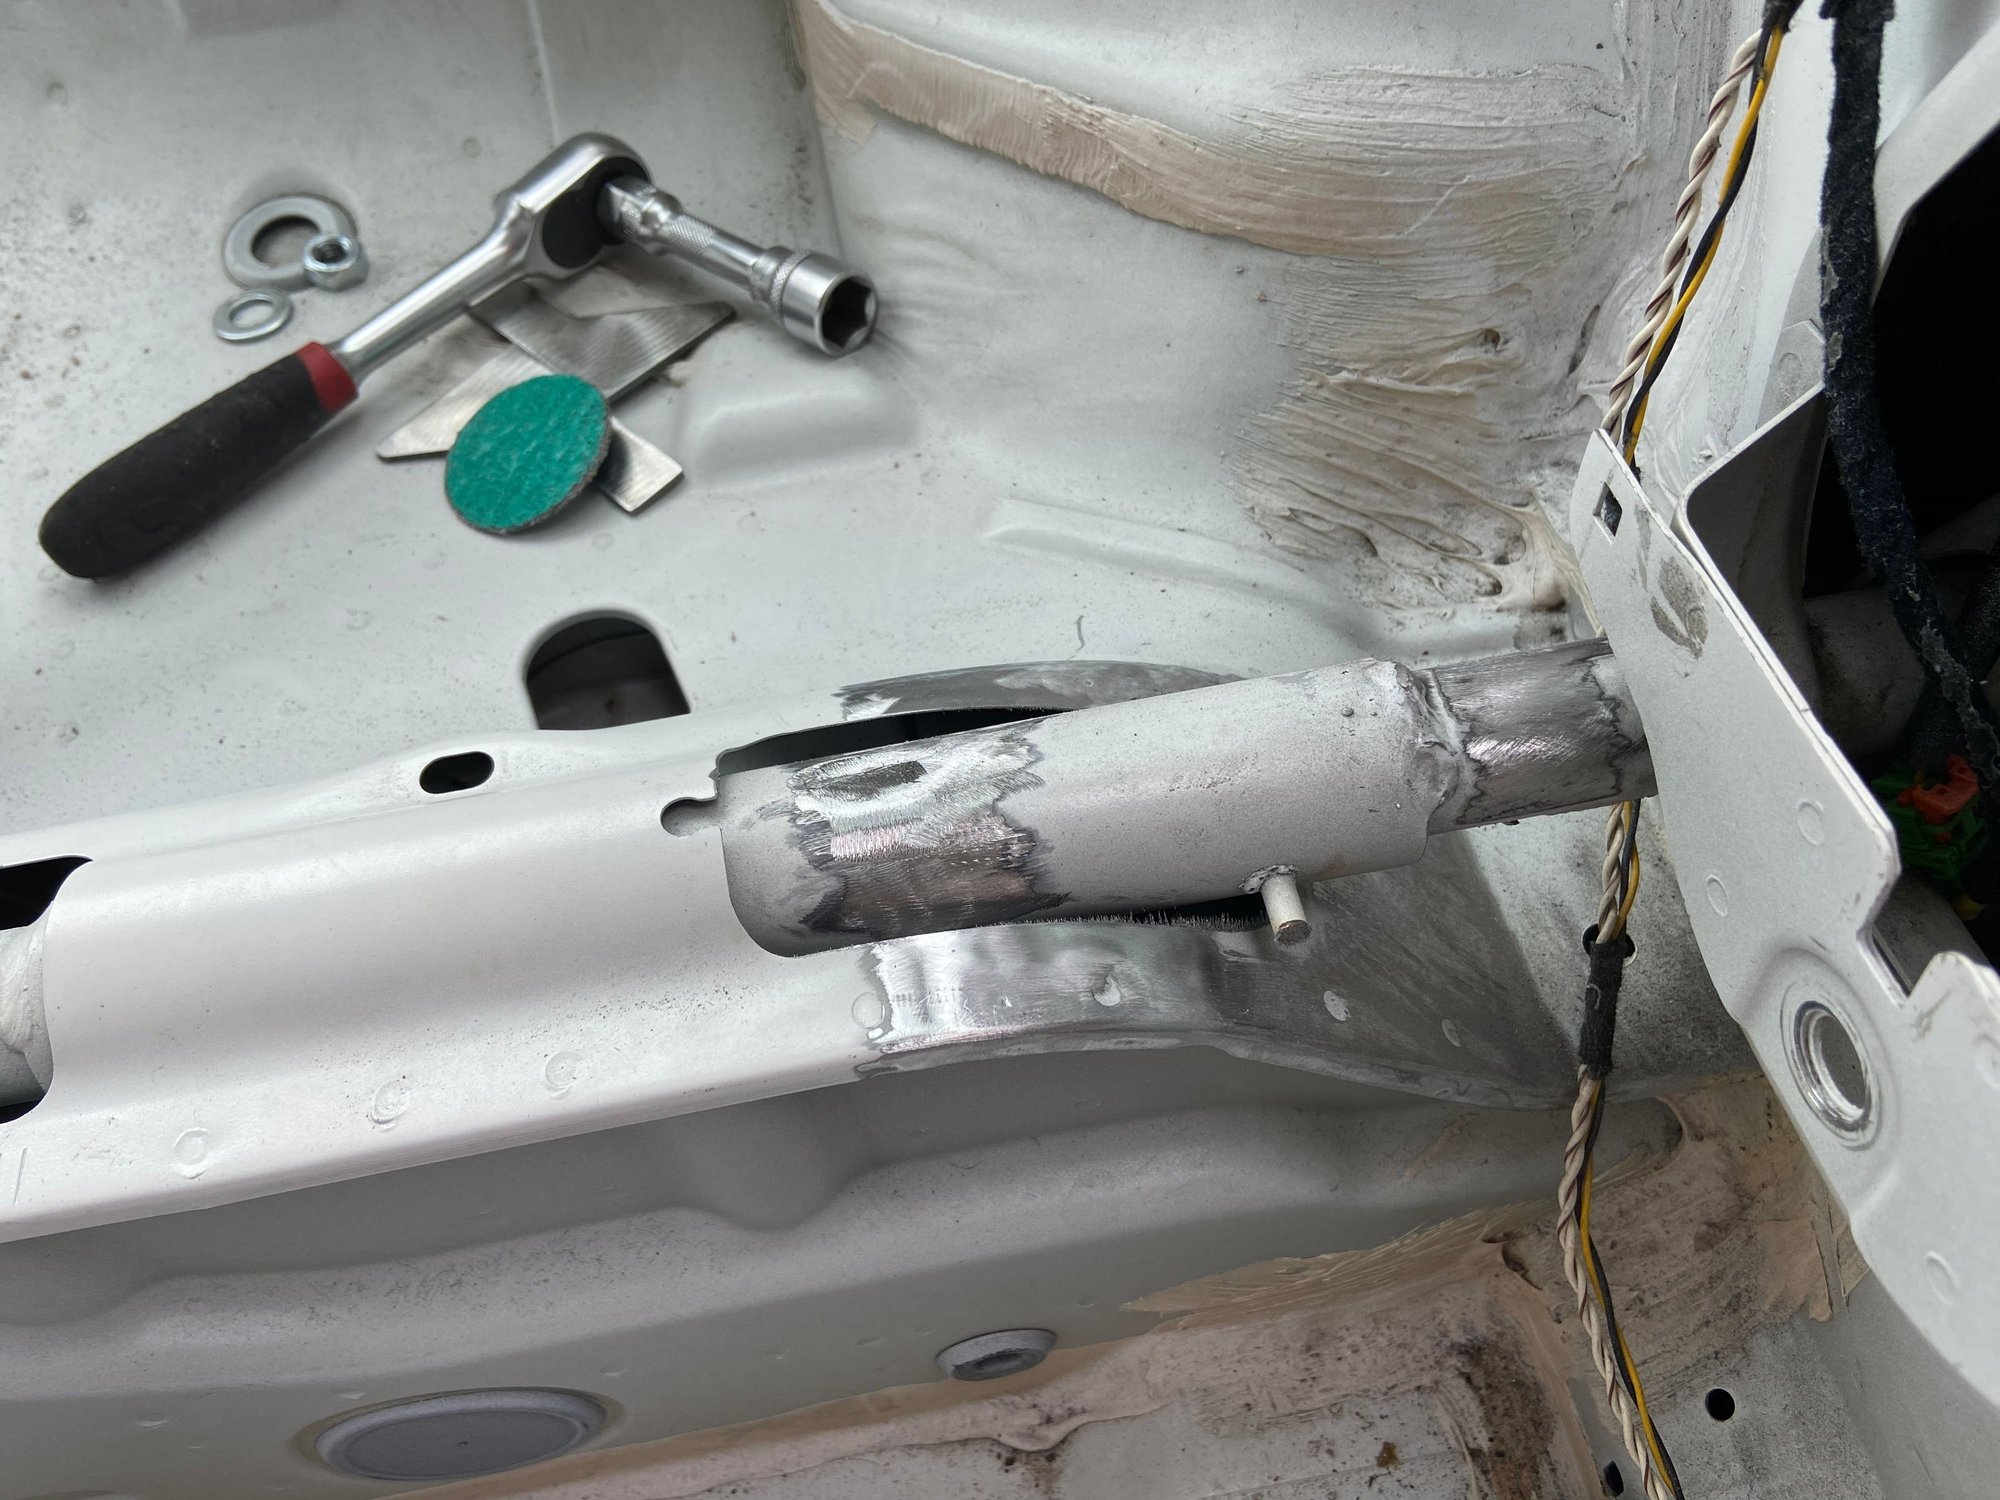
Then prep the surfaces for welding.
Here's the footing to be welded. There's gap to be filled.
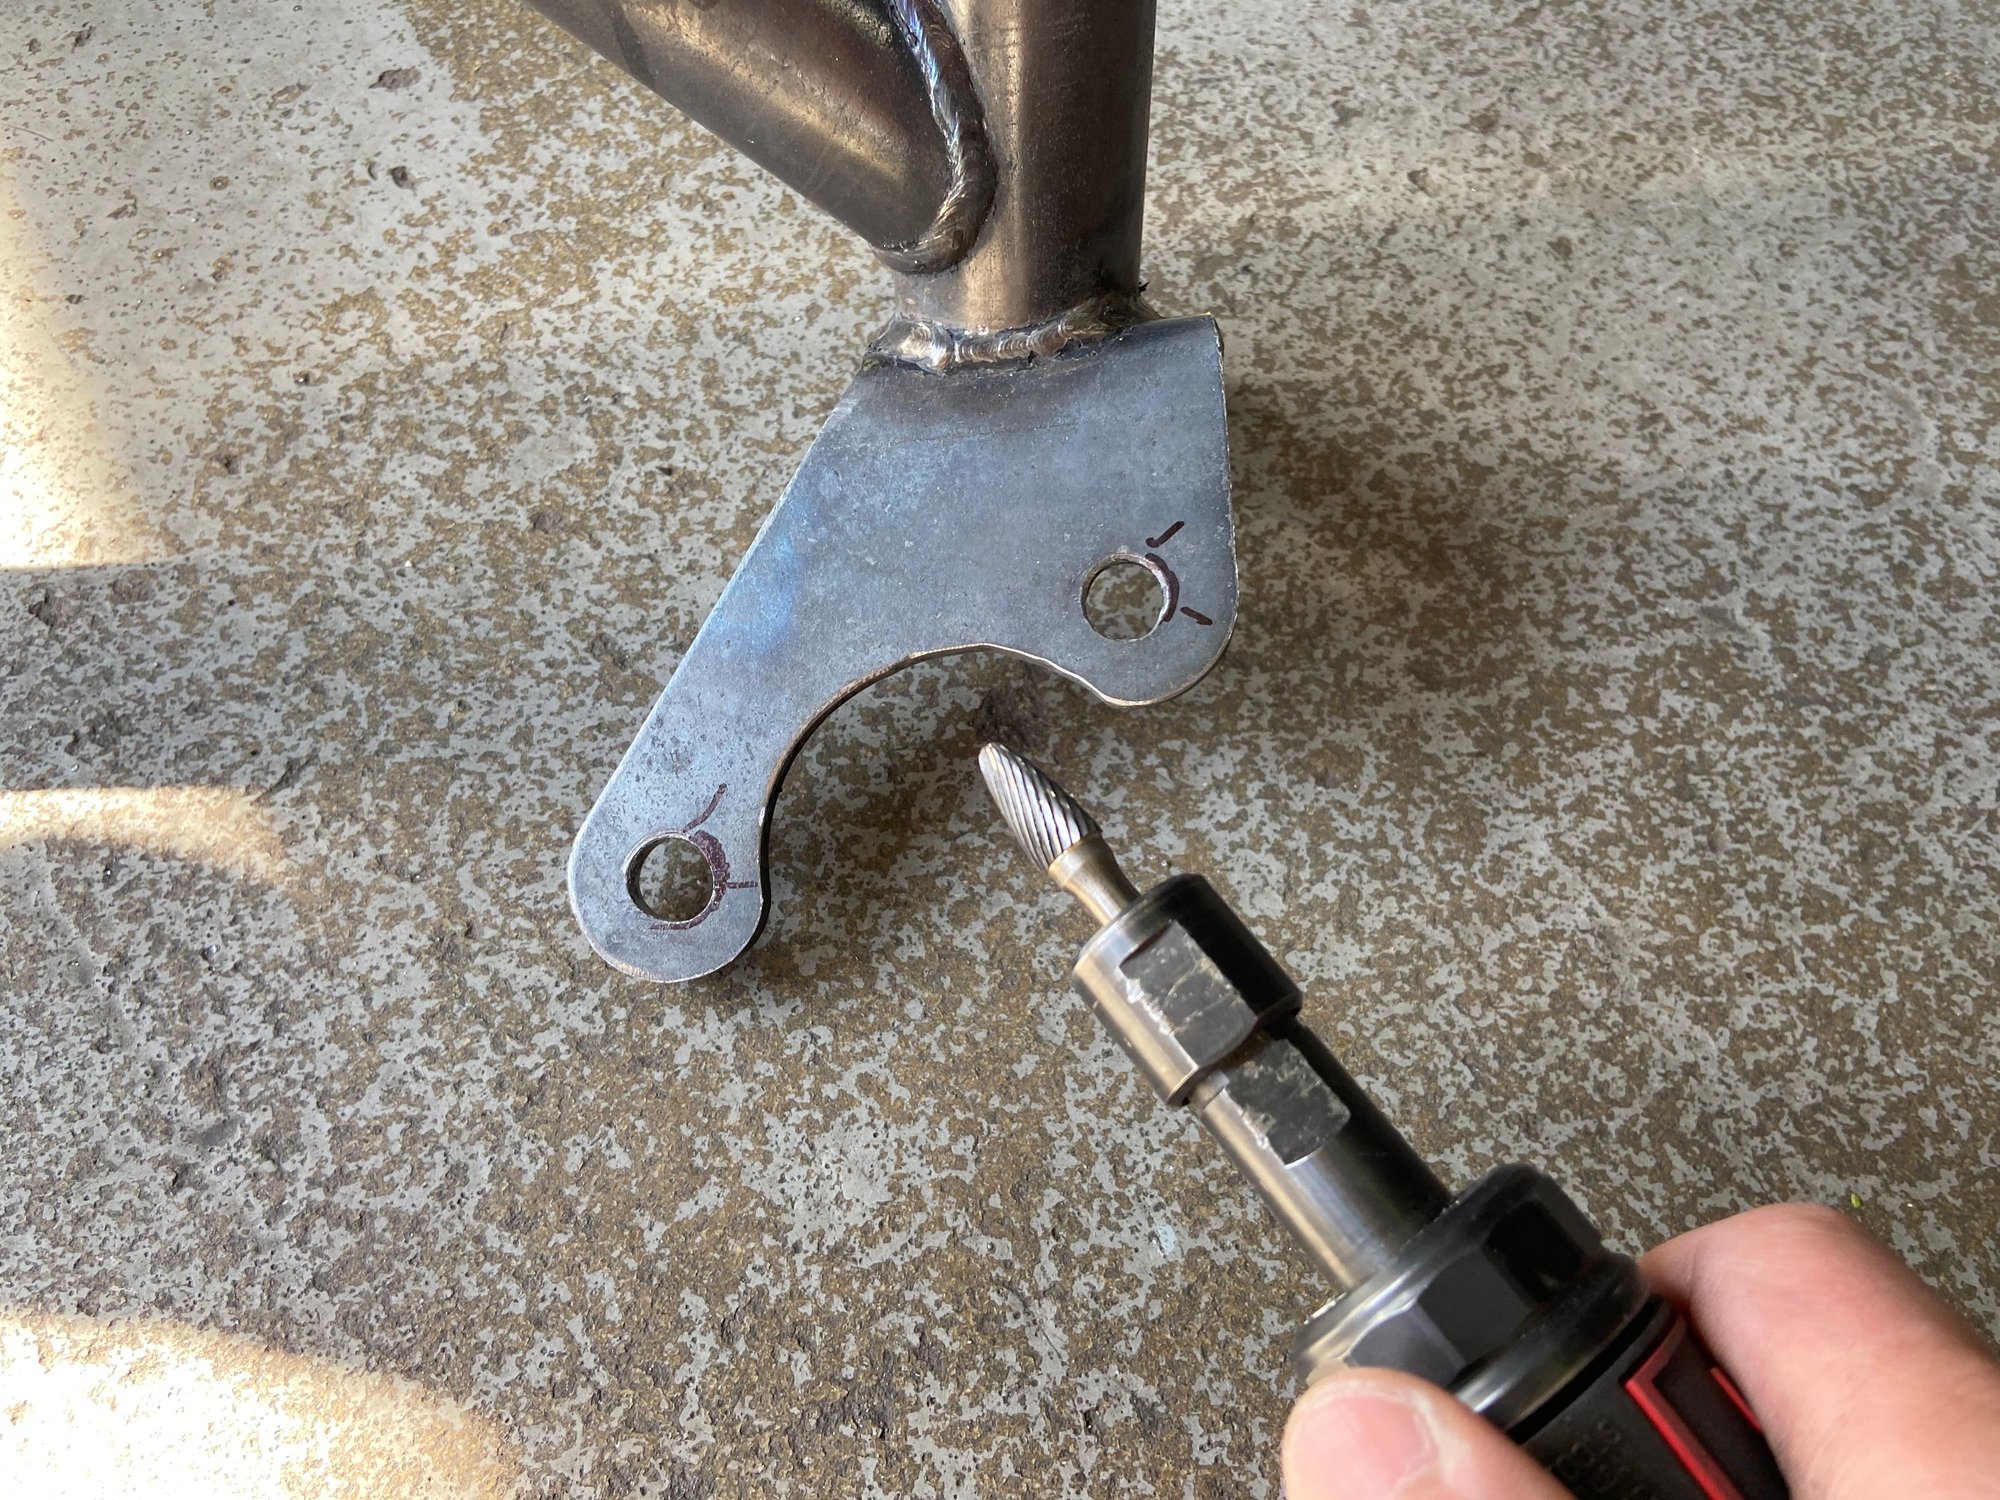
Had the cage in and out 8 times because the bolt holes don't line up exactly. Each time I grind the hole 0.5mm and then re-install the cage to find that I needed to grind another hole 0.5mm.
For example, these two holes.
Ultimately I ended up grinding on 7 out of total of 10 holes, each hole multiple times.
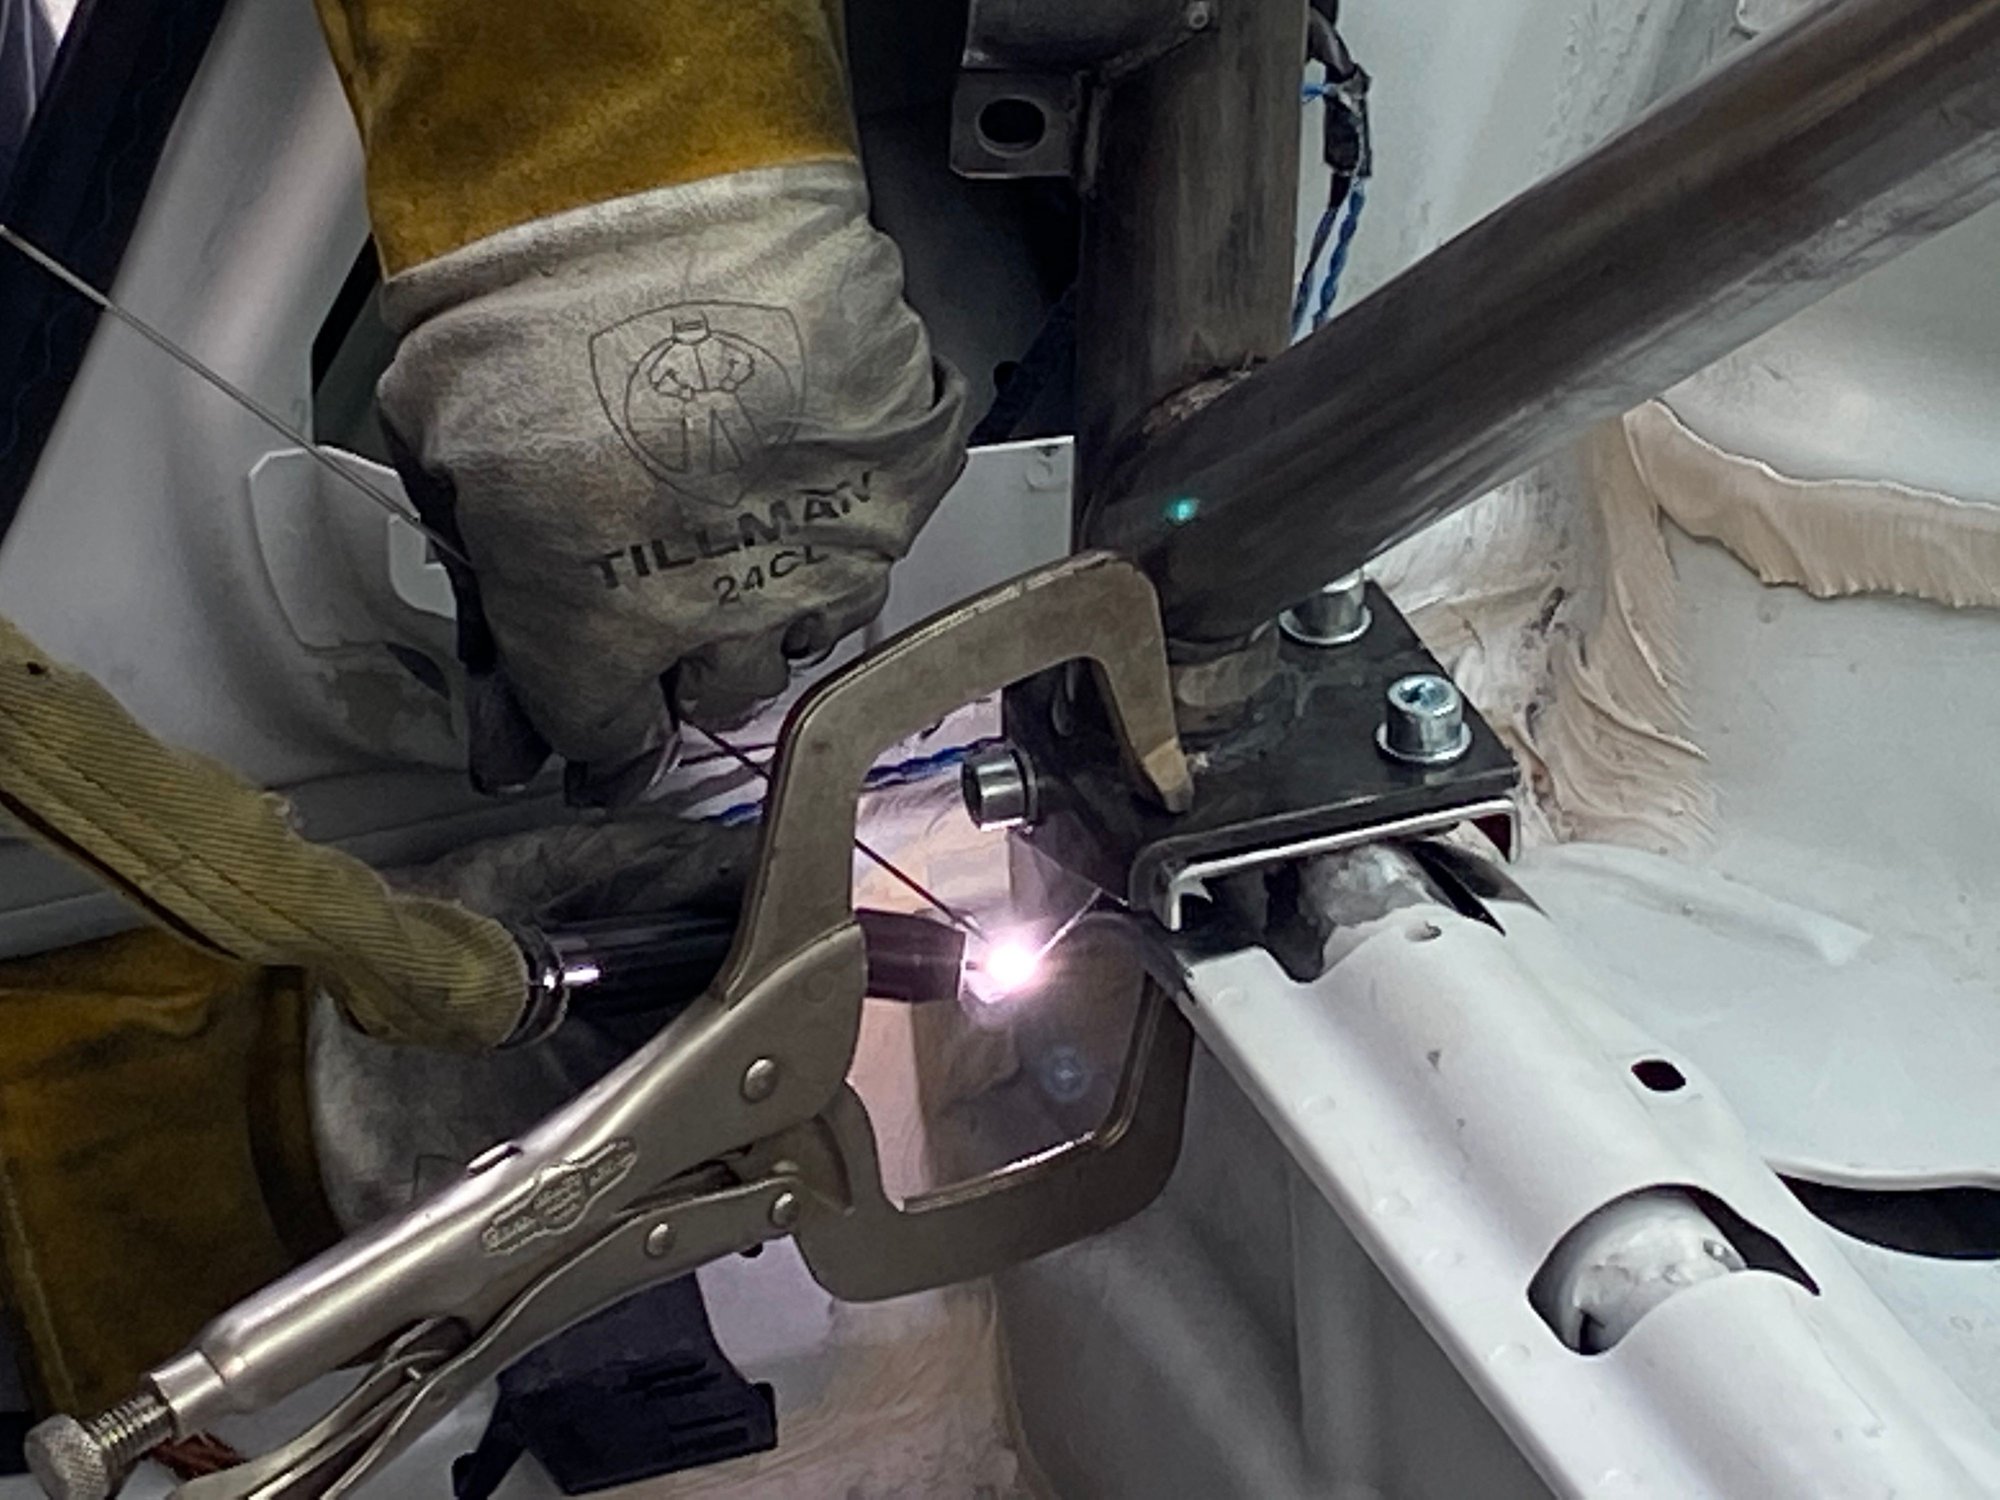
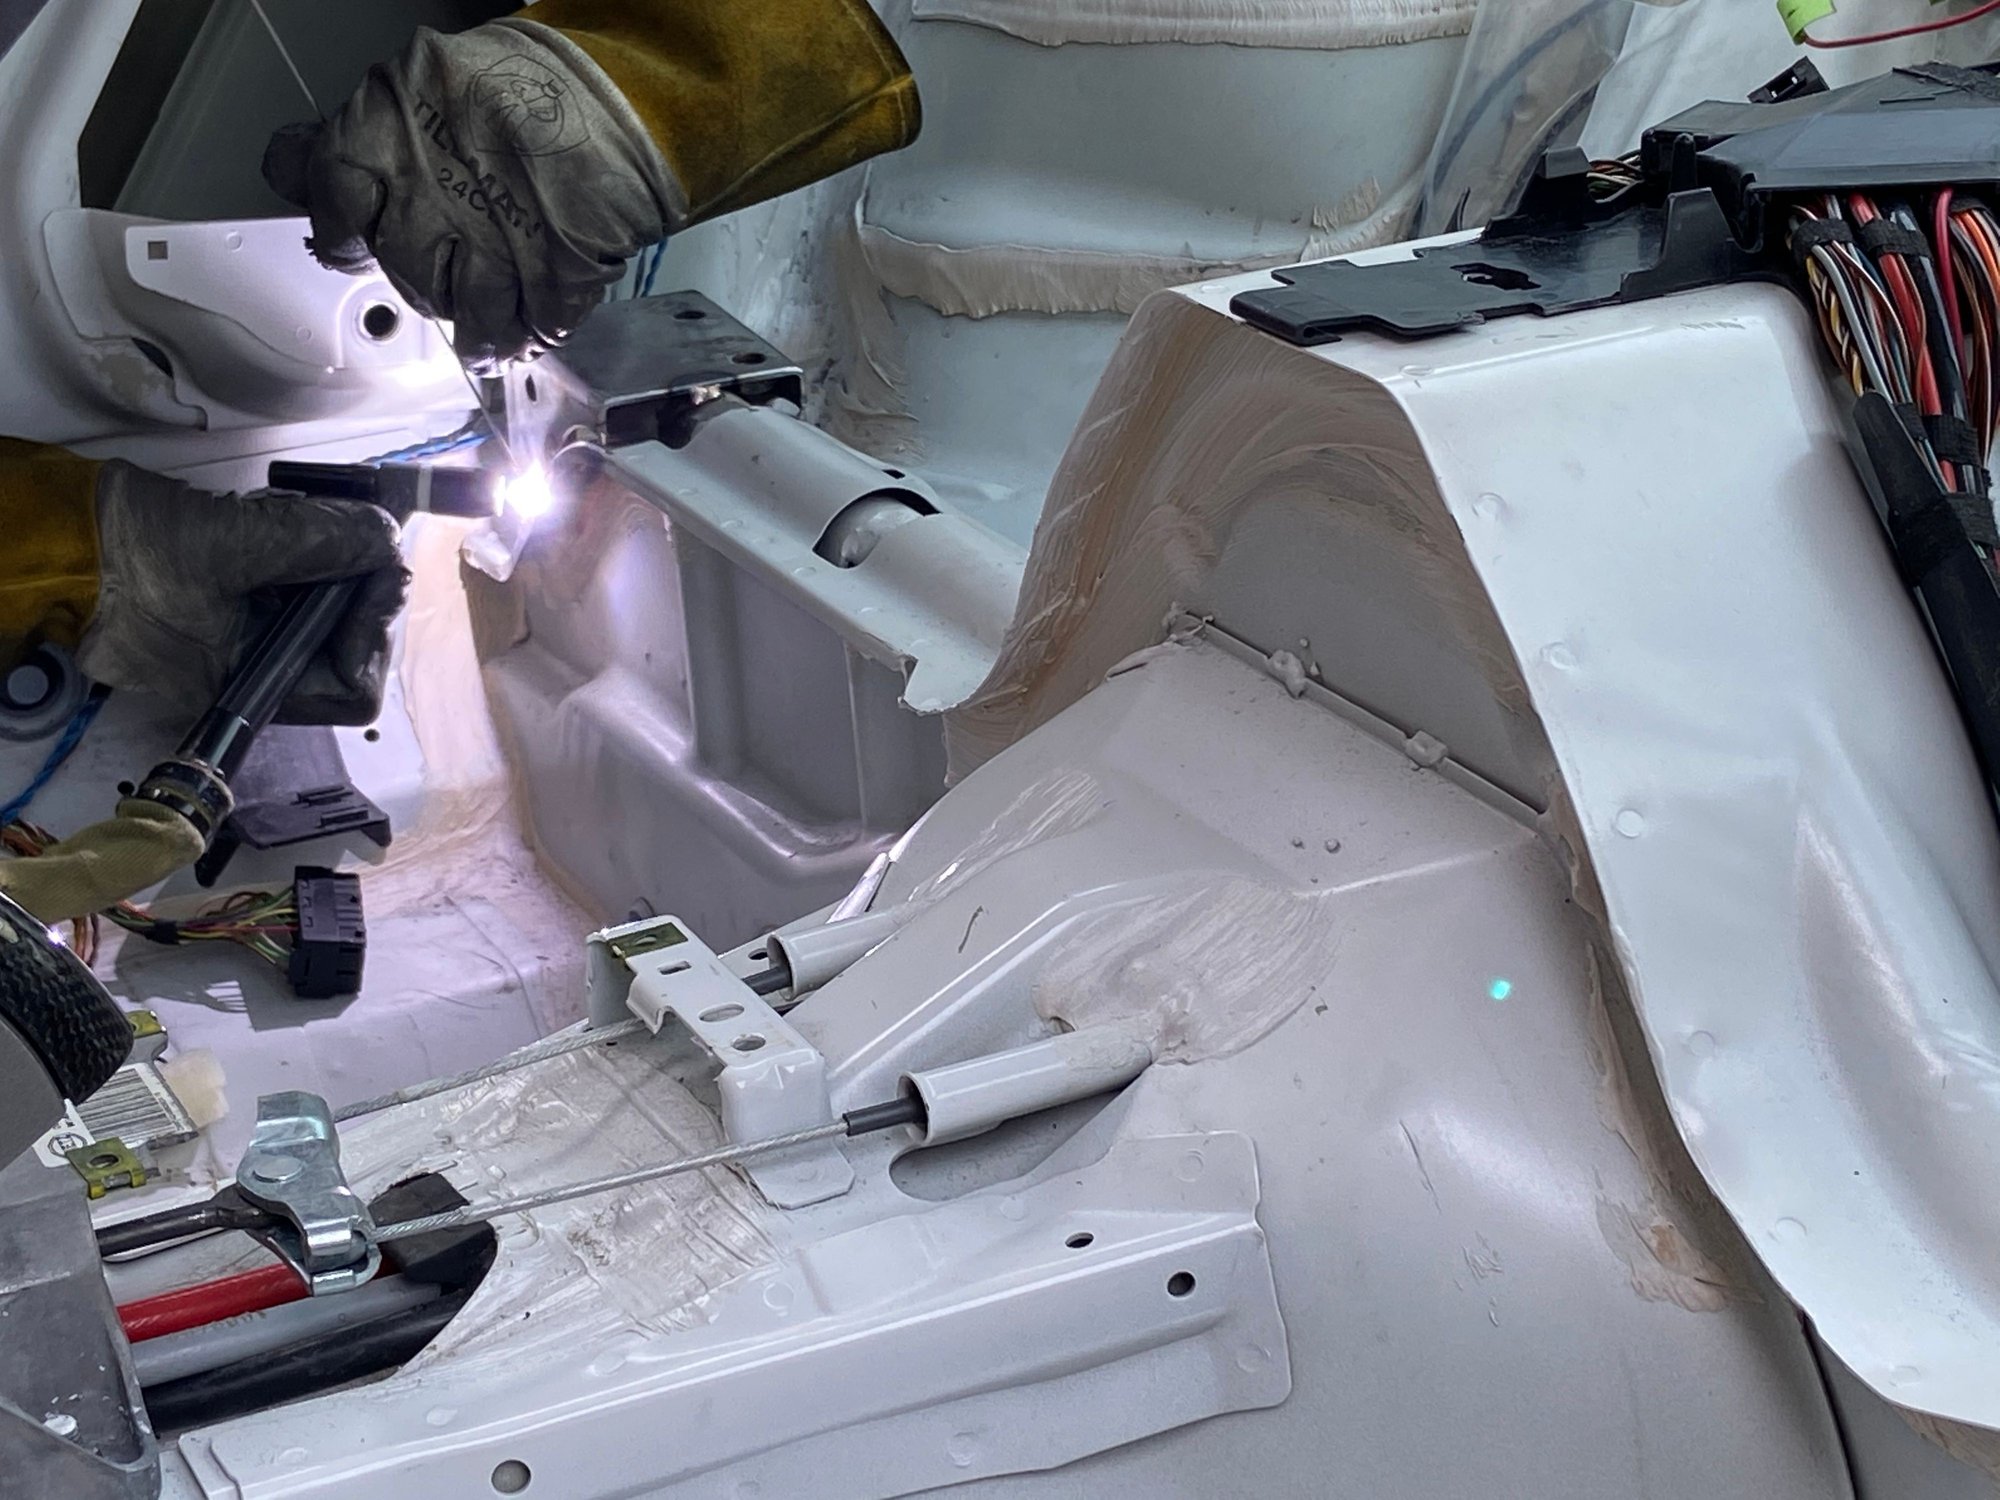
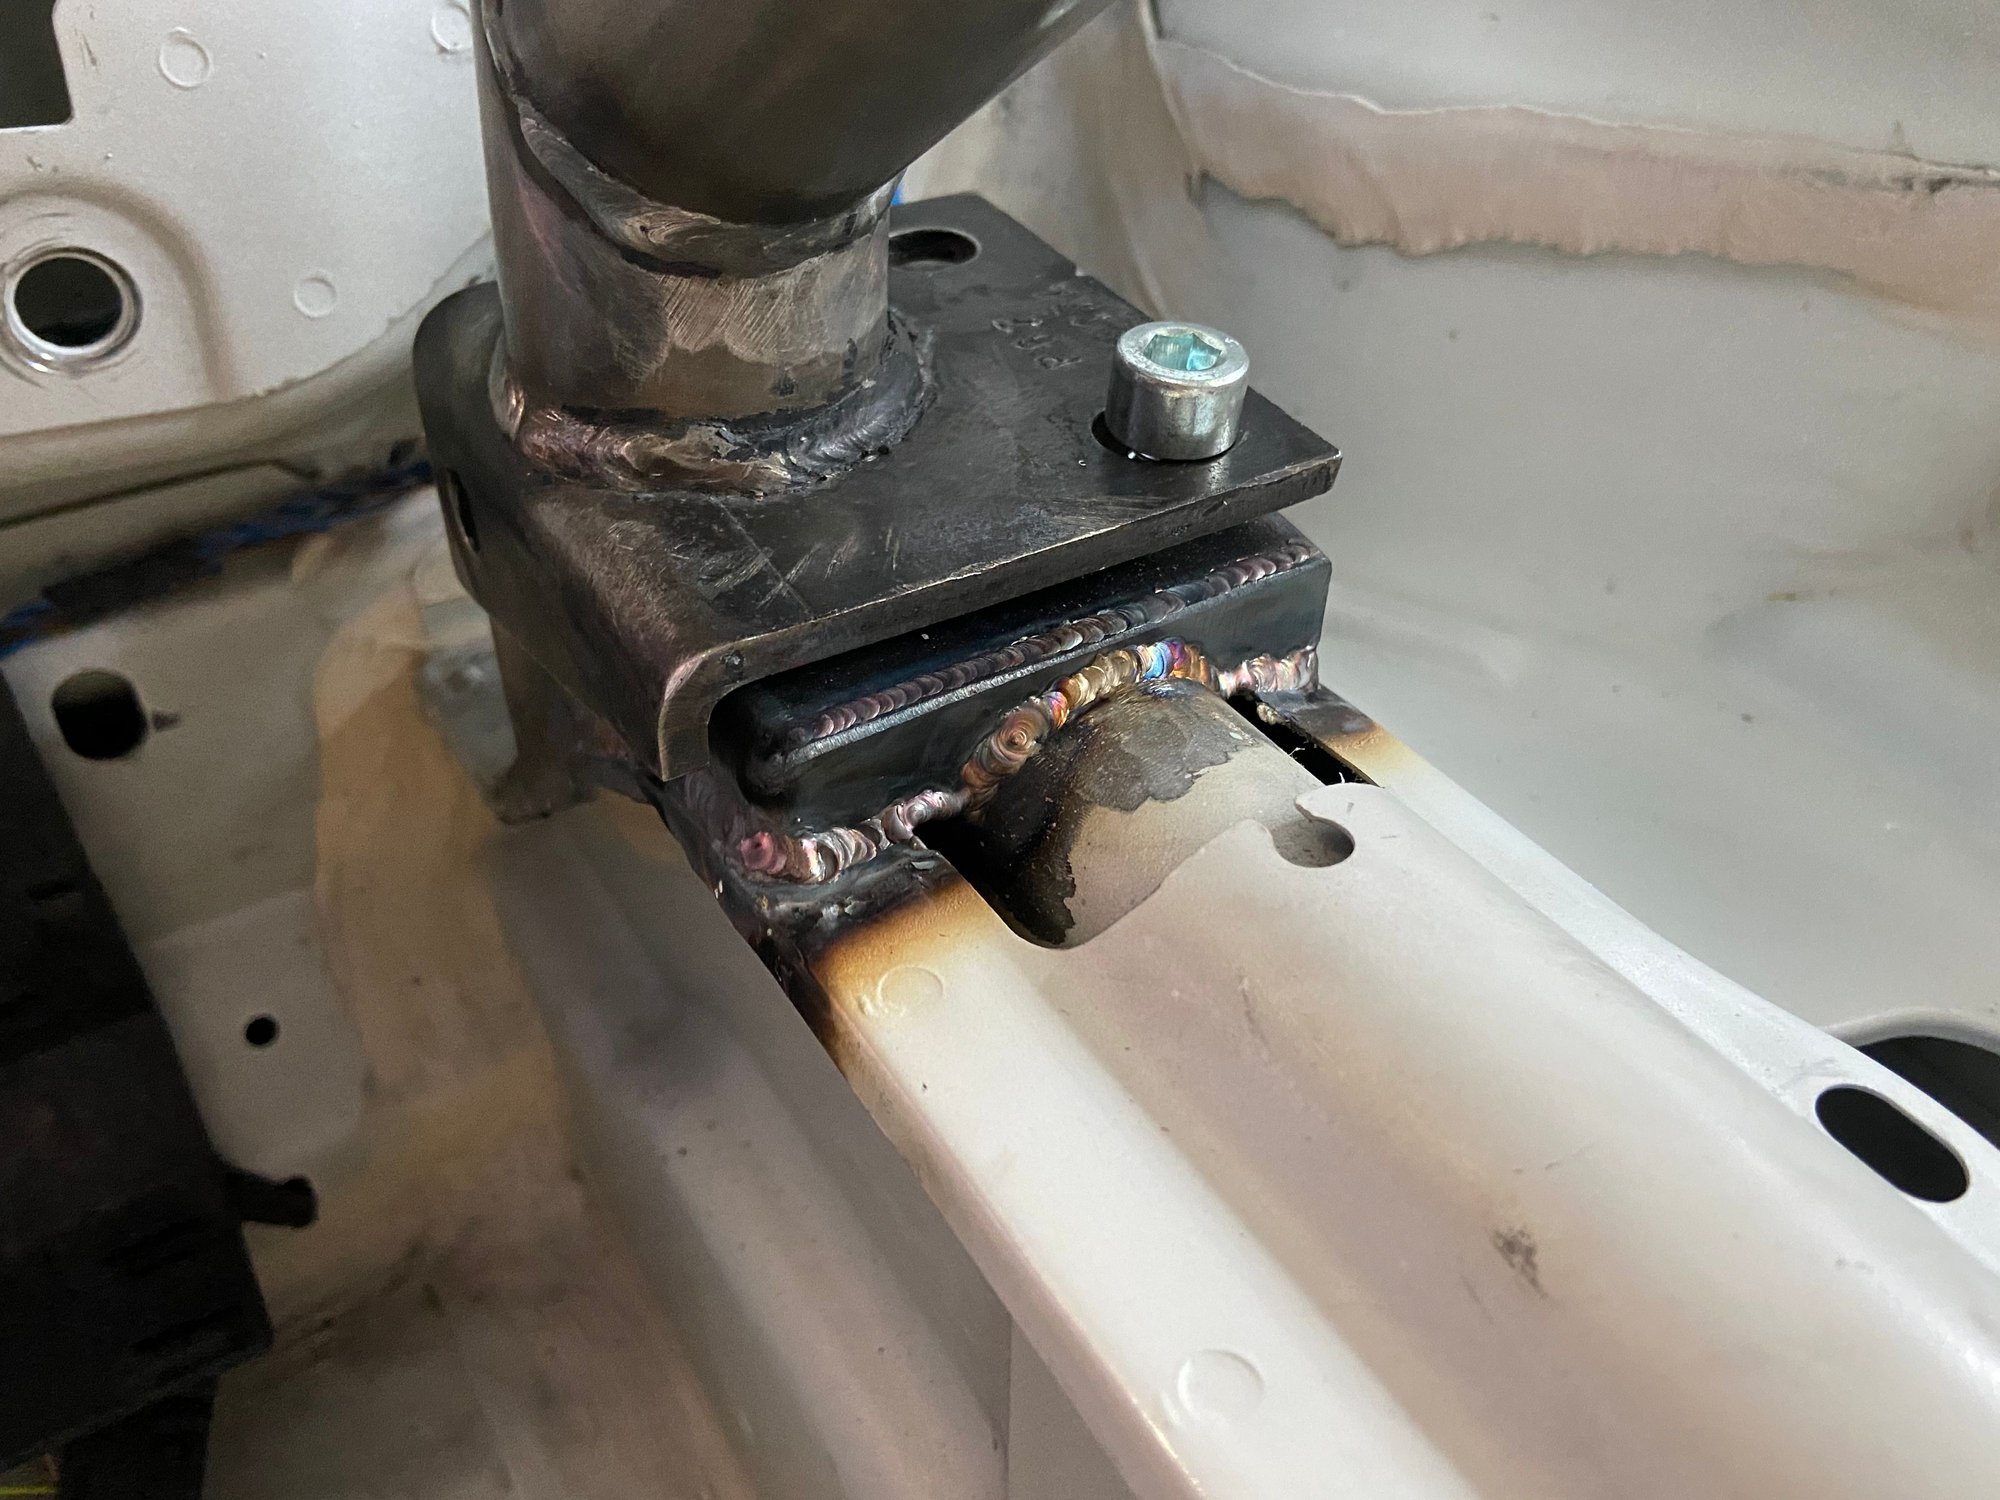
Time to weld. The welding took 4 hours because of the gaps that needed to filled, and the welding rod didn't like the factory epoxy sealant on the under of the metal.
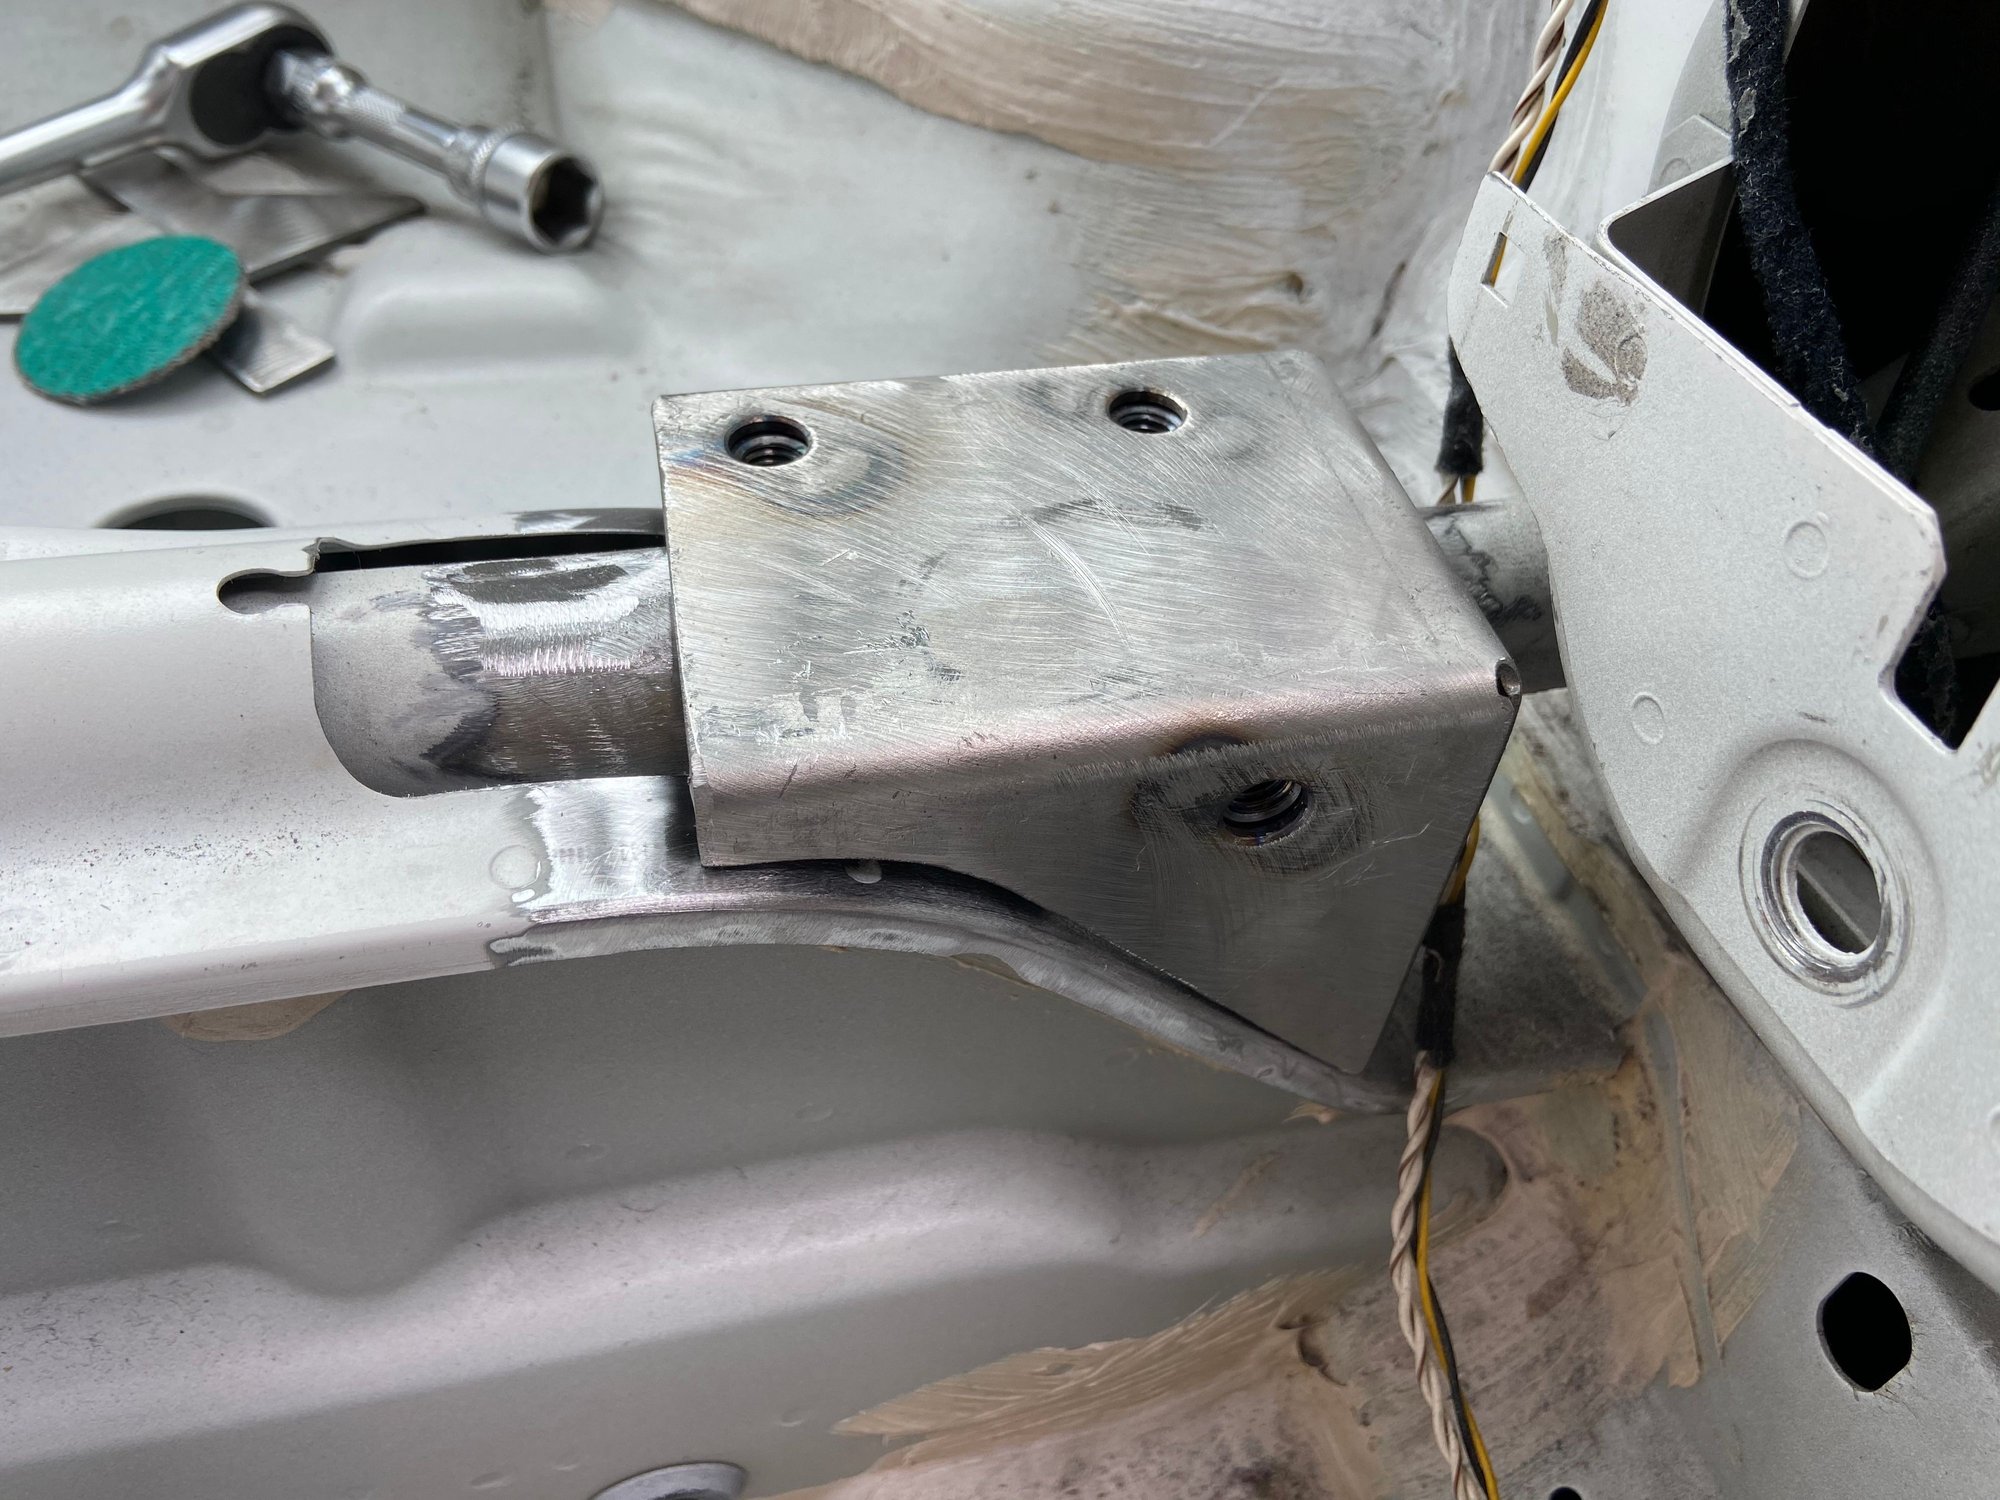
Footing welded. Its very sturdy to the back bone of the car.
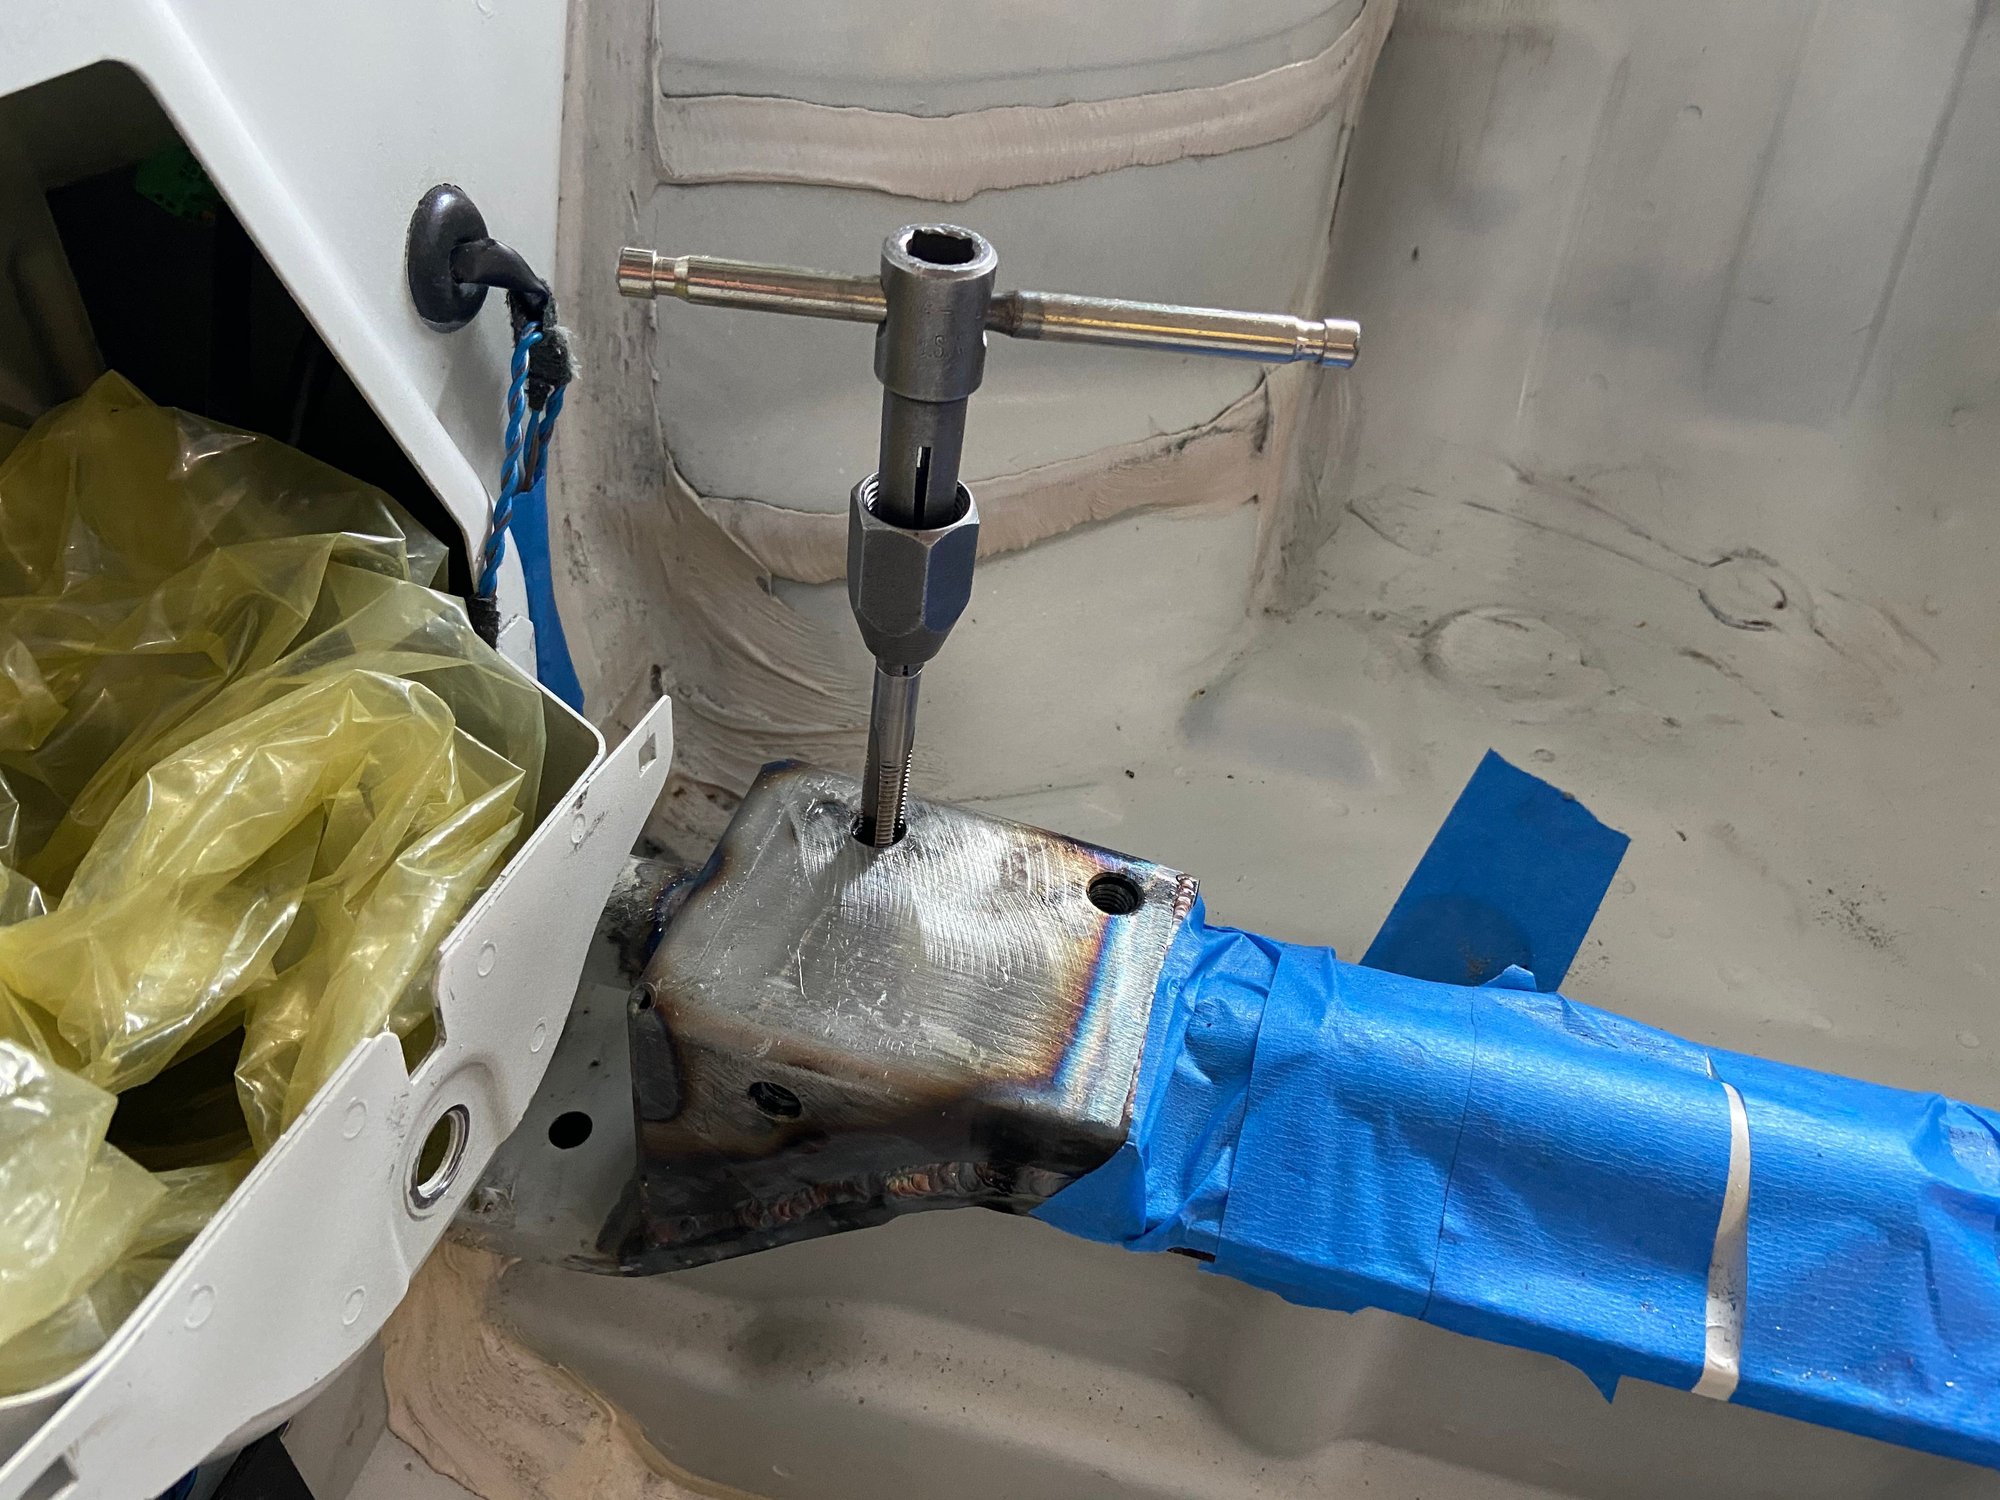
Post-fitting the cage after welding. Yes, this is the 9th time installing the cage.
Some of the threaded holes needed to be tapped after all that welding and fitting.
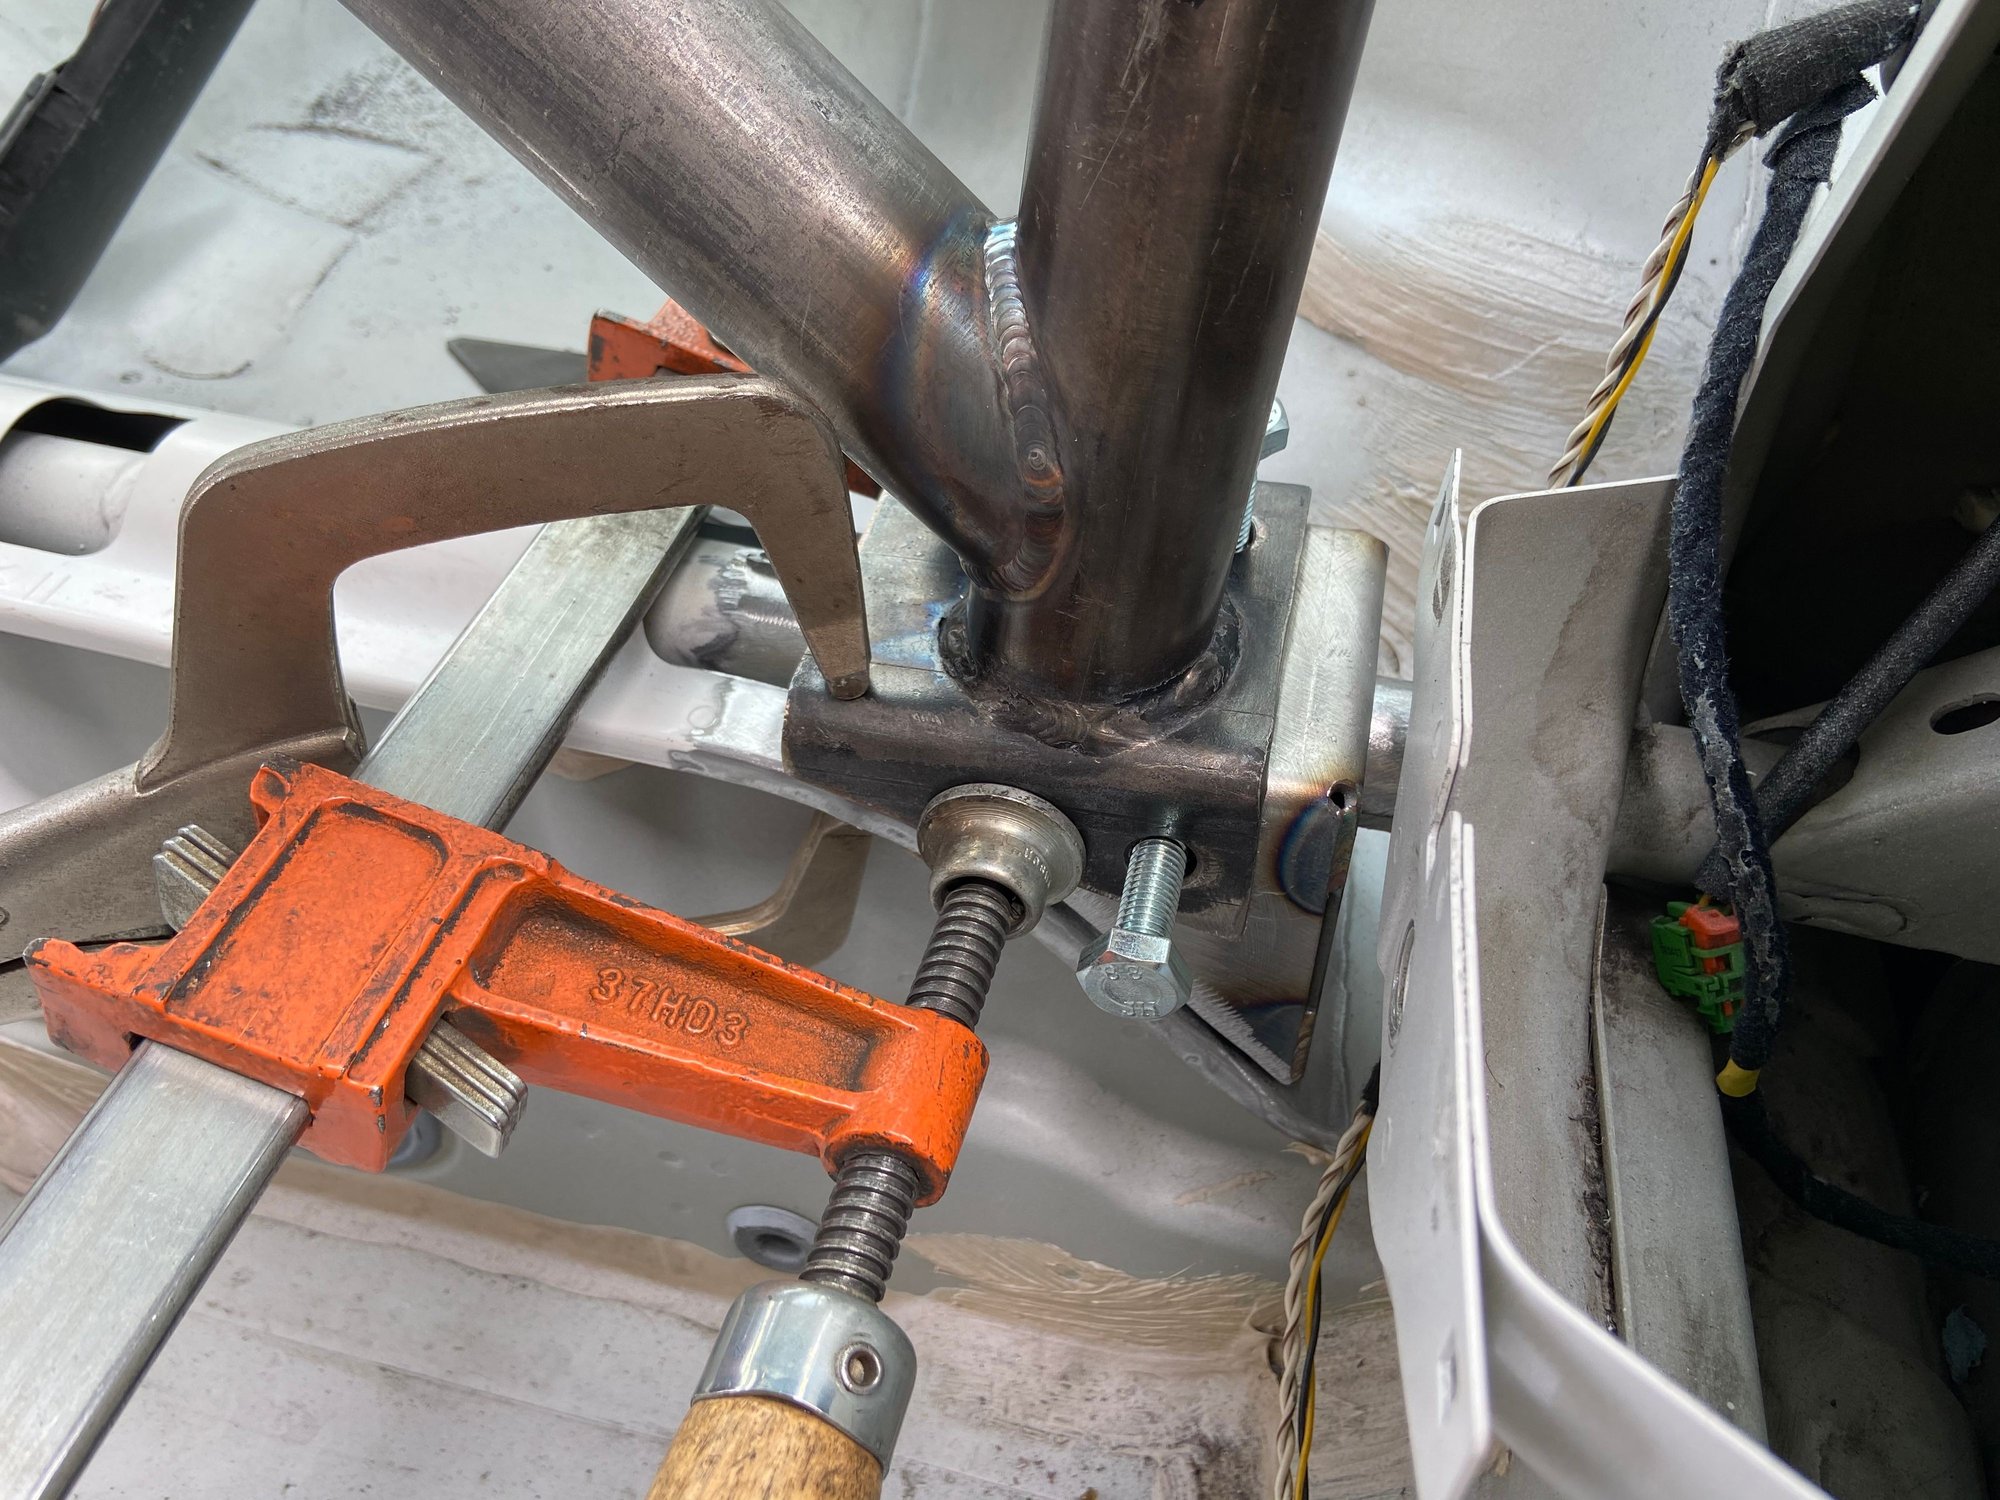
The last leg needed clamping force for the holes to line up. Not a bad thing to have some compression to keep the chassis "tight".
I now comprehend why bolt-in 4 points are so popular, or go right to a fully welded cage. I am happy with what I've done, a back half that resembles 991.1 Cup. Okay, have to take it out one more time to get it painted.
__________________
PCA National Instructor
TPC Racing stats:
2023 Porsche Sprint Challenge 992 Cup Am Champion
2023 Porsche Sprint Challenge GT4 Pro-Am Team Champion
2022 Porsche Sprint Challenge 992 Cup & 991 Cup Champion
2020 IMSA GT3 Cup Challenge 2nd Championship
2018 IMSA GT3 Cup Challenge 2nd Championship
2016 IMSA GT3 Cup Challenge Champion
2013 IMSA GT3 Cup Challenge Champion
2006 Rolex-24 @ Daytona GT Champion
2004 Grand-Am SGS Class Champion
Love these posts Tom, especially the fab stuff. I fabricated my own cage from scratch, so I know of the pain that it is with fitting, and install/removal a million times to get it right. Nice work.
Love these posts Tom, especially the fab stuff. I fabricated my own cage from scratch, so I know of the pain that it is with fitting, and install/removal a million times to get it right. Nice work.
Thanks! Respects for fab'ing your own cage from scratch! Love to see pics of your cage.
I ended up using a small porta-power to line everything up to get the rear brackets over the shock mount studs. very little, but some...
I thought about doing that on mine but didn't want to put too much static stress on those studs with mine being farther misaligned resulted from the extra horizontal bar welded on.
Originally Posted by rbahr
I am so looking forward to getting mine together and running!
Cool. Definitely post some pics!
Originally Posted by rbahr
Sooo, does this mean you turn in the registration on that beast?
No Sir. A primary reason for converting my street car to a "clubsport" type car is because my living situation can't facilitate a non-registered car, such a Cup car. So as much as I would love to not pay street insurance and annual registration fee, I can't avoid it unless I buy a different house, which I need to sell the car to do, then I'll have a house to facilitate but no car. Life is full of compromises. Just making the best of my situation and be thankful to have what I have. Plus, I thorough enjoy cruising the streets and driving to work in my Cup car look-a-like.
Last edited by Tom@TPC Racing; 05-05-2020 at 11:59 AM.
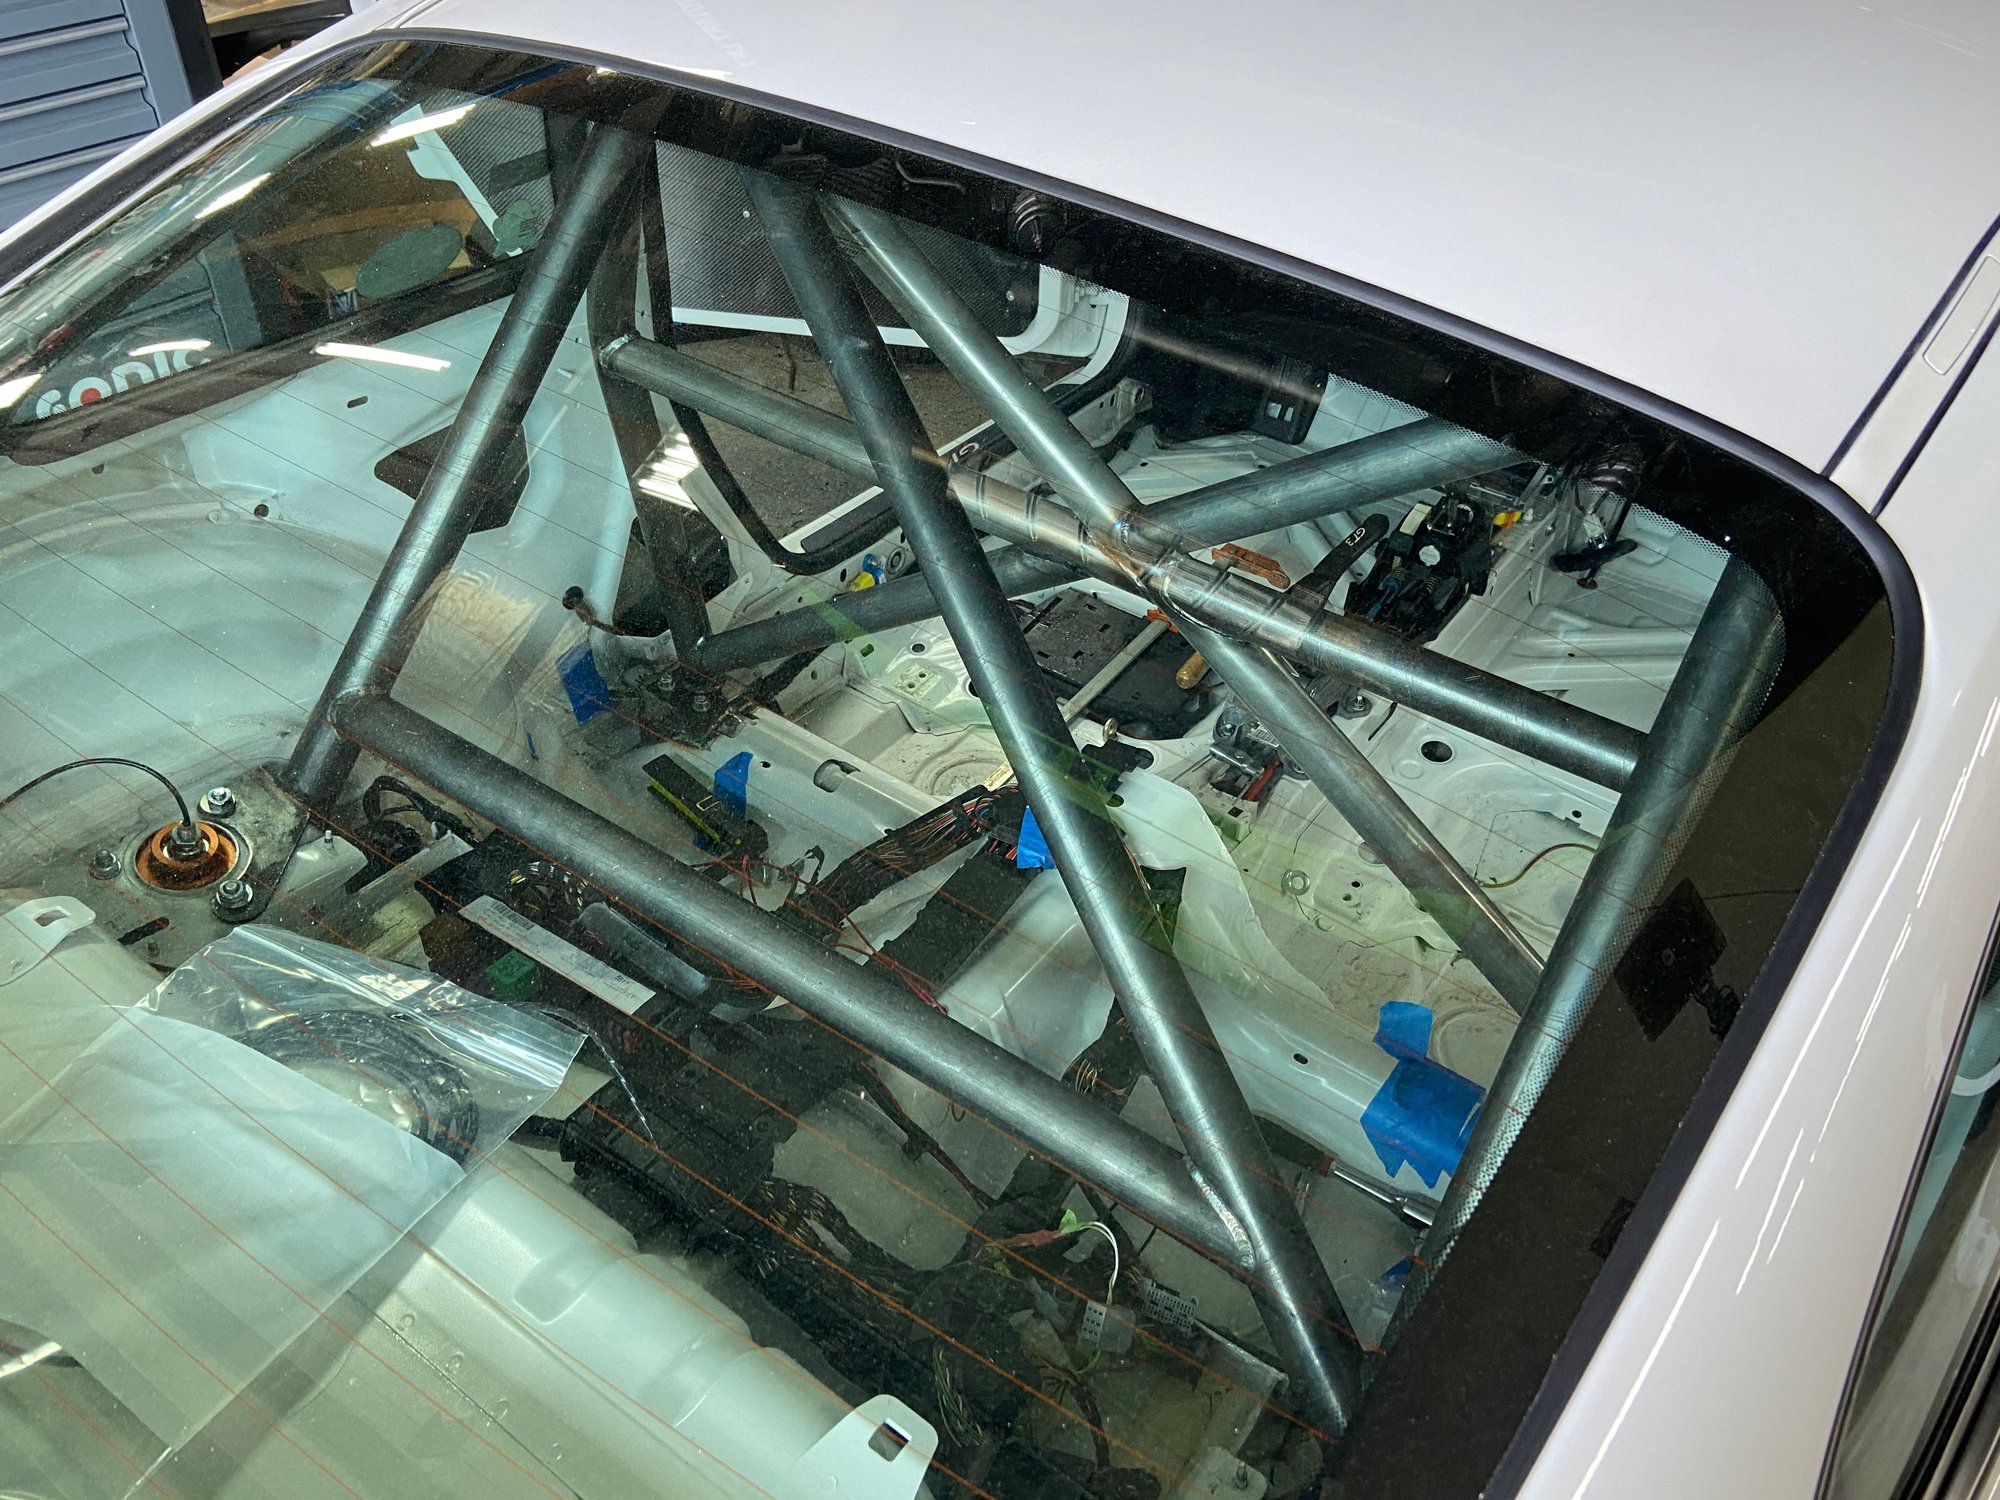
I've been on this kick to add some 991 Cup resemblance on to my 997. Wonder where I get these crazy ideas from, LOL.
First, its the 991.1 Cup looking cage back half. Its not exactly the same but resemblances are horizontal rear shock tower brace, single diagonal rear bar, and X main hoop.
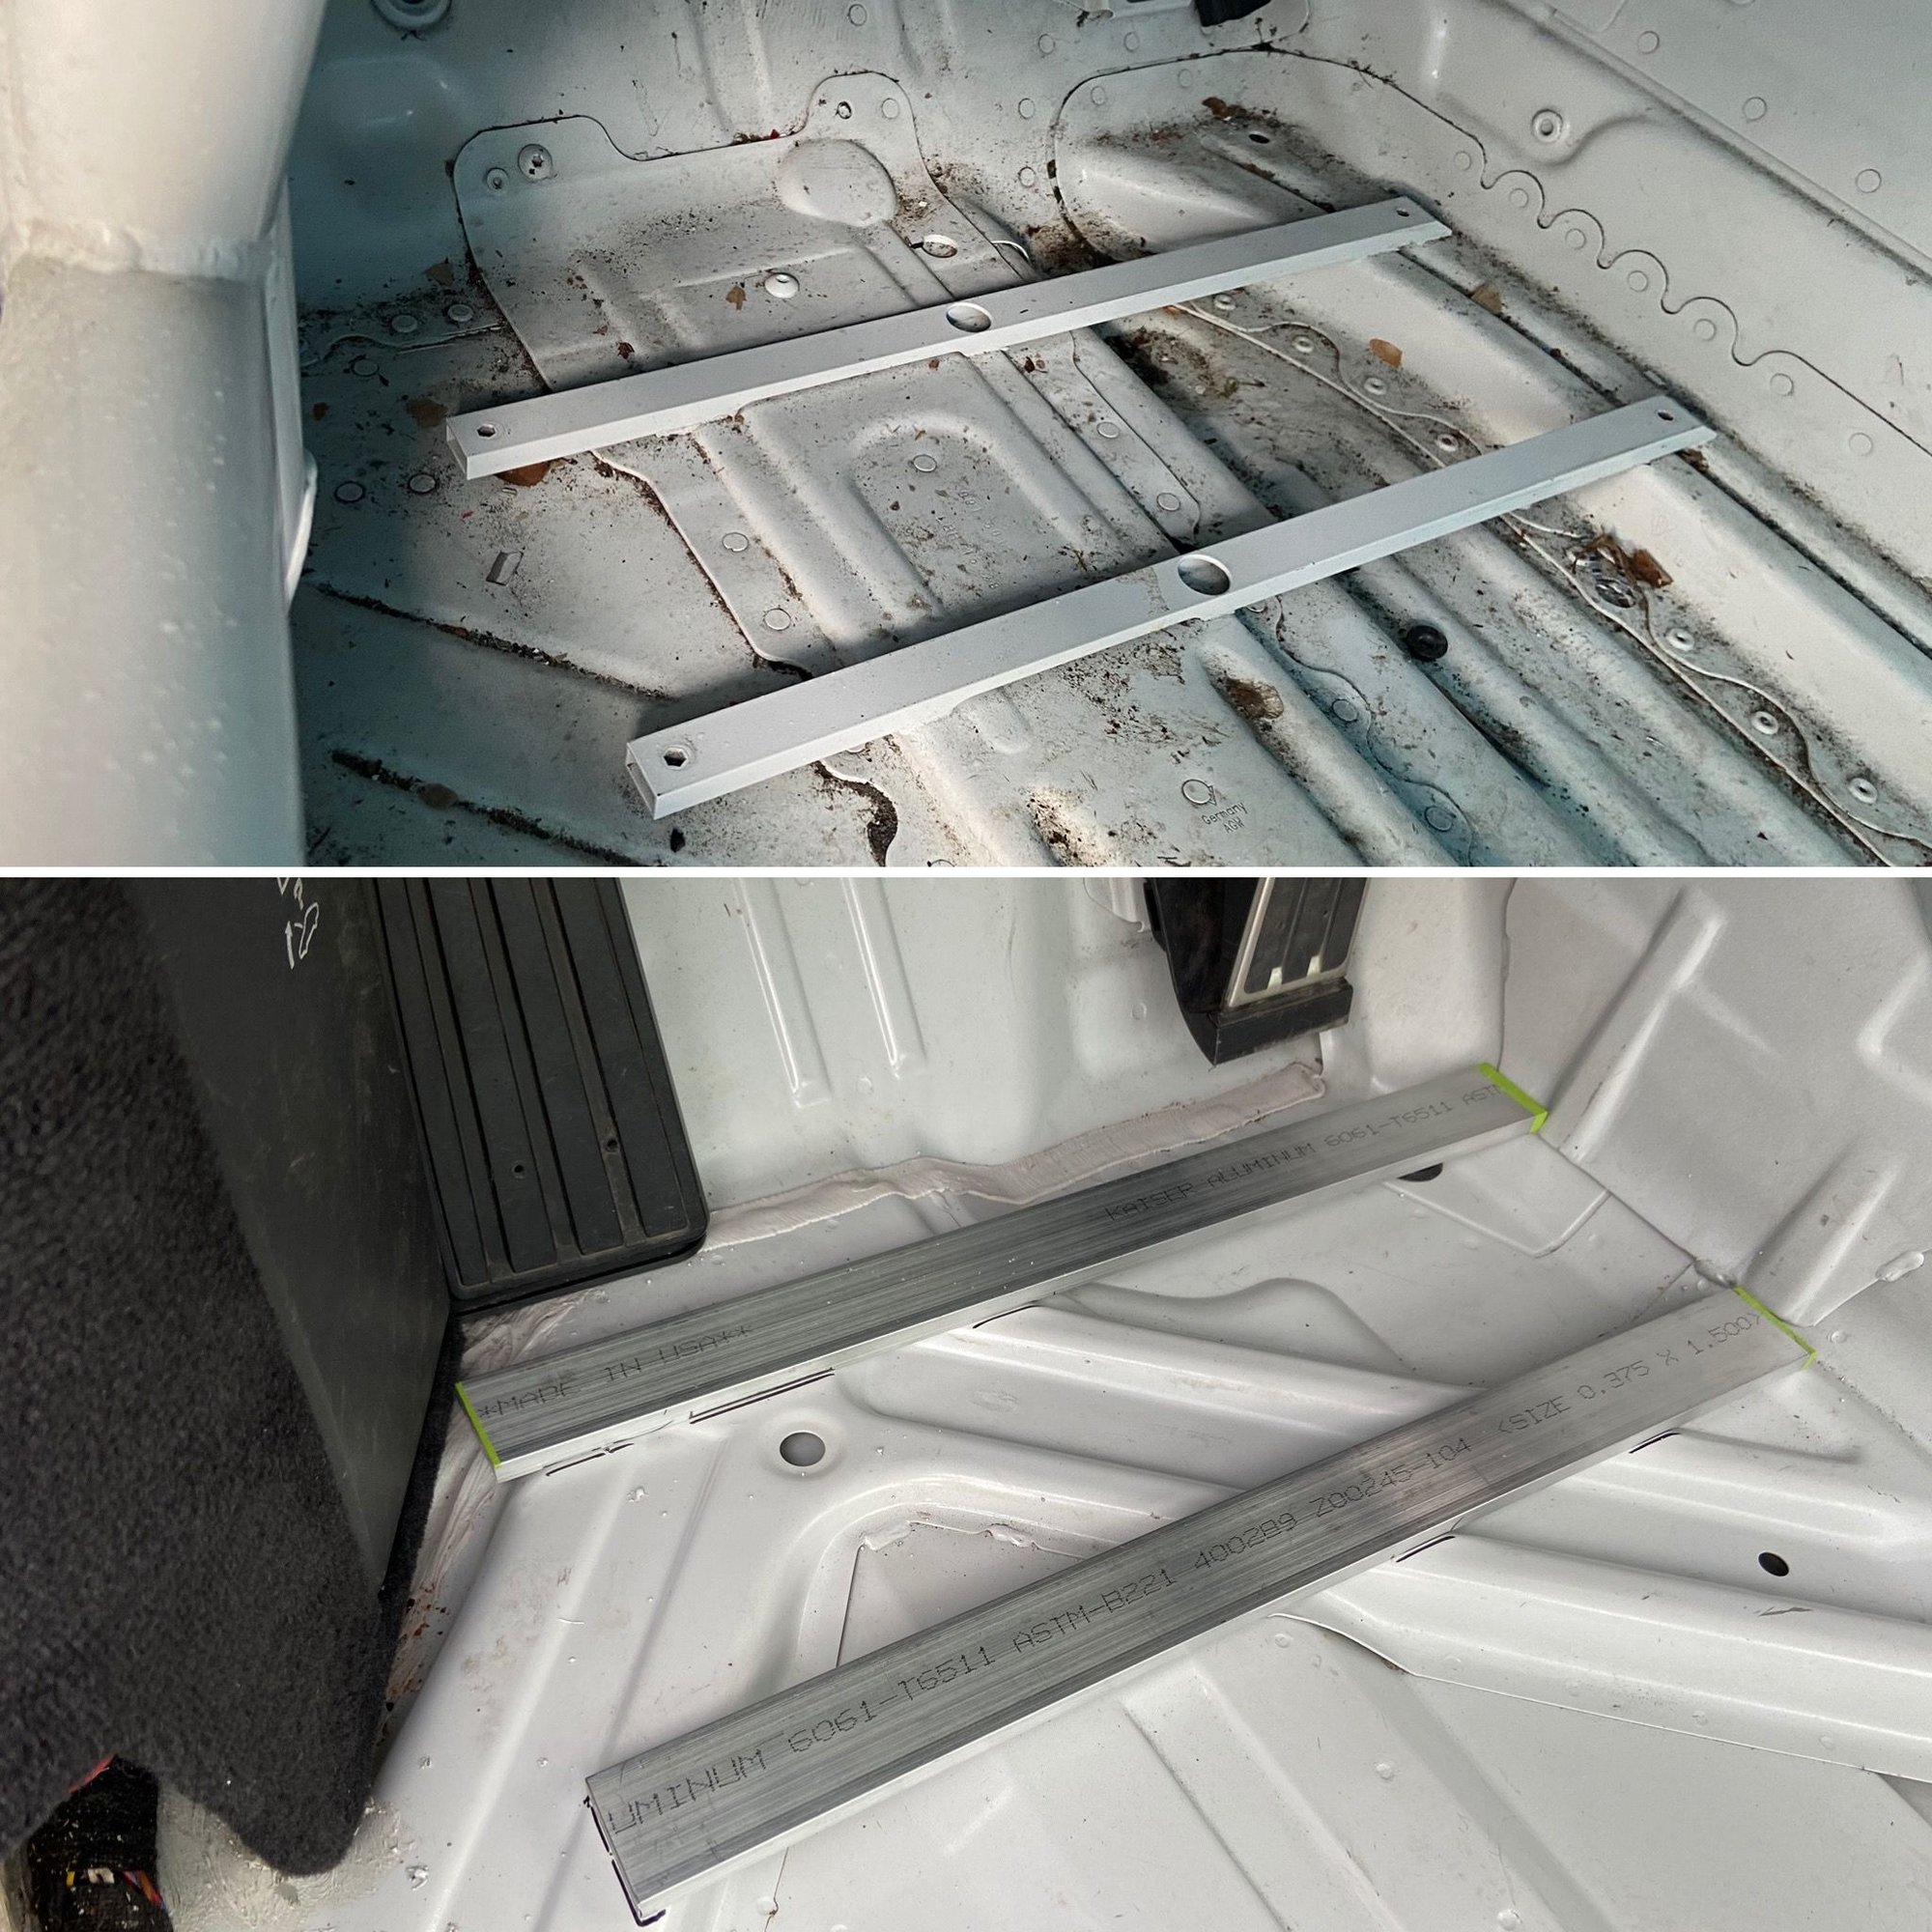
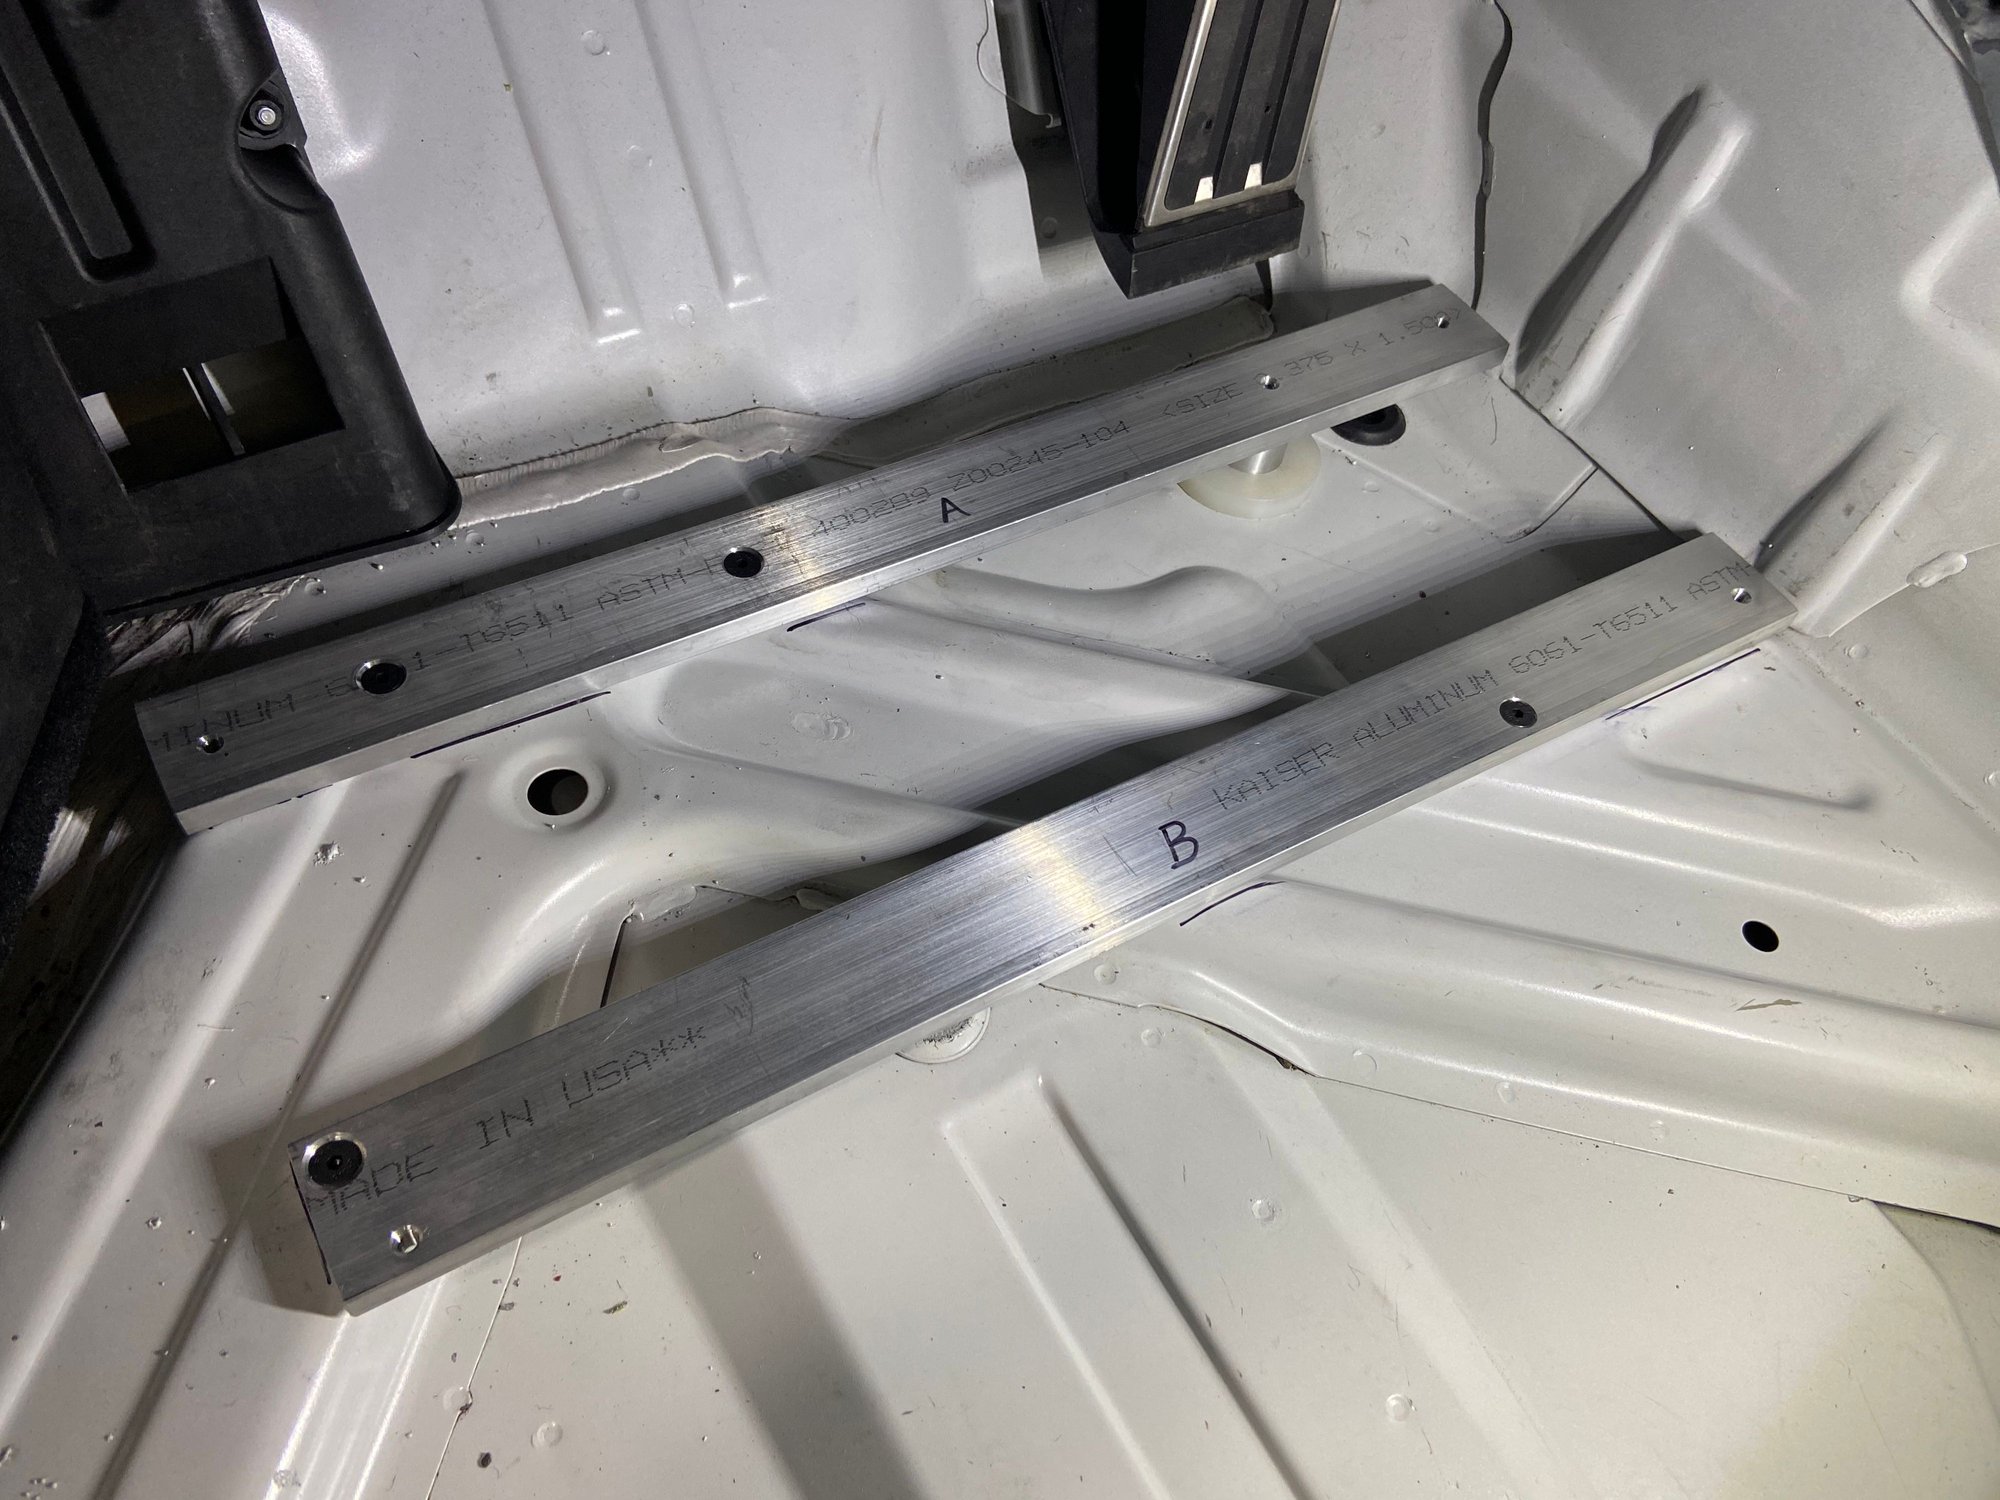
Now I'm working on the 991 Cup floorboard. The 991 Cup floorboard bolts on to two beams. Below is my version of the two beams. I am using solid 6061 aluminum instead of hollow steel. With the aluminum beams lay out on the floor roughly where they should be I have an idea on how the floorboard sits. Will make more measurements and adjustments as I go along.
The shape and the width of the floor between a 991 and 997 aren't the same so trimming is required. I started with 2 cuts then fitted it in the car a few more times with more cuts.
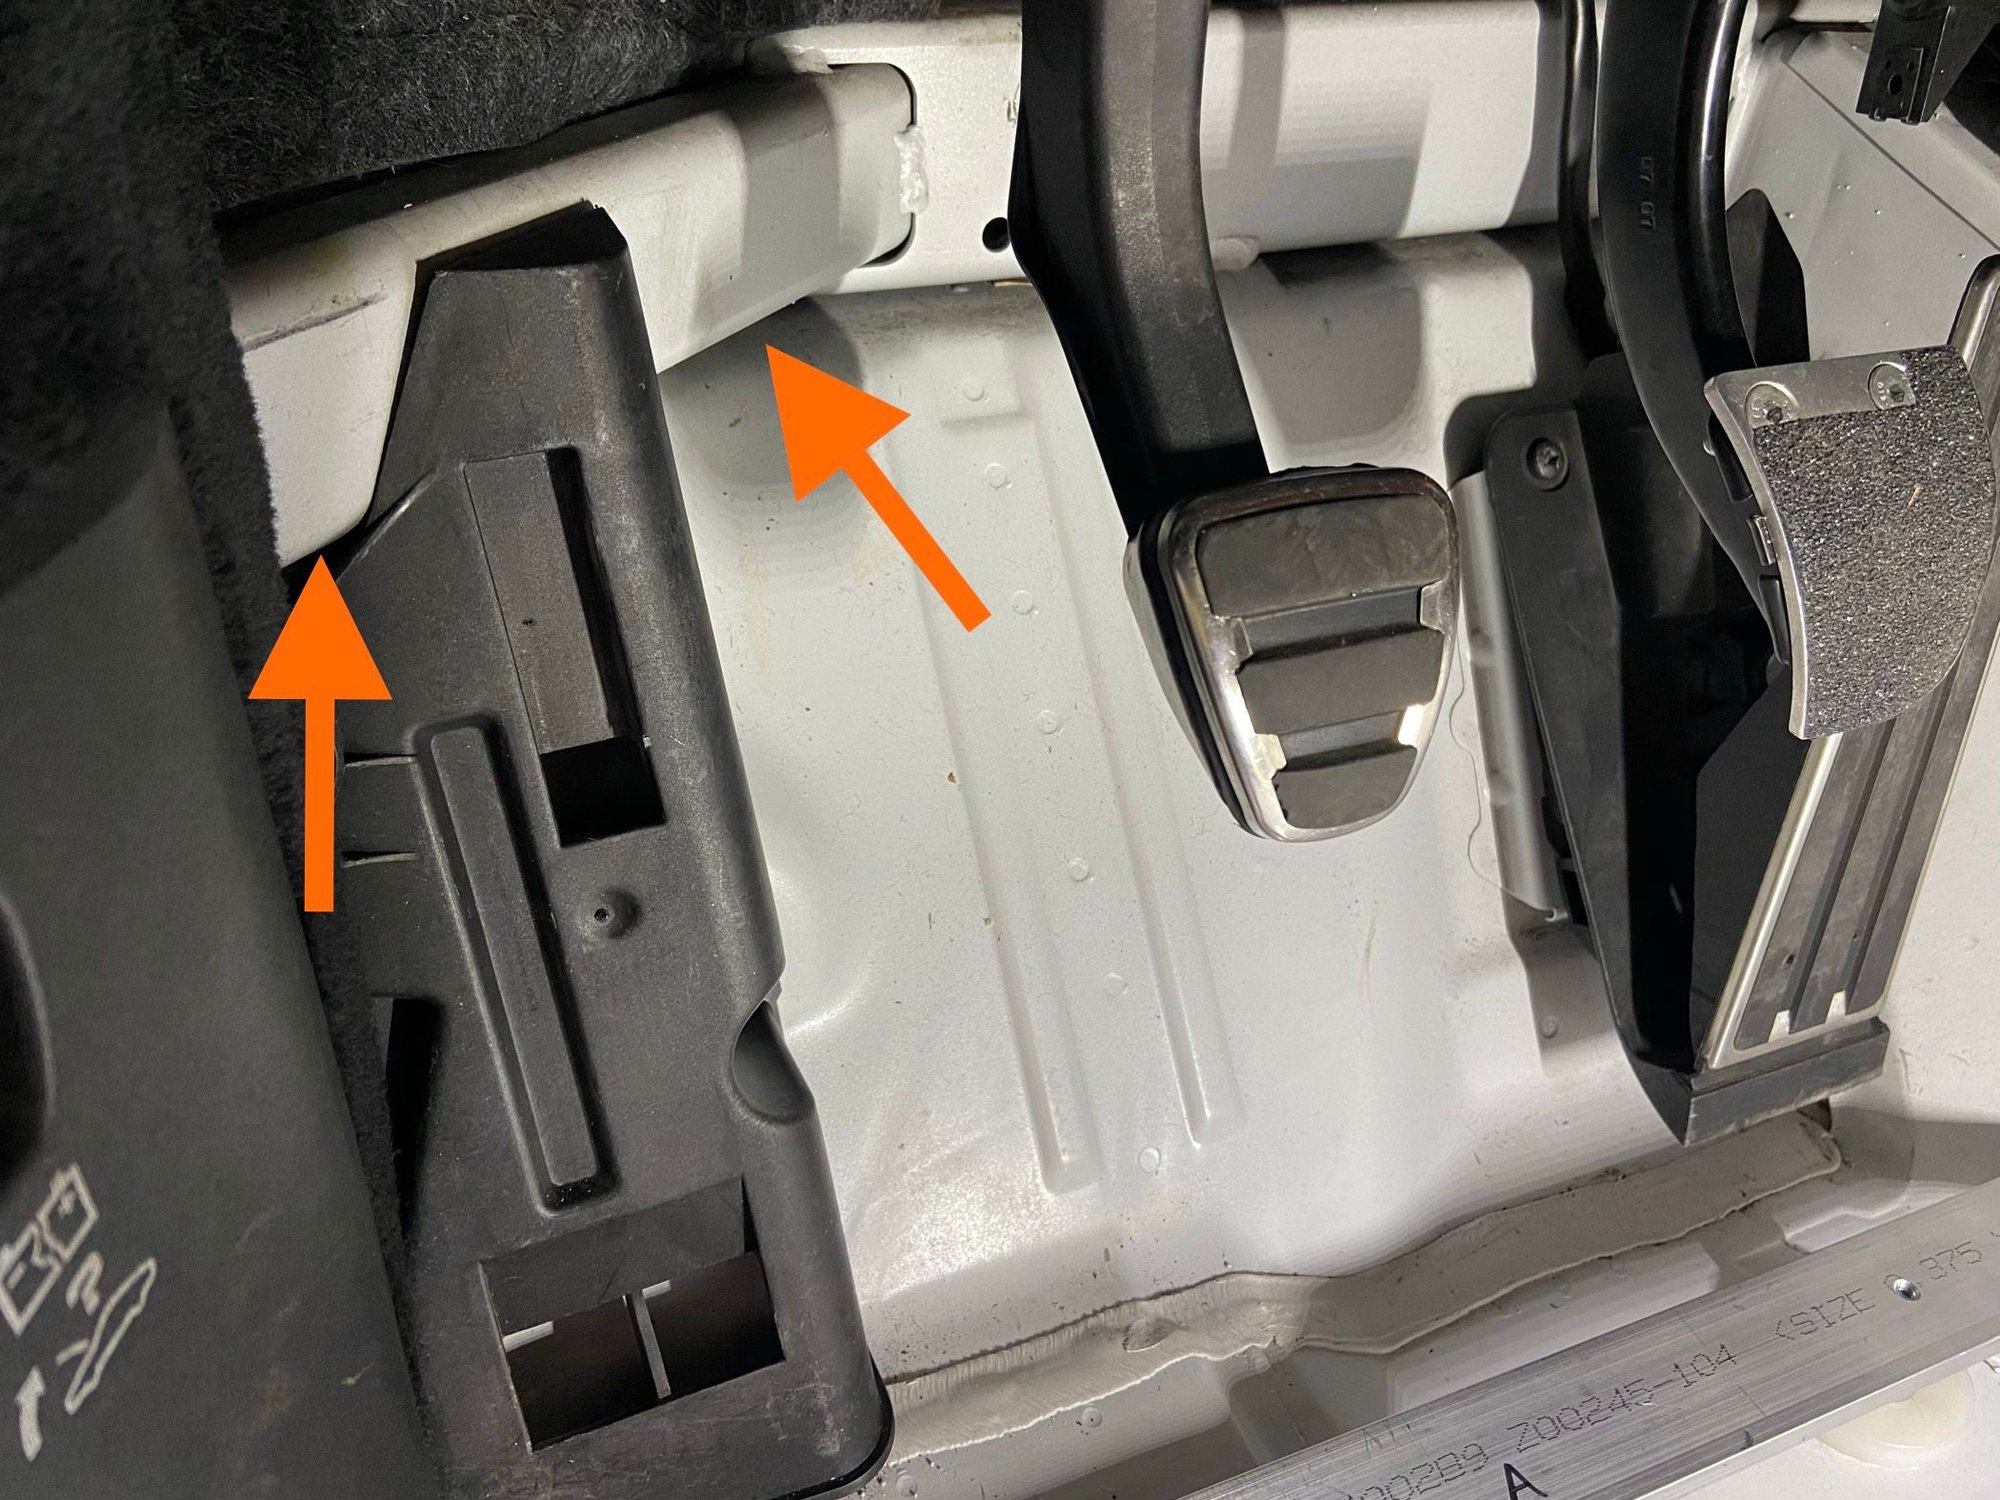
Had to trim the upper corner of the dead pedal to clear a structural frame member.
This is the structural frame member.
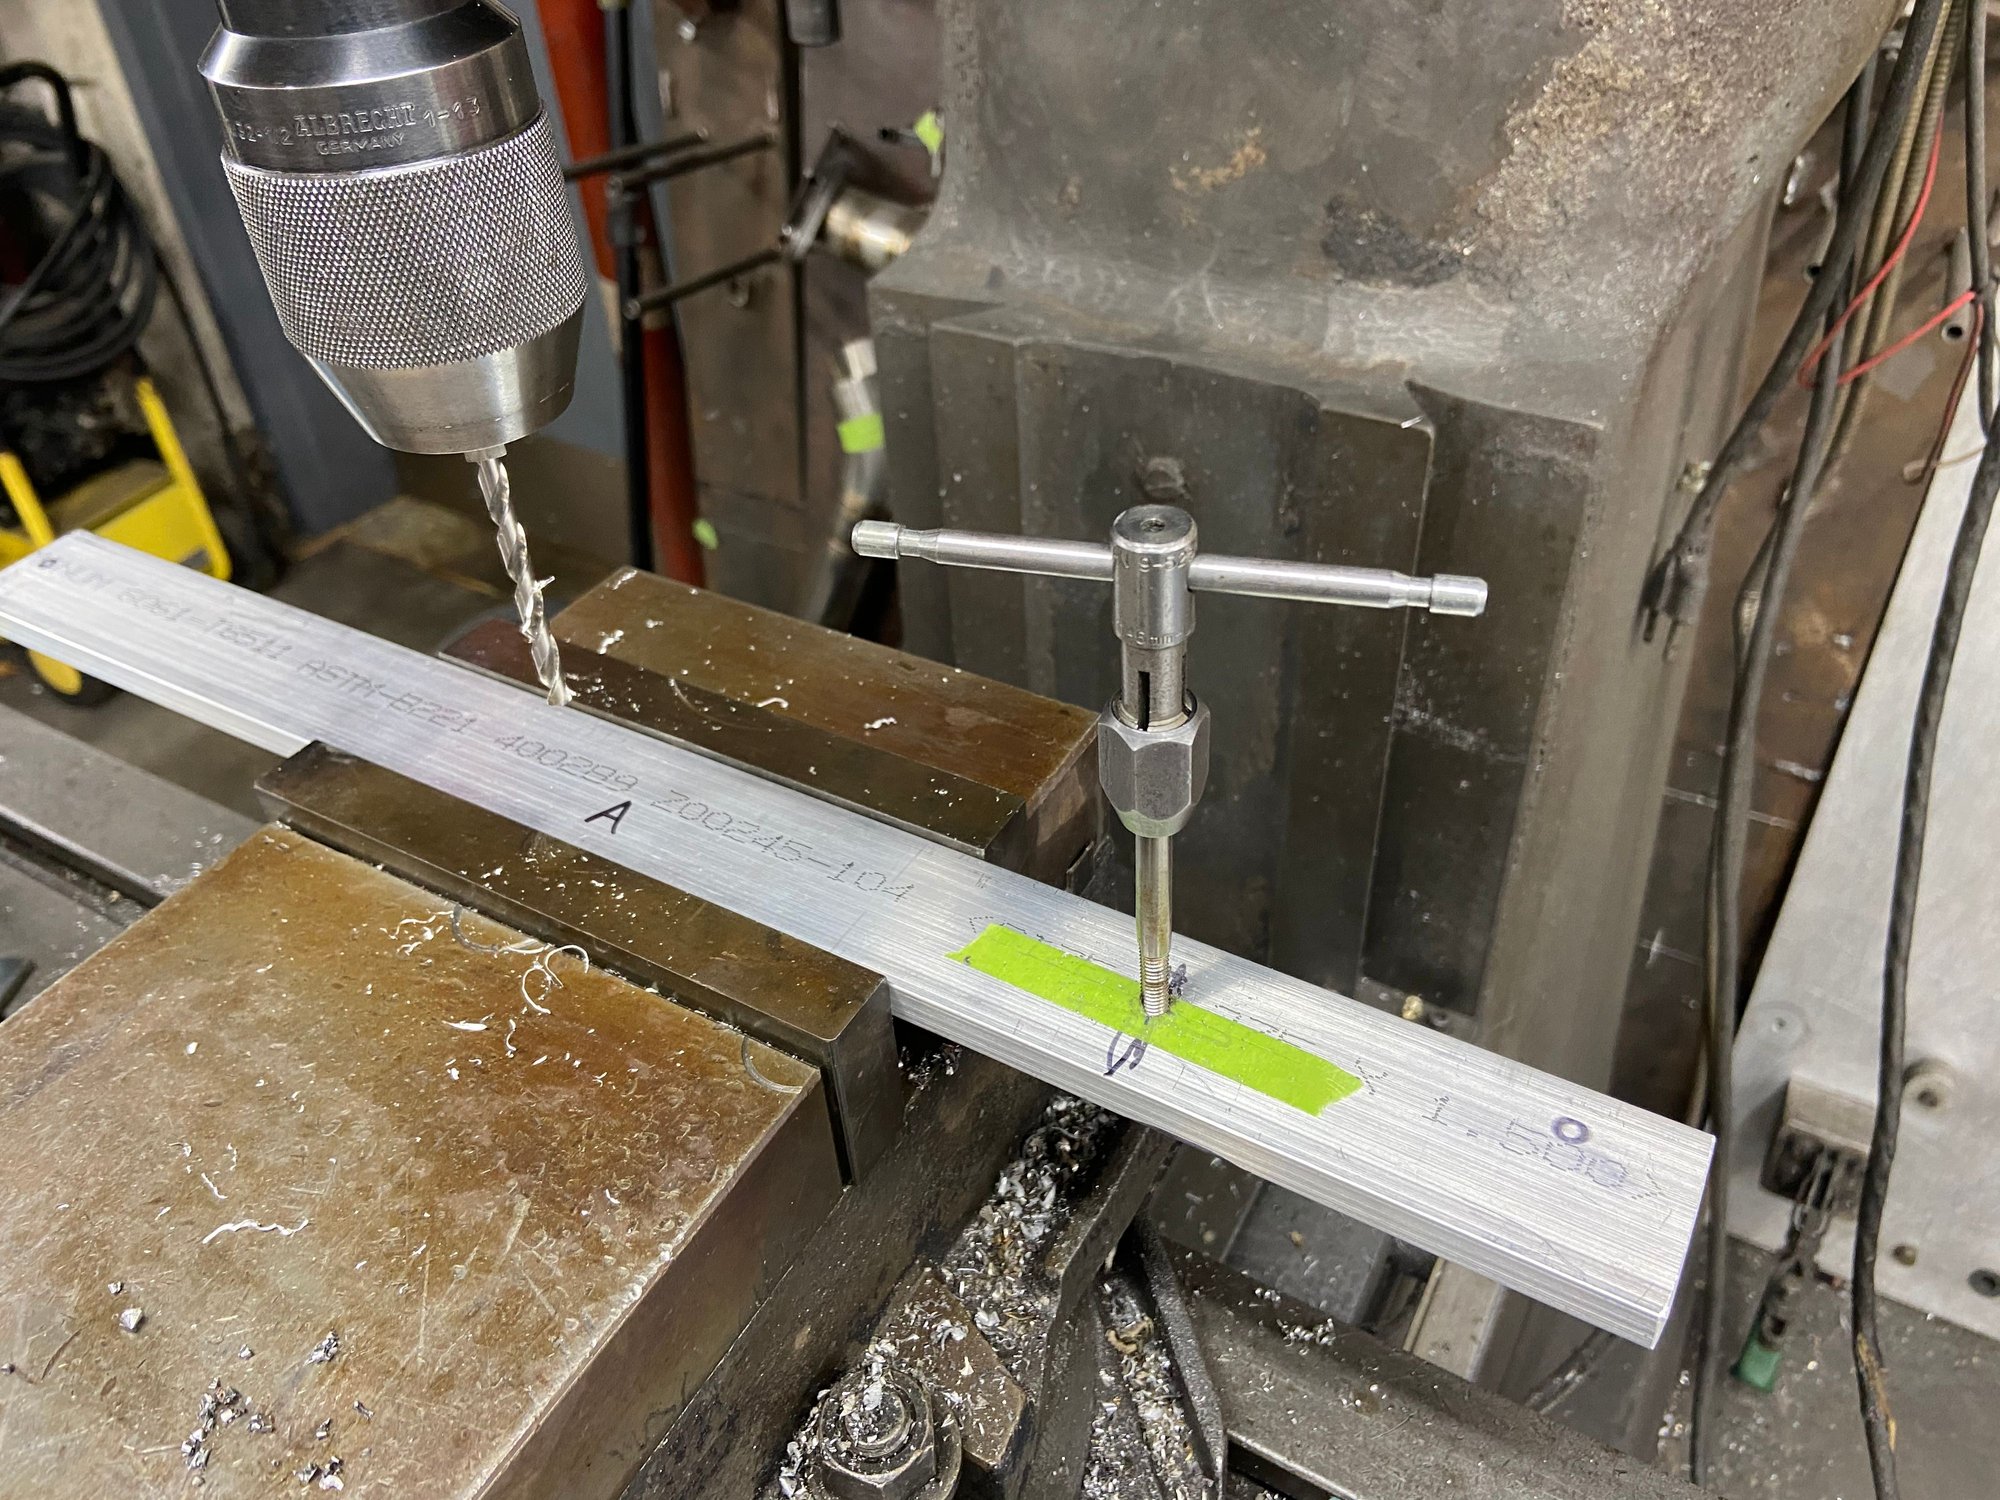
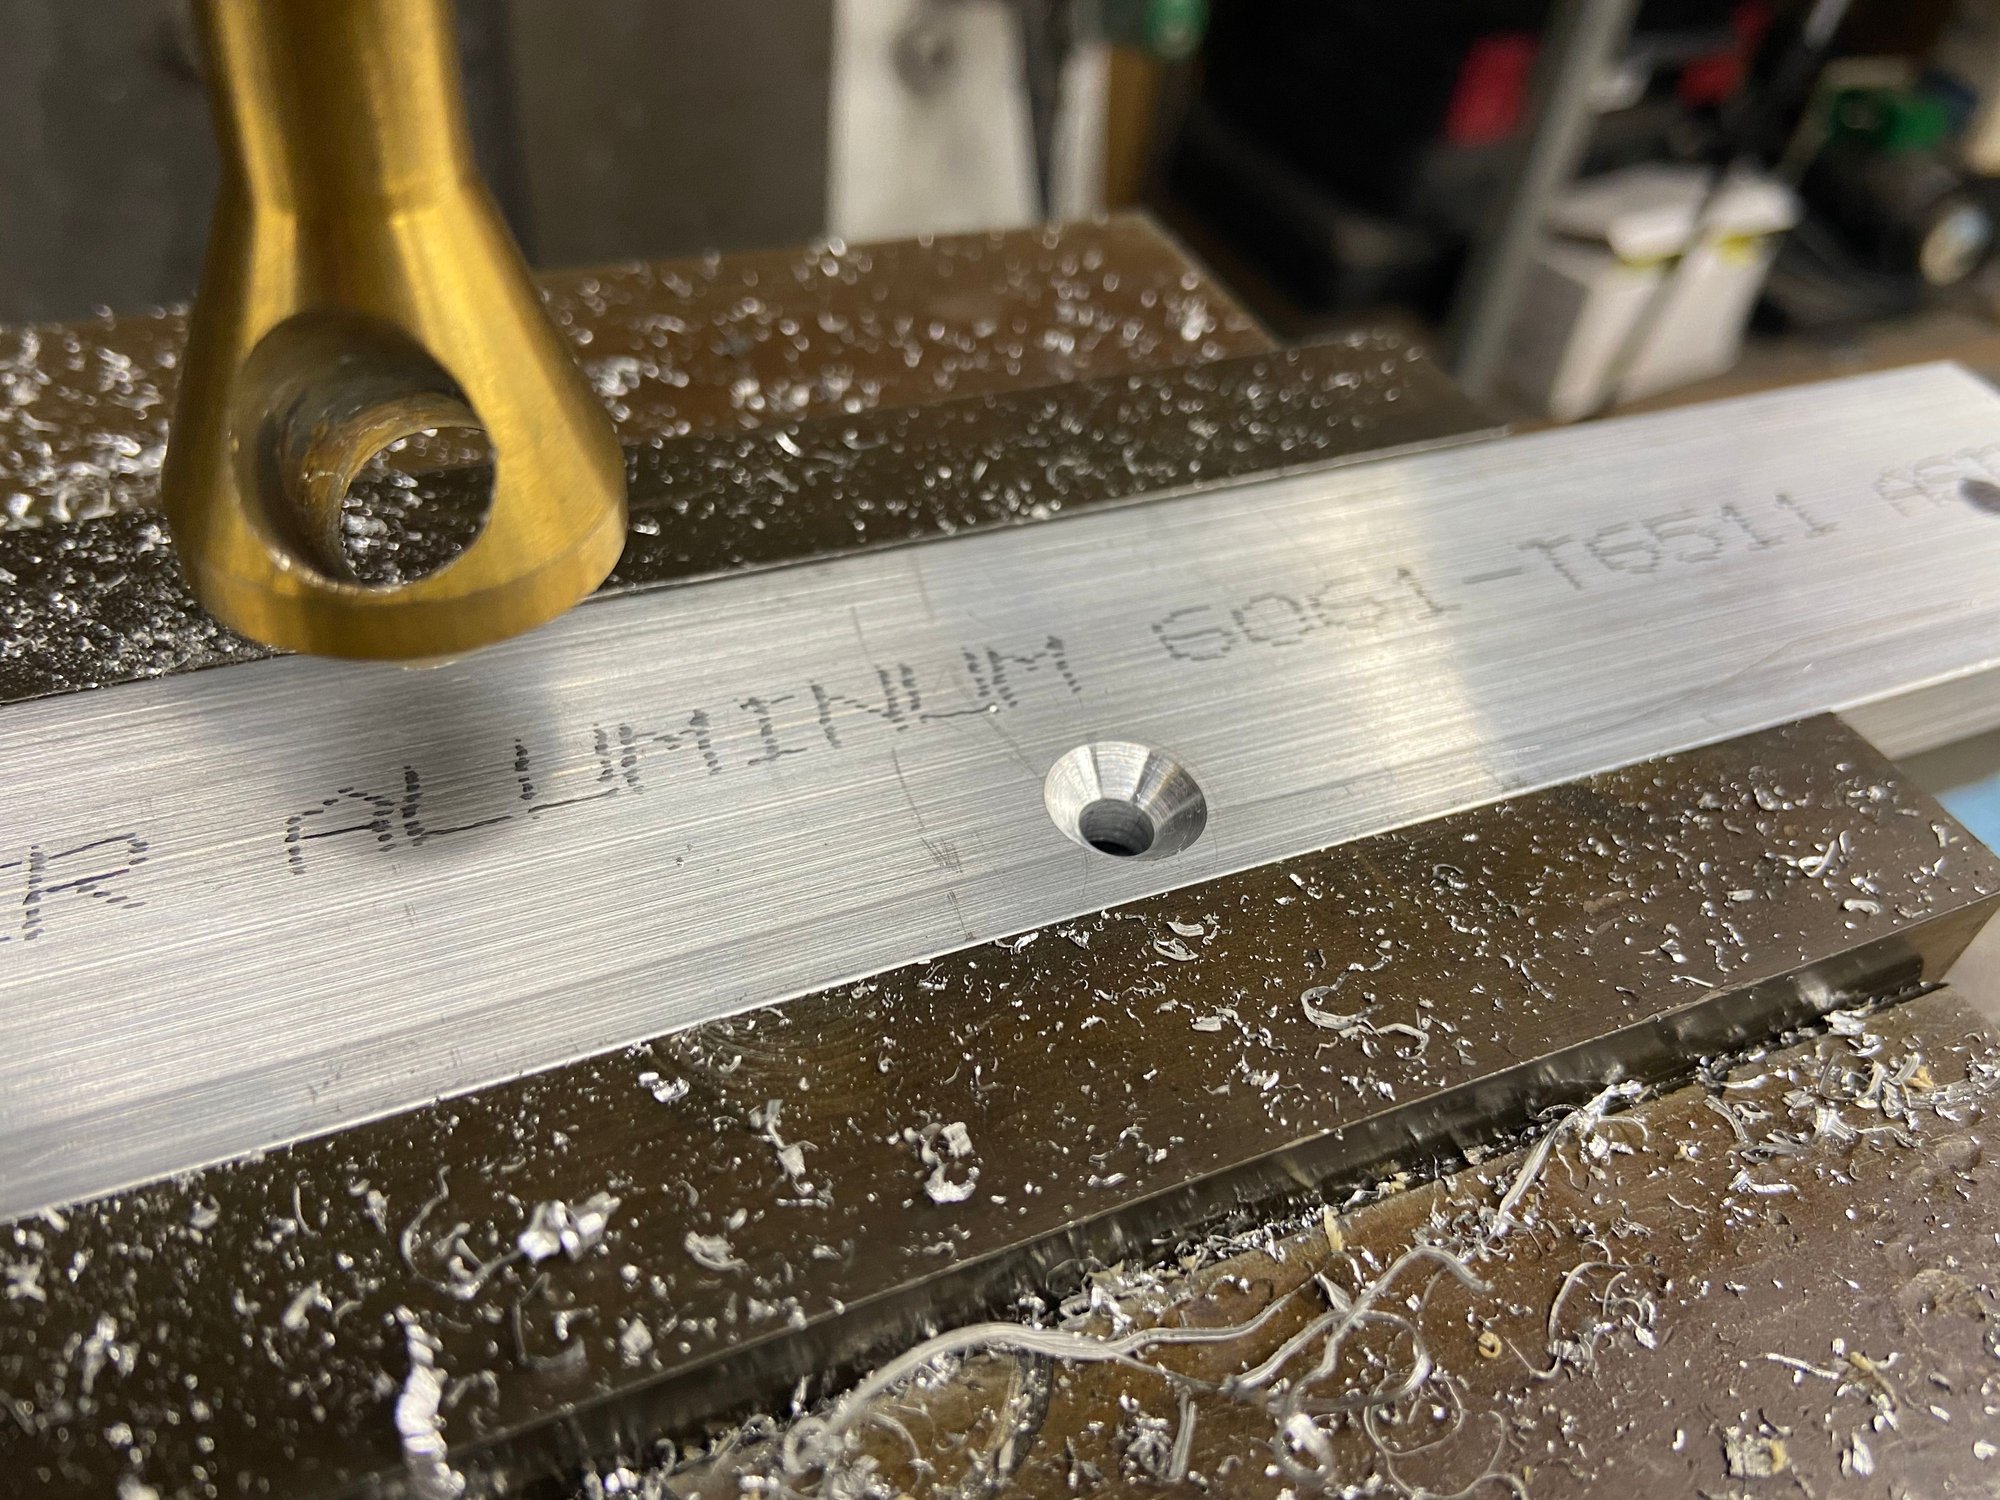
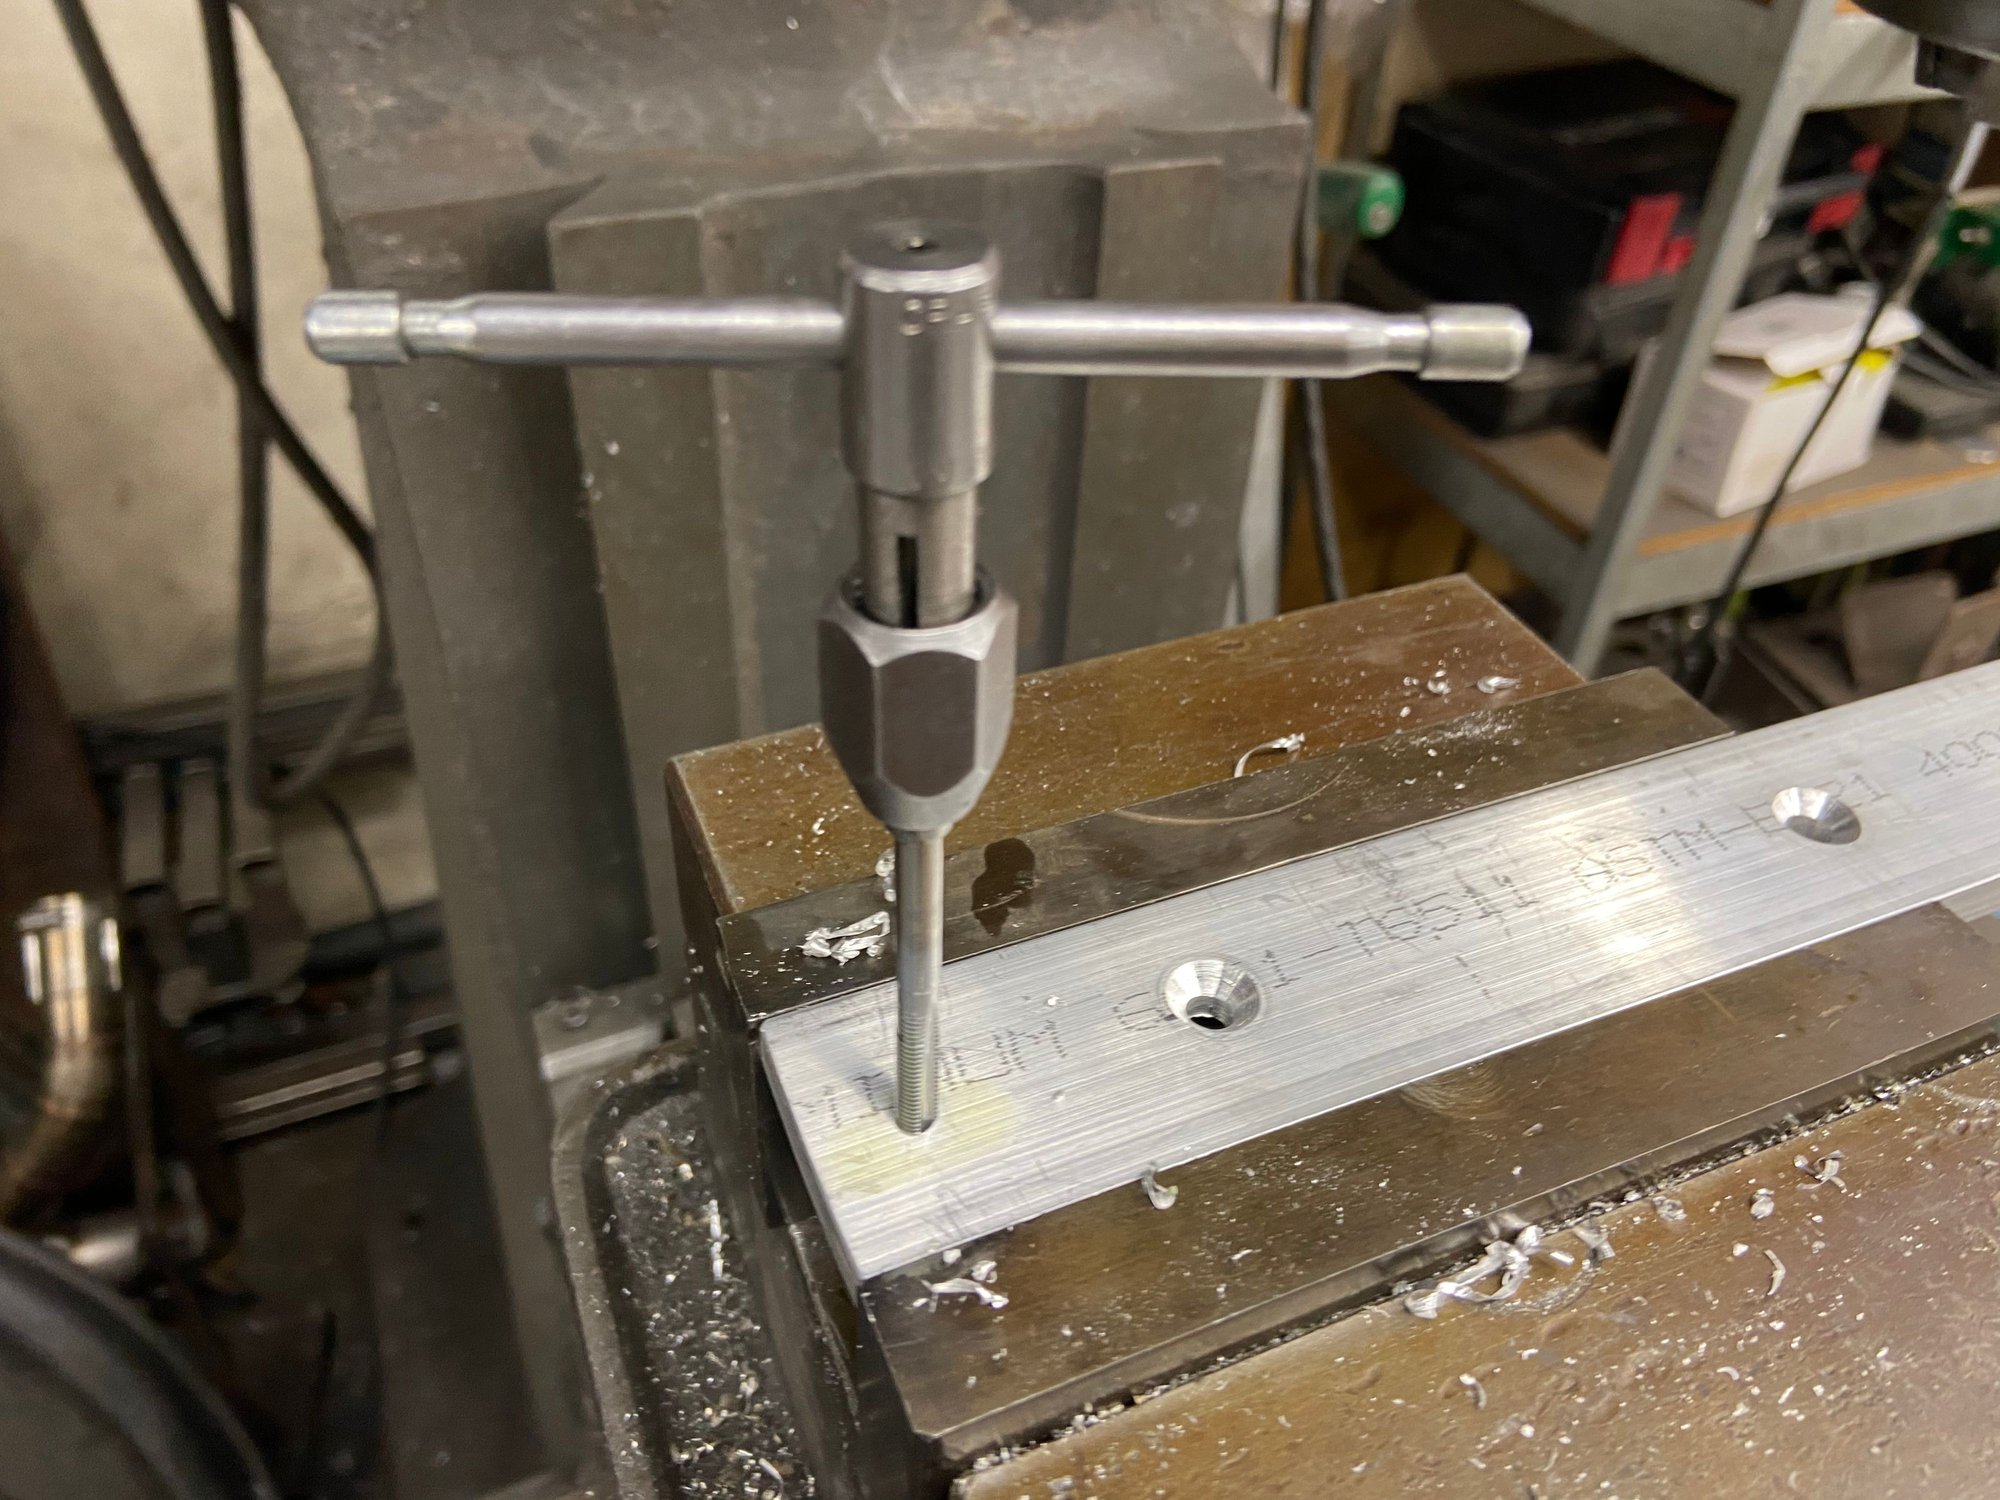
Next was preparing the aluminum beams with countersunk on the top side, end mill at the bottom side, and thread for M5 fasteners(same thread size as 991 Cup).
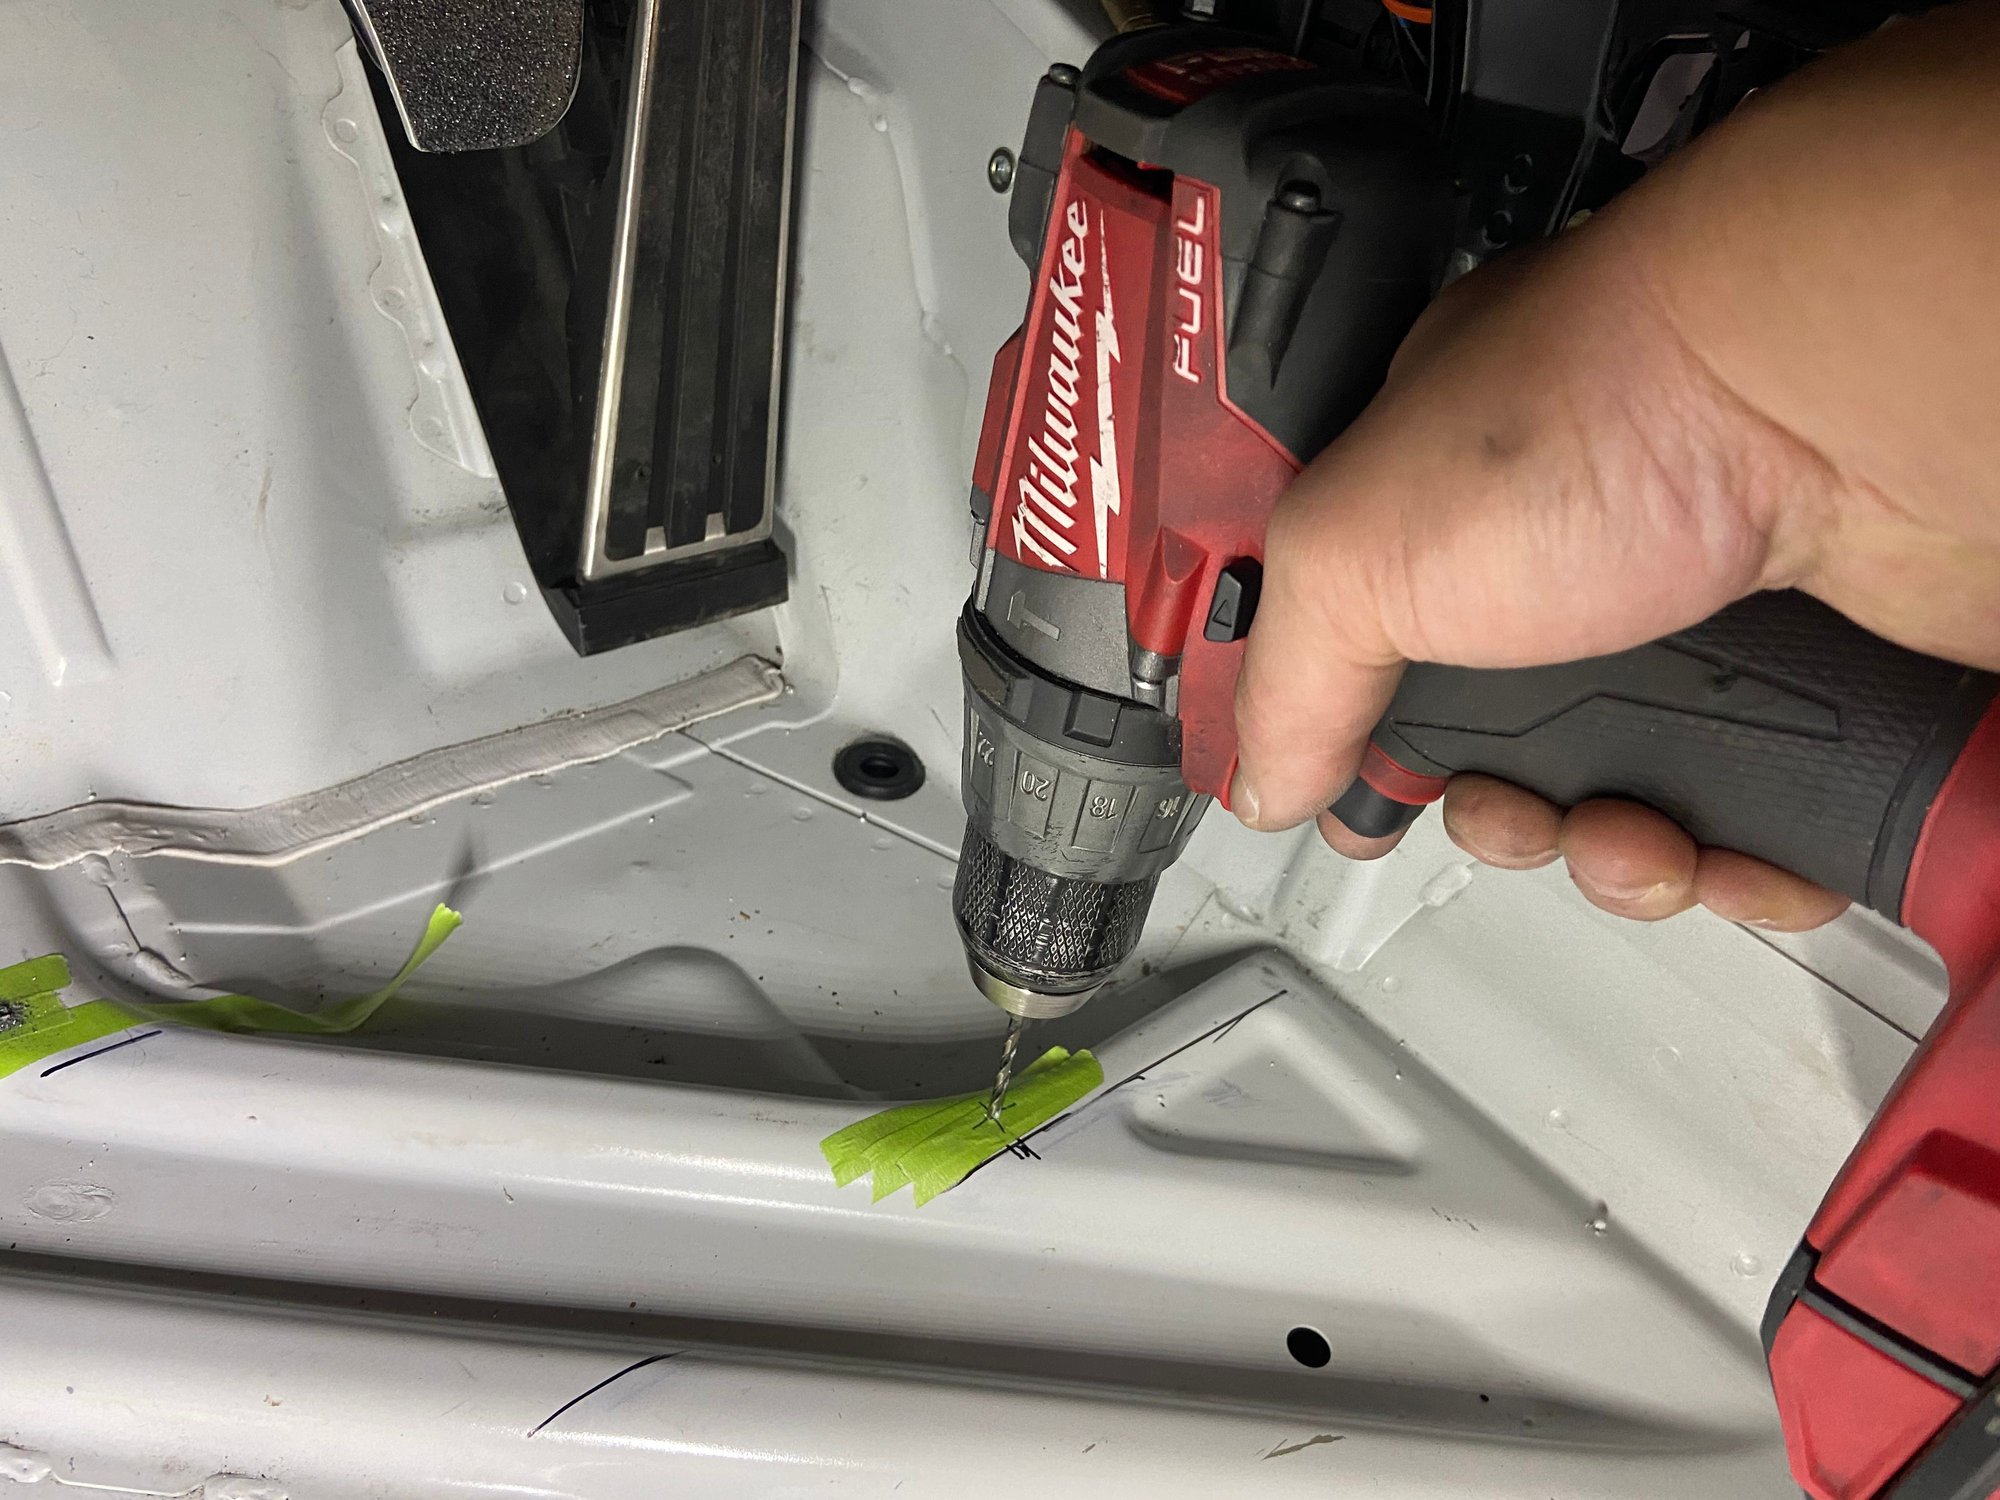
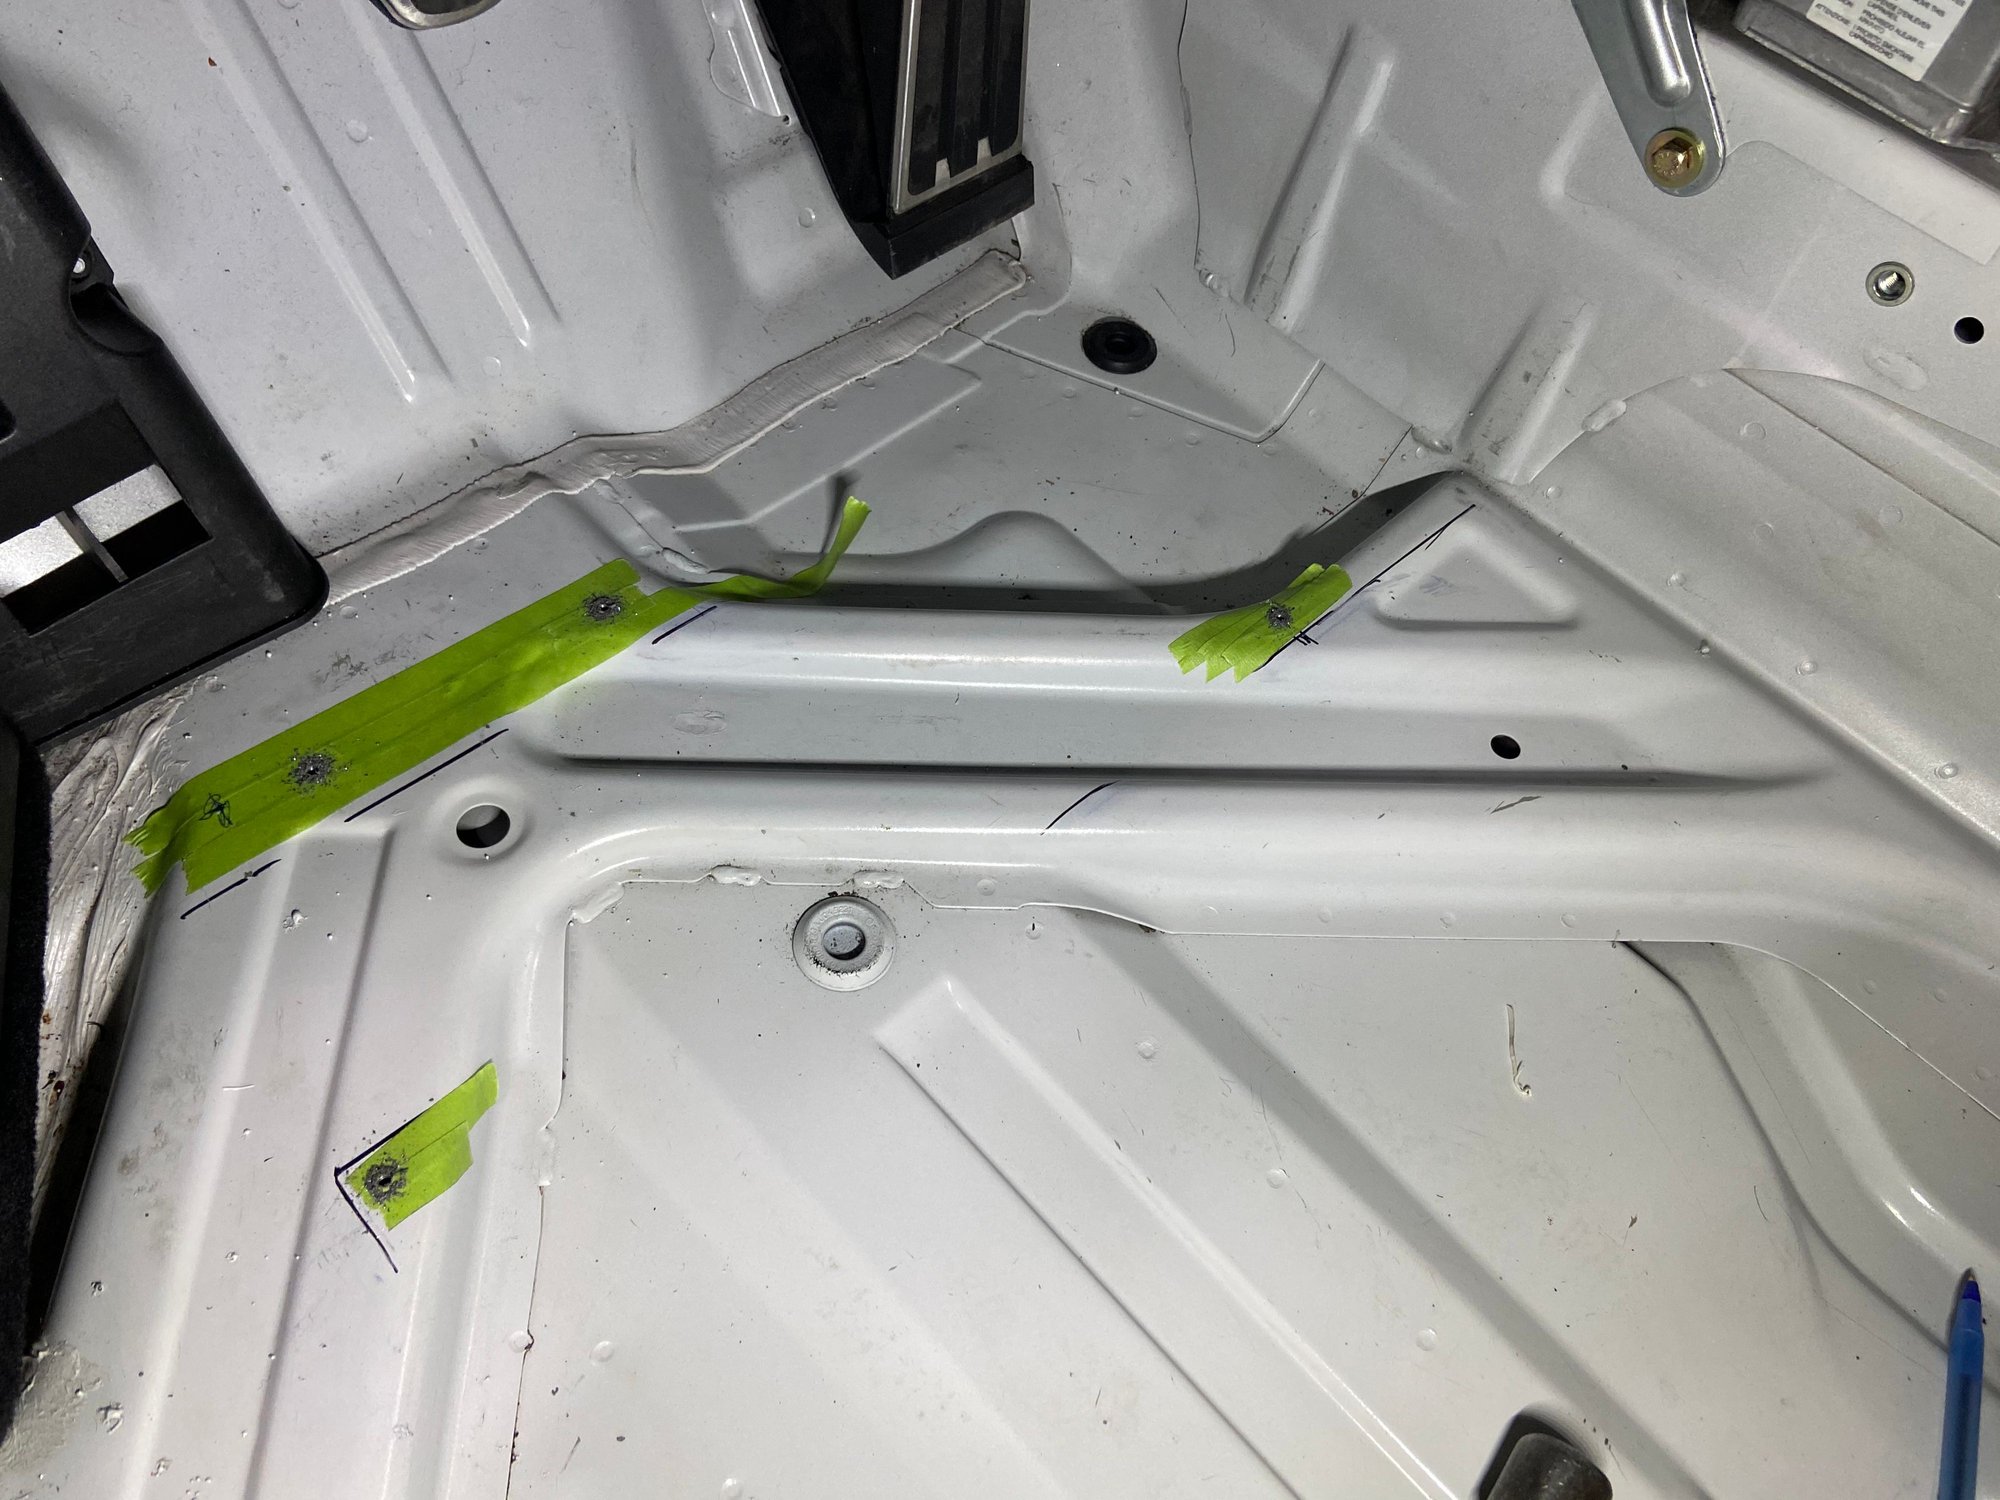
Drilling four holes on the floor for the beams. Four on the Floor...Haha.
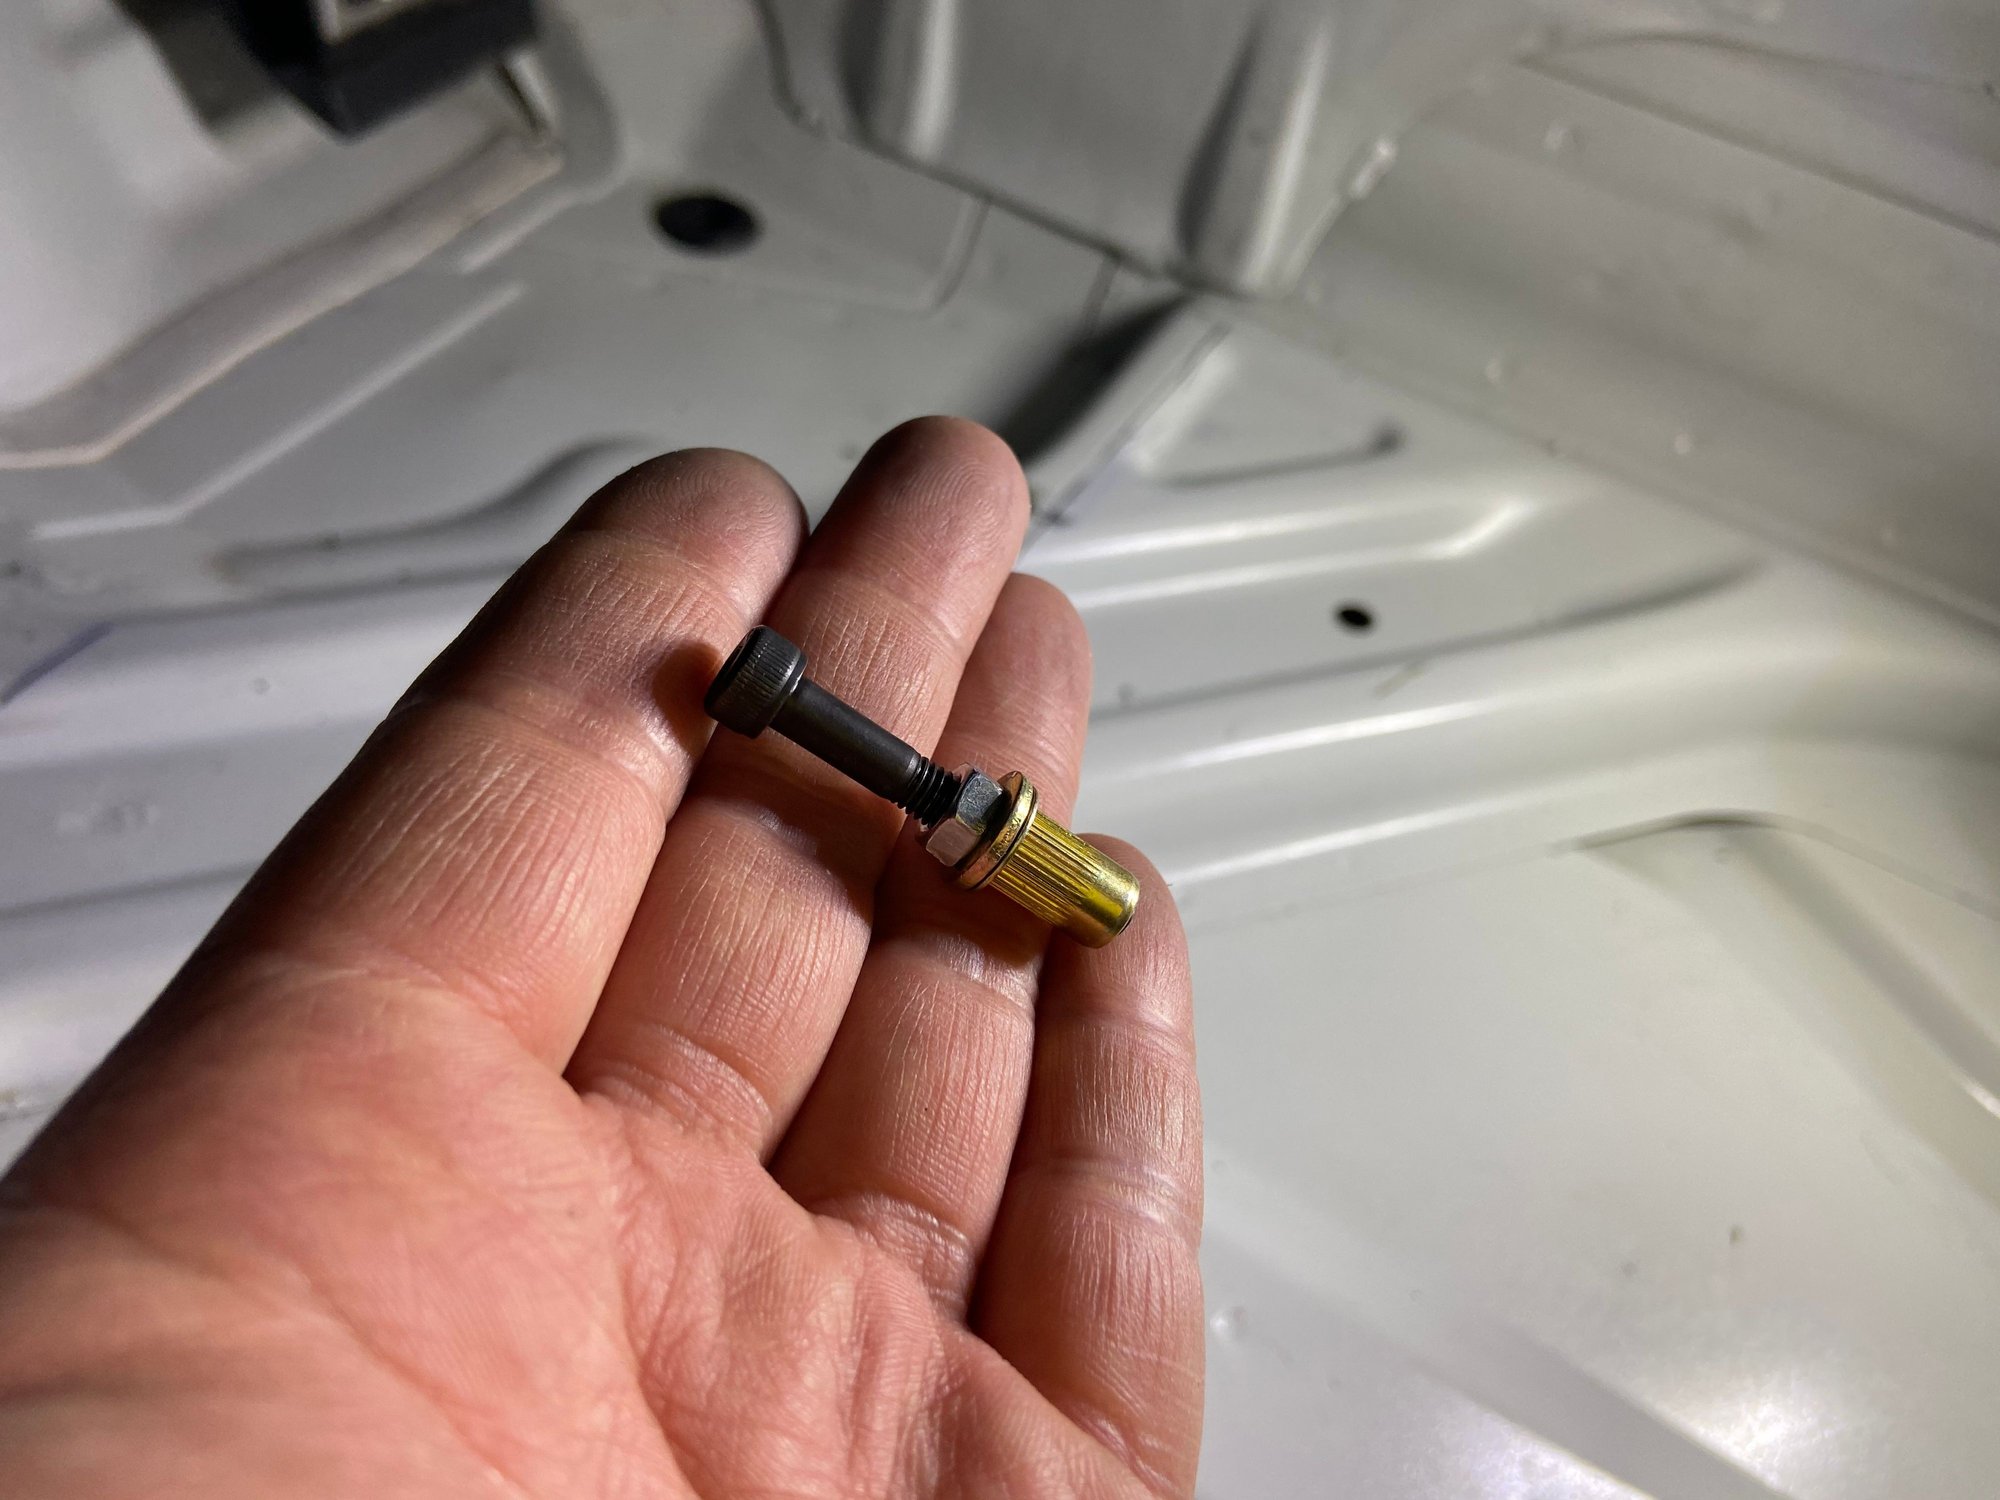
Blind Nuts(aka Rivet Nuts) are perfect for this application.
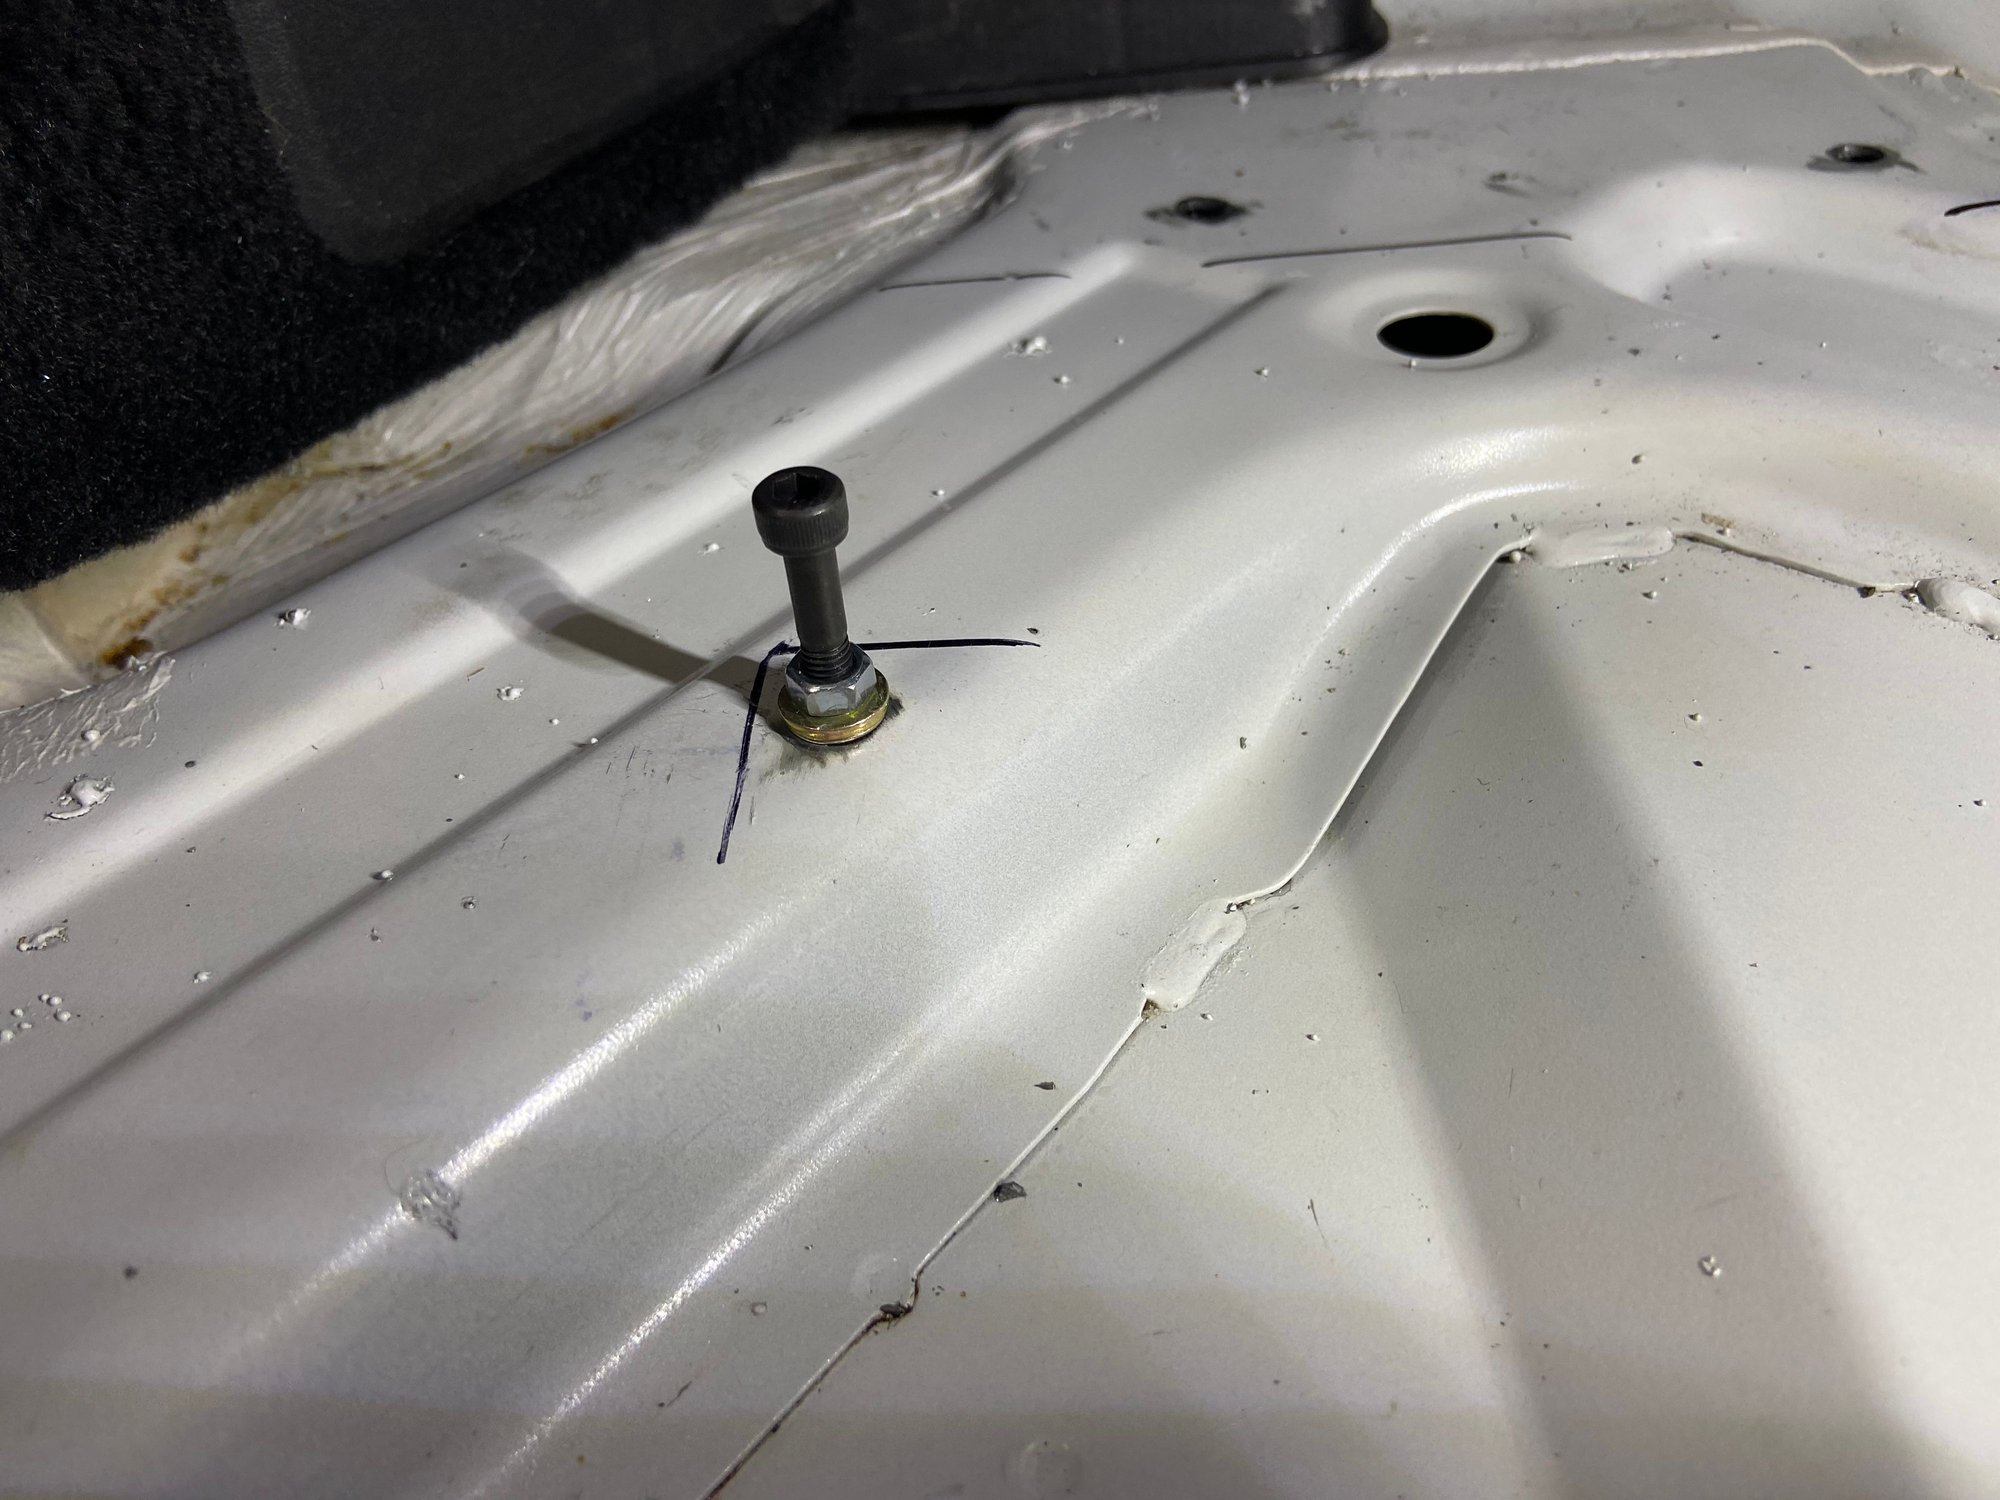
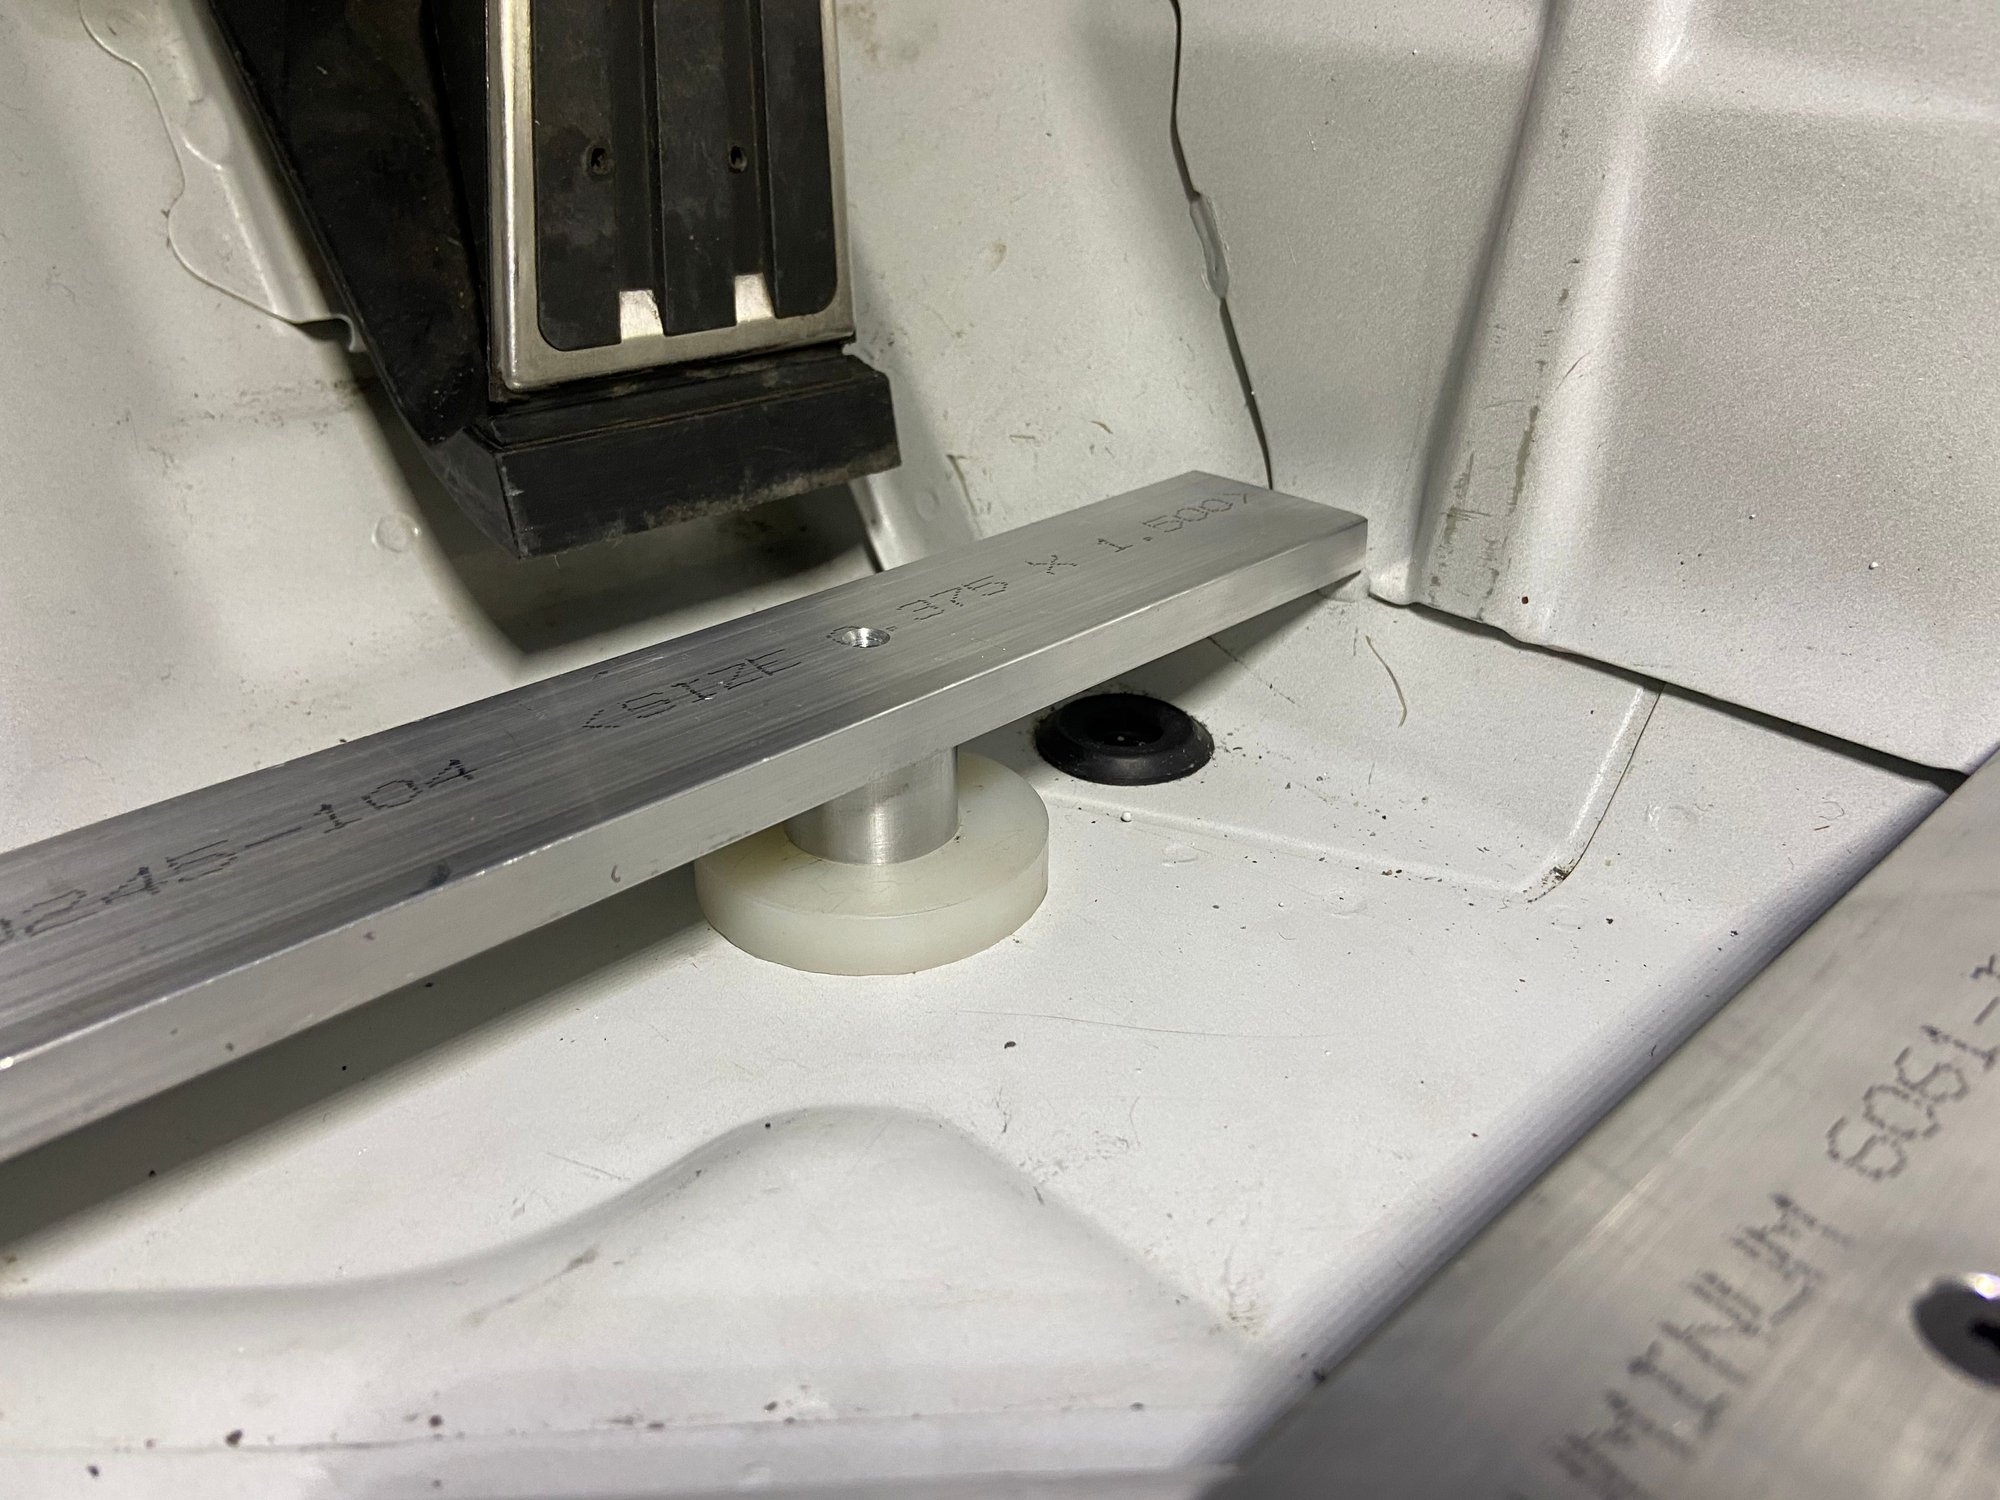
Now the beams can be bolted to the floor through the Blind Nuts. Countersunk on top side makes a nice flush mount for the floor board. And made a "footing" under where the throttle heel goes.
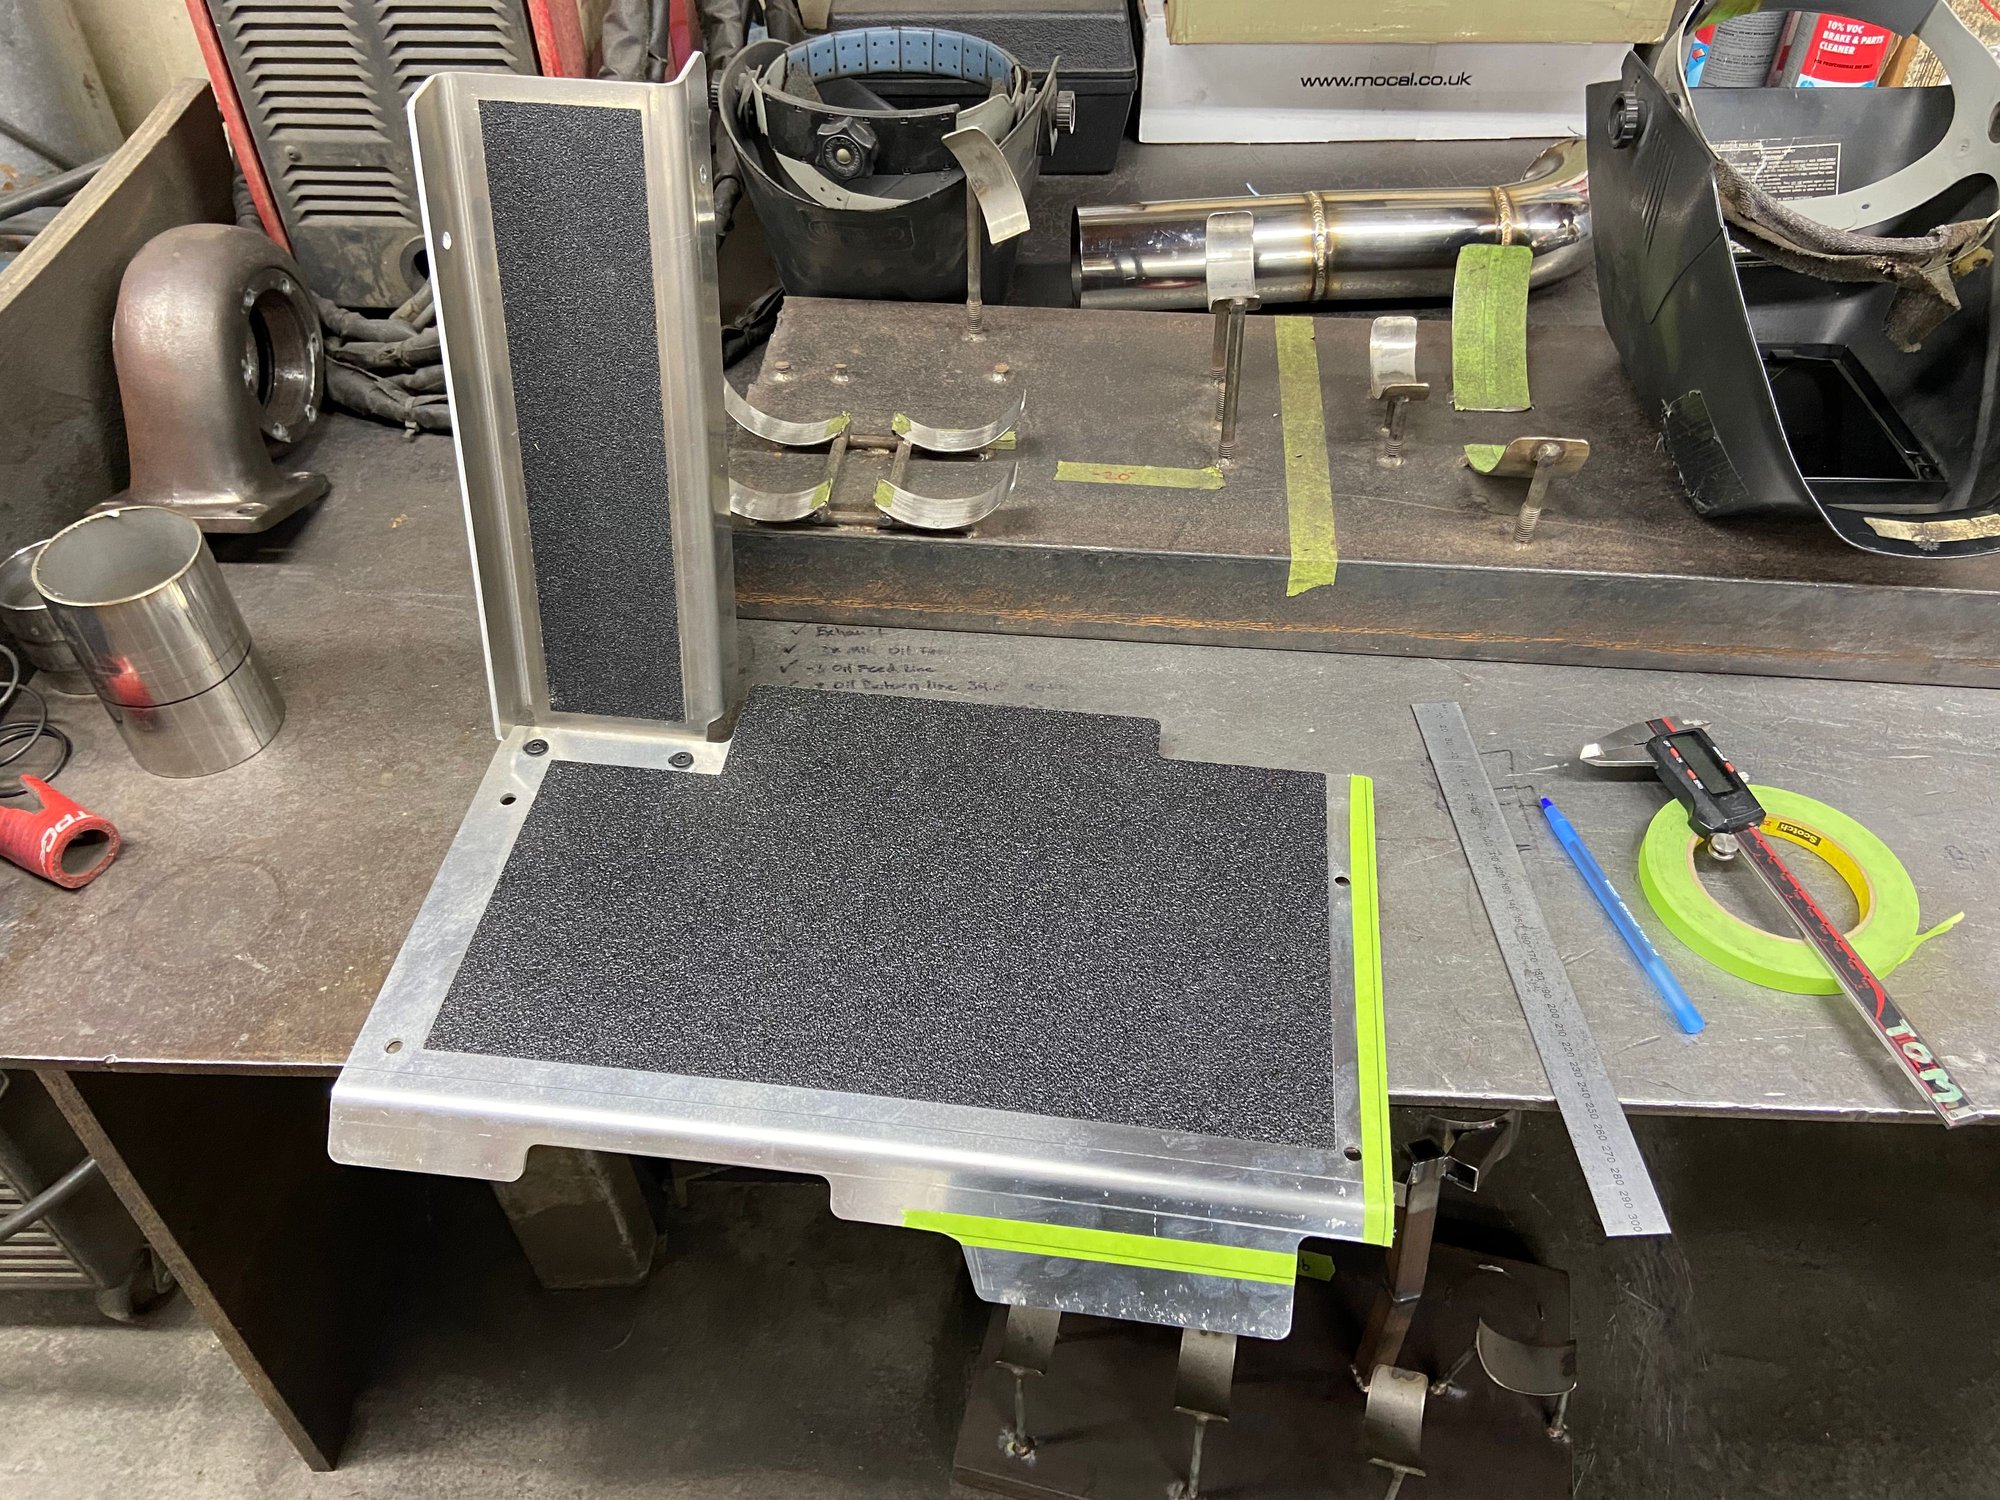
Here's a close up of the throttle heel footing. Exact height so the beam is parallel and rock steady.
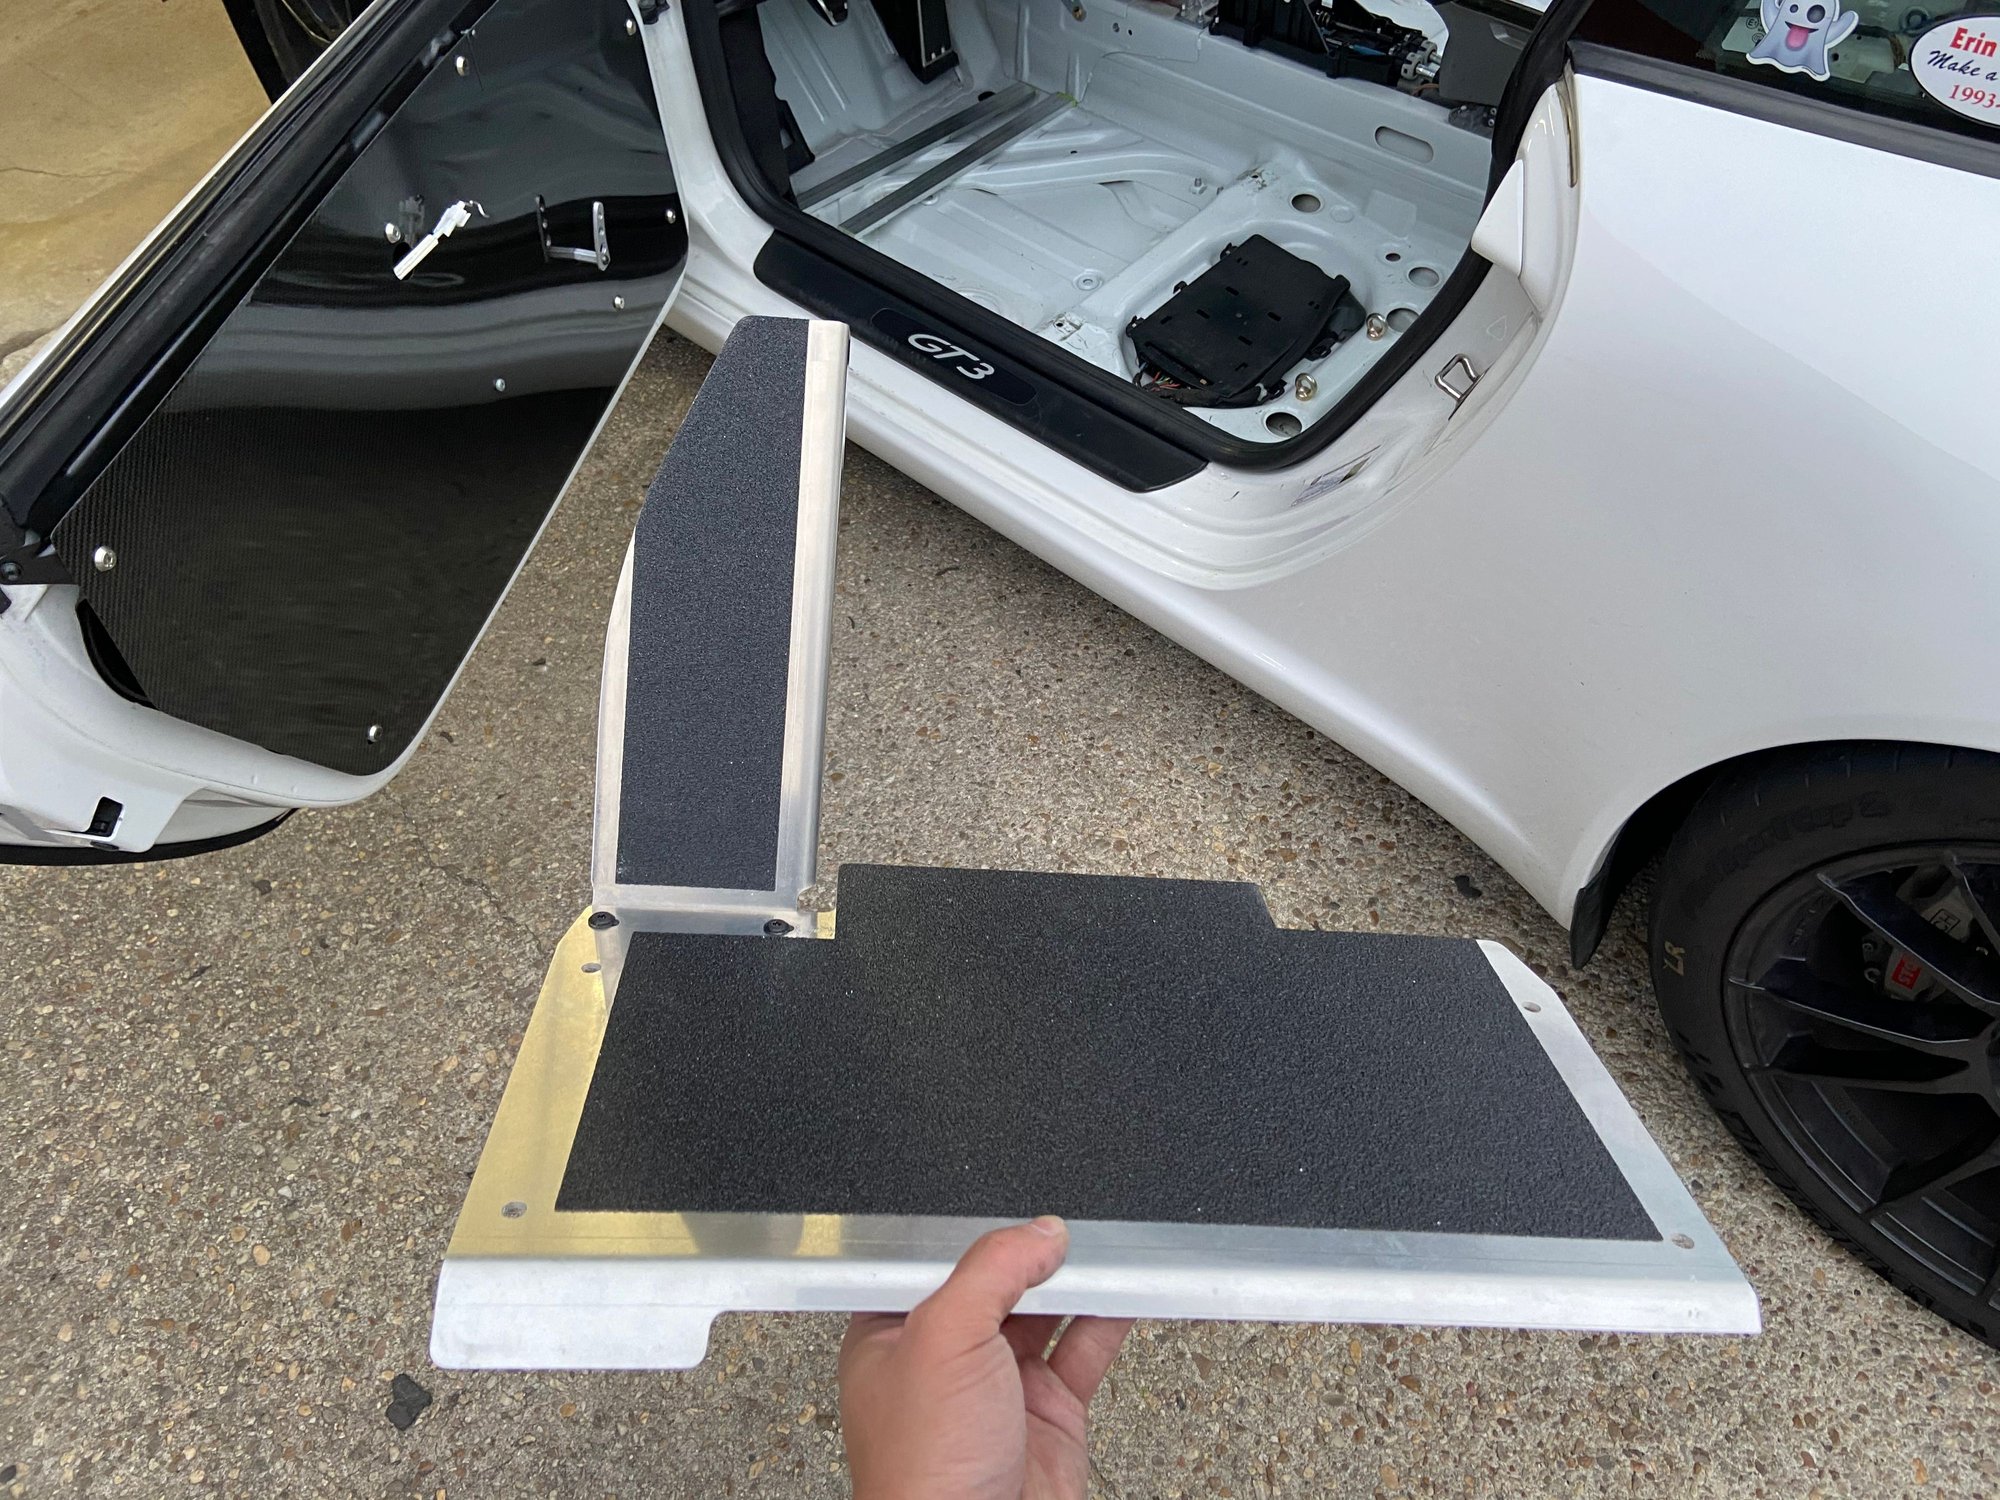
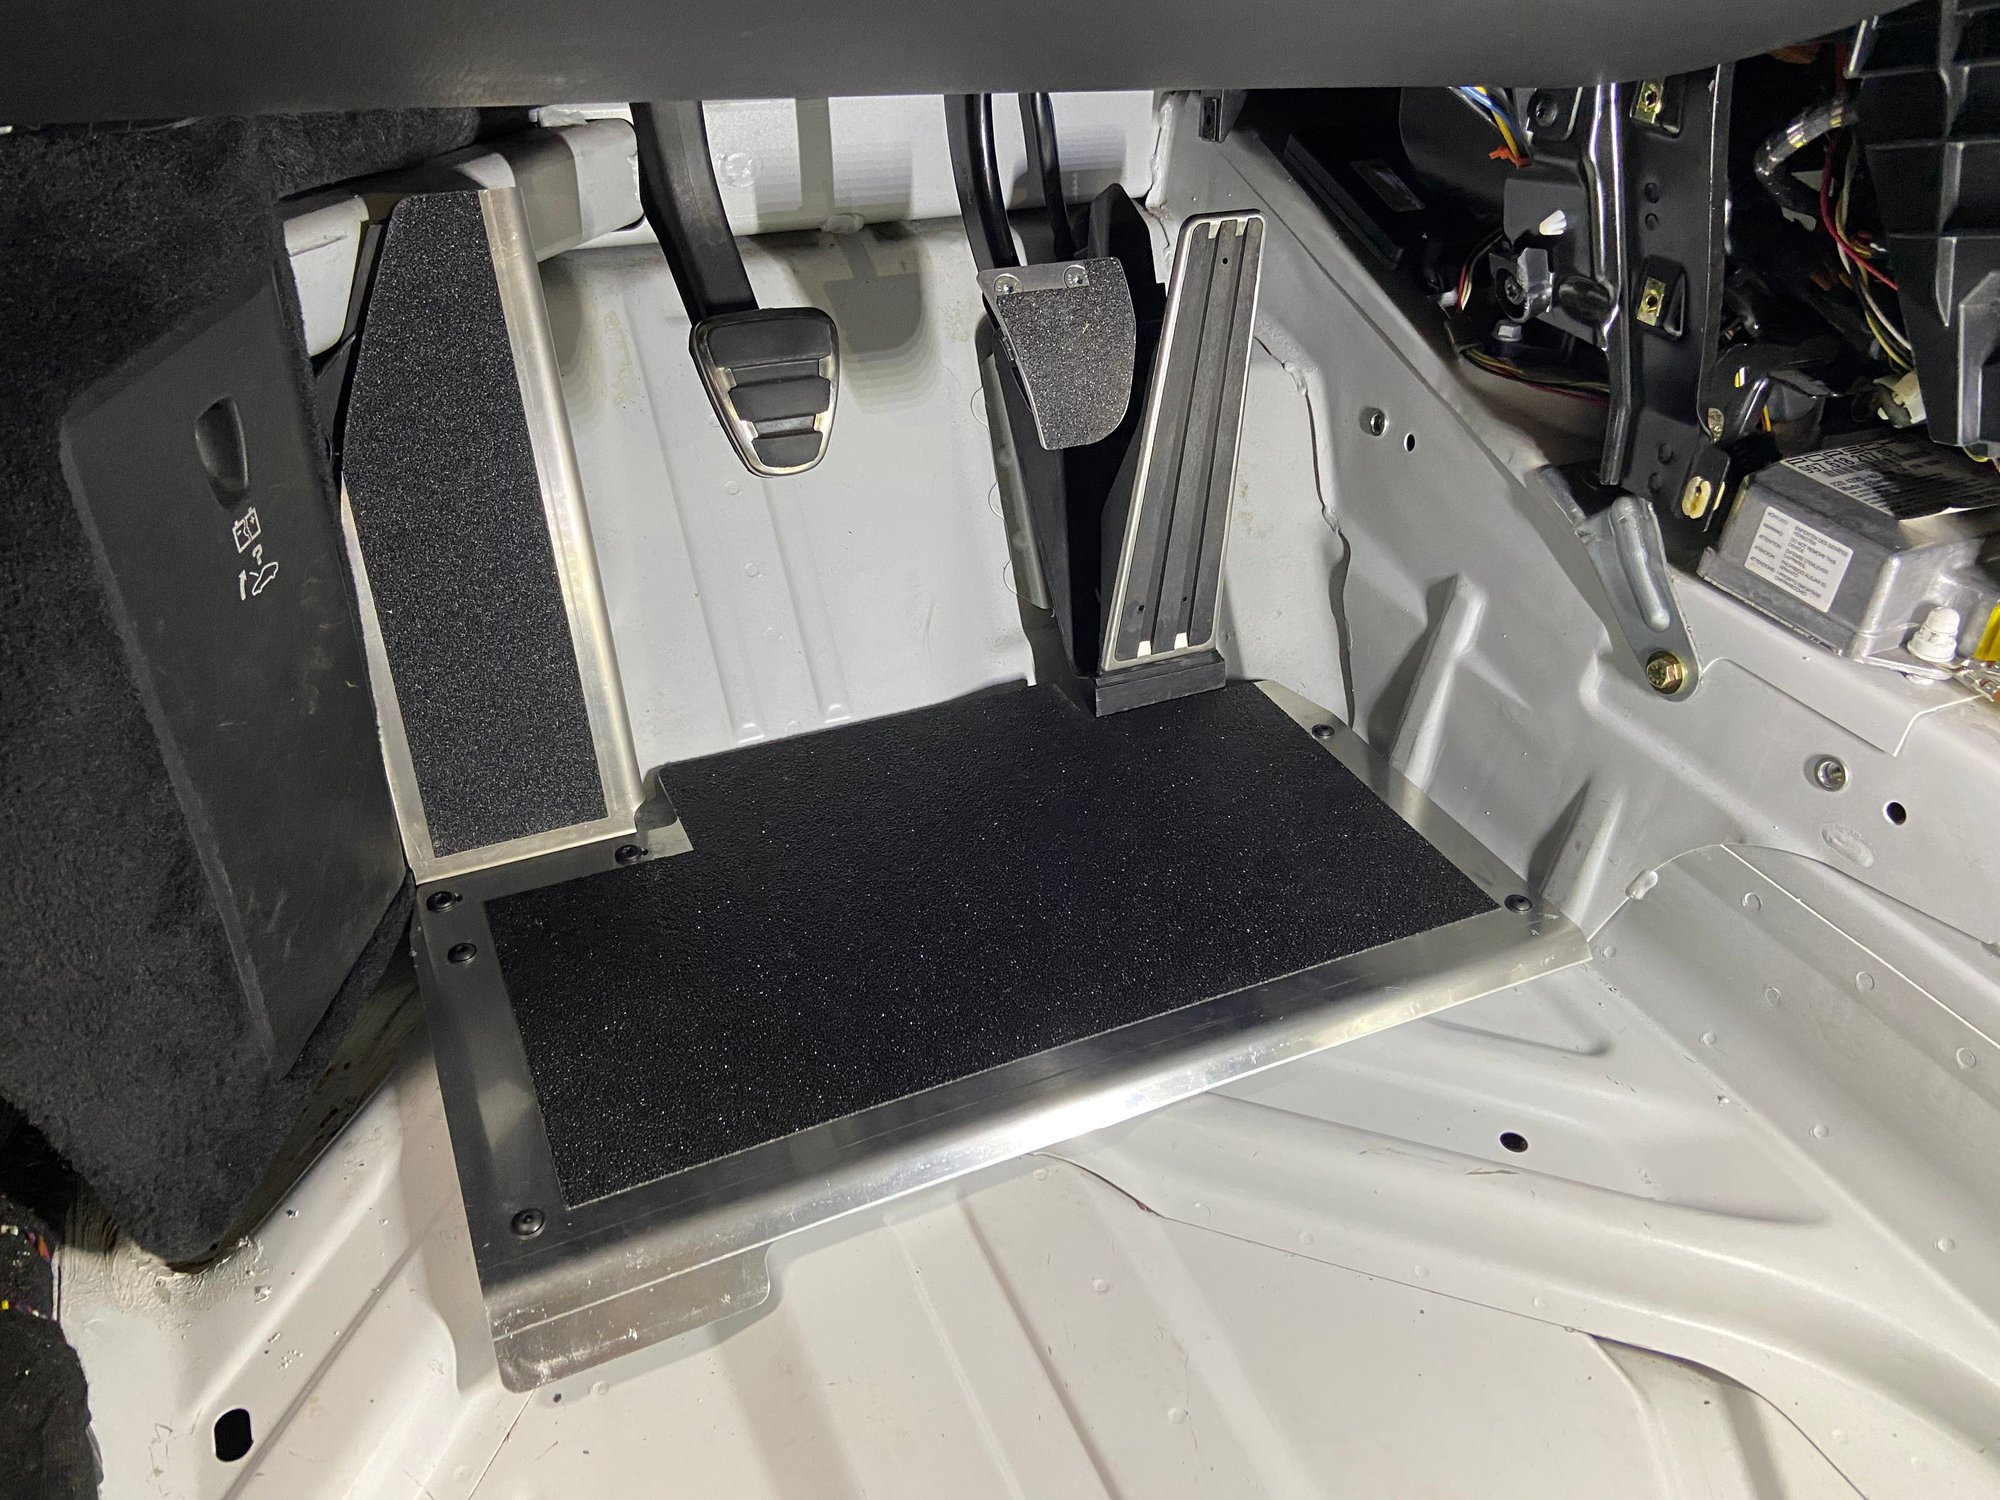
Here it is, 991 Cup floorboard on a 997 street car. It is rock steady.
Maybe the next 991 Cup wannabe mod will be PFC brakes...
Tom, I just went through the full 80 pages!
Thank you so so much for the whole writeup so far! Please never ever stop it!
I've done more or less the same to an e92 M3 (just look on youtube or instagram for lukecustoms) which started life as an avarge joe streetcar and has been converted to more or less a better M3 GT4.
Unfortunately the hole 100page build and story is in the German M-Forum so probably won't understand any words.
I won't do the same to my 997.2 GT3 RS which I just bought last year - that's gonna stay my enjoy sundays and mountain roads car.
But this thread here is more or less the 997 bible - don't know if you know it already?!
Wish you all the best wishes from Germany and whenever you will make it to the Nuerburgring Nordschleife - send me a message.
(search on youtube for "RootsRacing VLN" - that's what we do here 9x a year)
Cheers, Luke


 05-04-2020, 07:40 PM


 Life is full of compromises. Just making the best of my situation and be thankful to have what I have. Plus, I thorough enjoy cruising the streets and driving to work in my Cup car look-a-like.