When you click on links to various merchants on this site and make a purchase, this can result in this site earning a commission. Affiliate programs and affiliations include, but are not limited to, the eBay Partner Network.
Pete, you make some mighty good points. Your clear light in the photo does work nicely and picks up the clear jeweled look in the center of your brake lights.
I do have to say that everything about your car works well together and looks stunning. Rather intimidating as well!
Thanks a lot. There are so many gorgeous and unique P-cars of all models that people share on this site - I love seeing everyone's interpretations of what "their" P-car should be.
I've considered it, but I already have places around my normal routes that I have trouble avoiding a light nose scrape and have to hit at angles.
That just means you need a noselift kit once you redo the front end - Cargraphic Airlift, TechArt Noselift, K&W, and Umbrella Auto Design all make nice kits. I have the Cargraphic one on mine and it's so nice to approach a speed bump or steep driveway and not have to wait for the crunch/scrape sound. The other benefit to all these kits is that they require a coilover suspension so you'll be doing that upgrade too "while you're at it". You've now entered the world of modding and there is no escape!
Originally Posted by StormRune
I I think my wife is hoping the wing will allow me to call it done!
So I went to the dealer to pick up the new wiring harness and select from one of the two brake lights that came in (clear vs red). However, it turns out the parts guy had ordered the "clear" one with a one digit error in the part number and had the wrong one (99763105204 - the 2 should be a 1). It was for a Cayman and had the wrong shape.
The red one (99763105201) was correct and came with clips this time. Looking online it appears that there is a clear brake light with the part number that I requested (99763105104). However it isn't clear to me (hah!) if that one has the right shape.
I'm going with red to get this moving forward. Sorry for the false lead in the previous message.
A quick post before heading out for the evening...
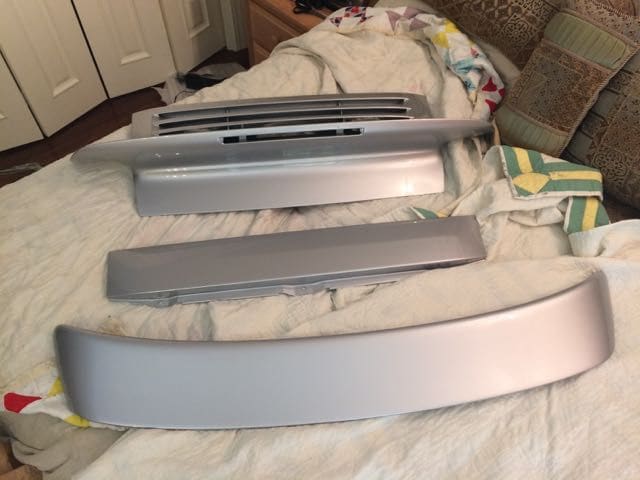
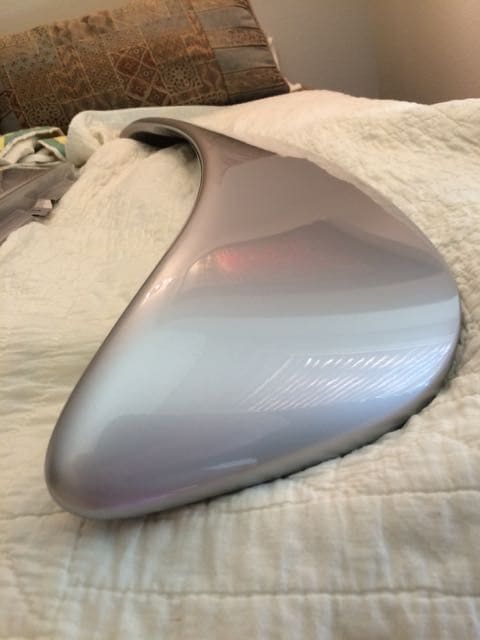
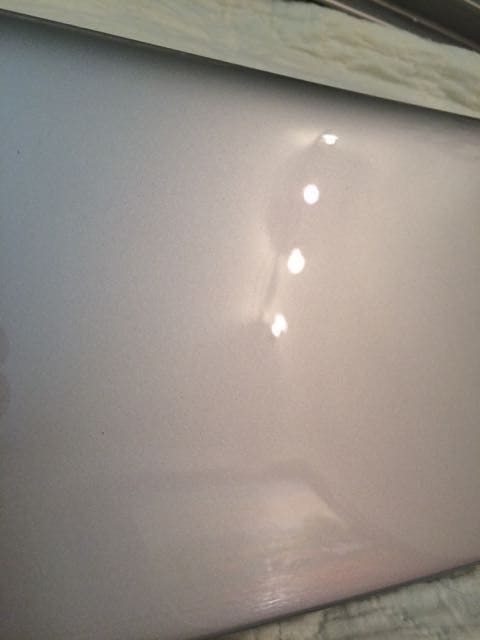
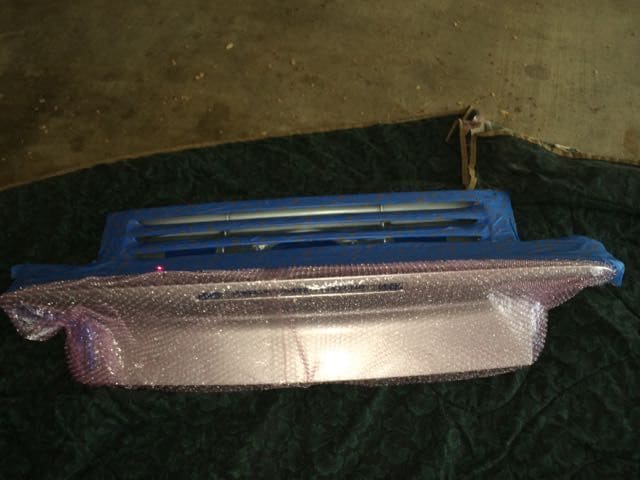
Got the deck lid parts back from the paint shop and they are looking good with a nice gloss and only the most minimal hint of orange peel. It is pretty much a 100% surface texture match with the factory paint.
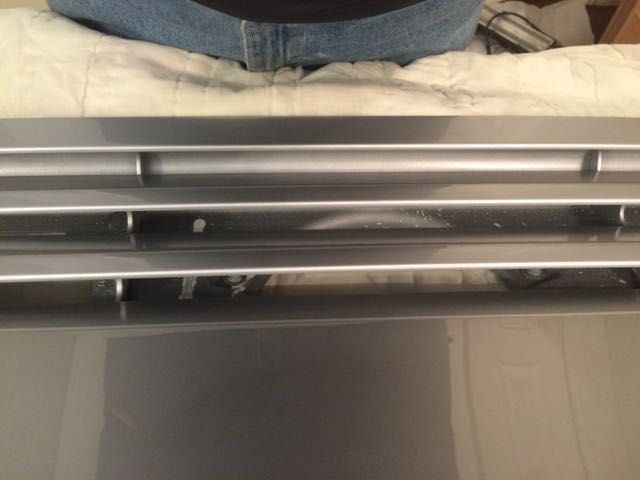
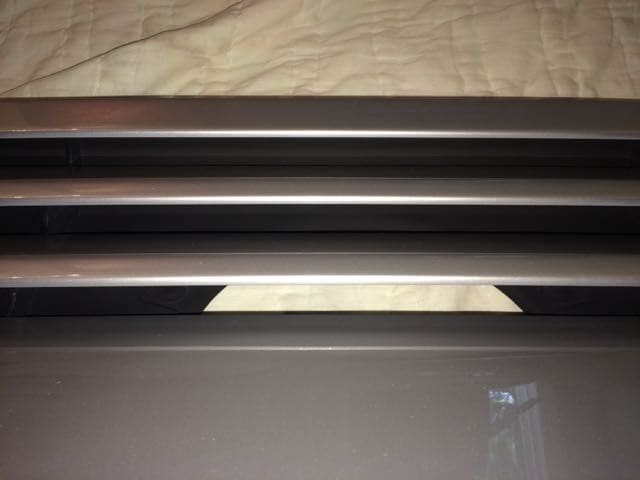
The only problem was that they didn't mask off the metal that you see when you look into the fins. On the stock deck lids this is painted black so that it isn't easy to see. Even worse, in some places it was silver and some it was black... in a spotty kind of way, as shown here:
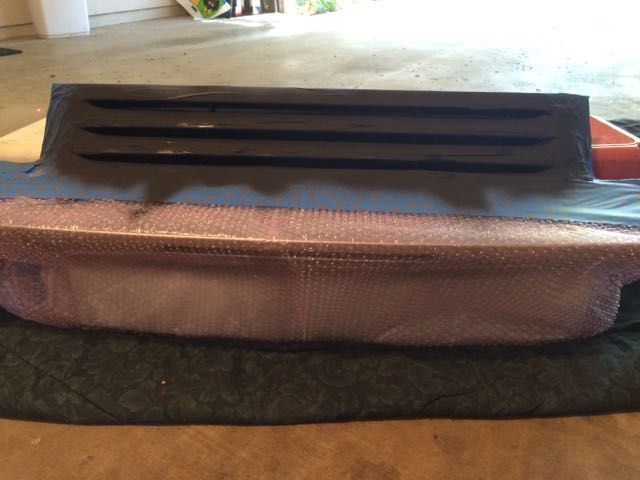
I expressed my disapproval but took them anyway. Since the paint had been finished a couple of days ago, I was comfortable putting low-adhesion masking tape (safe for newer paint) on the wing and using high temp engine flat black engine paint to paint them myself, shown here (I covered everything else on the deck lid to make sure there wasn't an overspray accident):
Fortunately that worked out fine. So lesson for next time... be sure to tell the painters to mask off the black-painted inside parts.
My son and I are planning on installing everything tomorrow. Hopefully I'll have some good news and photos tomorrow evening!
count me in as another guy who did the turbo wing conversion. it was actually super easy on the 997.2 since you can use the stock intake box, the hydraulics just clear.
luckily the wing I bought had the brake light as well as the functioning hydraulic system. All I had to buy was the wiring harness, turbo fan, and mounting bolts, and then get it painted.
once you get the right parts it only takes about 1 hour to install the whole thing. 30 minutes if you already know what you're doing.
I'm letting my 16 year old sleep in a bit before I wake him and get this thing done... but I'm raring to go! Thanks for the reassuring words. Now I'm feeling even better about this.
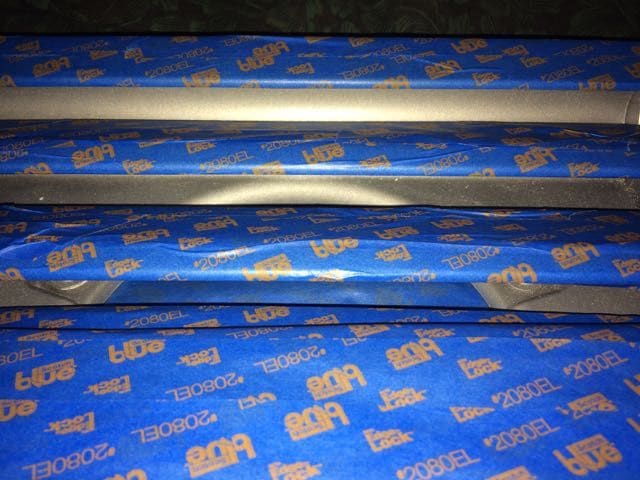
Another minor update (I'll roll all of this into the DYI). The correct part number for the red brake light with mounting clips turned out to be 997.631.052.01. I had made a mistake when I first posted this number a few posts back (which I have edited as well to make sure I didn't mislead anyone). In the photo you can see this number on the part with a selection mark in the box. It appears the 104 version might be the correctly shaped clear one but I'm not sure. The dealer had ordered the 204 in addition to this one but it had the wrong shape. The 104 one shows up mostly on European web sites so that hints that it might be the correct clear one (since clear is legal for a high mounted stop light there and not here). I've decided just to stick with this one in red.
Stormrune...awesome you're doing this with your son. I have a 16 yo son as well...consumed with sports cars and powerboats! His first manual driving experience was in my 997.2. Would have gave my left nut to have these opportunities at that age! Can't wait to see the pics! Really thinking hard on doing this if I could find the right parts/takeoff! Good luck, can't wait to see the pics!
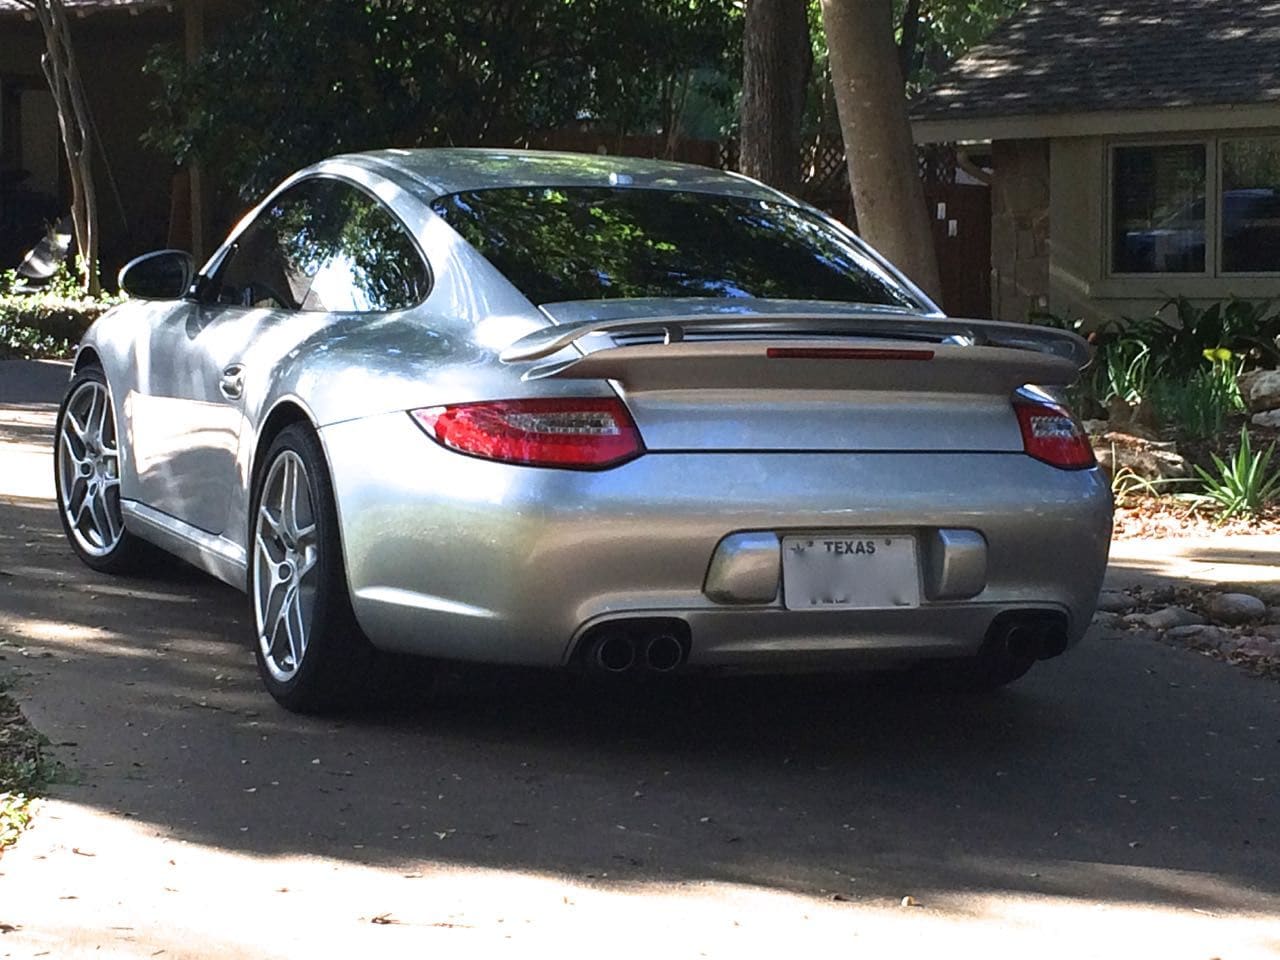
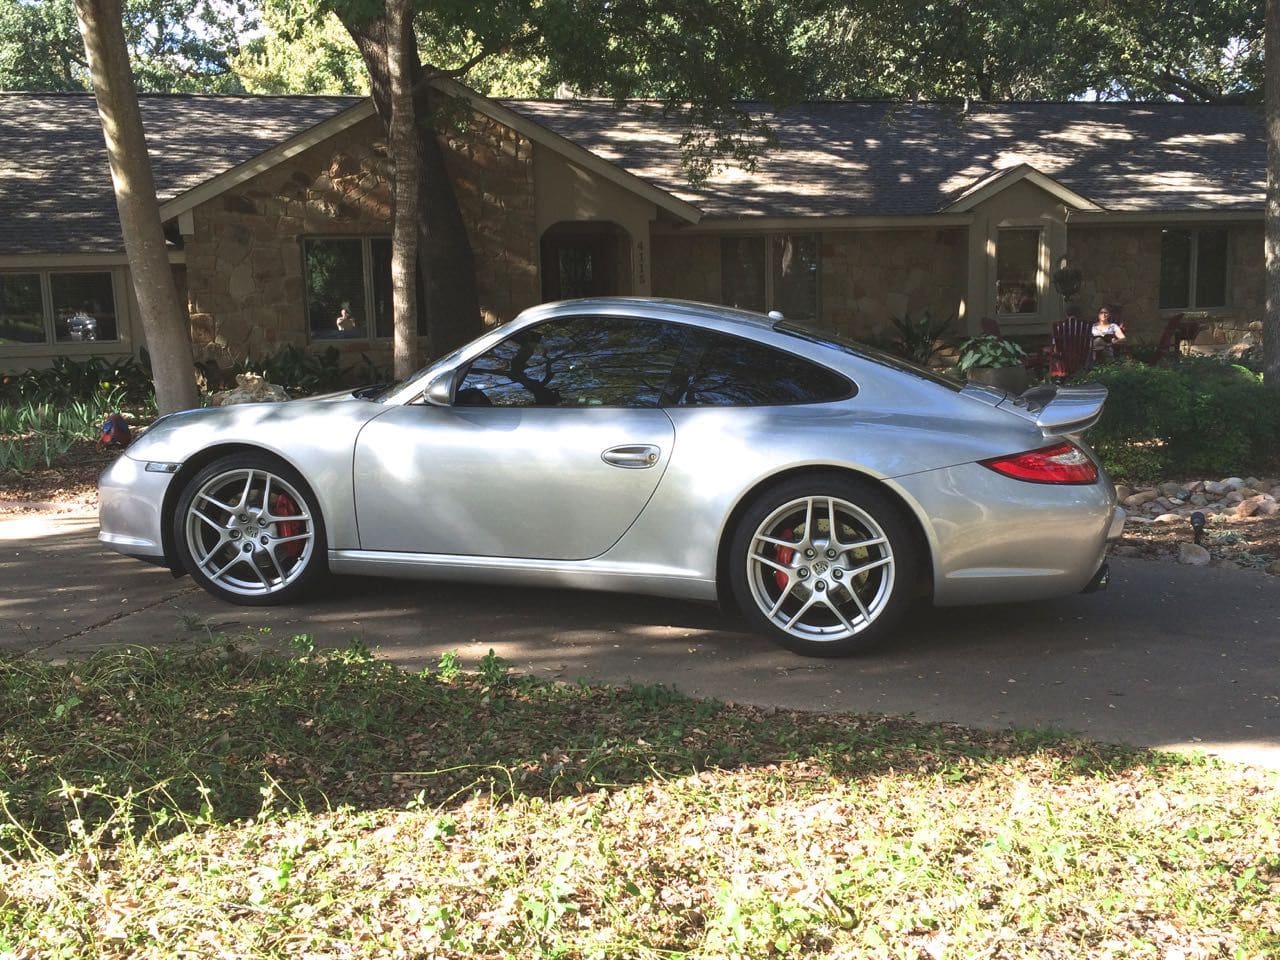
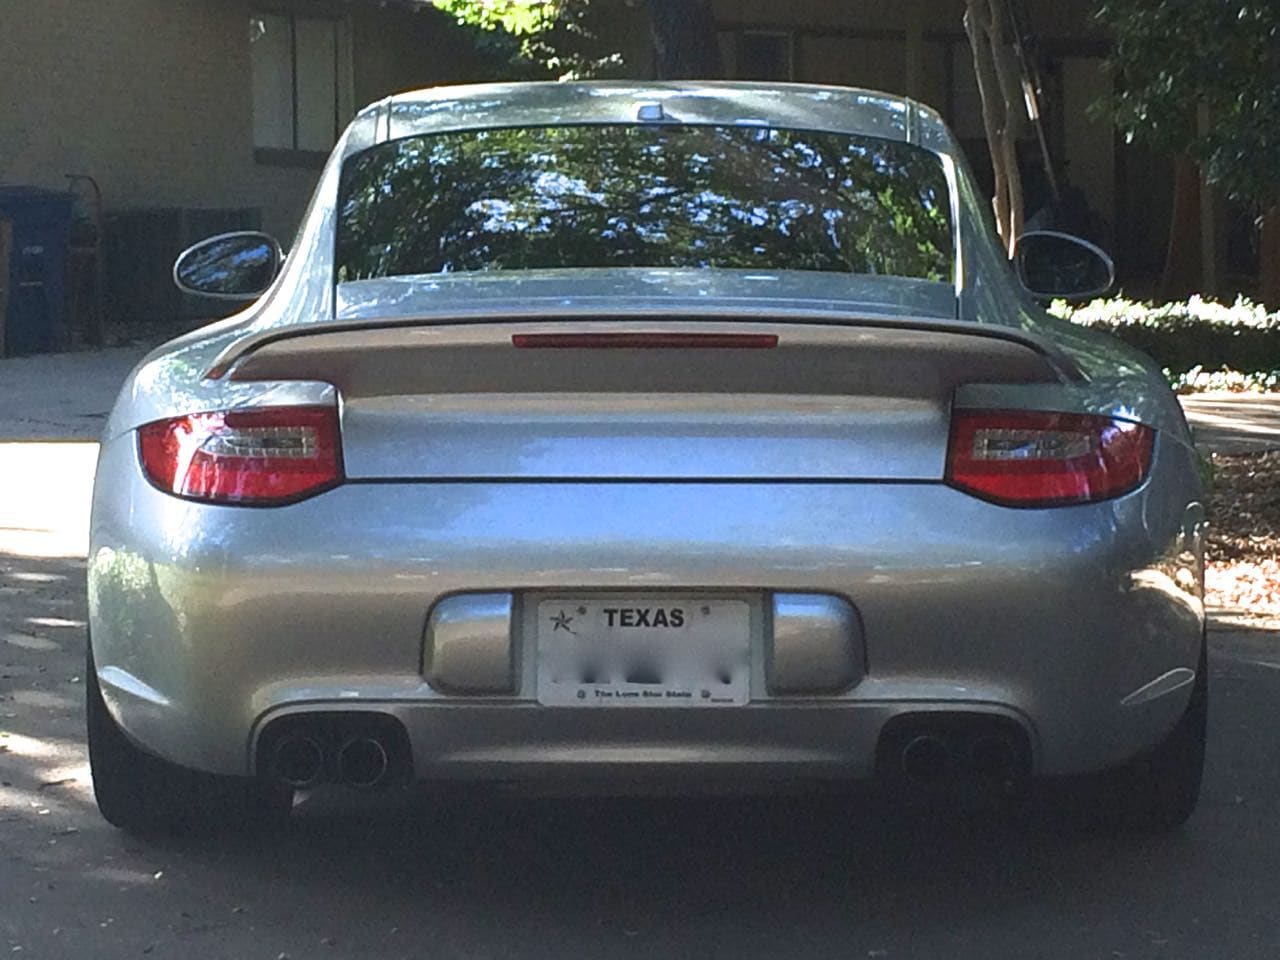
Transformation accomplished earlier today but due to family things this evening not too much time to make a post... but here are some quick initial shots and notes.
Everything functions properly with no codes. Note that I also swapped out the panel below the window to the Turbo version, deleting the original high mounted brake light completely. I'll try to get the complete DIY done over the next week or so... we took a lot of photos along the way.
Petza, you were right that the special Turbo hinge and lid support cylinders weren't necessary so I didn't even open the bags and will return them for some savings. Thanks! The original single cylinder holds it open just fine. I did weigh them both, the original lid was 26 pounds and the Turbo lid is 28.5 pounds but the difference wasn't enough to cause a problem.
Thanks for the nice words everyone... and yes Wheeler... it is a great thing to have a son sharing in the experiences (it is also a good motivator to encourage him to do well in school to get the kind of job that can afford these things!)
Thinking of that, special thanks to my son Evan for making this a great father-son experience!
I'll have detailed thanks in the DIY for everyone who helped fill in the holes in my knowledge that helped make this thing work. For now, here are a few initial photos. Regarding the missing logo, I will be adding a logo to the back but I'm going to wait a couple of weeks for the paint to fully cure before sticking it on.

 10-14-2014, 11:21 PM