When you click on links to various merchants on this site and make a purchase, this can result in this site earning a commission. Affiliate programs and affiliations include, but are not limited to, the eBay Partner Network.
currently it's getting ground from the drivers tail light.
this is why the wavy lines are coming on the screen.
the tail light reverse trigger is to be fed only into the the reverse trigger of the head unit ONLY.
the head unit (at least the owTowsin ones) have a dedicated camera harness that powers and grounds the front + reverse cameras. A DC pigTail adapter + extension cable will do this. This will eliminate all issues and the camera will be hooked up it was designed to (fully controlled and powered by the HU).
Hello - quoting your latest message as I have a question on OwTosin units. I just received my base 2/32G for a 996. I was pleasantly surprised that the harness provided was P&P, however, the screen does not dim when I turn on the headlights, and the sound scale isn't quite right (at 2/30 it's already too loud). Have I missed something?
Also, I heard talk of hidden menus to customize LEDs color, customize the home screen, etc. Where can I find it? The stock setting menus is a little limited
i forget the code and exact menu as its been a while - but it is certainly in this thread.
i forget the code and exact menu as its been a while - but it is certainly in this thread.
Thanks for your response Michael. I've found some details on the factory setting menu and will try to fiddle with it later (code 126, apparently).
Re illumination, per this post it should be the grey / blue wire on pin 6 of the black stock connector - will try to merge that one with the orange wire on the unit.
this is why the wavy lines are coming on the screen.
the tail light reverse trigger is to be fed only into the the reverse trigger of the head unit ONLY.
the head unit (at least the owTowsin ones) have a dedicated camera harness that powers and grounds the front + reverse cameras. A DC pigTail adapter + extension cable will do this. This will eliminate all issues and the camera will be hooked up it was designed to (fully controlled and powered by the HU)..
I thought that too, so changed to diff ground- didn�t help. I switched to another camera and that was all it was. Pos camera, evidently.
I've been getting some PM's regarding my custom boot screen on my Android radio. I've given some thought at how to handle it since I don't want to gatekeep stuff after having learnt that much from this thread, but I'd really like the animation in my car to be kind of "one-off" if that makes any sense, so I'd rather not share my own file. I also don't know how other HU's work and I'm not sure if where I put the file and how I flashed it would work the same way as in my Heregoes unit.
That's official documentation about how to create an animation. You'll basically need to convert a video (can be anything) into images and then specify in a .txt file at what framerate the animation should play. Compress it in the proper format and replace whatever you have with that one.
As I said, I'm no expert on the matter but this should get you started.
PS: As a side note, if you really don't want to tinker with files and stuff, send me a PM and we can discuss if I could create a bootable USB stick to install the boot animation for a fee.
some additional notes:
- bootanimation.zip must be created using zero compression (store option)
- the images in bootanimation.zip should have resolution equal to or less than the native screen resolution (1024x600 or 1280x800 depending on the unit)
- the playback time should be under 10s
- the framerate should be 25 or 30 fps
- the bootanimation.zip size should not exceed 20MB
- Windows util 'Boot Animator Beta 5' can convert from video to png images / create bootanimation.zip
- use handbrake to reformat/trim your video file before feeding to app above
- for FYT 7862-based units, just need to throw bootanimation.zip (and optional boot logo in BMP format) on a USB along with the update utility (lsec6315update)
- more into for the Heregoes and similar UIS7862-based units using FYT platform at XDA: https://xdaforums.com/f/fyt-android-head-units.12445/
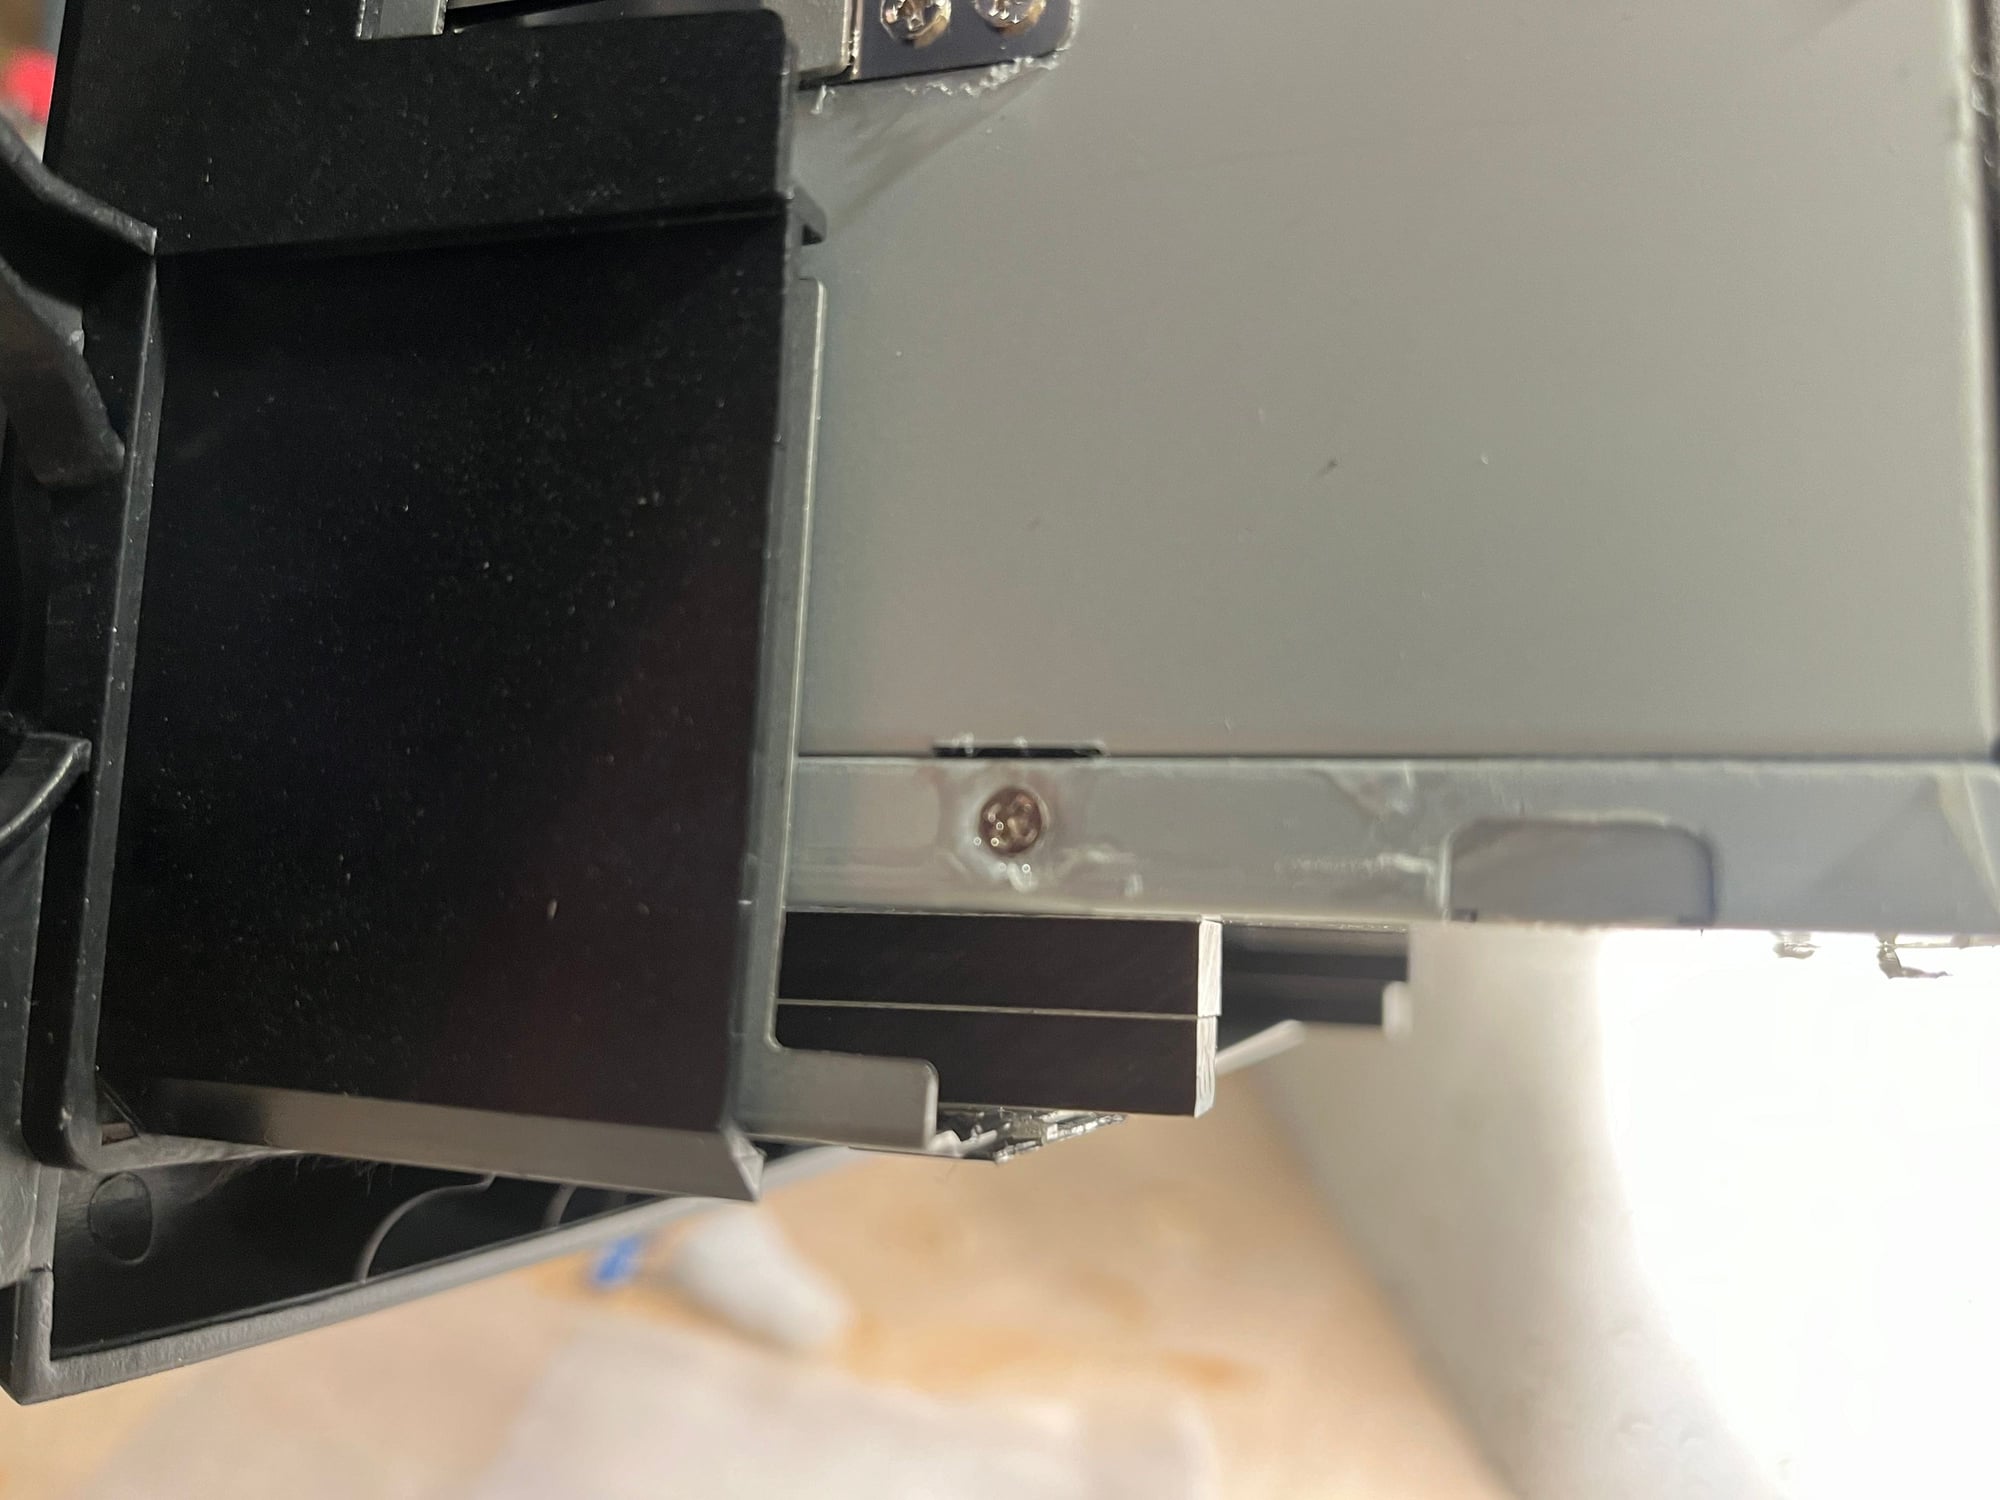
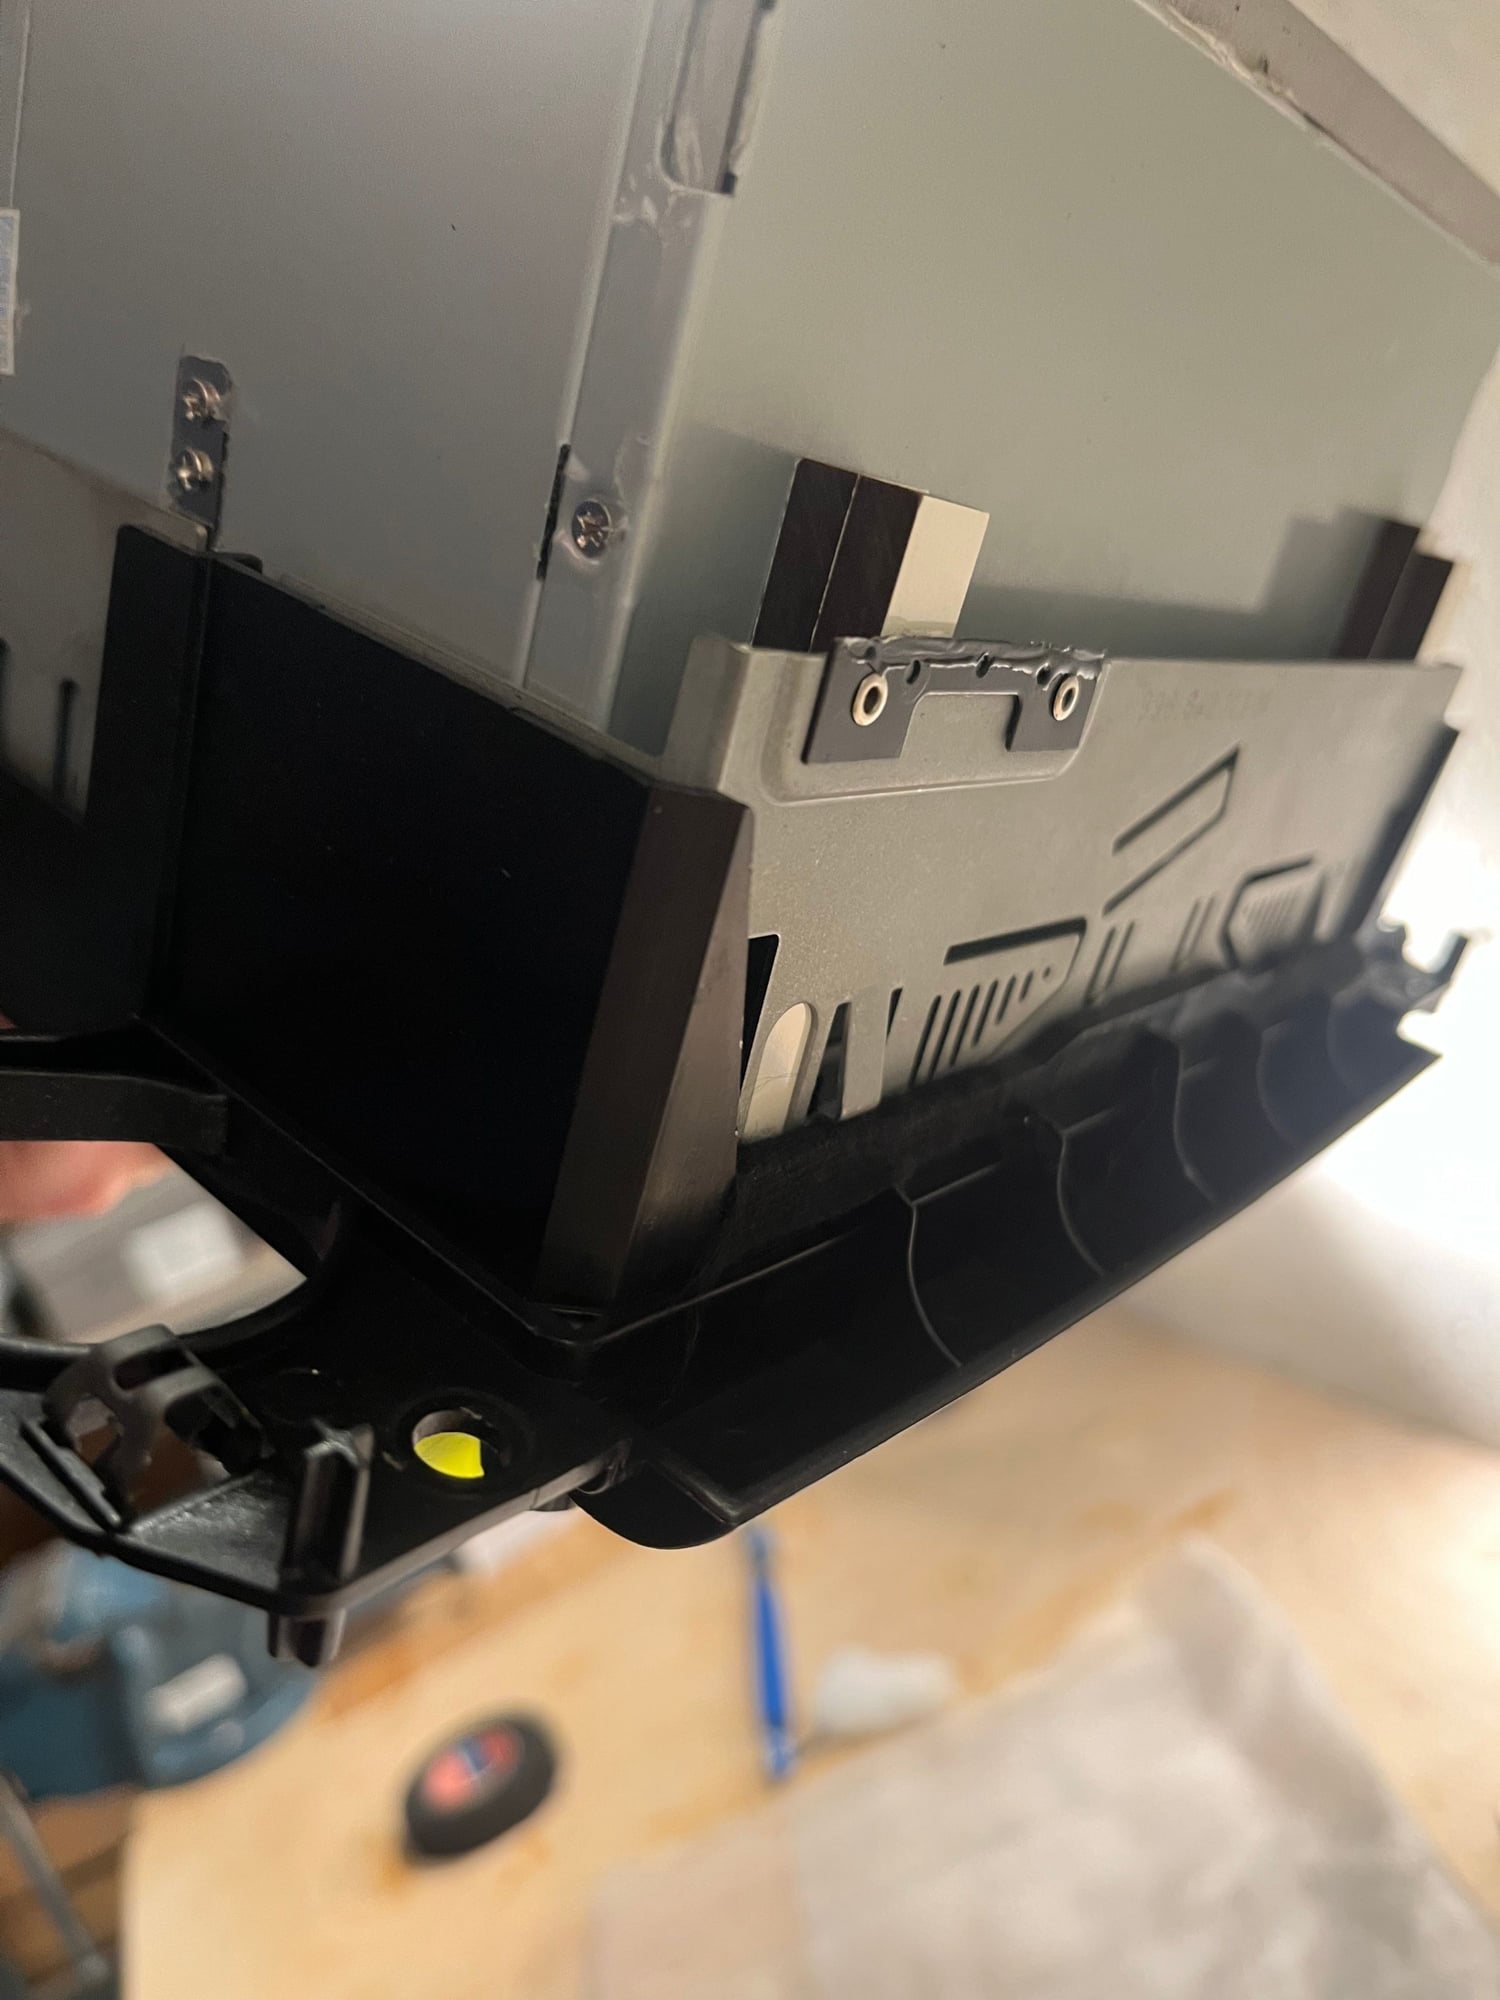
While waiting on my t-taps to arrive so that I can wire in the illumination signal, I had a go at blank fitting my 996 Owtosin unit in the car to see how it fit. Sadly, the answer is "not quite"
The unit is about half an inch shorter than the PCM1 my car had, so the cage too tall. Width is spot on. I couldn't find a way to lock the unit in place vertically yet so I'll have to figure that out.
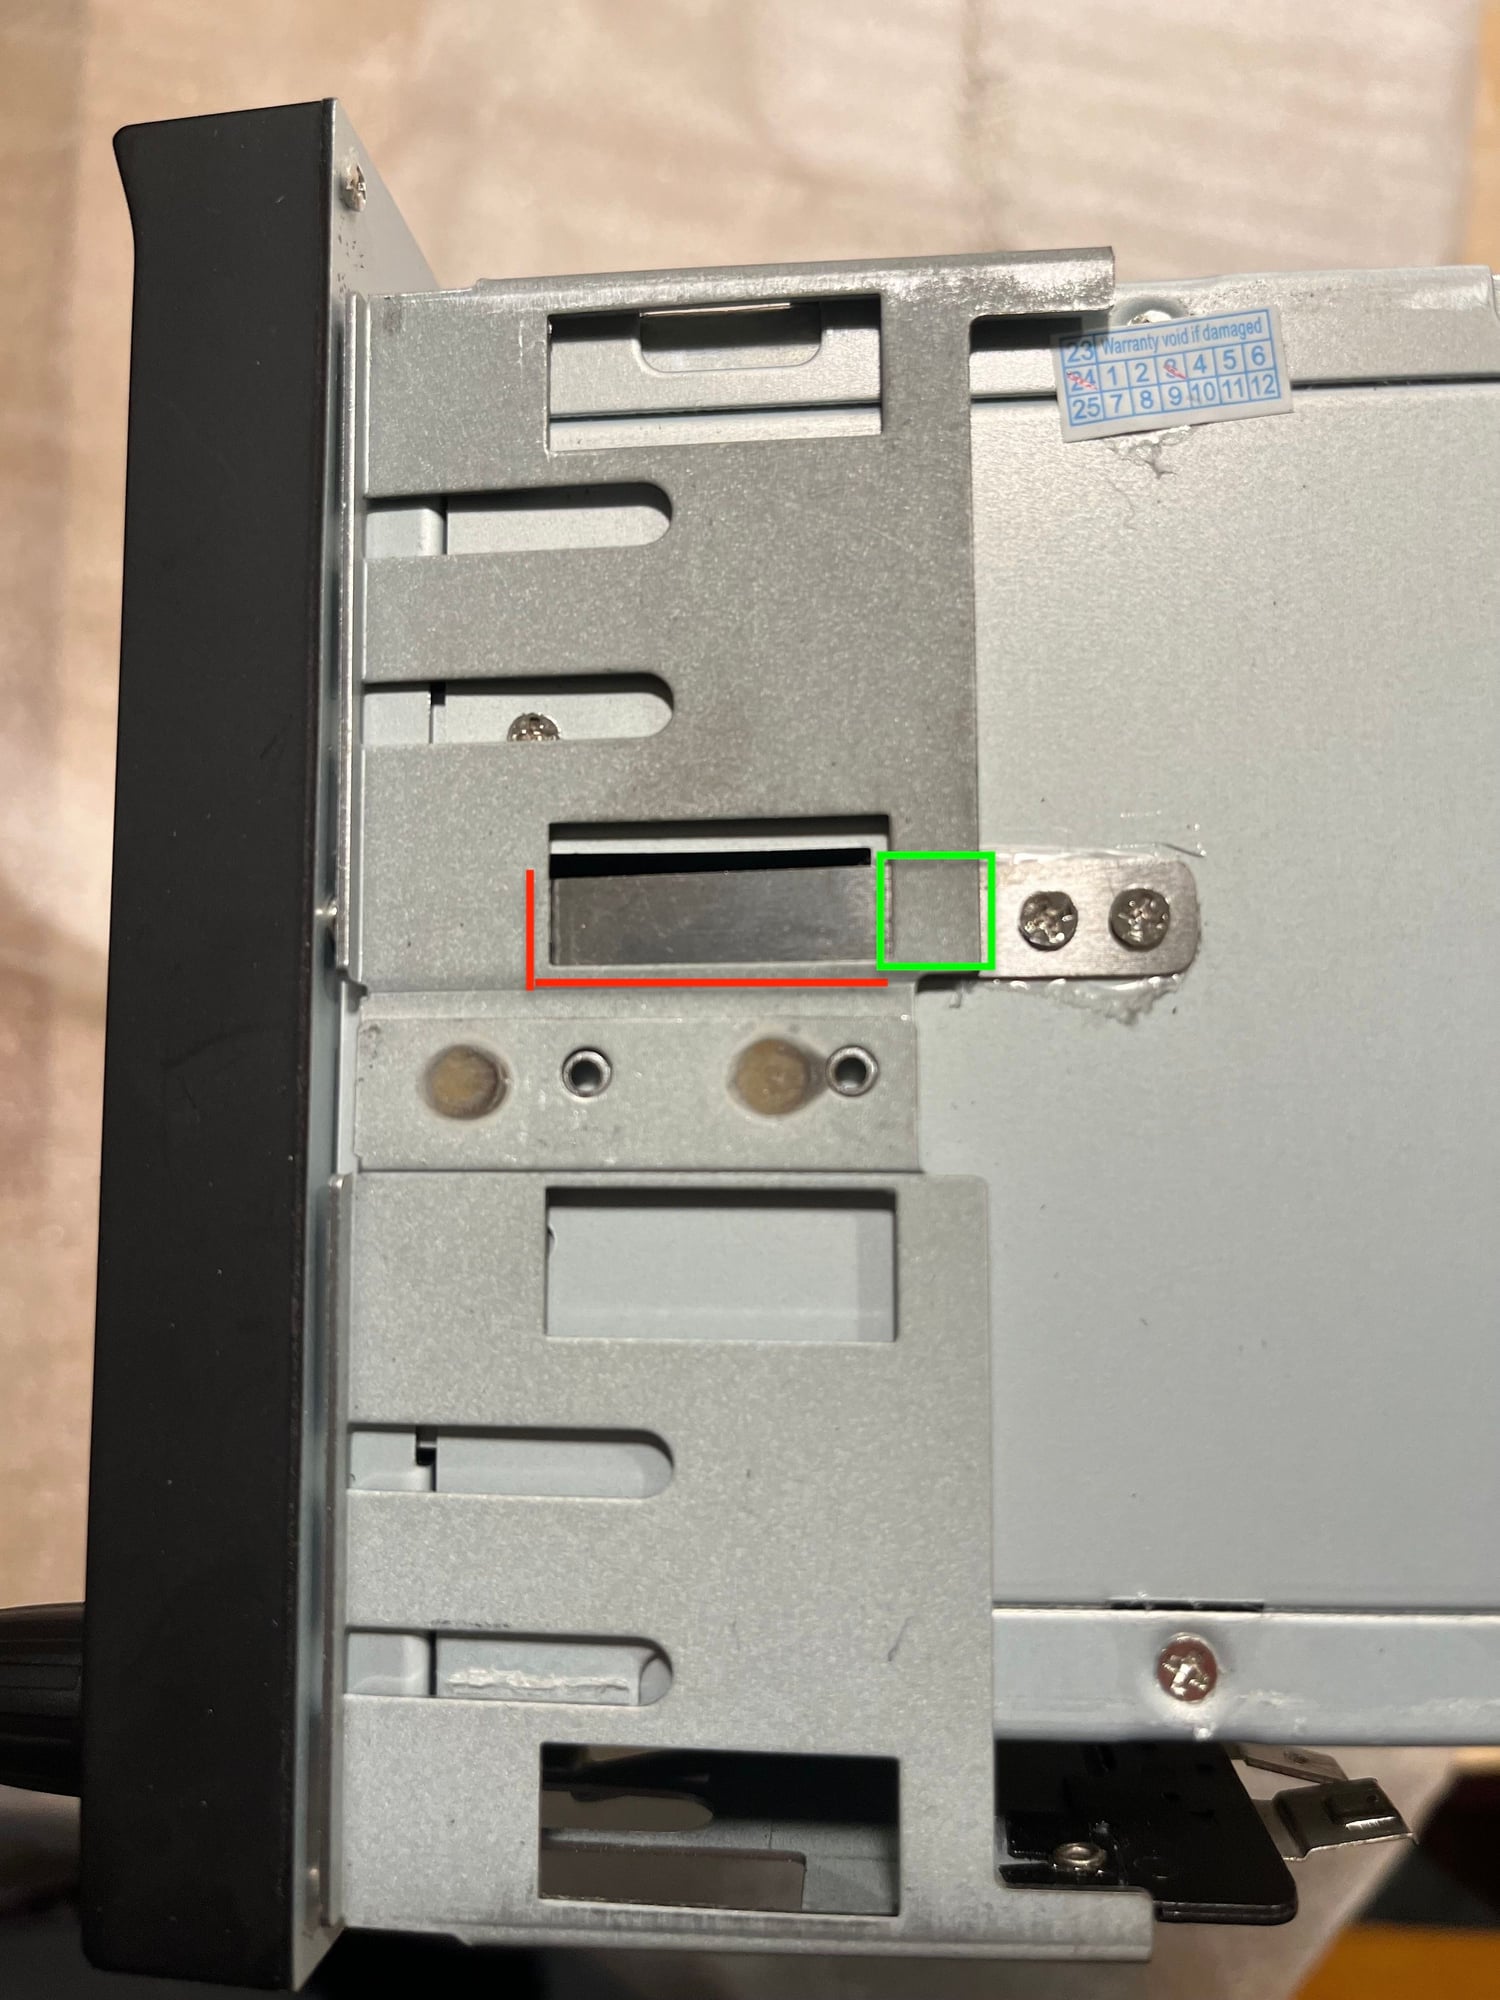
Also, the prongs that lock the unit into the cage don't line up with the hole in the cage:
I only see two ways around this:
-dremel some material out of the cage as shown in red and pray I get it mostly right, then bend the prongs the right way so that they're not held against the body by the green bit of the cage
-use some self-tapping screws to hold the unit in place (and lose the ability to take the unit out without removing the vents) - but where to drill then?
On a side note, the Owtosin unit is very light (about 3lbs with the adapters), and saves around 10lbs compared to the PCM1 + navigation drive + CD changer combo.
While waiting on my t-taps to arrive so that I can wire in the illumination signal, I had a go at blank fitting my 996 Owtosin unit in the car to see how it fit. Sadly, the answer is "not quite"
The unit is about half an inch shorter than the PCM1 my car had, so the cage too tall. Width is spot on. I couldn't find a way to lock the unit in place vertically yet so I'll have to figure that out.
Also, the prongs that lock the unit into the cage don't line up with the hole in the cage:
I only see two ways around this:
-dremel some material out of the cage as shown in red and pray I get it mostly right, then bend the prongs the right way so that they're not held against the body by the green bit of the cage
-use some self-tapping screws to hold the unit in place (and lose the ability to take the unit out without removing the vents) - but where to drill then?
On a side note, the Owtosin unit is very light (about 3lbs with the adapters), and saves around 10lbs compared to the PCM1 + navigation drive + CD changer combo.
So I've had some time to look into my headlamp issue, and can confirm using a t-tap to connect the grey-blue wire on the black PCM1 connector into the orange wire on the otowsin unit will make it switch to dark mode and dim itself when turning on the headlights. With how good 996.1 halogens are, that's probably a better indicator the headlights are on than looking out the windscreen.
Re: the fitment part, I considered putting a couple of self tapping screws through holes in the PCM1 cage and into the HU frame, but didn't like the idea very much. I ended up finding a couple of shims in HPL from my kitchen's backsplash panel, they're exactly the right size and support the HU better than a couple of screws could. I'll probably screw them to the cage using wood screws. It's inert material that isn't sensitive to heat or moisture so it'll be just fine in a car.
I adopted this early on - several years ago - and now the unit is getting old, starting to fail etc.
I have already bought the fibre-optic converter so presumably that can be kept.
will I be able to swap out the original Owtsin unit and replace, or are the newer units more complicated? ie is this a 15 minute job or a 2-3 hour job?
and which is the current best unit please?
many thanks
Richard
I�m several hours into this project, and my car was almost plug and play. Looking for the info and finding the right ways to handle the small details is what takes the most time.
Expect to spend a full day on this between receiving the unit and having everything bolted back together, tested and cleaned.


 04-13-2024, 09:17 PM