When you click on links to various merchants on this site and make a purchase, this can result in this site earning a commission. Affiliate programs and affiliations include, but are not limited to, the eBay Partner Network.
-you can secure the cut-off cap with duct tape. Yes, most of you are about to scream right now, but compare this to the putty originally suggested. I used black duct tape that is very secure and you can’t even see it because of the color.
First off, thanks to AMCPILOT for posting this content, super helpful. I recently purchased a 997 and the very first thing I noticed was foam shooting out the vents and what I can only describe as sound like pennies jostling around in dashboard. I took the car to a shop and was quoted $7k to fix the foam issue. Eff that.
I found this thread and was hopeful this was my issue, and got to work. Sure enough:
Excellent... after a bit of dremel work, here I was:
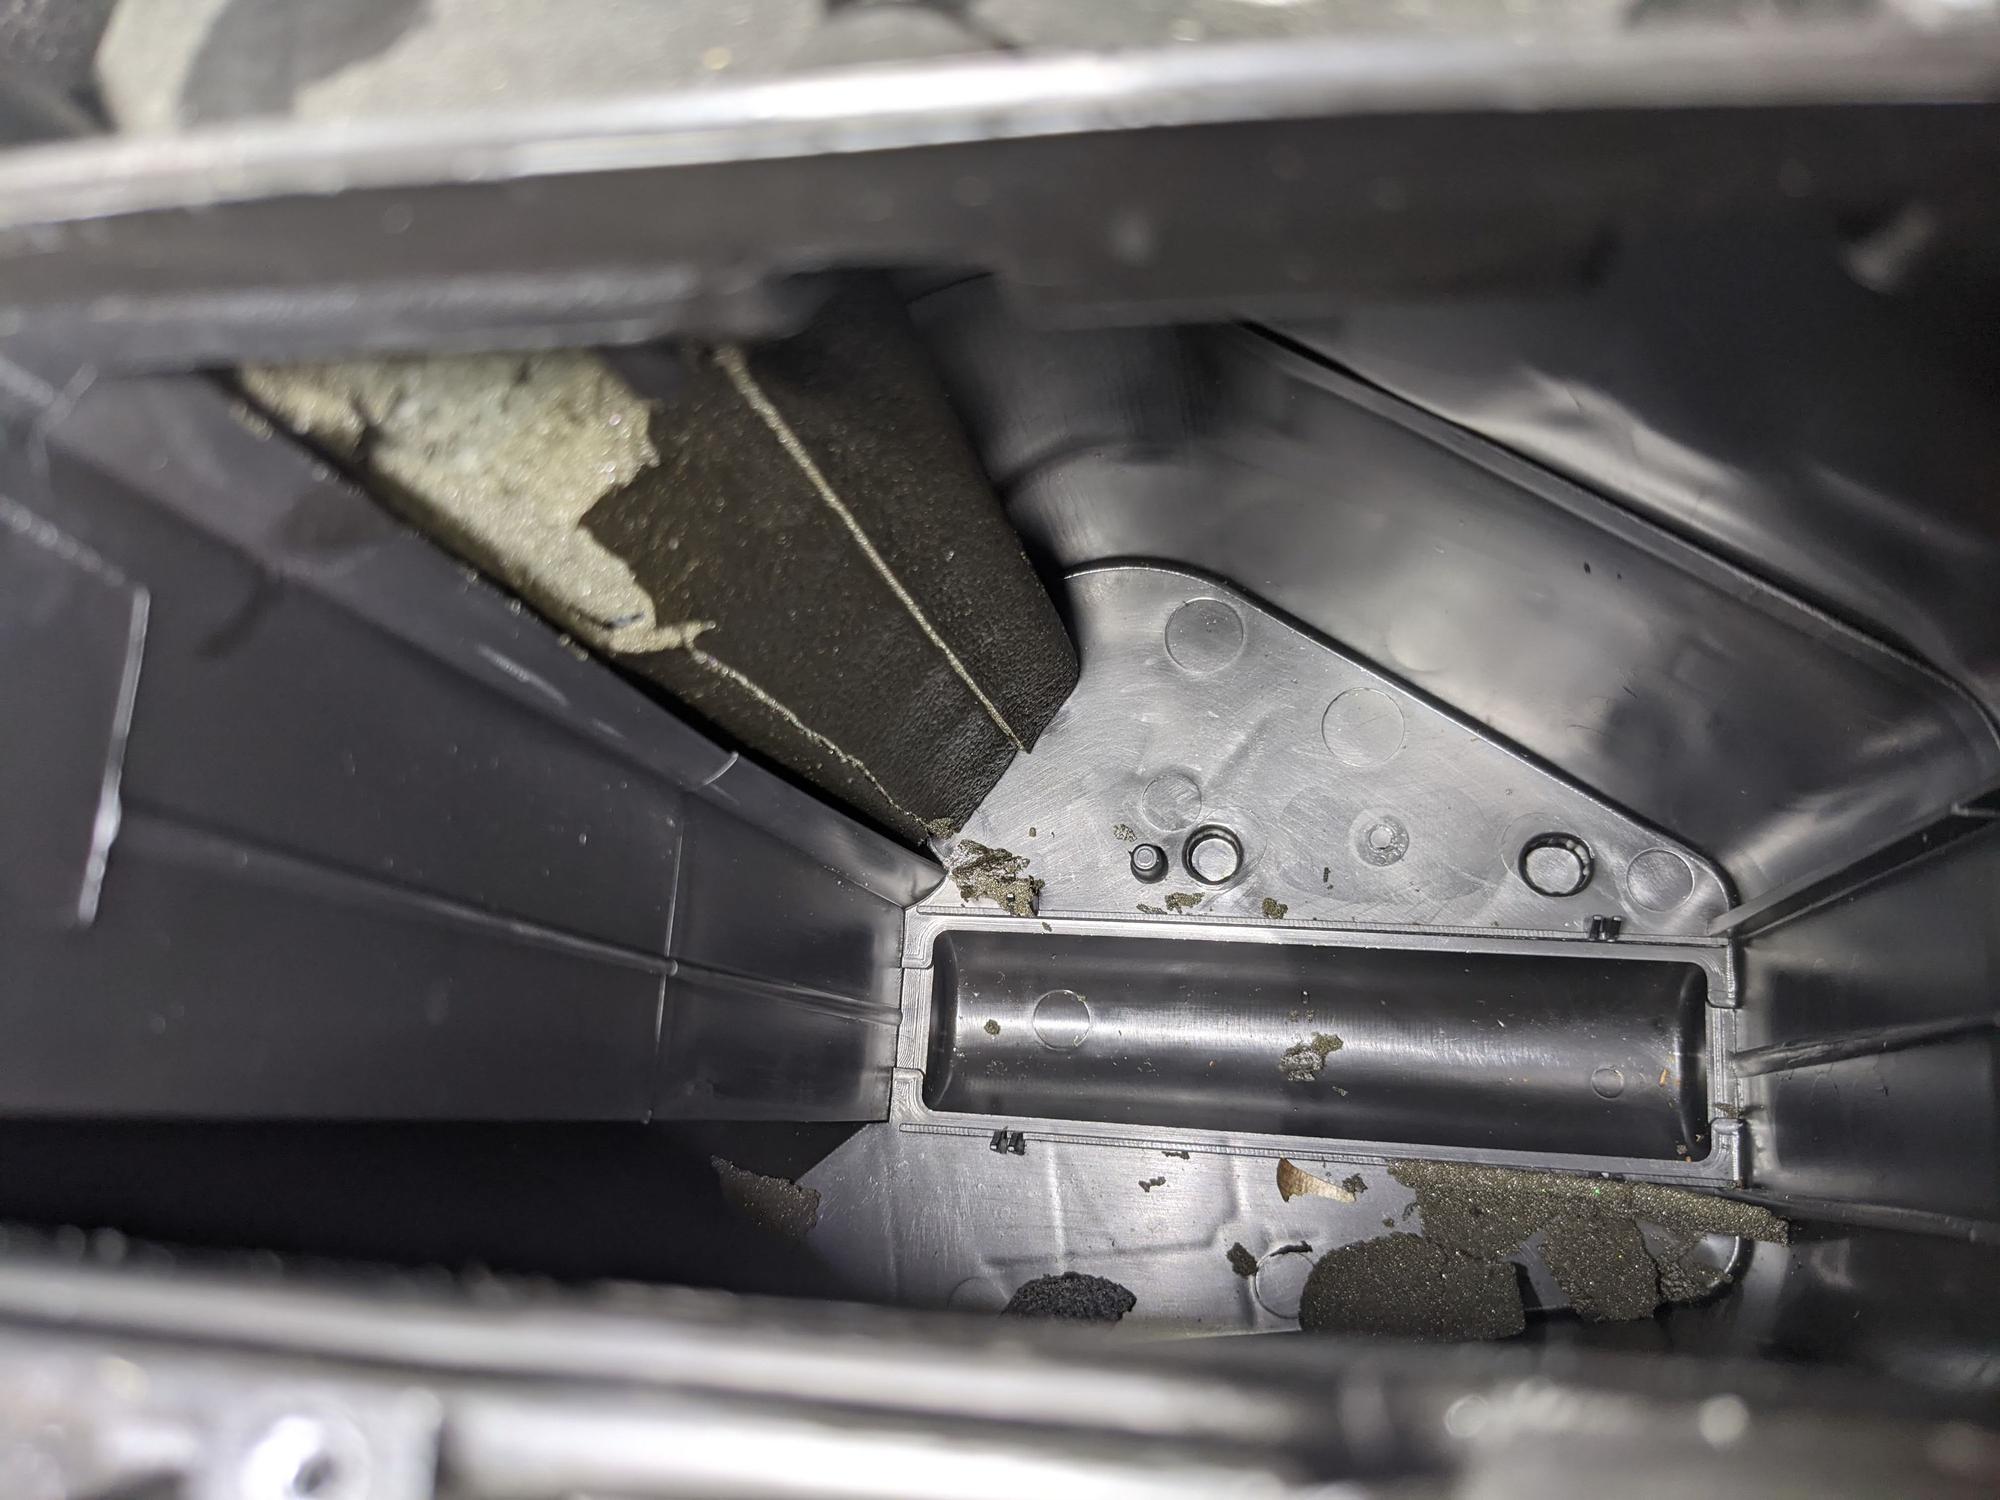
I was feeling pretty good until I read this entire thread and realized there is another flap that also might have issues that is not accessible without taking the entire dash out, or cutting up some the duct work from where the PCM lives, I thought maybe I could see if through the heater core opening and sure enough:
It was almost bare. Shoot, so I found some videos and FAQS on how to cut the duct work to get to it, and took a look if that was an option on my 08 turbo cab, negative.
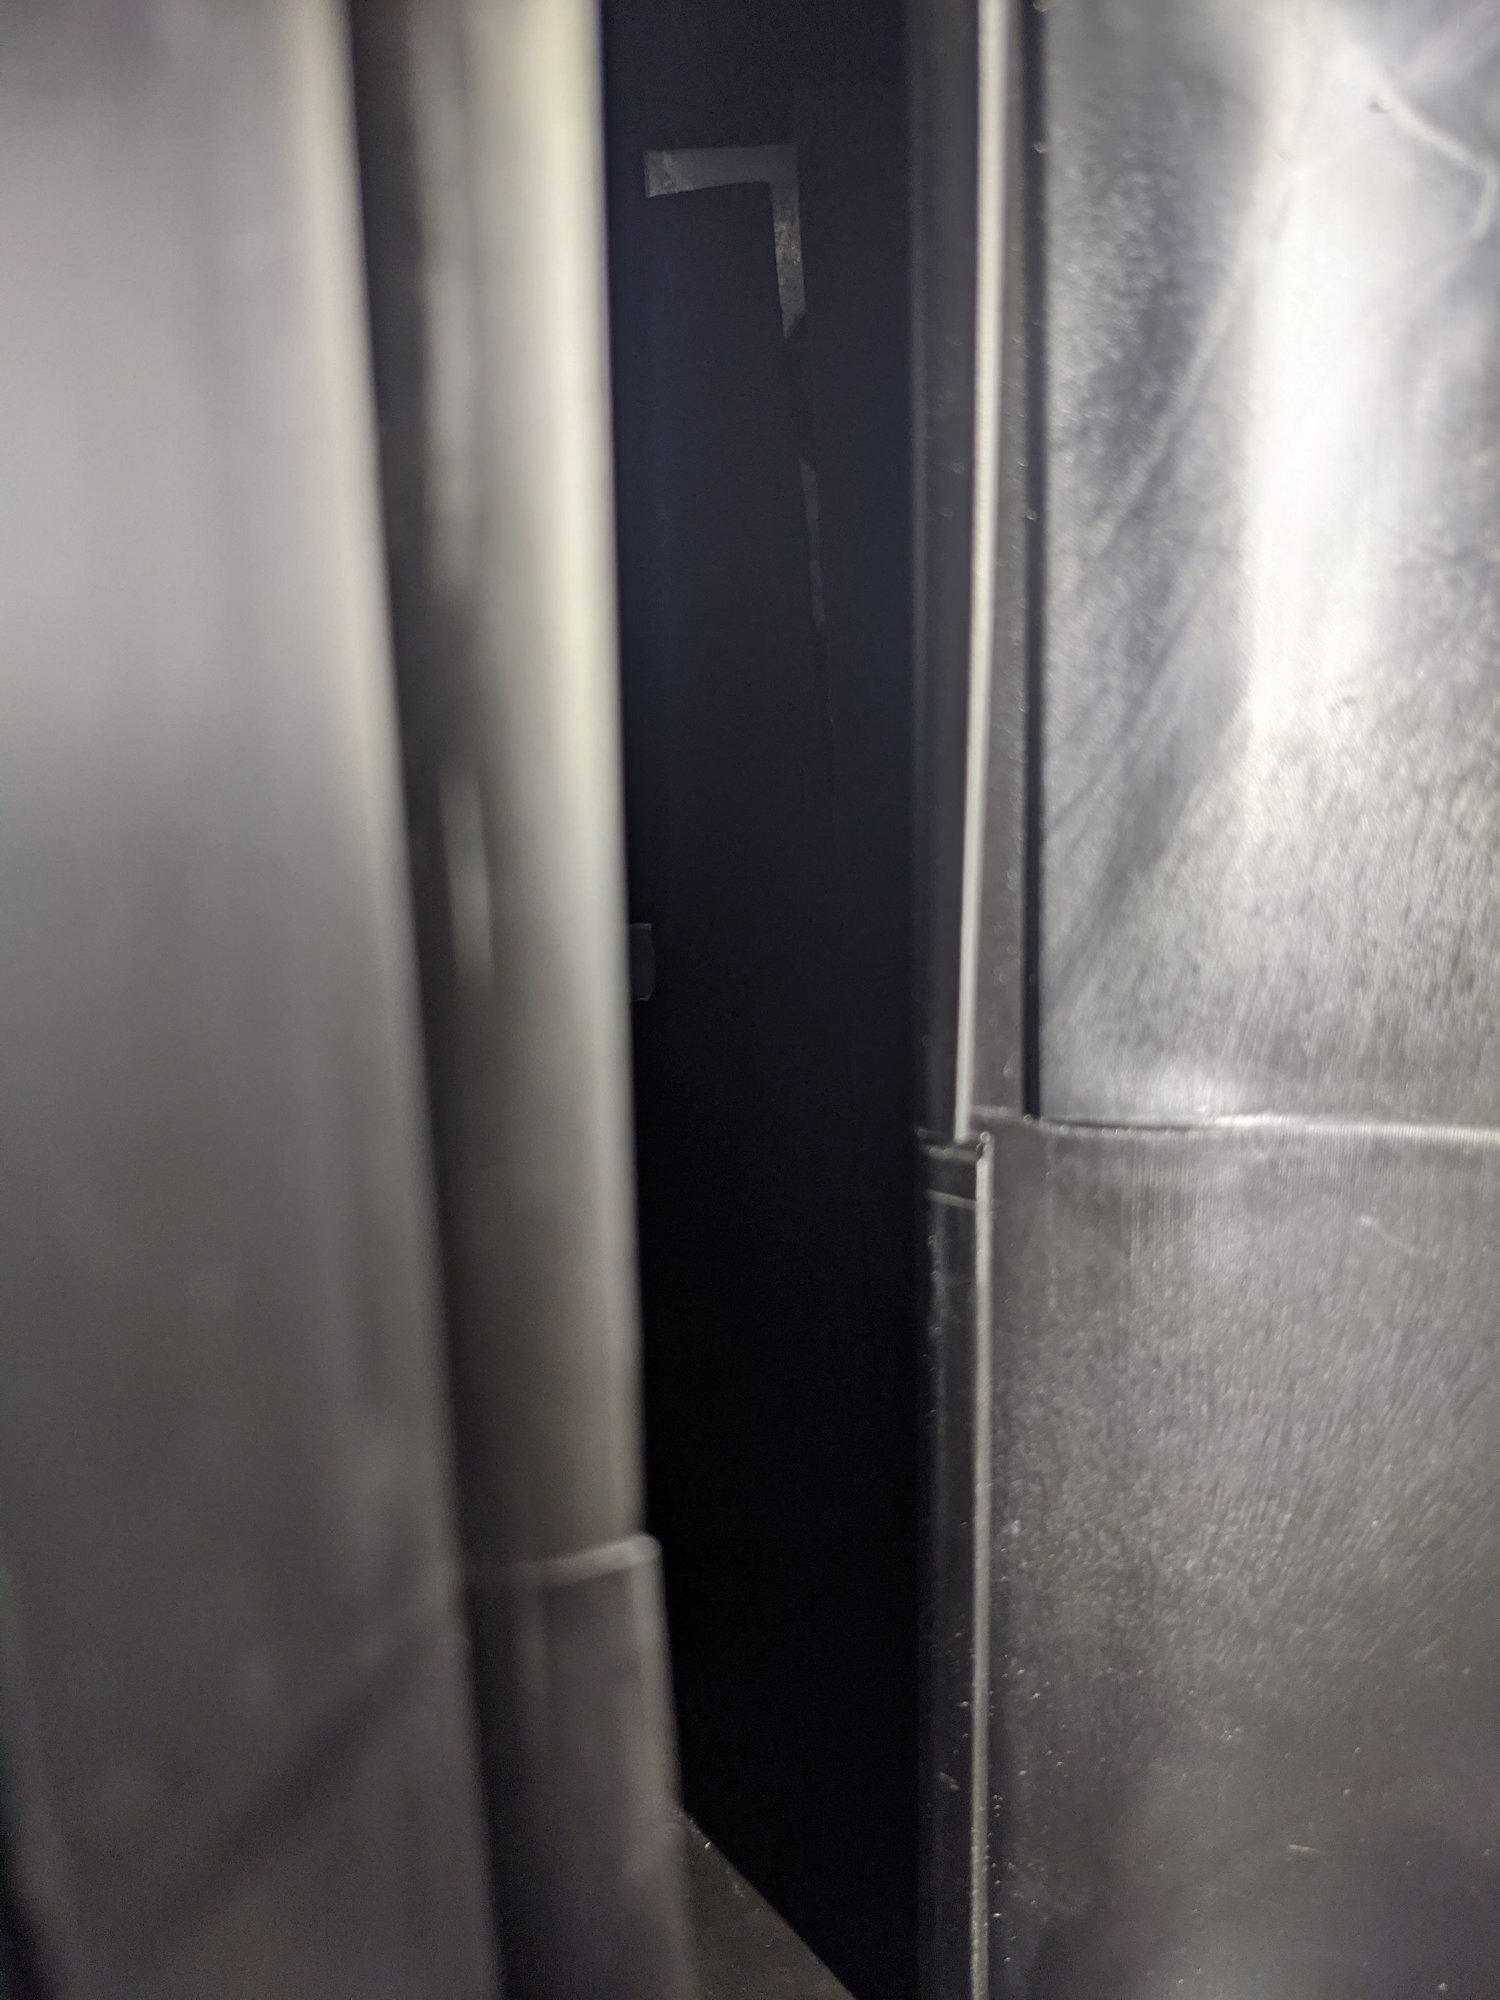
I realized I could get my hands on that second flap, it wasn't comfortable, but I could do it, so I hooked up some jumper cables and moved the flap into it's three positions, great, I can totally get my hands on all parts of this flap.
You can see it moved:
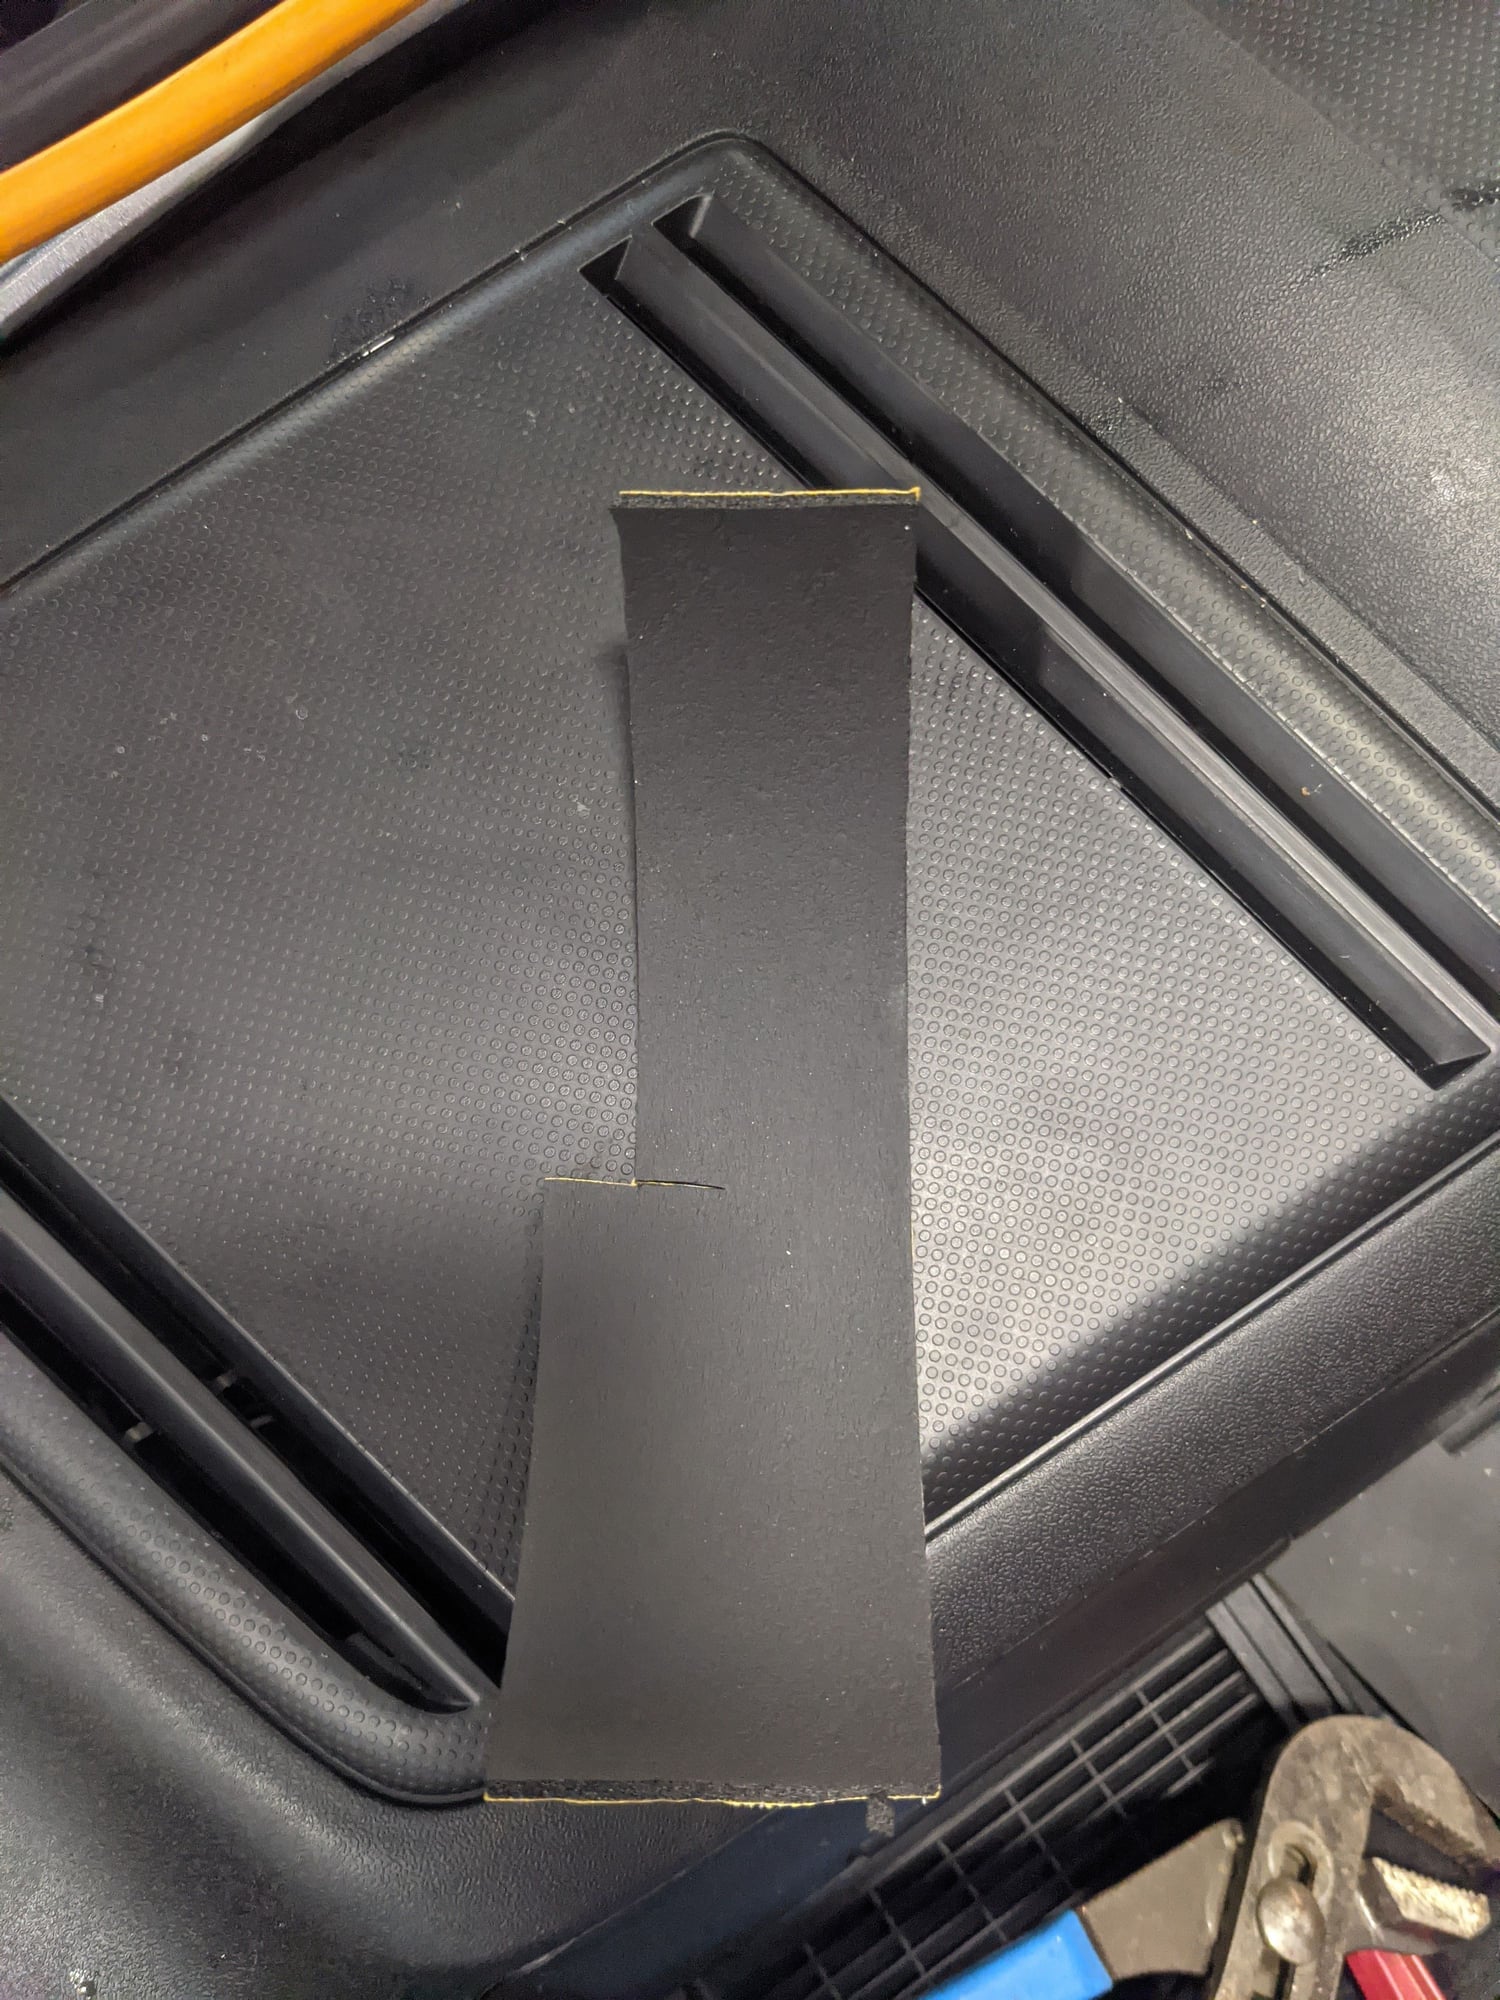
Then I cut out some new new foam went in by feel only. I was able to totally re-foam this entire flap through the heater core cavity, I had to move the flap into the 3 positions so I could get it totally covered, it took a couple strips/passes per side, and it was a bit time consuming and slightly painful on the wrist, and I had to redo a couple of the attempts because I put it on crooked the first attempt, but all in all, it wasn't that bad. I was able to completely cover that flap all through that heater core opening without having to make any cuts, or remove anything other that the initial guide AMCPILOT provided.
And the good news, no more penny sounds coming from the dash, no more foam, and now not only does the heat and cooling work much better, I can actually direct it as well. woot woot! $7k saved!
Hopefully this is helpful for others looking to fix this issue
Last edited by moxie (SF); 10-29-2020 at 12:07 AM.
We did this repair for both flaps according this https://www.youtube.com/watch?v=42IZ0lb33C8
It was rather easy, and took about one hour. Local indy quoted ~ 600€ if done from outside.
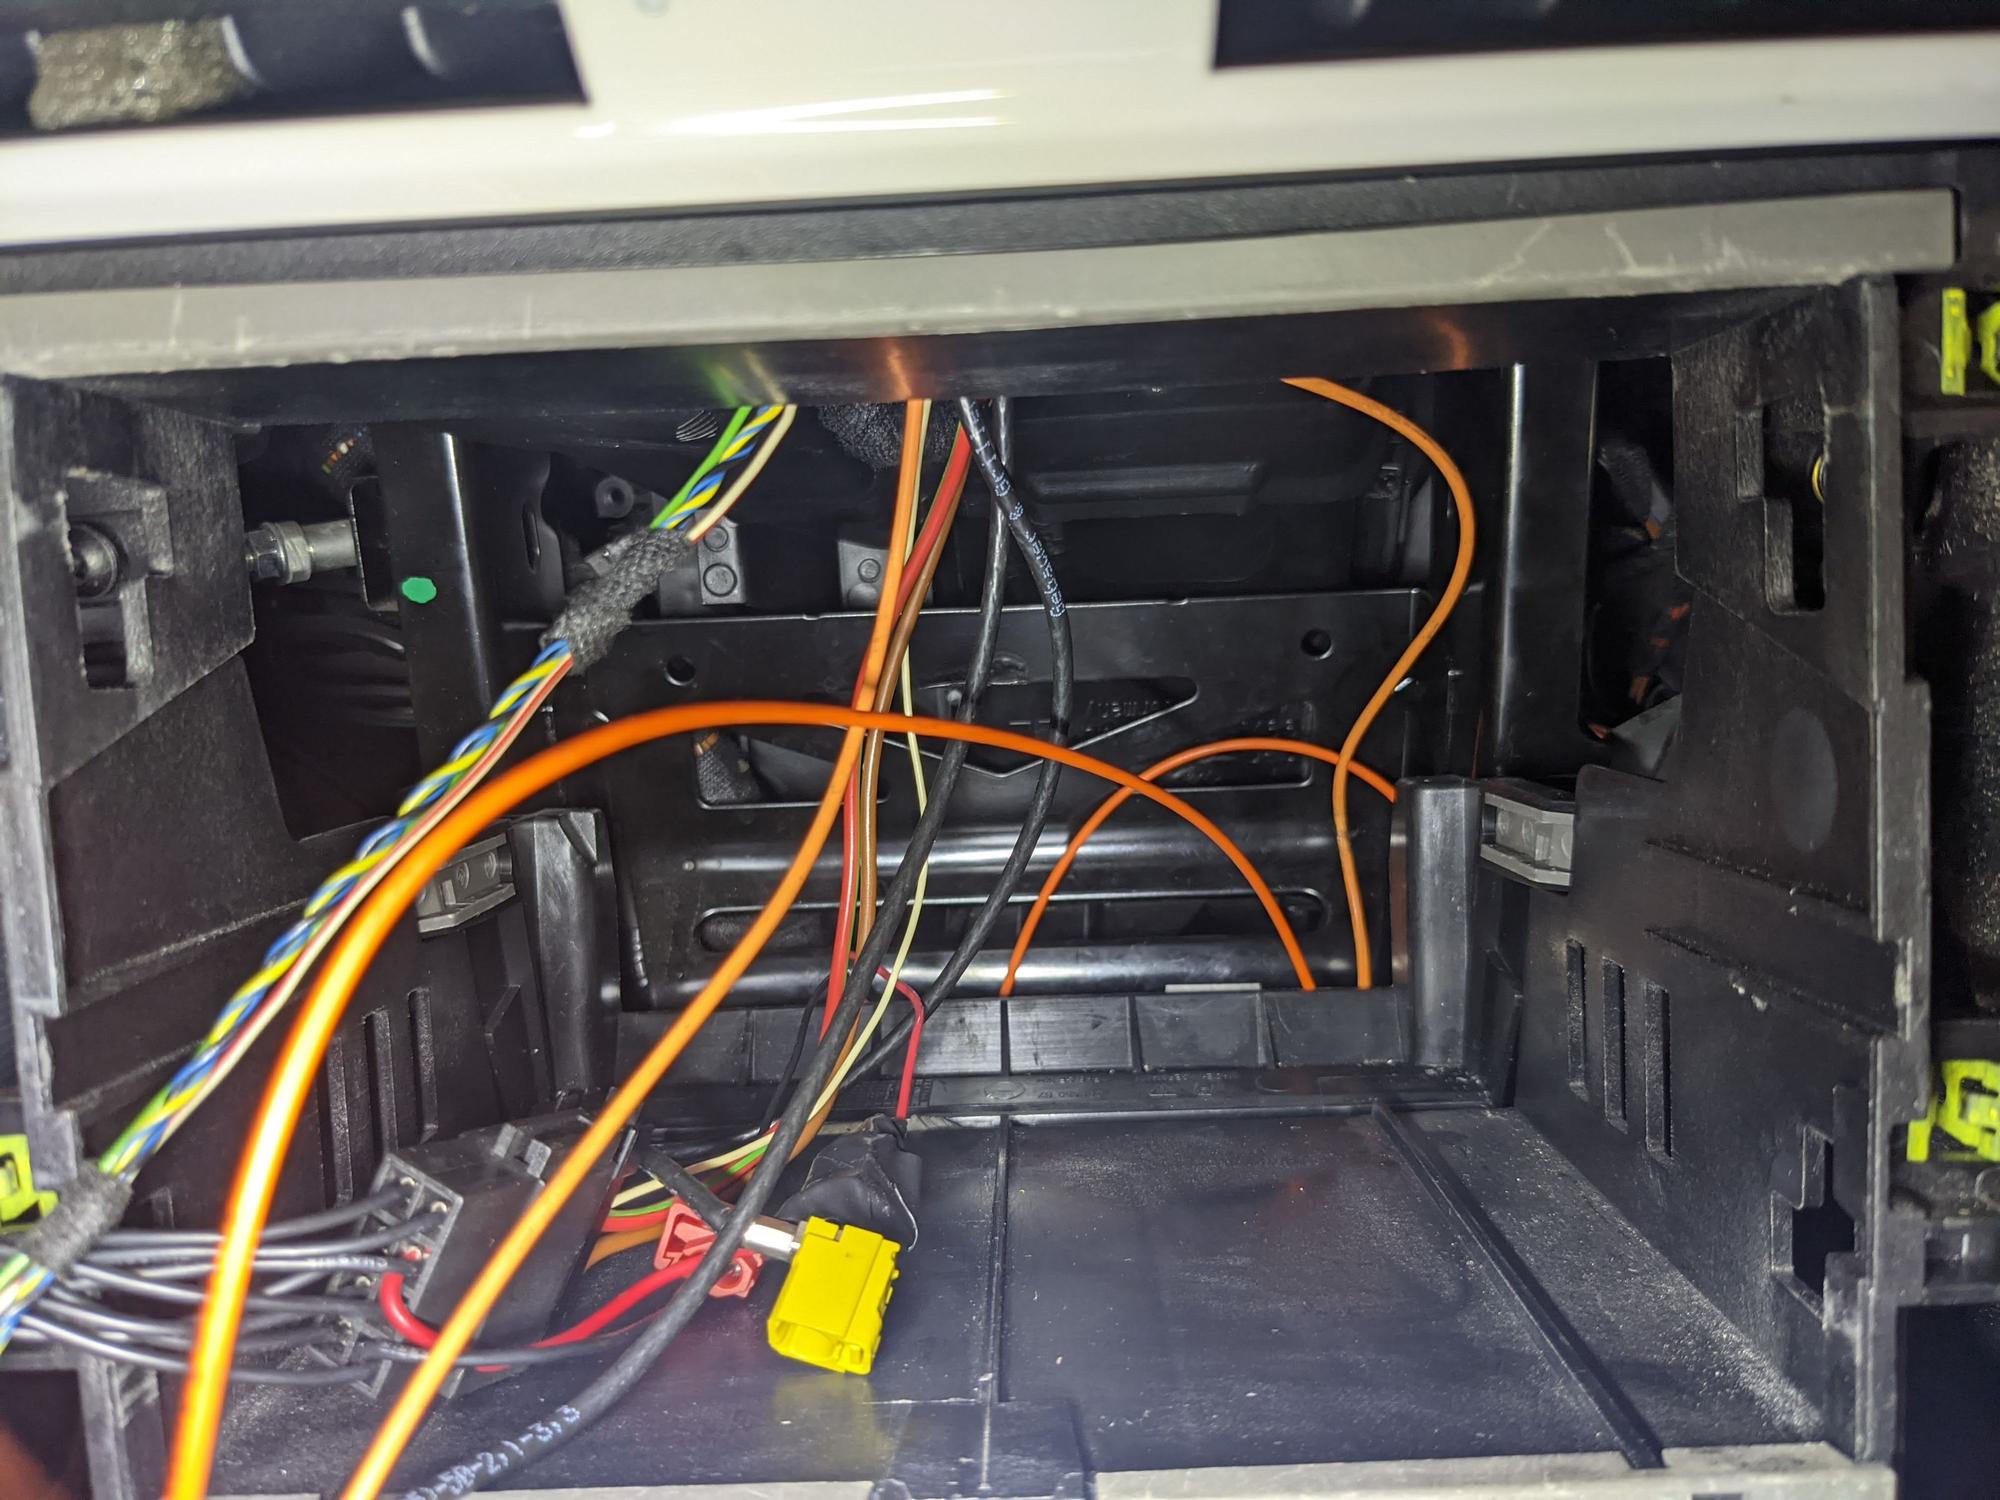
That doesn't appear to be a viable option for the 997 turbo at least. You can't cut the ducting as you can see from the pics I posted
It’s a semi-sticky and stretchable material kinda like play dough (but rubberized and meant for cars) so it forms a moldable cap that I use to secure the cut-off plastic pivot cap ... it’s flexible and sticky enough to keep everything together. It’s the same stuff 944’s have used from the factory to seal the tail lights. ... I get it in rolls and then just cut off a bit, form a cap as shown, then put it on and form it around the housing to hold it together. Very easy and cheap but effective and long-lasting.
Did we ever figure out what this is exactly? I've been searching and even reached out to AMCPILOT directly. Unfortunately, his mailbox is full.
I have a2003 996 and have it all apart fixin the baffle next to heater core w/ new foam tap, and ready to put it all together, and can anyone tell me where and how to get to the second baffle?, I can’t see it from the opening at the hearer coil. Thanks.
I just finished putting my 03–996 back together and it’s working great everything works as it should, but now my heat and AC are really working like I’ve never had. PO apparently got all 5he foam pieces he wanted, and traded it in, that’s 2hen I bought it 2 years ago. It needed a LOT of “fixin” , which I’ve done. So, in this operation you did on the video. What car are you doing this on?, is this what I need to do on my ‘03 996? to get to the second baffle? My neighbor is going to go nuts, as he just helped my do my car today. He’s not going to believe he’s going to help do more. I can probably do this one by myself, I’m only 80 years old and still doing things like this. Helps keep me “young at heart”.

 10-03-2020, 11:00 AM