When you click on links to various merchants on this site and make a purchase, this can result in this site earning a commission. Affiliate programs and affiliations include, but are not limited to, the eBay Partner Network.
You are very welcome Paulo, can�t wait to see the finishing product with the roll bar and rs steering wheel
Originally Posted by nothingbutgt3
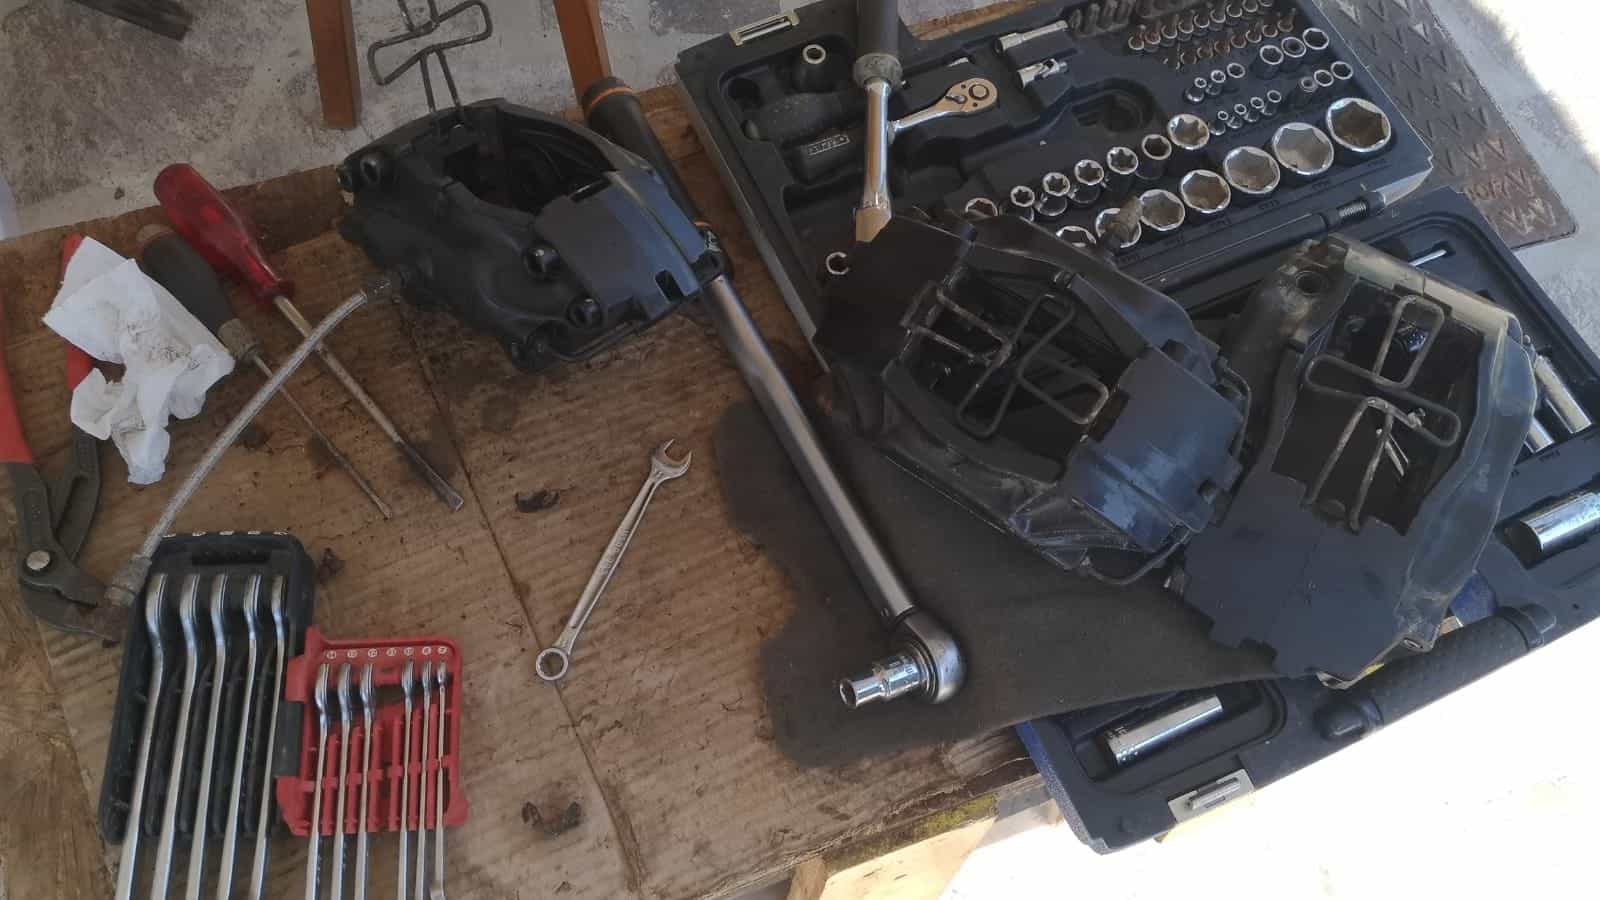
During the last days I am taking care of the brake calipers, cleaning them and trying to make a full rebuild, the hardest part seems to be the removal of the 8 small torx screws that must be screwed up using blue loctite plus the rost and 4 and half years locking effect.
meanwhile it has arrived a nice parcel from a RLer living in Toronto, i must really thank you William for your availability and your enthusiasm about our lovely and expensive pets.
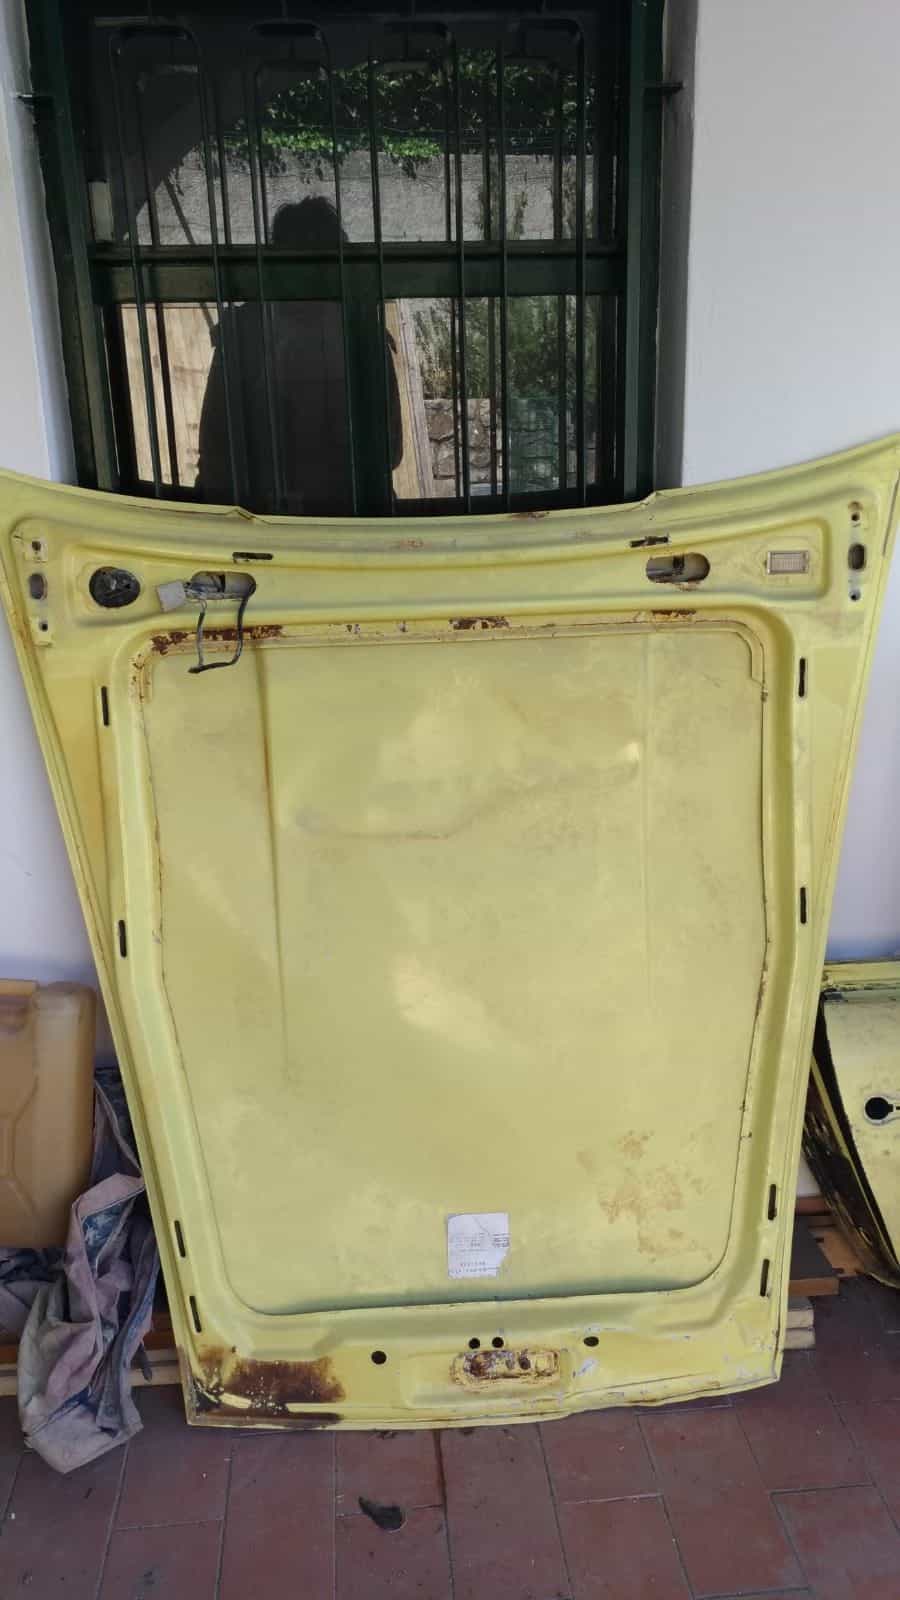
I am looking forward to the brake calipers rebuild as a very exciting challenge...and then every time I pass in front of the old yellow front bonnet I can't really wait for the moment I'll see the car in perfect shape again.
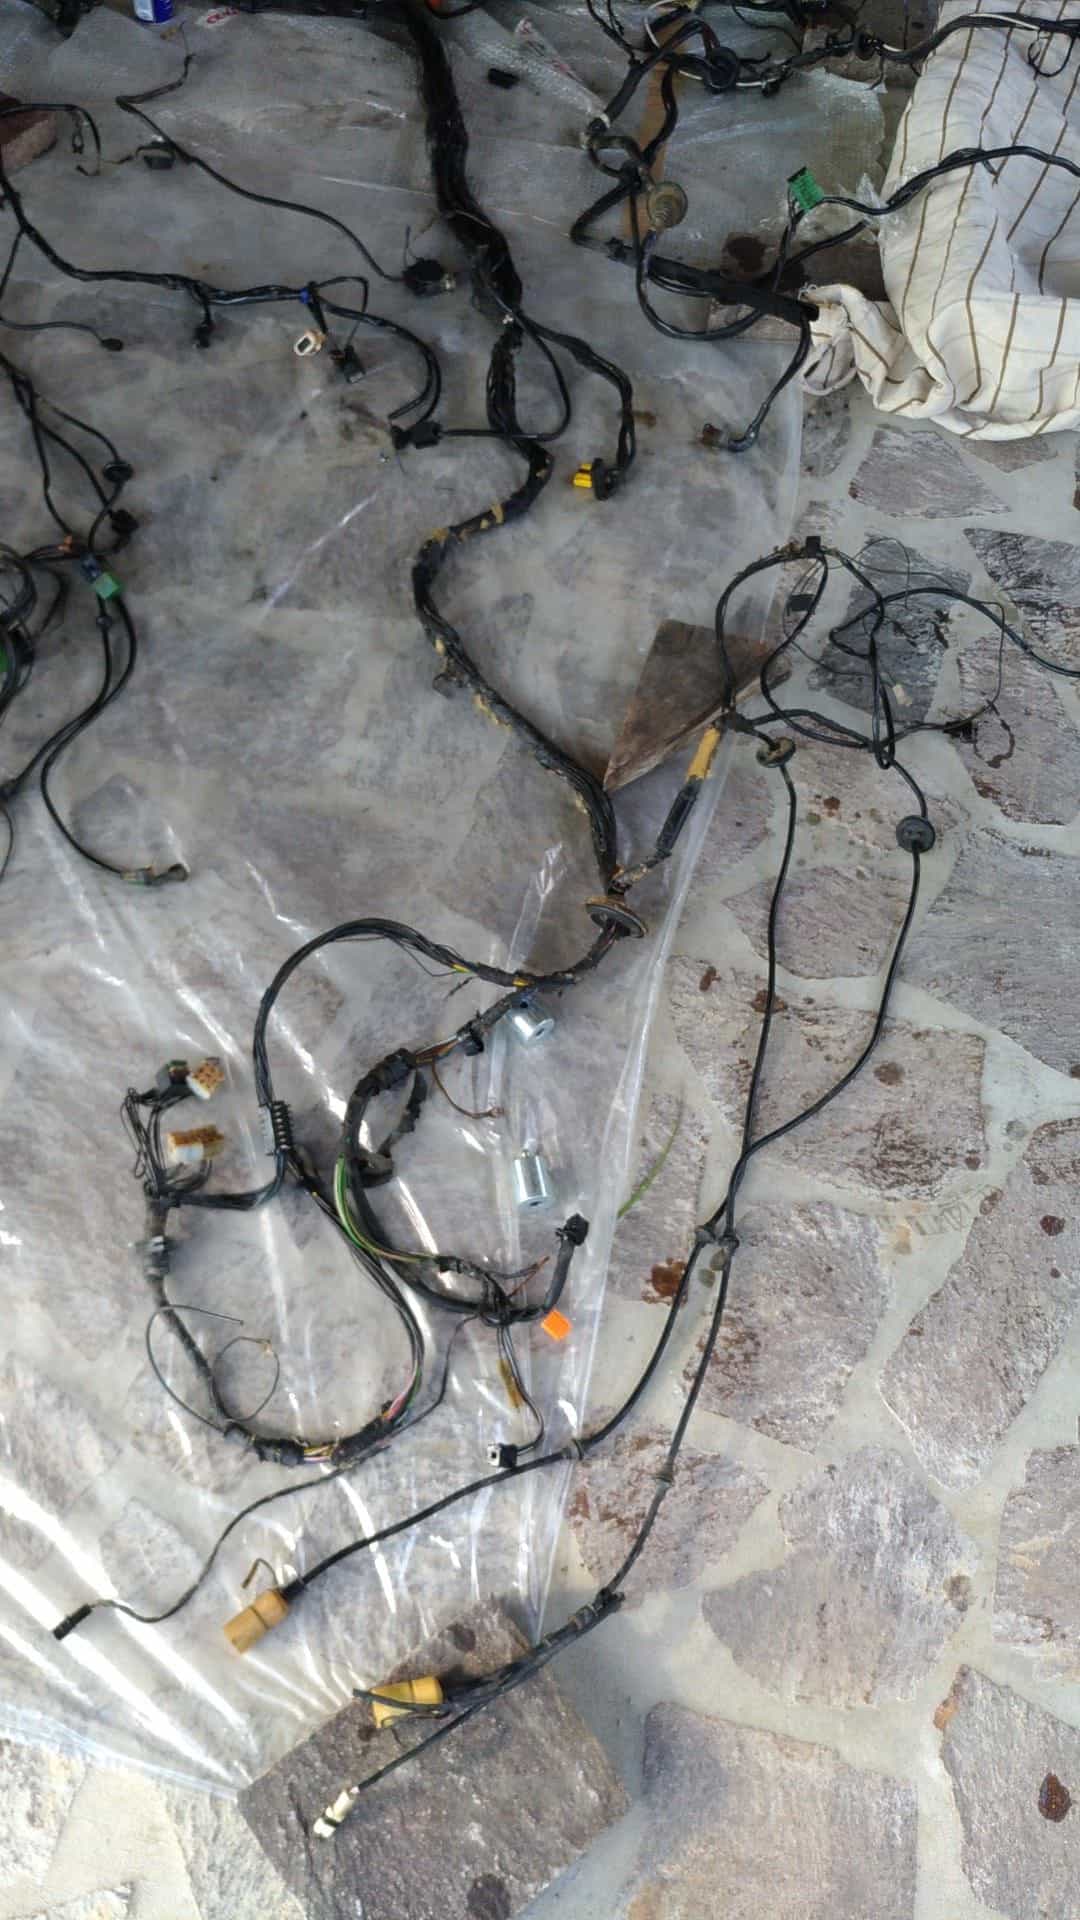
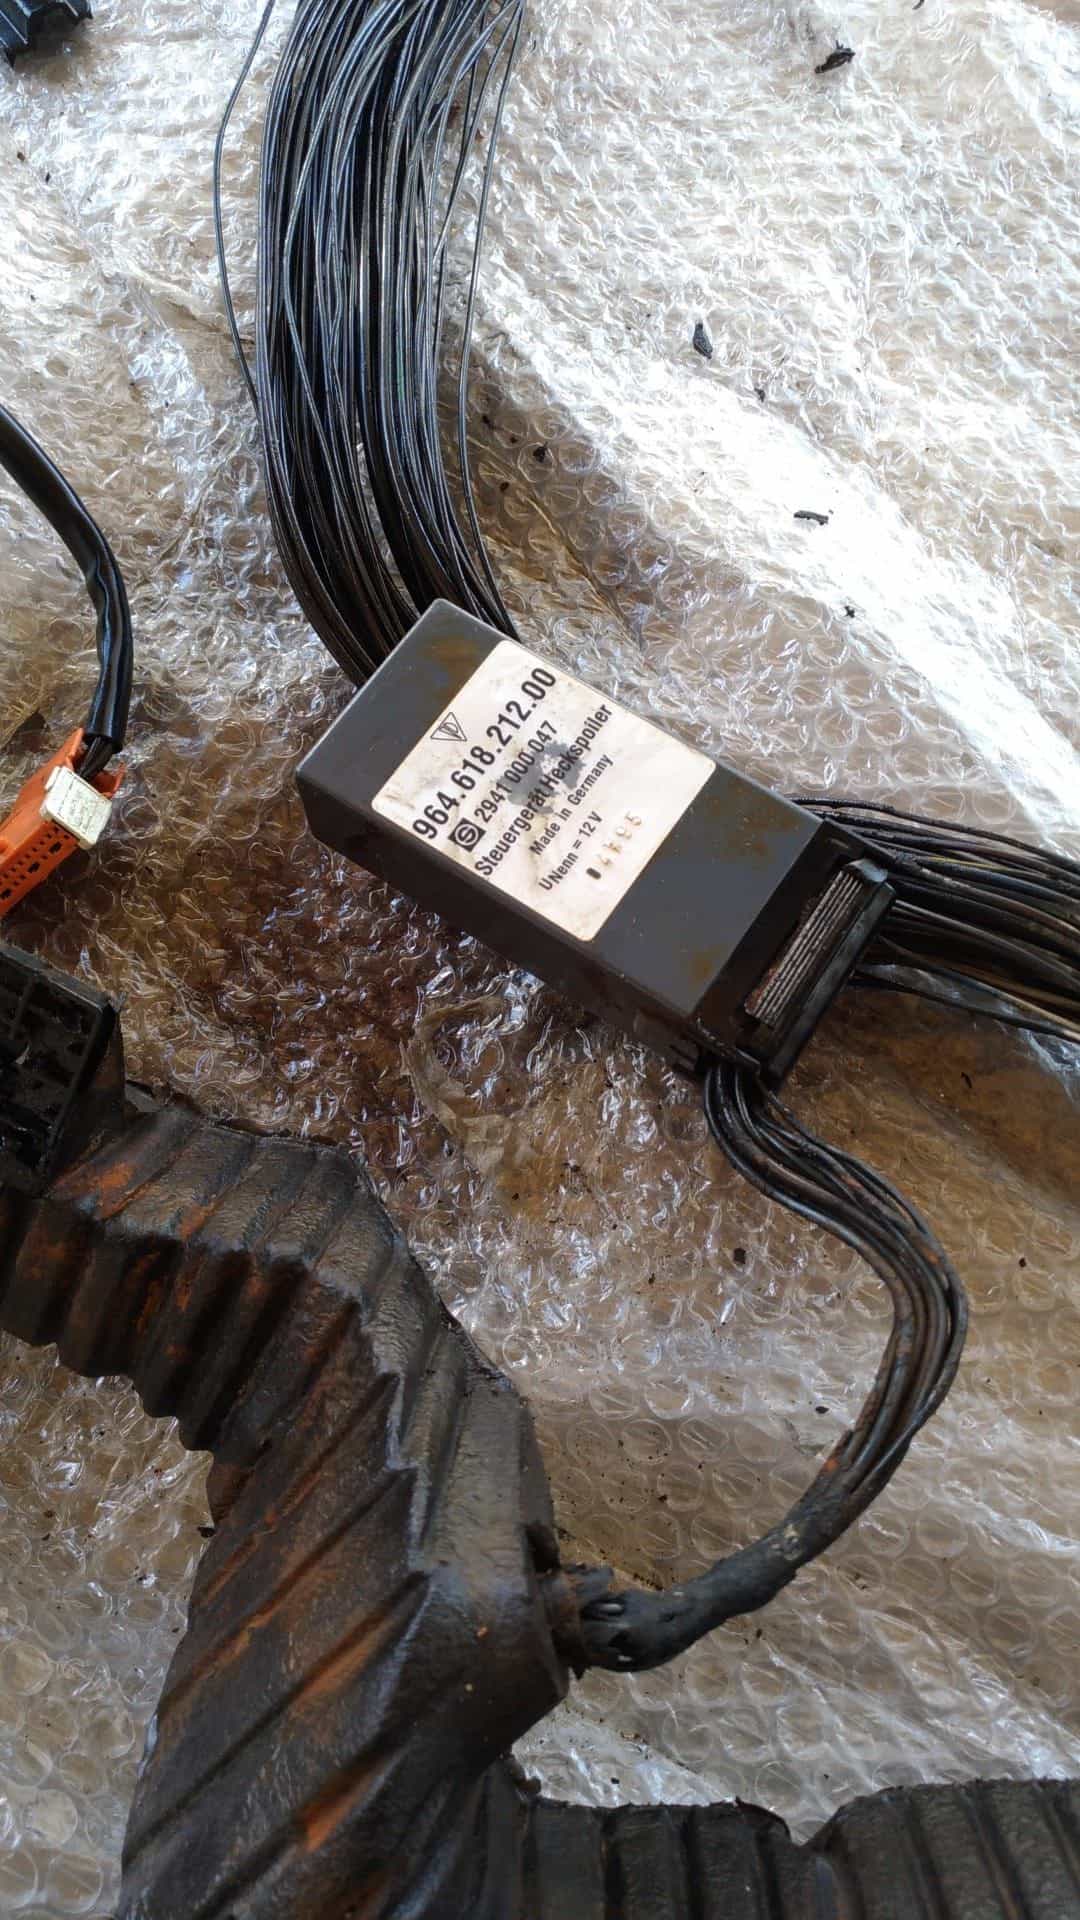
Cleaning, cleaning, cleaning...I am using WD40 to refresh the contacts and melt away the hard to remove black sticky stuff that was evidently surrounding the small wires to make them stay all together.
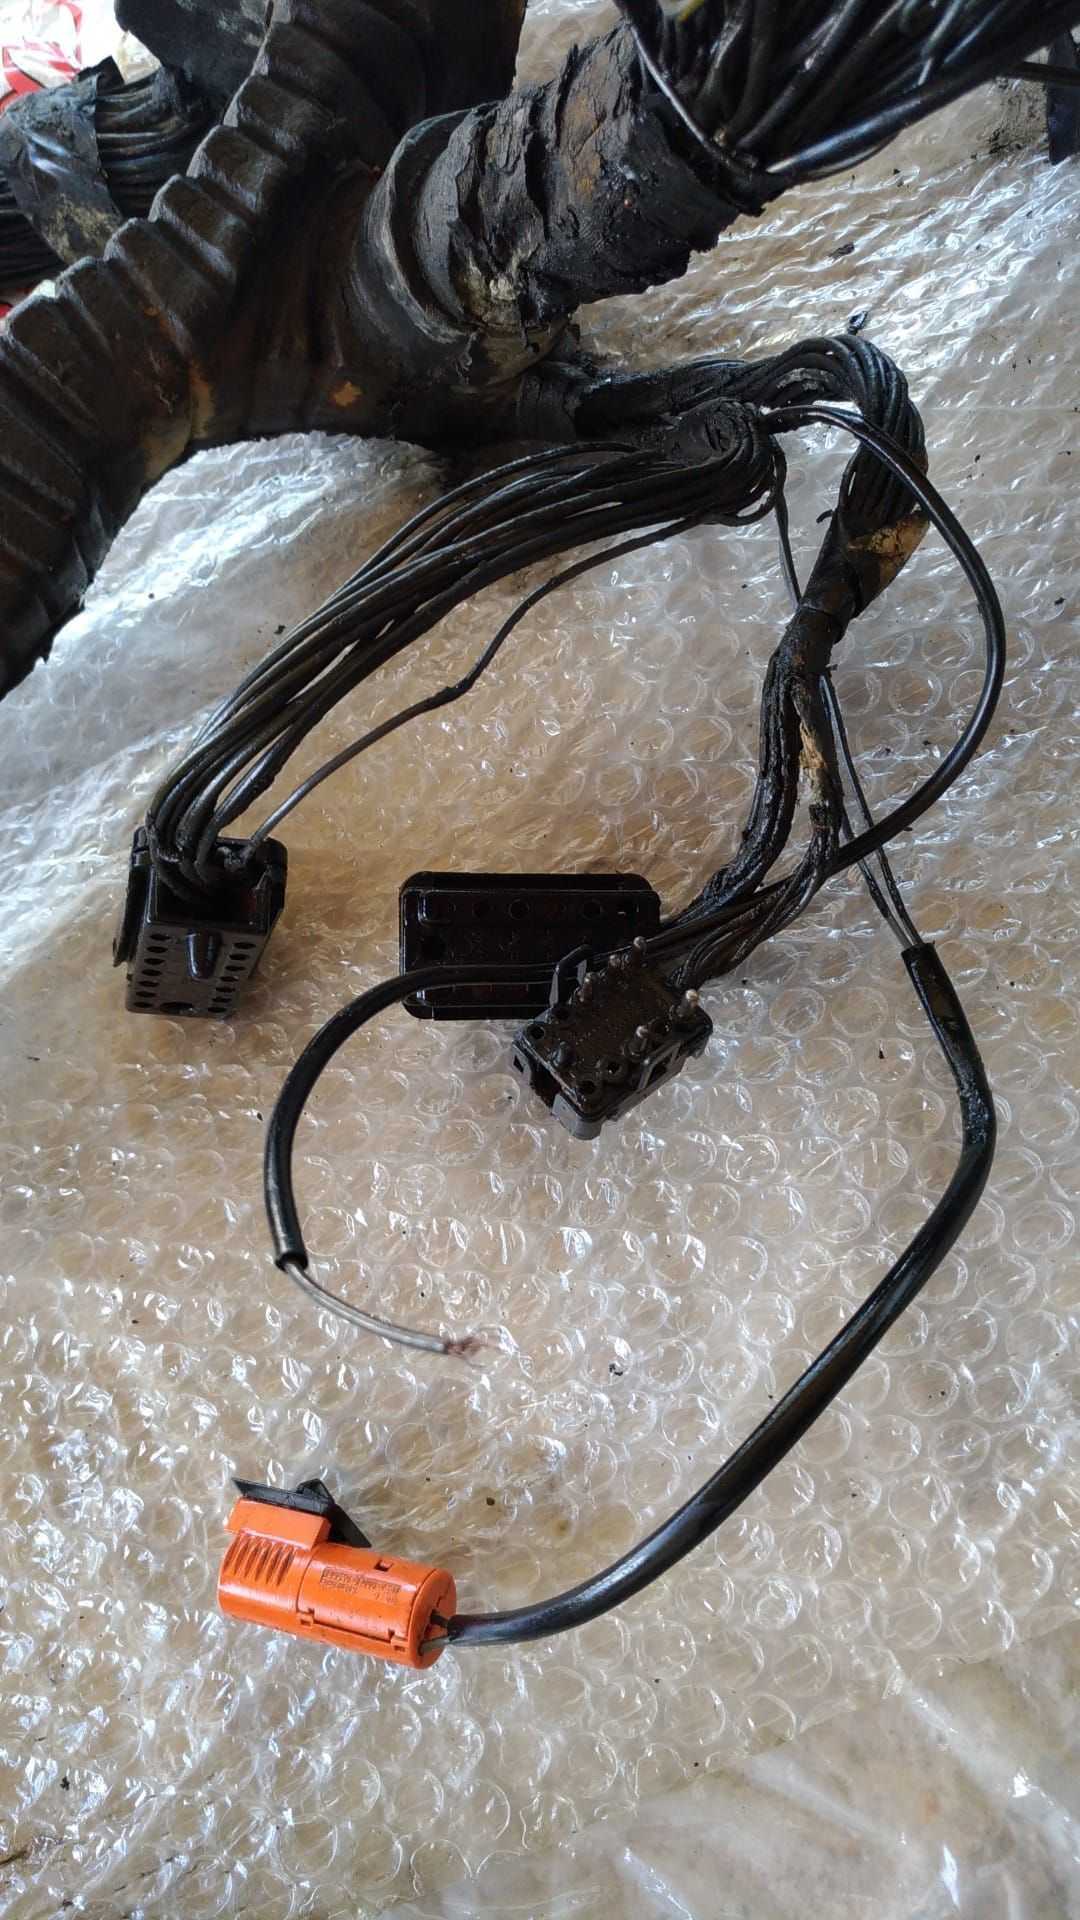
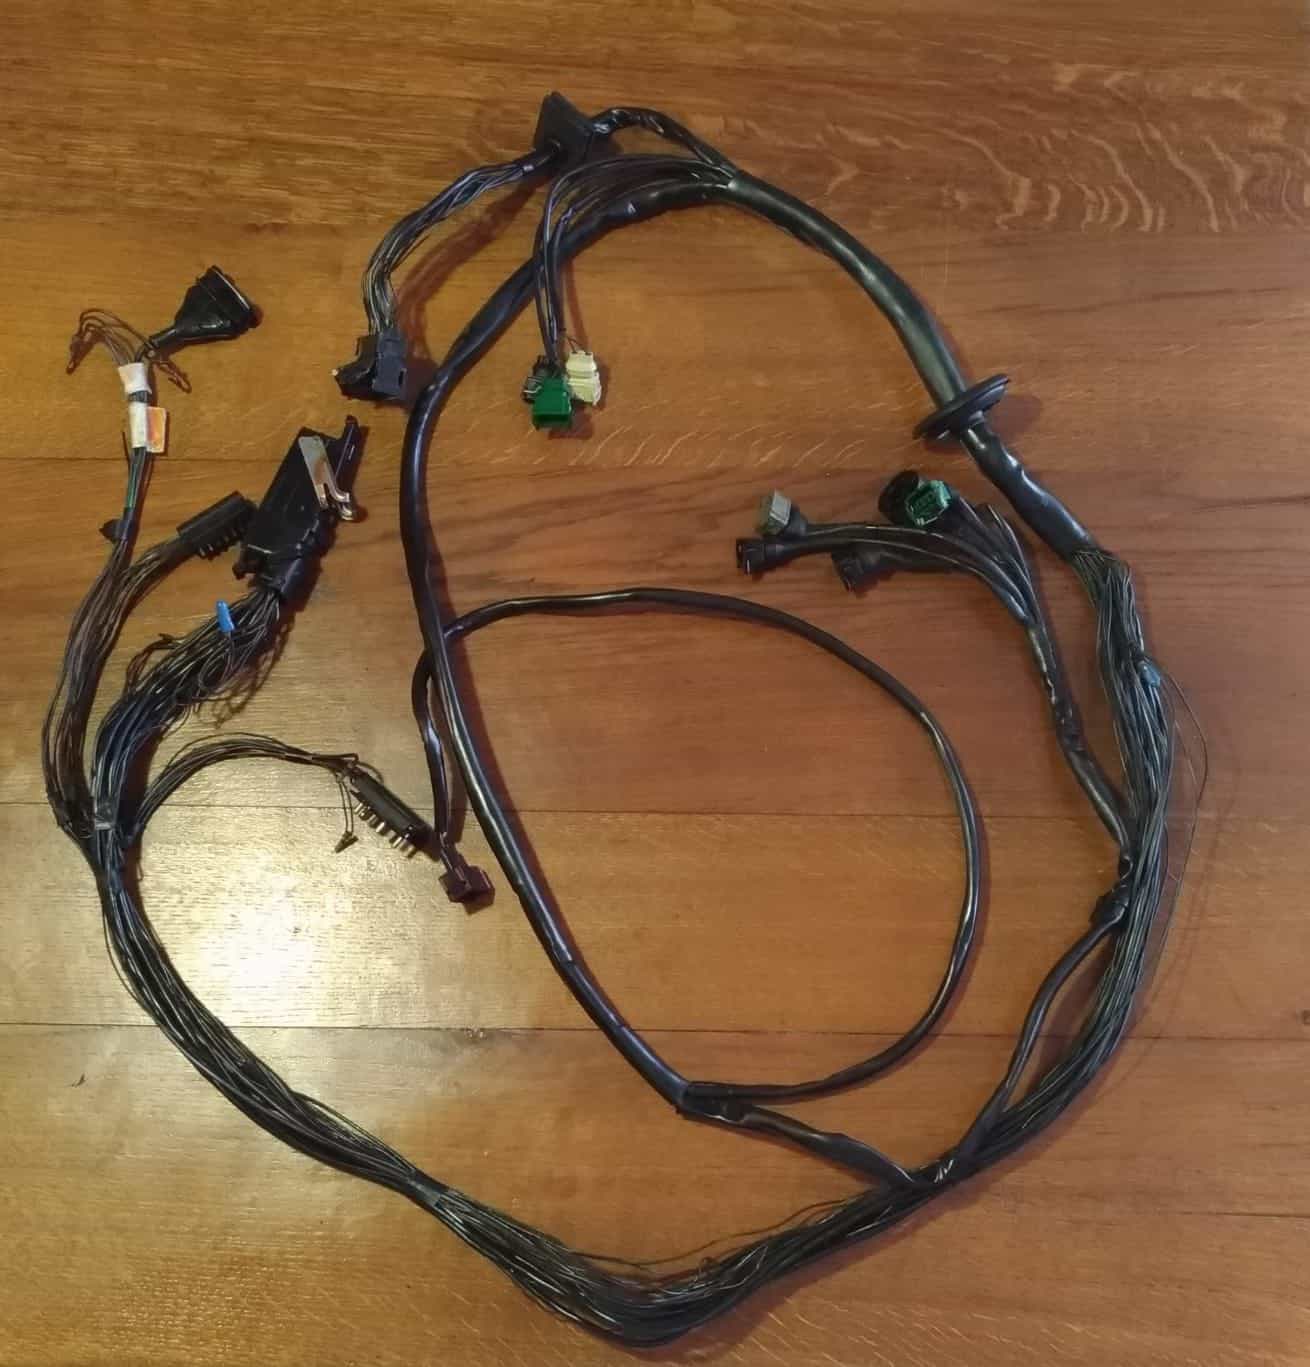
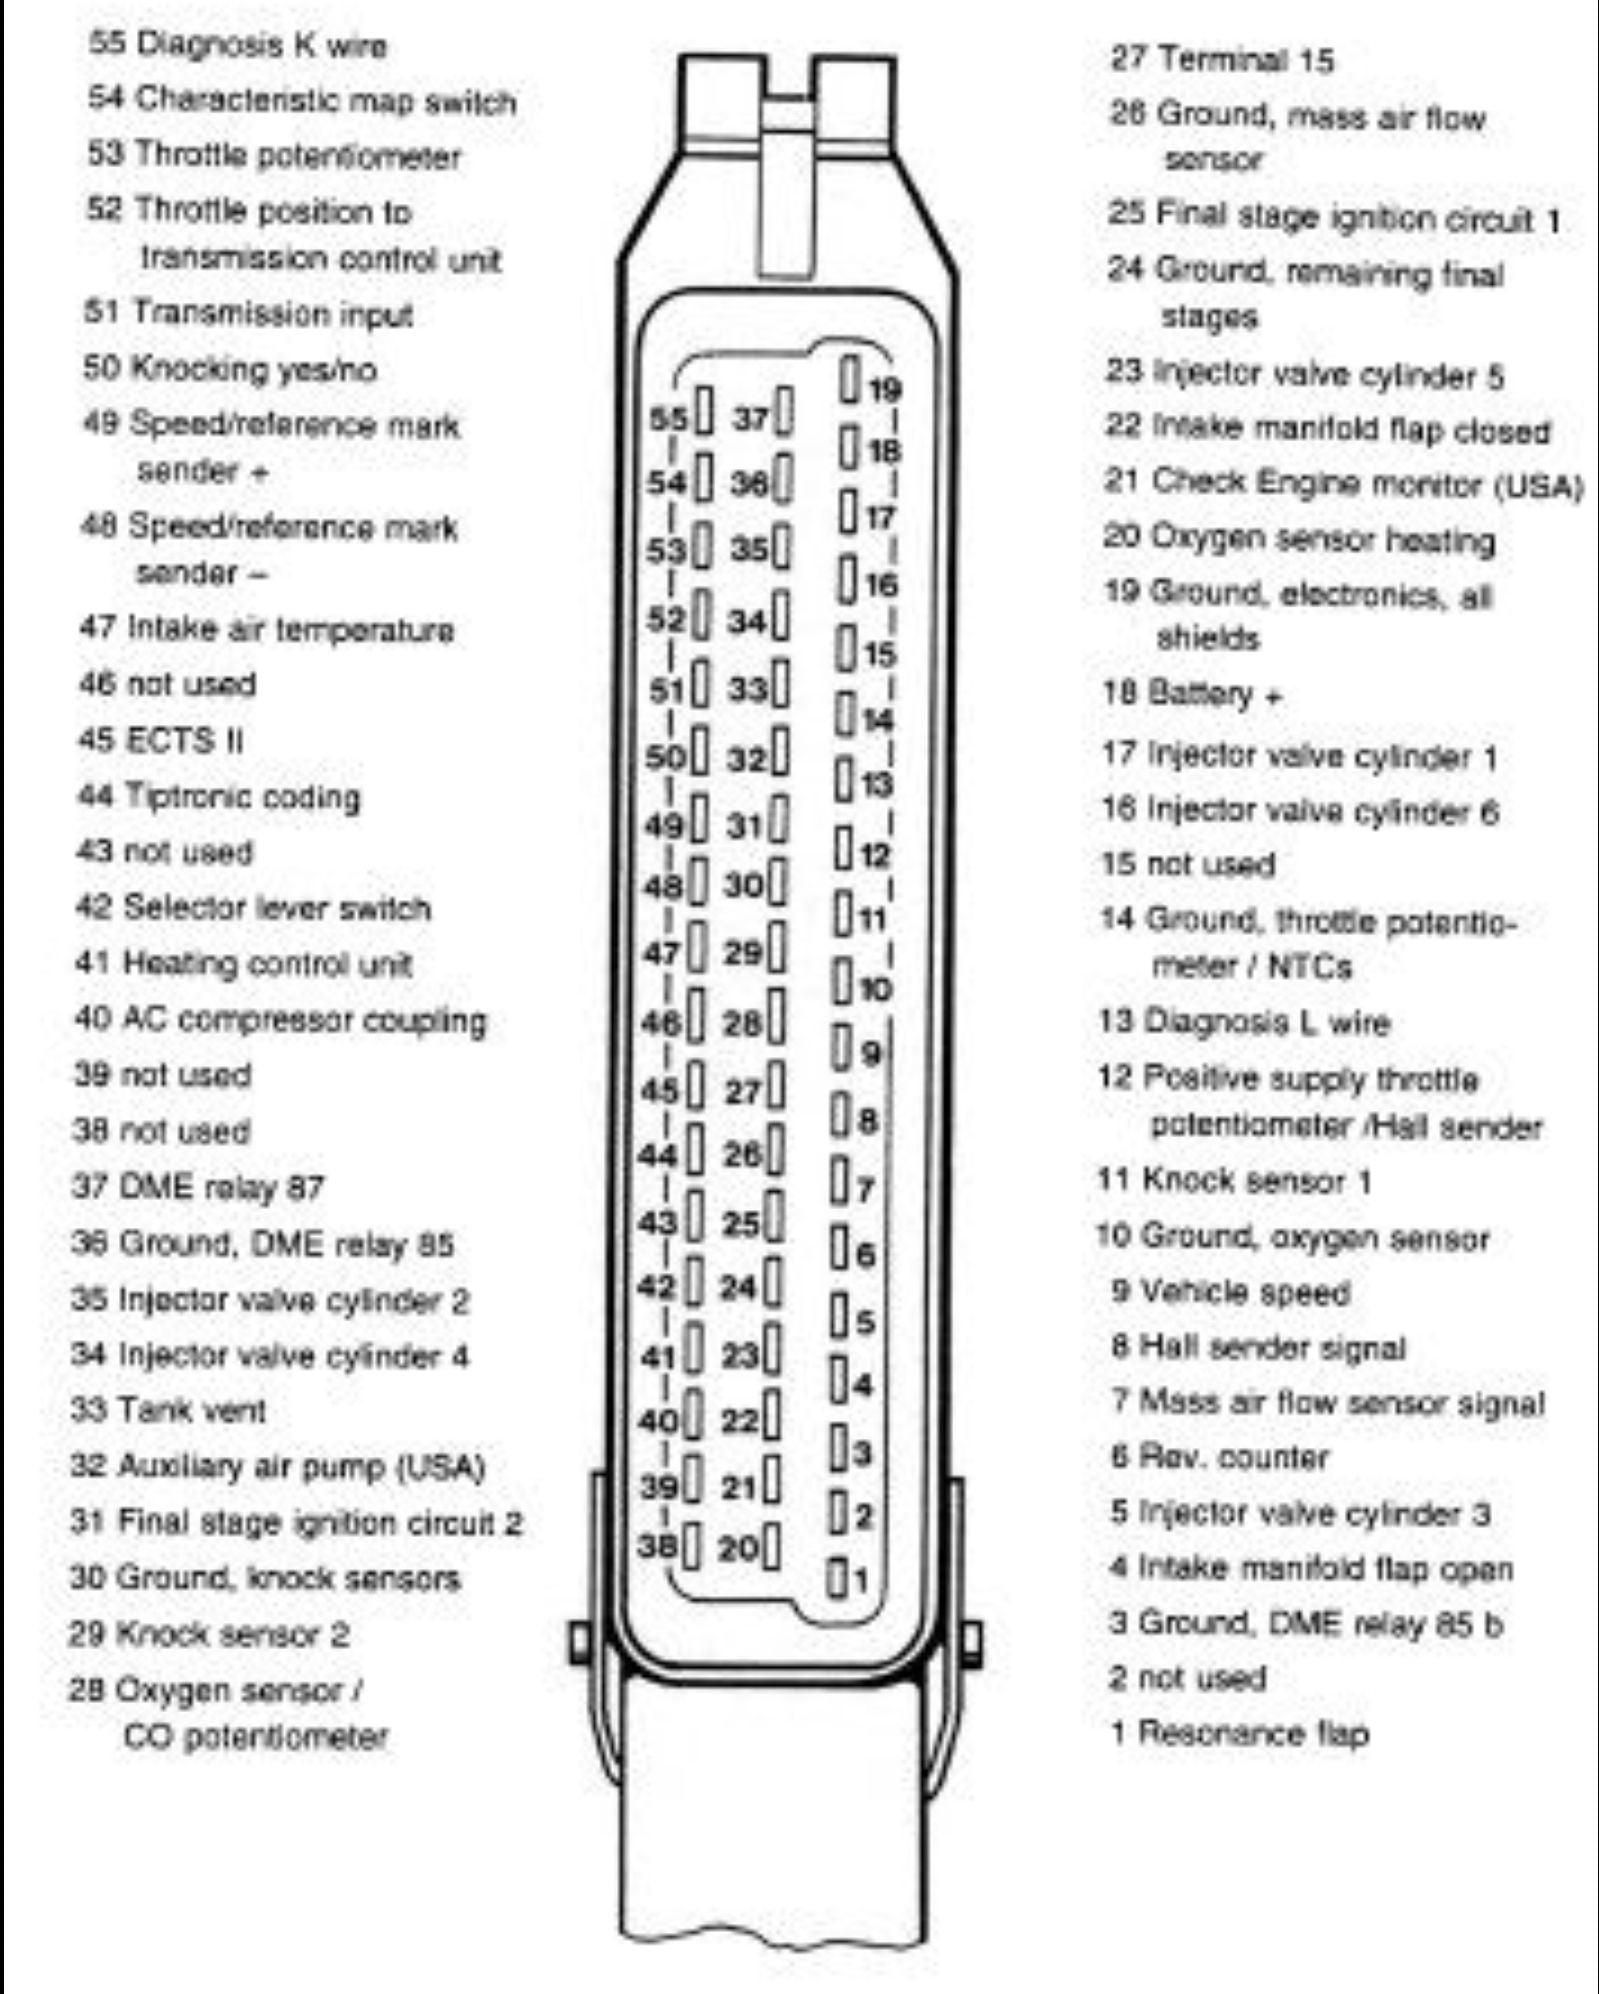
DME 55-pins connector, which should be the same as the one for the Varioram Version, except some wire that is supposed to comand the opening and closing of the solenoids of the varioram. Does anyone knownwhere i can find out how eventually to add what is missing to make the varioram perfectly work?
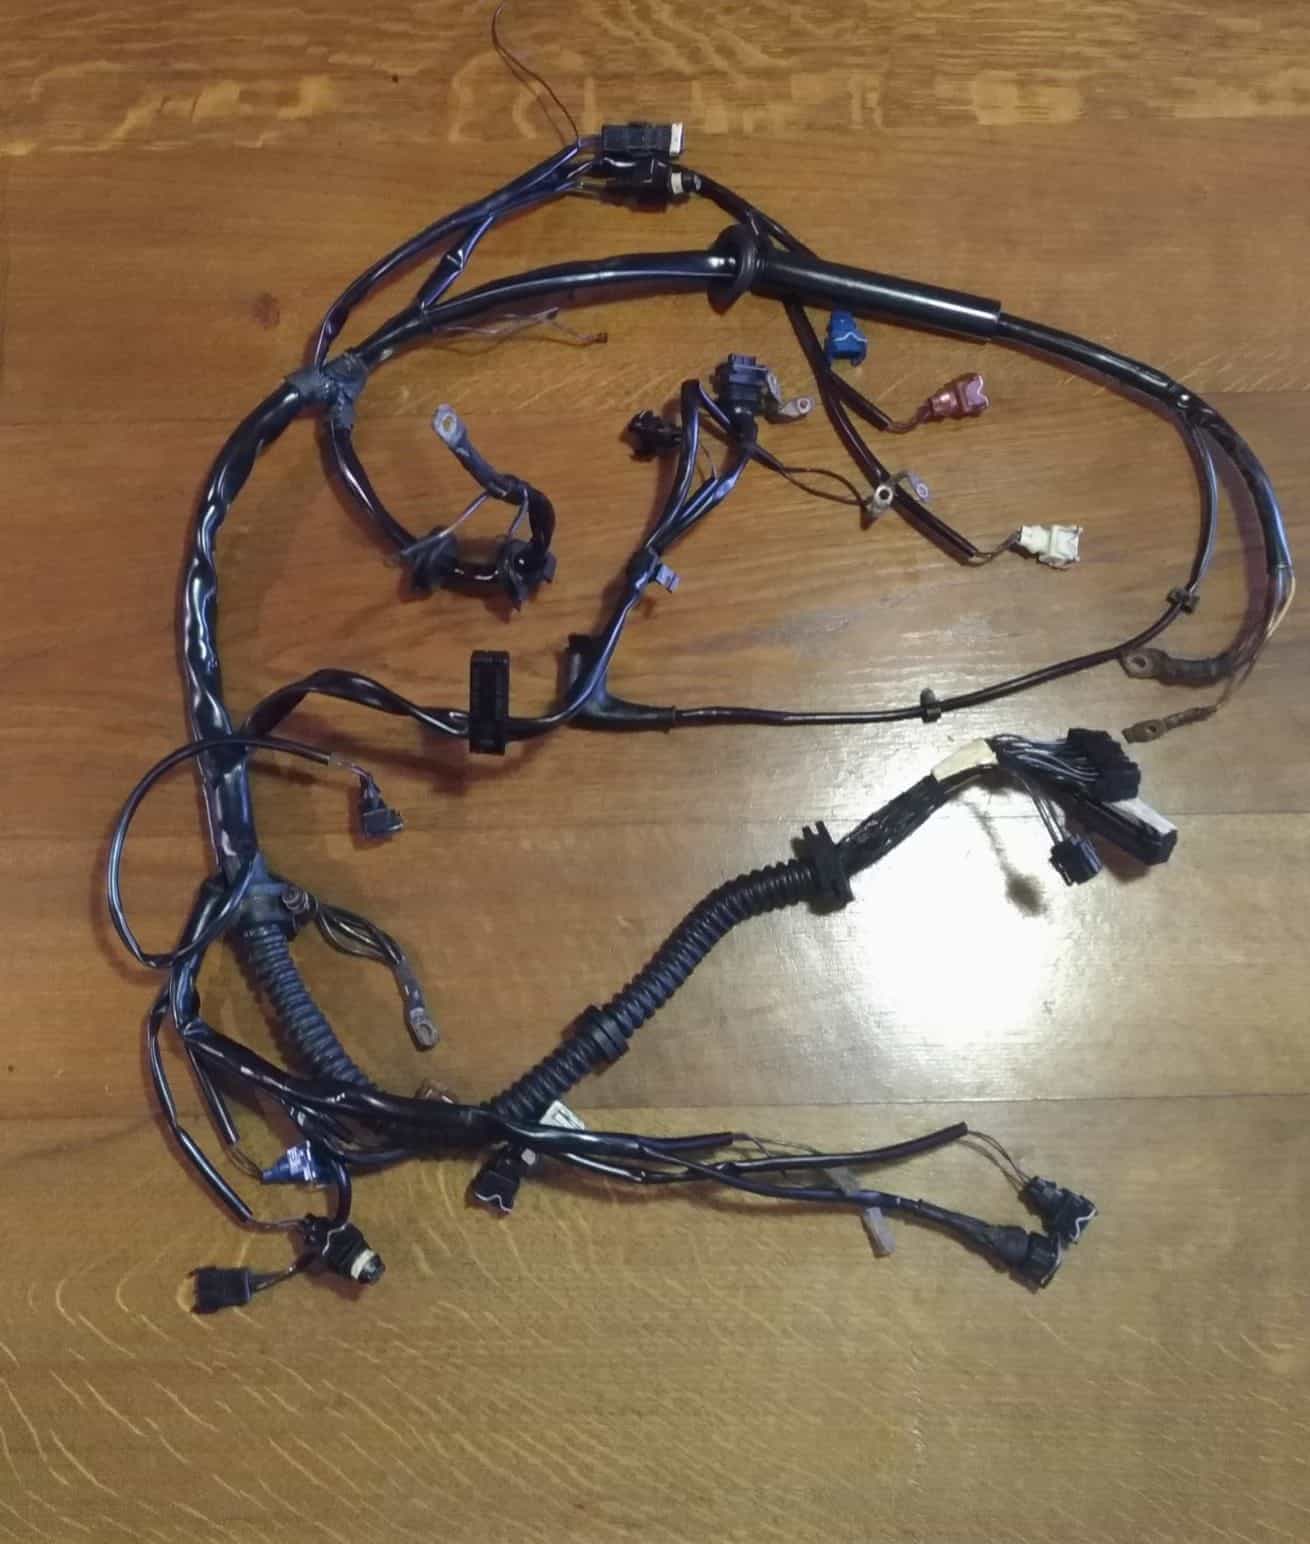
Engine bay wiring harness, the one leading to the injectors, the ISV, MAF, Air Intake Temperature Sensor, I still have to understand the few black plugs what are suppose to comand.
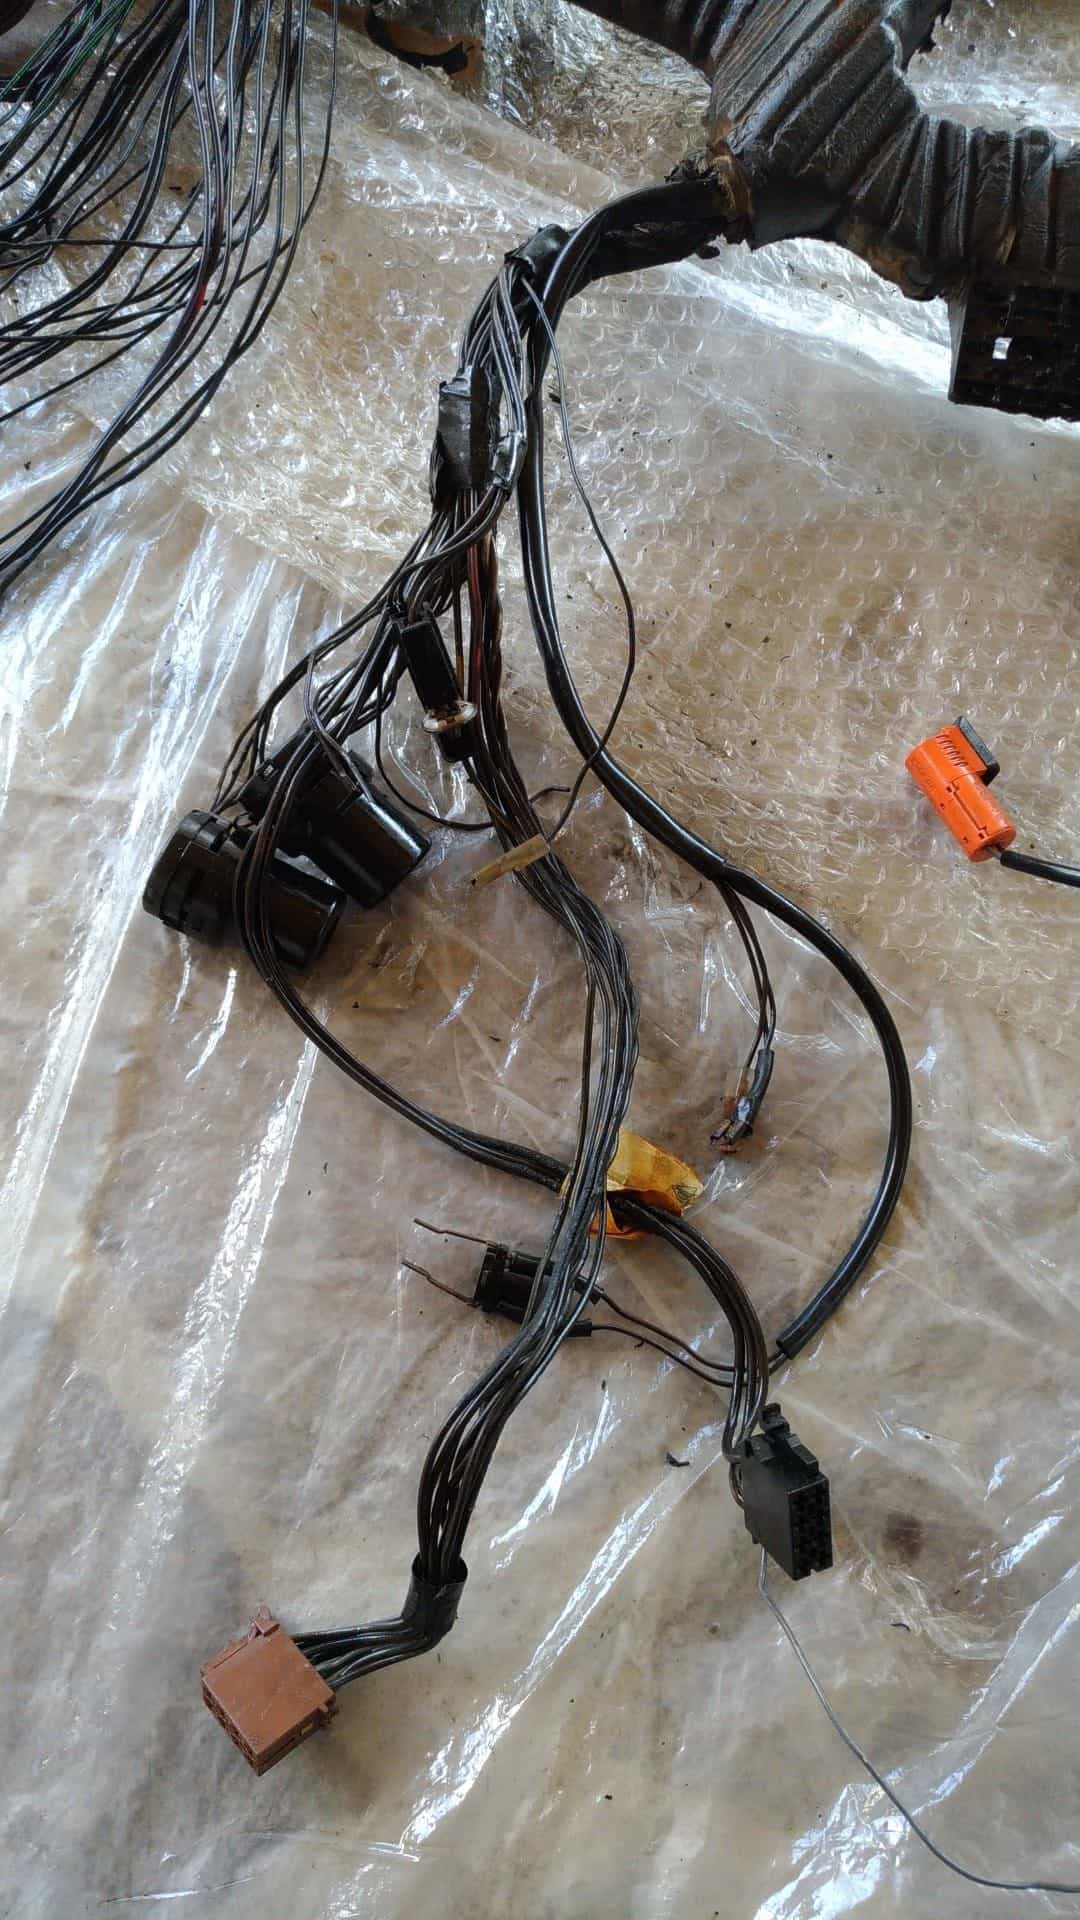
Then I checked all the contacts of the 55 pin dme cable with the multimeter, it was easy also to identify what is what by using the picture with the map showing the pin number and its function.
All the pins are beeping very happily.
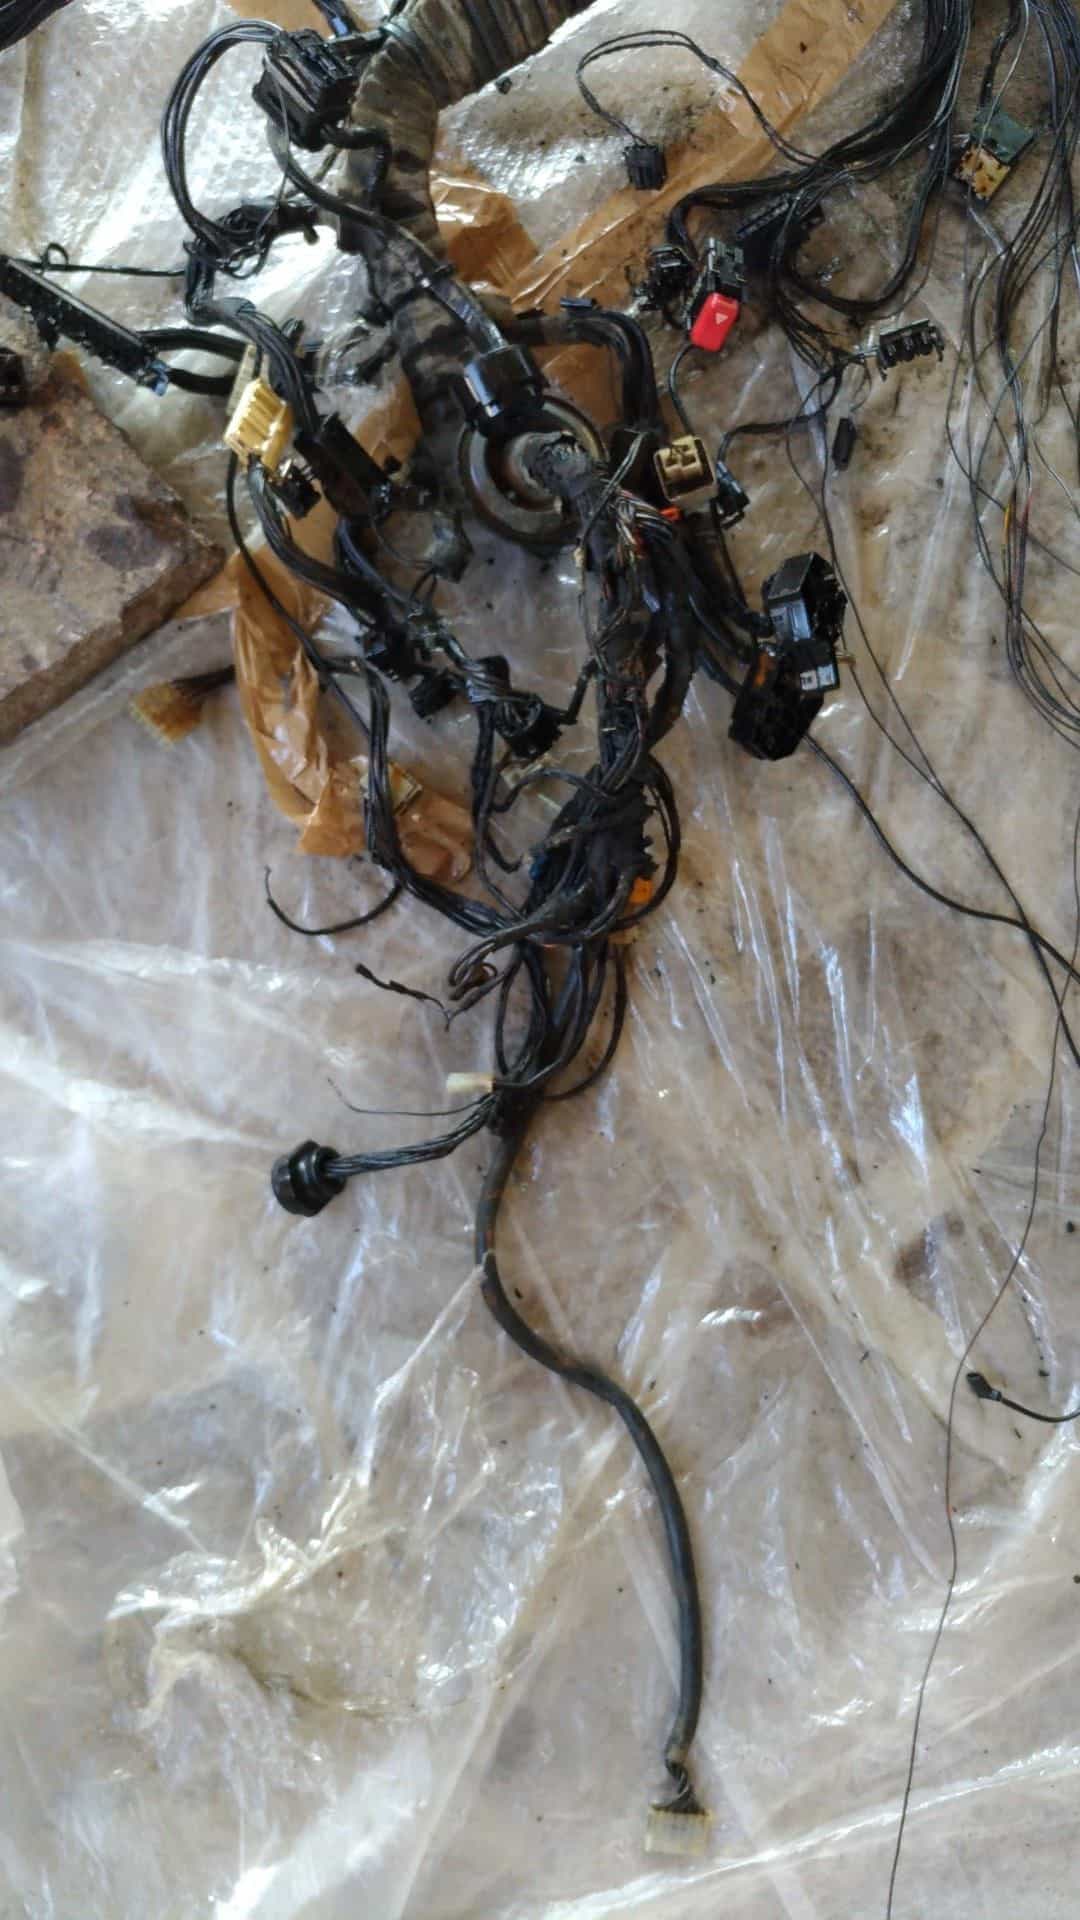
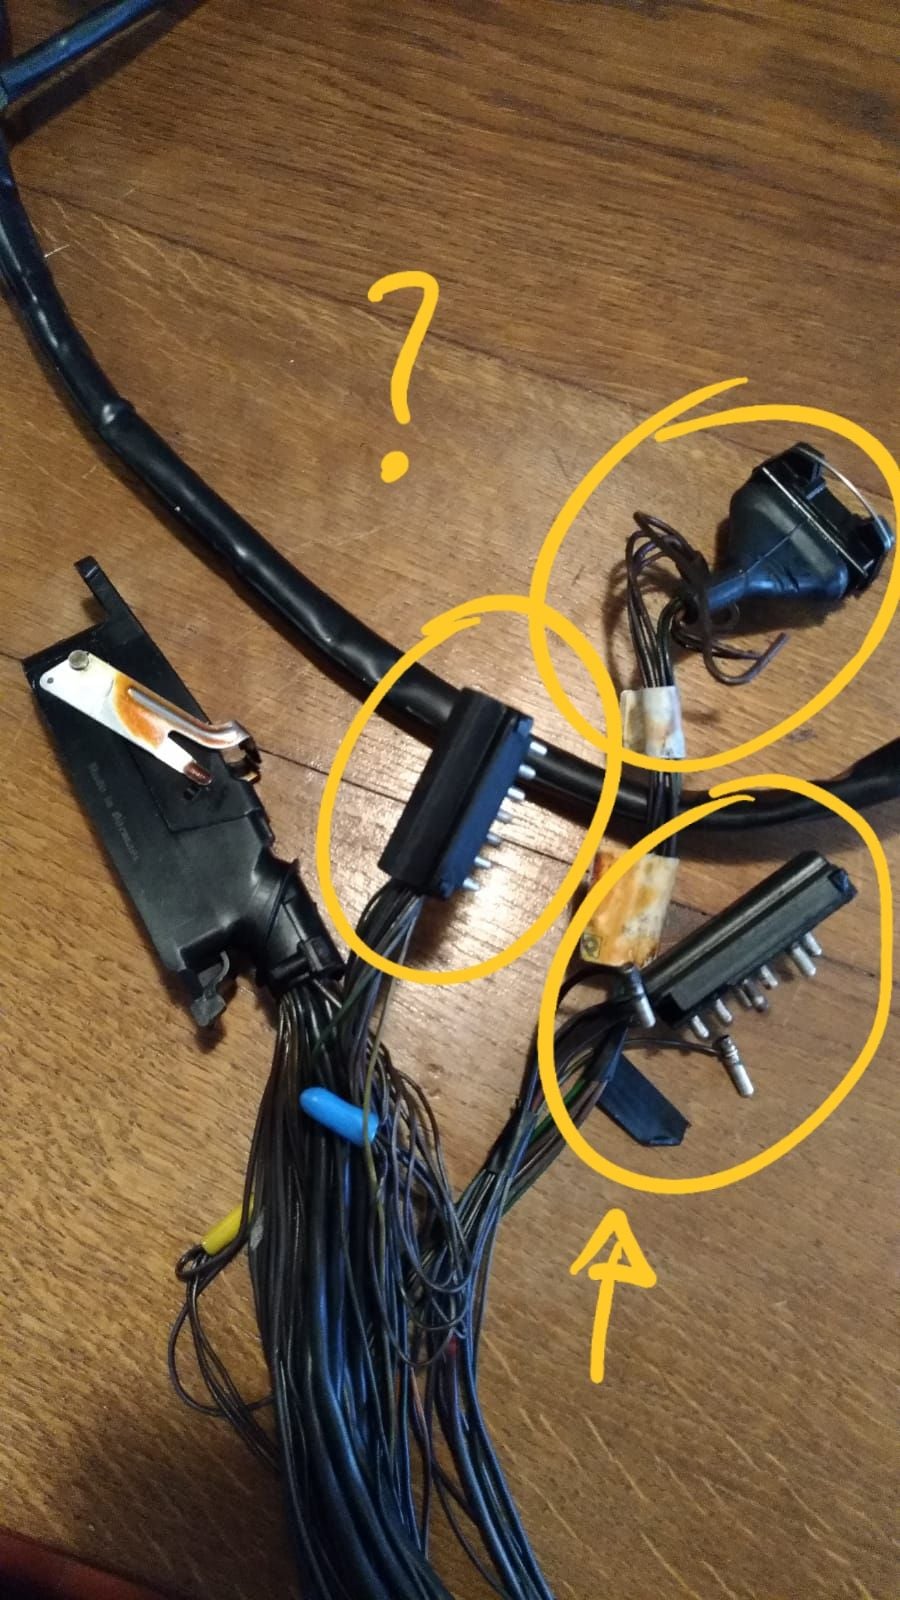
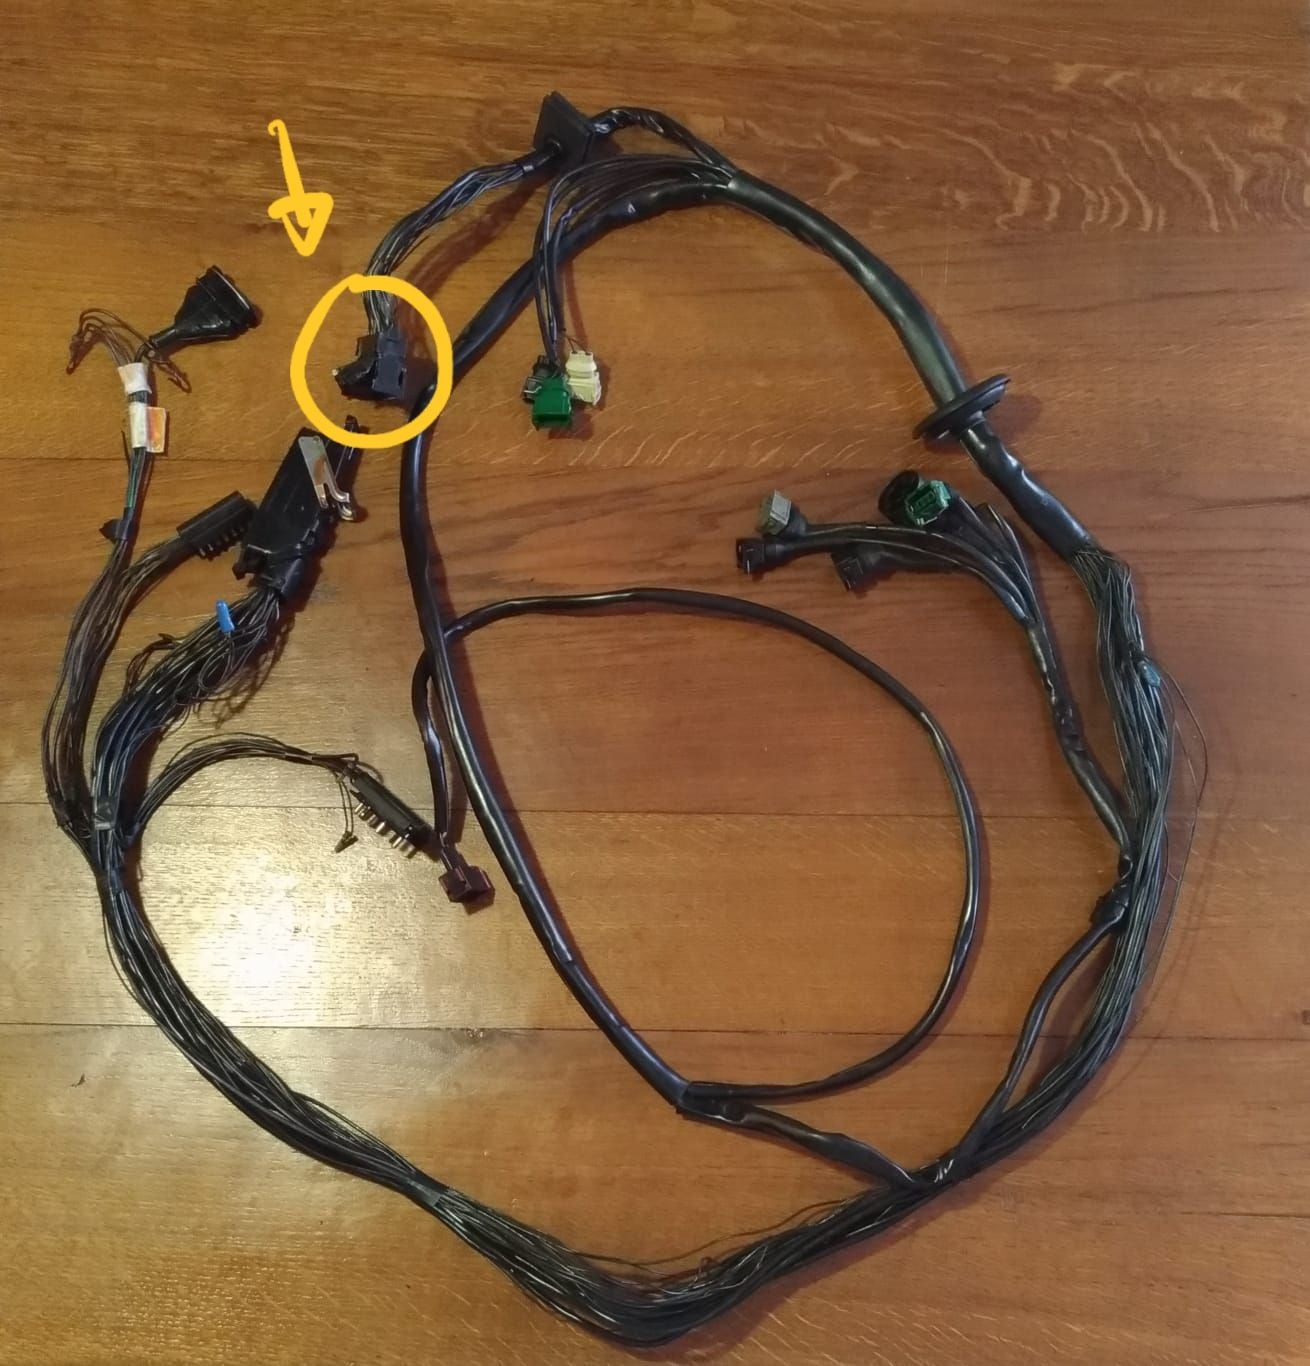
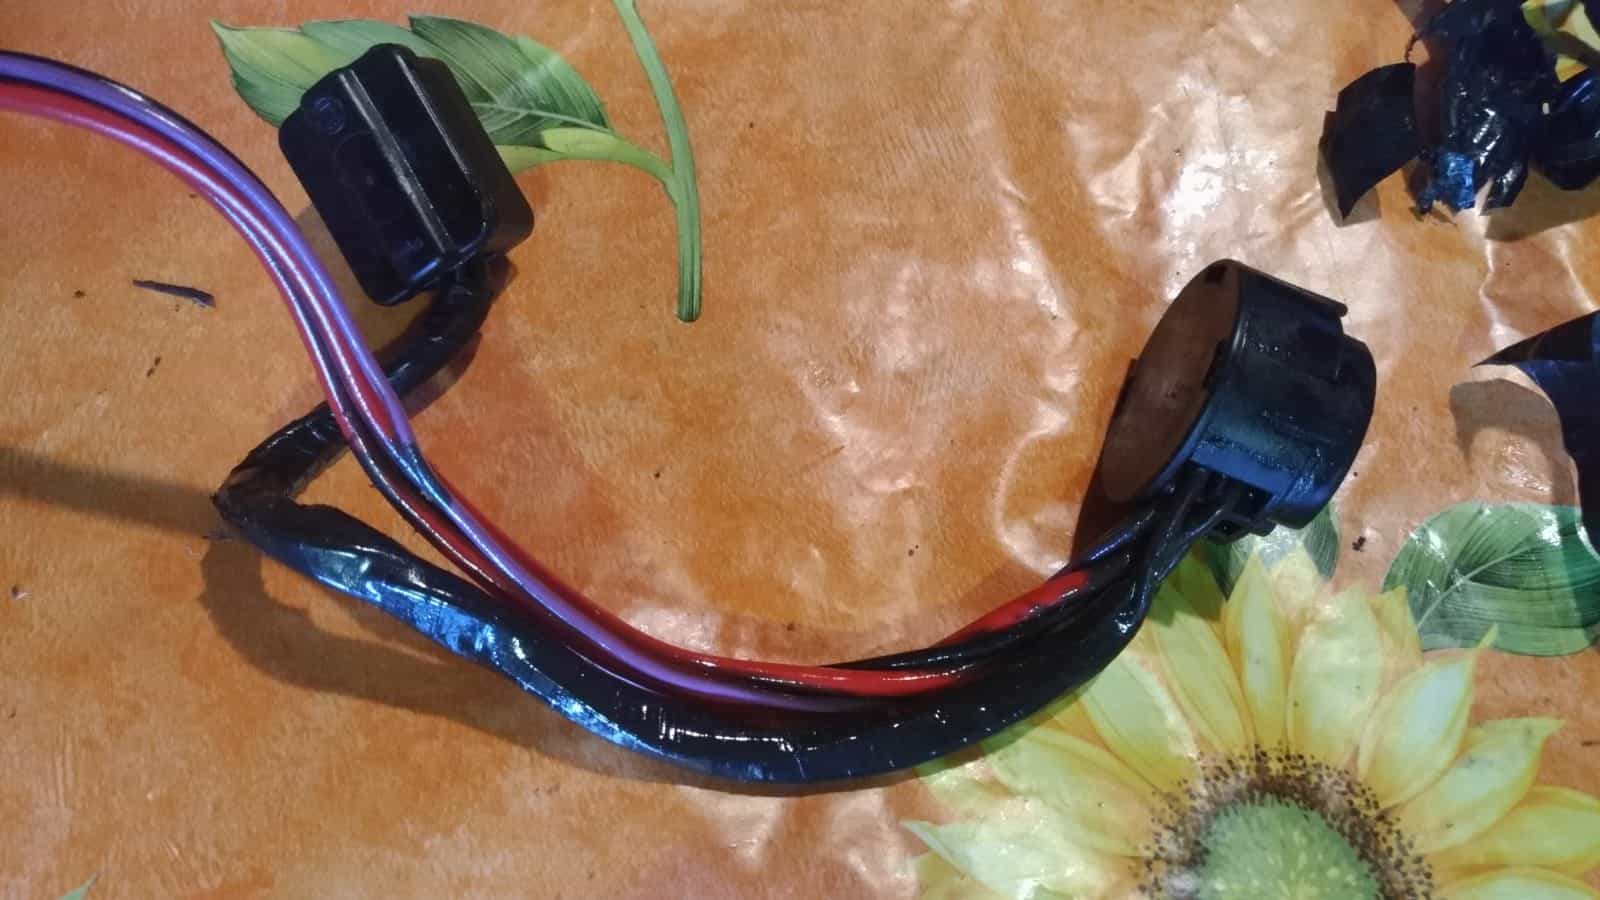
Now I am trying to understand if it is possible to find a similar picture for the 3 connectors that are bond together to the DME 55 pins plug and what is the part number of the broken plug pointed in picture
While removing the roasted and mud parts few months ago, sometimes just a couple of time I went crazy and damaged a couple of connectors making leverage with a screwdriver (I still don't understand where I could find the patience not to cut everything away)...now I must find them to replace the damaged parts.
I am not going to install the air conditioning, neither the heating system, nor the box between the windshield and the tank, and I am going to install a fixed rear spoiler, but, apart of the things i am going not to install or use (the rear window is going to be lexan, like the others, except the windshield, so no heating even there), no interiors lights, no luggage compartment light or engine bay light, no electrical seats, no radio and speakers, but I would like to verify the wires as I would go for a full restoration of the original vehicle specifications, and maintain all the wiring to all these parts that I already know I am not going to use, so that in case someday I would go for a replacement, I would know the electrical part is ready and working.
I am pointing a final empty weight of something between 1000 and 1050 kgs, I am going to track the car, but just for small sessions, so I don't think I would need a bigger brake system (which is at least 10kgs heavier), but I will add the RSR air intake for the front discs, to compensate the lower disc mass with a better cooling system.
I am looking around also to remove the steering pump, since Patrik (thank you Patrik for your availability on the telephone, it's always a pleasure to shape our points of view about the best mods to go for) told me it is possible to gain from 5 to 10 hp and sametime move weight from rear to front. Is the steering feeling going somehow to become worse?
The engine specifications will remain stock, I only have to choose weather to install the varioram or not.
With a 3-1 42mm diameter primaries, x-pipe and cat bypass, it would be also nice to see if it possible to spare some more weight removing the muffler and installing 2 DB killers just after the x-pipe before arriving to the exhaust tips.
Did anyone already do it?
Just the removal of the muffler would provpbably save other very rear 10 kgs.
I've finished the first wire cleaning, separated the single cables and reordered, removed the cables that connect the aircon box to the aircon unit in the dashboard, because I will remove both of them.
i know inside the aircon unit there is the control that enables the fun in the engine bay, when the engine temperature is too high.
Is there some other function this control unit does?
finally I can move the entire electrical system inside onto an higher and very large desk, so that I can carefully inspect, check, clean, eventually change every single wire connector and plug, without breaking my legs and neck working at the ground level.
I was making also considerations regarding the empty weight I could figure out eventually to achieve: the 1130kg of the cup car included different - lighter - doors as well?
because I found informations regarding the weight of the single parts that just added to a cup car for racing purpose, which were:
- 42kg for the matter welded cage
- 5kgs for the fire extinguisher
- the cup car still had the aircon airbox between the tank and the cockpit, that weights more or less 25kgs
- the braking system weight, because of bigger calipers, bigger brake discs, rs pump and RS master cylinder approximately 15kgs more than the standard vacuum boost smaller braking system
- plus the cup cars had the lifting system using 3 steel cylinder welded to the chassis, I assume they must weight between 5 and 10 kgs
- I also suppose the cup car still had both the muffler (only the RSR had straight pipes without cat and muffler)
now, if the 1130 kg empty weight is right, removing all these stuff above from the cup car, in the end the limoncella should weight 1130-100=1030kg
there would still be space for a further weight reduction removing the mufflers and installing some kind of db killer just after the x-pipe before going straight out, this would probably save other 10kg.
another part that could reduce some more weight, but I dont know if the cup car already used lighter doors, would be to use carbon-kevlar doors with a steel safety bar inside.
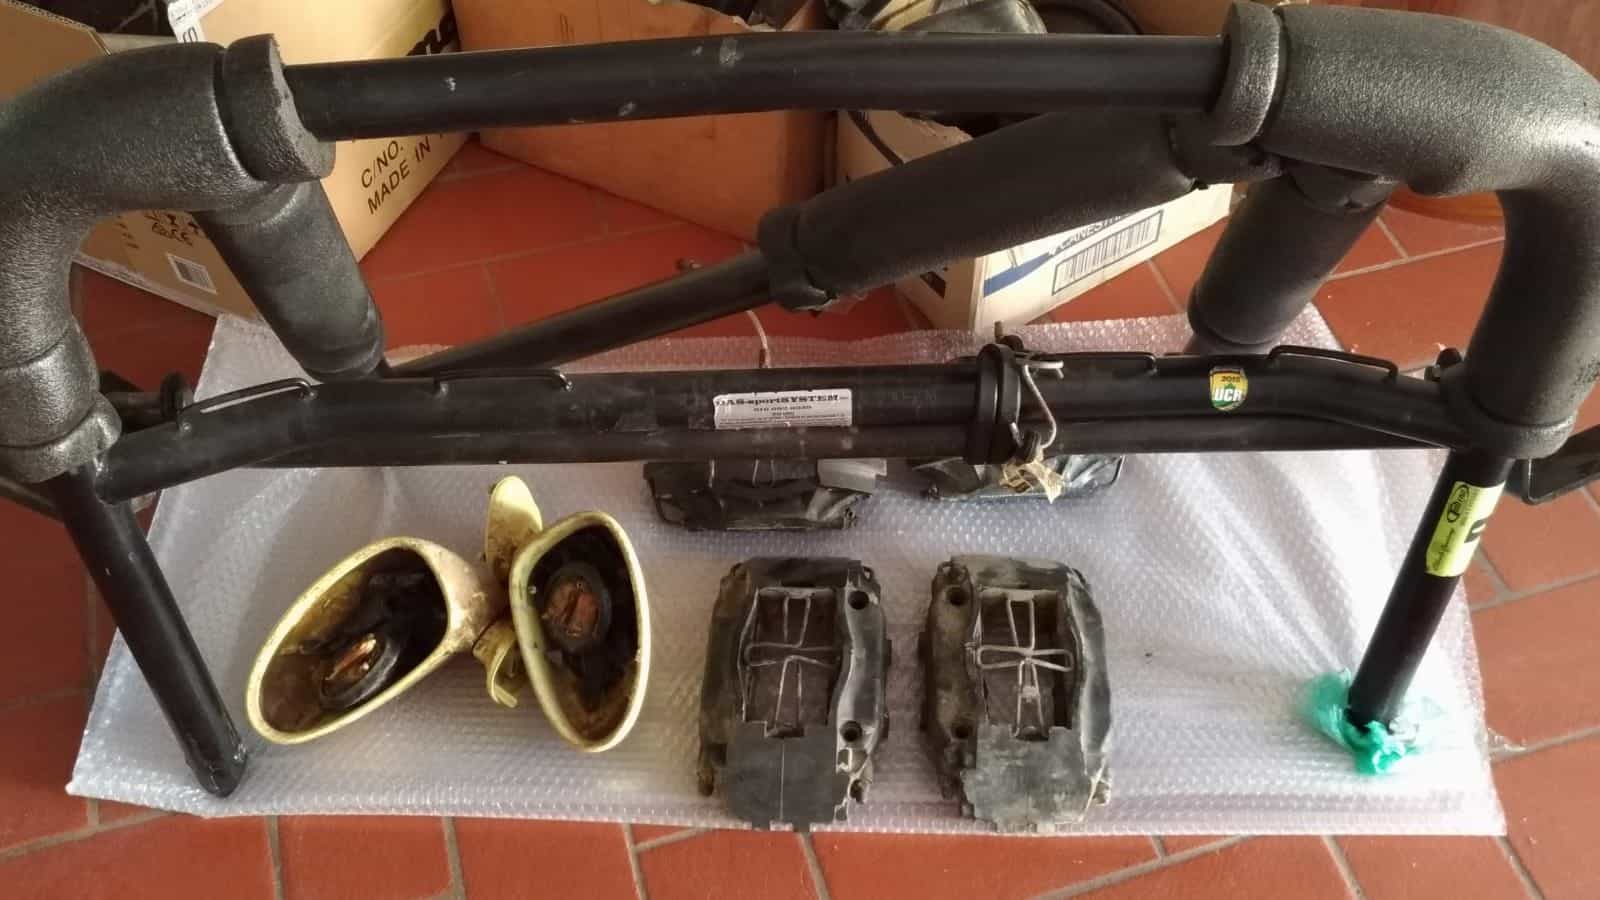
in the end I should add the 20/25 kg weight of the bolted in "das rollbar" needed to apply the 6 points belt and for safety reasons.
Without it, it would be suggestive achieve an empty weight of 1000kg.
Probably there would be just 10 kg wieght saving more to achieve tpsuch a very round a low weight. Maybe, it's just an hypothesis, the cup car back Ipin 95 couldn't use a lithium super light battery, whichnsjould remove other 10kg.
what I was also considering was that the lighter the car will be, the stiffer also will work the rubber RS alike suspensions arm inserts, for the 3rd dynamic principle, less inertia forces, less reactions, and also less deformations...which means more precision, despite the fact it will still be on rubber, for a longer durability of the connections...so the precision should be also closer to the monoball configuration.
In the next week the bodywork should finally start, I am really anxious about it and very much looking forward to see improvements as soon as possible.
I think there was a lightweight bonnet & no sunroof.. I'm running a Voltphreaks battery, and it weighs 4.4kg. The OEM battery was around 45 pounds.. So I think you may be able to save some more weight there..
I think there was a lightweight bonnet & no sunroof.. I'm running a Voltphreaks battery, and it weighs 4.4kg. The OEM battery was around 45 pounds.. So I think you may be able to save some more weight there..
I am going to use a fiberglass bonnet which weights 5,5 kgs colored, reinforced in the lower corners, in case I want to add the CUP style bonnet fixer, while the car was already without the sunroof.
I am considering to add the reinforcements on the outer part of the front dome: the car will be reinforced to RS specs, this because without the welded Matter Cage, few friends told me it is not the chase to reinforce the car like the CUP version, because this would produce an imbalance in the stiffness of the frame. I must go for the stiffer version avalilable delivered without welded cage. But the reinforcements in the outher side of the front domes should work locally, providing more rigidity but also more robustness: is this a wrong thought?
And Wow Coleman, saving at least 10/15 kg using such a battery, would be the perfect choice to achieve 1000kg.
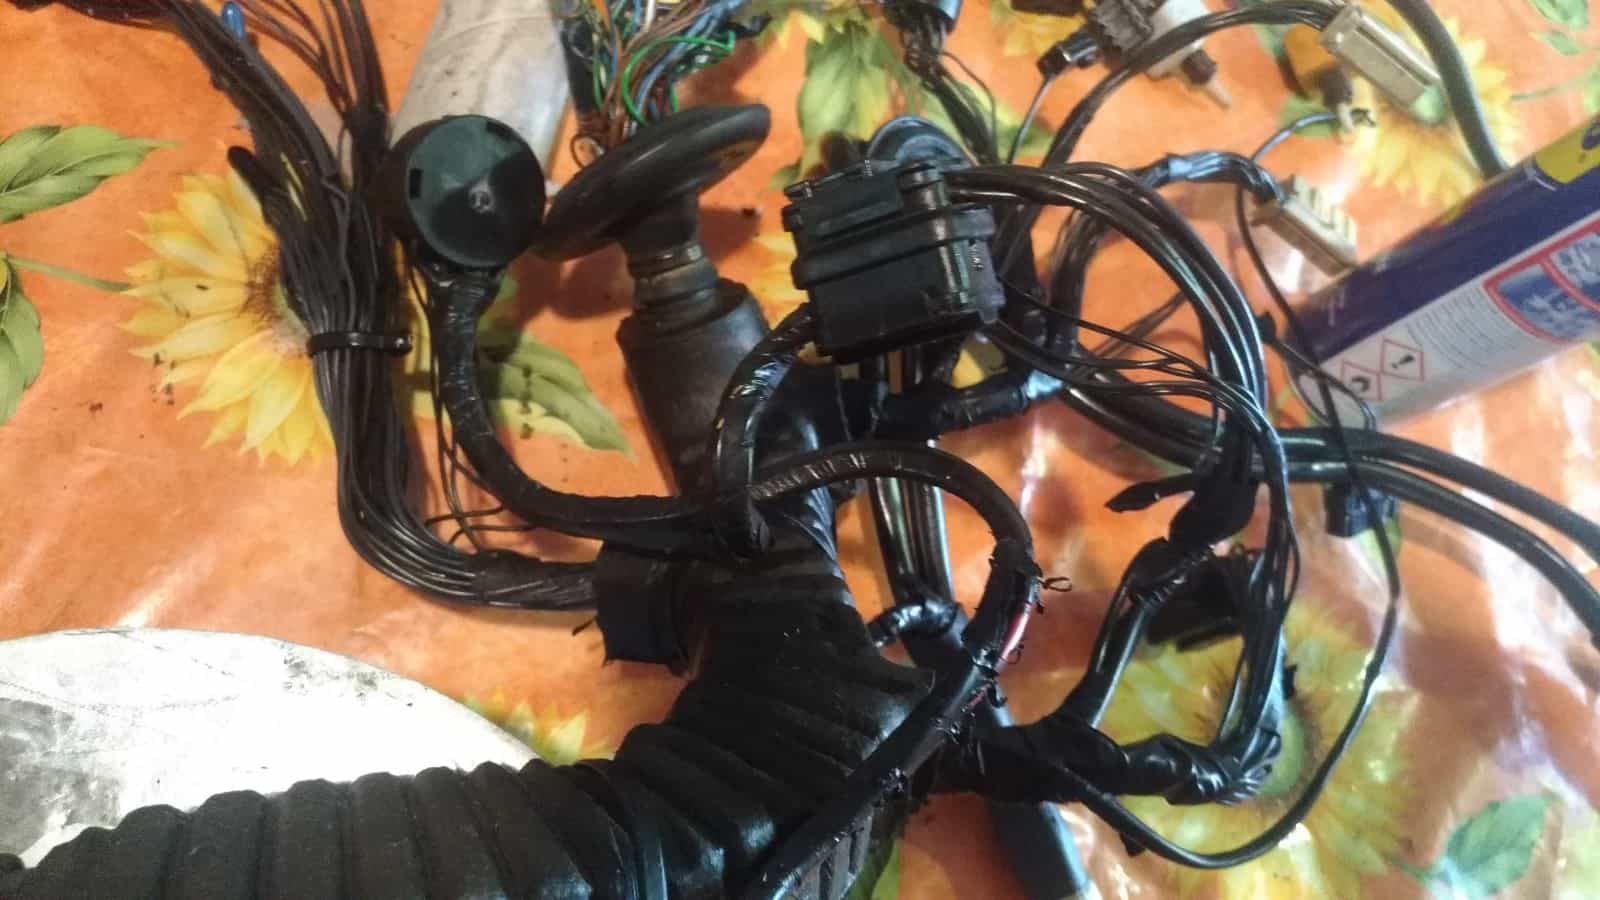
Finally I took the electrical system inside on a higher desk so that I can work on it refining the cleaning
In the next hours I am going to disconnect the connectors from the fuse box, it's going to be the first time someone disconnect those wires from the fuse box after the car has been built back in the beginning of the '95.
I am going to make a mask to replicate each connector position, not to go lost when I'll have to reconnect them.
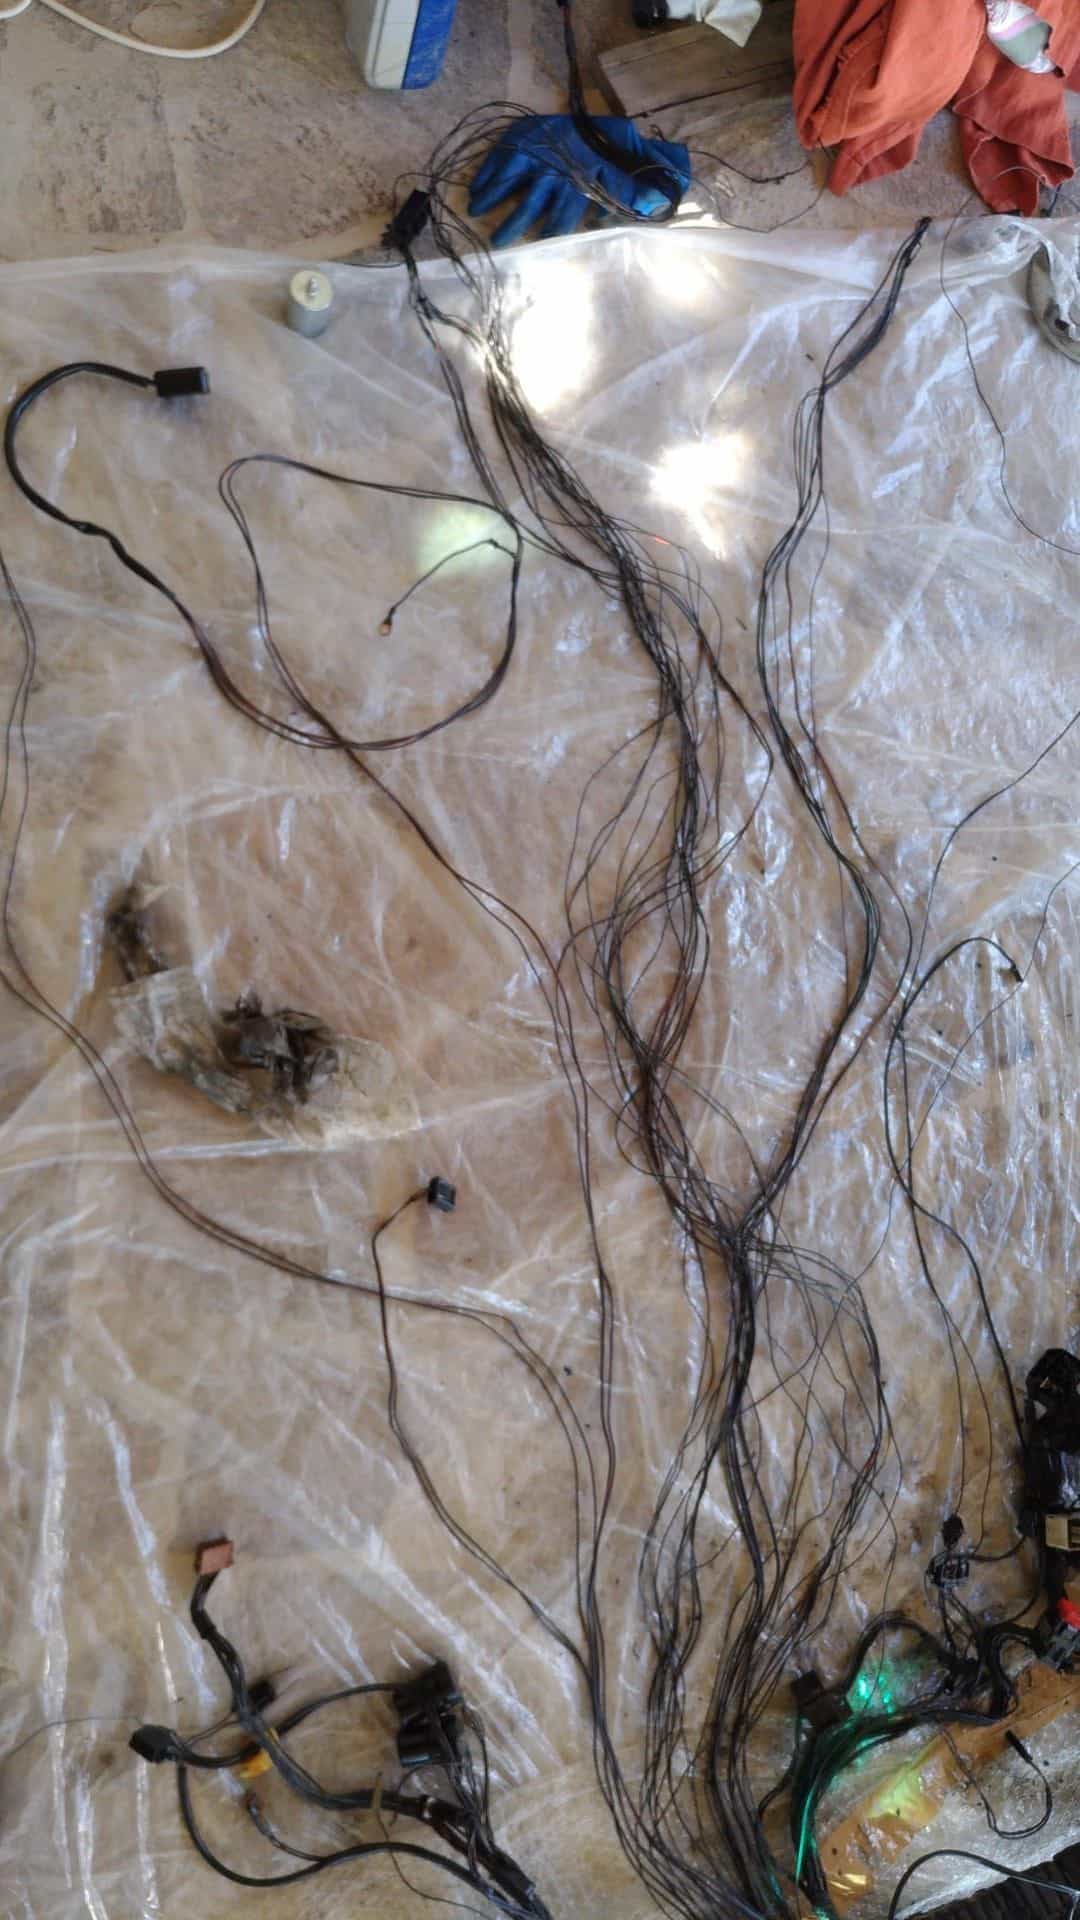
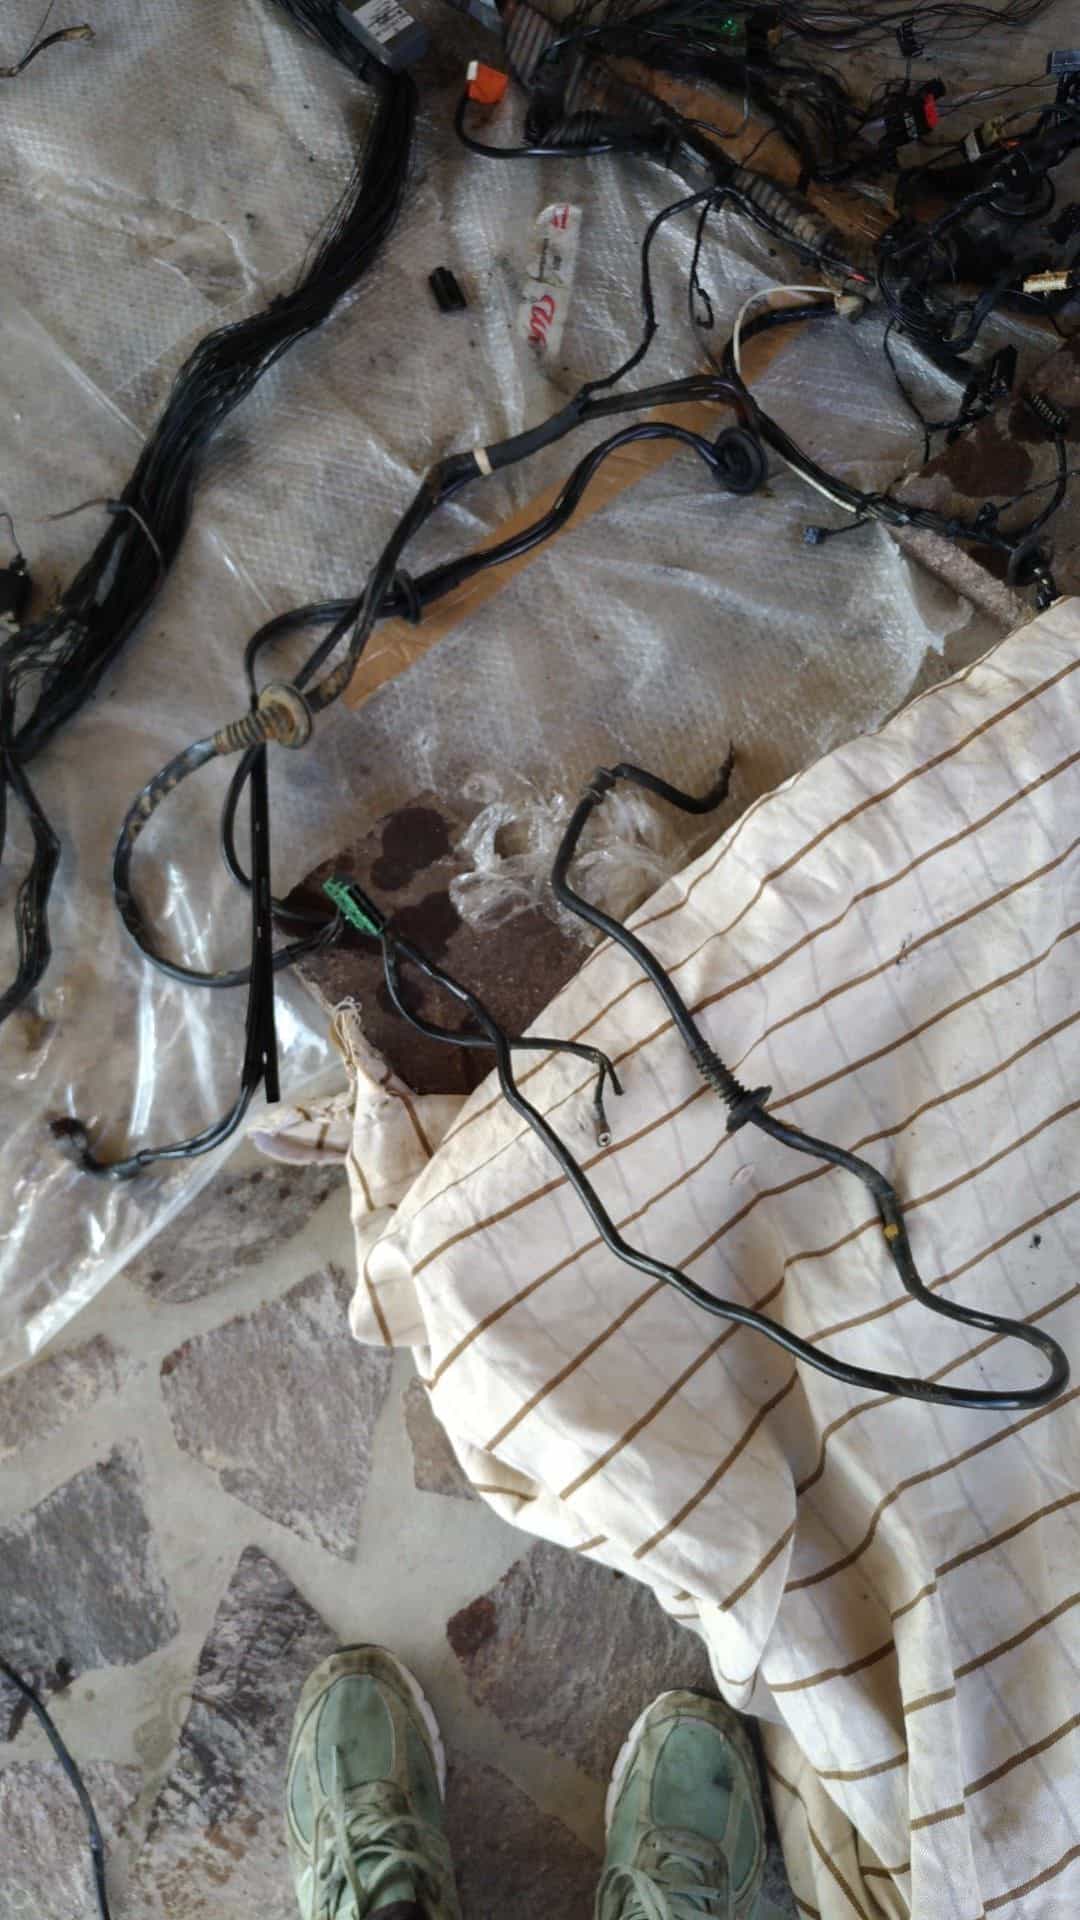
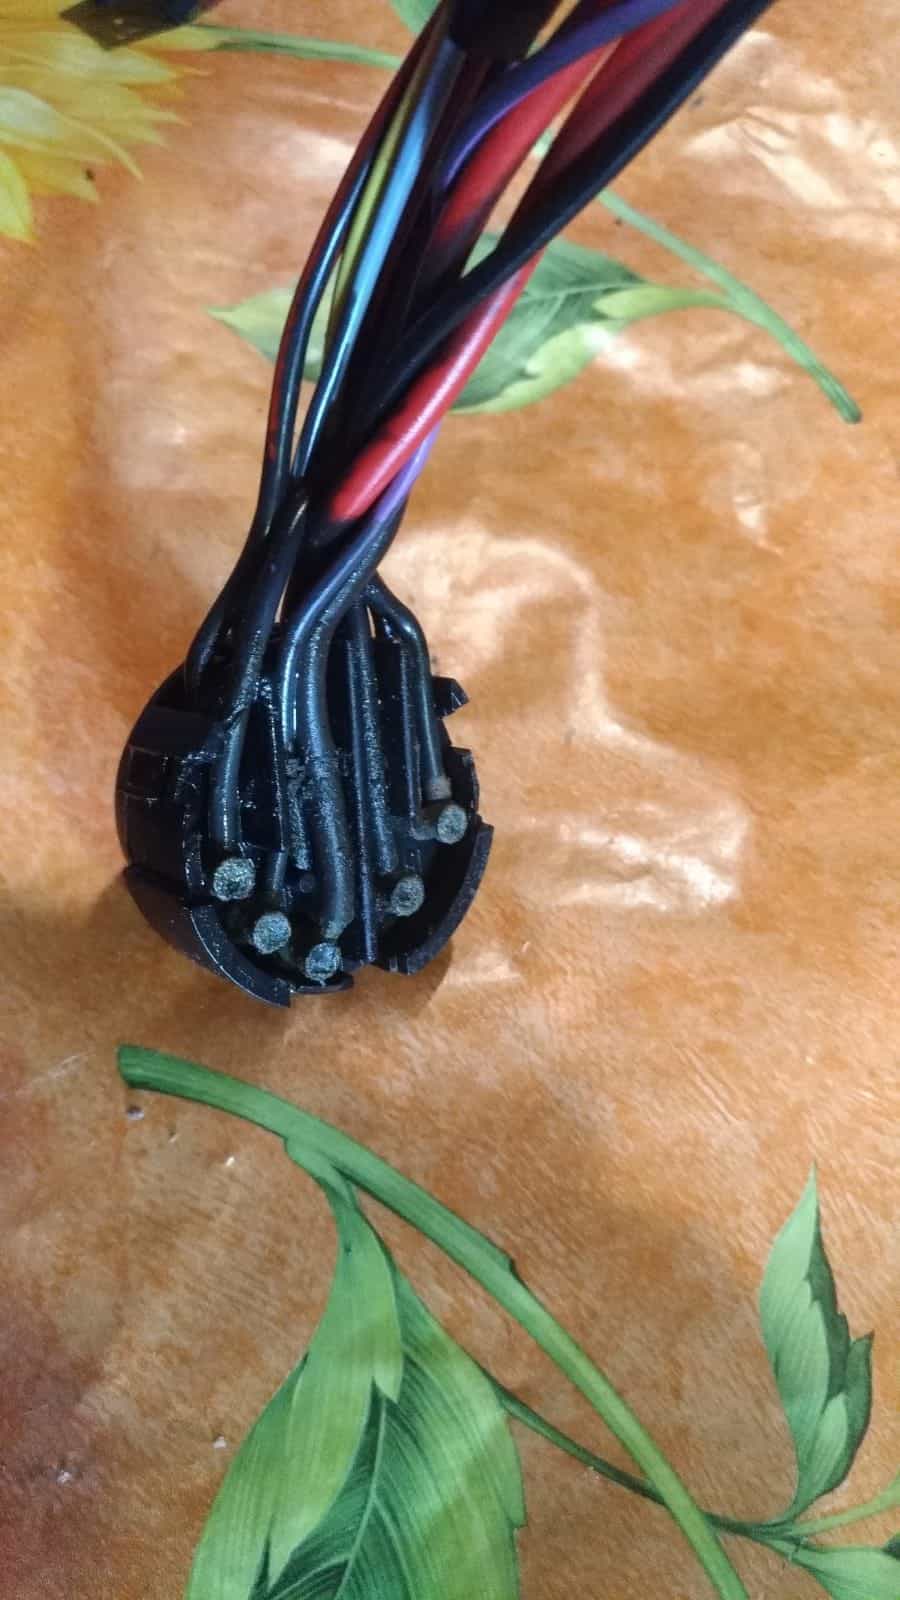
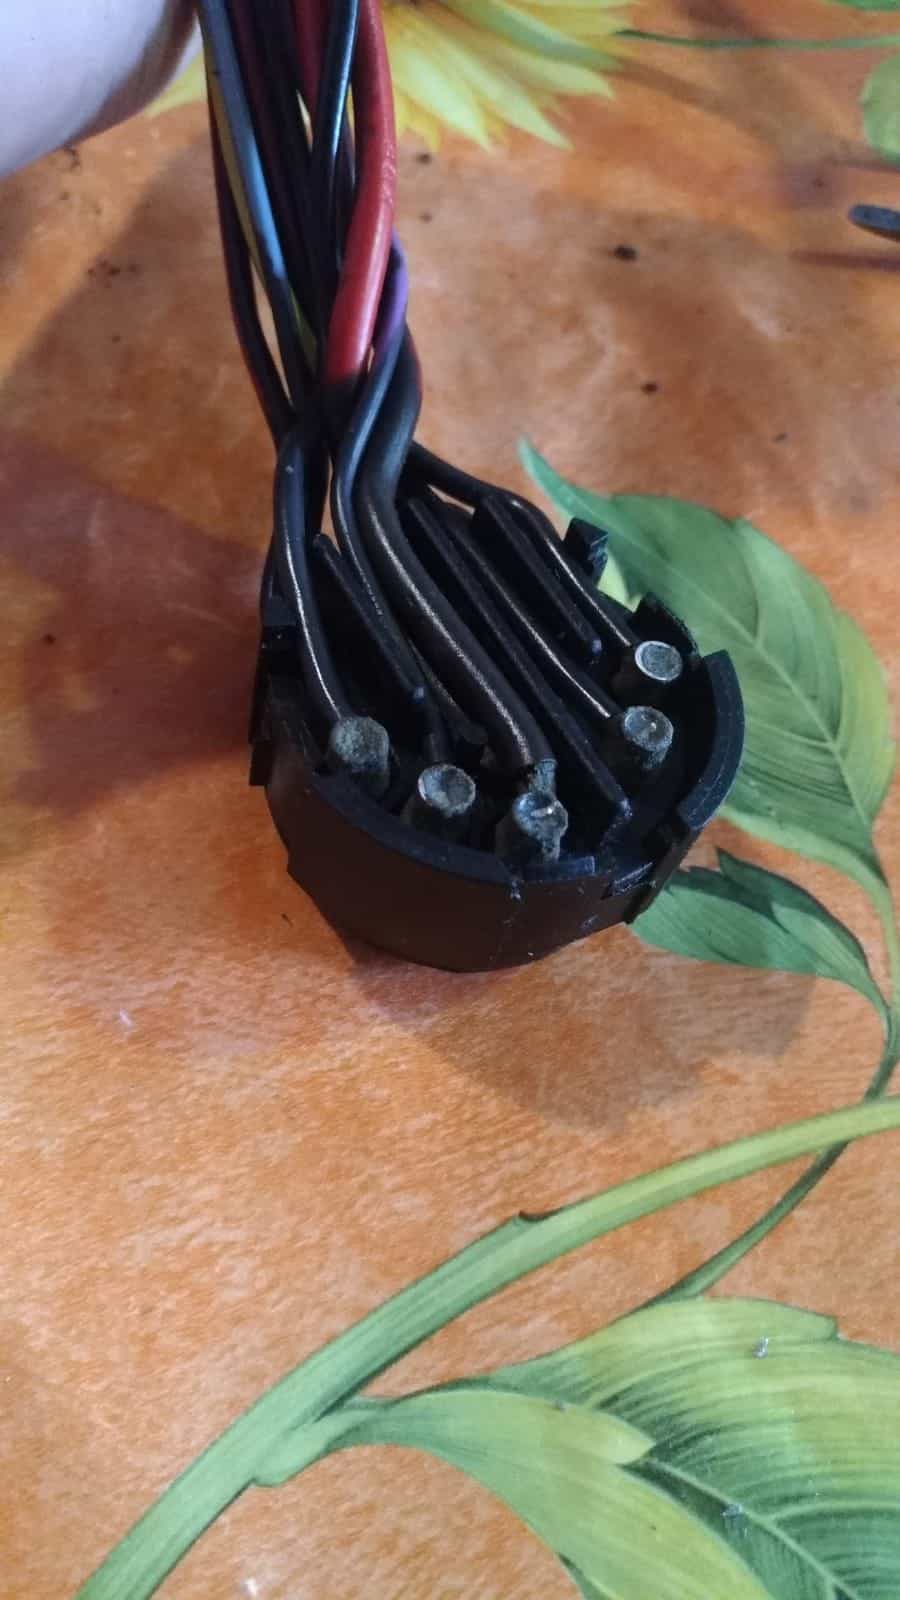
Meanwhile I was checking the wires of to the Niemann connector, and the cables seem to be in perfect shape, because they still have their original colours...in fact where the water arrived consistently, the color of the wire has become very very dark, very dark grey, maintaining some kind of nuance of the original colour it originally was, but one must use also a lot of imagination.
So where the wires are coloured red green yellow blue, the water wasn't able to arrive.
the single pins of the niemann connector are surfaced with some kind of incrustation that seems almost limestone: could someone advise me which product to immerse the whole plug in order to clean it?
Perhaps a descaling product for dishwashers?
Taking pictures before removing a cable is pretty much advisable
I just did the same thing with my calipers.. Usually if you have the Pistons out you would change the external piston dust seals as well as the internal pressure seal (Piston Wiper) (square O-ring)
Oh man, you broke the bleed nipple off.. Luckily it's already been drilled out for you, so you're gonna need a reverse thread extractor..
I just put these new German Stahlbus speed bleeders on my rebuilt calipers; They are stainless so even if the bleeder bodies fuse in place, you never need to take them out to bleed the system, just loosen the end part.
For the seals, you need to confirm the size of your pistons, it will be something like this for a non-turbo C2:
44, 36 Front 34, 30 Rear
I ordered some boots / wipers from Ohio Performance , great service and great prices; though they are not OE Brembo seals.. they are StopTech seals. Since you're in Italy, you can probably find a good deal on Brembo parts!
Couple of great threads for caliper rebuilds here and here. Important to get the correct assembly grease for the pistons ...
I am really considering the valves from Stahlbus, they have an online shop also in Europe: my question is, why should their body fuse in place? (I suppose you are thinking at mine that are not coming out) By the way, under heavy use during a track day, i.e. high temperature, will the valve still be effective?
And furthermore, is it really no air entering the system as a back-pressure effect?
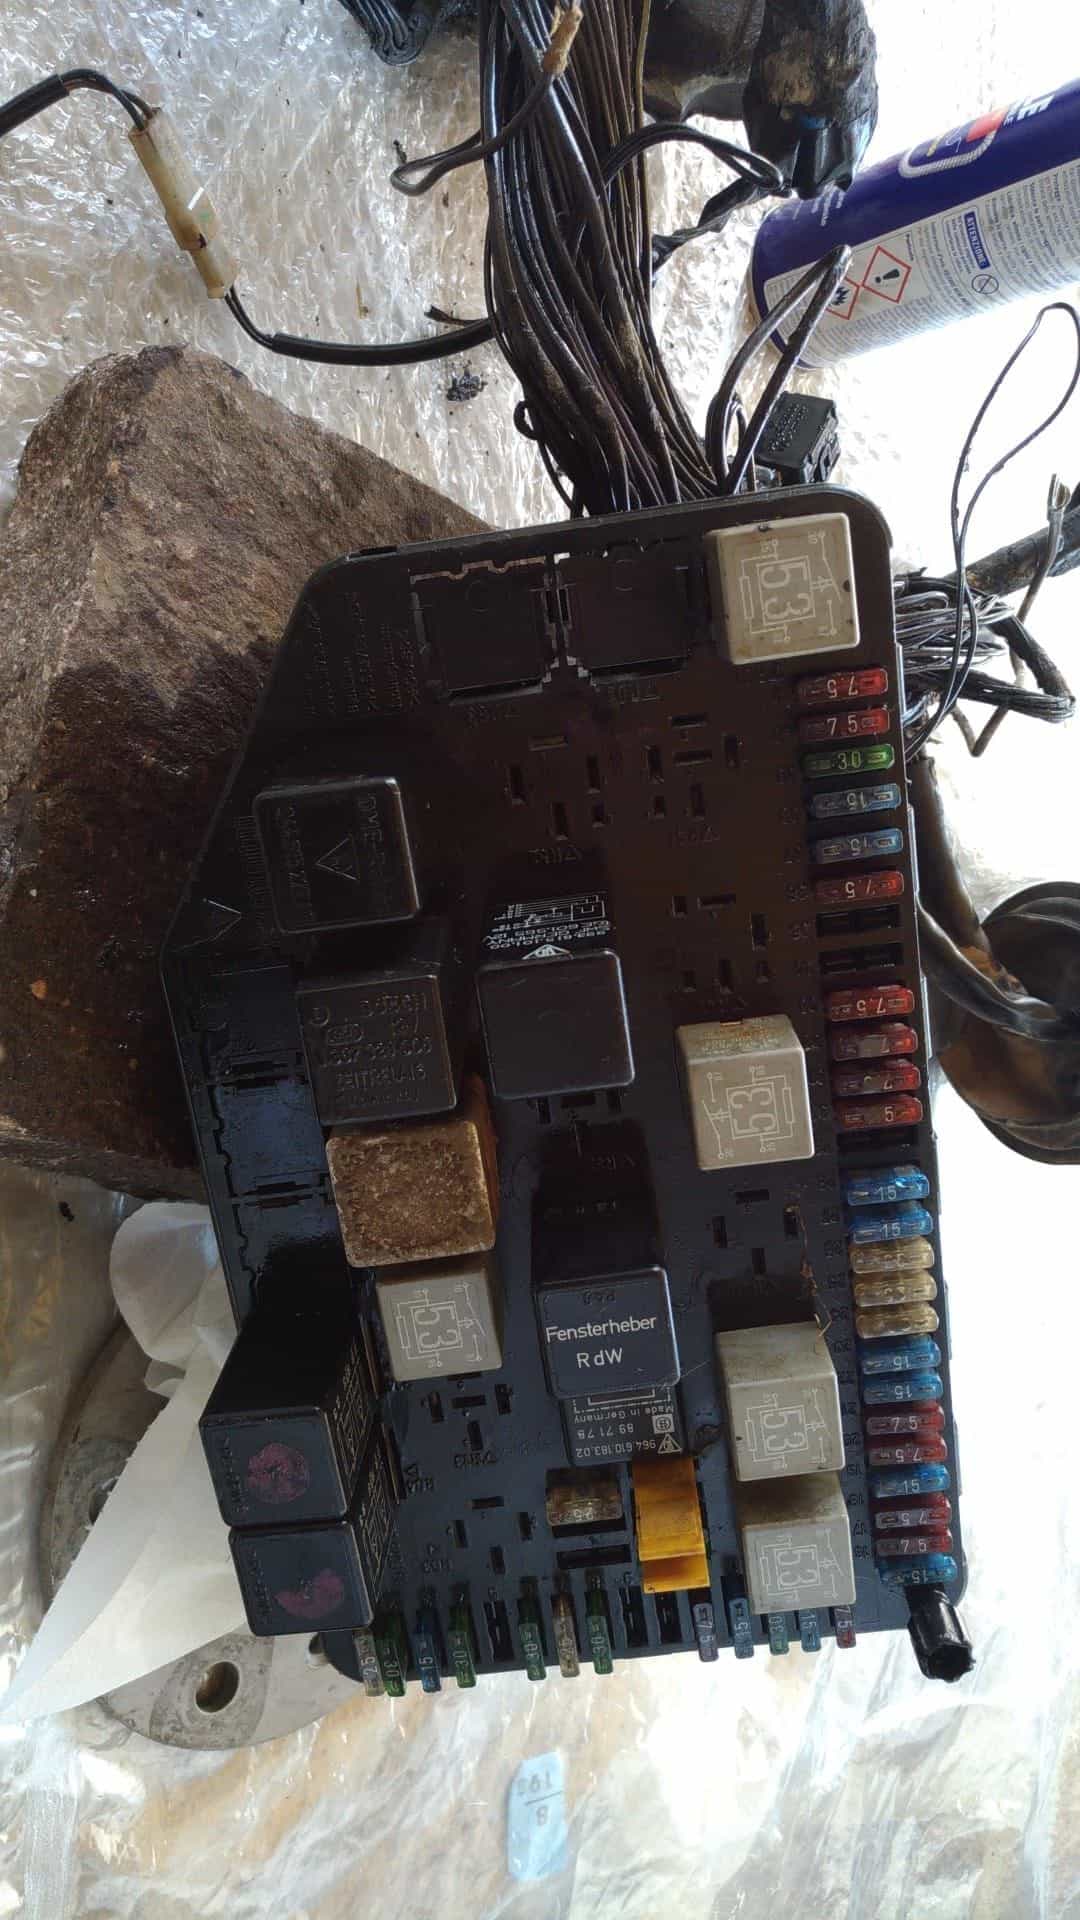
I am now facing the fuse box, a bit more cleaned, soaking it with WD40, and fuse connections are beeping, but a think are the fuse connections to each relais, another thing is the connections on the other side that must grant very effective electrical contact between copper connectors and each plug seat.
I am looking for some product or stuff (someone here in Italy suggested me to use wine vinegar for like 48 hours) so that those black deposits on the individual blades of each connector which I believe are essentially copper oxide, because the inside contact "ways" are still perfectly working and I don't want to find myself having a misfunction problem because of lack of contact on some connector blades.
Does anyone here have some experience in removing the copper oxide, without demaging plastic or metal or tin soldering?
Literally traslating the product spec: "Acts up to microporosities. Eliminates dust and its ashes, carbonaceous adhesions, oxides. • Reduces twinkle, crater, electrical resistance and voltage drop of the contact. Allows you to keep it in good working order. Retrieves contacts where the resistance has risen up to 2 Mohm. • Specific for use in the electrical, electronic and telephone fields on switches, keyboards, potentiometers, rheostats, selectors, plugs, switches, remote switches. • It does not conduct, it does not abrade, it does not damage metals, graphite and most plastic materials. • Operate on non-live appliances. It also sprays upside down. Leave for a few minutes. Reapply if necessary. If a soapy patina forms, remove it with CRC Electronic Cleaner. Lubricate the moving parts again and protect them from humidity and oxidation with CRC Contact Lubricant."
I think I will give this product a try.
Meanwhile I am moving on with regards to the engine overhaul and consequent rebuild: the craftsman at the shop where I brought the parts for an estimate told me that visually the parts doesn't look bad at all.
He was talking of gentle lapping the crankshaft, camshafts and the cylinder walls: I am not an expert, I don't really know if crankshaft and camshafts could be damaged in such a surface treatment, but for sure I am skeptical about lapping the cylinders, which are used but with just 30k km, the signs with crossed spirals of the original factory manufacturing still very visible.
what would be the best way - not abrasive - to clean the carbo deposit on the piston heads? A friend of mine told me a first try could be a octan booster additive.
I read some very interesting articles about Nikasil coating last night: what exactly does "honing" a cylinder wall mean in English? Is it a synonym of lapping? Or is it a more (or less) abrasive treatment?
I think I understood that if the ovalization of the cylinders is within tolerance, measuring the roughness of the cylinder walls after having carefully cleaned them (in this regard, what could be the best way to clean the walls in depth, because I saw that the dirt would effect the measurement of Ra, leading to a better result) if this is within the range provided by Mahle, i.e. Ra between 0.4 and 0.6 micron, with the height of the crests Rz less than 1.2 micron, I think the best thing would be not to touch the walls of the cylinders, even if the craftsman of the rectification shop seems to be dying to do it.
I know this is a very technical subjects, maybe a bit annoying for many of you, but I must say, any advice is very welcome.
Another important thing is I am looking for the right part numbers for the parts to be welded to the body in order to use the 6 points harness/belt: are they still available? Does anyone know the part numbers of them?
I found the pictures inside a very beautiful thread from a totally car rebuild made by 9meister: are this parts the original plates?
I am still looking for some very welcome RL member that could give me a detailed and exhaustive scheme on where and how to apply the welds to obtain a result as faithful as possible to the body of a 993 RS
I thought of the RS because wanting to use the car even on the street, I can't install the welded matter cage (it's not road legal here) and apply the necessary reinforcements to use the cage, because it would create imbalances in the rigidity of the vehicle, I suppose.
Others have told me that I could weld it all like a rally car, but I have no idea what it means: somewhere I read that the Porsche CUPs were welded with piecewise continuous welds, because if they had allowed them to perform real continuous welding, the cars would have been too fast compared to the competitors (much more rigid, much more precise, I imagine).
Frankly: I don't know what to do, this is a real crossroads.
RS specs (my very first choice) or Rally car specs, which means with really continuous welding (but in any case without rollbar): this second option scares me, because rally cars have a welded cage, mine not.
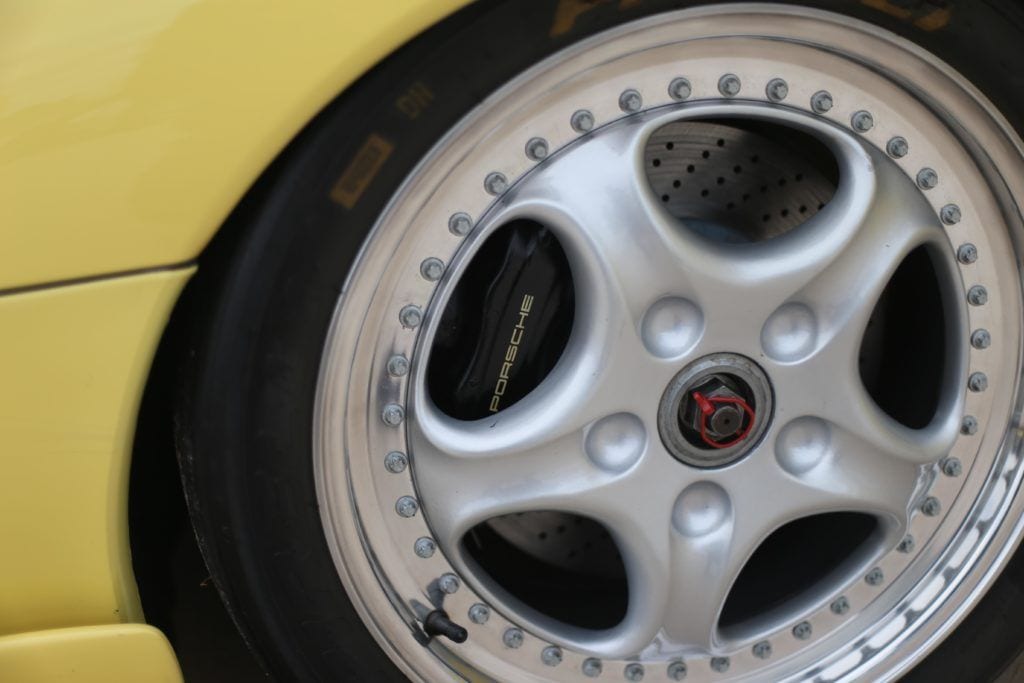
Meanwhile these wheels pop-up, it would be really nice to make a sort of Cup Tribute, but an experienced friend of mine is telling me that magnesium is fragile since brand new, even though the x-ray would say they are free from invisible cracks, he wouldn't buy them, because after 25 years they are for sure not become stronger and if they break, they do it all in a sudden
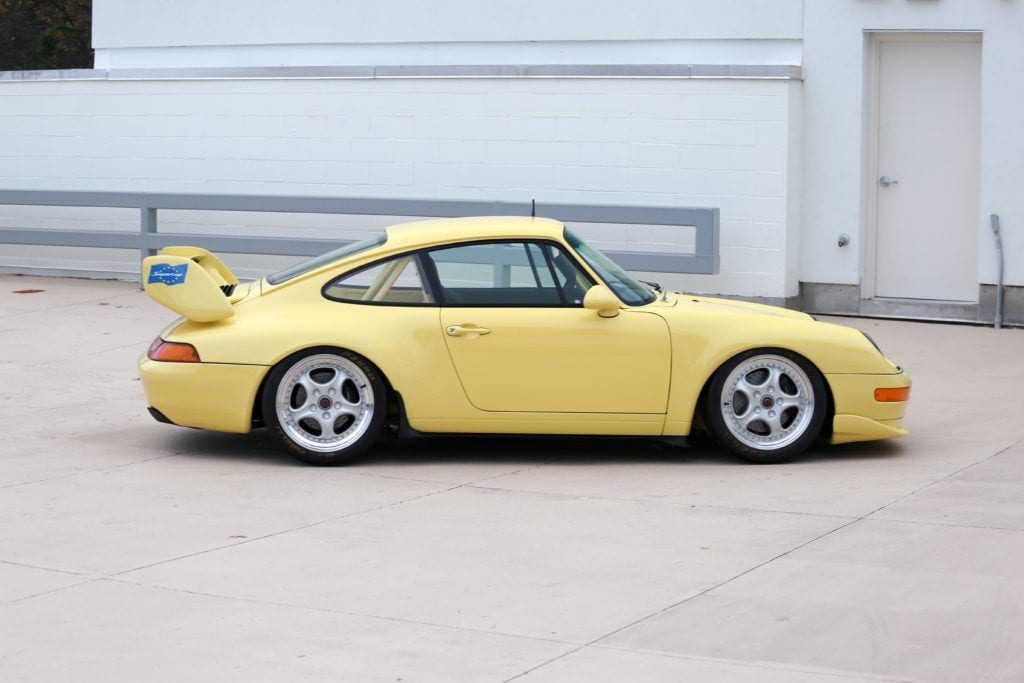
This is the only pastel yellow RS/CUP/RSR I've been able to find so far, the closest color to mine
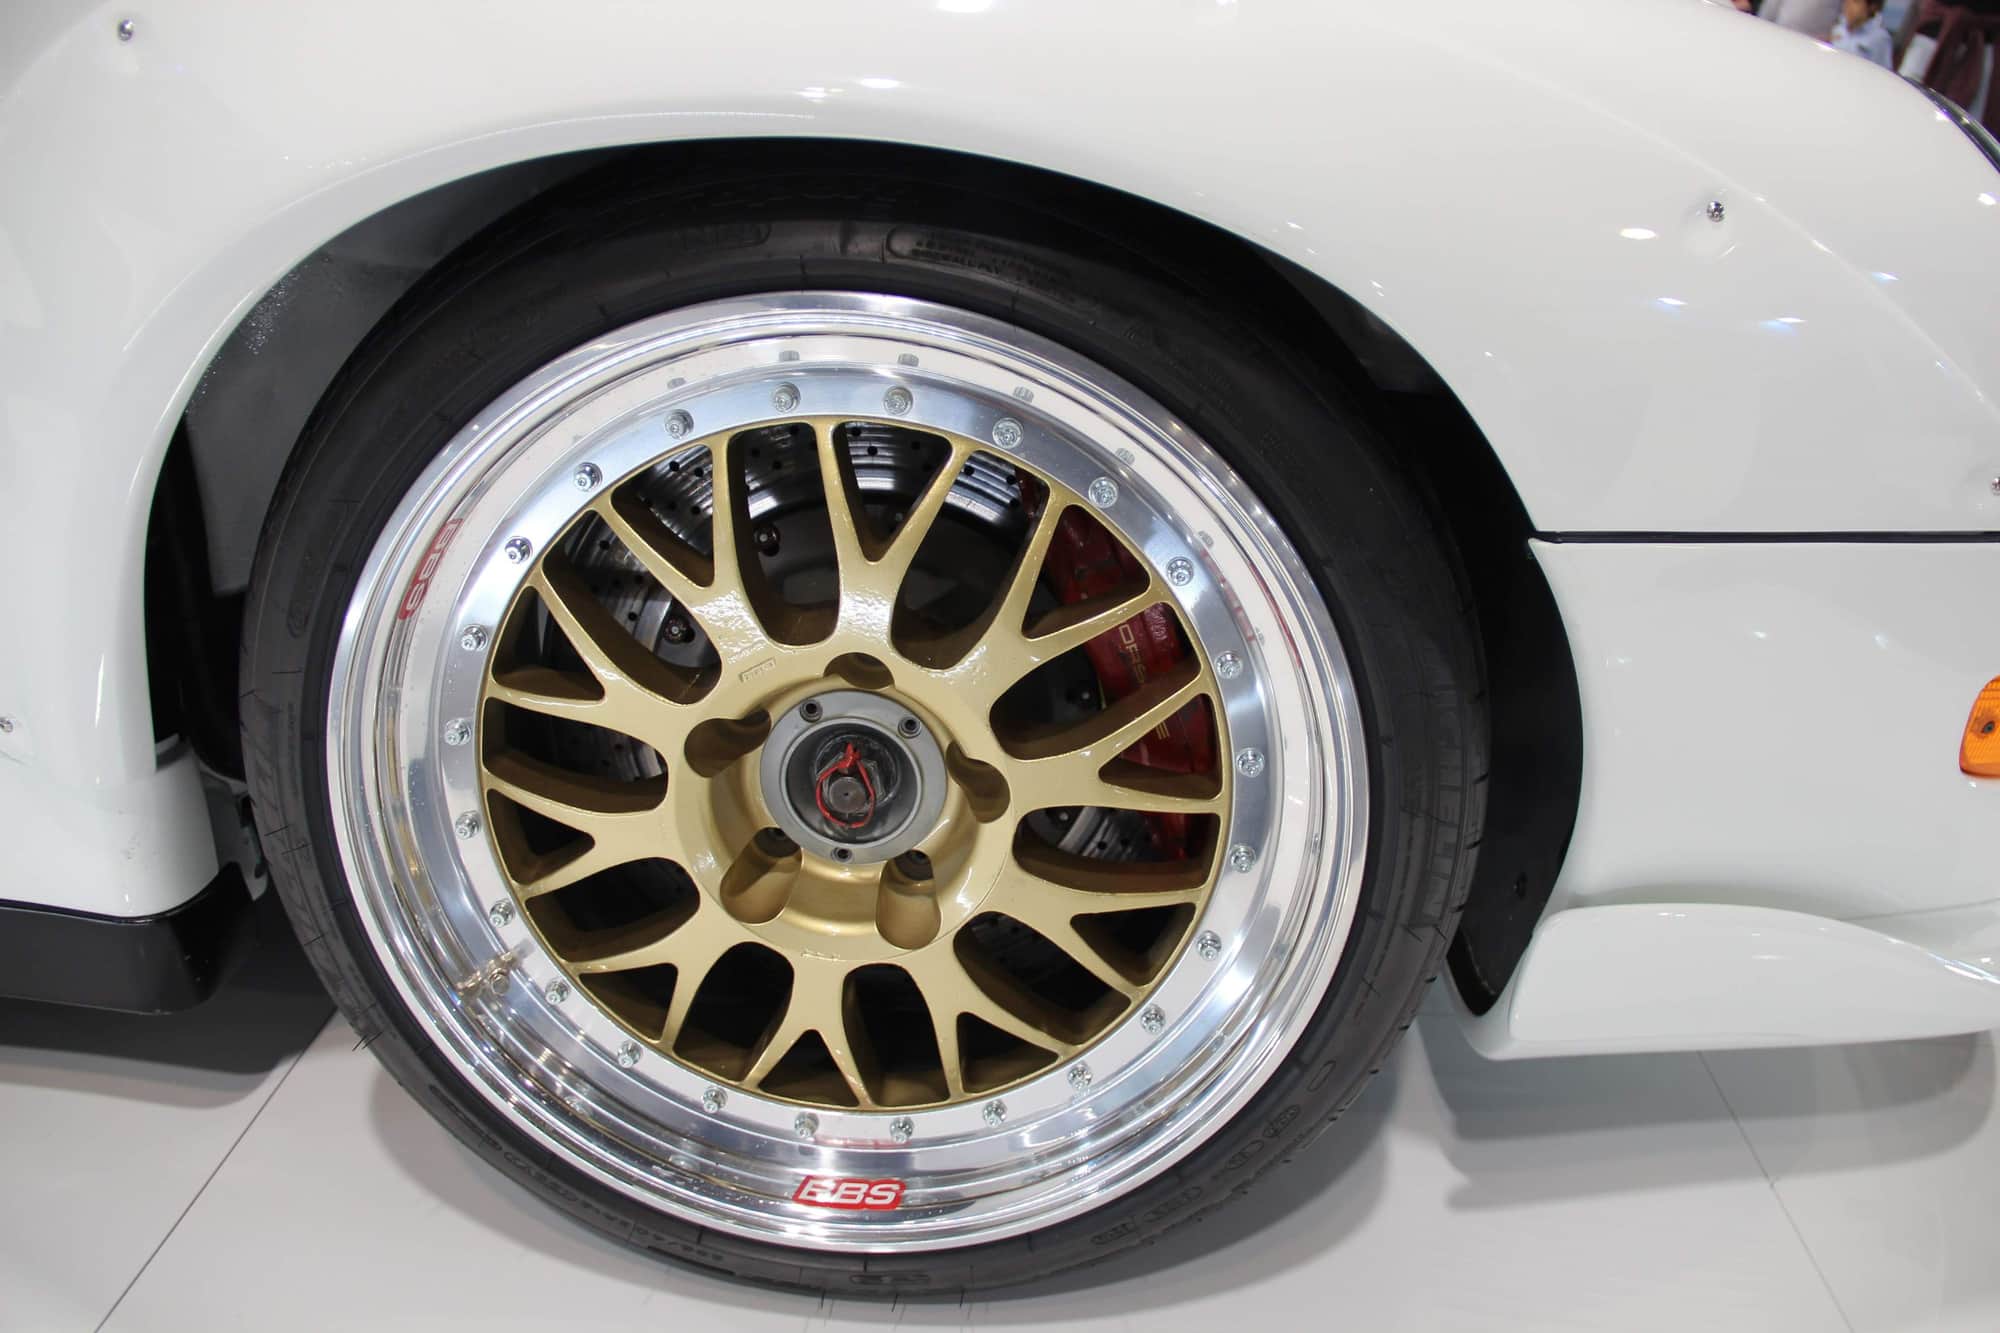
I already took a set of BBS E29 (same shape of magnesium E28, but in aluminum), I think it is more advisable, for safety reasons, to go for them, changing the outer channel.
Completely overhauled and painted in BBS gold, with stickers, same as this one
It is a long long road, basically you are alone, the one entitled to carry on the heaviness of such a challenging project, for someone like me that is totally outside from his environment, it is like a solo navigation.
the help of friends and people, porsche enthusiast or not, persons who have already tried the same or similar experience, I must confess are of great help, if not materially, definitely psychologically


 04-14-2020, 01:27 PM