When you click on links to various merchants on this site and make a purchase, this can result in this site earning a commission. Affiliate programs and affiliations include, but are not limited to, the eBay Partner Network.
Ok, I got brave and went after the rear seat side panels. Turns out there is a trick to removing them.
- First, remove the rear seats again. See above..
- Pull the weatherstrip at bottom of doors
- Remove the inner sill panels by popping straight up
- Pop cap and remove bottom of front seat belt with M10 triple square bit.
- Remove B pillar
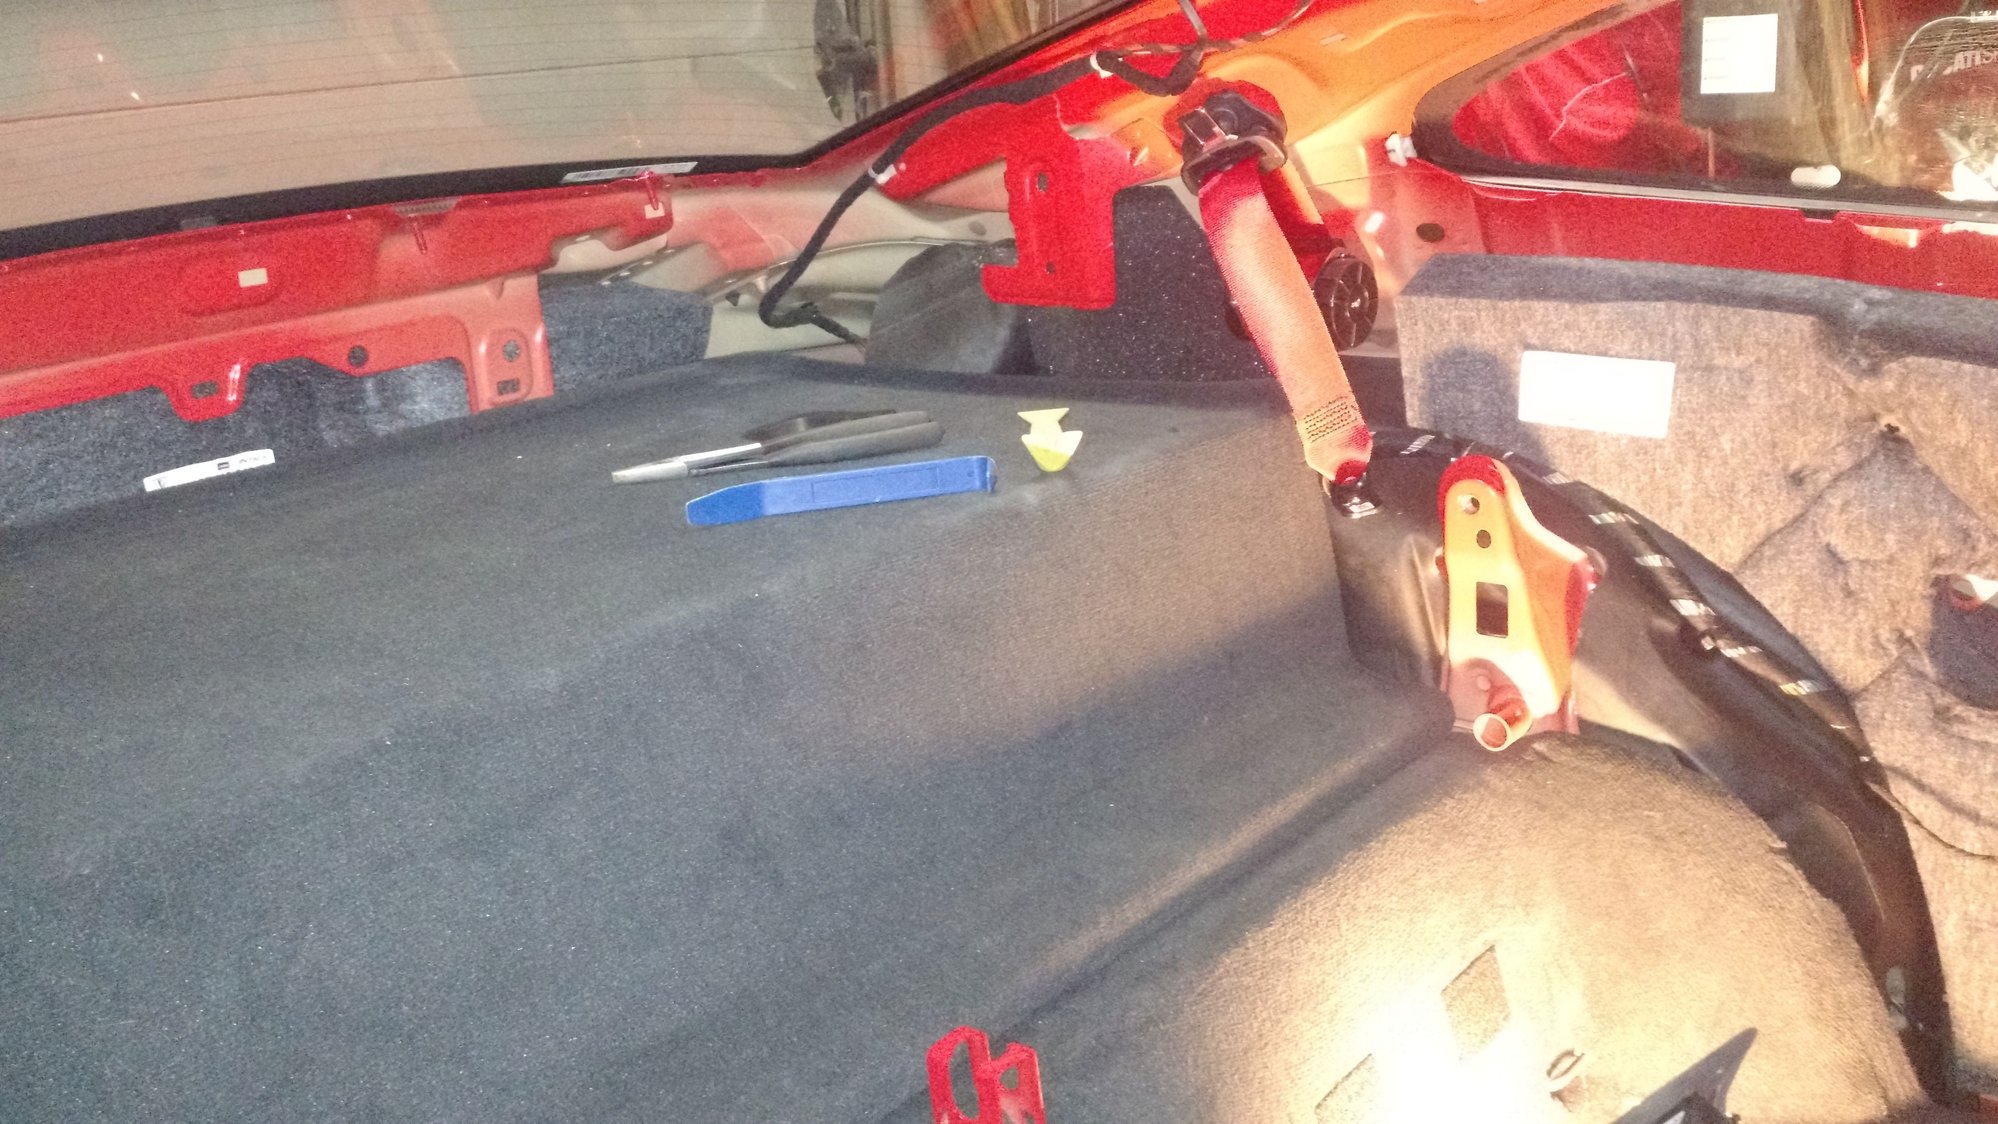
- Remove rear luggage area trim by pulling straight back (toward front of car)
- Remove bottom of rear seat belt with M10 triple square bit.
- Remove C pillar by popping toward center of car.
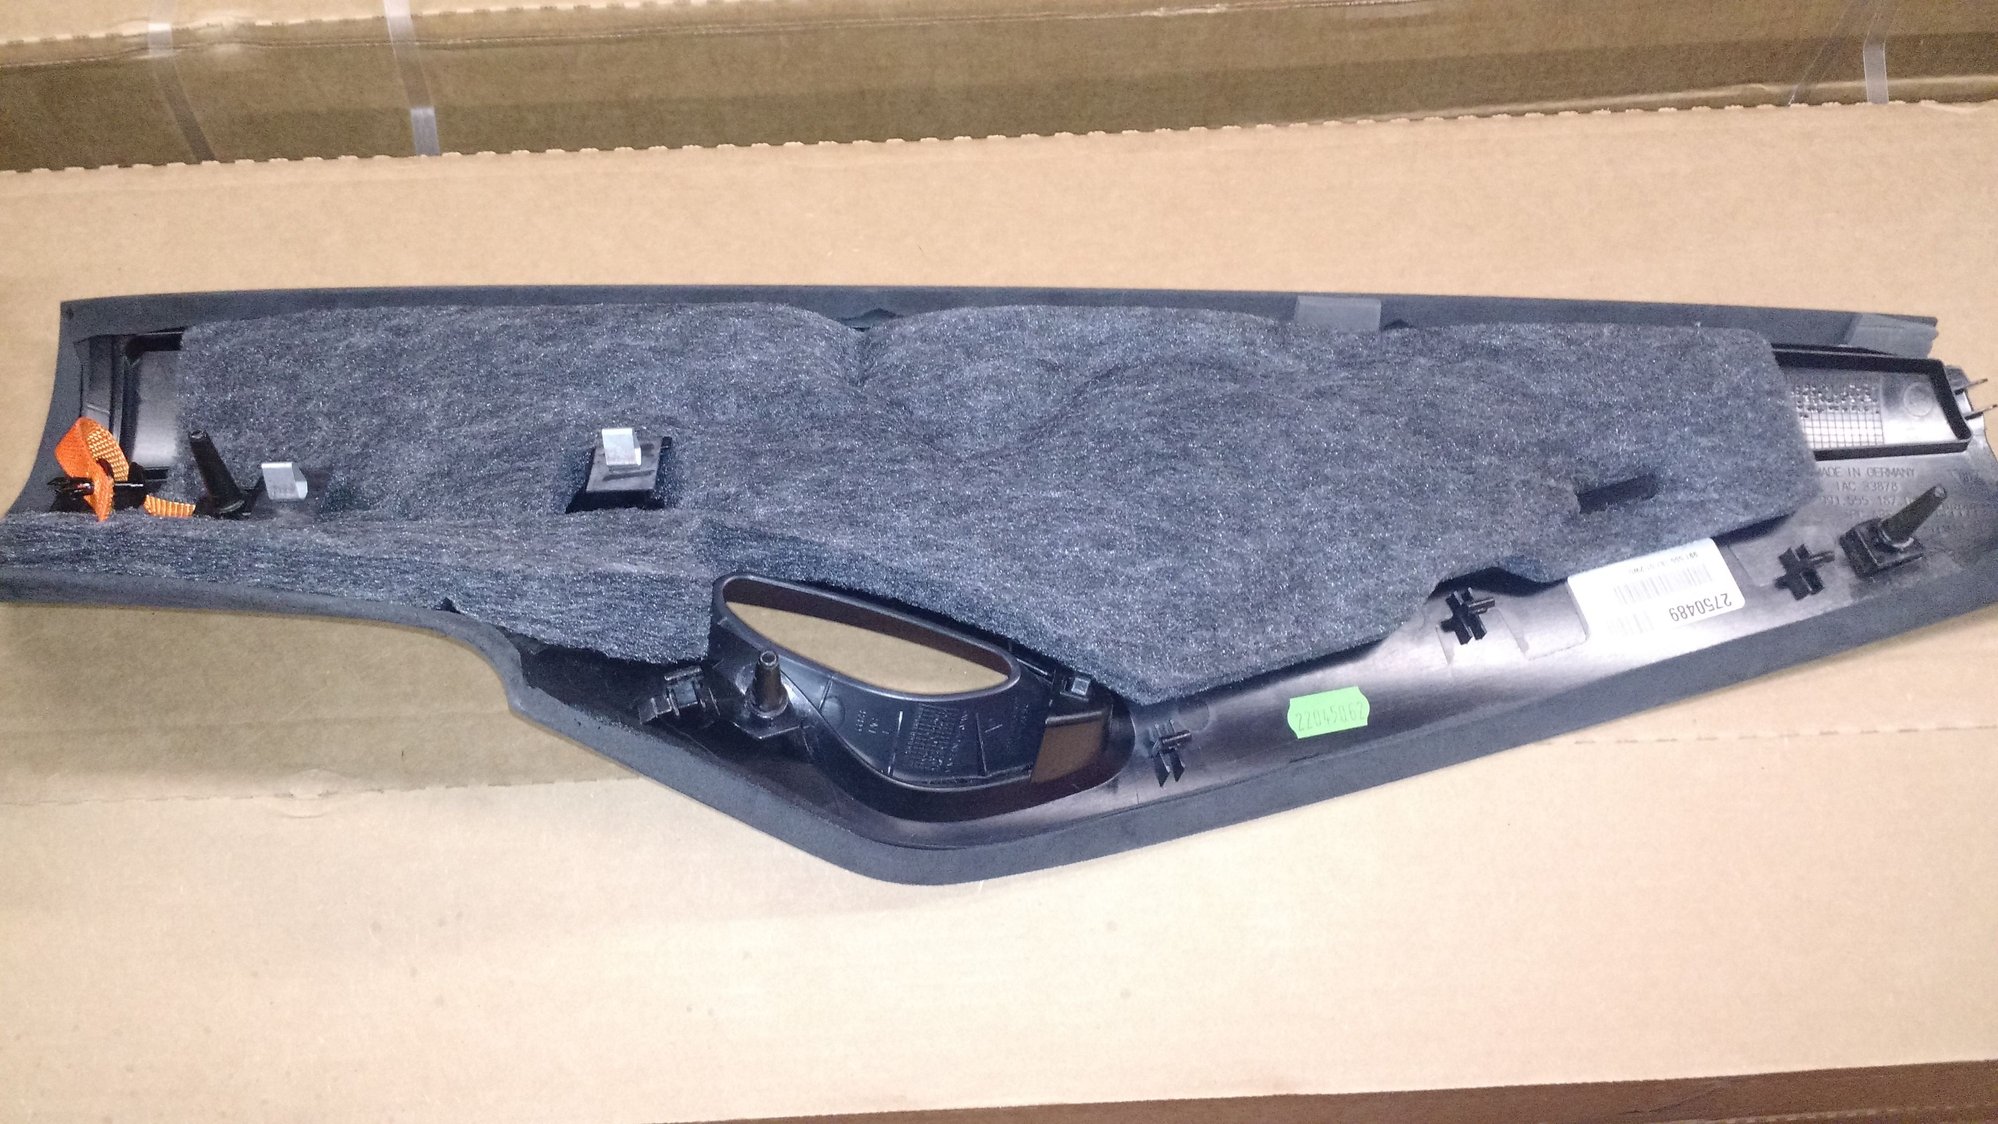
- Use trim tool to pop 3 clips from carpeted extension and C pillar.
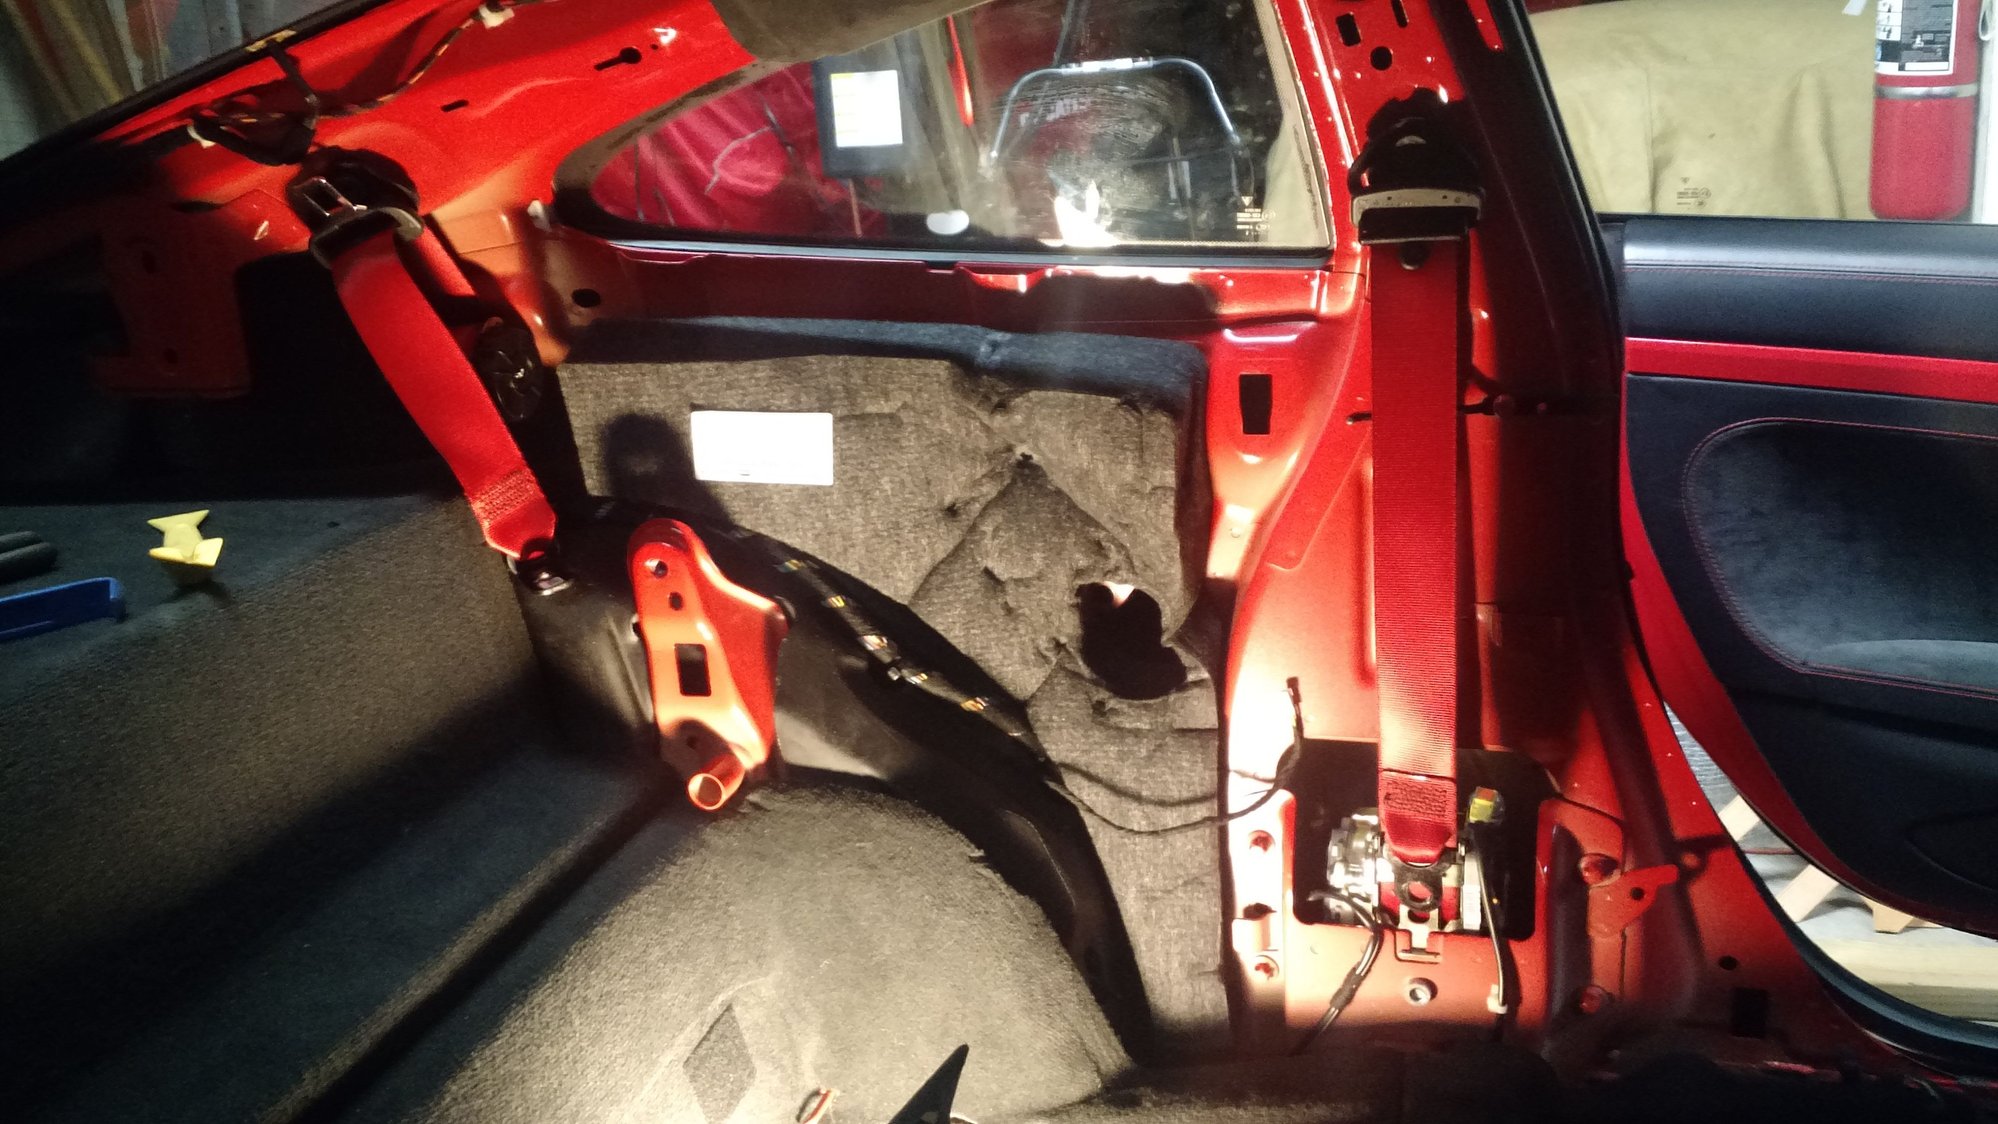
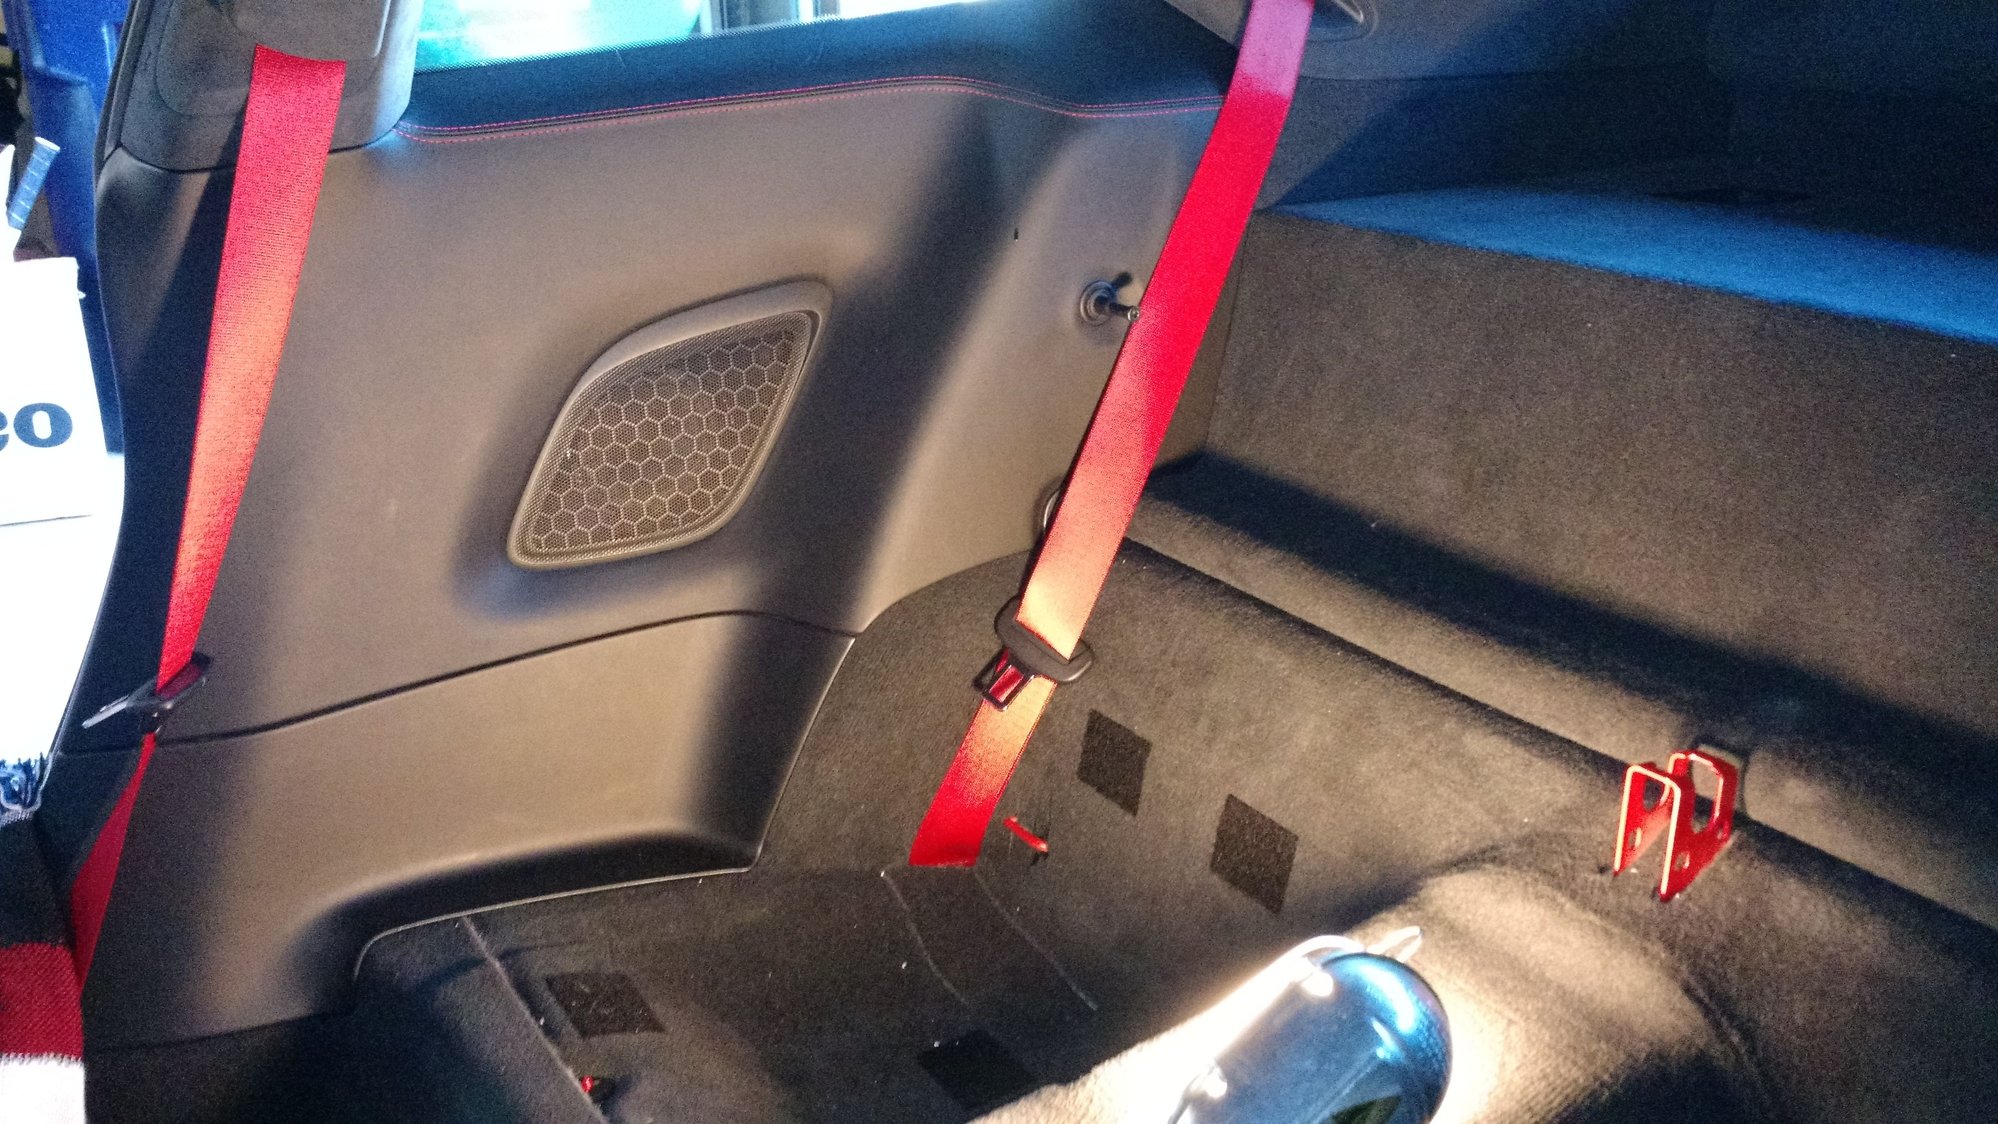
The orange tether can be removed by popping the center of the plastic rivet out.
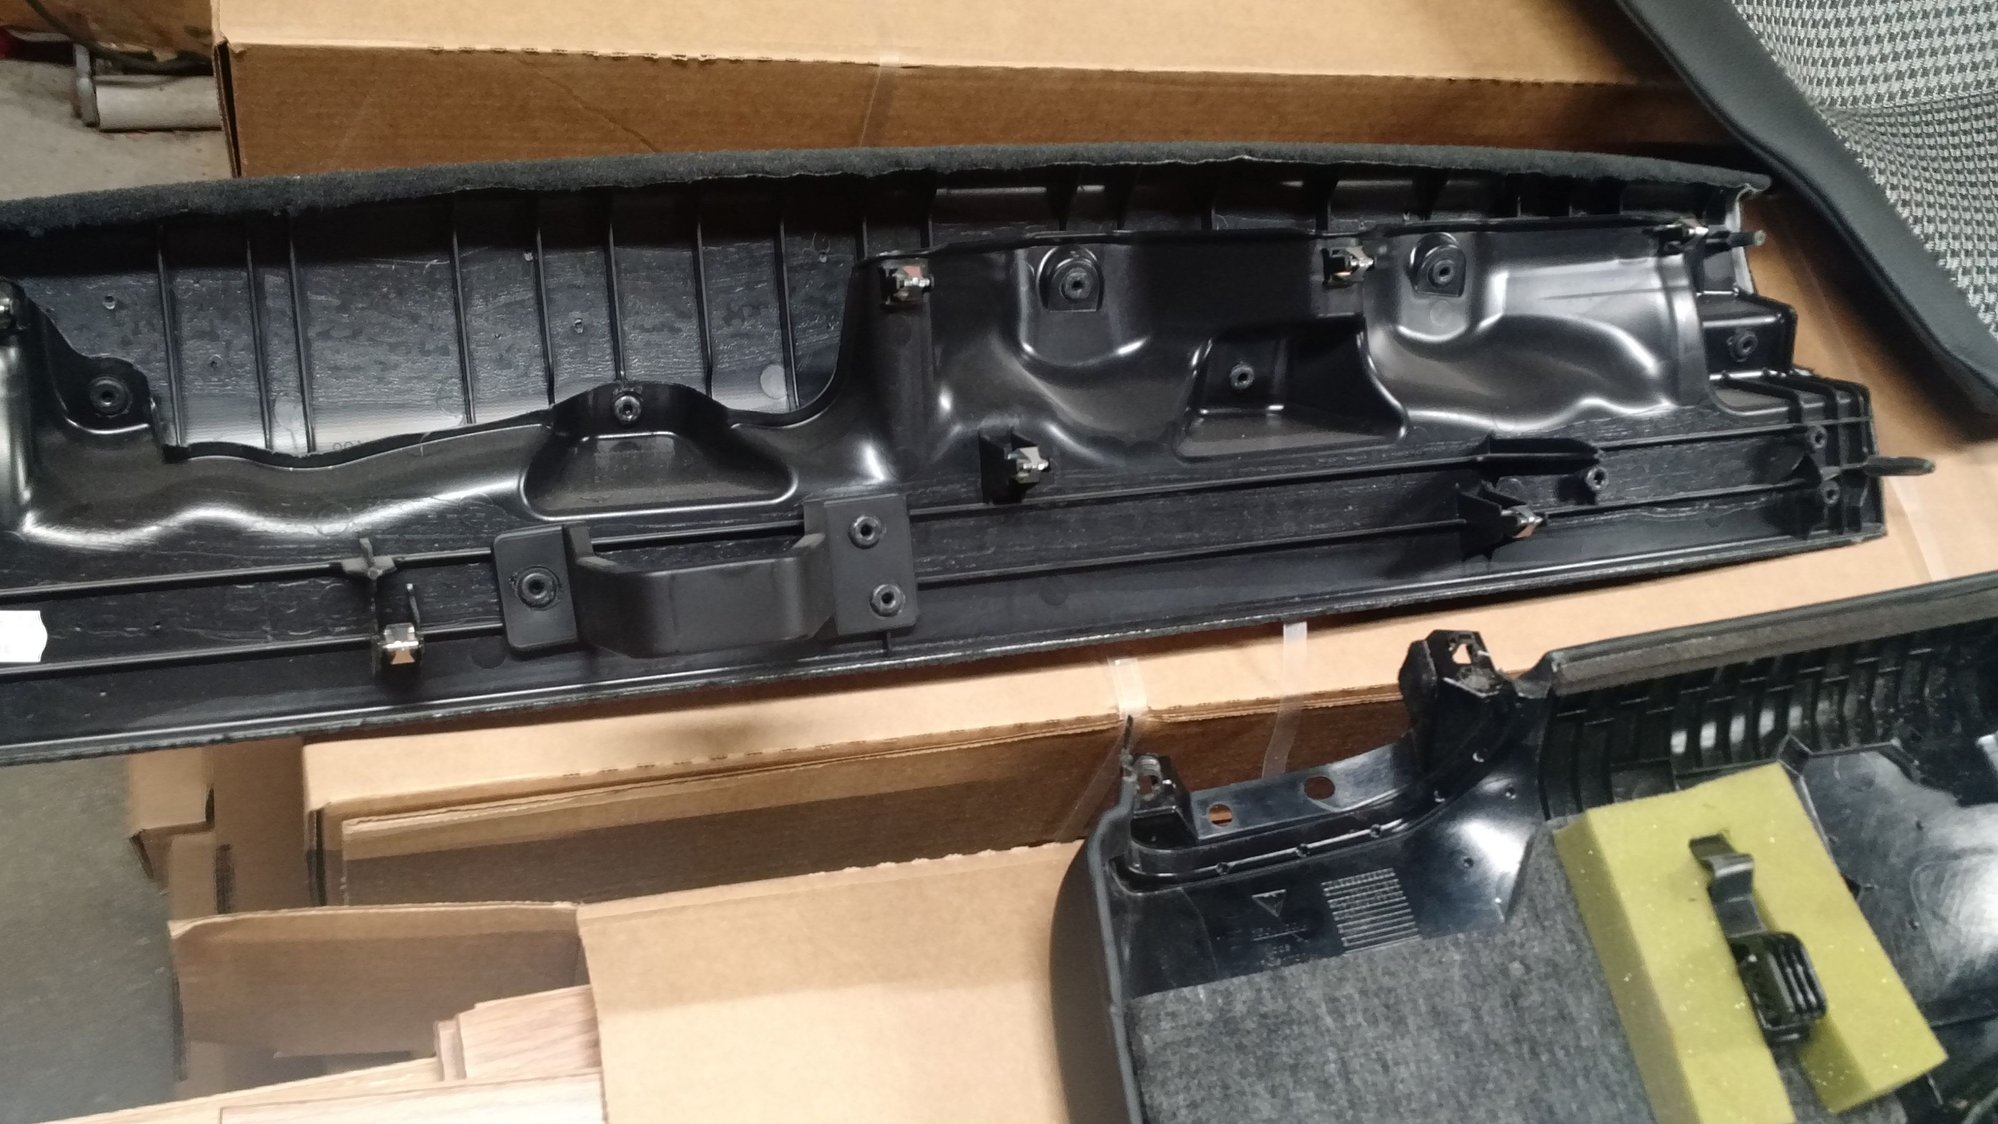
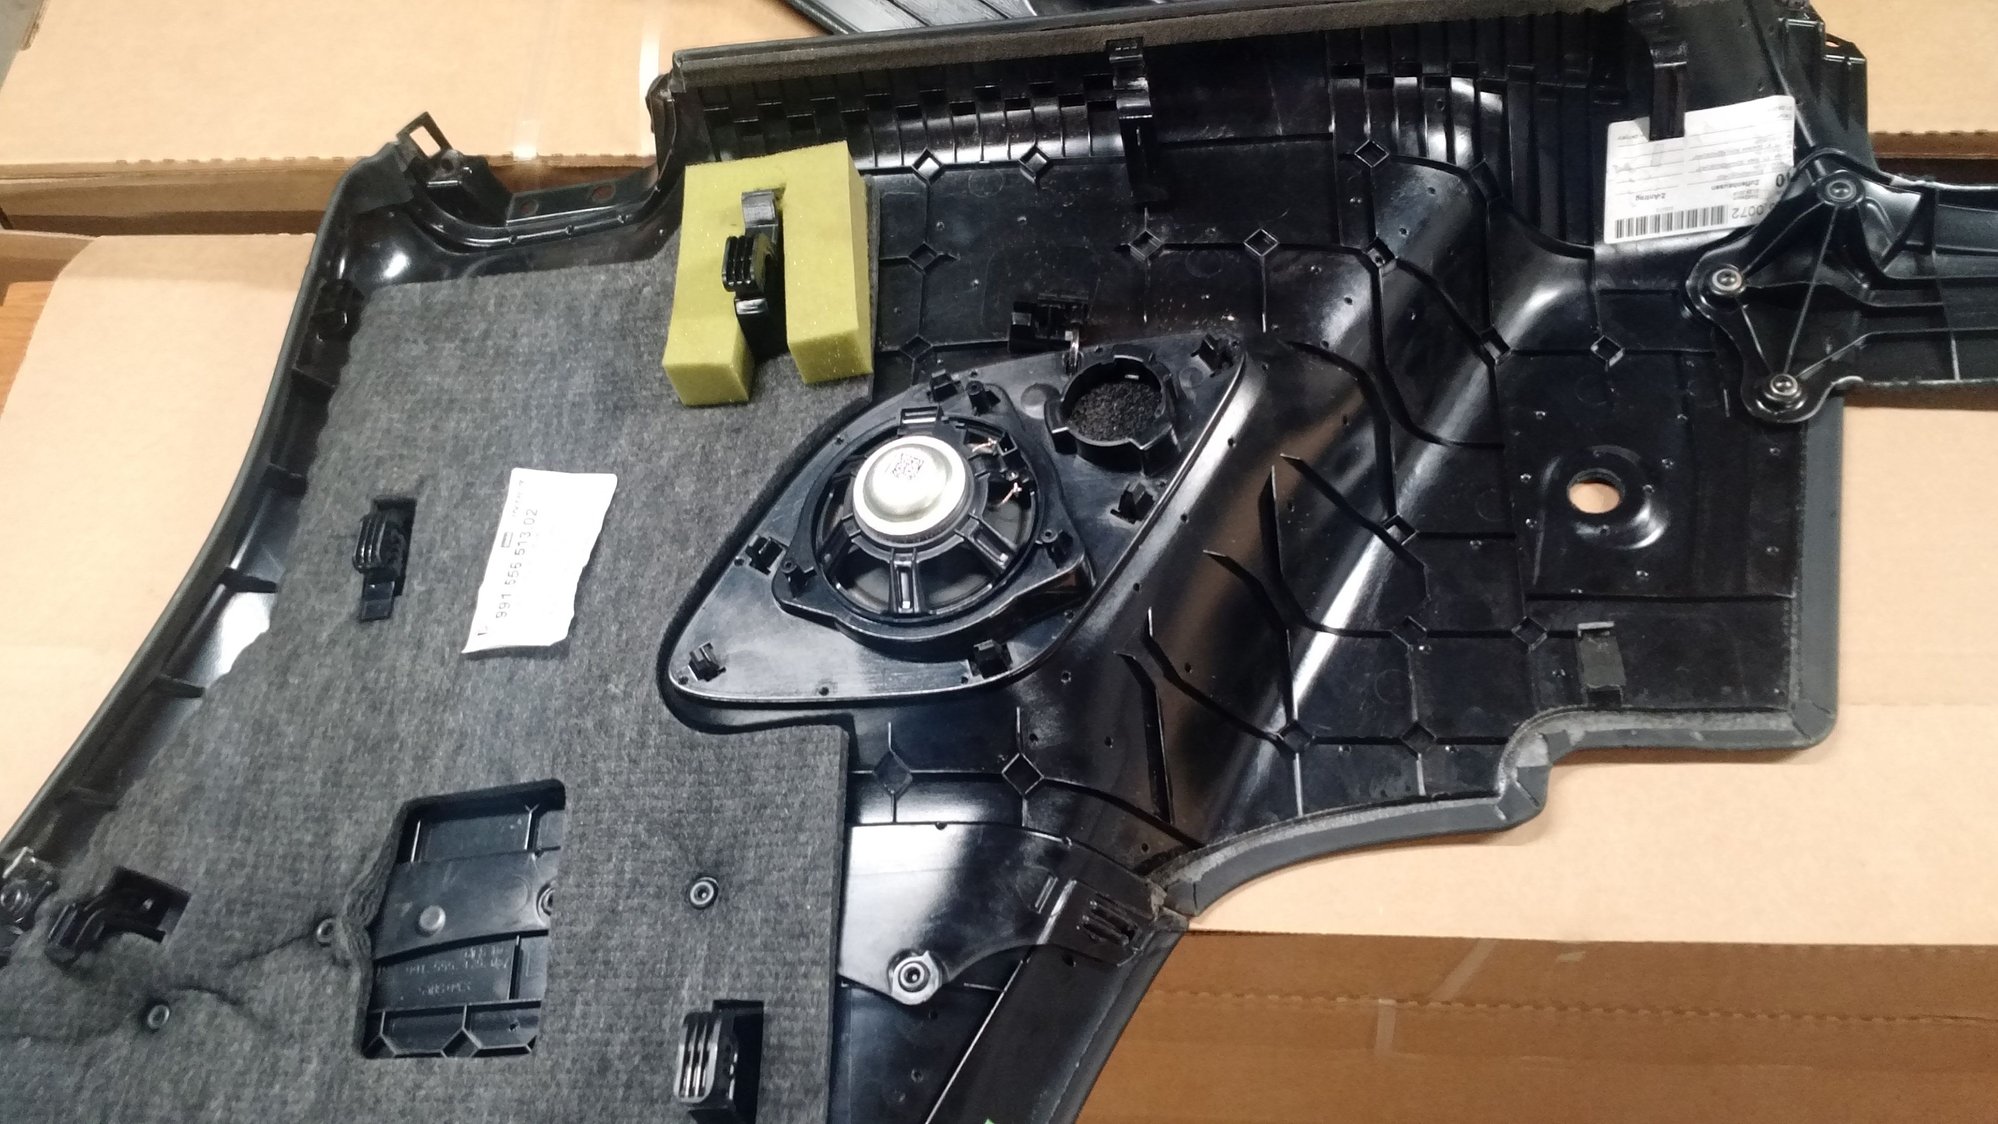
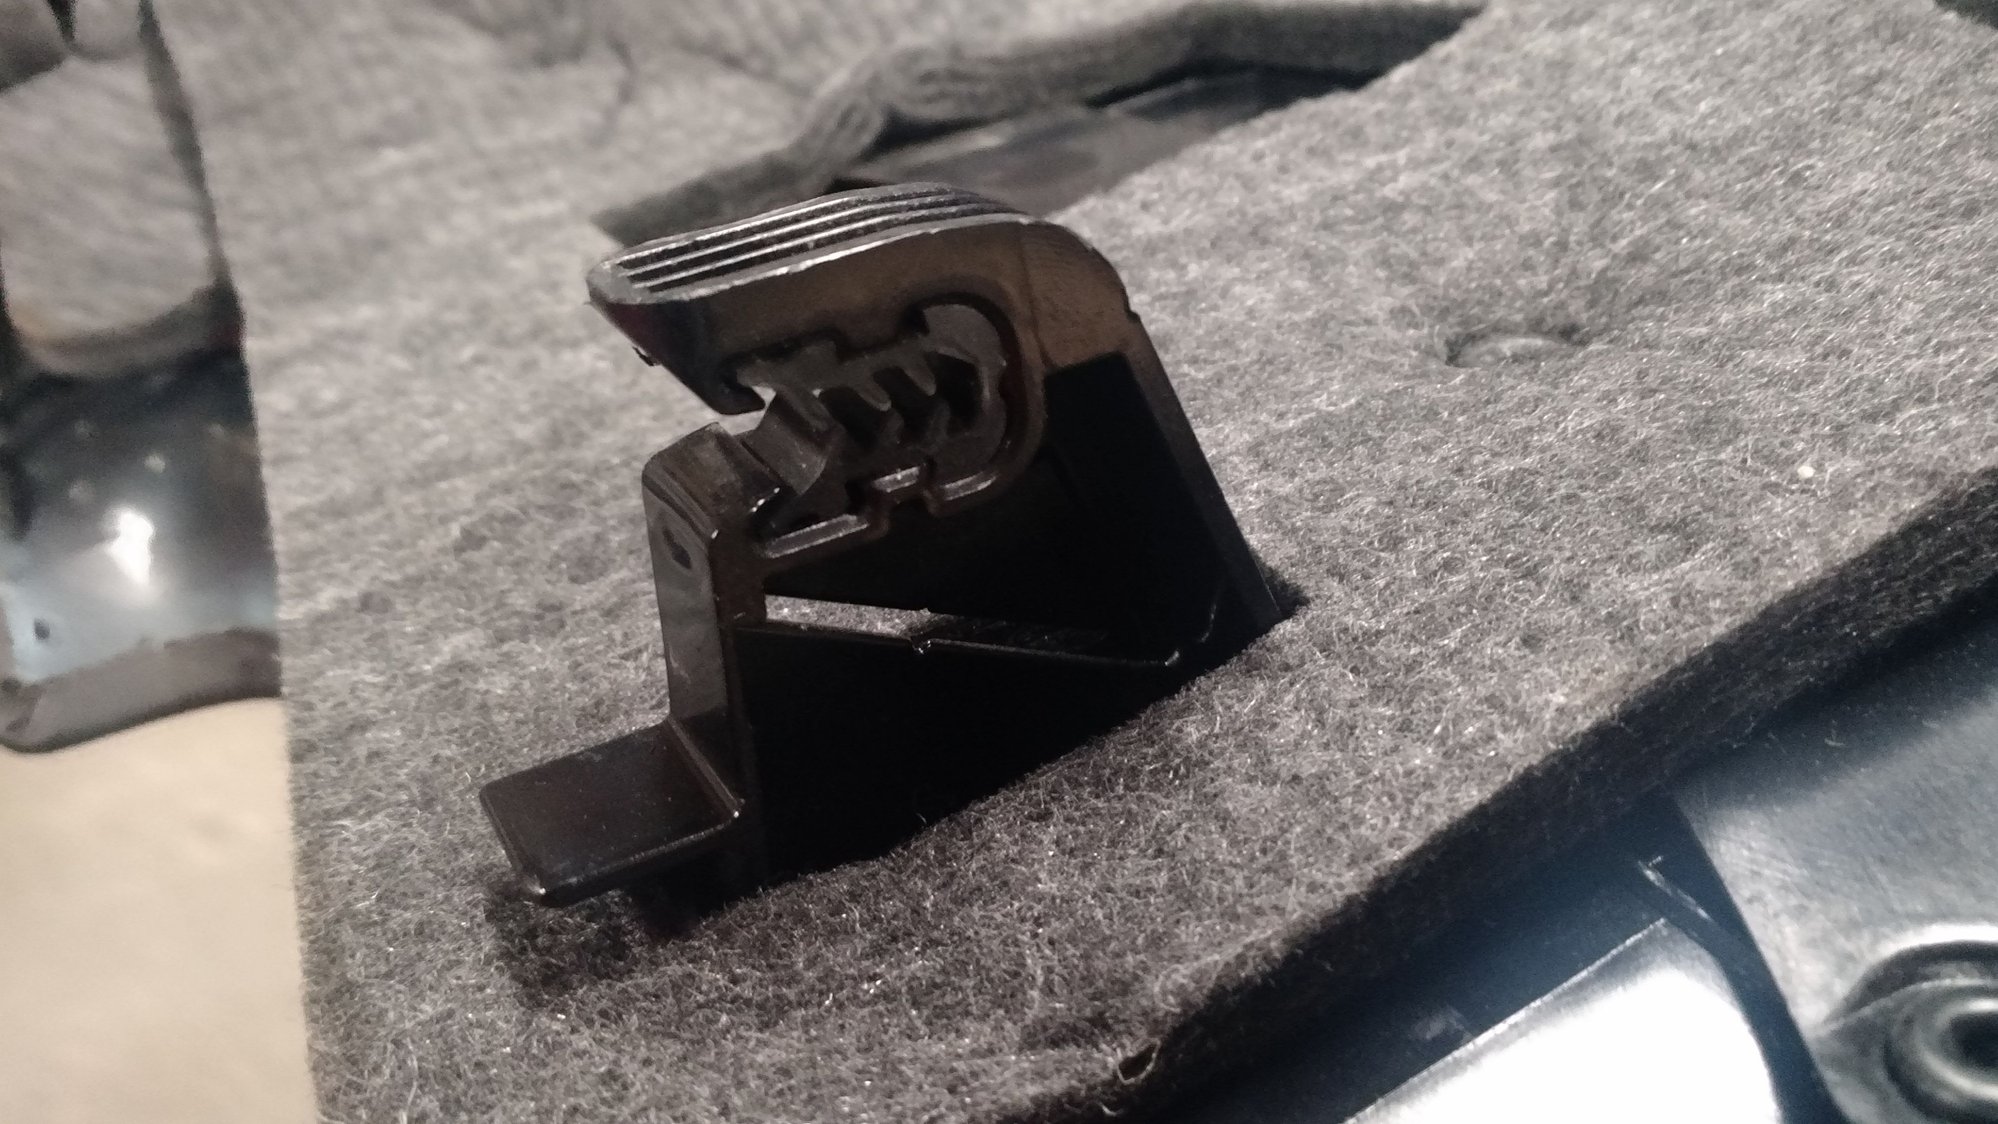
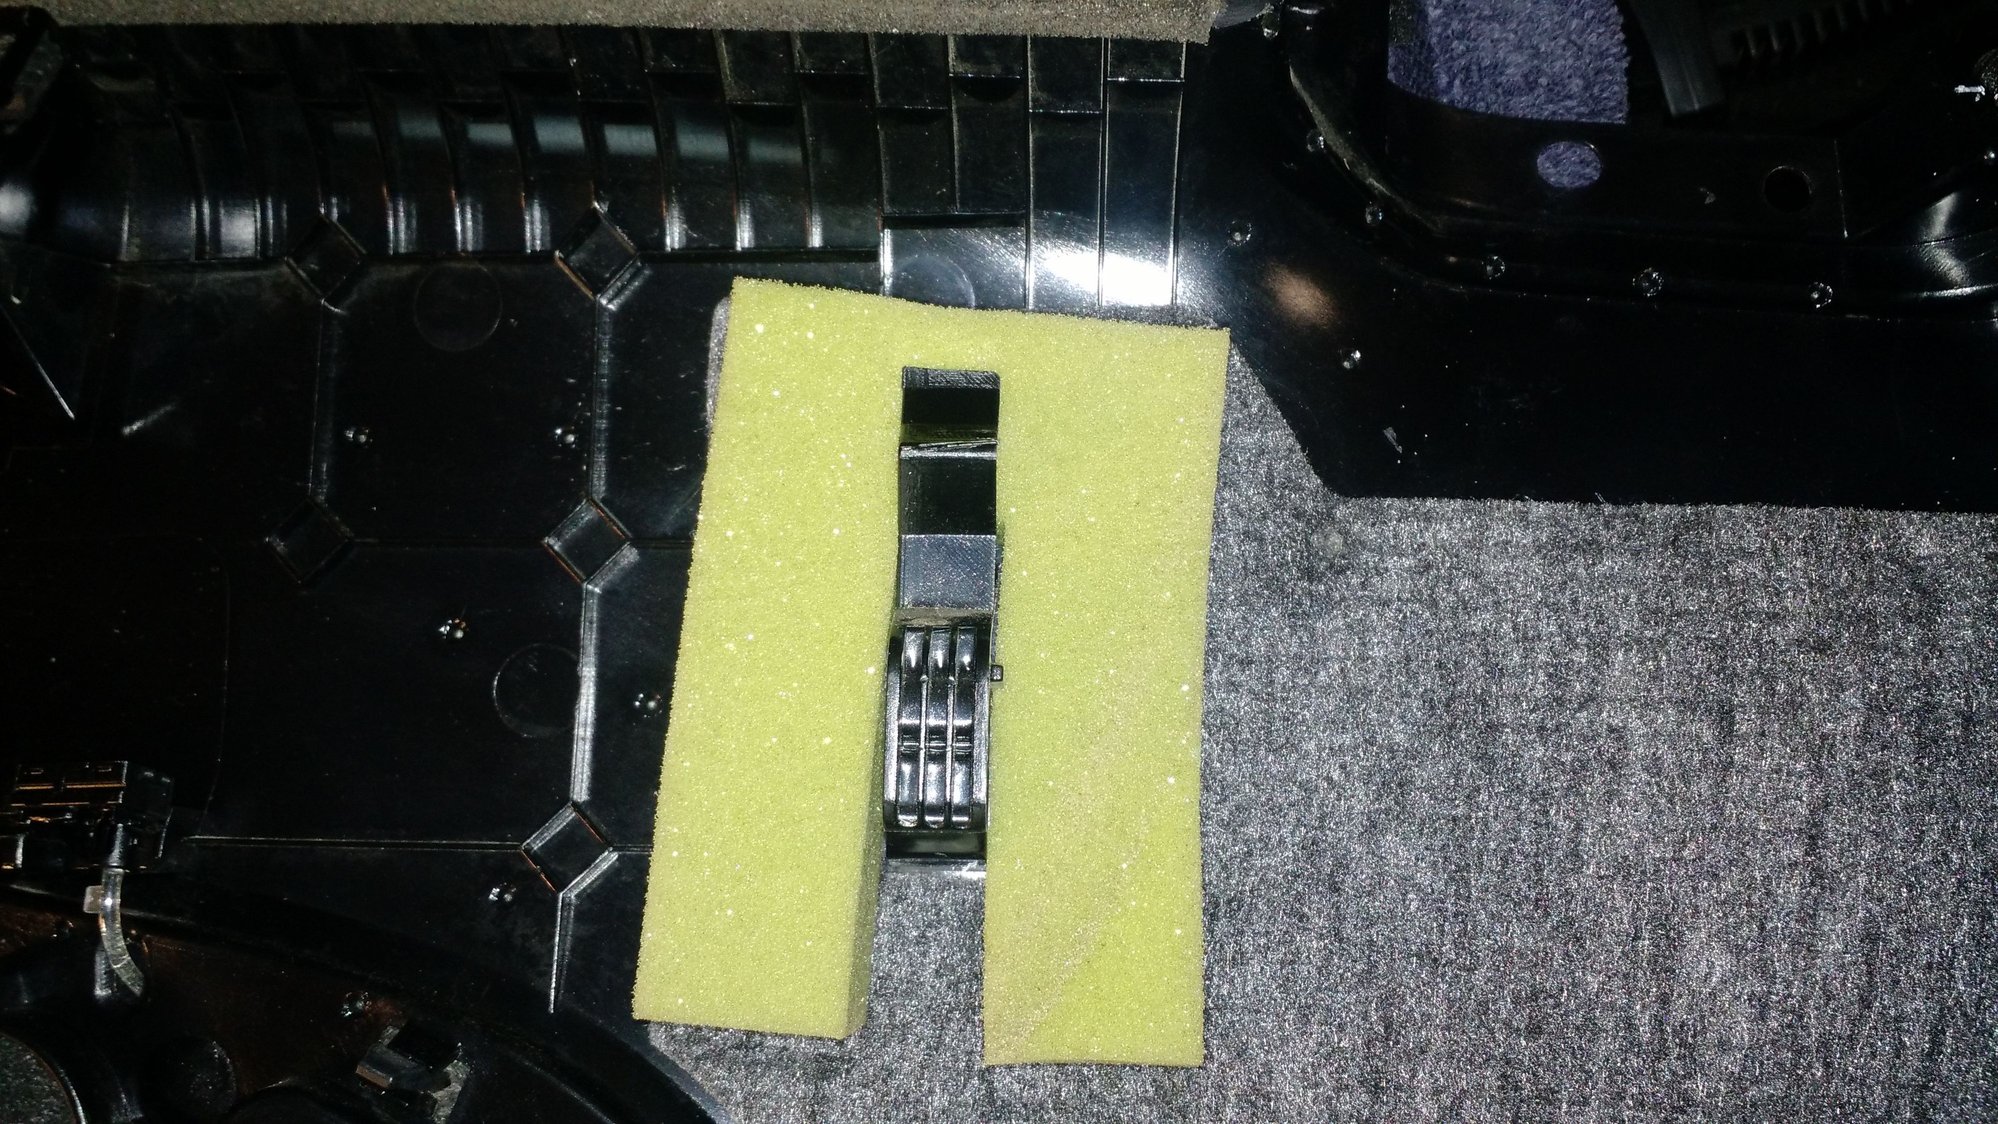
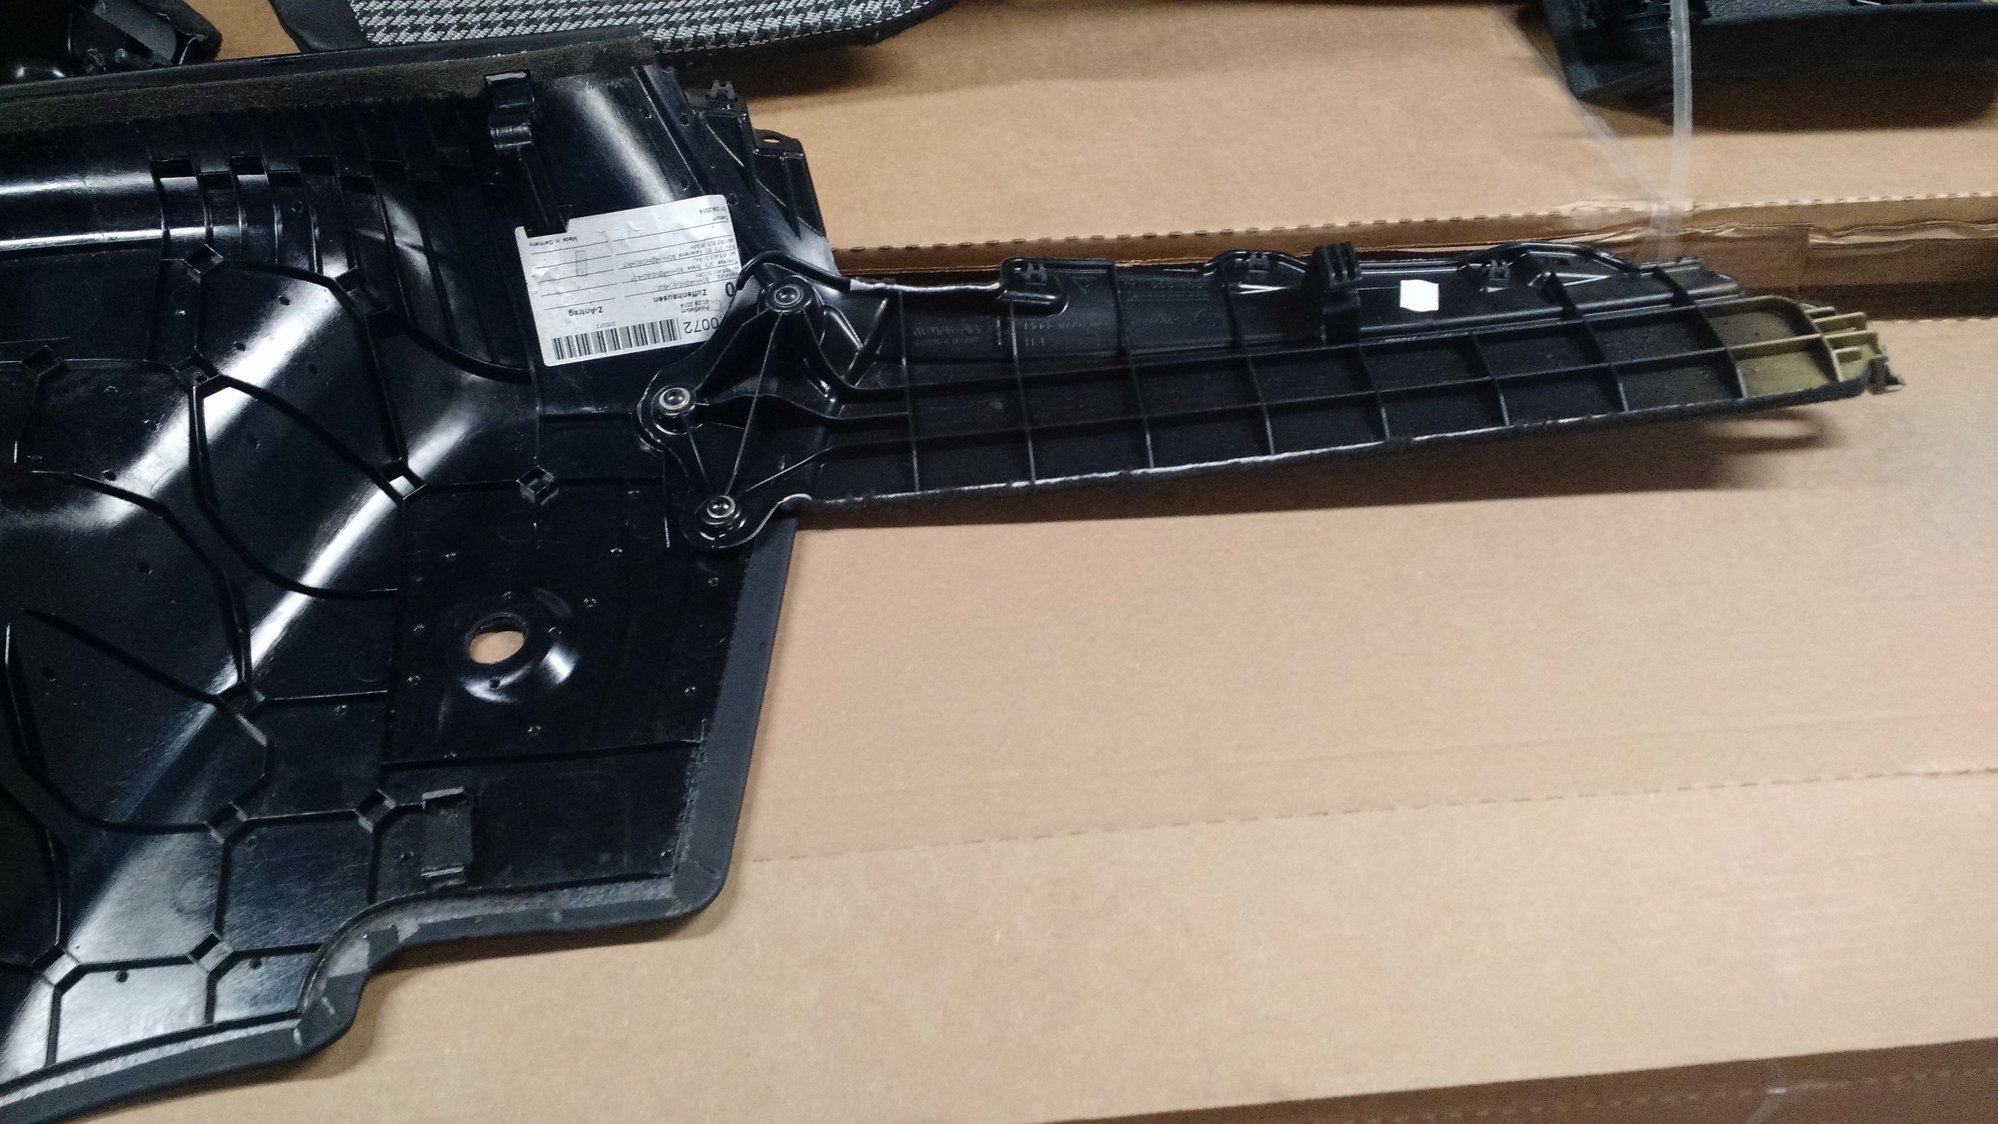
- Pull straight up on the side panel to release these clips. Beware there is one secret clip!
It's above and to the front of the speaker. It's surrounded by foam.
Secret release!
- Push on the top to release it from the body. Without doing this, you will never be able to pull the side panel up. This is the clip release that stopped me the first time I tried!
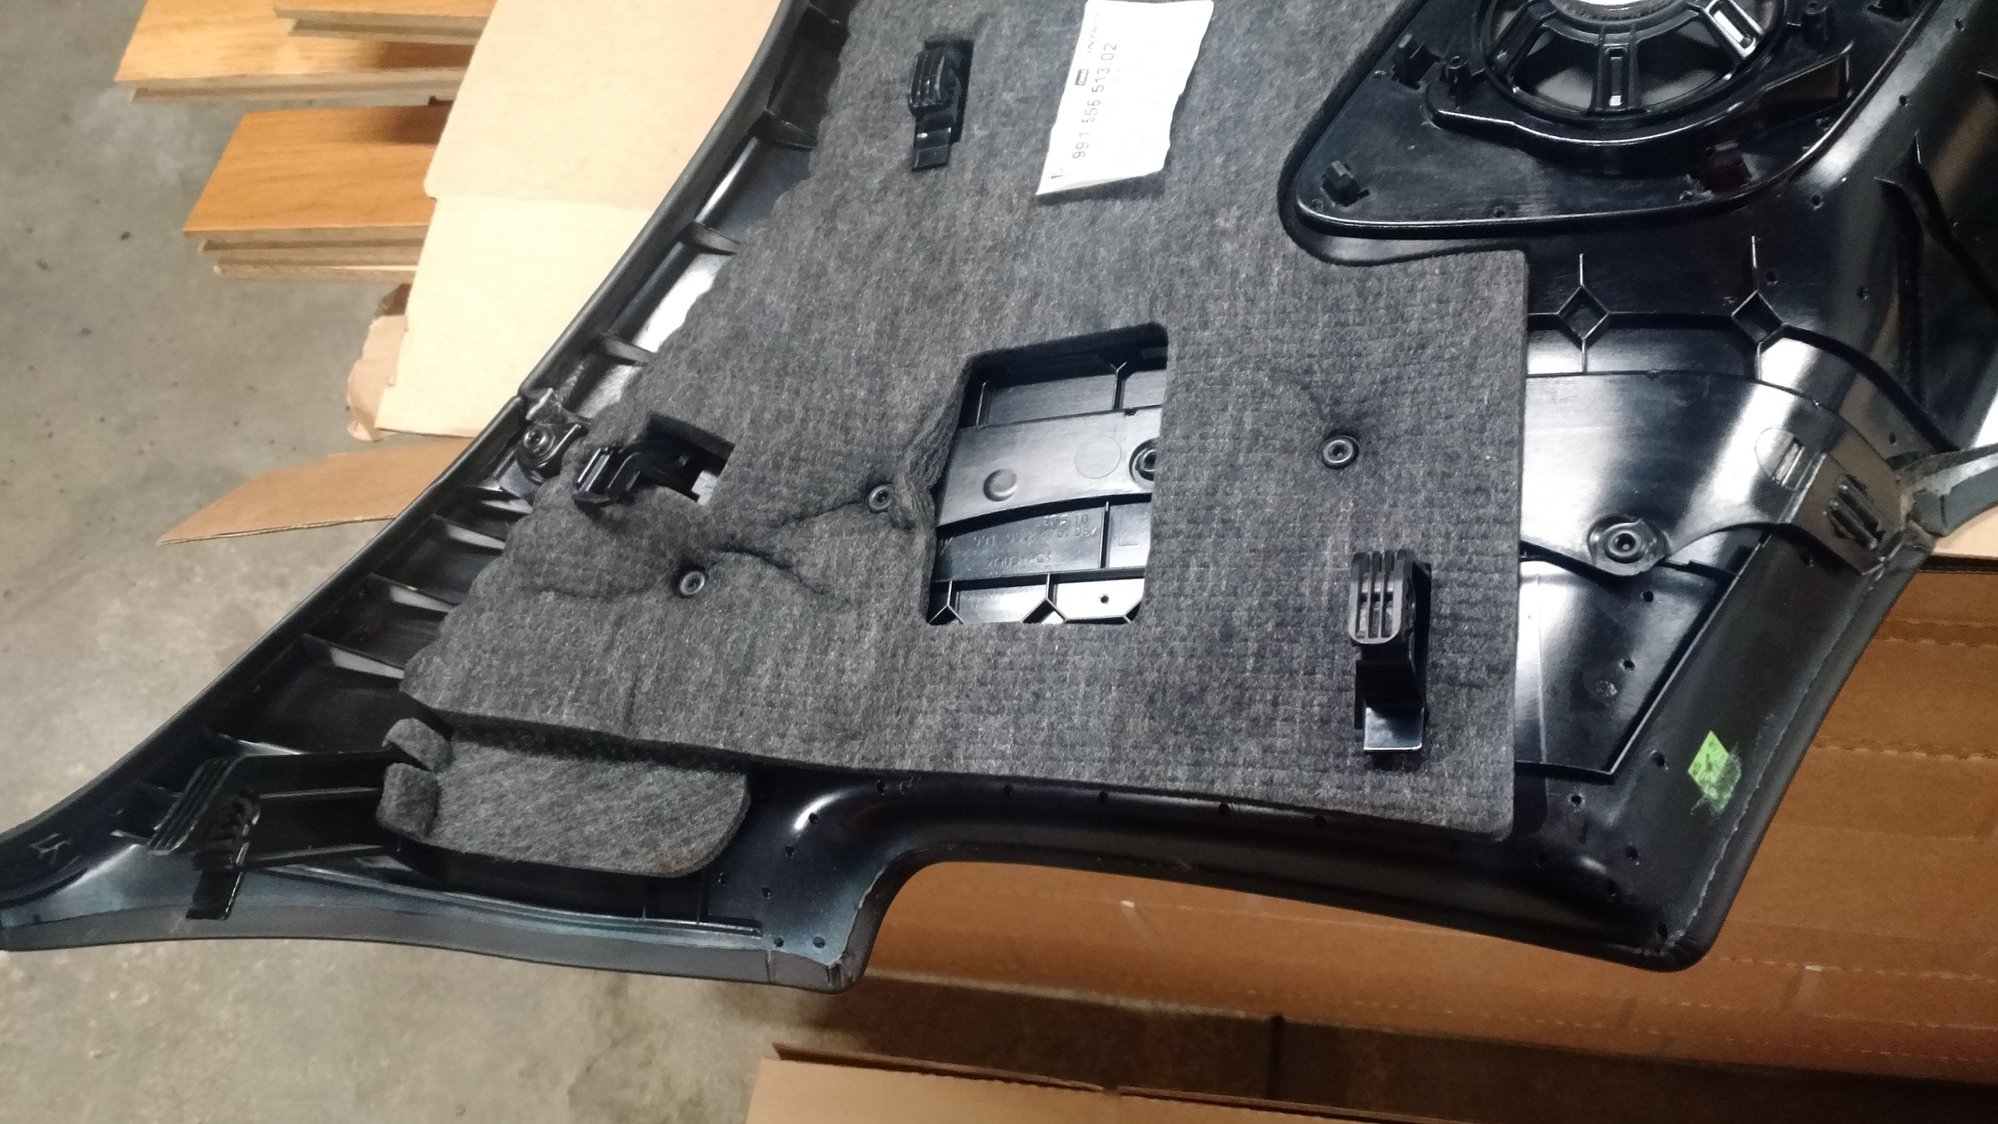
I found a couple of broken clips and missing rubber cushions in my driver's side panel, so someone was in there before me. It also explains the rattle that I fixed!
Reverse the steps to install the new side panels. I lubed up the rubber cushions and popped in my gt3 side panels. I had to drill a hole for the rear seat back latch. I had to attach the carpeted extension to the back of the panel with same screws I used on the door panels
Next I reinstalled the C pillars. I had a hard time getting them to snap back in.
Secret Tip! Turns out the metal clips had slid out of position in their slot. I didn't notice because the rubber cushions hides the slot. After that, align the pins and carefully pop back in place.
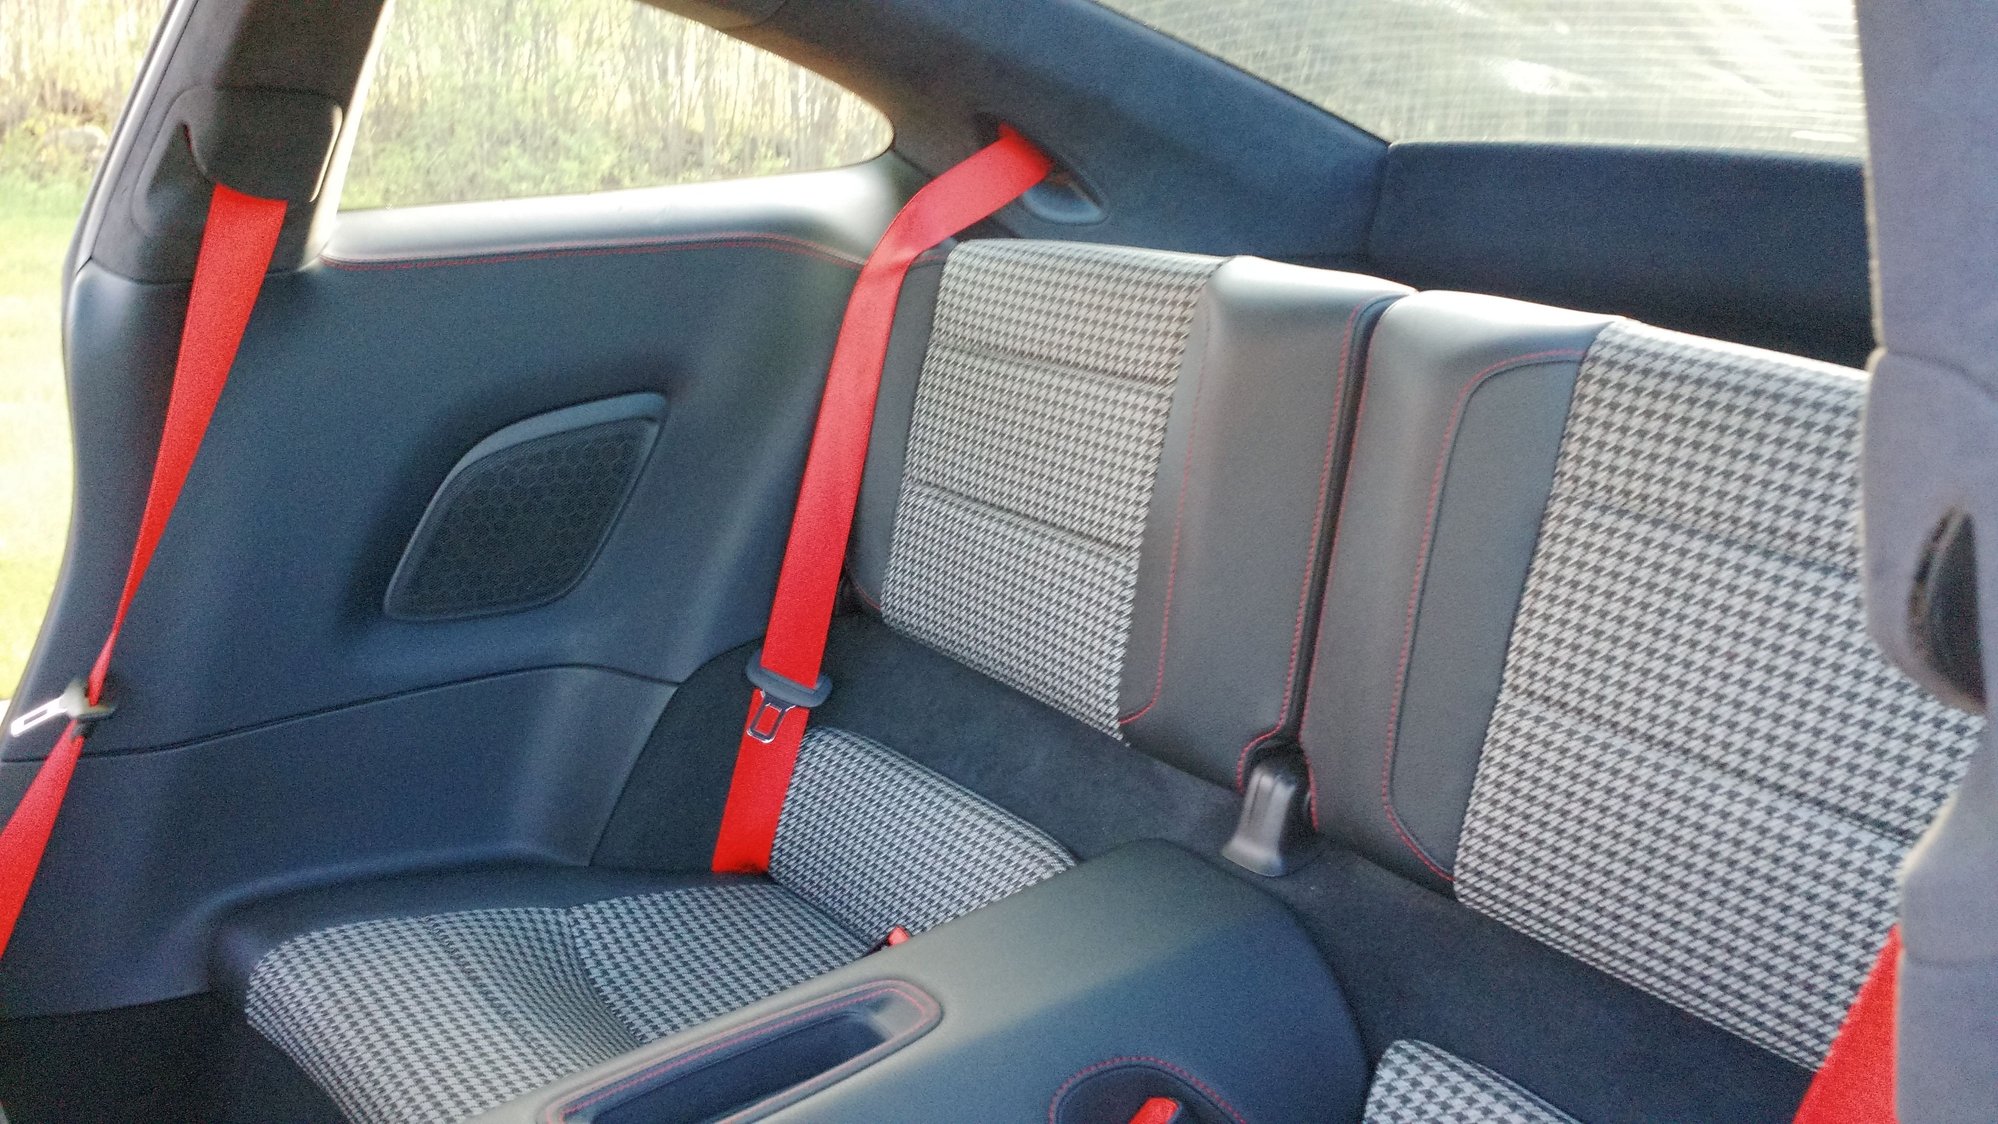
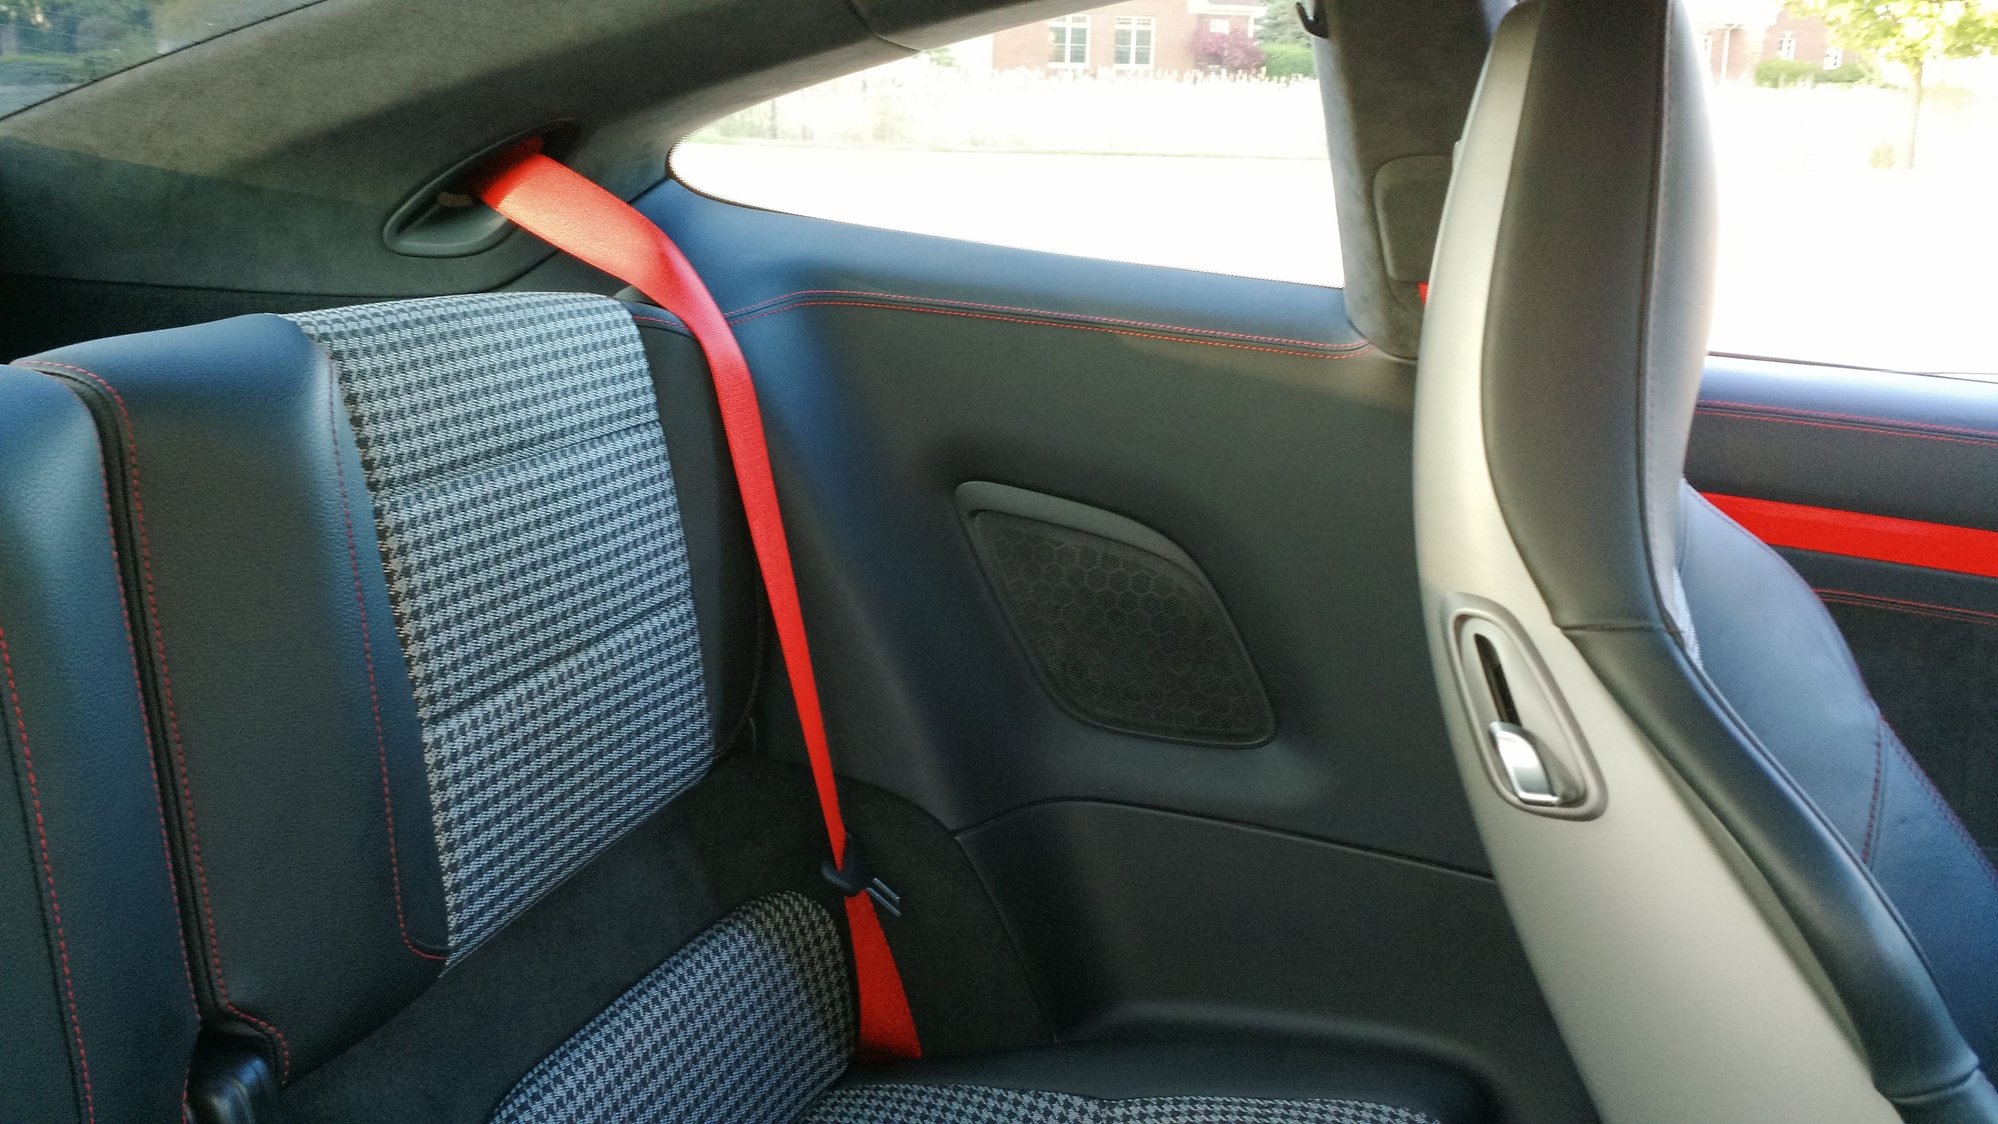
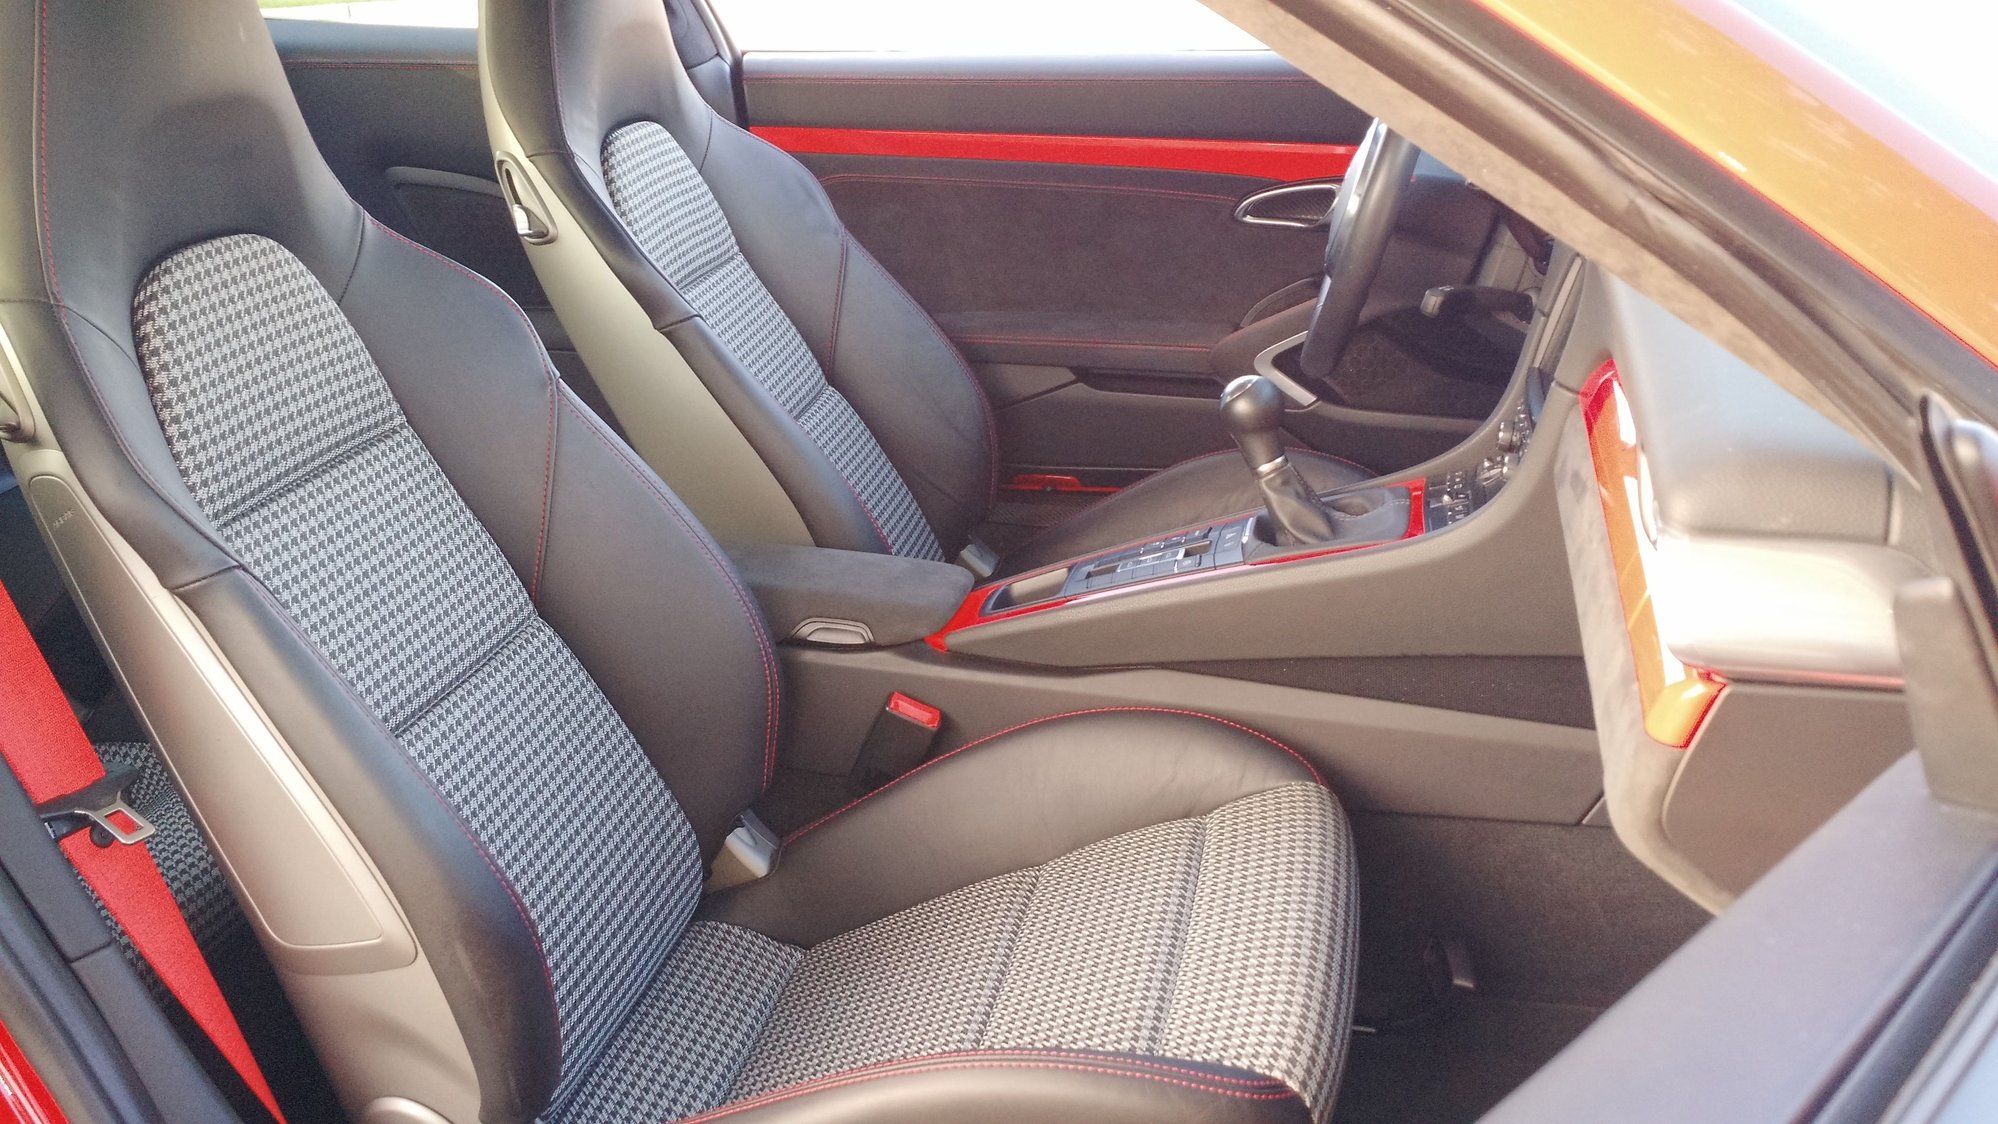
So after reinstalling the rear seats it's finally done!
Hard to tell the factory didn't do it! 😁
Summary of the job:
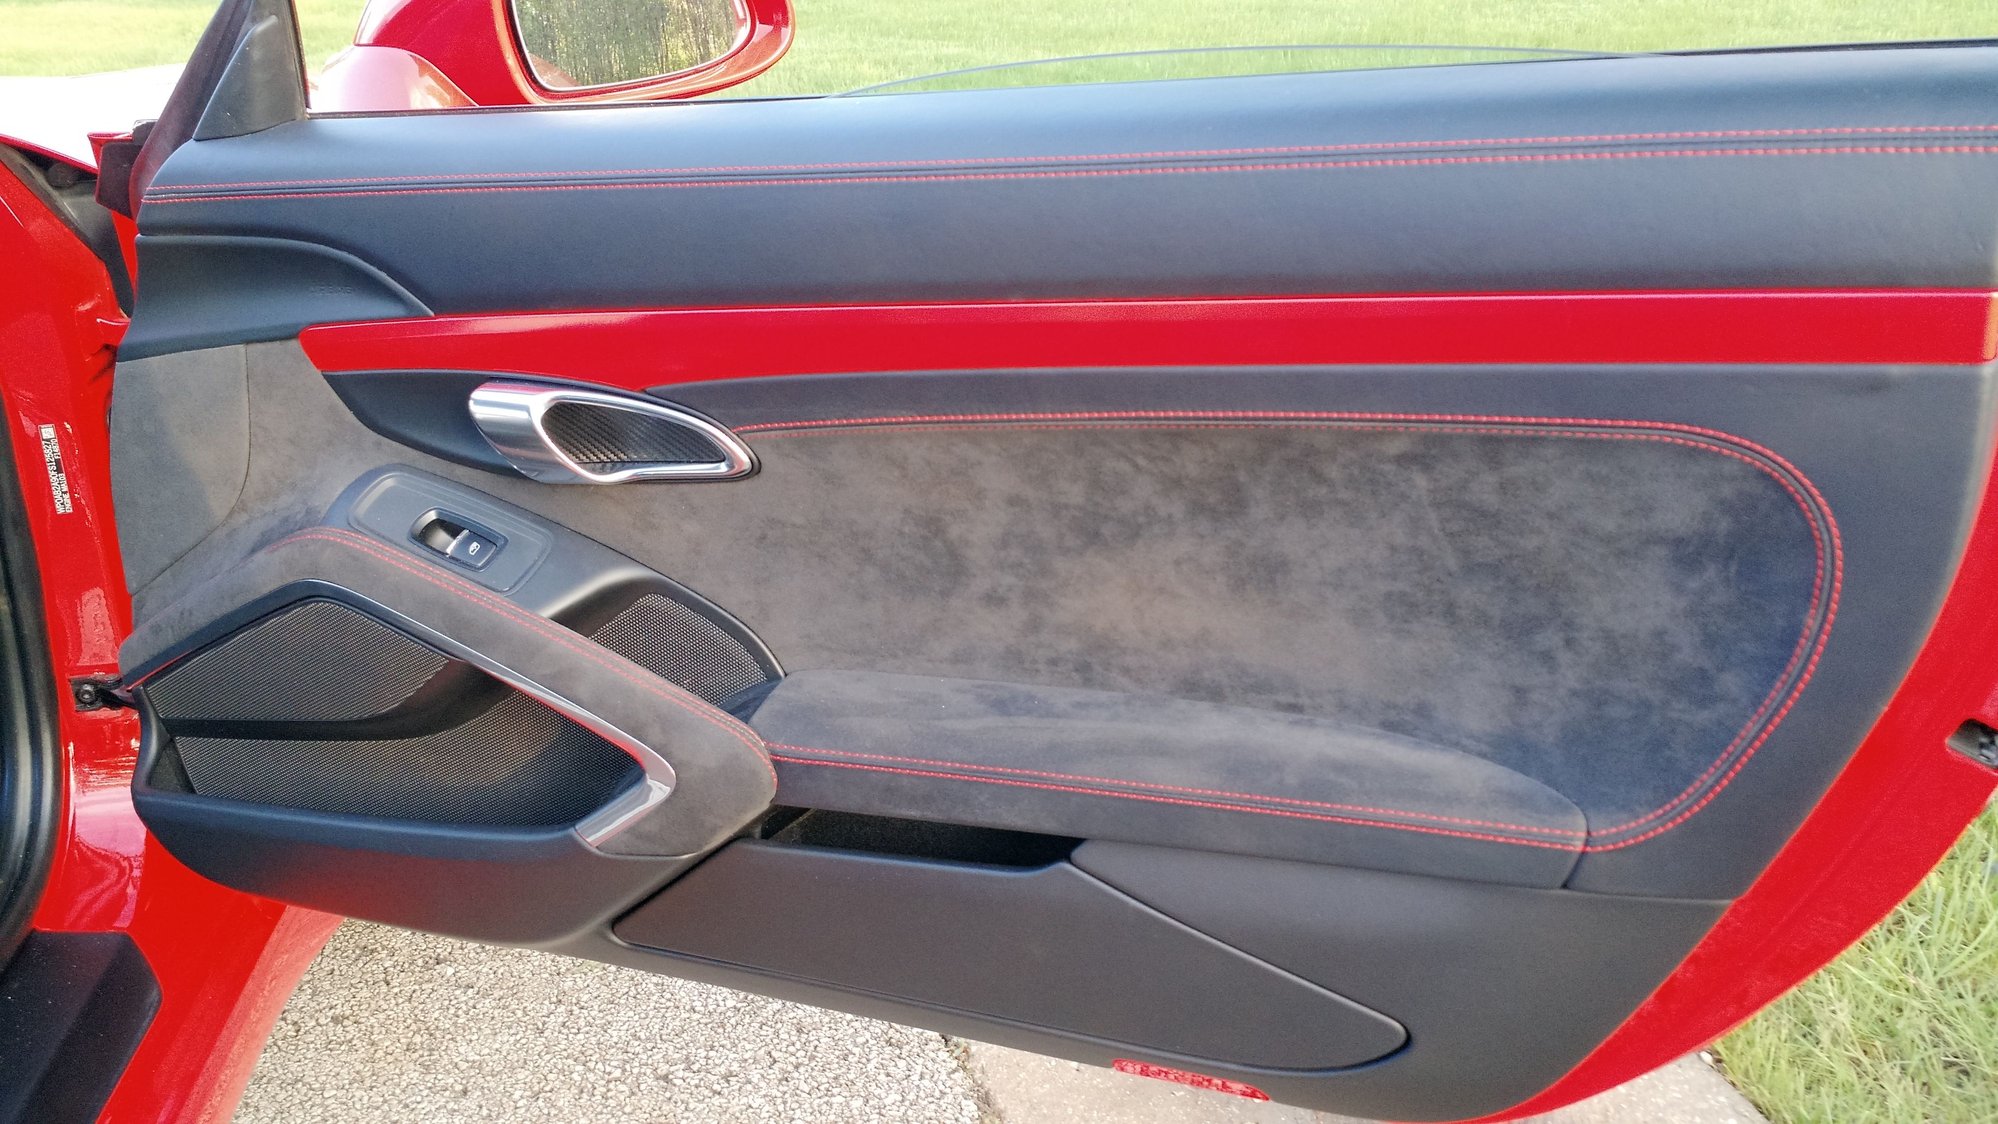
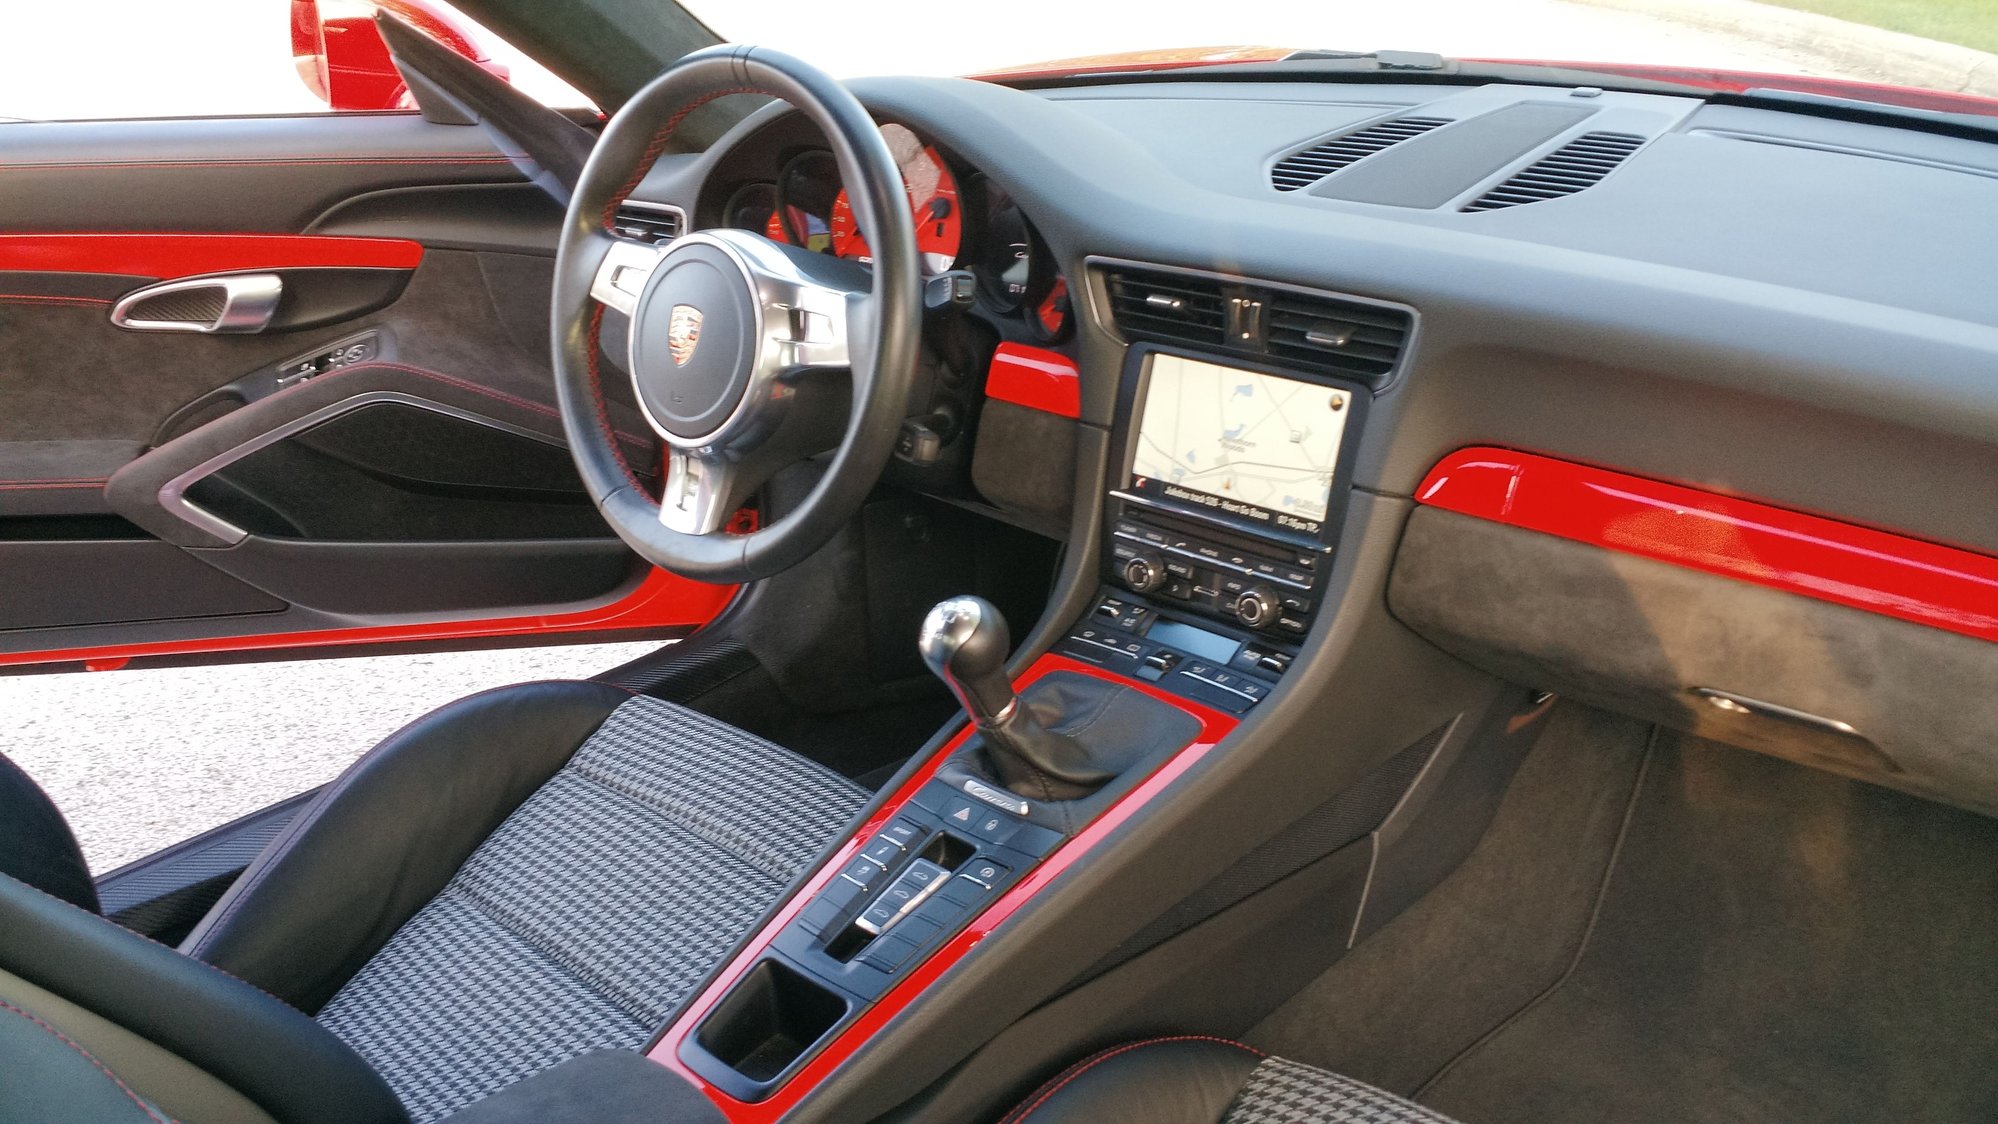
- Door panels with alcantara and deviated stitching.
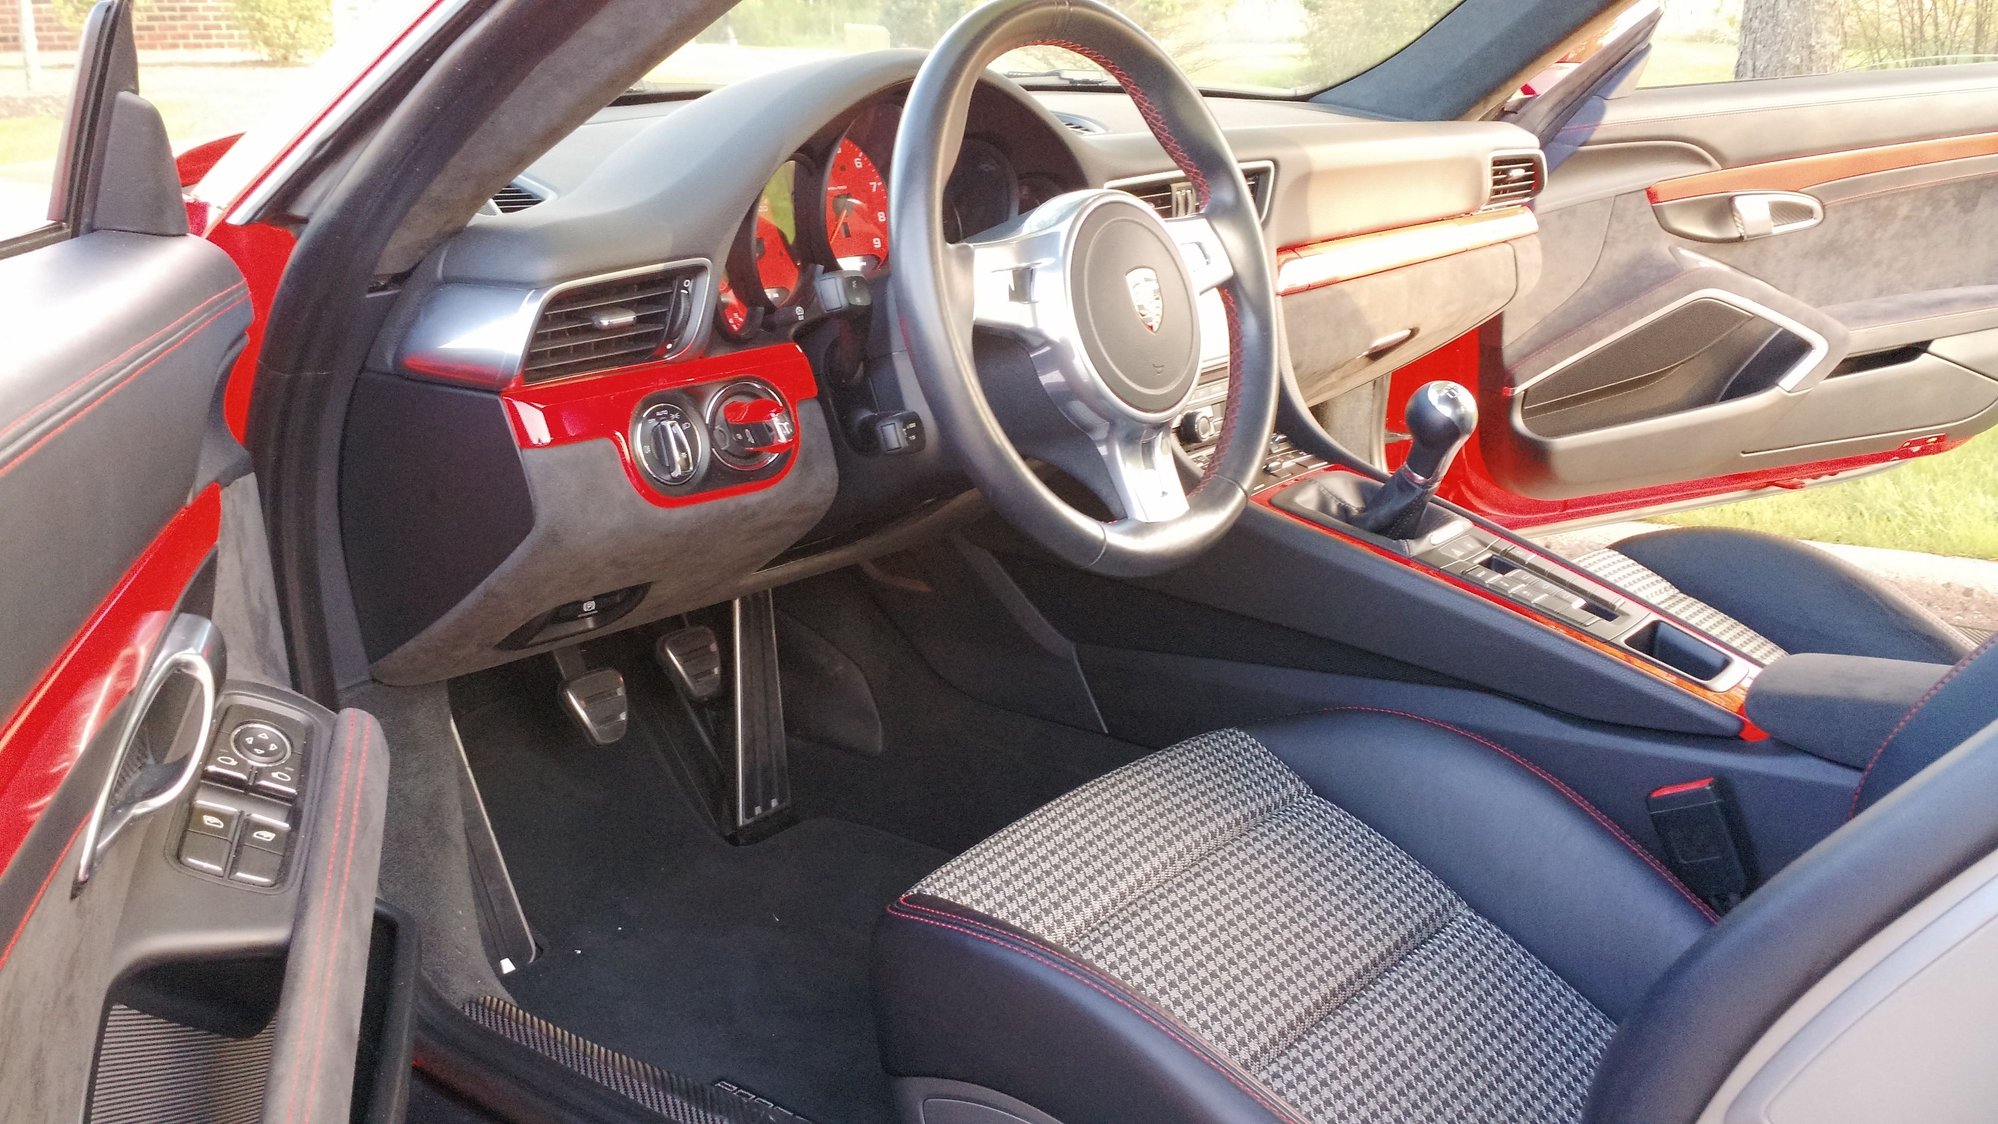
- Color matched door trim
- Alcantara lower dash and center console
- Alcantara A and B pillars
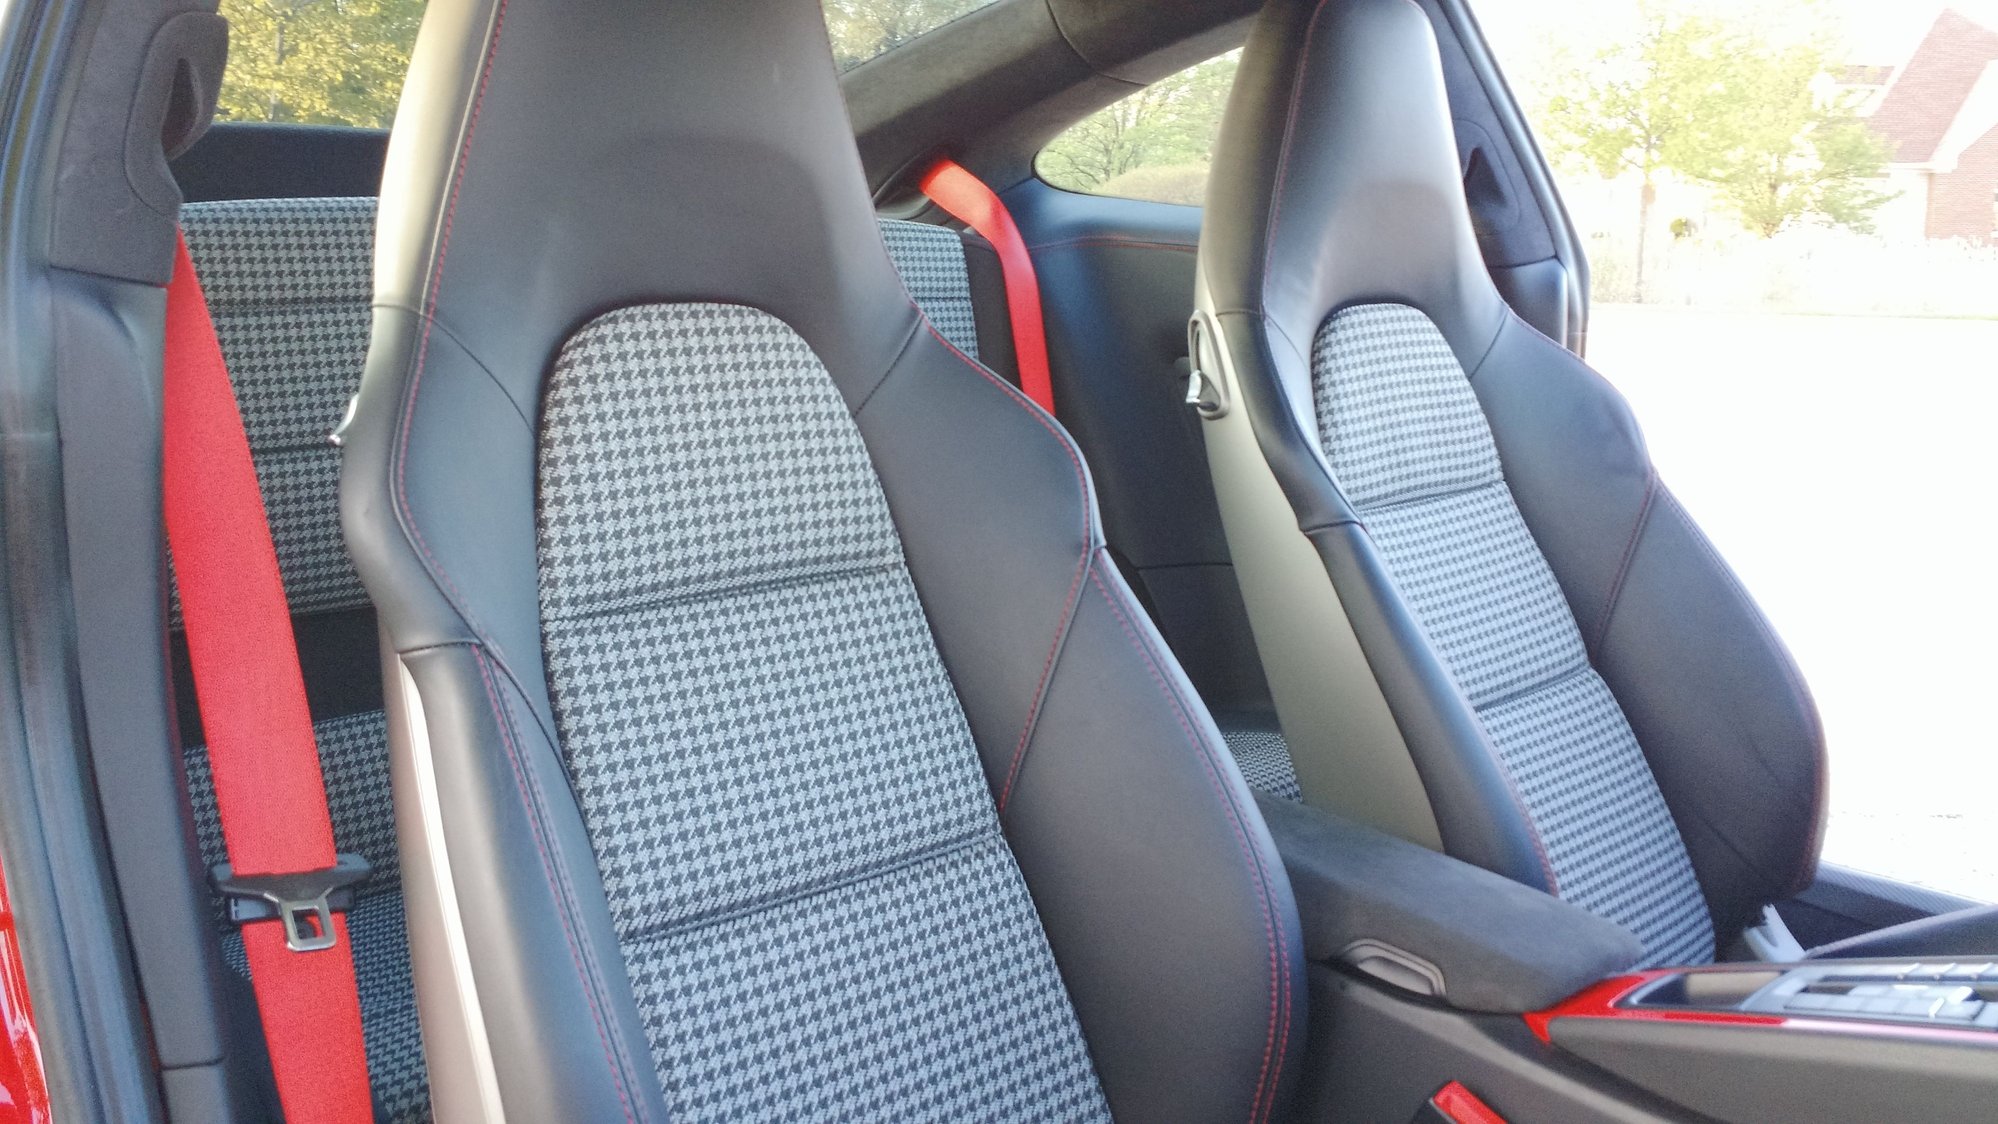
- Deviated stitching rear seat side panels
- 4 way sports plus seats with deviated stitching and custom 50th anniversary pepita inserts front and rear.
For sure...well done. I am getting the itch to do more to my car, just as my wife told me I would after I told her I was done last month.
Thanks, I should be done for awhile. Unless.... I win the lottery and can order some forgeline FU3C or 5 lug gt3 style wheels.
I forgot I've got Auto dimming mirrors to figure out.
Awesome job. I am jealous here and feel inadequate to even post on your thread. I have tried a few big DIY projects through the years and always find a way to screw it up royally. Great vision, way to keep your eye on the ball.
Awesome job. I am jealous here and feel inadequate to even post on your thread. I have tried a few big DIY projects through the years and always find a way to screw it up royally. Great vision, way to keep your eye on the ball.
Thanks. That's the beauty of using eBay spare parts. It makes you brave since you don't have to worry about ruining your original parts.
But dont forget, its not done till the dashboard is done
Ha! Nice try. Not going to get me to bite unless you have a lead on a black dash with red stitching for $500. 😏
Originally Posted by Joec500
AND the steering column
You too? 😊 Funny you should mention this. I've been searching eBay for one. I can't sew the leather so I'd have to buy one. Good thing I can't see it when sitting in the car!
the exterior mirror is easy. Push the mirror so you can get finger behind it. Then pull out glass. Use a T8 to loosen motor and to other mirror parts.
couple of good YouTube videos if you google.


 05-22-2020, 09:54 PM