When you click on links to various merchants on this site and make a purchase, this can result in this site earning a commission. Affiliate programs and affiliations include, but are not limited to, the eBay Partner Network.
...snip..
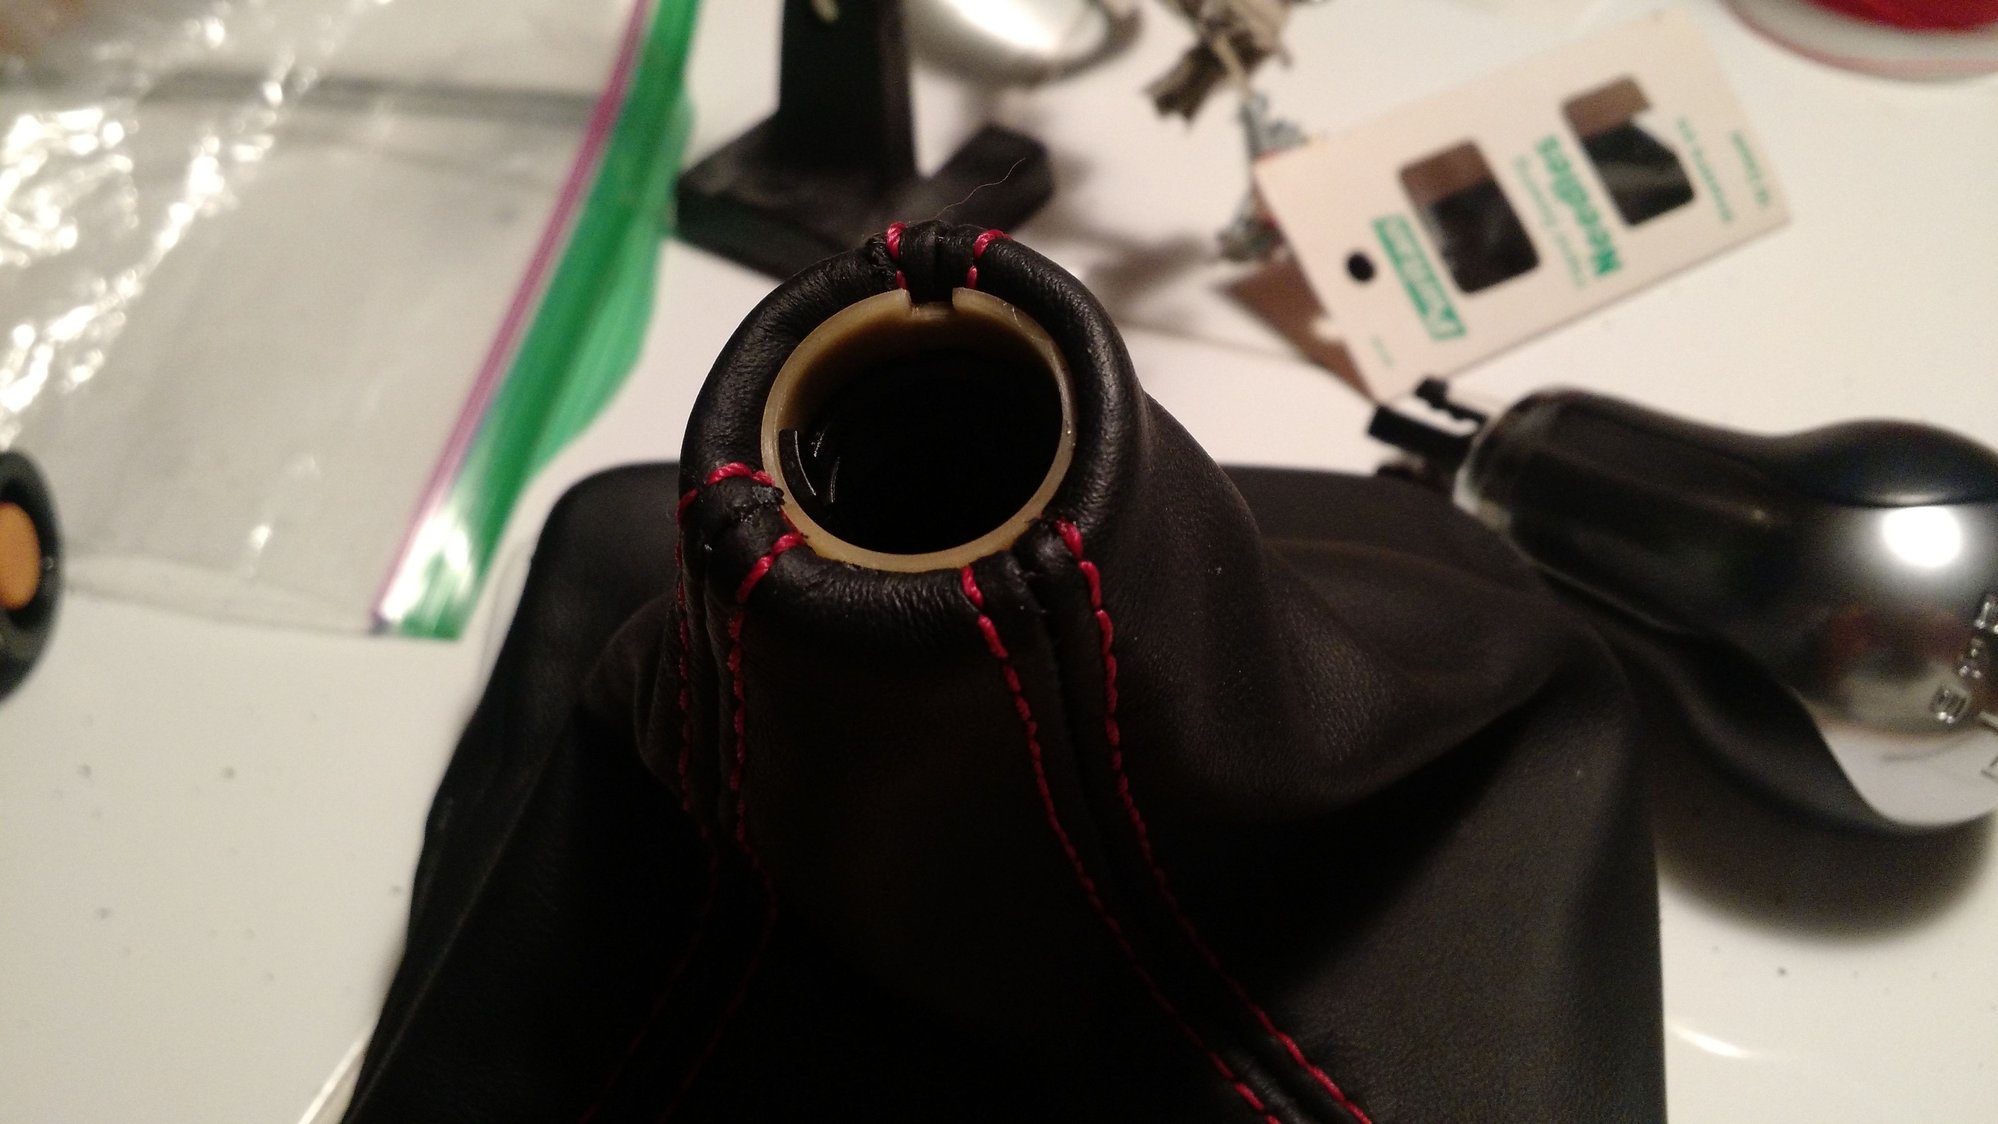
After all the stitching was done I couldn't remember how the black and white collars went back on the boot. You can see a 1/4" of the leather boot is turned down from the top.
I turned the boot inside out, and slid the white collar on the inside (against finished side of leather. Then I carefully pushed the black collar on, trapping the leather between the black and white collars. I needed a tiny screwdriver to tuck in the leather. This is the hardest part of the project.
Notice, the black collar has three allowances for the double thickness seams. Shaped like a peace sign. Align the allowances and the seams.
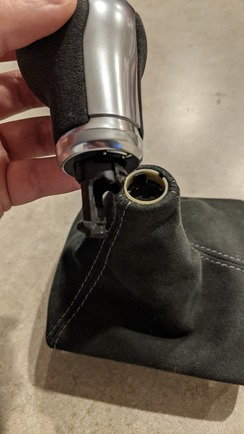
Turn it right side out and it looks like this. I don't know if the white collar notch is in the right place, but I got the **** back on. Used my trusty contact cement to glue the leather back to the frame. I didn't have any tiny staples.
If I was doing this step again, I would try to seat the black collar over the inside out boot first. Align notches with seams, and seat it 1/4" deep. Then slide the white ring from the inside of the boot, trapping the boot between the collars.
If anyone else does this please make a note of the white collar notch in relation to the seams. Thanks.
....Edit 12/20
Here's a picture of the white collar notch from a broken shift **** thread. It looks like the white notch is about 10:00. I used 12:00. Not sure it matters, but I wanted to capture it.
Terrific! Looking forward to seeing the results. Any ETA?
I have a dealer service on Tuesday. Thinking of dropping off the car a week from tomorrow, so mid to late next week it should be done! Will post pics as soon as I am done.
^^^ LOL
It will not help. because the original adhesive is still on there and no matter what you use the original crappy adhesive will be coated on there and let go in the heat.
Unless you manage to completely scrape it off and apply new glue directly to the surface, nothing will work.
If you still have Porsche warranty, run and have them give replace it. that should give you a year or two before you have to worry about it again.
I had the pleasure of meeting Dan today and i have to say that the car in person looks even better than in pictures. top notch work.
And he helped me with installing his originals.
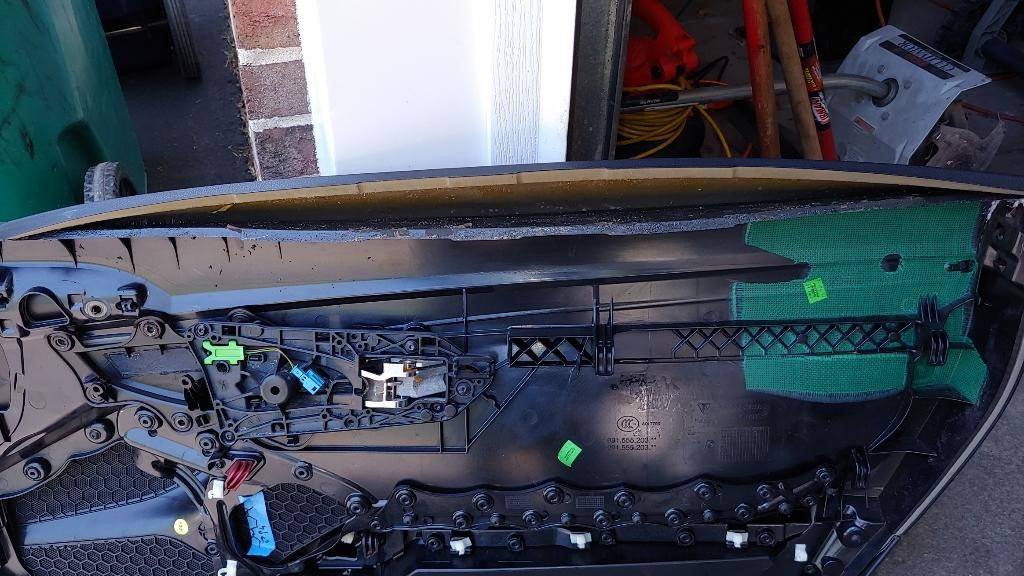
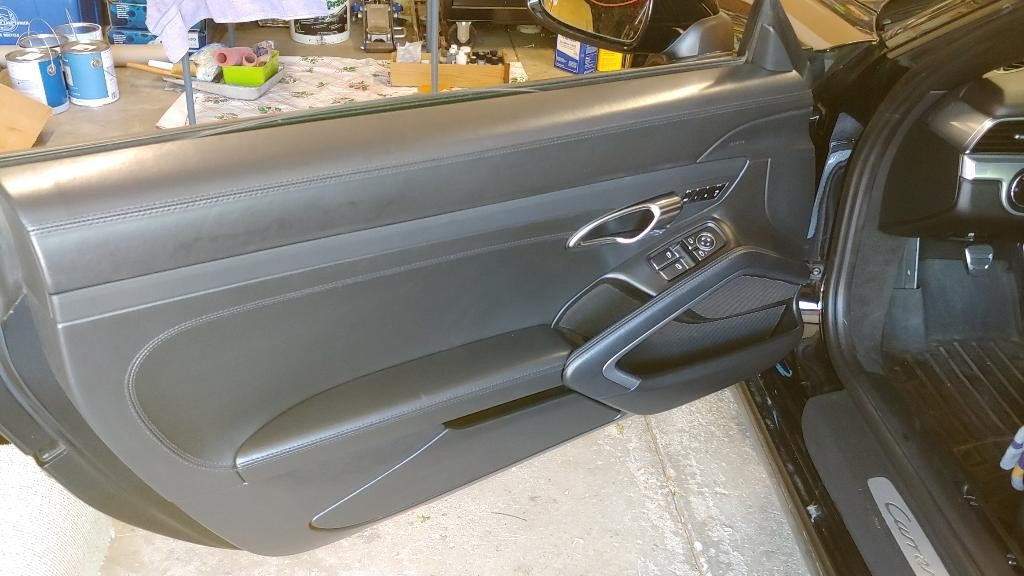
Mine before:
After, with Dan's. Color is spot on.
Thanks, it was nice to meet you too! I'm glad we could replace those terribly warped panels on your car. I've never seen anything like them. Looks so much better now. Let me know when you start your alcantara project and I can give you a tutorial.
^^^ LOL
It will not help. because the original adhesive is still on there and no matter what you use the original crappy adhesive will be coated on there and let go in the heat.
Unless you manage to completely scrape it off and apply new glue directly to the surface, nothing will work.
If you still have Porsche warranty, run and have them give replace it. that should give you a year or two before you have to worry about it again.
Yah you would need to get a sandpaper or mini orbital sander in there to clean it all out. Or some strong adhesive remover. But def repairable, but getting real leather door cards are the best solution
My back seats are getting Finalized, and should be all done tomorrow, but I got impatient and brought the car home tonight LOL. BUT I AM SO HAPPY WITH THE RESULTS.


 06-07-2020, 04:35 PM