
From 981 CS to Base 987.2, The Story Continues
 08-19-2020, 01:08 AM
#136
Rennlist Member
Thread Starter
The European one from Mityvac. It's more robust than the Motive one where people have had issues with hoses popping off (though probably rare).
https://www.skf.com/mityvac/products...leeding/mv6844
https://www.skf.com/mityvac/products...leeding/mv6844
 09-15-2020, 02:47 AM
#137
Rennlist Member
Thread Starter
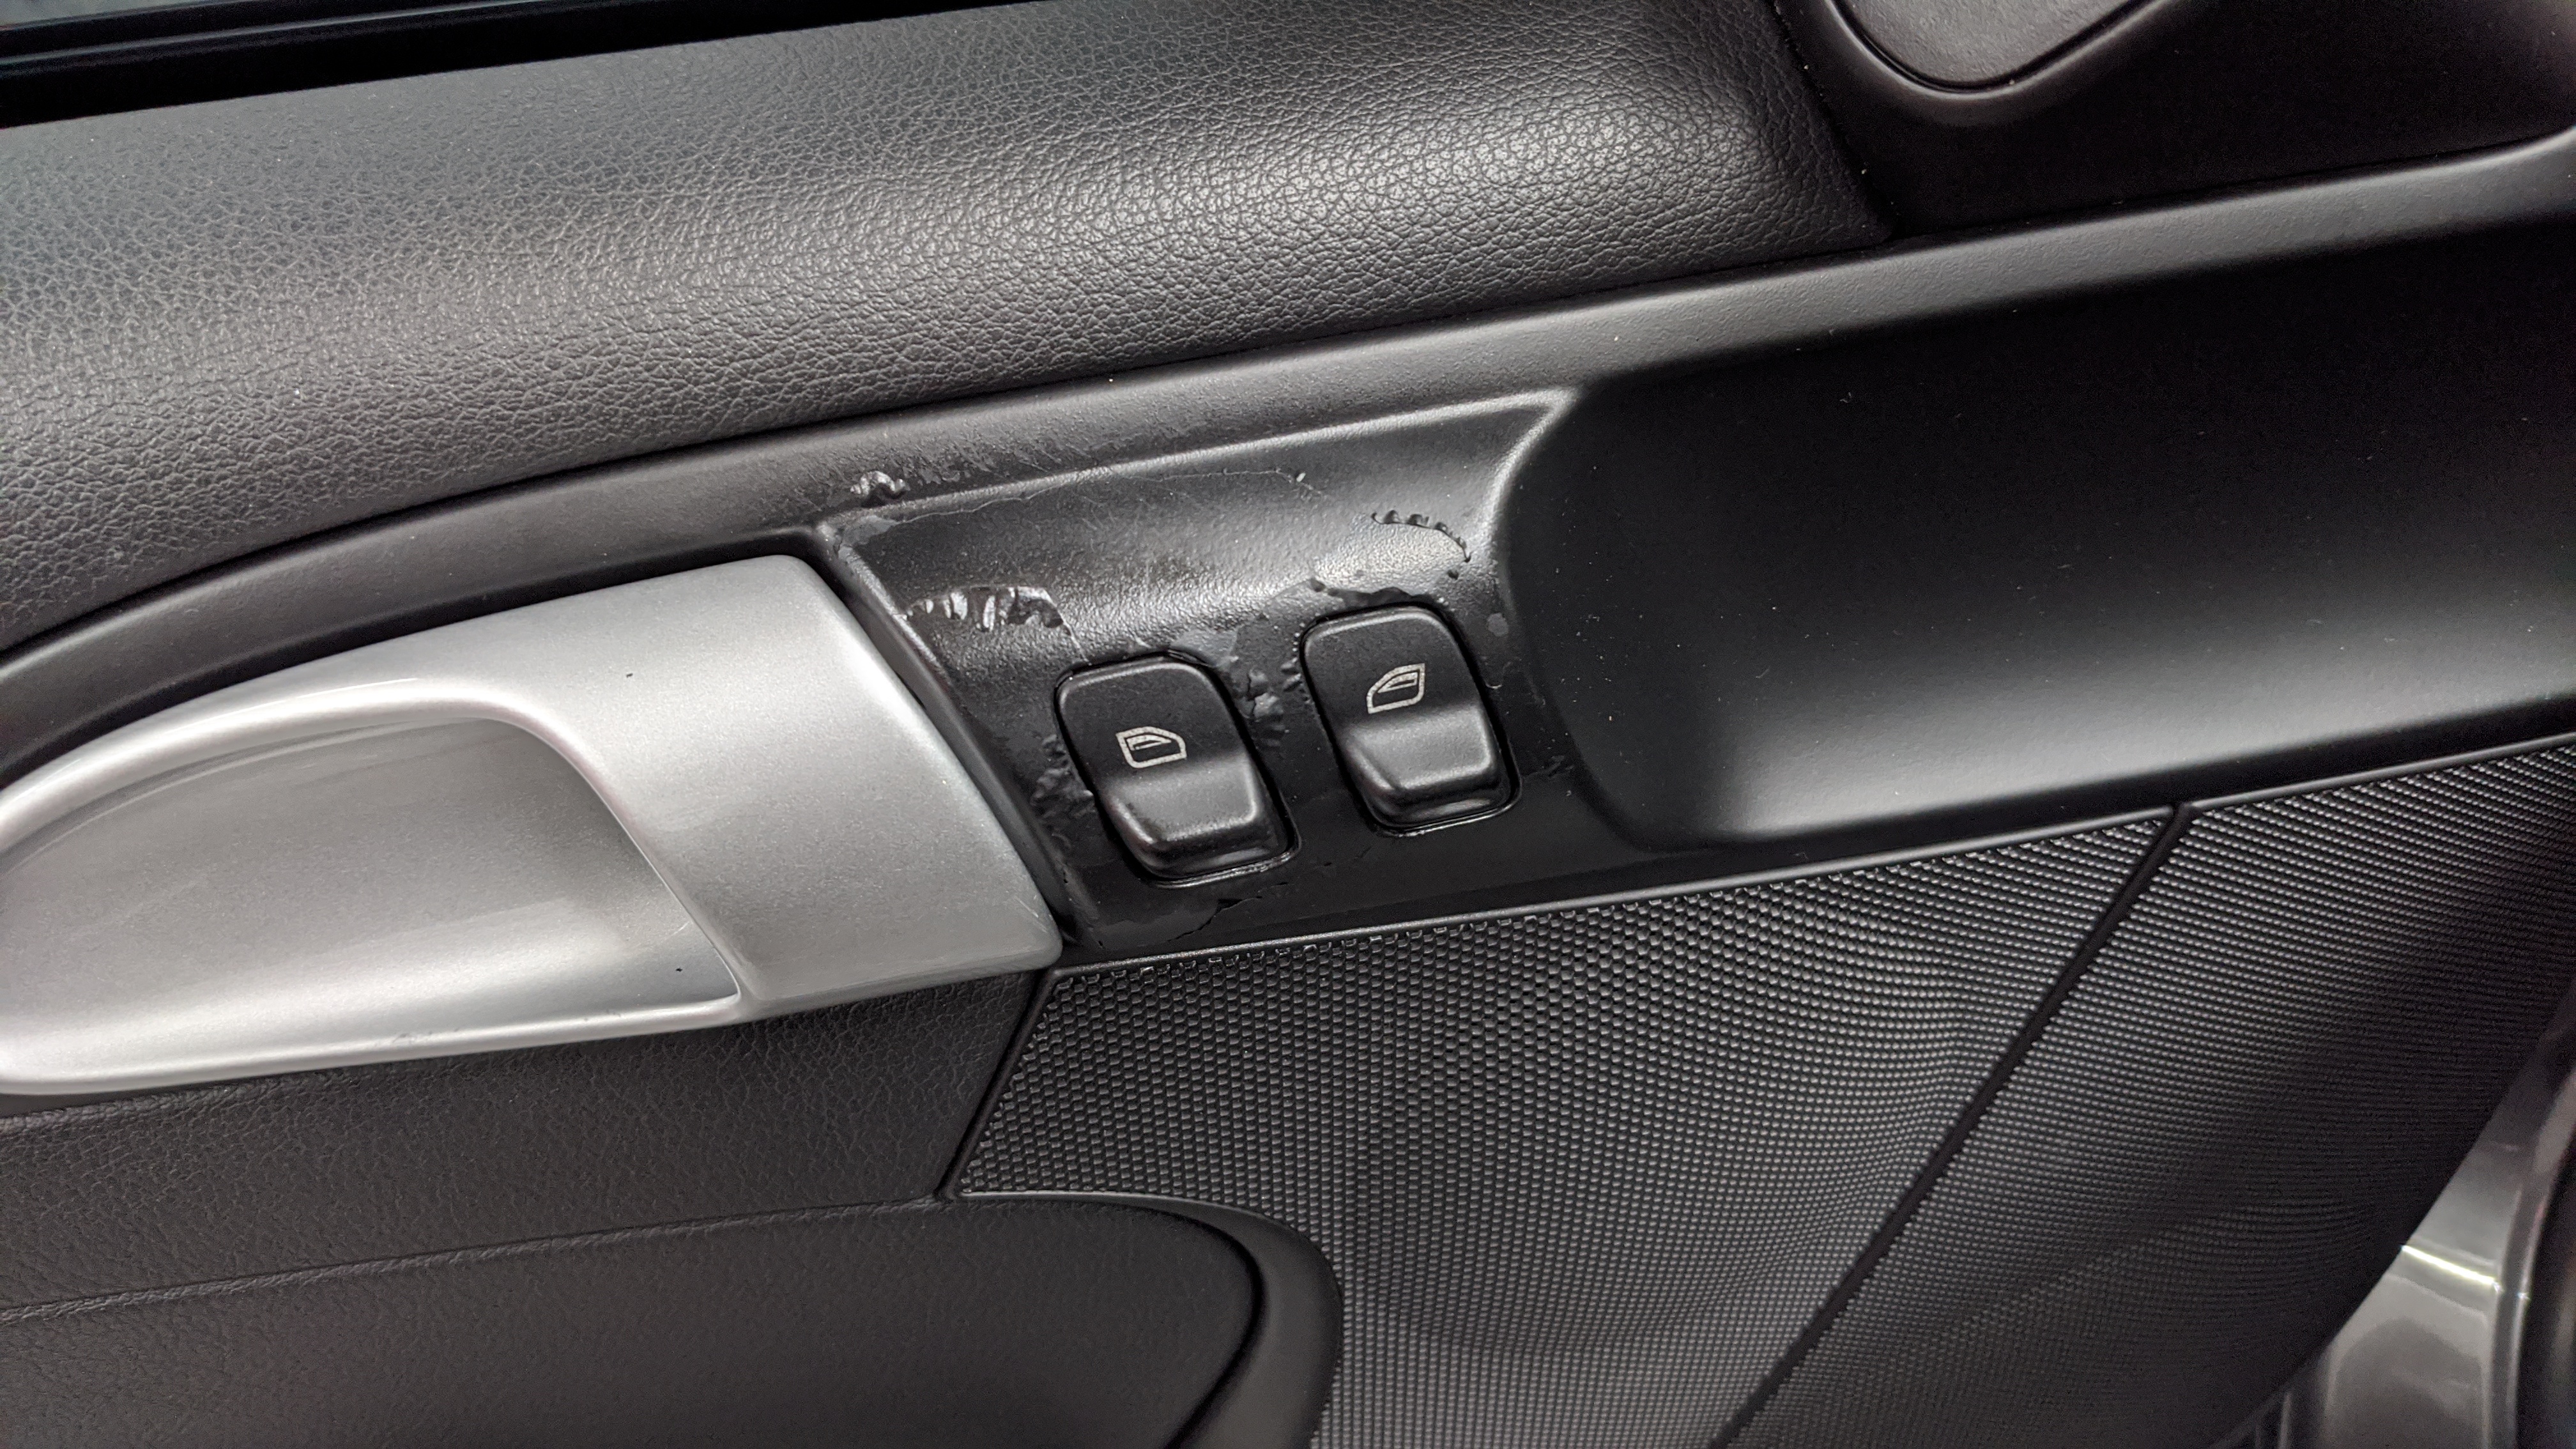
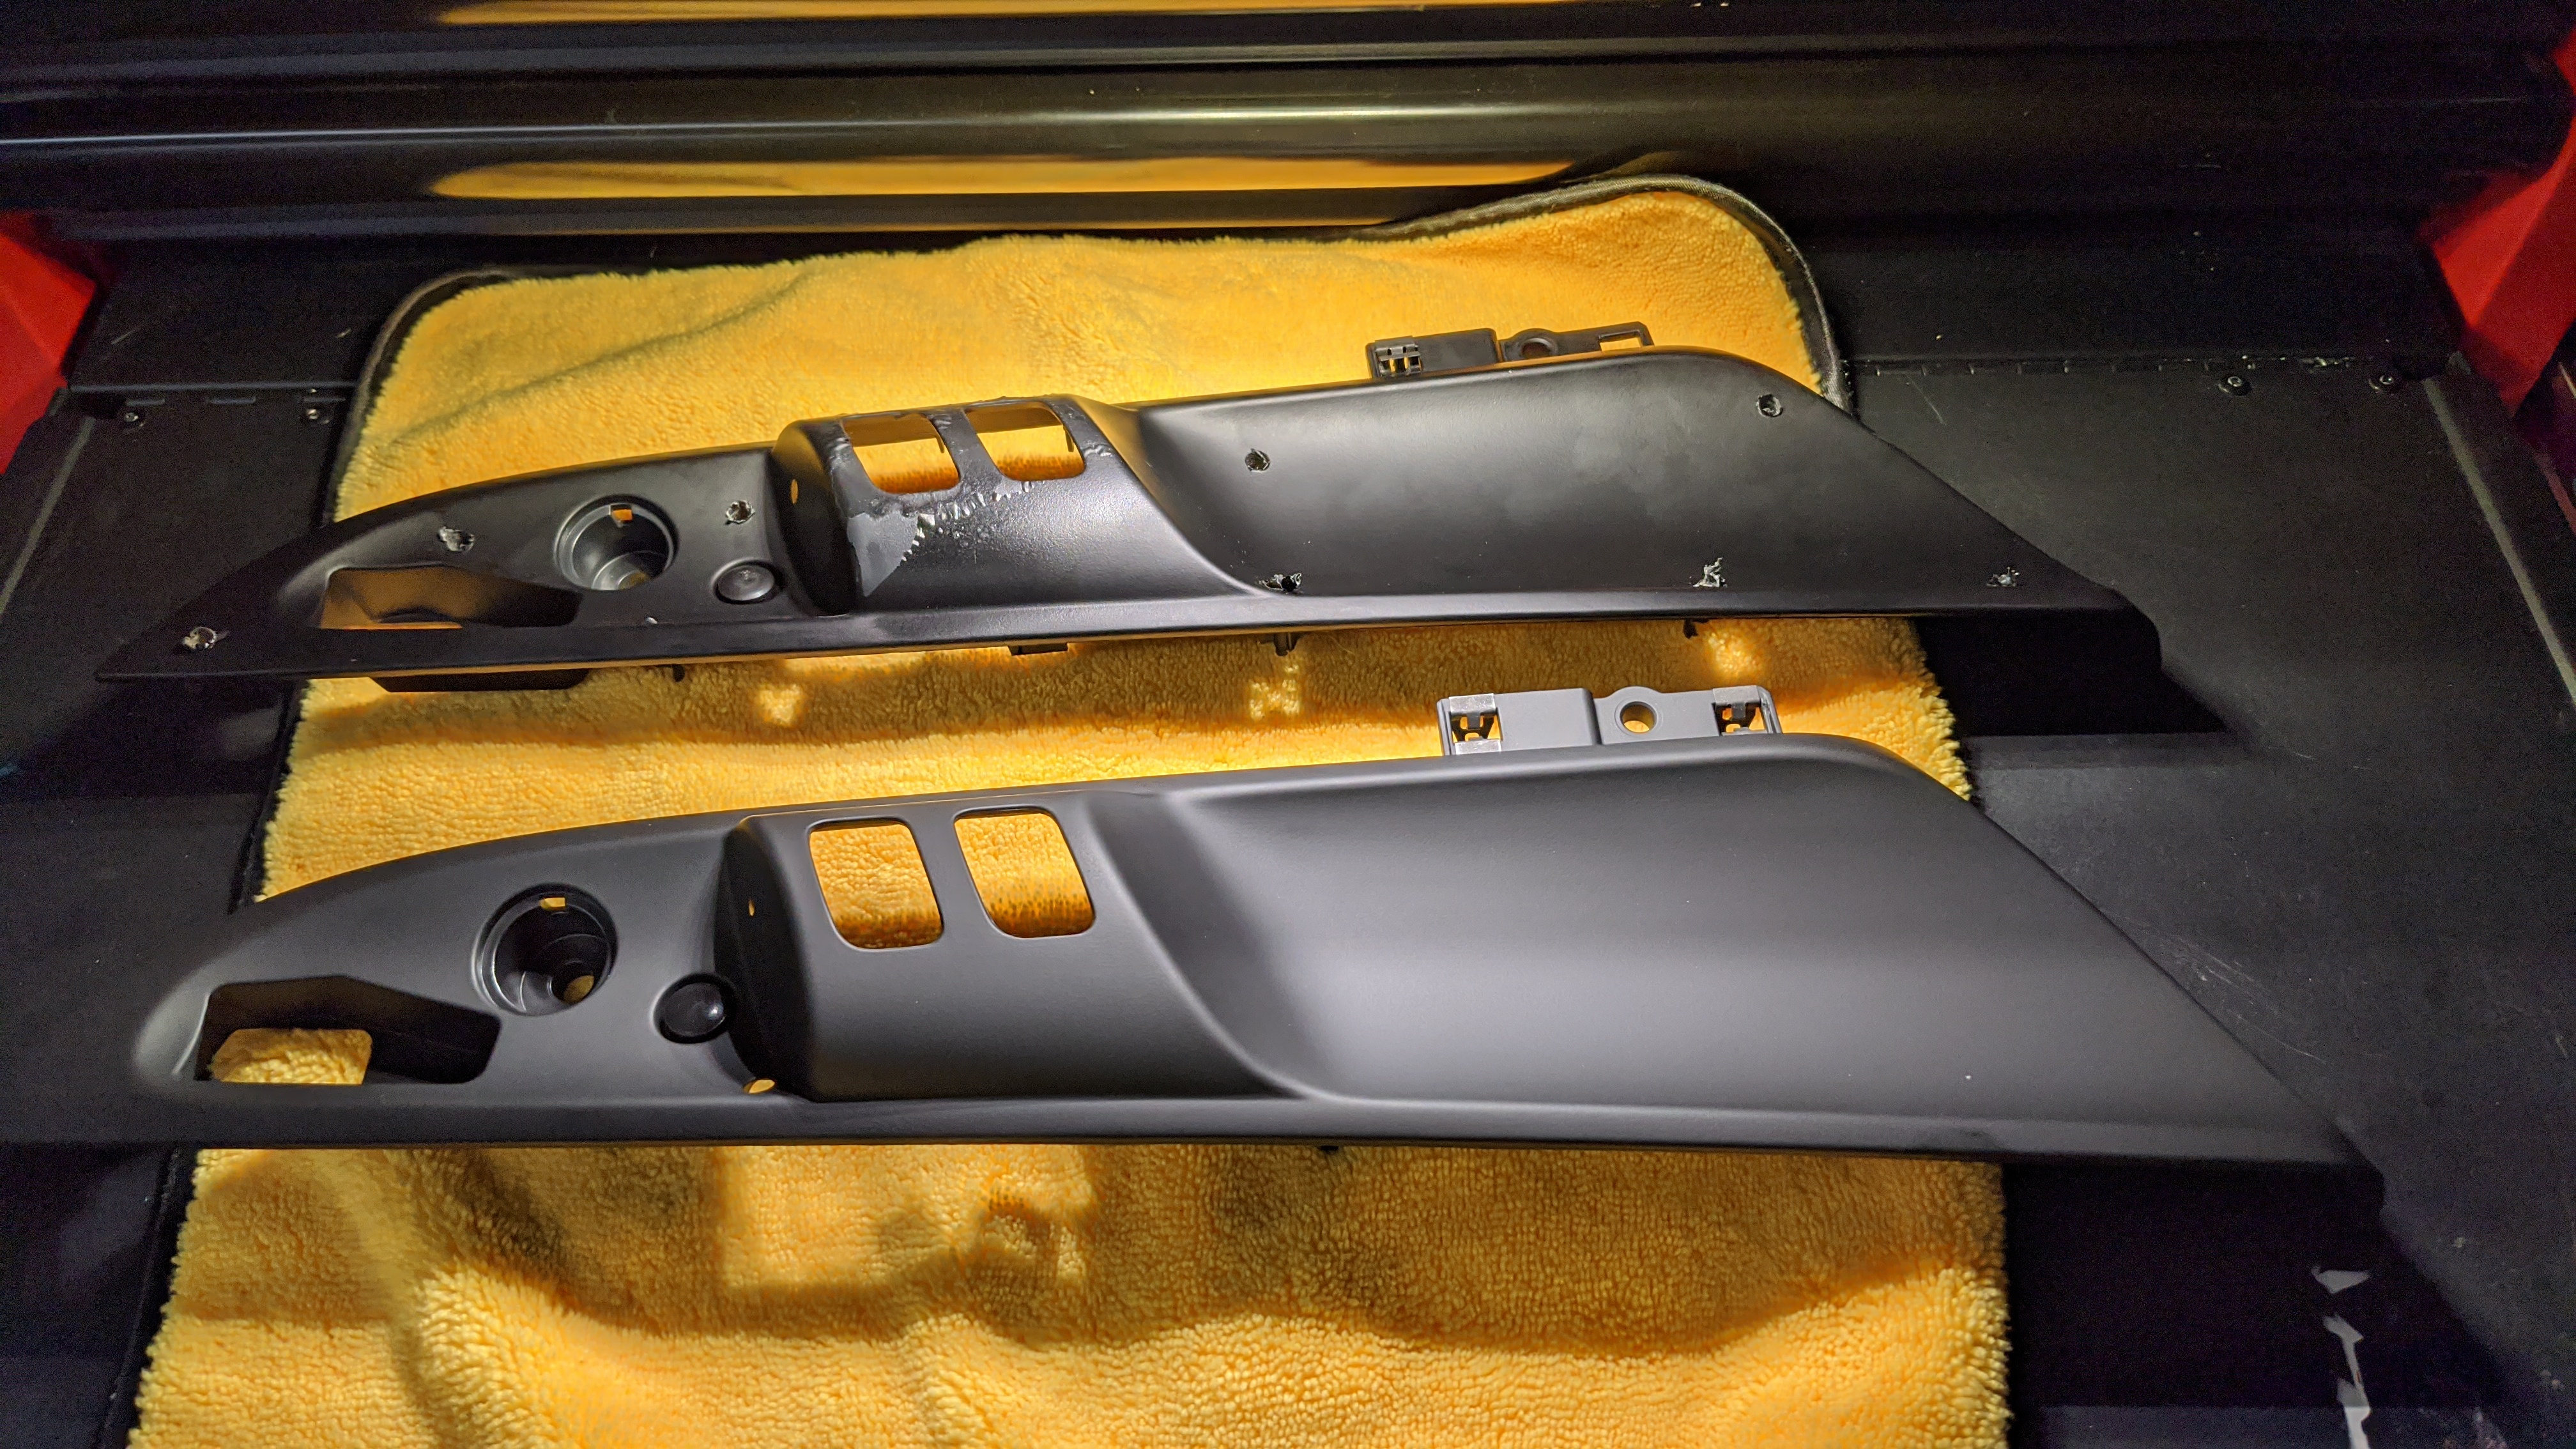
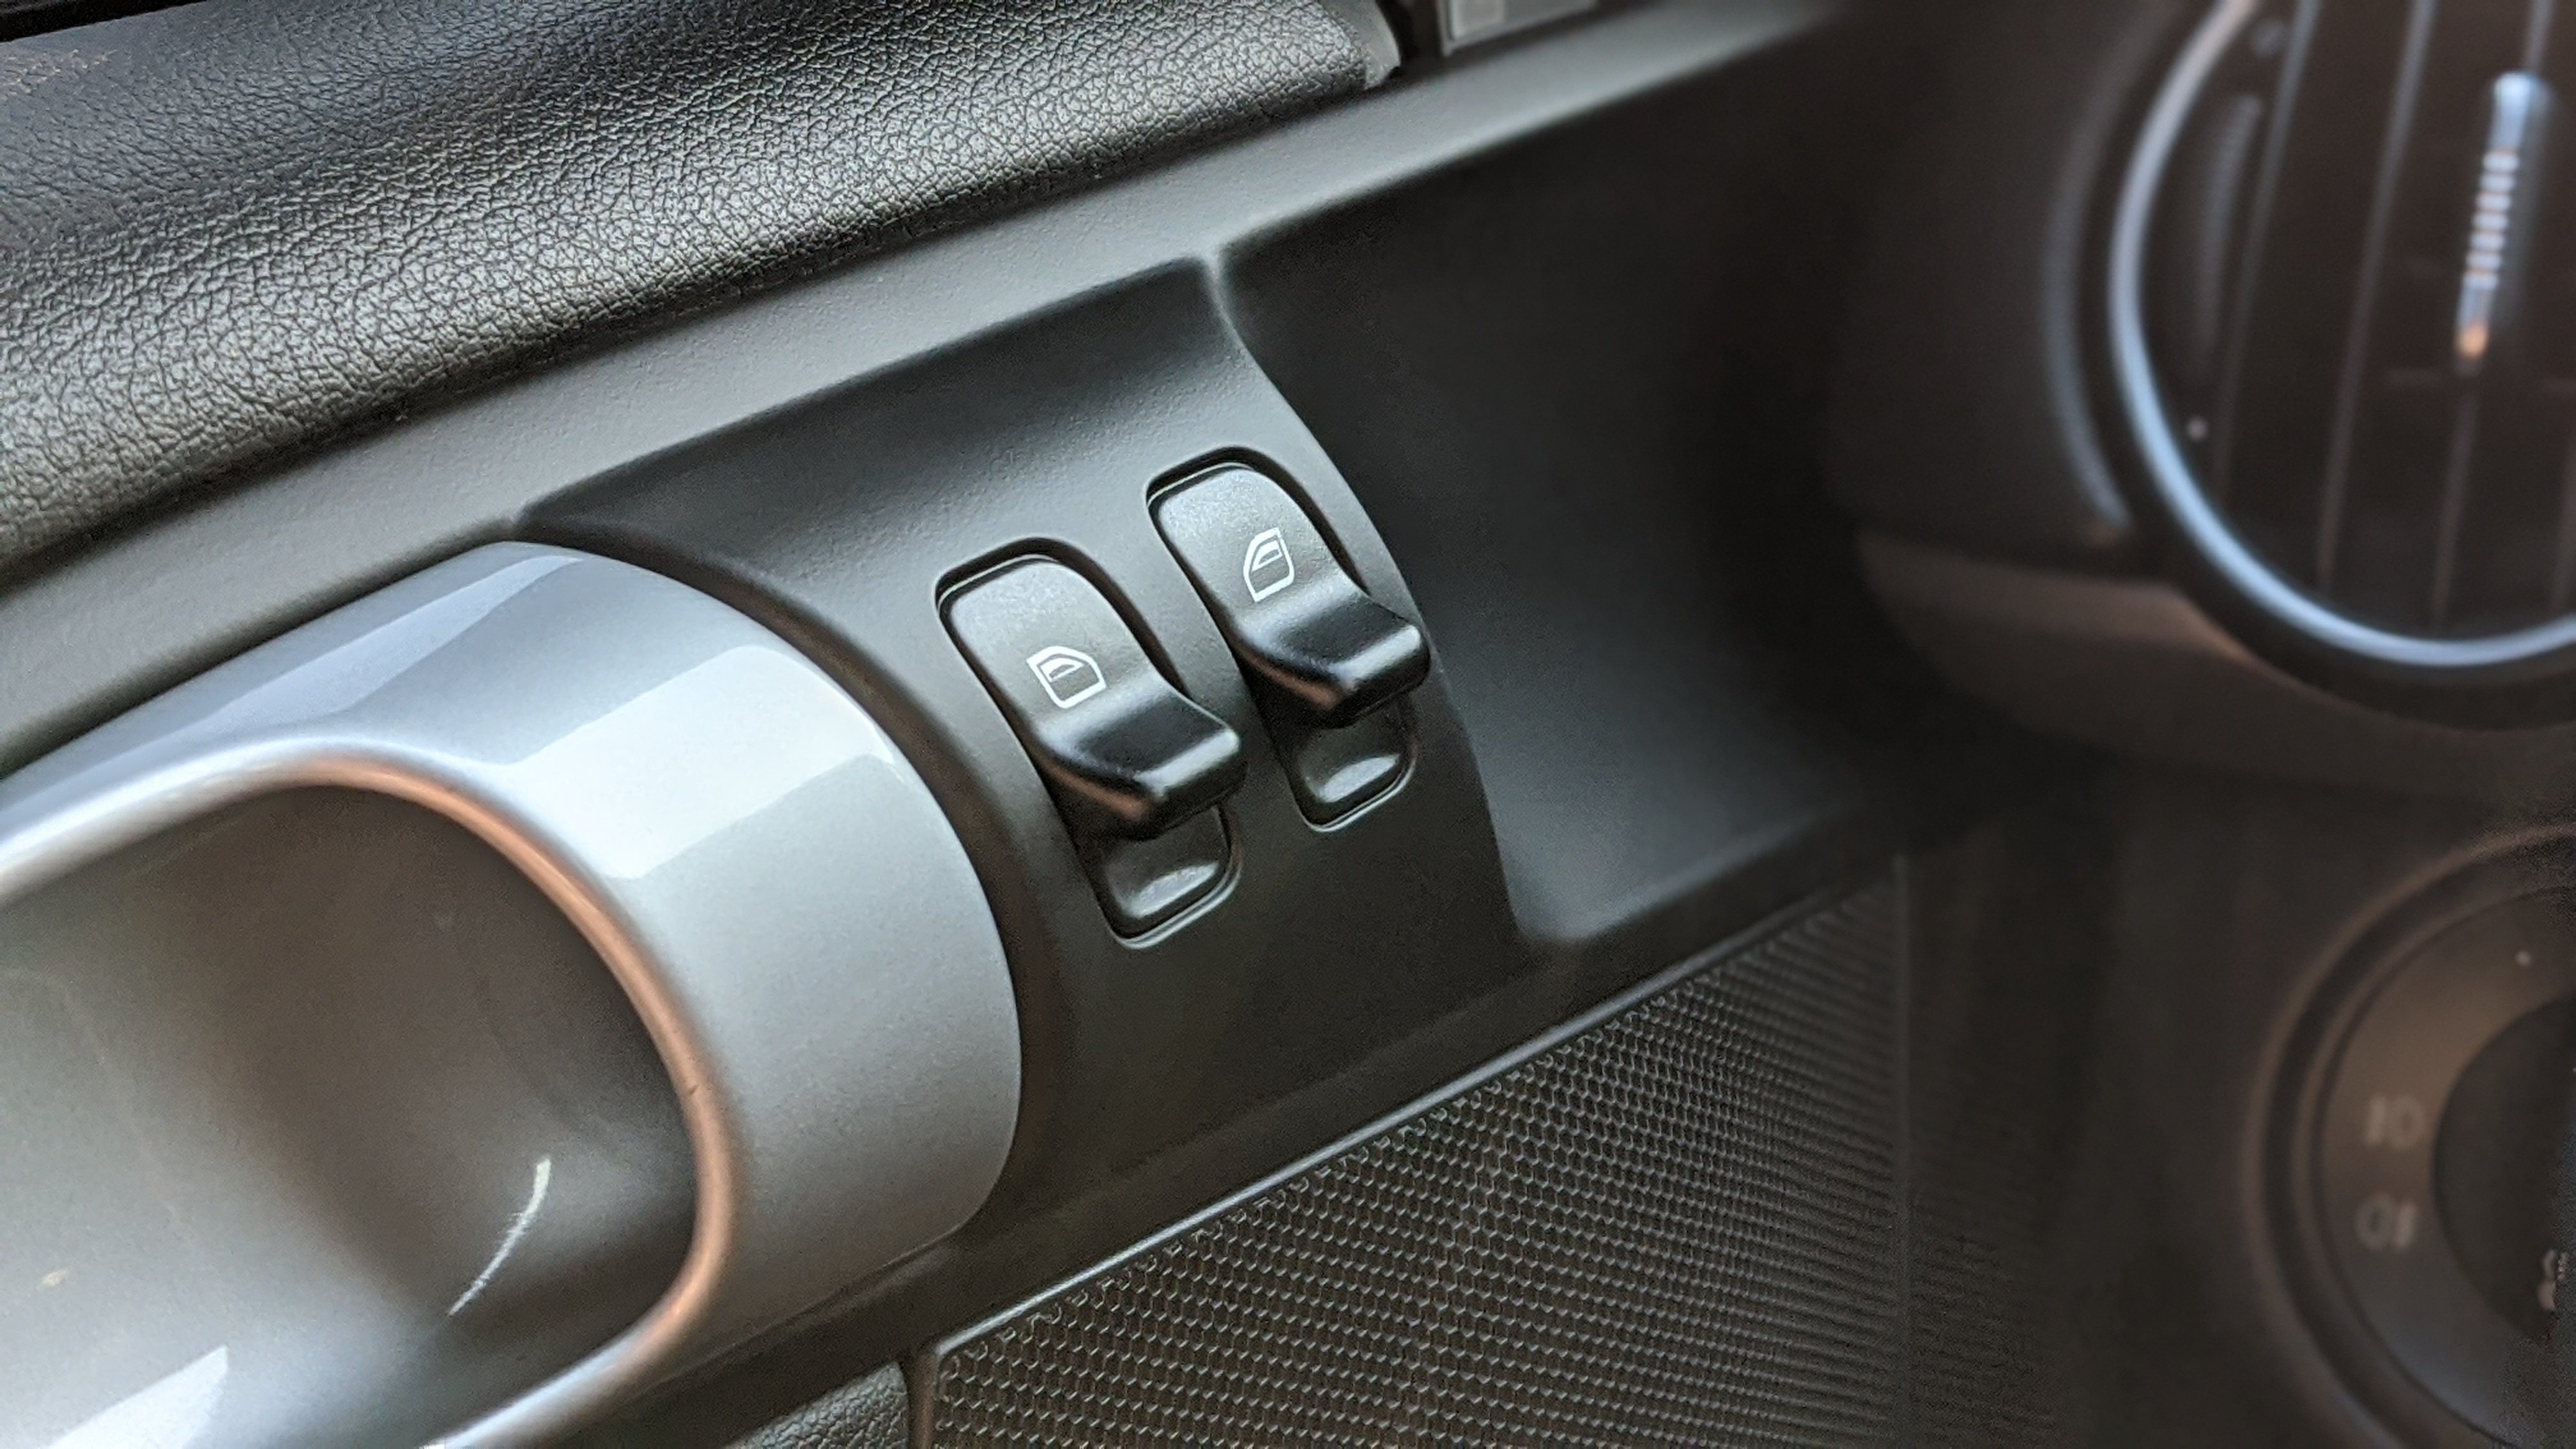
While the interior plastics improved with the 987 generation, some areas are still prone to wear. Anyone else have the same issue?
You'd think that'd be a pretty straightforward swap, but seeing how I'm addressing this in ownership month #20, yeah, not so much. There are 2 critical steps one needs to take before tackling this task:
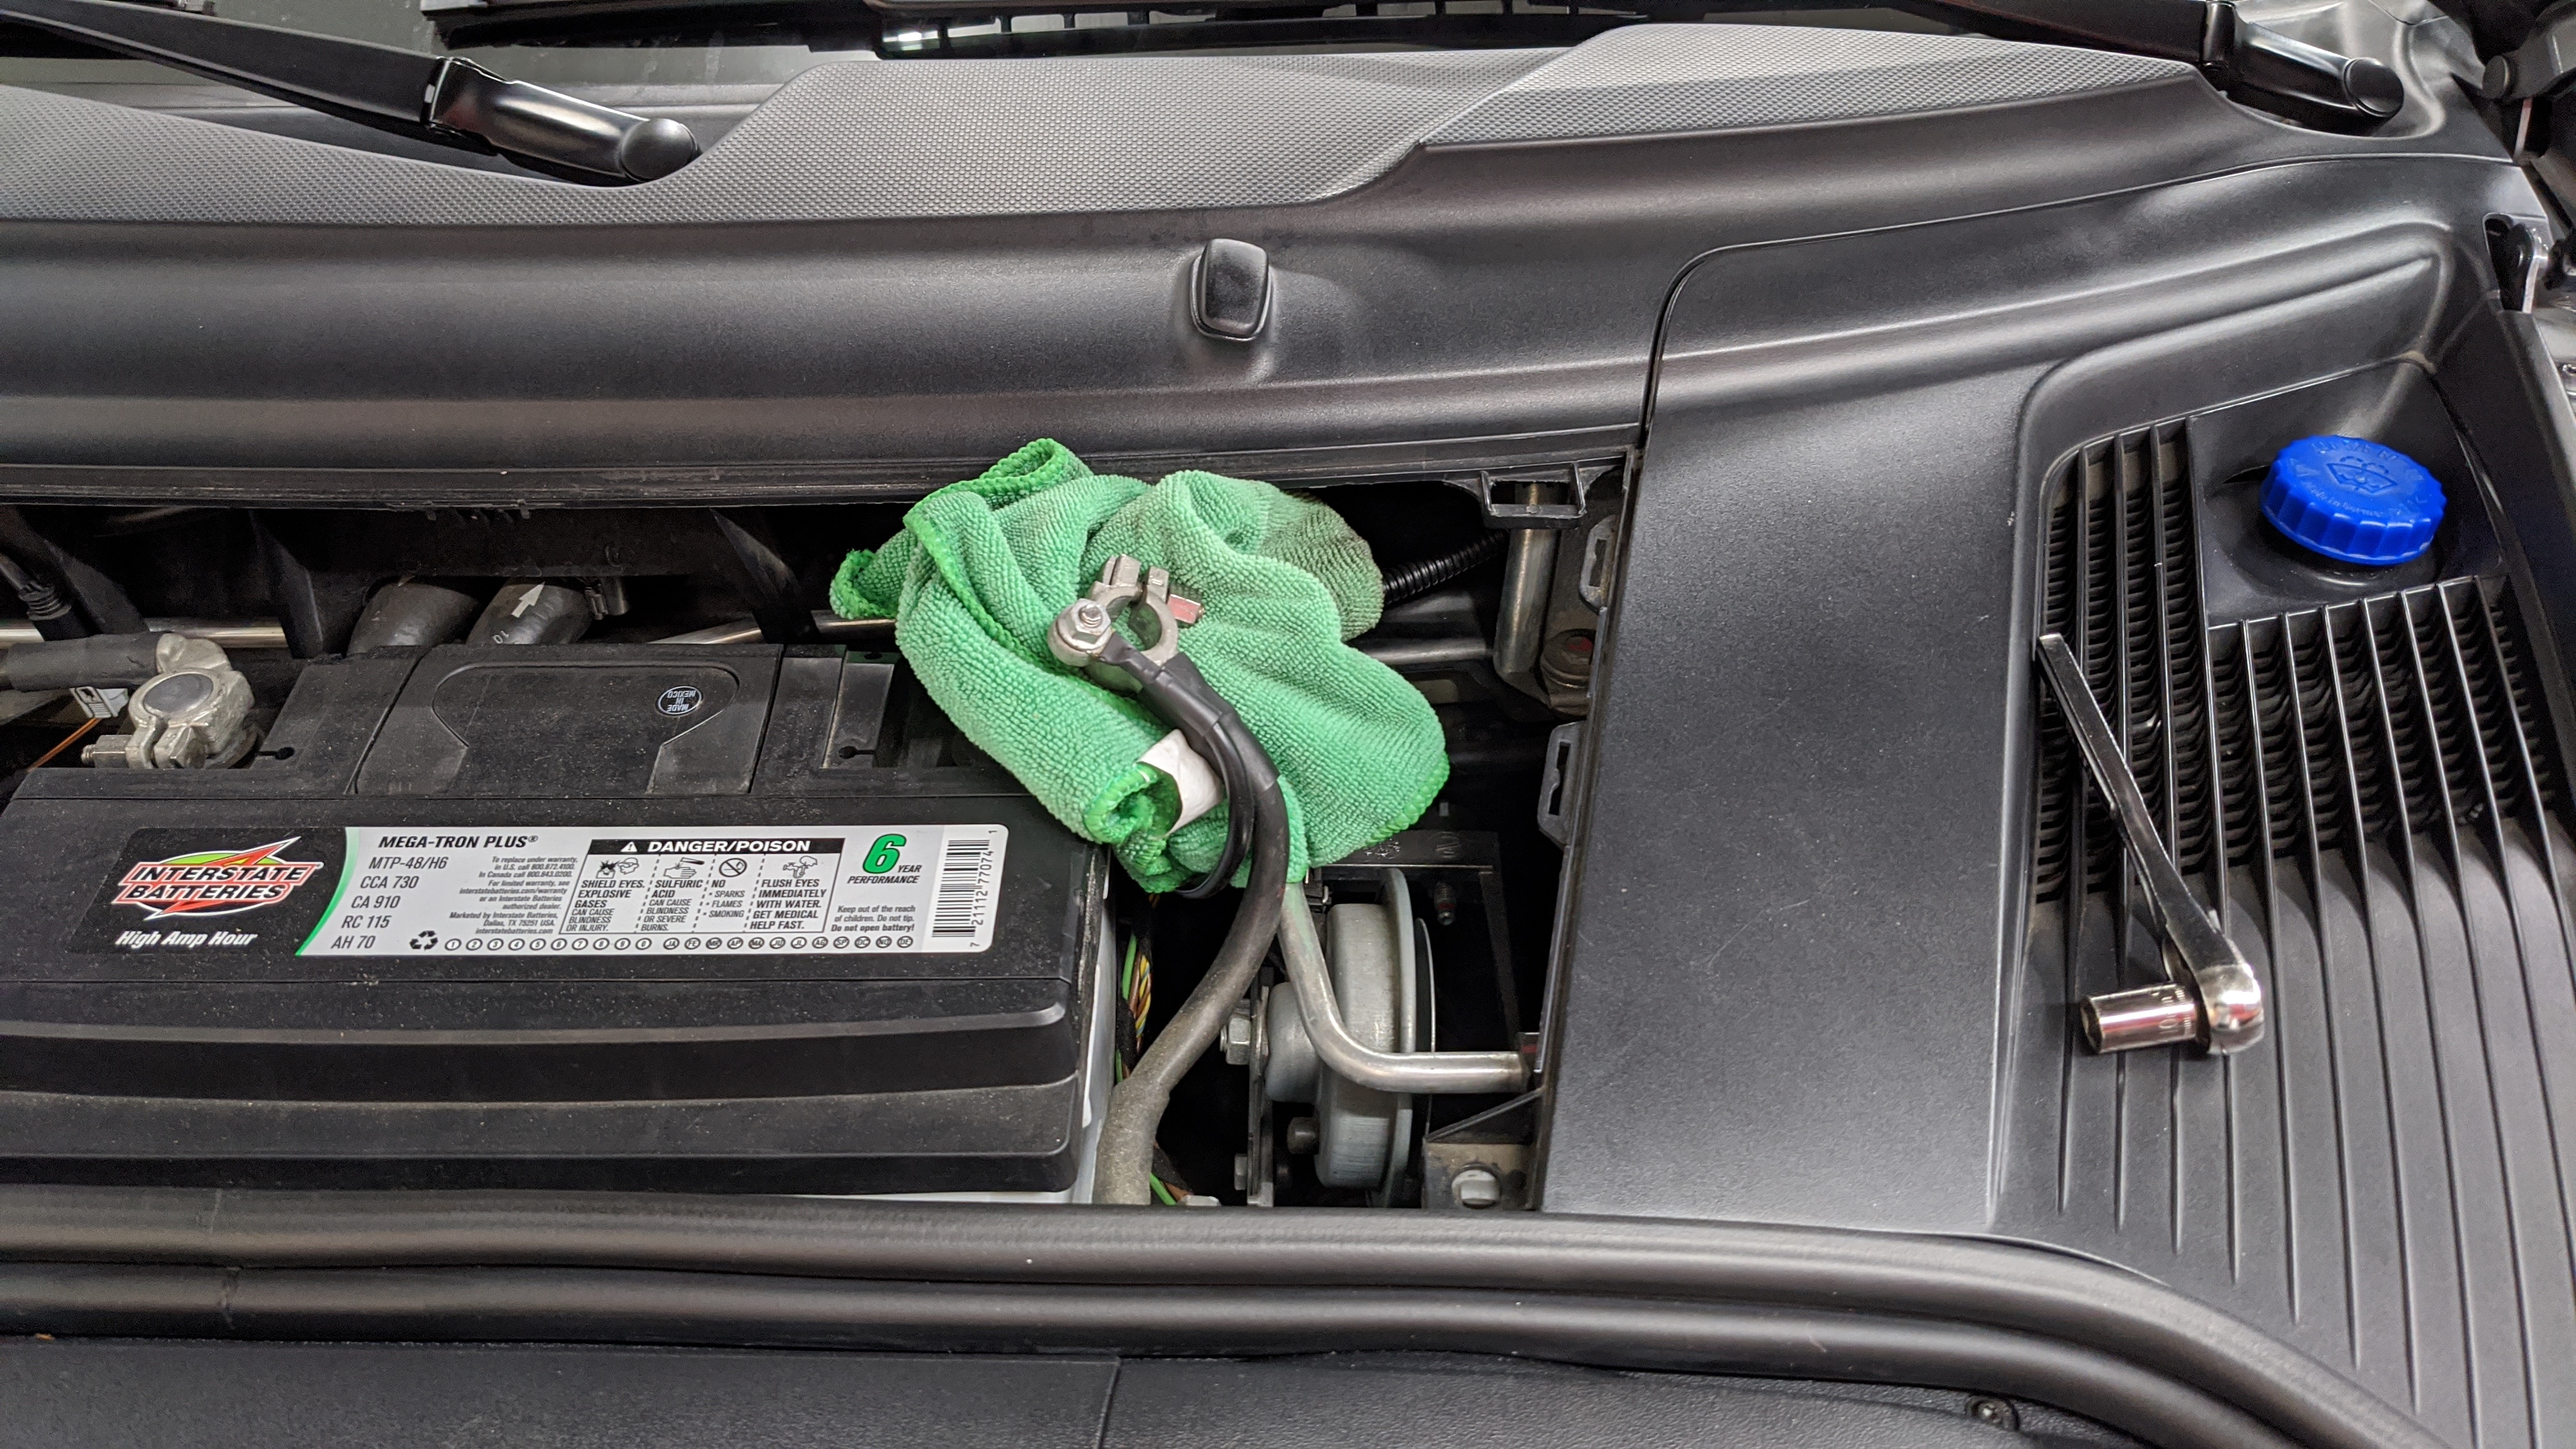
Number 1 - disconnect the battery since you'll be disabling an airbag.
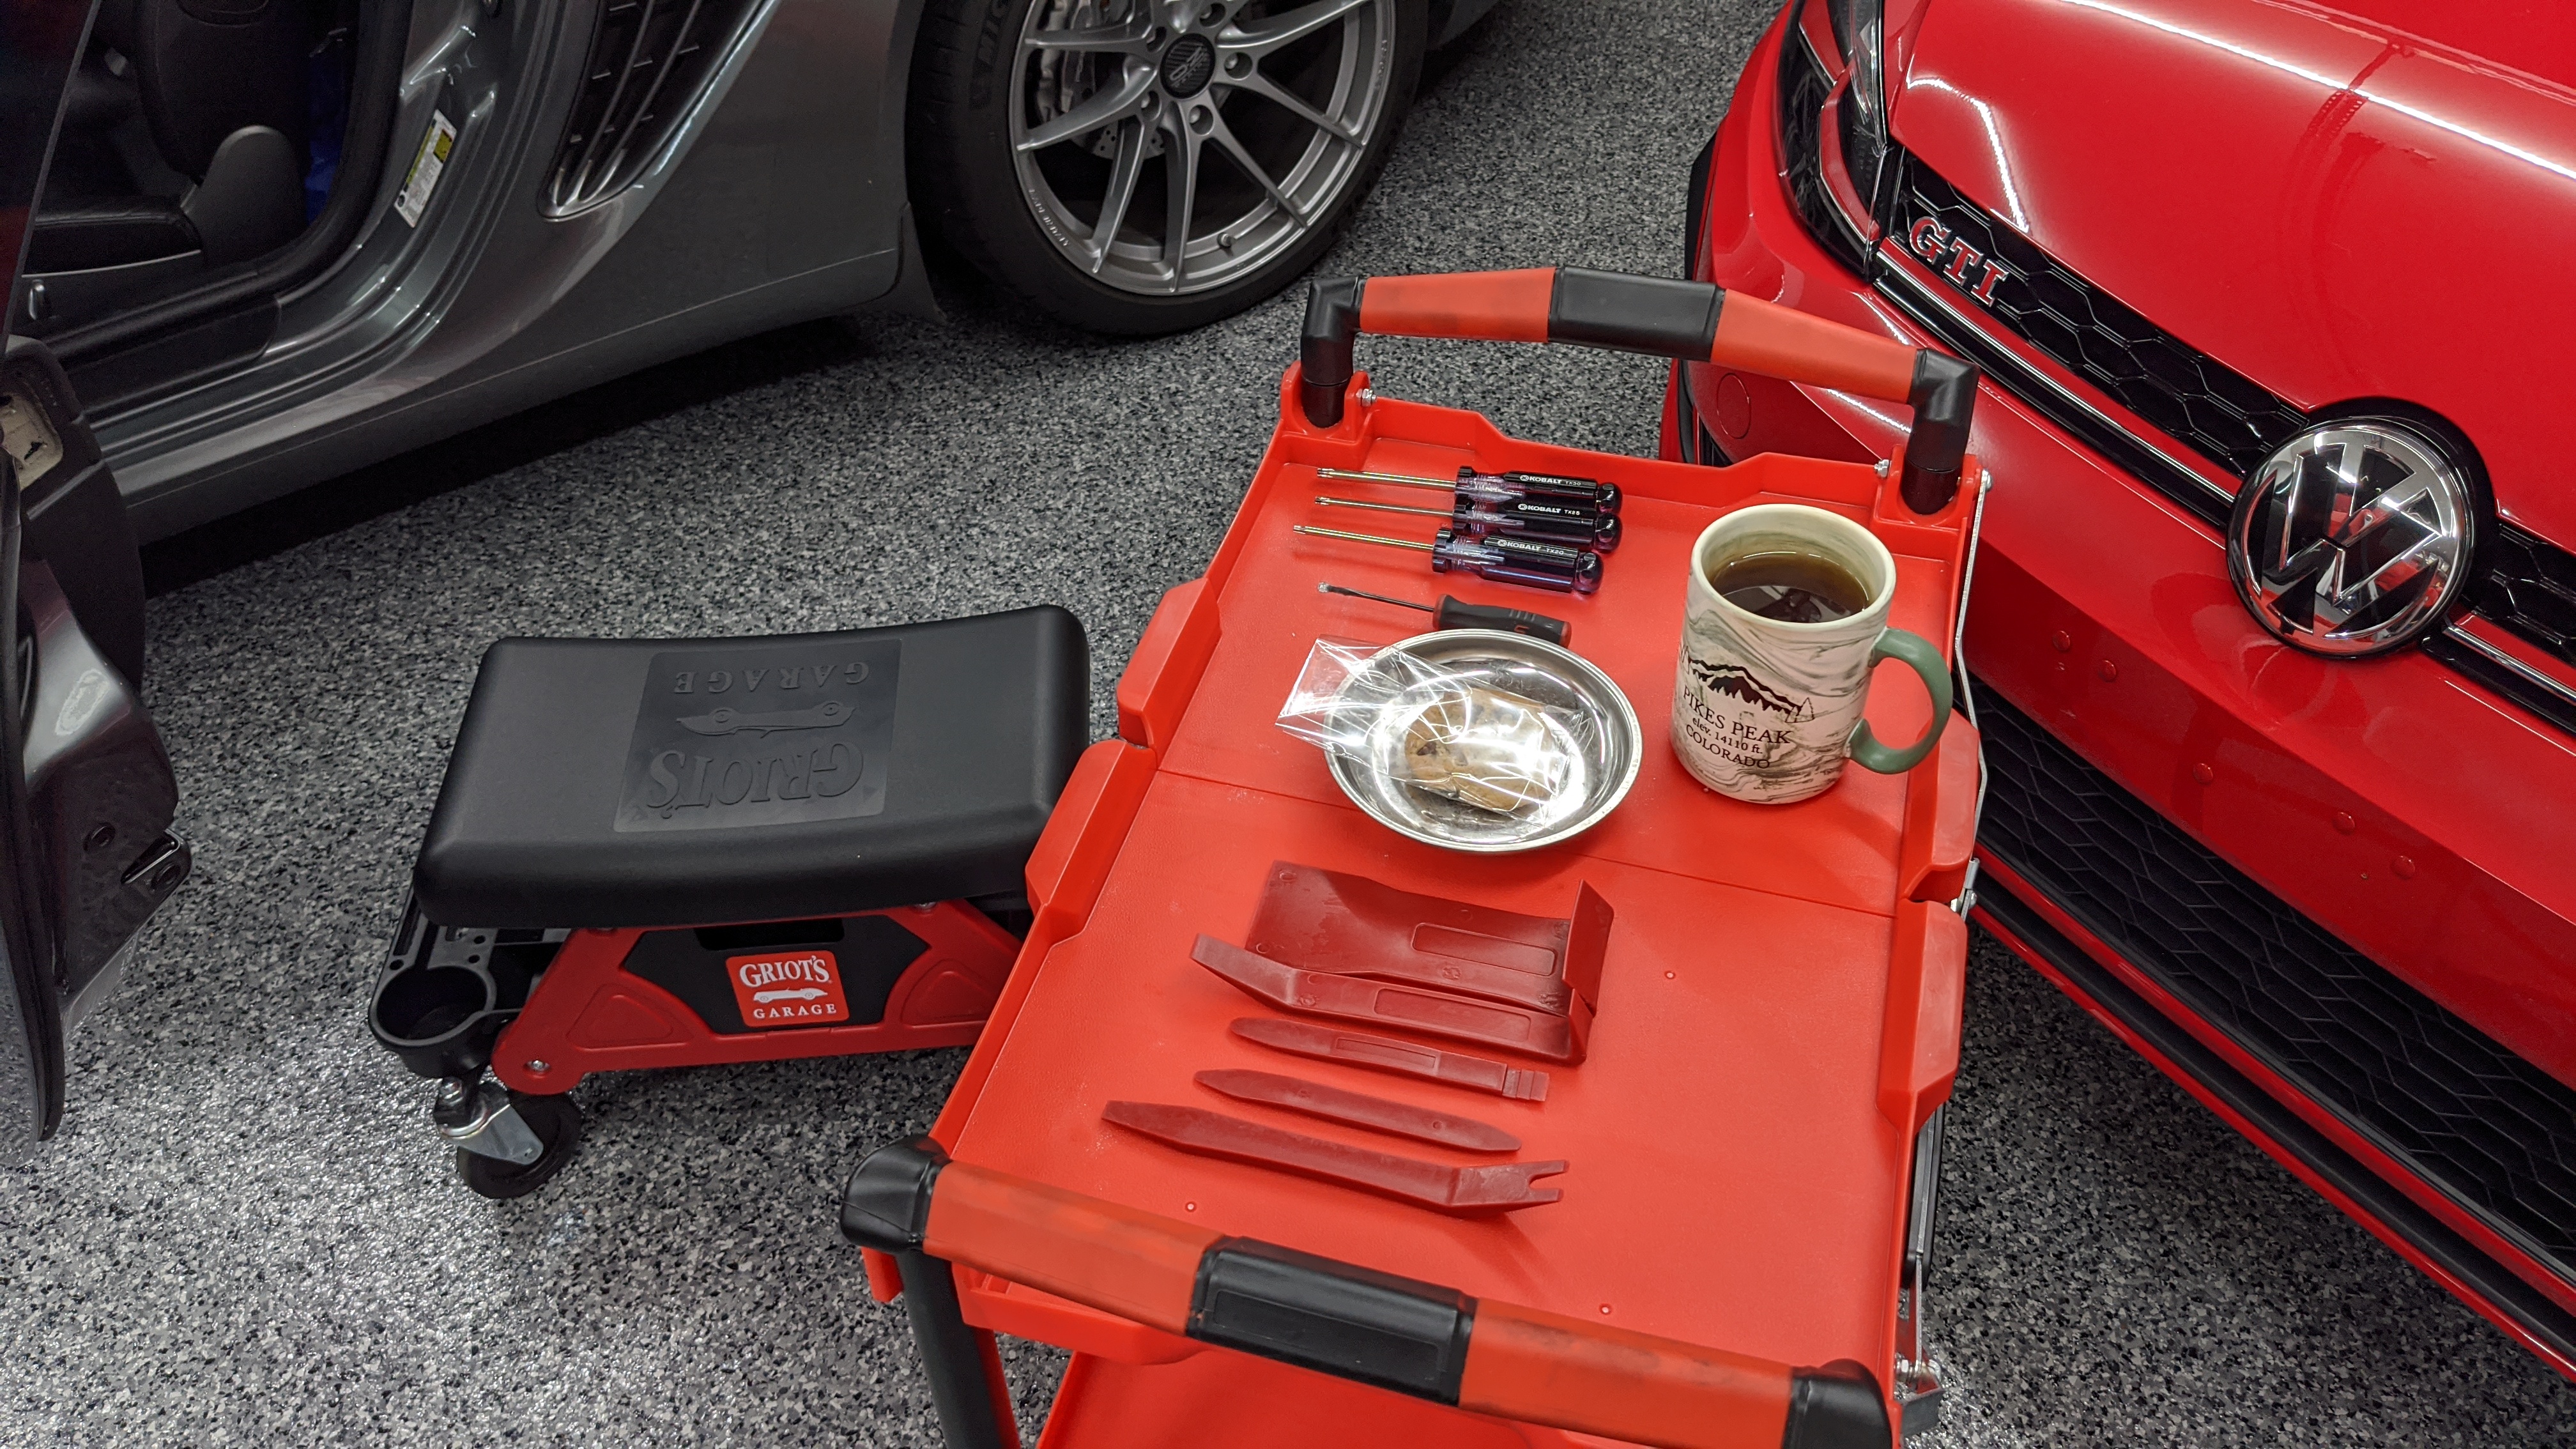
Number 2 - get yourself a hot beverage and a chocolate chip cookie (none of that oatmeal raisin nonsense).
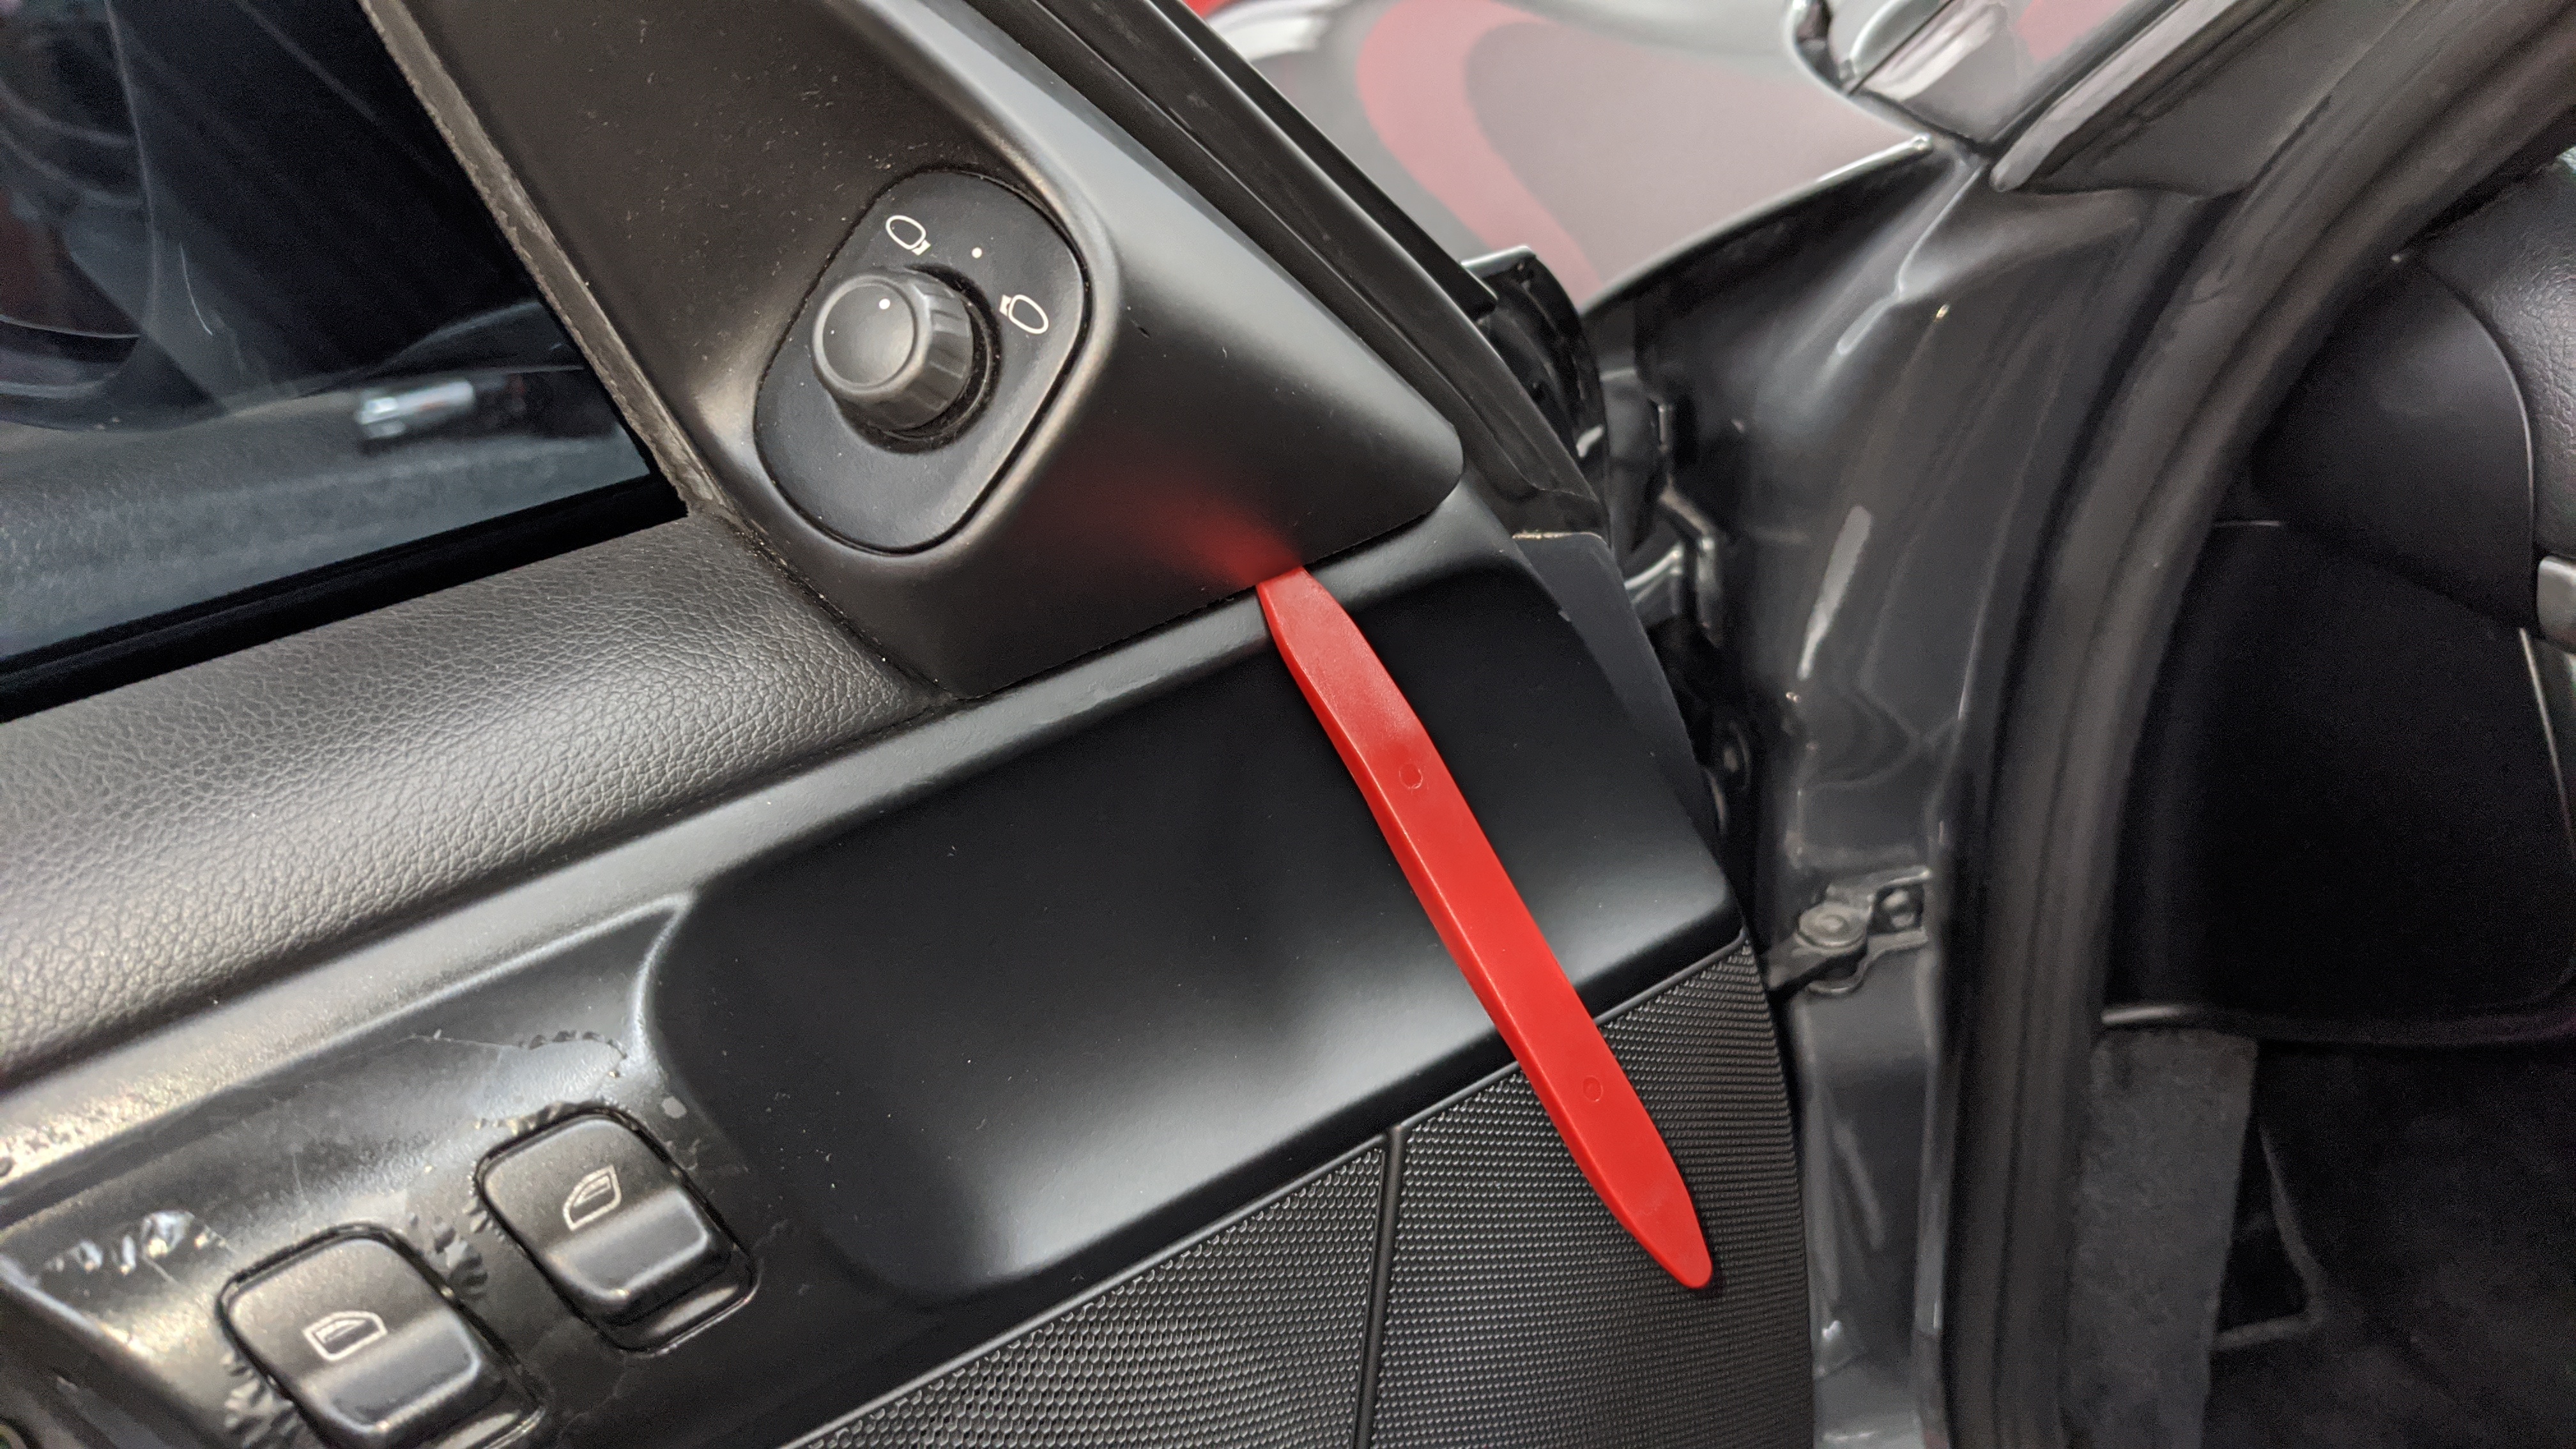
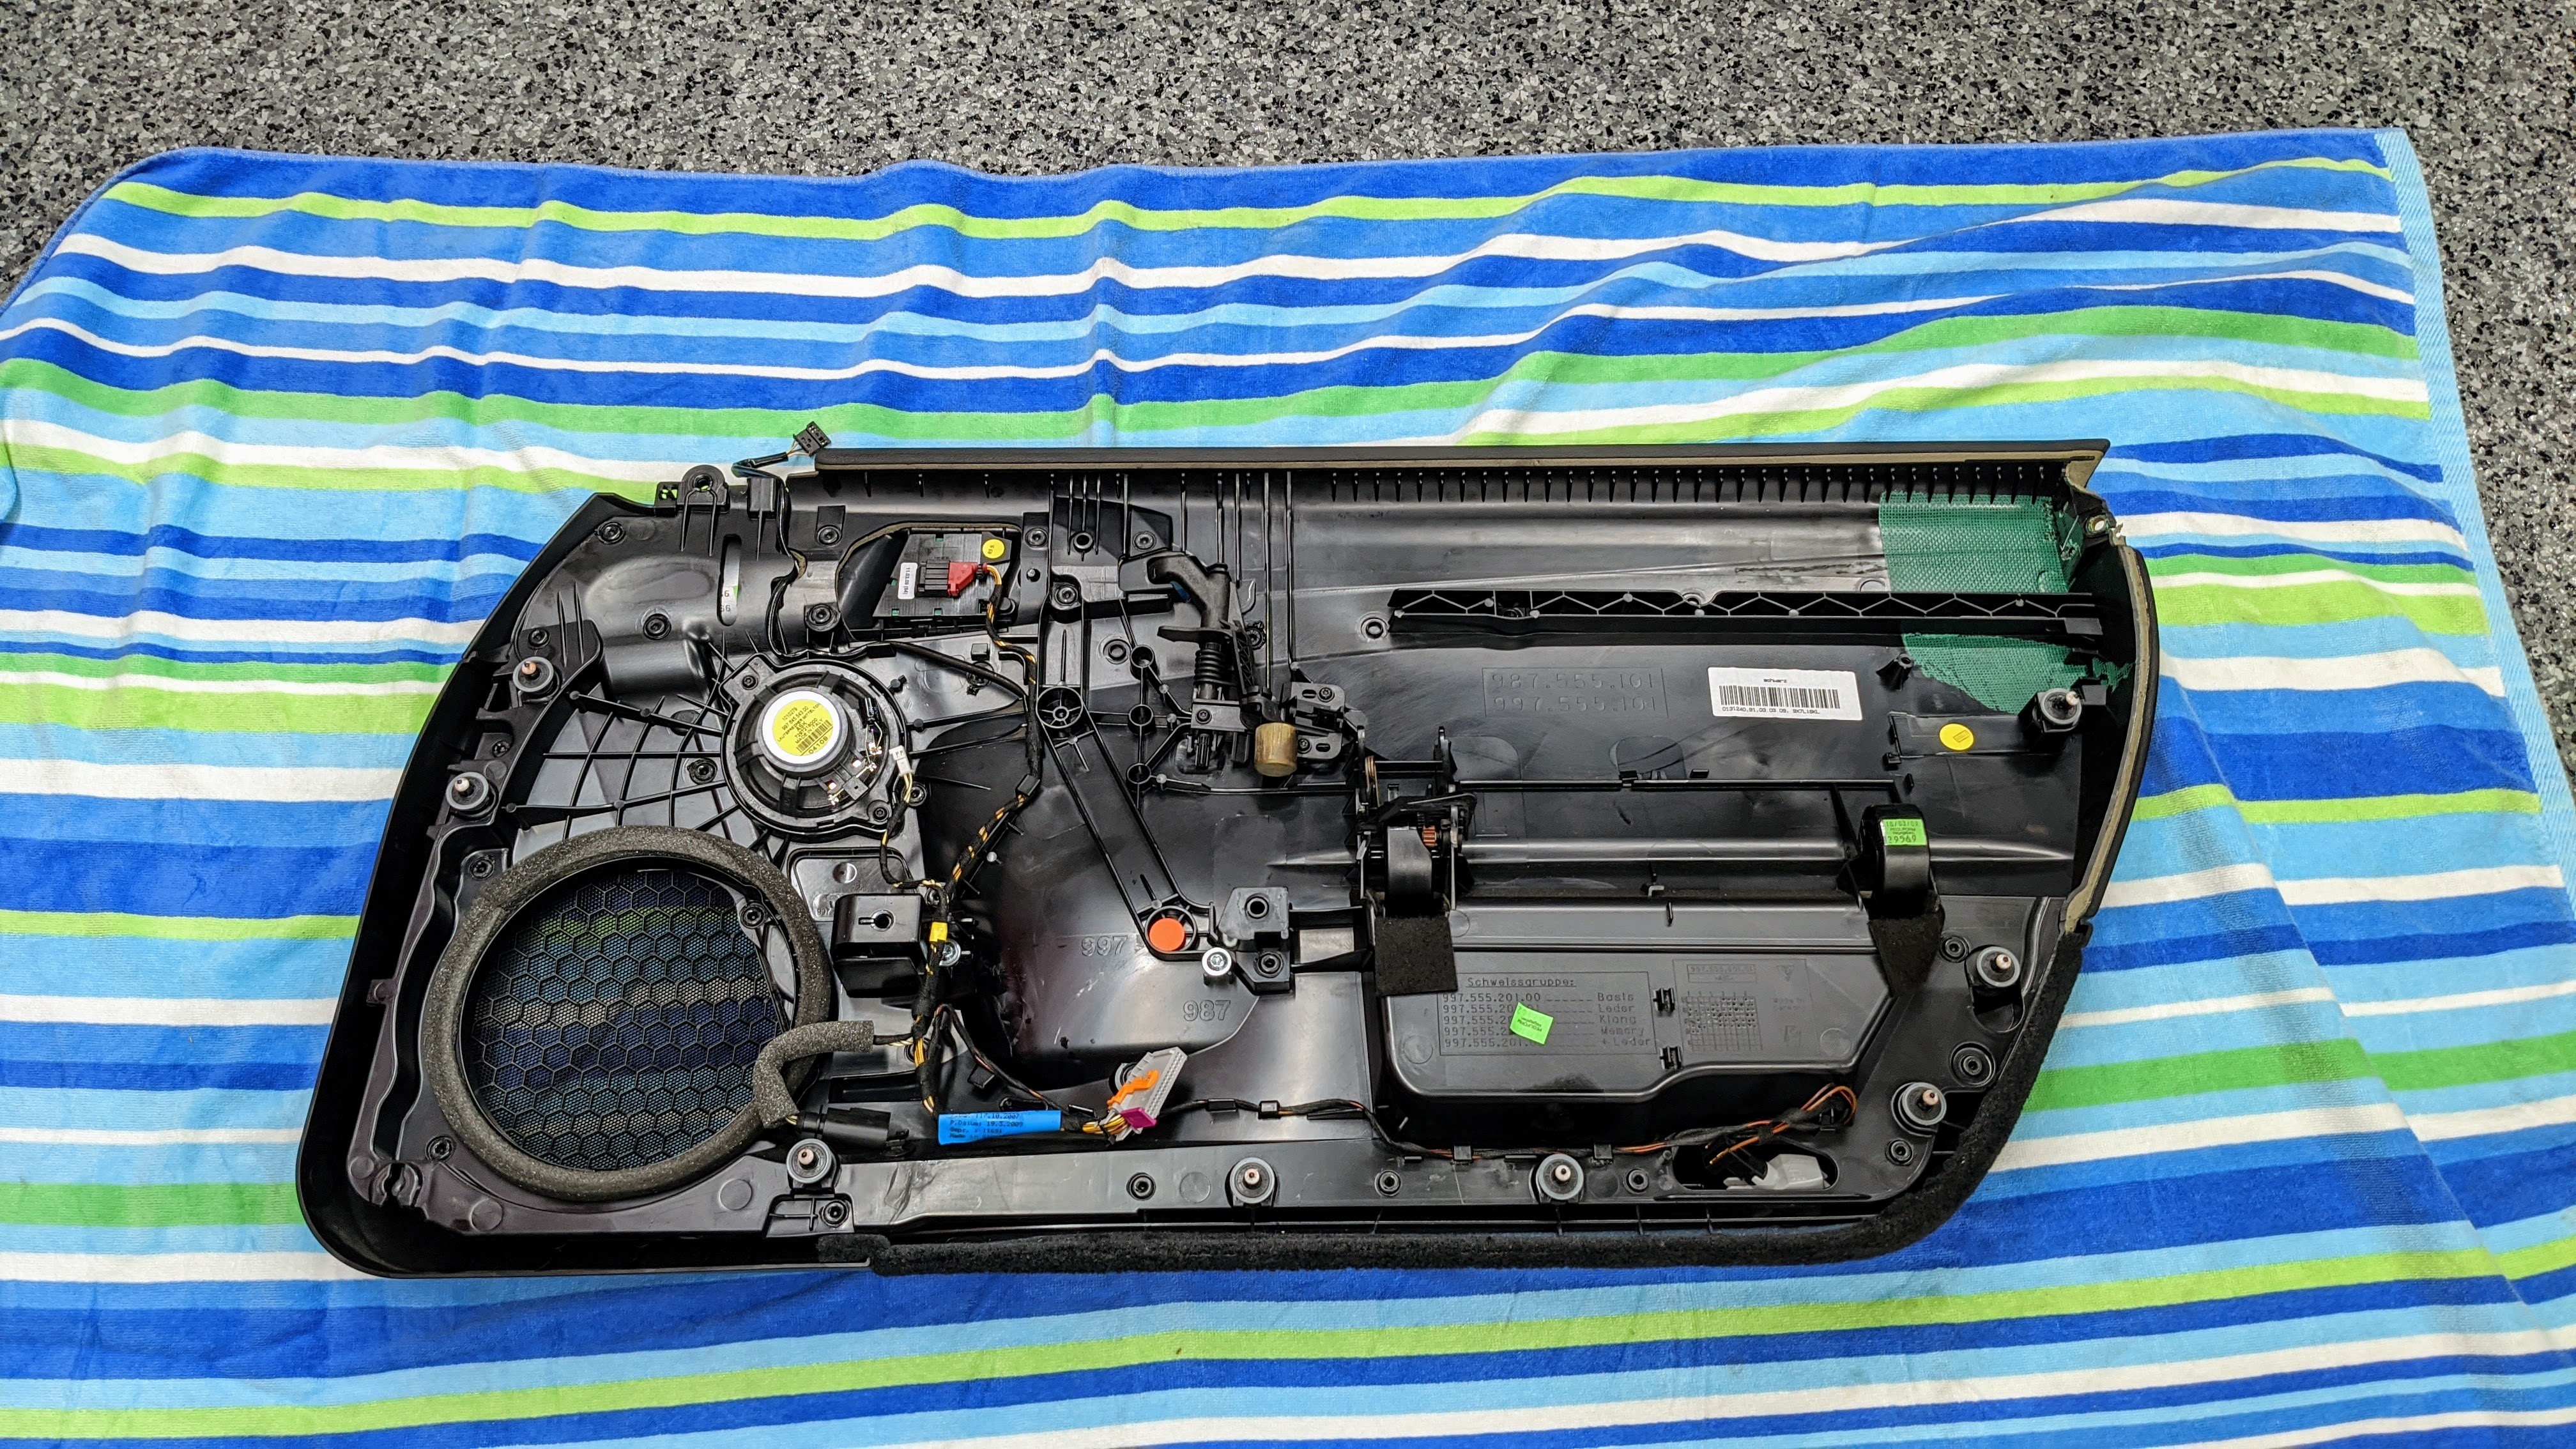
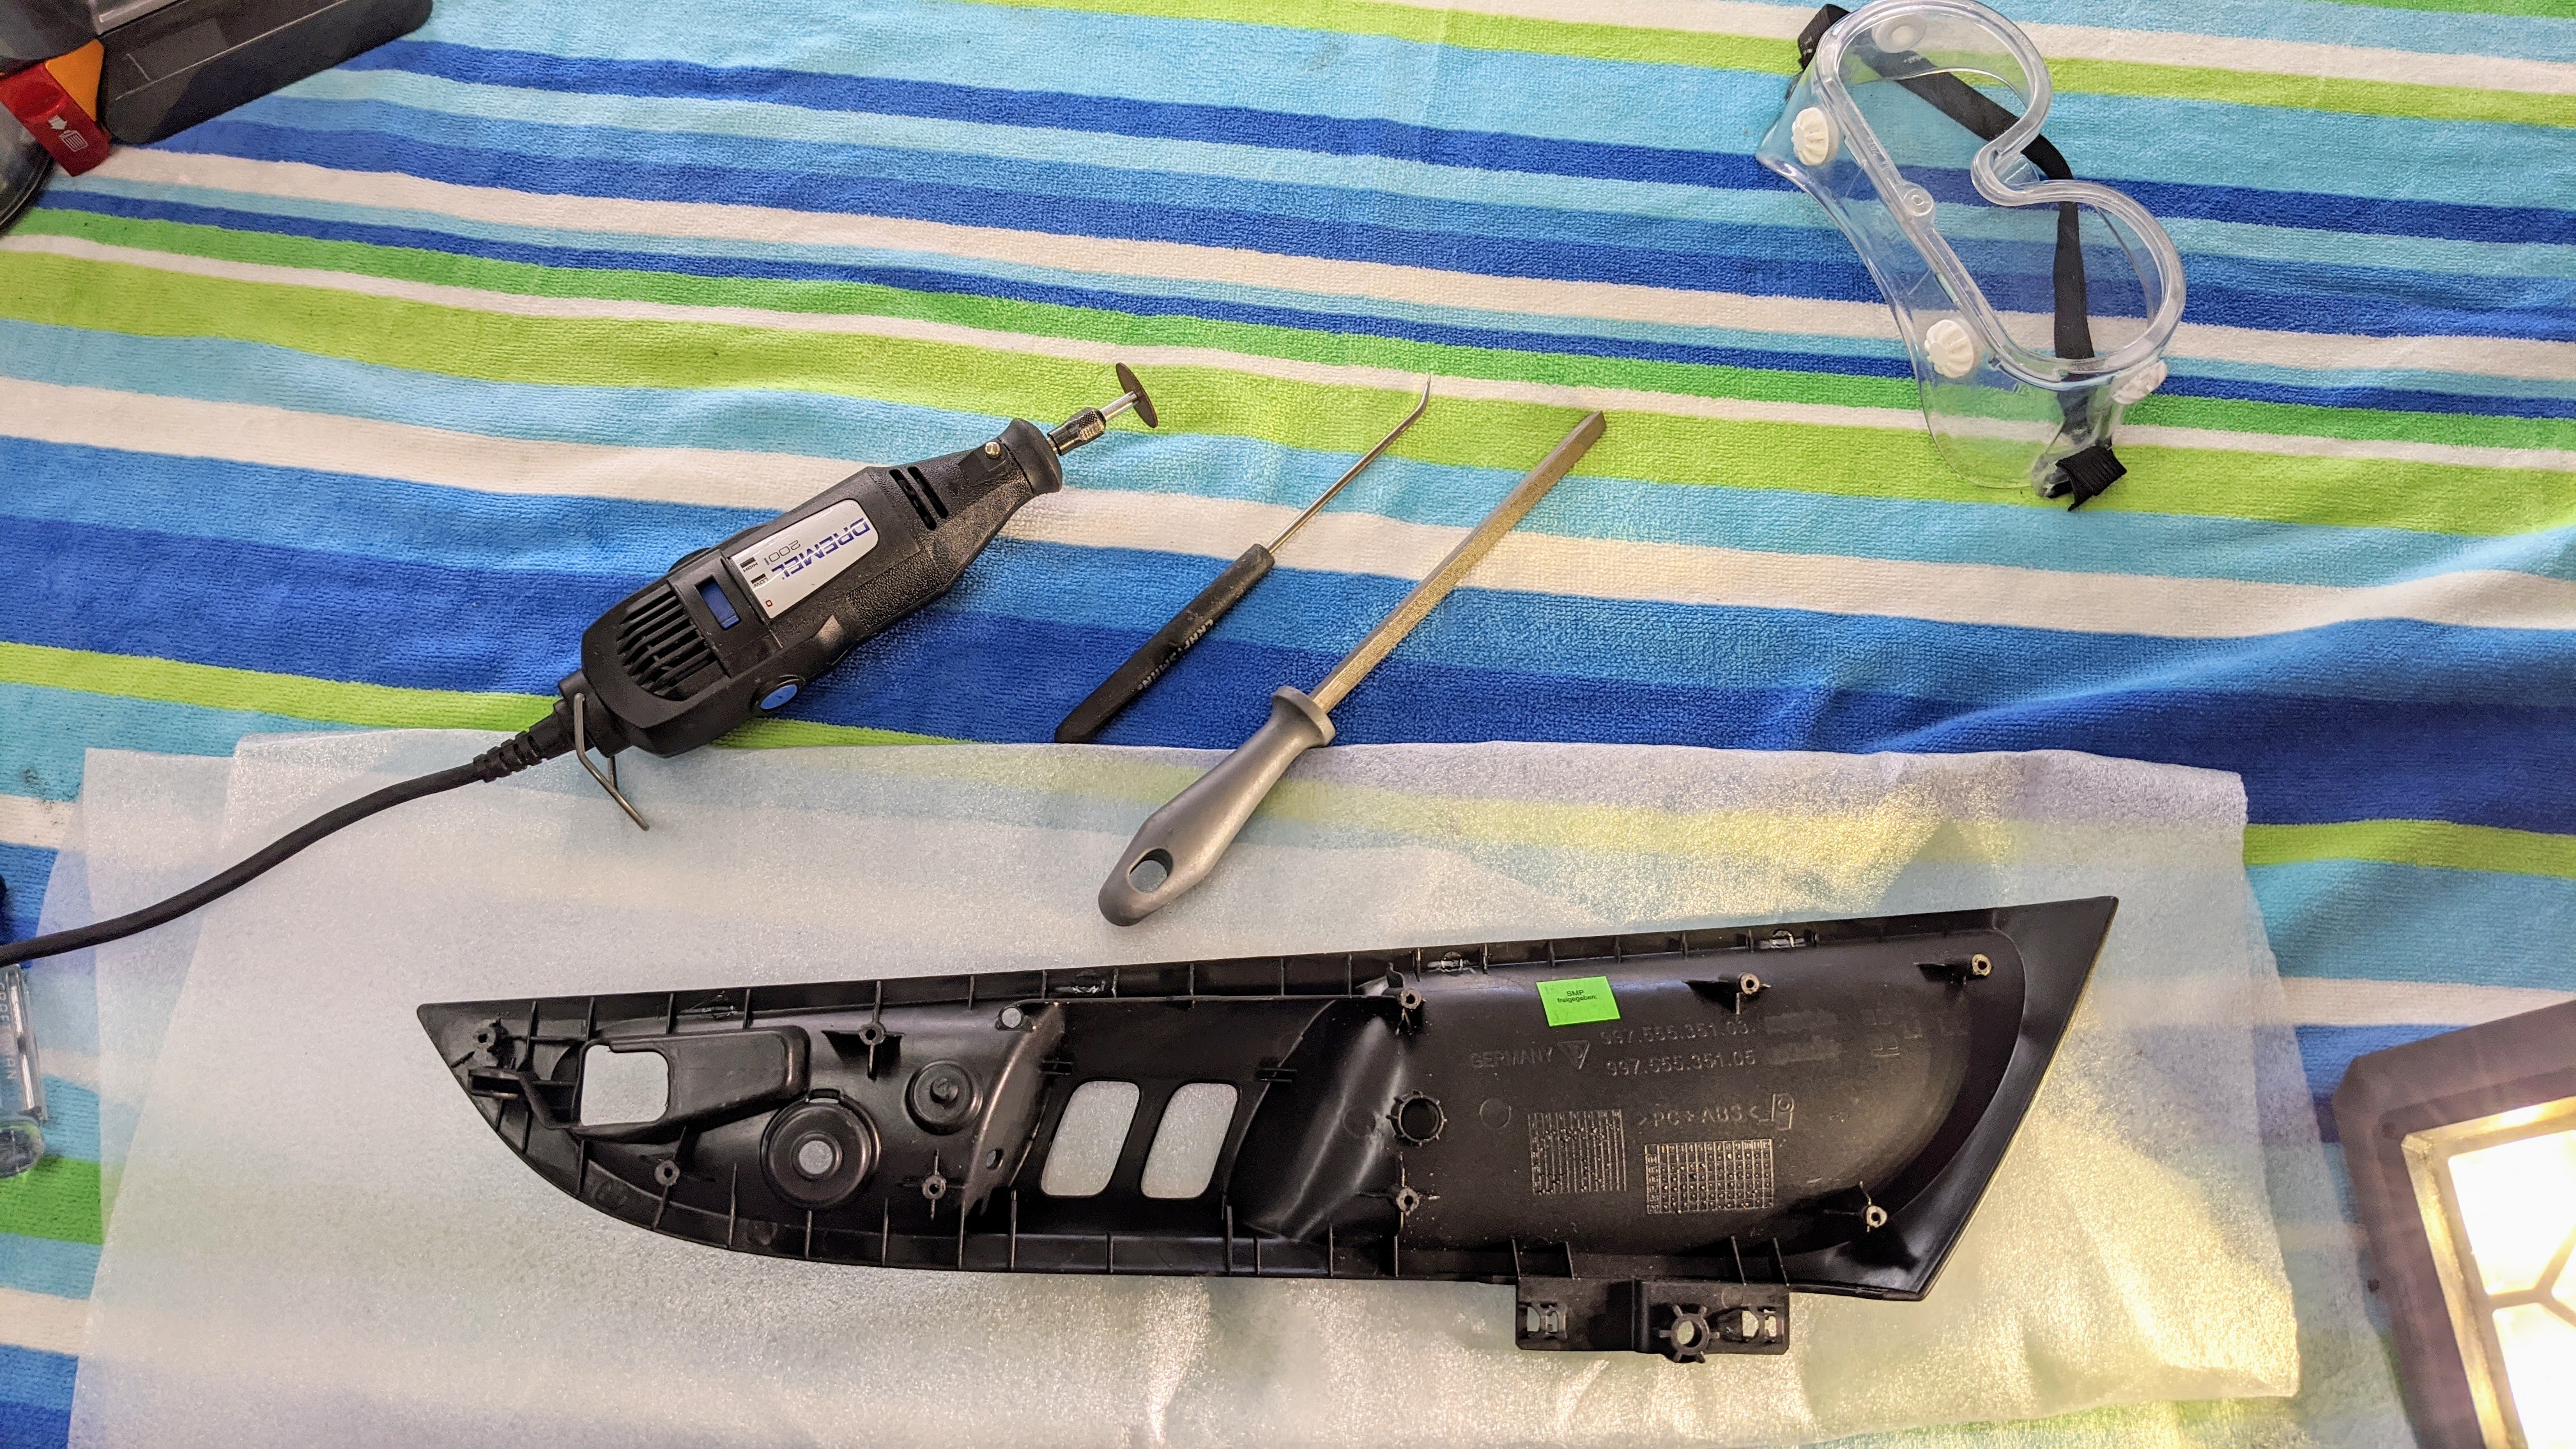
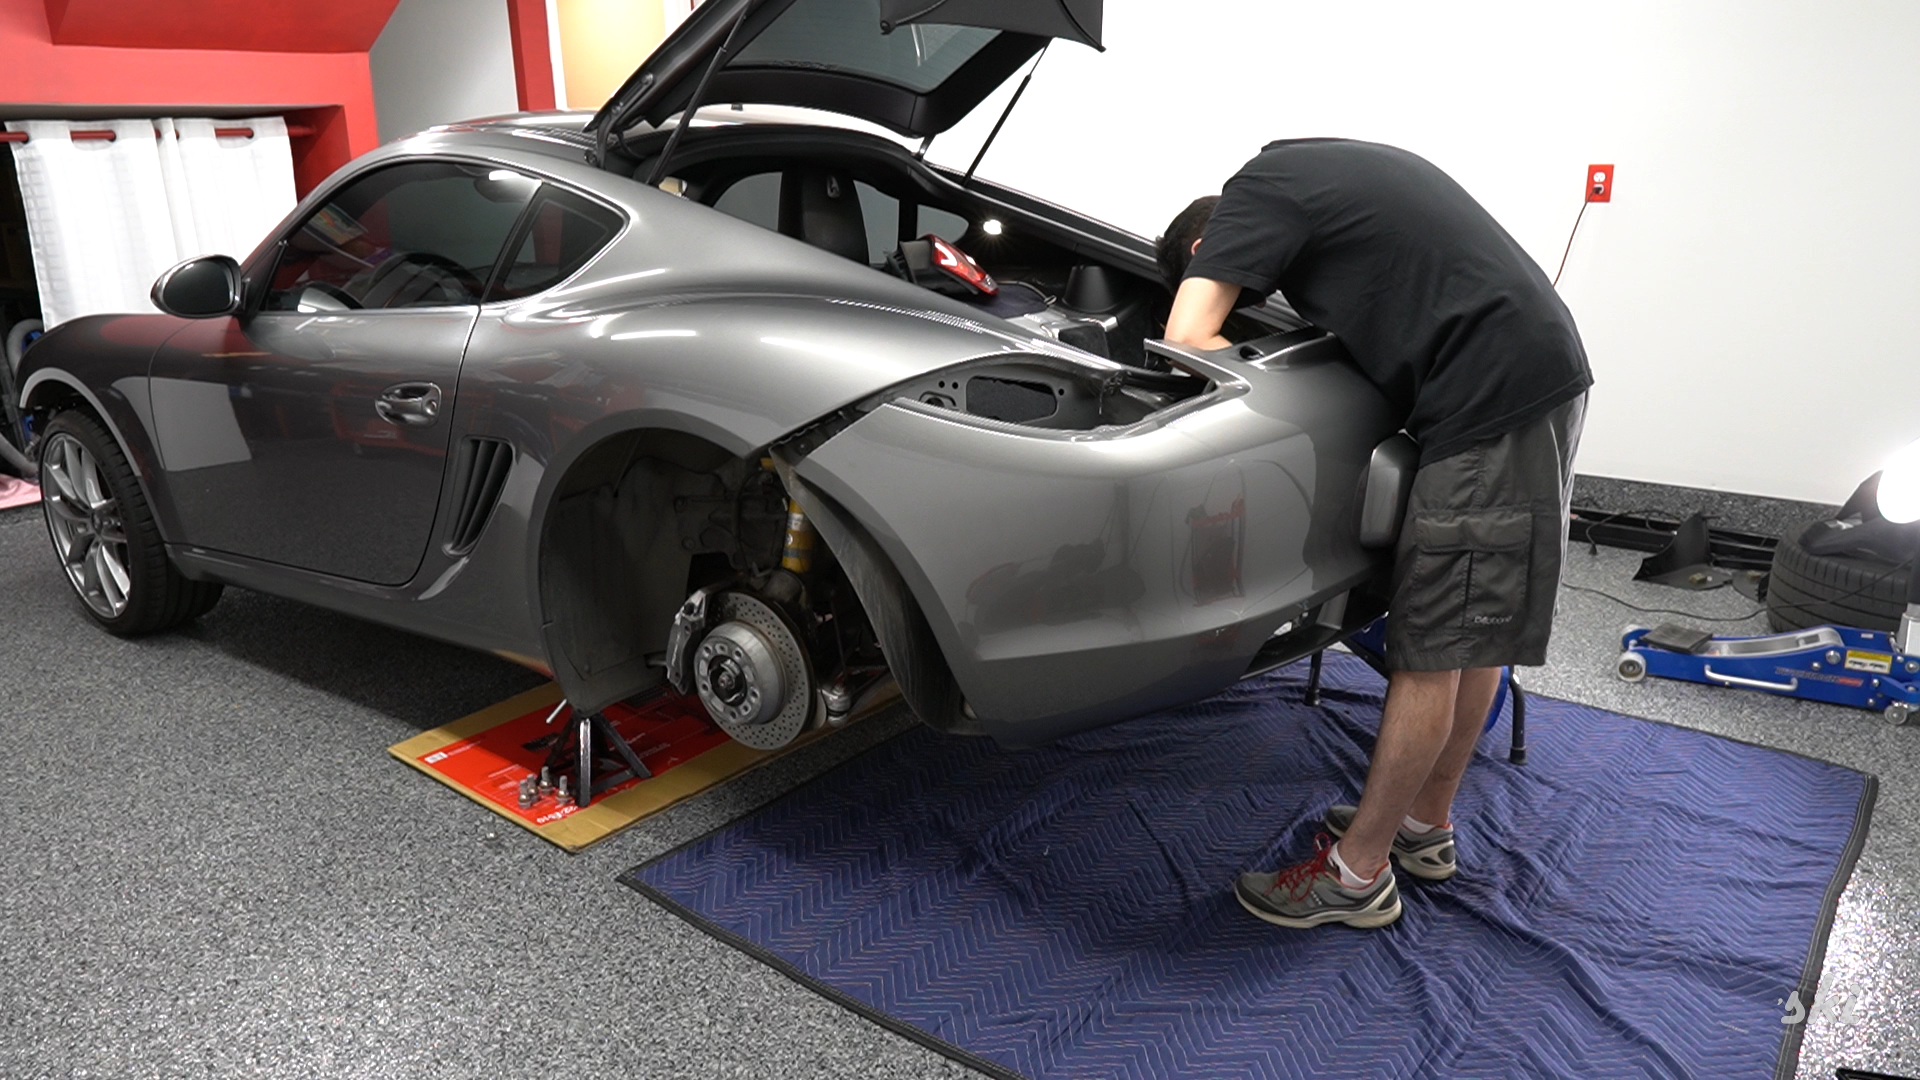
As you've probably guessed by now, the door panel needs to be removed. Not terribly difficult, just a few Torx screws neatly tucked away.
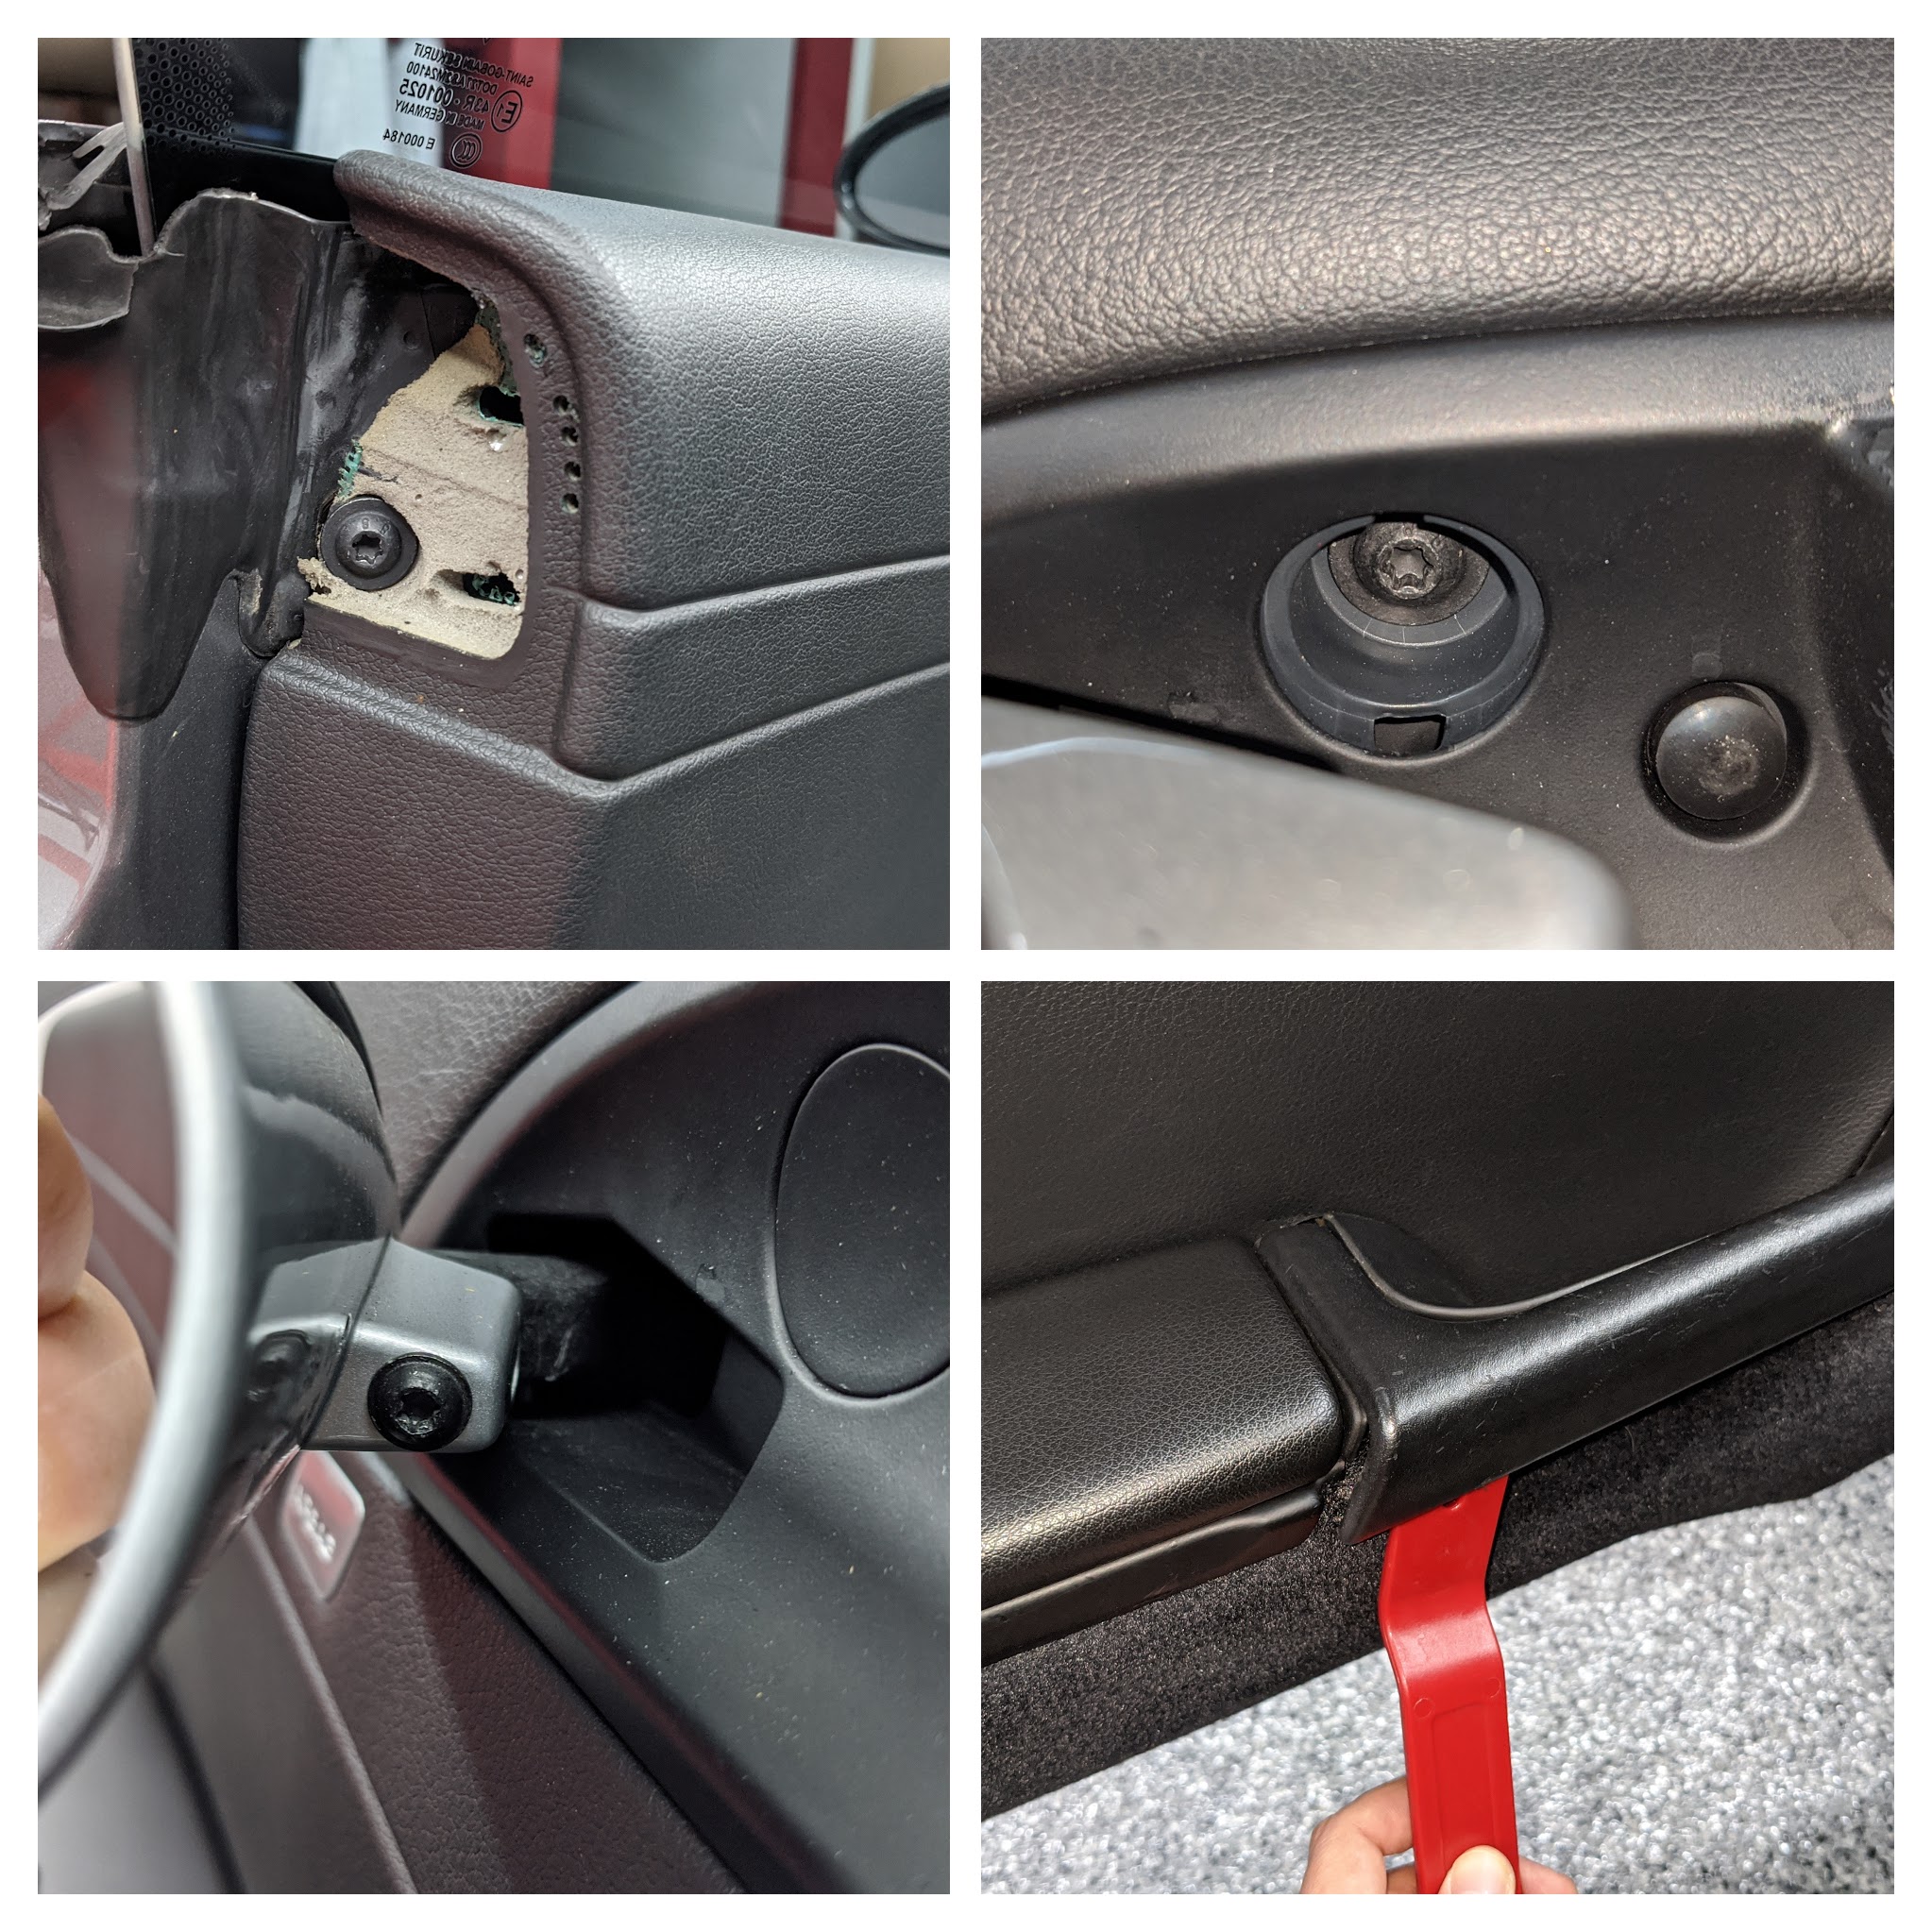
After you've disconnected the door handle cable...
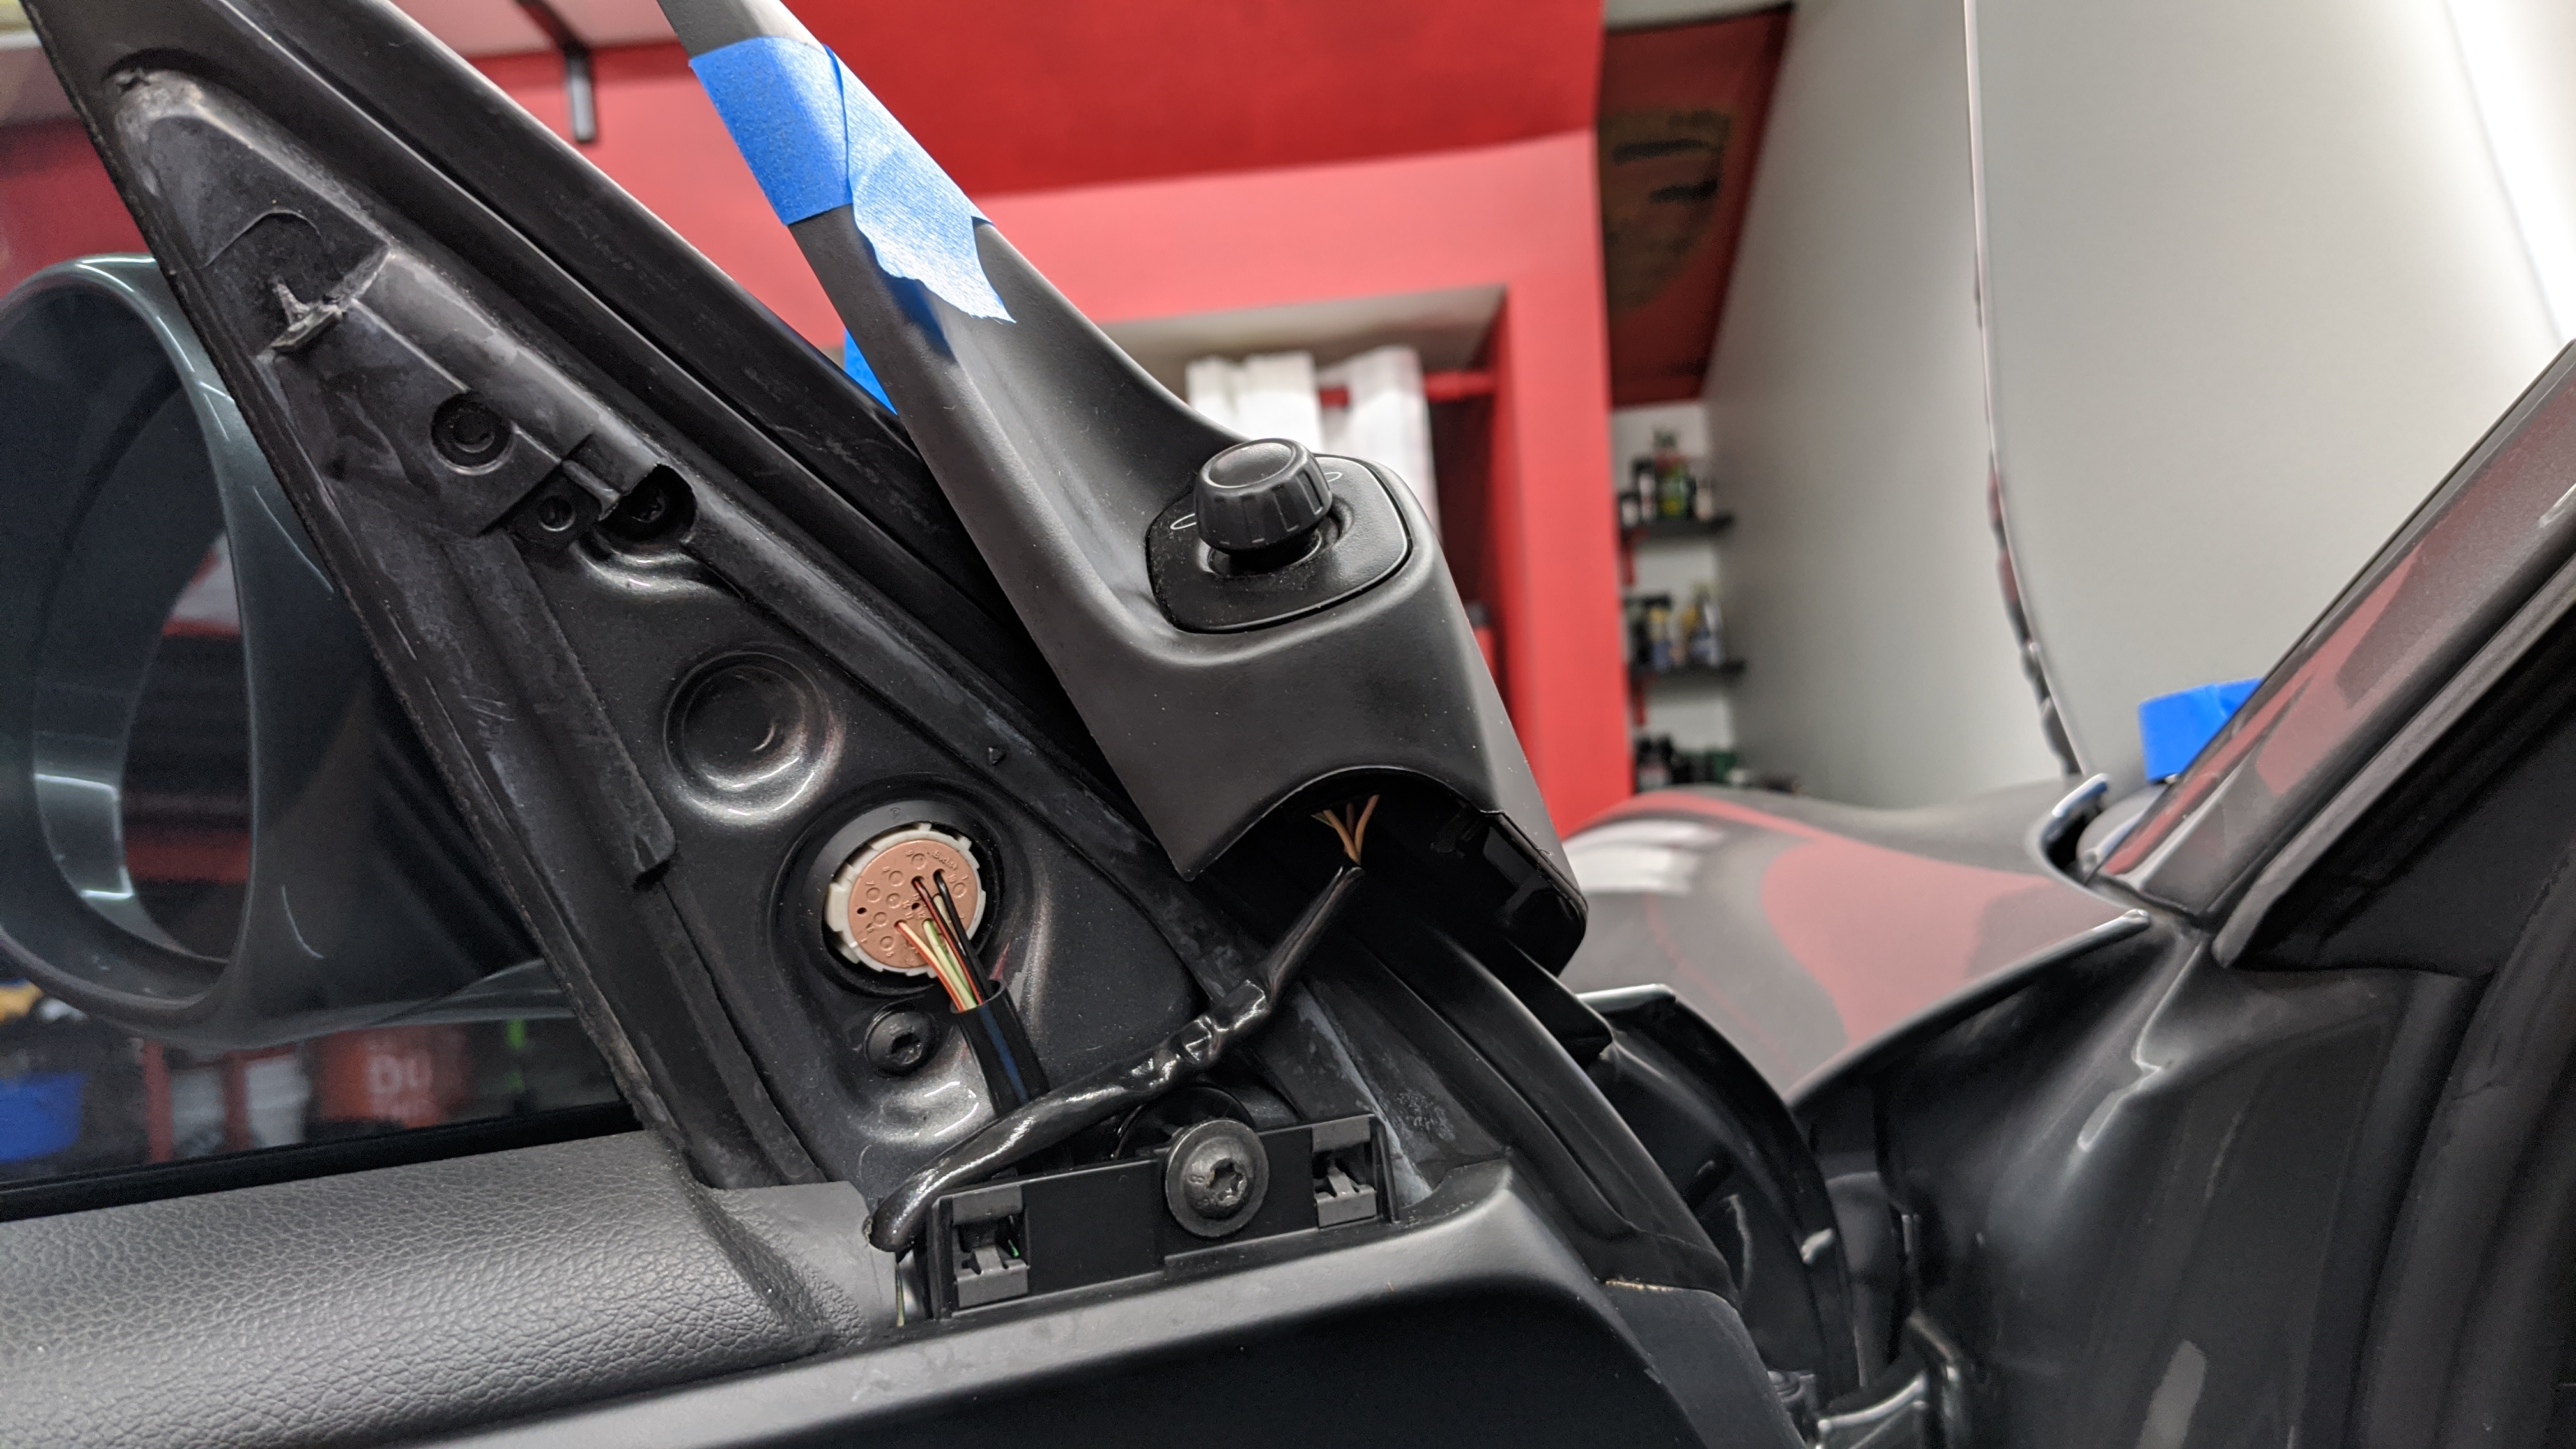
...you'll need to pop off the trim for the mirror switch (just 2 clips on the bottom), then disconnect the press-fit connector.
Unfortunately that connector was giving me a hard time so I temporarily taped that assembly to stay out of the way while I popped the door clips off.
As long as the door doesn't suddenly fall, it'll be fine.
Door fell.
The weight of the door yanked the connector out from the switch and ultimate broke it. Soooo buying a new switch wasn't something I was expecting to do that day.
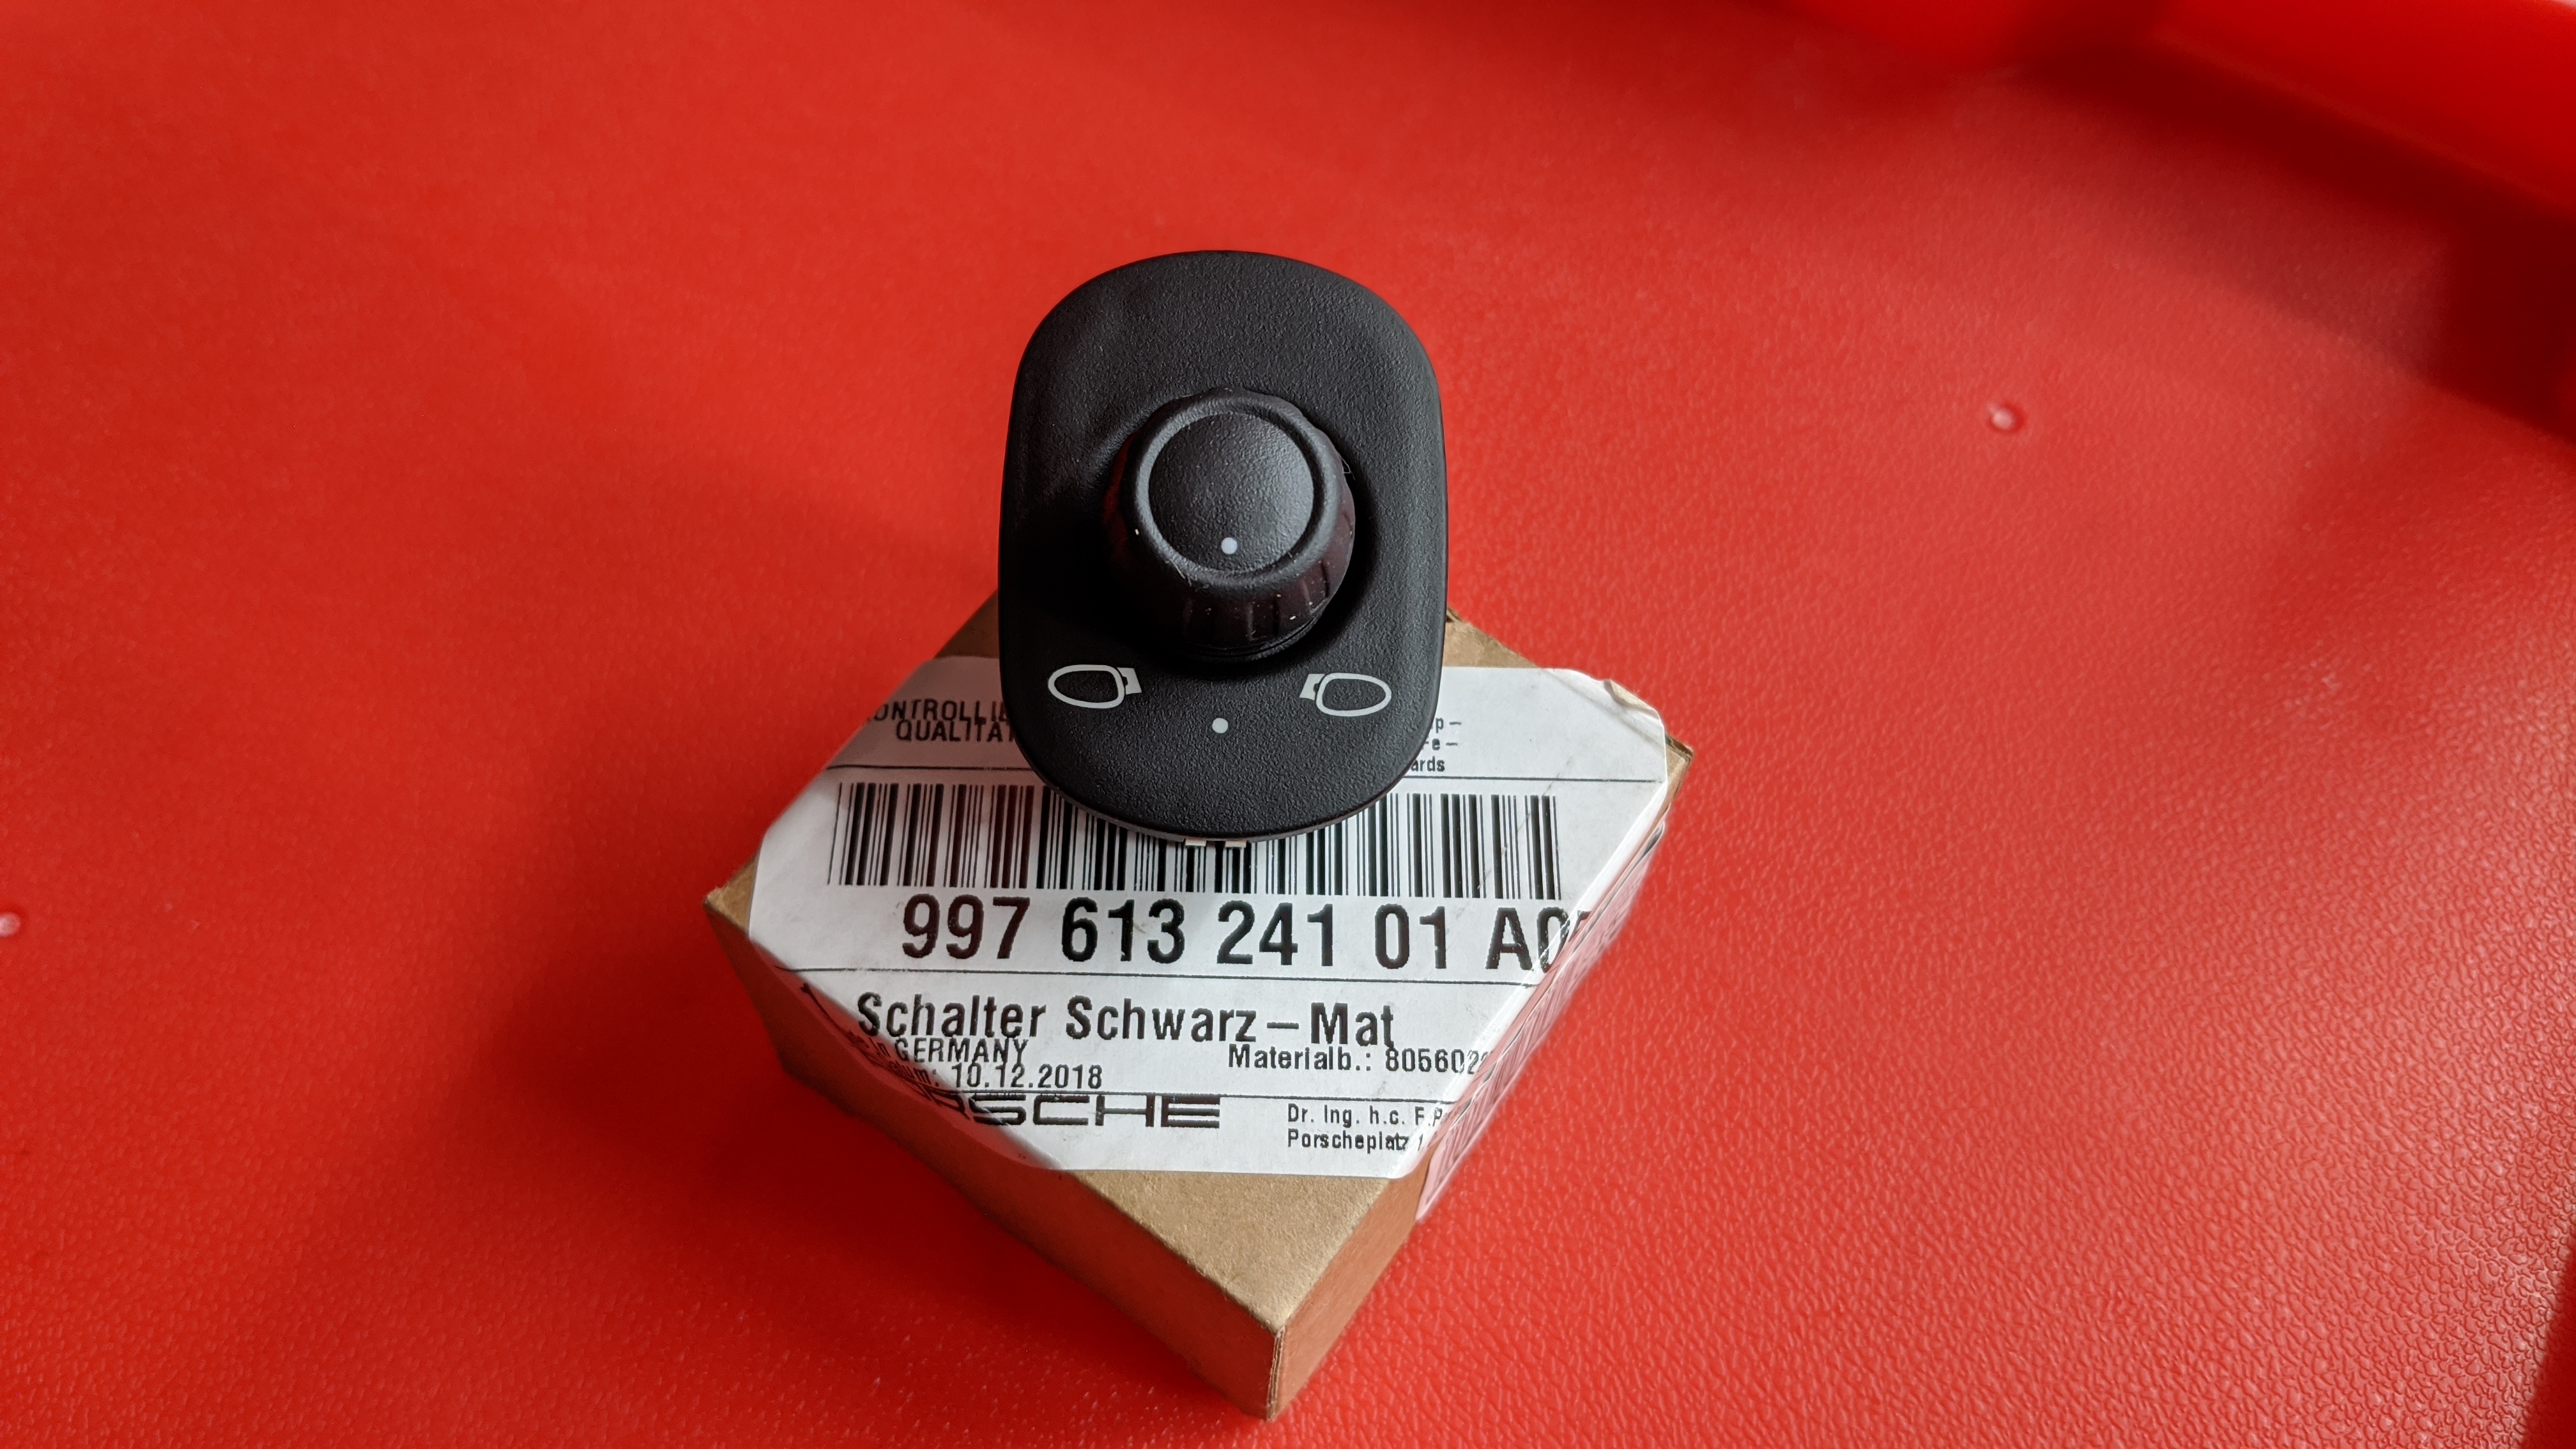
While searching for the switch, I got notified about another Etsy photo sale which covered the cost of the switch. Thanks DL from Long Beach!

Door panel removed.
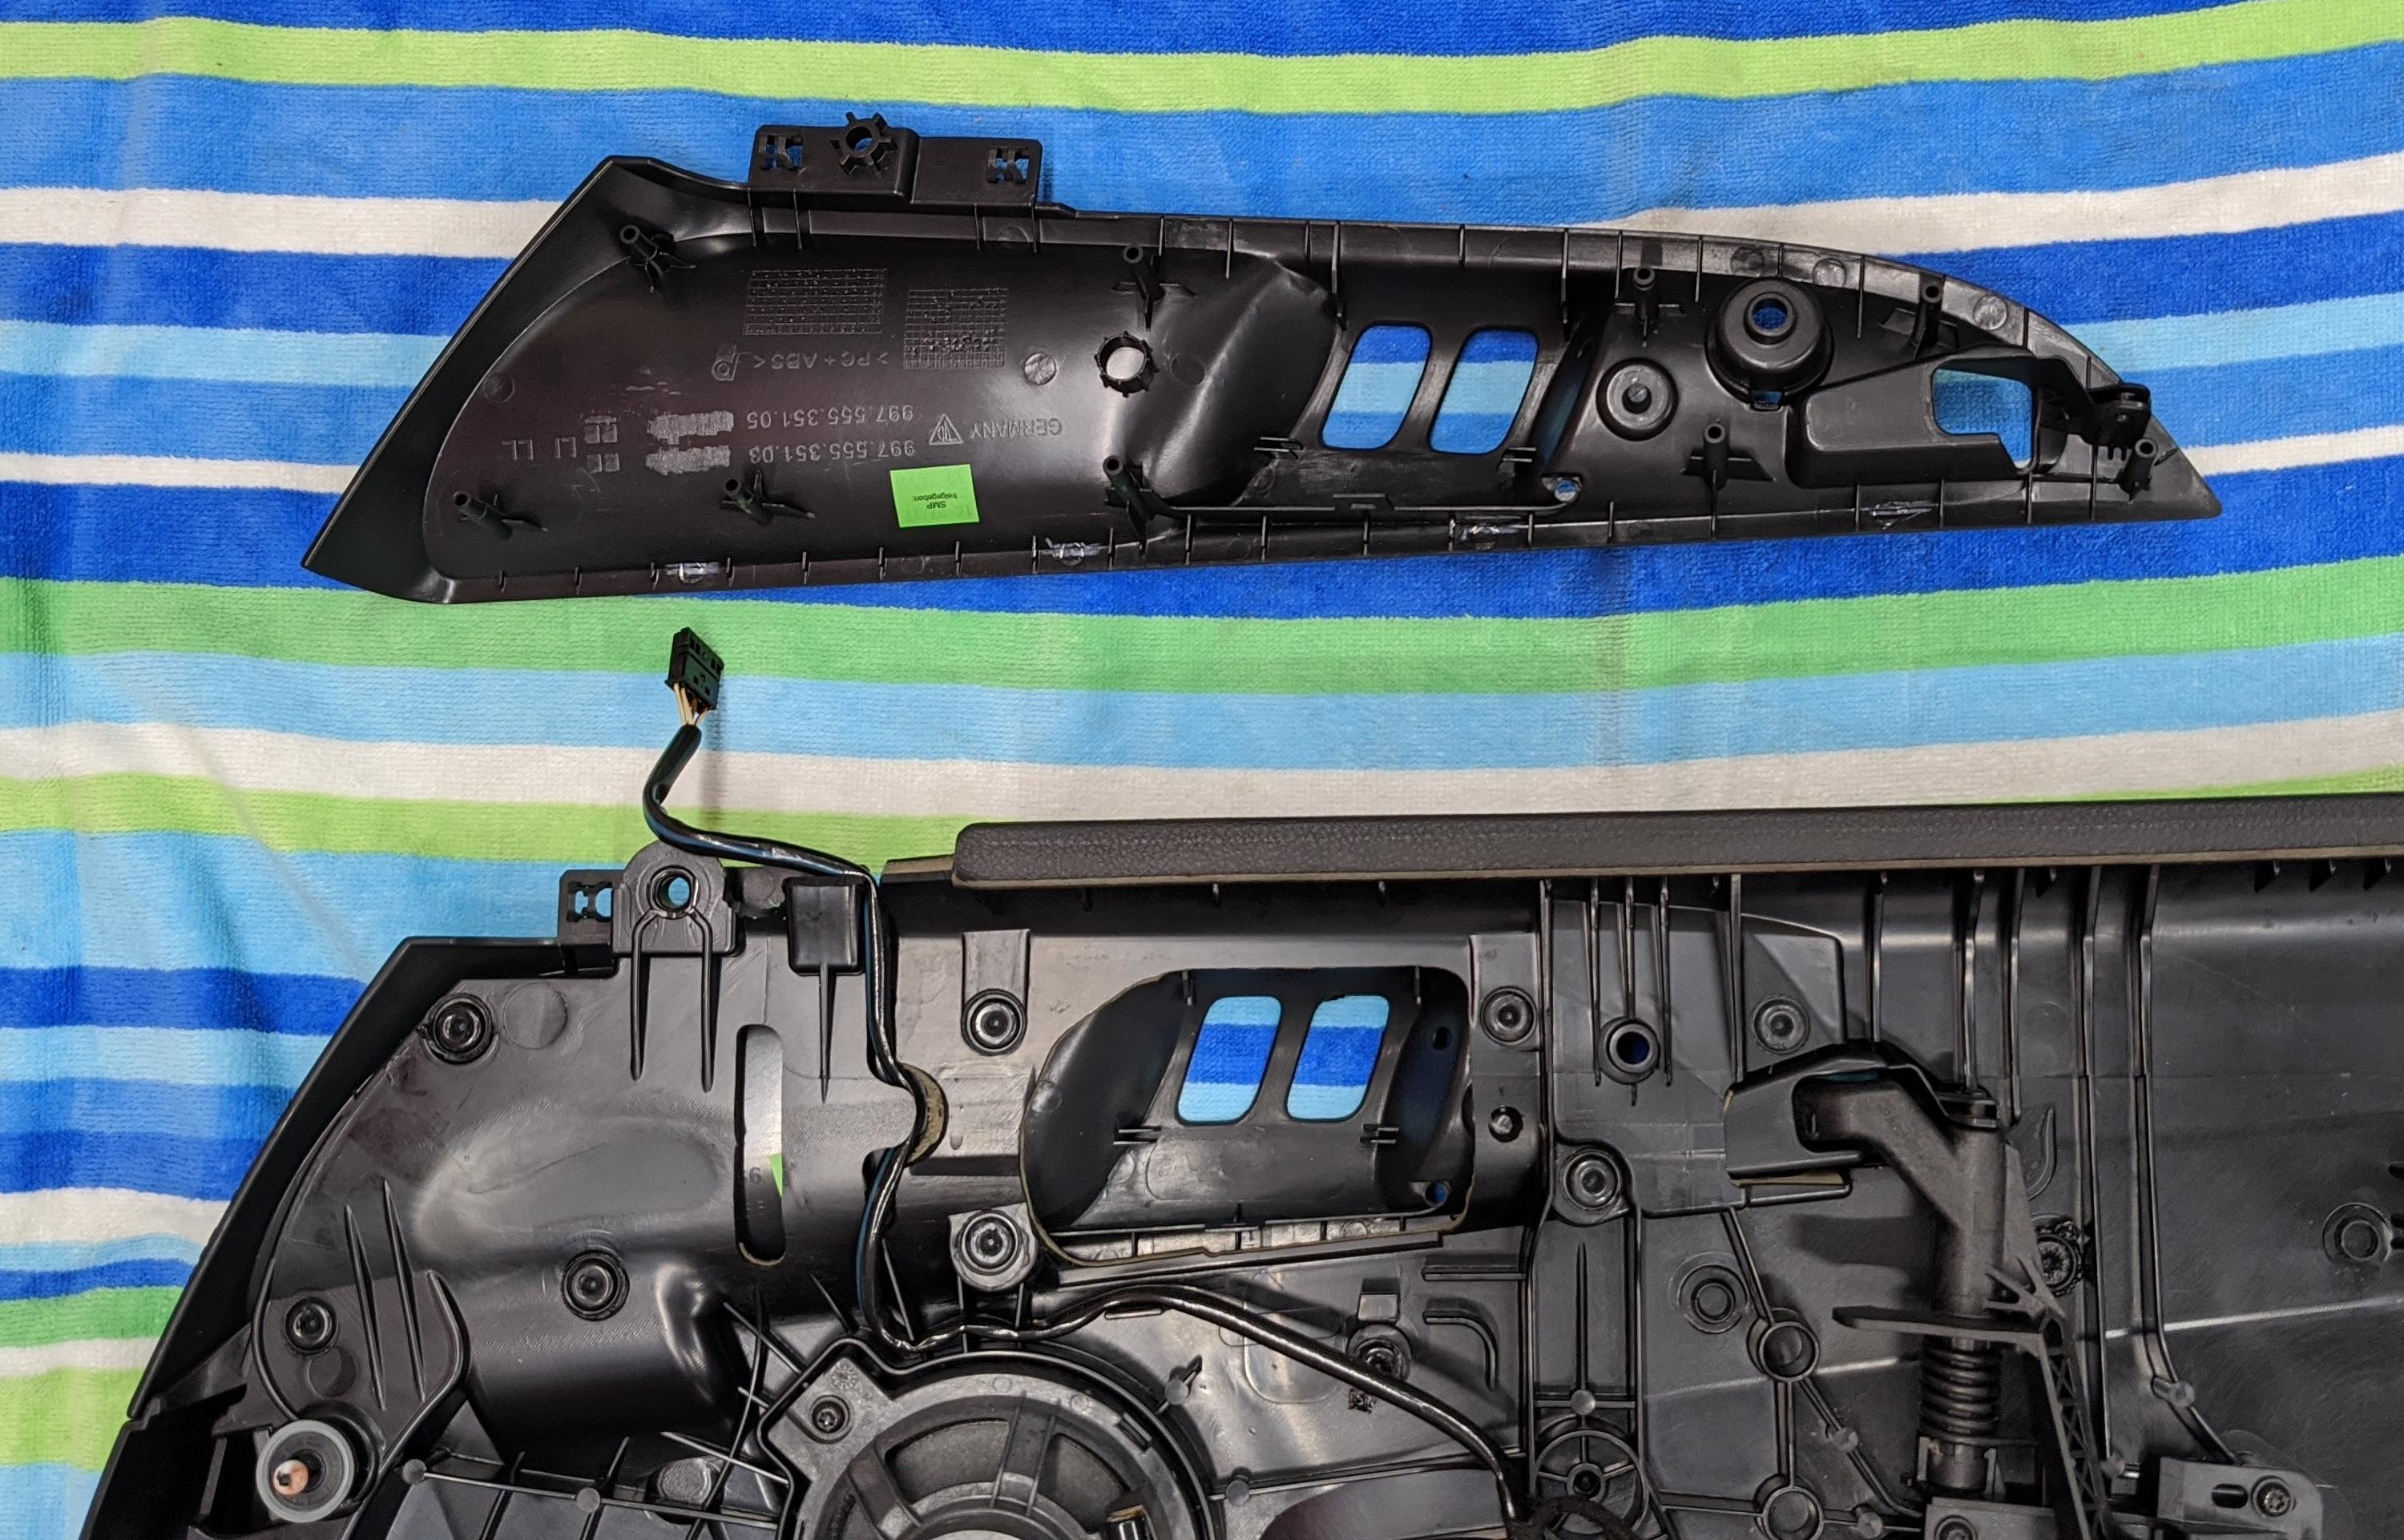
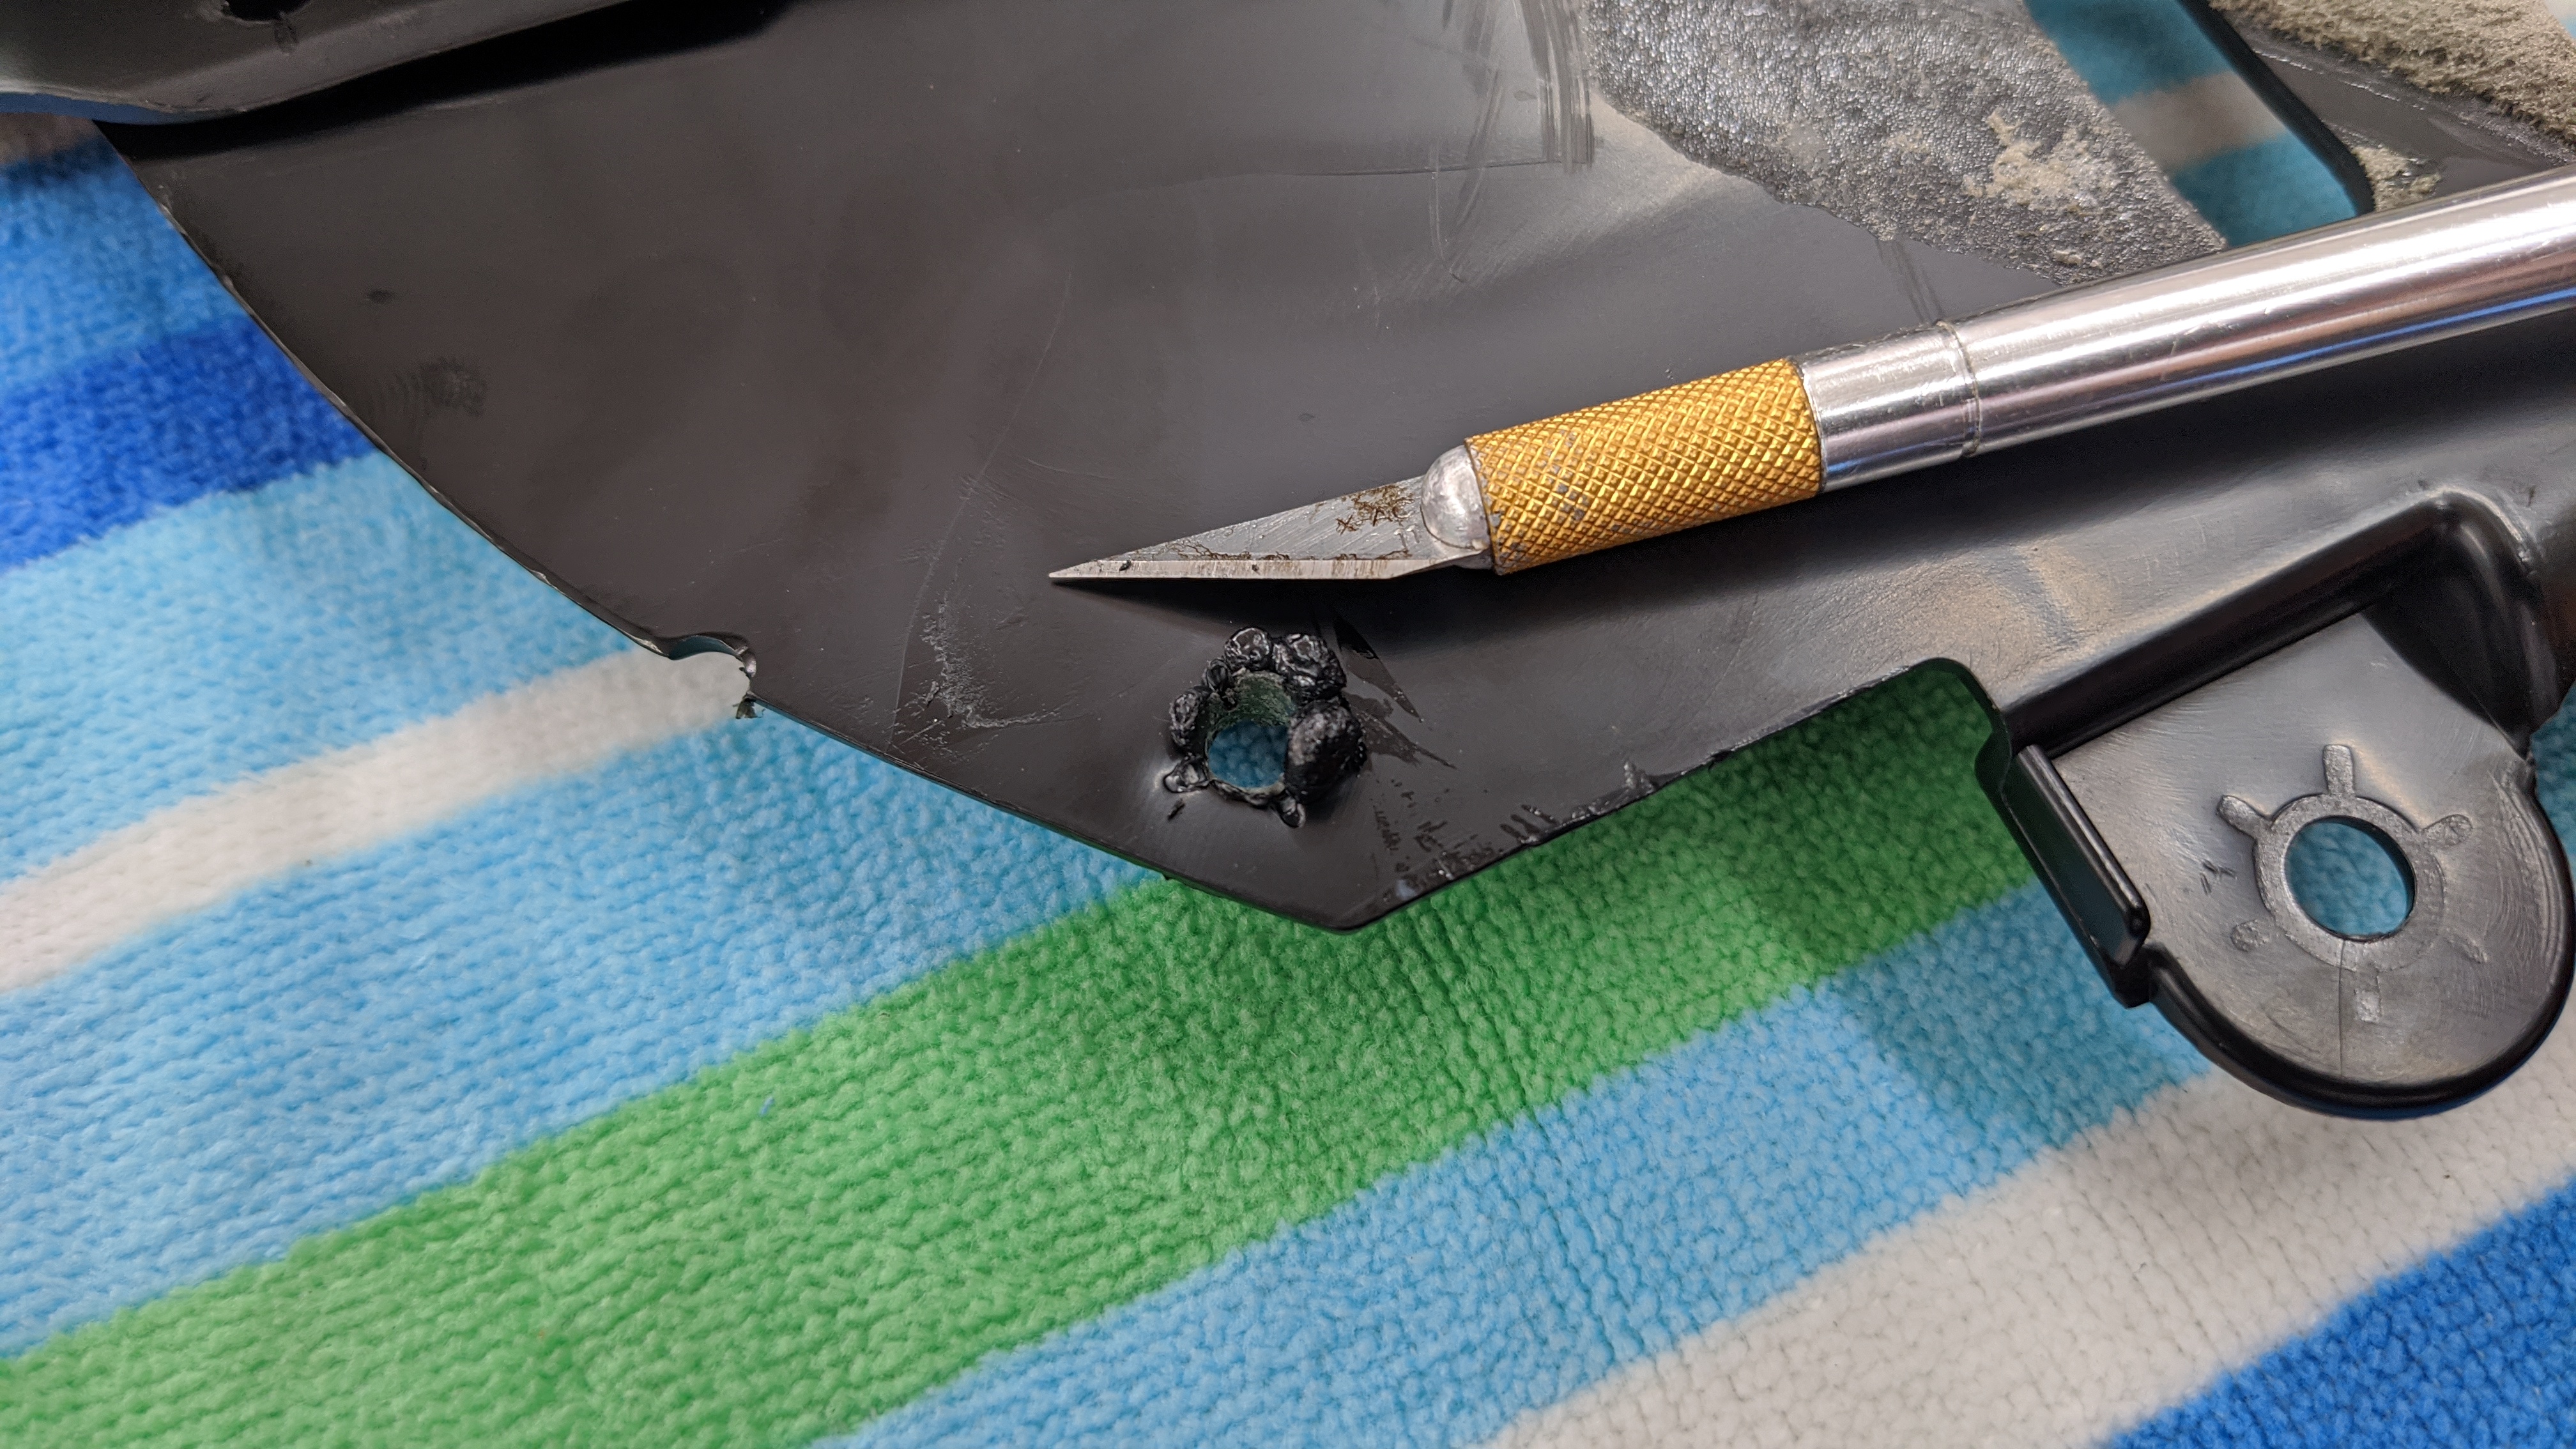
So here's the deal: that trim insert isn't held in by clips, tabs, screws, glue, double-side tape, peanut butter, or honey. No, it's held in by 9 plastic pins/posts that are welded to the door panel.
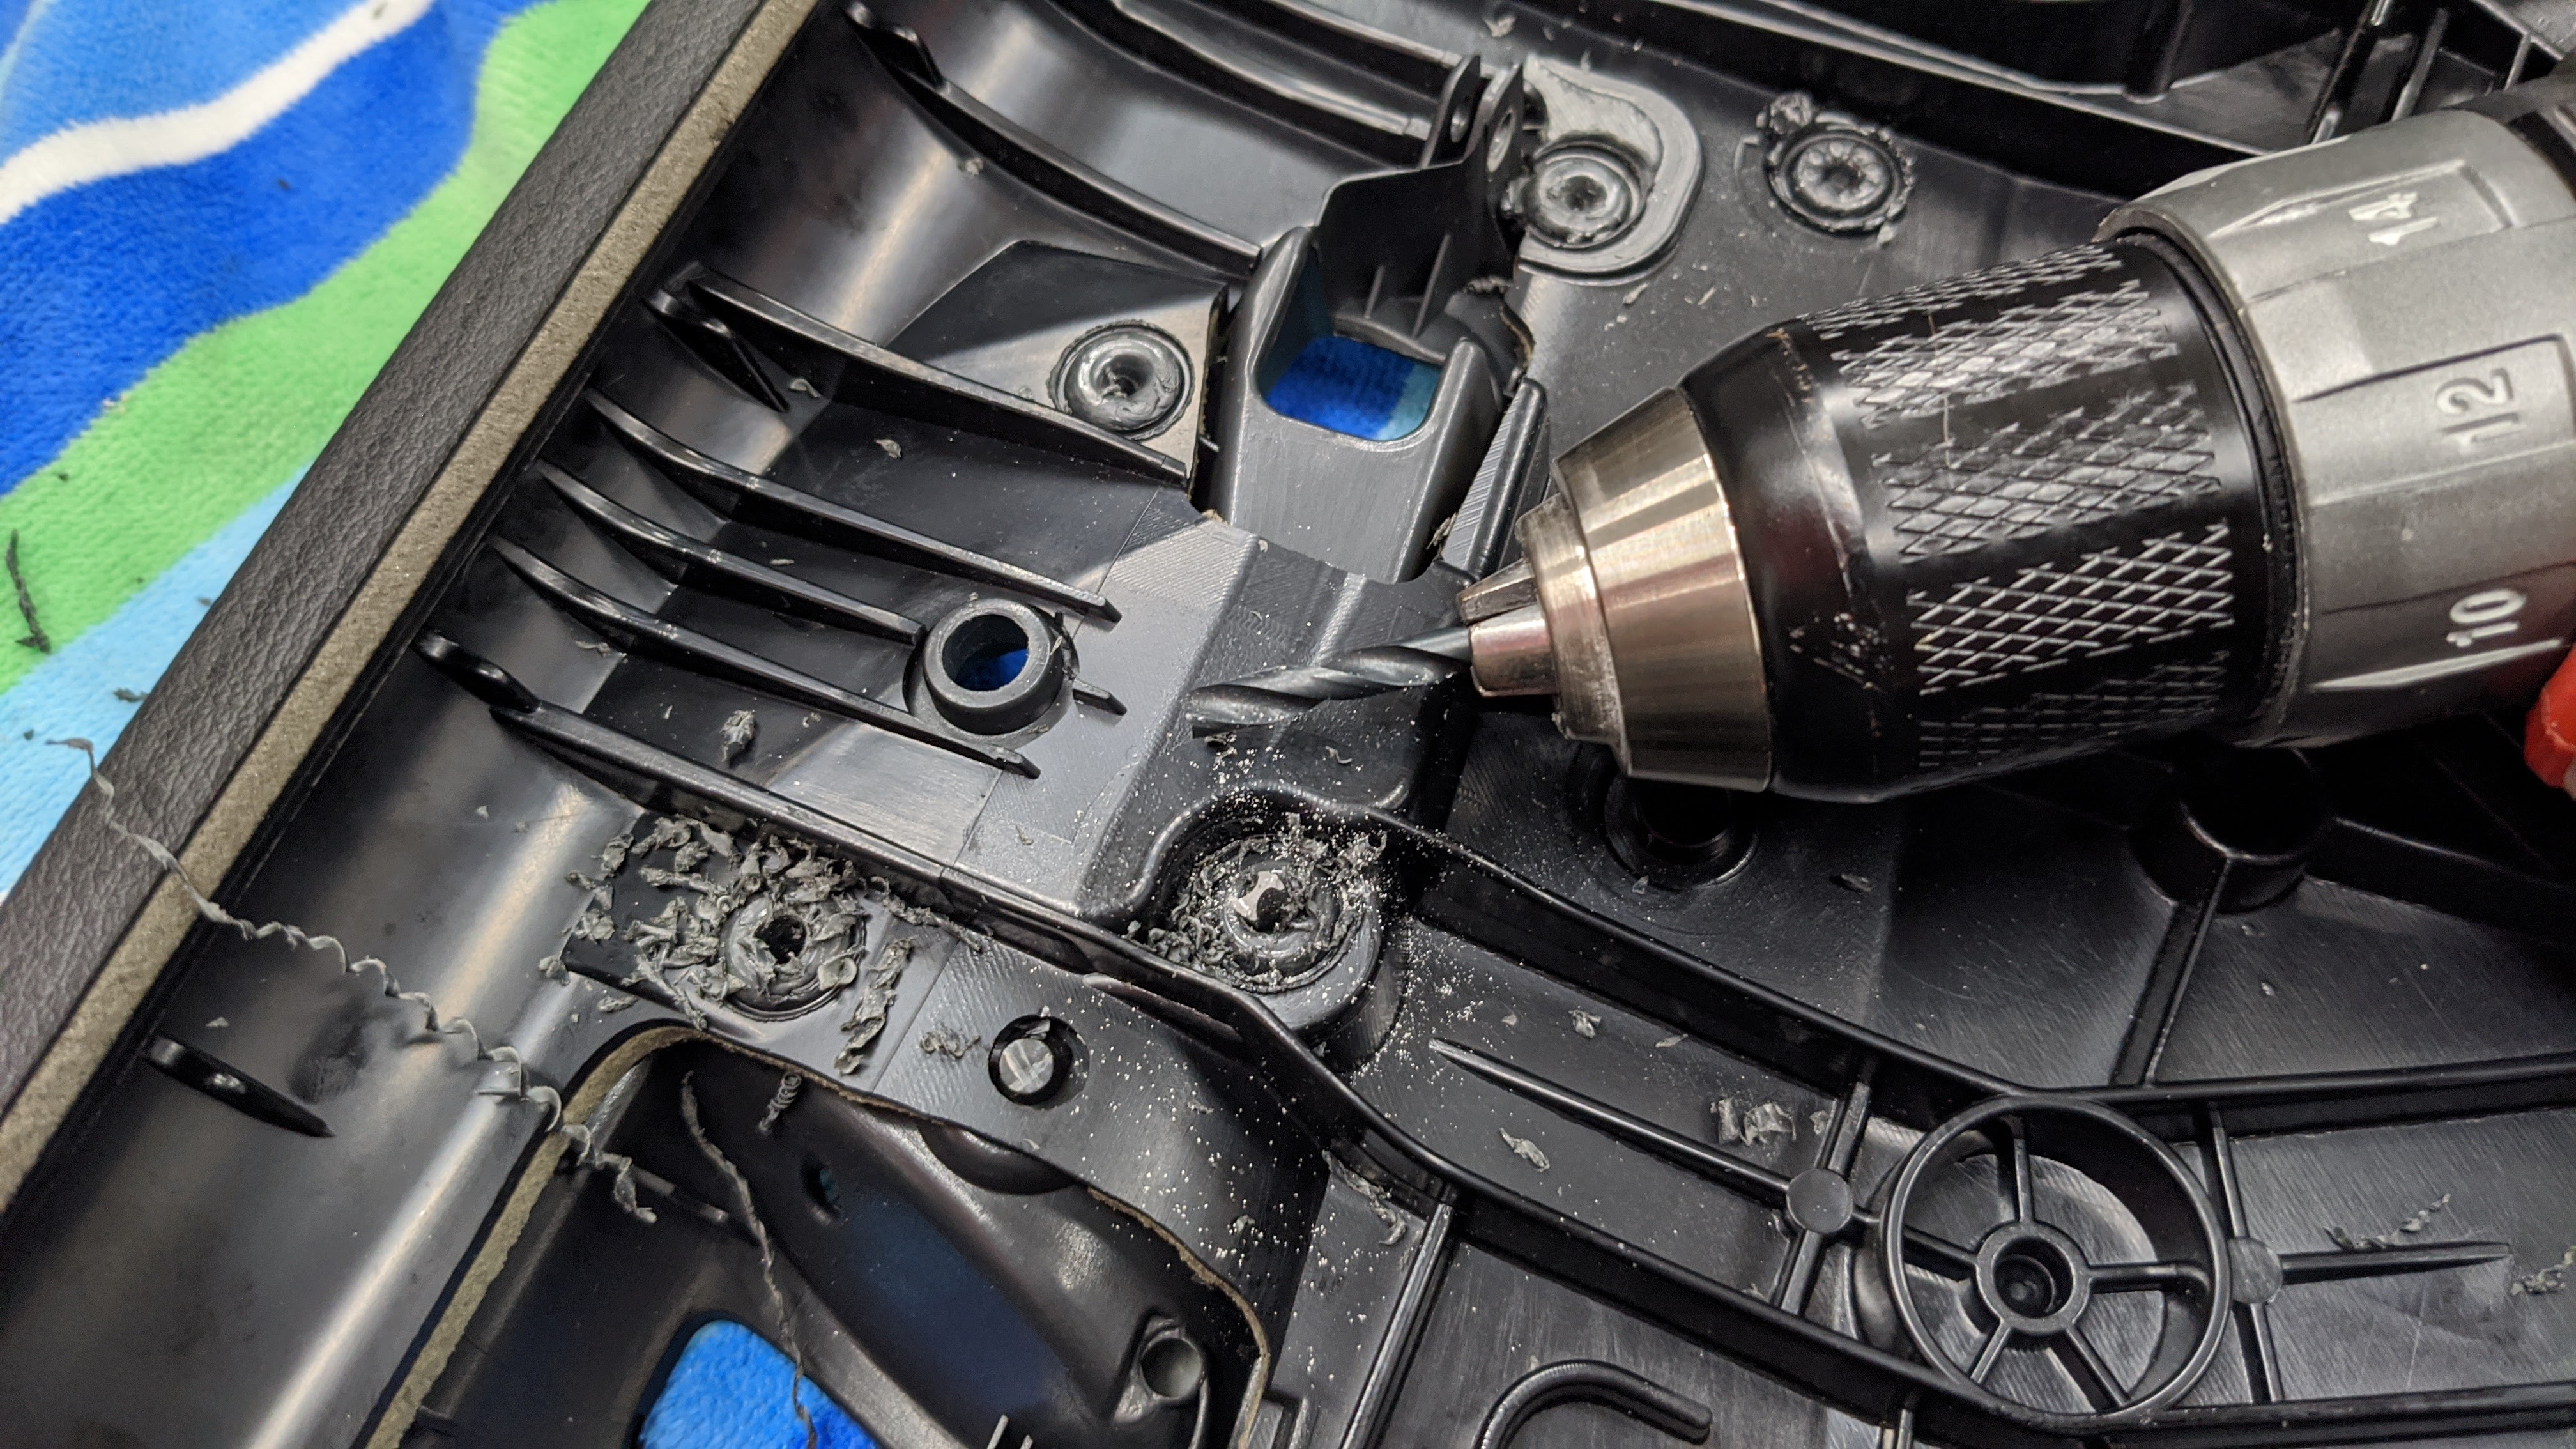
Which means the official procedure for removing the insert is drilling them out, then using a plastic welder to attach the new one. Who thought this was a good idea?
And how the hell did I break a drill bit?! Pre-load & heat, is what I reckon.
An absolute mess but finally got it out.
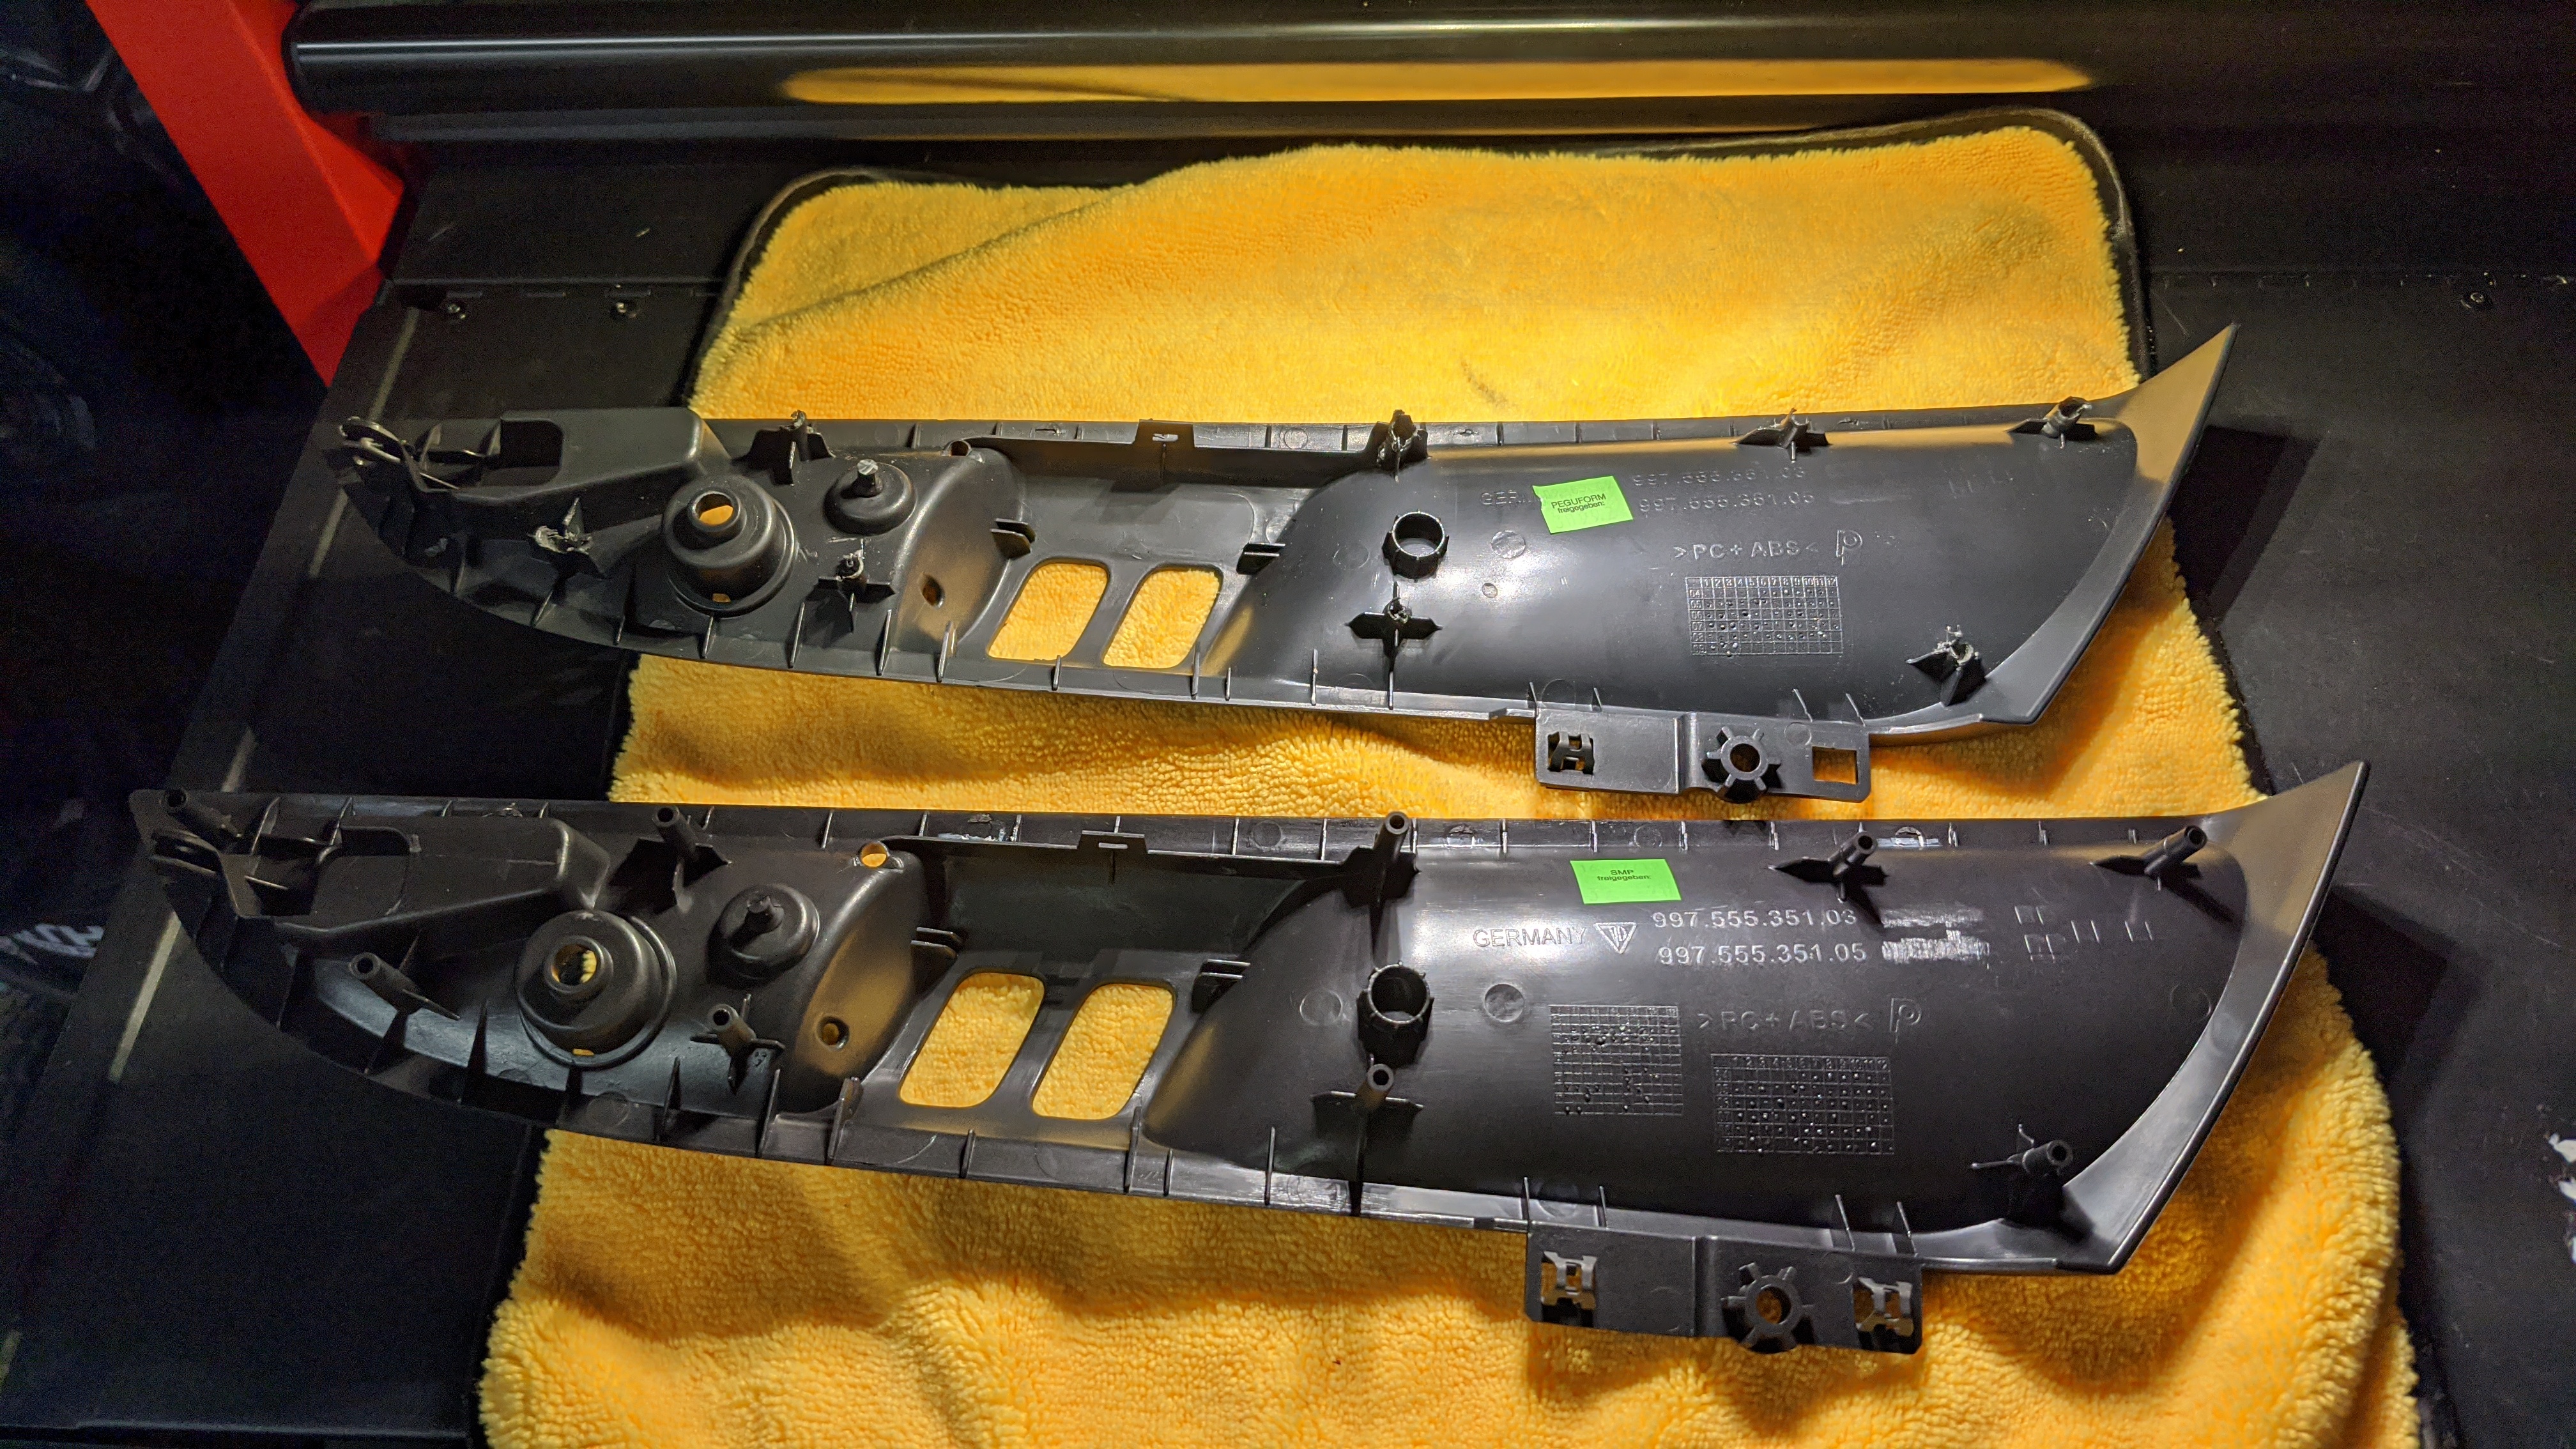
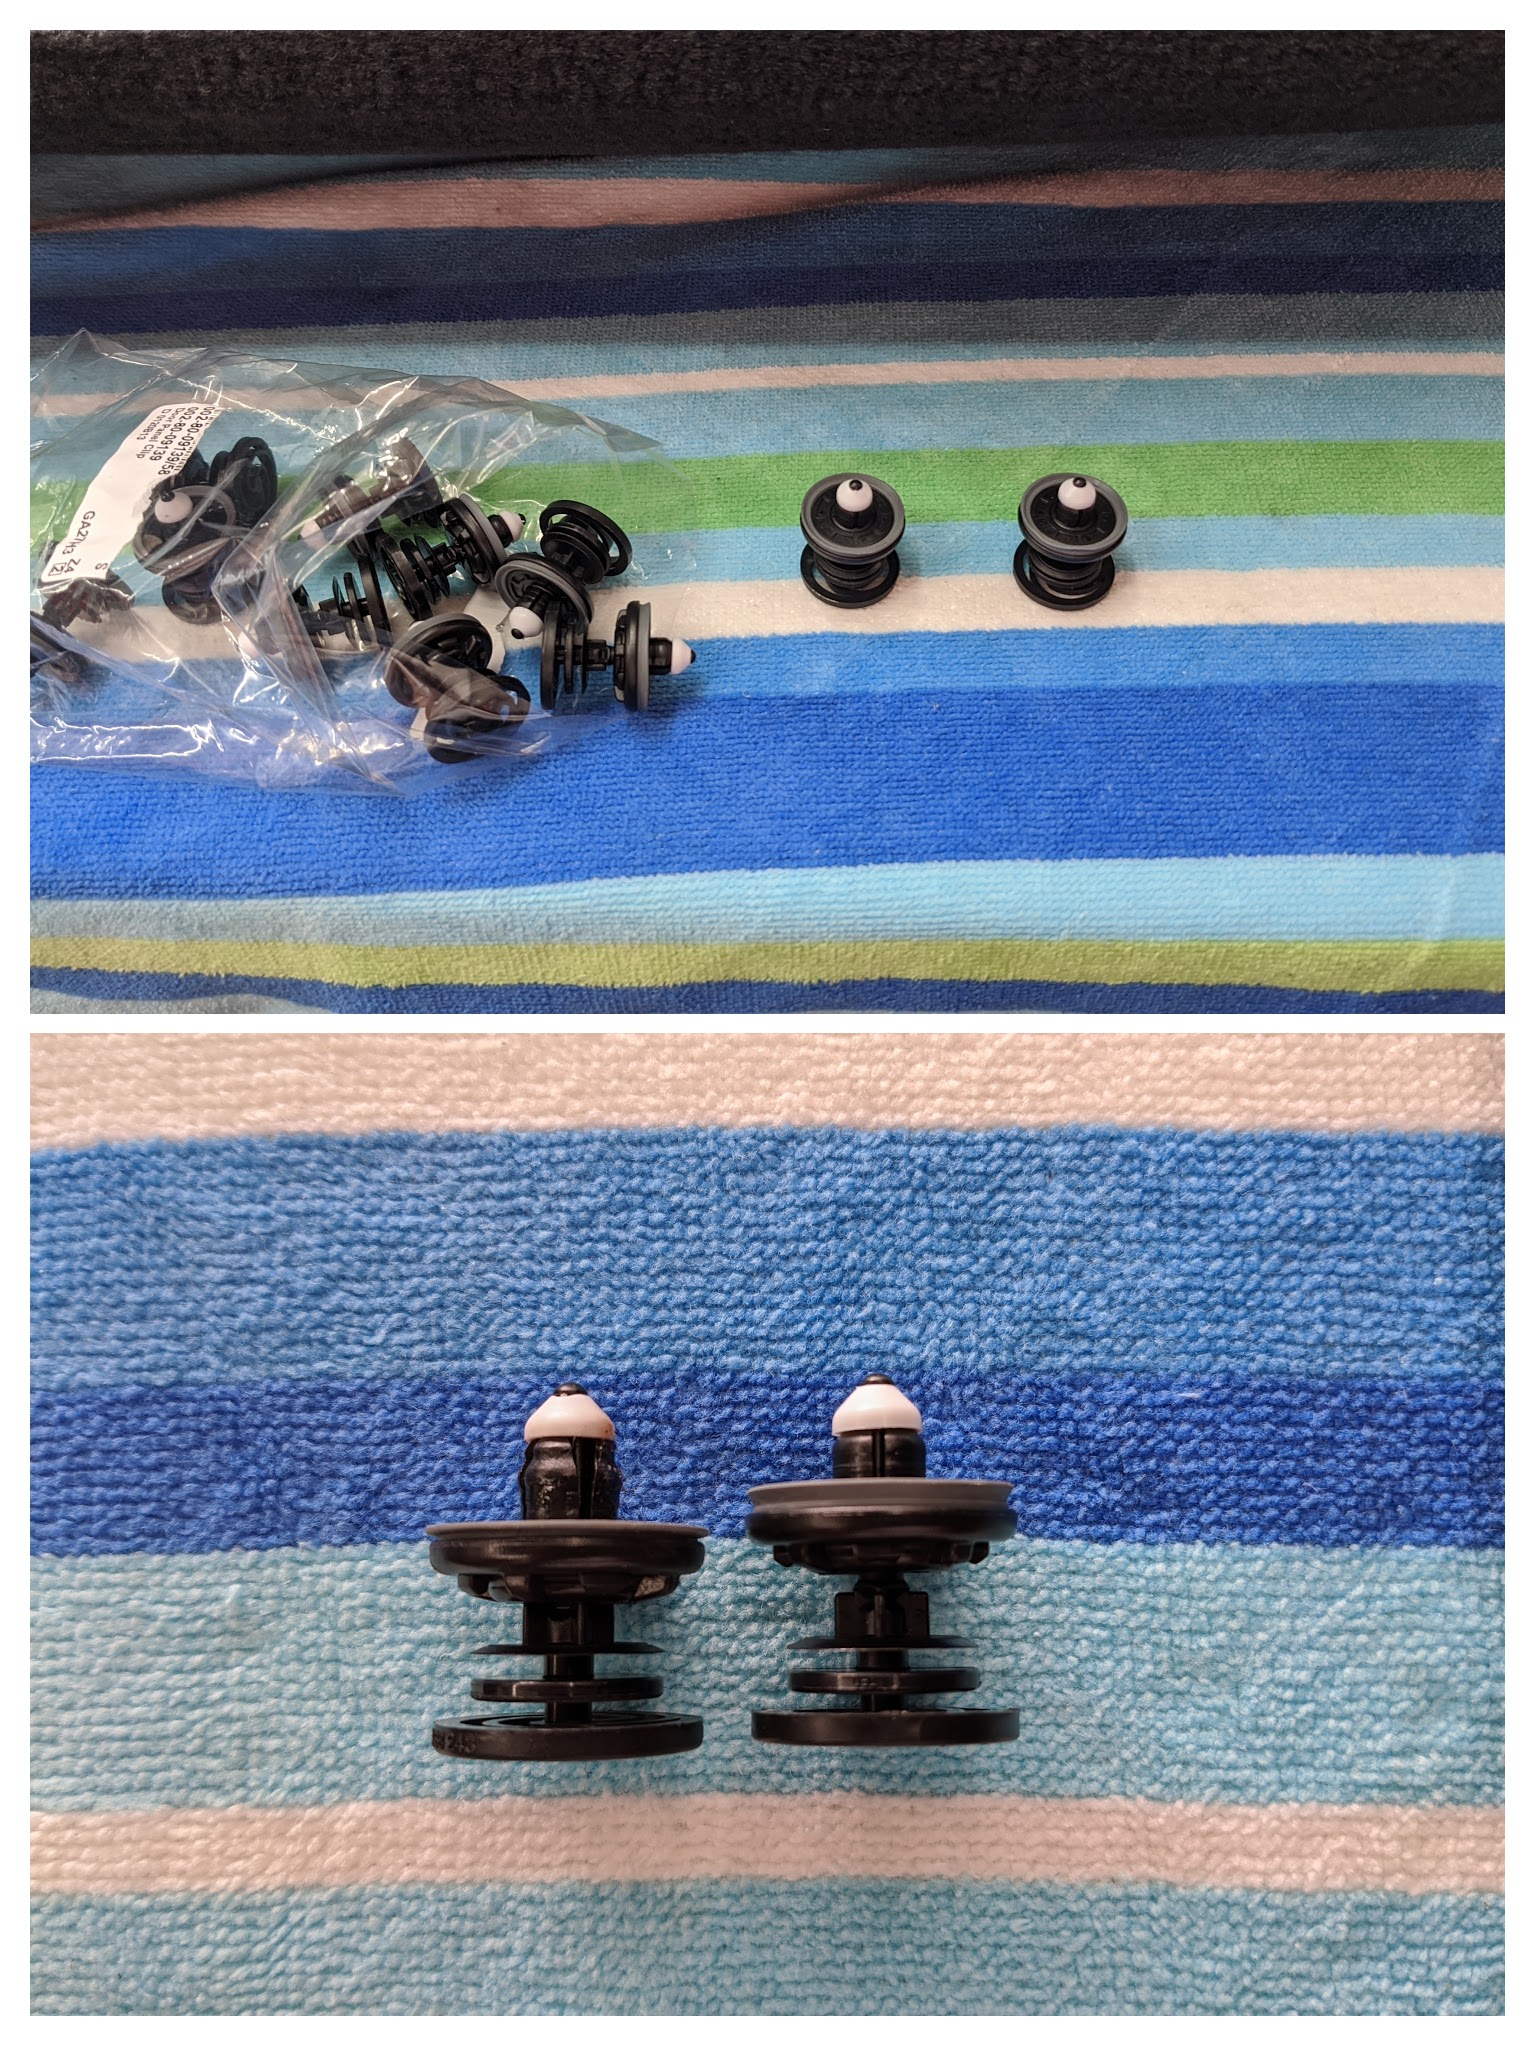
New/old comparisons:
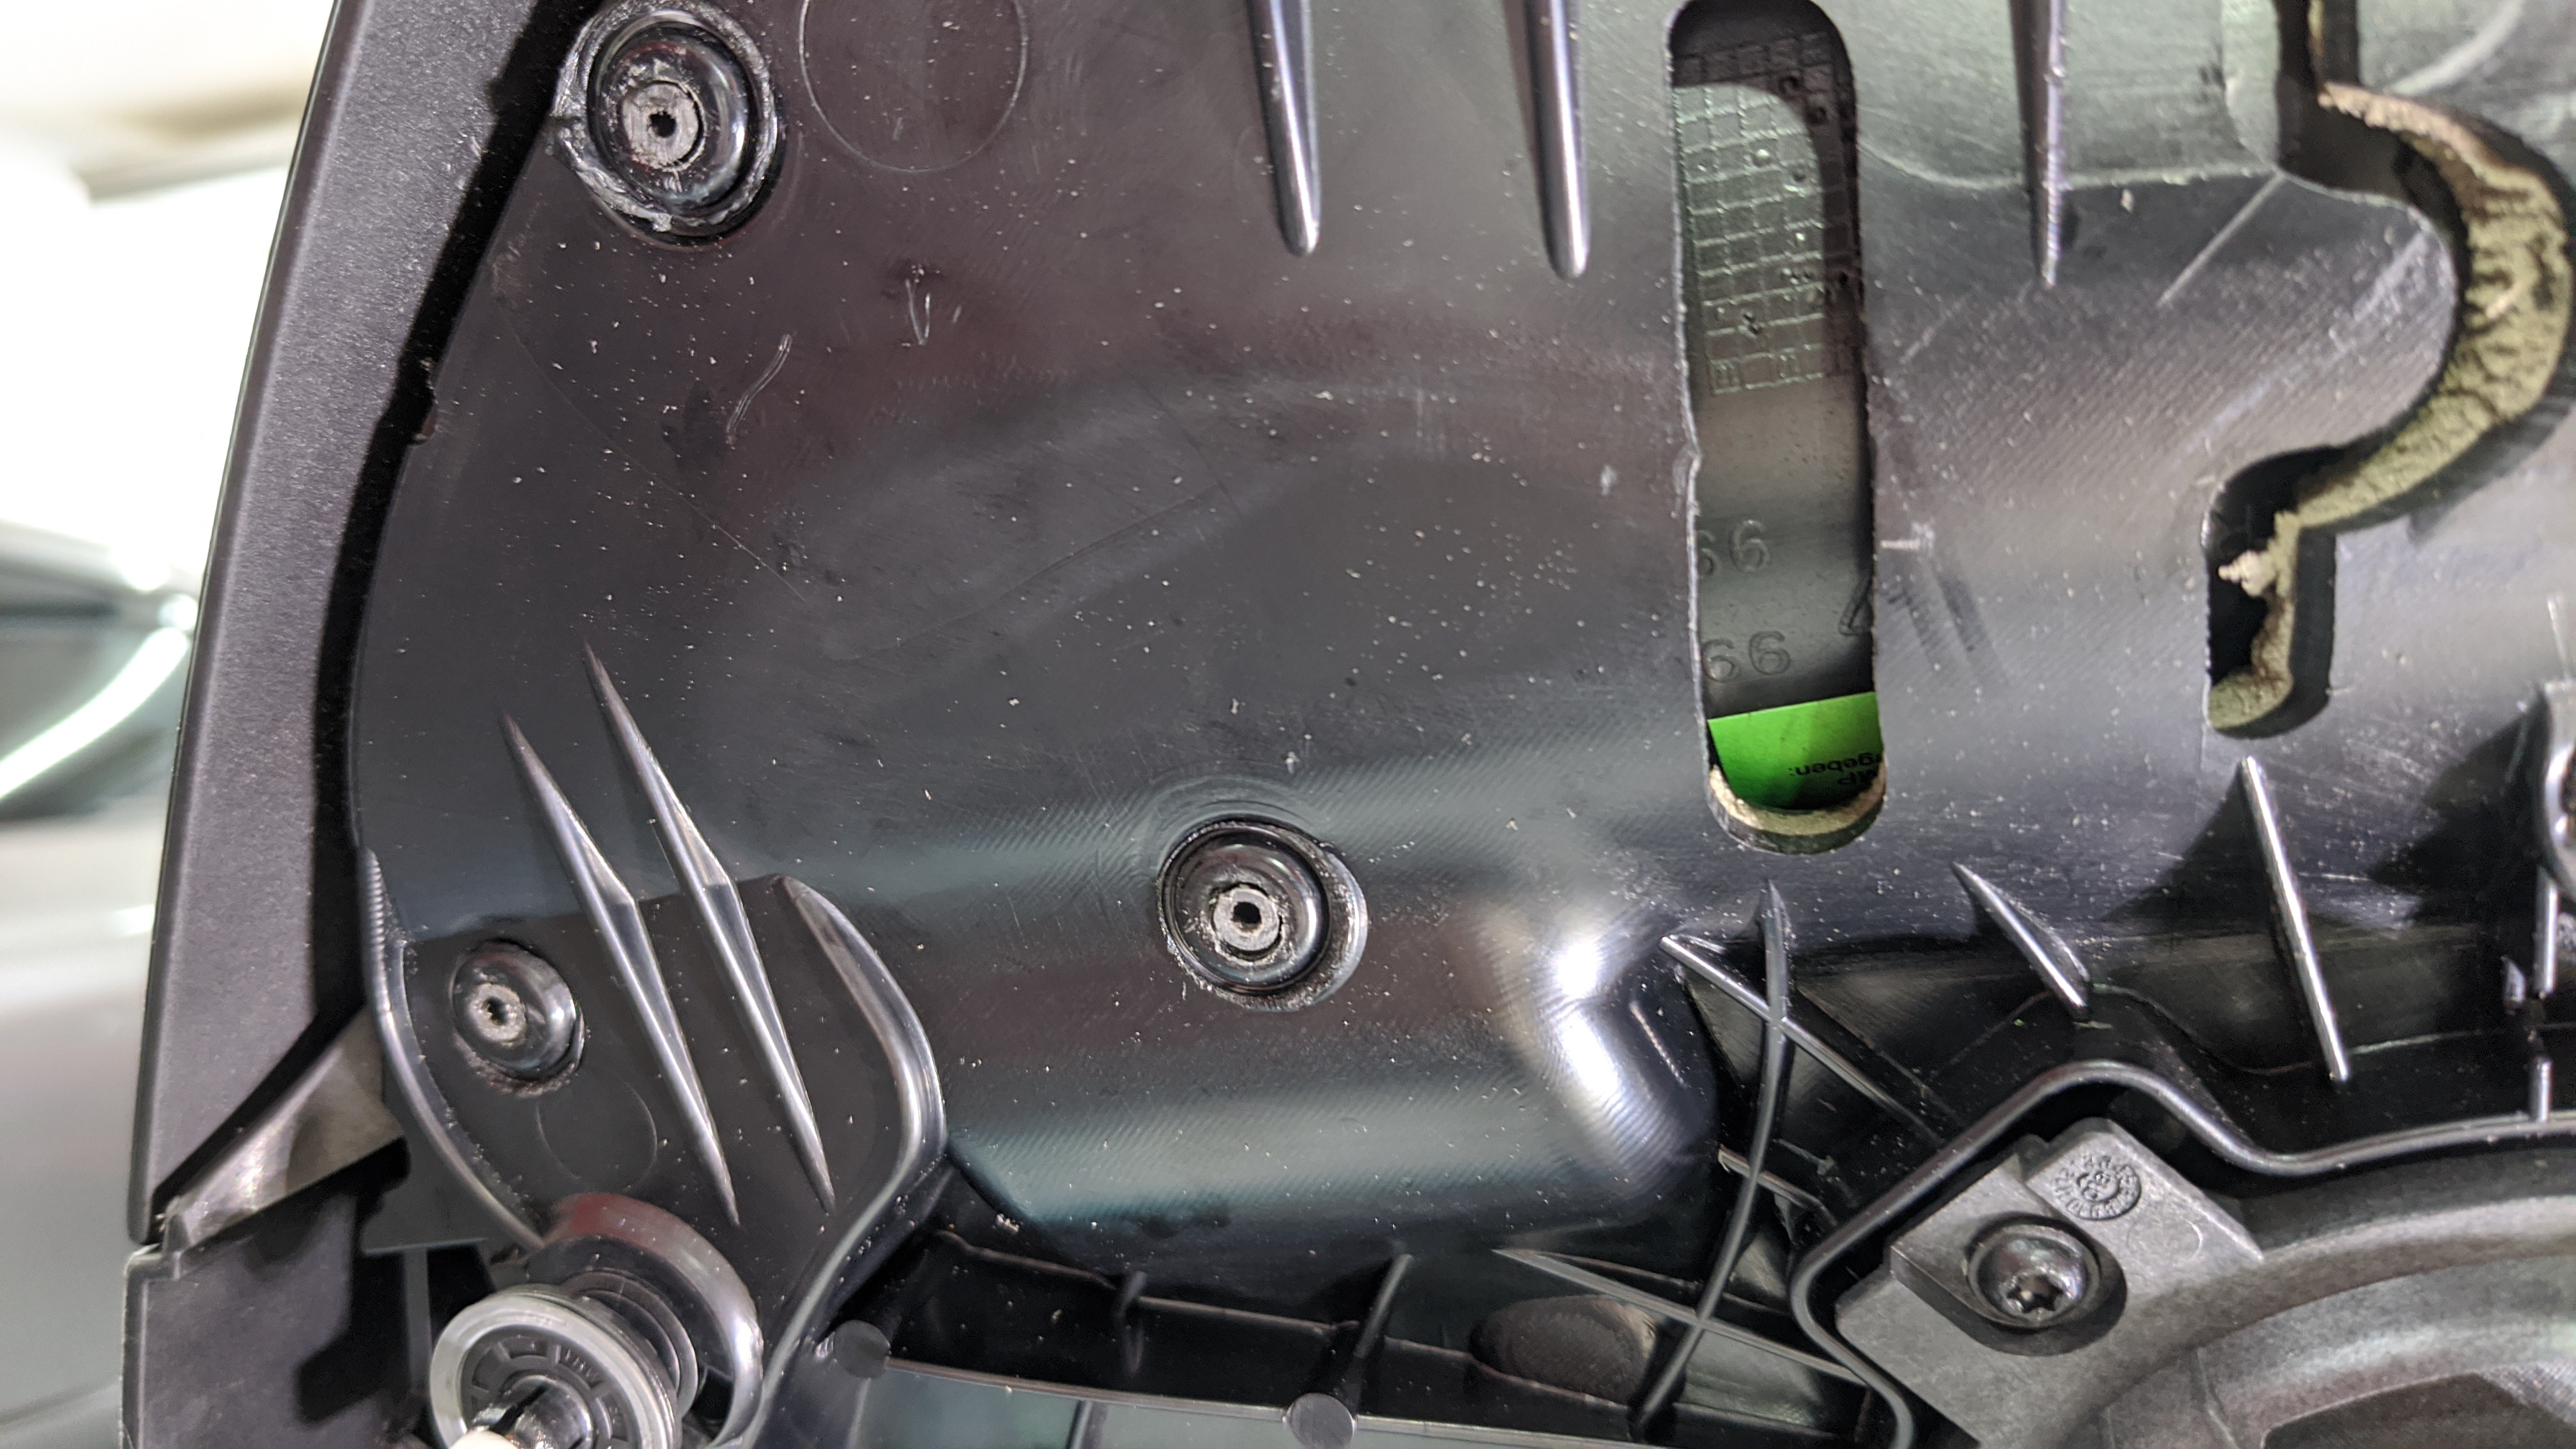
Then I spent some time cutting away the extra melted plastic left behind from the factory.
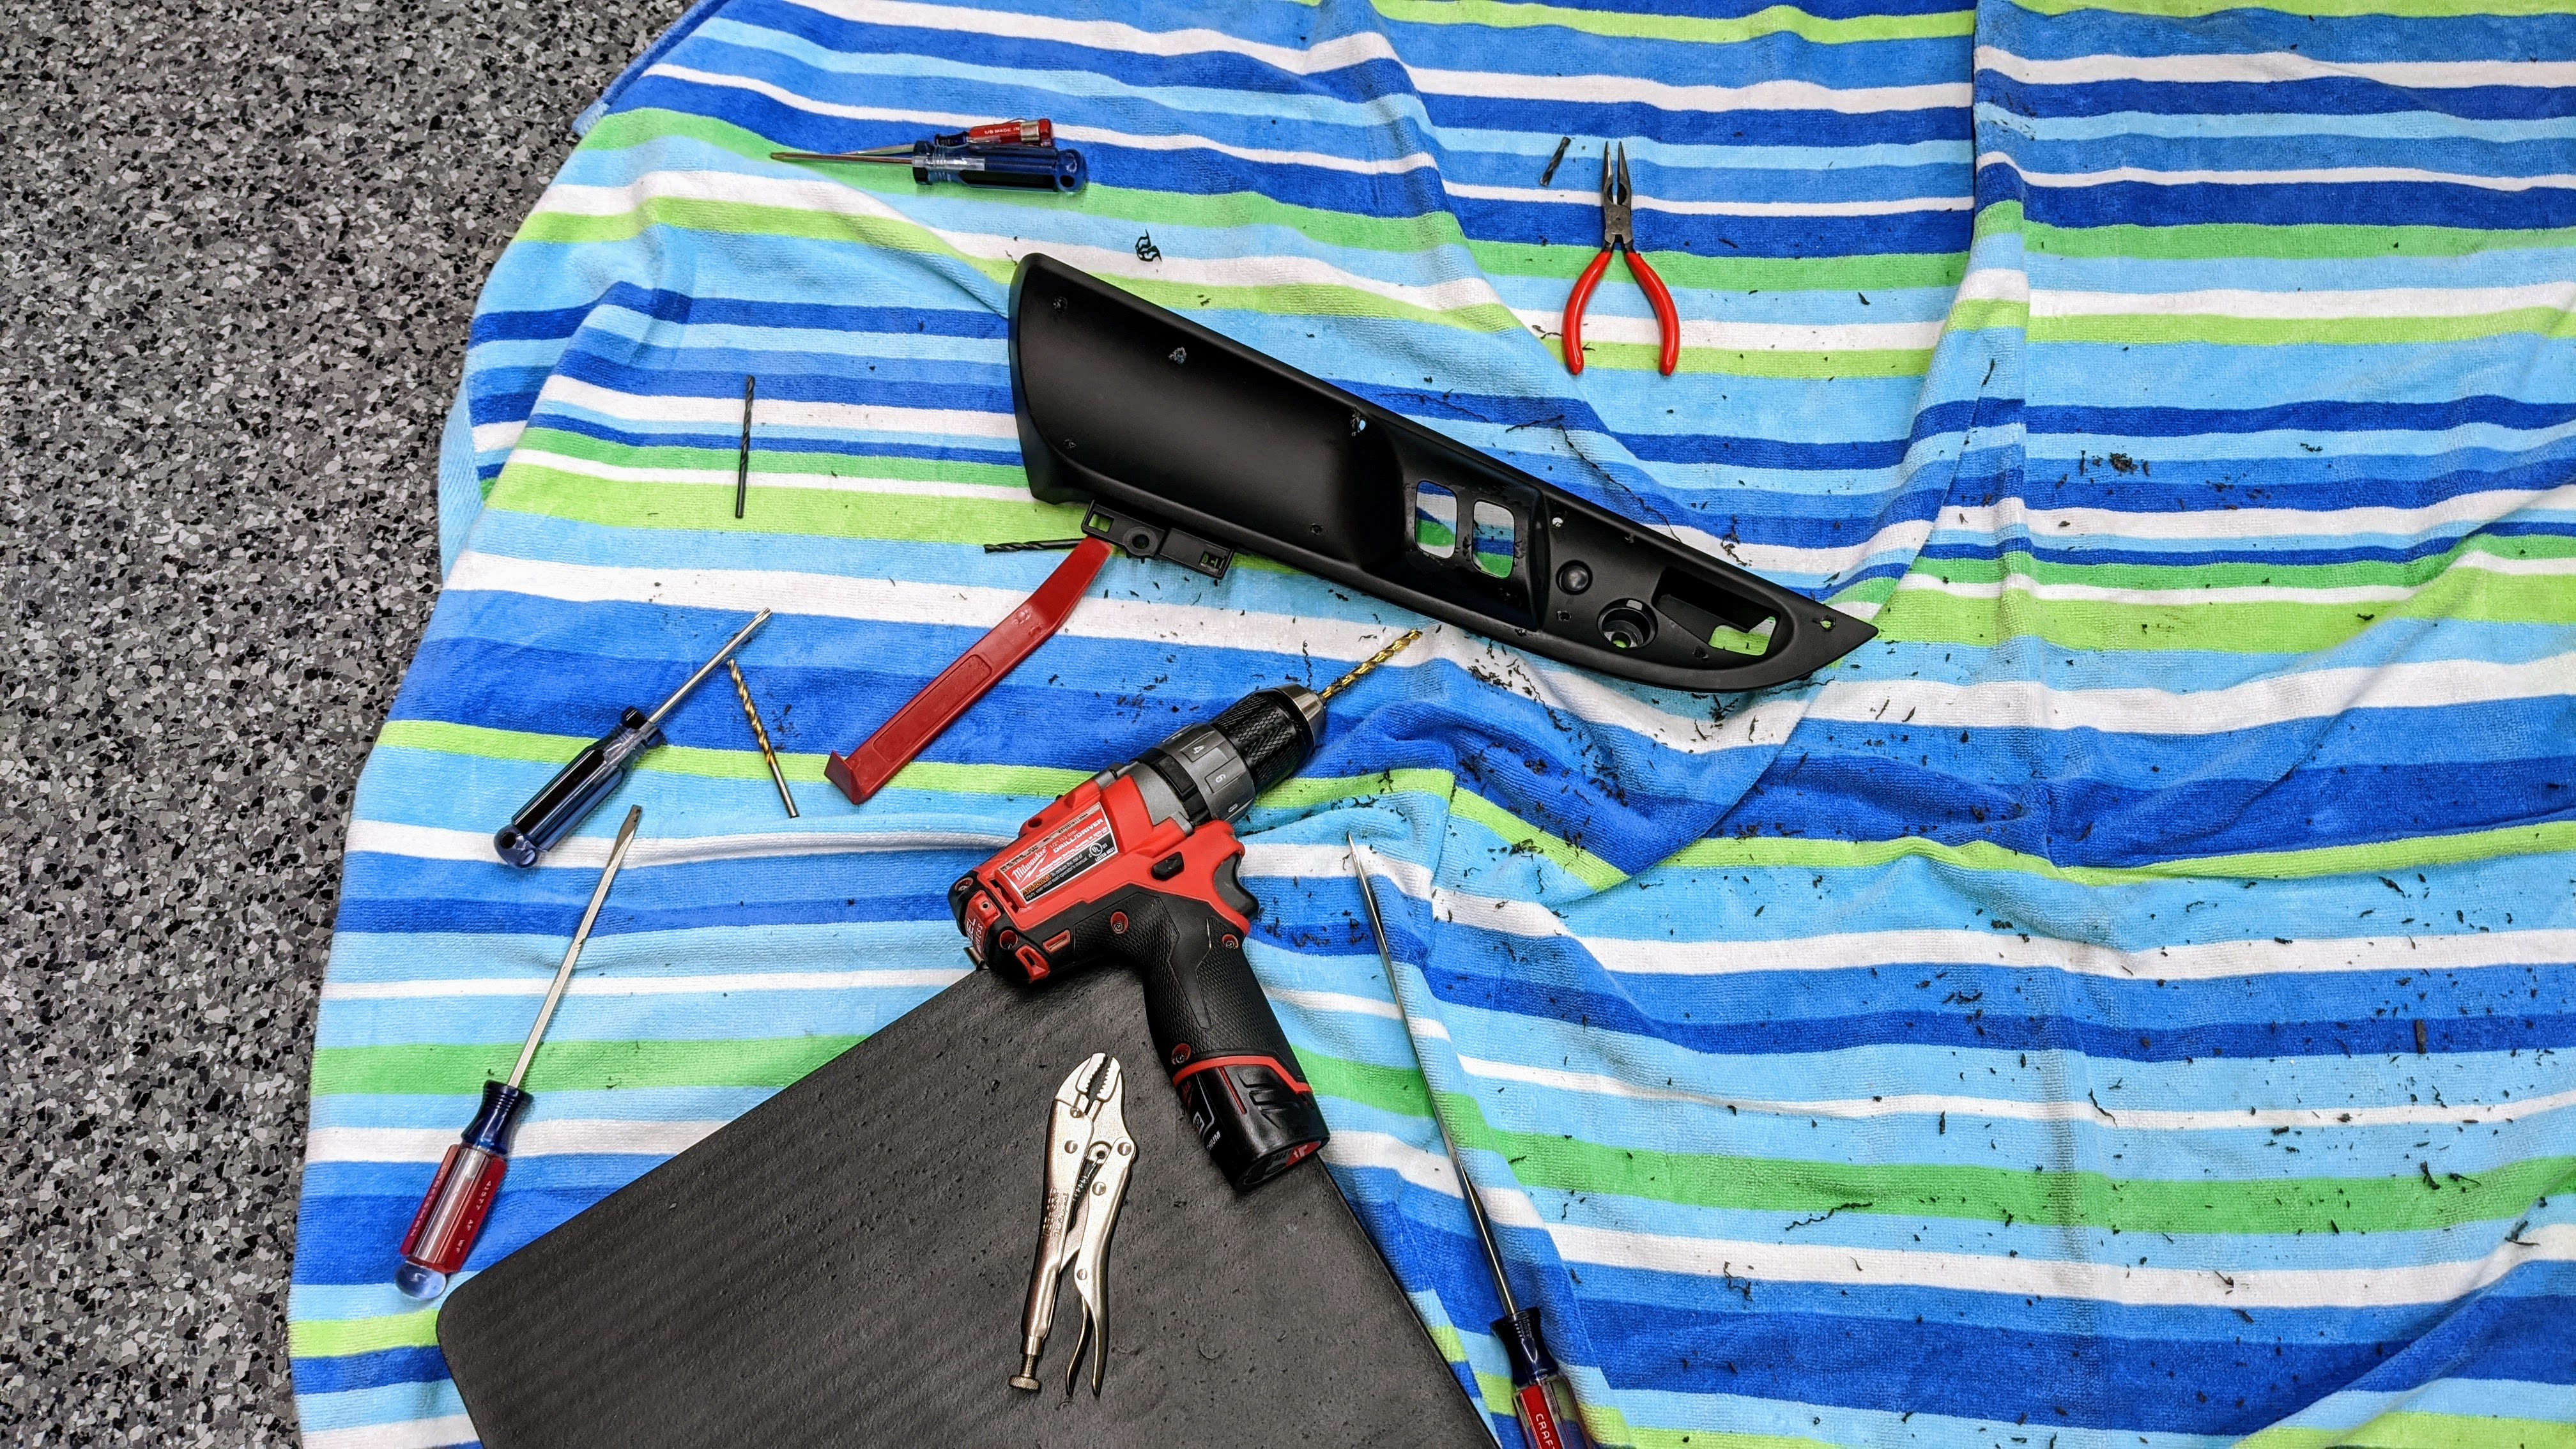
Prepped the holes for insertion.
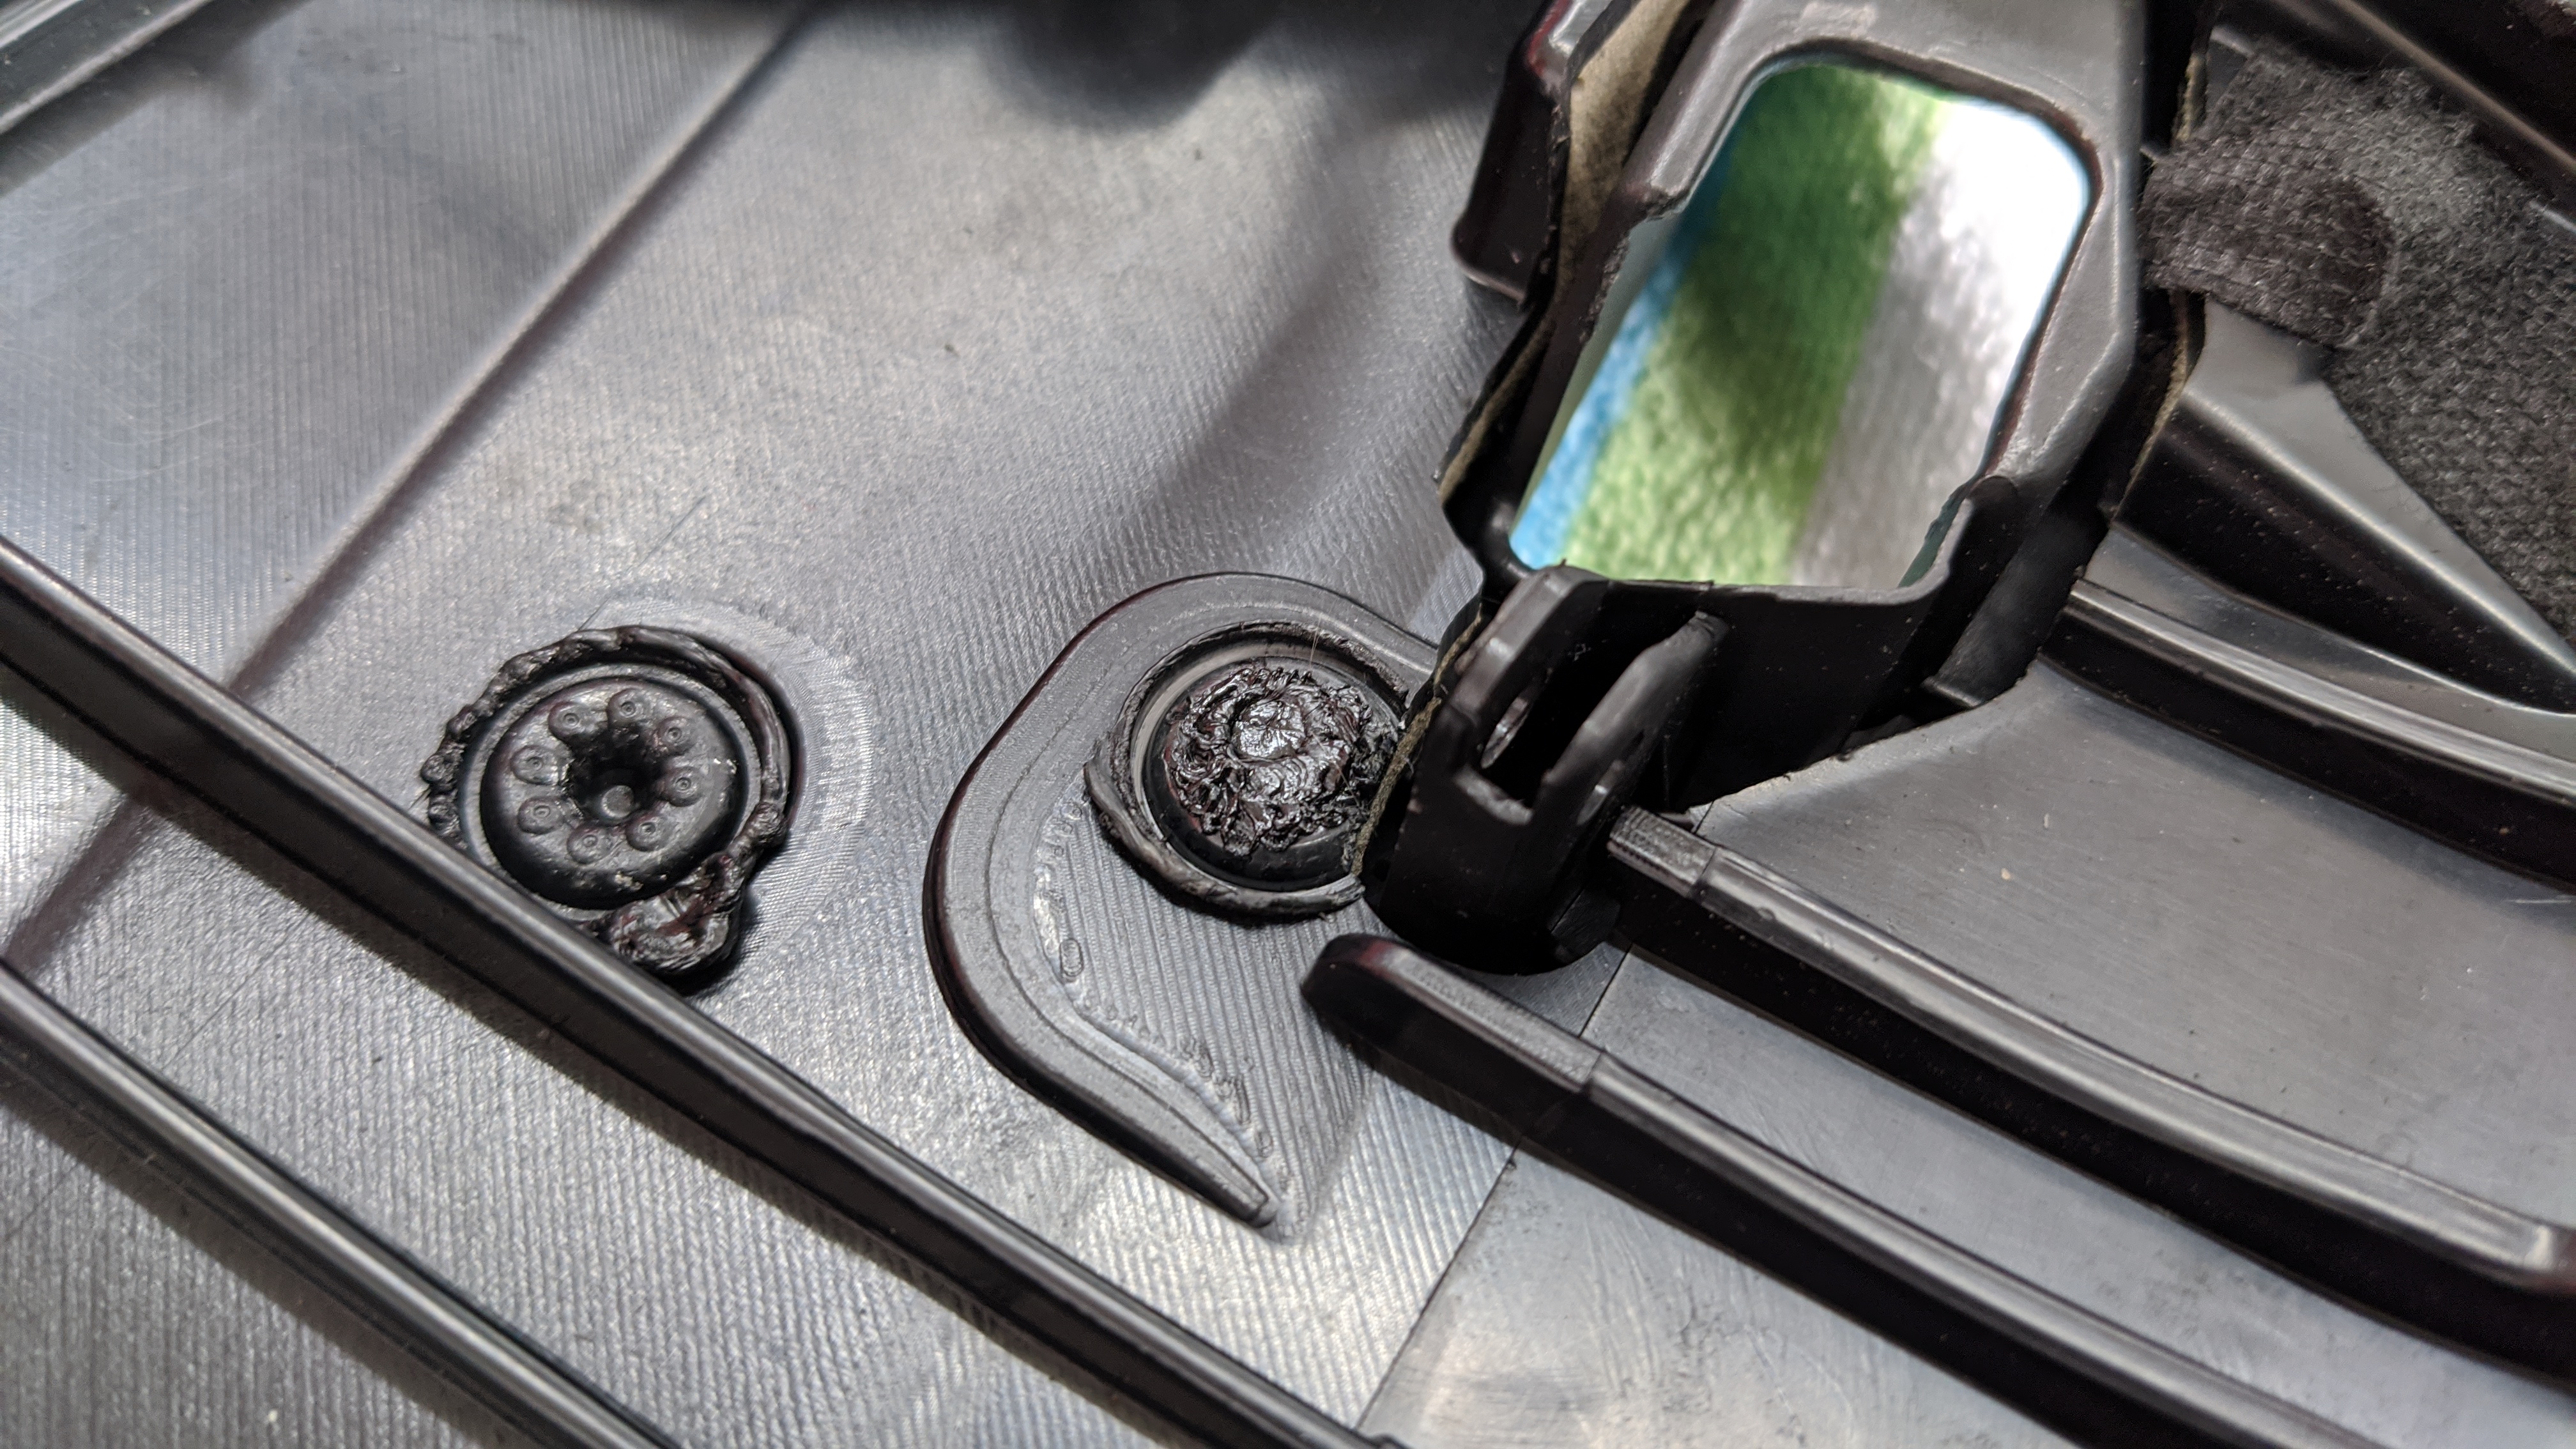
Like others, I decided that I wasn't gonna deal with trying to melt the plastic using a soldering iron (who's got a plastic welder anyway?) but instead, use screws & washers. This has the benefit of making the part easily replaceable in the future while having more control with drawing in the insert uniformly. Fortunately I was able to use existing hardware. I think I measured the pin OD to be 0.220" with an ID of 0.110", and the screw thread OD was 0.140" (5/8" long).
Used a Dremel to cut the pins flush with the door panel.
That's what I'm talking about:
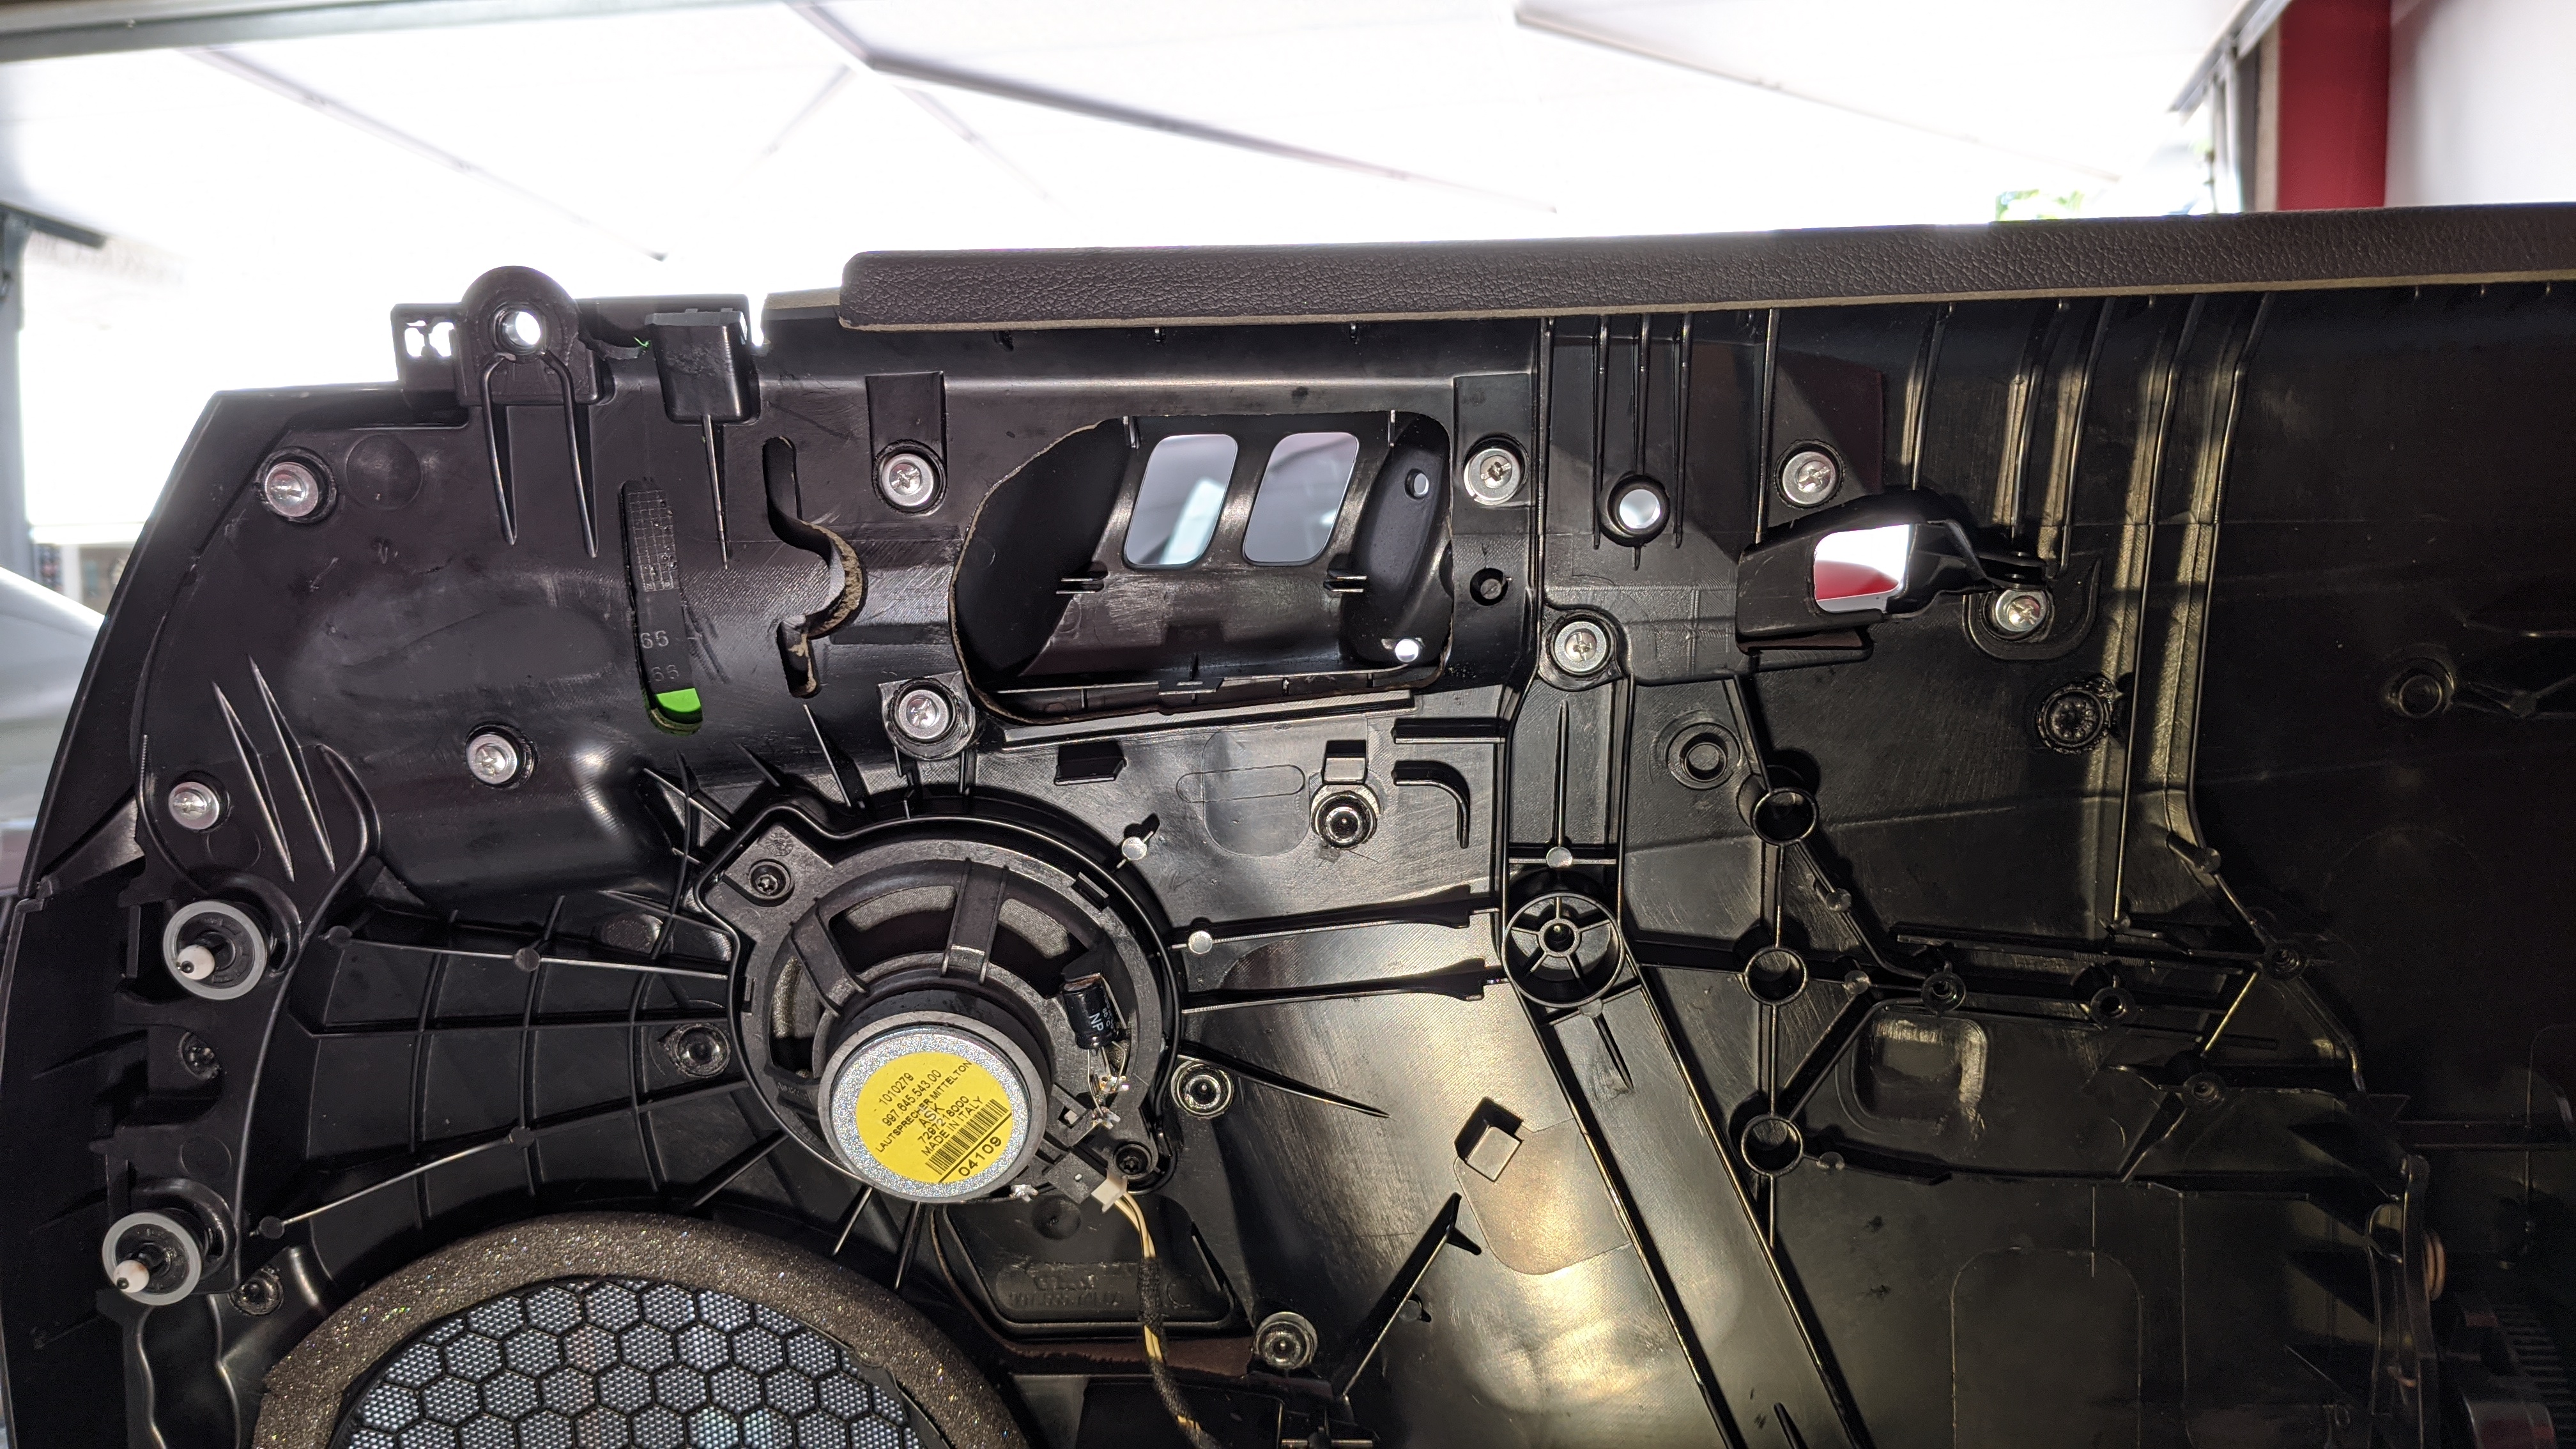
Covered the screw heads with wire loom tape to prevent rubbing (also prevents them from backing out).
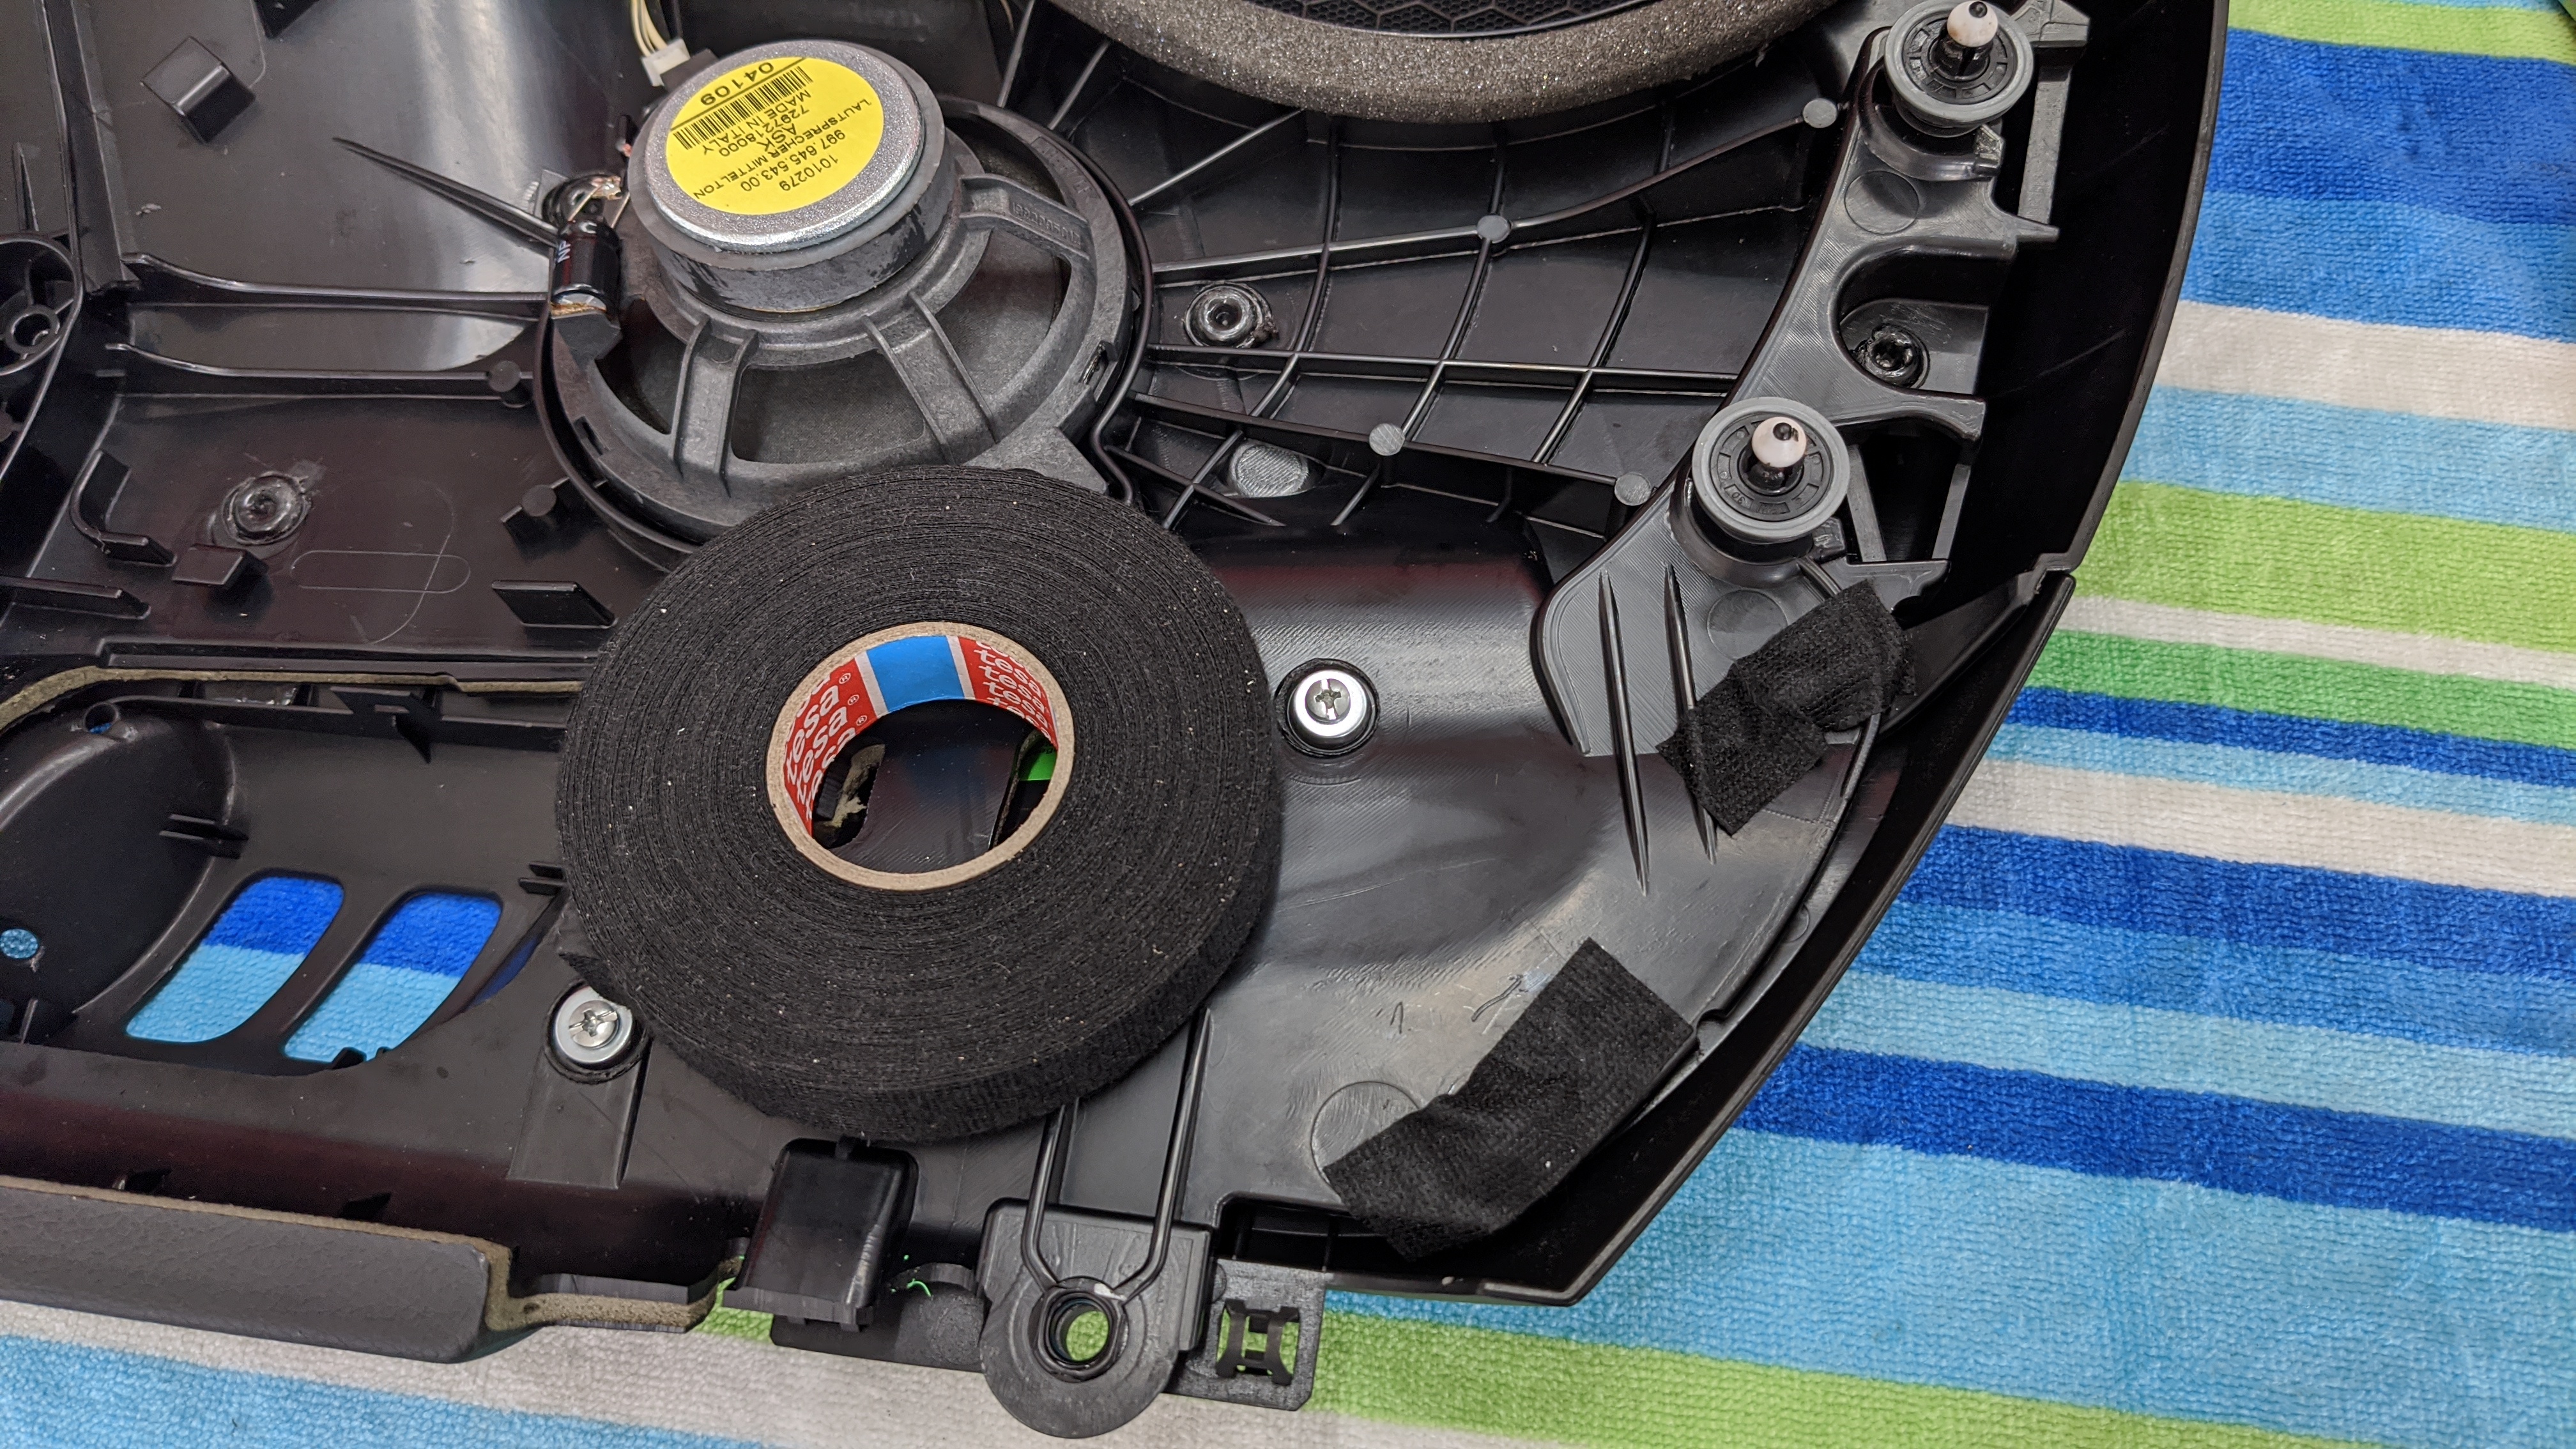
Even though only 2 door clips broke during removal, I replaced all 9. Old plastic is old.
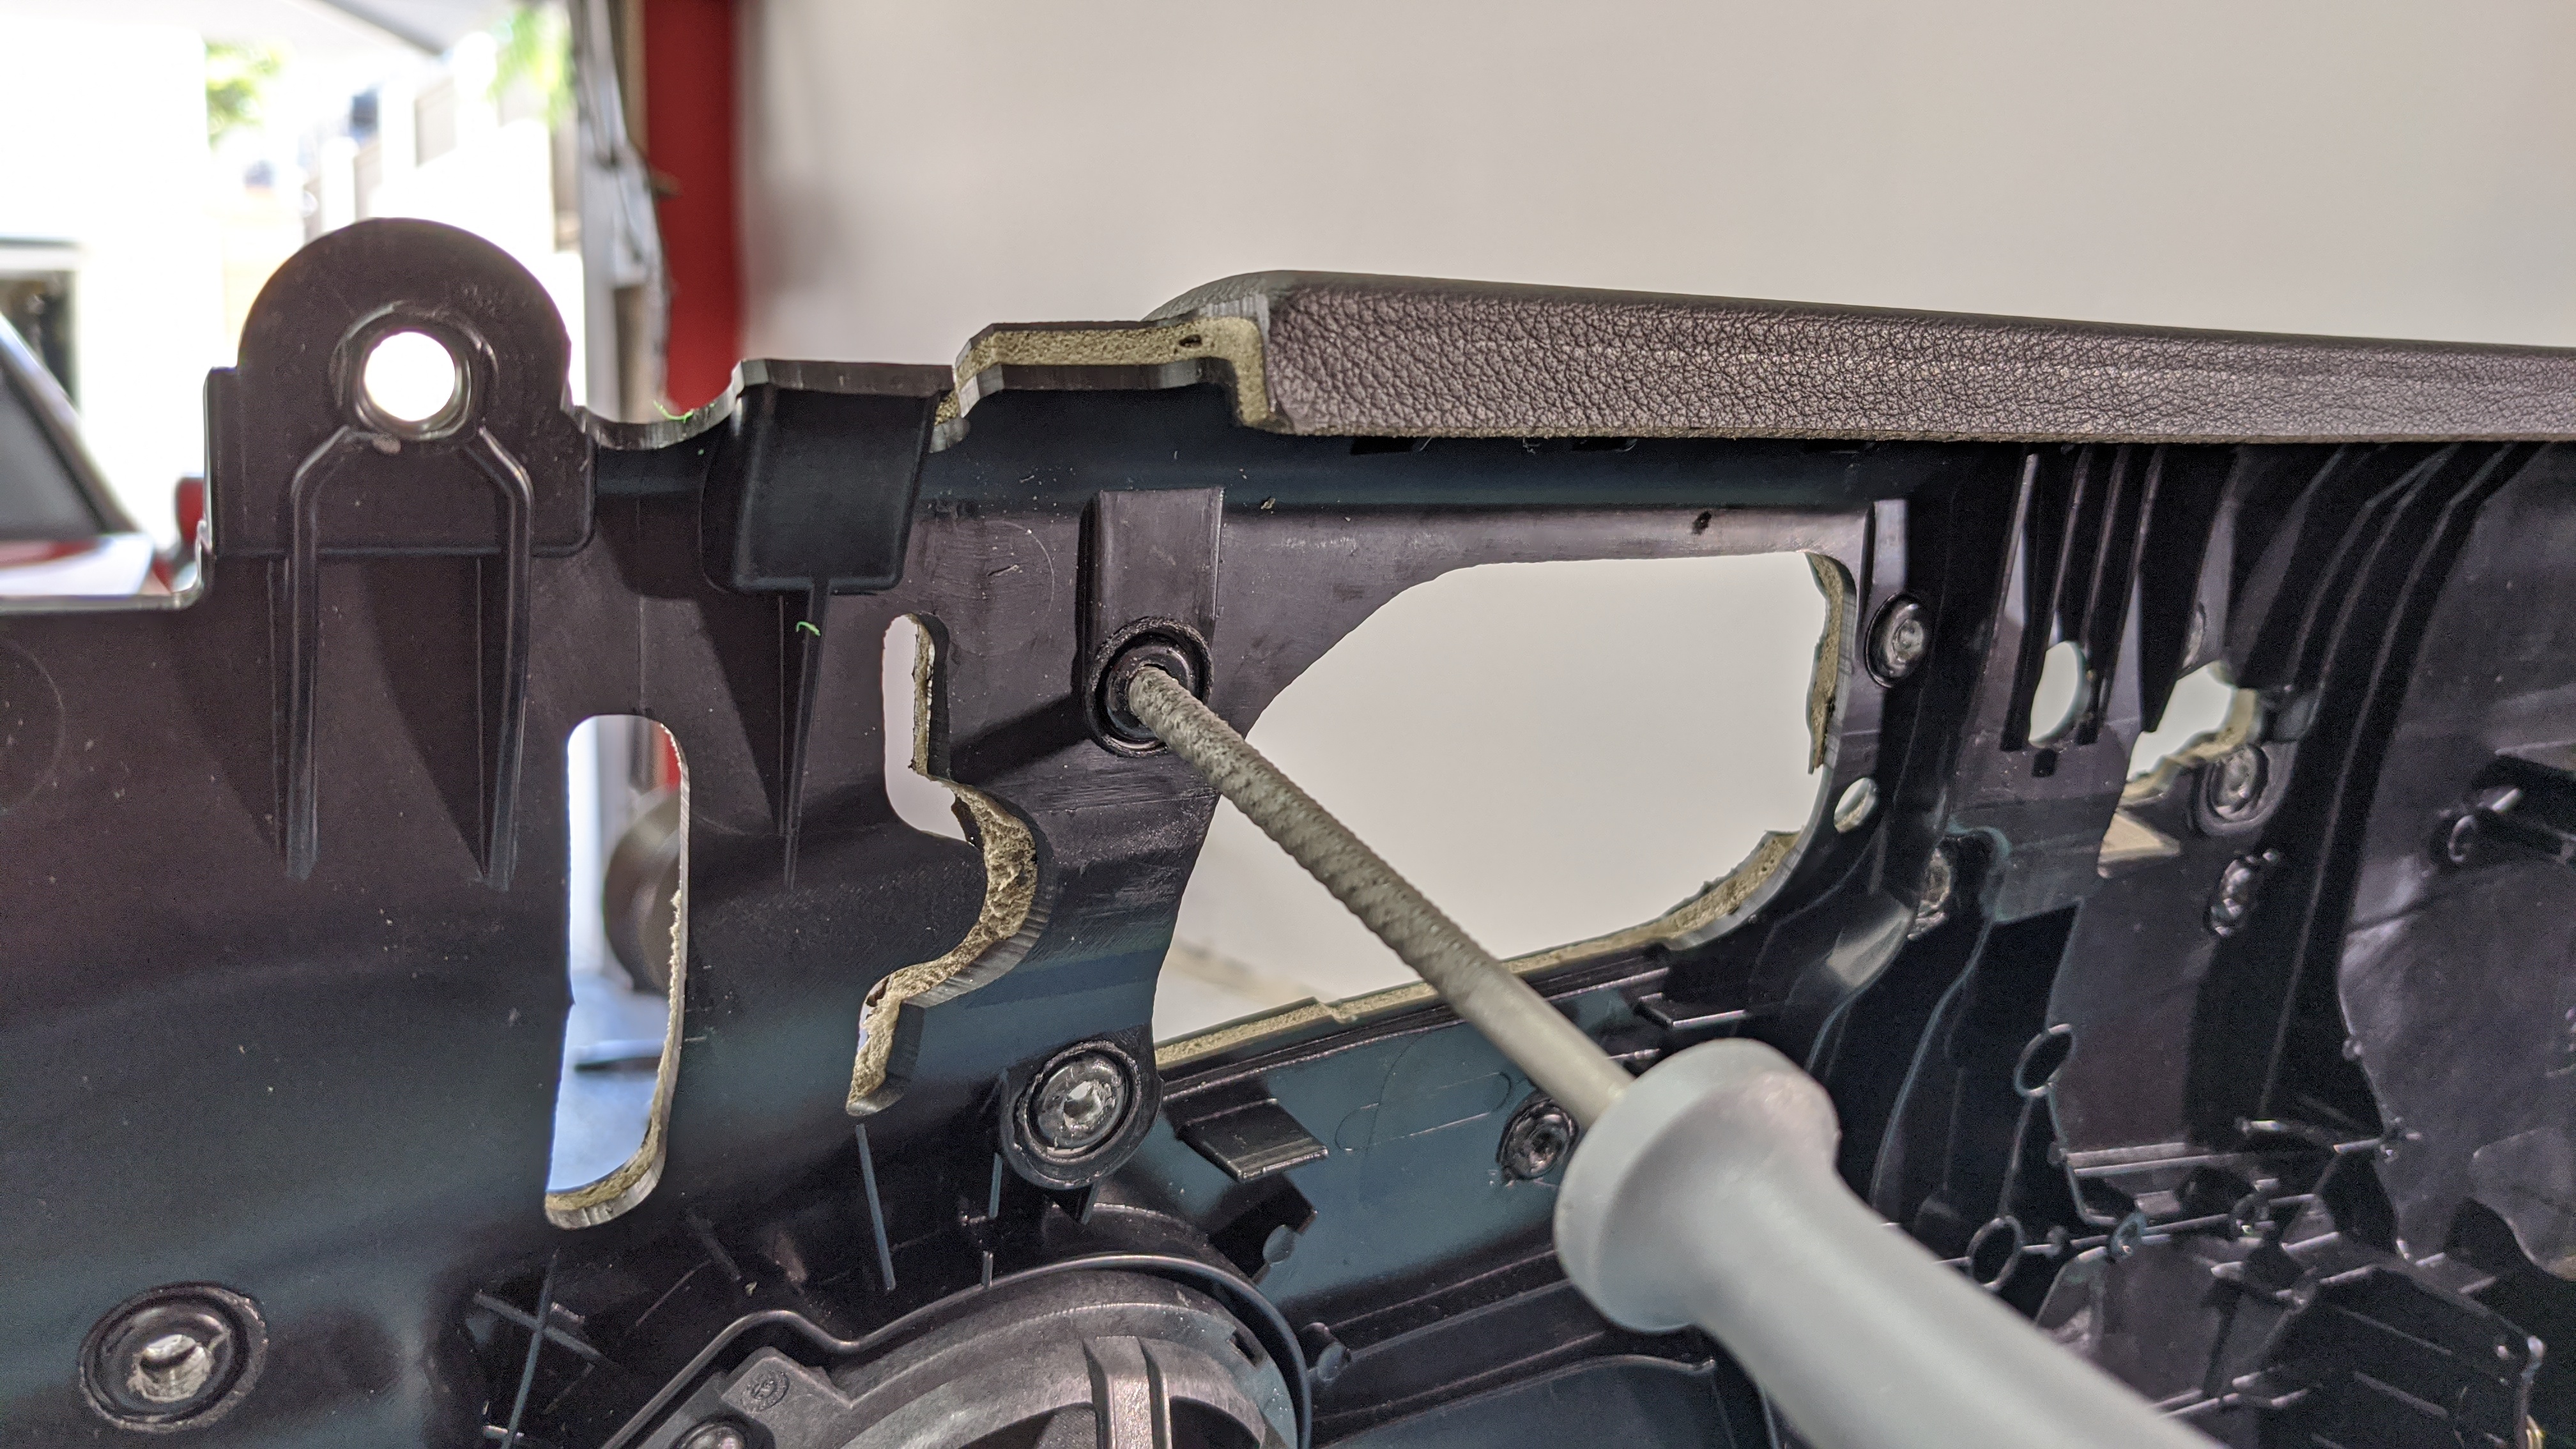
Thought I was home free when I realized the screw head was interfering with the door pivoting mechanism. Even after removing the washer, it wasn't going to clear.
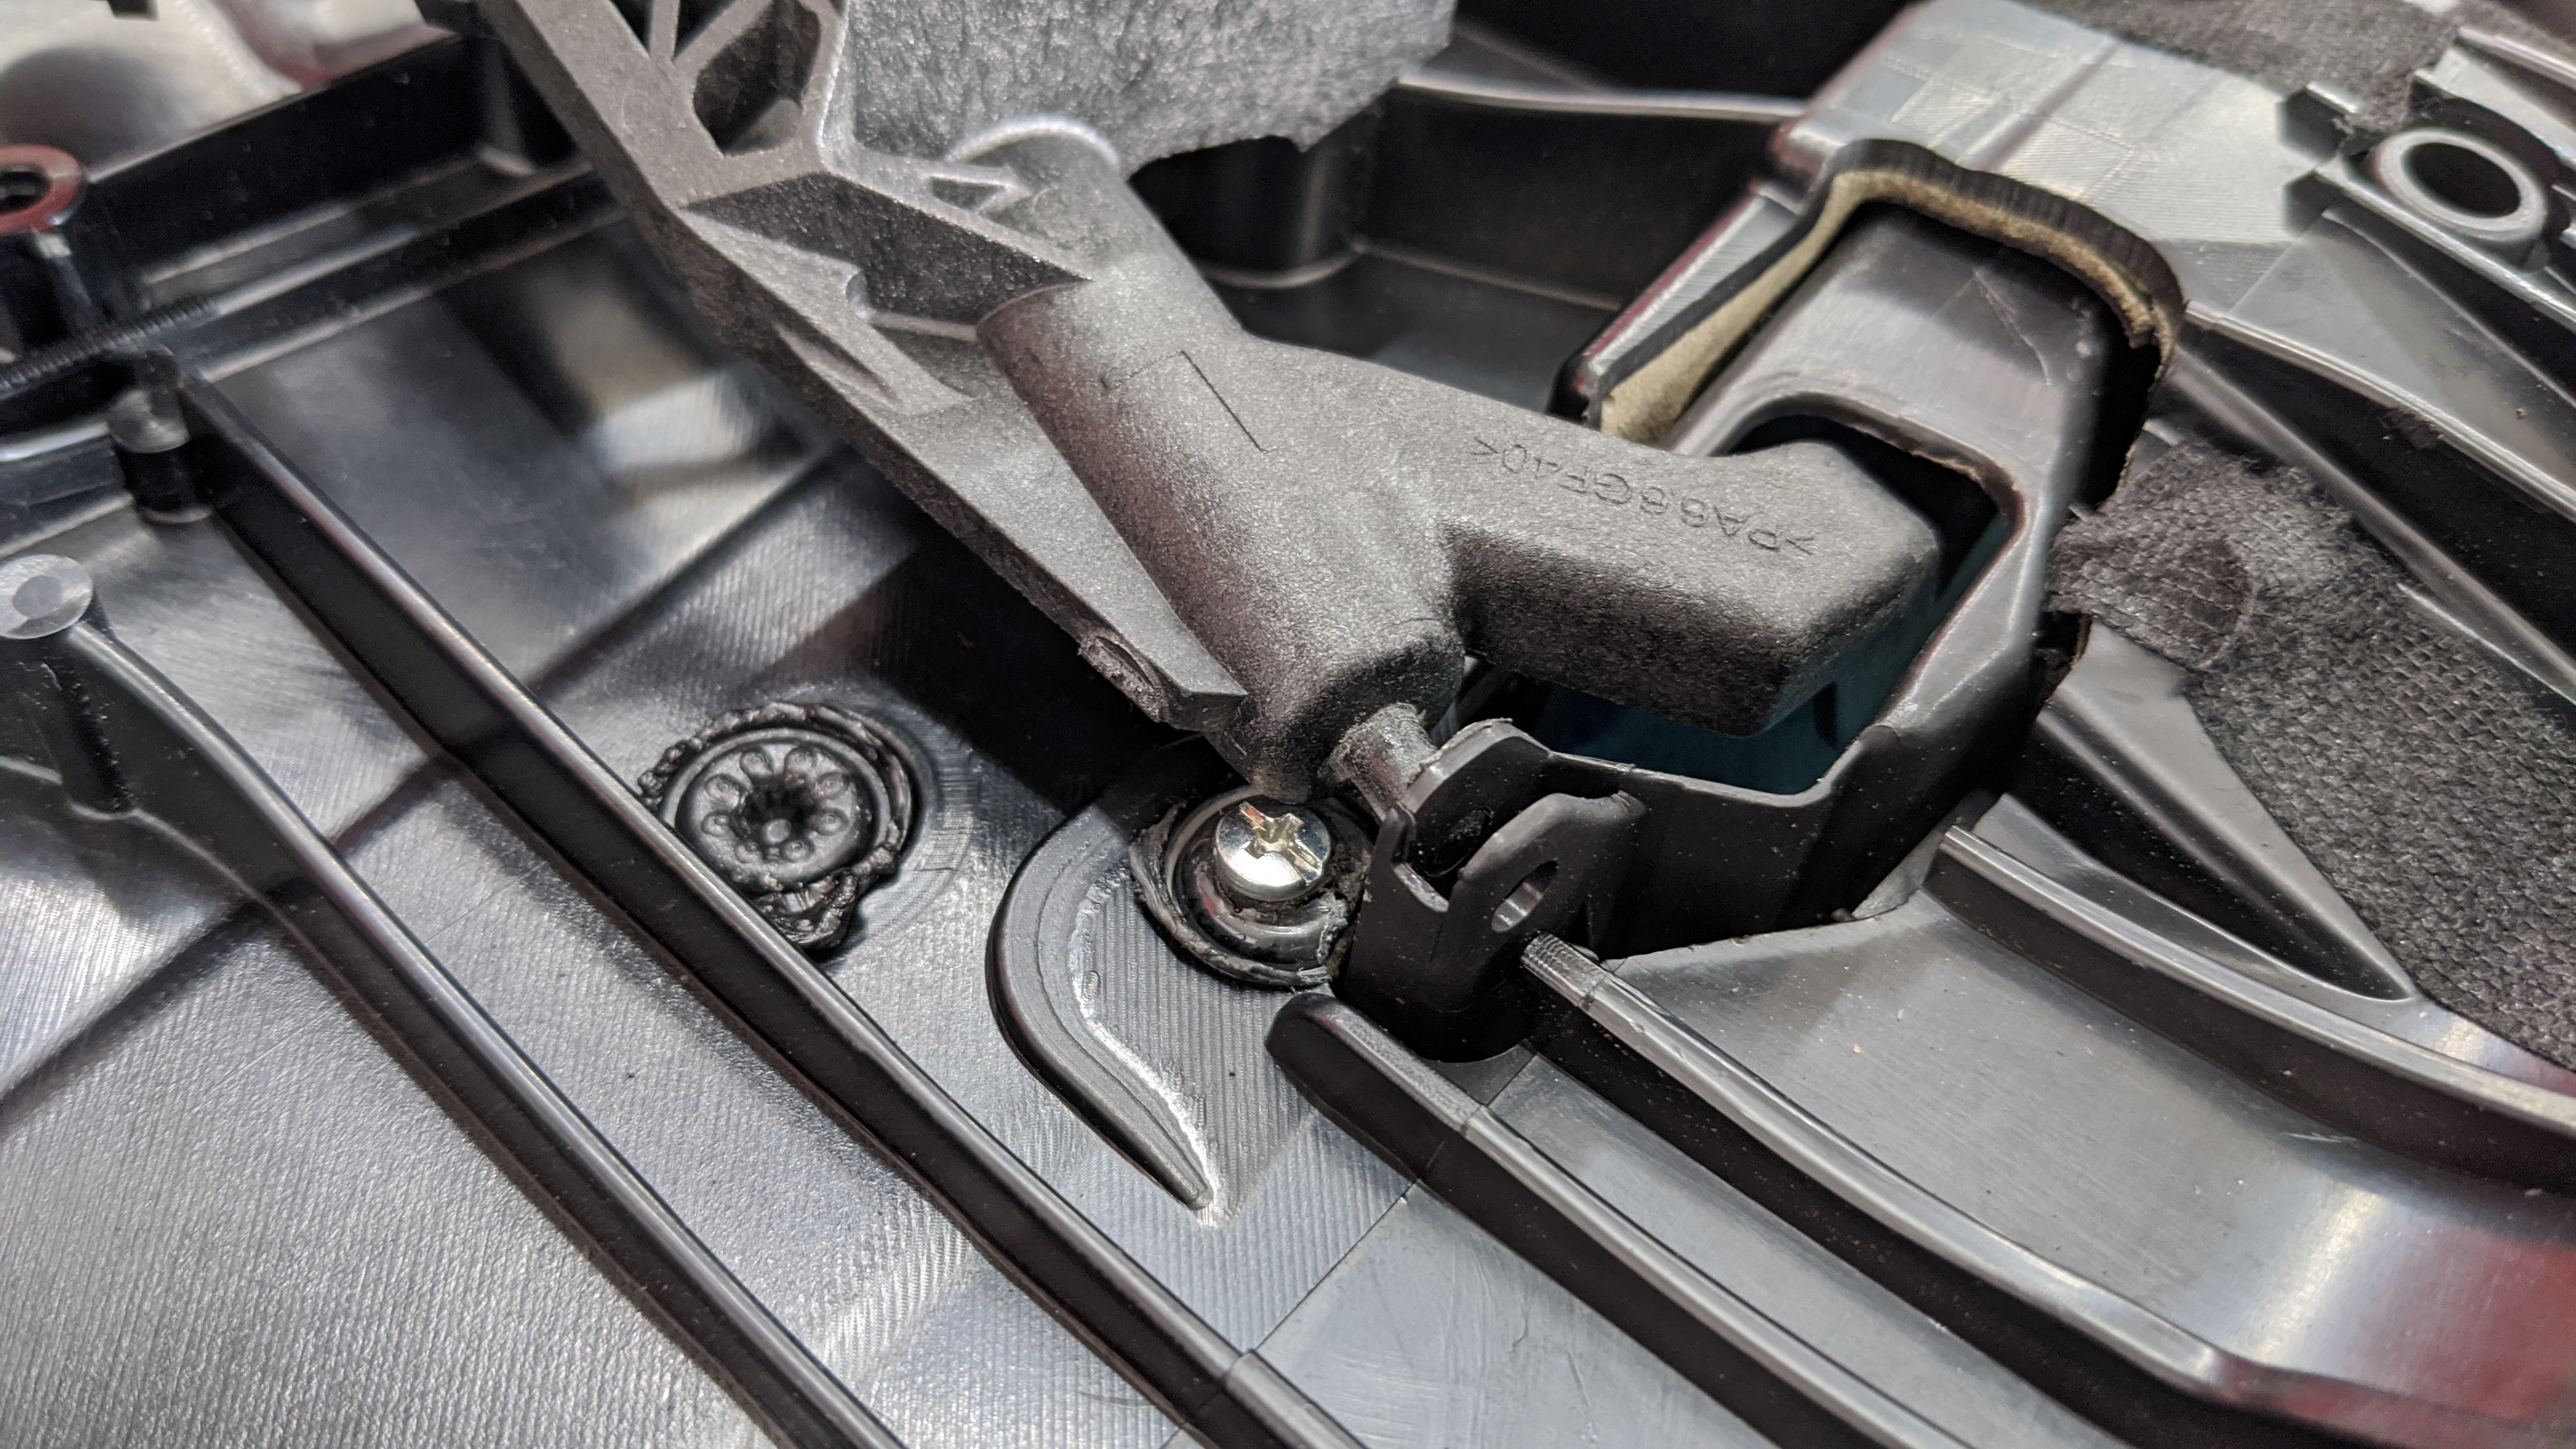
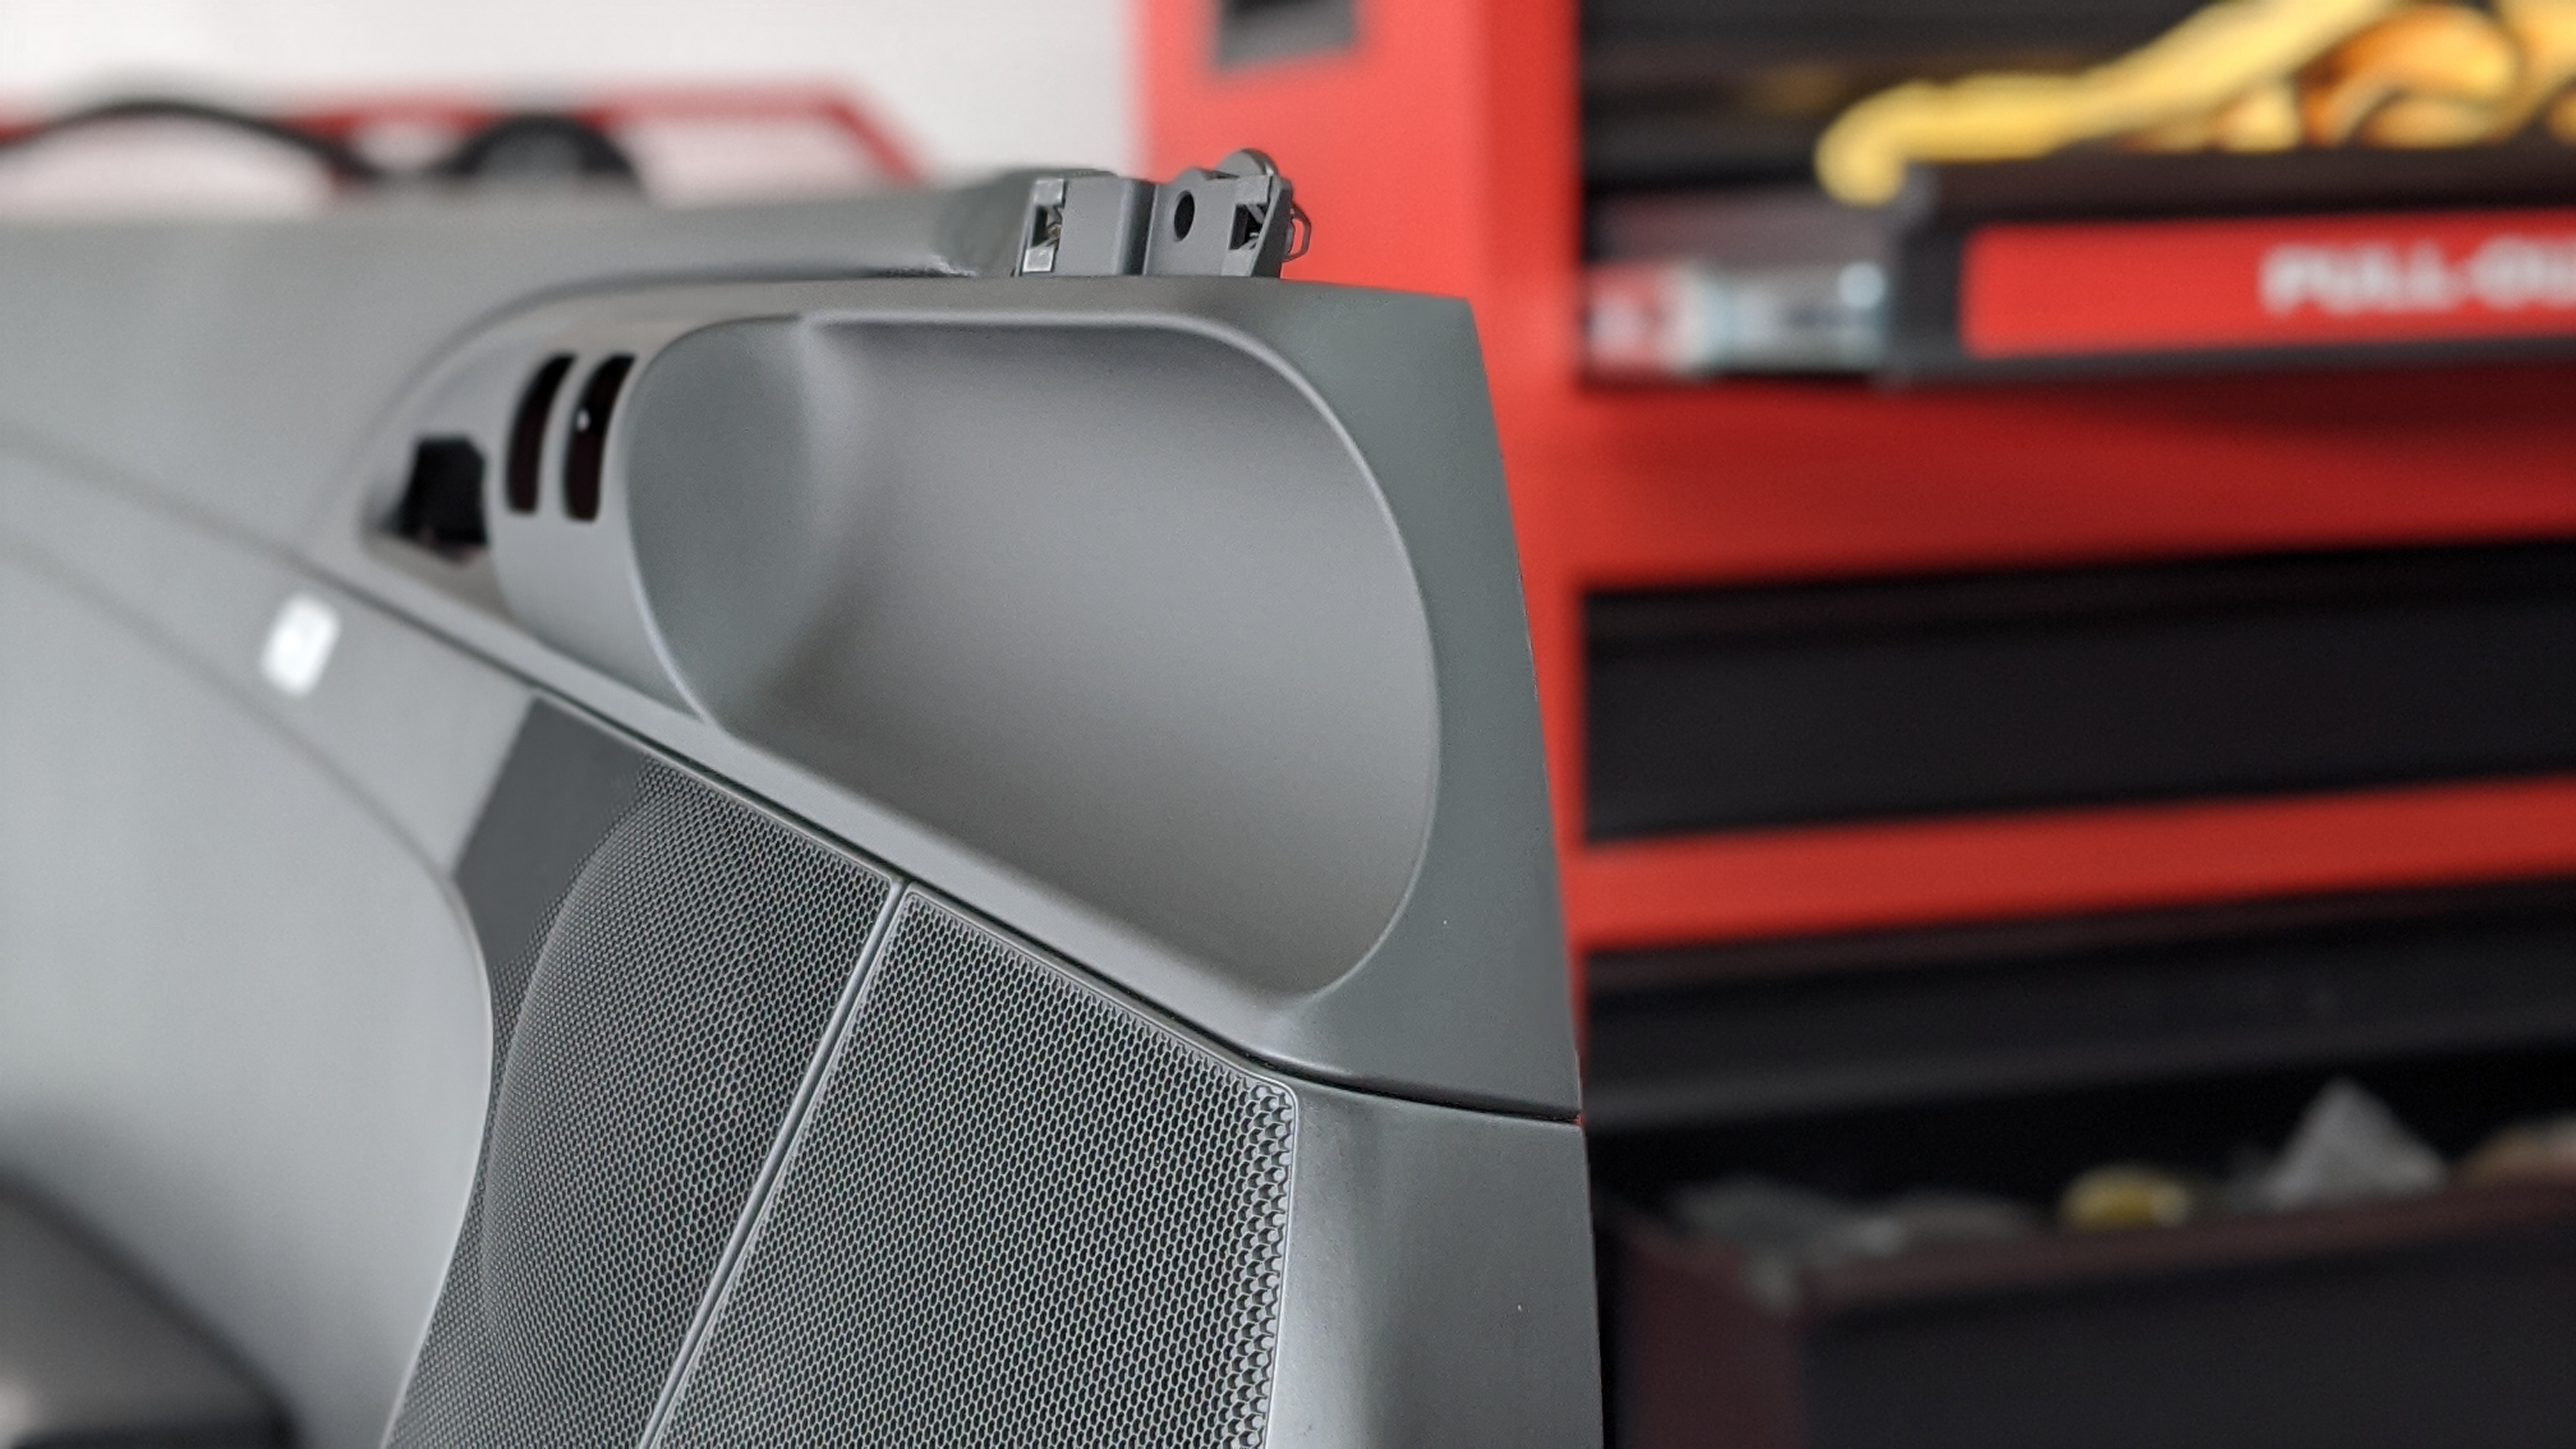
So I found a small piece of plastic that was laying around, busted out the soldering iron, and melted it to make it work. Turned out alright.
And here we are.
You'd think that'd be a pretty straightforward swap, but seeing how I'm addressing this in ownership month #20, yeah, not so much. There are 2 critical steps one needs to take before tackling this task:
Number 1 - disconnect the battery since you'll be disabling an airbag.
Number 2 - get yourself a hot beverage and a chocolate chip cookie (none of that oatmeal raisin nonsense).
As you've probably guessed by now, the door panel needs to be removed. Not terribly difficult, just a few Torx screws neatly tucked away.
After you've disconnected the door handle cable...
...you'll need to pop off the trim for the mirror switch (just 2 clips on the bottom), then disconnect the press-fit connector.
Unfortunately that connector was giving me a hard time so I temporarily taped that assembly to stay out of the way while I popped the door clips off.
As long as the door doesn't suddenly fall, it'll be fine.
Door fell.
The weight of the door yanked the connector out from the switch and ultimate broke it. Soooo buying a new switch wasn't something I was expecting to do that day.
While searching for the switch, I got notified about another Etsy photo sale which covered the cost of the switch. Thanks DL from Long Beach!
Door panel removed.
So here's the deal: that trim insert isn't held in by clips, tabs, screws, glue, double-side tape, peanut butter, or honey. No, it's held in by 9 plastic pins/posts that are welded to the door panel.
Which means the official procedure for removing the insert is drilling them out, then using a plastic welder to attach the new one. Who thought this was a good idea?
And how the hell did I break a drill bit?! Pre-load & heat, is what I reckon.
An absolute mess but finally got it out.
New/old comparisons:
Then I spent some time cutting away the extra melted plastic left behind from the factory.
Prepped the holes for insertion.
Like others, I decided that I wasn't gonna deal with trying to melt the plastic using a soldering iron (who's got a plastic welder anyway?) but instead, use screws & washers. This has the benefit of making the part easily replaceable in the future while having more control with drawing in the insert uniformly. Fortunately I was able to use existing hardware. I think I measured the pin OD to be 0.220" with an ID of 0.110", and the screw thread OD was 0.140" (5/8" long).
Used a Dremel to cut the pins flush with the door panel.
That's what I'm talking about:
Covered the screw heads with wire loom tape to prevent rubbing (also prevents them from backing out).
Even though only 2 door clips broke during removal, I replaced all 9. Old plastic is old.
Thought I was home free when I realized the screw head was interfering with the door pivoting mechanism. Even after removing the washer, it wasn't going to clear.
So I found a small piece of plastic that was laying around, busted out the soldering iron, and melted it to make it work. Turned out alright.
And here we are.
The following 4 users liked this post by kiznarsh:
09-15-2020, 02:57 AM
#138
Rennlist Member
Amazing as usual. Love the detail in your DIY guides. Thanks!
09-15-2020, 09:34 AM
#140
Addict
Rennlist Member
Rennlist Member
Awesome write up, thank you!
Nice work too, that’s a major cosmetic upgrade IMHO.
Nice work too, that’s a major cosmetic upgrade IMHO.
09-15-2020, 06:07 PM
#141
Rennlist Member
Thread Starter
09-16-2020, 02:08 AM
#142
Banned

Join Date: Mar 2011
Location: Spring Lake, NJ, US of A
Posts: 10,085
Received 1,150 Likes
on
763 Posts
Great writeup. I was thinking those bits on my car would look good if they matched the newly painted console.. but after seeing the plastic rivets I'm not so sure. Wonder if it would be possible to reassemble it with some 3M double-sided emblem tape?
09-16-2020, 03:43 PM
#143
Rennlist Member
Thread Starter
Overall this was time-consuming but not particularly hard. Plastic welders aren't that expensive either but I didn't see myself needing one in the future so I didn't consider buying one, plus the soldering iron can do the job.
09-18-2020, 12:36 AM
#144
Rennlist Member
Thread Starter
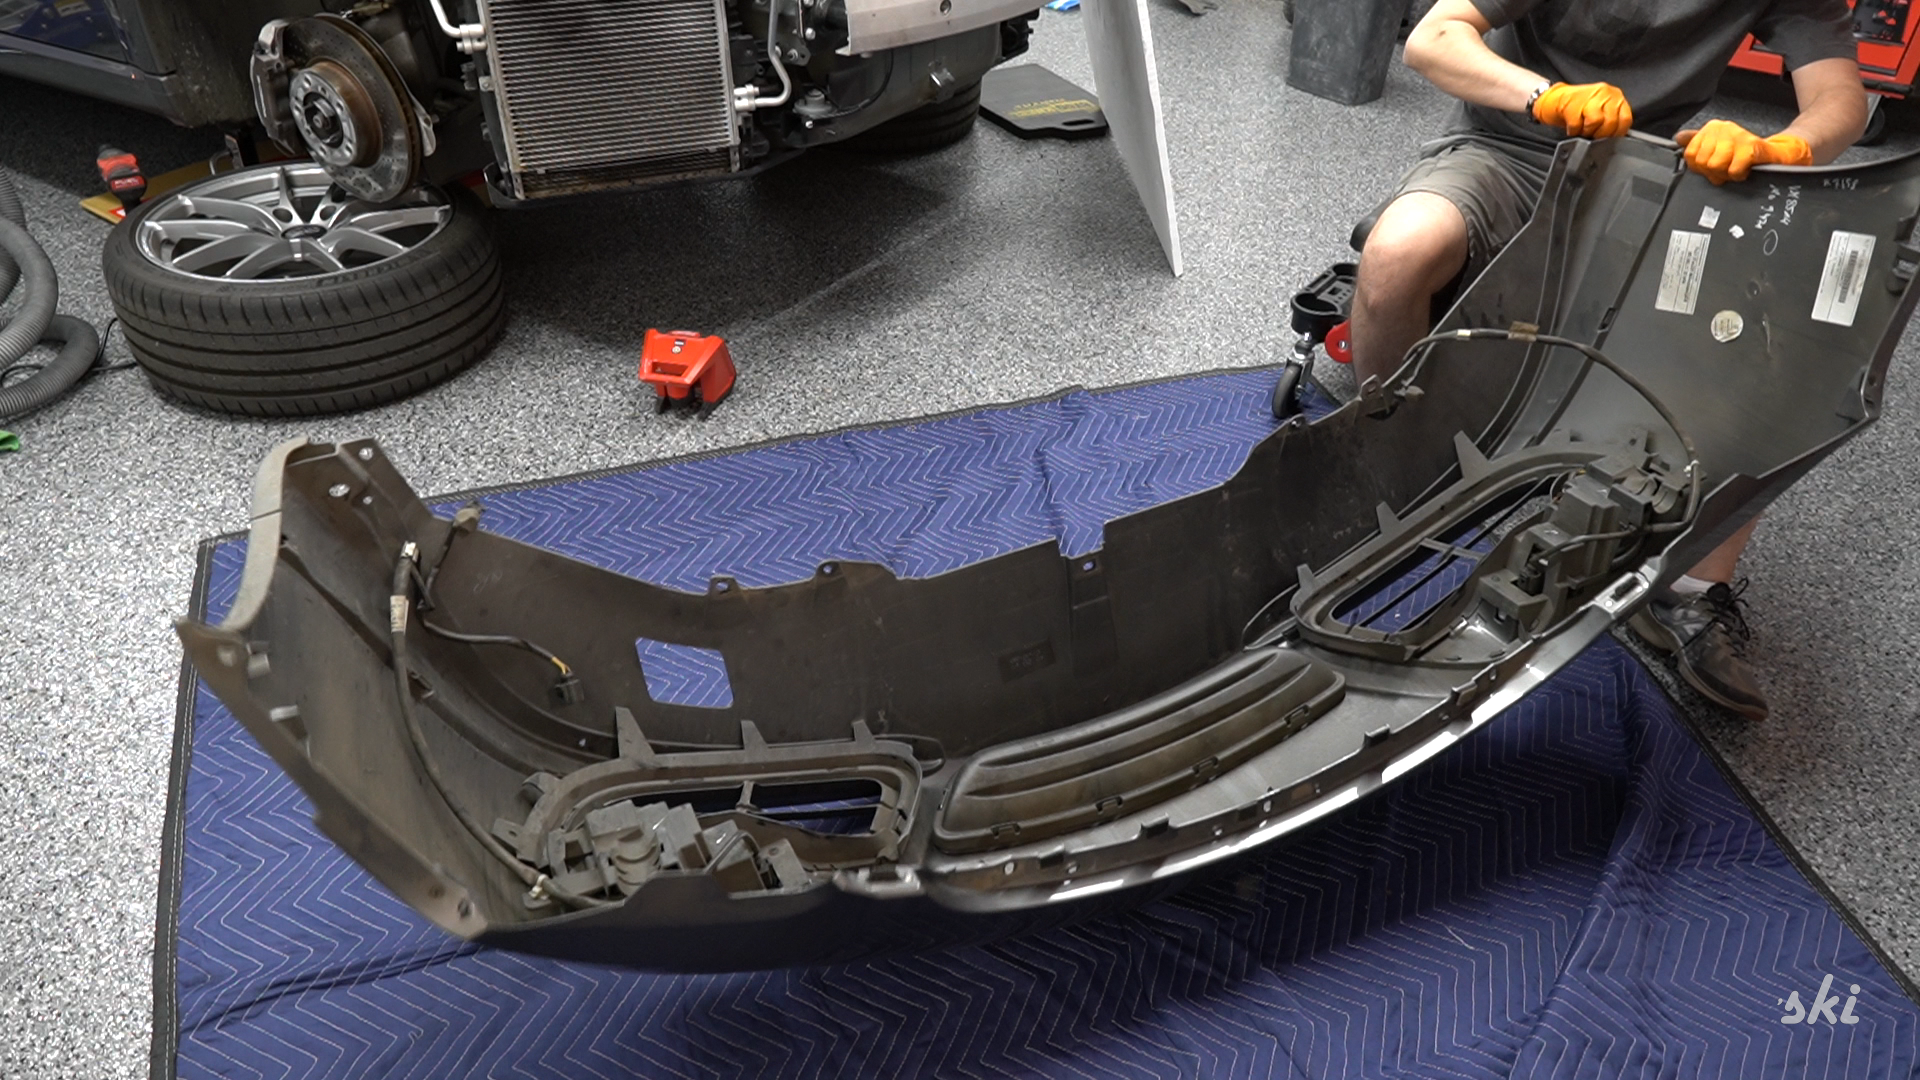
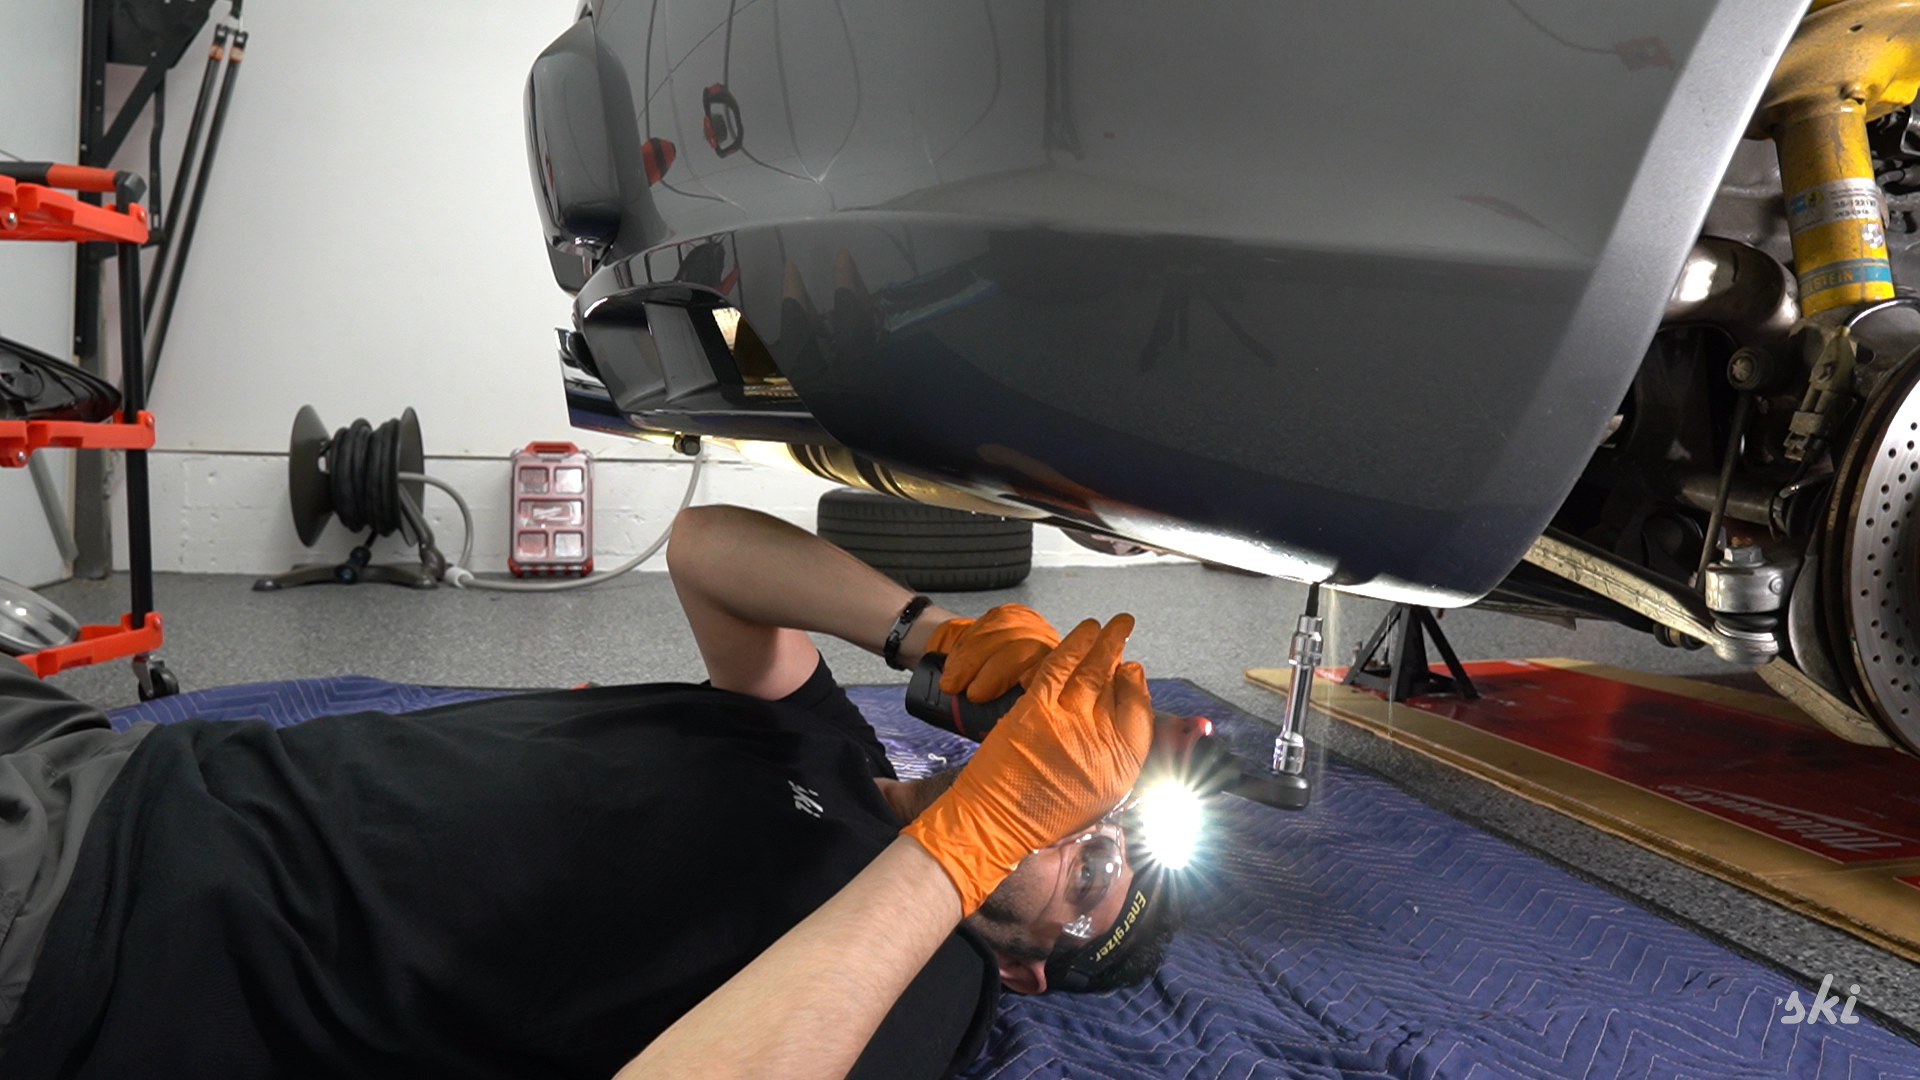
A tale of suction, seduction, and a reduction of debris.
Screenshots:
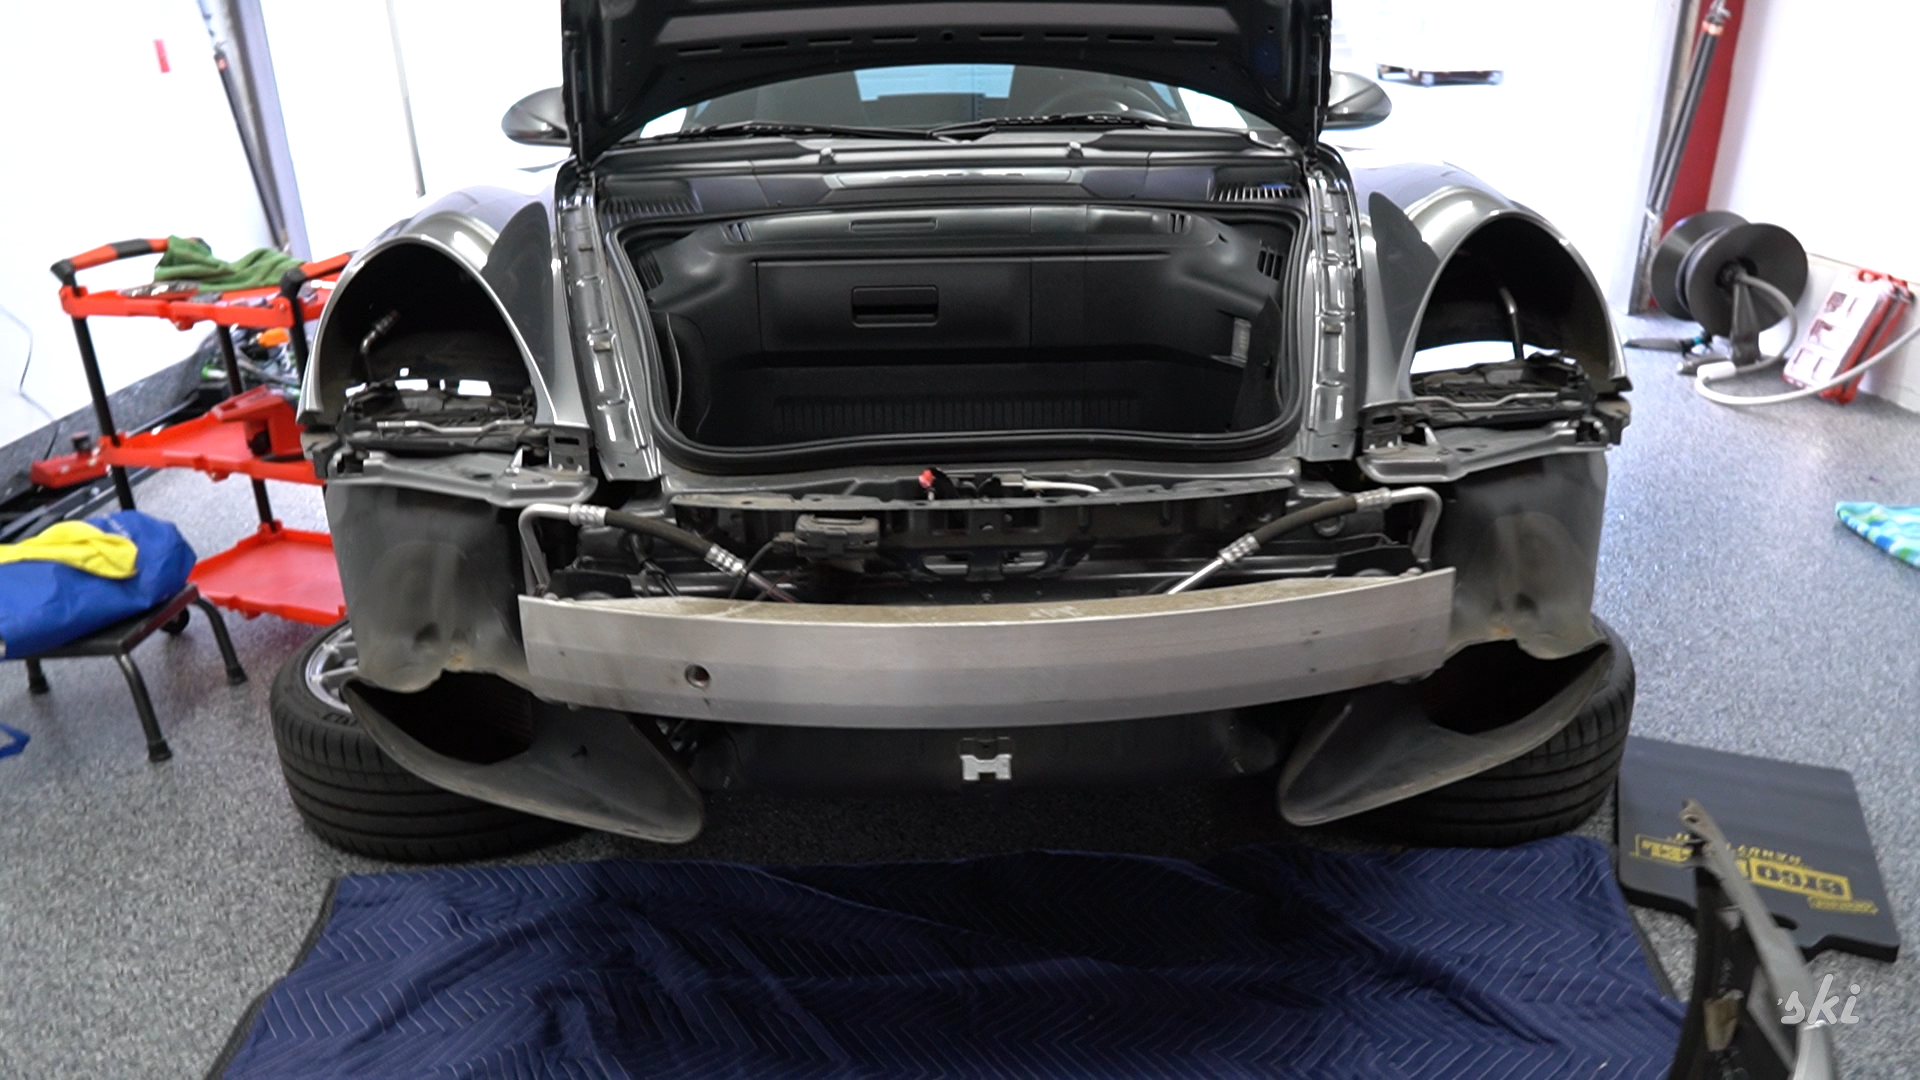
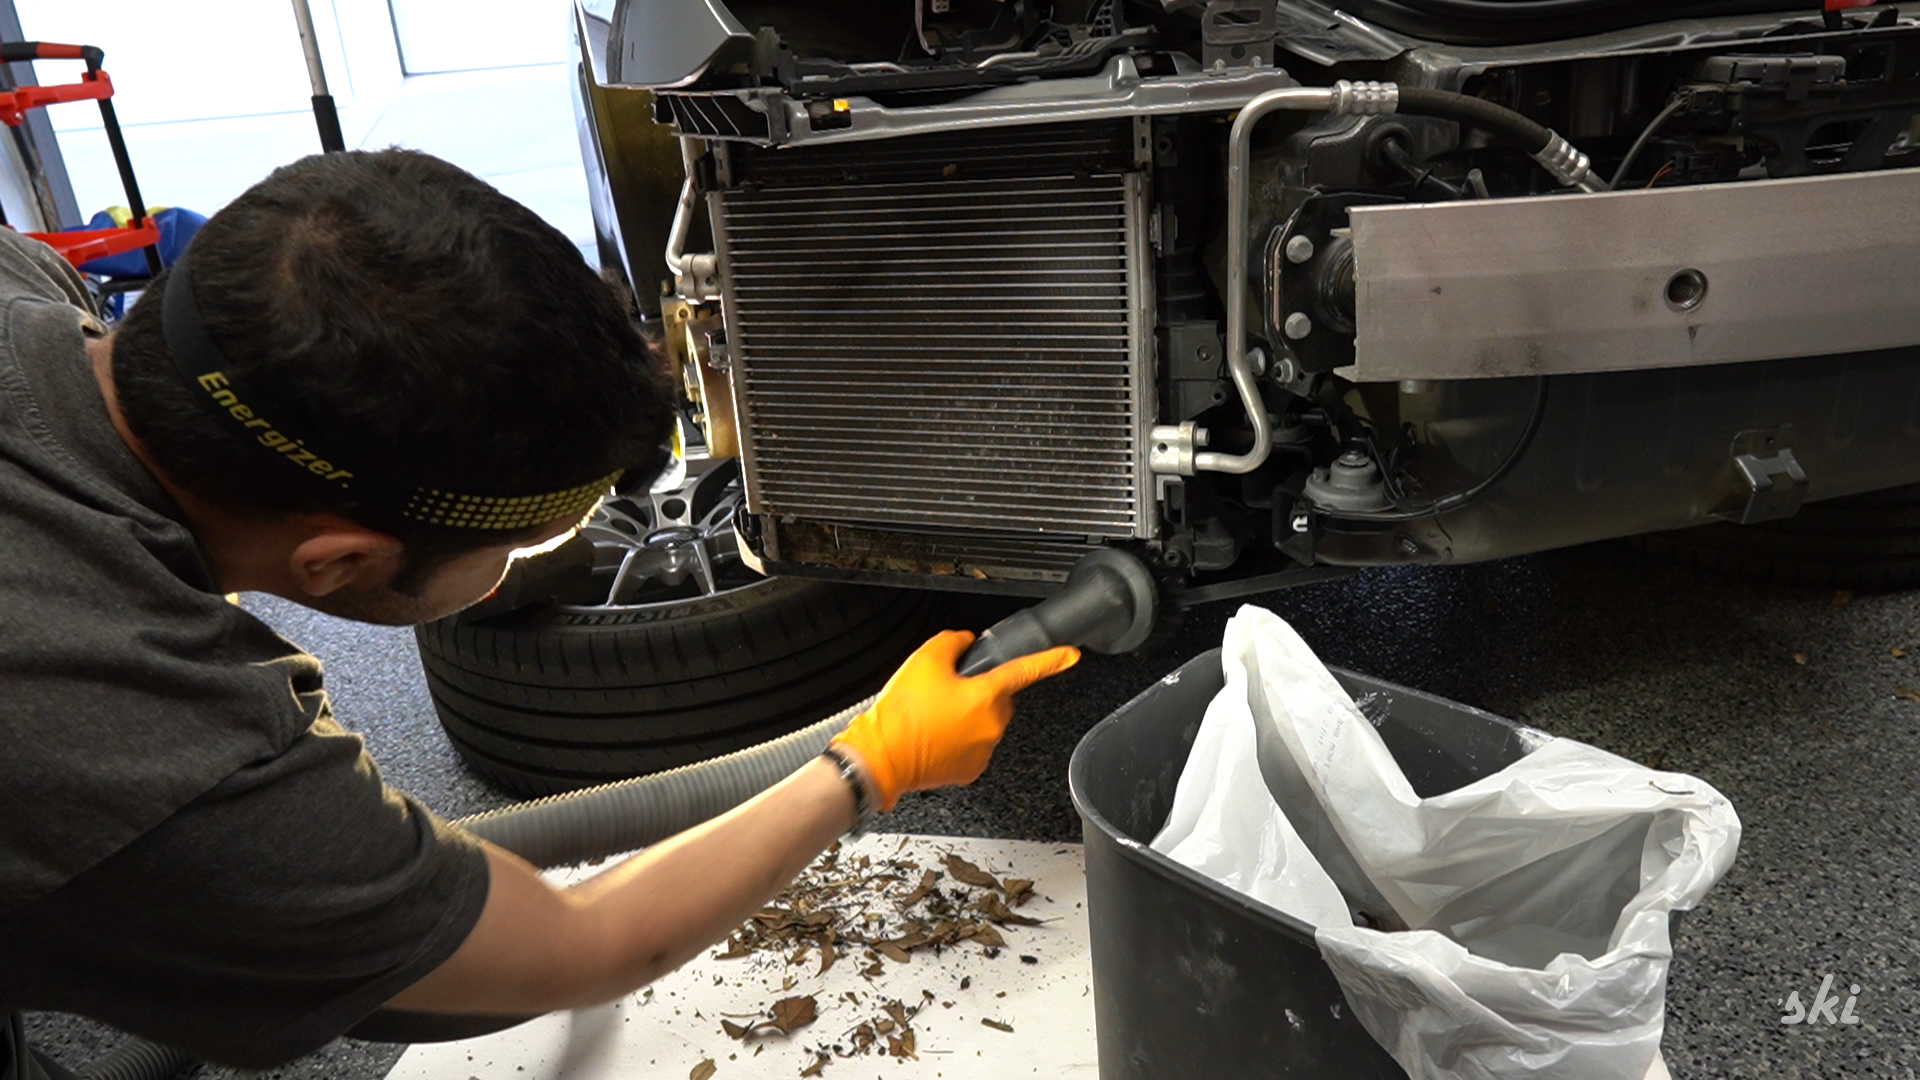
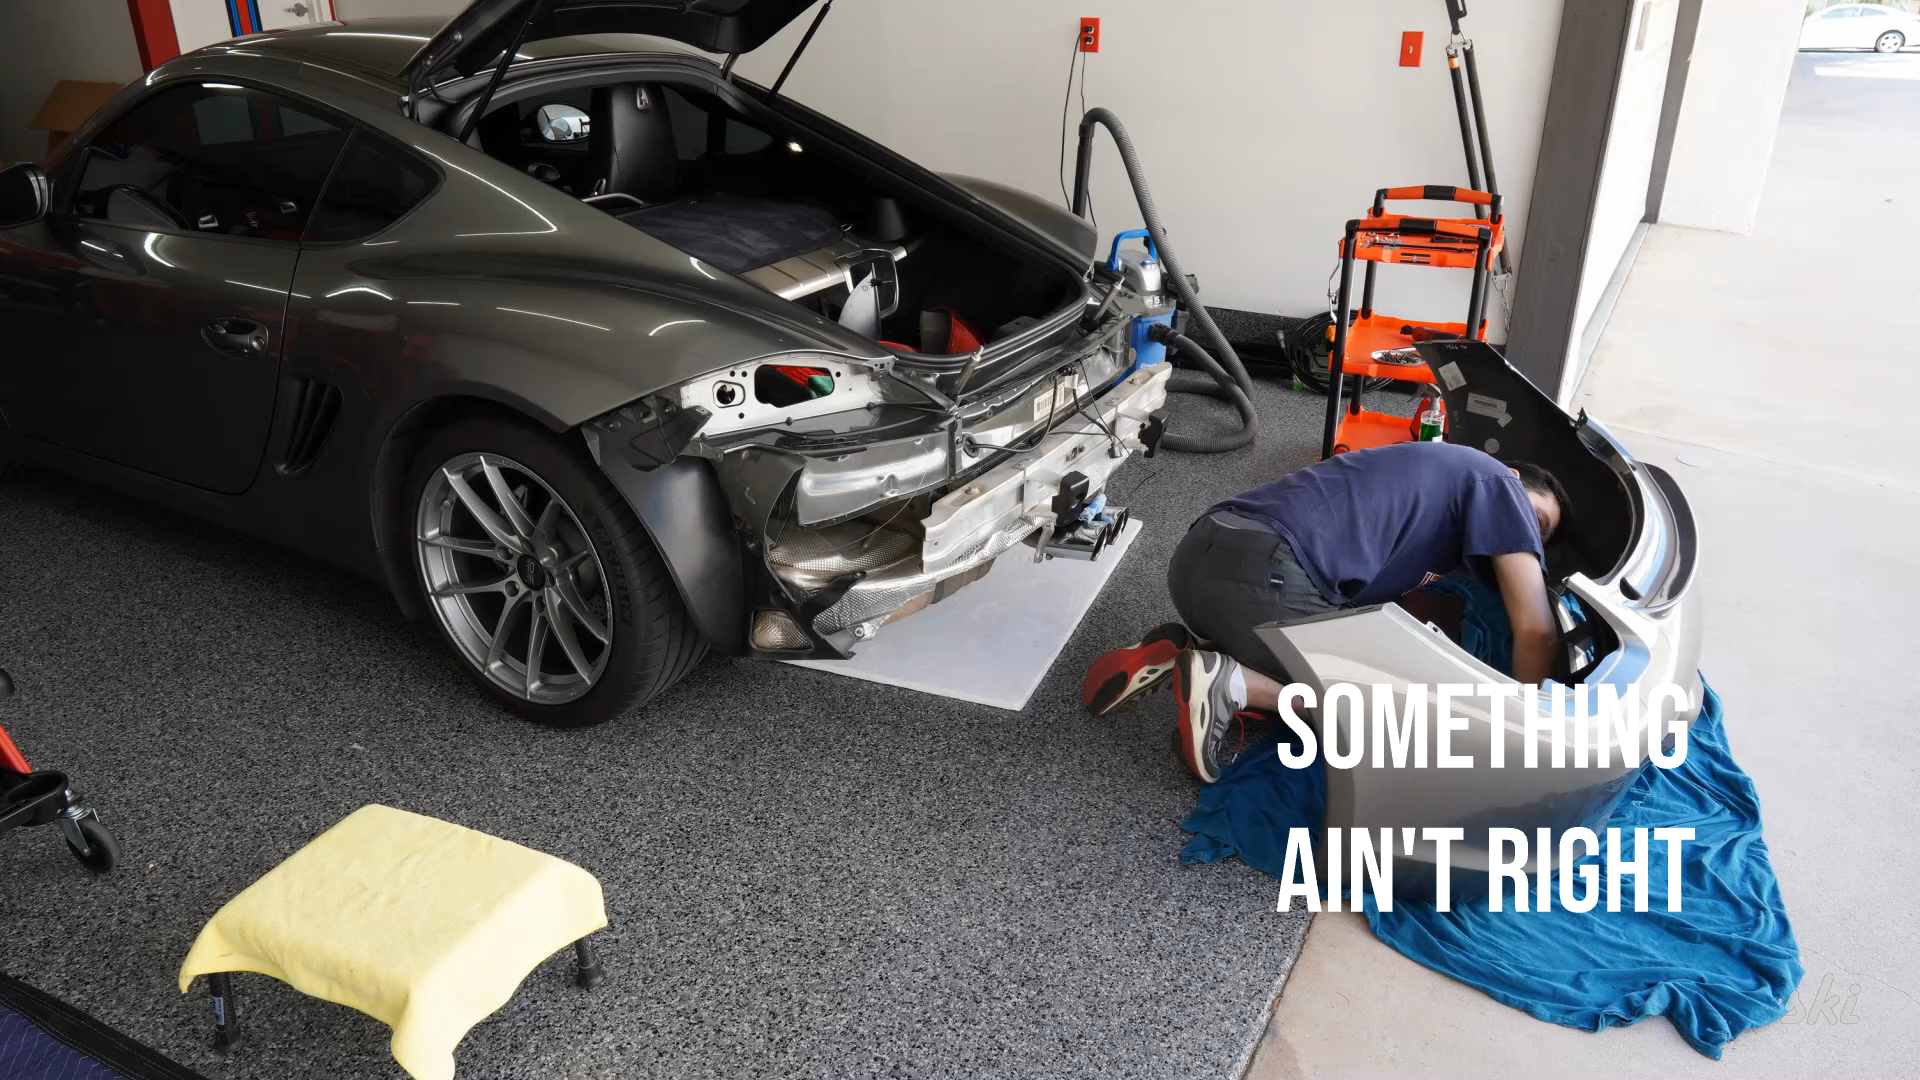
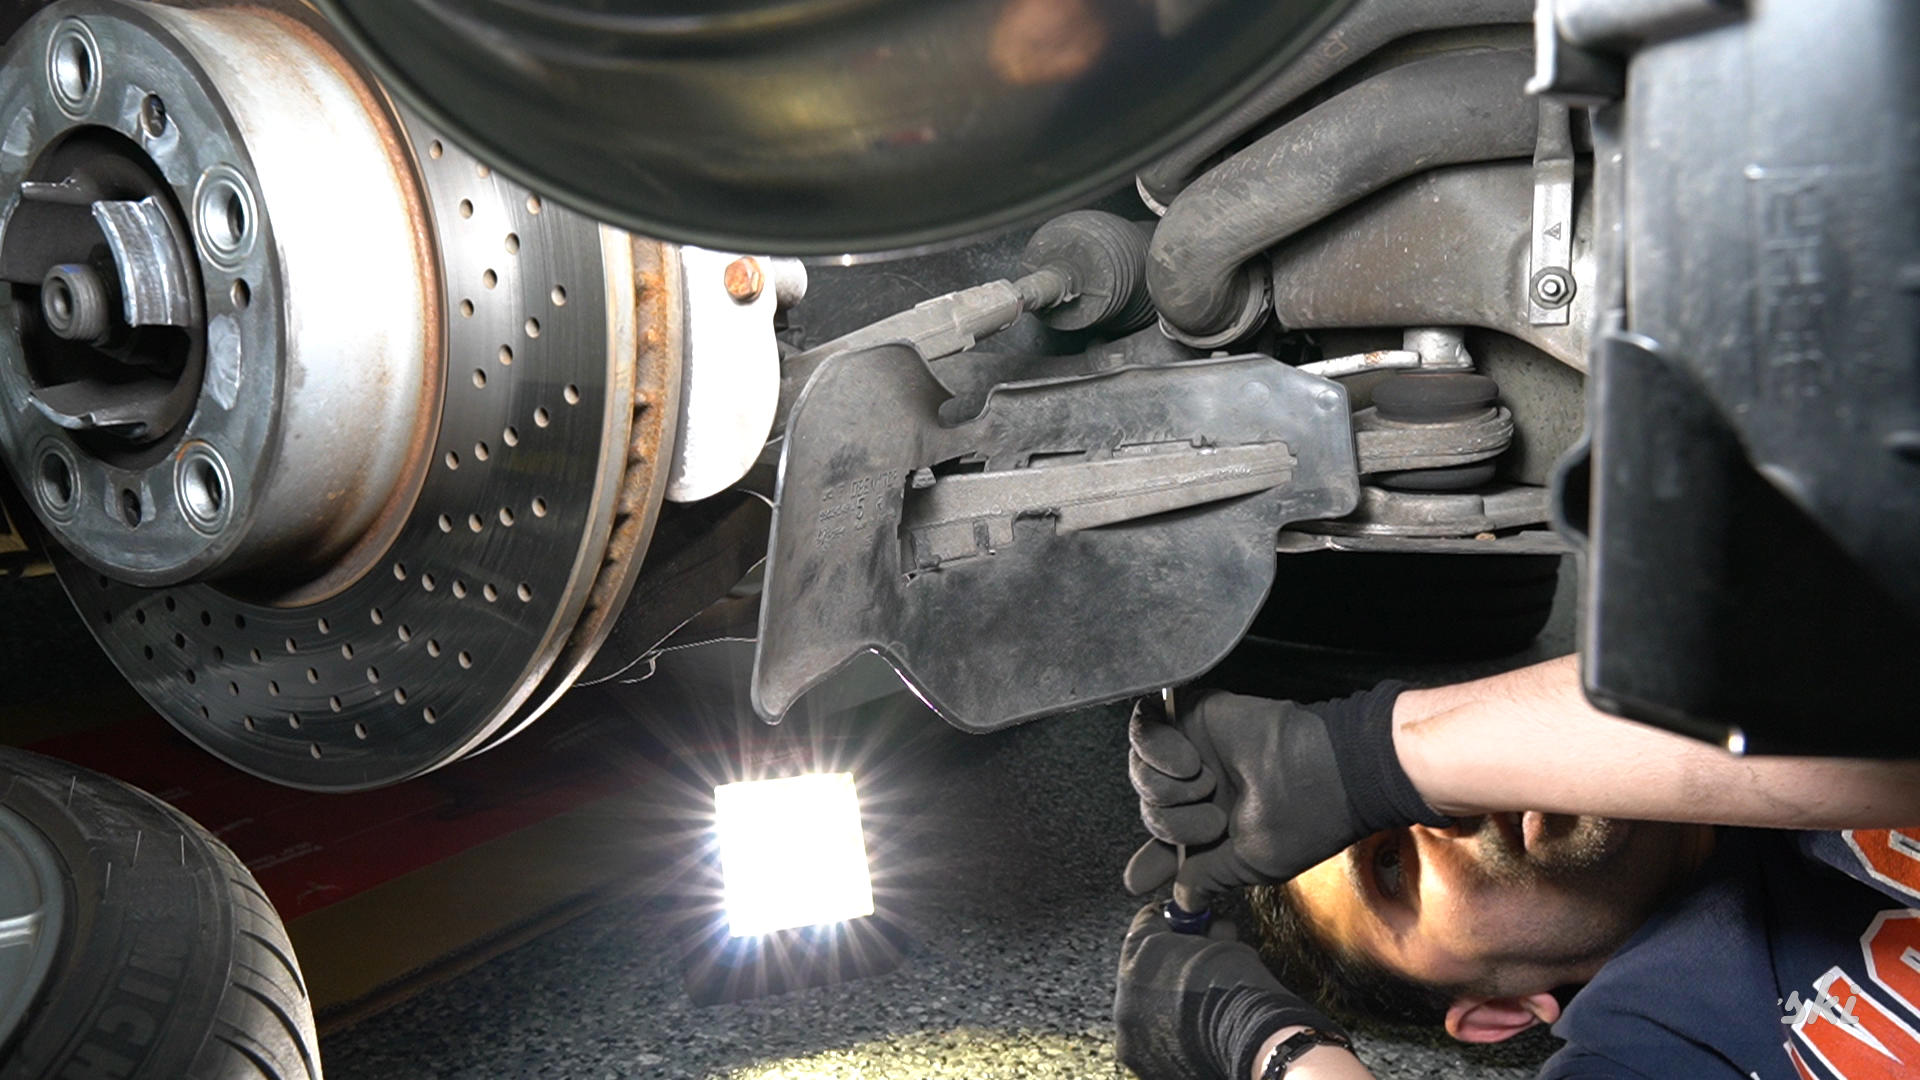
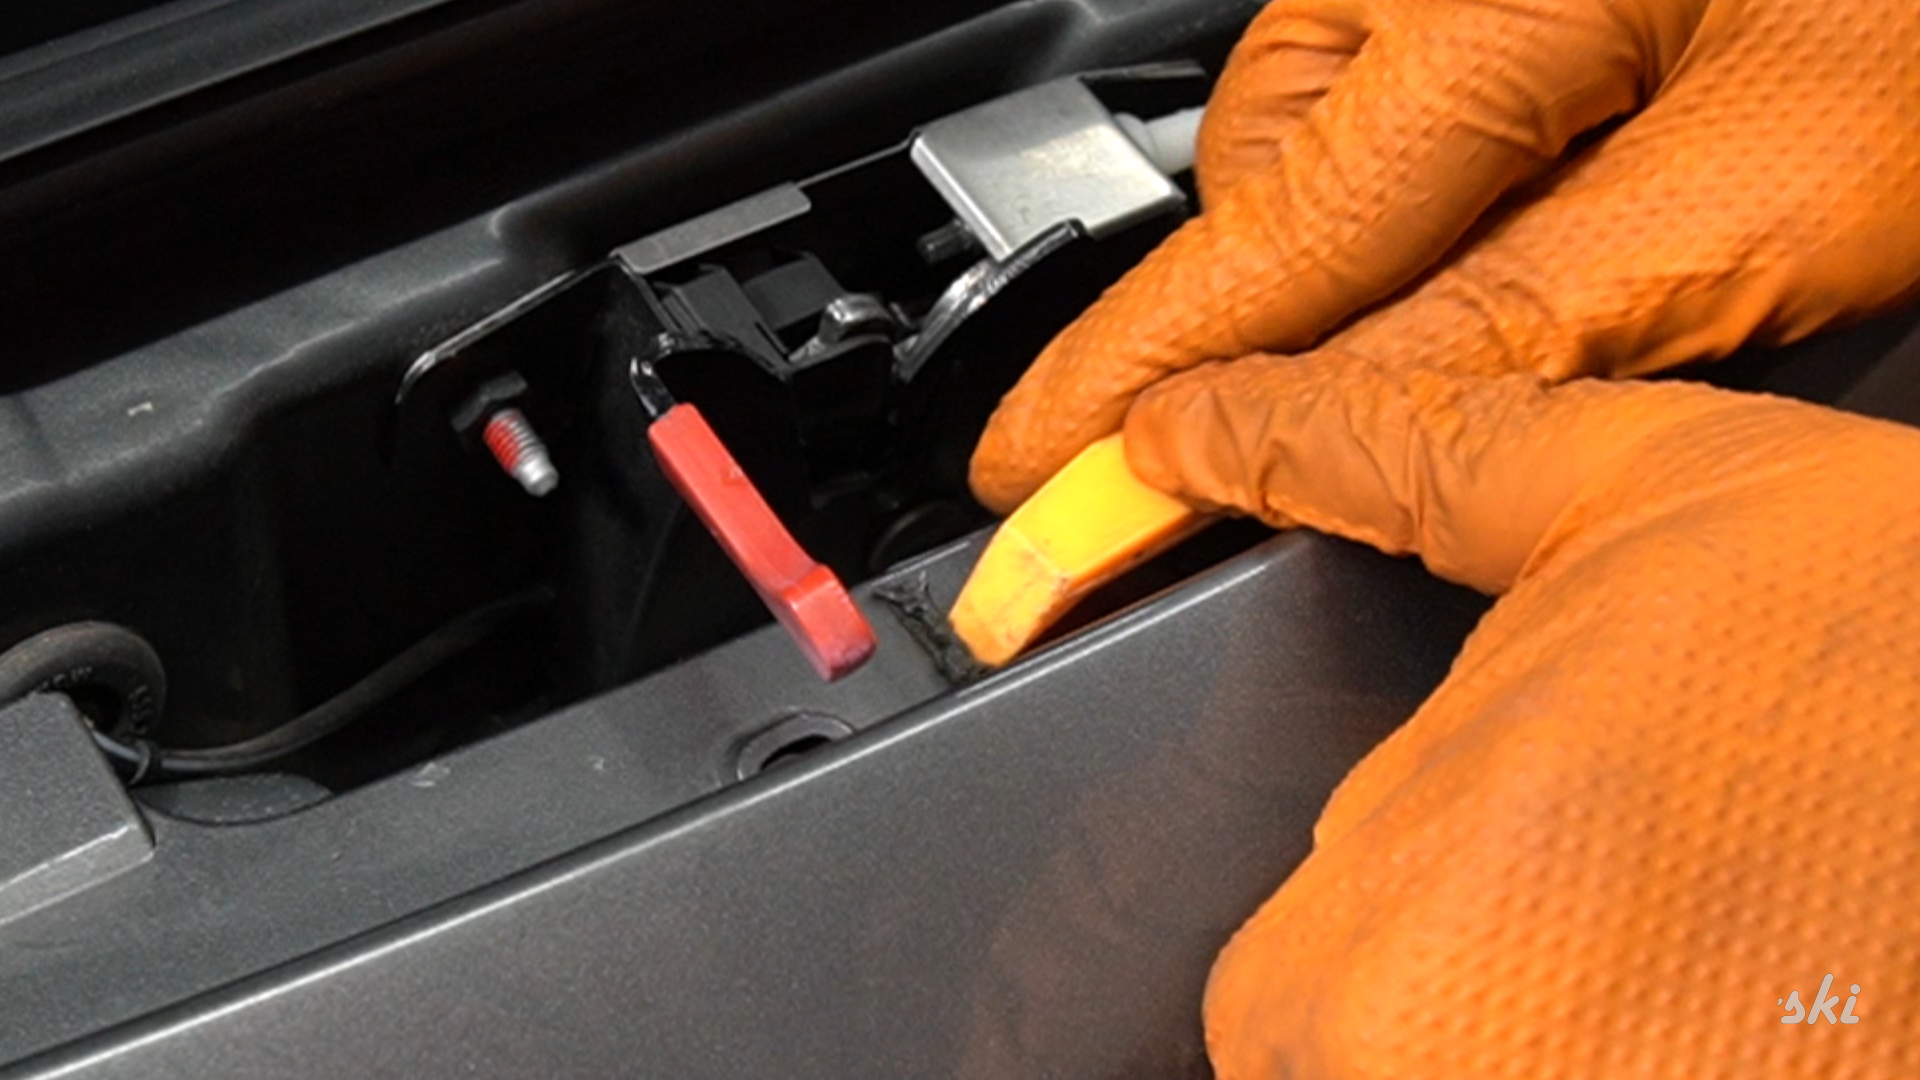
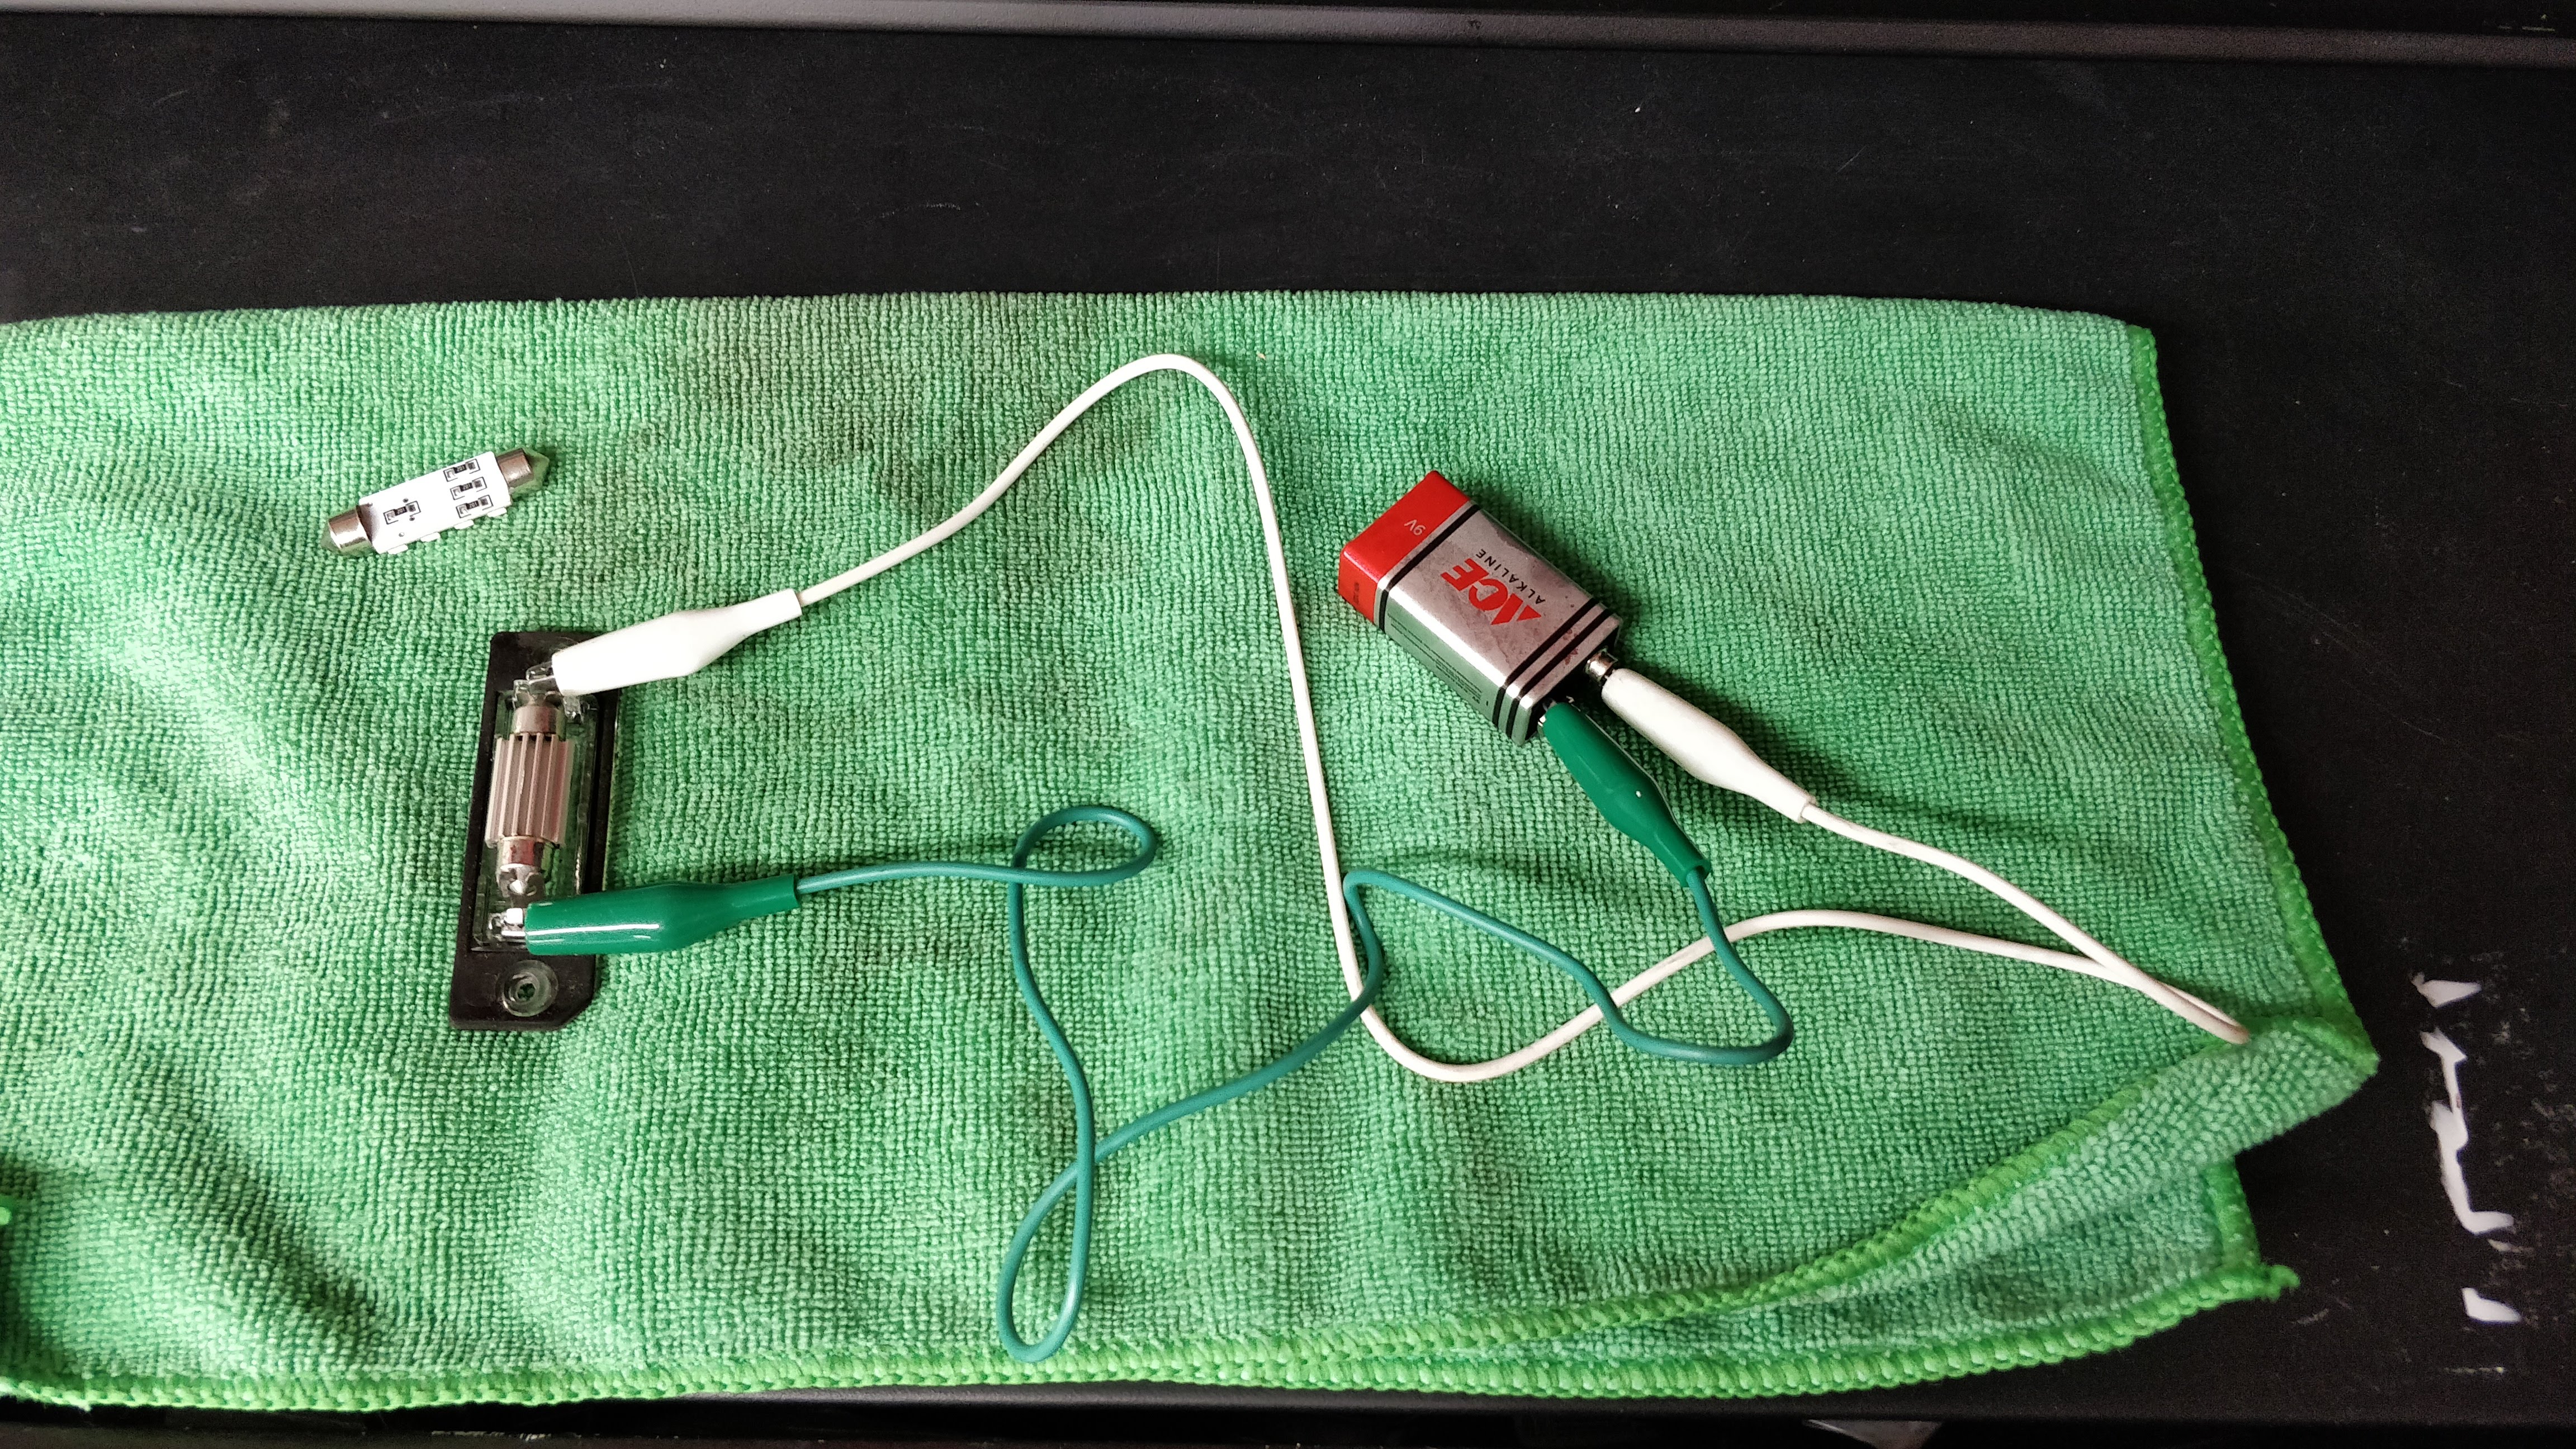
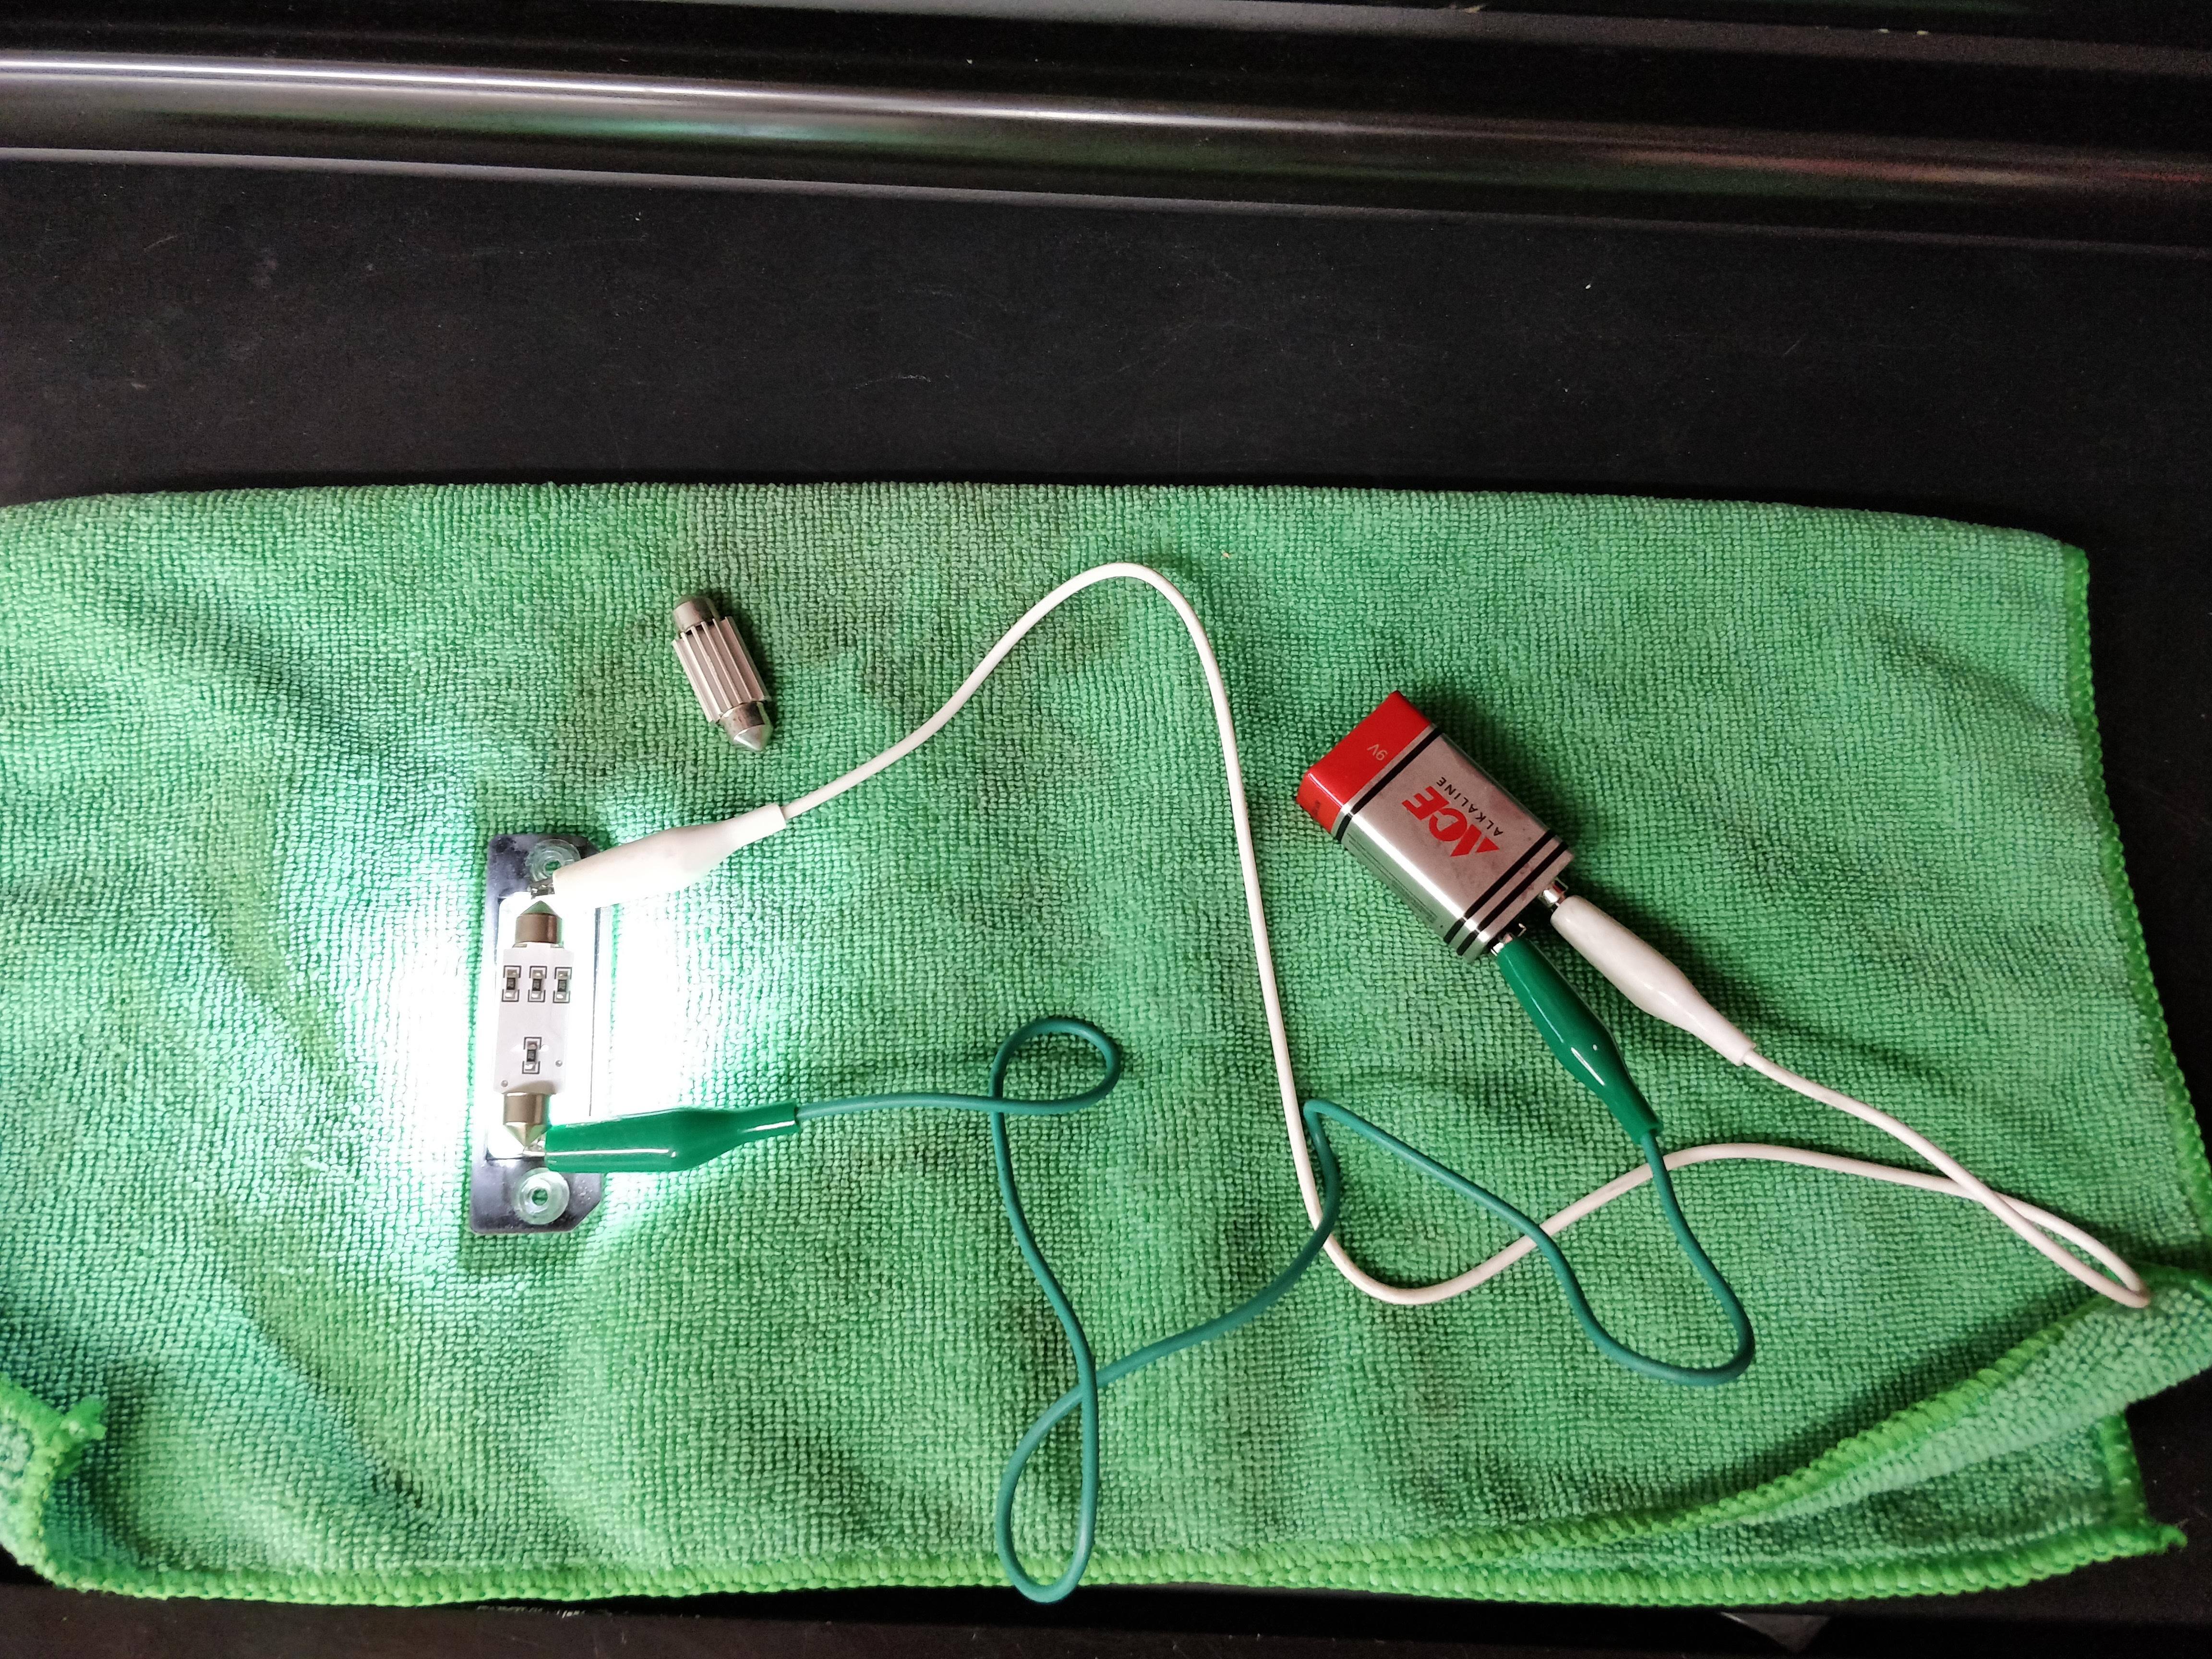
After buttoning everything up, got an error about my LED license plate lights not working. I knew I plugged them and after some troubleshooting, realized they both fried at the same time.
Screenshots:
After buttoning everything up, got an error about my LED license plate lights not working. I knew I plugged them and after some troubleshooting, realized they both fried at the same time.
09-18-2020, 03:02 PM
#145
Intermediate

Hit you with a sub on YouTube. Massive props for starting to make videos. I know it's much more work than it appears to get started, but if you stay with it it'll pay off!
Also how nice is that quick jack?! I'm jealous.
Also how nice is that quick jack?! I'm jealous.
09-18-2020, 04:09 PM
#146
Rennlist Member
Thread Starter
The monetization requirements are pretty extreme too: 1,000 subscribers and 4,000 hrs of watched content over 12 months. I just want to get to 100 subscribers so I can create a custom URL.
The following 2 users liked this post by kiznarsh:
9872SpeedYellowCS (09-21-2020),
SantaFePorsche (09-19-2020)
 09-21-2020, 11:07 AM
#148
Burning Brakes

I hit you with a sub, that was very therapeutic to watch and now my OCD is making me want to do the same...
The following users liked this post:
kiznarsh (10-28-2020)
10-28-2020, 01:12 PM
#149
Rennlist Member
Thread Starter
Finally got another roll of film developed.
And a couple long exposures with the DSLR.


And a couple long exposures with the DSLR.

 10-28-2020, 01:19 PM
#150
Burning Brakes
Awesome pictures, love following this thread