When you click on links to various merchants on this site and make a purchase, this can result in this site earning a commission. Affiliate programs and affiliations include, but are not limited to, the eBay Partner Network.
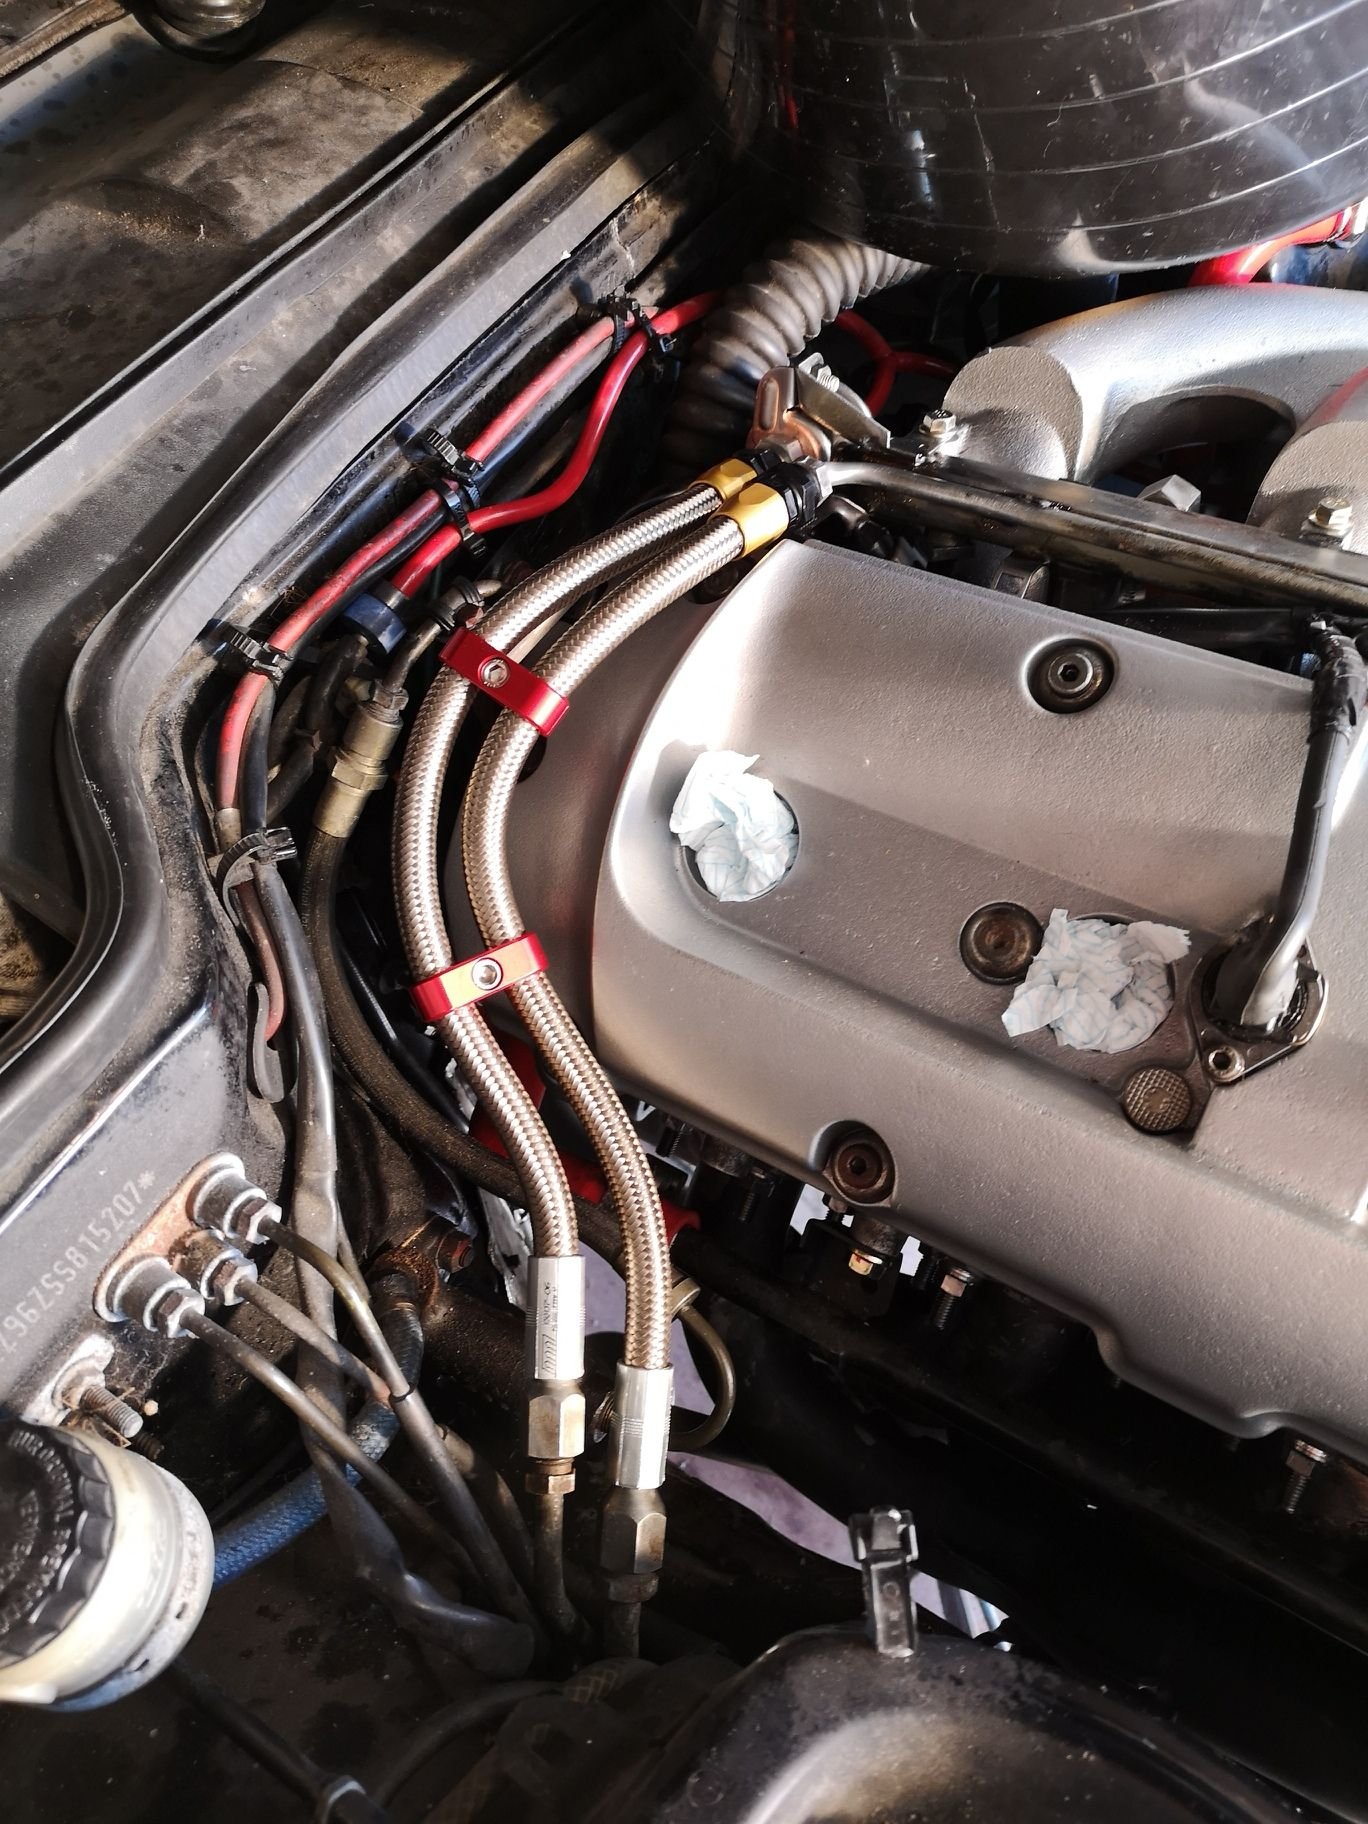
Very nice STE. Can you tell me where you got all that stuff to make the hoses and those red clamps?
Hi Jerry
Im in the UK so my source might not be of use, tho during research I saw there were US brands of stainless braided hose too. Hoses are Goodrich 200 size 6 both, bores are the same. Specs on https://www.goodridge.co.uk/ I got a kit of parts from K300 UK over here, a Goodrich disributor, https://goodridge.brakes-hoses-fittings.co.uk/ A guy who works there Stuart made up these lines for his 968 and knows the specs, there’s a pic on the K300 website, he precut hoses for me. I’m not sure what the spec of the two fuel rail alloy ends is, something metric I am sure, not AN. The cars flares at the wing end don’t fit any fitting of that type so you have to cannibalise the old lines then get a hydraulic shop to crimp them, no big deal. The separators you could get most cheaply on eBay I think, they are standard Chinese type imports with an imperial hex hey bolt. I’m sure I paid more than needed by asking for a kit. Maybe someone here knows the spec of the fuel rail connectors, 1 larger 1 smaller, then you can chase in the US.
Beware the learning curve assembling braided hose and alloy fittings. I trashed one piece of hose and bought more while getting there. You must tape before you cut and keep a short length of tape on or the hose goes wild. You need a soft jaw vice with tube groove for assembly. The braid doesn’t want to go into the fitting, it always splays a bit. I made a cone tool by drilling 1 inch square alloy then coning it with a reamer. It feeds the braid into a fitting nut great. You’d need to make the tool split if you wanted to do two ends, I only did one and pulled it off the hose. Hose must push in right hand screwing action till it reaches the thread in the fitting. Further than you think. That’s the bulk of the assembly stuff. There’s a YouTube somewhere from a US company showing how to assemble such fittings. Lengths of hose are pretty critical if you want a nice parallel alignment, can measure accurately if you need. finally here’s the assembly tool I needed, you can buy something in the US, where I got the inspiration,
I should have taken pics. I picked up my just rebuilt 197k miles transaxle from CogsCogs in Cleveland, GA. He had a 968 race car in his past. Said that was around his 60th 968 transaxle rebuild (and that was not due to his race car, it had some sort of English tranny). I was lucky to have an expert like that 45mins from me so I was able to take it up there and back myself. It was a nice little drive in the lower GA mountains too, but unfortunately i was driving my ancient 4Runner.
I was thinking, I think I'm still on my stock clutch. I did have a broken clutch cable once. That and when the timing belt went while driving (idling so lucky, no damage) were the only times i can remember my 968 stranding me in 25 years and 186k miles (I bought it one year old with 11k miles).
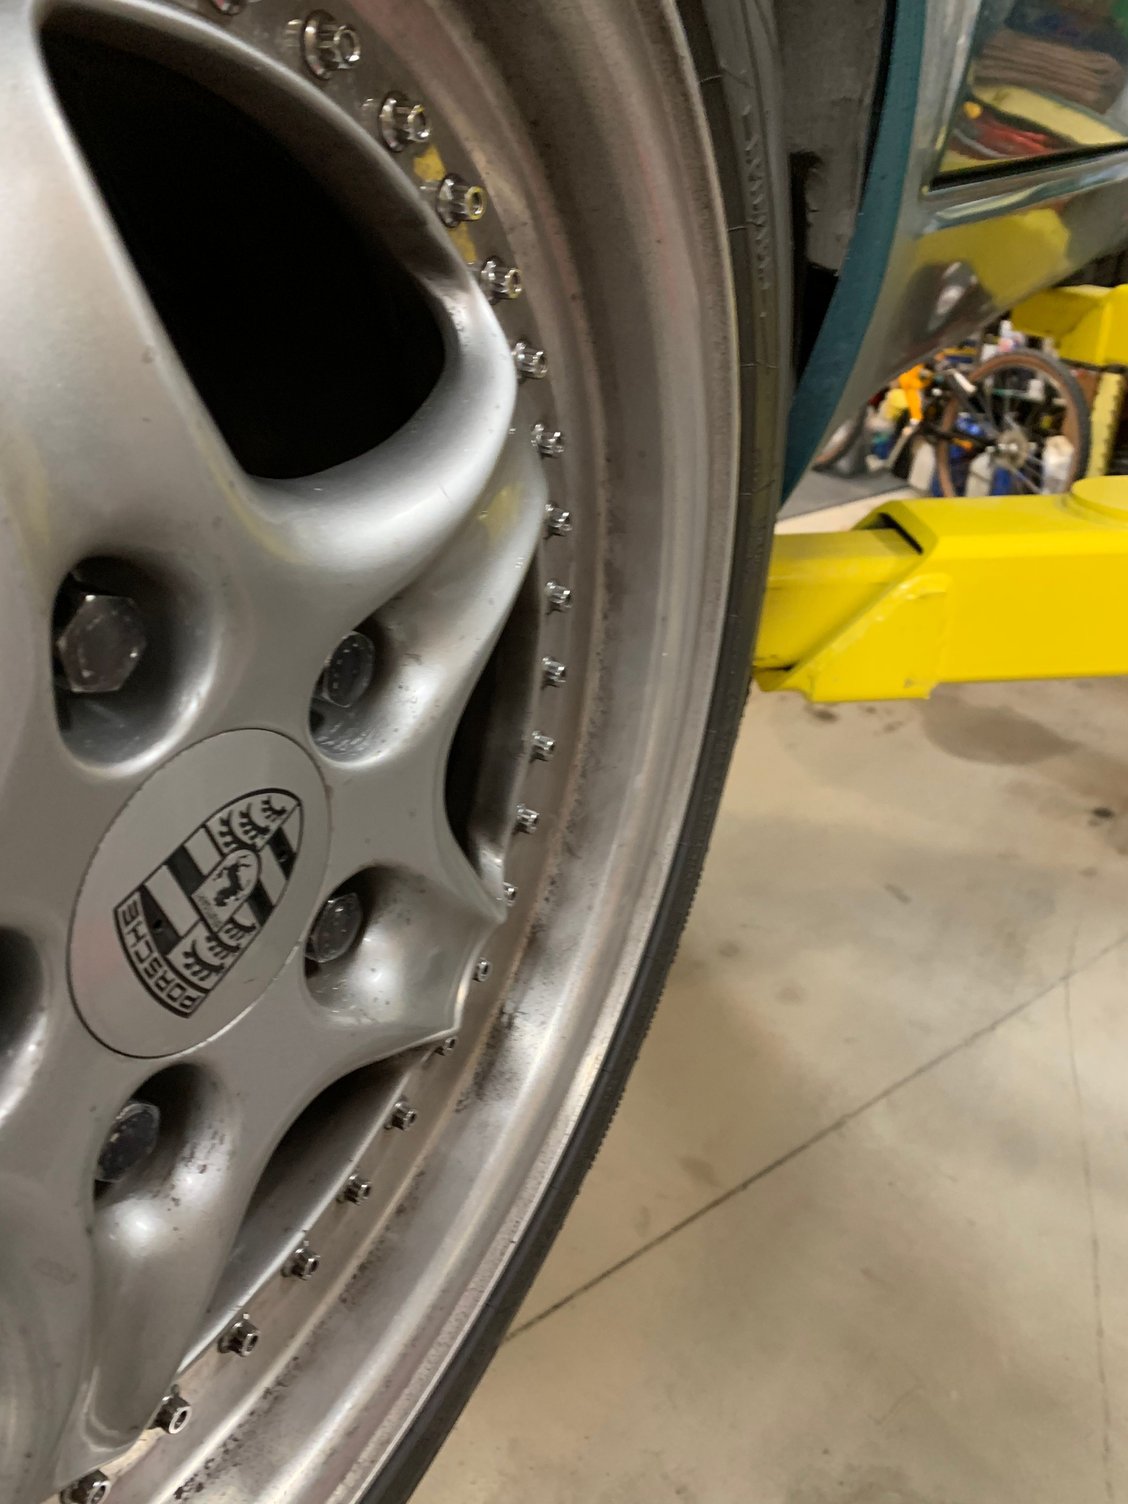
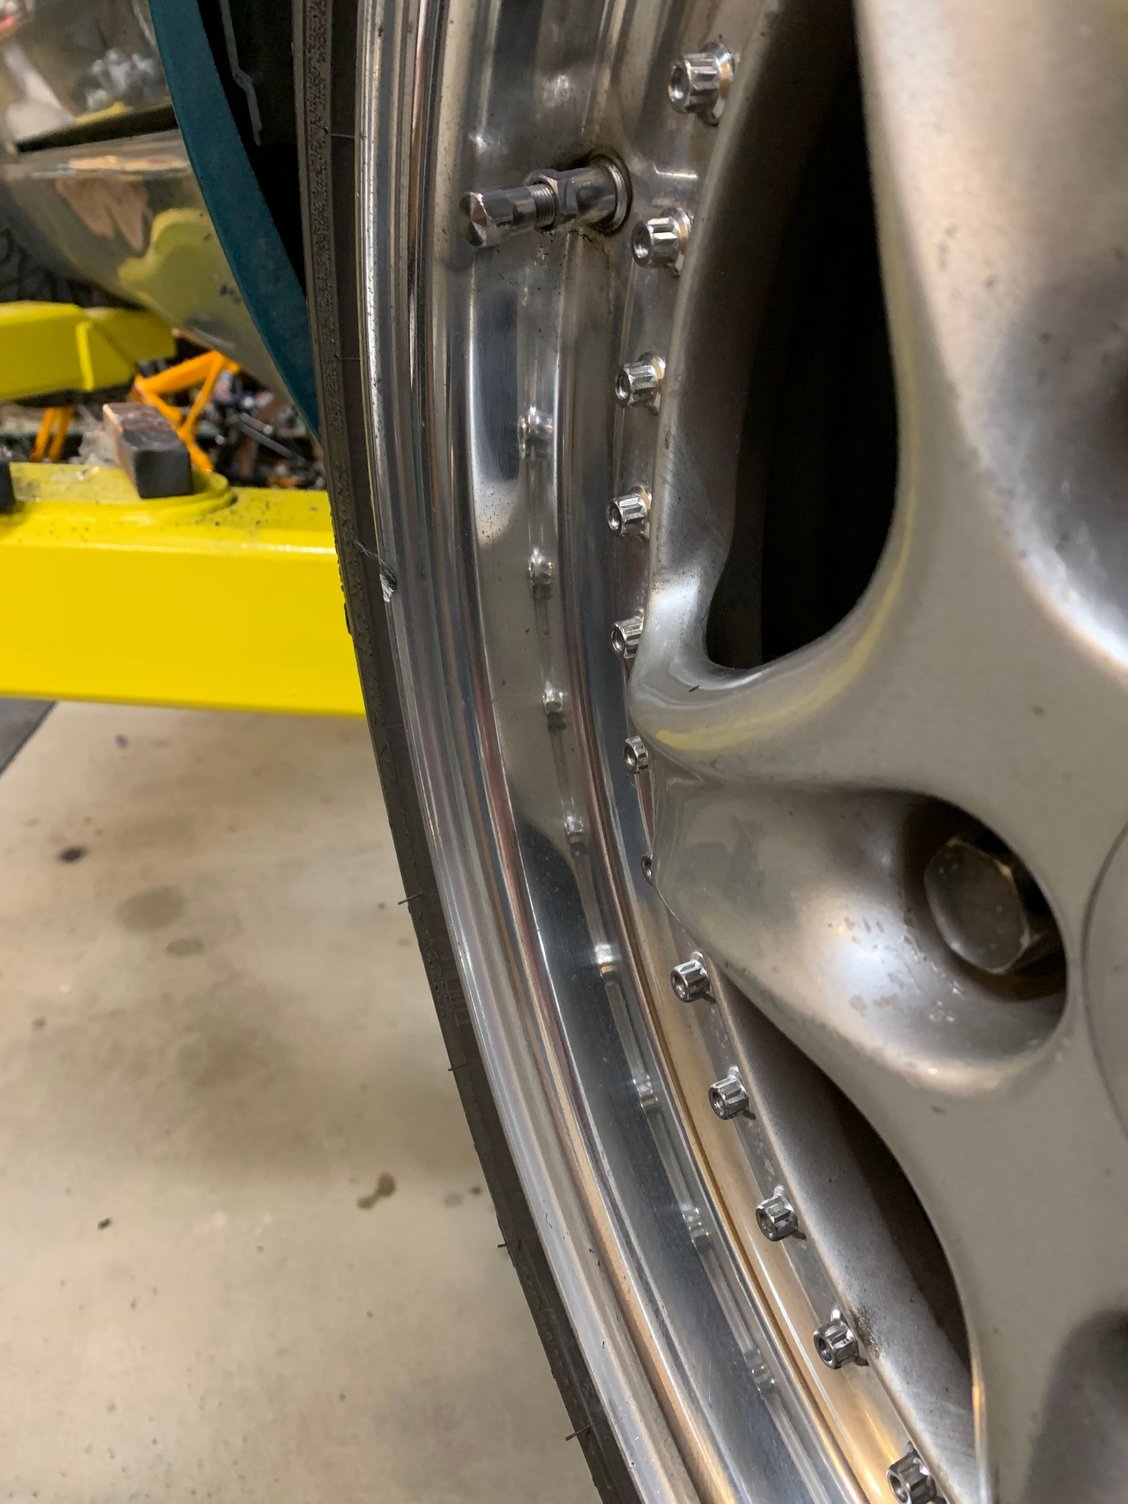
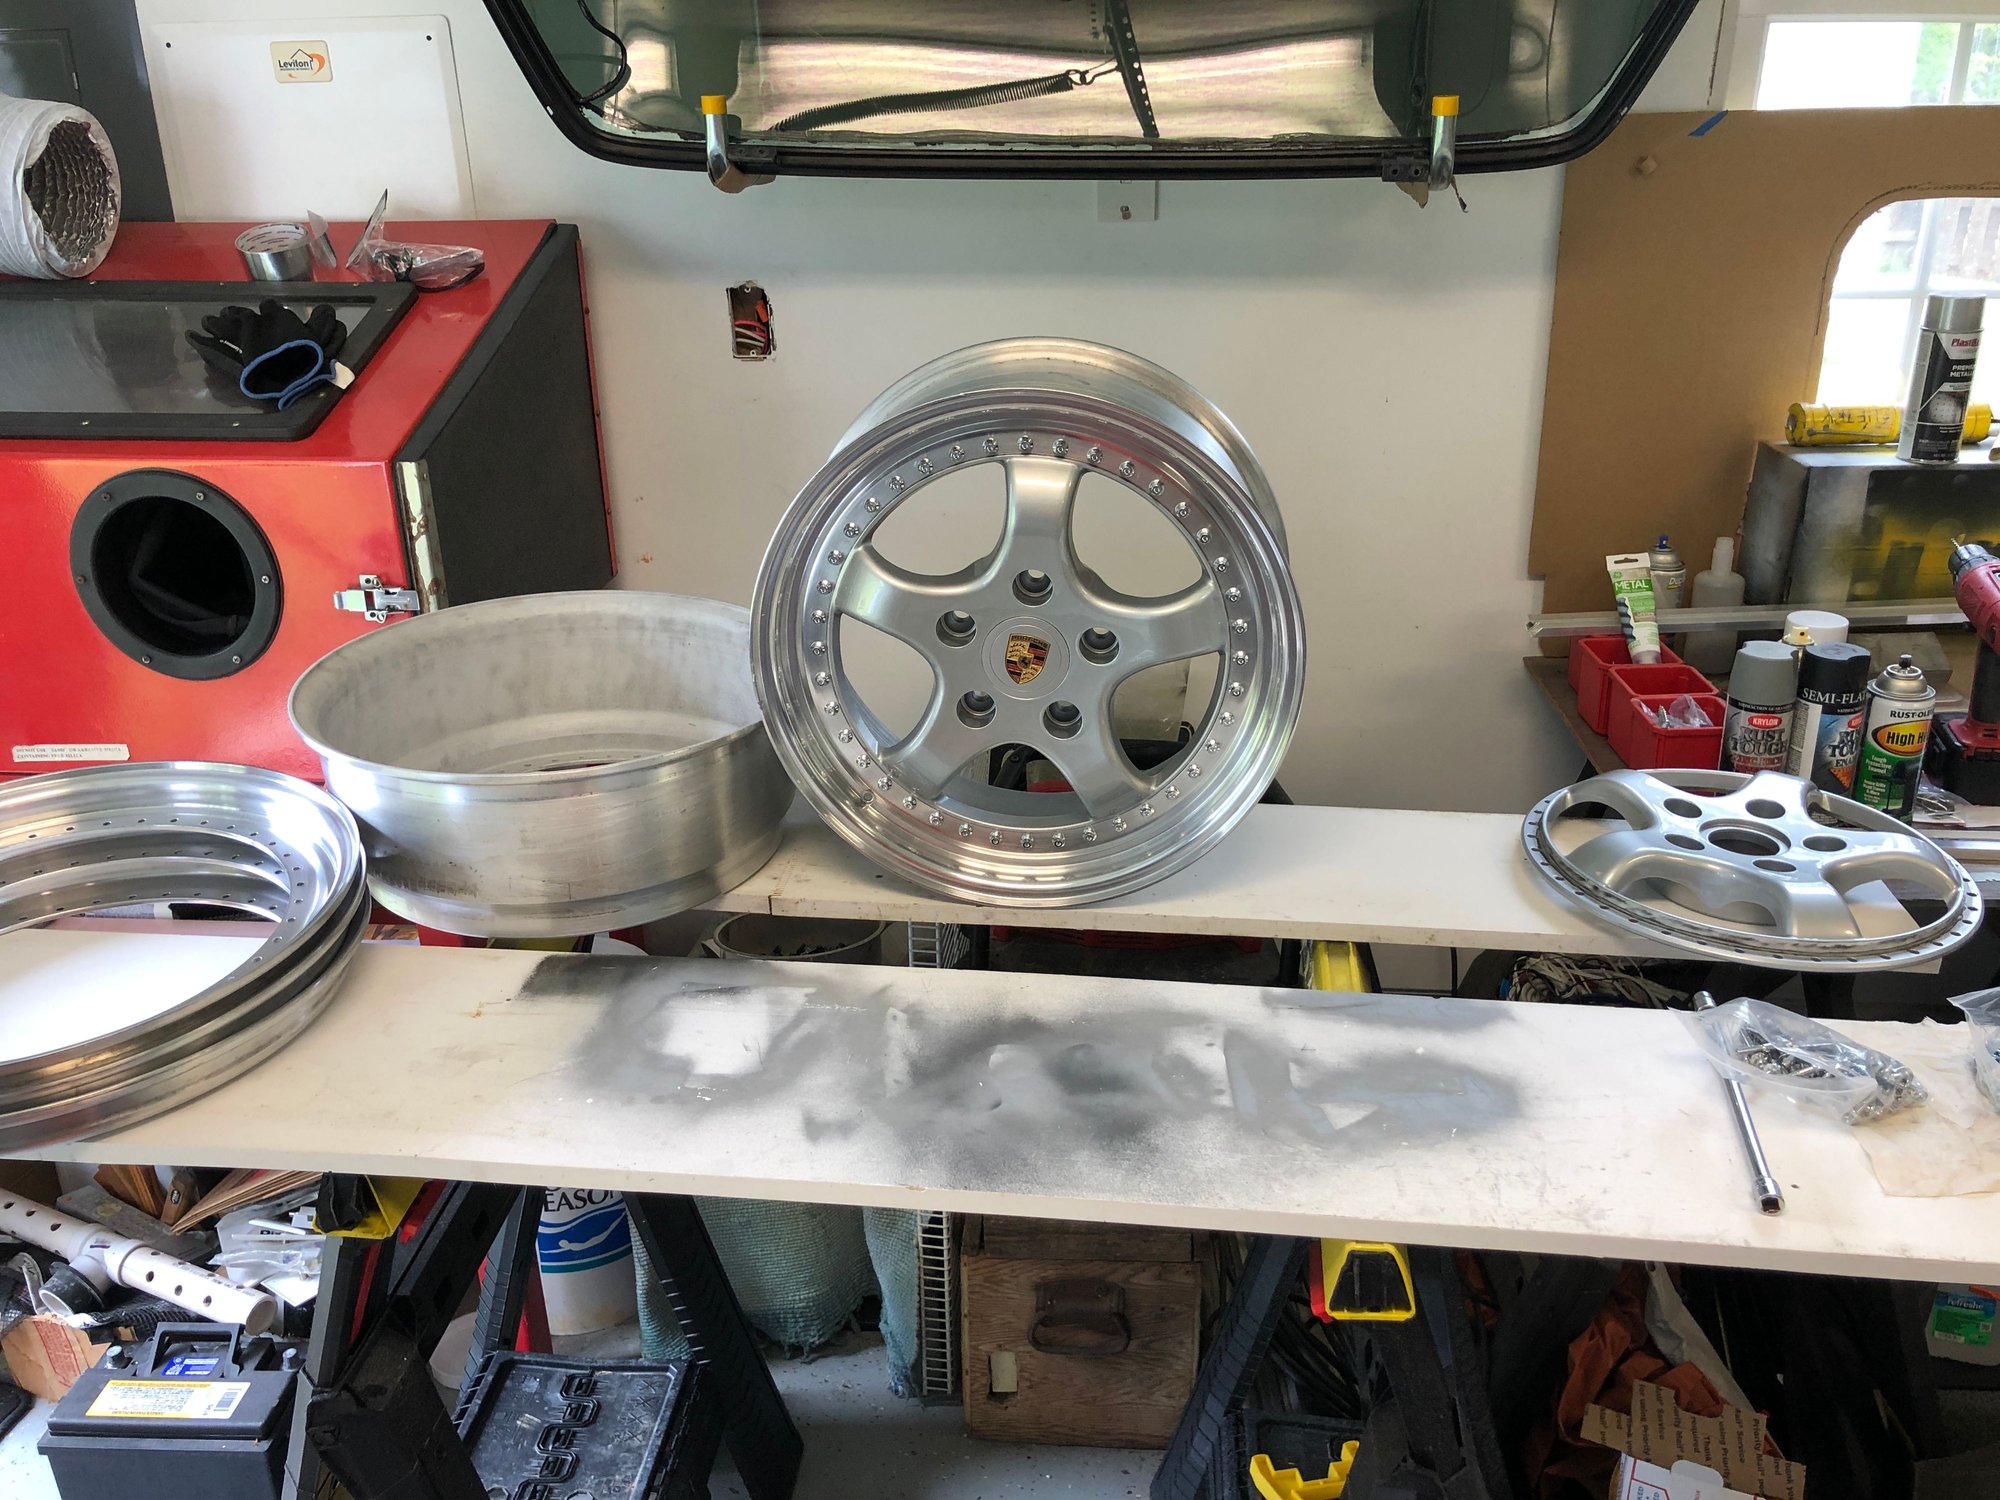
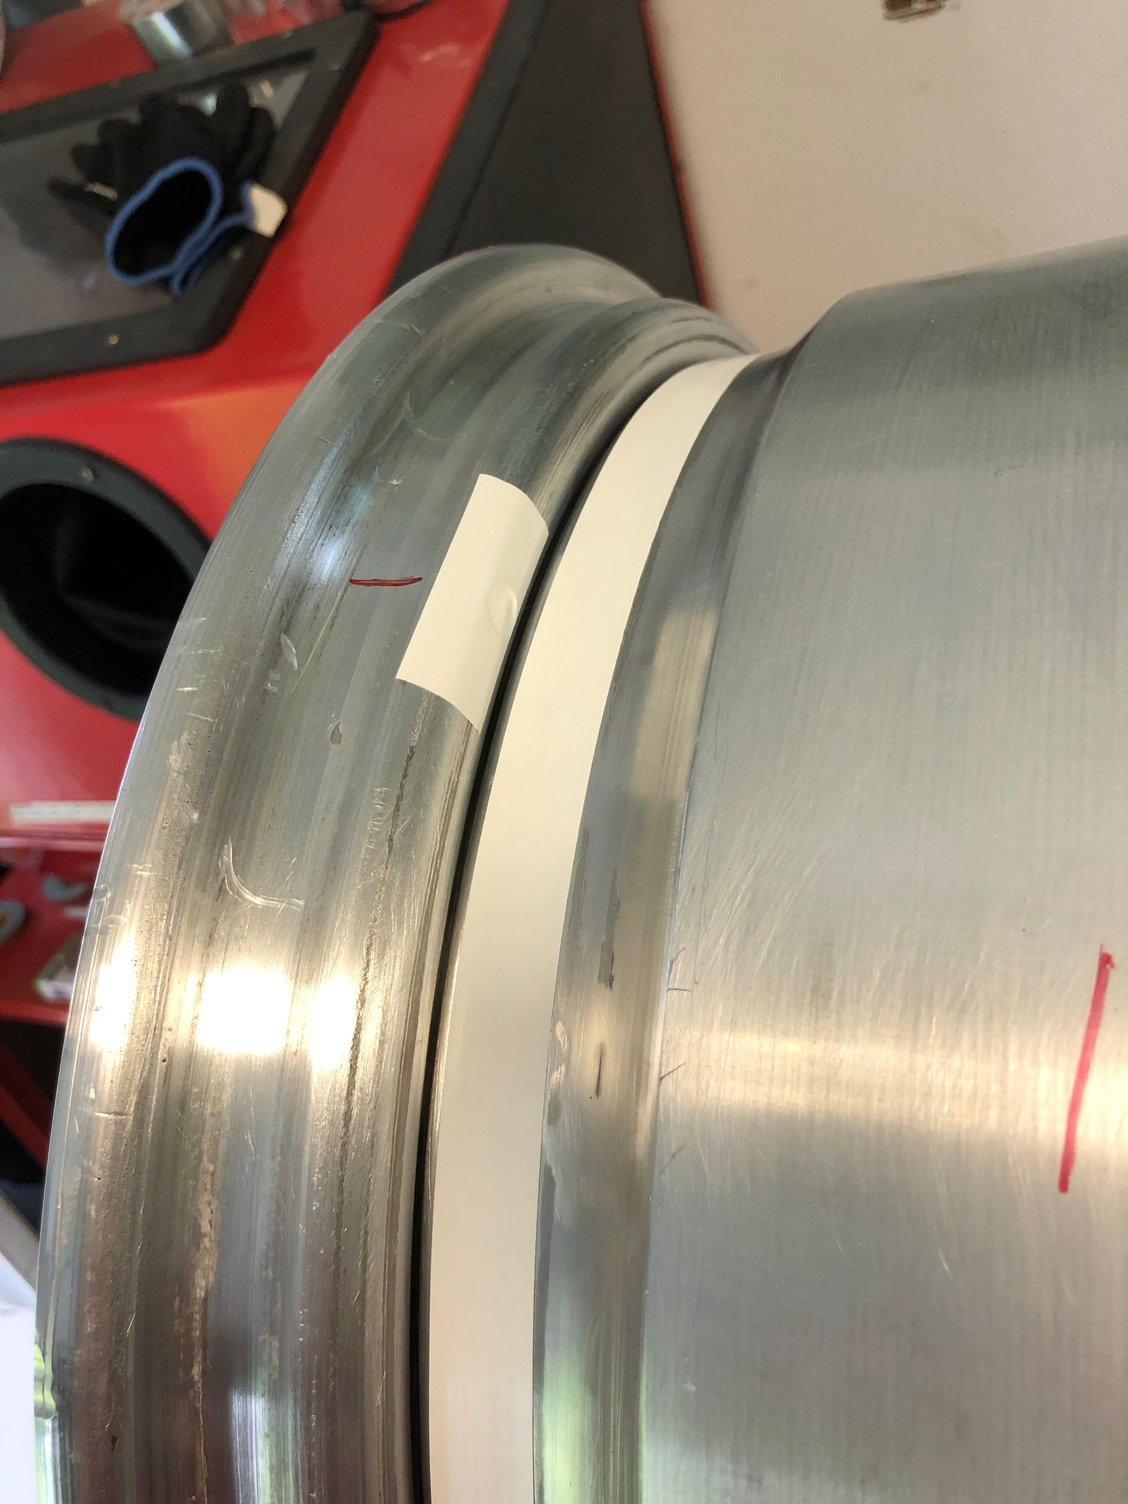
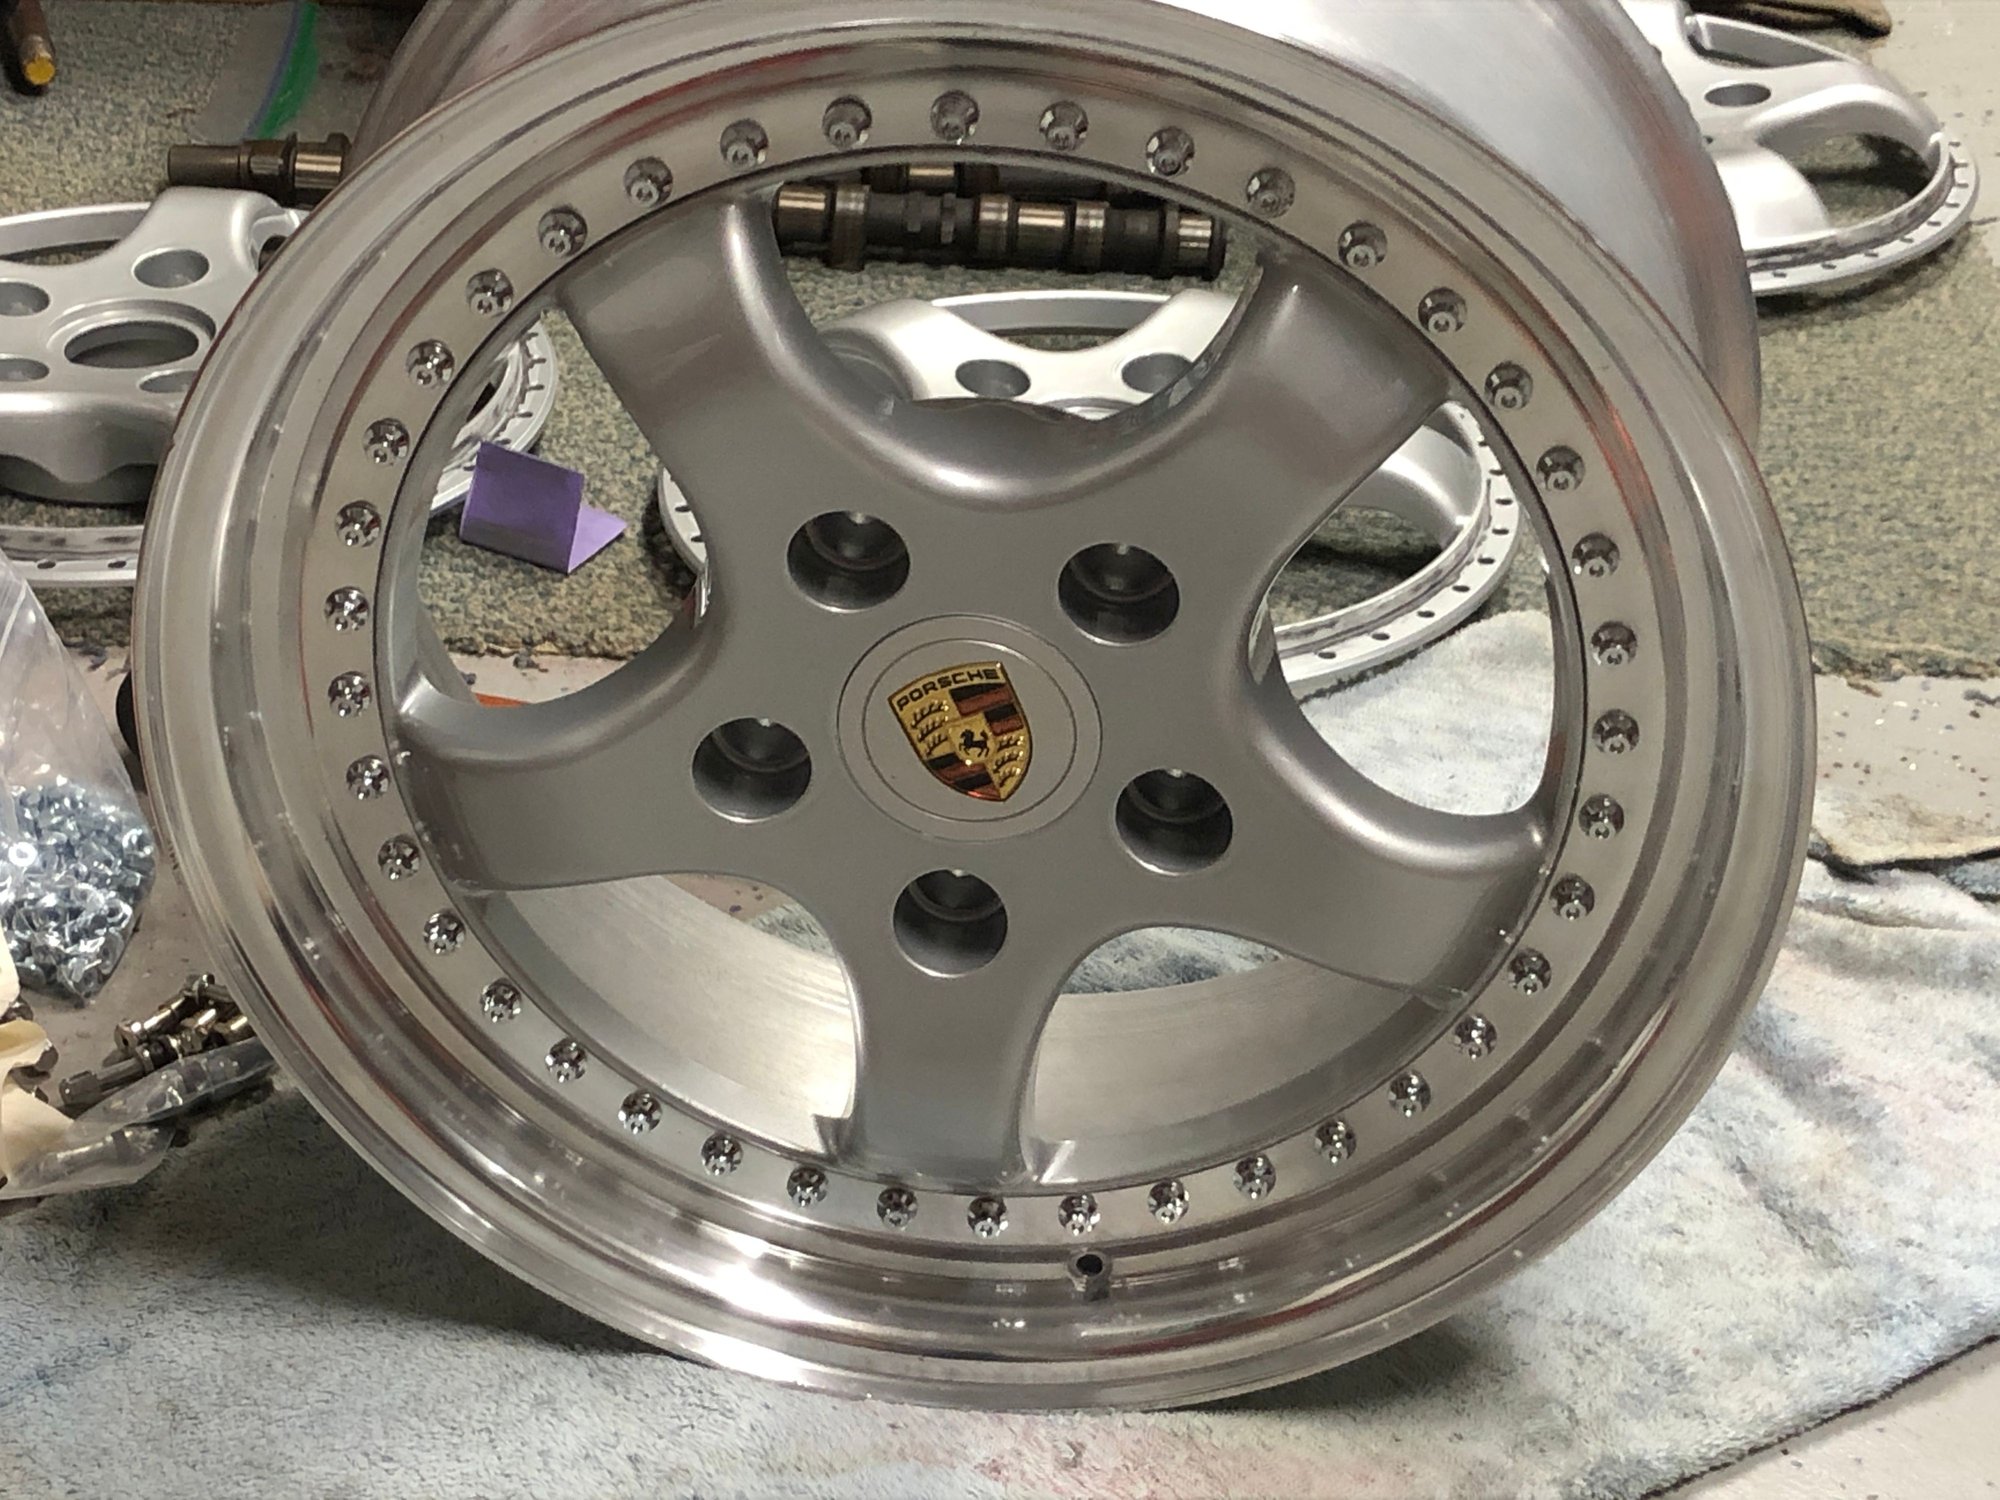
Bought these faux Speedlines from a friend who used them on his track car...finally got the time to clean them up, split apart, polish, buy new bolts, get centers powder coated, re-assemble, torque the bolts, re-apply sealant in the joint. Much much labor of love
Real Speedlines are 18" wheels these are 17" X 7.5 and 17 X 9
Beautiful wheels John. I kept looking for a good deal on something like a Speedline, but that seemed impossible. I also love lightweight, forged type wheels and I finally bought a set of Volks TEs. No matter in appearance for me since these went on my 197k mile Cab which is pretty horribly ugly these days due to spending most of it's life stored outdoors. If I ever get a garage I'll cosmetically fix it up.
Bought these faux Speedlines from a friend who used them on his track car...finally got the time to clean them up, split apart, polish, buy new bolts, get centers powder coated, re-assemble, torque the bolts, re-apply sealant in the joint. Much much labor of love
Real Speedlines are 18" wheels these are 17" X 7.5 and 17 X 9
Before
After
Great work and those wheels seems like the best of both worlds.. Proper split wheels in speedline look but with the advantages of 17" wheels..! Well done.. Don't forget to post of pics of the wheels on your car..!!
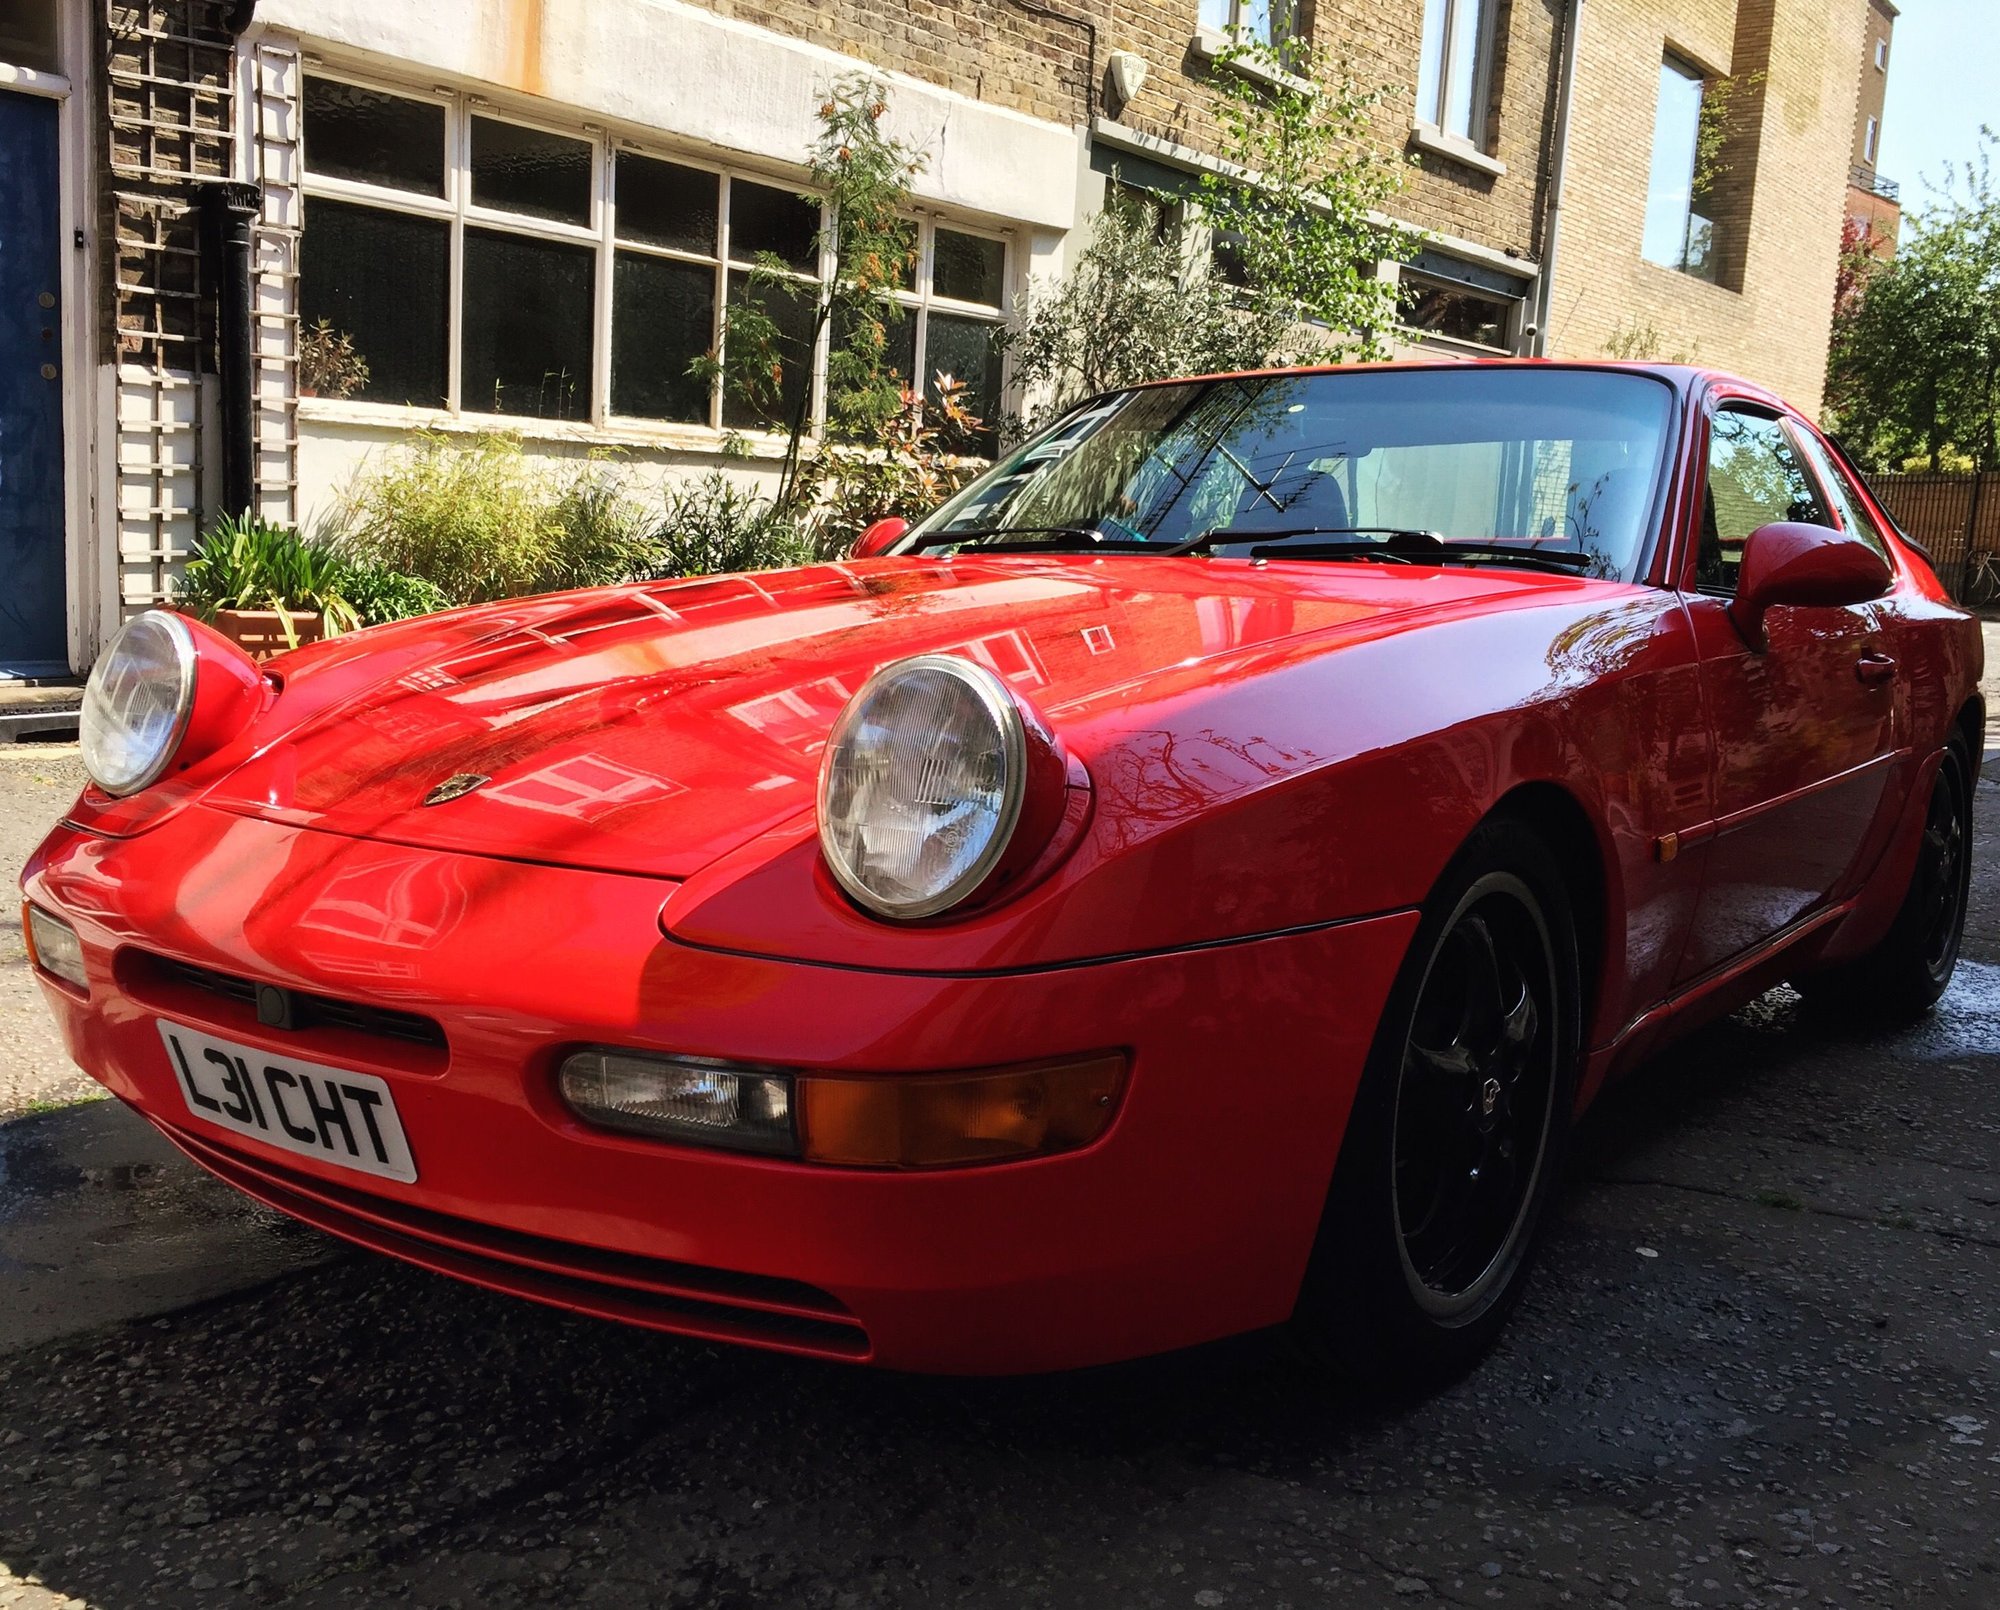
Finally got round to replacing a cracked headlight unit. Very fiddly and frustrating removing the front retaining ring - such a tight lower part of the moulding with a hard to access tab. All good though and looks great. Also swapped out front fog bulbs for what was advertised as 50% brighter bulbs. Alas, no difference seen when compared to the orginal.
Next thought is to see how I can open up the front mouth plastic intake grille or replace it with something else less constrictive like a plain open grille/mesh. This openeing is the only direct forward air feed to the air box. Would be good to open it up a bit.
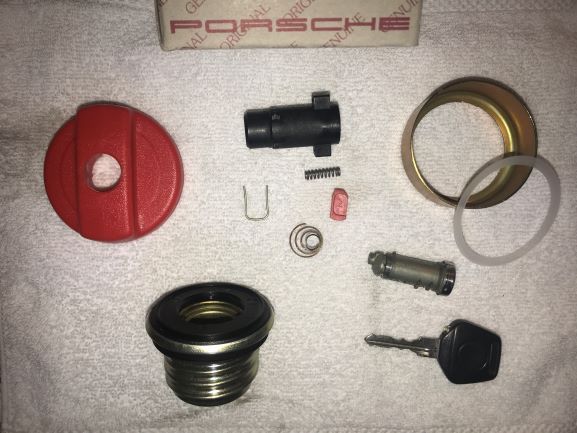
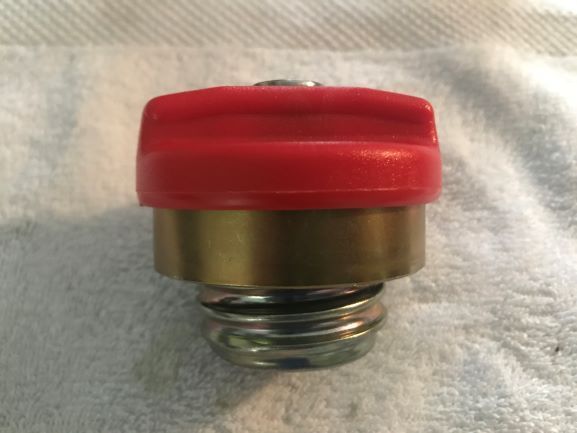
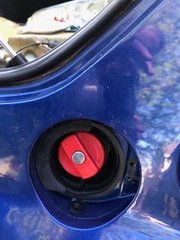
So either my gas cap got lost or it was stolen (too lazy to lock?). I purchased a new unloaded cap (no lock cylinder) and also a used one (just for cylinder).
Got everything apart and cleaned easily:
After filing the cylinder tumblers for my key and greasing, I got (snapped) everything back together:
Apologies if this was covered before - but I just wanted to mention that it was easy and worth the effort vs. buying new keyed-unit.
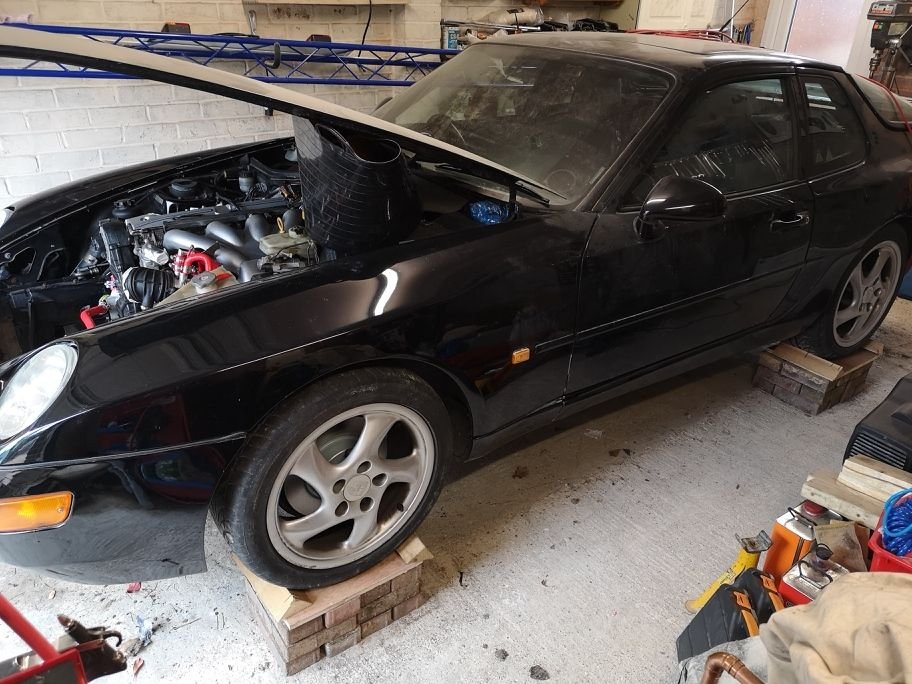
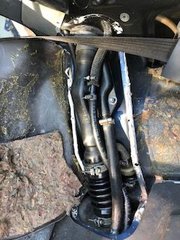
No space for anything much in my uk garage but worked out how to get the car on the level for the final part of this work. Really not recommending this as a practical approach commercially, compare and contrast with 4 post lift in terms of workload! Anyway my dusty 968 is now level again, still with a wedged bonnet/hood 😀. Ready for toe in setup with strings, oil fill, transaxle oil change if the plugs come out, fuel filter if I can undo, continue brake overhaul, run up and leak check when I get a radiator. Been a long time though Covid has accelerated the process here. I�m starting to like the look of the engine bay, more cleaning and it will look a lot better I�m sure, not doing that in the tiny garage though.
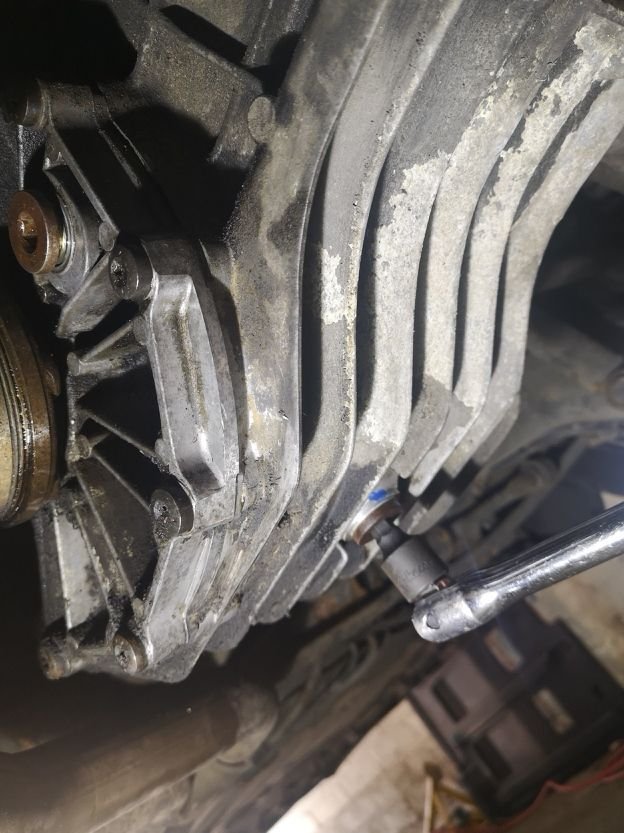
This job came with warnings, horror stories about stuck plugs, removing the exhaust for access, people welding things to the transmission plugs at worst. Though whether that�s mostly the result of inferior design on the 944 17mm hex item compared to the 968 I don�t know. The limited service history I have documents a trans oil change in 1997, it�s likely no human had gone there in 23 years. Anyway my transmission plugs looked pretty good when cleaned up, with a reasonably deep 10mm hex socket. Regardless I heated them up with a hot air gun and soaked in PB overnight. Used a good allen tool. They freed quite easily with a tweak from my shortest bar, unusually on this car the zinc plating on the threads is perfect, there has been no corrosion. Guessing the 968 design is better than the 944. Oil clear too, so a good result today.
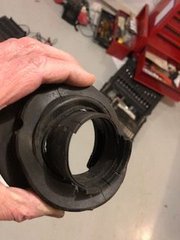
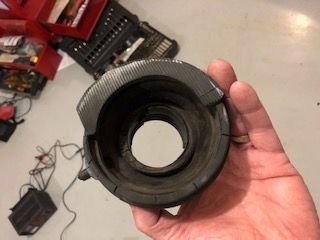
Since this has been on my punch list for a long time, finally got around to taking the fuel filler neck out and replacing today. OMG - whatever that adhesive is for the sound deadening, it is really sticky stuff. Didn't take before pictures, but pulled all the hoses off, cleaned the clamps and reinstalled everything. Anyone have any idea of what should be used to seal the metal cover back?
old filler neck, inside old filler neck, outside view New neck in place Clean inside lines!
 04-22-2020, 01:01 PM


 Don't forget to post of pics of the wheels on your car..!!