When you click on links to various merchants on this site and make a purchase, this can result in this site earning a commission. Affiliate programs and affiliations include, but are not limited to, the eBay Partner Network.
If you mean just the speedo unit itself going back into the cluster, I had no problems there. Here's a view of mine from the side, outside the cluster :
Speedo assembly, removed from instrument cluster
My only disassembly of the speedo unit past this point was removing the two phillips head screws visible on top of this pic - I could then lift off the circuit board (wires still attached) that then exposed the old gear. Did my work on gear and cleaning (in my original post above), then reattached this small circuit board and replaced speedo assembly back into the cluster.
Assembly back into the instrument cluster then only required getting the black peg on bottom of this pic (sending unit for speed?) into the appropriate hole on the cluster, lining up the screw holes and replacing the 4 screws to secure speedo assembly into cluster. I didn't notice (or pay attention to) any electrical contacts that may of been there, but it worked fine when reassembled.
Did you have a different method to get into the gears within the speedo assembly (maybe making reassembly more difficult)?
Thanks I only took the rear board and motor off so disassembly was minimal. Reassembly was straightforwards too. I guess yours was a 944 unit and I can�t see from your pic if you have the same 4 rear contacts as my 968 unit. Yes there is the same black peg, this seems to reset the trip via a coil. No probs to get that in it�s hole. Here are pictures of my assembled speedo and it�s housing. There are 4 pins on the housing that appear at first glance to be meant to go into 4 female connectors on the speedo. Except that I only ever got three even near lined up at first attempt. Do you have the same connection setup?
Thanks I only took the rear board and motor off so disassembly was minimal. Reassembly was straightforwards too. I guess yours was a 944 unit and I can’t see from your pic if you have the same 4 rear contacts as my 968 unit. Yes there is the same black peg, this seems to reset the trip via a coil. No probs to get that in it’s hole. Here are pictures of my assembled speedo and it’s housing. There are 4 pins on the housing that appear at first glance to be meant to go into 4 female connectors on the speedo. Except that I only ever got three even near lined up at first attempt. Do you have the same connection setup?
Unfortunately I didn't grab any pictures of the back of the speedo assembly nor the "empty" spot in the cluster that it left. I didn't recall seeing anything resembling what you show on the back of your assembly and the cluster (those pins).
I did find a part number sticker (944.641.311.64) on top of the cluster assembly, which, according to a couple of the parts places, is a 944 tachometer - searching the same part ID on google shows a few European (but oddly not US) sites stating that's the part number for the 968 cluster.
My car is a 1992 968 and as far as I know, the cluster is stock. My car is also a US-spec car, so not sure if there may be a difference (besides mph vs kms) on the speedo since yours is UK.
Thanks for the input will play with this a bit more when I have time!
This restoration was meant to be engineering focussed rather than concourse, so forgive my grubby bolts, one day maybe they�ll be replated. Or maybe I�ll find some gold plated ones that will be cheaper than the factory zinc variety 😉. Anyway things look smarter with a shiny lid back on.
And of course the circuit board was on the wrong way round! Grrr. It�s entirely reversible 😀. Wouldn�t do that again....
You mean you had to flip it over (wires facing inside of speedo assembly) and then it fit on fine? OK, that makes sense, and I can see myself making the same mistake. Luckily I didn't the opportunity to as I replaced the gear thru the side (as shown in my pics) rather than the back. :-) Good to hear you got it back together successfully!
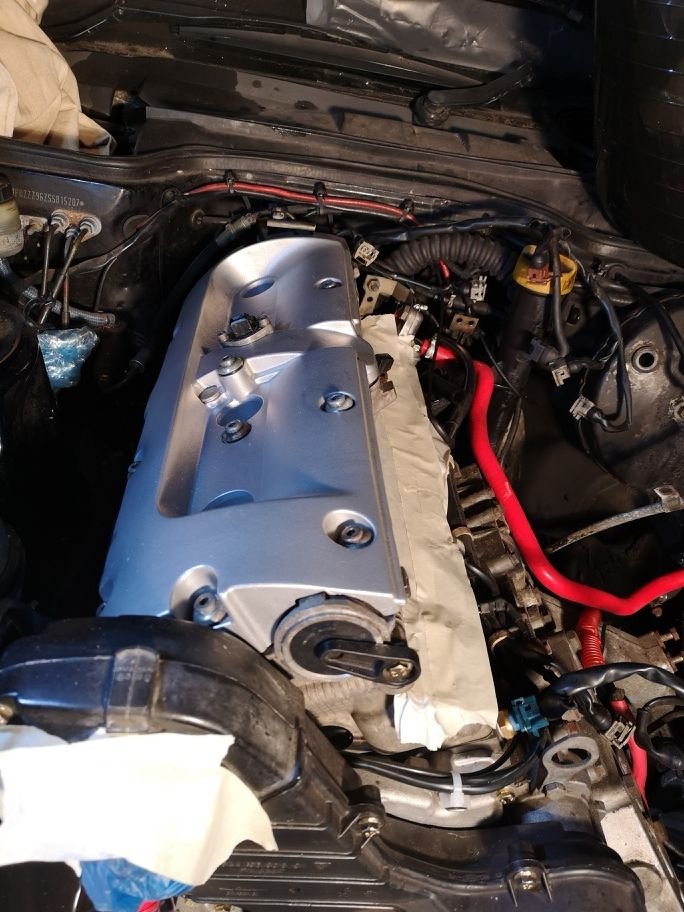
I did it several years ago for a late dash 944 which is pretty much the same. the clarks garage walk through is pretty accurate. Make sure you follow the airbag procedure if you have one. http://www.clarks-garage.com/shop-manual/elect-07.htm
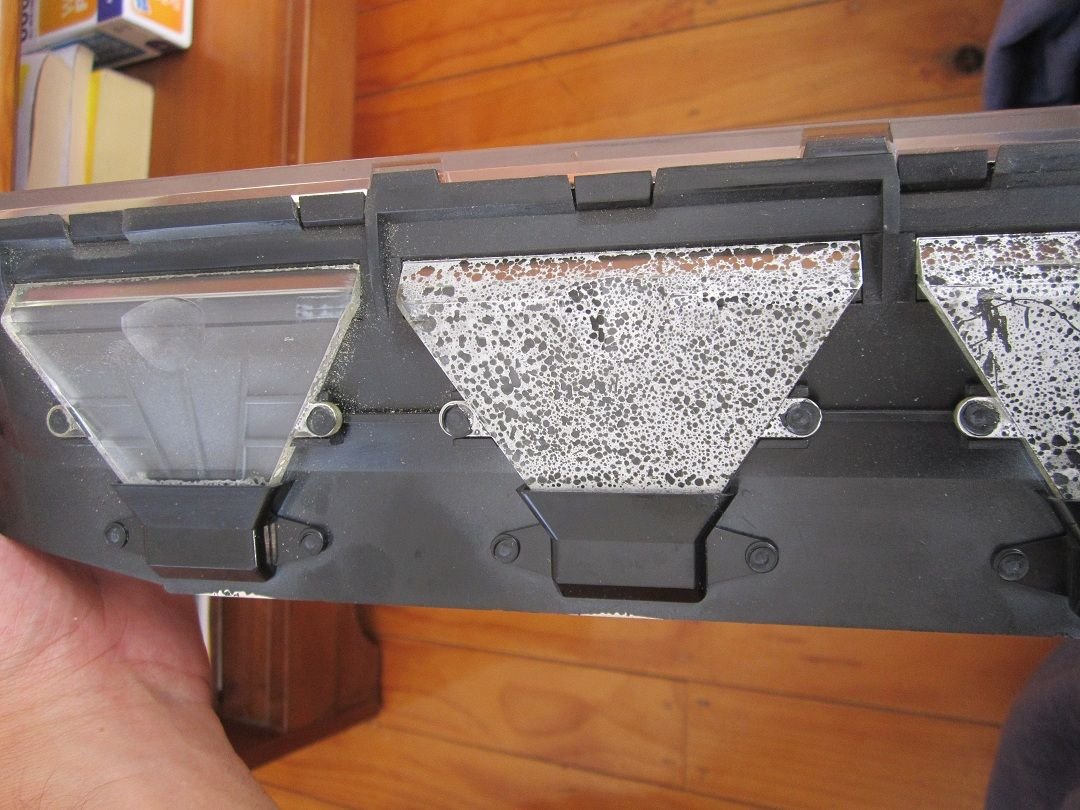
@J1NX3D - what did you use to clean off the light tunnels back to "clear" as shown in the one clean tunnel (vs the other two) above? Definitely want to do this to mine if I go thru the effort of getting the cluster back out at some point!
You mean you had to flip it over (wires facing inside of speedo assembly) and then it fit on fine? OK, that makes sense, and I can see myself making the same mistake. Luckily I didn't the opportunity to as I replaced the gear thru the side (as shown in my pics) rather than the back. :-) Good to hear you got it back together successfully!
Exactly, the component side must face the speedo and the solder side is out. It fits on quite happily ether way which is a little counter intuitive to the unwary given that there are 3 holes. Caught me out till I looked at a pre disassembly photo which I had not.
You mean you had to flip it over (wires facing inside of speedo assembly) and then it fit on fine? OK, that makes sense, and I can see myself making the same mistake. Luckily I didn't the opportunity to as I replaced the gear thru the side (as shown in my pics) rather than the back. :-) Good to hear you got it back together successfully!
@J1NX3D - what did you use to clean off the light tunnels back to "clear" as shown in the one clean tunnel (vs the other two) above? Definitely want to do this to mine if I go thru the effort of getting the cluster back out at some point!
@J1NX3D - what did you use to clean off the light tunnels back to "clear" as shown in the one clean tunnel (vs the other two) above? Definitely want to do this to mine if I go thru the effort of getting the cluster back out at some point!
@dbonds , what you probably want to do to get maximum light output is to fully remove the tunnels and clean on the side up against the housing. I posted a full thread on my restoration where I removed the tunnels. Just remember, per @J1NX3D , make sure your nail polish remover is non-acetone variety.
Disassembled the hatch I bought from a Rennlister over the weekend. My glass had delaminated and the easier DIY project for me was finding one used with great glass sealant condition. Ordered new rubber seals and fasteners, cleaned up the glass and frame and delivered the hatch without spoiler to be tinted to match my original one. Sanded and primed the spoiler on the way to color matching it to the Polar Silver car since it needed painted anyway. Plan to re-paint the perimeter glass primer to re-create the OEM aesthetic ......any suggestions for paint and process?
 03-02-2020, 01:34 PM