When you click on links to various merchants on this site and make a purchase, this can result in this site earning a commission. Affiliate programs and affiliations include, but are not limited to, the eBay Partner Network.
It seems pretty straight forward. I was going to attempt it with my car. Fortunately (unfortunate for my project) I figured out that the engine was too wide to fit through the ramps on my 4 post lift (a good thing to measure if you're planning to drop an engine using a 4 post lift).
It seems pretty straight forward. I was going to attempt it with my car. Fortunately (unfortunate for my project) I figured out that the engine was too wide to fit through the ramps on my 4 post lift (a good thing to measure if you're planning to drop an engine using a 4 post lift).
It is a structured sequence and not too difficult if all of the various bolts and nuts come out easily. I will simply work backwards on my posts when it comes to refitting it 😉
Good call on checking your gear before doing this. I can�t believe my first drop was with jack stands.
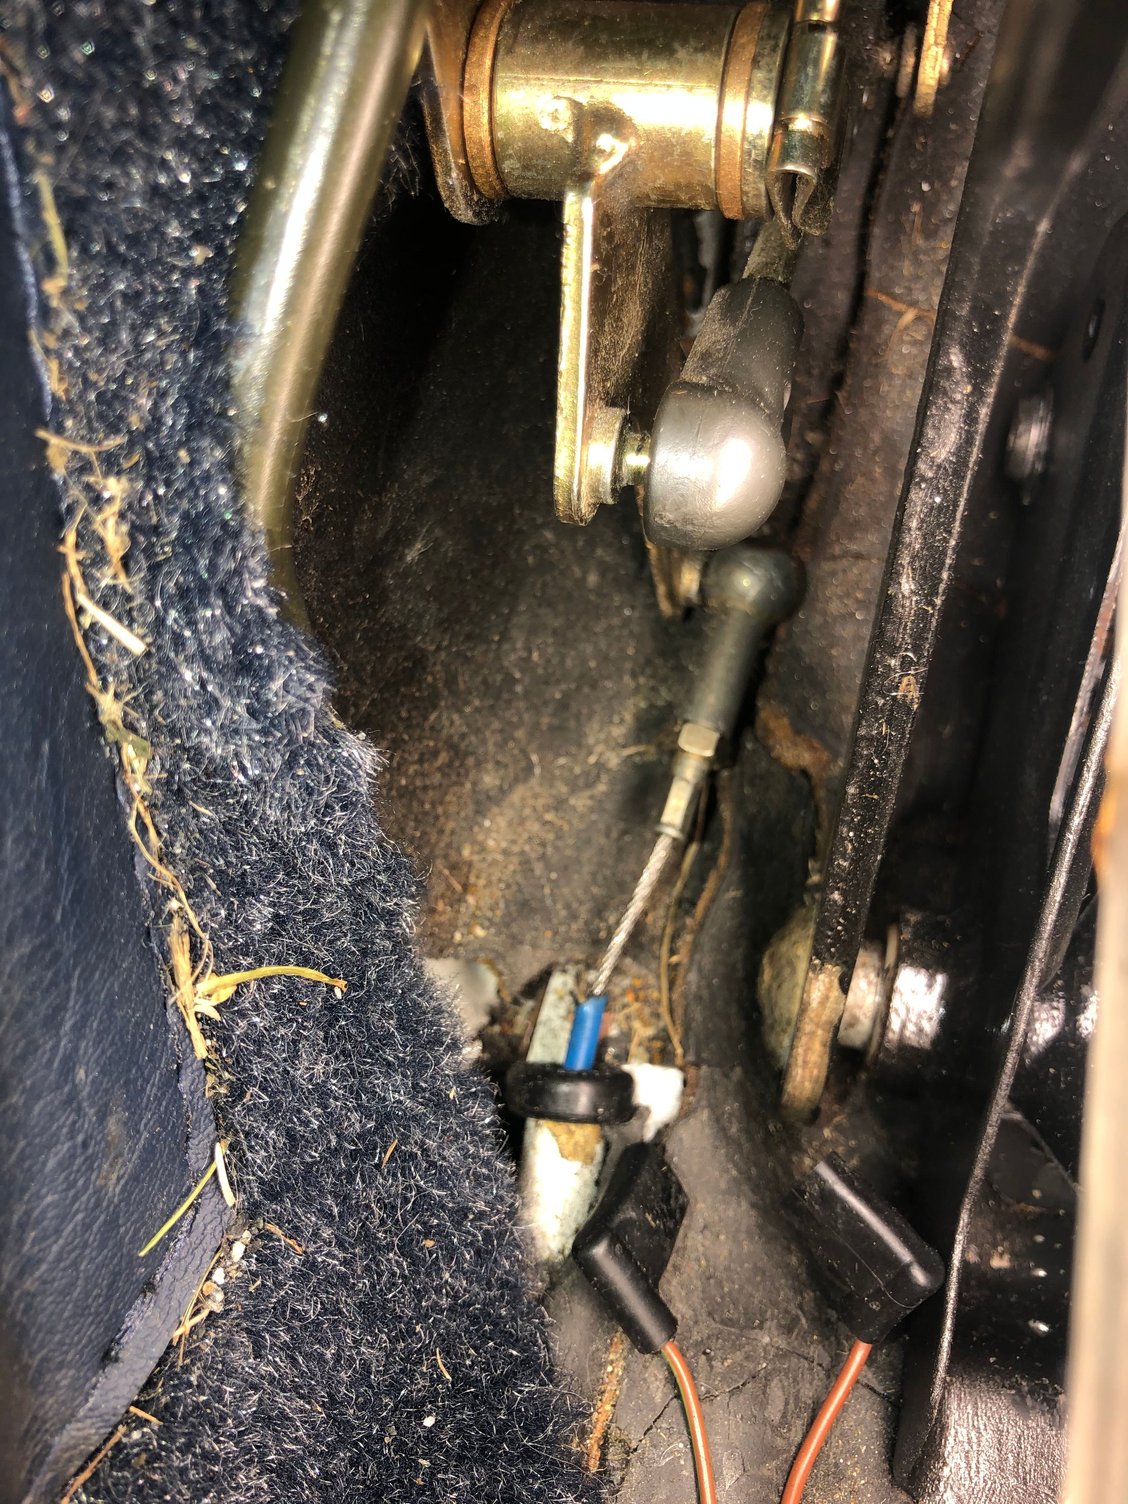
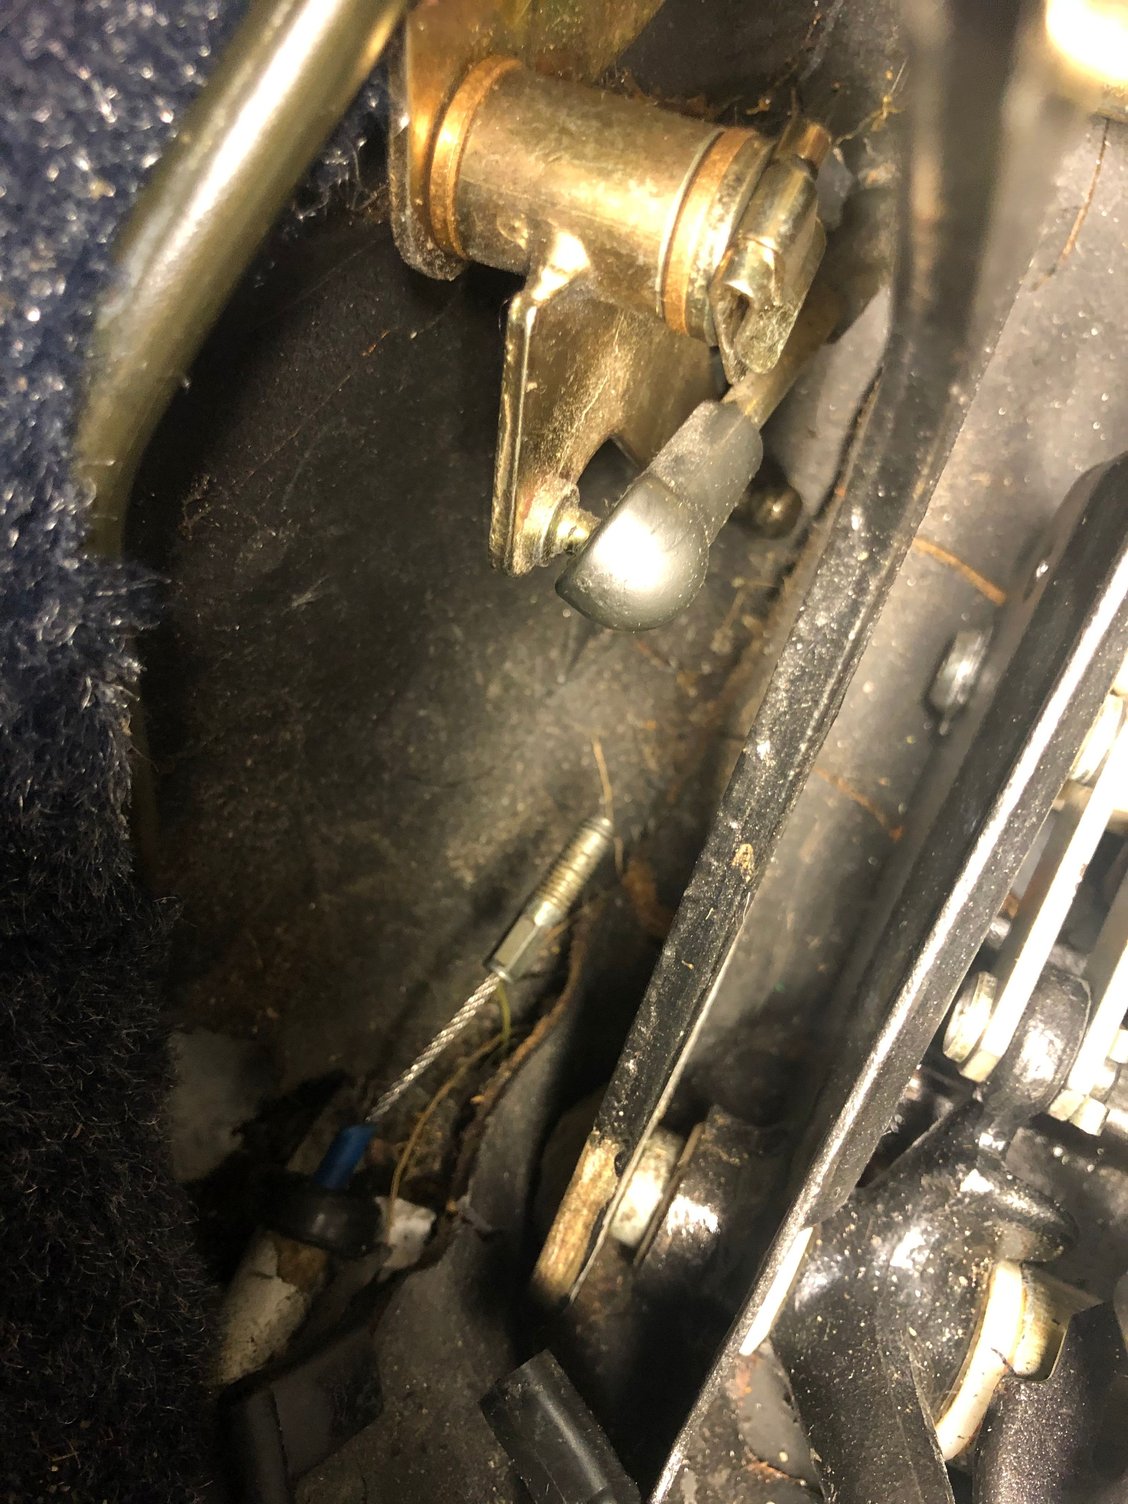
Step 15. Remove the pedal board, lever the throttle ball joint off the mechanism. Unscrew the ball joint off the cable. This will allow the throttle cable to slide out down the tube when the engine is pulled. Some people undo the throttle cable at the engine end.
Last edited by John McM; Feb 16, 2021 at 04:12 AM.
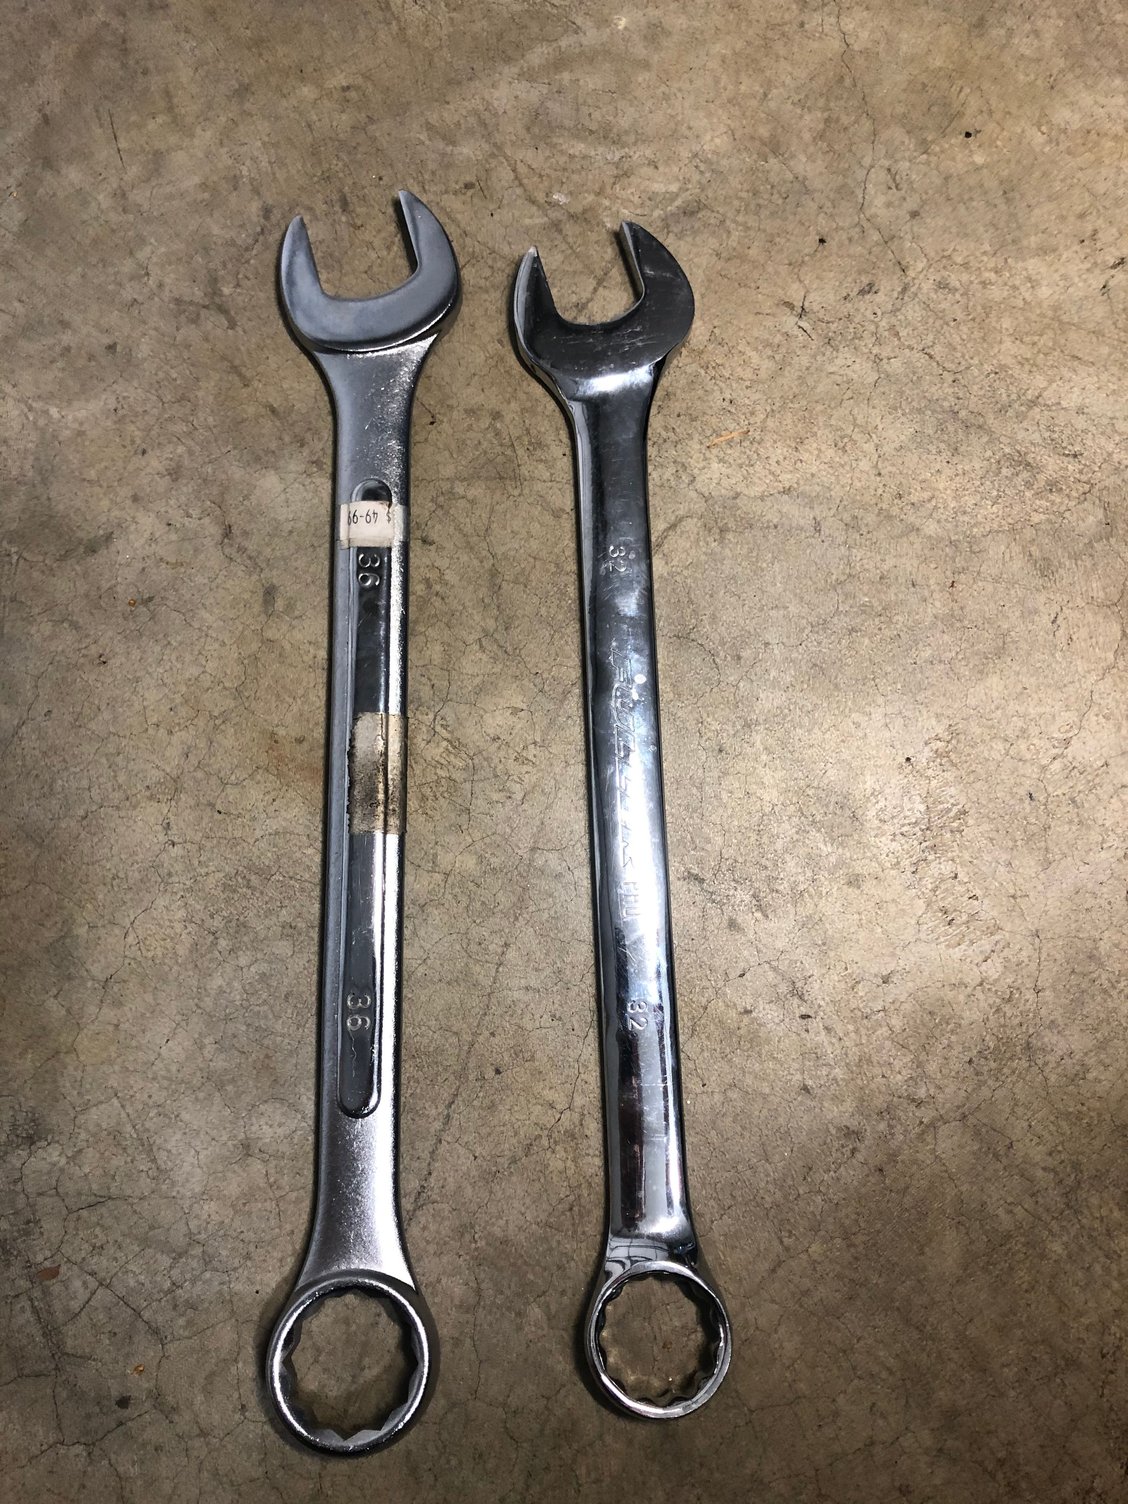
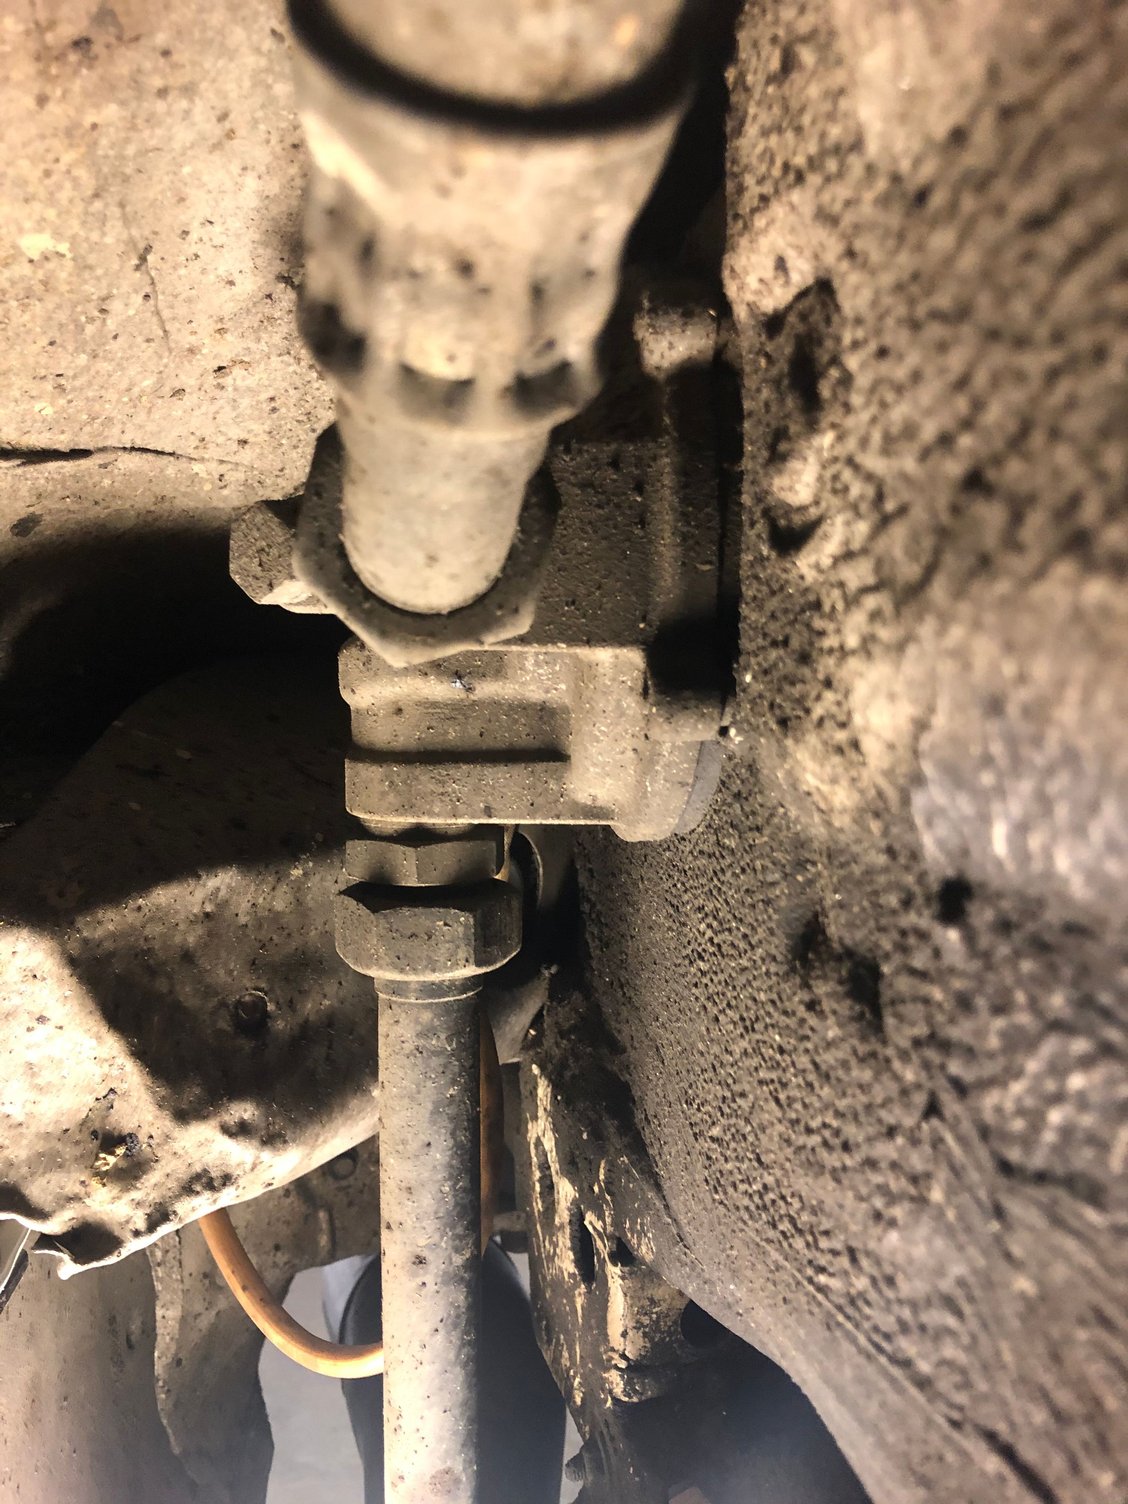
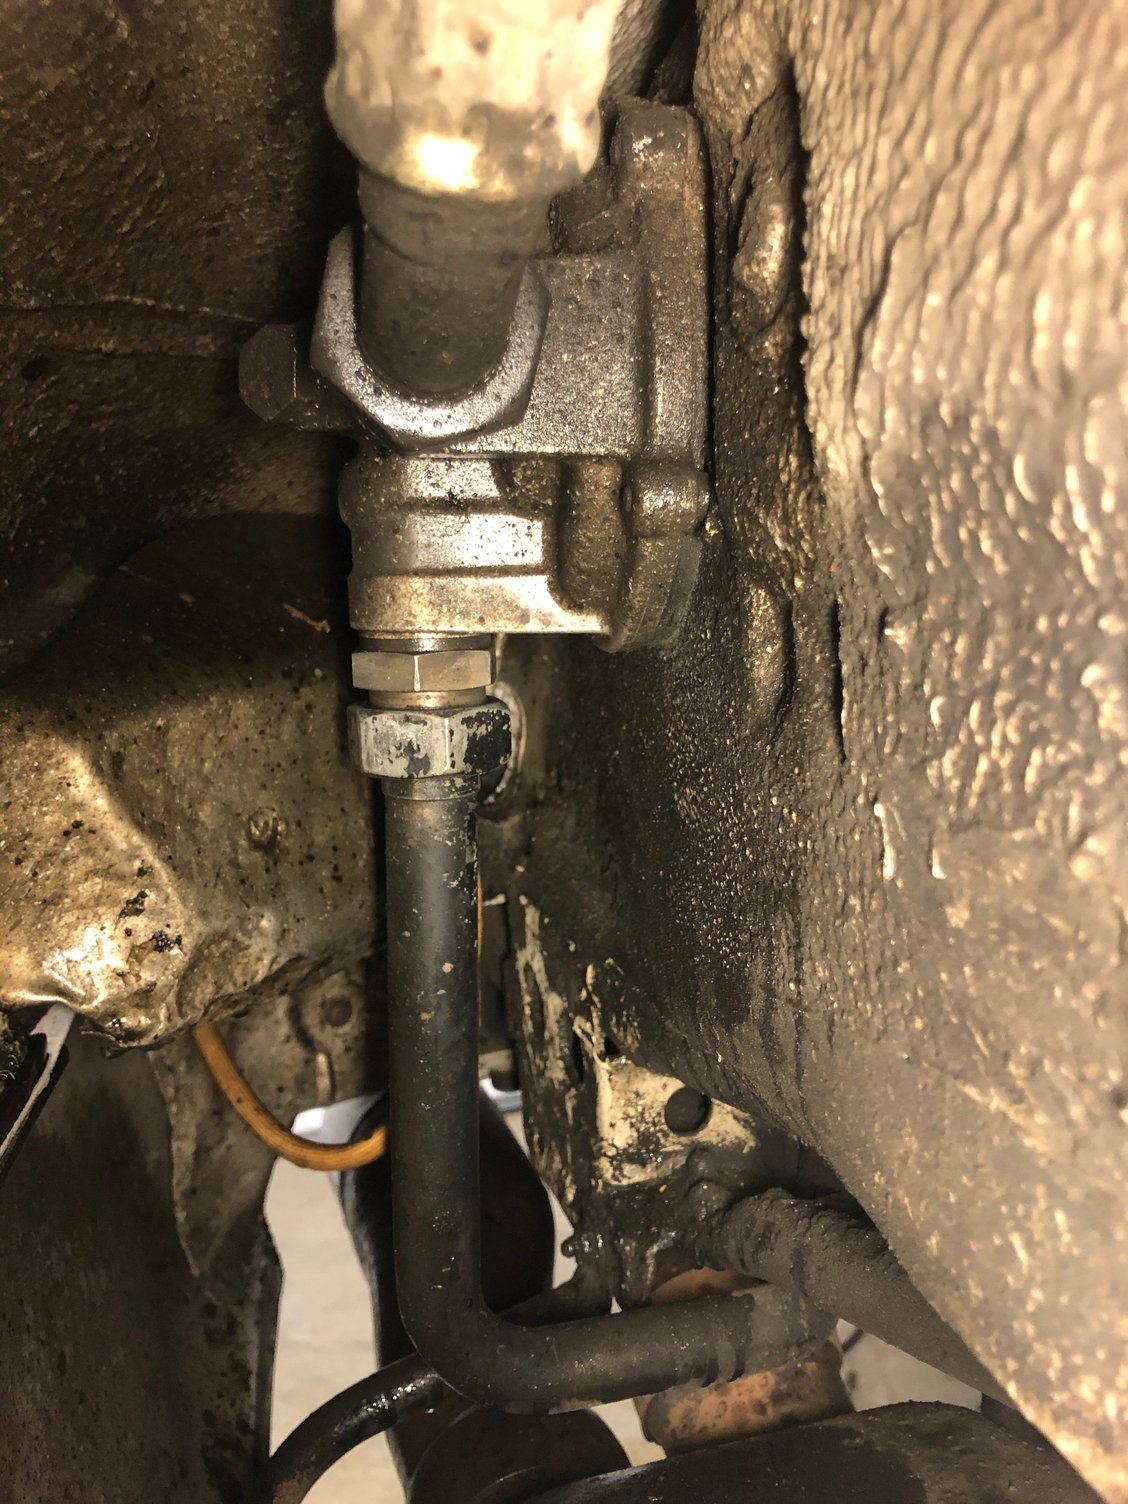
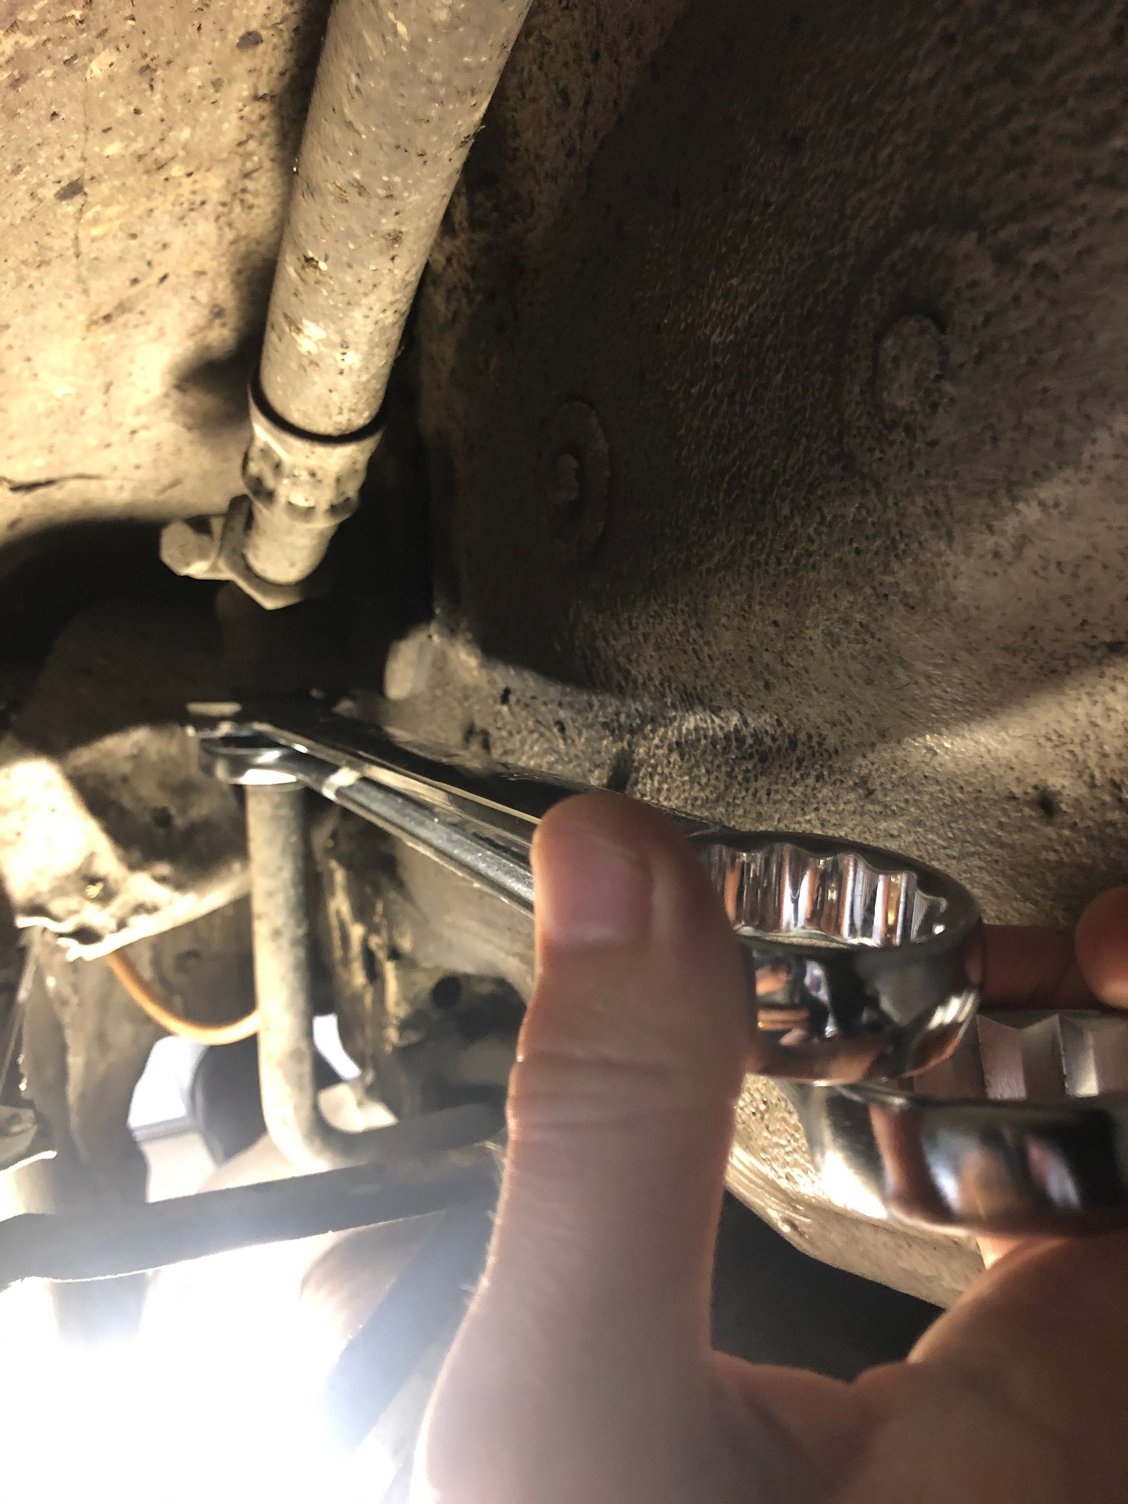
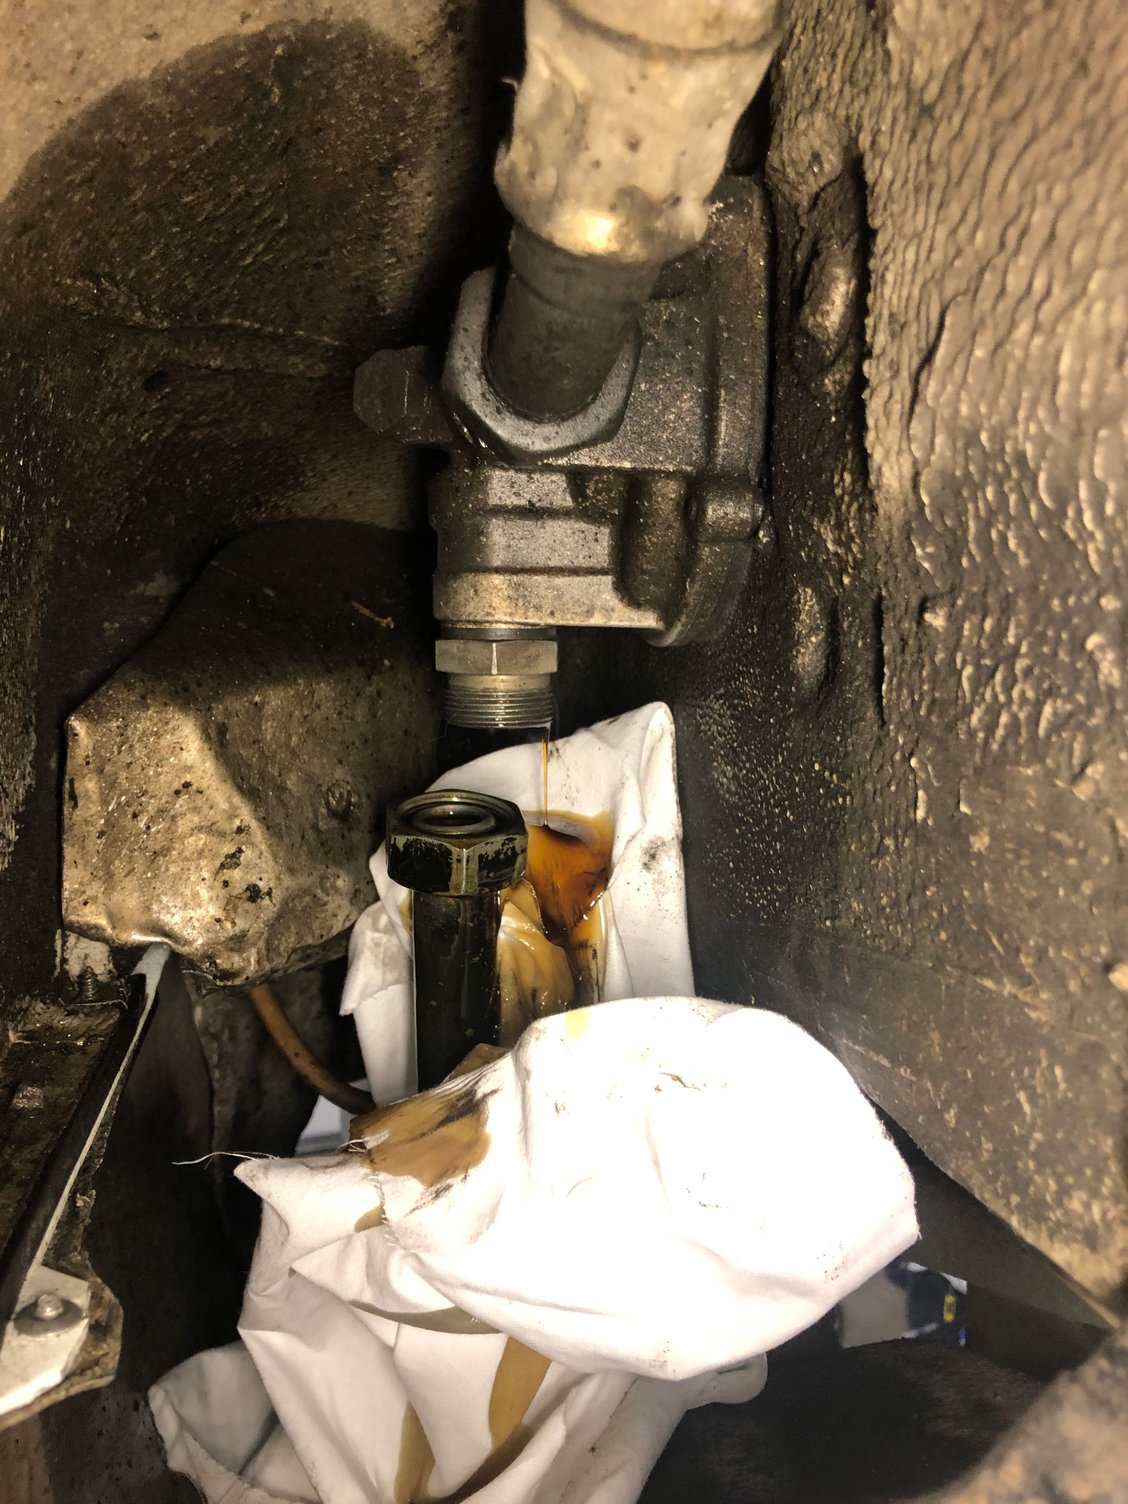
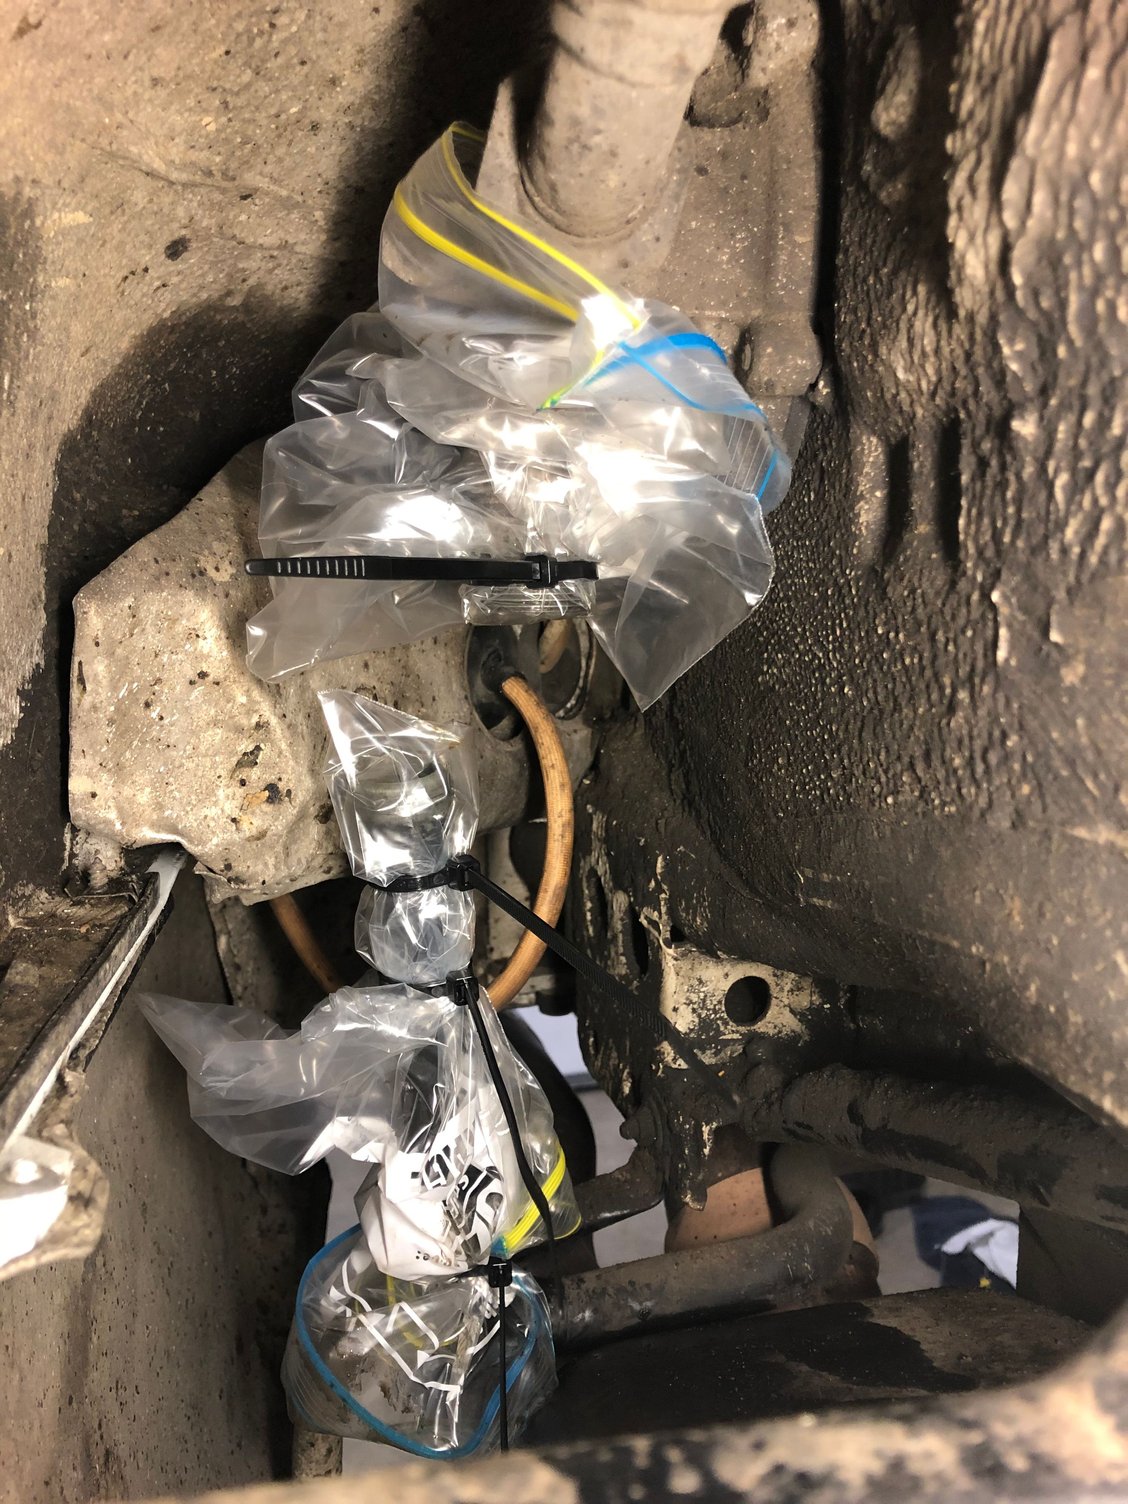
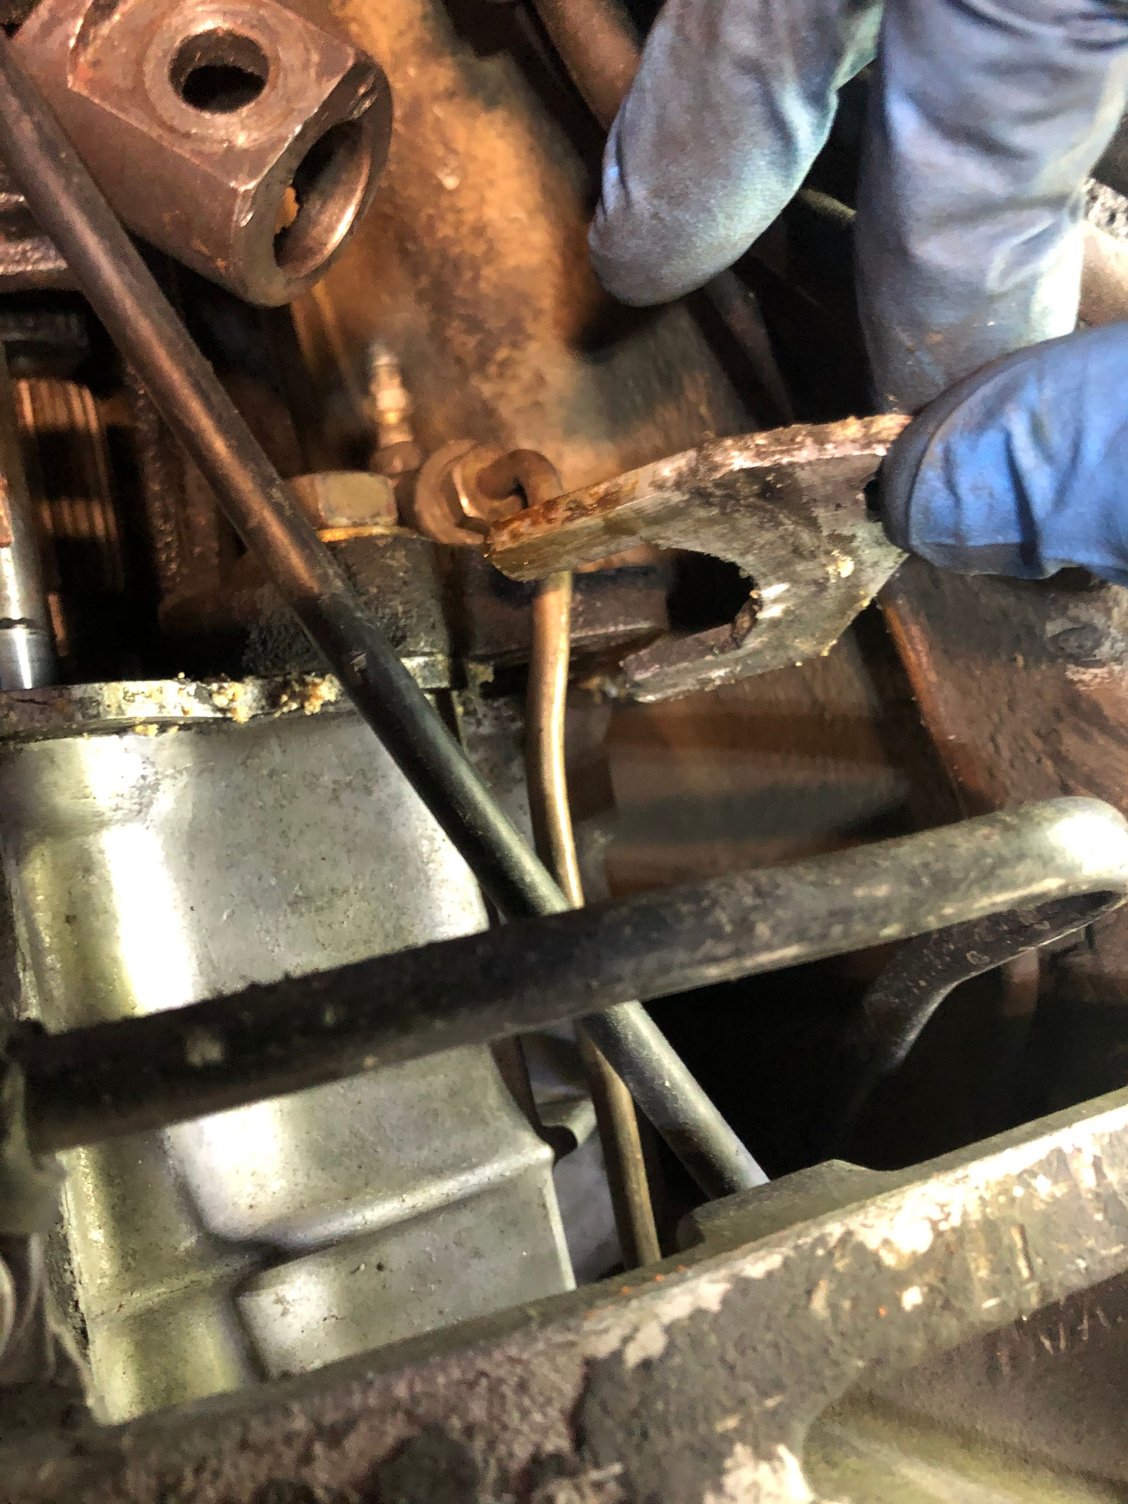
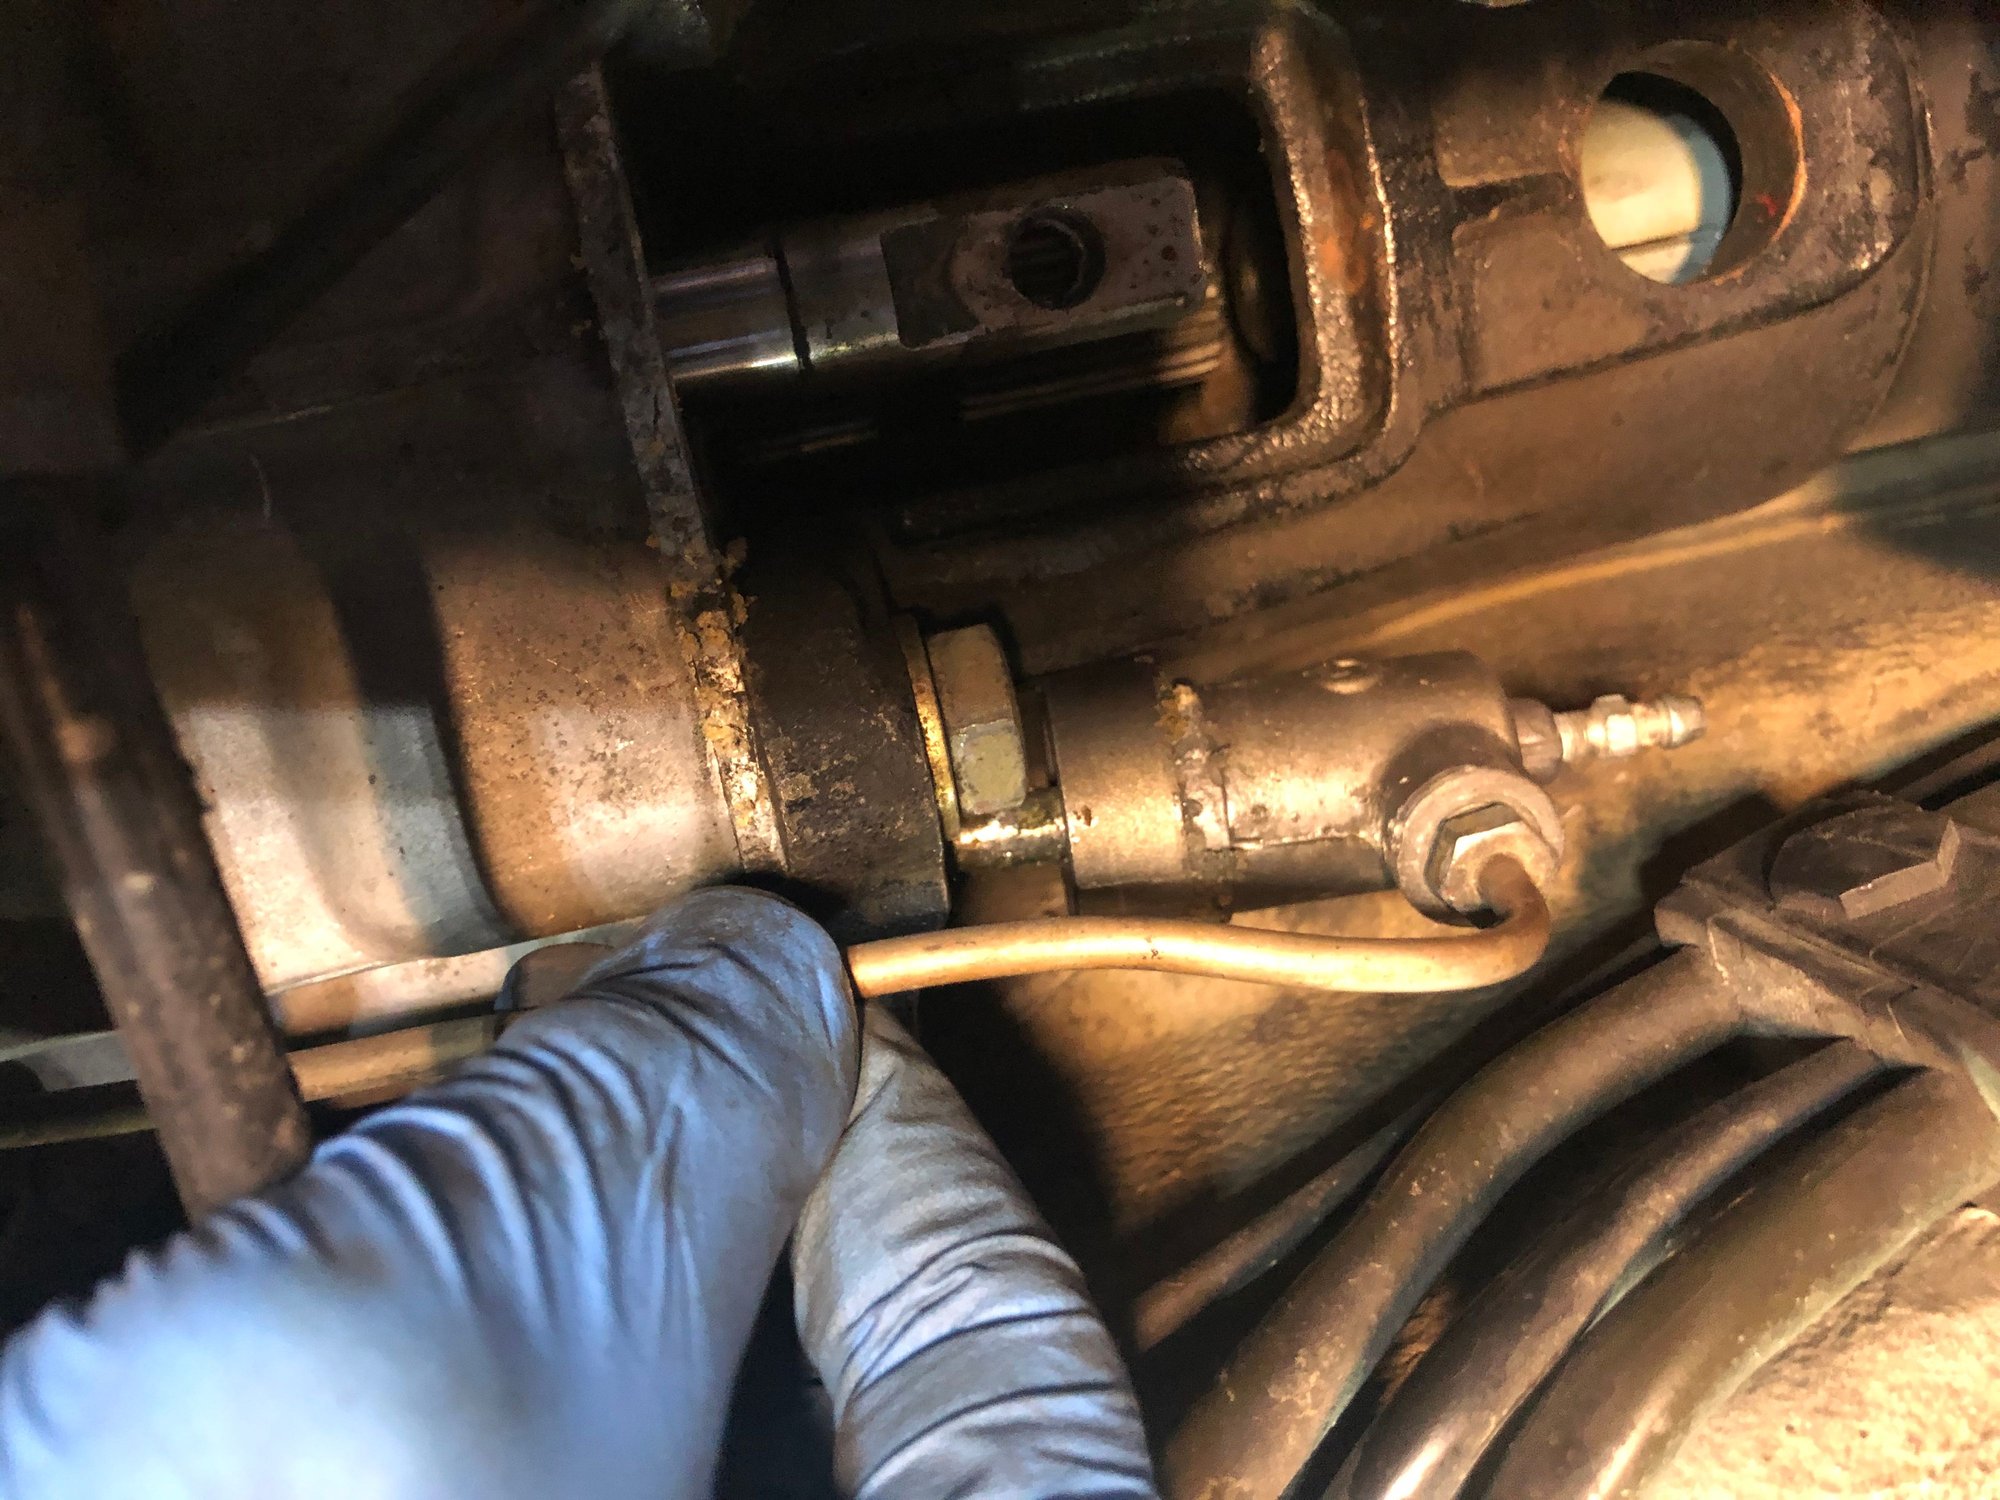
Step 16. Clean the oil pipe connection in the right rear wheel well. Put a 32mm and 36 mm spanner on the respective nuts. I squeeze the two spanners together with one hand and it comes loose. Mind you I did them up last time so I know they are not over tightened. Have rags and a tray ready to catch the oil (50ml). Bag both ends of the connection.
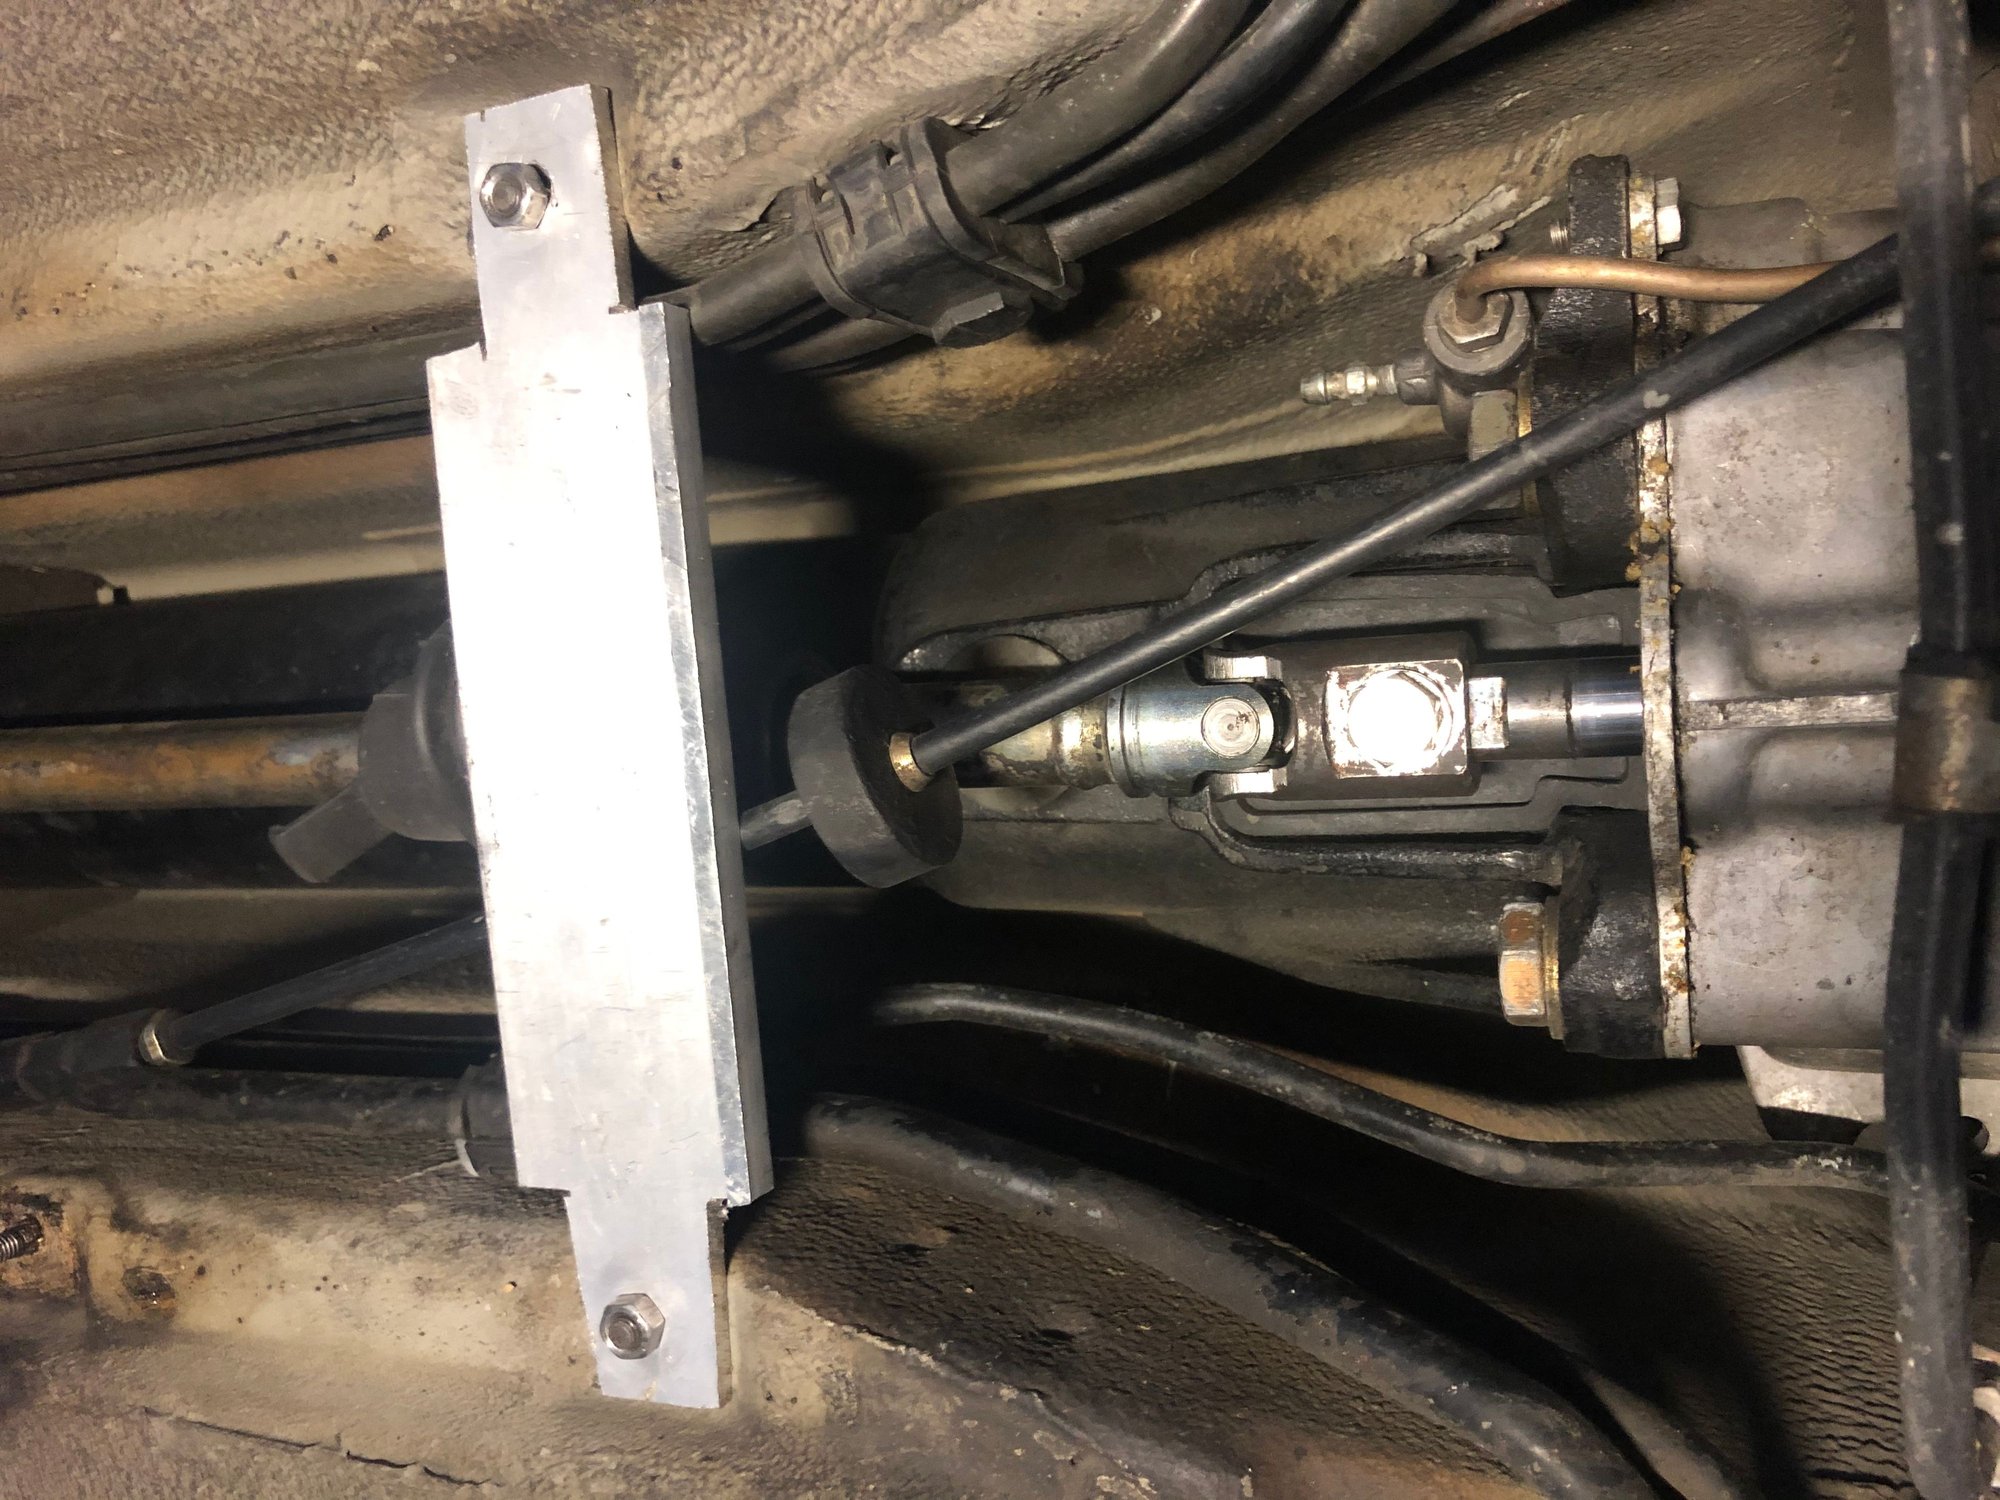
Step 17. C4. Fit the home made bridge over the torque tube tunnel. Push the rubber bellows forward on the gear selector rod and remove the bolt connecting the rod to the gearbox. Go in the cabin and push the gear lever fully forward. Go back under the car and push the rod off the gear box. Remove the two covers off the torque tube.
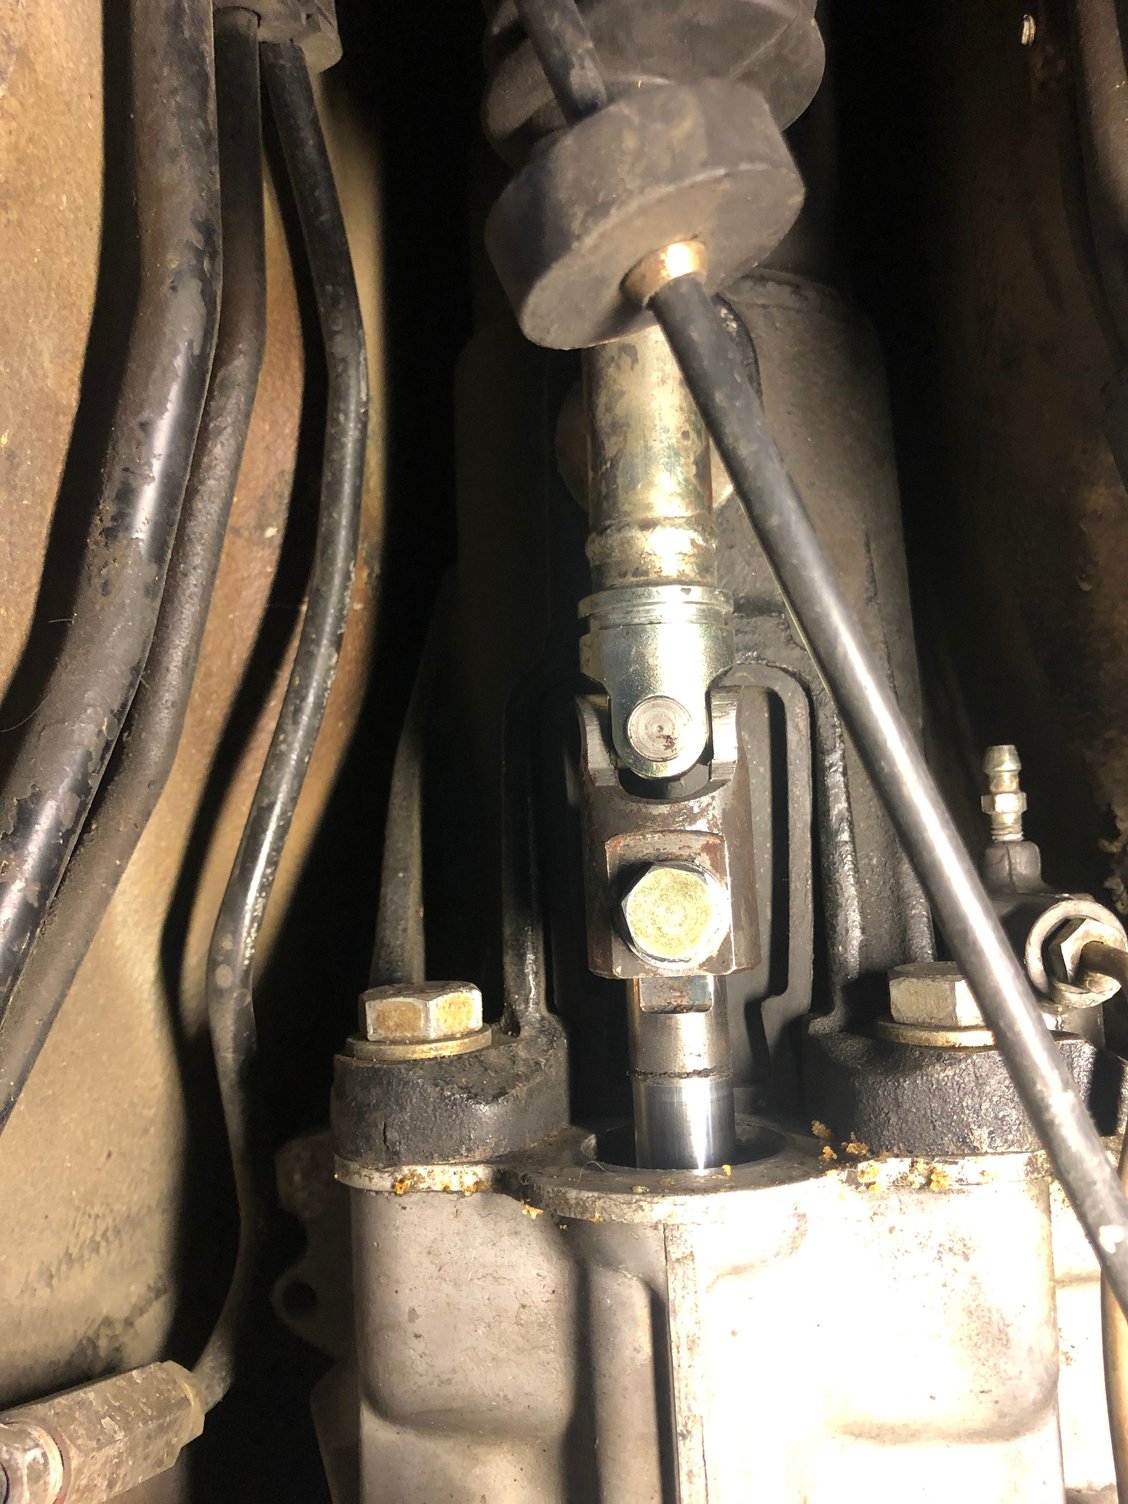
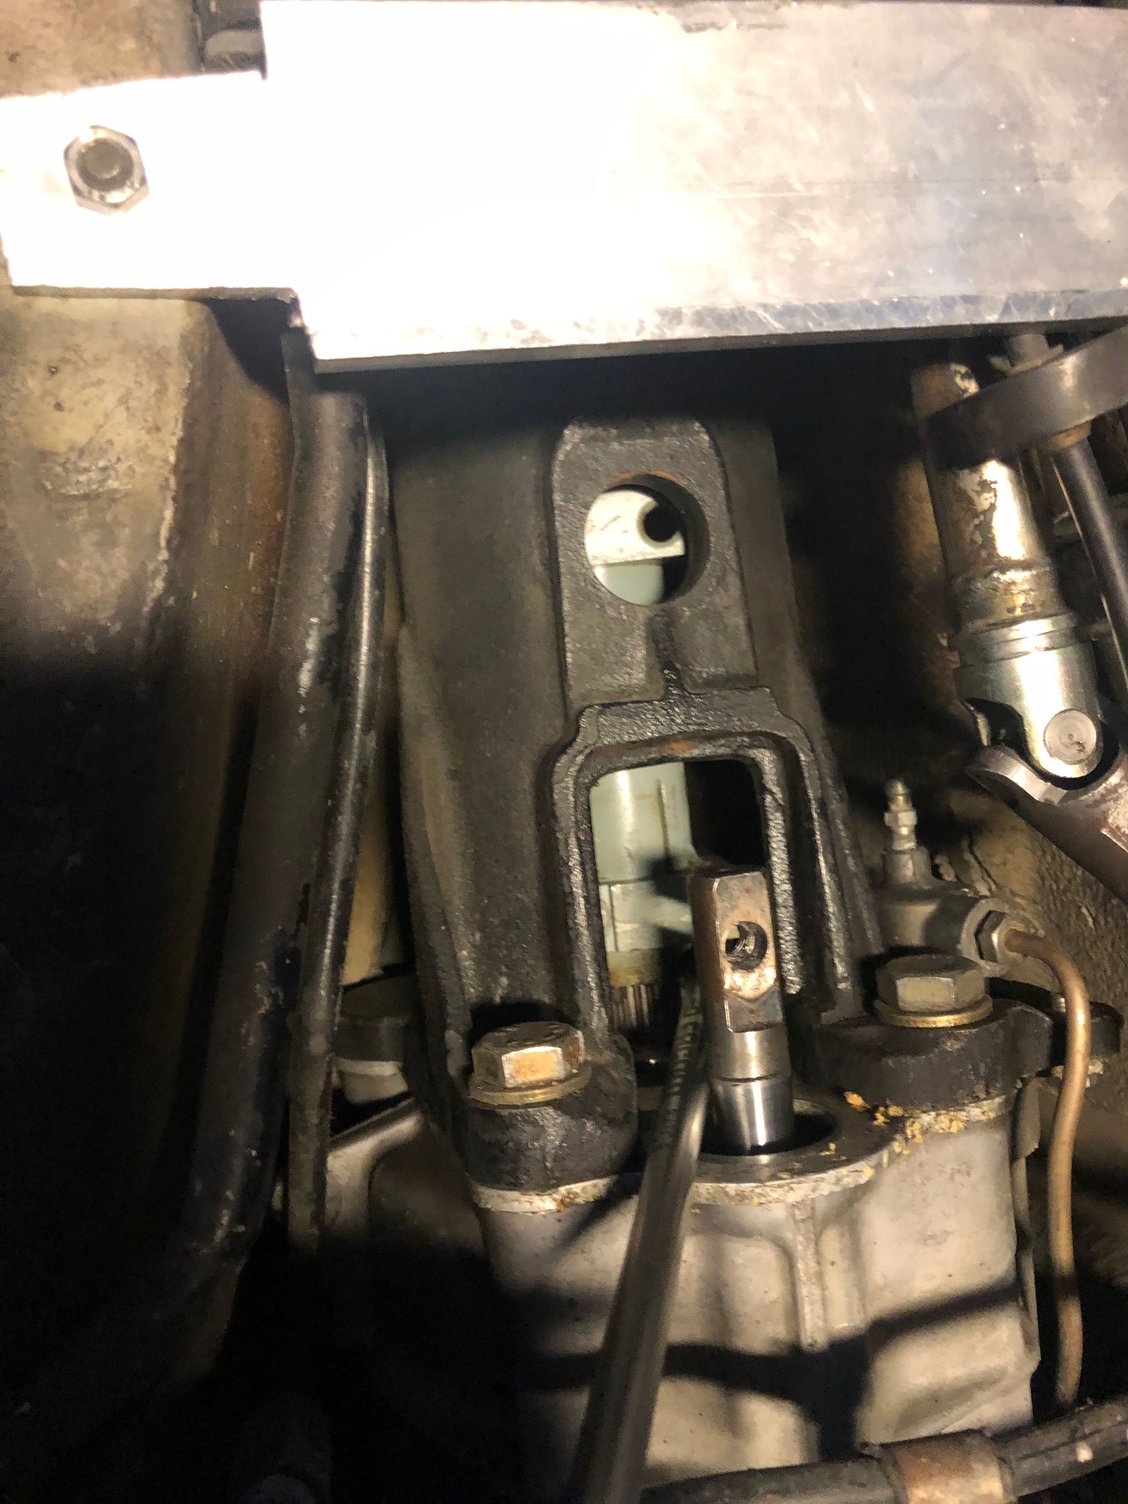
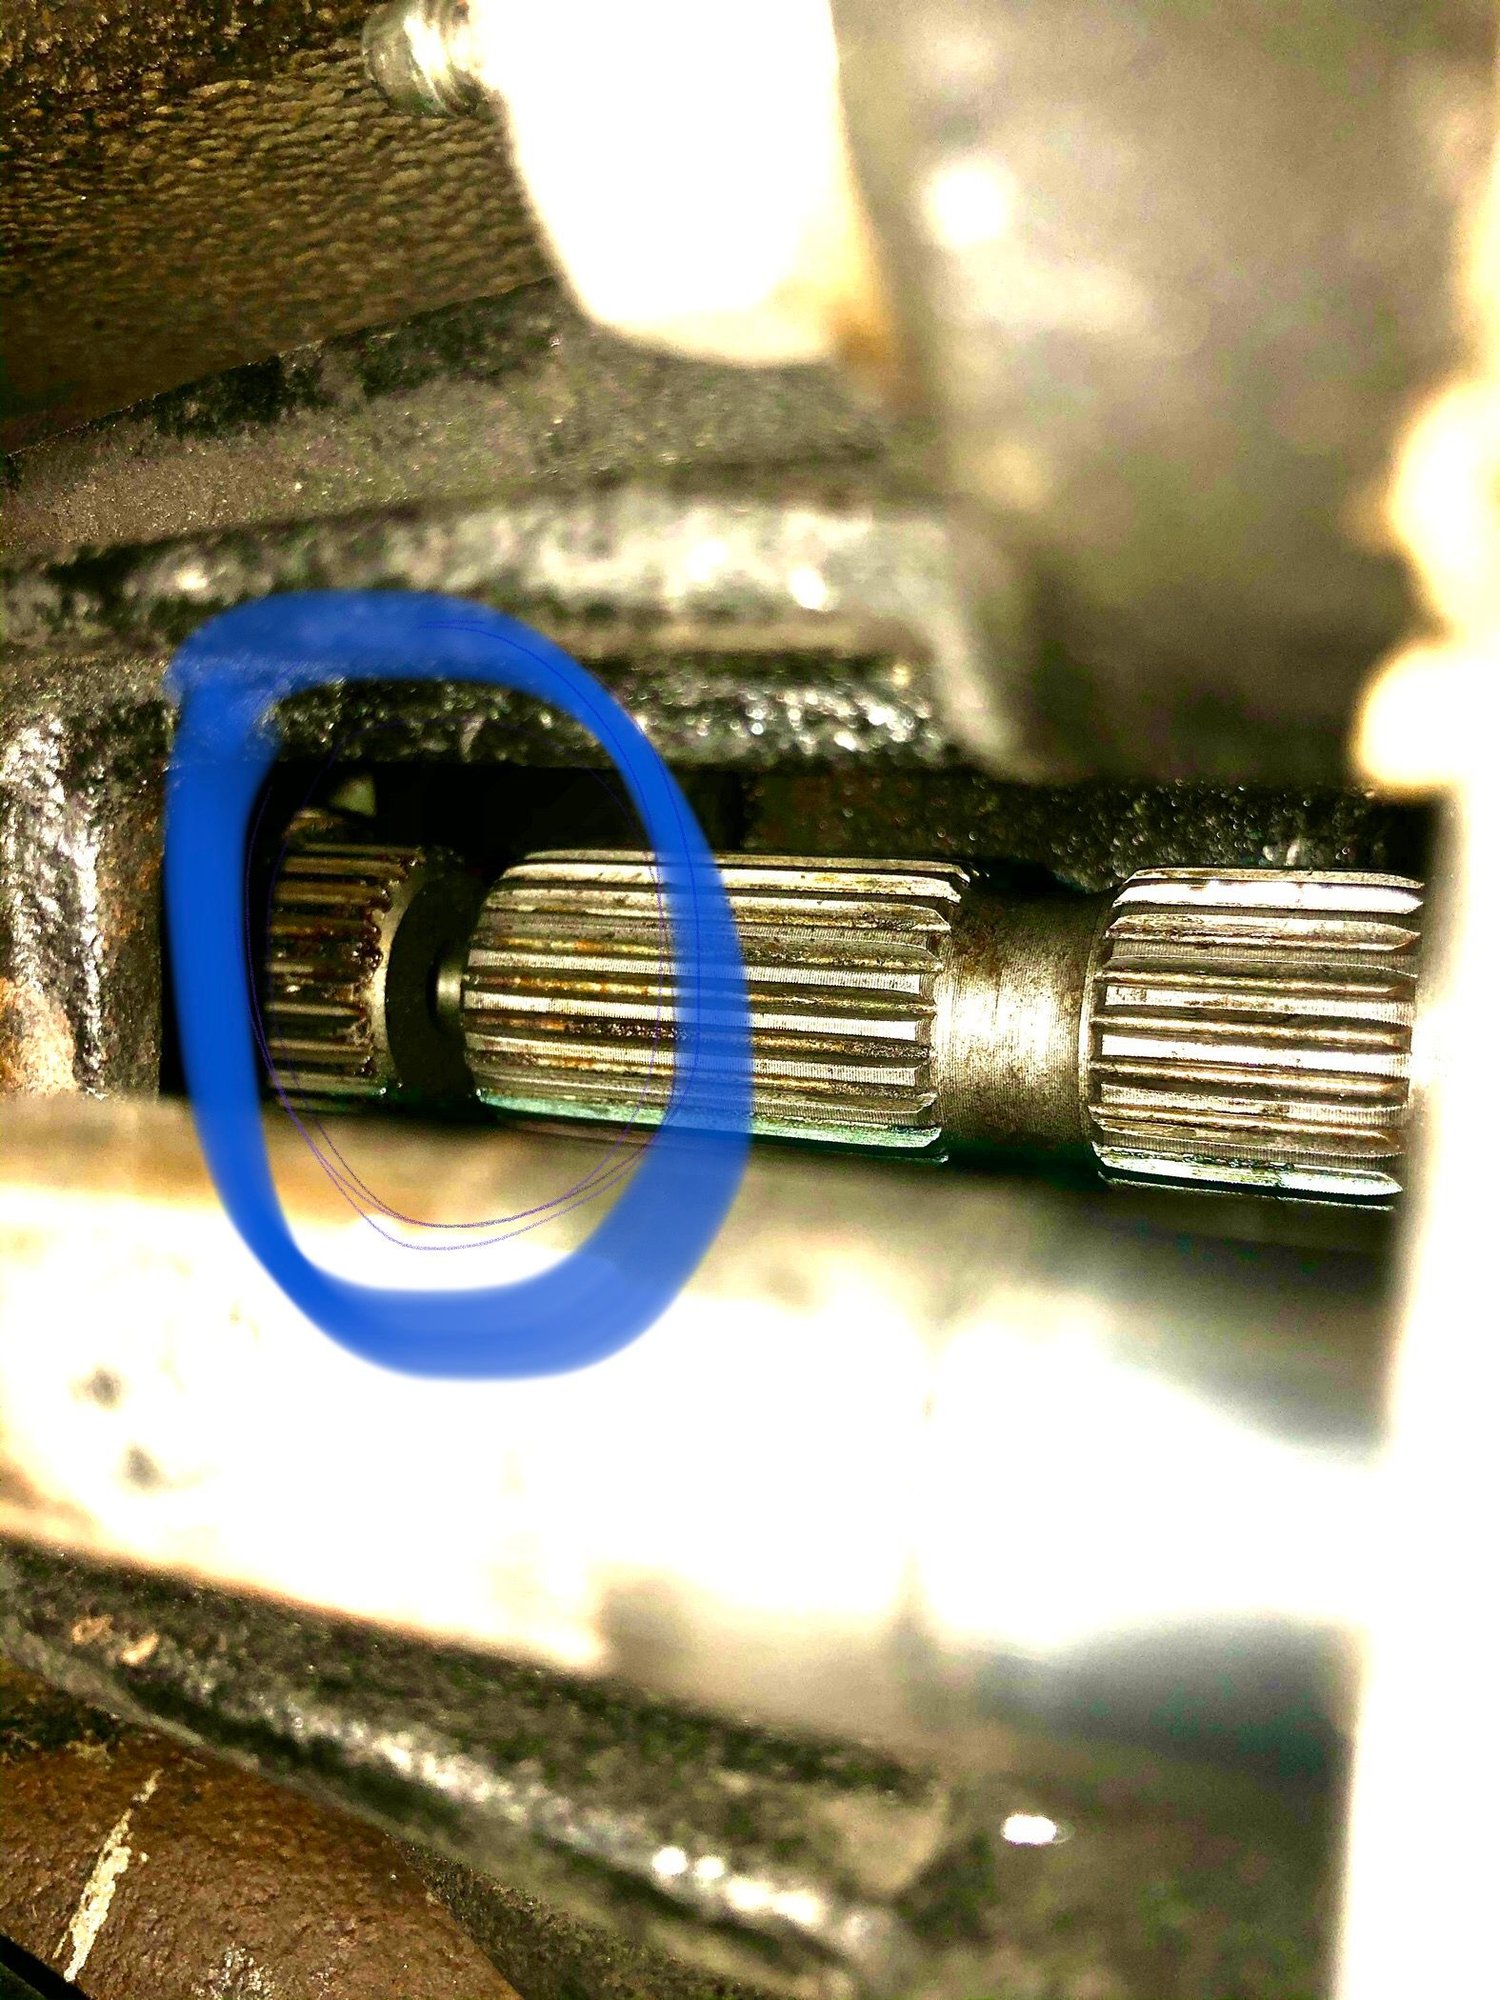
Step 18. C4. Have a second person place their hands on a front wheel, ready to turn it at your request. Get under the car with a long 8mm Allen key (you will need to use force so use a long bar or ratchet). Have the person rotate the front wheel until an Allen bolt appears. Firmly seat the Allen key in the head (you do not want to maul the head) and remove the bolt. Have the person turn the wheel again until the second bolt head appears. Remove that bolt and carefully slide the collar forward until you can see the join between the torque tube and gearbox splines.
Last edited by John McM; Feb 16, 2021 at 04:36 AM.
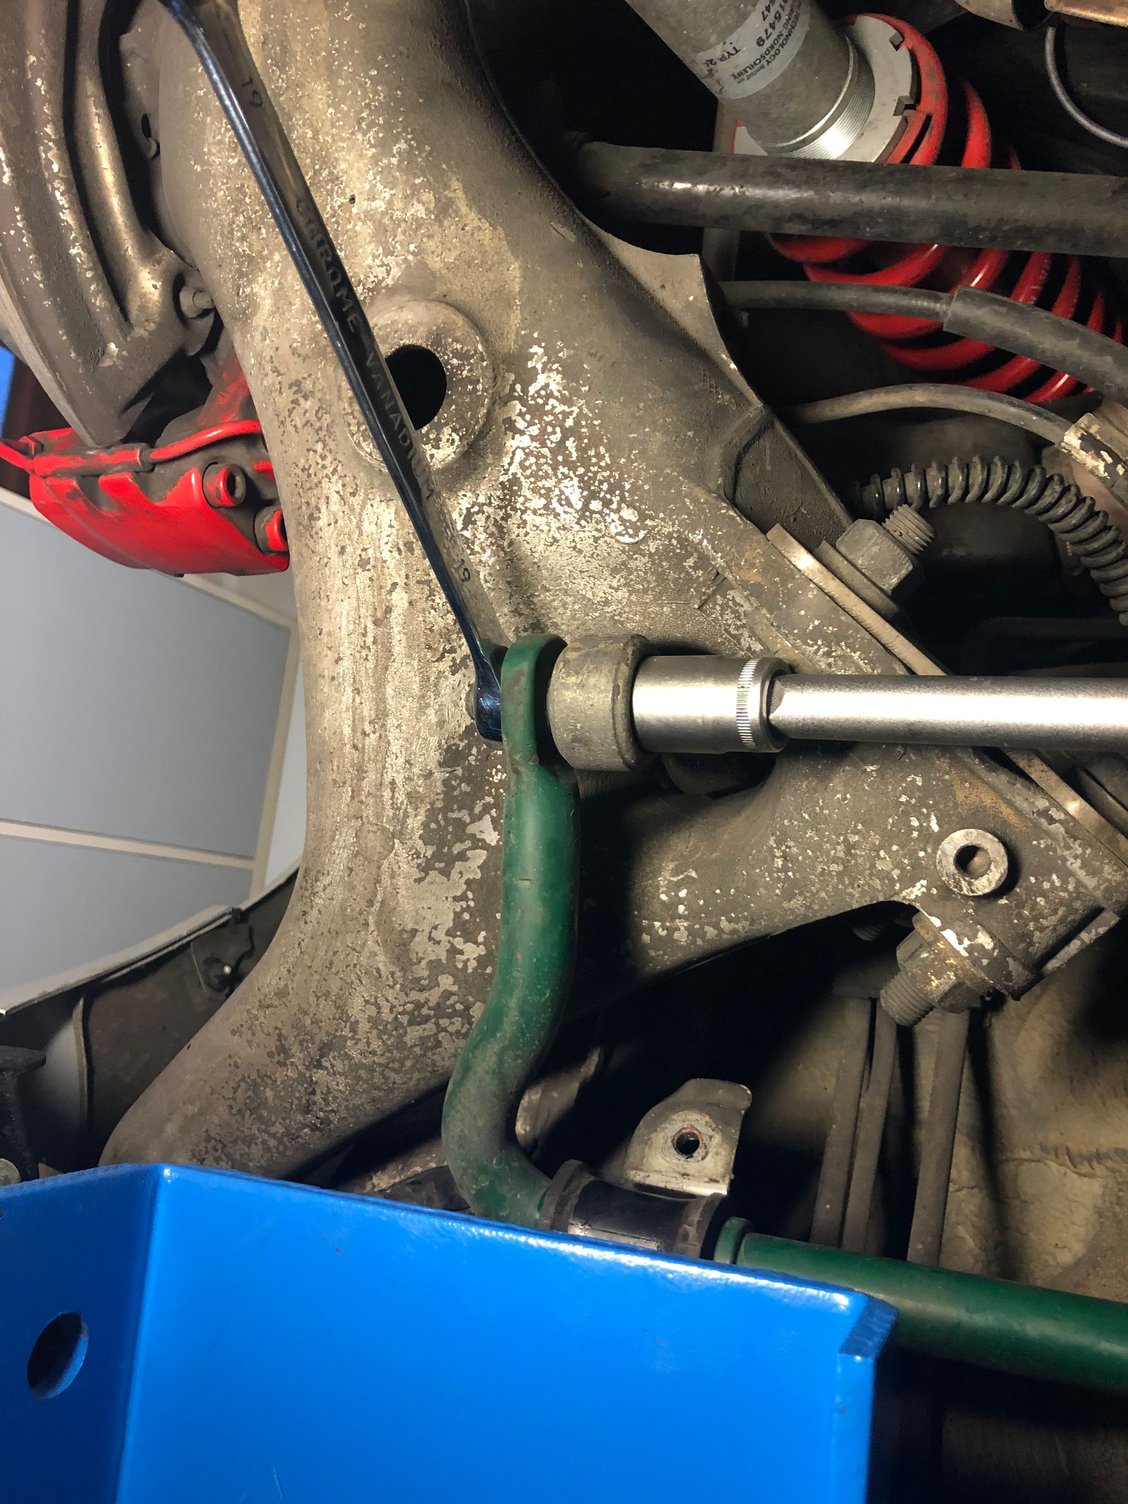
Step 19. Remove the rear anti roll bar (sway bar). Tip. Loosen the ends with 19mm bolts and nuts next to the tie rod first. Then remove the 13mm bolts holding the bar to the body. I did it the other way and found it more difficult to get the torque on the 19mm bolt as it moved.
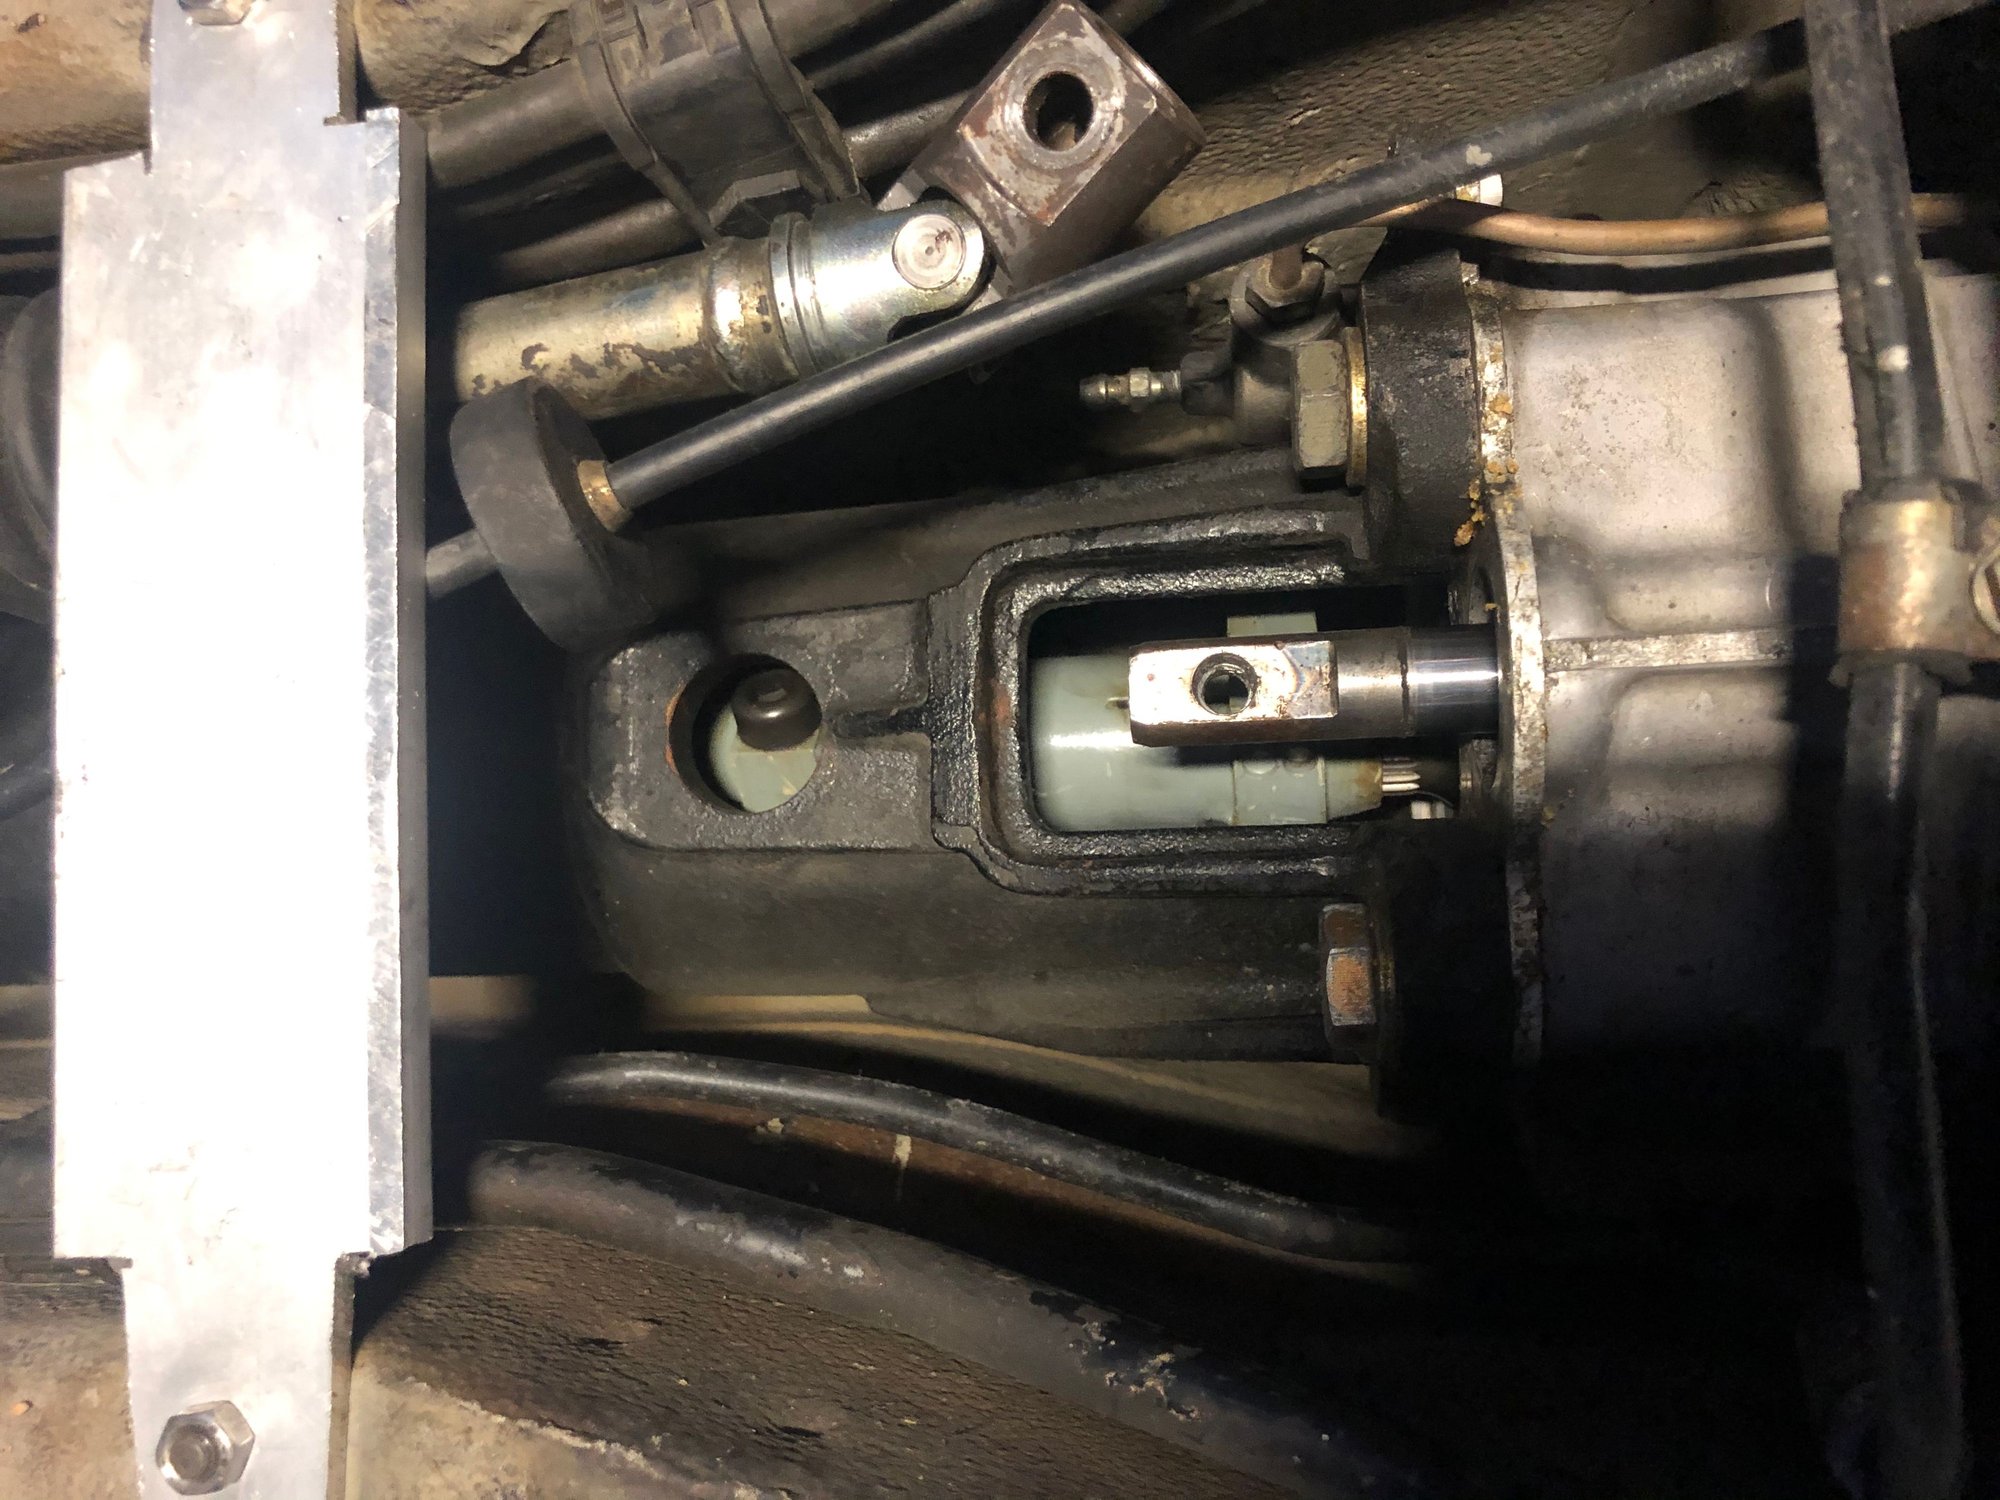
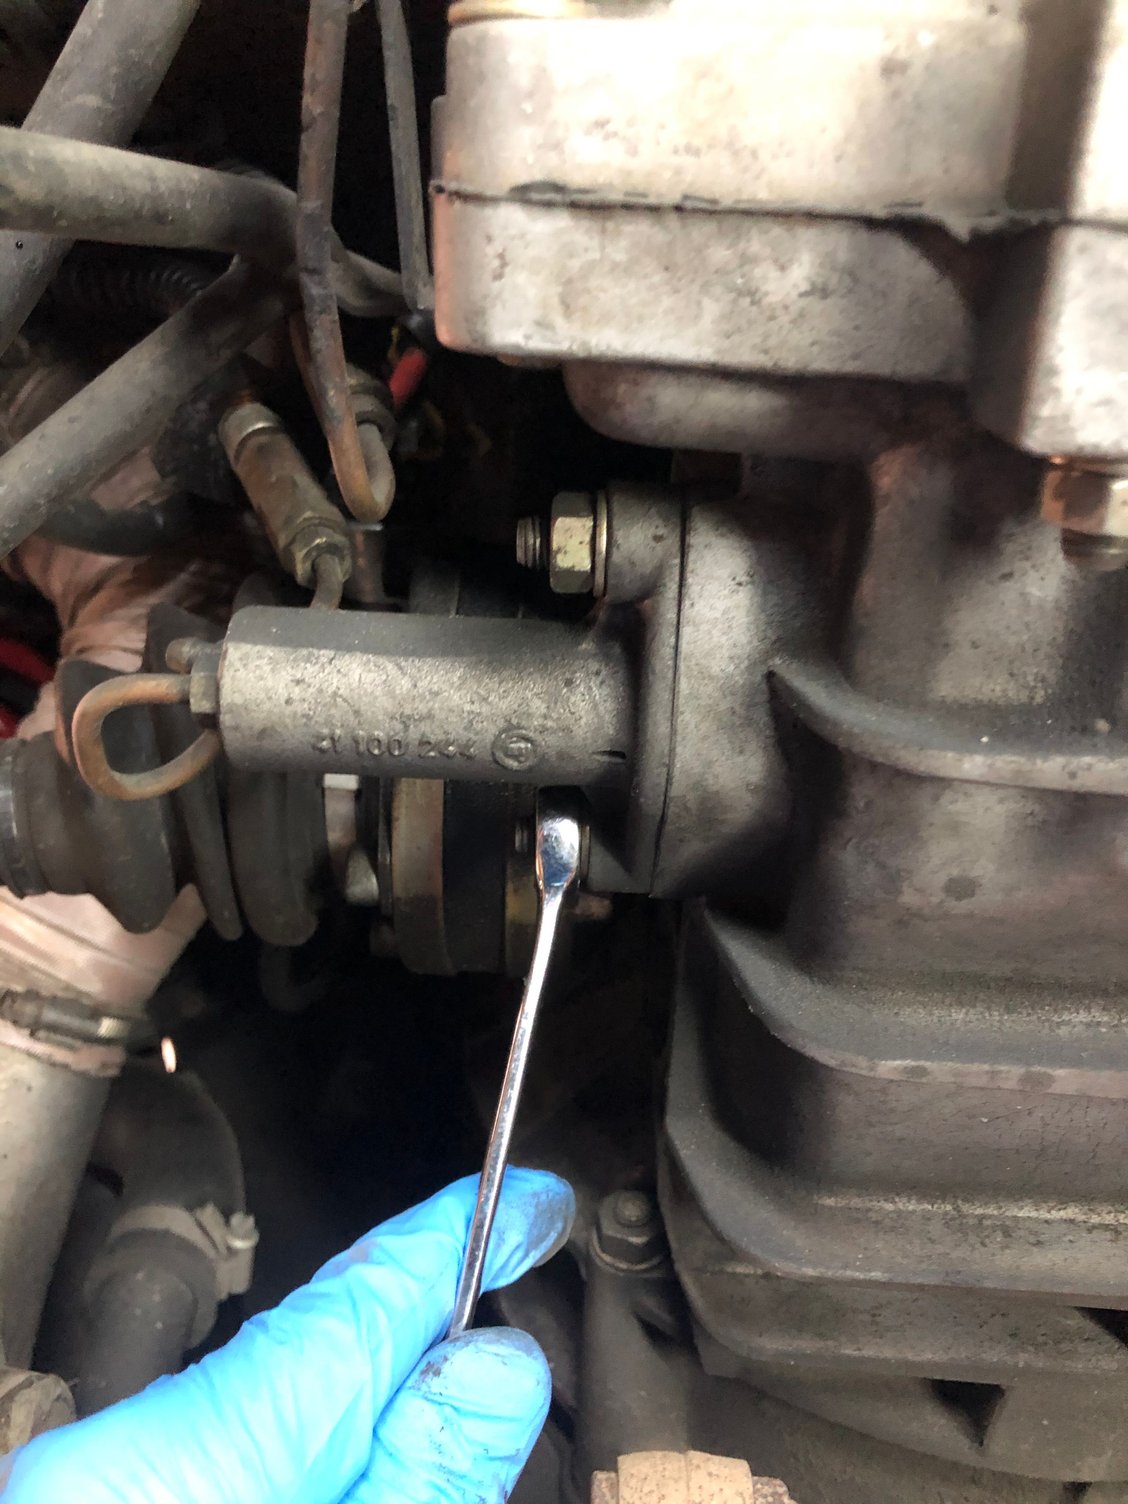
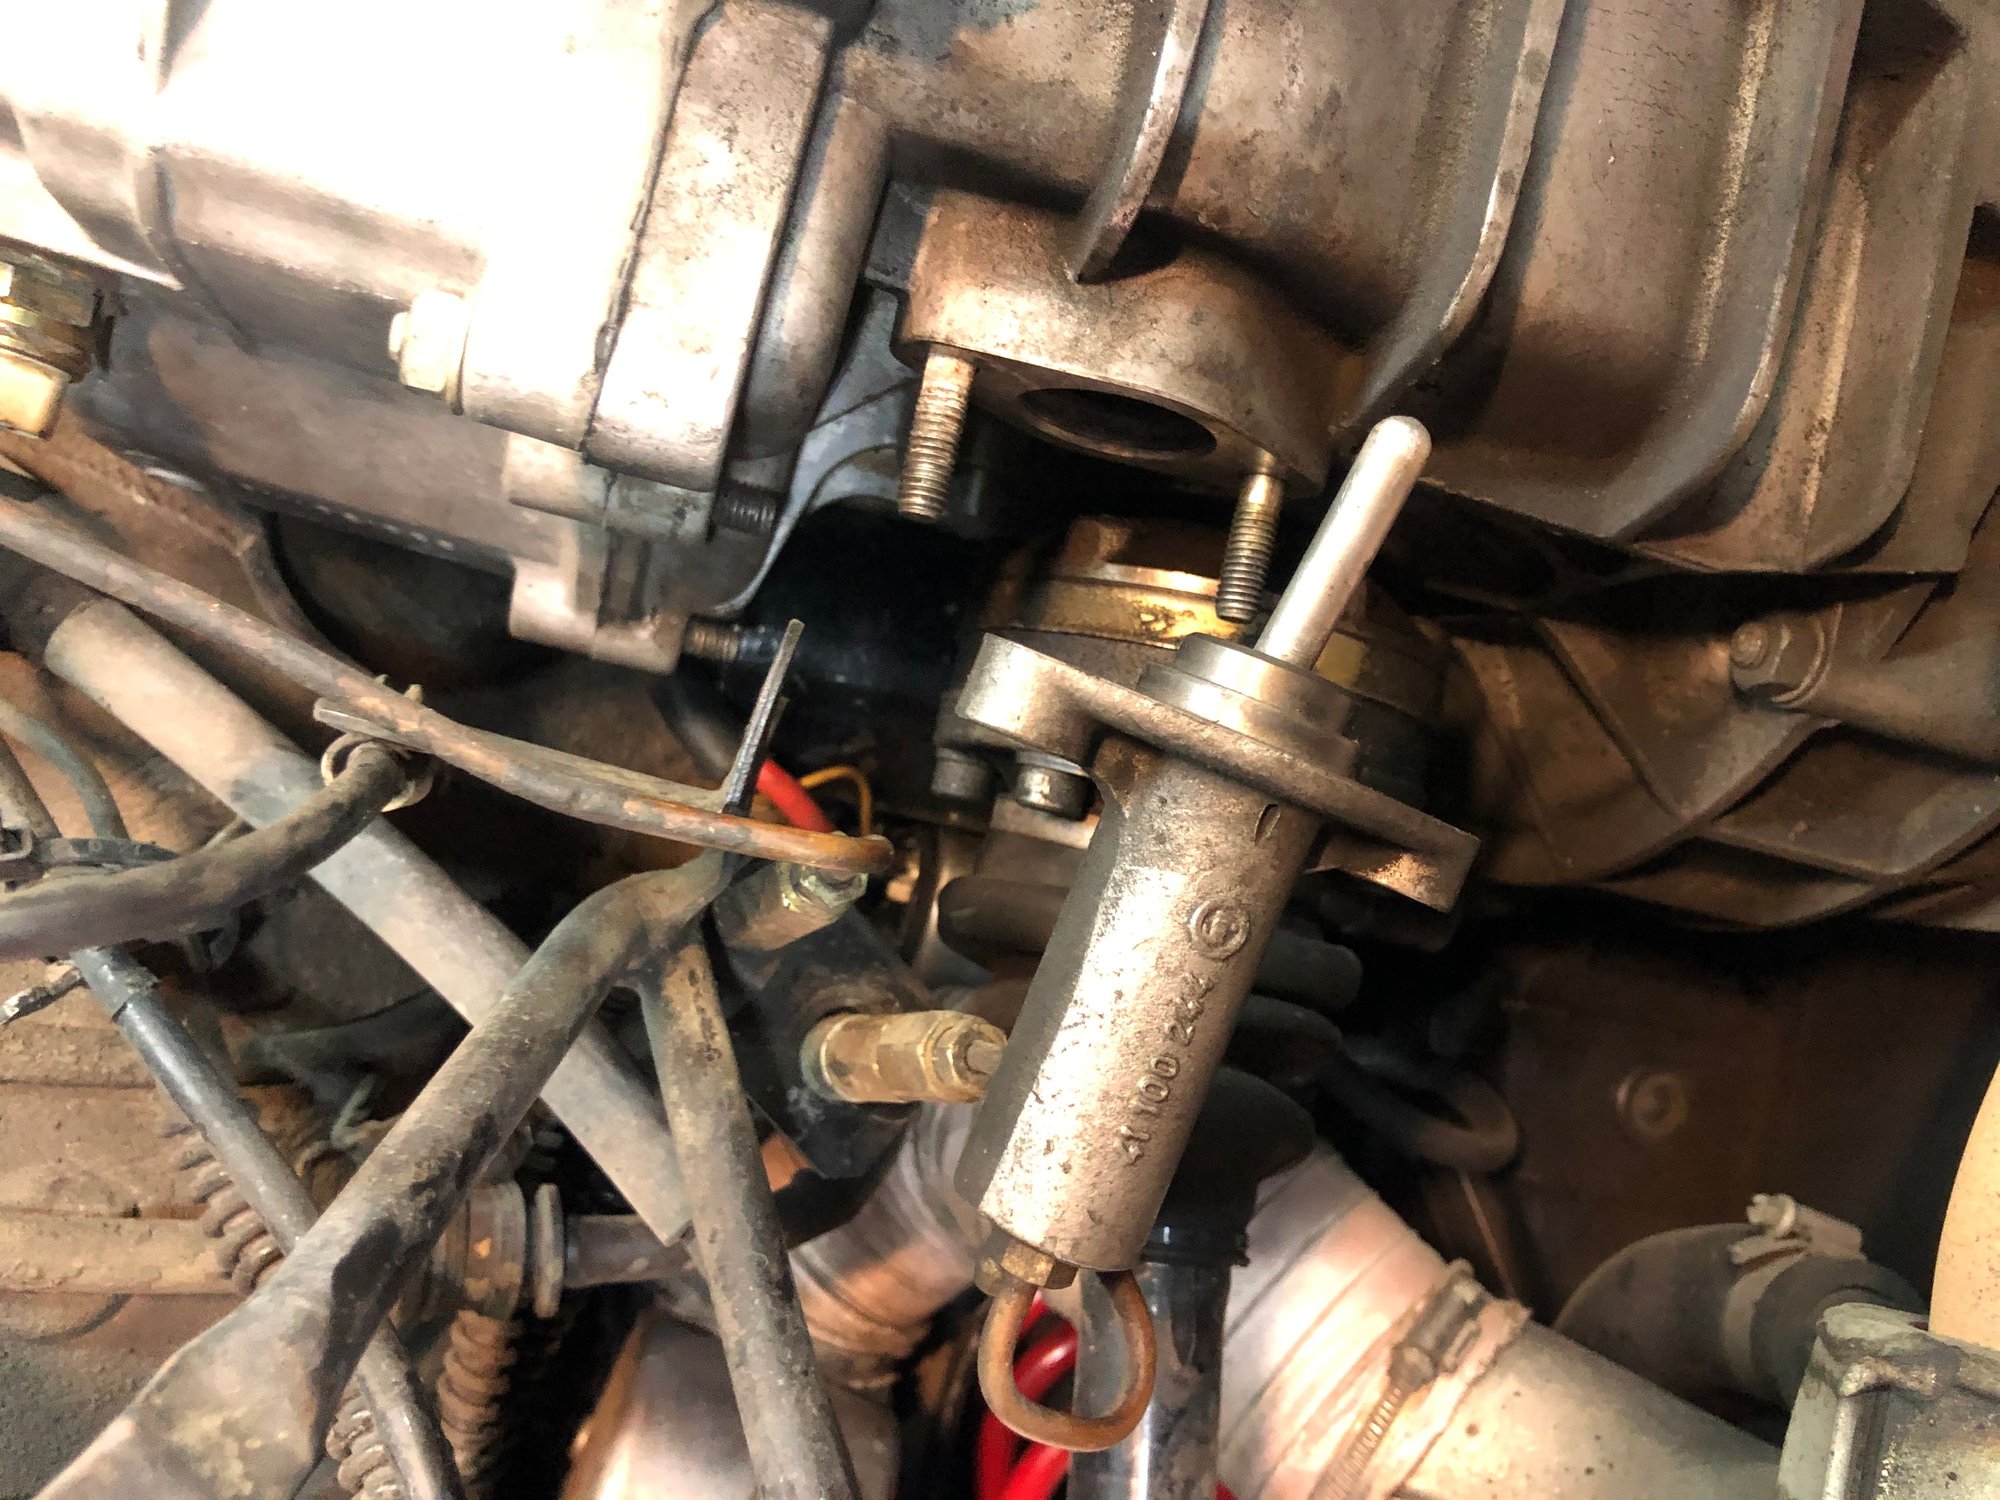
Step 21. C4. Loosen the transverse actuator from the side of the transmission then remove the two bolts holding the frame to the transmission. That allows room to free the actuator.
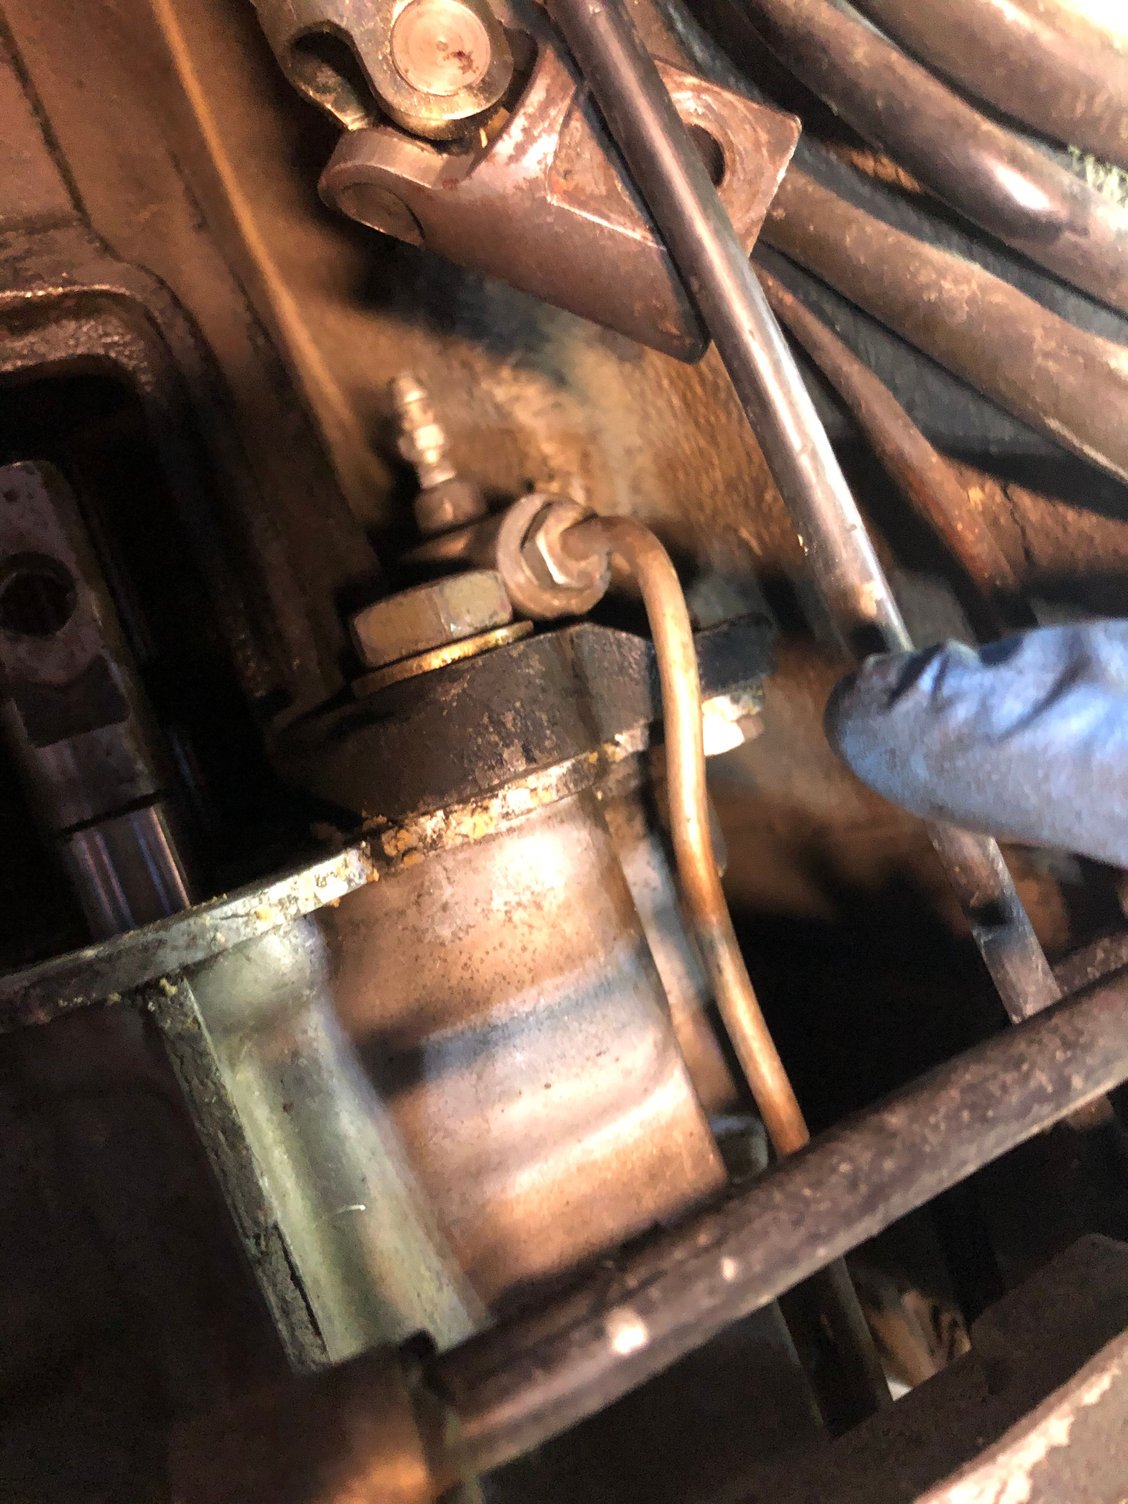
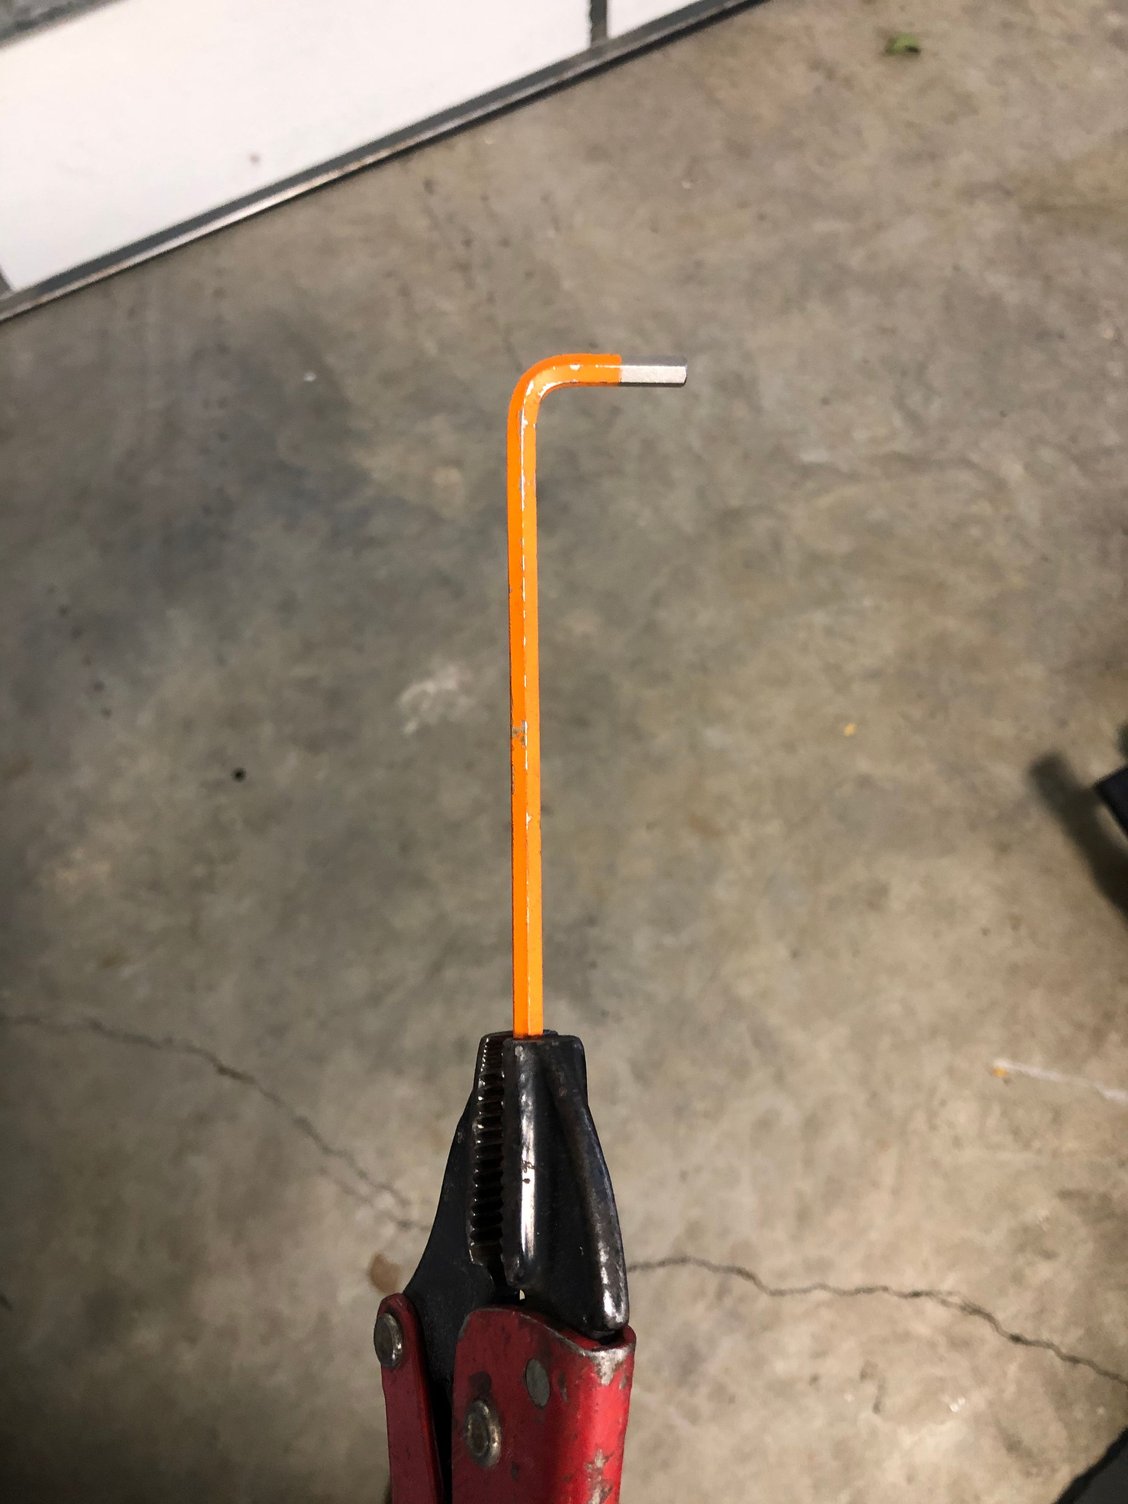
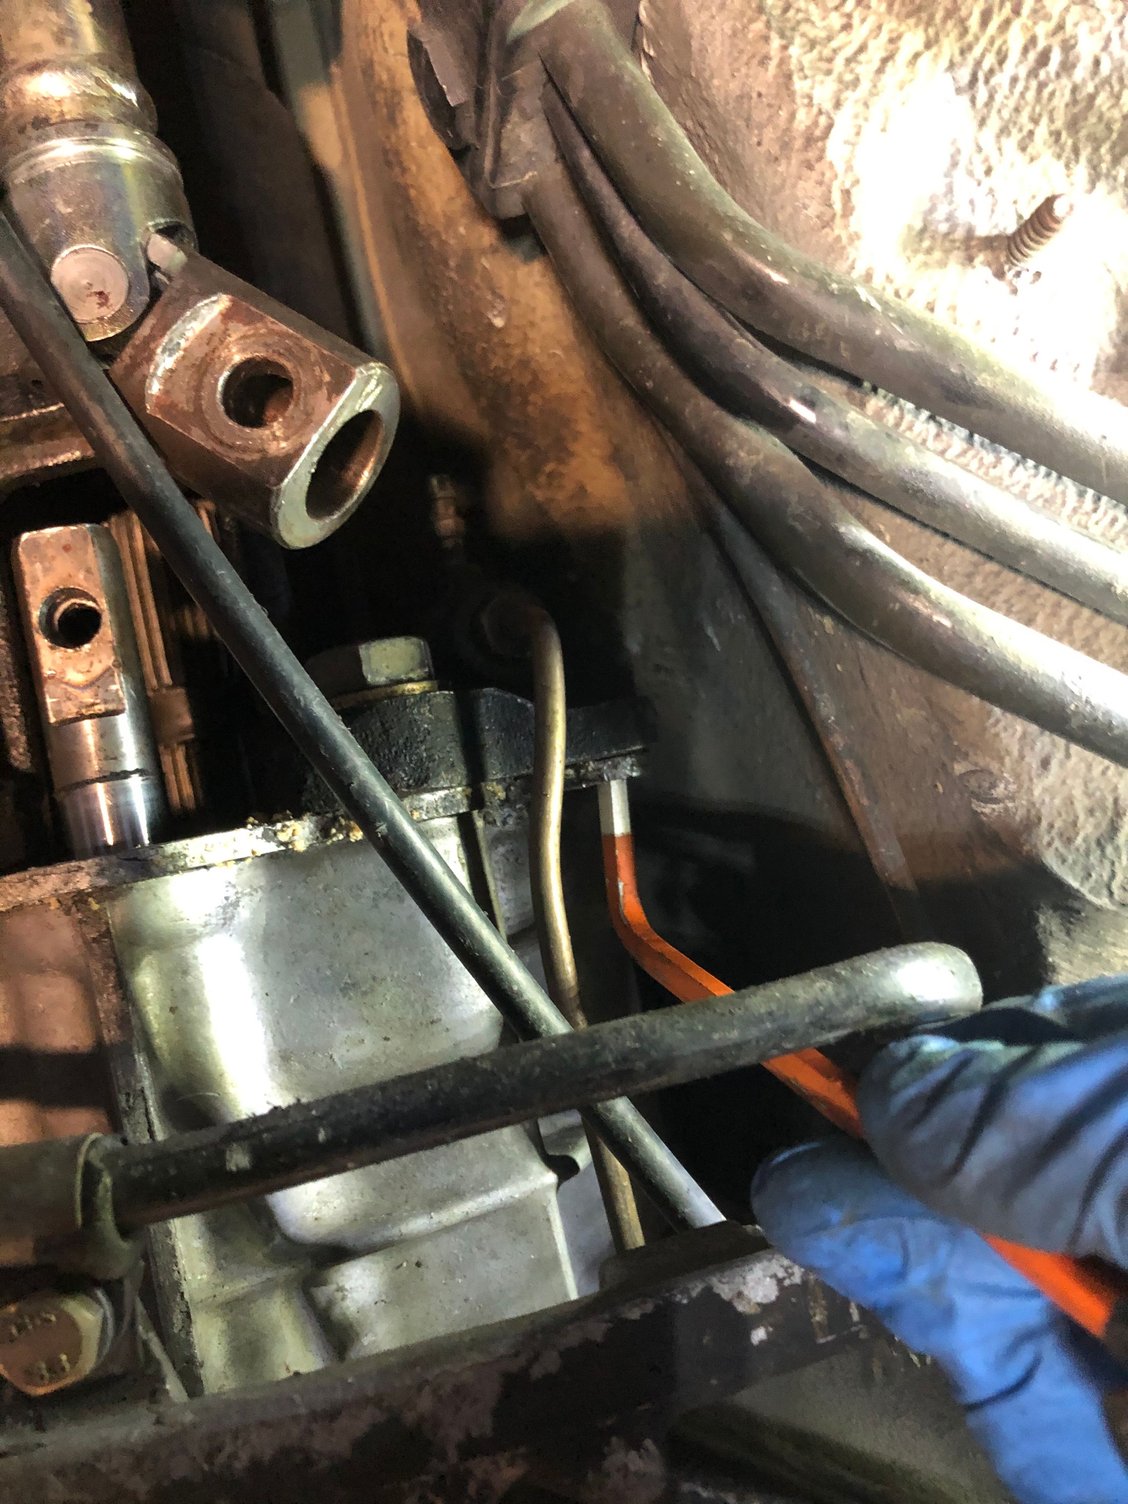
Step 22. C4. Remove the Allen head screw (bolt in my case) next to the longitudinal actuator. Pull the key by the hole on a 45 degree angle. When it is removed, you can carefully pull the actuator from the hole. In my case I suspect I have leaking seals. Luckily I have the repair kit.