When you click on links to various merchants on this site and make a purchase, this can result in this site earning a commission. Affiliate programs and affiliations include, but are not limited to, the eBay Partner Network.
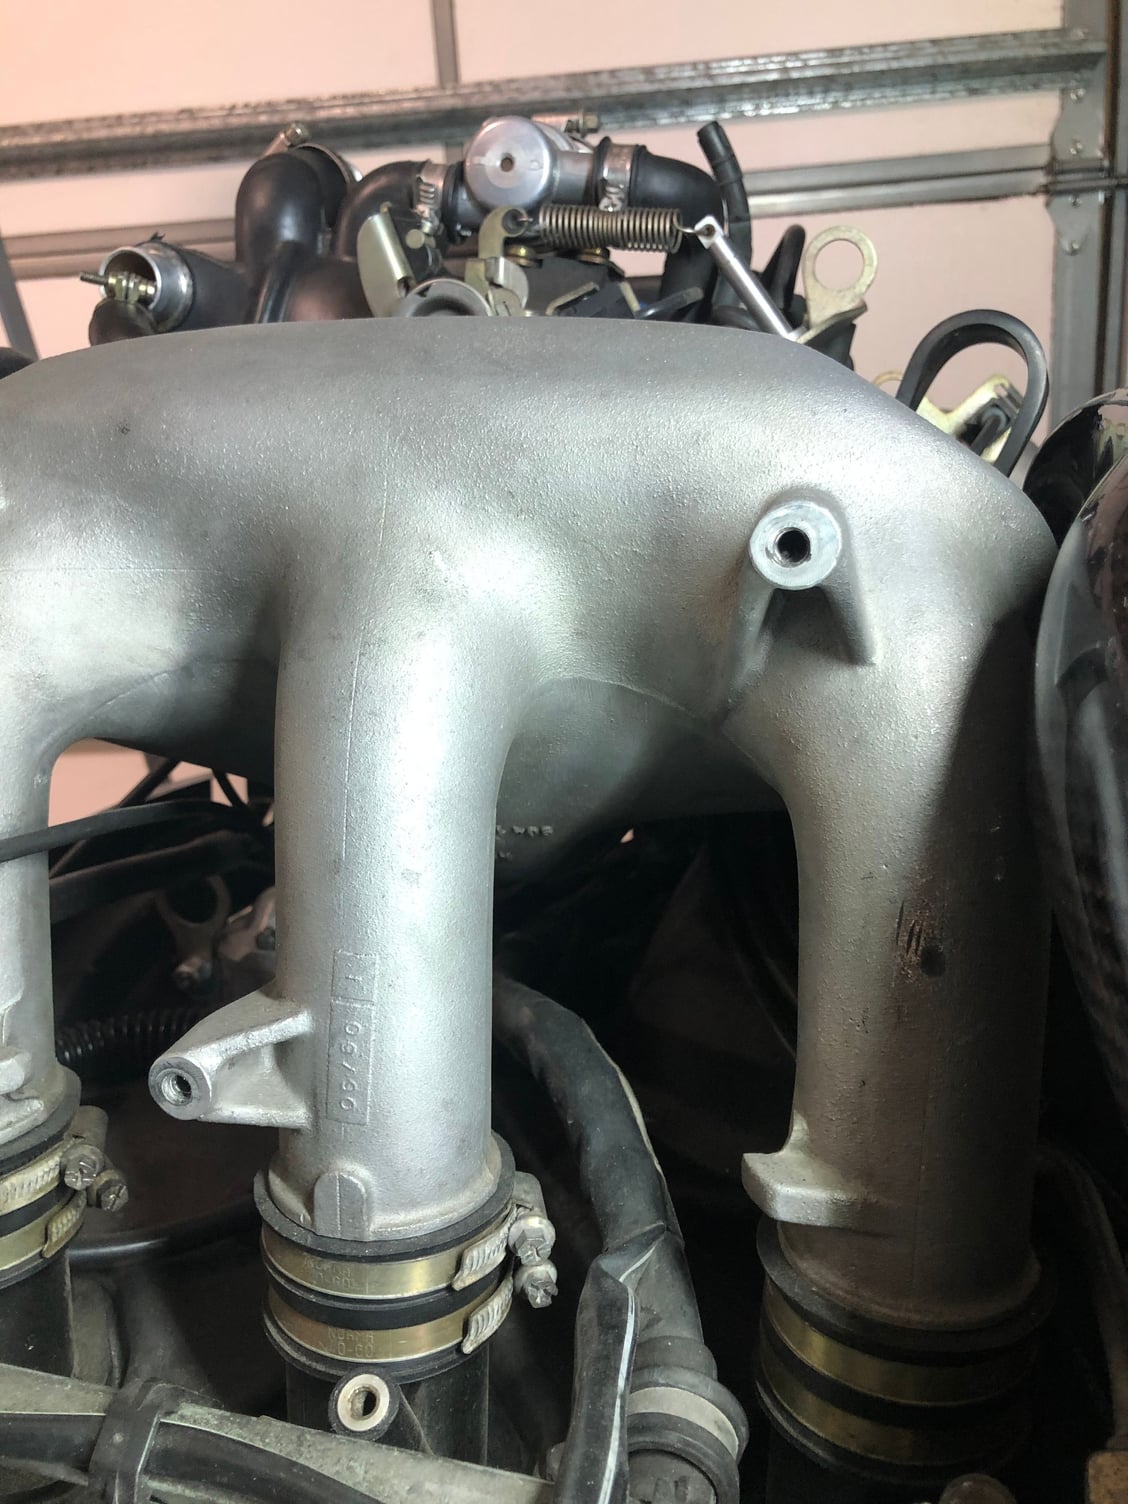
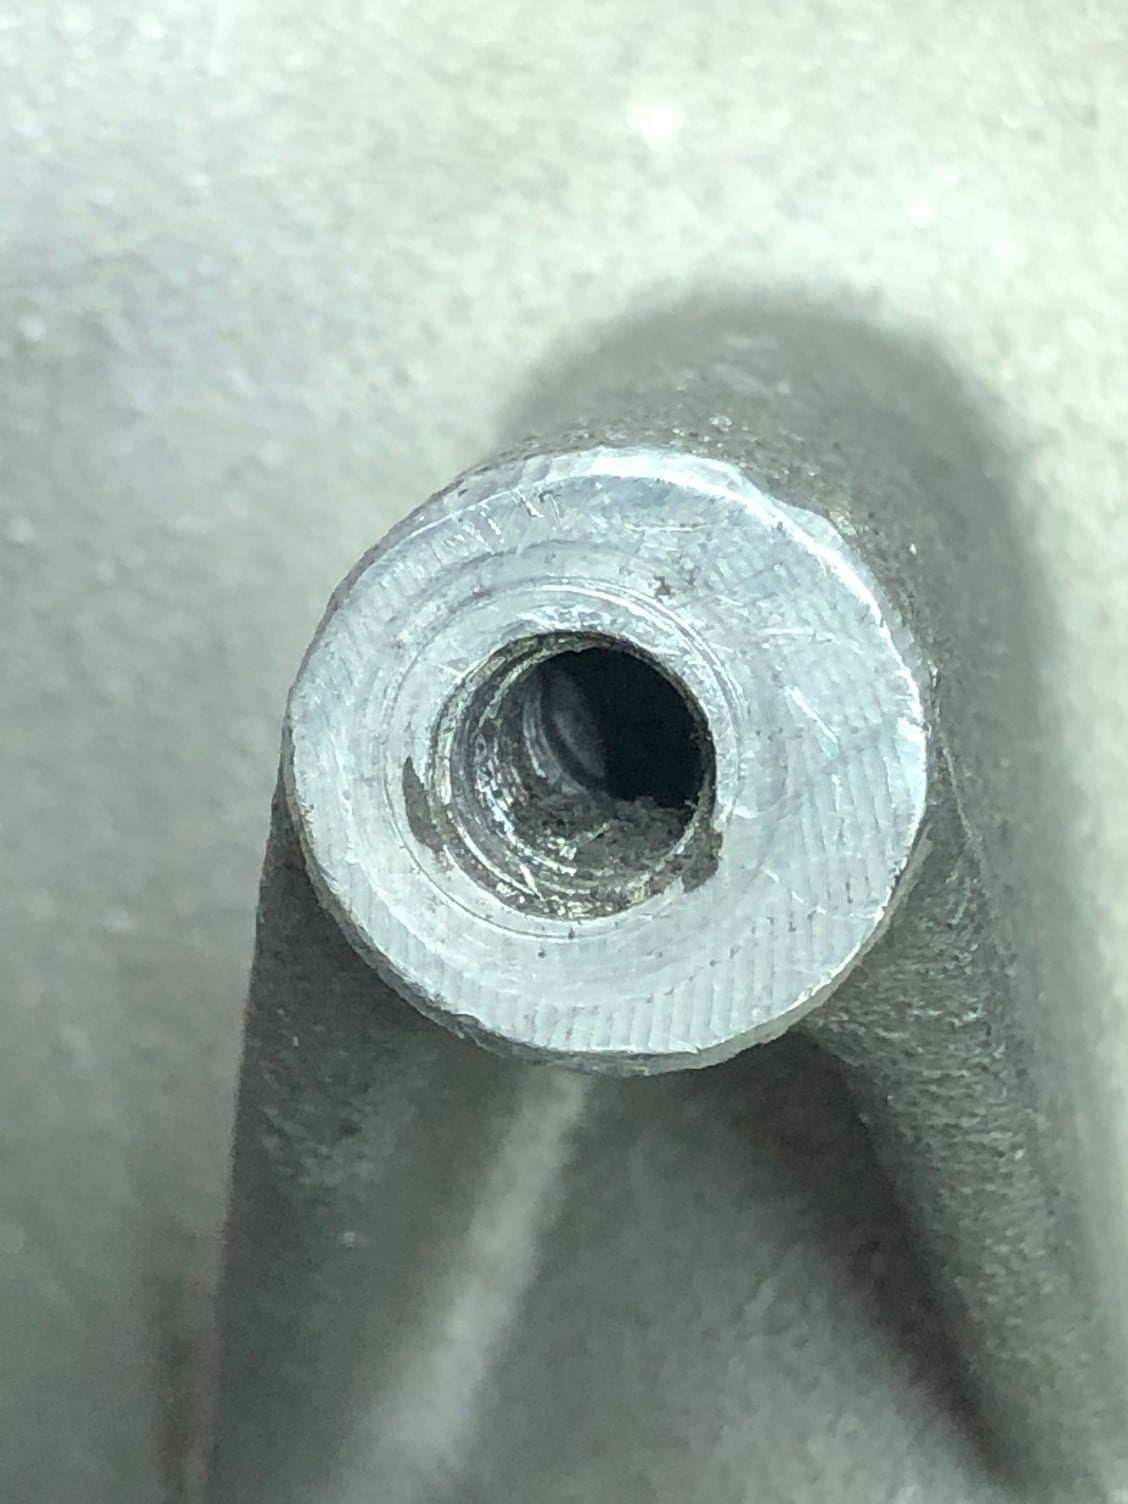
Rear blower fan anchor points on the manifold have stripped threads for the first couple of mm. There are two solutions. 1. Buy a slightly longer bolt as the threads deeper in are fine. 2. Somehow restore the threads. I�m definitely thinking of solution 1. Any thoughts out there?
I think the general rule of thumb for thread engagement is aluminum is 2x the nominal diameter of threads. Recoil makes a great kit if you need to repair.
Helicoils are quite forgiving I used them a few times recently on my Alfa... did it with a hand drill/tap. For something non critical like this however good enough is good enough I think - reuse them if you can.
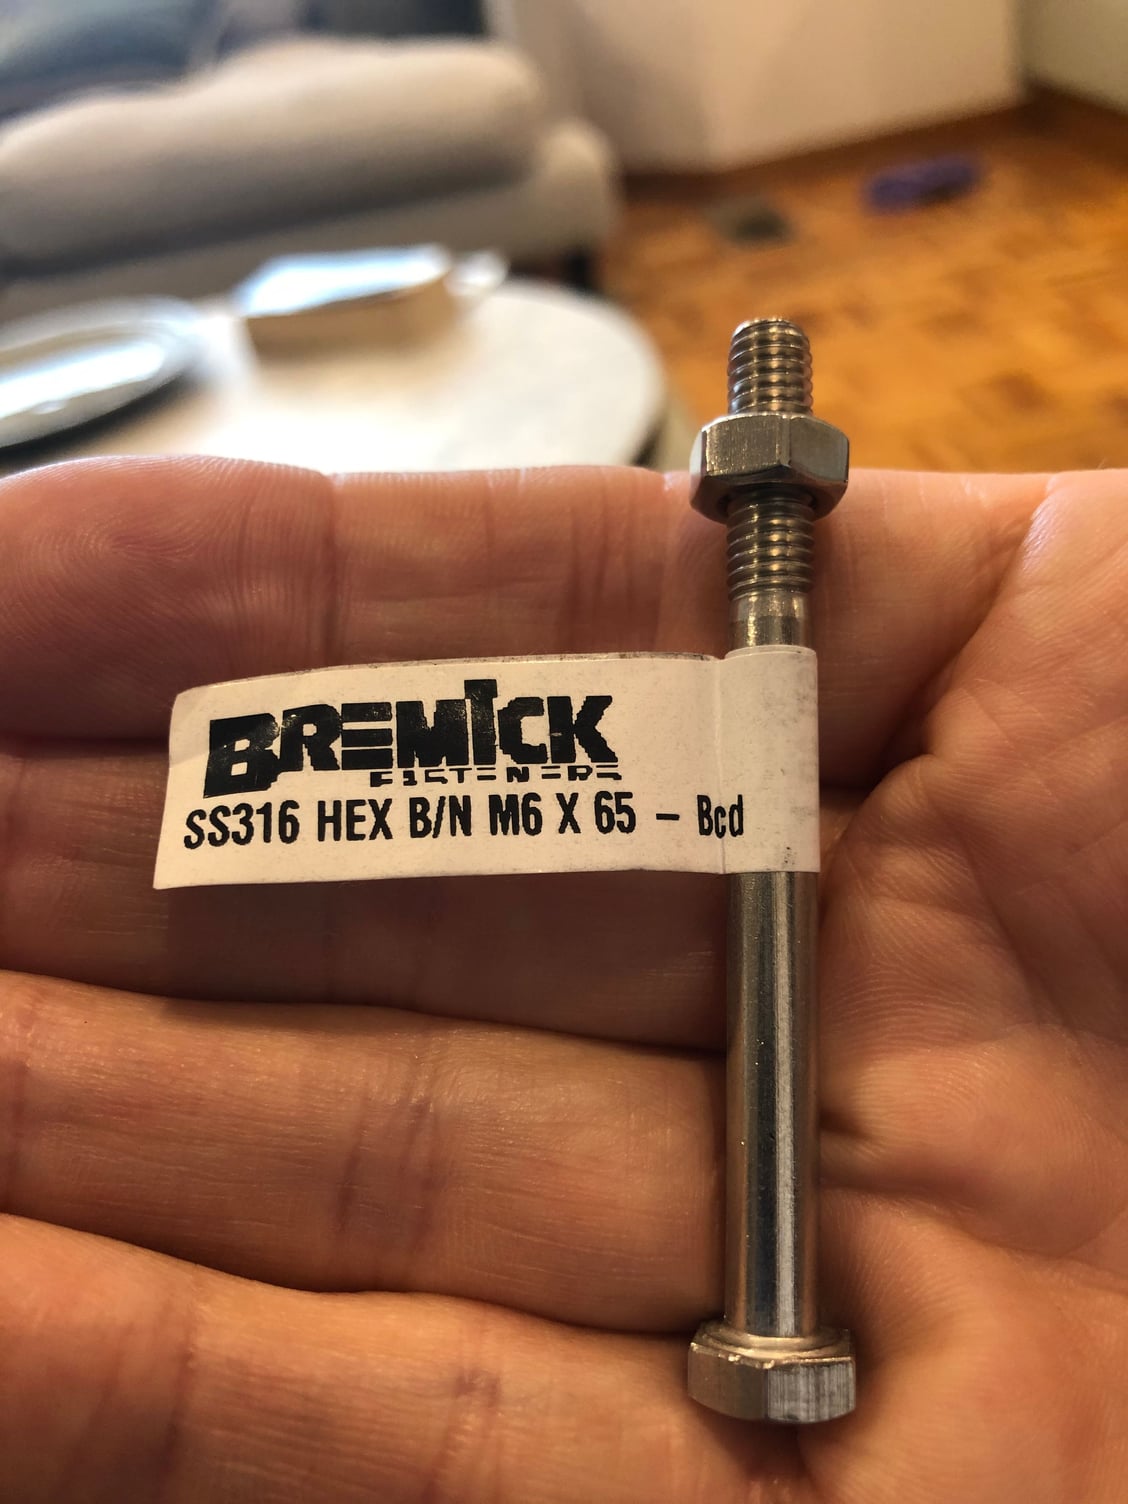
I went the easy route. Two Stainless Steel M6 65mm bolts. They fit without modification and the extra 5mm goes past the damaged threads so are solid. The cost is cheap at USD1.20 for two.
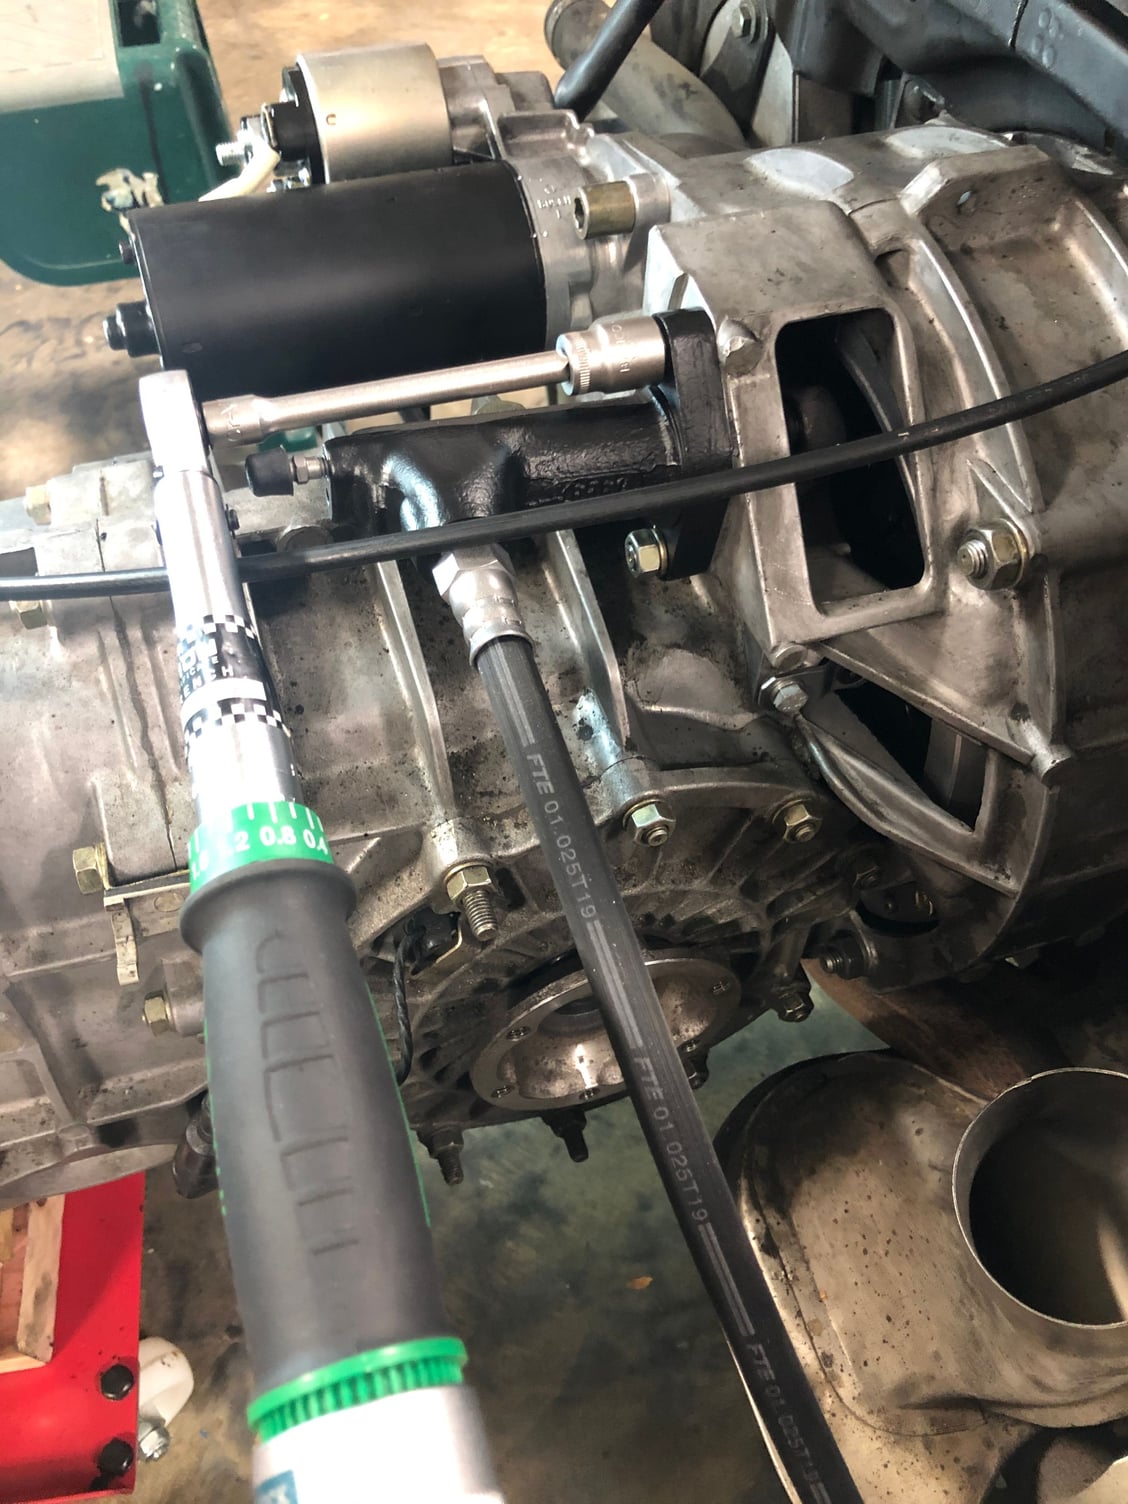
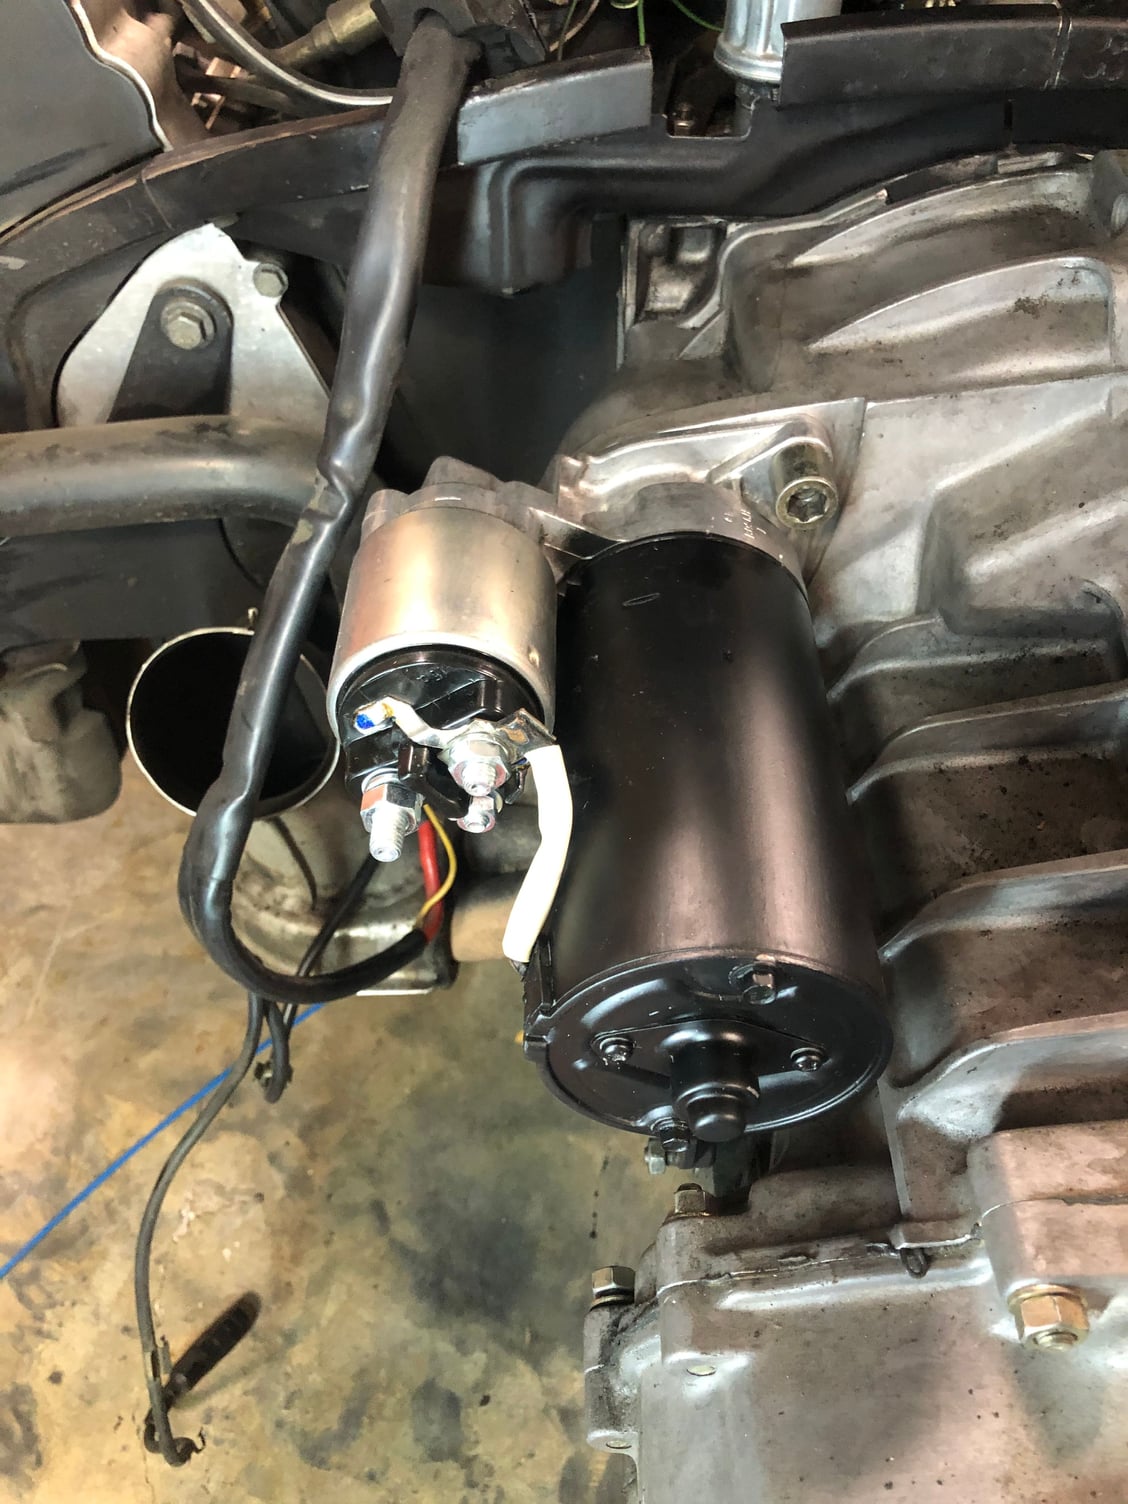
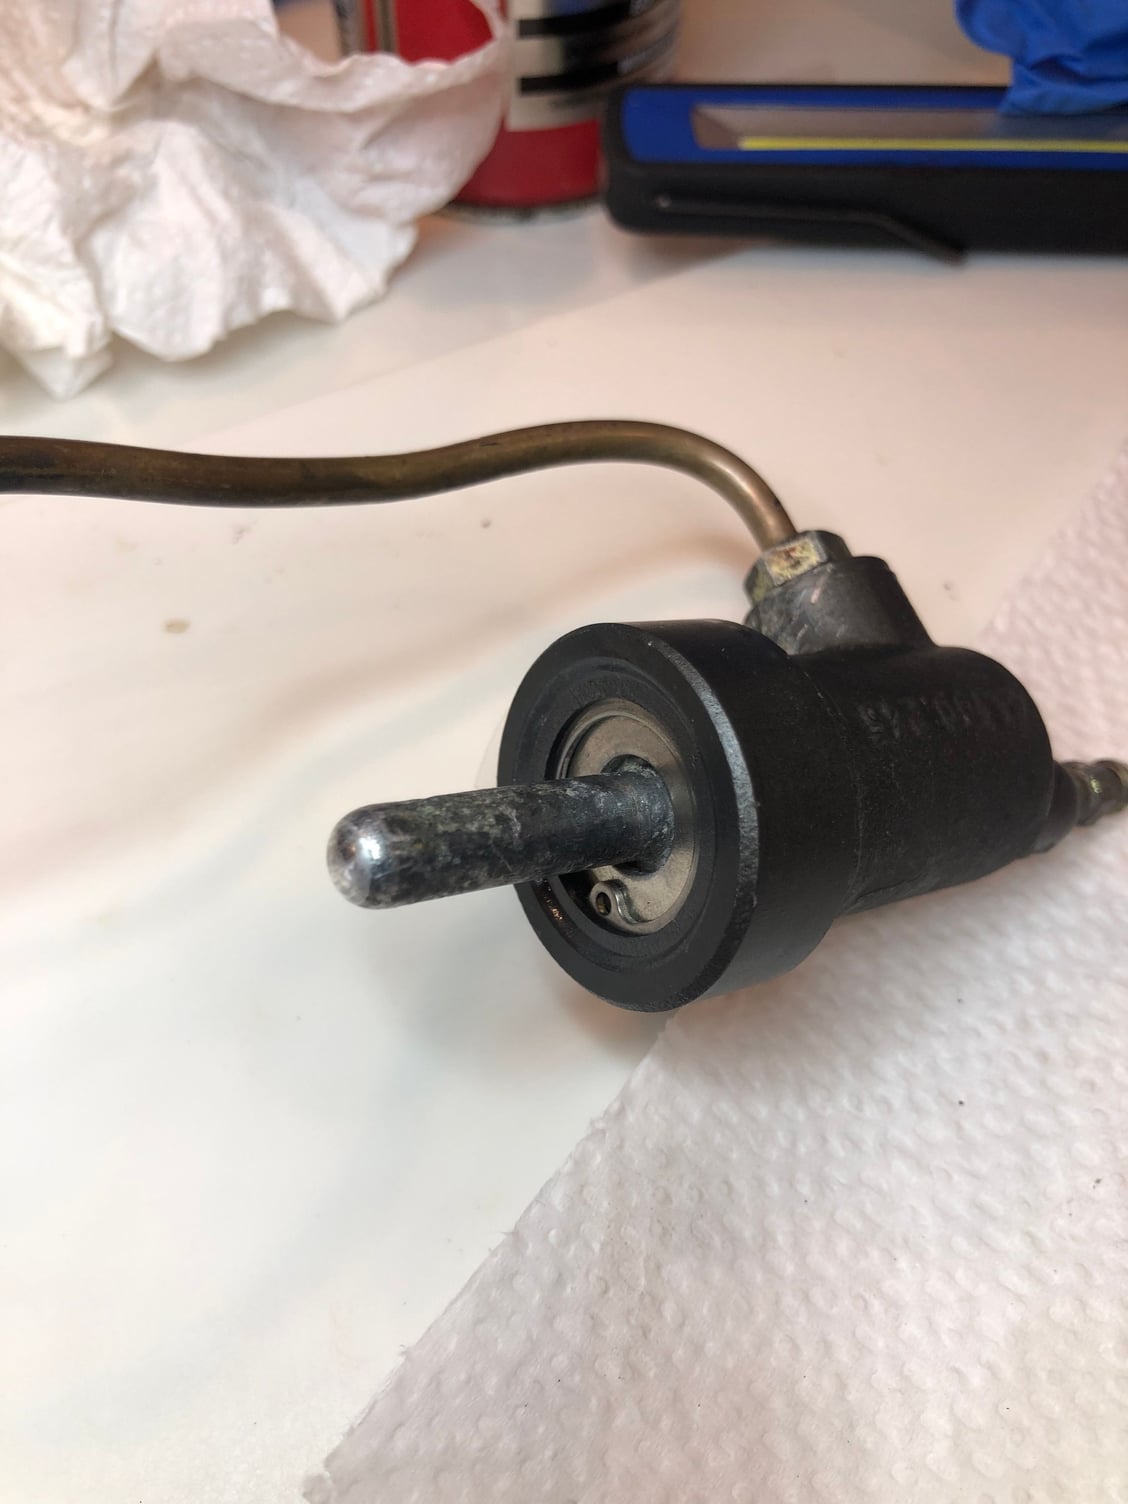
Test fit the starter motor (newly furnished unit). Fit the slave cylinder. Torque nuts to 25Nm. Check the slave spring has taken up the slack in the clutch fork. Place rubber cover over the fork inspection opening.
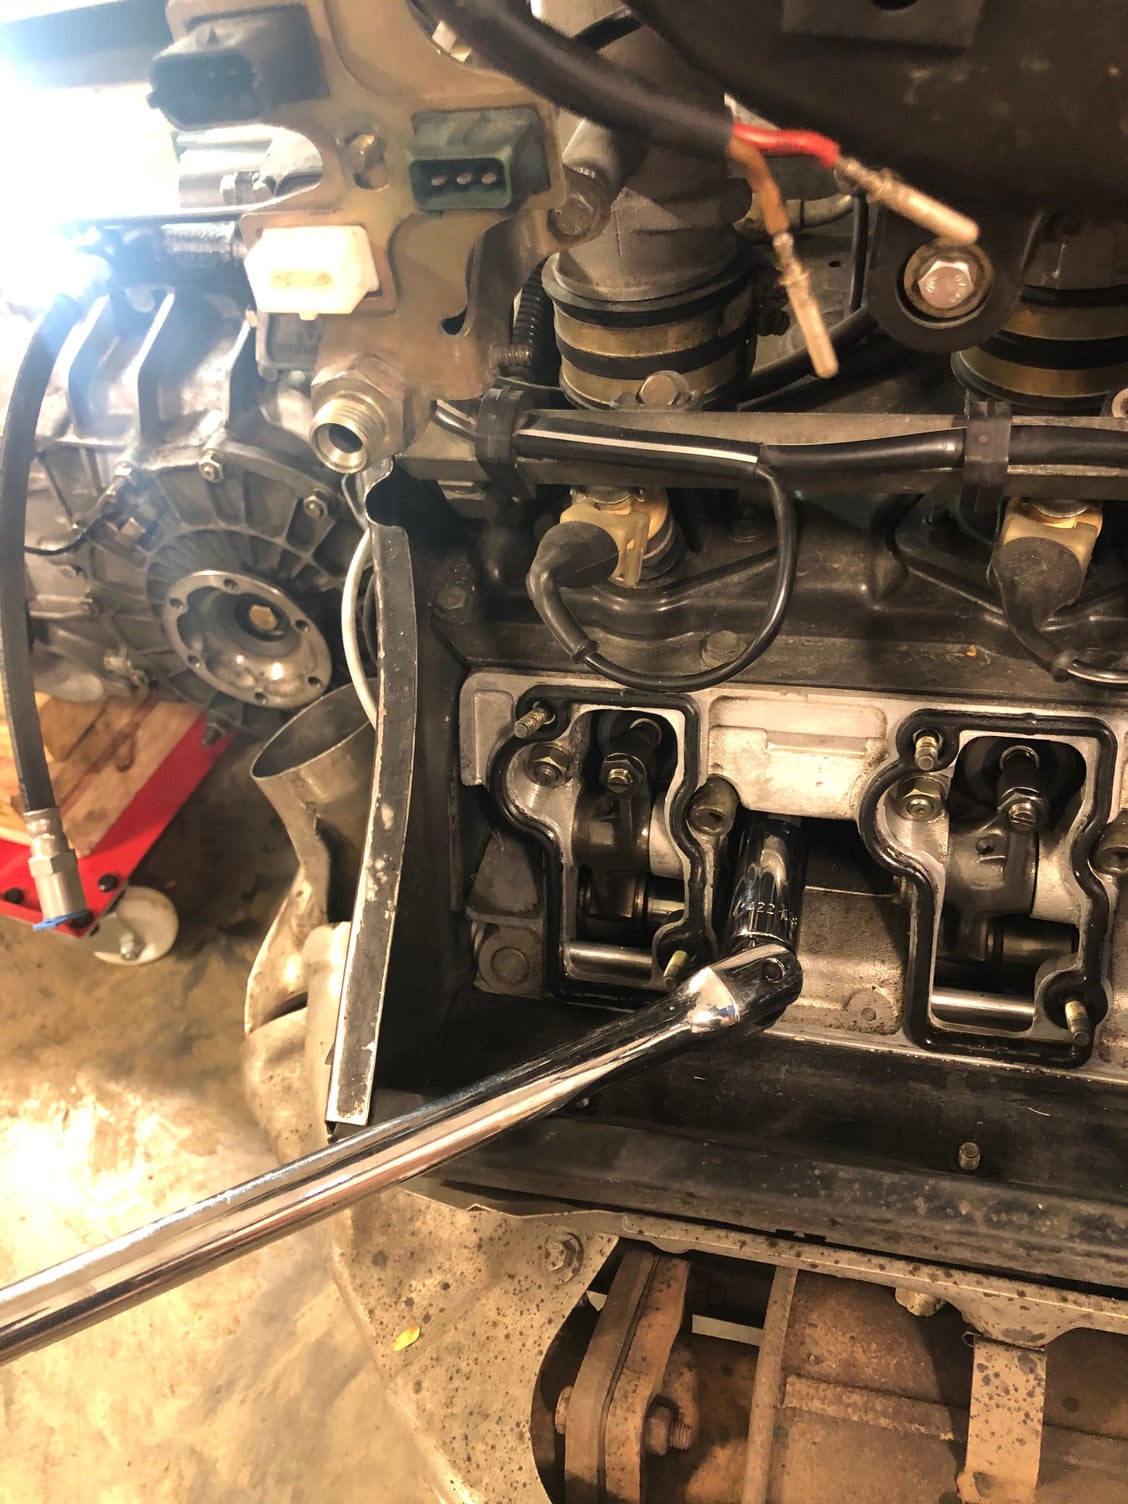
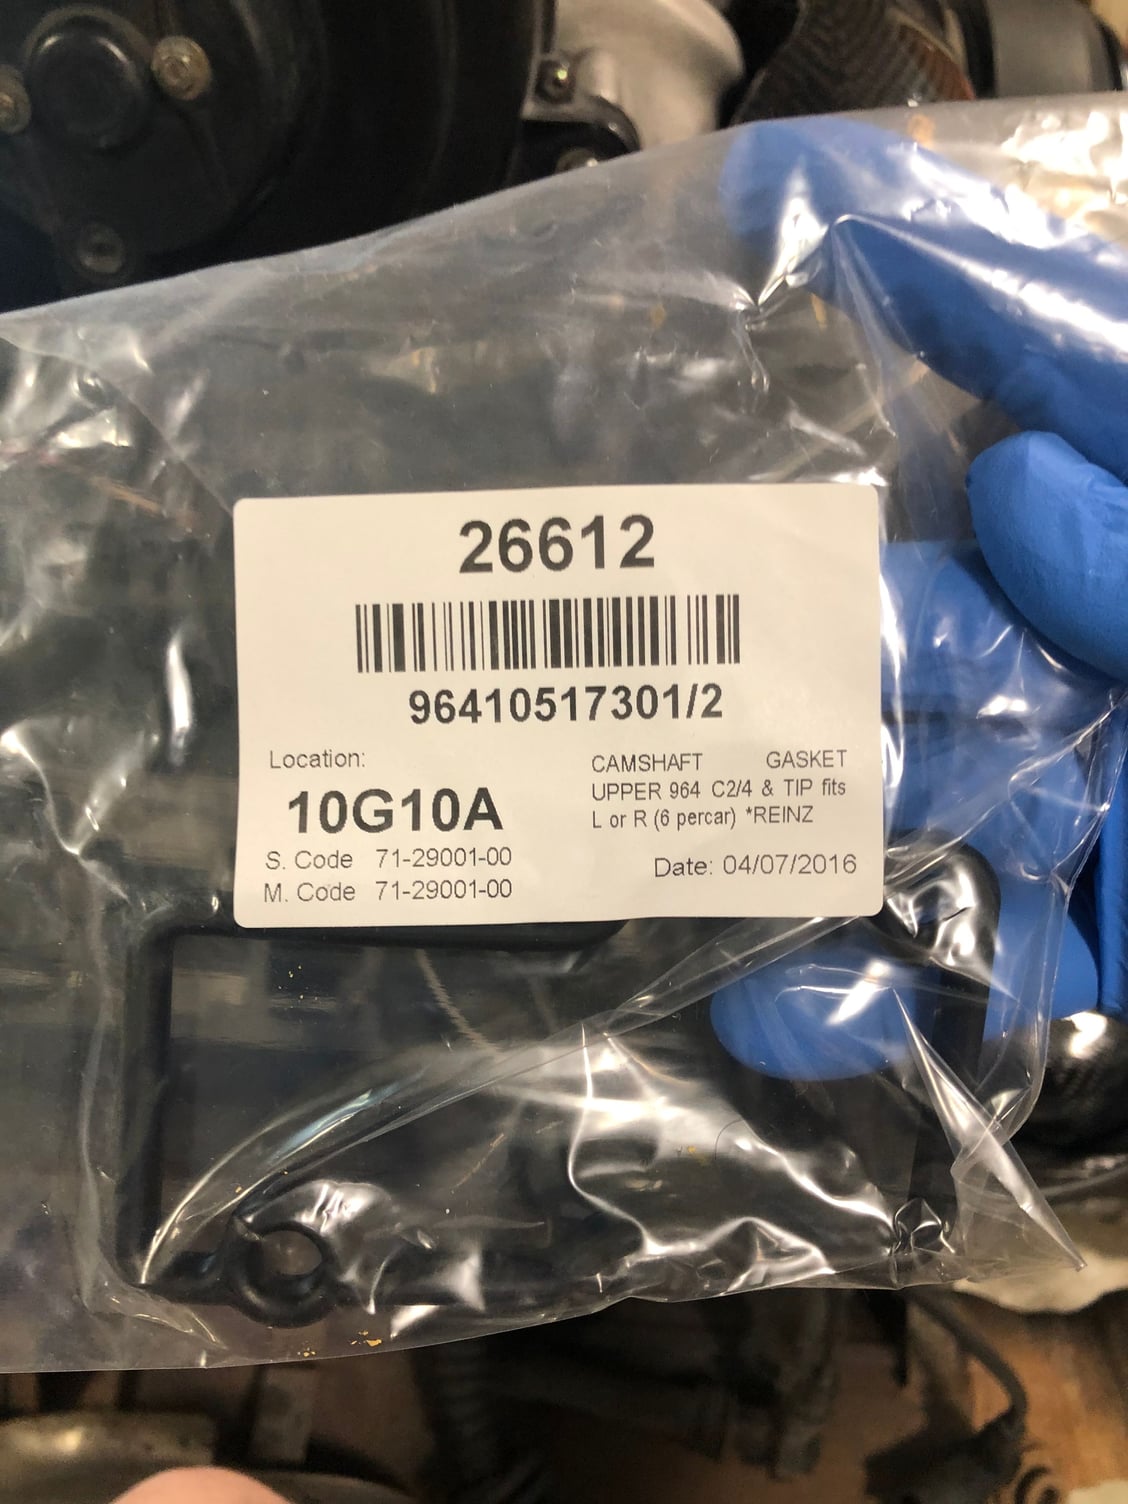
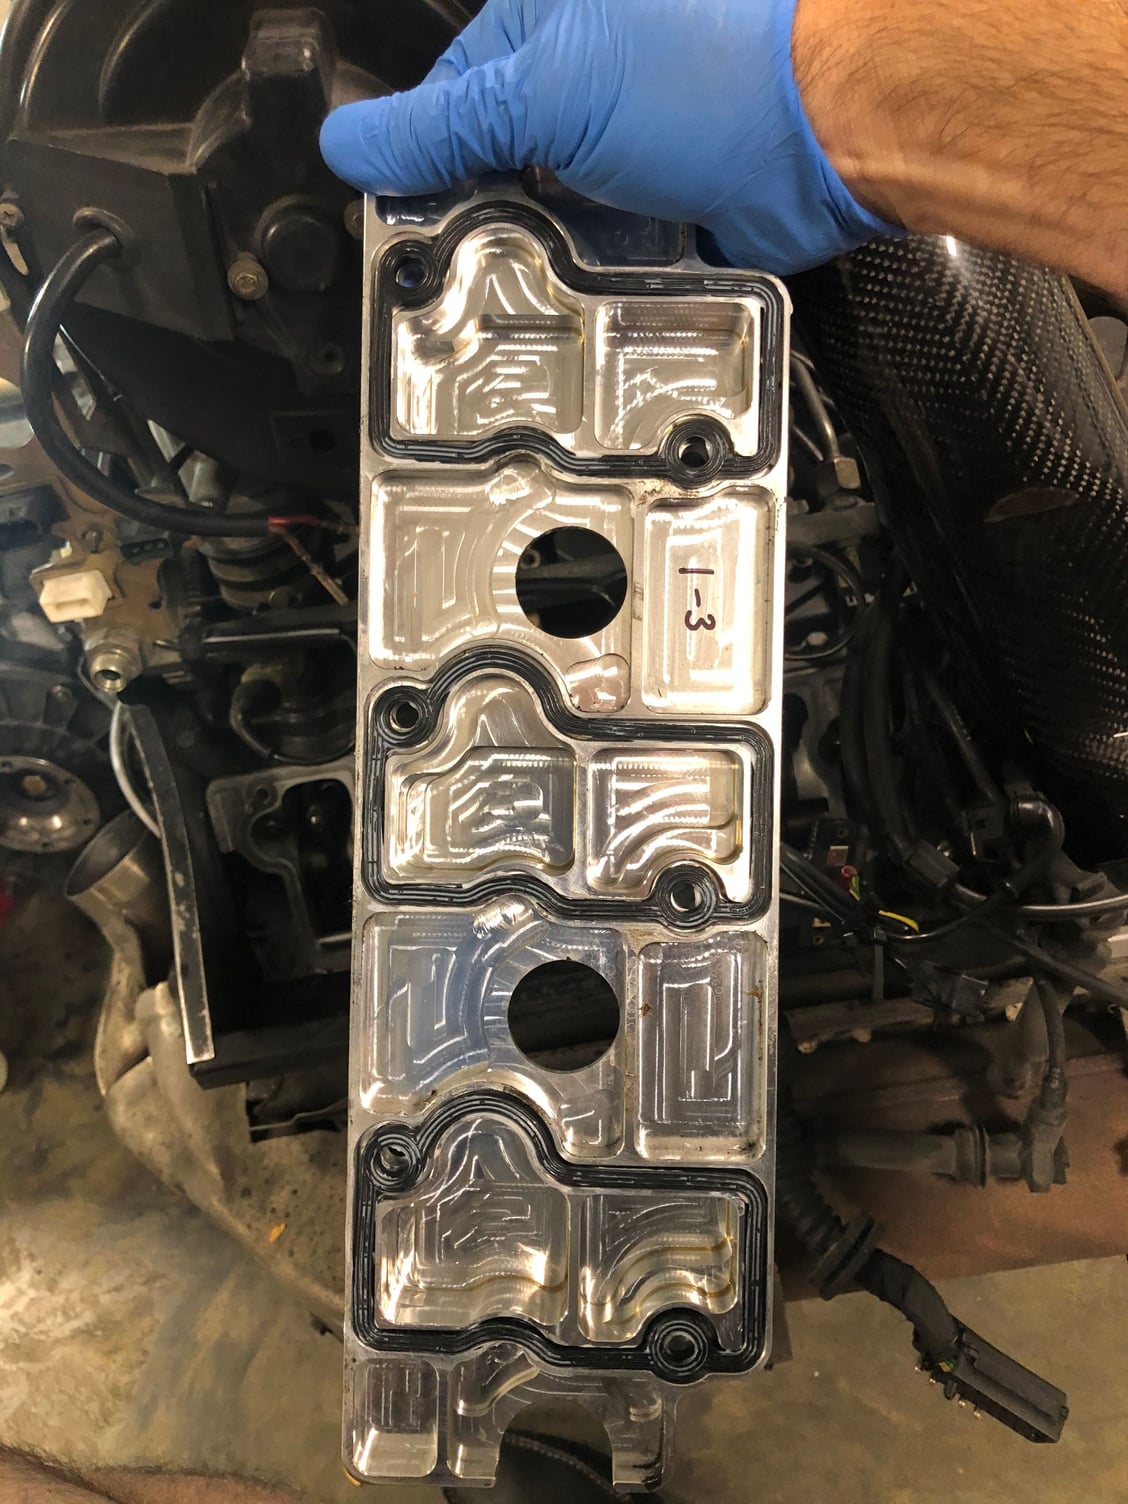
With another local having head stud issues I decided to make a cursory check my head stud nuts had not backed off post the rebuild. No problems there but on putting the covers back, some of the aluminium washers cracked. Damn, the one item I don�t have in my spares stash.
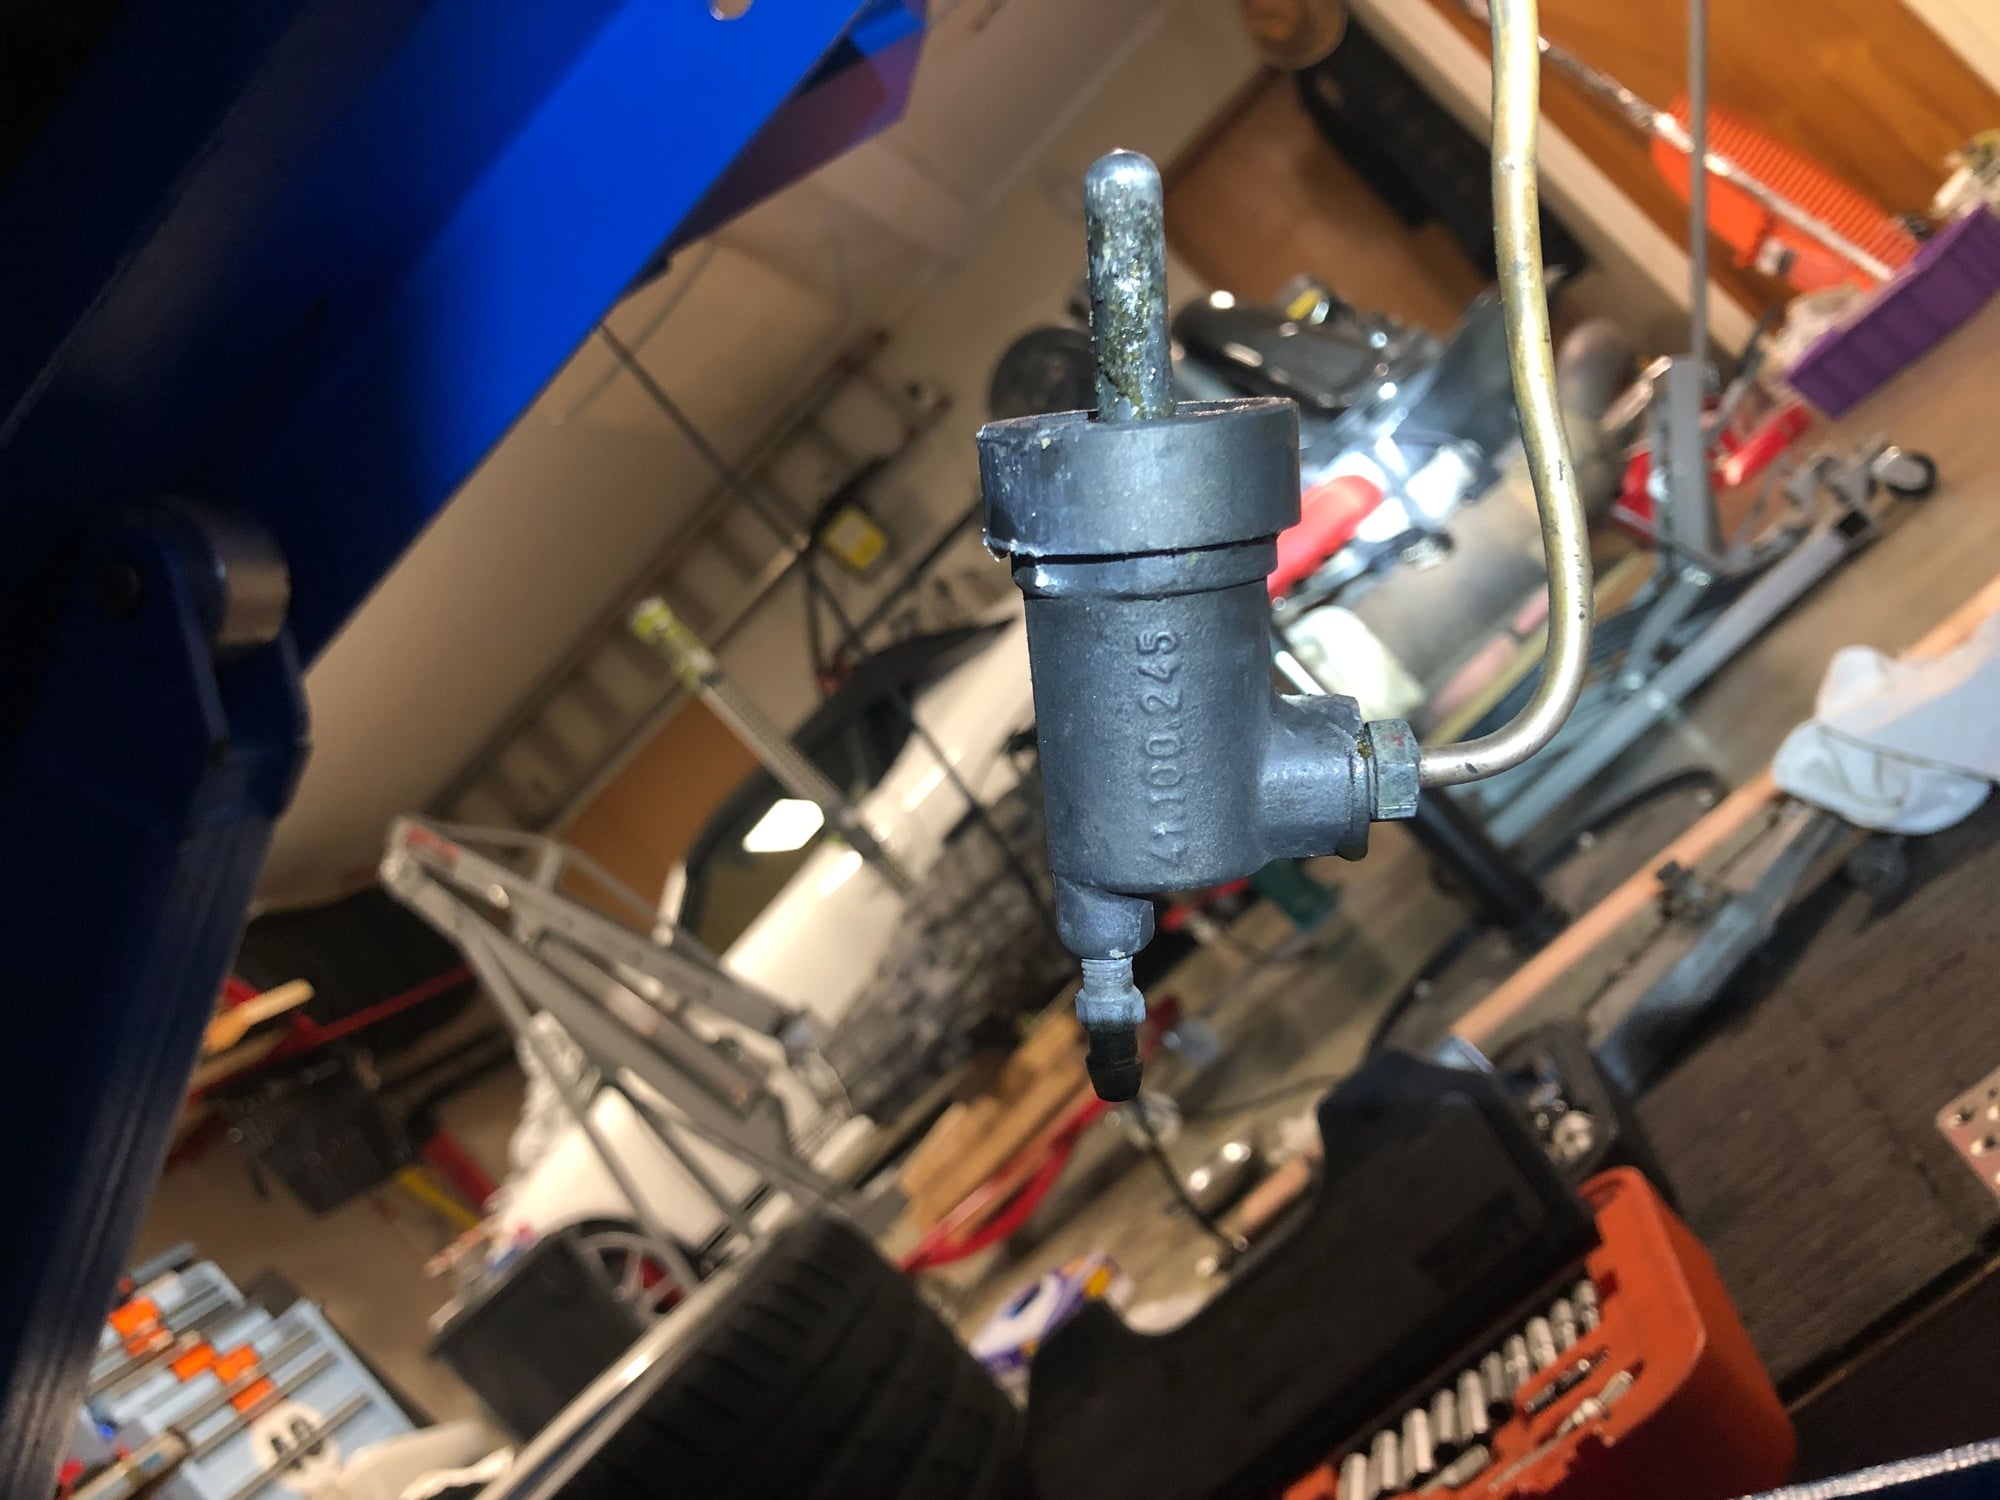
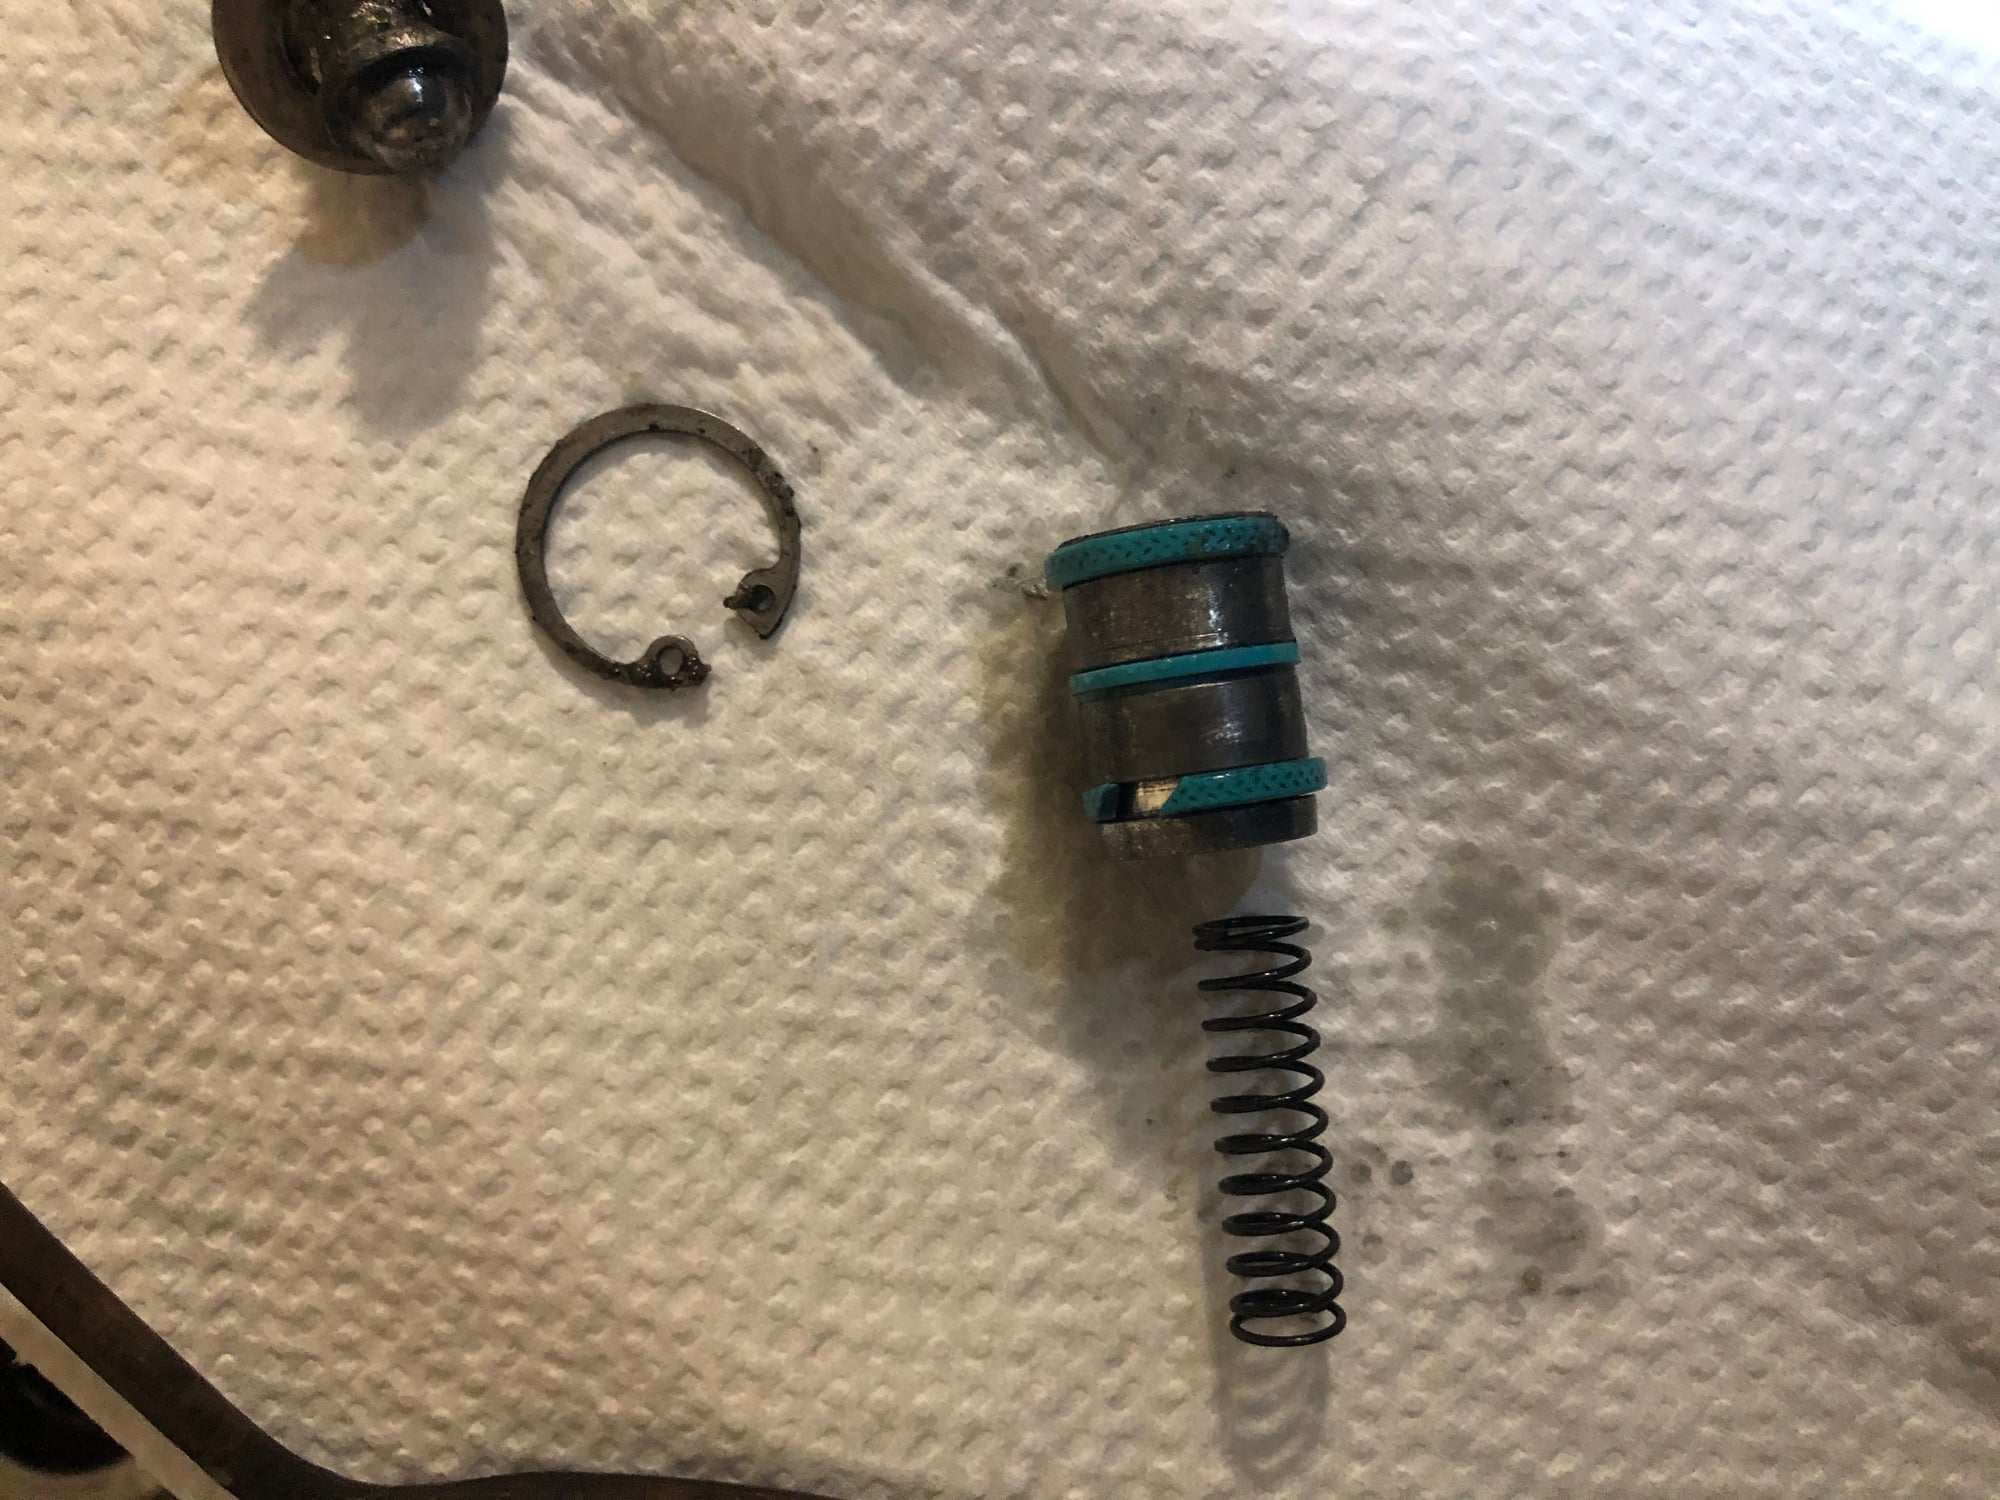
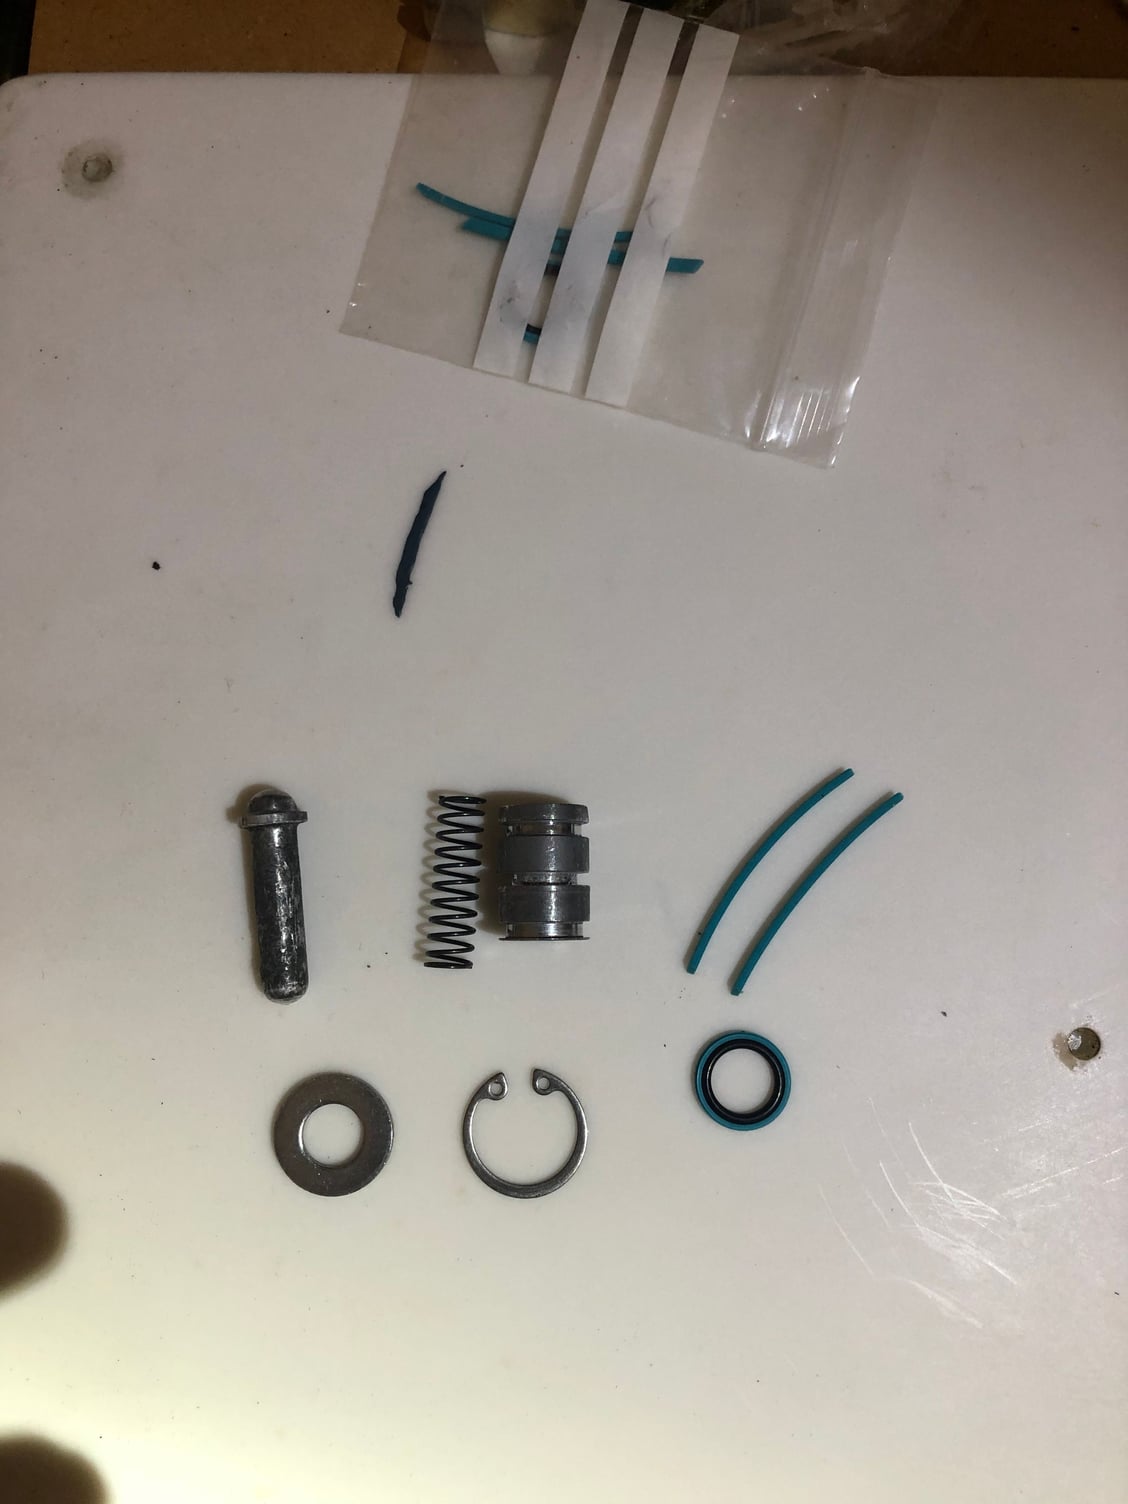
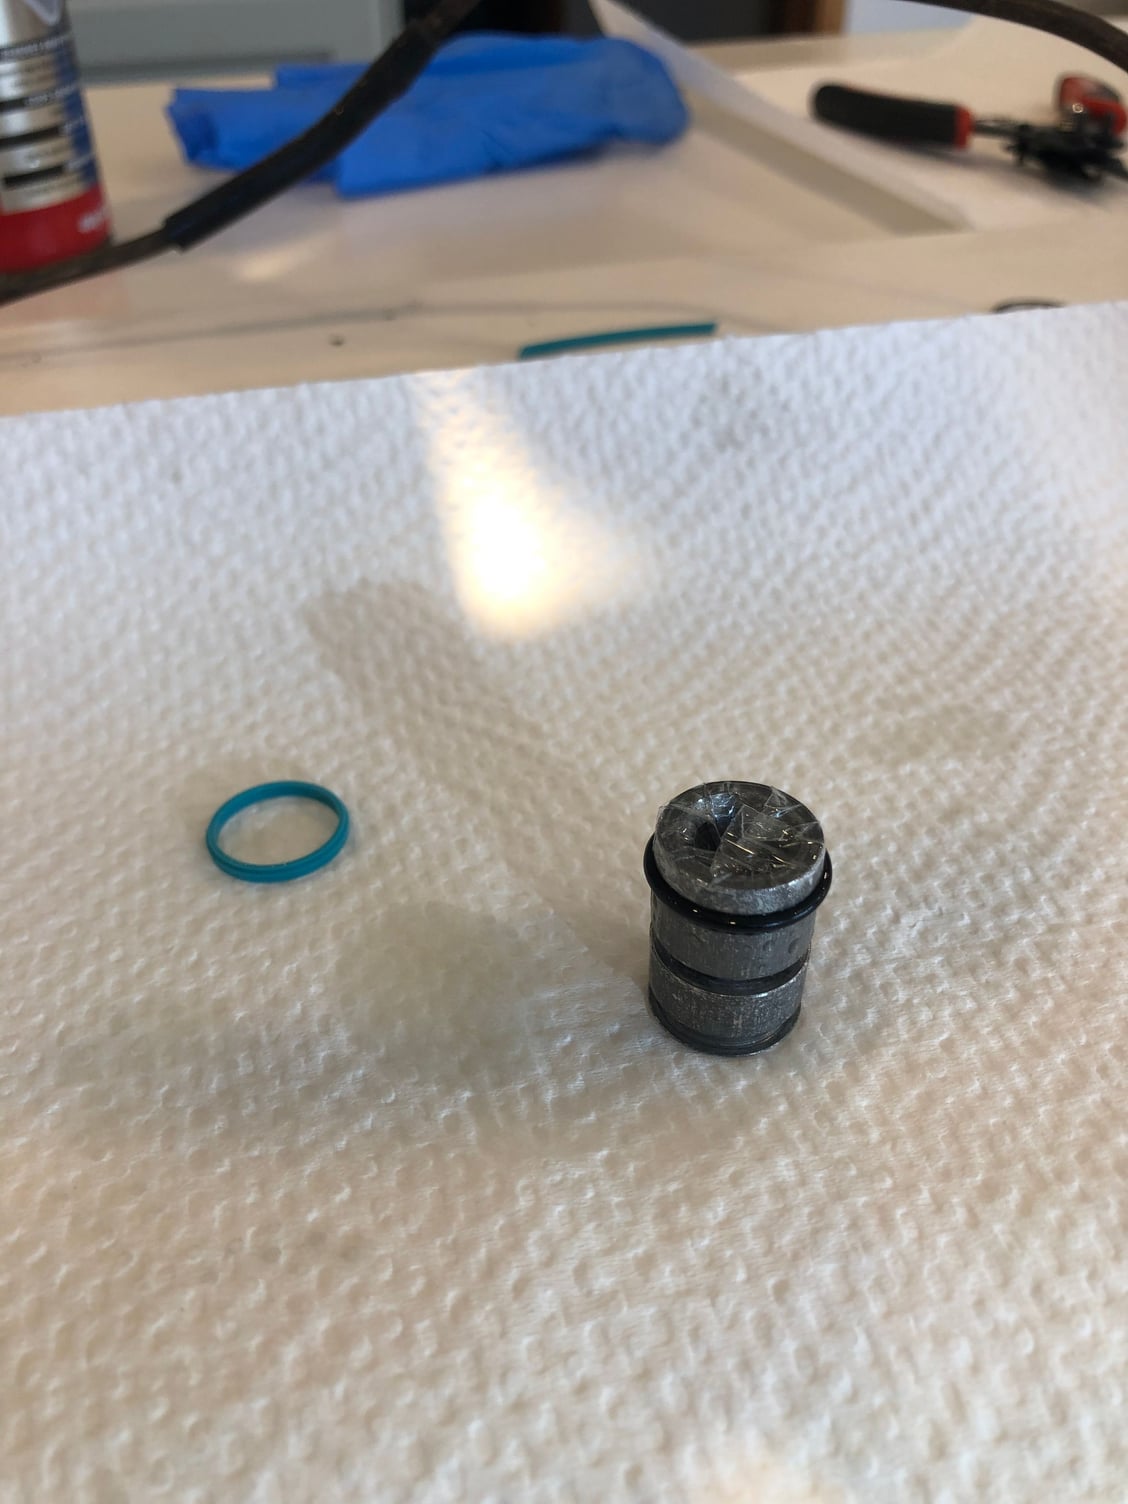
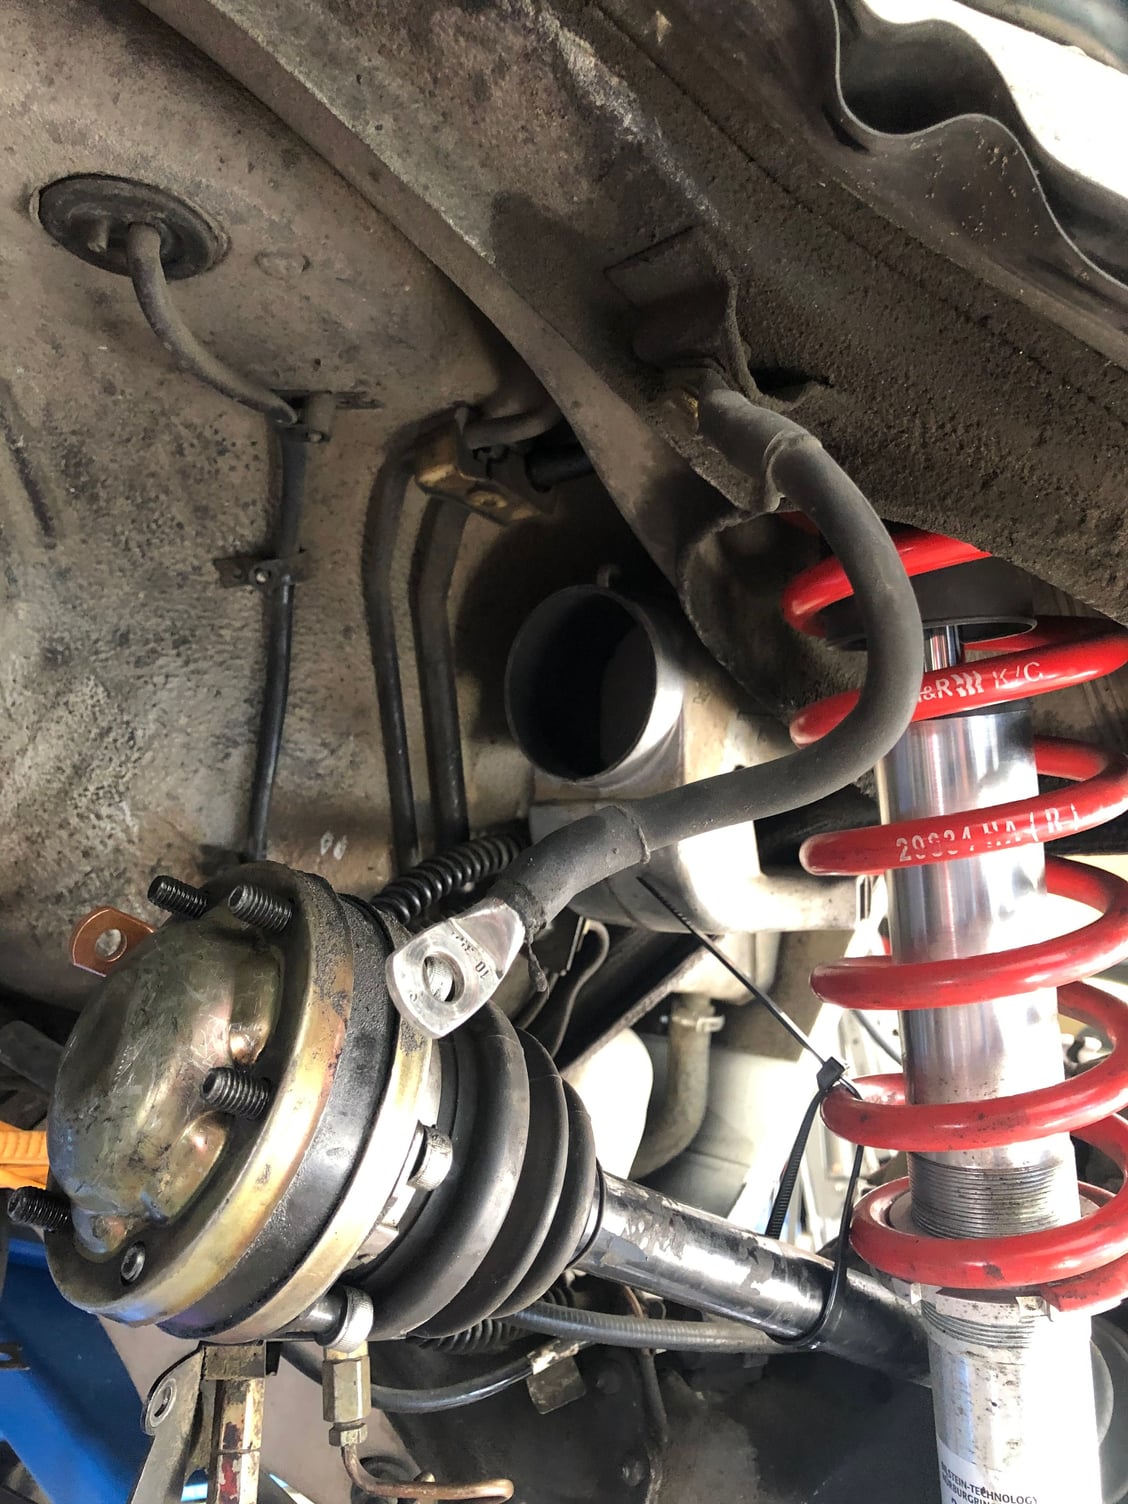
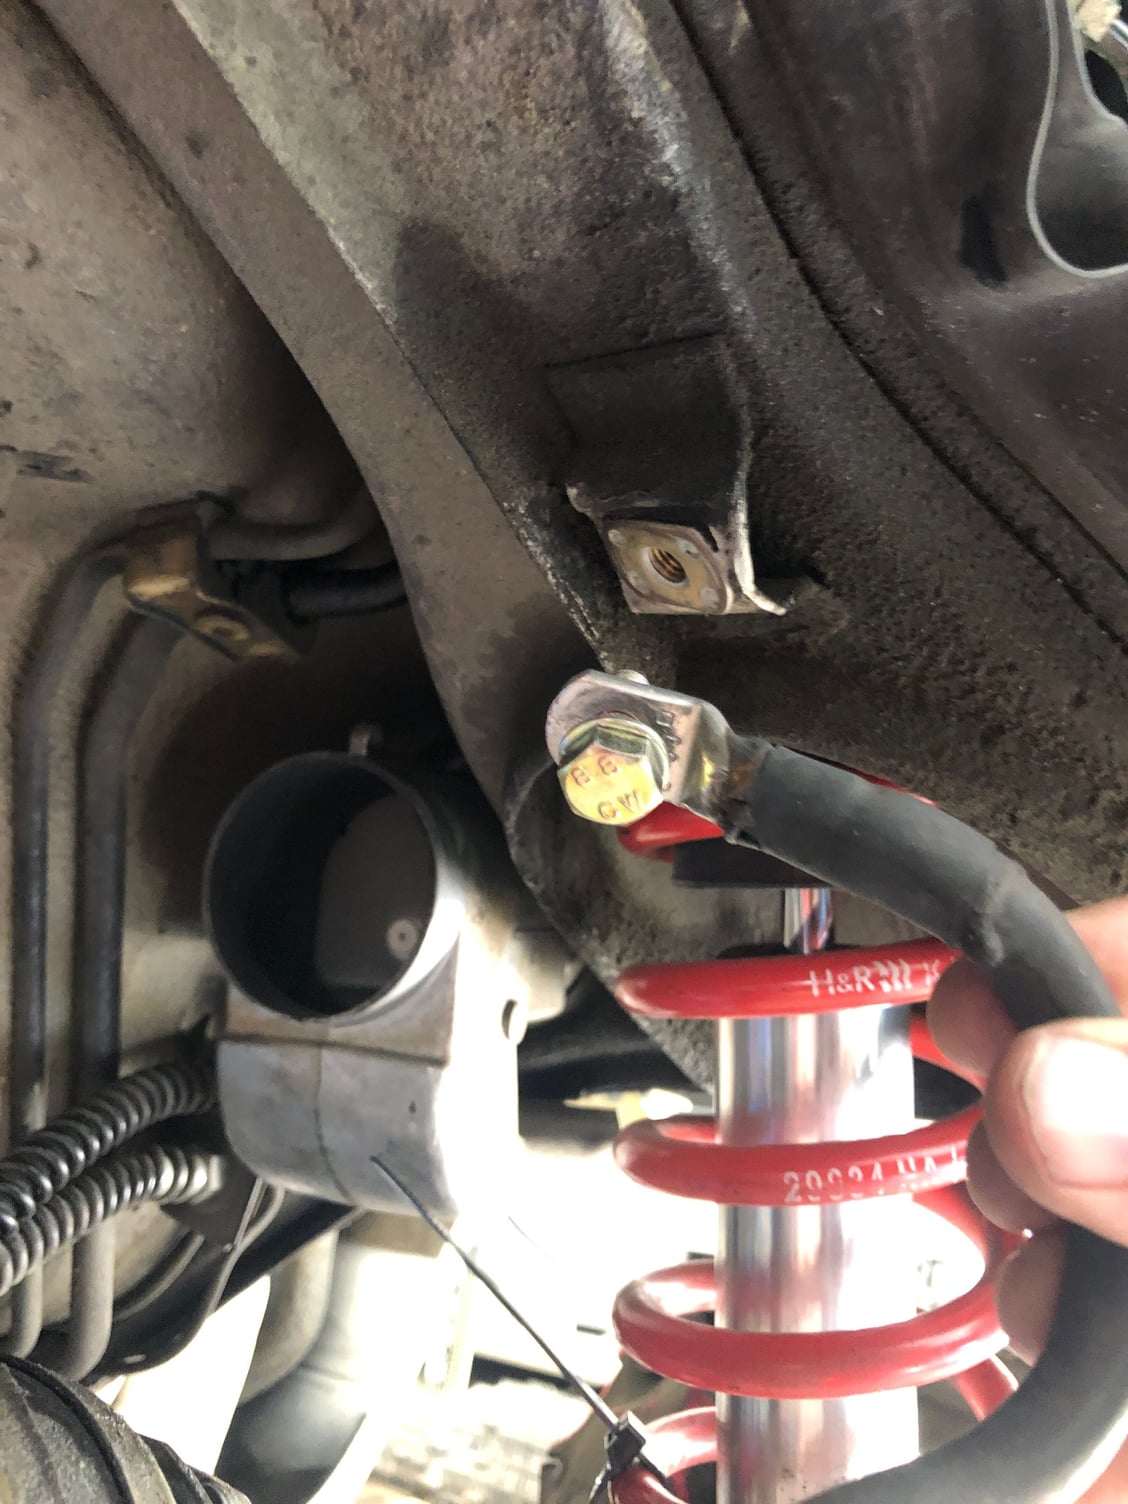
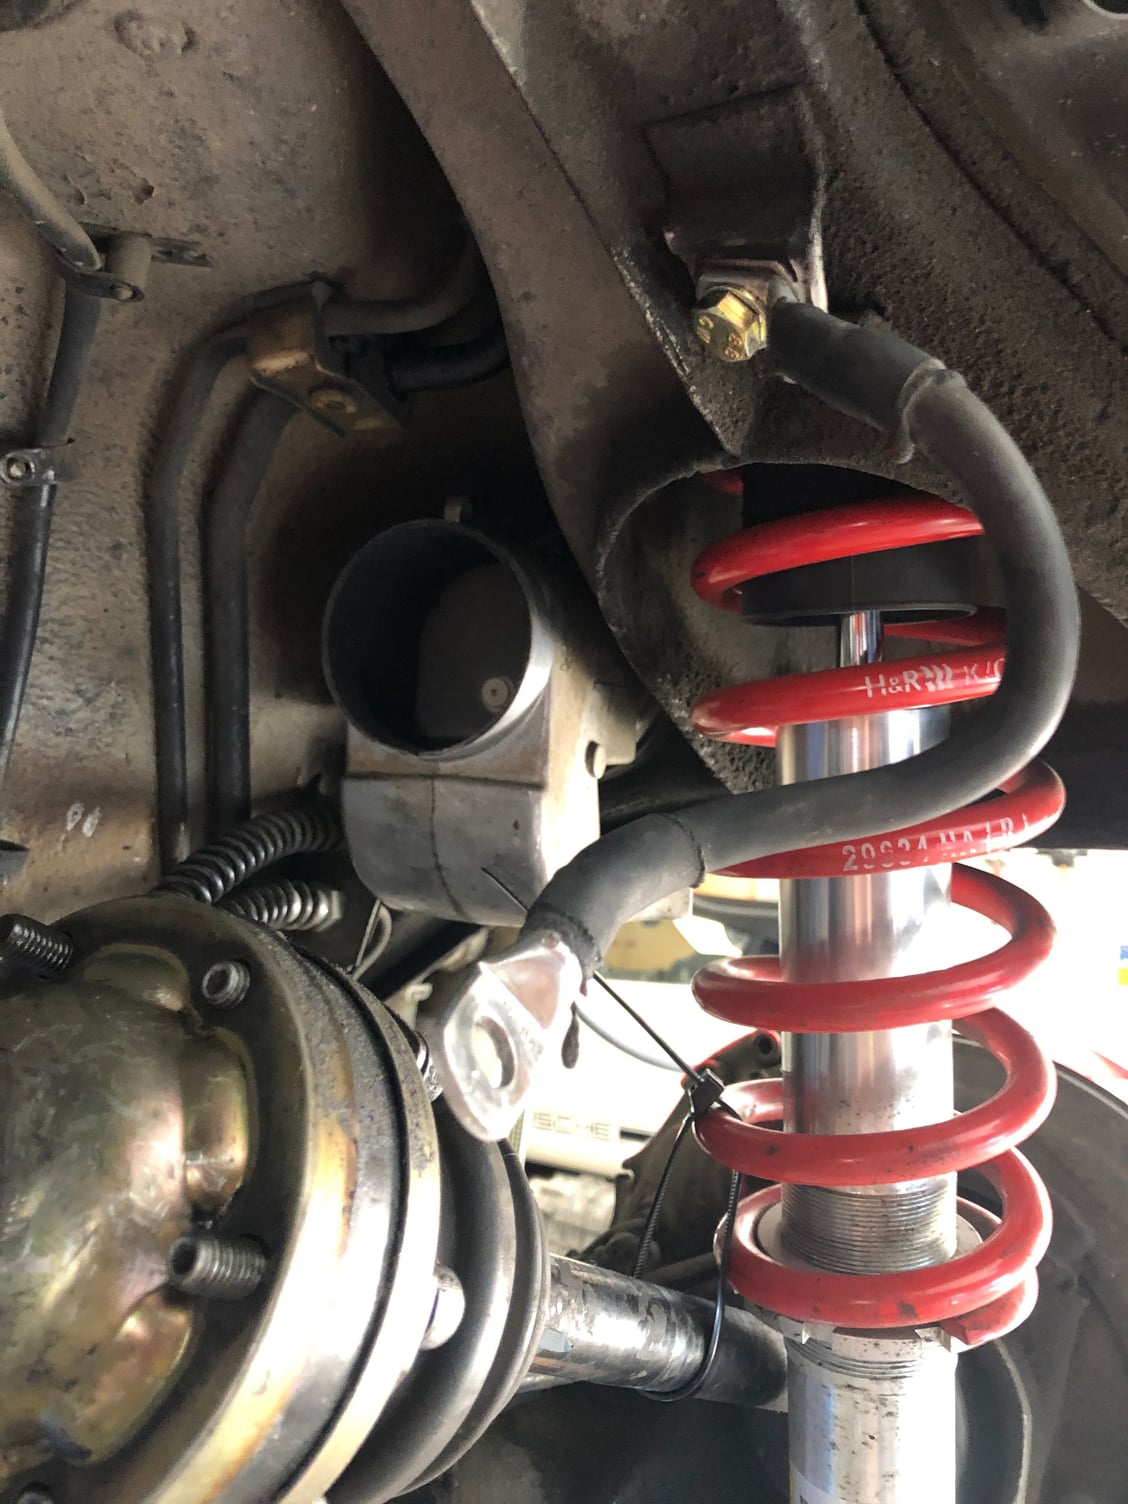
Moving onto the leaking longitudinal C4 actuator. Easy to disassemble and I have spare seals but I have lost the instructions. Anyone have them and/or some tips ?
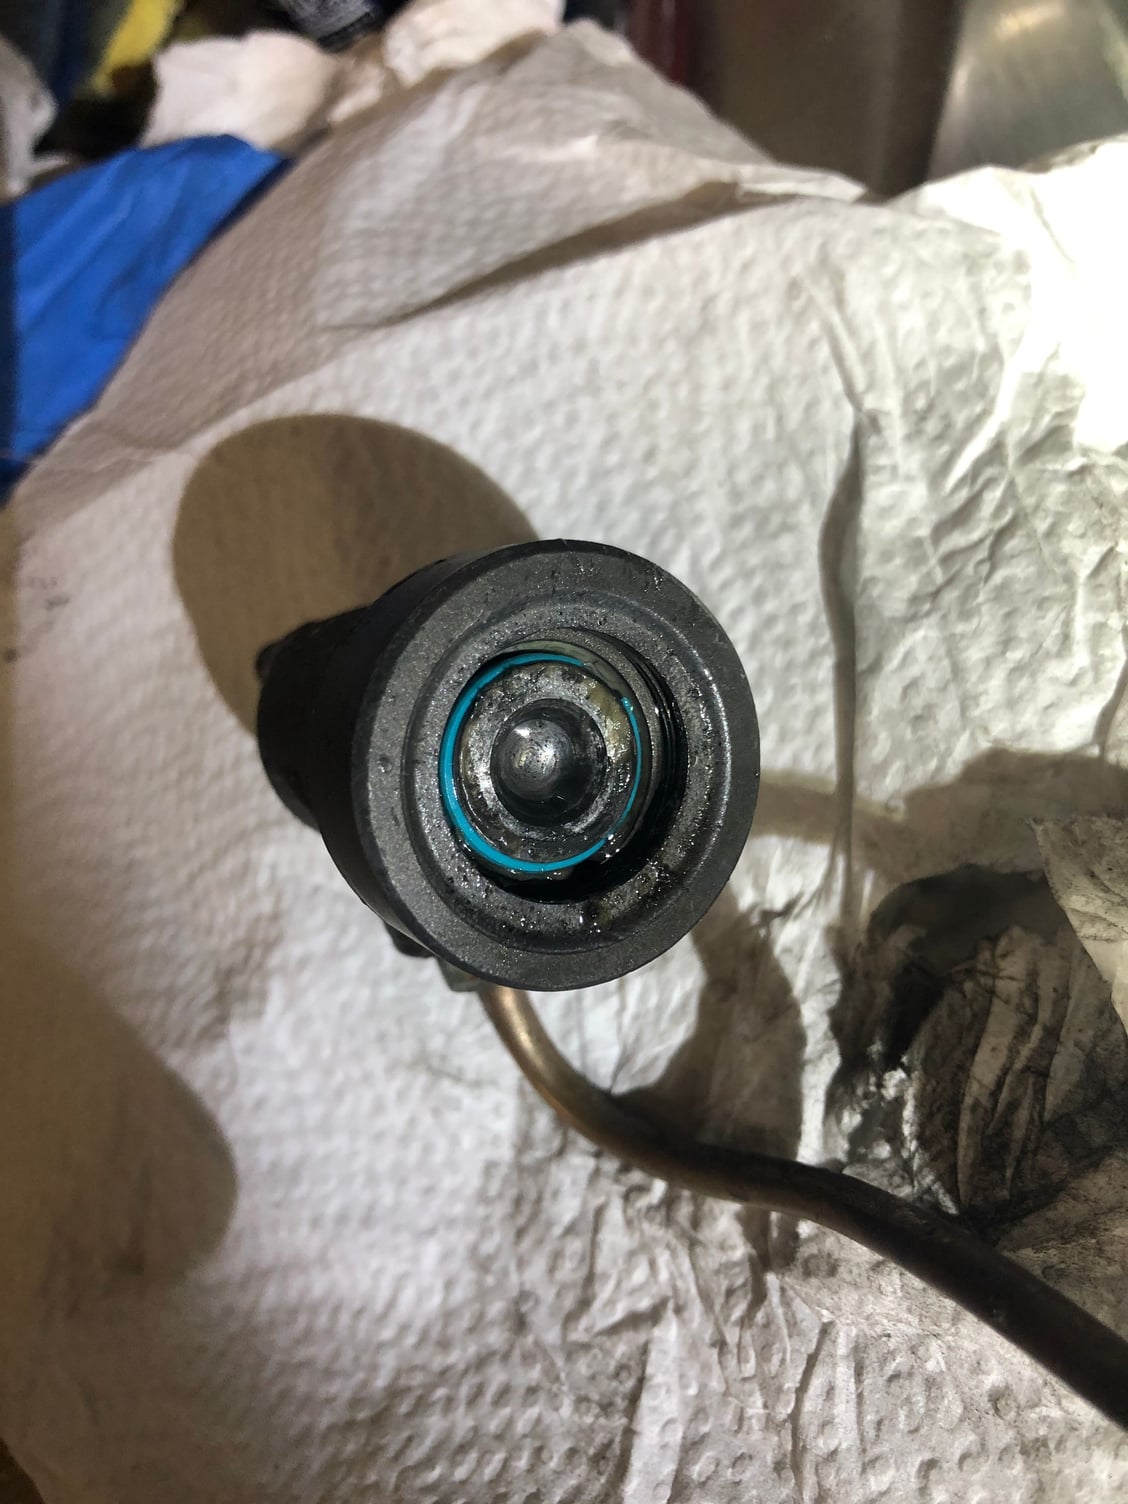
Sellotape over the groove. Light lubrication with brake fluid and put the o ring in place. This pic is taken half way through. It shows that the tape stops the o ring settling in the wrong groove.
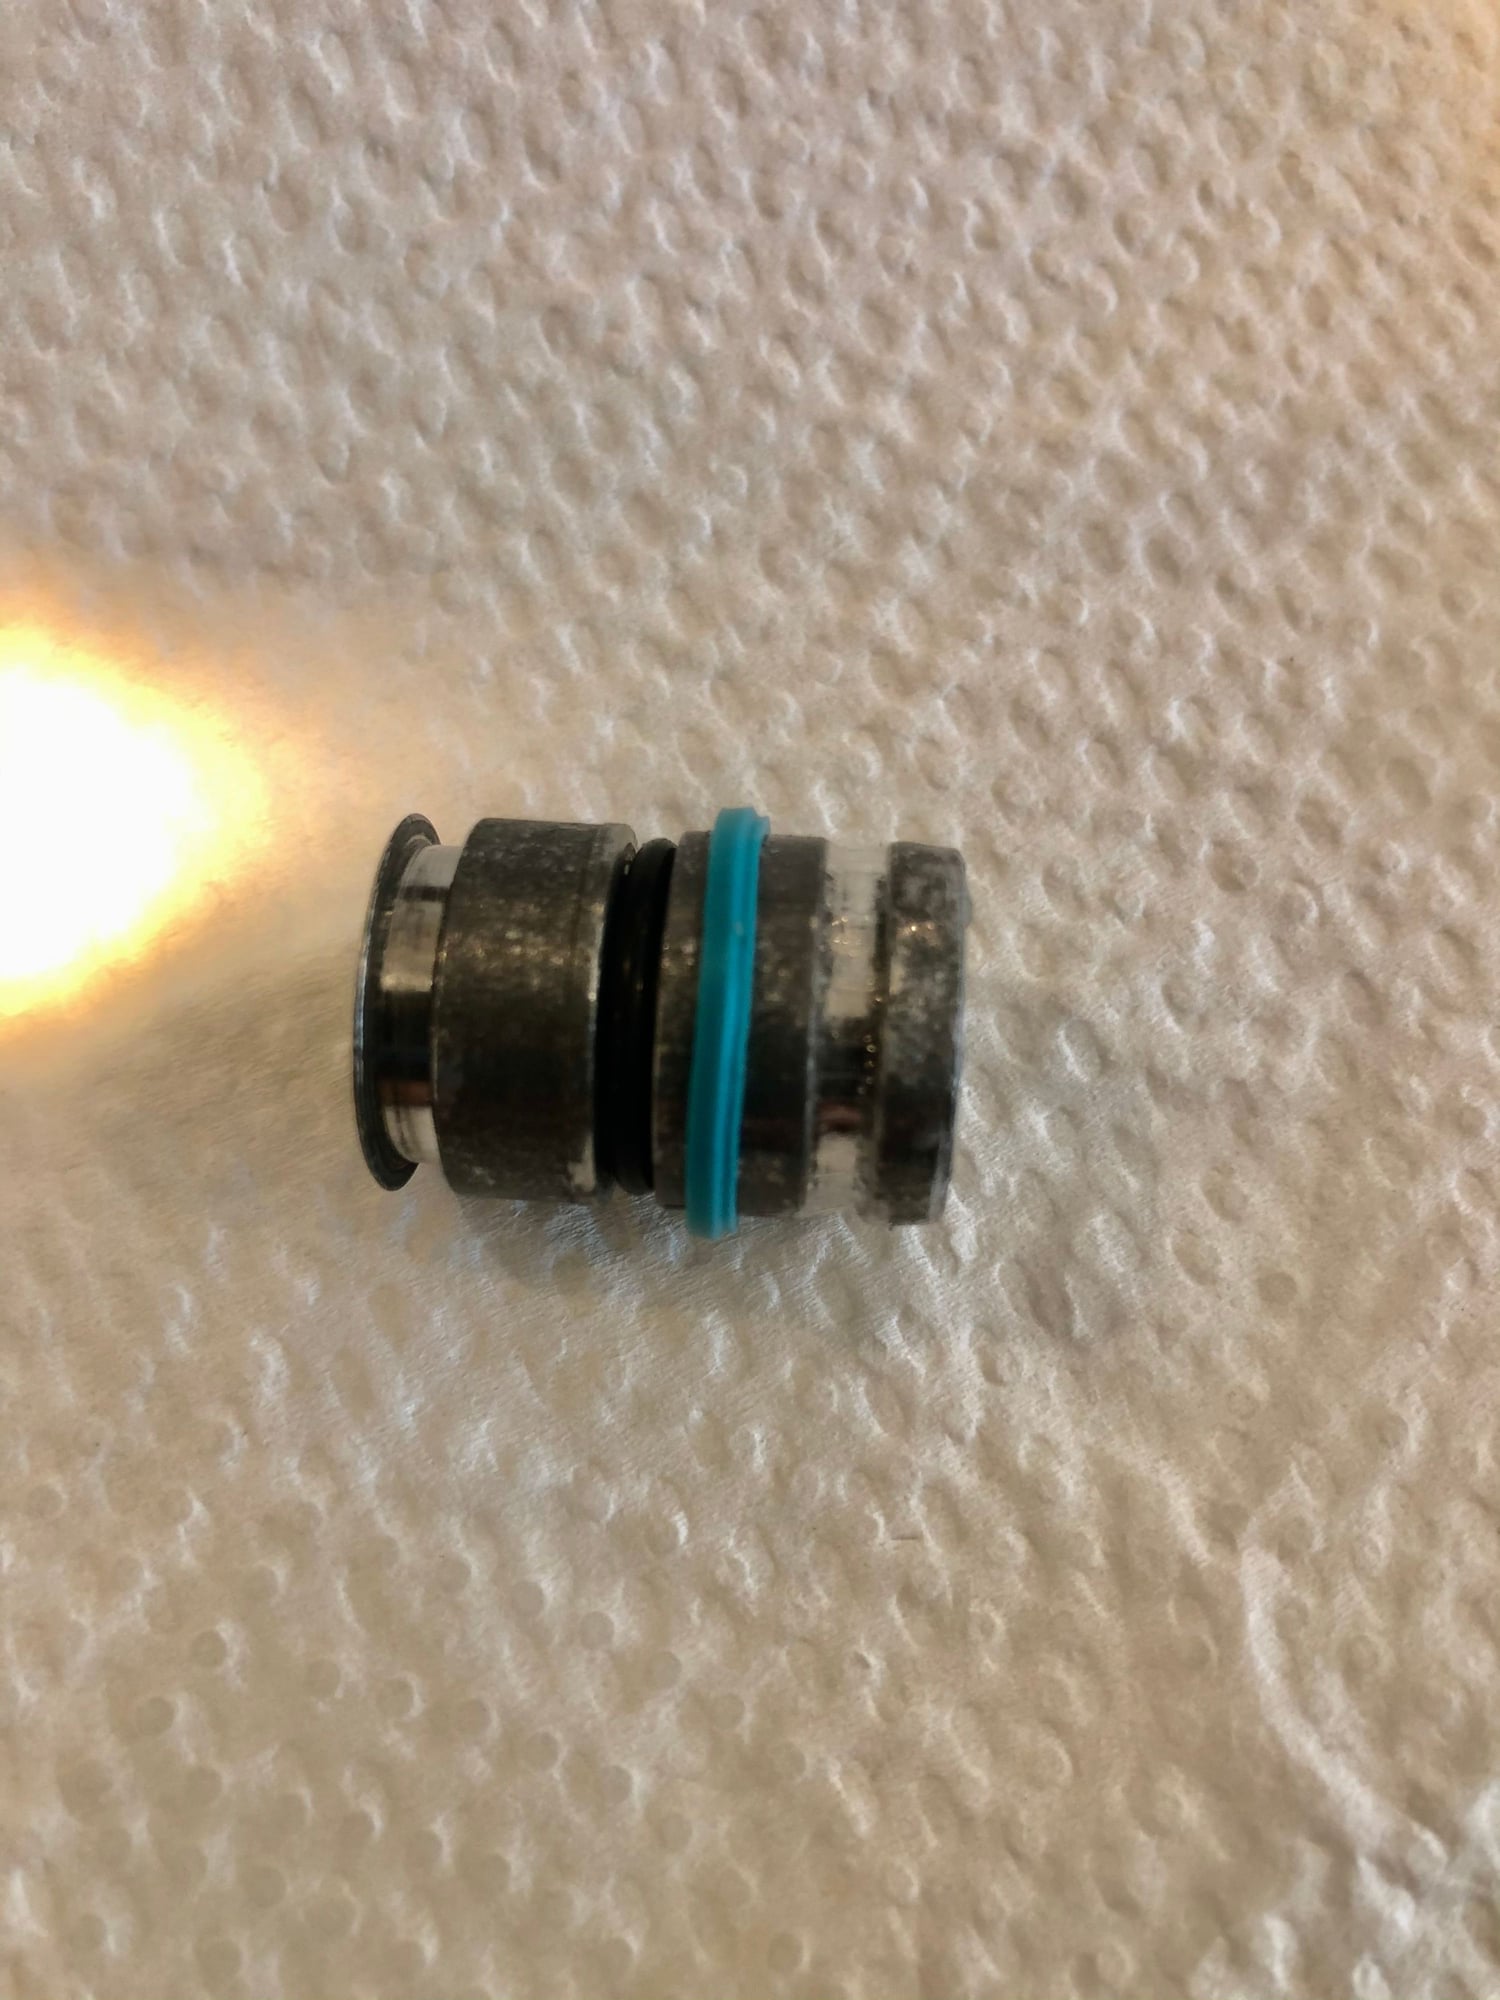
O ring in place and the outer plastic seal being put in place. Note the orientation of the step. That will allow easier insertion in the bore. When they are in place, remove the sellotape and use brake cleaner to ensure there is no adhesive on the piston.
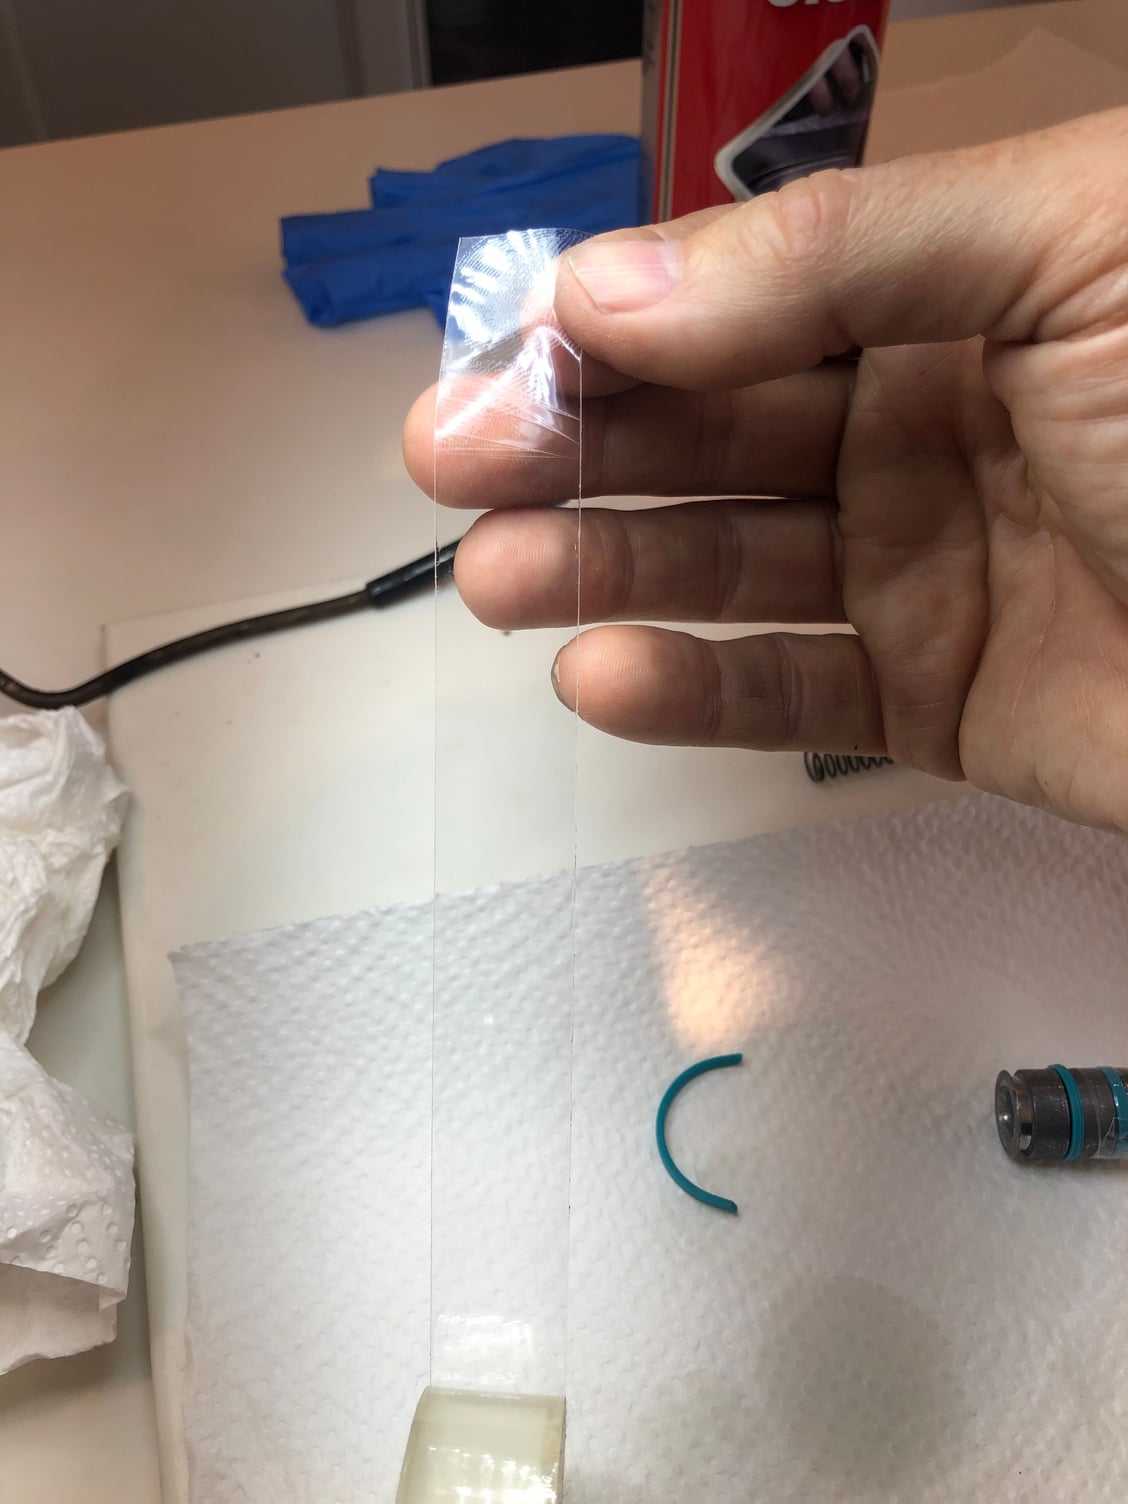
I�m making it up as I go from here. The piston will be inserted into the bore with the seals being held in place until they are in the bore. The goal here is to try and get the two end seals to form some shape memory. The middle seal has become enlarged by forcing it over the piston. I want to encourage it to return to its original size. What I have done is taken sellotape and doubled it over leaving one end with adhesive. The smooth side wraps around the piston seals and the adhesive end holds it in place. There should be no adhesive touching the piston or seals. I will then place it in the sun to warm it up and relax it then in the fridge to try and harden it in that form. It may be a complete waste of time but it�s worth a try.
The above wrapping in sellotape then putting in the sun and fridge helped but just to allow the split seals to form a more round shape and the middle seal to return closer to its original diameter. It didn�t help with the actual insertion.
Remove the above sellotape.
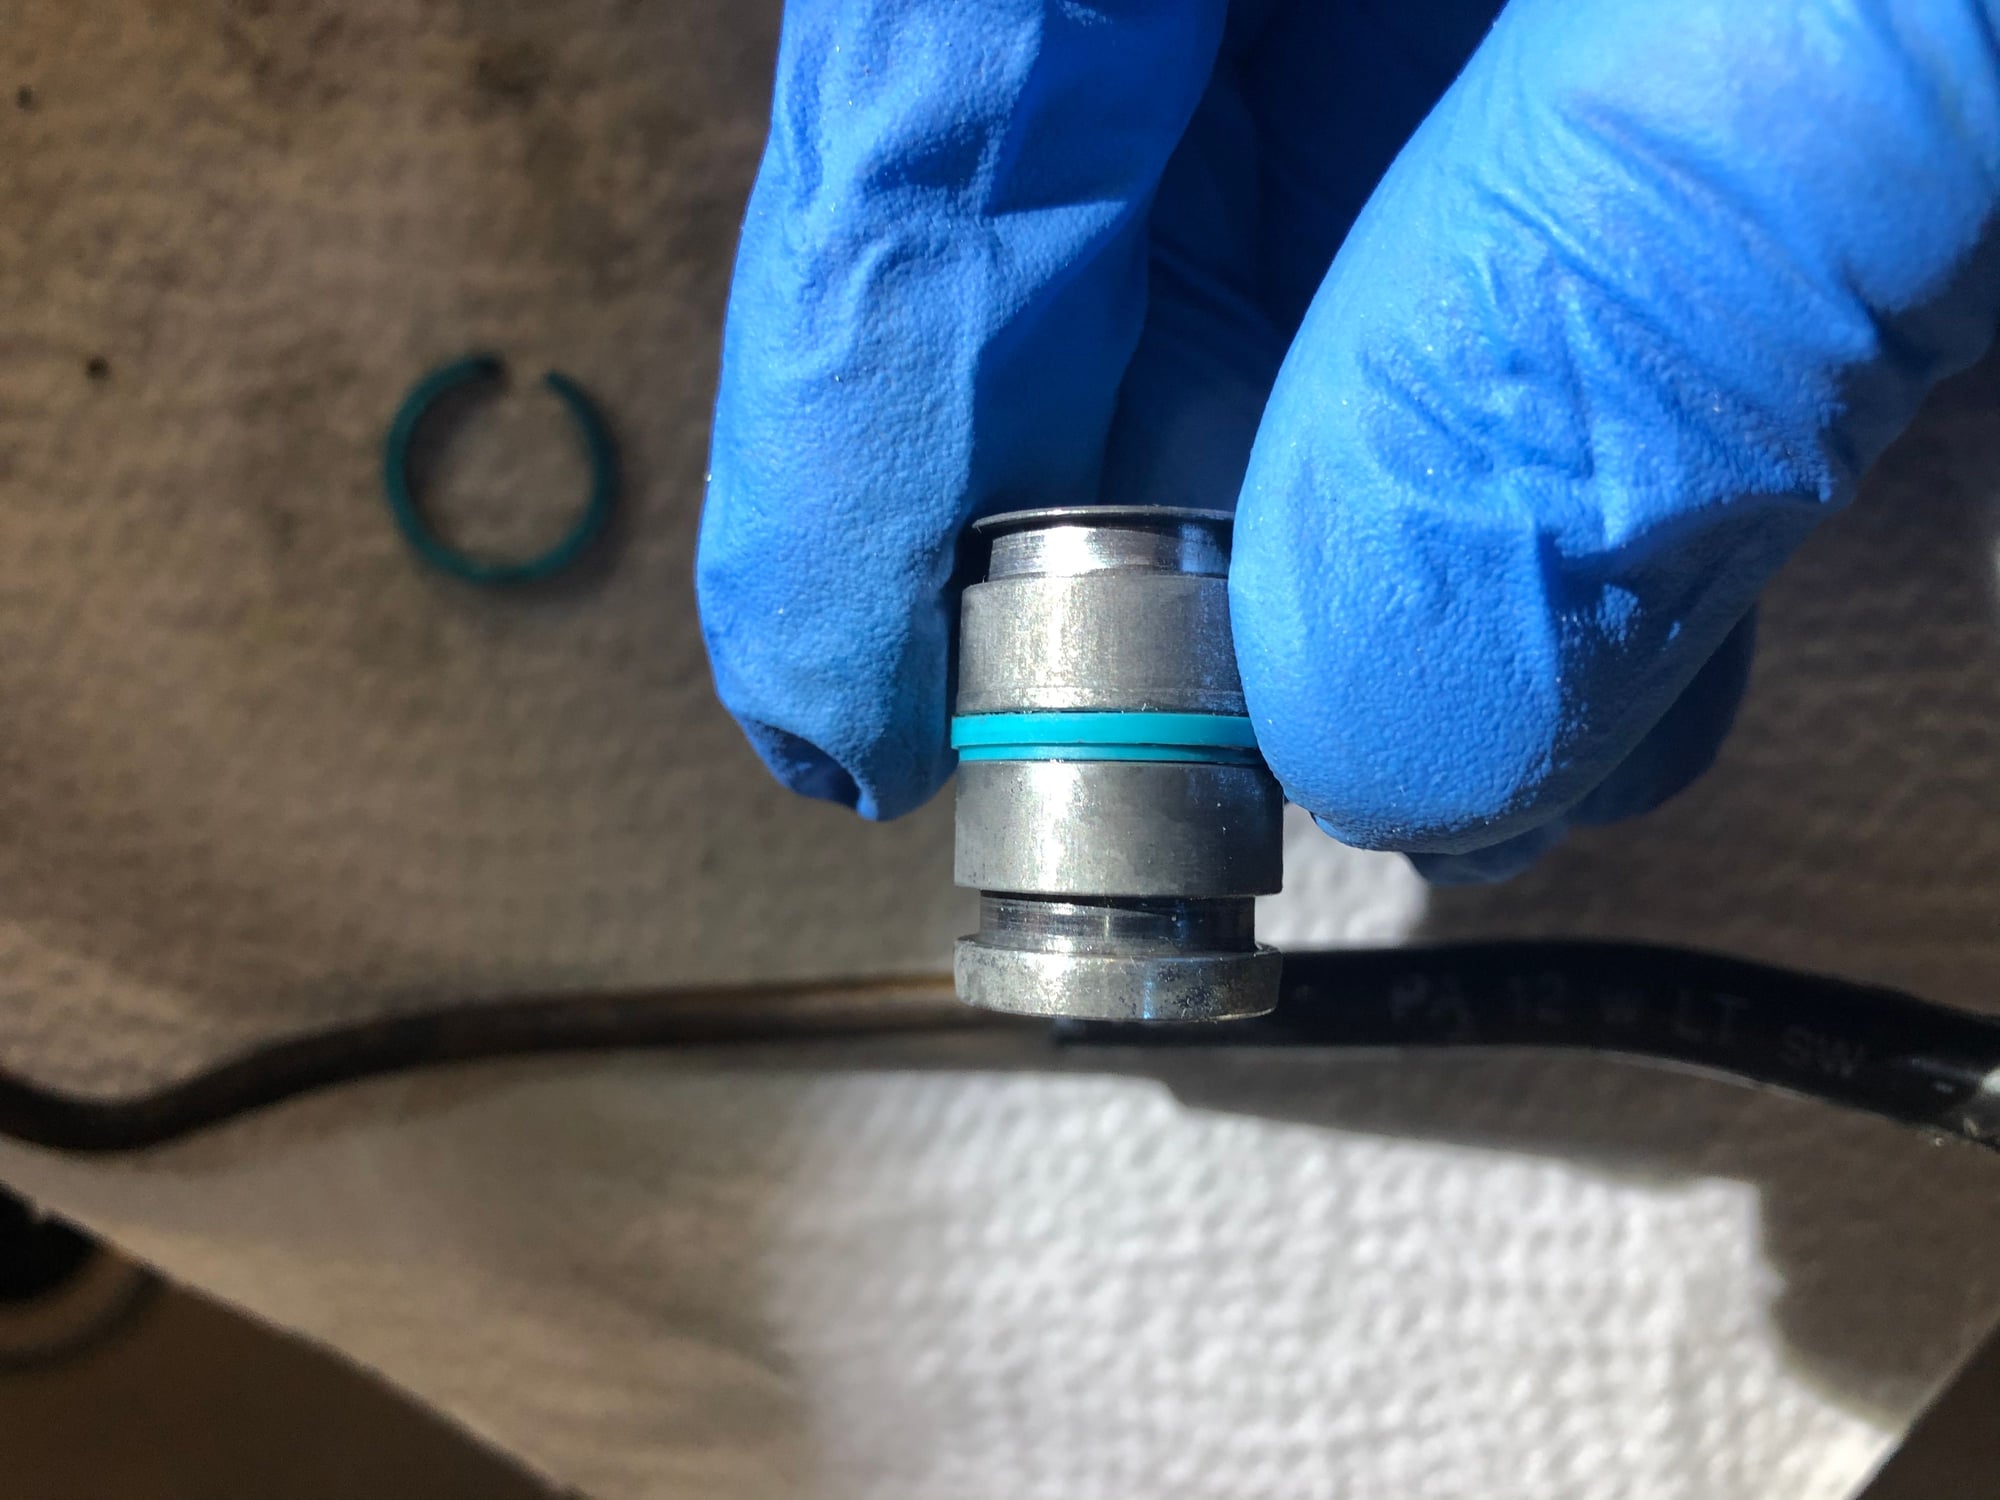
Wrap sellotape around the first split seal imagining that you holding it in place like a piston ring compressor. This is adhesive side down on the piston.
Insert the piston (don�t forget the spring), then when it enters the bore and the seal compresses, you can remove the sellotape carefully and the seal remains retained in the bore.
Push the piston down further until the middle seal is engaging in the bore. A bit of brake fluid put around the middle seal helps it enter the bore. Hopefully you orientated the middle seal correctly as the step in it helps. I was careful but it took a bit of force to get it in the bore.
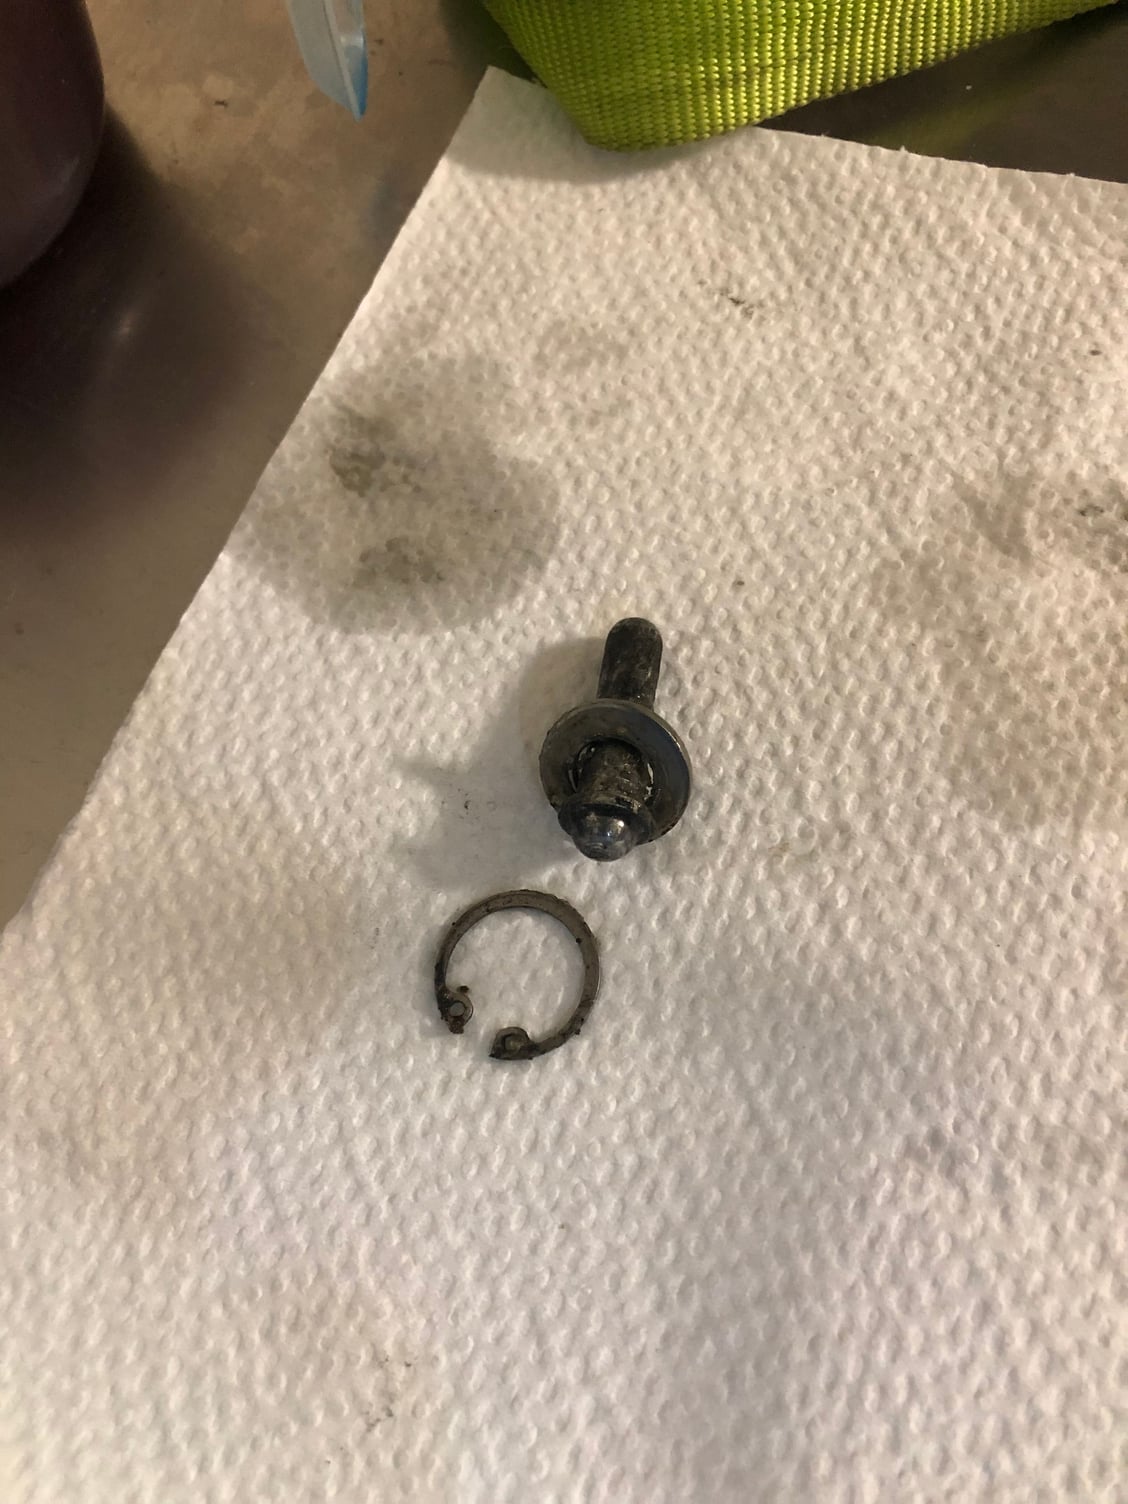
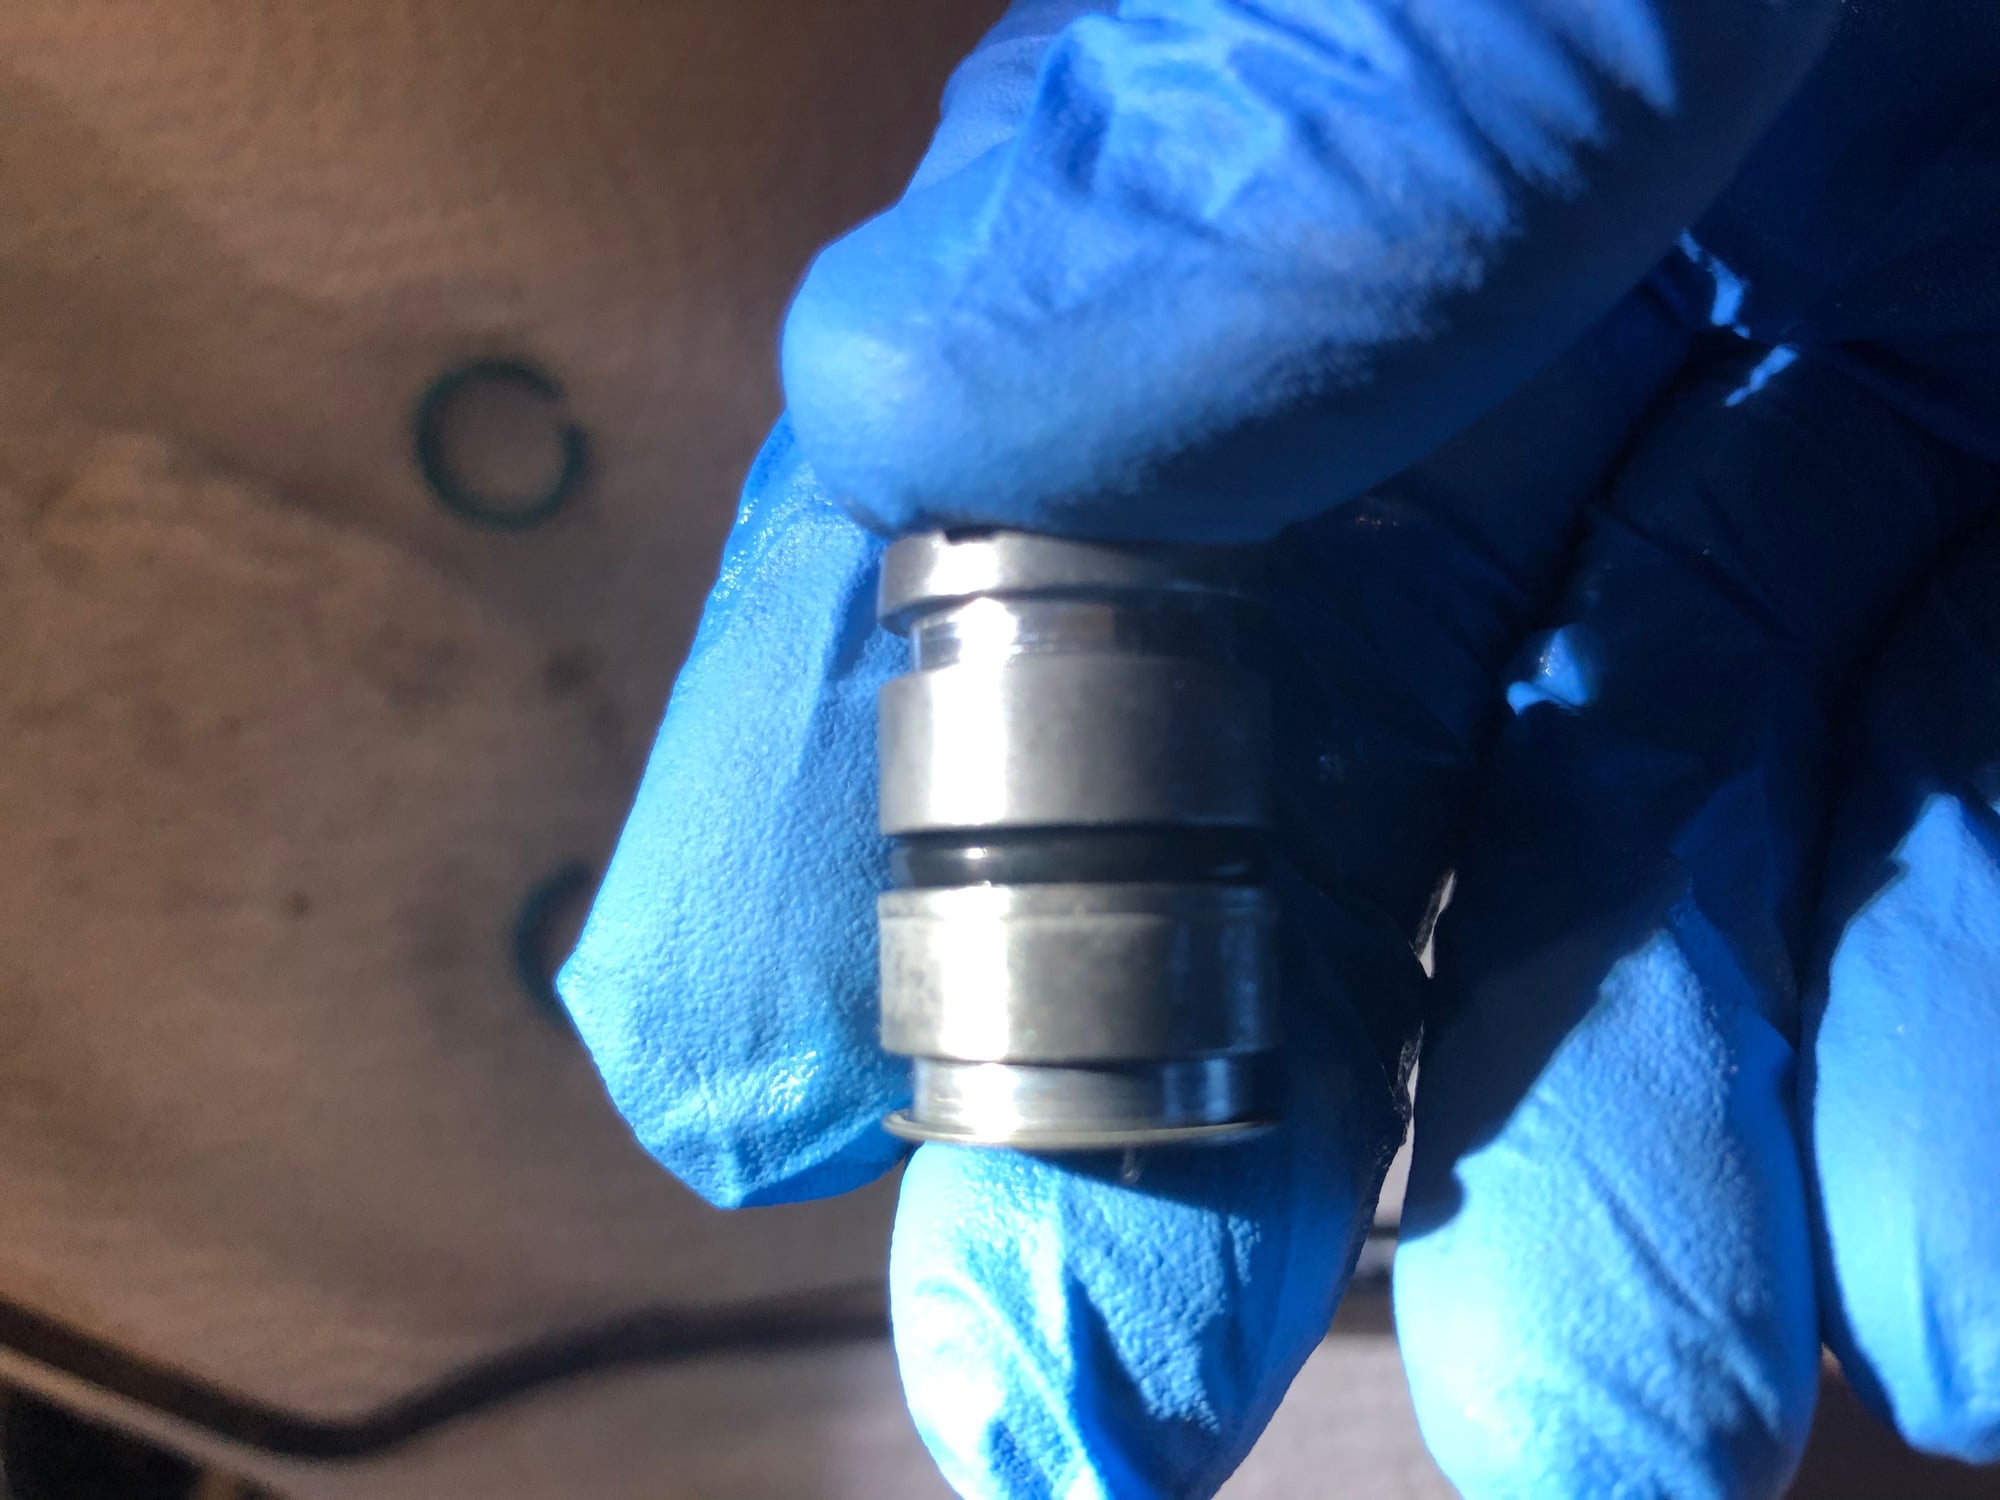
Then put sellotape around the last split seal and repeat the technique. Push the piston fully home. Put the washer and rod in, then fit the circlip.

 03-17-2021, 04:15 AM