When you click on links to various merchants on this site and make a purchase, this can result in this site earning a commission. Affiliate programs and affiliations include, but are not limited to, the eBay Partner Network.
Hi John! Yours is a great thread to follow as you will tackle ANYTHING! Re your indicator not cancelling, there was a thread about repairing one using parts from a 944 set up. Have a look through it wasn�t too long ago. By the way, I have a cousin and his wife who moved out there on South Island, and if I ever get out there, I will look you up!
P.s. The thread is called �Diagnosing non cancelling indicators�. Cheers!
I meant every word. It�s fine on the track or on flowing roads but it�s a nightmare in stop start traffic.
Youve actually got me re-thinking about installing mine! I wonder how much the Mpl master really helps. Also considering the 993 pedal box as I�ve heard from my local mechanic (worked at the dealer when these cars were in the showroom) that it�s lighter.
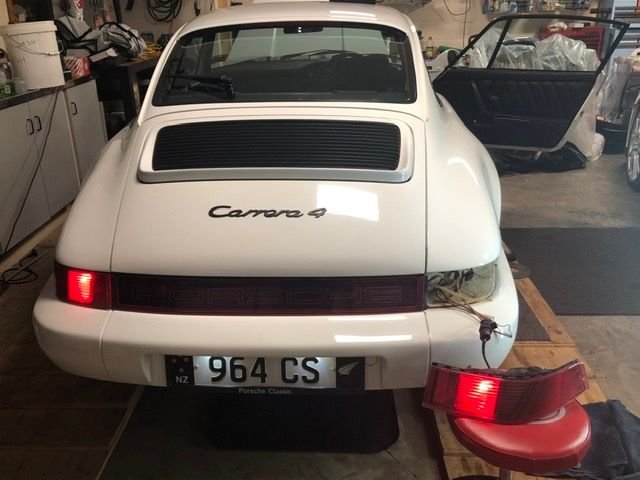
First up was the right marker light issue that was blowing fuse 41. Given the fuse is 7.5A and the two bulbs are small I suspected a short to Earth/Ground
I pulled the rear light assembly and checked the wiring. Despite some funky soldering for a mod that lights the rear fog lights with the brakes I couldn�t see anything obvious.
Last edited by John McM; Mar 29, 2020 at 04:52 PM.
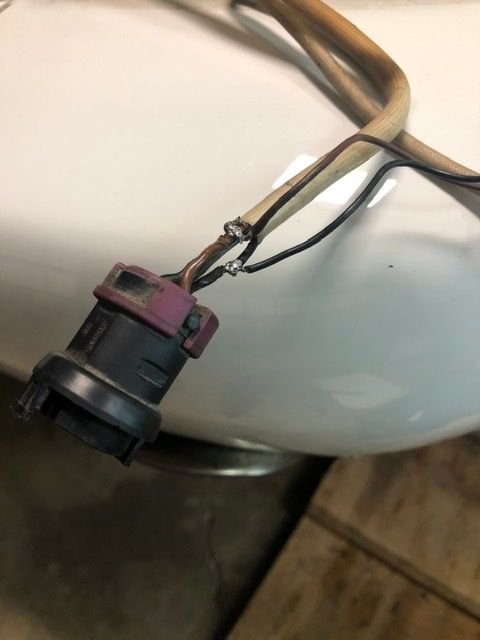
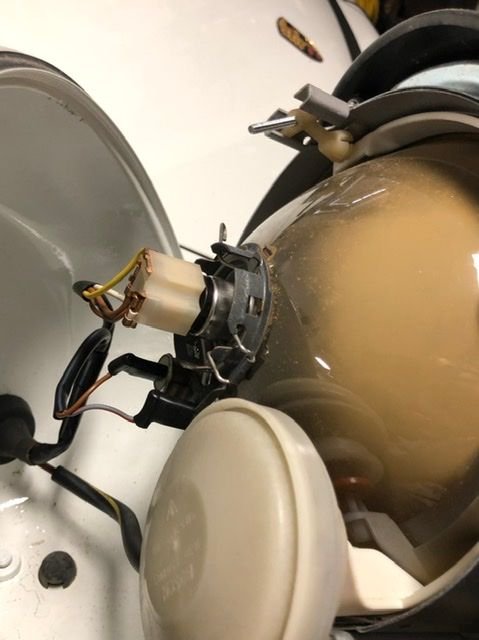
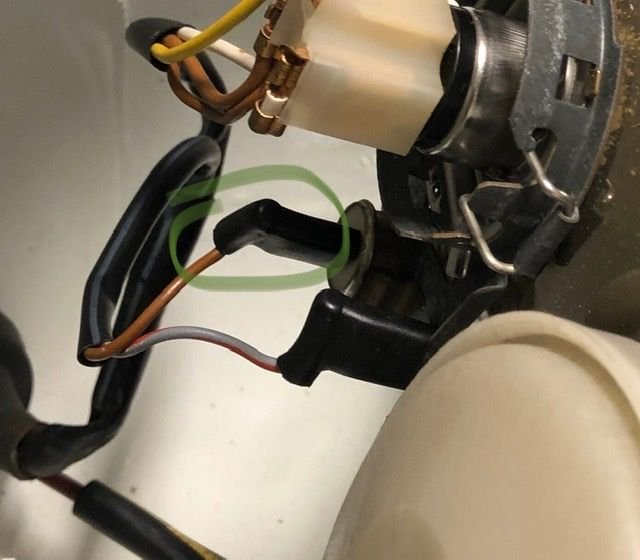
Next I pulled the headlight assembly where I think I found the issue. When I did the repaint a few years back I connected the marker lights differently. On the left side I put the Earth/Ground wire to the outside connector but on the right side to the centre. While the lamp doesn�t care which direction the current flows I suspect the circuit is upset by the polarity.
I�m not deep thinking this one, it�s a fuse and lamp. If the fuse still blows then I�ll go back in. As I very rarely drive with the lights on it very likely this fault has been there for years.
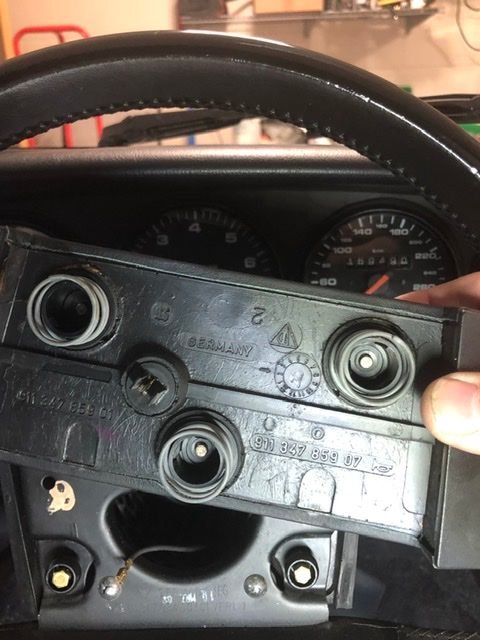
1. Put the steering wheel straight ahead
2. Carefully pull the horn pad off.
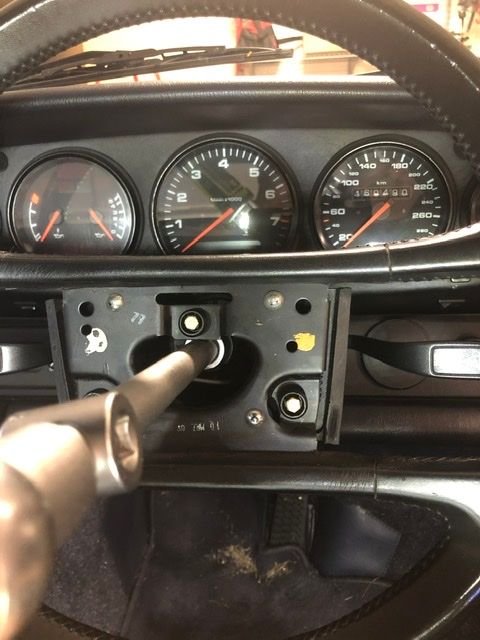
3. Hold the wheel and use a long adapter with a 24mm socket to undo the nut and slide the wheel off the spline.
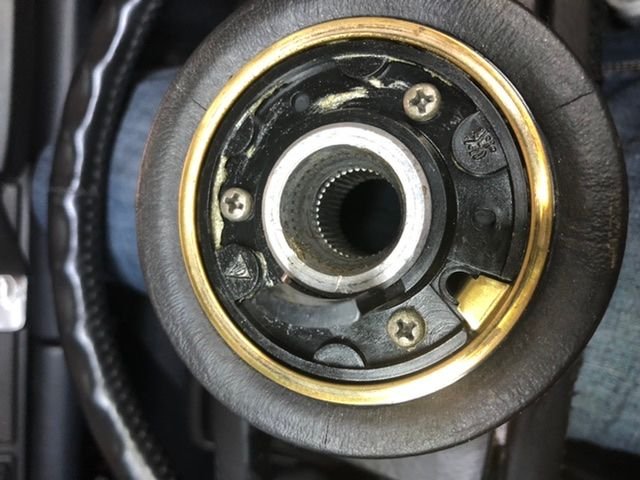
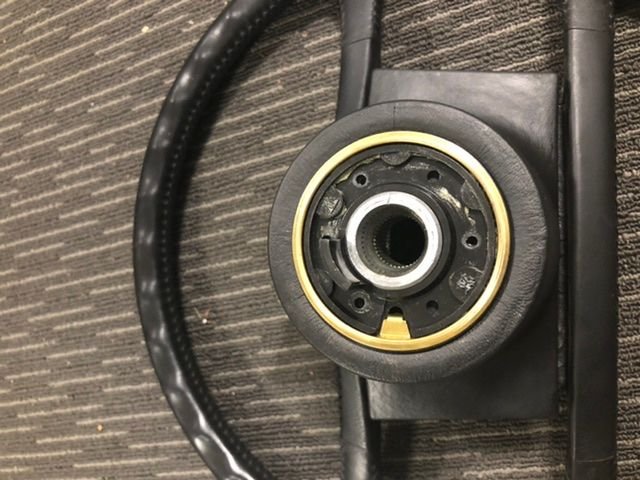
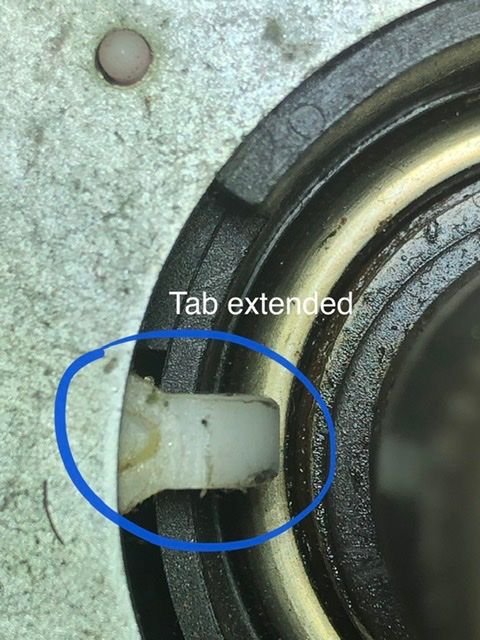
The rear of the wheel has a raised plastic block that interacts with a white plastic tab that moves into its path when the indicators are selected. The mechanism allows the block to move past the tab in the direction of the turn and when the wheel returns it hits the tab turning the indicator off.
My ring block is almost new and there is evidence that the tab is contacting. Equally I was able to trigger the indicator tab in both directions, but frustratingly there is no adjustment possible.
Not one to admit defeat I remembered that I had put the OE wheel on after having an after market wheel and had not adjusted the switch assembly position. Maybe it was out of adjustment?
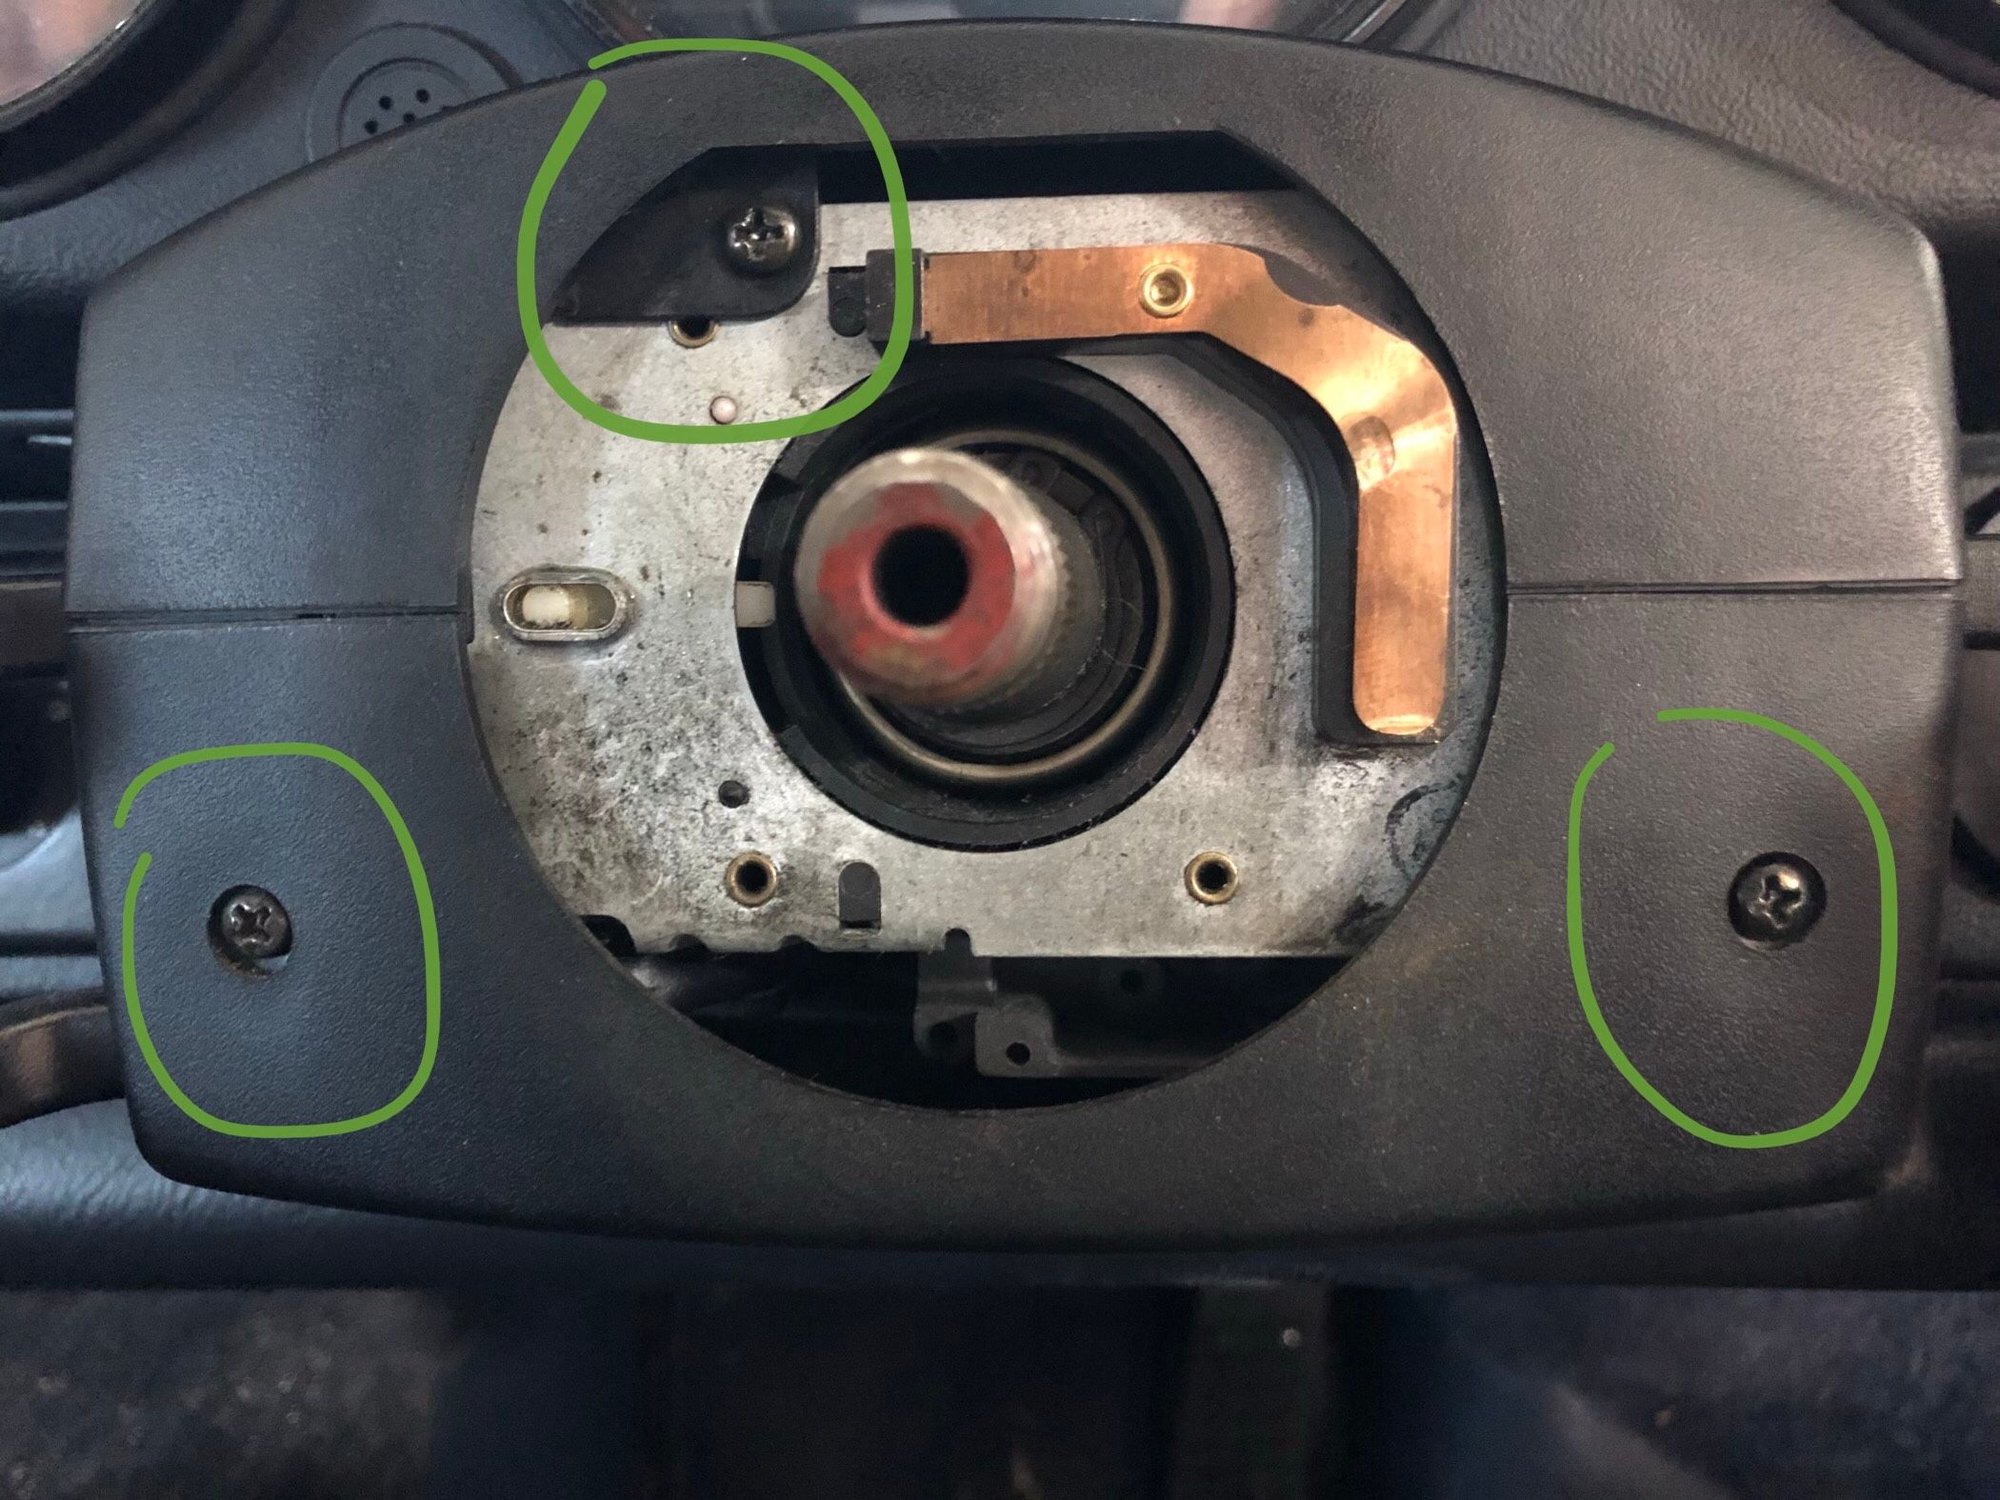
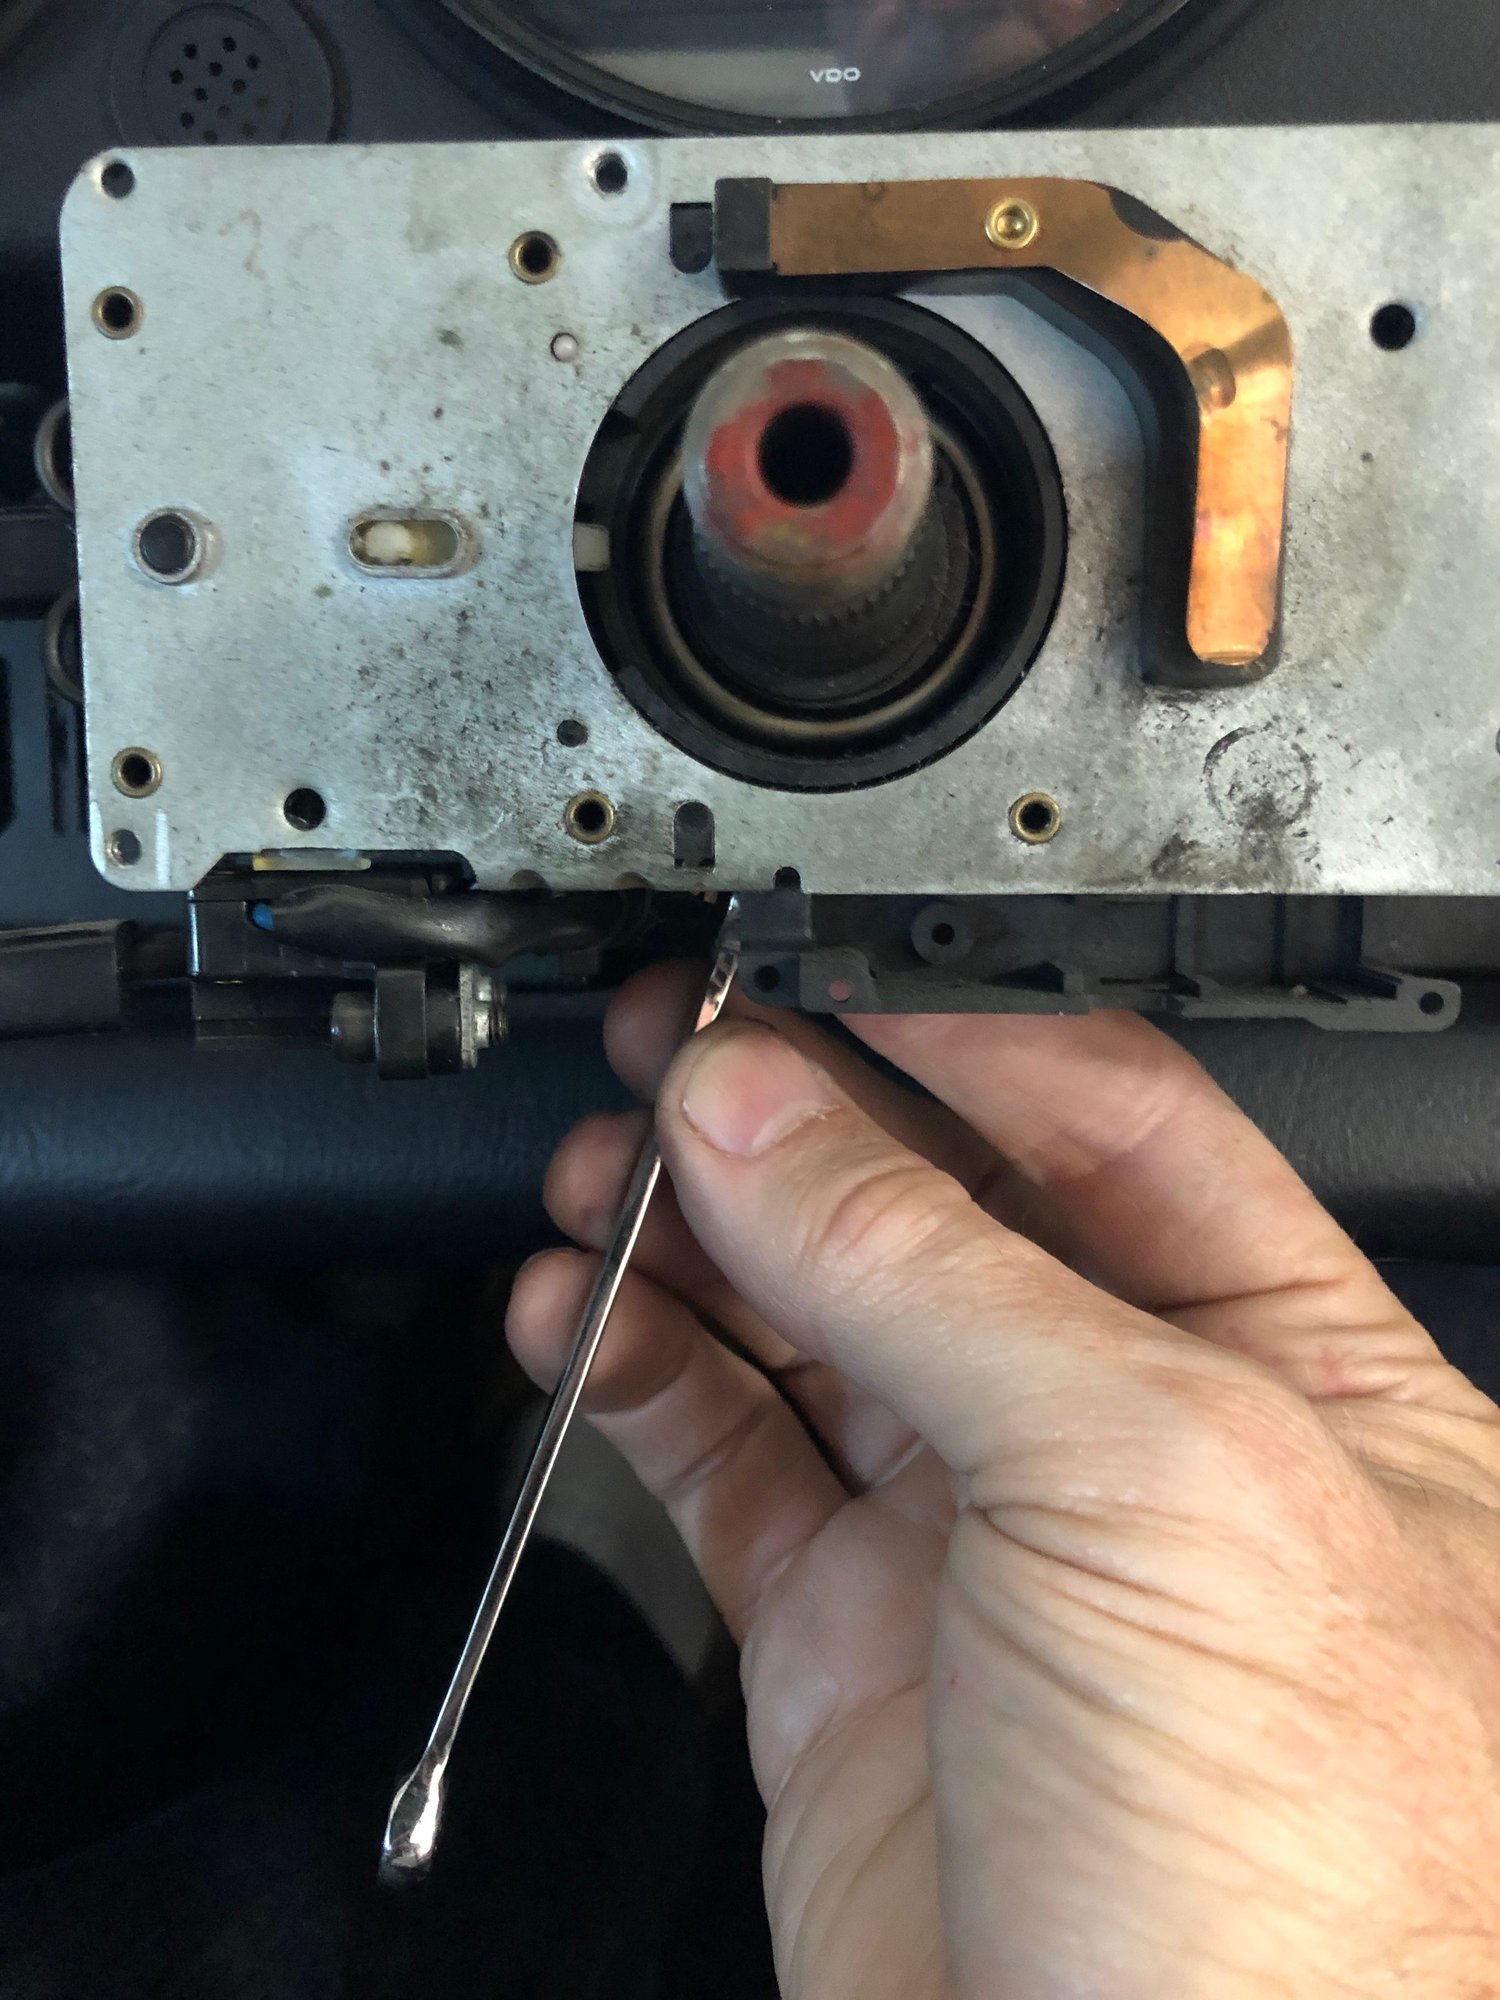
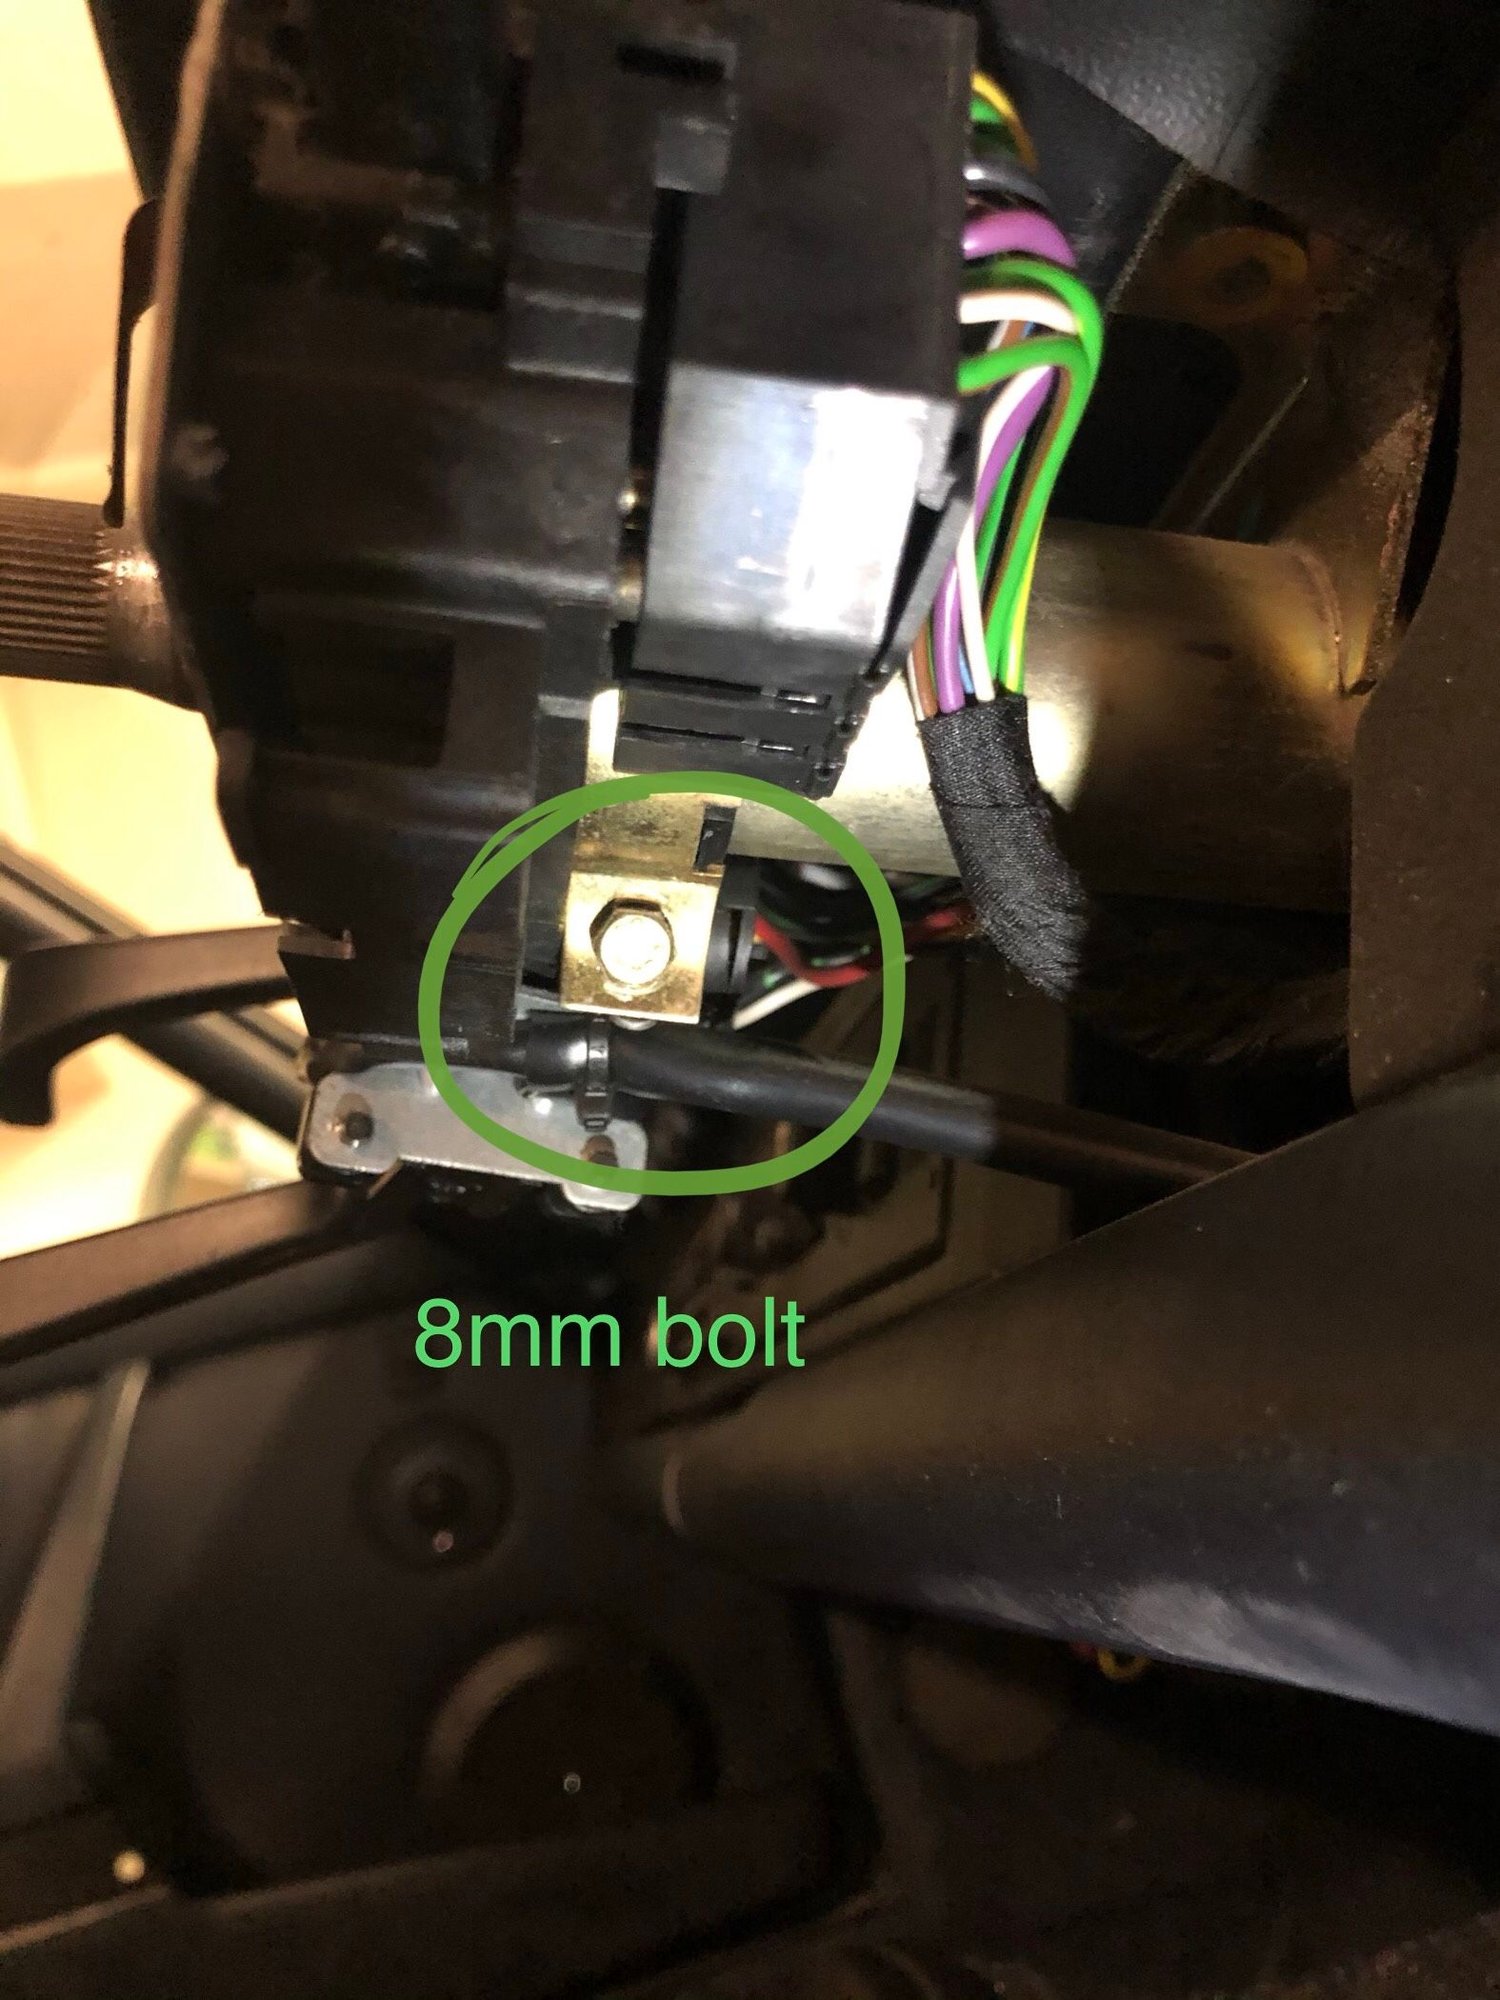
I removed the clam shell (3 screws on the front and one on each side). This exposed how the switch assembly is held on the steering shaft. It�s all done with a bolt with a 8mm head.
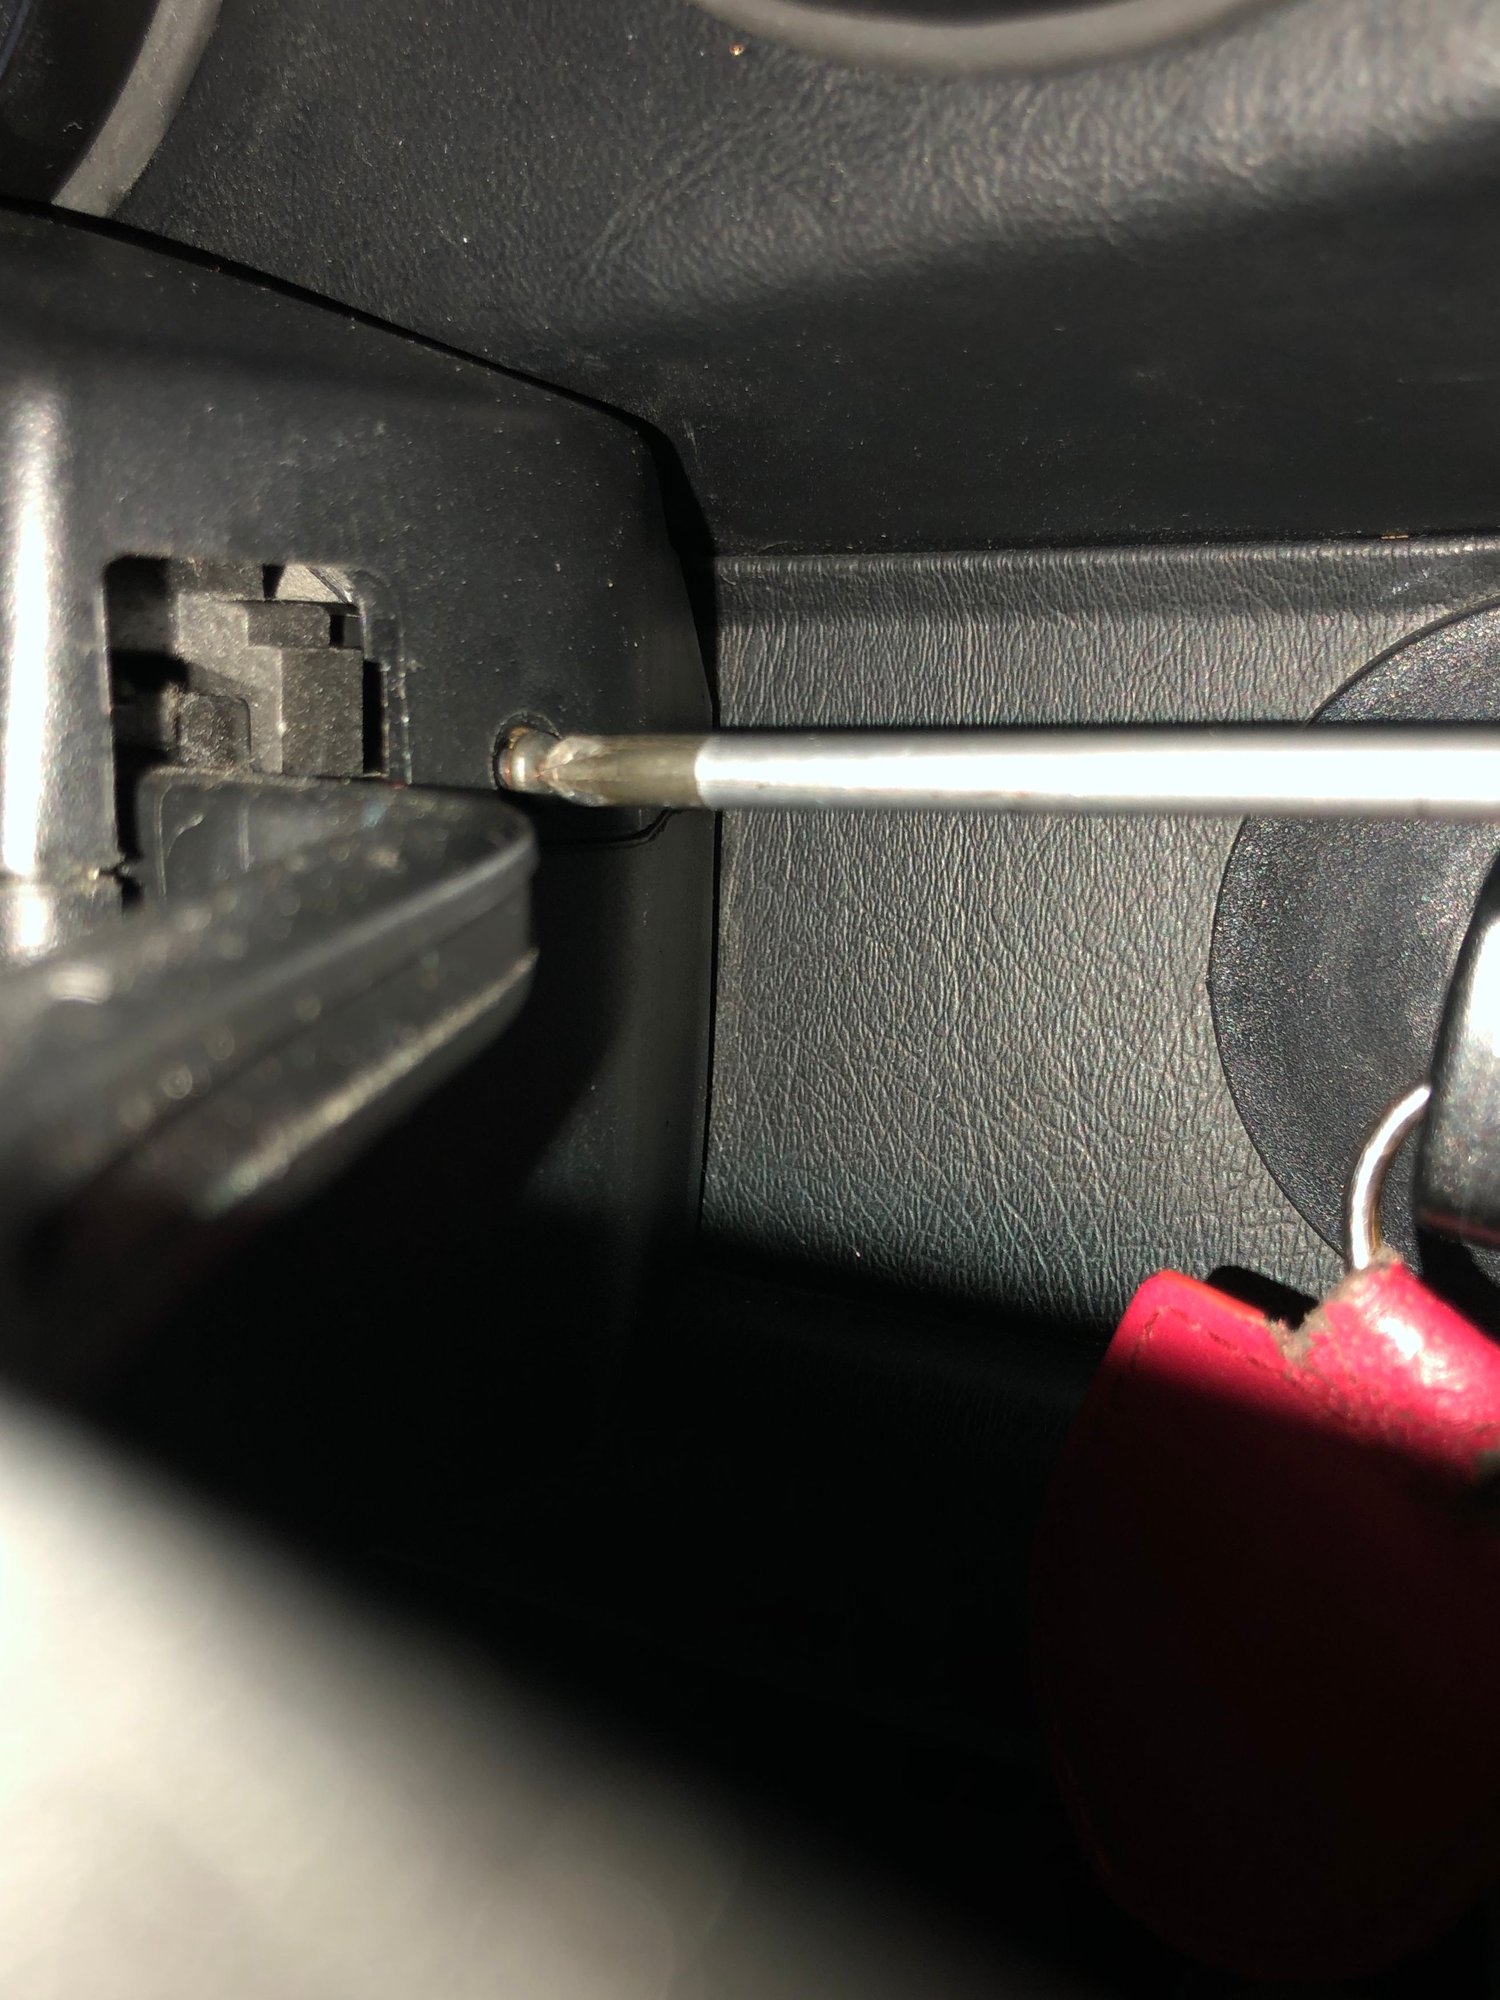
I loosened the bolt, put the wheel back on the spline and brought the switch assembly as close to the back of the wheel as I could. I then removed the wheel and tightened the 8mm bolt. Given there is no noticeable taper on the ring block this is a long shot but anything is better than replacing the switch assembly as it is $$$. When the Covid-19 lockdown is over I will be able to drive the car and see if I�ve fixed it.
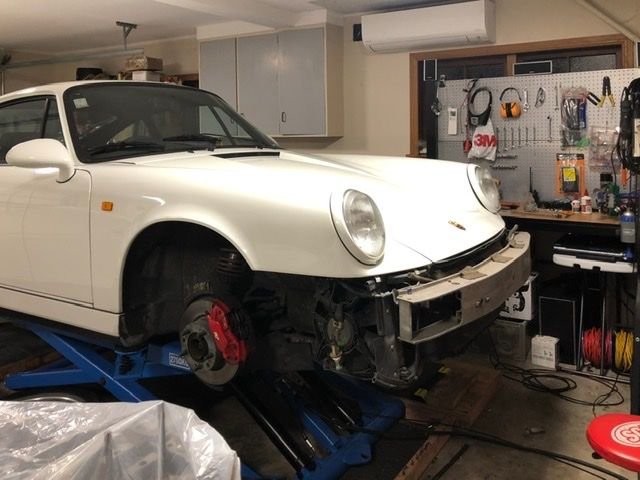
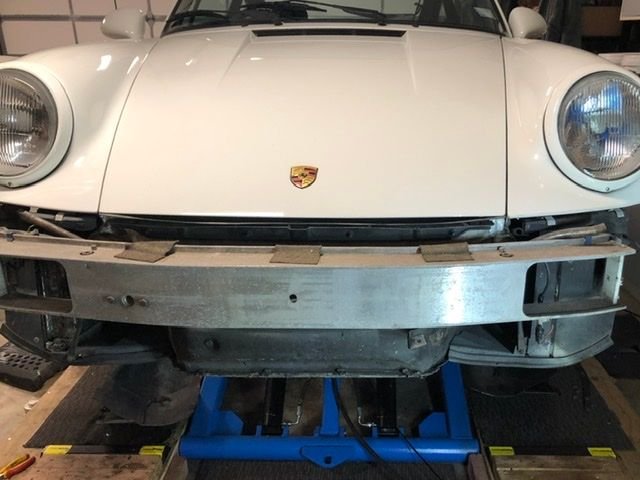
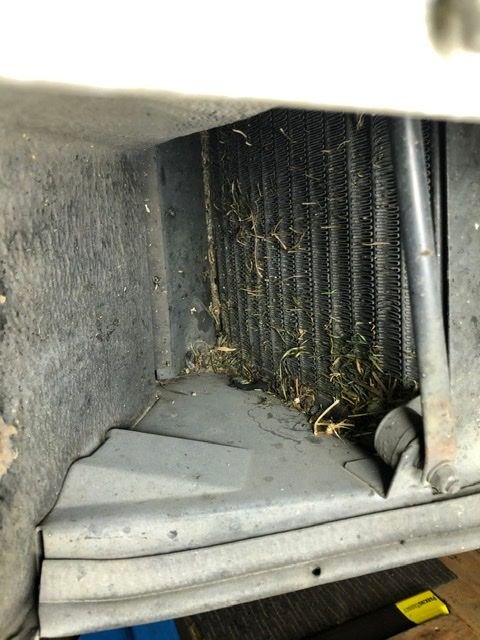
Next up was checking the oil radiator and air con condenser. After 4,500km I figured they would have a lot of debris on them as my 987.2 Spyder is prone to this.
The bumper isn�t hard to get off and when it was I was surprised to find the oil cooler radiator very clean and the air con condenser mildly impacted. It was a simple clean and then bumper refit. Oil radiator Air con condenser
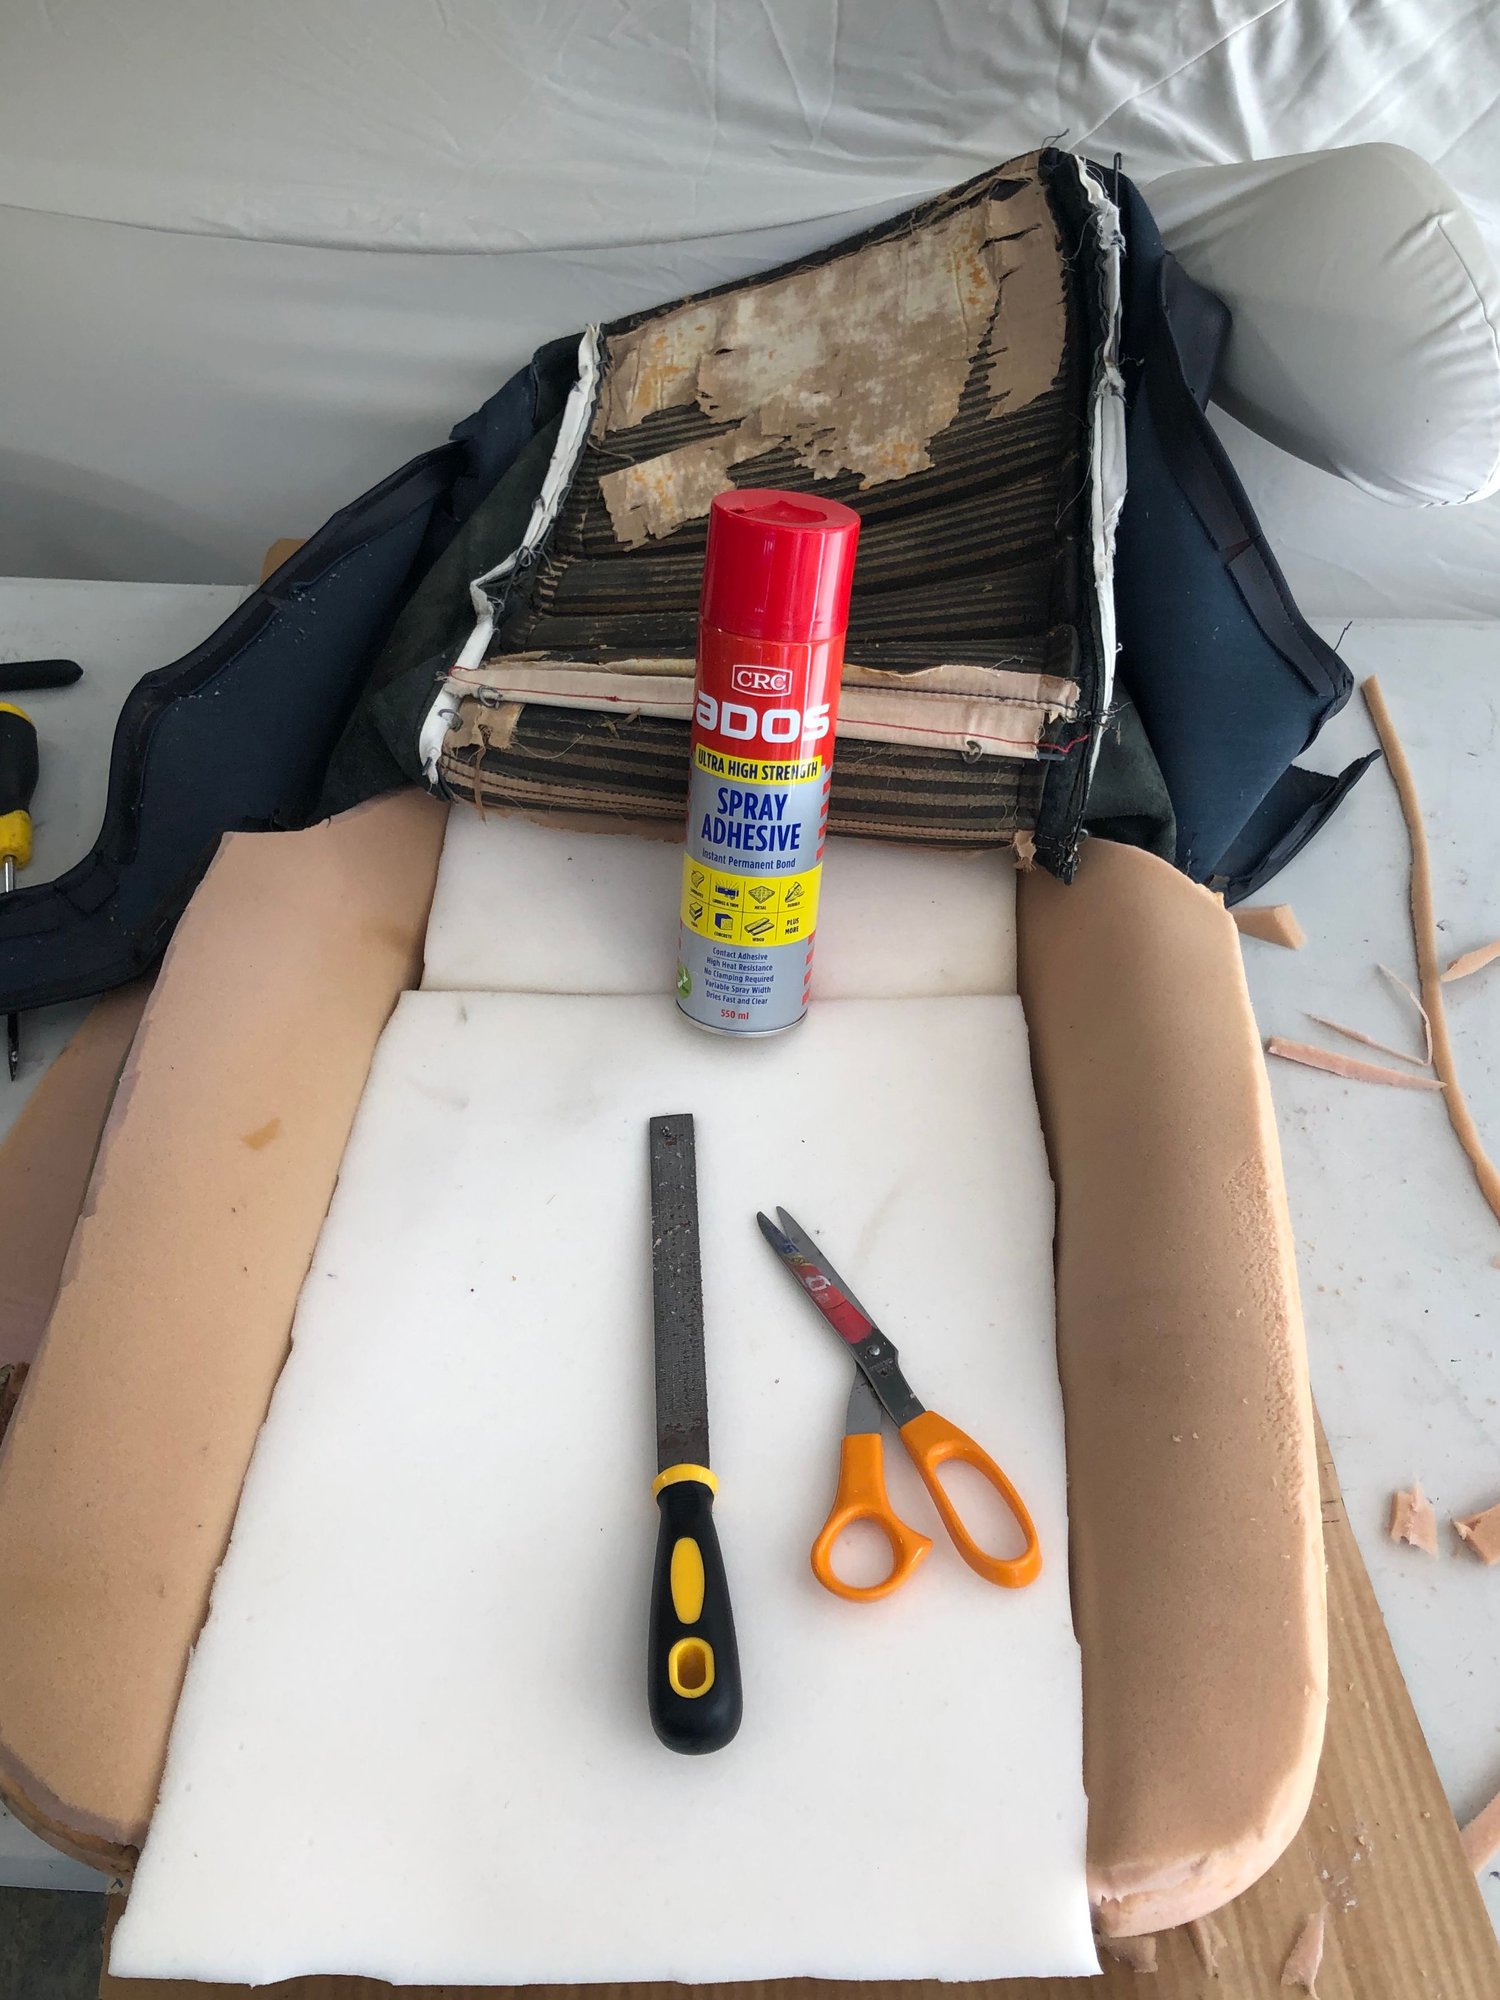
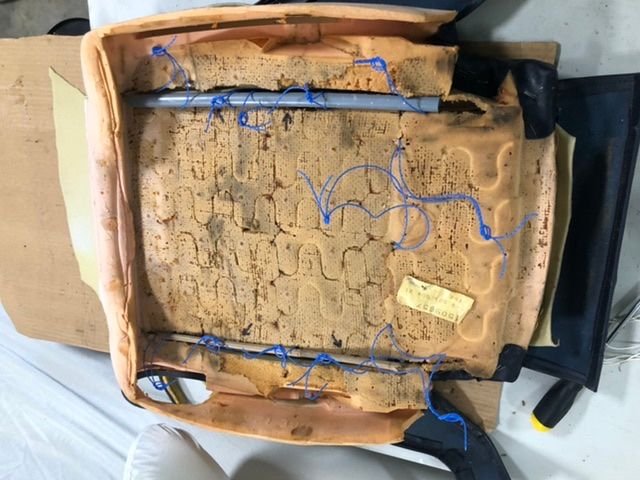
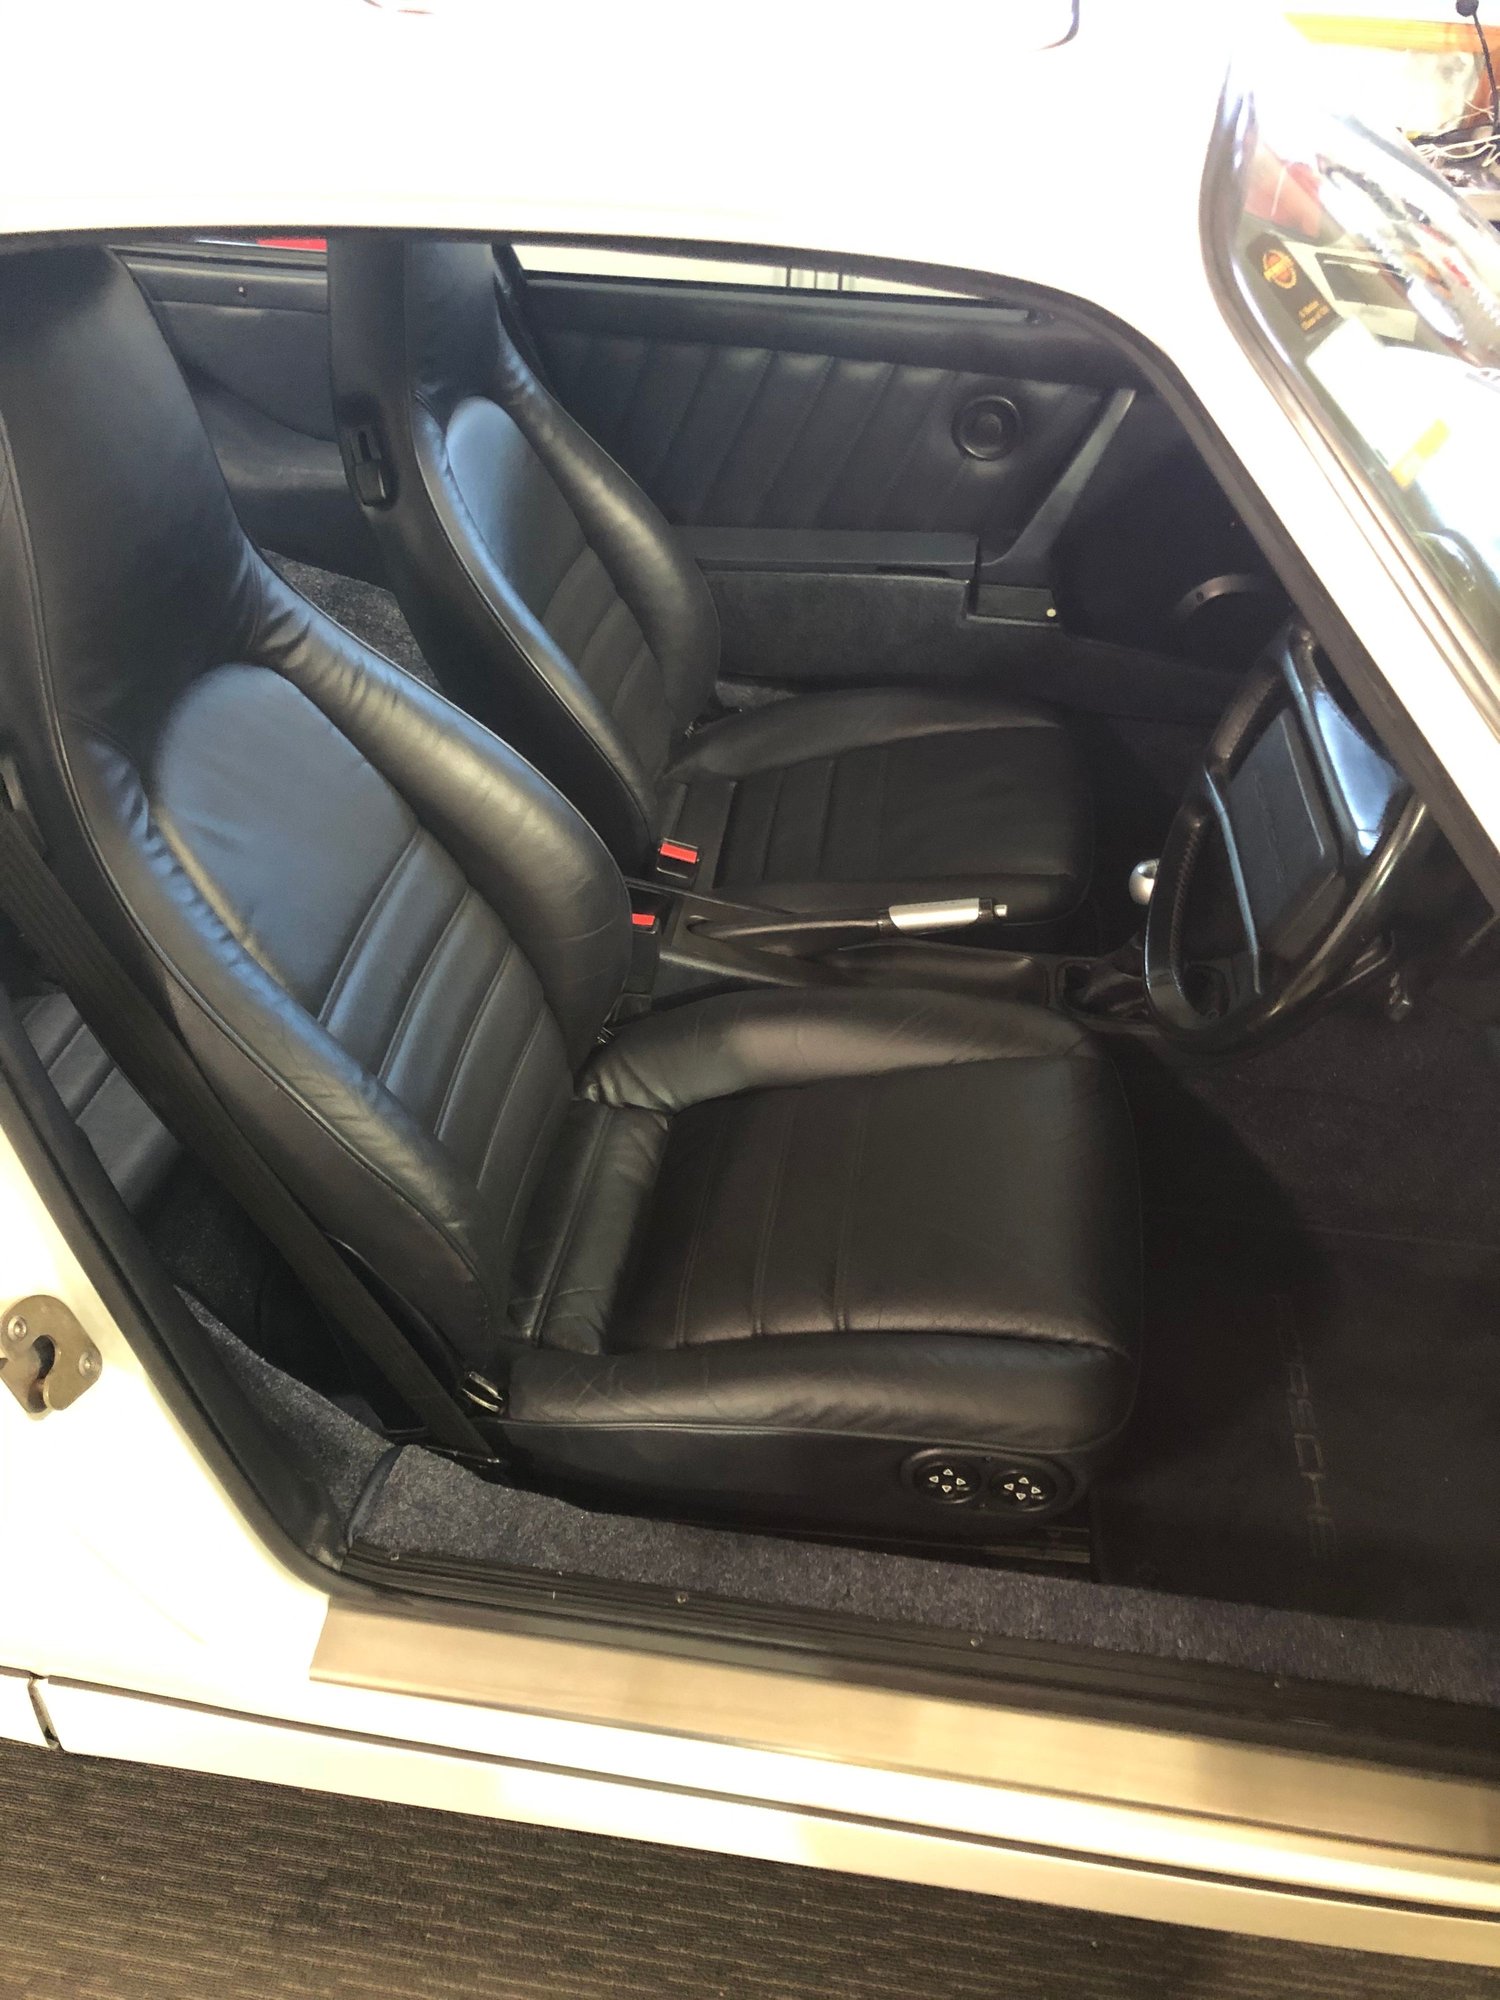
With the bumper on I decided to tackle the driver seat base foam. After disassembling the seat I�m starting with the steam method to rejeuvenate the foam.
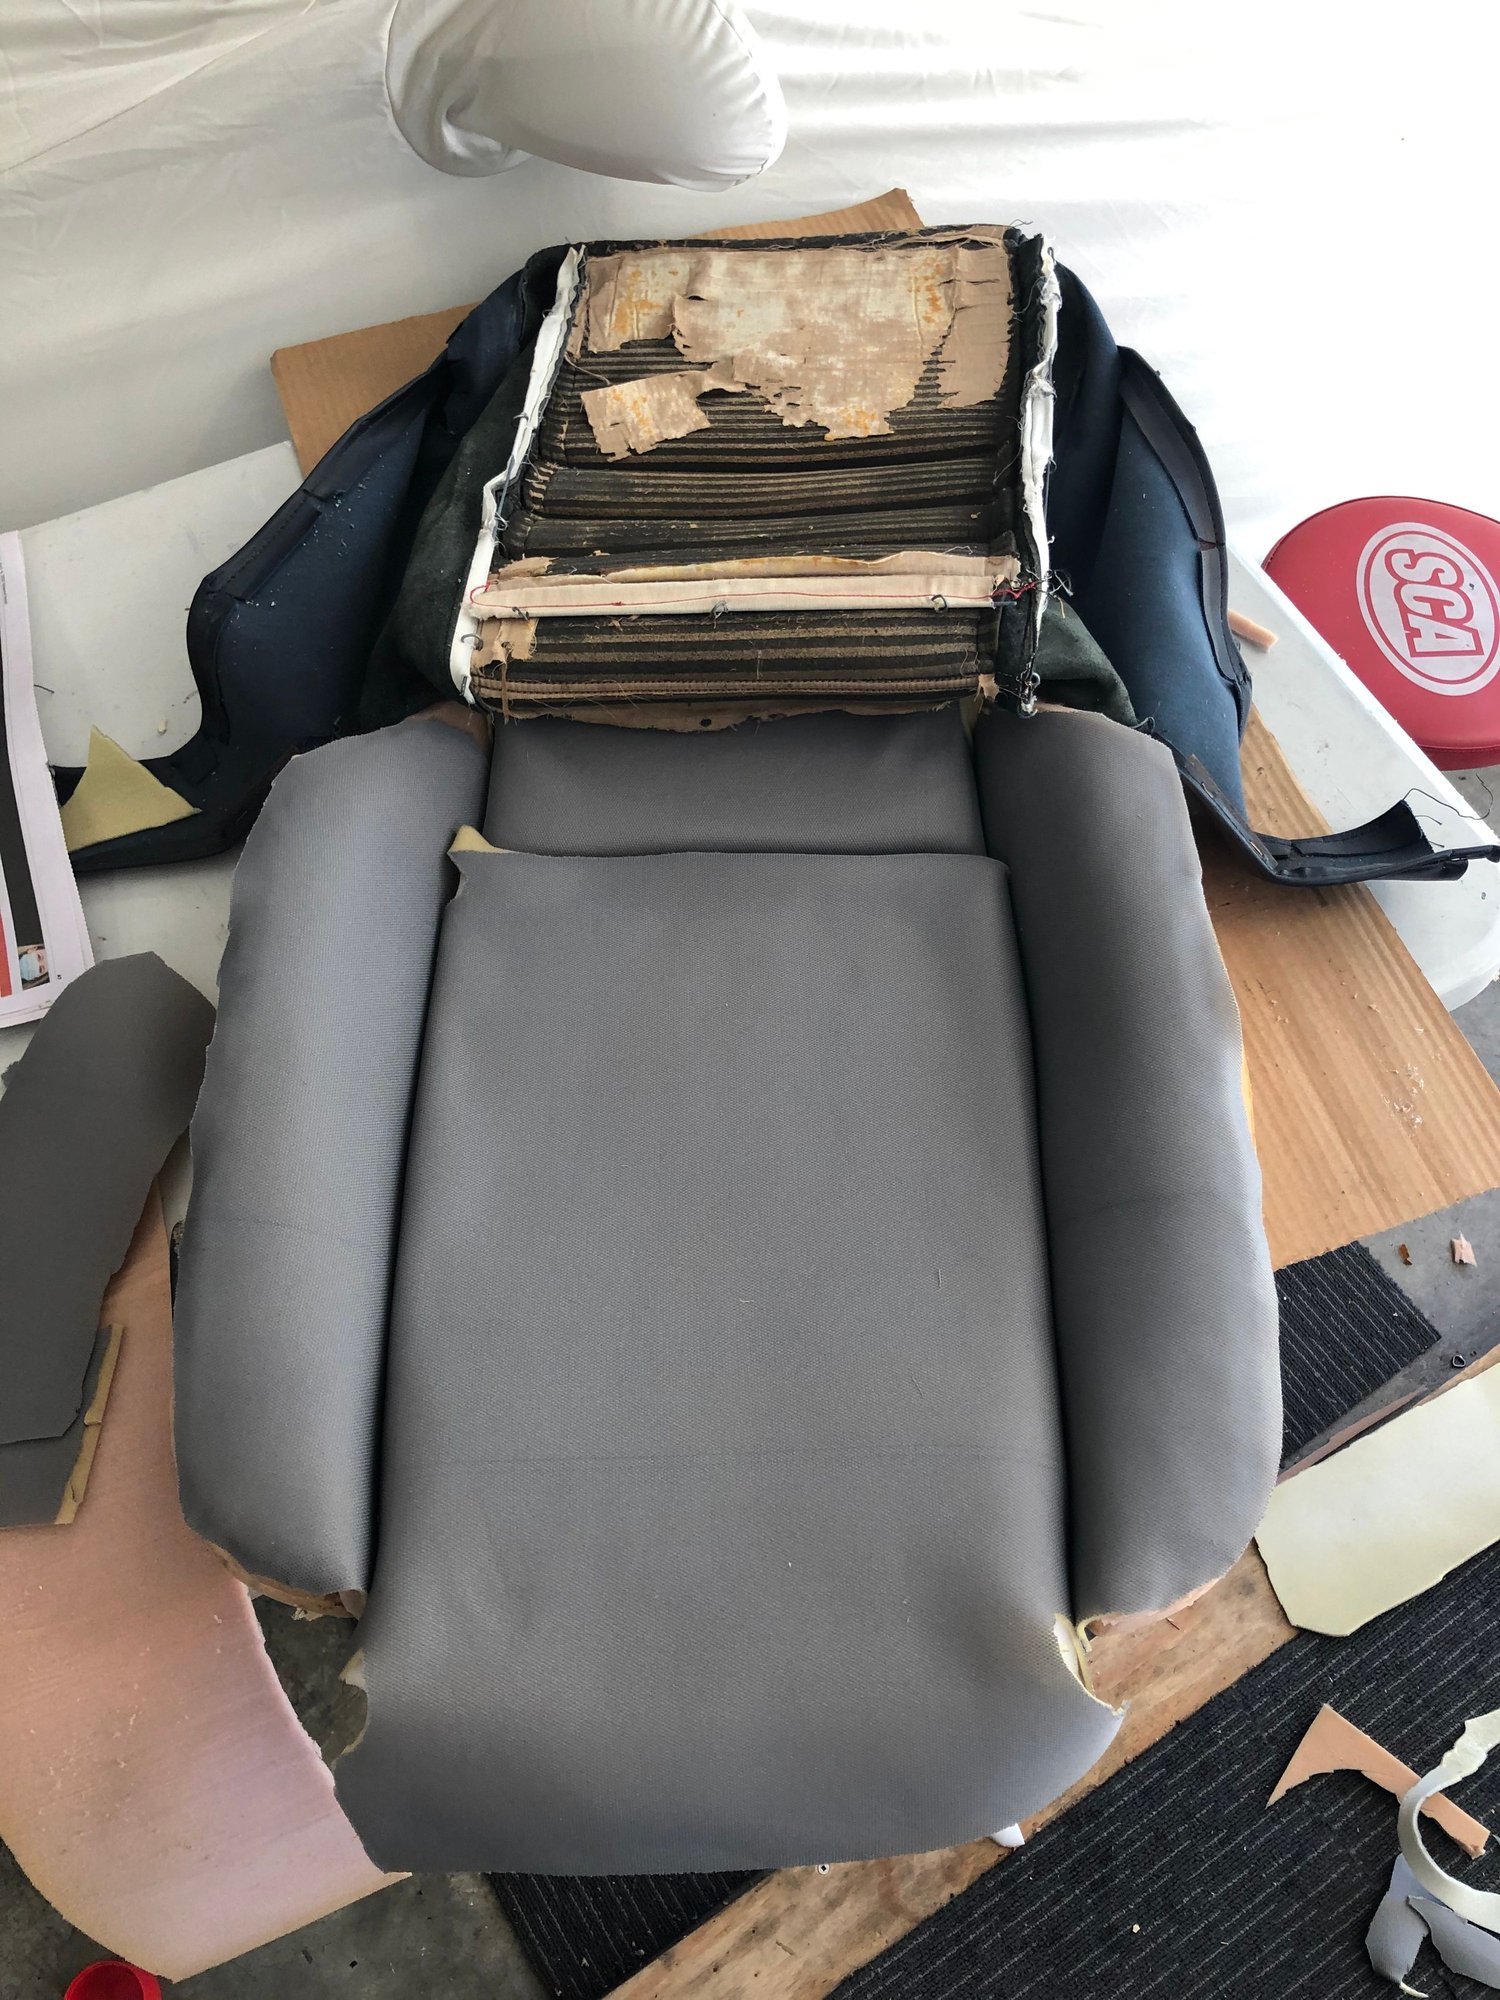
Steaming didn�t prove to be enough so I added 1/4� high density foam to each bolster and a 1� pad of memory foam to the centre panel. I then covered it all with a special foam backed fabric that allows the leather to slide rather than abrade the foam when you sit on the seat. The next step was to fit the cover for mounting to the frame.
NB It is not generally recommended to use memory foam in auto seats. I like it so it�s a suck and see approach.
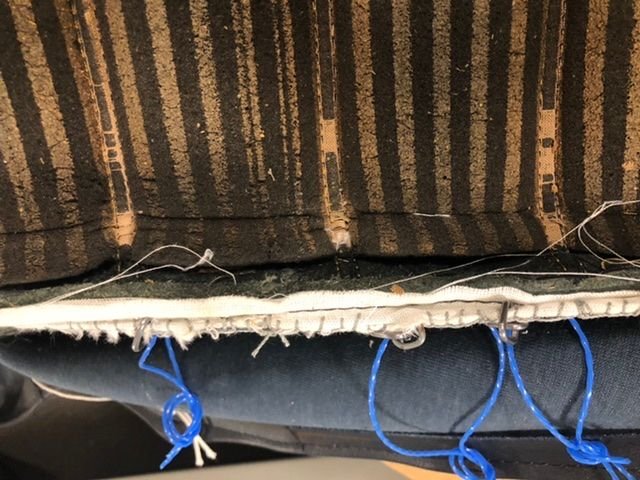
With the foam placed back in the frame it�s time to use the hog rings to attach the cover to the frame but we have a problem. The hog rings use a wire attached to the cover by a cloth tube. The problem is that over thirty years the wire has worn through the cloth. There�s no point installing the rings without repairing the cloth. Luckily a neighbour has some appropriate thread albeit I�m no seamstress.
The hog rings are difficult to bring close to the springs when everything is under pressure so I used weedwacker cord as a pull. I added a few more hog rings because I could. A great tool to use.
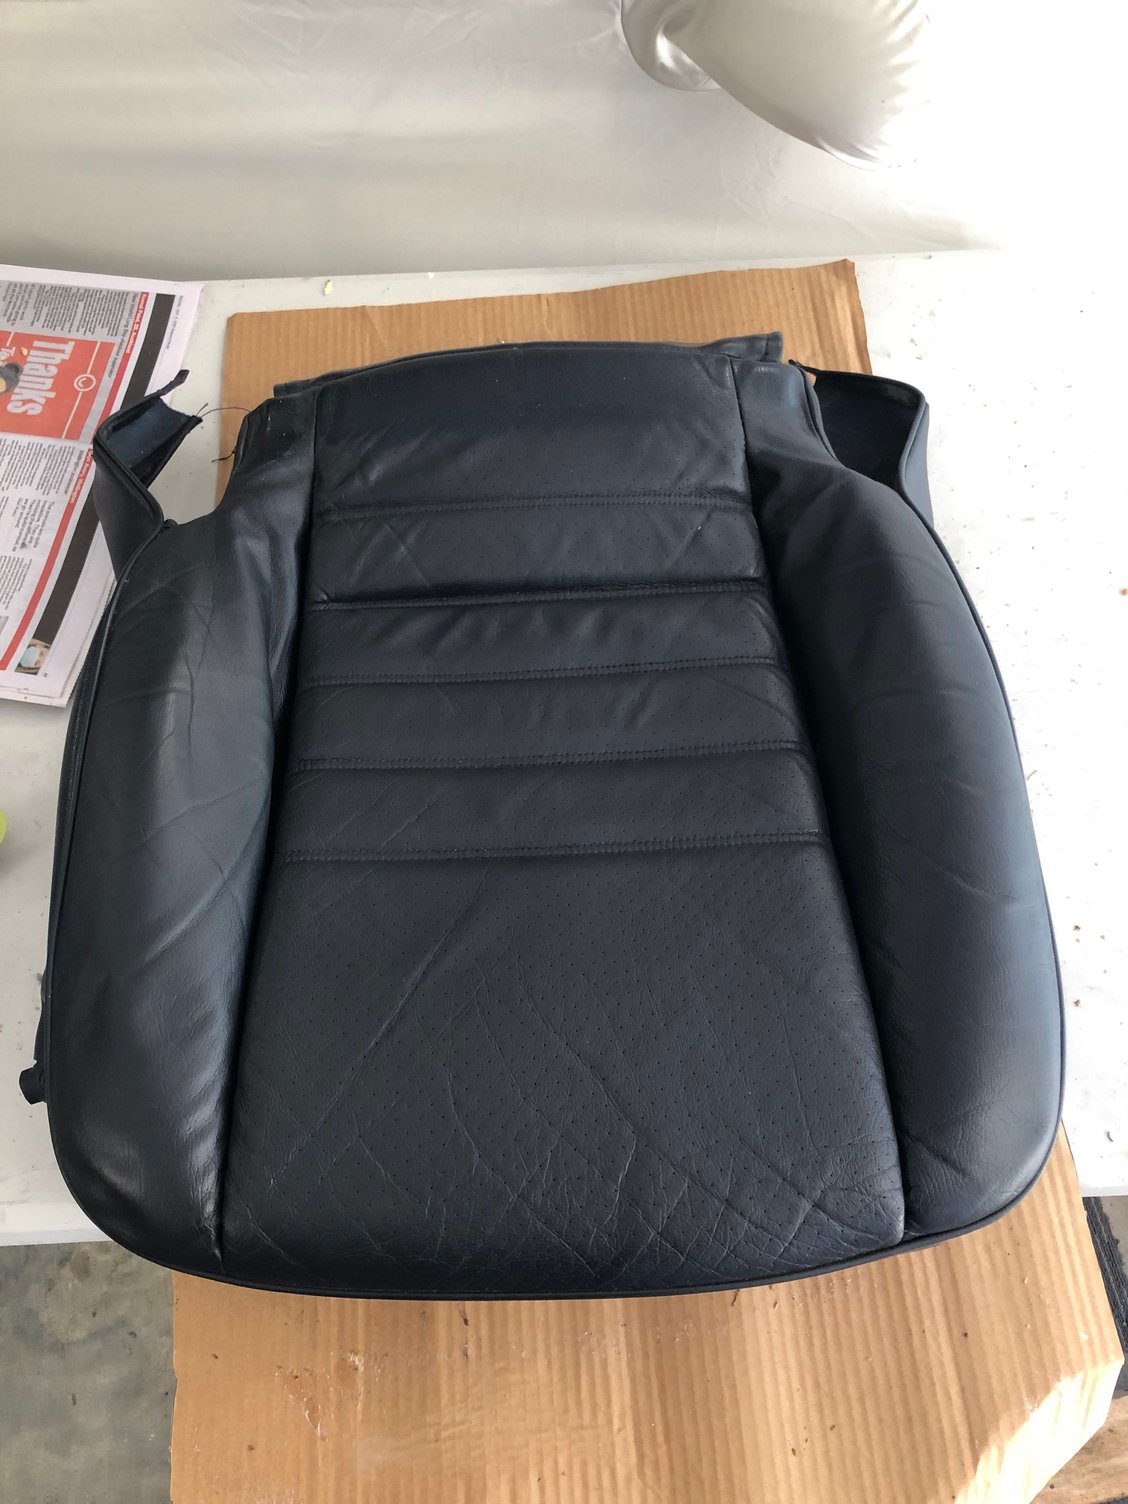
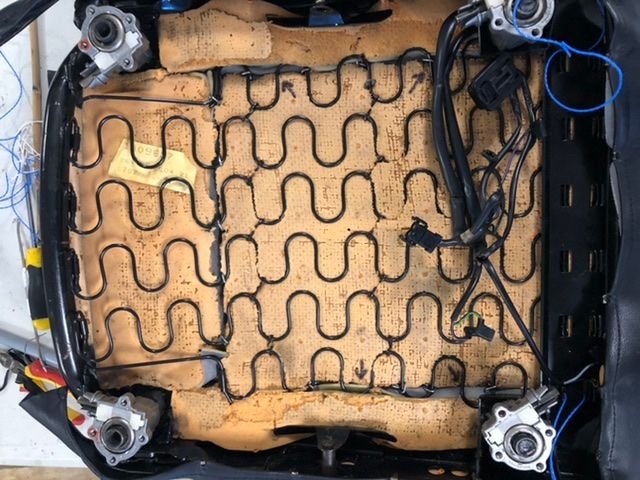
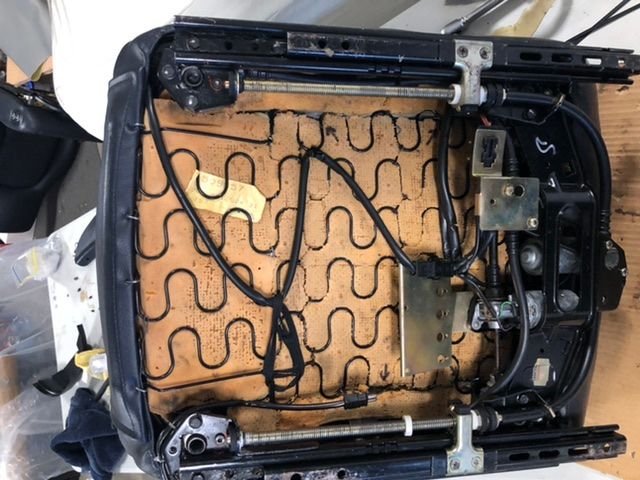
I then added the rails, attached the back and fitted the seat to the car. It had a slightly bloated centre panel but is comfortable which is the point.
I had the materials and the time and it�s satisfying to do this but I prefer mechanical work.
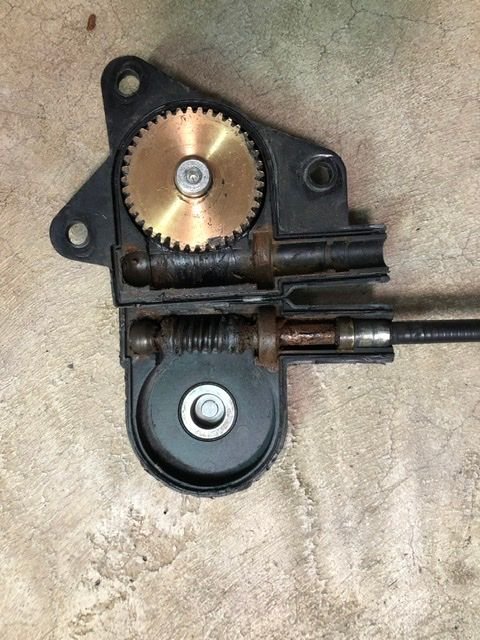
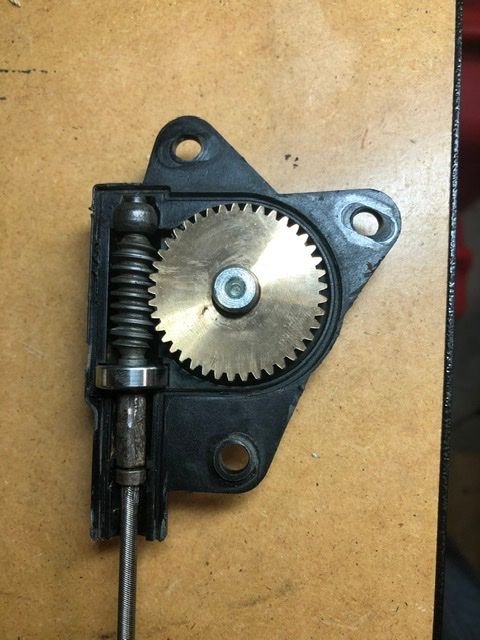
Next up is fixing a noisy spoiler gearbox. The bearing was the problem and is cheap. It’s 5x16x5. Mine was marked 625-ZZ. The instructions are courtesy of RicardoD https://rennlist.com/forums/964-foru...er-issues.html
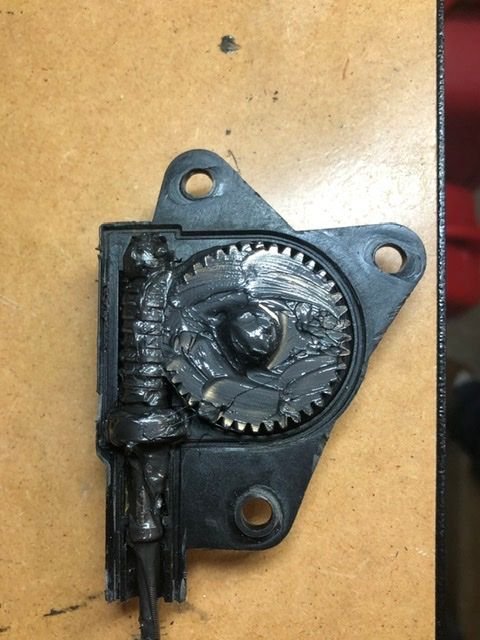
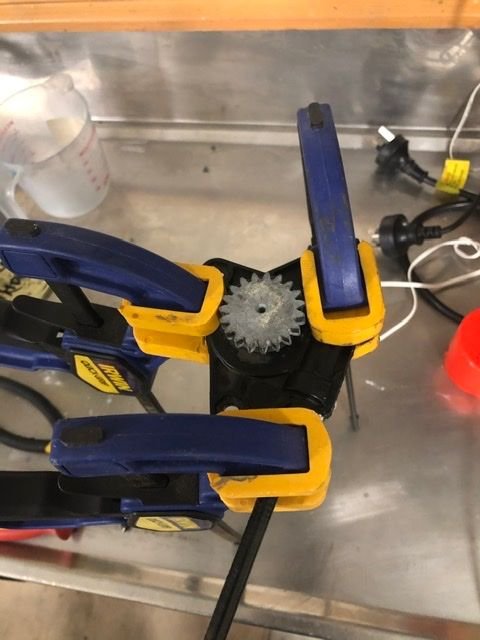
The only delicate part was opening the case. The grease i used is for CVs. I used that because i had it in my garage and a Covid 19 lockdown made other options difficult to obtain. I’m sure it will be fine. I used two-pack araldite to close it back up with clamps to hold the case while it set. I now have a nice quiet spoiler action.