When you click on links to various merchants on this site and make a purchase, this can result in this site earning a commission. Affiliate programs and affiliations include, but are not limited to, the eBay Partner Network.
I’m going to add my suspension overhaul summary here since this thread is so full of information and maybe I can add a little more for others reading the thread. First, hats off to Goughary and the DBFD crew for starting this thread and enabling myself and others like me to hand our wallets over to Sunset, Elephant, Pelican and the like. I love working on my car, however three kids and a demanding job tend to consume a huge amount of my time. I spent a lot of nights after the kids were asleep, or selfish weekend time to get this work done. I wouldn’t change a thing. It has absolutely been worth the blood sweat and tears……and lack of sleep. This thread and this forum are a great resource. Thank you to all who contribute. I probably would have procrastinated longer had I not had this resource at hand.
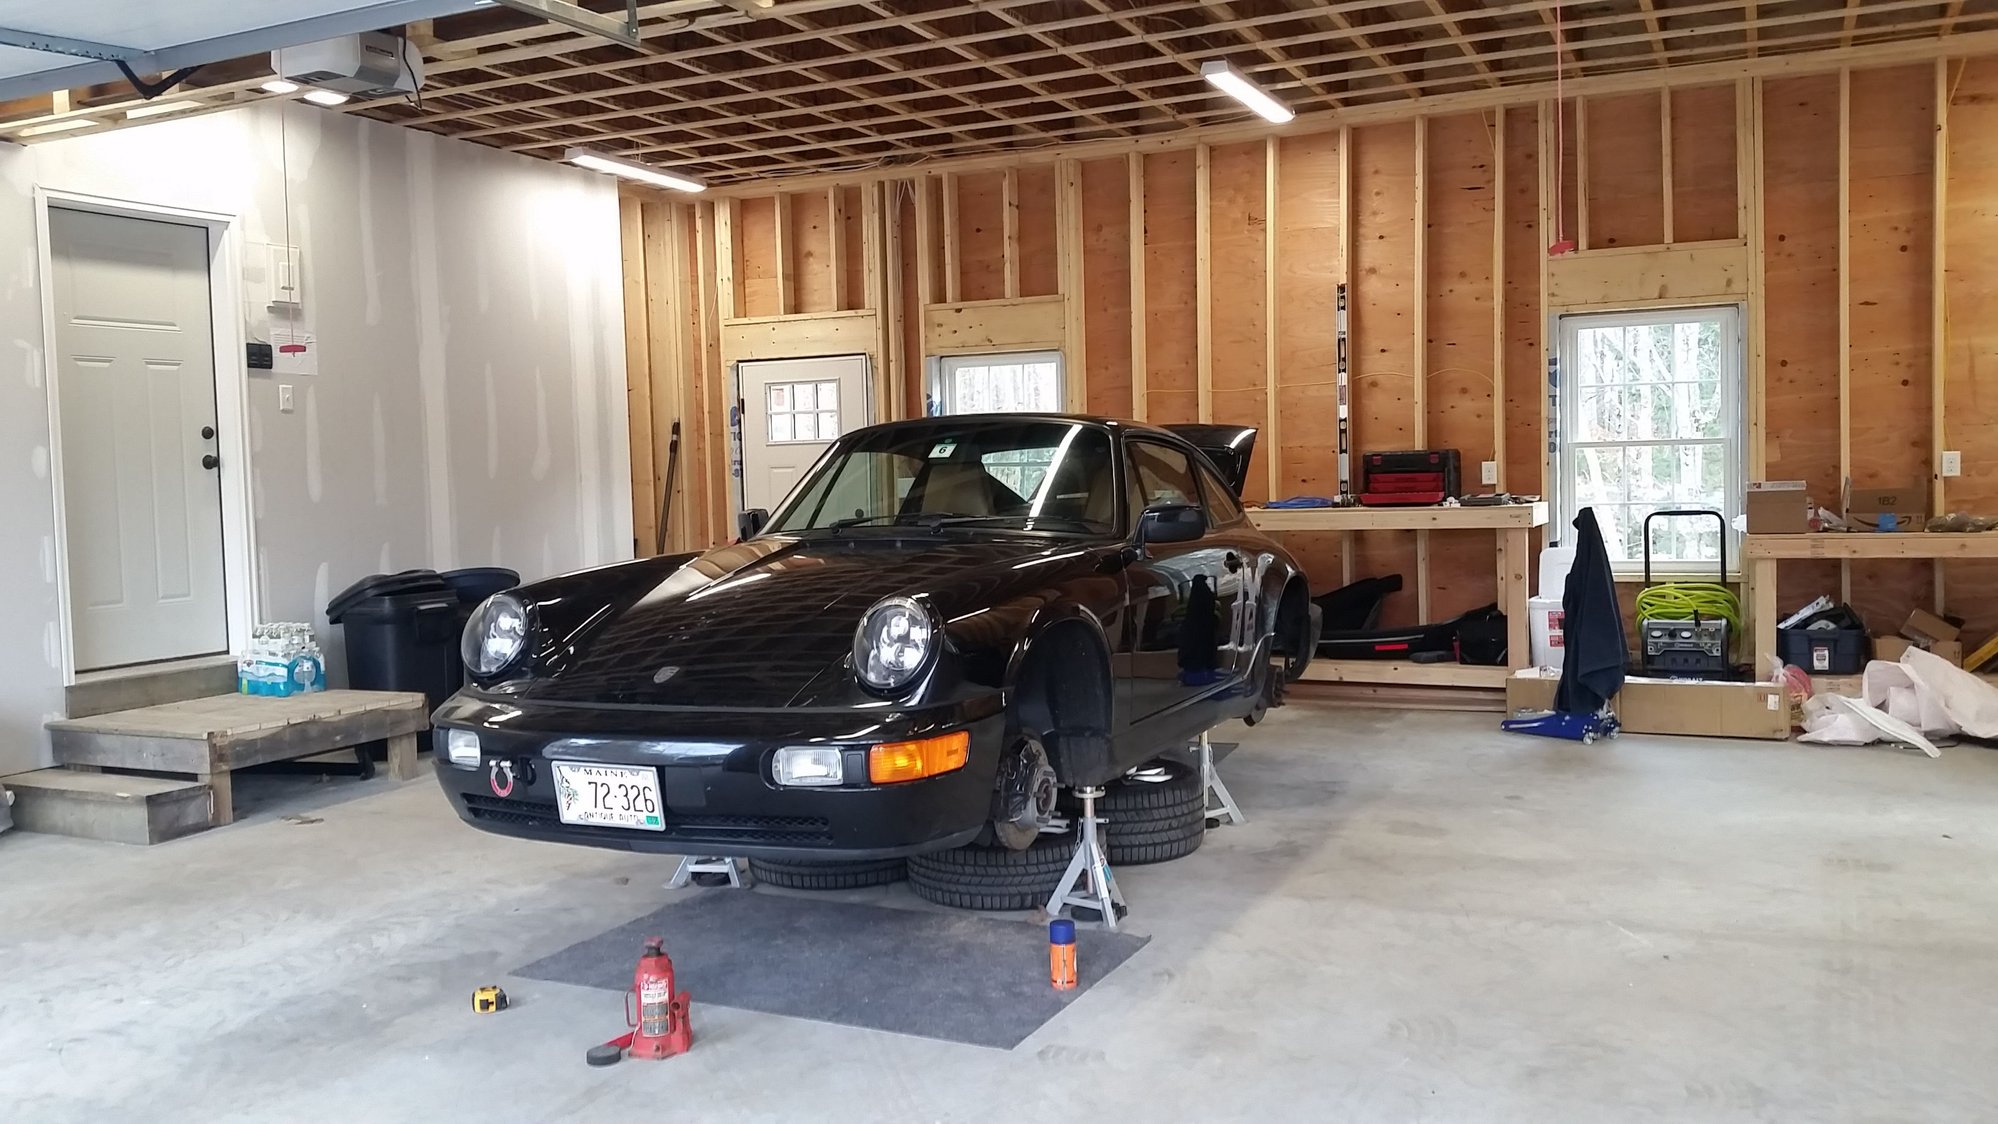
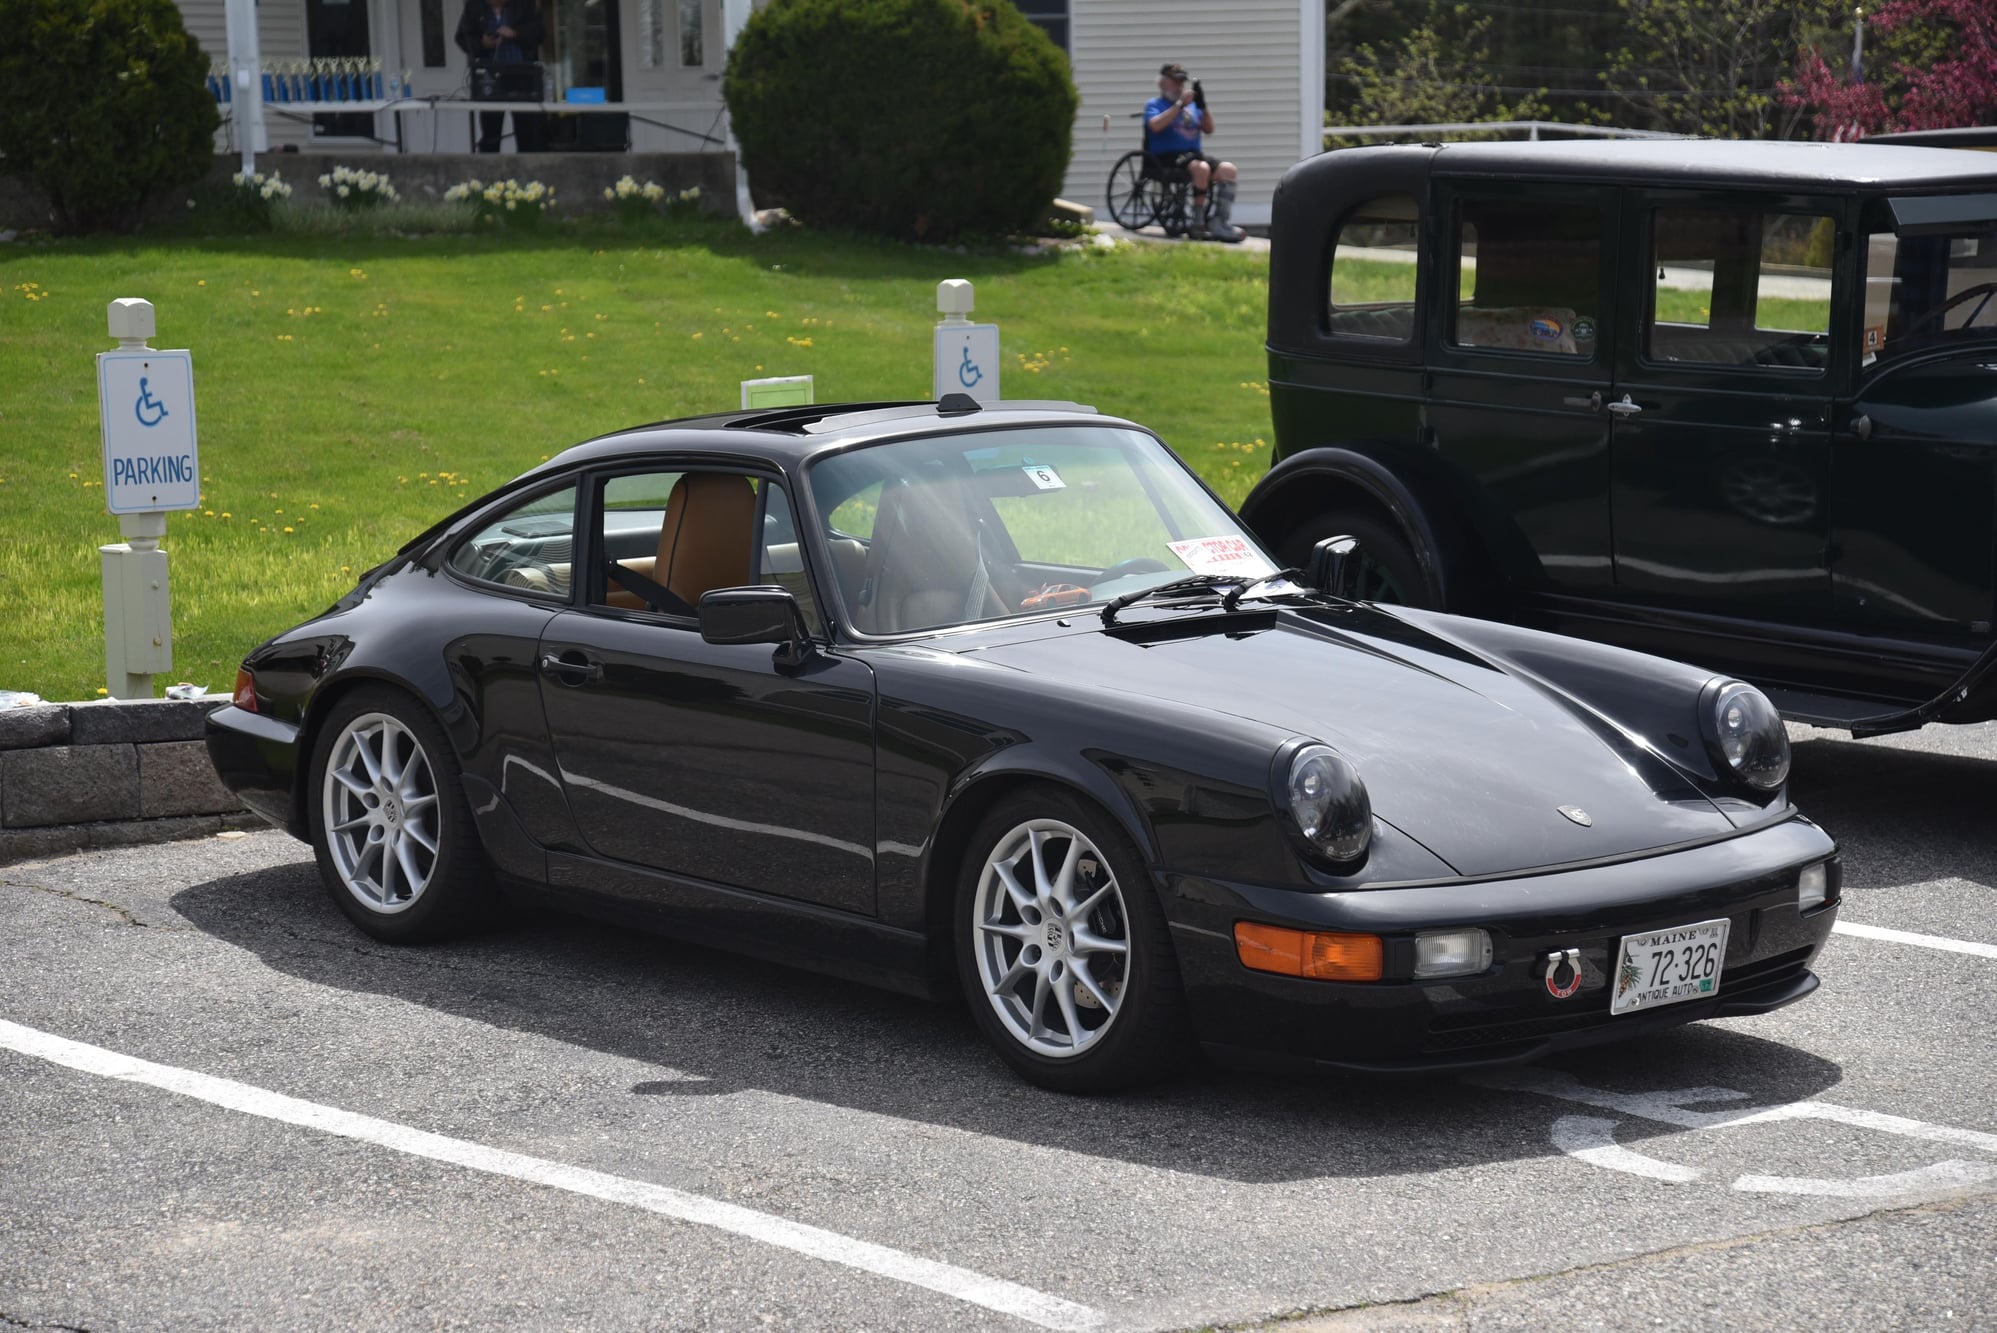
Car is a 1990 C2 with 75,000 miles, Black on Cashmere. Well taken care of, and prior to my ownership was mostly stock.
Ready for surgery:
Previously done a year ago after I took possession of the car. Had a slight hesitation in the upper RPM range which is now resolved:
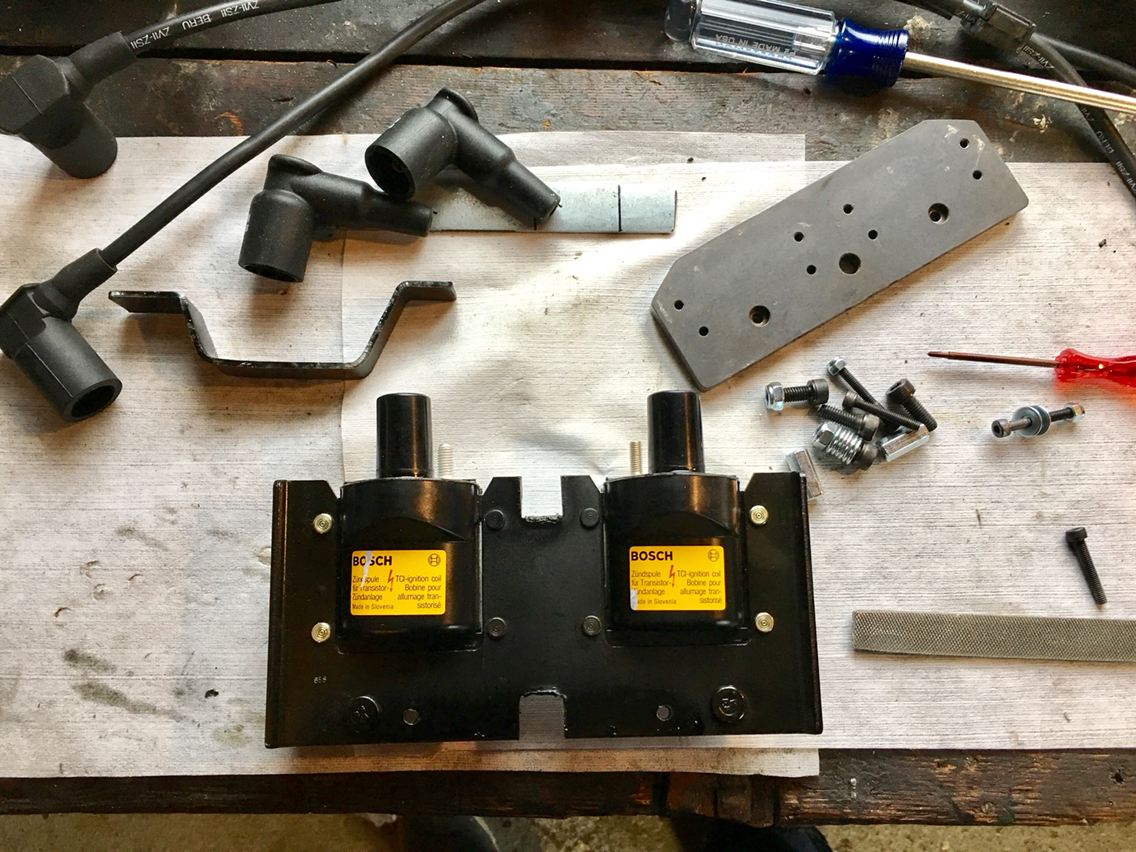
1) New plug wires
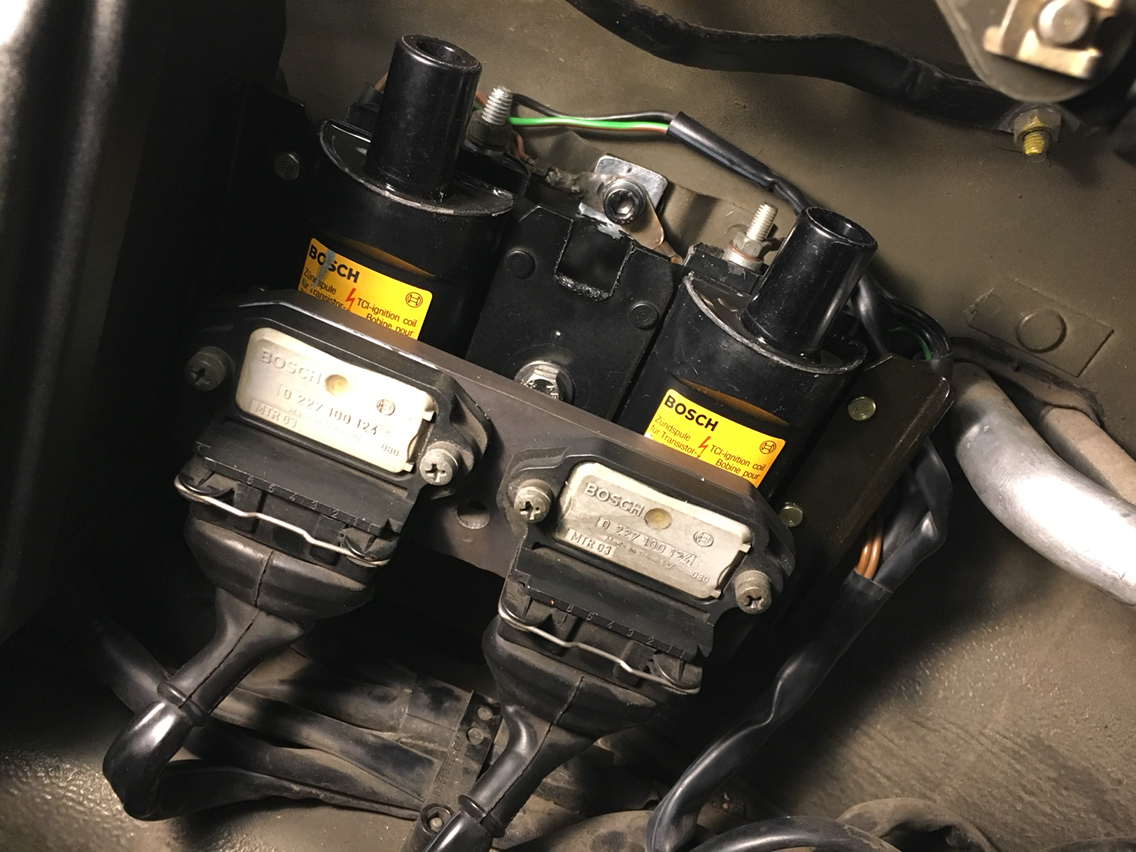
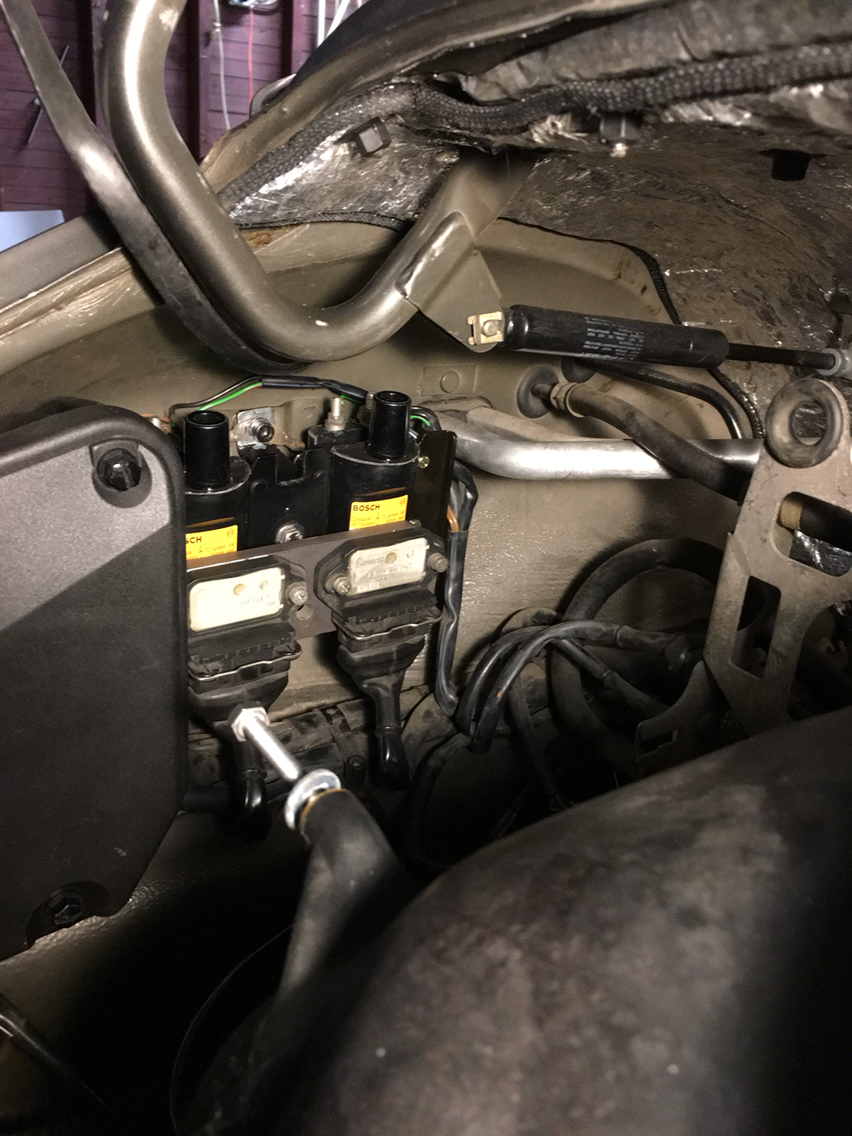
2) 993 Coil Upgrade
3) O2 Sensor
4) CHT Sensor
5) #2 Knock Sensor
6) Dist Caps and rotors
7) ISV Clean and reinstall
8) Valve Adjustment
9) MOMO Prototipo with bridge plug for airbag
10) Cat Bypass and cup pipe
11) WEVO Motor mounts
12) LED Headlights
13) Cross drilled rotors on the front
Just Completed Spring 2017:
1) Elephant Sport Control Arm Bushings
2) Bilstein HD with H&R Greens
3) Outer Tie rod ends
4) Ball joints
5) Rothsport Kevlar/Poly Steering Rack Bushings
6) 993 Steering Rack Brace
7) Tarret Front Drop Links
8) RS 24mm adjustable sway bar
9) New sway bar bushings
10) Rear sway bar bushings
11) ECS Tuning brake lines
12) New Porsche Brake pads all around
13) 993 Carrera S Rear Calipers (Single pot calipers were embarrassing)
14) Rennline rear tow hooks
15) Fabspeed GT2 EVO Strut Bar
16) Rothsport Billet Short Shifter (Ready to install)
17) New forward rod (Ready to install)
18) FD golden rod (Ready to install)
19) Transmission fluid flush with Redline
20) Oil Change to Brad Penn 20/50
21) Cult Werks Splitter
22) Ride Height set to RS+5mm (Alignment and final ride height next week)
Last edited by Porschenut_Lee; 05-24-2017 at 10:15 PM.
This was my approach, and it worked for me. Not sure how the manual recommends disassembly order.
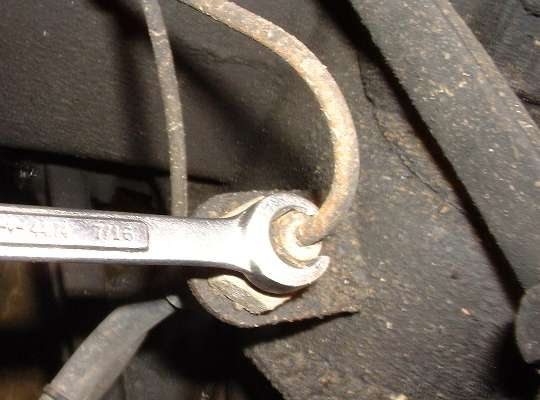
1) Remove Calipers – 11mm Flare Nut wrench is your friend. Don’t try to remove the brake lines with an open end wrench……..or worse, vice grips…….
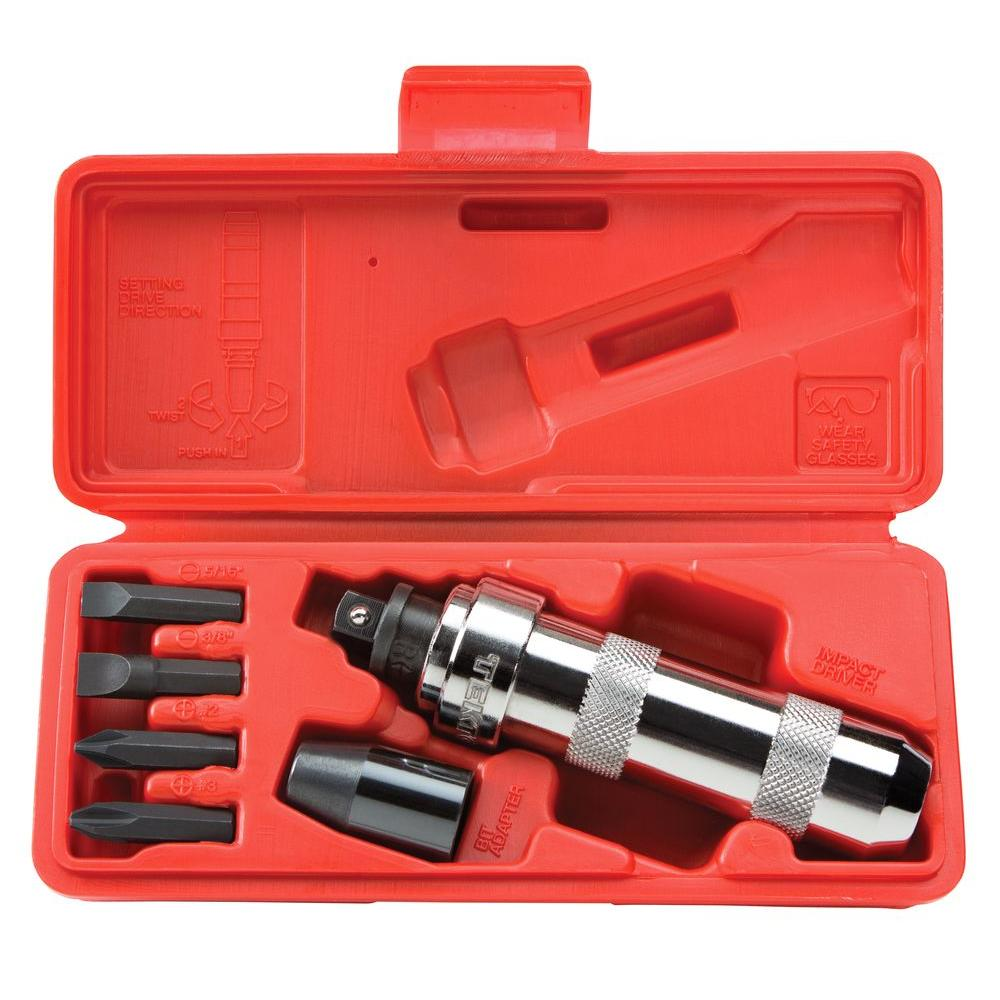
2) Remove Rotors – Impact screw driver is also your friend. Select the right size bit and give a gentle whack with a hammer. Easy peezy.
3) Separate tie rods from wheel carriers – A Ball joint separator, gently used will keep the tie rod end from being damaged. Wedge a ball joint fork in to apply pressure and keep the ball from spinning when removing the nut. An impact gun will help here also, but normally not required if the parts have been fully torqued and in place for a while.
4) Remove drop links
5) Remove strut from carrier
6) Remove the wheel carrier from the lower control arm ball joint.
7) Remove control arm from the sub frame
With suspension removed from both sides, it was easy to fish out the old sway bar and install the new RS bar. This was also the perfect opportunity to pop out the old steering rack bushings and install the upgraded versions. The brace was also a breeze to install contrary to what the internet told me during my research. The lines that are in the way are easily popped out of the line retainer clips and moved out of the way for installation.
Reassembly is just as easy in reverse, being very methodical during the process and applying the appropriate assembly paste to the fasteners. Also, make sure you don’t torque the control arm bolts until the suspension is loaded or you will destroy the bushings.
The bilsteins had FVD lowering collars in the front, and with these installed with the softer green H&R springs, I cannot get the car above RS -20 in the front. Will be going back to stock collars to raise the front up.
For drop links, while the car was on jack stands I jacked the wheel carriers up to determine a good preset to get the sway bar as level as I could. This made final adjustments much easier with the wheels on and the suspension loaded. It gets tight in there when everything is reinstalled, so this step helped simplify the process. While I am on drop links, I have to mention that the boots for the tarett links were much easier to install than I expected. The directions talk about lubrication or dish soap to help the boots go on. Forget about that and just use some brute strength and wrestle them on like a man! Having a good purchase on the boot is key, and using a lubricant would make that very difficult. I would have never got these on if they were slippery. They are very flexible, so don’t worry about tearing one. See video below. I had this task down to seconds. Once you have the first one figured out, the rest are a breeze.
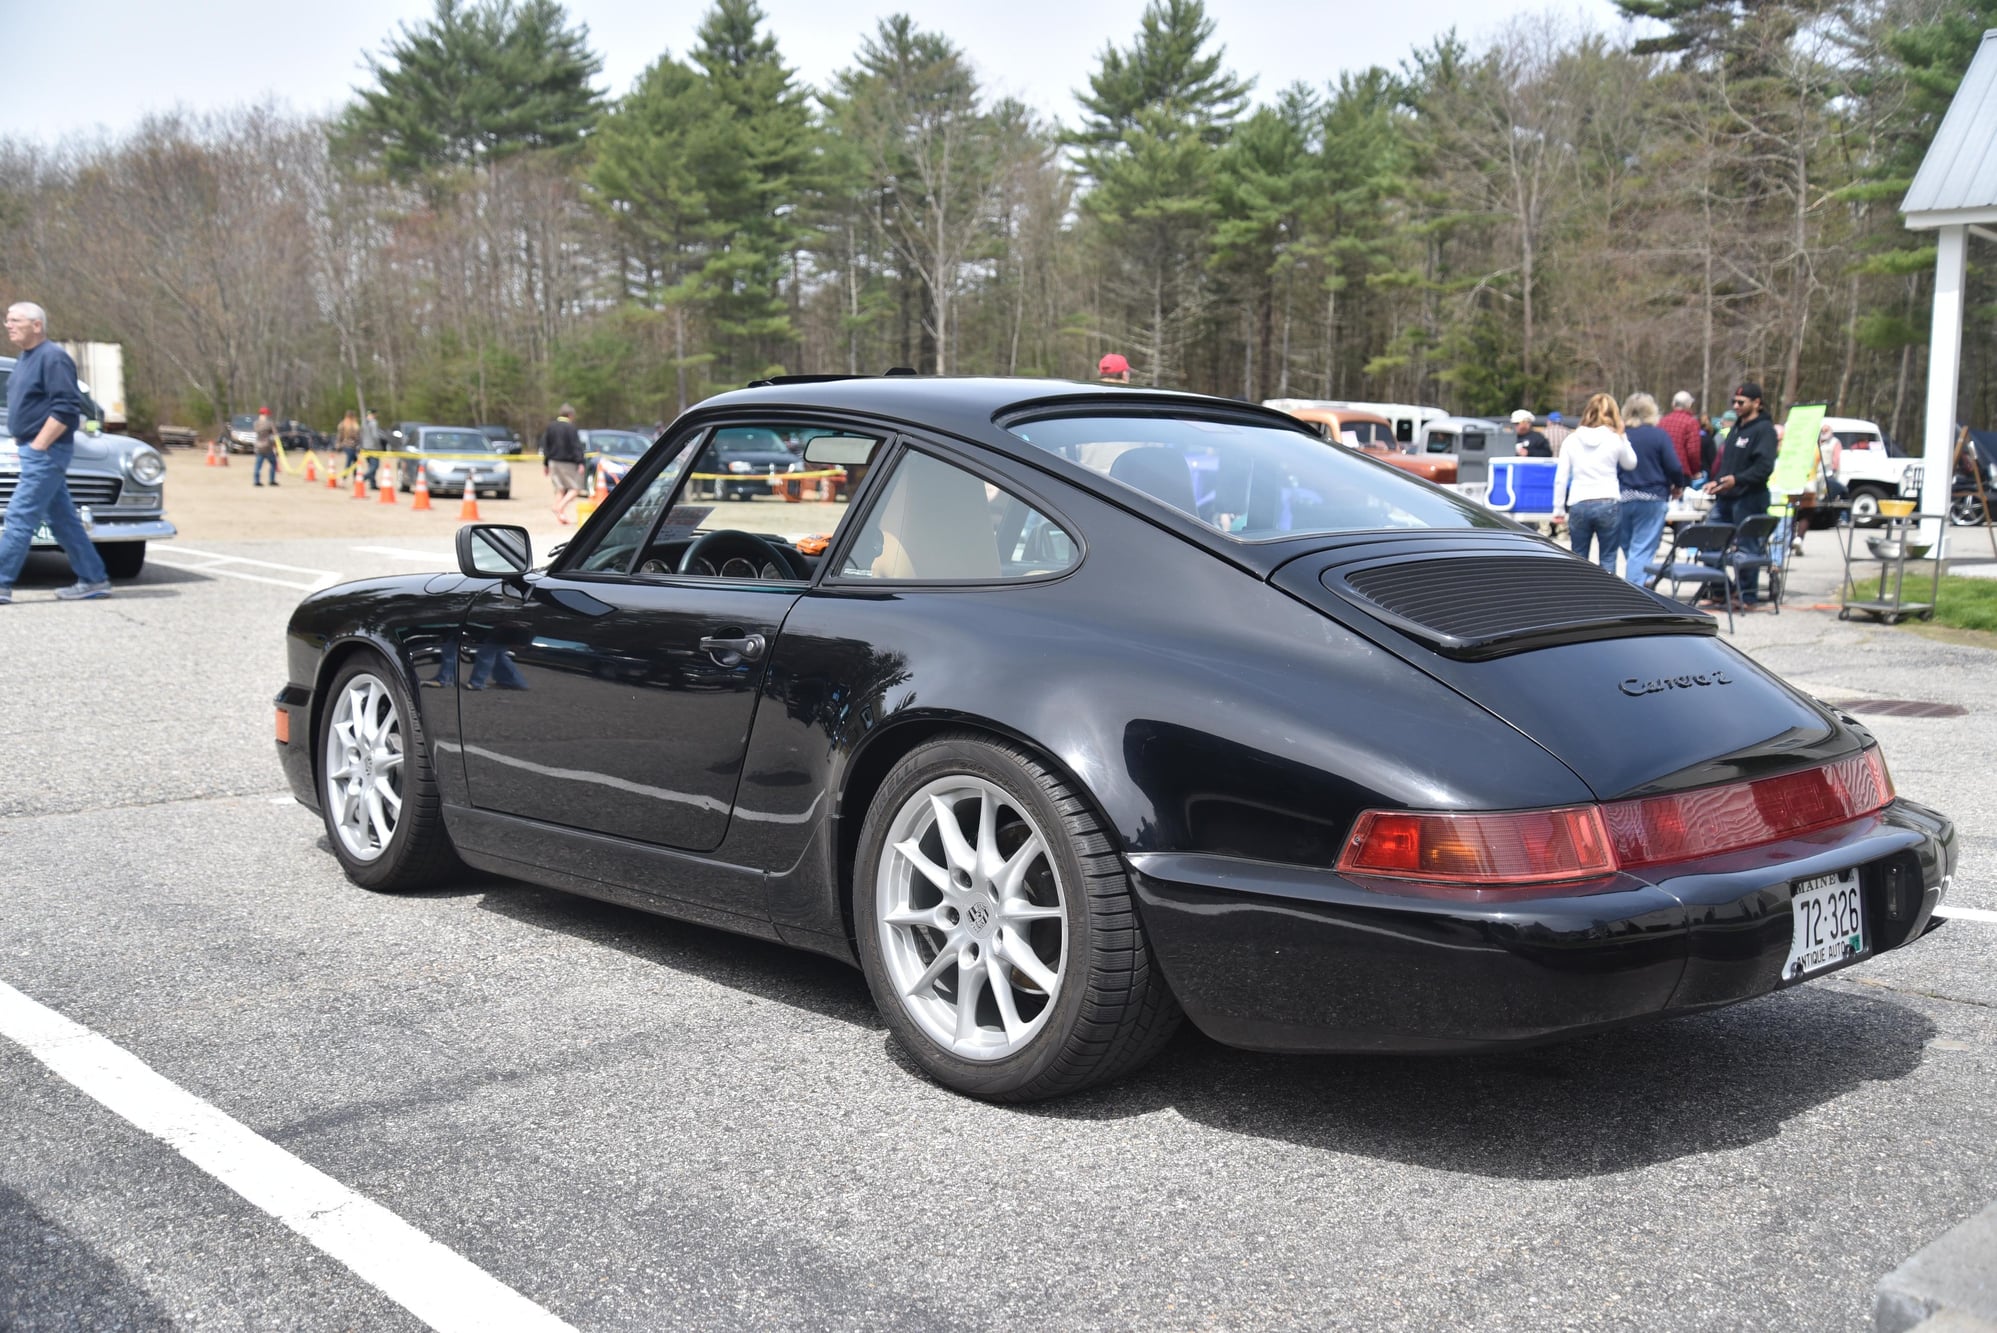
At the end of the day I spent more money than I expected (With much more still to do), and it took a little longer than I expected, but WOW!!!!! I wasn’t prepared for the difference, especially having done so little in the rear (just struts and brakes). I couldn’t stop chuckling to myself during the first drive. The steering response is unbelievable. Just so direct and controllable. It’s like the car can read my mind and just goes in the direction I want. It is so much flatter in the corners and just feels planted. It’s an absolute transformation………..I can’t wait to do phase 2 and tackle the rear next winter. I highly recommend making this investment first above all other upgrades. It costs too much to add horsepower, so I figure that the $/grin ratio with an upgraded / refreshed suspension is undoubtedly the best bang for the buck.
Last on my list is the Rothsport billet short shifter with new forward rod and FD golden rod. Have all the parts and pieces, just need to get the car back up on jack stands and make it happen. I went with Redline gear oil when I flushed the transmission. That made a huge difference in the balkiness of the shifter when cold, and shifting in general feels so much smoother. I don’t track the car, so this gear lube is perfect for me. I can only imagine how precise shifting will feel after the Rothsport/FD shifter upgrade. I’ll report back when that is complete.
Awaiting alignment and final ride height. You can tell she is a little low, especially in the front. About RS -20 in the front, and just about RS in the rear.
Last edited by Porschenut_Lee; 05-24-2017 at 09:53 PM.
...First, hats off to Goughary and the DBFD crew for starting this thread and enabling myself and others like me to hand our wallets over to Sunset, Elephant, Pelican and the like. I love working on my car, however three kids and a demanding job tend to consume a huge amount of my time. I spent a lot of nights after the kids were asleep, or selfish weekend time to get this work done. I wouldn’t change a thing. It has absolutely been worth the blood sweat and tears……and lack of sleep. This thread and this forum are a great resource. Thank you to all who contribute. I probably would have procrastinated longer had I not had this resource at hand.
16) Rothsport Billet Short Shifter (Ready to install)
17) New forward rod (Ready to install)
18) FD golden rod (Ready to install)
19) Transmission fluid flush with Redline
All of this is getting installed on my car right now. I can't wait!
Plus, added a Function First Trans Mount (60A - Orange). Sticking with Mobil Delvac oil.
I actually enjoyed the way it currently shifted - smooth and low effort, but you can just feel all the wear and slop in the system.... BTW, the bushing in the forward rod crumbed when they took it out (as they usually do). I probably should have bought the FD forward rod (with spherical bearings), but instead had the shop replace the bushing (https://rennlist.com/forums/964-foru...e-bushing.html). I might regret that later...
Originally Posted by Porschenut_Lee
I wasn’t prepared for the difference, especially having done so little in the rear (just struts and brakes). I couldn’t stop chuckling to myself during the first drive. The steering response is unbelievable. Just so direct and controllable. It’s like the car can read my mind and just goes in the direction I want. It is so much flatter in the corners and just feels planted. It’s an absolute transformation………..I can’t wait to do phase 2 and tackle the rear next winter. I highly recommend making this investment first above all other upgrades. It costs too much to add horsepower, so I figure that the $/grin ratio with an upgraded / refreshed suspension is undoubtedly the best bang for the buck.
These cars are amazing once you start sharping everything up a little bit. I can only imagine what Spyerx's car feels like!
Last on my list is the Rothsport billet short shifter with new forward rod and FD golden rod. Have all the parts and pieces, just need to get the car back up on jack stands and make it happen. I went with Redline gear oil when I flushed the transmission. That made a huge difference in the balkiness of the shifter when cold, and shifting in general feels so much smoother. I don’t track the car, so this gear lube is perfect for me. I can only imagine how precise shifting will feel after the Rothsport/FD shifter upgrade. I’ll report back when that is complete...
Getting installed today! I'll gladly give you a report over the weekend.
Nudge, nudge. Install those parts!
Yes, please let me know what you think of the Rothsport shifter upgrade. I'm dying to get mine in. Maybe over the long weekend coming up. I'm also curious what your plan is for the boot on the interior. Most I have seen don't look that good......or of factory quality. I saw one car with the console removed and just the rubber gaitor on the carpet. That in my opinion looks the best, but for now I need to retain the console.
Thanks Rob, I'd love to make it down. Keep me posted.
The garage was a long time coming. My first time owning a garage. I must say that not having to lay on gravel and try to jack the car up without the jack sinking into the earth is quite an improvement. I'm loving every minute I get to spend in there.
Thanks again for the motivation and inspiration. The car deserves nothing less!
Yes, please let me know what you think of the Rothsport shifter upgrade. I'm dying to get mine in. Maybe over the long weekend coming up. I'm also curious what your plan is for the boot on the interior. Most I have seen don't look that good......or of factory quality..
I'm having my shop do the install. It's in for a valve adjustment and lots of little things, so there was limited time to discuss this with them. They are a top shop, and do a lot of top 1% restorations. We'll see what they come up with, but I mentioned cutting the boot and turning it over and zip tying it...
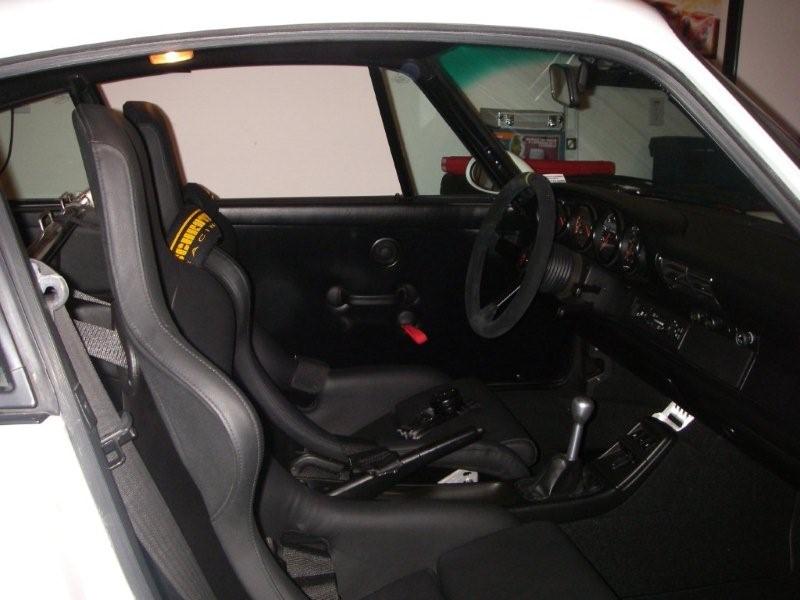
Personally, I want the boot to sit low, to see a lot of the shift lever (got black anodized). It will probably turn out close to this:
I saw one car with the console removed and just the rubber gaitor on the carpet. That in my opinion looks the best, but for now I need to retain the console.
+1! But you have to move switches and re-carpet...
I saw a picture of the shifter with the stock console and a second rubber shift boot was placed over the rubber boot below.
Looked really nice, but it was a random picture on Facebook and can't seem to fit it again...
^^^ just got straight to that - consol delete is an afternoon and evening and you can't get better than this ,,, great updates too thanks - starting soon too but need to refurb the steering rack (leaky) first
Yes, please let me know what you think of the Rothsport shifter upgrade. I'm dying to get mine in. Maybe over the long weekend coming up. I'm also curious what your plan is for the boot on the interior. Most I have seen don't look that good......or of factory quality. I saw one car with the console removed and just the rubber gaitor on the carpet. That in my opinion looks the best, but for now I need to retain the console.
The shop just sent this description and pics.
The shifter feels GREAT, it is smooth but refined and really precise. It has a good solid sturdy feel and nice weight in the shifter when changing gears.
I also had them pull the radio. So the next project (for me) is to remove the door speakers and recover the doors and rear panel. Guess I need a radio delete plate too....
Really great thread. Thank you so much for posting. My little beater needs a boat load of work and I will be using much of the information you have provided here for guidance.
16) Rothsport Billet Short Shifter (Ready to install)
17) New forward rod (Ready to install)
18) FD golden rod (Ready to install)
Lee - any updates?
Get those parts installed, you will LOVE it. I can't get over how solid and direct 1st to 2nd feels.
My absolute favorite upgrade has to be the Function First Trans Mount (60A - Orange). It was something I added in to round out my shifting upgrades and thought would be minor. Actually it's been quite the discovery, just like upgrading sagging engine mounts, but to a whole new level.
I have the softest durometer (60), and it really increases your connection to the car. A lot. Surprisingly so. This is a wonderful upgrade for someone chasing the "RS" feeling in their car. There's a slight buzz in your back at idle, and that feeling continues with a much more direct and connected throttle pedal feel (all the time). Even the sound has changed slightly, deeper with a more mechanical edge. The car feels stronger with everything feeling so direct.
If you are searching to increase connection, response, and sound... this mod is a win. But don't go overboard. I think a lot of people would like how the Orange 60A feels, but 70A or 80A is probably only acceptable in a track/race car.
Would love to hear other's thoughts on these mounts.


 05-24-2017, 09:21 PM