

Aussie 964C2 Maintenance Diary (pic heavy!)
 11-15-2012, 10:16 PM
#361
Burning Brakes
Thread Starter

A long time ago, I replaced this in my clutch pedal mechanism, it's called the rollpin, and is a scroll of spring steel that acts as a locating pin in the clutch pedal bellcrank.

Over time the stock rollpin cracks with the repeated strain, and so I replaced it with a sawn-off shoulder bolt, which was a nice snug fit in the pedal and banished the small amount of slop from the old cracked rollpin.

But lately I've noticed that the clutch pedal has a little bit more freeplay than it used to, so it's time to investigate. So off comes the pushrod for the accelerator, which you need to disconnect first
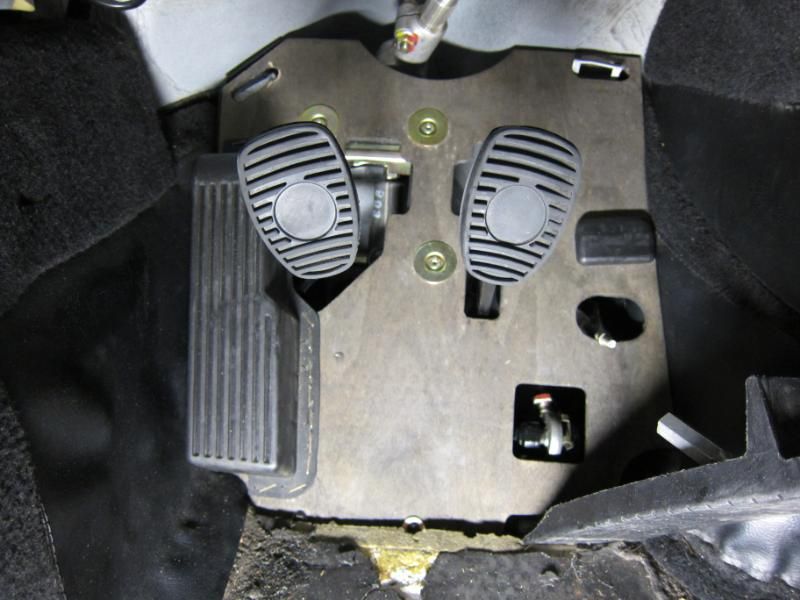
Then the wooden toeboard comes off...revealing the unusual setup that the 964 has, where the clutch master cylinder is mounted right in the pedal cluster.
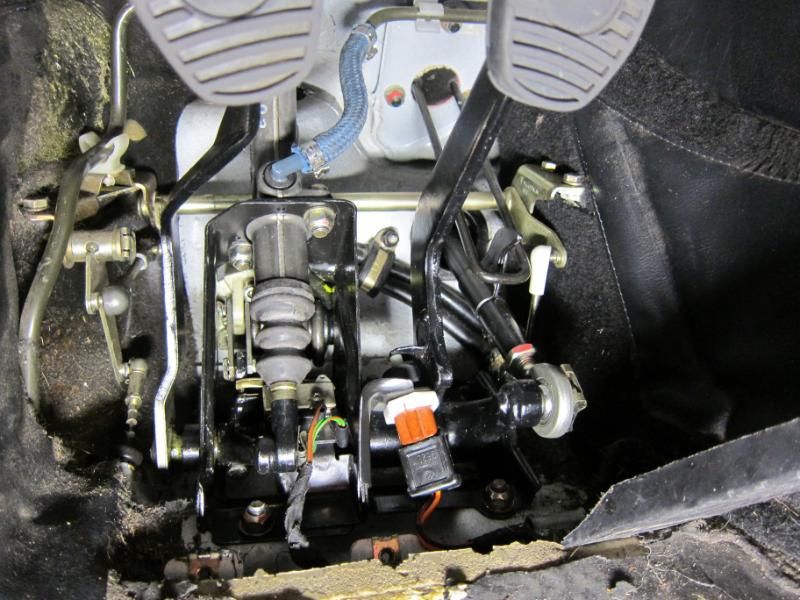
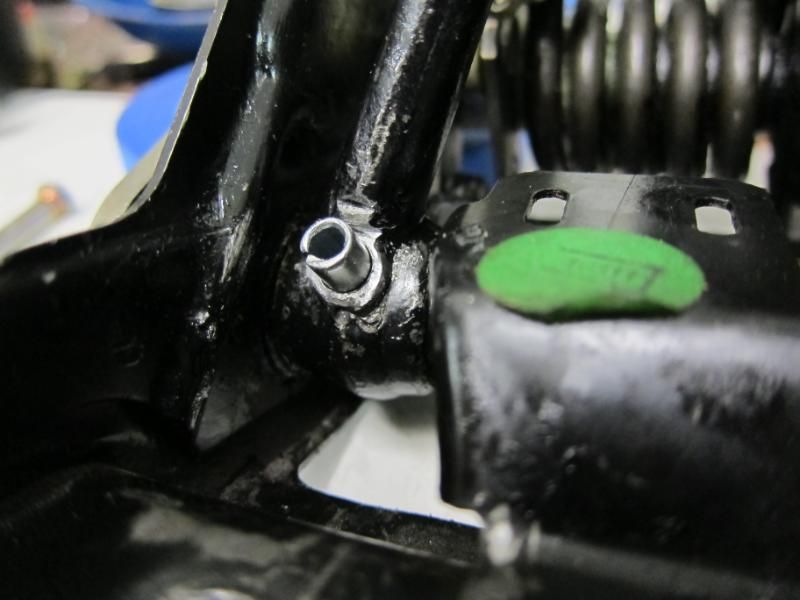
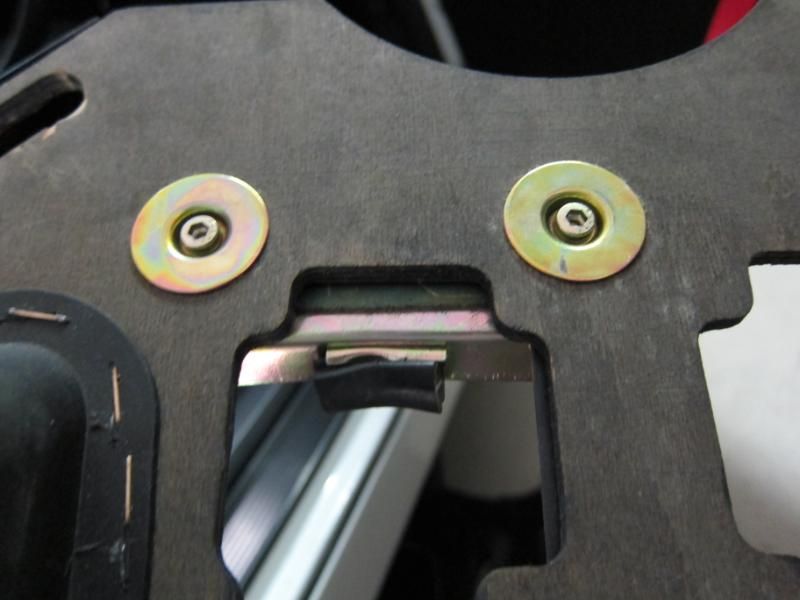
Unplug the 3 plugs for the cruise control, the 2 nuts for the clutch master, the clips for the clutch bellcrank and brake pedal pushrod, and then the pedal cluster is just bolted to the floor.

And you can see the shoulder bolt that I fitted. If I hold the pedal with one hand, I can wiggle the bellcrank just a little, so it seems that what was once a nice tight fit has now developed some slop. Basically the hole in the clutch pedal shaft is becoming slightly ovalised with wear from the shoulder bolt. So in hindsight this wasn't such a great idea, as the bolt seems to be harder than the shaft, and hence is starting to wear the shaft.

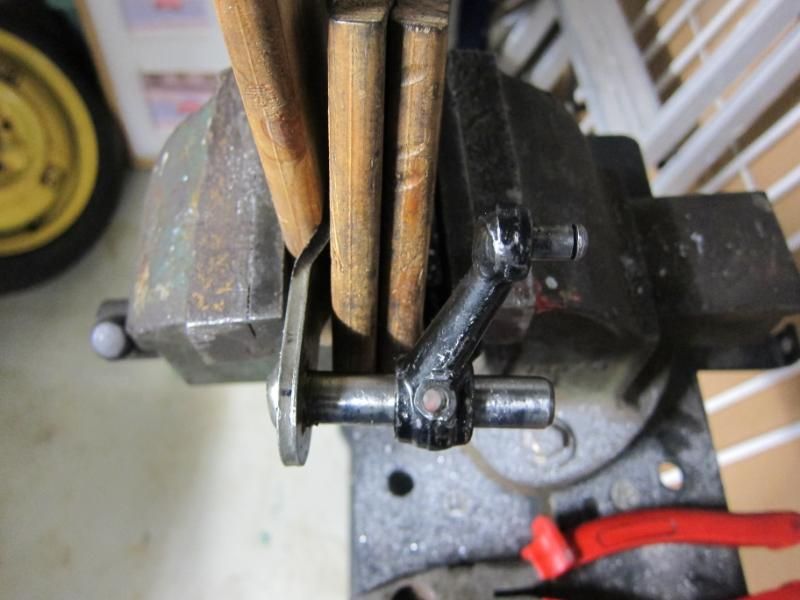
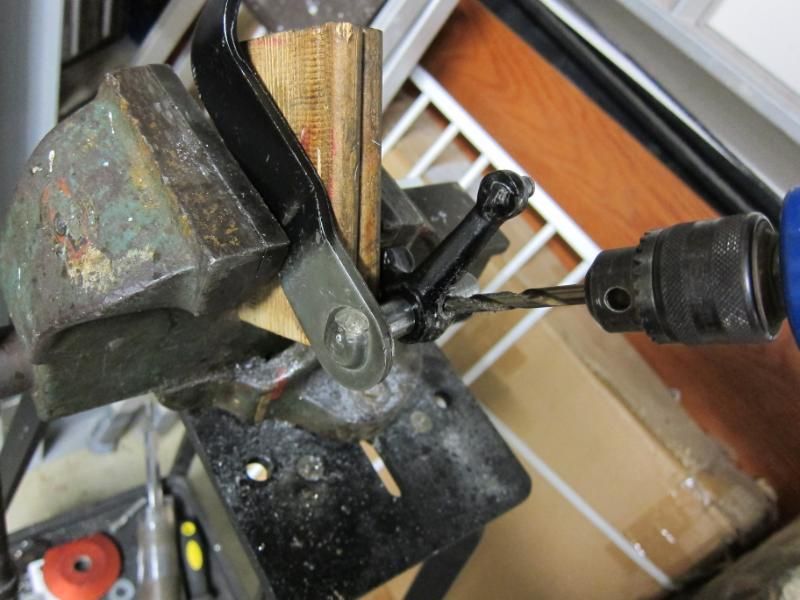
First step is to hold the pedal and bellcrank in the vice, with the pieces lined up so that I can drill out the hole.
The hole is 6mm, so I've drilled it out to 1/4in, or 6.35mm.
And rather than try to fit another shoulder bolt, I've got these, which are imperia-sized industrial rollpins.

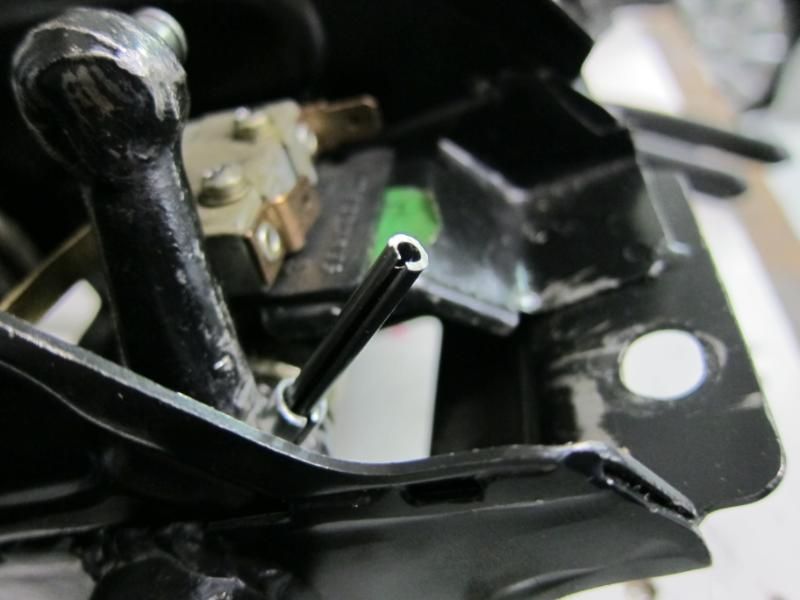
The big 1/4in one hammers in snugly, and fits nice and tight with no slop.
And to make it a bit more secure, I drive in a second 5/32in rollpin, which will make the whole combination stronger, and also spread the outer pin harder against the sides of the hole.
I think the issue was that the shoulder bolt mod didn't work because it would wear a little bit of slop, which would gradually become more and more slop with wear. But the rollpin tries to spring outwards in the hole, so should take up any slack, should it occur.
But before I refit it to the car, there are a few adjustments to check.
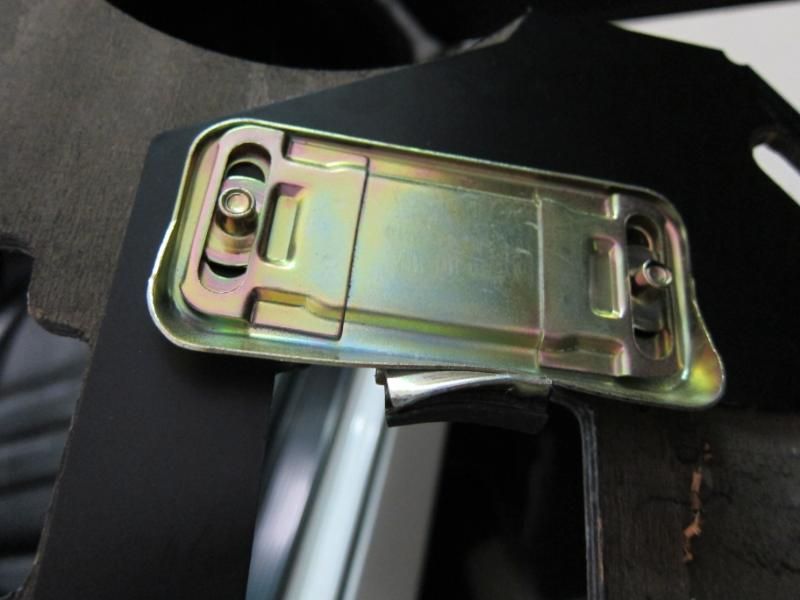
The clutch pedal travel can be adjusted in two ways, either by adjusting the pushrod on the master cylinder, or by adjusting the bumpstop on the pedal toeboard, which you can see here, is a little mangled from 20yrs of gearchanges!
Around the back you can see the adjustment.
My pedal throw worked out to 150mm, which is right on the money, so doesn't require any fiddling. I was worried that maybe the shaft would be redrilled at a slightly different angle, which would then sit the pedal all wrong, but it looks like it's fine. Next step is to adjust the preload on the clutch helper spring. You can see a hex bolt on the end of a big white plastic piece here, and Porsche recommends that it's adjusted so that there is only 6mm of thread showing between the plastic piece and the bolt head. For some reason, in my car the bolt was back right out (I don't recall ever messing with it) but when I started to screw it in, I noticed that the pedal effort became a bit smoother and the lumpy over-centre springing became less noticeable.
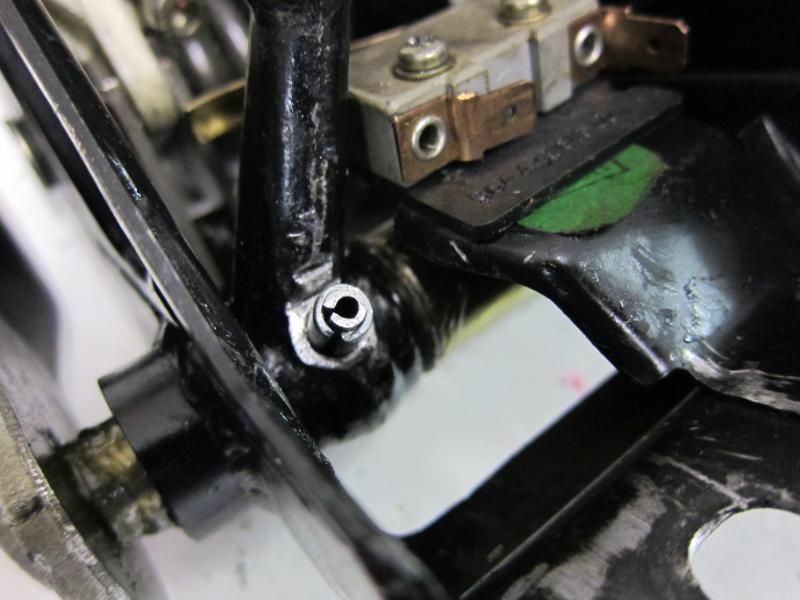
The other good thing was that i discovered that the switch for the clutch pedal position was out of adjustment. It's that cassette-looking thing just underneath rubber bellows for the master cylinder, and so I readjusted it so that the switch was closed when the pedal was in its upright position. So now the cruise control works again (it's been broken for over a year)!

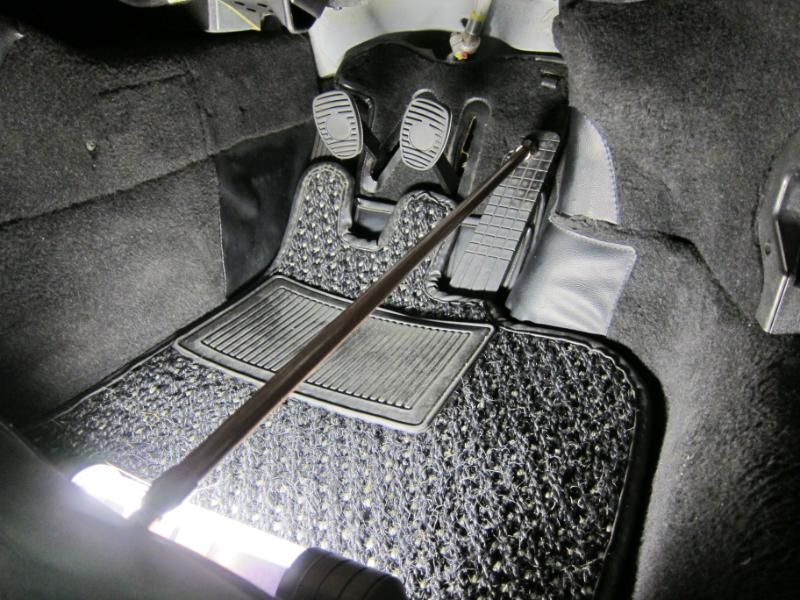
And as a last-last check, I pin the accelerator to the floor, and then pop the decklid to check that I am gettig full throttle at the engine. It's easy to refit the pushrod for the accelerator pedal and get this part wrong, so it's a good check to make. And yes, mine was only going to about 80% throttle and needed re-adjustment.
And that's that! The gearshift and the clutch pedal seems a little smoother, but if you were to suggest that it's all in my head, then I would concede that you may have a point
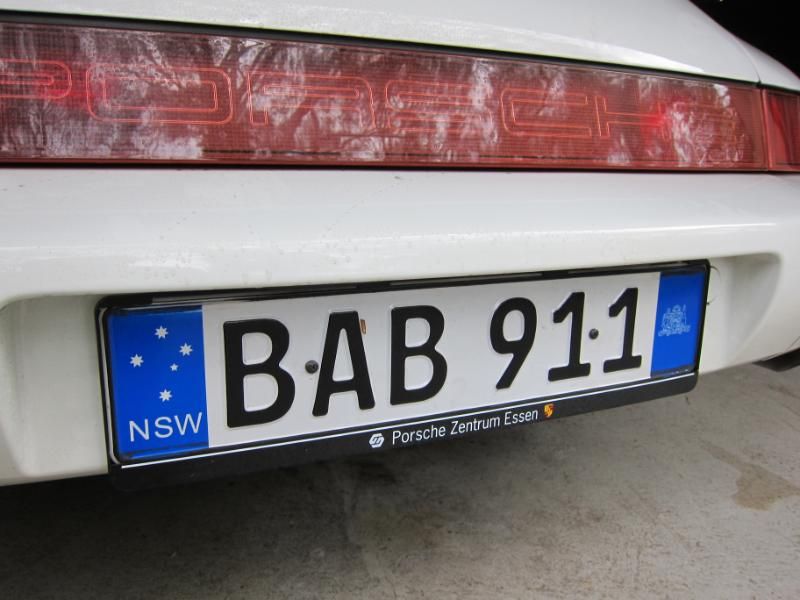
But other cool toys that have landed recently include the cool Porsche Zentrum Essen number plate bracket that a good friend in Germany was kind enough to send
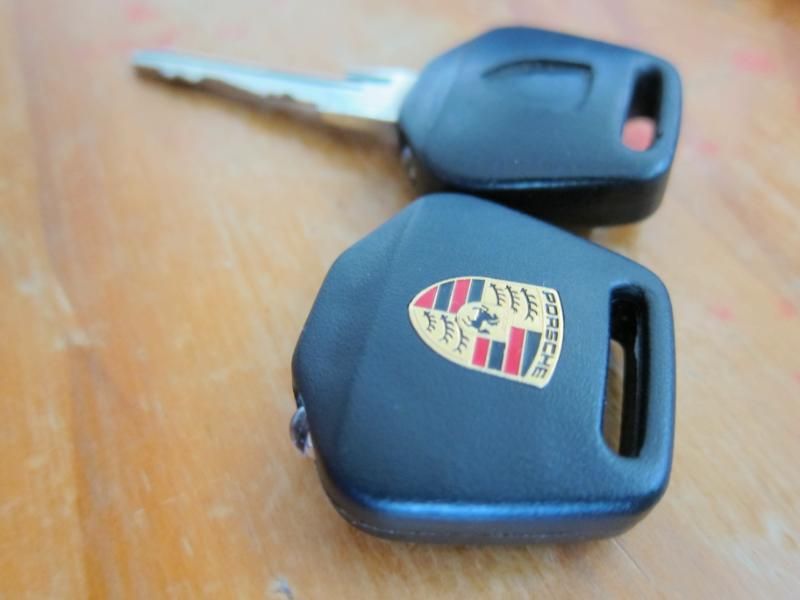
And I also replaced the keyfob, which was a bit battered looking.
I couldn't figure out how to swap them, so I take apart the old one...
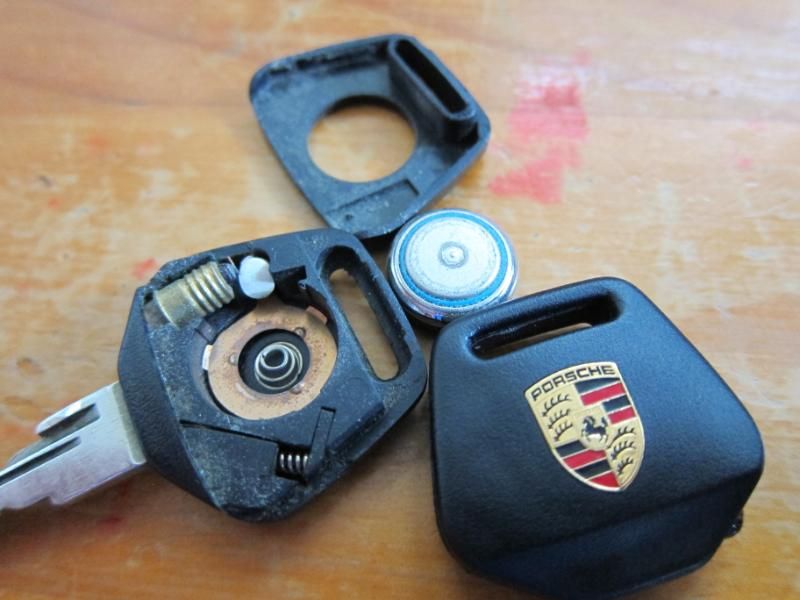
And then remove this spring loaded plunger, which locks into this cutout in the metal part of the key

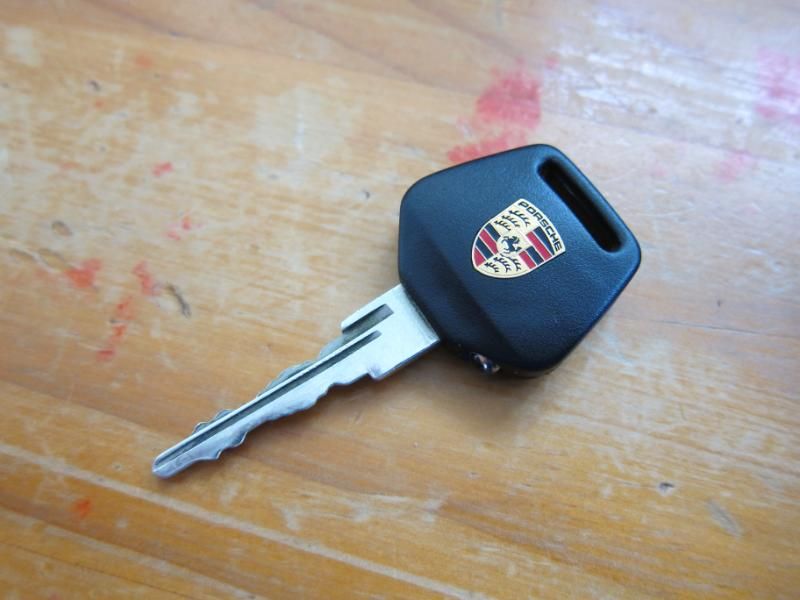
...which allowed the metal part to slide out of the old fob, and you just push it into the new one, the plunger slides back, and it clicks into place.
It's good to know that the ppl who made this car had as much OCD in little mechanical things as I have
Over time the stock rollpin cracks with the repeated strain, and so I replaced it with a sawn-off shoulder bolt, which was a nice snug fit in the pedal and banished the small amount of slop from the old cracked rollpin.
But lately I've noticed that the clutch pedal has a little bit more freeplay than it used to, so it's time to investigate. So off comes the pushrod for the accelerator, which you need to disconnect first
Then the wooden toeboard comes off...revealing the unusual setup that the 964 has, where the clutch master cylinder is mounted right in the pedal cluster.
Unplug the 3 plugs for the cruise control, the 2 nuts for the clutch master, the clips for the clutch bellcrank and brake pedal pushrod, and then the pedal cluster is just bolted to the floor.
And you can see the shoulder bolt that I fitted. If I hold the pedal with one hand, I can wiggle the bellcrank just a little, so it seems that what was once a nice tight fit has now developed some slop. Basically the hole in the clutch pedal shaft is becoming slightly ovalised with wear from the shoulder bolt. So in hindsight this wasn't such a great idea, as the bolt seems to be harder than the shaft, and hence is starting to wear the shaft.
First step is to hold the pedal and bellcrank in the vice, with the pieces lined up so that I can drill out the hole.
The hole is 6mm, so I've drilled it out to 1/4in, or 6.35mm.
And rather than try to fit another shoulder bolt, I've got these, which are imperia-sized industrial rollpins.
The big 1/4in one hammers in snugly, and fits nice and tight with no slop.
And to make it a bit more secure, I drive in a second 5/32in rollpin, which will make the whole combination stronger, and also spread the outer pin harder against the sides of the hole.
I think the issue was that the shoulder bolt mod didn't work because it would wear a little bit of slop, which would gradually become more and more slop with wear. But the rollpin tries to spring outwards in the hole, so should take up any slack, should it occur.
But before I refit it to the car, there are a few adjustments to check.
The clutch pedal travel can be adjusted in two ways, either by adjusting the pushrod on the master cylinder, or by adjusting the bumpstop on the pedal toeboard, which you can see here, is a little mangled from 20yrs of gearchanges!
Around the back you can see the adjustment.
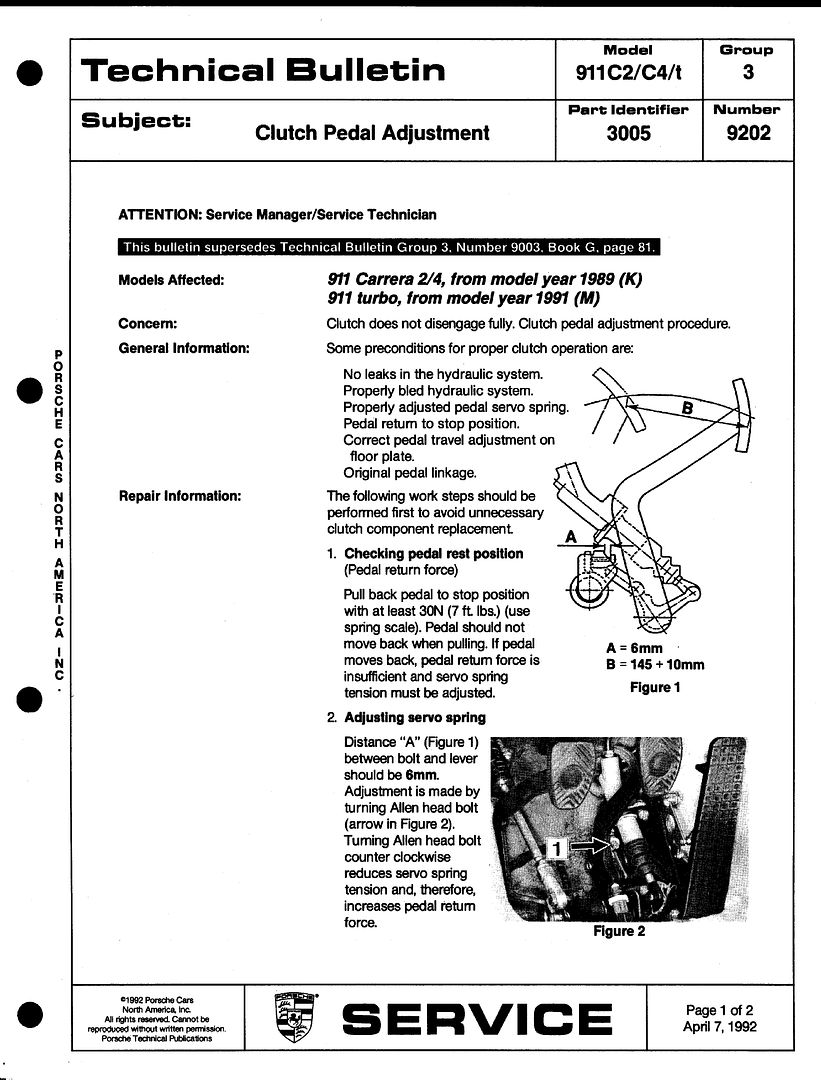
My pedal throw worked out to 150mm, which is right on the money, so doesn't require any fiddling. I was worried that maybe the shaft would be redrilled at a slightly different angle, which would then sit the pedal all wrong, but it looks like it's fine. Next step is to adjust the preload on the clutch helper spring. You can see a hex bolt on the end of a big white plastic piece here, and Porsche recommends that it's adjusted so that there is only 6mm of thread showing between the plastic piece and the bolt head. For some reason, in my car the bolt was back right out (I don't recall ever messing with it) but when I started to screw it in, I noticed that the pedal effort became a bit smoother and the lumpy over-centre springing became less noticeable.
The other good thing was that i discovered that the switch for the clutch pedal position was out of adjustment. It's that cassette-looking thing just underneath rubber bellows for the master cylinder, and so I readjusted it so that the switch was closed when the pedal was in its upright position. So now the cruise control works again (it's been broken for over a year)!
And as a last-last check, I pin the accelerator to the floor, and then pop the decklid to check that I am gettig full throttle at the engine. It's easy to refit the pushrod for the accelerator pedal and get this part wrong, so it's a good check to make. And yes, mine was only going to about 80% throttle and needed re-adjustment.
And that's that! The gearshift and the clutch pedal seems a little smoother, but if you were to suggest that it's all in my head, then I would concede that you may have a point
But other cool toys that have landed recently include the cool Porsche Zentrum Essen number plate bracket that a good friend in Germany was kind enough to send
And I also replaced the keyfob, which was a bit battered looking.
I couldn't figure out how to swap them, so I take apart the old one...
And then remove this spring loaded plunger, which locks into this cutout in the metal part of the key
...which allowed the metal part to slide out of the old fob, and you just push it into the new one, the plunger slides back, and it clicks into place.
It's good to know that the ppl who made this car had as much OCD in little mechanical things as I have
 11-15-2012, 11:50 PM
#362
Three Wheelin'
Very nice as usual. How do you measure the 150 millimeters of throw? That has been a question.
11-16-2012, 12:07 AM
#363
Burning Brakes
Thread Starter
Would be easier if you had a second person to press the pedal, and you just measure it from the passenger side
11-16-2012, 06:16 AM
#364
Three Wheelin'
Those little key head emblems have a habit of falling out (as mine did). A permanent fix is to pull it off (it only has a self adhesive sticker holding it on) and superglue it on. Mine has stayed on for 3 years with superglue, but only lasted 1 month with the original adhesive - I was lucky mine departed while in my pocket.
 11-16-2012, 07:04 AM
#367
Burning Brakes
Thread Starter
Those little key head emblems have a habit of falling out (as mine did). A permanent fix is to pull it off (it only has a self adhesive sticker holding it on) and superglue it on. Mine has stayed on for 3 years with superglue, but only lasted 1 month with the original adhesive - I was lucky mine departed while in my pocket.
11-16-2012, 07:17 AM
#368
Burning Brakes
11-16-2012, 10:22 AM
#369
Rennlist Member

+2!
Until....this thread pops up in a search, and then you have to go through all 20+ pages to find an what you're looking for. (one day to be 50+ pages!)
It will be worth it though! You just know it will be expertly photographed and simply explained. Clicking through the pages also reminded me of a few projects I need to look into...
Hope you have a productive weekend in the garage!
11-16-2012, 10:00 PM
#370
Burning Brakes
Thread Starter
11-17-2012, 05:28 PM
#372
Rennlist Member
Join Date: Nov 2010
Location: North Yorkshire, England
Posts: 855
Likes: 0
Received 16 Likes
on
14 Posts
Hi,
When you are finished you should put these brilliant projects into a book, the photographs are superb and the detail is brilliant! It would help every 964 owner
I'd buy it!
Cheers,
Paul
When you are finished you should put these brilliant projects into a book, the photographs are superb and the detail is brilliant! It would help every 964 owner
I'd buy it!
Cheers,
Paul
 12-01-2012, 01:13 AM
#375
Burning Brakes
Thread Starter