

Project "Amazon" Restoration-Lightweight C4- 2Pack paint soon;-)
 02-04-2011, 09:37 PM
#271
Three Wheelin'
Thread Starter
Holes were made, then the brackets had to be mounted and welded from the back in the shaft tunnel, and the screw eyelet is screwed from the hole in the cabin.
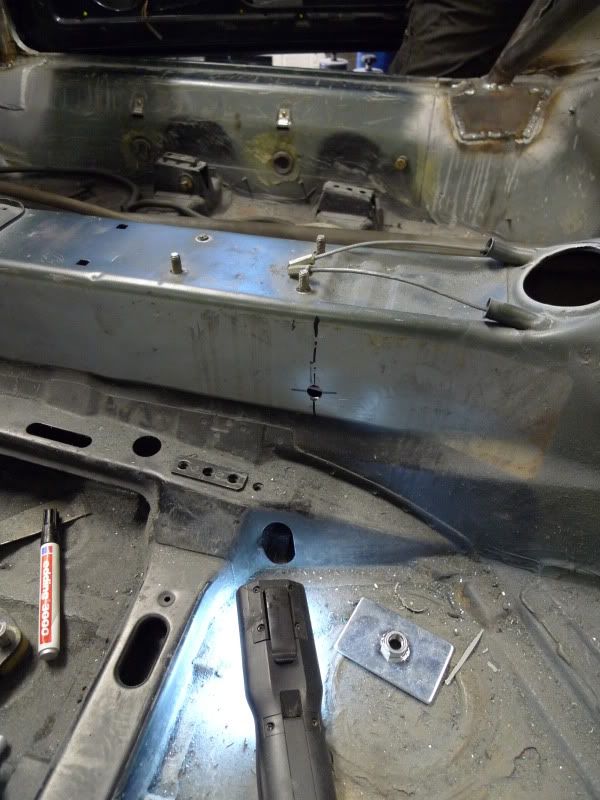
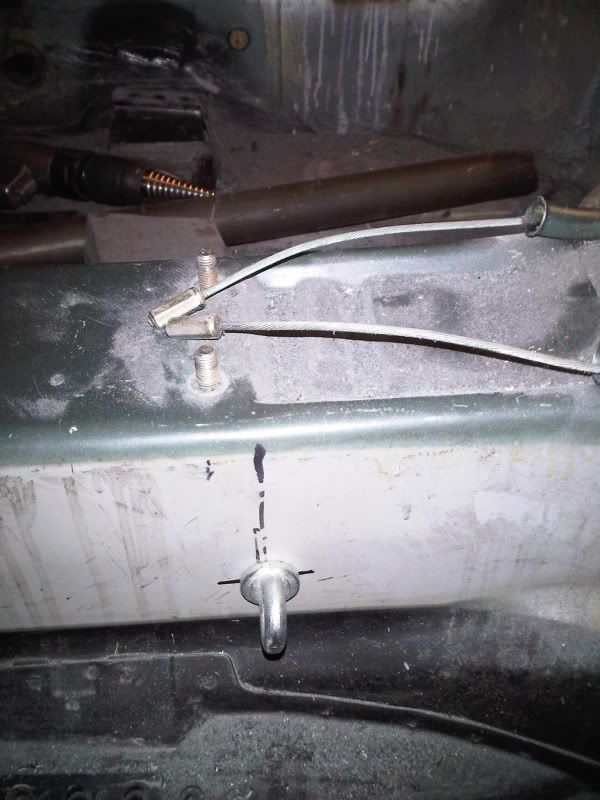
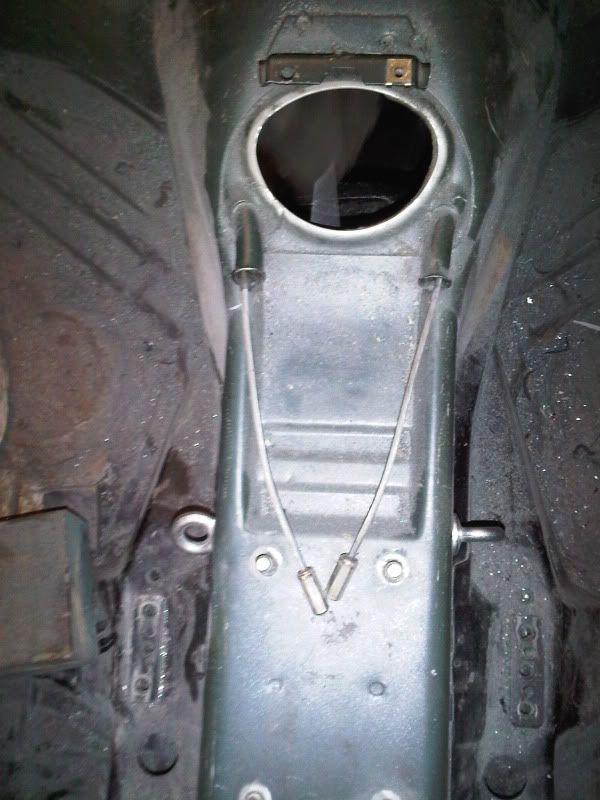
Dont worry the eyelets are screwed in properly!
Dont worry the eyelets are screwed in properly!

 02-05-2011, 10:23 AM
#273
Nordschleife Master
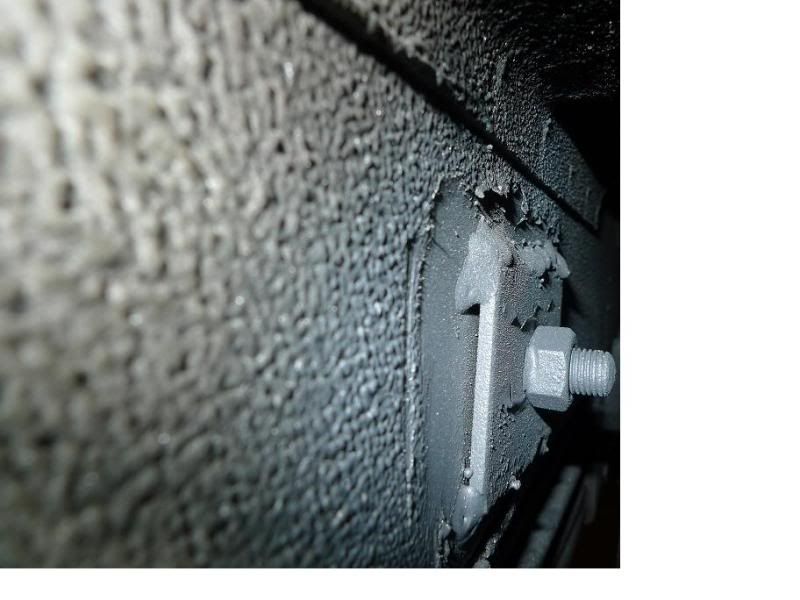
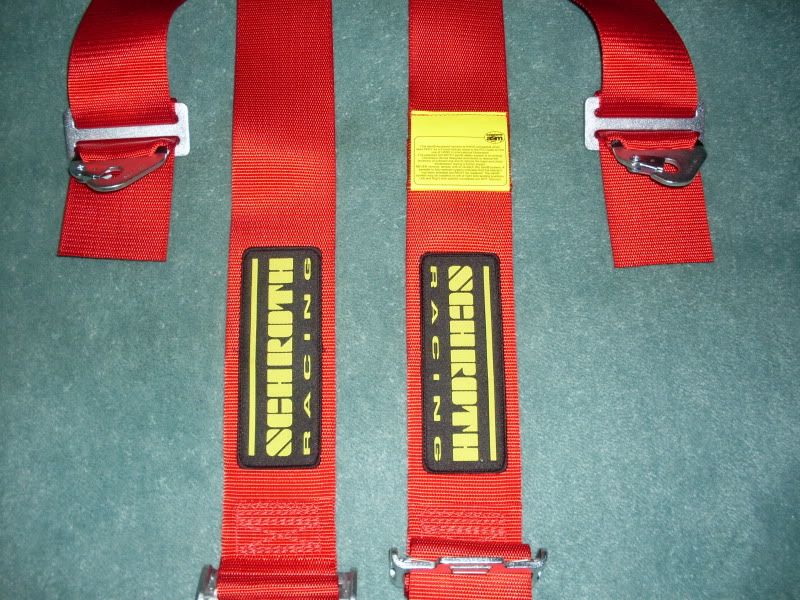
Good job on the tunnel harness bolts. By coincidence mine were done earlier this week too.  However, I've only got the passenger harness fitted at the moment because Demon Tweeks sent me two LEFT harnesses!
  When I phoned them to inform them that I needed them to swap one for a right harness, they were adamant that the current left harness would fit on the right! They saw the error of their ways when I pointed them to the Schroth website where it clearly stated that harnesses were left or right specific.
However, I've only got the passenger harness fitted at the moment because Demon Tweeks sent me two LEFT harnesses! When I phoned them to inform them that I needed them to swap one for a right harness, they were adamant that the current left harness would fit on the right! They saw the error of their ways when I pointed them to the Schroth website where it clearly stated that harnesses were left or right specific.
02-06-2011, 03:00 PM
#274
Three Wheelin'
Thread Starter
Good job on the tunnel harness bolts. By coincidence mine were done earlier this week too. However, I've only got the passenger harness fitted at the moment because Demon Tweeks sent me two LEFT harnesses! When I phoned them to inform them that I needed them to swap one for a right harness, they were adamant that the current left harness would fit on the right! They saw the error of their ways when I pointed them to the Schroth website where it clearly stated that harnesses were left or right specific.
However, I've only got the passenger harness fitted at the moment because Demon Tweeks sent me two LEFT harnesses! When I phoned them to inform them that I needed them to swap one for a right harness, they were adamant that the current left harness would fit on the right! They saw the error of their ways when I pointed them to the Schroth website where it clearly stated that harnesses were left or right specific.Surely, with 2 left ones, they still could have got the harness points done with the given harness eyelets?
02-06-2011, 05:43 PM
#275
Nordschleife Master
Indeed, they are the Schroth Clubman II ASM harnesses that I got the 10% discount on. The discount was just a seaonal thing and nothing to do with old or incorrect stock!

 02-07-2011, 01:18 PM
#276
Three Wheelin'
Thread Starter
Nice one Steveo!
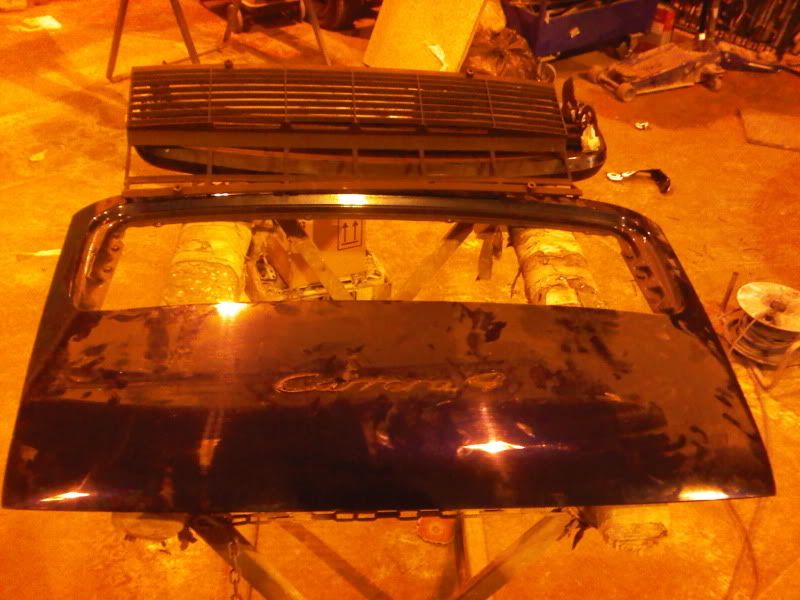
Next, heres were I did something useful Stripping the rear engine, excuse my un-pro photos taken with my phone as usual. Obviously difficult when doing stripping and having grotty hands
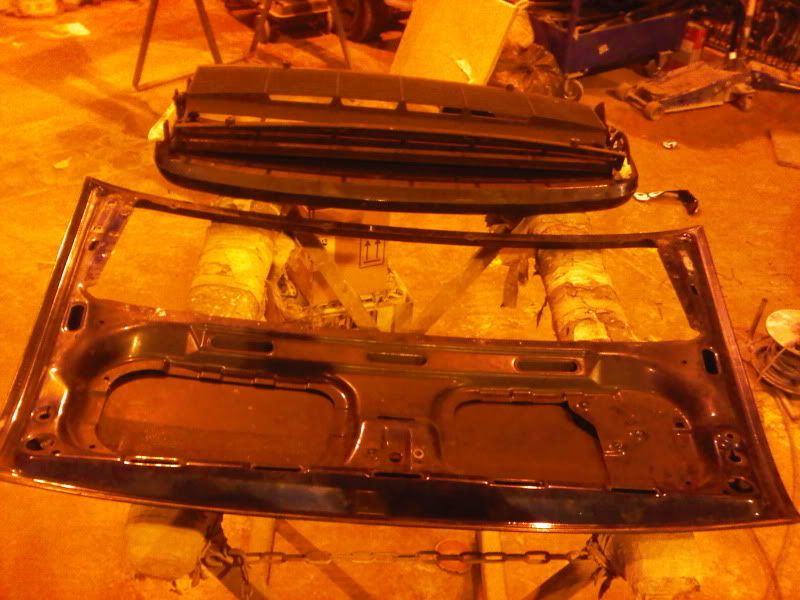
Anyway, first step was to take the rear spoiler off the rear lid, which I found was straight forward.

Taking note how it is, and how it should be when I build it back!ha
Unbolt 2 bolts on the right side of the lid
Next, heres were I did something useful
Stripping the rear engine, excuse my un-pro photos taken with my phone as usual. Obviously difficult when doing stripping and having grotty handsAnyway, first step was to take the rear spoiler off the rear lid, which I found was straight forward.
Taking note how it is, and how it should be when I build it back!ha
Unbolt 2 bolts on the right side of the lid
Last edited by Nski; 02-07-2011 at 01:37 PM.
02-07-2011, 01:25 PM
#277
Three Wheelin'
Thread Starter
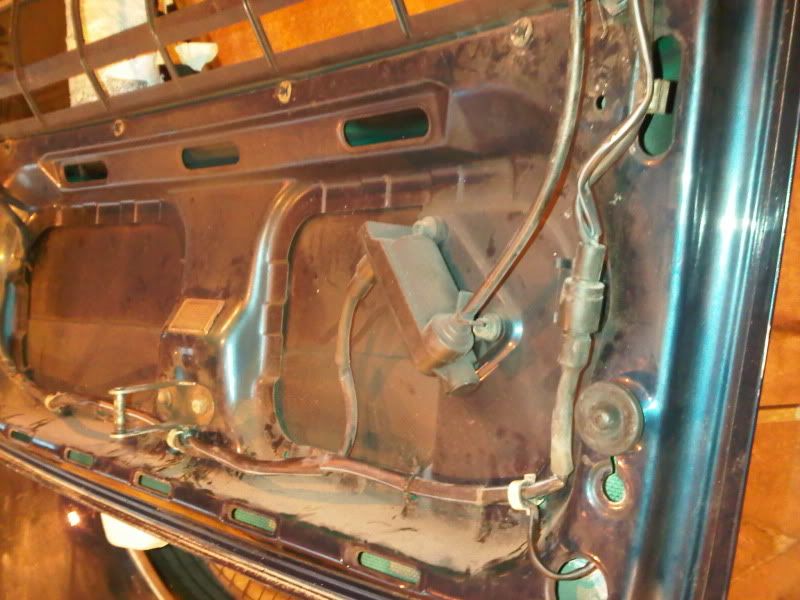
Obviously, I unbolted 3 small bolts that hold the hindge bracket 1st, but better doing the 2 main bolts 1st.
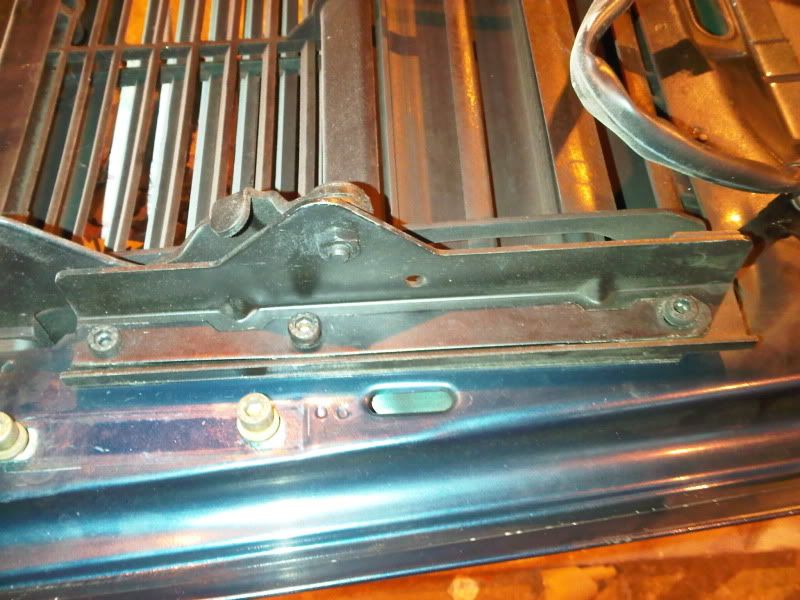
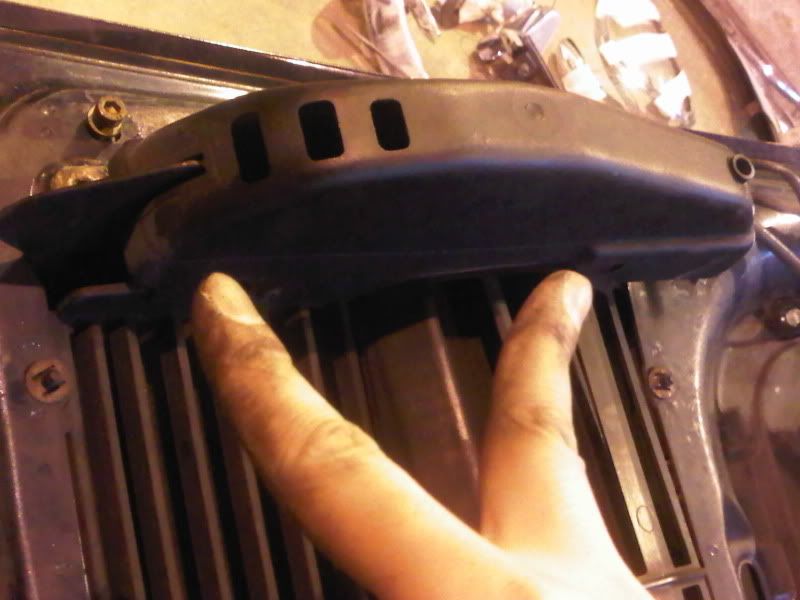
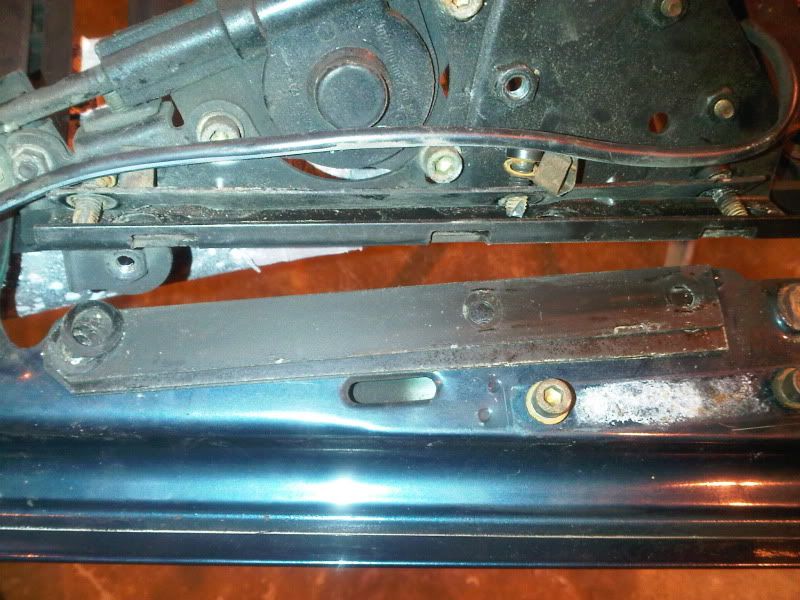
then the same on the otherside, but found the left side had a plastic cover I think is there to protect the mechs.
2 screws holding the plastic trim as shown
then the same on the otherside, but found the left side had a plastic cover I think is there to protect the mechs.
2 screws holding the plastic trim as shown
 02-07-2011, 01:33 PM
#279
Three Wheelin'
Thread Starter
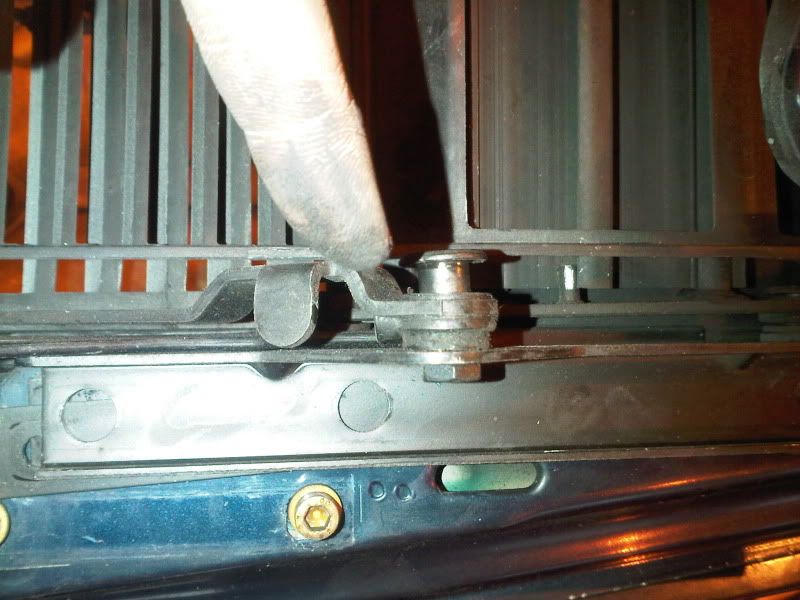
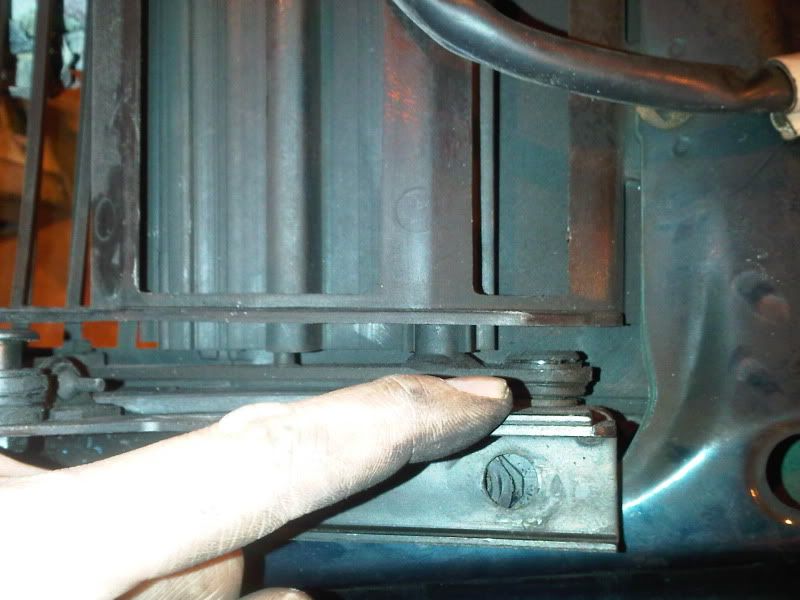
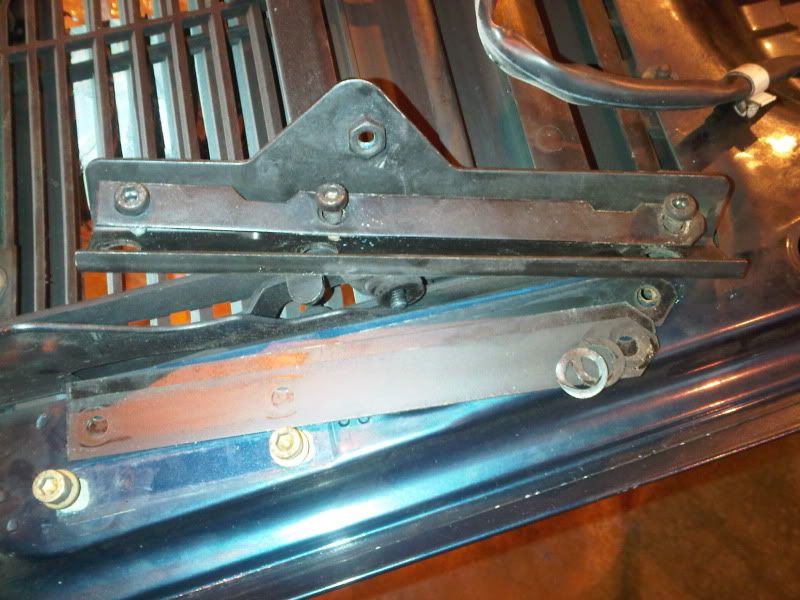
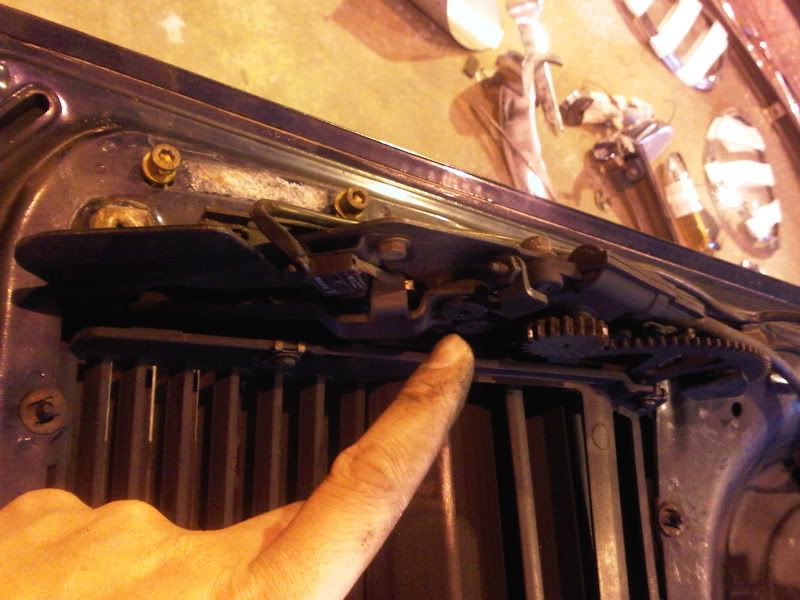
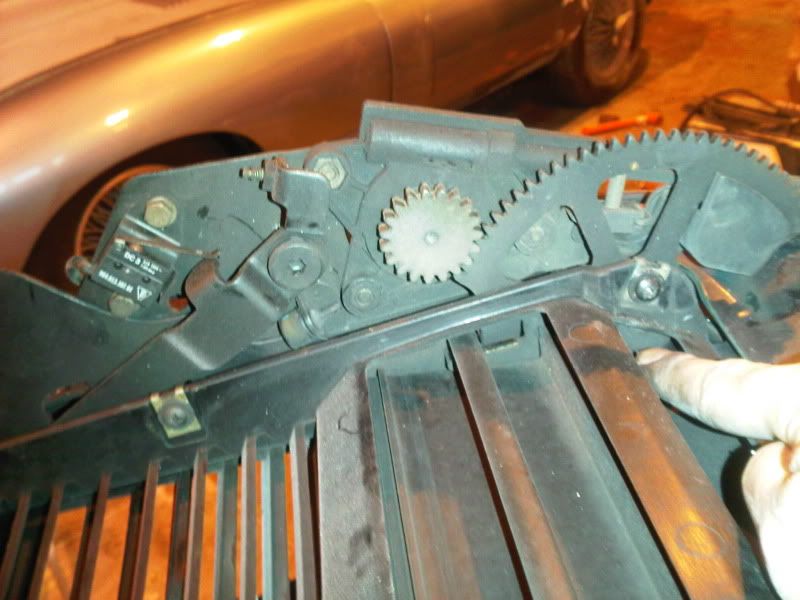
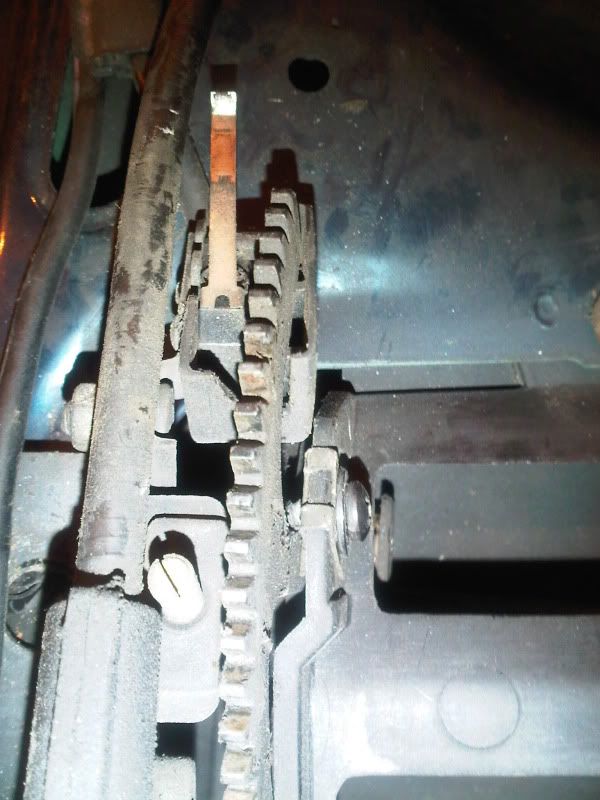
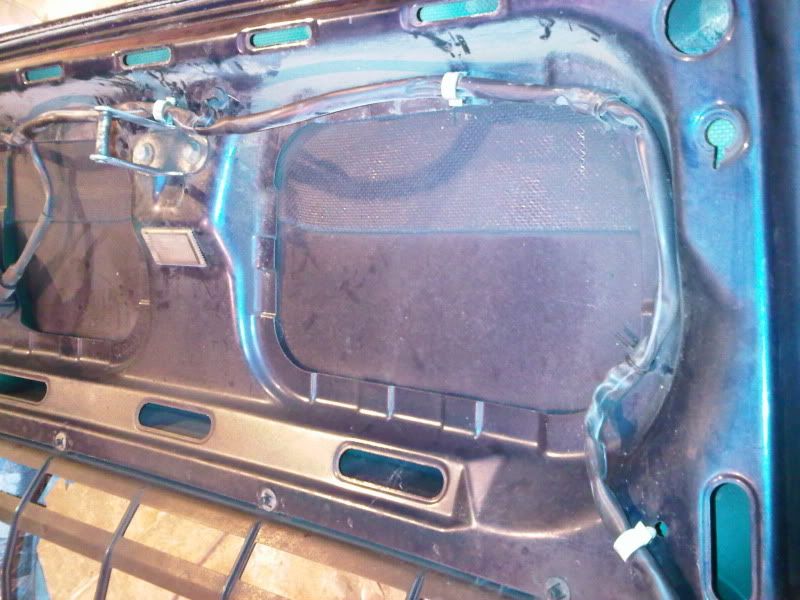
After removing the bolts same way as the right side, the spoiler lid should come loose once the 2 cogs come off each other and watch the sensor pins, which probably triggers the sensor for the spoiler to be up or down.
 02-07-2011, 01:45 PM
#280
Three Wheelin'
Thread Starter
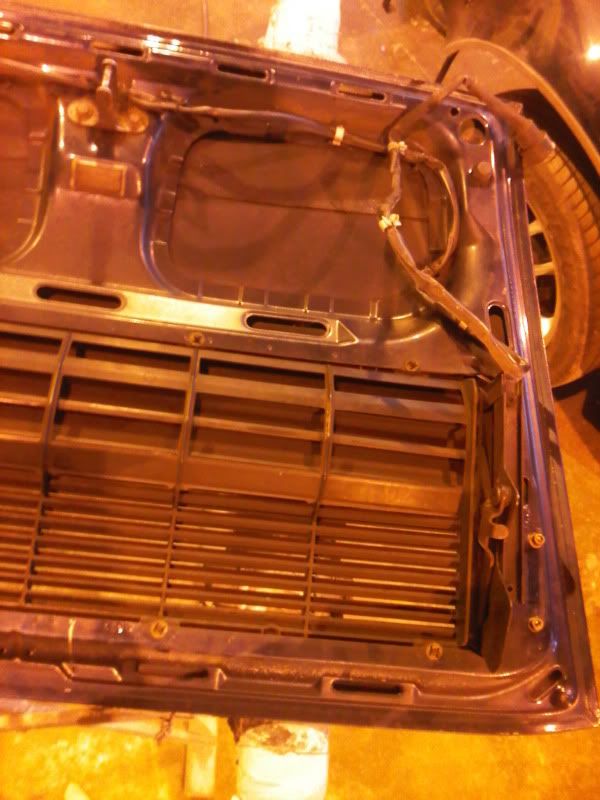
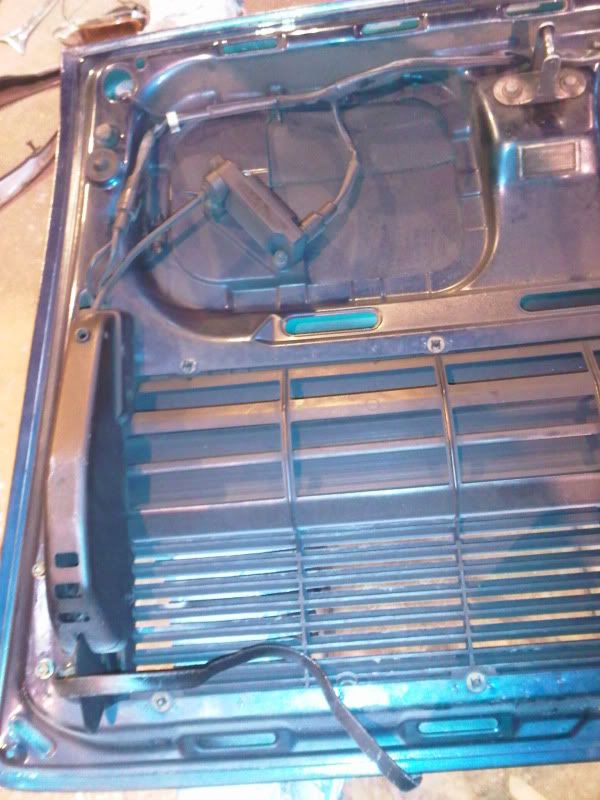
Then the rest of the wiring for the spoiler motor, light, earth wire, lid hinge is all straight forward to remove. The light trigger sensor can be removed, taking off the rubber top, then held on by a small bolt.
Oh and lastly the mesh grill, held on by small disc clips removed with a small screwdriver.
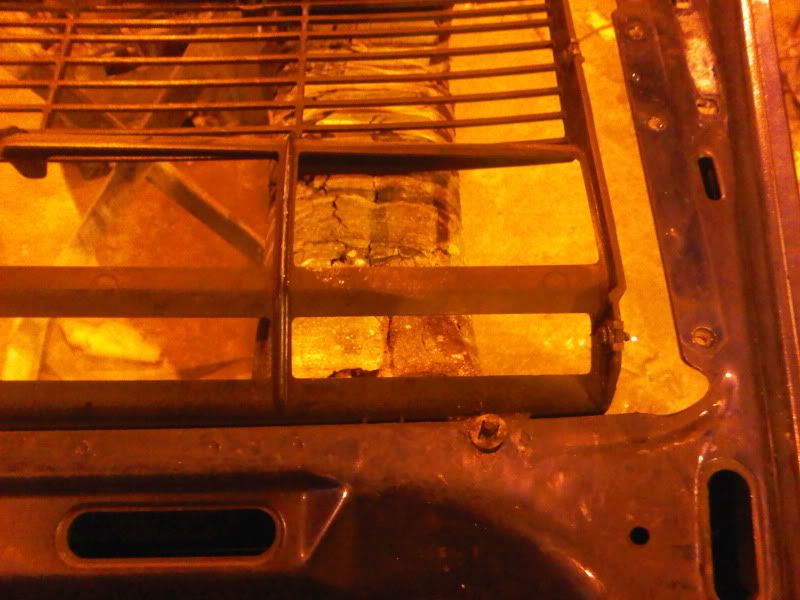
Voila
Oh and lastly the mesh grill, held on by small disc clips removed with a small screwdriver.
Voila
 02-07-2011, 03:40 PM
#283
Drifting
02-07-2011, 04:54 PM
#284
Nordschleife Master