

Pending projects and a few q?
 11-18-2008, 10:23 PM
#166
Professor of Pending Projects
Rennlist Member
Rennlist Member
Thread Starter
ok, photo upload is working. Here we go.
What is under the mat... yuck!


All the foam and rubber mat removed... before I got the vac out...


Who said there is no money in mods... found while getting all the stuff out...

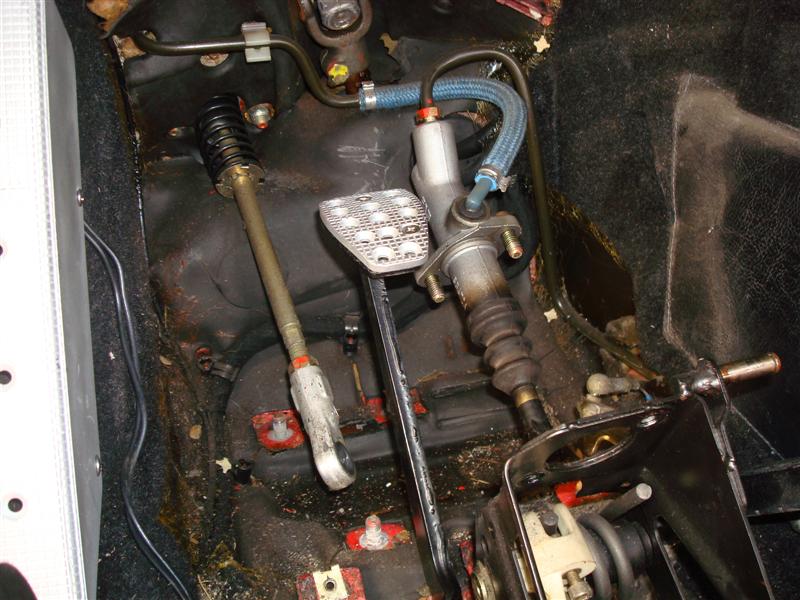
Getting to the pedal assembly, wood board out.


What is under the mat... yuck!
All the foam and rubber mat removed... before I got the vac out...
Who said there is no money in mods... found while getting all the stuff out...
Getting to the pedal assembly, wood board out.
 11-18-2008, 10:24 PM
#167
Professor of Pending Projects
Rennlist Member
Rennlist Member
Thread Starter
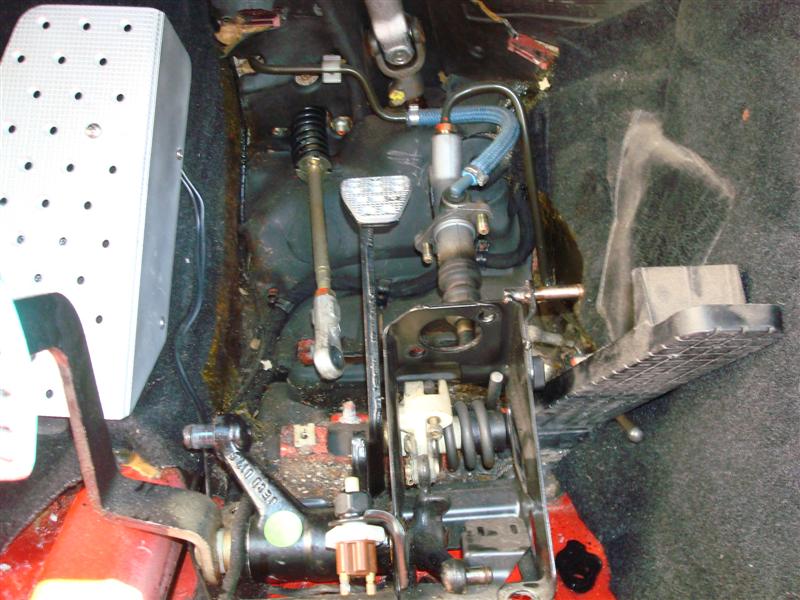
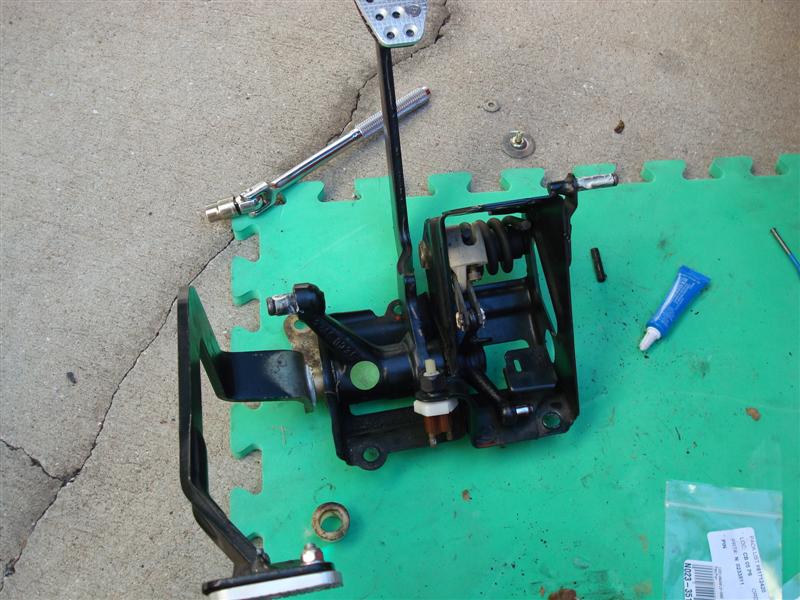
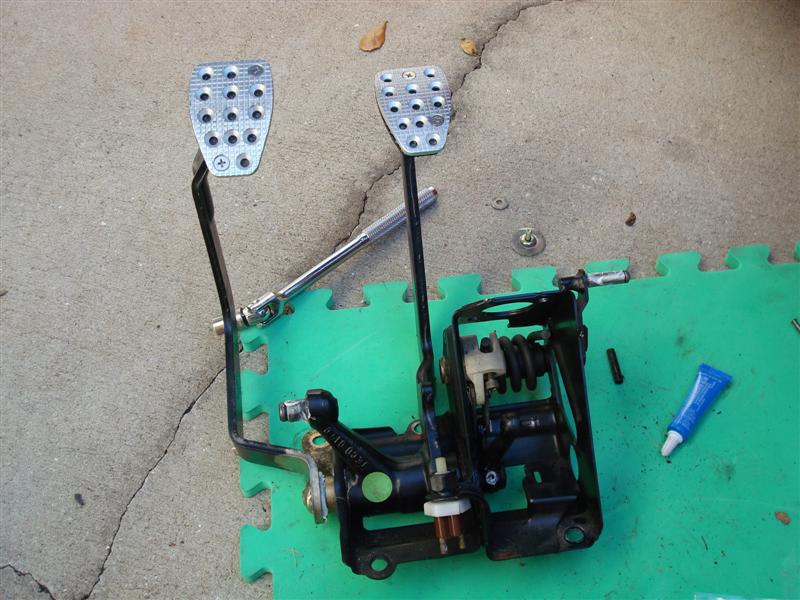
You can get the pedal cluster out without having to undo the master cylinder from the line:

Out it comes:
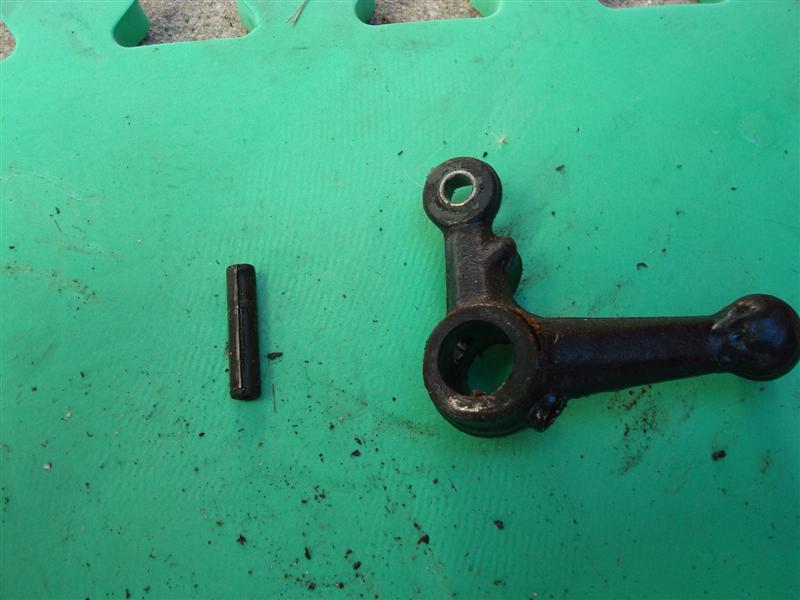
and here is the little guy we want to get out
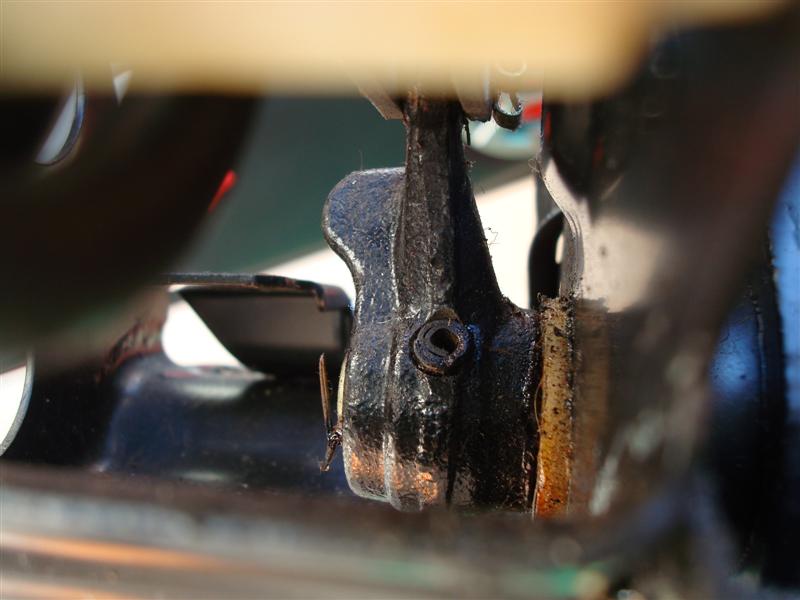
Punch it out:

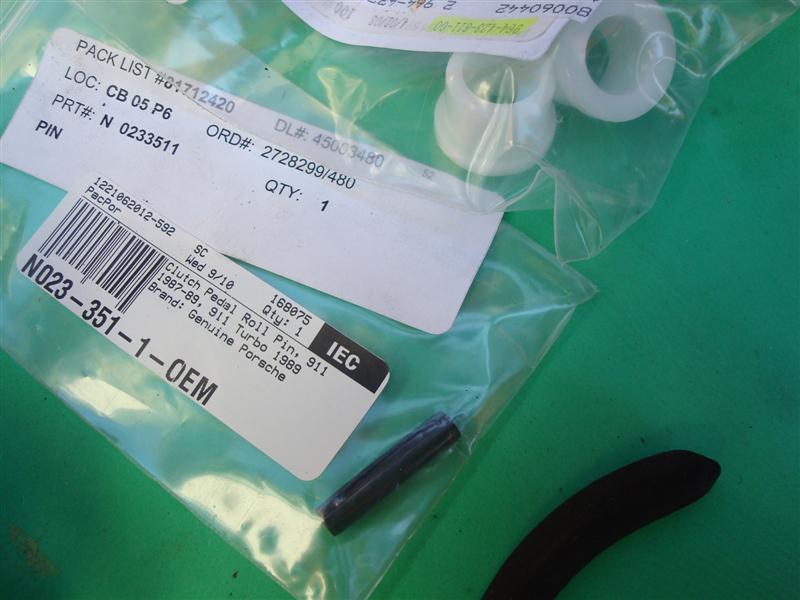
New pin and bushings
Old pin out:
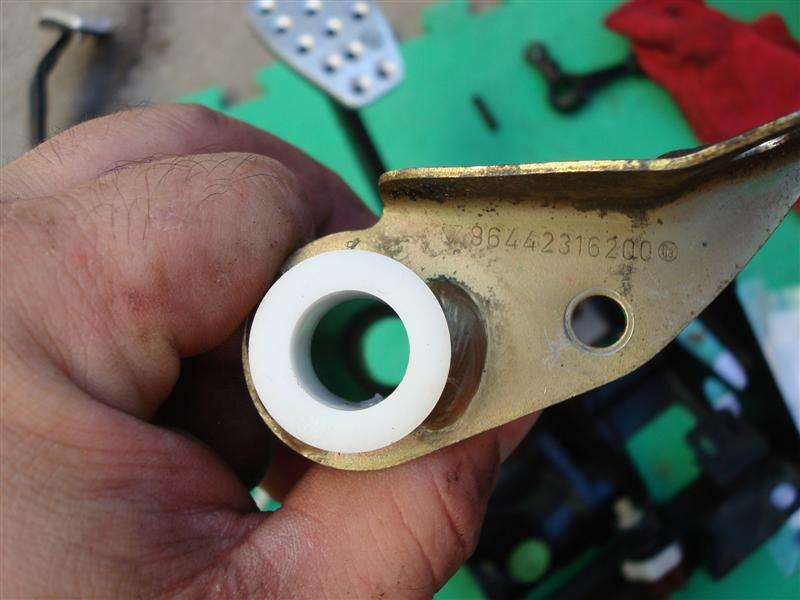
Now to remove the clutch pedal to get to the plastic bushings. Got to loosen this bolt.

Then you slide out the clutch pedal remove the center piece. Removing the plastic bushing is easy, just punch them out.

Press in the new ones:
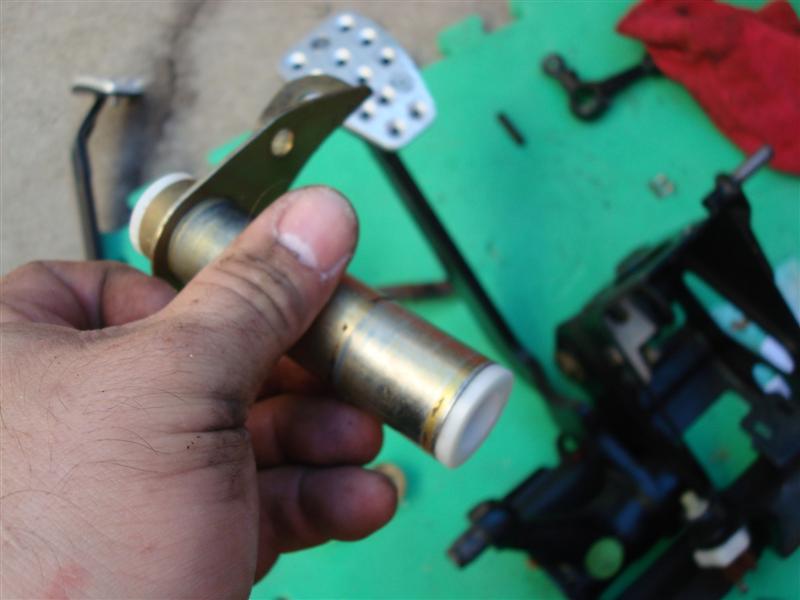
Some plastic friendly grease and slide it all back in
Out it comes:
and here is the little guy we want to get out
Punch it out:
New pin and bushings
Old pin out:
Now to remove the clutch pedal to get to the plastic bushings. Got to loosen this bolt.
Then you slide out the clutch pedal remove the center piece. Removing the plastic bushing is easy, just punch them out.
Press in the new ones:
Some plastic friendly grease and slide it all back in
11-18-2008, 10:35 PM
#168
Professor of Pending Projects
Rennlist Member
Rennlist Member
Thread Starter
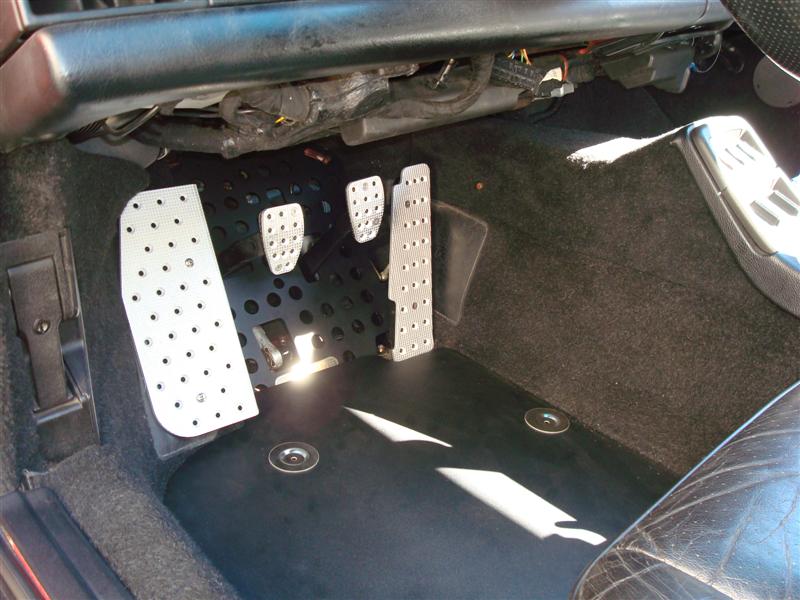
Install the pedal cluster back in

Now... the wood board is not going back, this is where the Rennline parts come in:


Now I need to raise the car... got to be raised at least 1" all around.


Now... the wood board is not going back, this is where the Rennline parts come in:
Now I need to raise the car... got to be raised at least 1" all around.
Last edited by Wachuko; 11-19-2008 at 07:45 AM.
11-18-2008, 10:44 PM
#169
Professor of Pending Projects
Rennlist Member
Rennlist Member
Thread Starter
 I am not going to take that apart again... I refuse to...
I will leave it alone for now... heck! I will leave the window open and go in and out through the window
 .
.Let me get to the suspension height and then do this at least for the driver side for now... it really does not feel like it is too much effort to close it...
 11-21-2008, 12:21 PM
#171
Professor of Pending Projects
Rennlist Member
Rennlist Member
Thread Starter
Well, I was going to wait for Chris bushings to show up and do that before doing the alignment.... I just could not wait. I got the alignment done this morning at the Porsche dealer (Jim is such a cool guy)... I really wanted to drive the car and could not deal with having it in the garage another month...
So I am now driving this baby and will plan on putting the bushings in sometime next year.
So I am now driving this baby and will plan on putting the bushings in sometime next year.
12-07-2008, 11:06 PM
#172
Professor of Pending Projects
Rennlist Member
Rennlist Member
Thread Starter
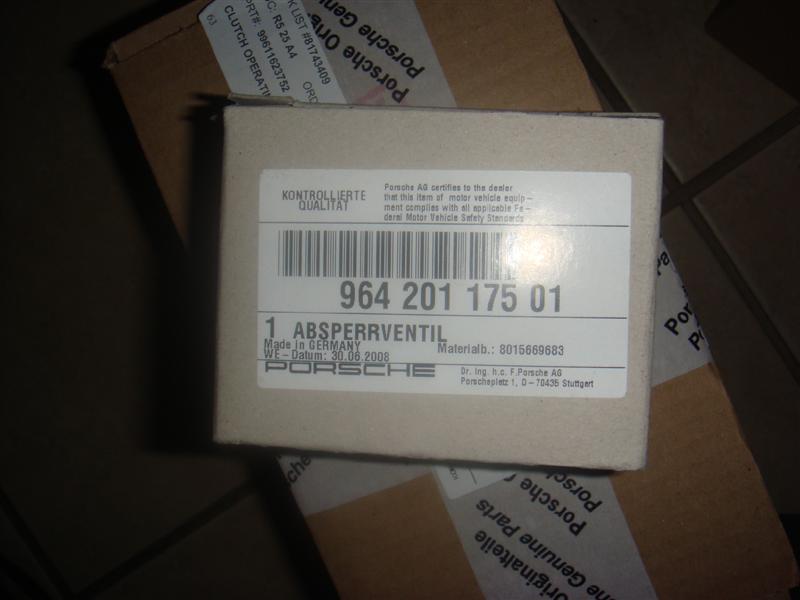
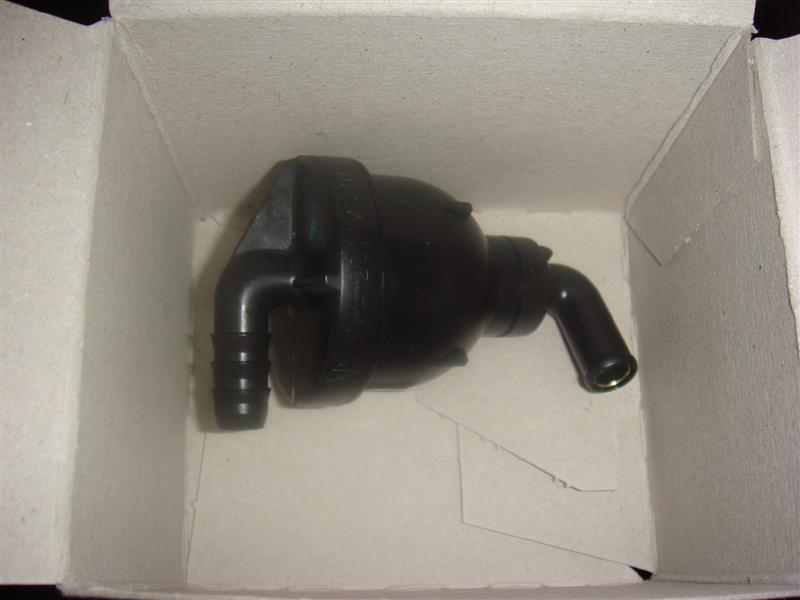
Got a few more parts to save in case I ever need them:
Gas tank check valve in case it ever goes bad... since Porsche has a tendency to raise prices, better get that now before it continues to go up... wish I had done the same with the A/C front blowers
Also got all the clips for the side sills... for when I remove all that for painting along with the bumper corner for the dual exhaust. Also got a few oil filters, fuel filters, etc... to keep a stock.
That clutch operating cylinder you see in the photo is for the 996TT (also as a spare just in case).
12-08-2008, 09:31 AM
#174
Professor of Pending Projects
Rennlist Member
Rennlist Member
Thread Starter
Drilled and bolted, correct. You can also use some of the epoxy glue that they sell for glueing door skins. Pretty strong stuff and avoids you having to drill the floor. But that still leaves the other bolts that line up with the floor beam.
03-17-2009, 01:09 PM
#177
Professor of Pending Projects
Rennlist Member
Rennlist Member
Thread Starter
face your fears and work in the car. I did all this because I knew I had people here in the forum that would help me if I got stuck. Take a lot of photos, document stuff, take your time, get the right tools if you don't have them... it is fun and the best therapy in the world!!


