

Intake madness. Teardown begins....


 11-21-2018, 06:57 PM
#273
3rd Gear

Join Date: Aug 2012
Location: Australia
Posts: 3
Likes: 0
Received 0 Likes
on
0 Posts
Fantastic result.
I was waiting for you to do a refurb on a Plastic manifold ( as promised way back in post # 6 ) for comparison.
I am curious to see if the resonance flap in the plastic manifold has the same seals as the alloy ones? I suspect mine are sucking air but cant work out how to test on the car.
I was waiting for you to do a refurb on a Plastic manifold ( as promised way back in post # 6
) for comparison.I am curious to see if the resonance flap in the plastic manifold has the same seals as the alloy ones? I suspect mine are sucking air but cant work out how to test on the car.
11-22-2018, 11:13 PM
#275
Burning Brakes
 Pulled mine off and cleaned it, works as it�s supposed to now. Did have some temporary drivability issues after reinstalling it, but it cleared up.
11-01-2019, 09:51 AM
Pulled mine off and cleaned it, works as it�s supposed to now. Did have some temporary drivability issues after reinstalling it, but it cleared up.
11-01-2019, 09:51 AM
#277
Burning Brakes
I read with great interest your experiments into softening and cleaning of hardened rubber. Would you care to comment on your final observations and do you have any other advice? I have my Wintergreen oil and am about to start down the same path that you took.
Would you still recommend a 3:1 mixture of alcohol to oil?
Given that in 24 hours the rubber went way oversize, would you use a shorter soak time?
How long did it take for the rubber to shrink back to normal size?
Thanks for this very informative thread and sharing all of what you learned.
Cheers!
Would you still recommend a 3:1 mixture of alcohol to oil?
Given that in 24 hours the rubber went way oversize, would you use a shorter soak time?
How long did it take for the rubber to shrink back to normal size?
Thanks for this very informative thread and sharing all of what you learned.
Cheers!
11-01-2019, 10:17 PM
#278
Race Car
Thread Starter
I probably soaked them too long. But they did come down in a few weeks. And are now a year later, like new.
What I've found is that not all rubber on our cars is the same - some things didn't react at all to the wintergreen oil.
That said, the main stuff did- after you have soft rubber and if you have any issues with expansion- let the rubber settle back down and make sure to give it some kind of protective coating to prevent further drying out and hardening.
My intake is still sitting on the bench. I haven't had a chance to take my car off the road for long enough to do the swap. So I'm not done with this thread yet. More will come once i get to stop dailying my 964. It's my only car, so it's tough sometimes when it has needs...
Yes btw. 3:1 mixture works well.
And your car will smell fresh and minty for ever!
The following users liked this post:
No_snivelling (11-03-2019)
02-01-2020, 10:20 PM
#281
Race Car
Thread Starter
Finally got some time on my own car today. It's been a long time, and my new mistress - the 996c4, has taken me away from the 964 for most of this winter...as have other 964...
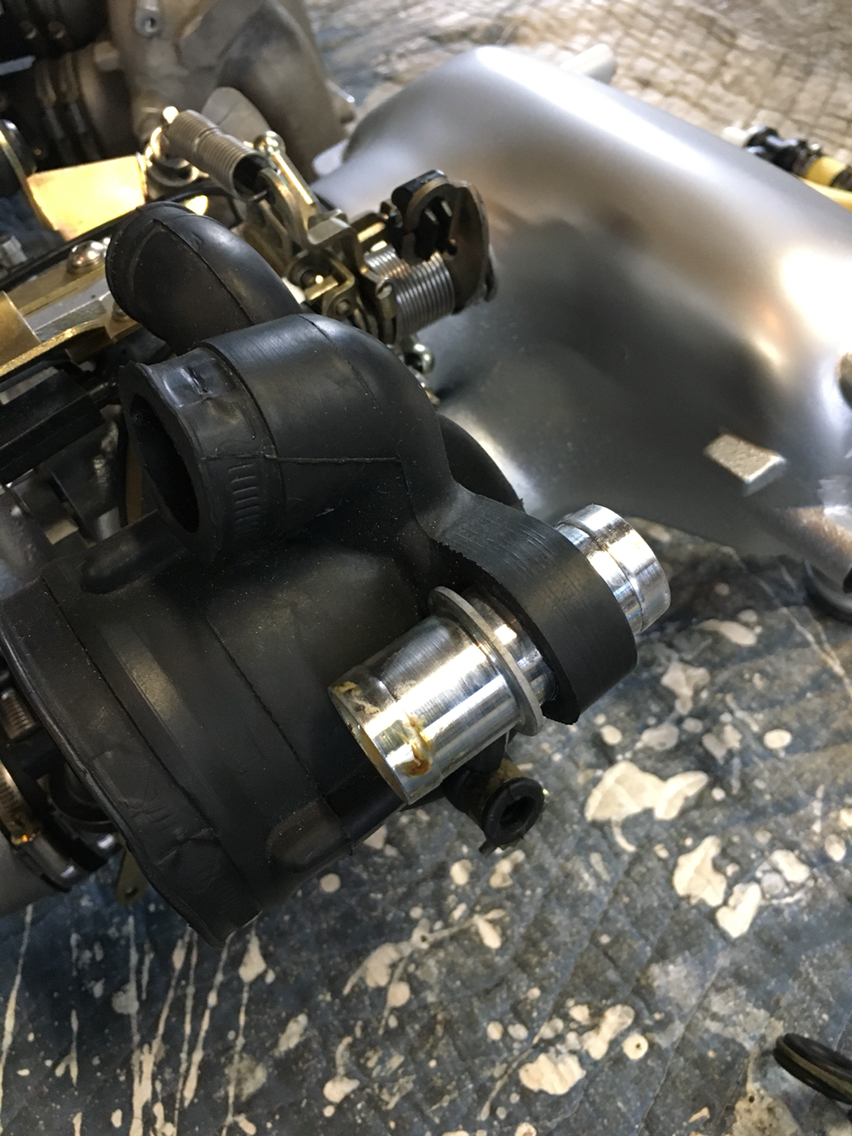
Before getting into the hell - here is the hole...
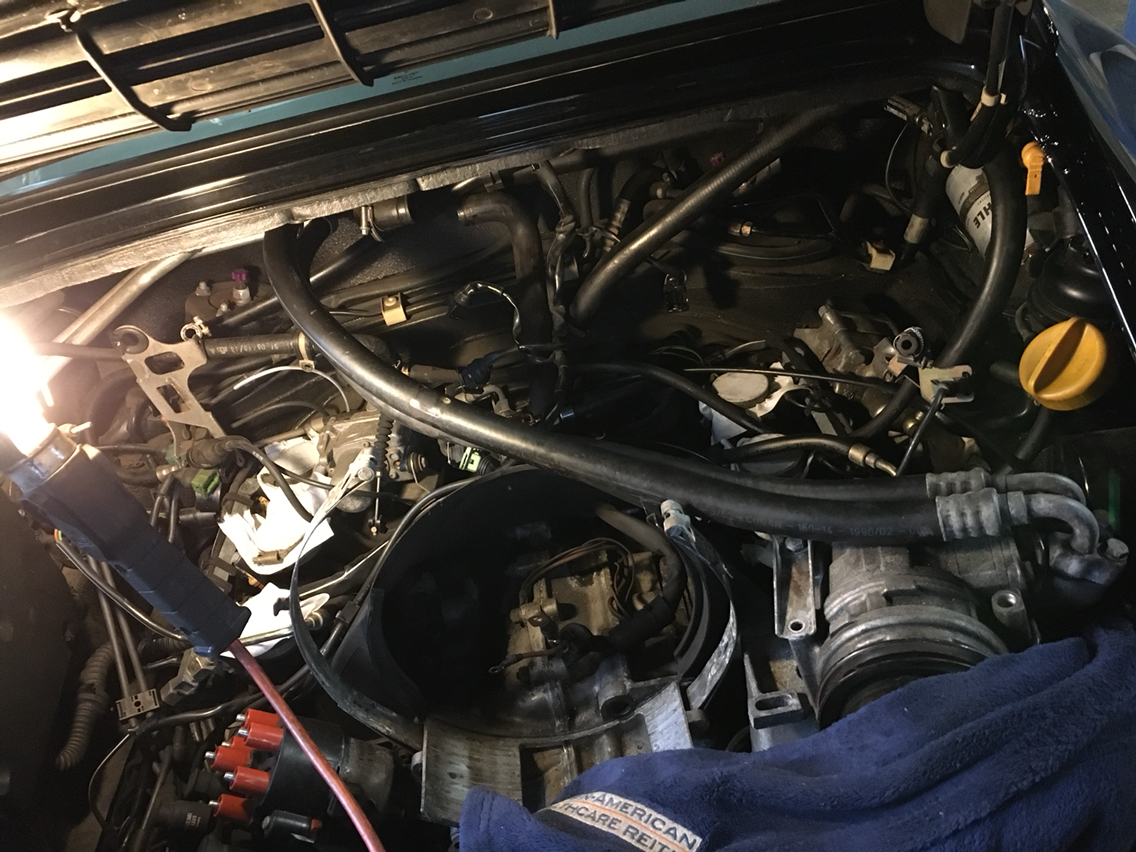
This is what i started with...
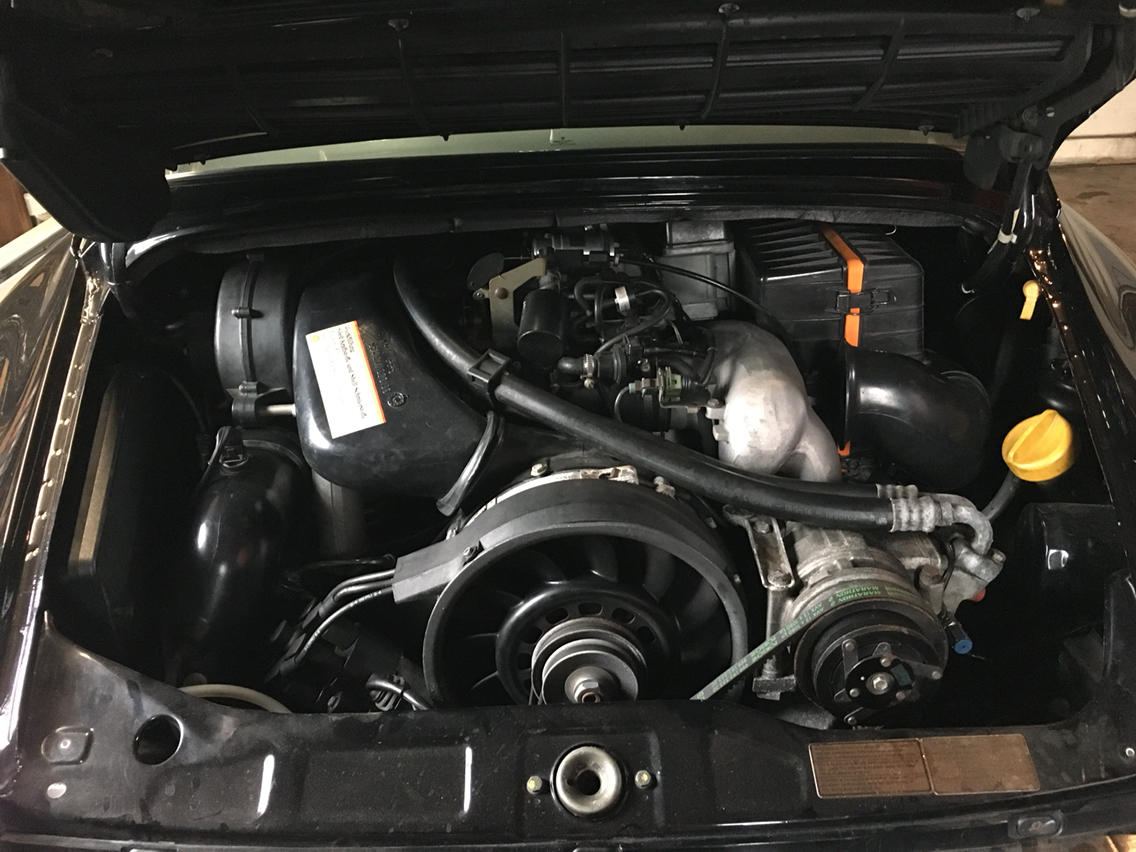
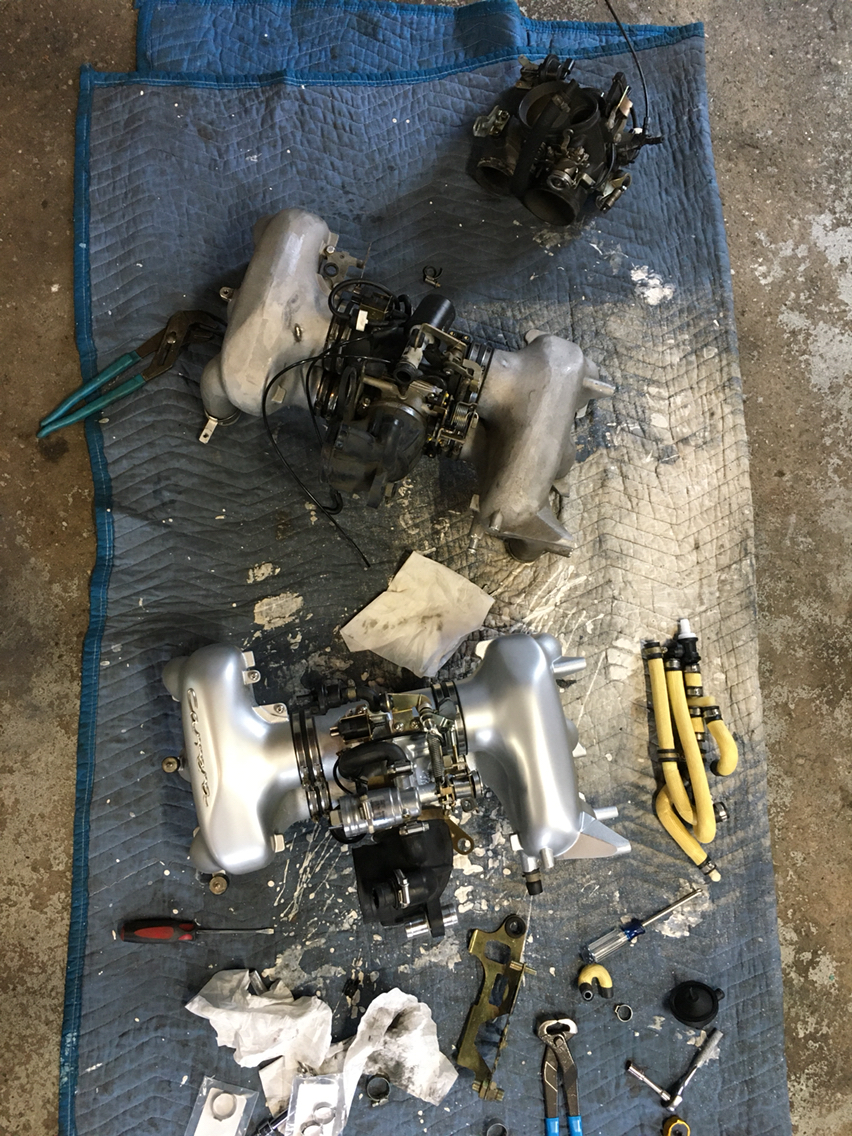
And this is what came out...
In the background there you can see the new intake.
More to come.
Before getting into the hell - here is the hole...
This is what i started with...
And this is what came out...
In the background there you can see the new intake.
More to come.
02-01-2020, 10:56 PM
#282
Race Car
Thread Starter
So here is the hell...
First, i have not the money nor the time today to do this job the way Id like, which is to go all the way and replace everything and do a lot more paint work and polishing and and and....
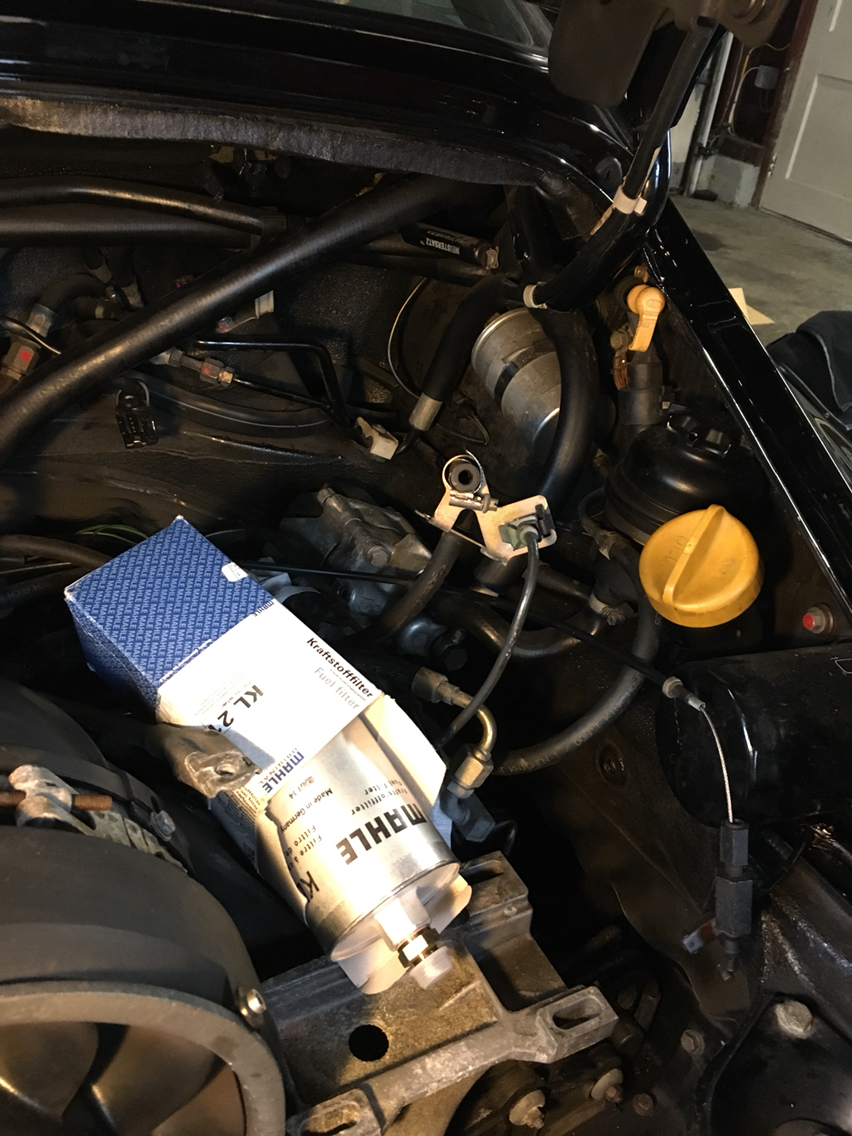
Do we remember how much fuel lines cost? My lines were replaced entirely when i did the motor in 2010, so they are ok. Not pretty, but not dangerous for the moment. So they stay. The fuel filter and fuel pressure regulator did however get the bump....
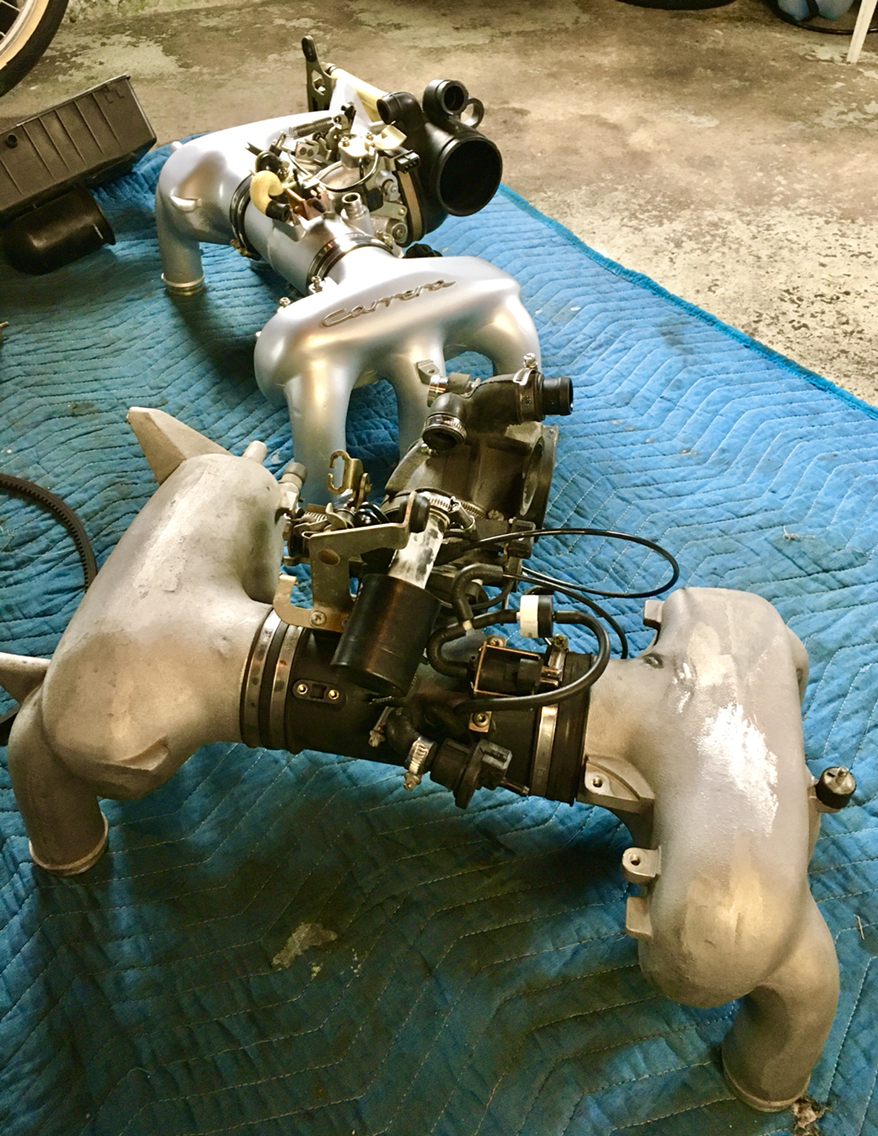
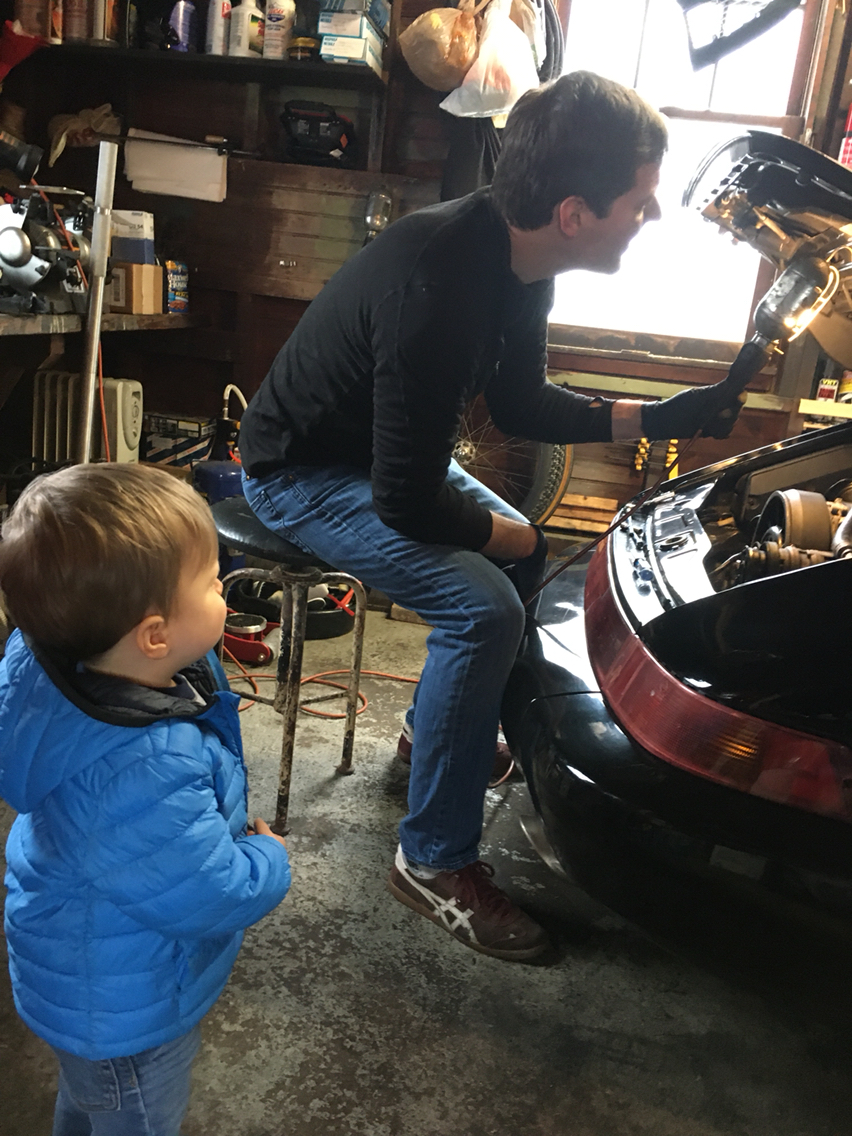
But here is the thing...if we remember back to when this all started a couple years back (hard to believe my son is almost 1.5 yrs old)...
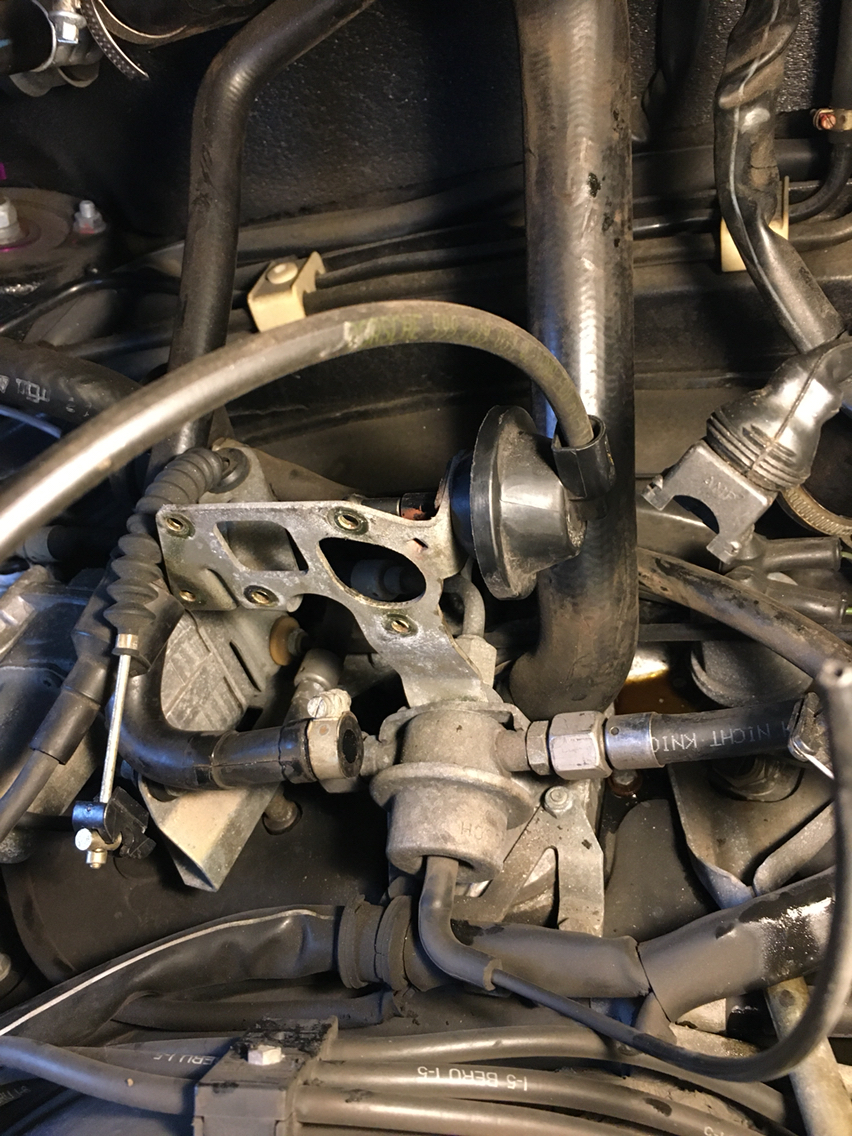
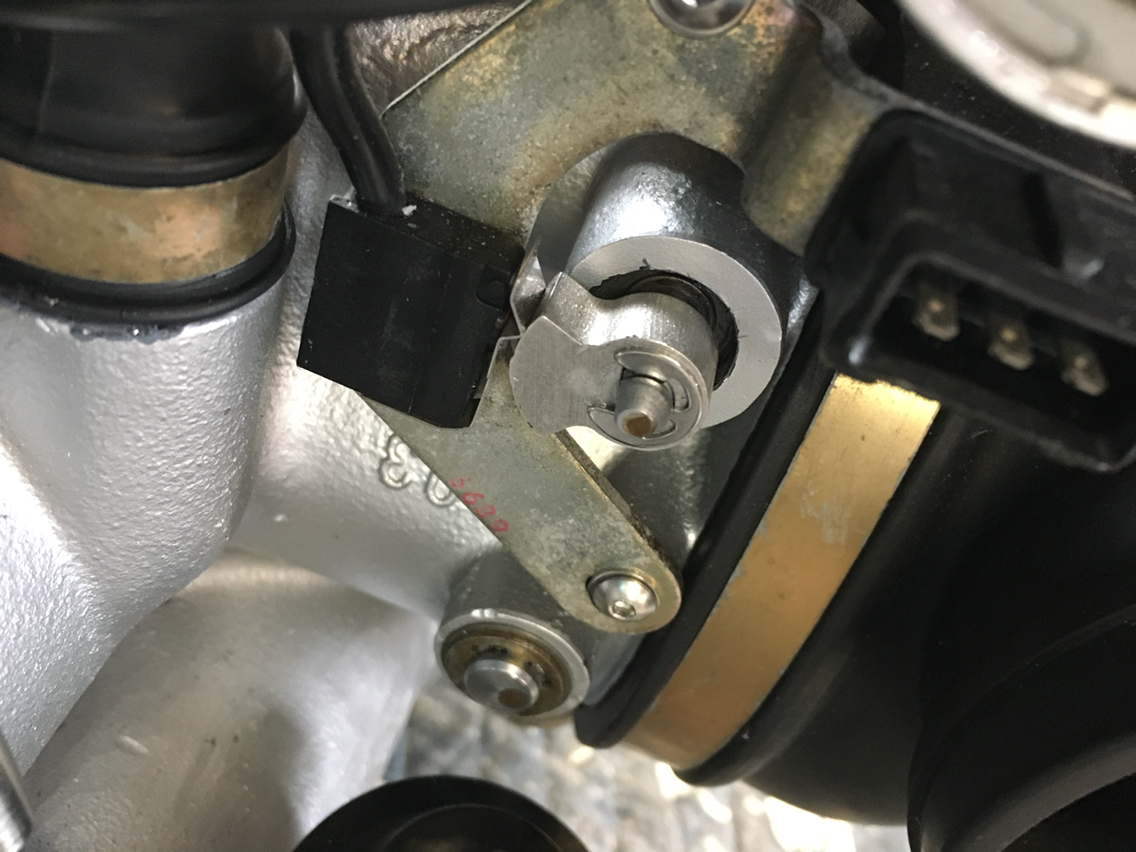
...so here's the thing....i am changing from the newer plastic cross tubes and throttle body to the older aluminum unit...and there are some differences. And when it came to the disassembly, i first hadn't done enough homework, so i got myself confused, and made it harder than i needed to, but then got totally hung up on the fuel pressure regulator....on the never version, the FPR is attached to a bracket at the backside of the cross tubes on the throttle body. On the old version, it's held to a bracket that is mounted to the motor.
So i had to buy the correct bracket, which i assume is a special order part, but let's see what sunset comes back with.
Seeing as how i have to now wait for parts...
Out came the alternator..
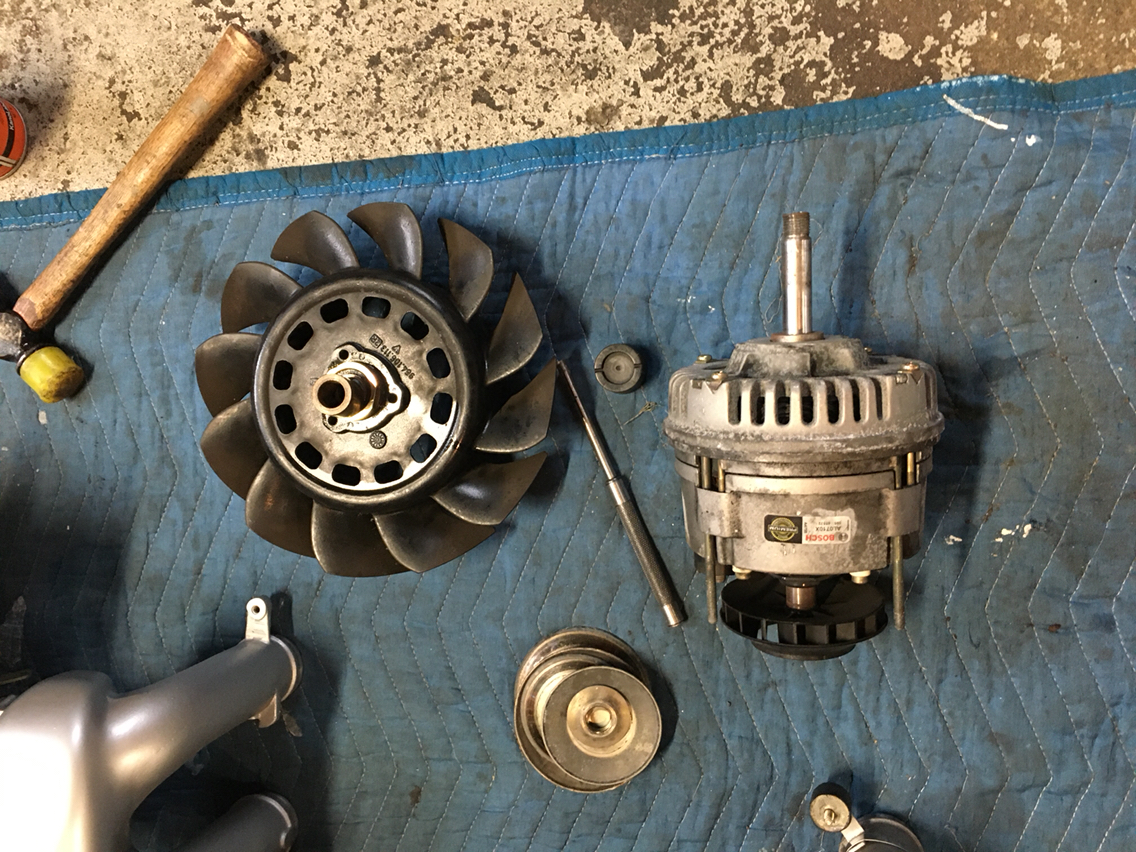
And so we find, since we looked, the fan bearing is dead, the fan itself is bent and the runout was approx 1/4 inches, and the alternator bearings are dead as well. I'm not going the salvage the fan, and though i have an new fan hub and bearing, the new fan comes with a hub, so i ordered a new fan and just bit it.
But for the alternator, I've had quite a few reman alternators through my garage, and while I'm happy enough with them....this time, seeing as how costs are getting higher- the alternator is a place to easily save a fair amount of money. So i ordered a set of bearings, a voltage regulator, and the tolerance ring for 50 dollars. I may or may not use the voltage regulator, since the one in my unit was perfect and it was making 14 volt when i last used the car.
And then...since this was a mistake i made 10 years ago, and no better time than now to fix a huge mistake from ones past...
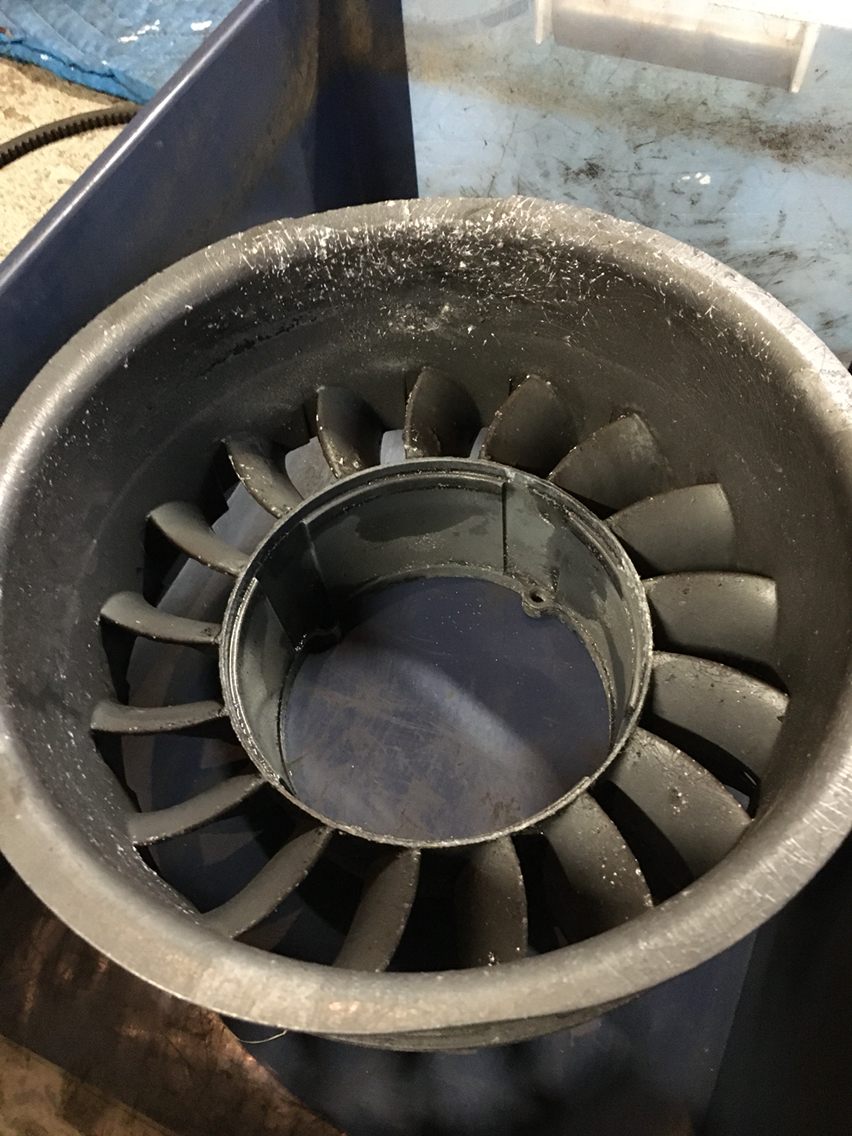
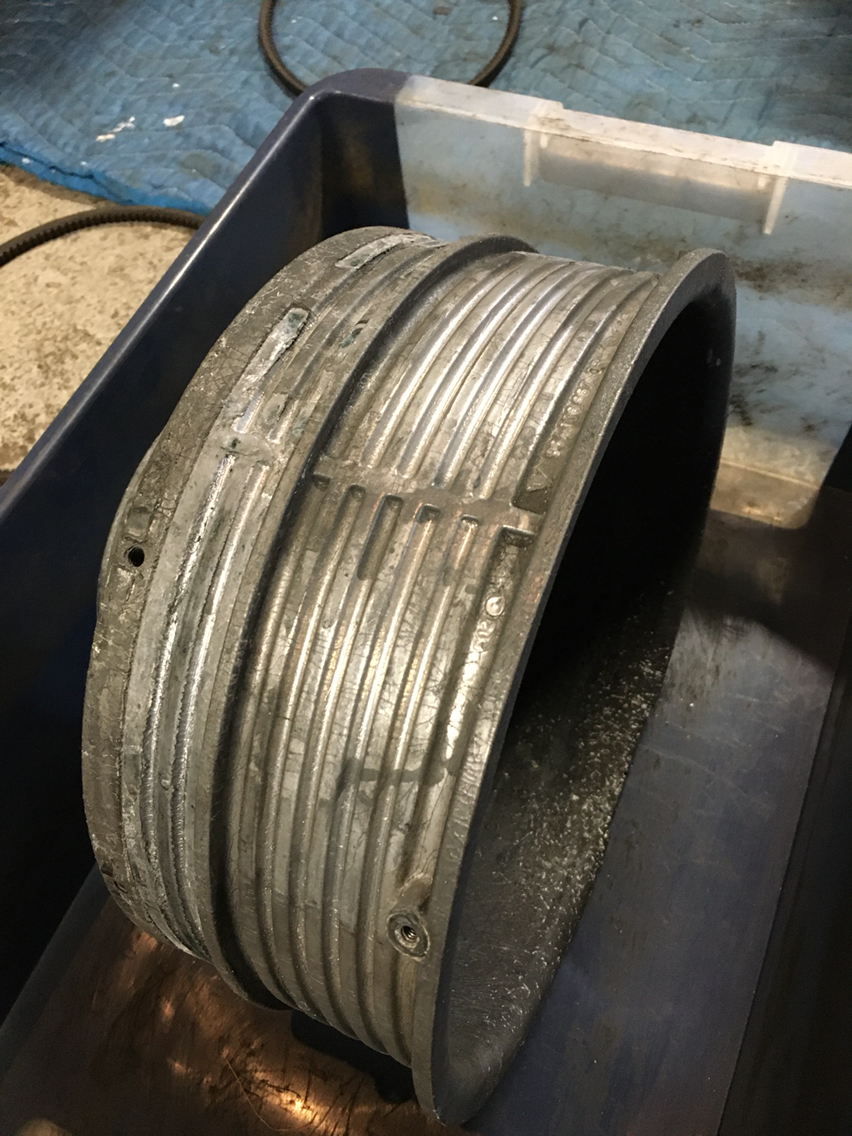
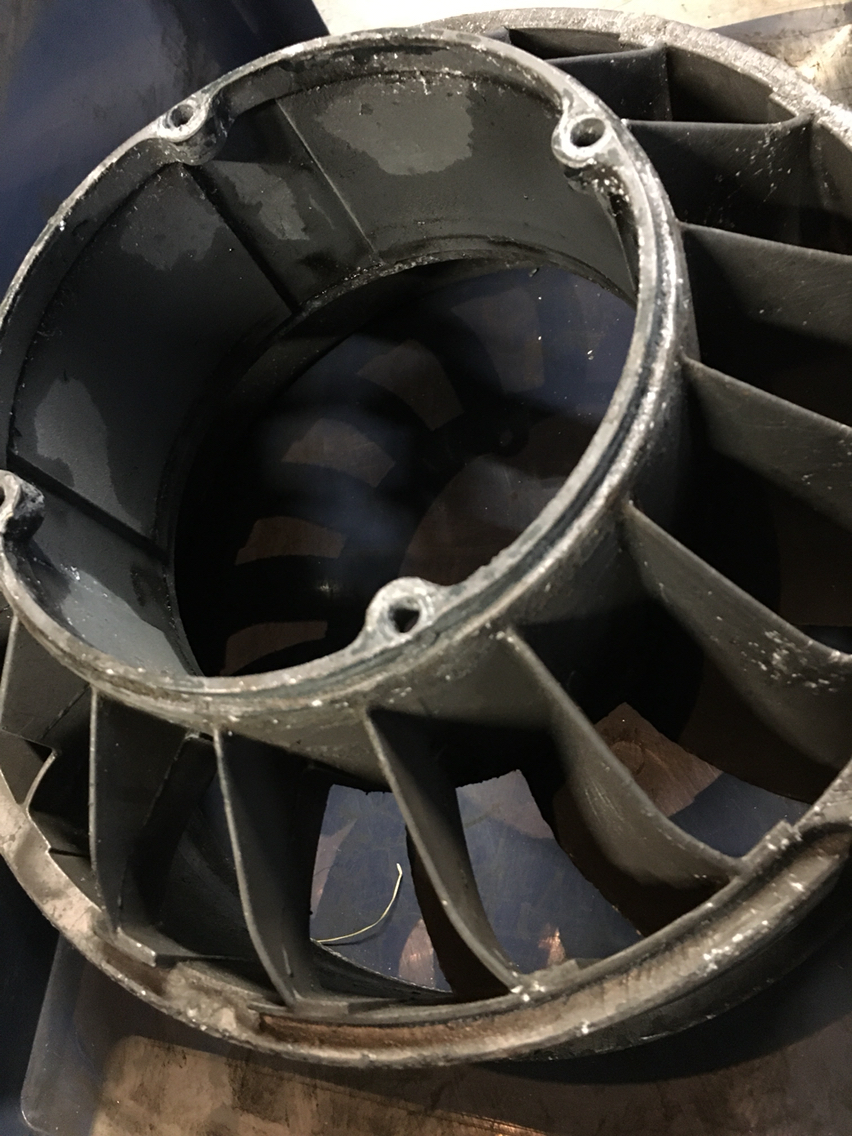
This fan housing was powder coated terribly when i did the motor. Huge mistake to go to someone cheap to do the powder. So it's now getting a chemical stripping...Hope this works out.
That's all for now. I thought to start down the rabbit hole...and to reseal the stacks, and take off the shroud and clean the motor up and inspect, and then to replace fuel lines like i mentioned above...but then the injectors come out and off to witchhunter and then and then and then...where does it stop?
So i stopped. Not happy about it- but I'll be back in there at some point for a clutch or something and maybe then drop the extra few k for all the other stuff that i want to do...And maybe by then, intake 2.0 will be done. (Haven't started the second one yet, but it's coming)
That's where we are at the moment. I'll be out there tomorrow doing some cleaning. The engine bay is gross. Needs a lot of attention.
First, i have not the money nor the time today to do this job the way Id like, which is to go all the way and replace everything and do a lot more paint work and polishing and and and....
Do we remember how much fuel lines cost? My lines were replaced entirely when i did the motor in 2010, so they are ok. Not pretty, but not dangerous for the moment. So they stay. The fuel filter and fuel pressure regulator did however get the bump....
But here is the thing...if we remember back to when this all started a couple years back (hard to believe my son is almost 1.5 yrs old)...
...so here's the thing....i am changing from the newer plastic cross tubes and throttle body to the older aluminum unit...and there are some differences. And when it came to the disassembly, i first hadn't done enough homework, so i got myself confused, and made it harder than i needed to, but then got totally hung up on the fuel pressure regulator....on the never version, the FPR is attached to a bracket at the backside of the cross tubes on the throttle body. On the old version, it's held to a bracket that is mounted to the motor.
So i had to buy the correct bracket, which i assume is a special order part, but let's see what sunset comes back with.
Seeing as how i have to now wait for parts...
Out came the alternator..
And so we find, since we looked, the fan bearing is dead, the fan itself is bent and the runout was approx 1/4 inches, and the alternator bearings are dead as well. I'm not going the salvage the fan, and though i have an new fan hub and bearing, the new fan comes with a hub, so i ordered a new fan and just bit it.
But for the alternator, I've had quite a few reman alternators through my garage, and while I'm happy enough with them....this time, seeing as how costs are getting higher- the alternator is a place to easily save a fair amount of money. So i ordered a set of bearings, a voltage regulator, and the tolerance ring for 50 dollars. I may or may not use the voltage regulator, since the one in my unit was perfect and it was making 14 volt when i last used the car.
And then...since this was a mistake i made 10 years ago, and no better time than now to fix a huge mistake from ones past...
This fan housing was powder coated terribly when i did the motor. Huge mistake to go to someone cheap to do the powder. So it's now getting a chemical stripping...Hope this works out.
That's all for now. I thought to start down the rabbit hole...and to reseal the stacks, and take off the shroud and clean the motor up and inspect, and then to replace fuel lines like i mentioned above...but then the injectors come out and off to witchhunter and then and then and then...where does it stop?
So i stopped. Not happy about it- but I'll be back in there at some point for a clutch or something and maybe then drop the extra few k for all the other stuff that i want to do...And maybe by then, intake 2.0 will be done. (Haven't started the second one yet, but it's coming)
That's where we are at the moment. I'll be out there tomorrow doing some cleaning. The engine bay is gross. Needs a lot of attention.
02-02-2020, 06:12 PM
#283
Race Car
Thread Starter
Another day in the books, feels like i did nothing, but there was a huge amount done in preparation for new parts arriving. And a lot of cleaning in the now totally accessible engine bay....and then yet more deliberating over ripping out the rest and more cleaning and replacing seals etc...and then i thought "no".
So - question....why is there oil foam in the breather tube?
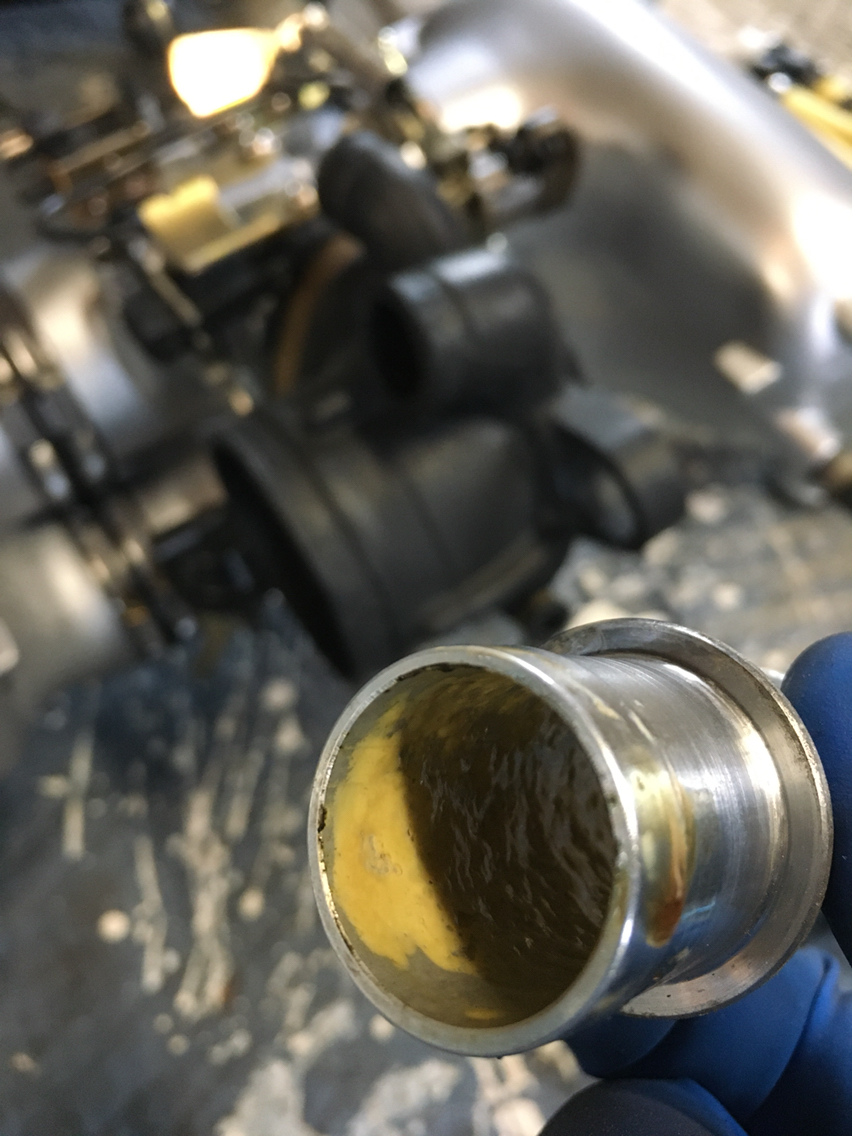
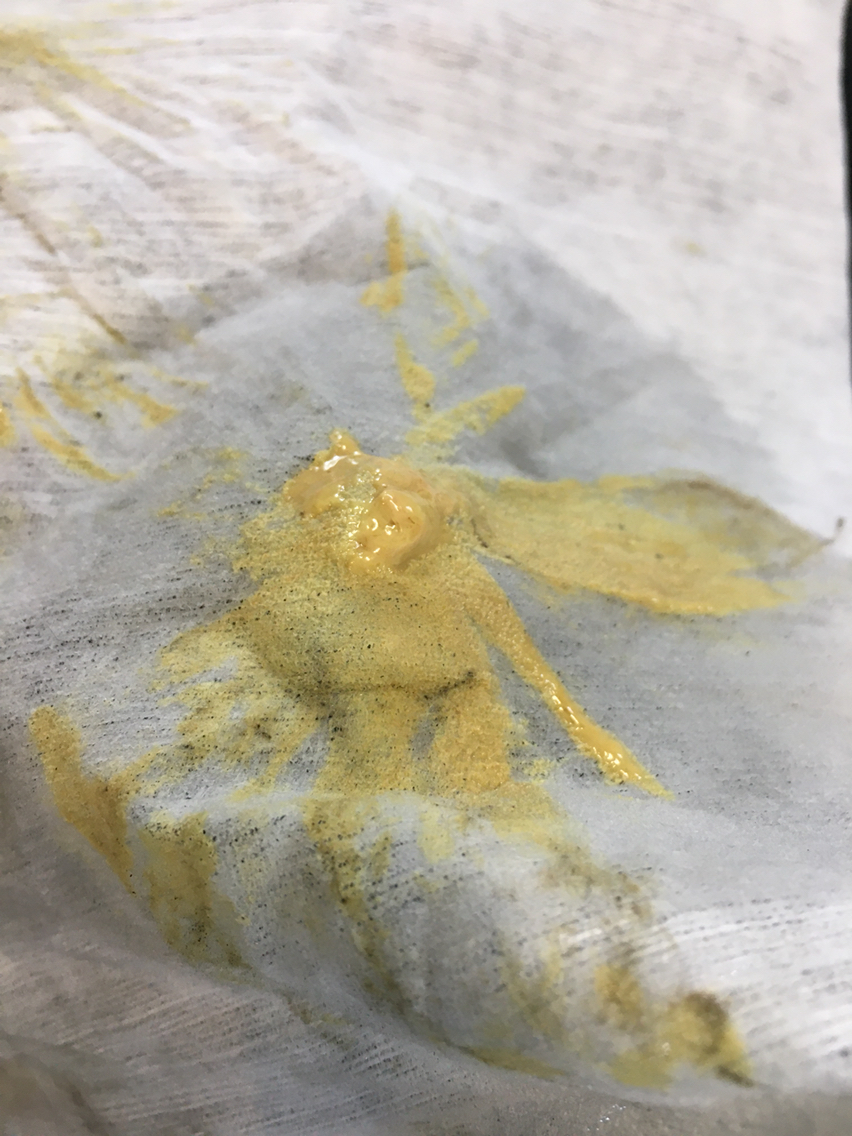
It's very odd. Strange that there seems to be a lot of it in there and it's very high up. Caked gummy stuff....thoughts?
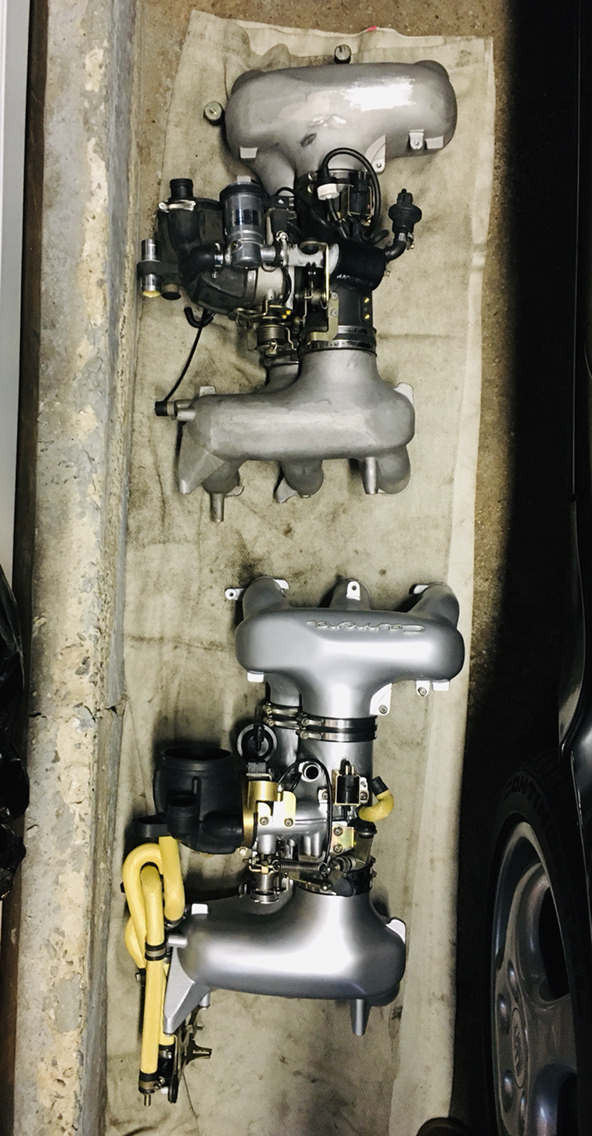
The rest of the day was spent alternately btw powder coat removal - which is a horrible job-

And just moving stuff from one intake to the other and re-routing vacuum hoses and trying to remember what went where so i can backdate the system properly.
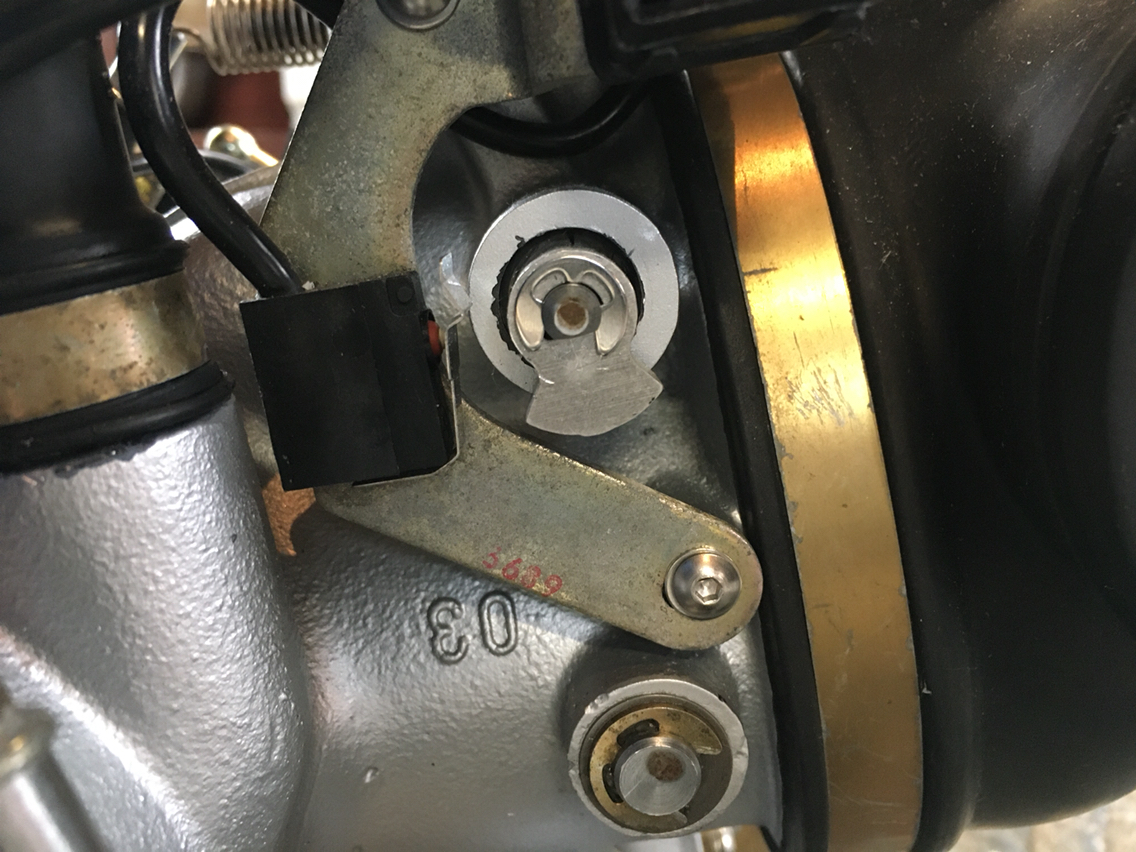
Here is a quickie of the WOT do-dad installed. I still have a bunch. So if anyone needs one feel free to pm me. Once they are done, i will run off another set if there is demand. But the demand has been so slow i think we may have covered all current needs.
Anyway- here is a pic of where things are. Doesn't look much different than yesterday. But we are moving forward...
So - question....why is there oil foam in the breather tube?
It's very odd. Strange that there seems to be a lot of it in there and it's very high up. Caked gummy stuff....thoughts?
The rest of the day was spent alternately btw powder coat removal - which is a horrible job-
And just moving stuff from one intake to the other and re-routing vacuum hoses and trying to remember what went where so i can backdate the system properly.
Here is a quickie of the WOT do-dad installed. I still have a bunch. So if anyone needs one feel free to pm me. Once they are done, i will run off another set if there is demand. But the demand has been so slow i think we may have covered all current needs.
Anyway- here is a pic of where things are. Doesn't look much different than yesterday. But we are moving forward...
02-02-2020, 06:55 PM
#284

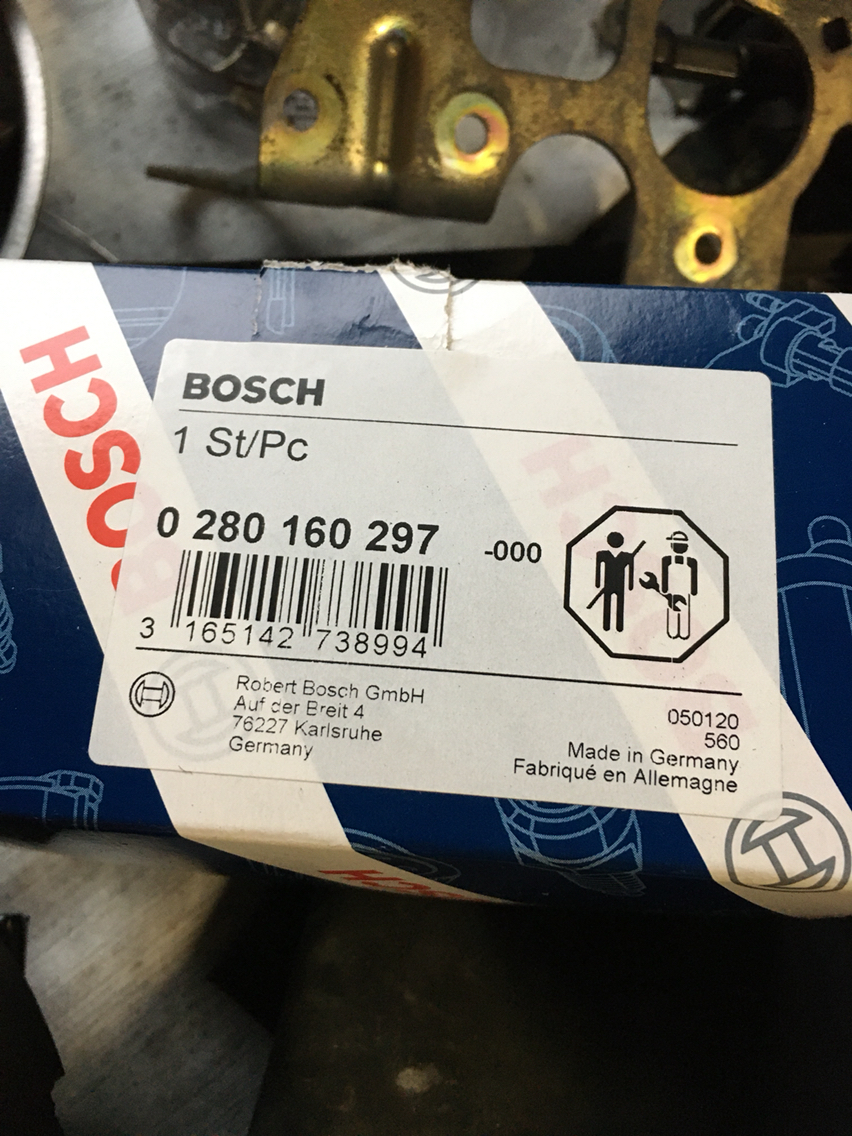
On the replacement parts...remember way back i had found that a bunch of things on the car were made by third party suppliers. So when you look at their part numbers, they aren't the same today as they were 30 years ago, and Porsche has their part number, but to find the identical part, you can't use Porsche's part number, you have to use the new third party part number...which Porsche doesn't supply you with. And so a 20 dollar part becomes an 80 dollar part...
So here is one of them...
Attachment 1295452
It's made by Pierburg
Attachment 1295449
But - on our car, the back end of it has to be blocked off with a stopper...
Attachment 1295450
Attachment 1295451
And done. New part at a significantly lower cost than going to Porsche. And Porsche would send the exact same part.
02-03-2020, 05:08 PM
#285
Race Car
Thread Starter
That's an interesting point. I hadn't considered that. The valve is not actuated by vacuum however, it opens when the Wide open throttle micro switch is pressed.
The this would raise testing questions...anyone want to venture a guess how to test?
The this would raise testing questions...anyone want to venture a guess how to test?