

Intake madness. Teardown begins....

 10-21-2018, 08:00 PM
#242
Race Car
Thread Starter
I brought my 456 intake manifold and the throttle body to caffeine and carburetors in new Canaan today...
Got some good positive ego feeding comments...a couple of the guys actually commented on some of the details that no one would ever understand...but they are there.
The hardest thing one can do...is make something hard, look easy.
Not saying i do this (wouldn't want to project the image of my massive ego. Scary stuff), but , but, it is what i strive to do.
Biggest issue with singer...is that i can't do that, yu can't do that, he can't do that...and nor can they...it's so good that it's impossible and can only be bought...not made.
So on to the image of the guy in the shop...or rather - me - sitting on my basement floor watching a one hour panel discussion on Carlo Molino on YouTube...after, of course, having watched a 908 scream through a lap of the targa florio, a history of Porsche documentary, "Porsche disrupter " documentary, and some fine carbon fiber wheel building, by a guy in a shop, with a bench, in Sweden. He made it look so easy...
I however, moved on to the bisiluro, and Carlo Molino...and sanding. So much sanding, in fact, that there is skin missing from my hands, in some places. Never a weekend passes that i don't donate skin and blood to our great earth.
Yes all that, because what i was doing was sooooo boring and not really worth the pictures...but here you go.
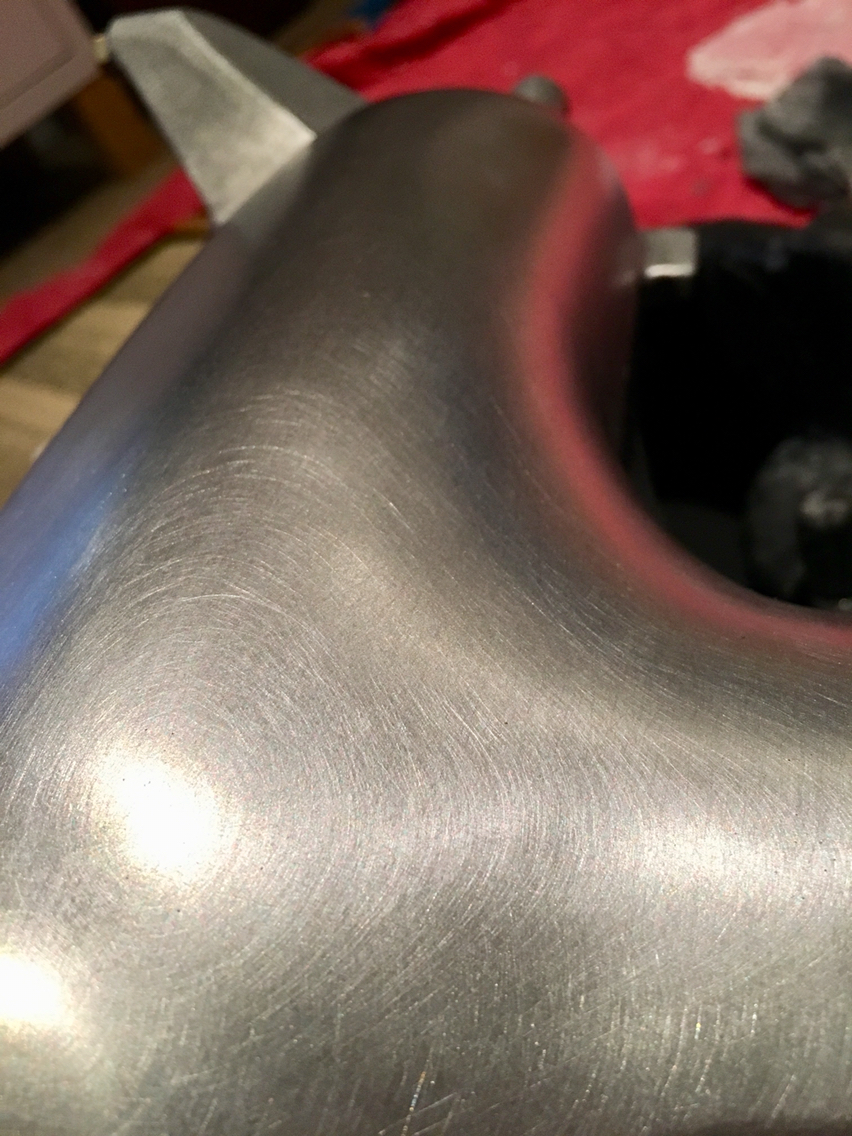
It had been roughed out, so now onto reshaping:
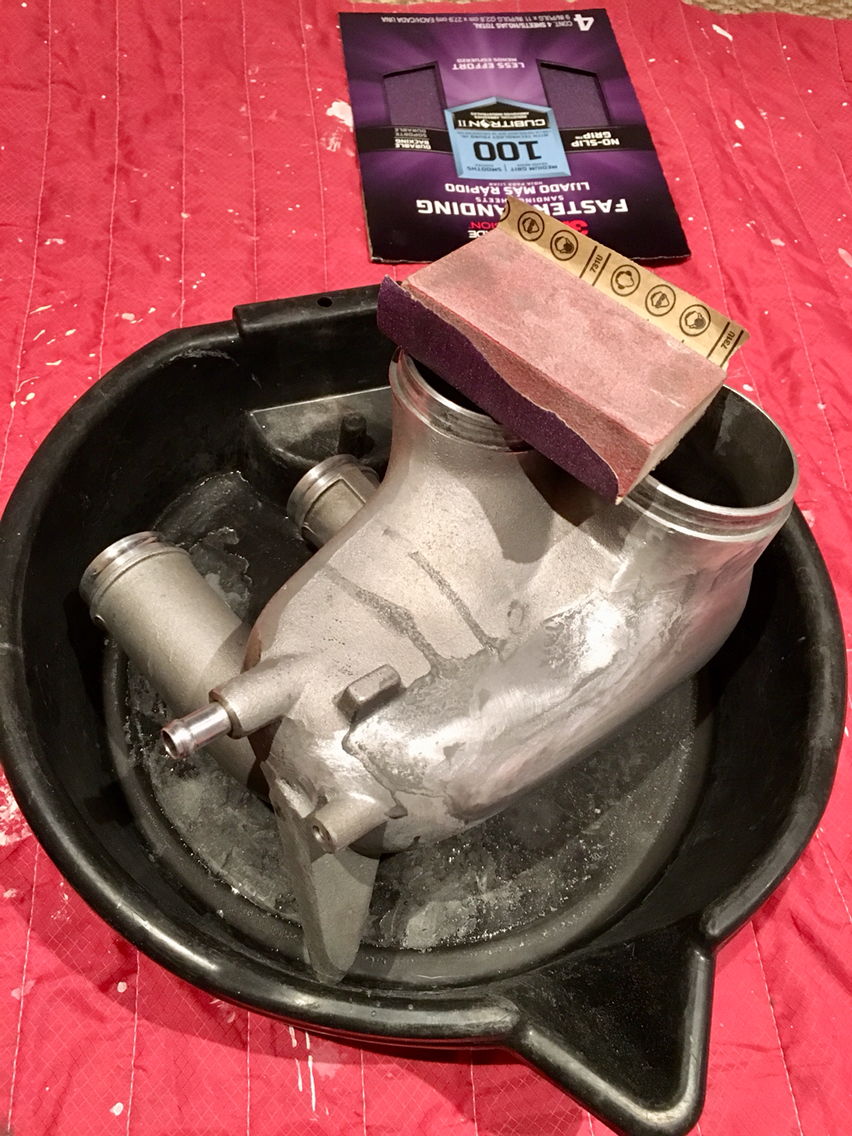
100 grit sandpaper, shape shape shape, then some 220 to take a look:
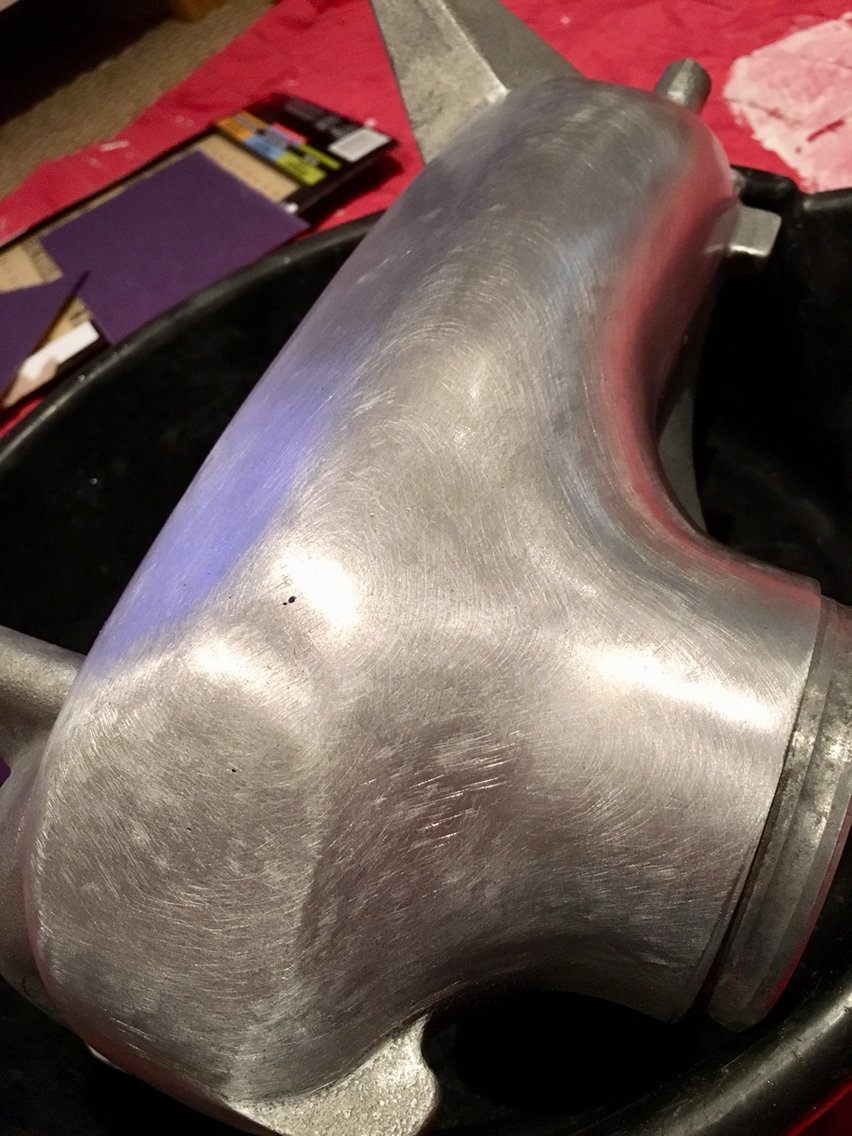
Then back to it, then 220 to check again:
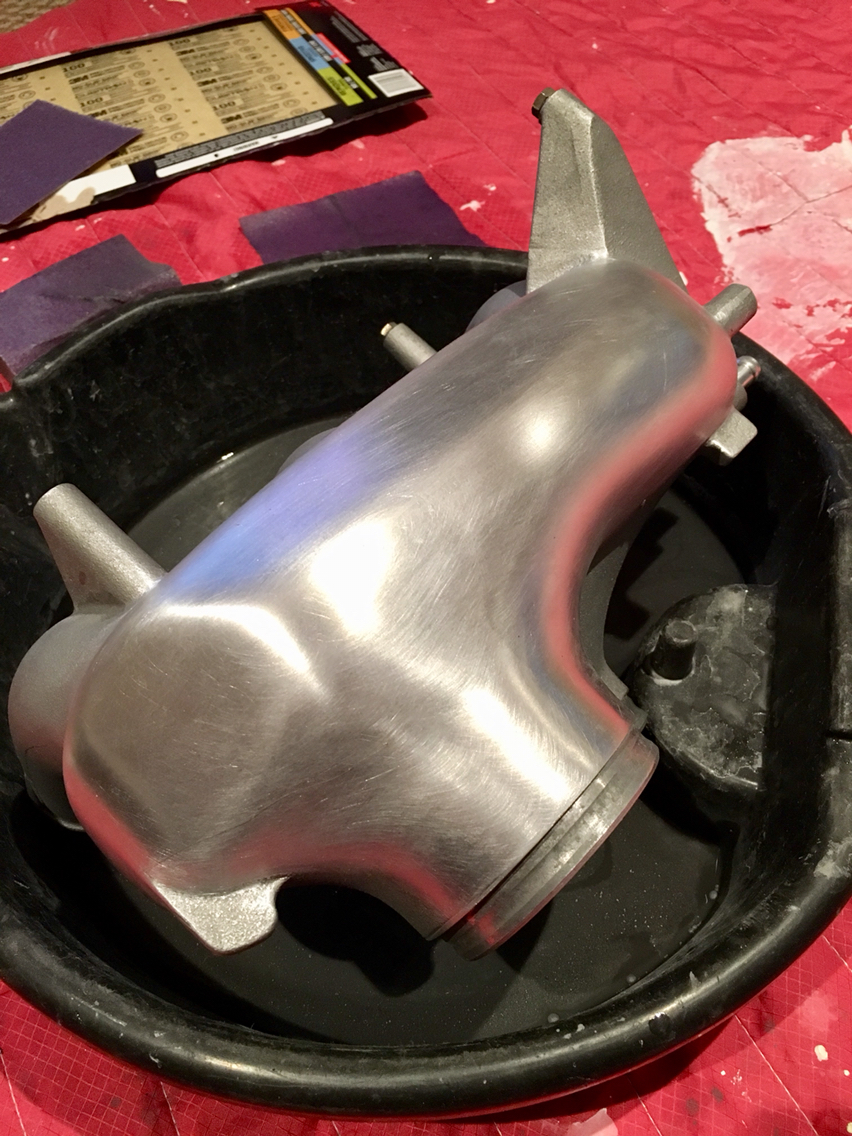
Then hit some problem areas with 100 and then 220 again, and we are getting very close to right:
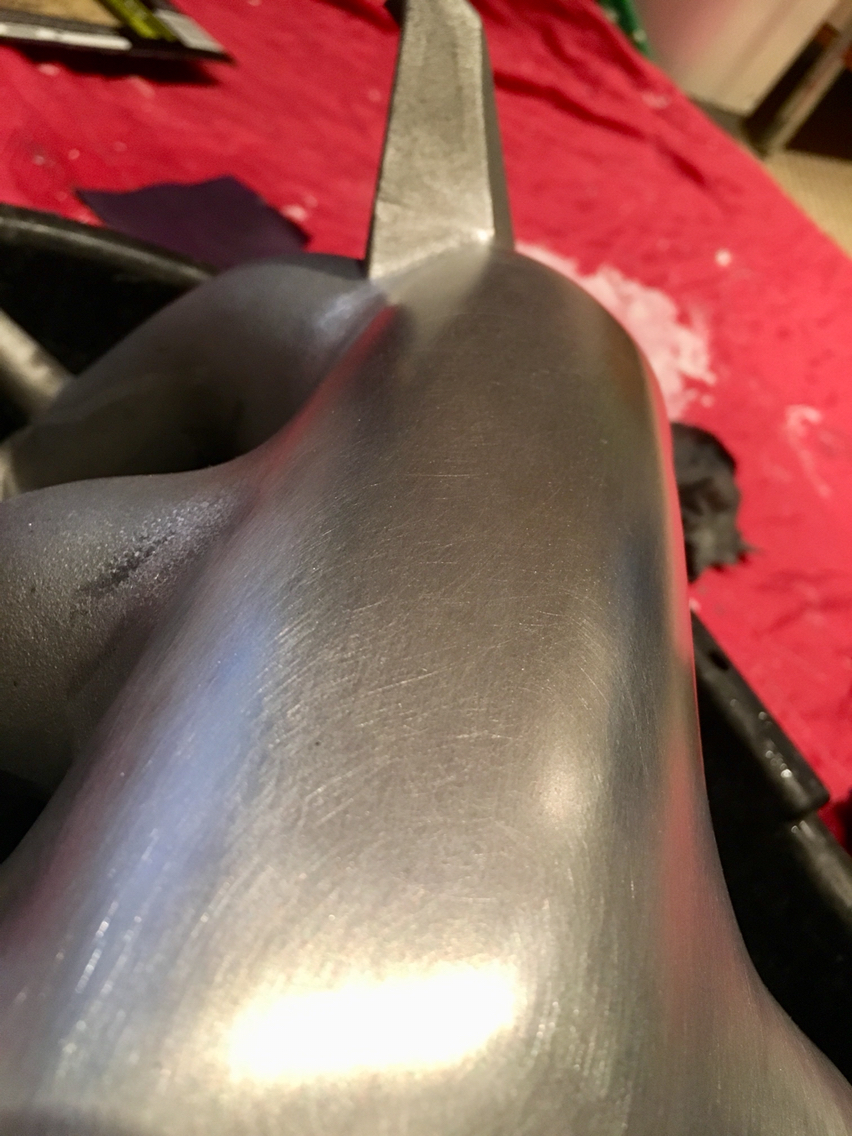
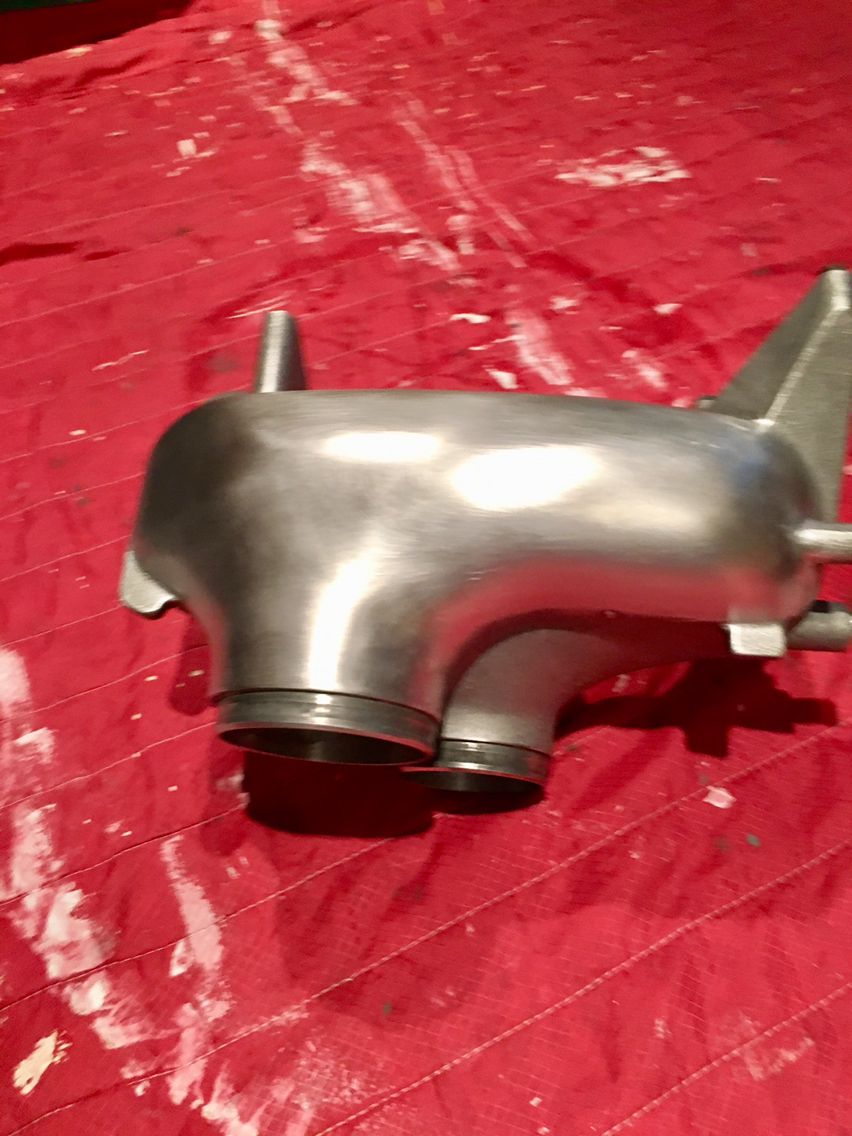
And that is all for the day. Six hours of sanding is plenty for one day.
Got some good positive ego feeding comments...a couple of the guys actually commented on some of the details that no one would ever understand...but they are there.
The hardest thing one can do...is make something hard, look easy.
Not saying i do this (wouldn't want to project the image of my massive ego. Scary stuff), but , but, it is what i strive to do.
Biggest issue with singer...is that i can't do that, yu can't do that, he can't do that...and nor can they...it's so good that it's impossible and can only be bought...not made.
So on to the image of the guy in the shop...or rather - me - sitting on my basement floor watching a one hour panel discussion on Carlo Molino on YouTube...after, of course, having watched a 908 scream through a lap of the targa florio, a history of Porsche documentary, "Porsche disrupter " documentary, and some fine carbon fiber wheel building, by a guy in a shop, with a bench, in Sweden. He made it look so easy...
I however, moved on to the bisiluro, and Carlo Molino...and sanding. So much sanding, in fact, that there is skin missing from my hands, in some places. Never a weekend passes that i don't donate skin and blood to our great earth.
Yes all that, because what i was doing was sooooo boring and not really worth the pictures...but here you go.
It had been roughed out, so now onto reshaping:
100 grit sandpaper, shape shape shape, then some 220 to take a look:
Then back to it, then 220 to check again:
Then hit some problem areas with 100 and then 220 again, and we are getting very close to right:
And that is all for the day. Six hours of sanding is plenty for one day.
 10-21-2018, 08:28 PM
#244
Race Car
Thread Starter
Thank you! It's very difficult to do this stuff when you have so little free time. Can't wait for this kid to get a little older so i can hand him the sand paper...of course, at that point, it'll be to wet sand the rusty old 964 to prep it for a respray...
2036, he will be 18. He will need it for college...girls will dig it. "You mean you drive your own car???!??!"
2036, he will be 18. He will need it for college...girls will dig it. "You mean you drive your own car???!??!"
10-22-2018, 04:06 AM
#246
Looks Great! Can't wait to see it bolted in
10-22-2018, 10:22 AM
#247
Race Car
Thread Starter

 11-11-2018, 01:28 PM
#249
Race Car
Thread Starter
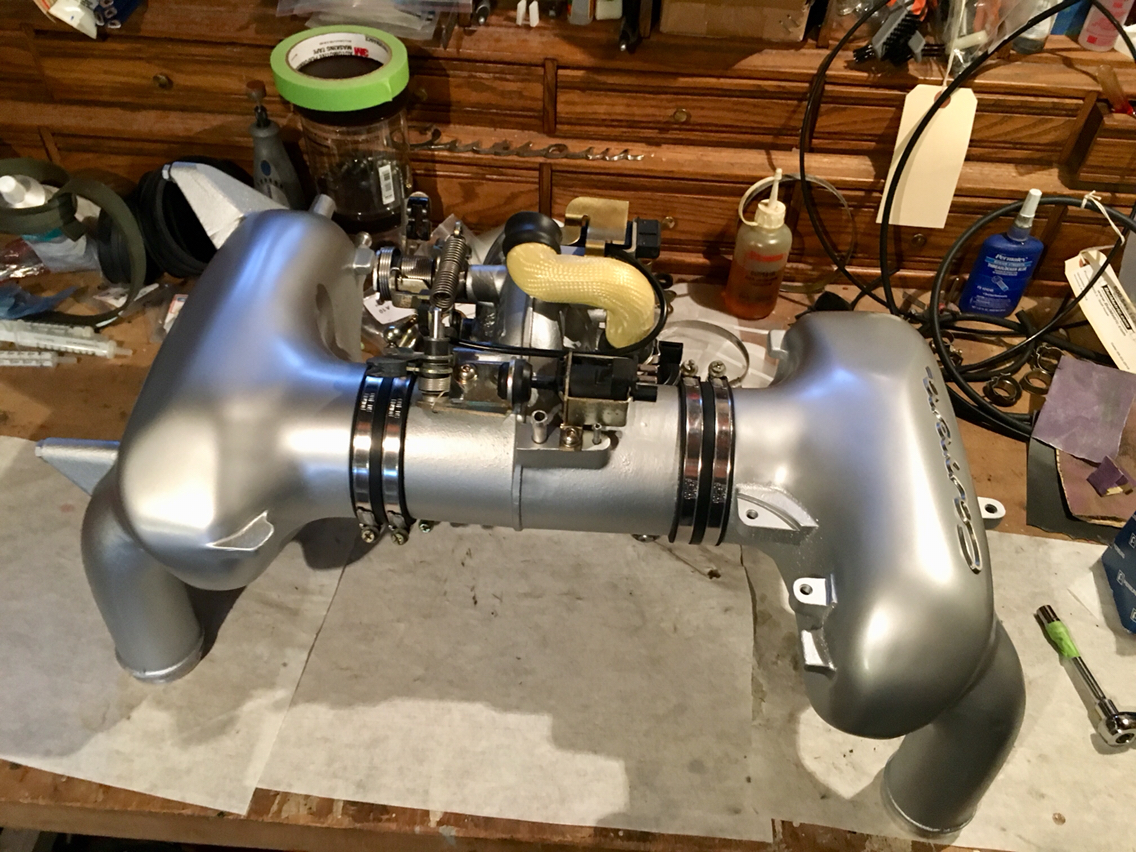
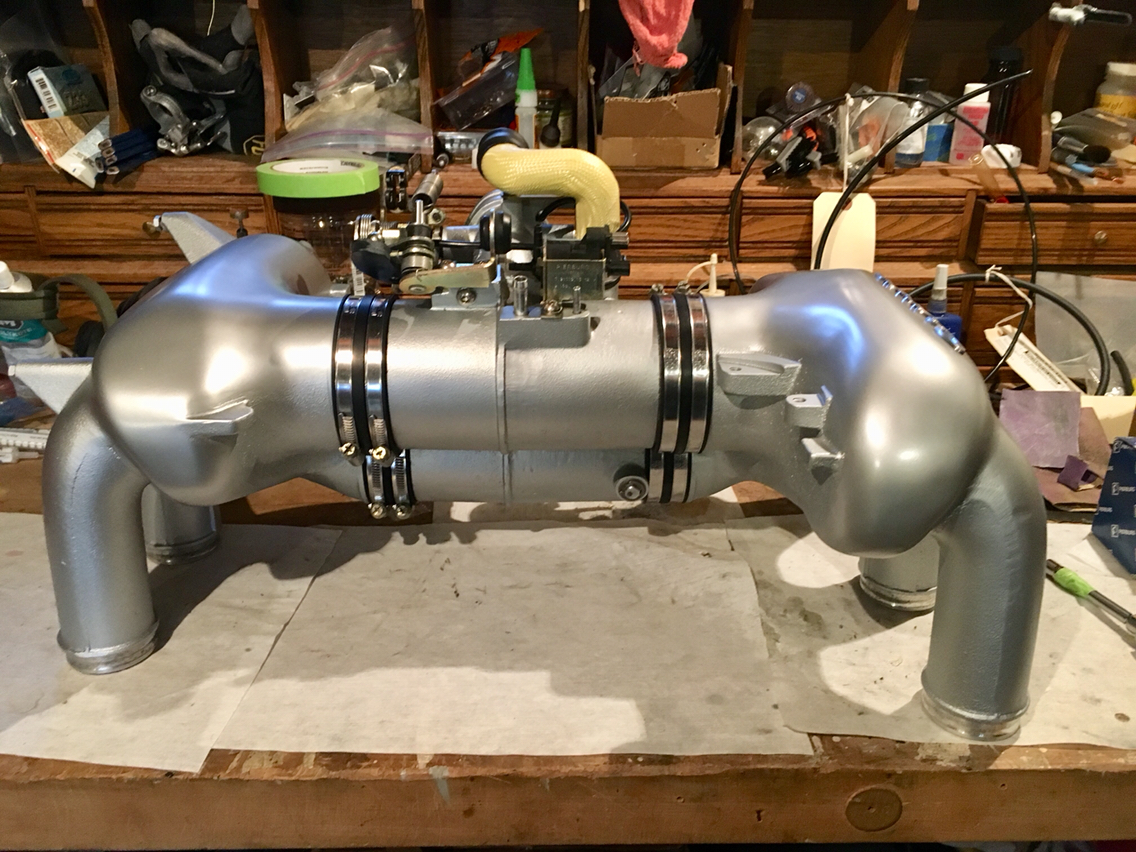
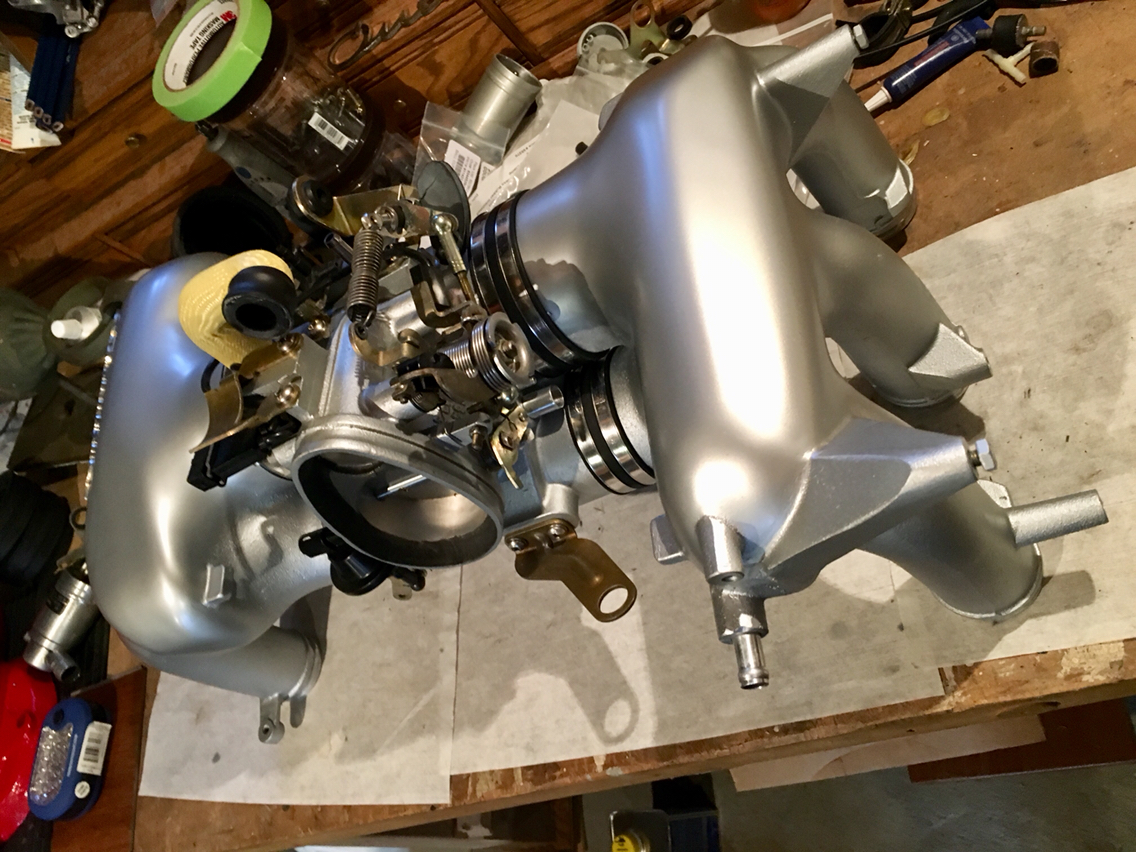
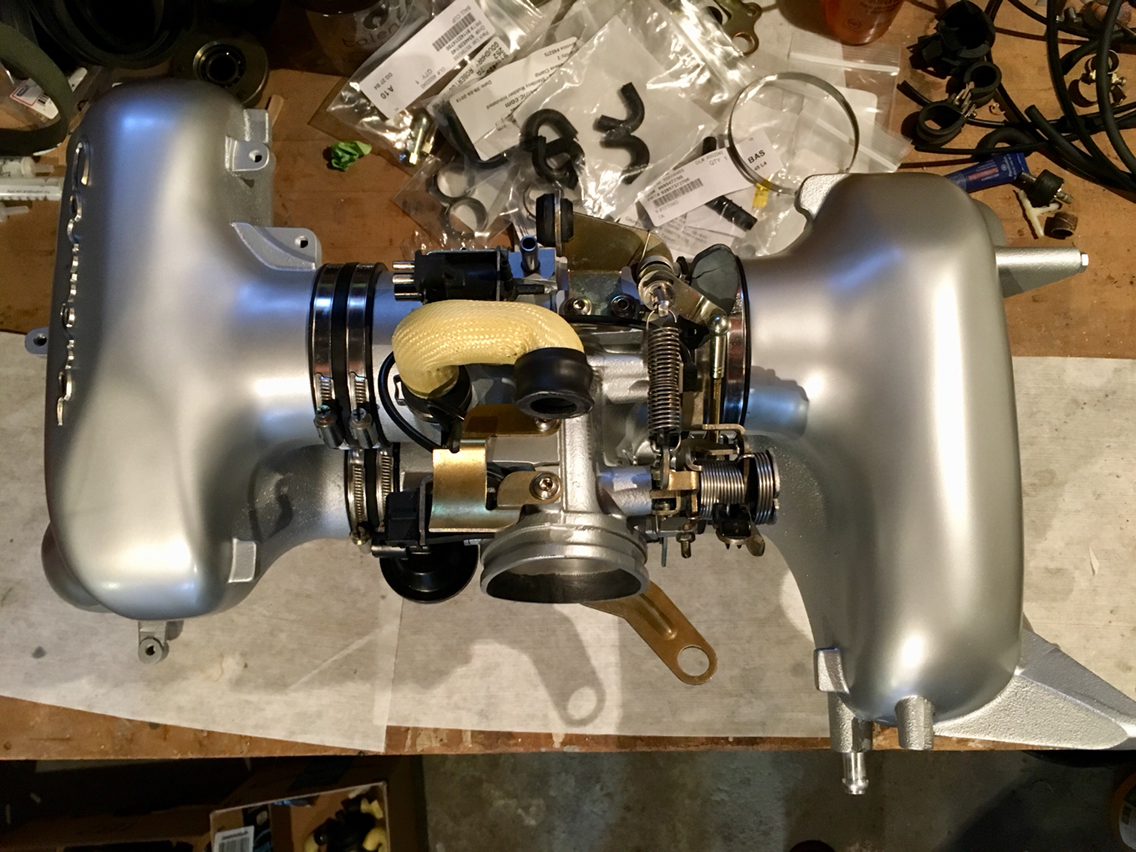
Remember way back when- i soaked the rubber intake seals in alcohol and wintergreen oil...and they expanded and became rather large...then later they had shrunk down a bit. But were still a little too big...in the meantime, i figured out how to get rid of the crusty corrosion crap inside the original seals- by soaking them in CLR and using a stiff plastic bristle brush, a little at a time and the old seals now are just fine to use...
However - in the months from new born baby jail to now at a less intrusive 3.5 months baby jail...kinda like being move from maximum security prison to minimum security white collar prison....the expanded seals have now become their original size...soooooo I'll use them and keep the others for spares. Which is to say, spares for someone else, because a good fresh set of seals will likely go another 20-30 years.
Anyway, on to assembly. And i have some questions that may need to be answered on my car, or on someone's car that has the old style intake and also cruise control...but more on that after the pics.
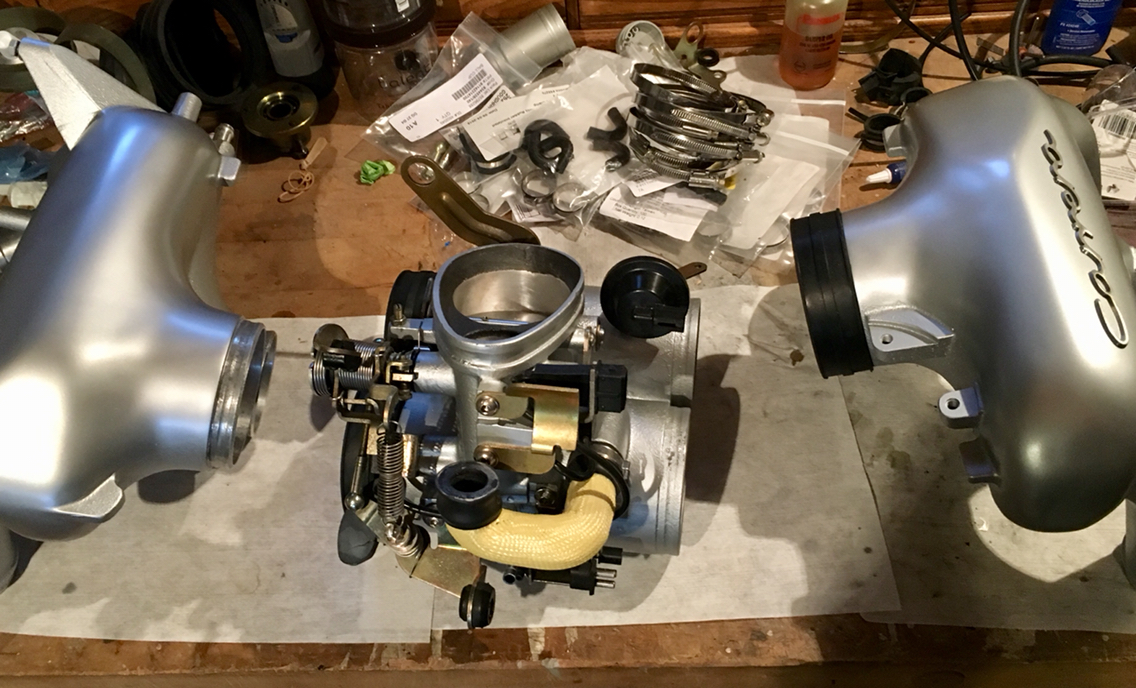
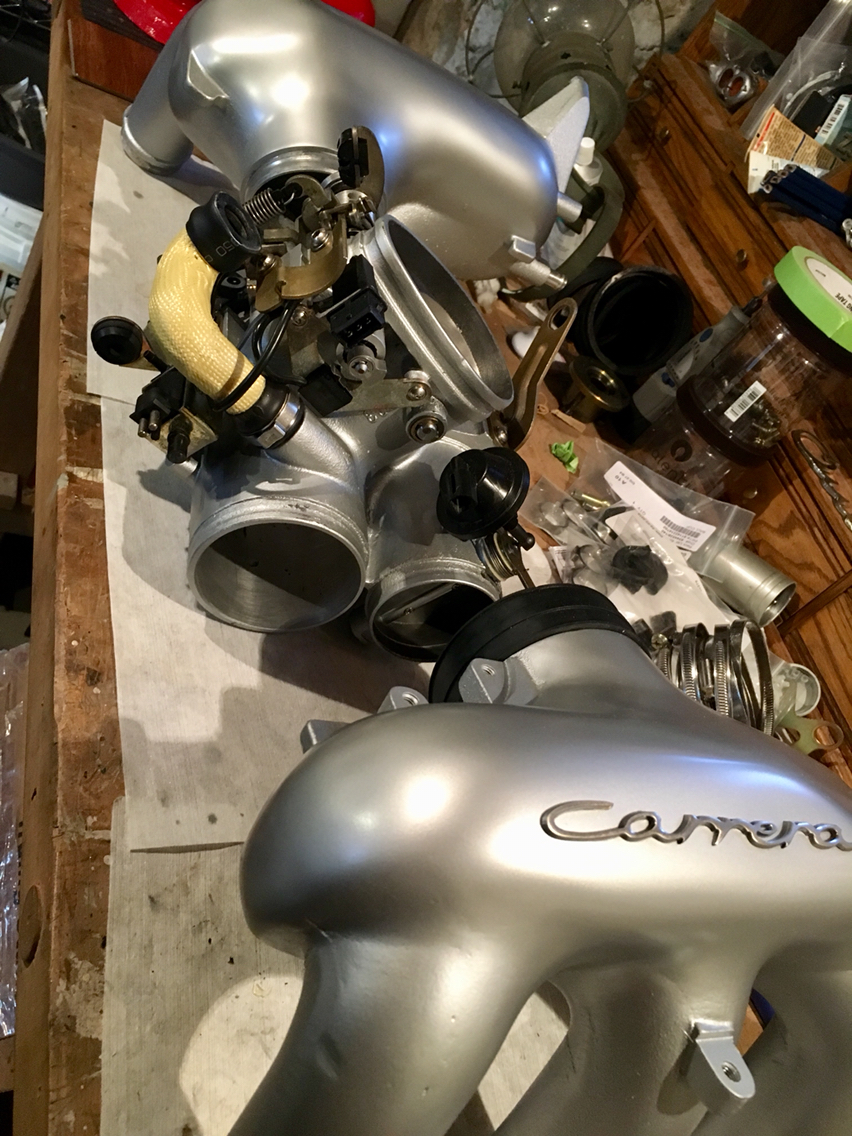
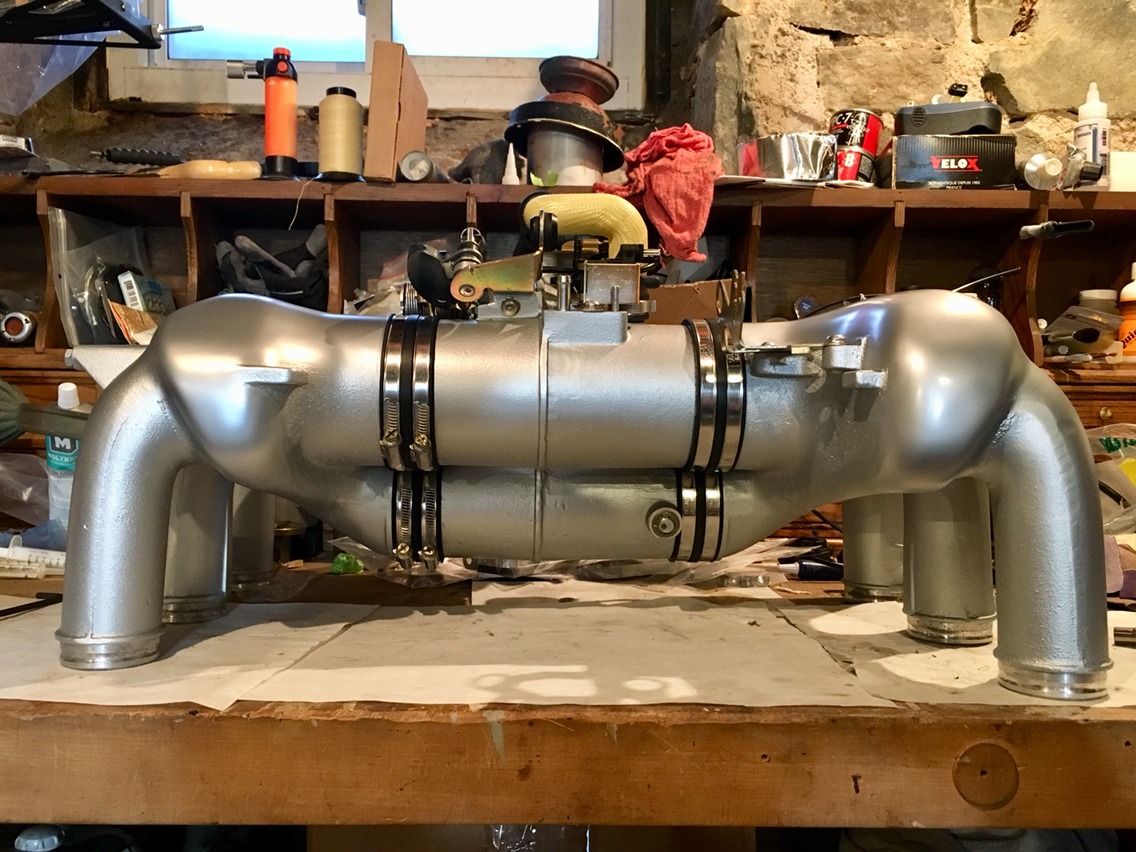
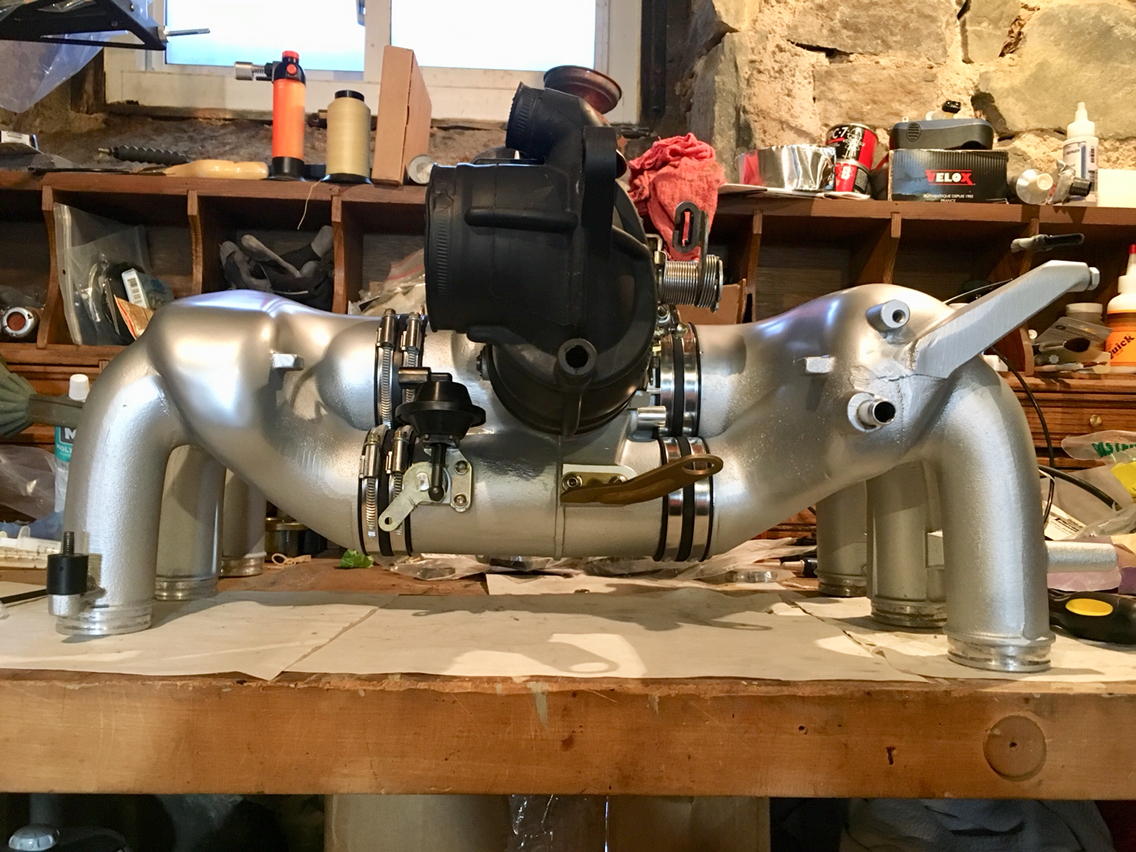
And then I'll spare you the step by step for how to put on a hose clamp....cuz uhhhhmmm its four hose clamps to get from those pics to these:

However - in the months from new born baby jail to now at a less intrusive 3.5 months baby jail...kinda like being move from maximum security prison to minimum security white collar prison....the expanded seals have now become their original size...soooooo I'll use them and keep the others for spares. Which is to say, spares for someone else, because a good fresh set of seals will likely go another 20-30 years.
Anyway, on to assembly. And i have some questions that may need to be answered on my car, or on someone's car that has the old style intake and also cruise control...but more on that after the pics.
And then I'll spare you the step by step for how to put on a hose clamp....cuz uhhhhmmm its four hose clamps to get from those pics to these:
The following users liked this post:
kos11-12 (05-05-2020)
 11-11-2018, 05:56 PM
#251
Race Car
Thread Starter
Well that is one of the questions actually. I have them facing the same way on my car as shown here.
You think the other way around is easier? I usually go in with a long extension over the top on the passenger side. I'm unsure what the best way to orient them is on the driver side.
So my thinking is this is best way...since we come up with our ways, then get old, and get stuck with them...lol.
Any tricks are always appreciated.
11-11-2018, 06:05 PM
#252
Race Car
Thread Starter
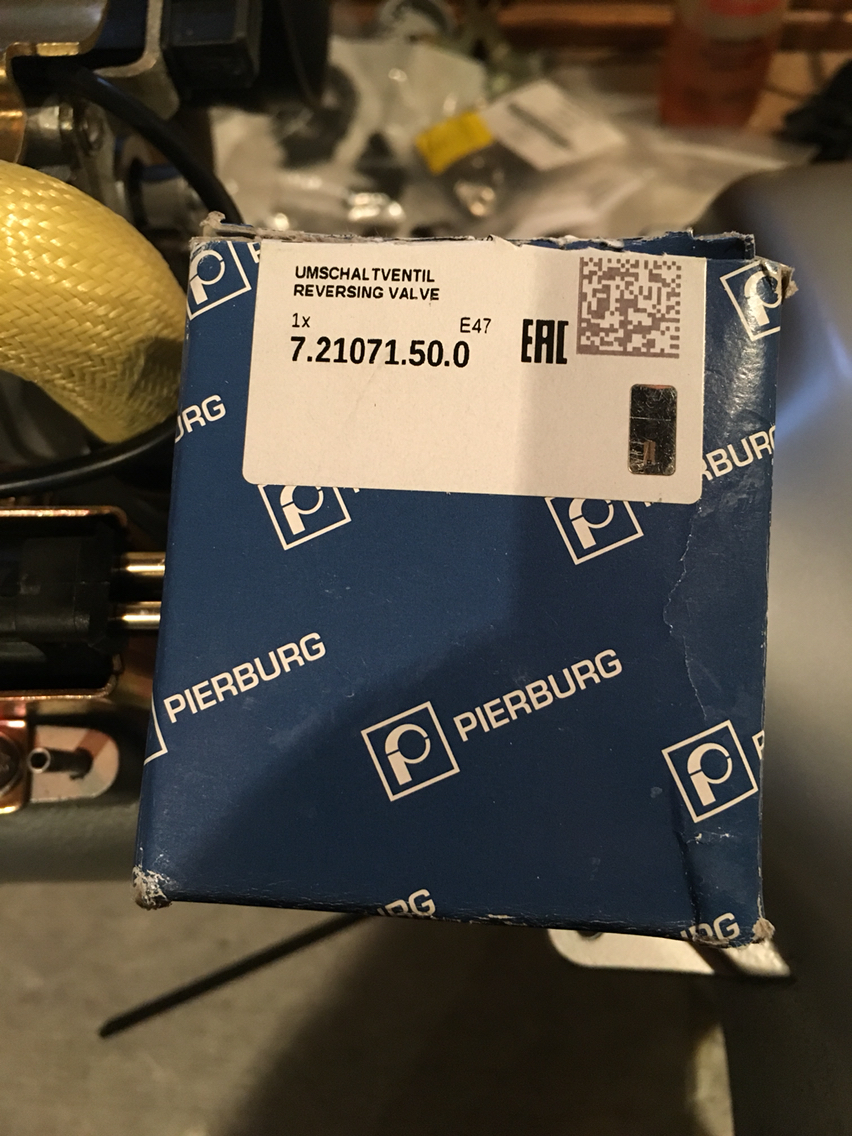
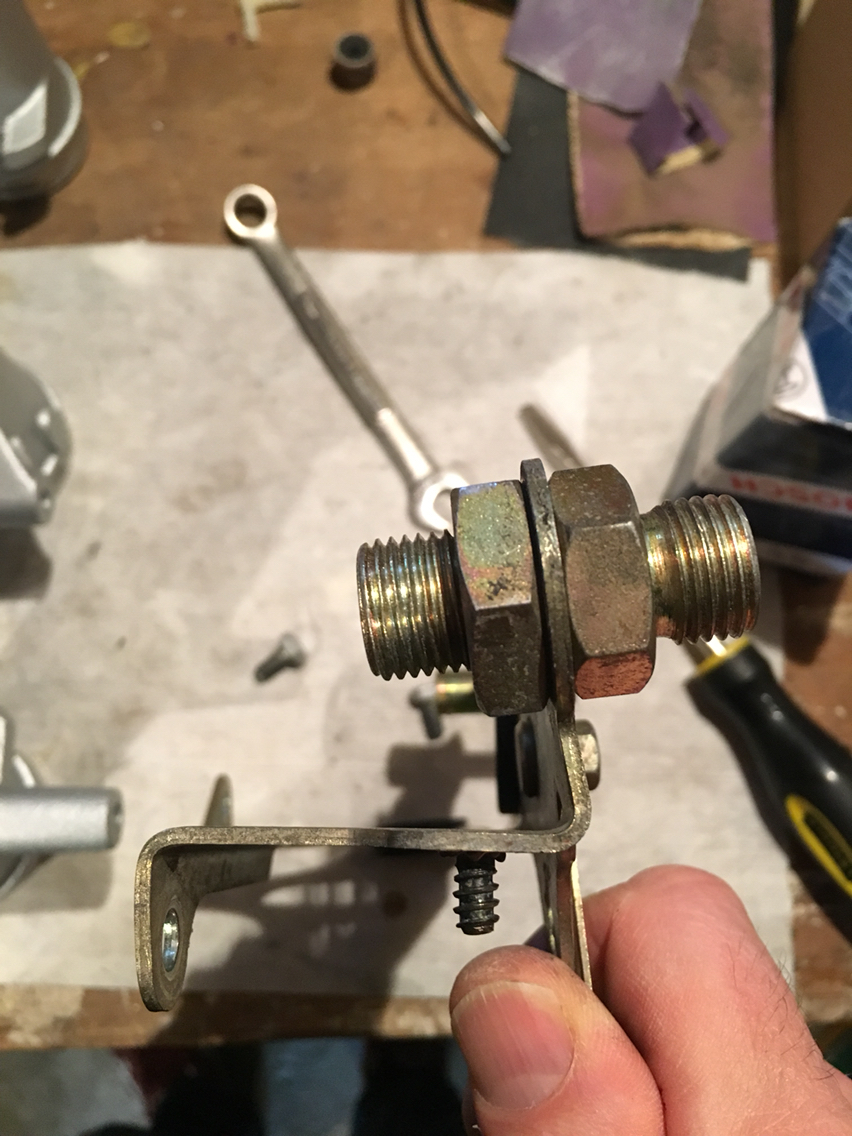
On the replacement parts...remember way back i had found that a bunch of things on the car were made by third party suppliers. So when you look at their part numbers, they aren't the same today as they were 30 years ago, and Porsche has their part number, but to find the identical part, you can't use Porsche's part number, you have to use the new third party part number...which Porsche doesn't supply you with. And so a 20 dollar part becomes an 80 dollar part...
So here is one of them...
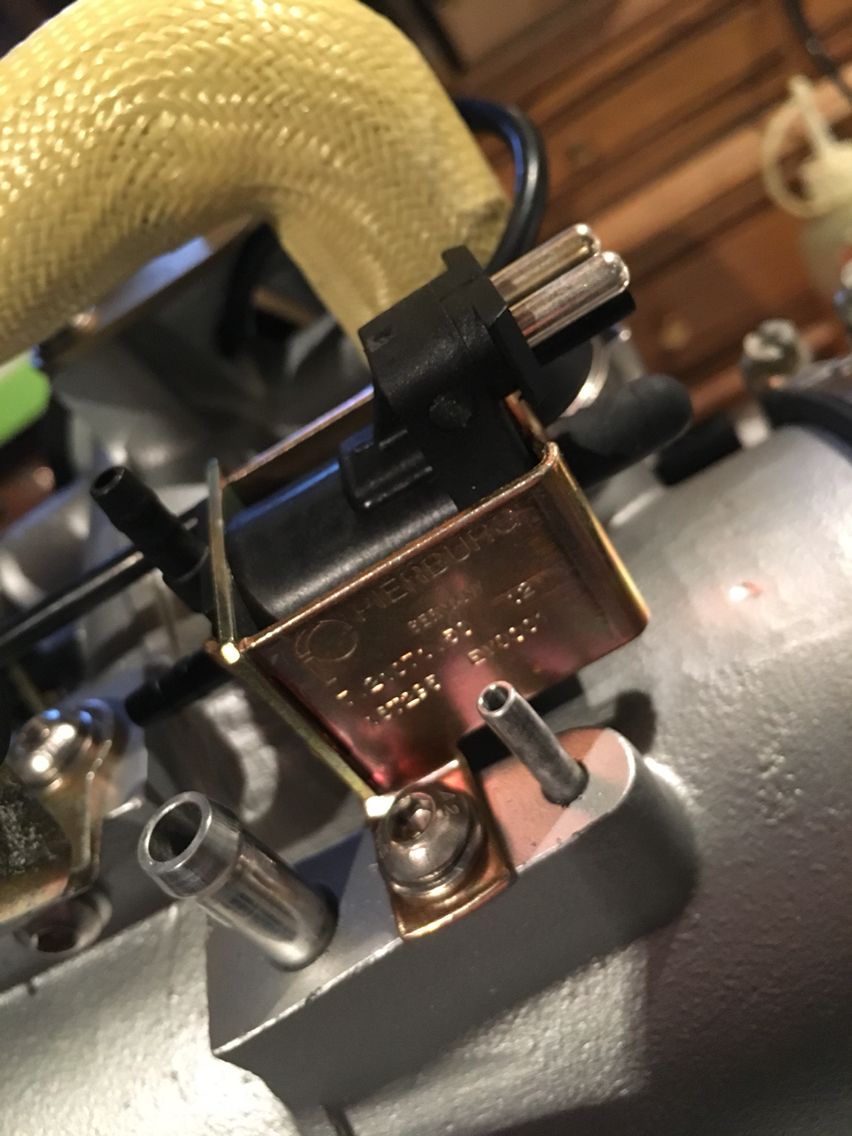
It's made by Pierburg
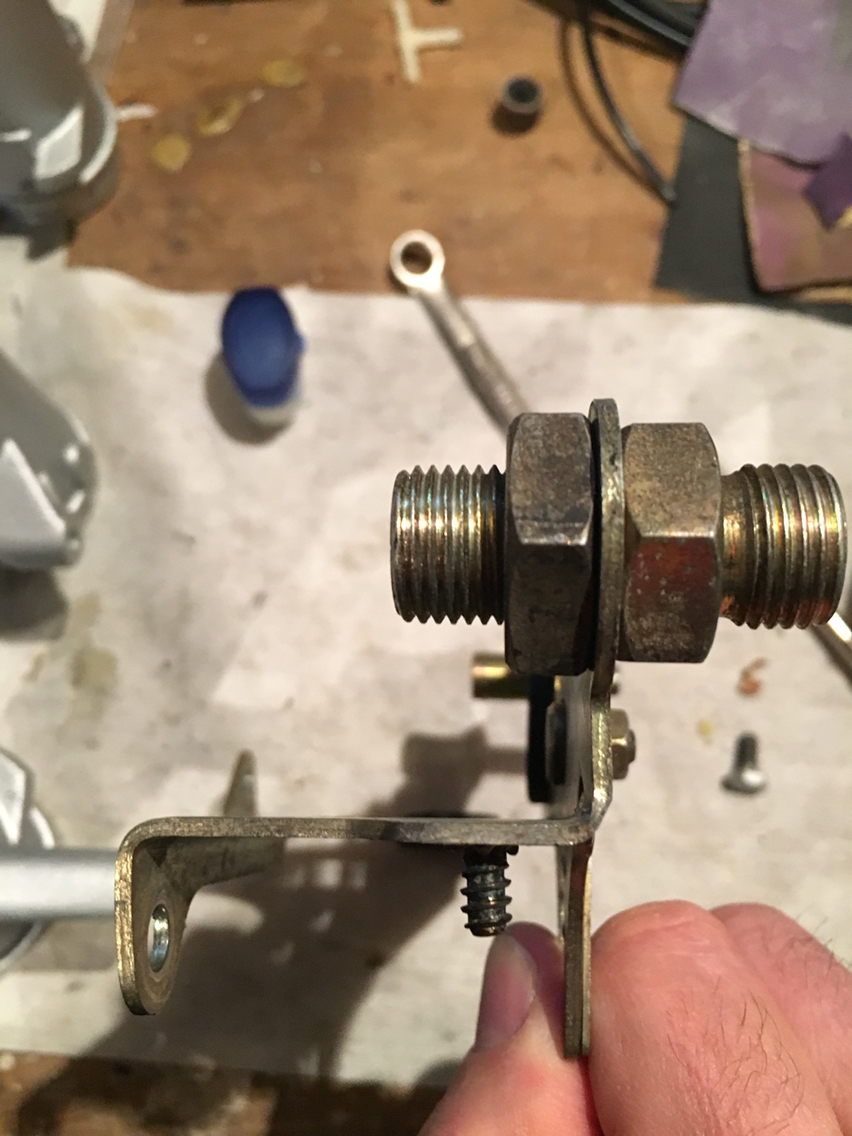
But - on our car, the back end of it has to be blocked off with a stopper...
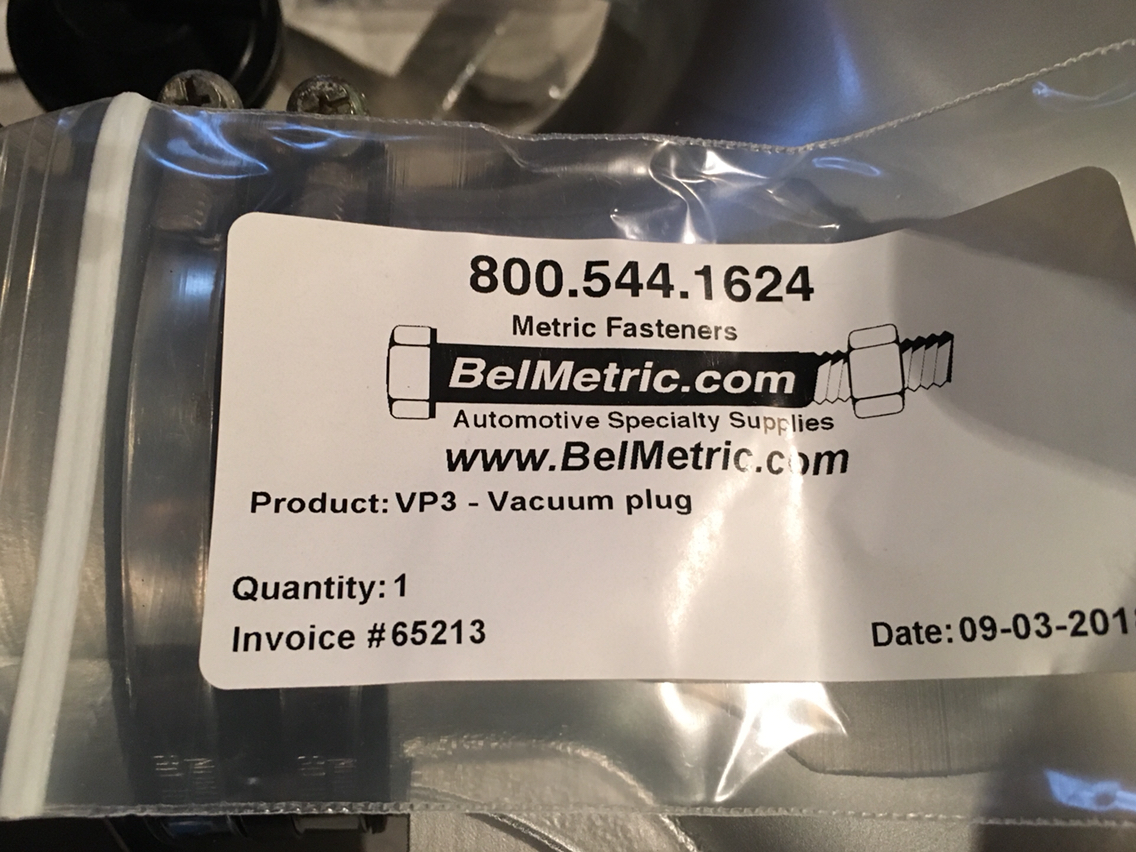
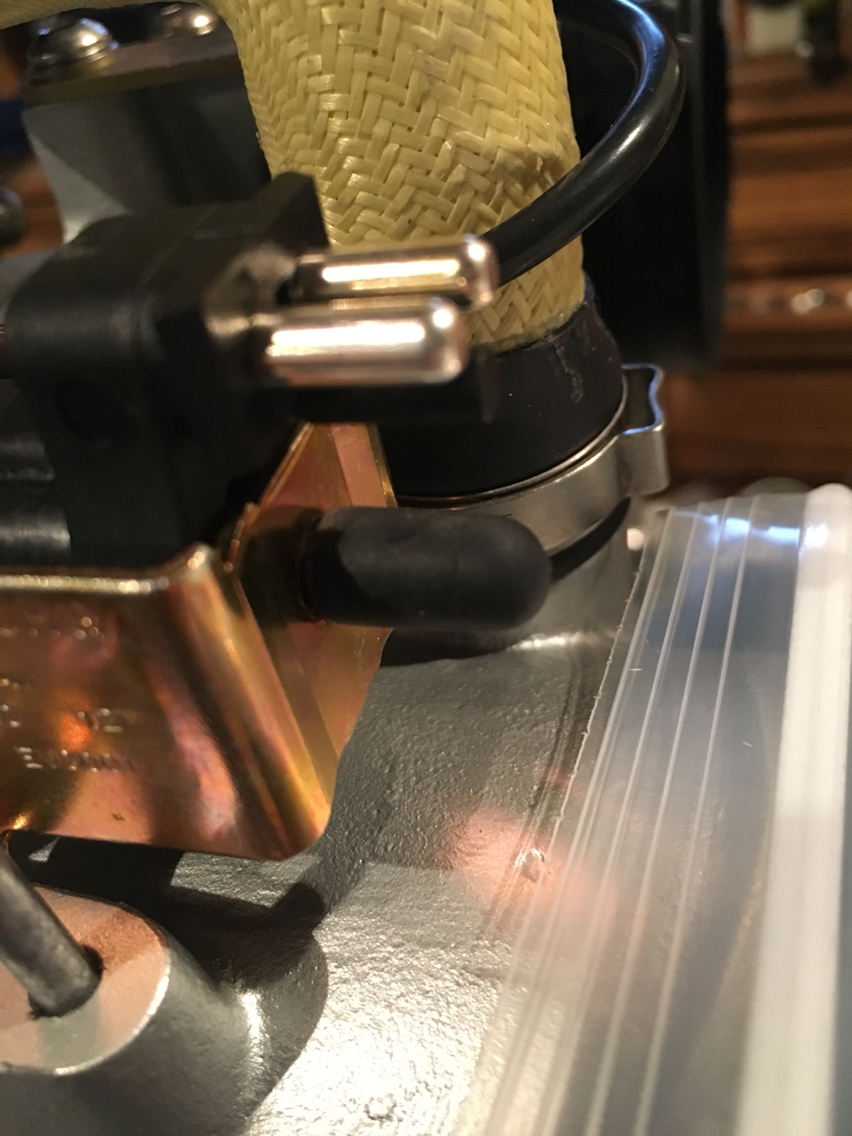
And done. New part at a significantly lower cost than going to Porsche. And Porsche would send the exact same part.
So here is one of them...
It's made by Pierburg
But - on our car, the back end of it has to be blocked off with a stopper...
And done. New part at a significantly lower cost than going to Porsche. And Porsche would send the exact same part.
 11-11-2018, 06:34 PM
#254
Race Car
Thread Starter
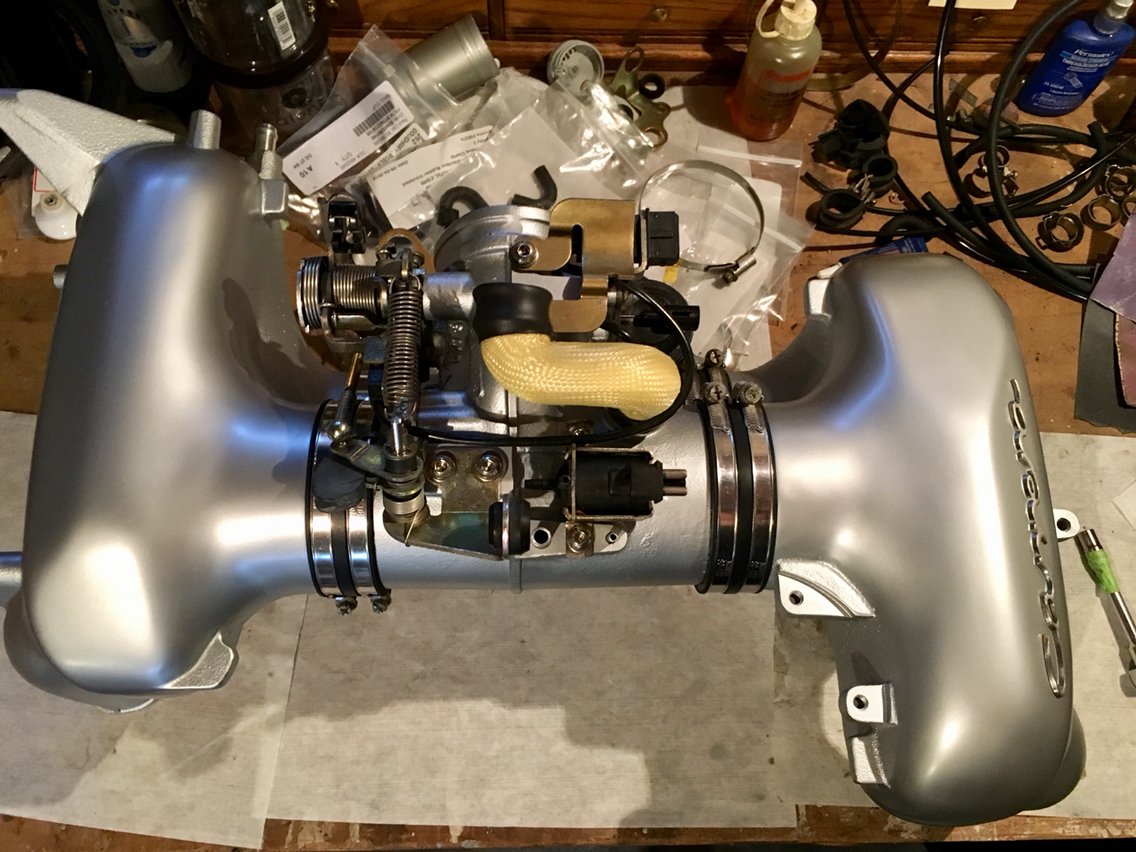
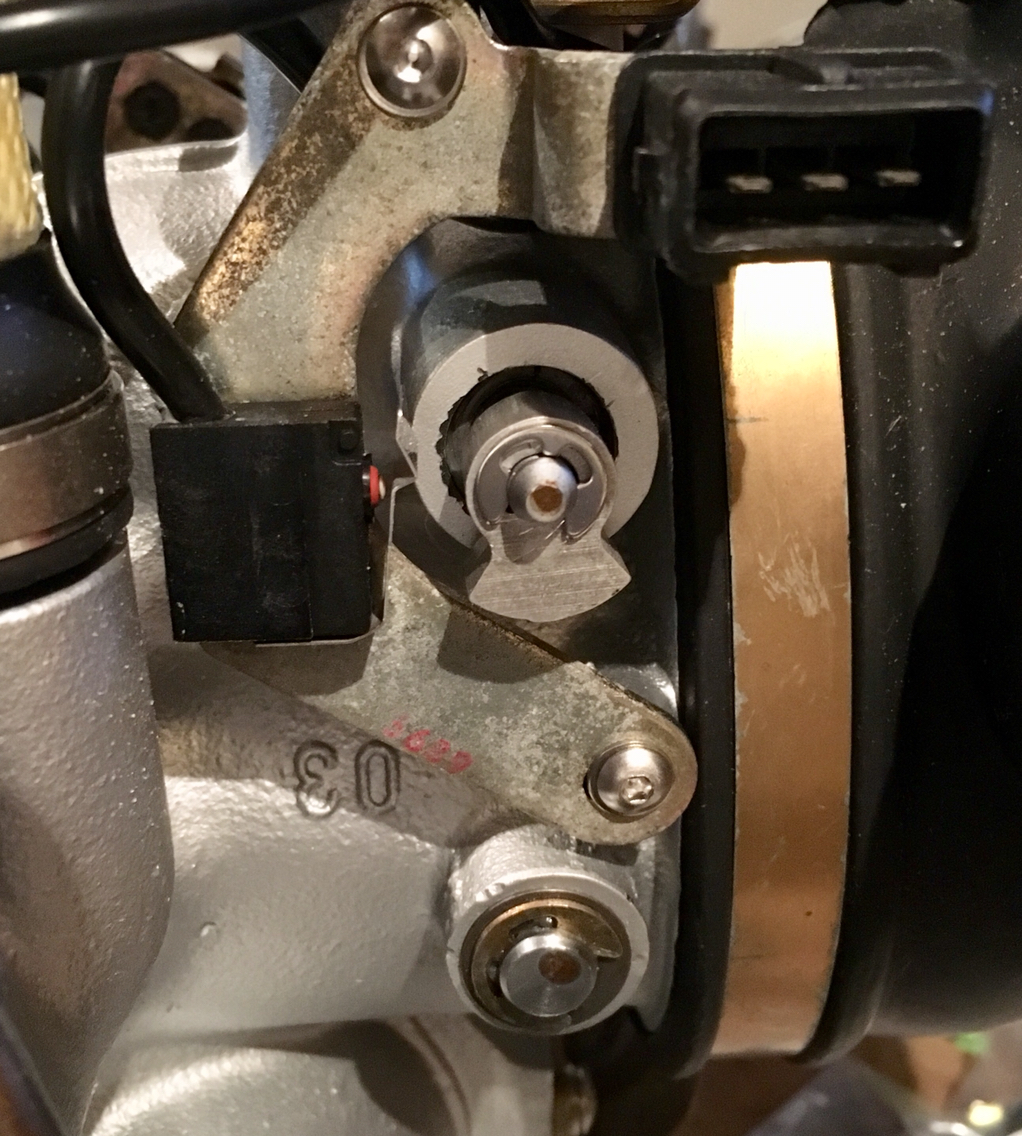
You'll notice when you look closely...that I've replaced most of the oem hardware with stainless buttonheads...
I do these things against my better judgement. In all likelihood i have a Screw Extraction Madness thread in my future. So i don't really suggest any of you go the buttonhead route. That said, i won't be all monkey fisted with these things, and for the ones that get taken off every now and then, like the ones in the pic, they will be on with ample anti seize. So i should be ok.
Anyway, they are a huge visual improvement on the m6 hex bolts and the m6 and m5 Phillips. So they stay.
11-11-2018, 06:39 PM
#255
Race Car
Thread Starter
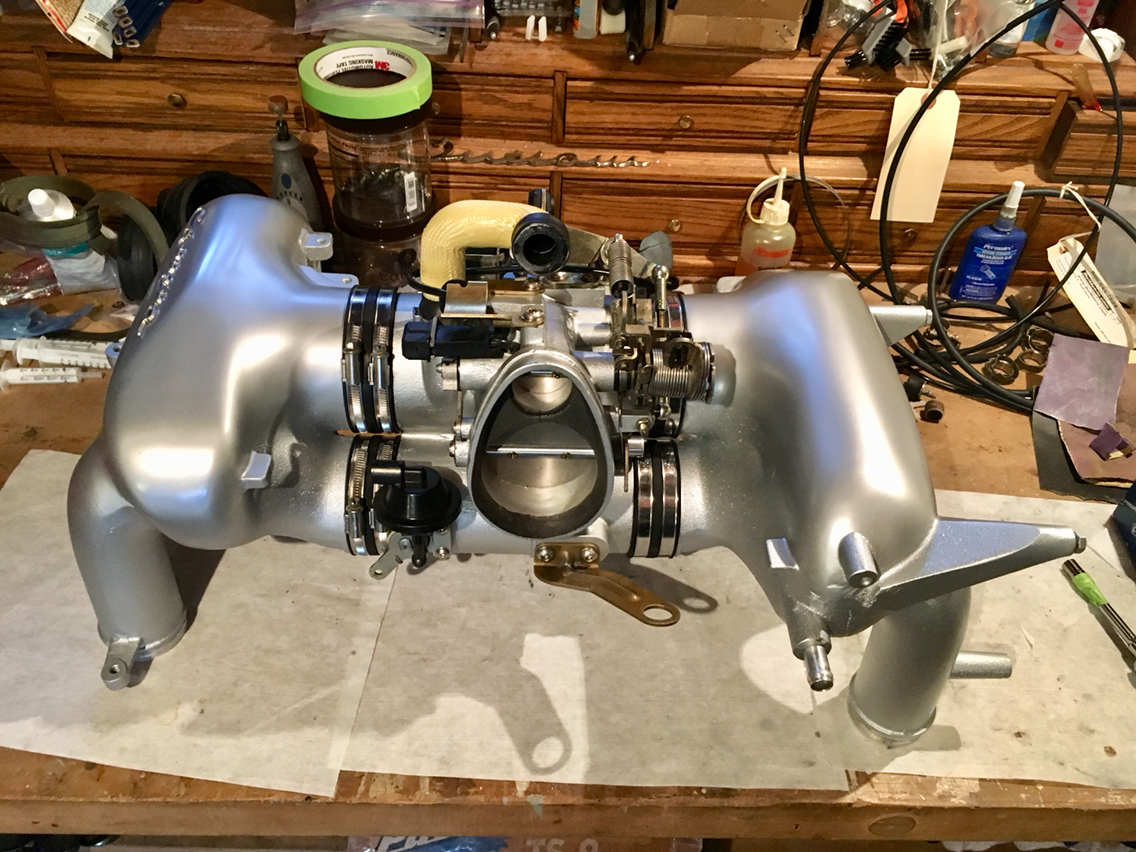
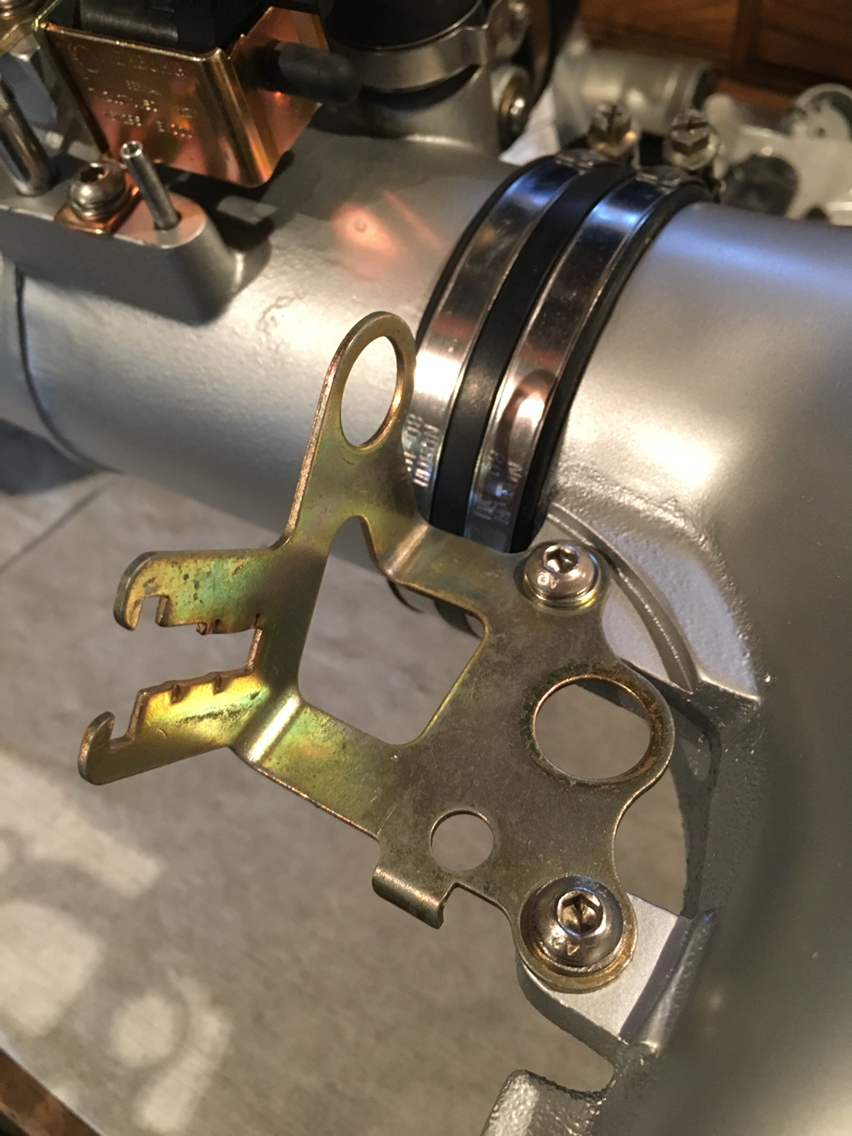
And then we find some alignment issues. This needs to be straight...
It's a good thing i restored all those ball peen hammers...cuz...uhmmm...this is why we all have 10 different sized ball peen hammers. So we can choose the correct 2-3 to reshape a soft piece of steel...
It's a good thing i restored all those ball peen hammers...cuz...uhmmm...this is why we all have 10 different sized ball peen hammers. So we can choose the correct 2-3 to reshape a soft piece of steel...