When you click on links to various merchants on this site and make a purchase, this can result in this site earning a commission. Affiliate programs and affiliations include, but are not limited to, the eBay Partner Network.
I just changed all of my spark plug wiring (German Engineering...I've never changed wires with so much complexity. Do I get a Finished Wiring on a 928 Certificate..lol), distributor, rotor caps, new air filter.
I made a crude Switch Relay (Pic 1) with a 20Amp fuse to test my fuel lines. I know it is over kill, also this thing will be in the car at all times (it worked like a charm) and there were NO leaks. I bought this Relay Puller off Amazon (recommendation on the forum) and it worked like a charm...I disconnected the ground first and whilst the FP Relay was pulled, I Deoxit'd.
I made a crude Switch Relay (Pic 1) with a 20Amp fuse to test my fuel lines. I know it is over kill, also this thing will be in the car at all times (it worked like a charm) and there were NO leaks.
Cleaned up the sunroof for spring. First I cleaned off all the old silicon lubricant on the rails, wiped everything down, and replaced it with new lubricant. Sunroof worked somewhat better.
Took the motor off and opened it up to clean/oil it. Put a few drops of oil on the bottom and top bearings, cleaned all the dust and grime off, re-assembled (turns with almost no effort). Works much better.
Took a look at the wiring: The PO had replaced the original motor to car interconnect with a pair of disconnects. Noticed that the spade for one of them was blackened, replaced it, works *much* better.
One of these days I need to adjust the height a bit, as the rear of the sunroof on the passenger side is not perfectly flush but it works well enough for now.
Note: The motor is impressive. It's about twice the armature size as the window motors, with magnets that are also double the size.
Big motor. Clean up and oil the end bearings.
Last edited by Christopher Zach; 03-25-2019 at 01:52 PM.
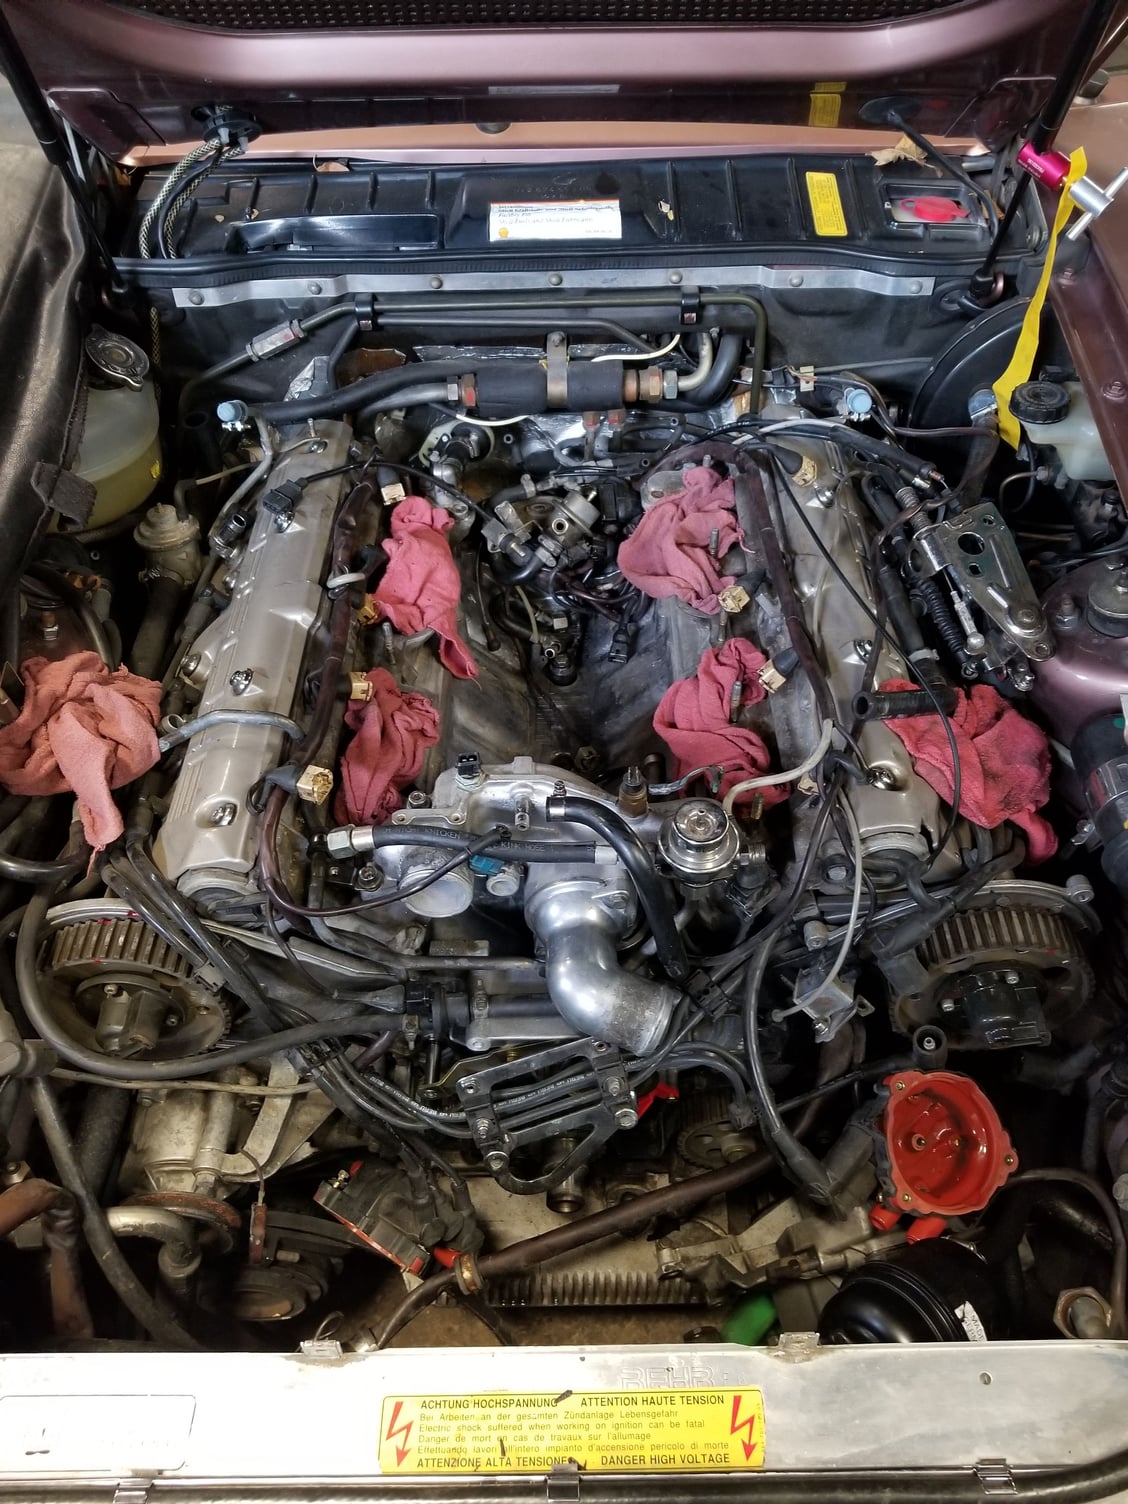
Finished off restoration of the LH side of the engine bay on the S2
I notice you have a ground cable from the coil bracket. I also notice the coil body is painted. Is that an engine ground or a coil ground or something else. I see it is a RHD car, so maybe is related to that. I'm just curious.
Beautiful job!
Thanks,
Dave
Well, after months of getting the right parts, waiting for weather, and cursing underneath the rear of my car, I finally have replaced the long parking brake cable and have a WORKING PARKING BRAKE. This required replacing all the cam systems as well since when the brake blew up, it did it by breaking one of the shoe hold down springs which caused everything to be sucked into the wheel bolts pretty much instantly. Ah well.
The only thing that bothers me is that the rear brake shoes are just a hair too wide to fit in the star adjustment slots. I bought the pads from a proper dealer here, and even bought another star wheel to check. So I used a file to widen the slot a smidge and now everything fits Still wondering, the old shoes fit perfectly But it's an 86.5 so you never know what you get with brakes :-)
With the emergency brake fixed, the rest of the car is much easier to work on. Plus I won't be putting such a strain on the parking pawl, I never like relying on just that.
And in the final project for the day I installed the battery hold-down bracket and bolt. This may sound small, but now my car should be able to pass any track, PCA, or SCCA inspection. 928 racing, here I come.....
(Well, after getting the brake fluid replaced, but that needs to be done by a shop)
Timing belt, water pump, rollers, replace timing belt tension sensor, caps and rotors etc.
Fuel lines (Greg Brown) misc. sensors and wiring cooked from heat.
Oil filler gasket, misc coolant gaskets and o-rings and thermostat.
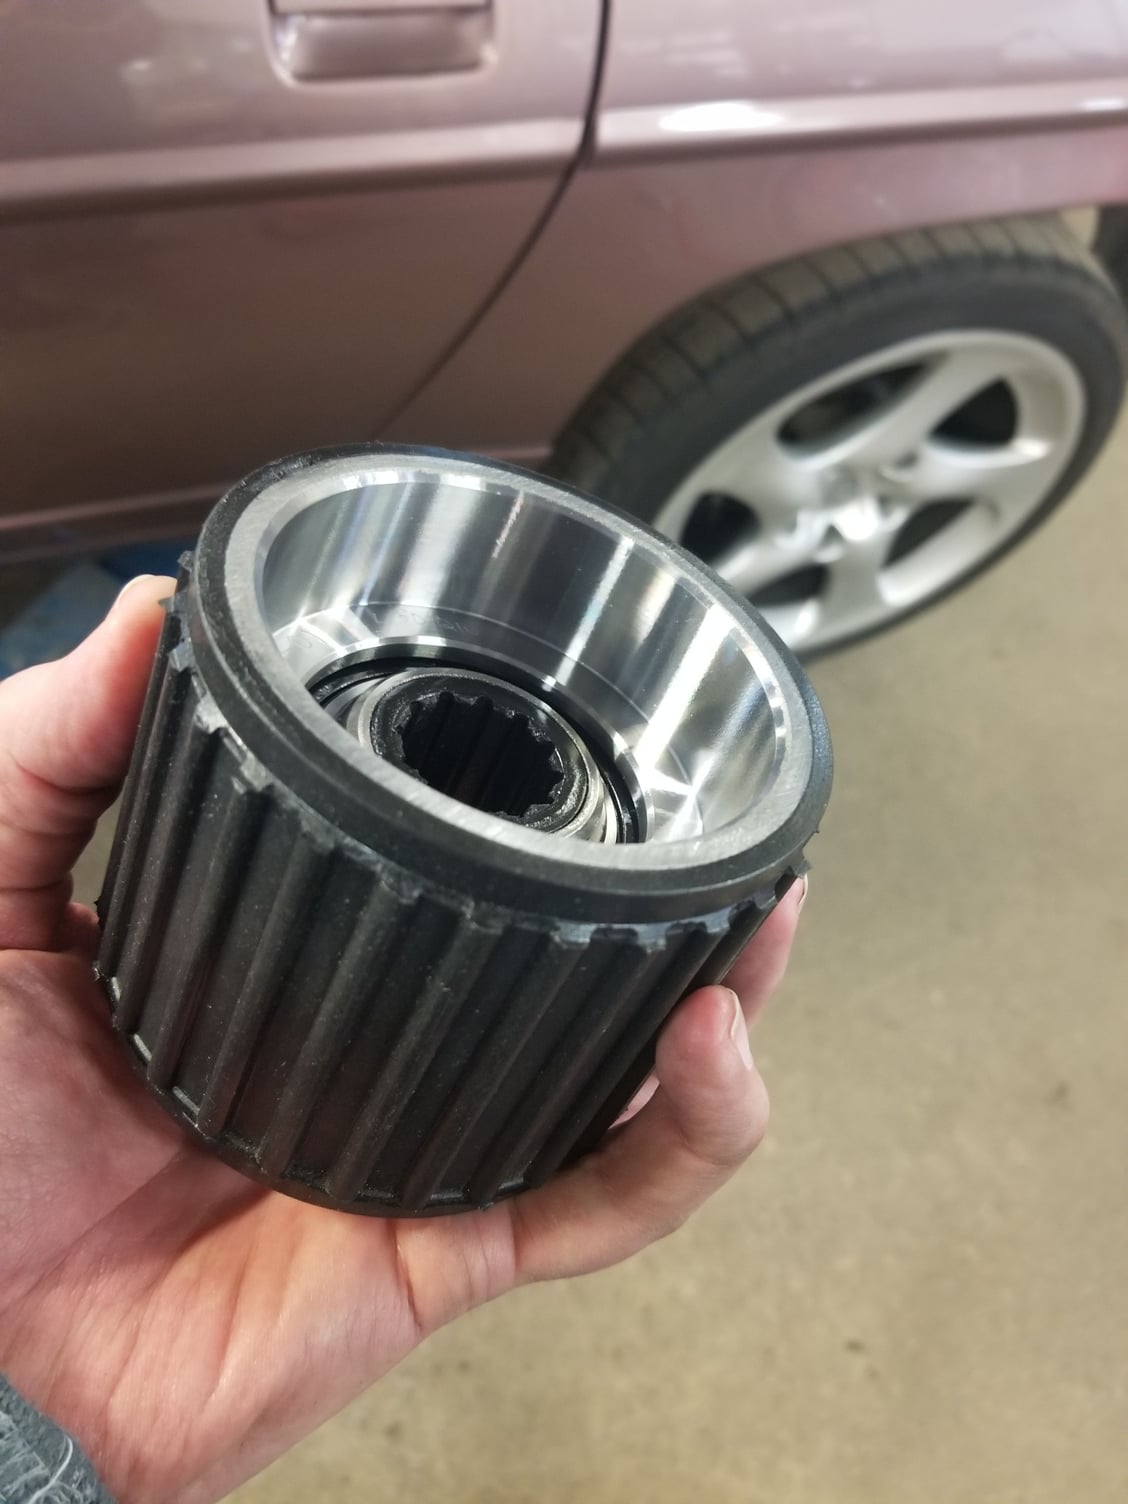
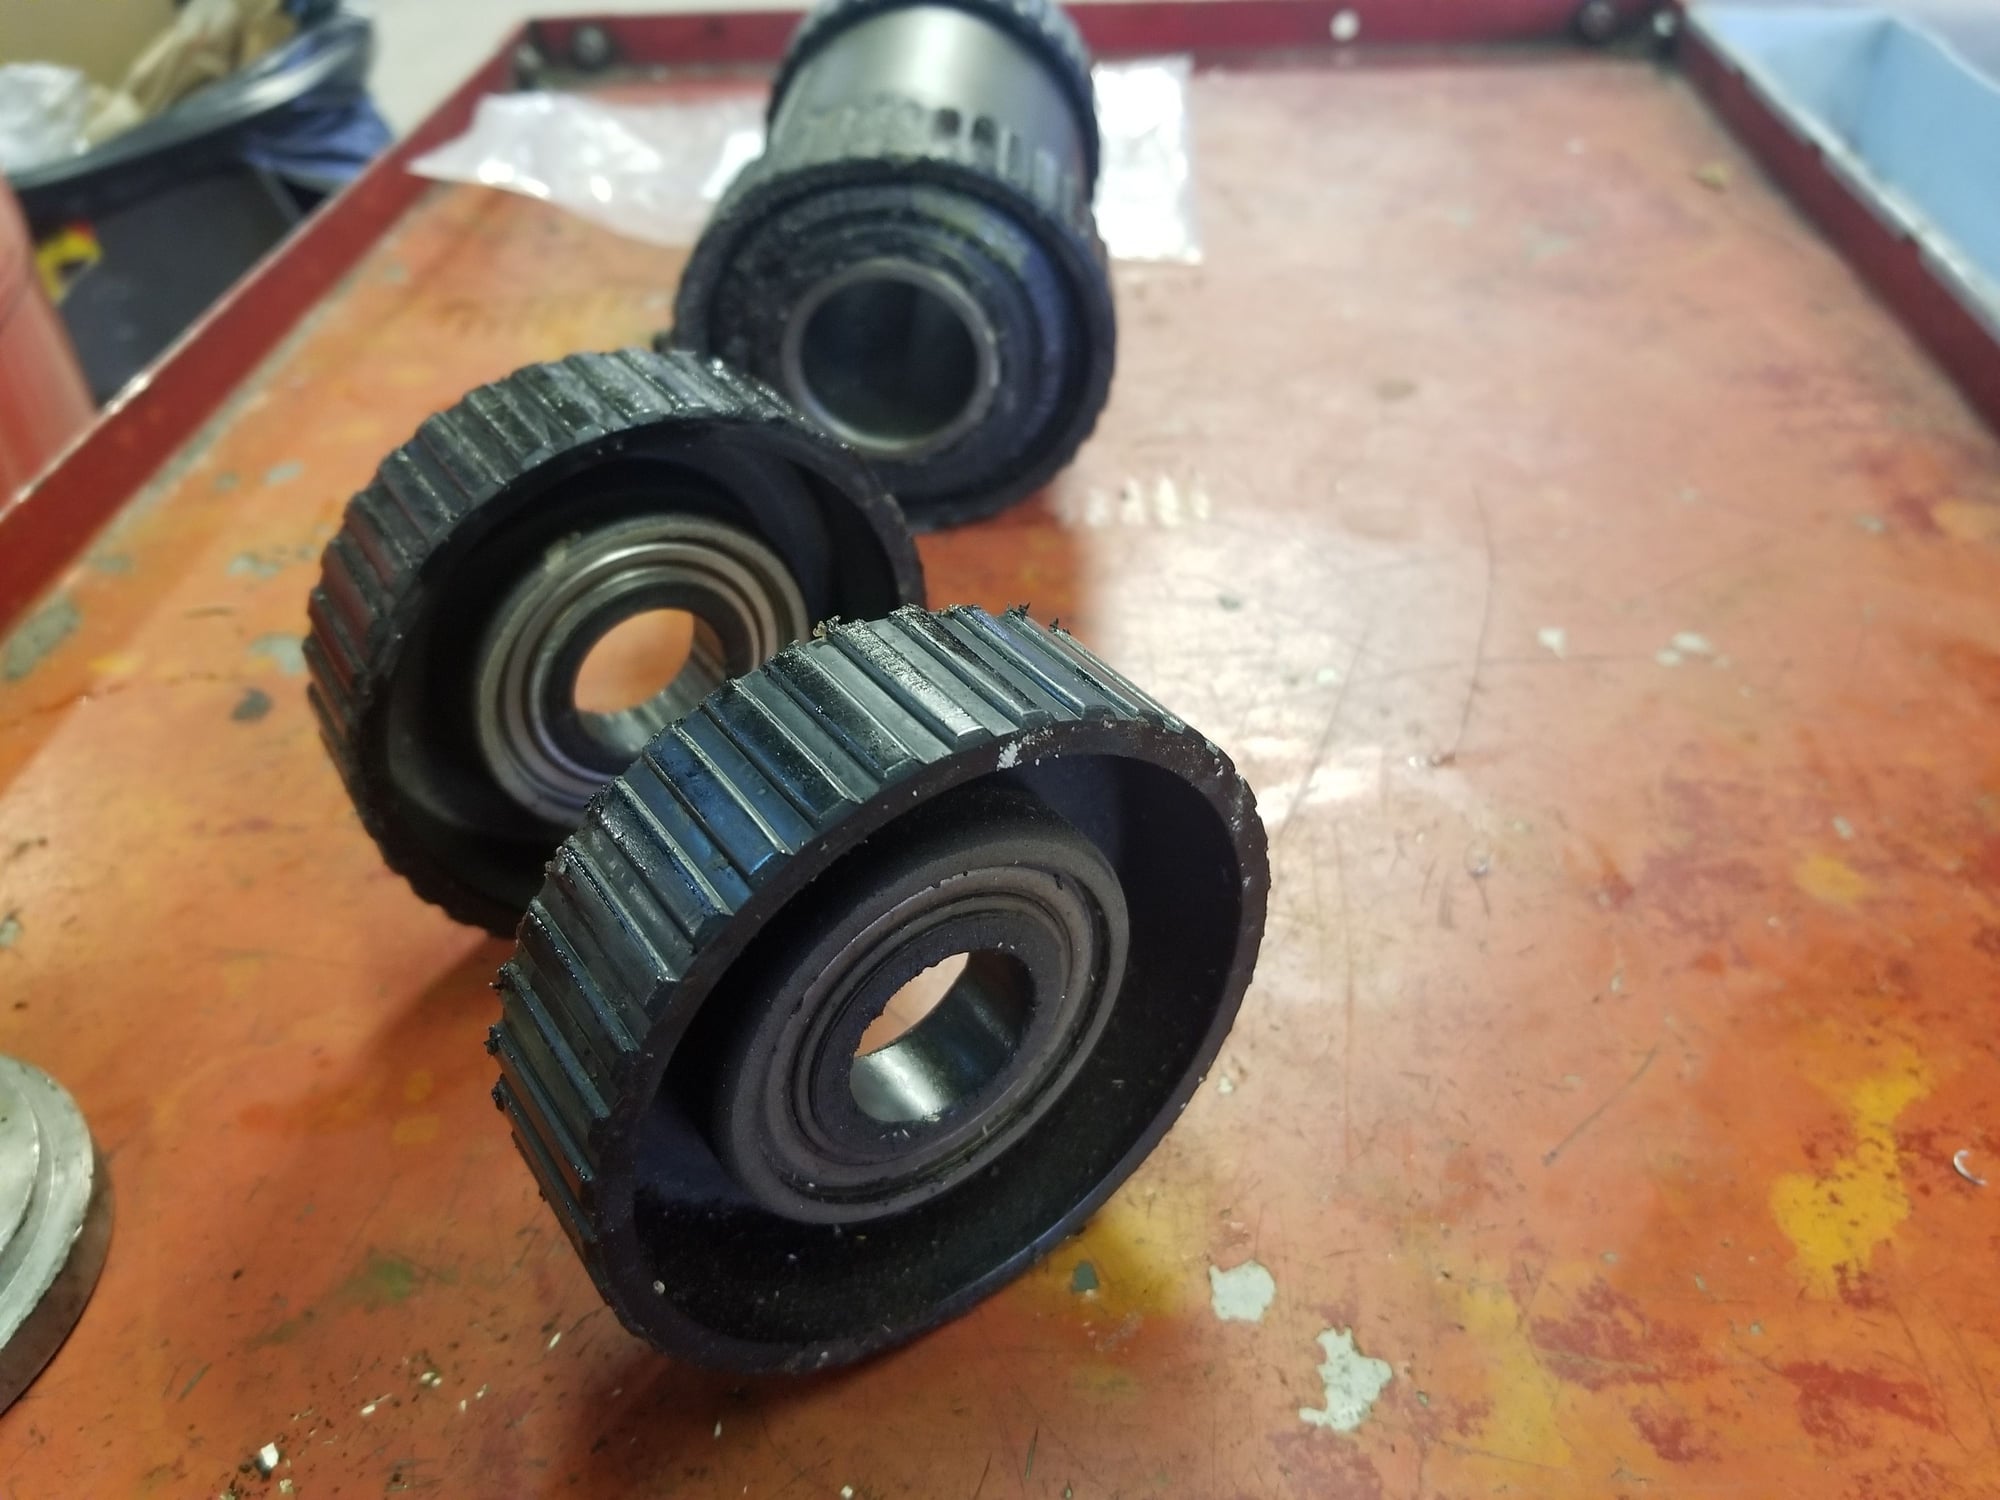
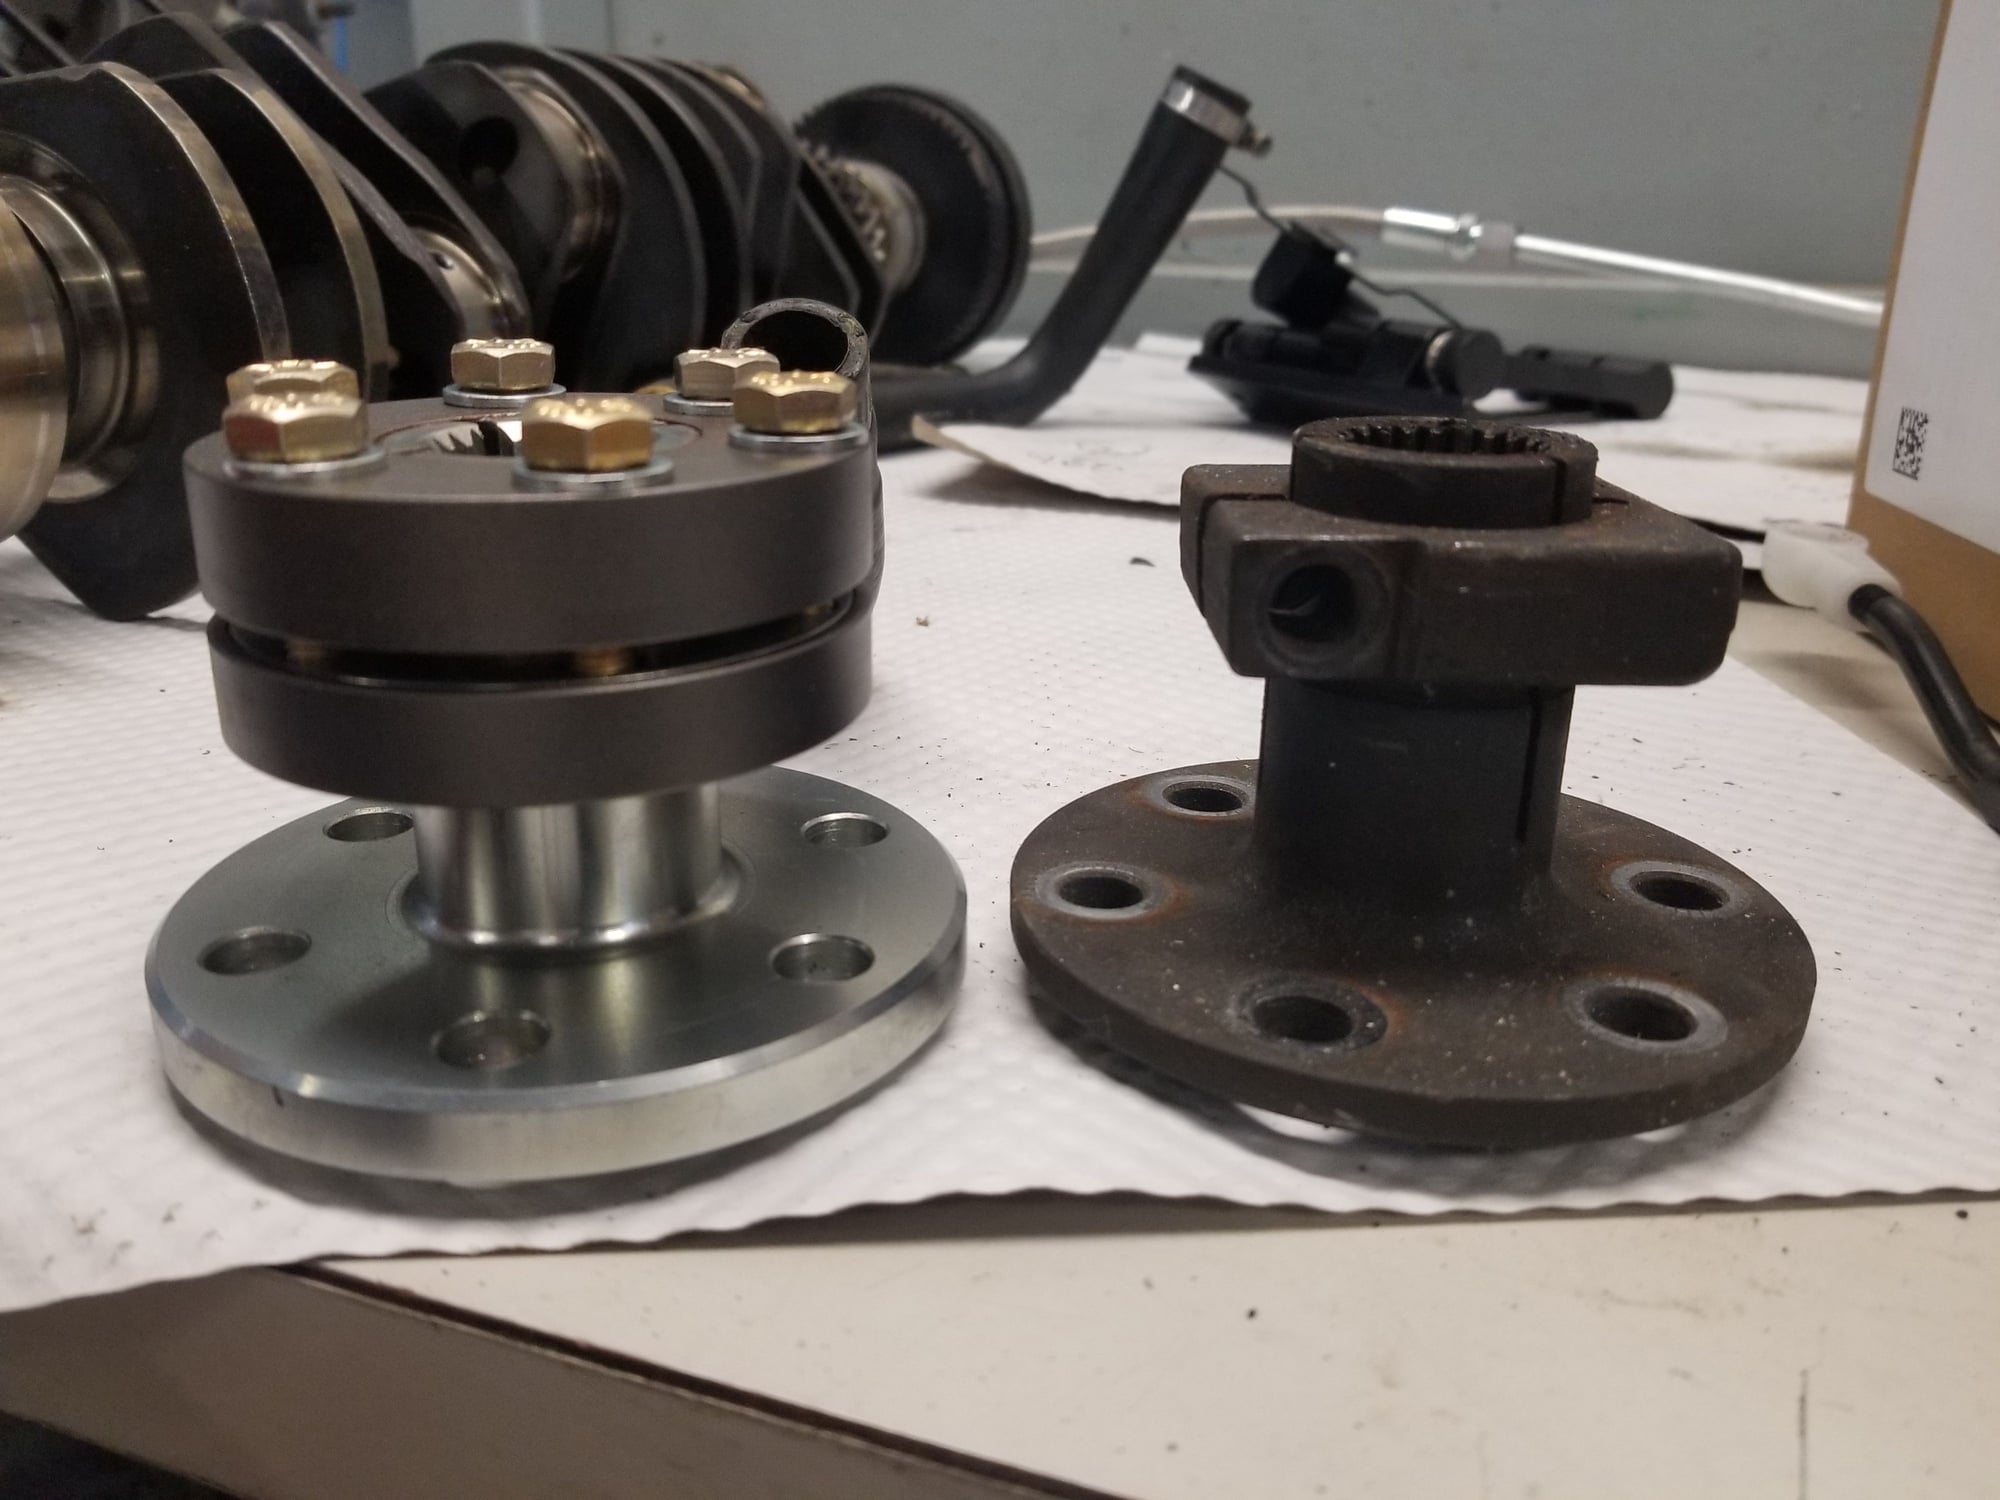
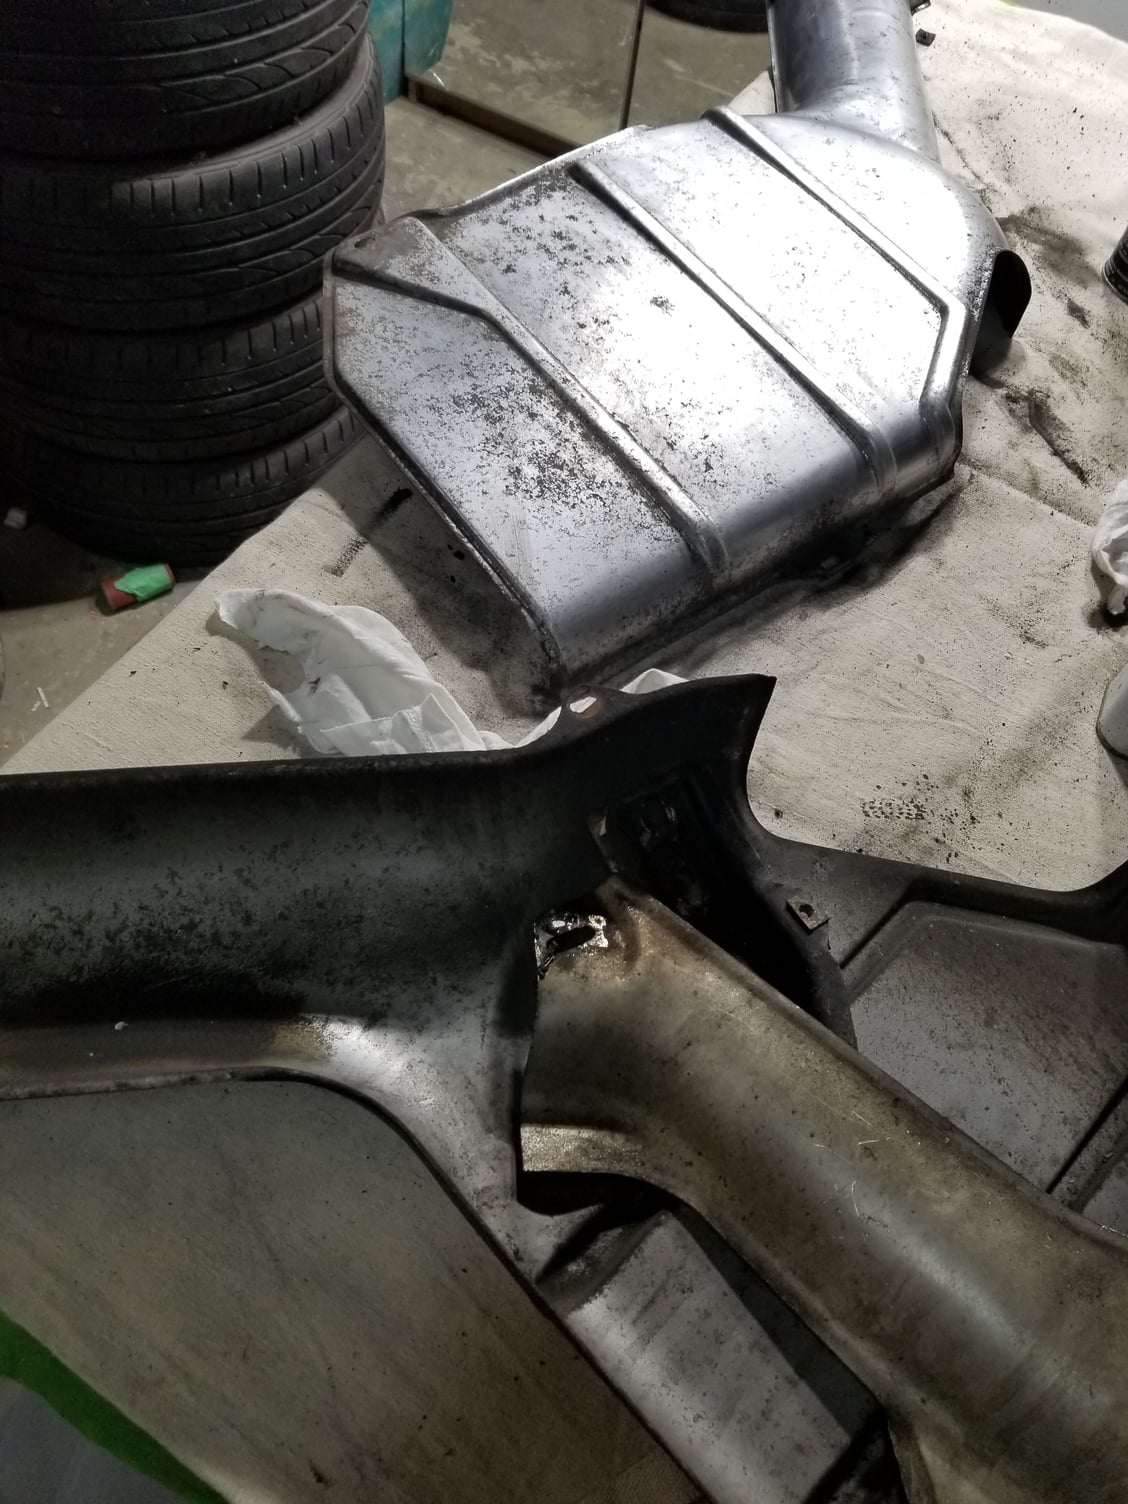
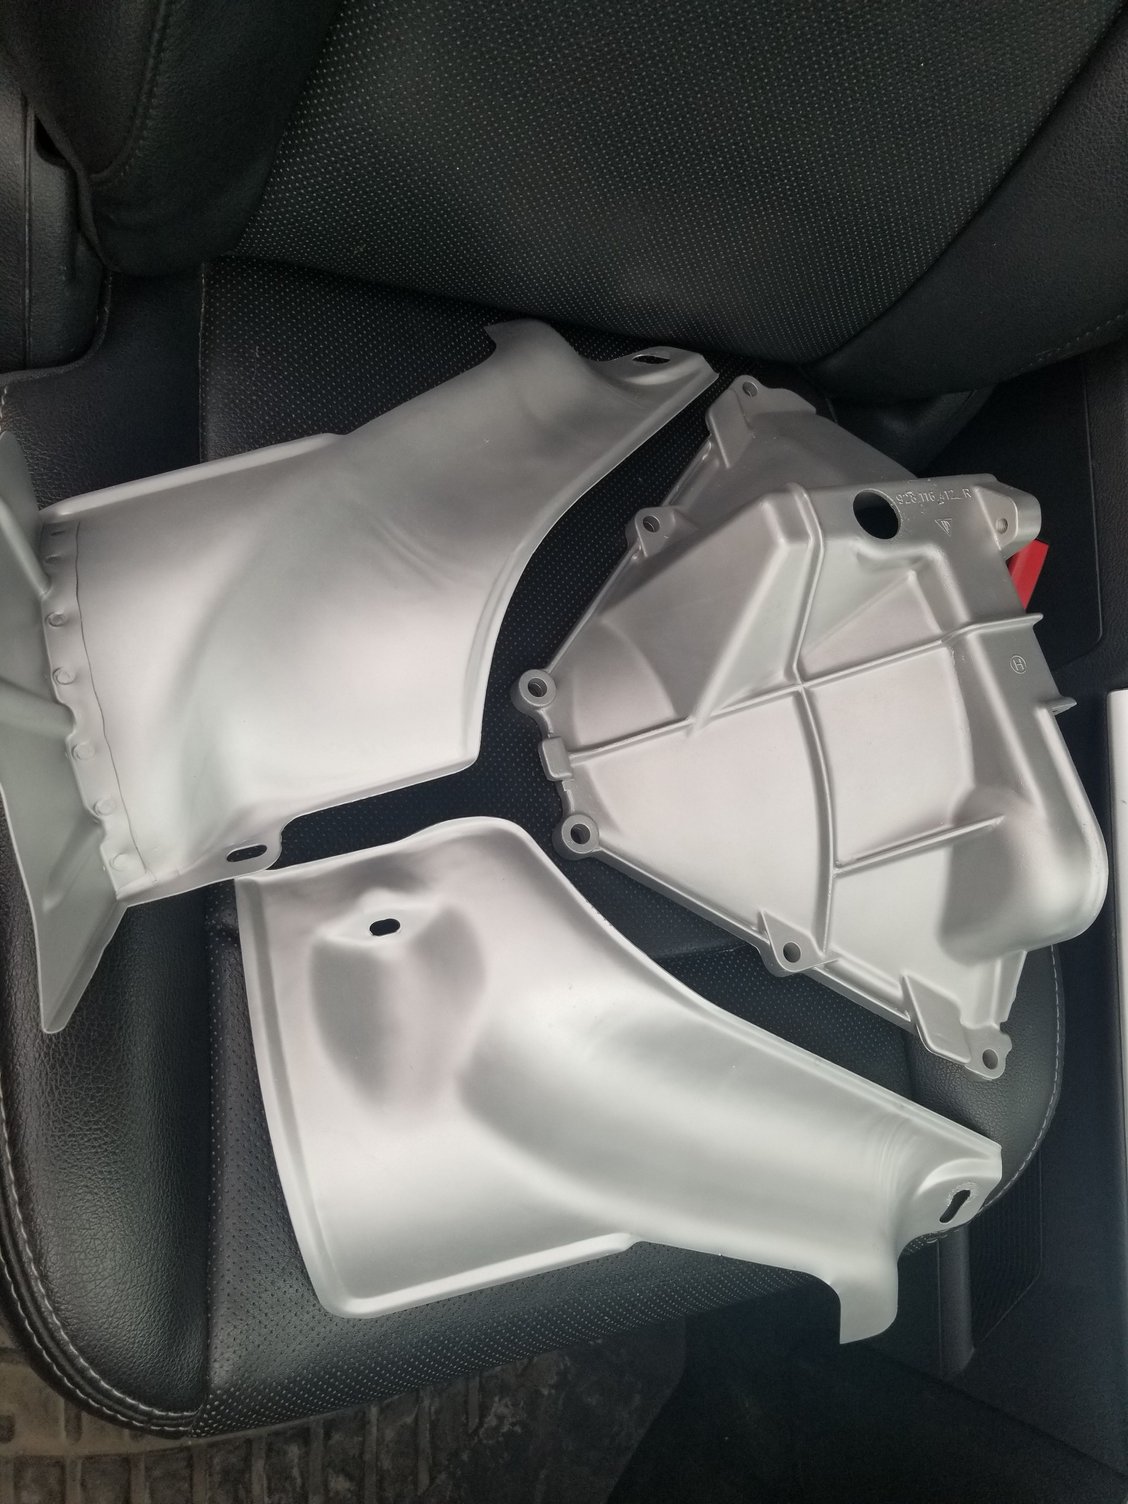
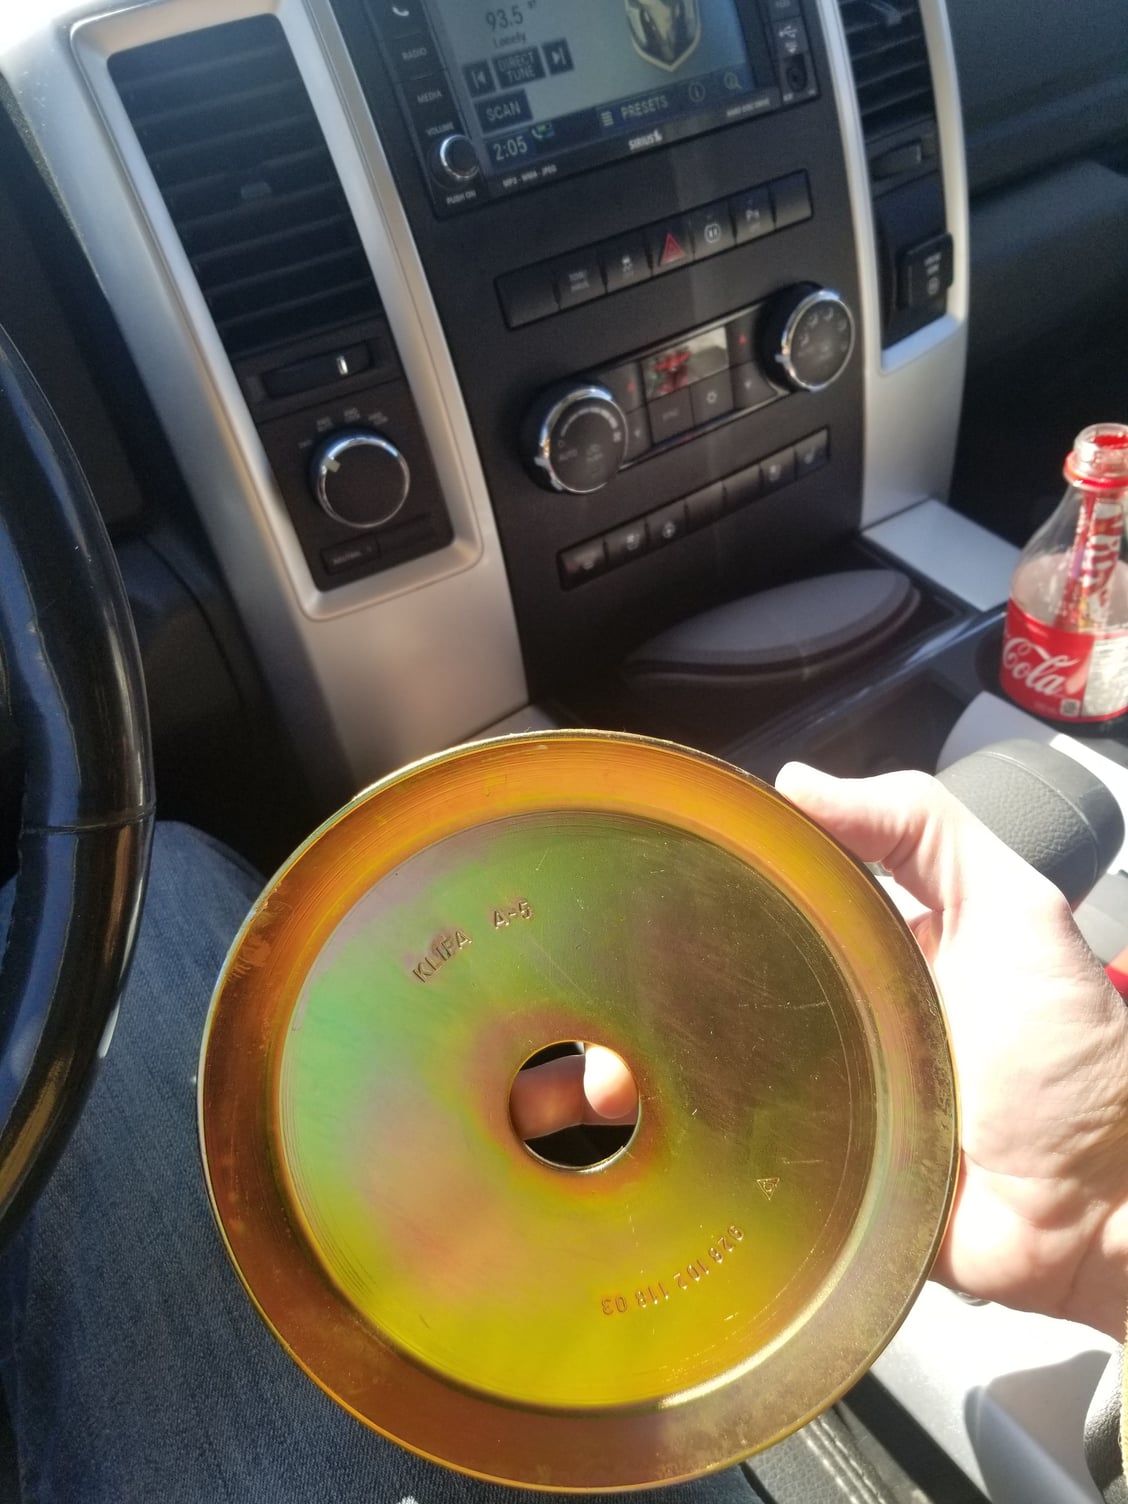
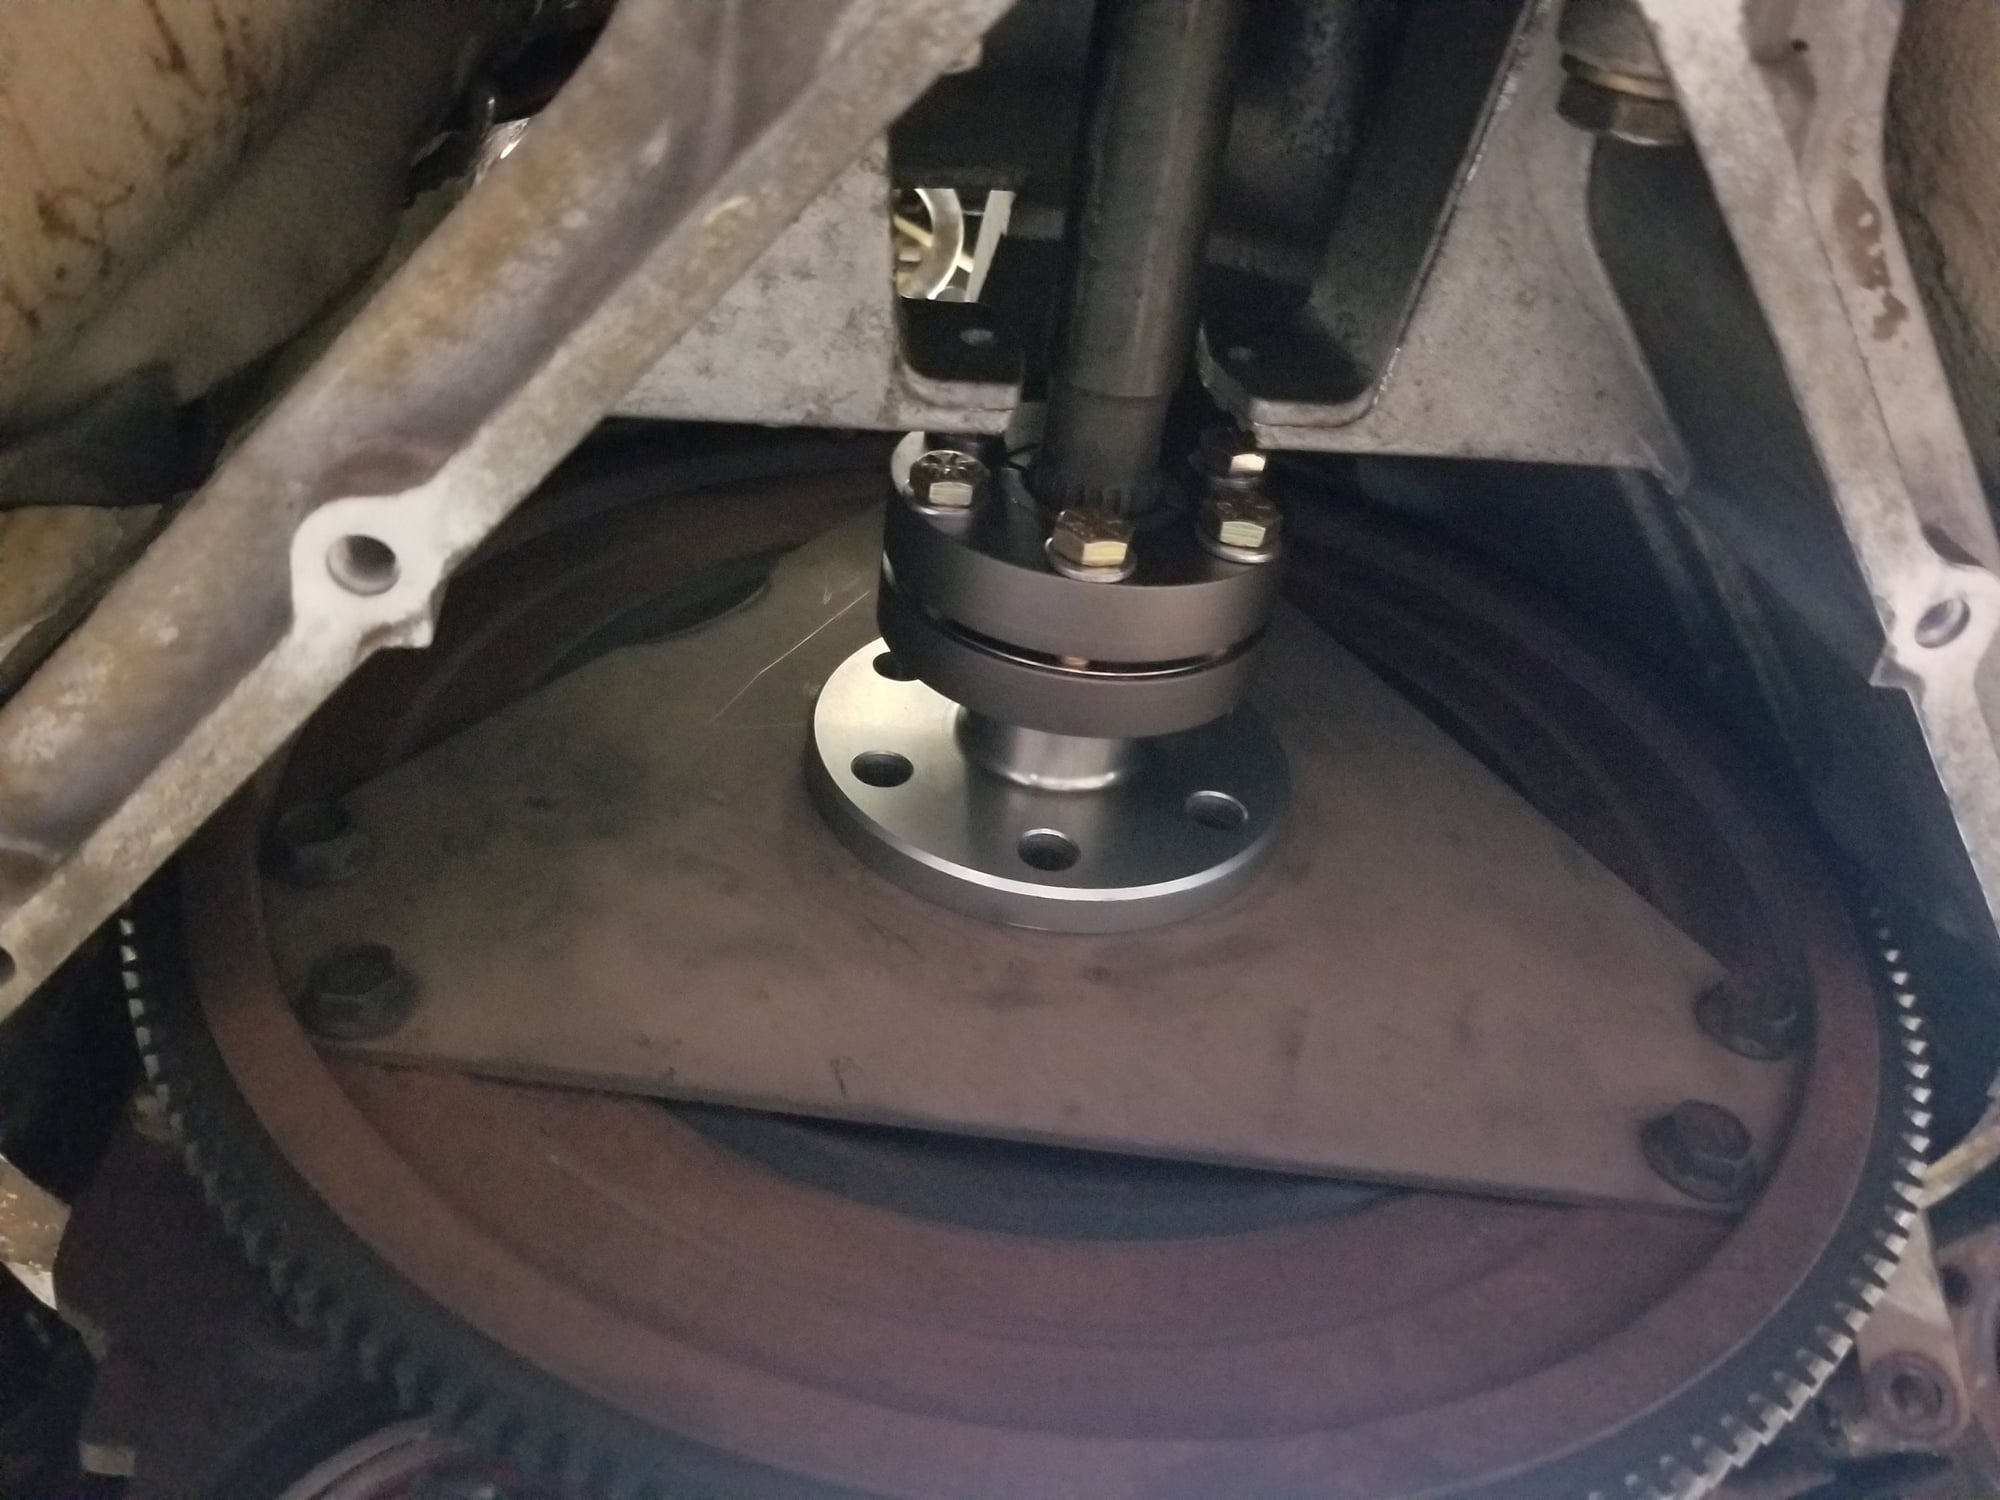
Tear down and reseal transmission, rebuild torque tube with Constantine's super bearings and super clamp. Custom lines made, vapour blast aluminum pieces and replated various heat shields.


 03-19-2019 | 09:46 PM