When you click on links to various merchants on this site and make a purchase, this can result in this site earning a commission. Affiliate programs and affiliations include, but are not limited to, the eBay Partner Network.
As part of restoring function to my supercharger Heat exchanger cooling pump and fan, I may have also found where some of my boost may have been going...
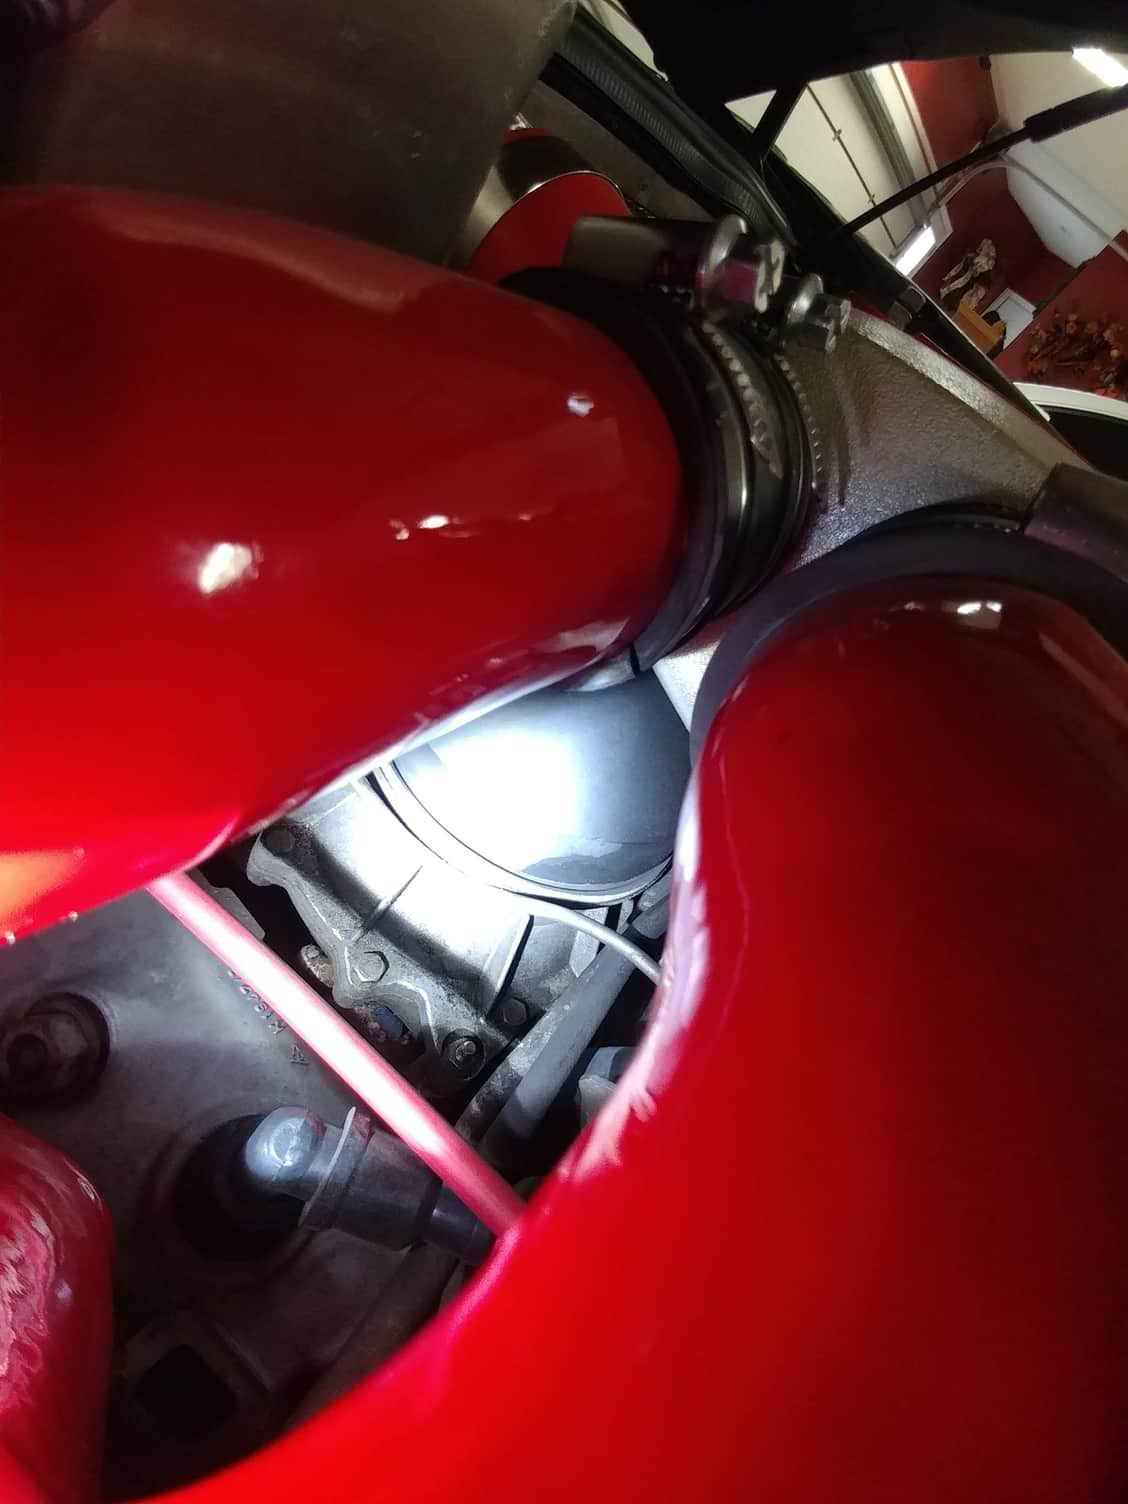
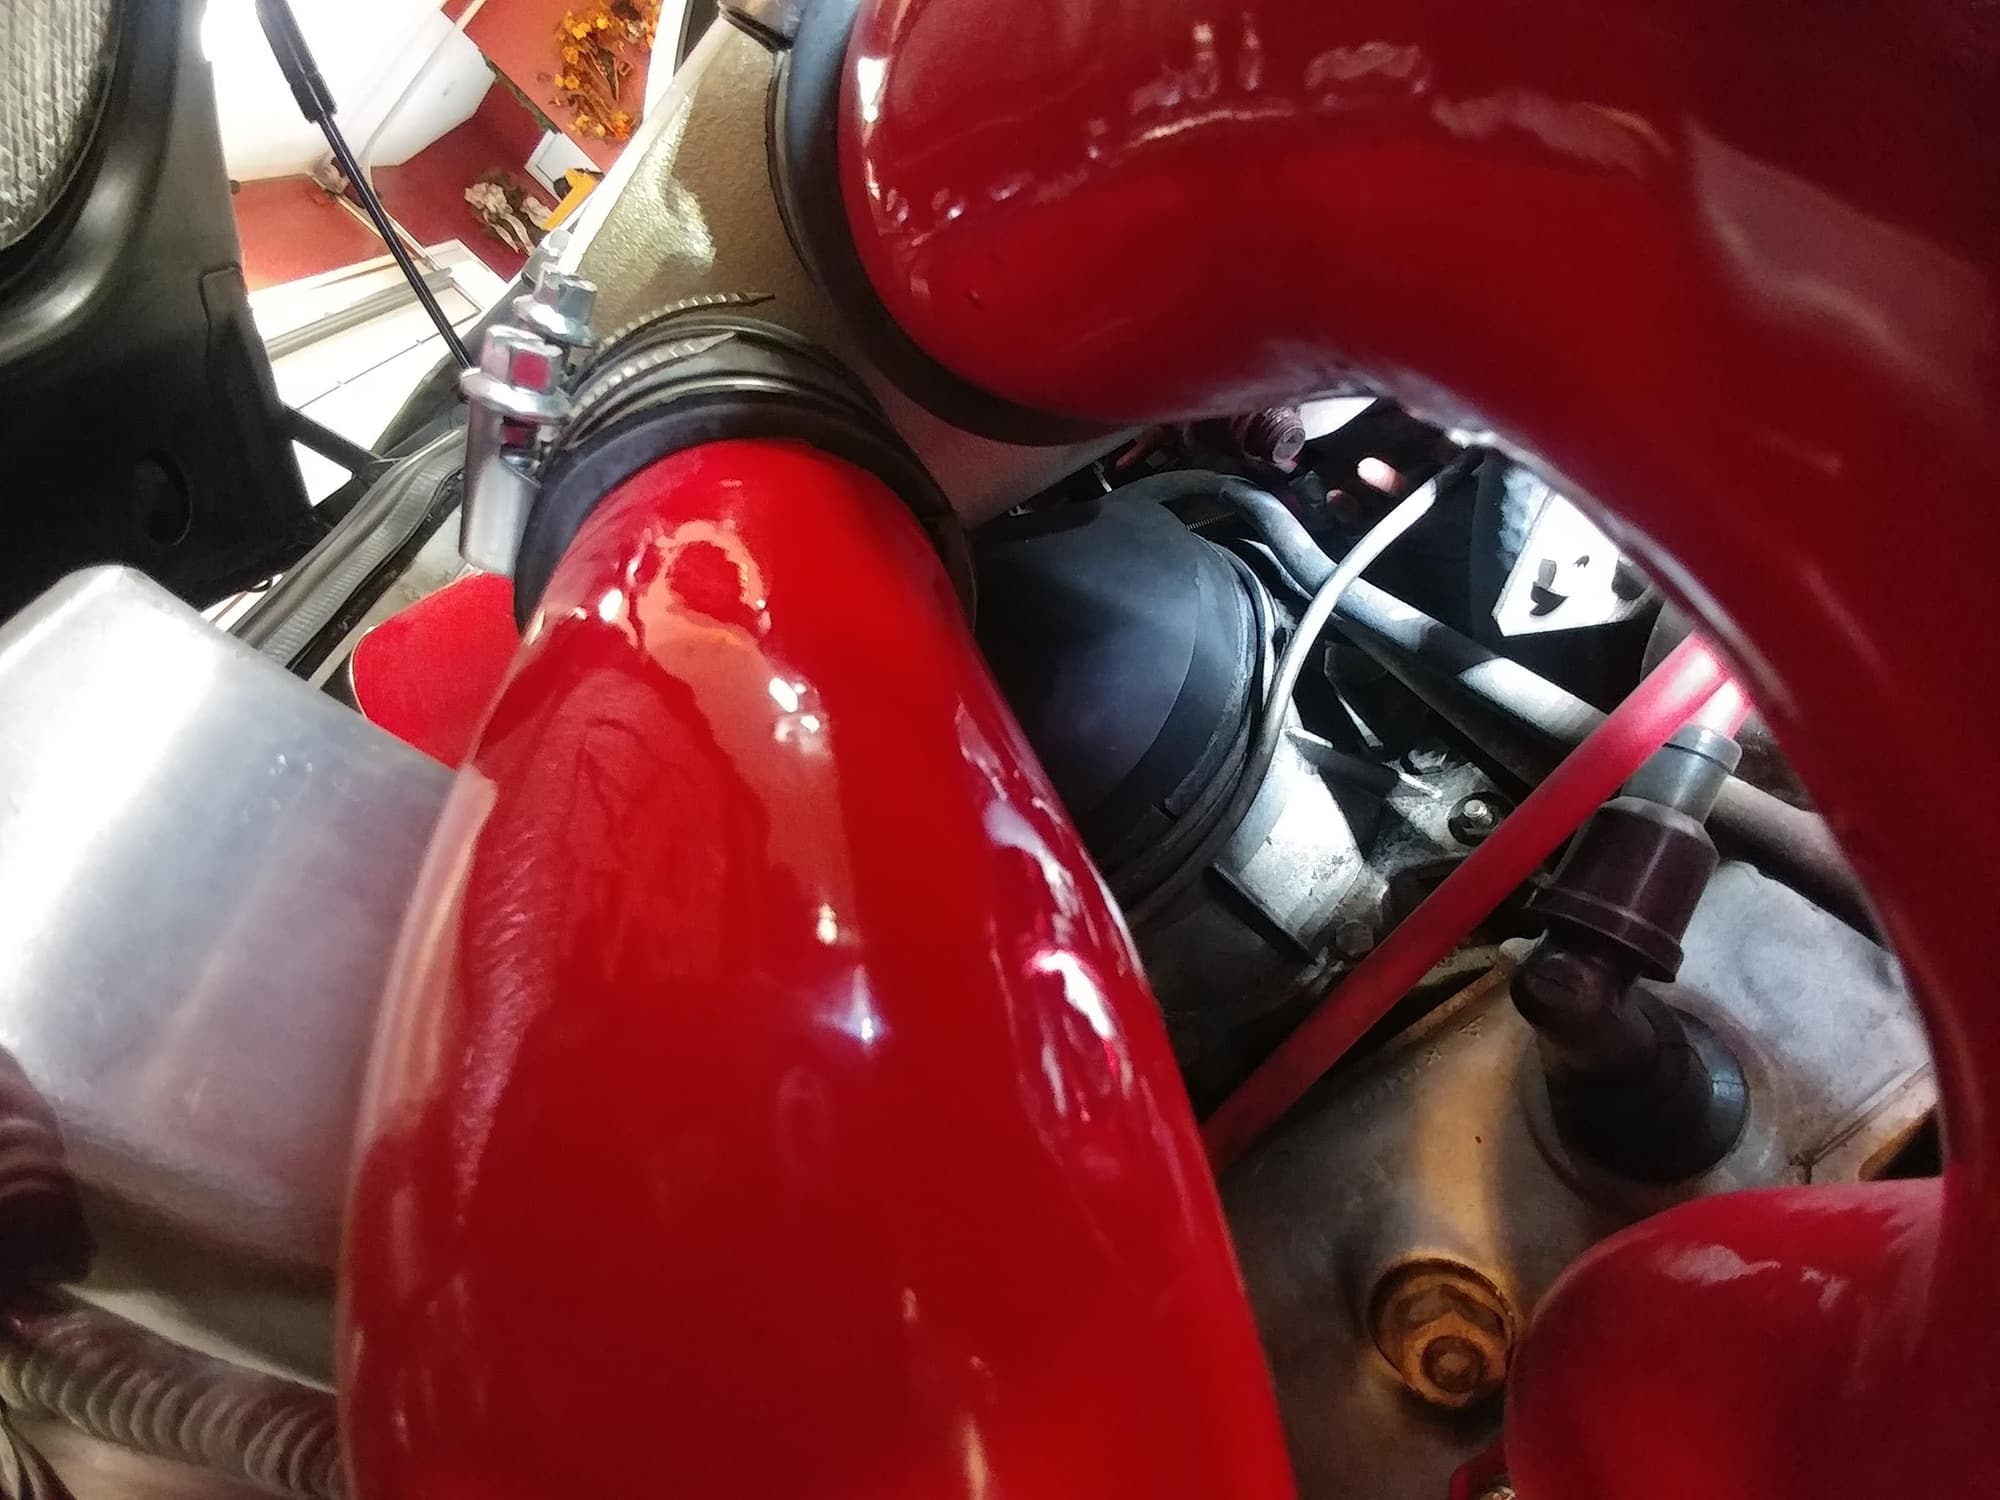
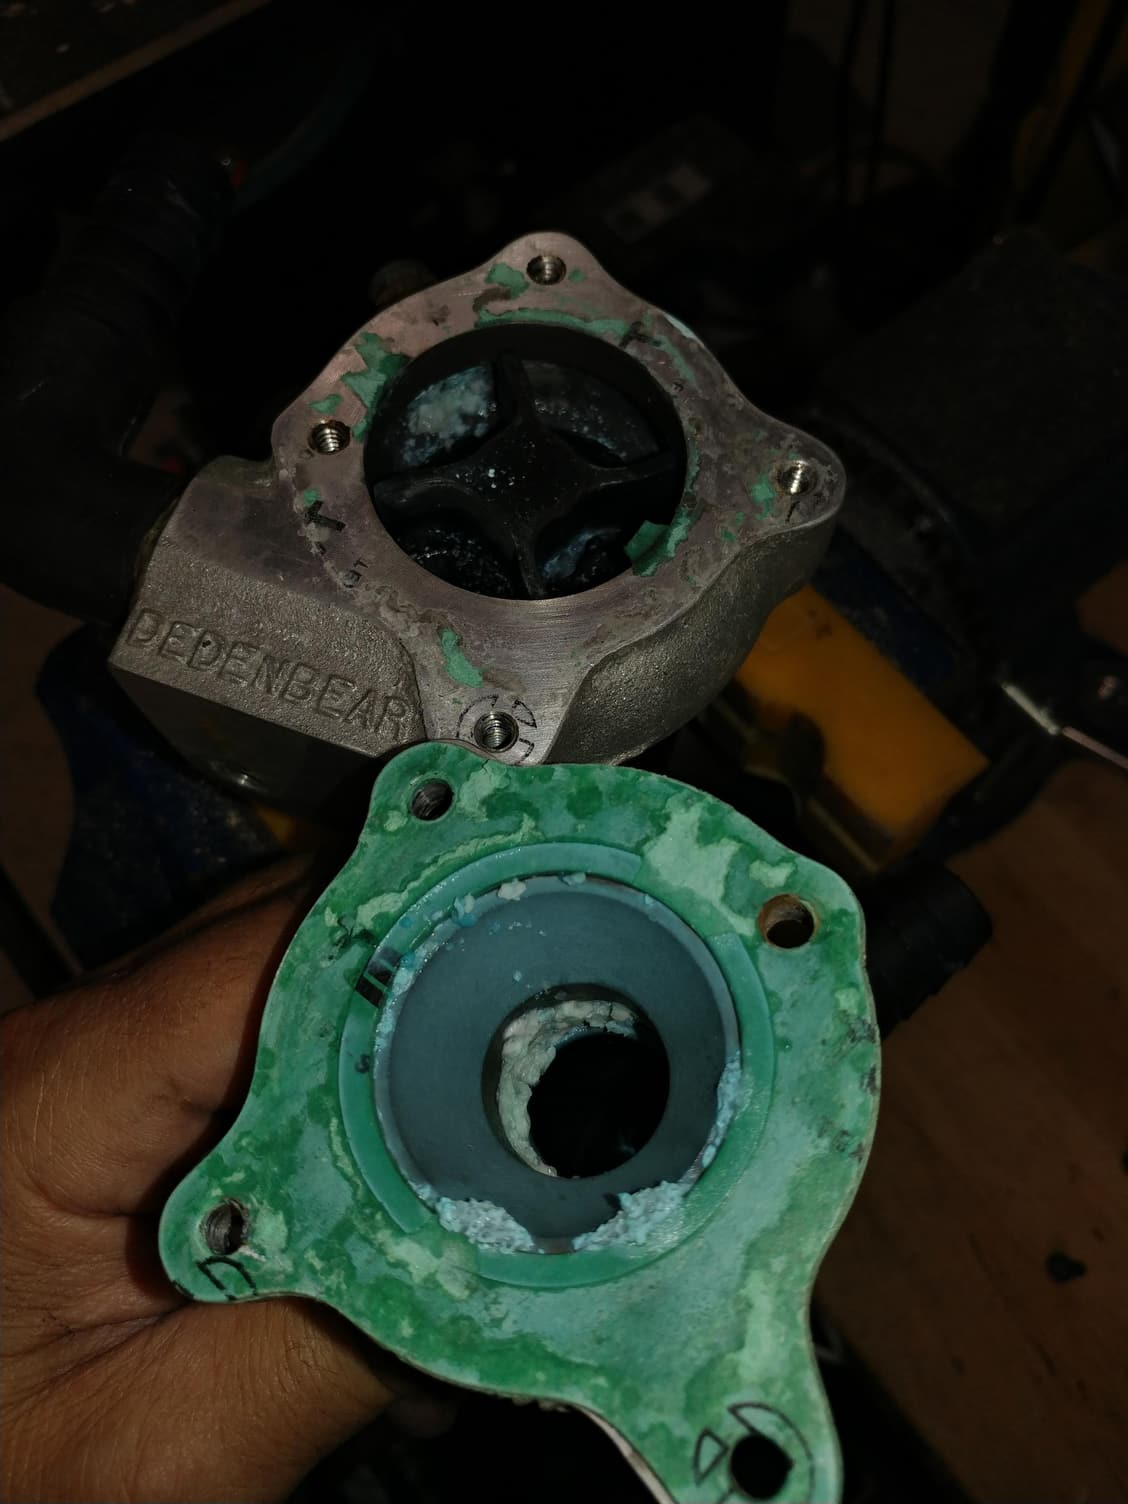
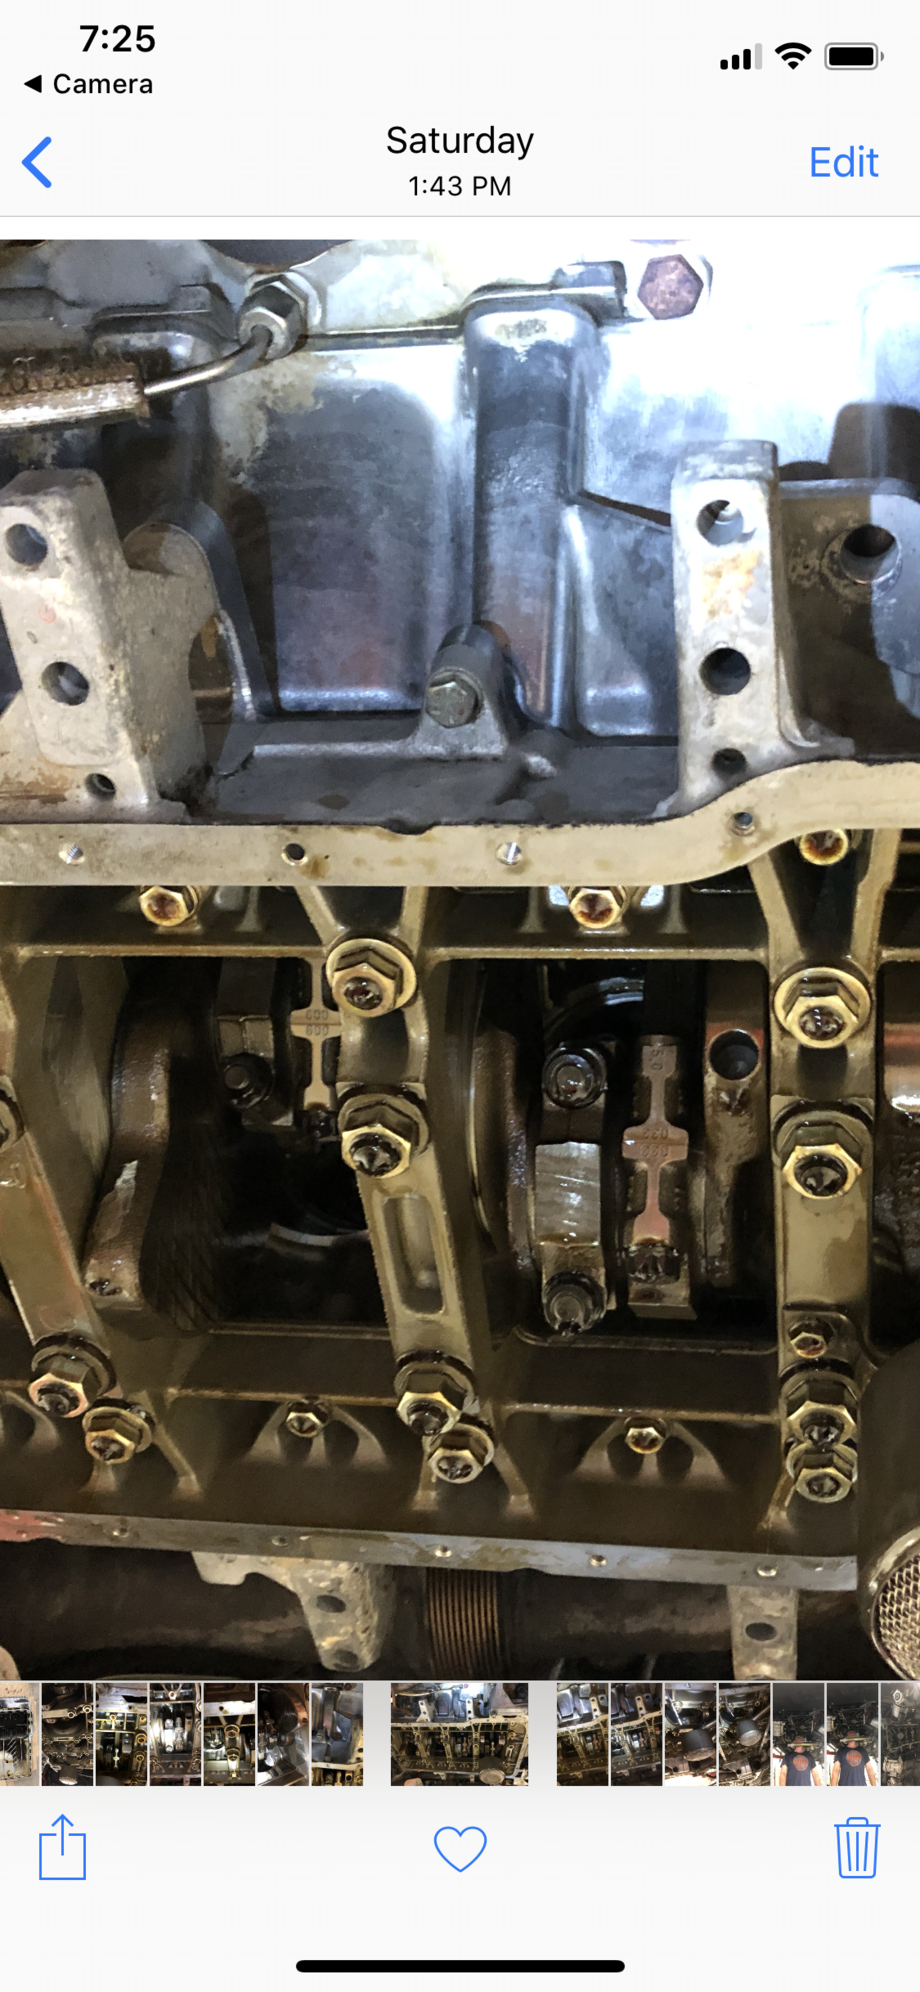
Look through the spider legs - see how at the front, the top metal piece isn't seated into the groove in the bottom piece and there appears to be some staining in this area on the top piece where a boosted air leak may have been occuring.
I took that junction apart and cleaned everything, then applied some weatherstip tape along the edge of the top piece, reseated it, and adjusted the bolt that goes through the top of the Spider intake to push down onto the top piece with more force and it's locked in there nice and tight now.
So once I get things back together, we'll see what kind of boost we get and if that was a contributing factor.
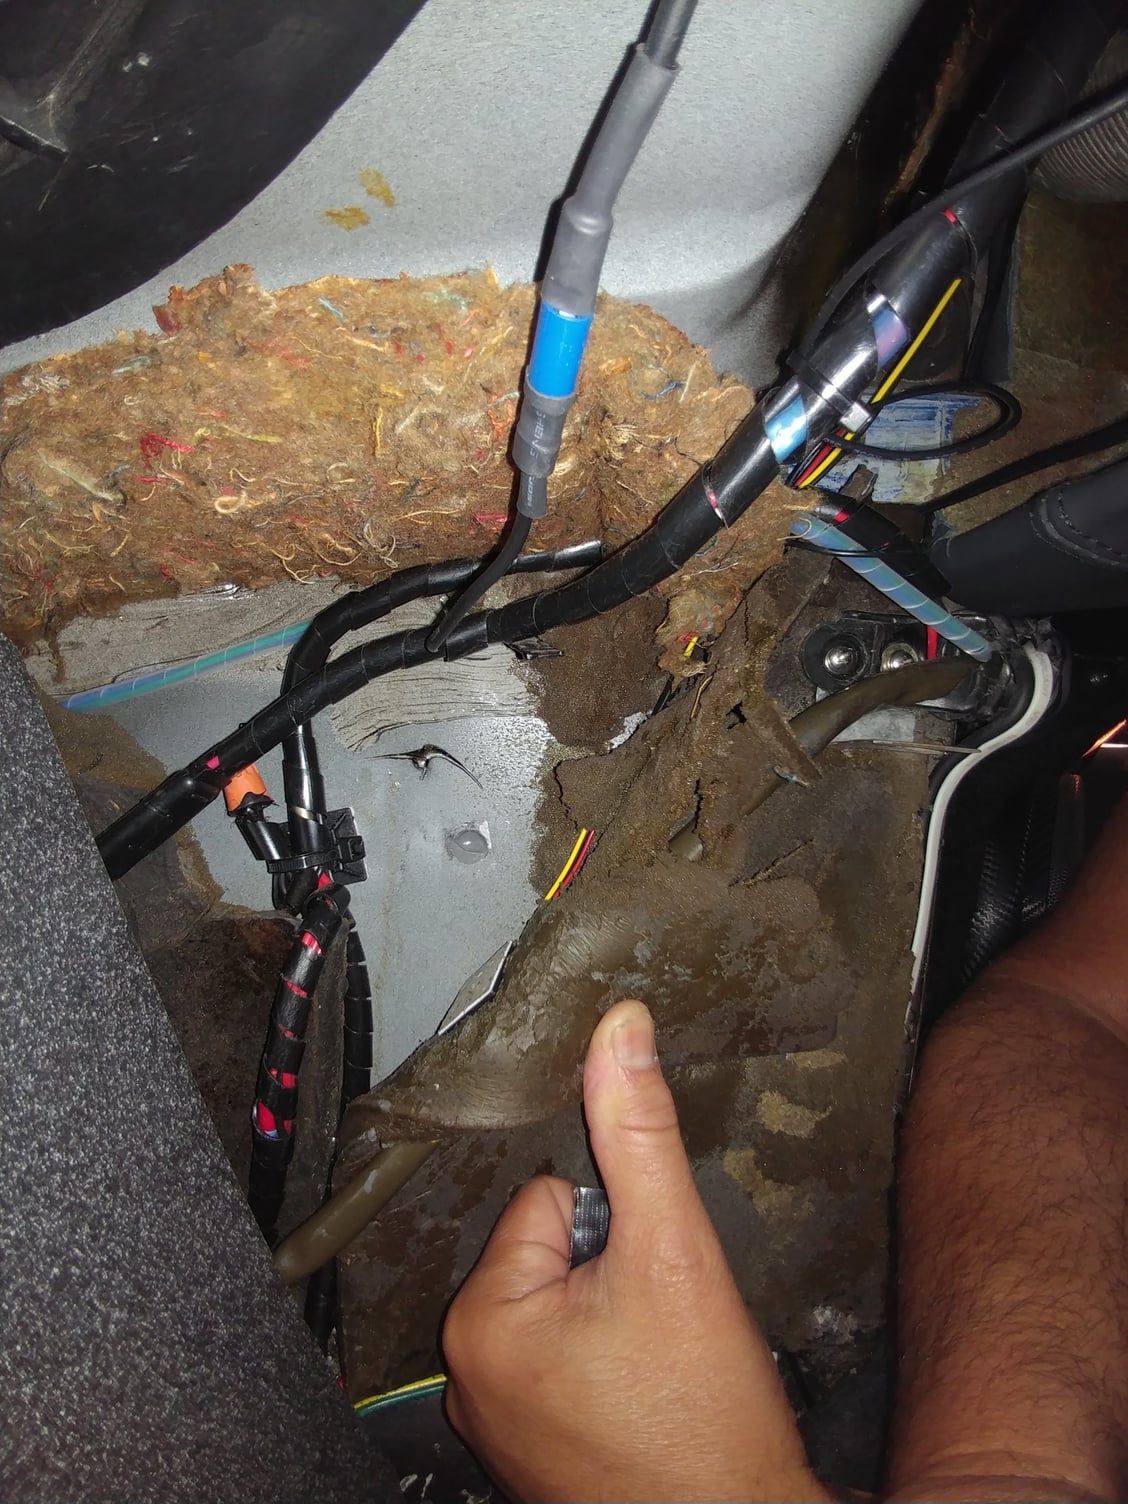
The reason I started into this this week is because I didn't believe the pump that feeds windshield washer fluid to my intercooler heat exchanger was working. First off, I didn't realize that the pump used windshield washer fluid from that reservoir as the cooling medium. I haven't had more than 3" of fluid in that reservoir ever, because one of the POs of this car put a ground screw through the metal wall from the inside passenger area, right into the coolant reservoir. When I redid a bunch of the interior wiring, I removed this unnecessary screw and washer fluid started running into the car. Not wanting to risk that happening after it was all done, I just let it drain out to below the screw hole and never filled it up again (4 years this way).
So, step one was to fix that problem. I made the hole in the sheetmetal a little bigger so I could get good access to the screw hole in the water bottle, mixed up some JB Weld. forced it into the screw hole, then sealed up the enlarged sheet metal hole too - reservoir should be water tight now so I can use my windshield squirters and have a large fluid capacity for the heat exchanger fluid. Patch is the grey circle in the middle of the photo.
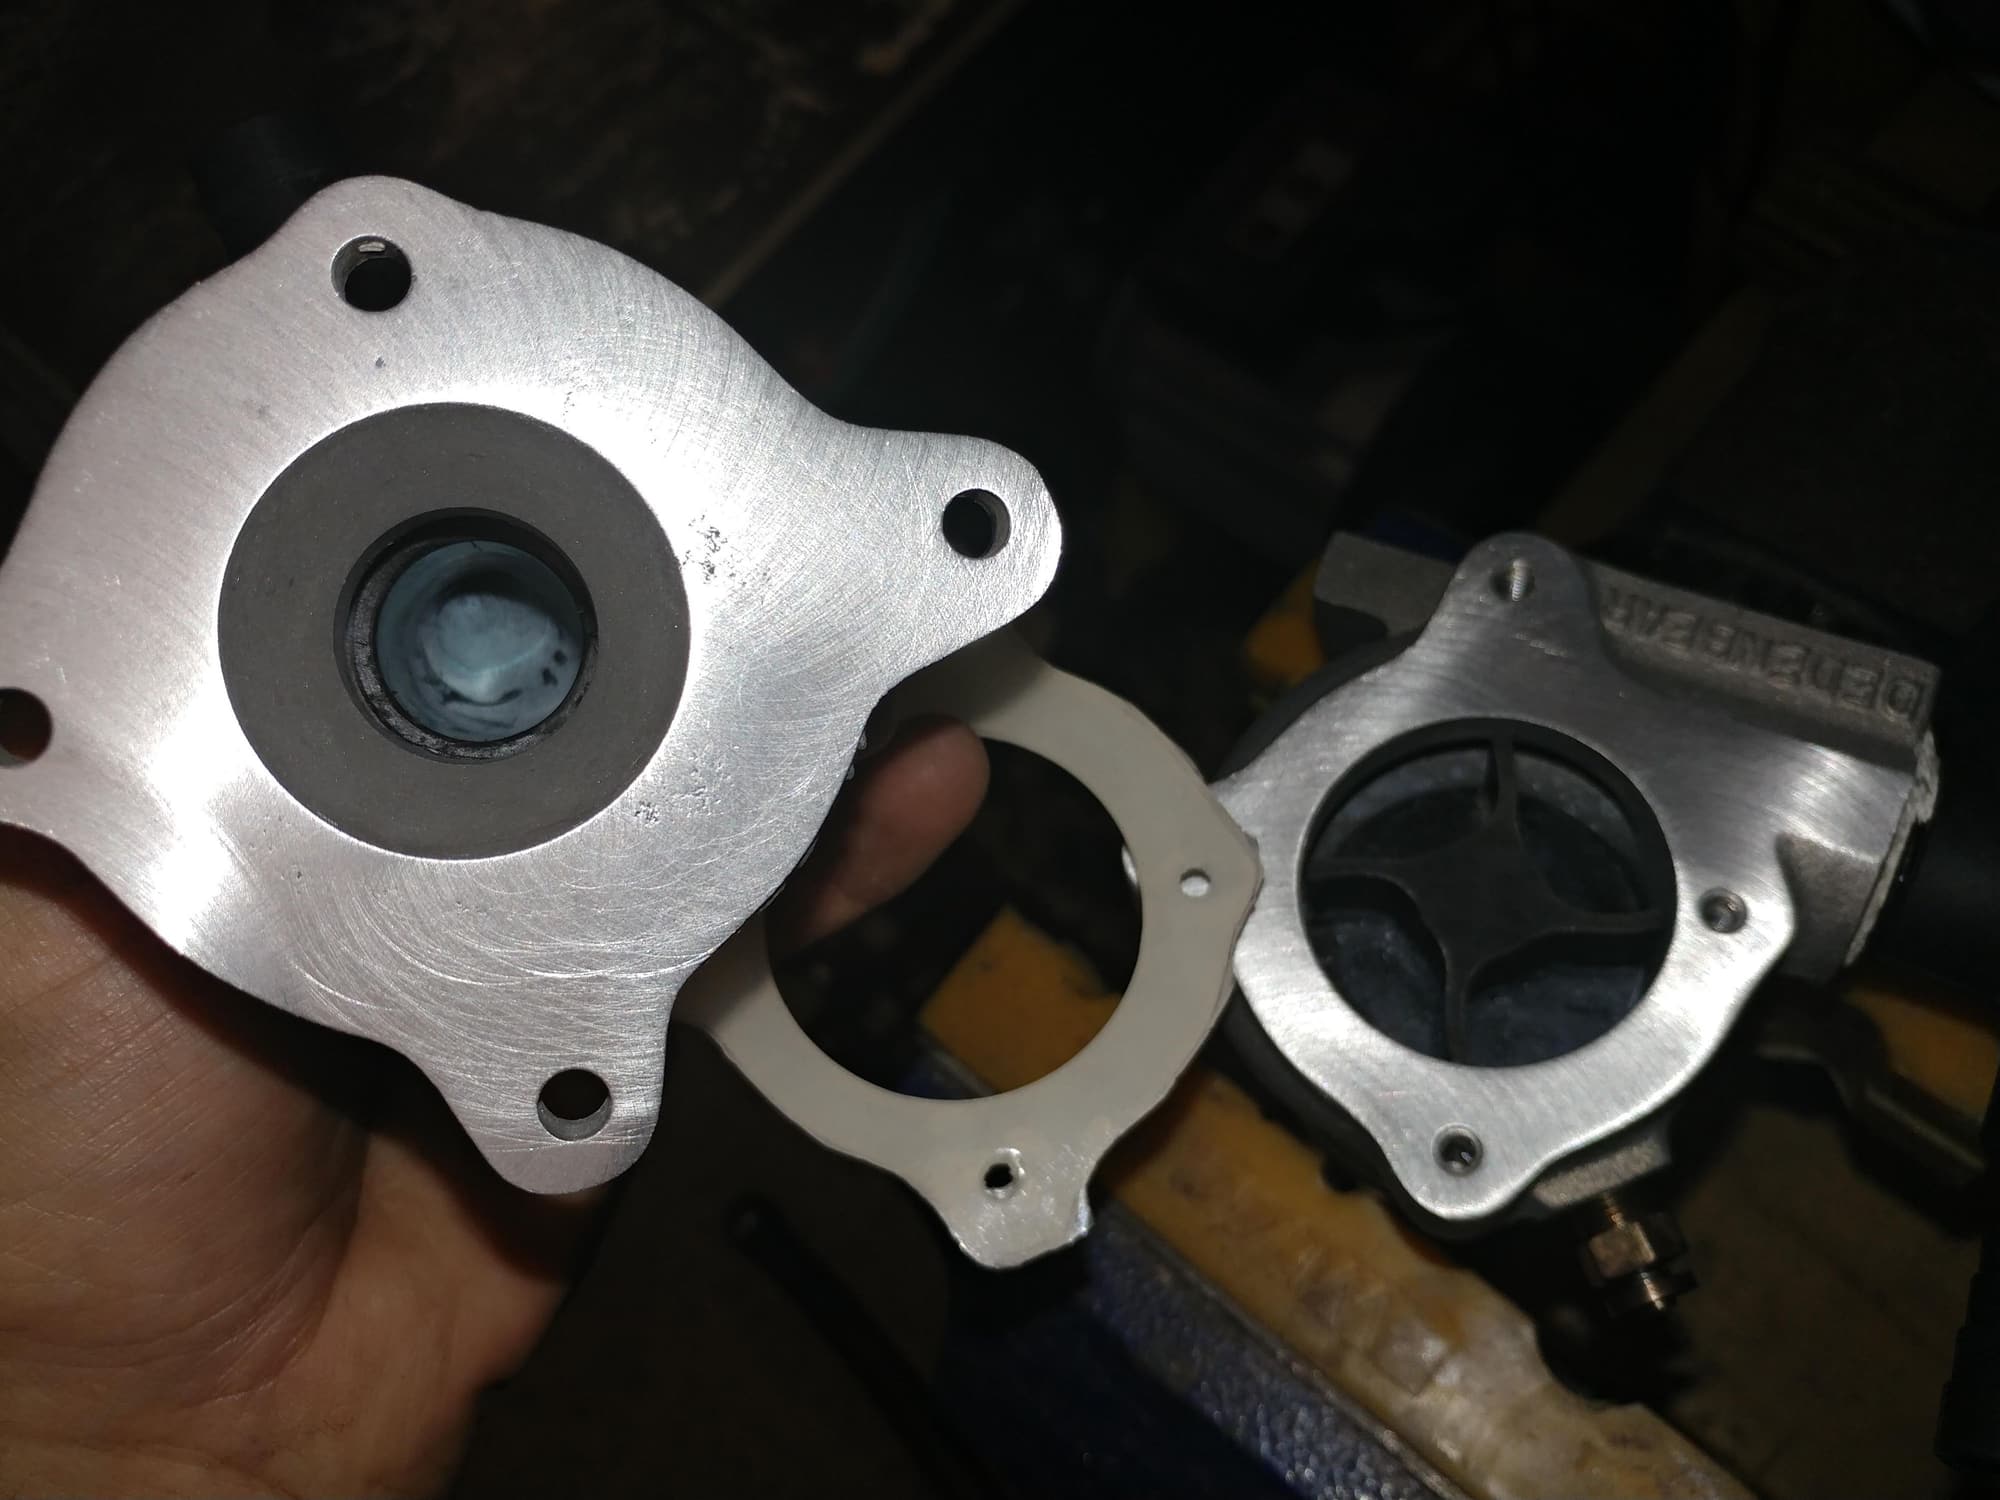
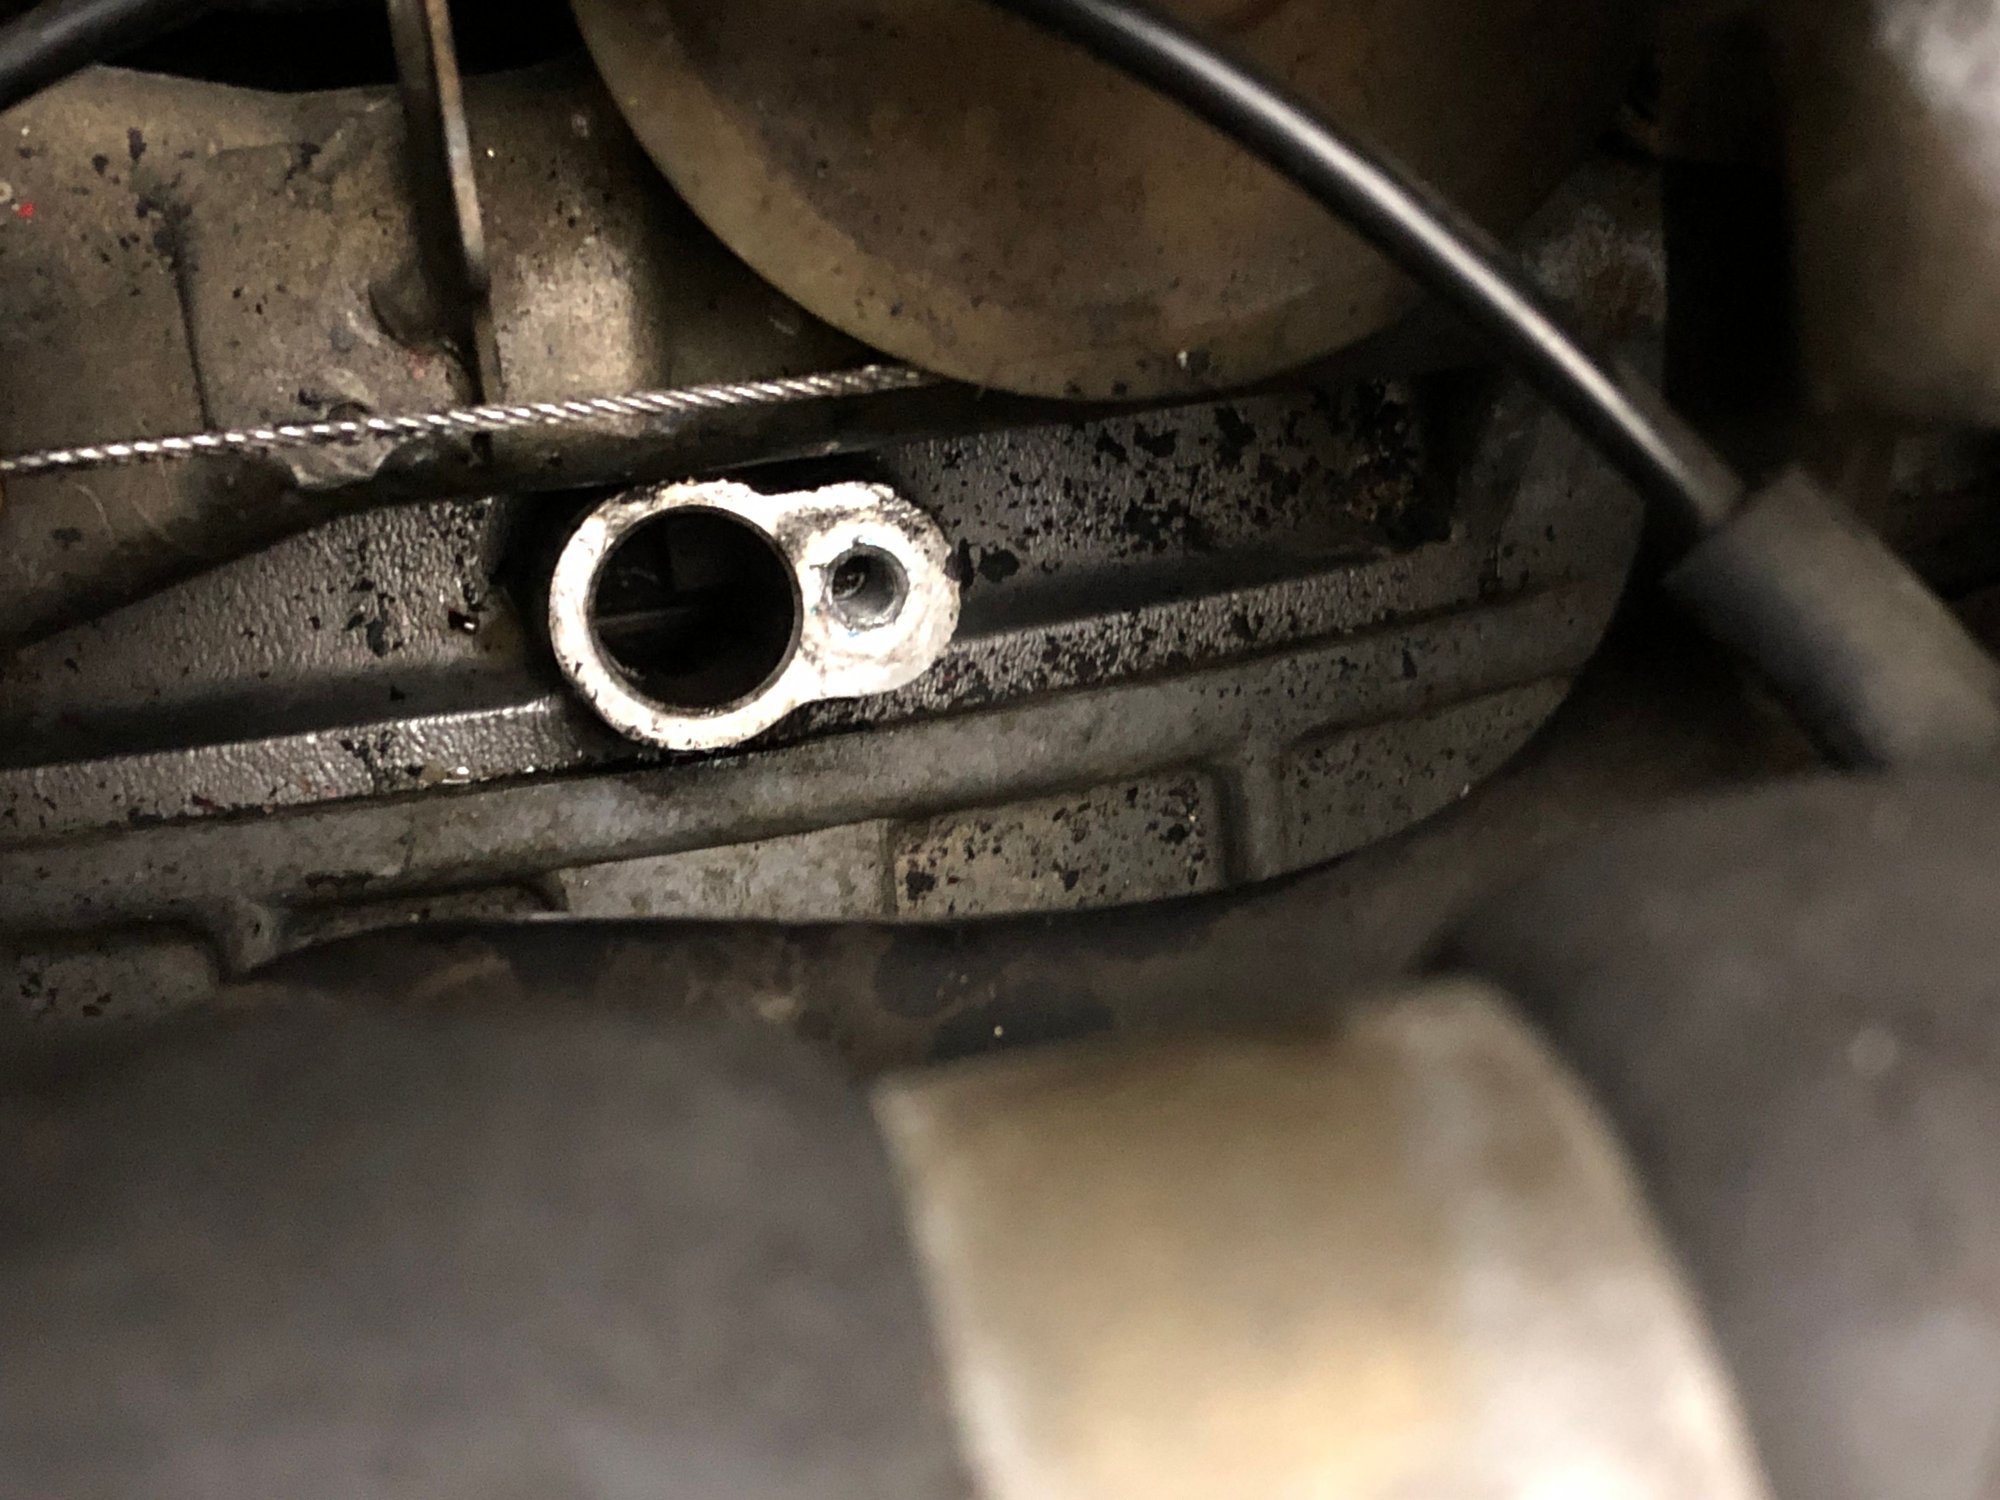
Then I started looking into the pump itself. Put 12v do it directly - nothing. That's not good news. Removed the pump so I could work on it in a better area. Tried it again out of the car - nothing. Apart it comes to reveal this and an impeller that I can't spin by hand.
I eventually scraped away enough of the crust to turn the impeller by hand so the motor wasn't seized - good news as this is a high end pump that costs about $400. Soaked the two pieces in CLR overnight, cleaned up the gasket surfaces, cut a new gasket from some silicone sheet material I had, and reassembled.
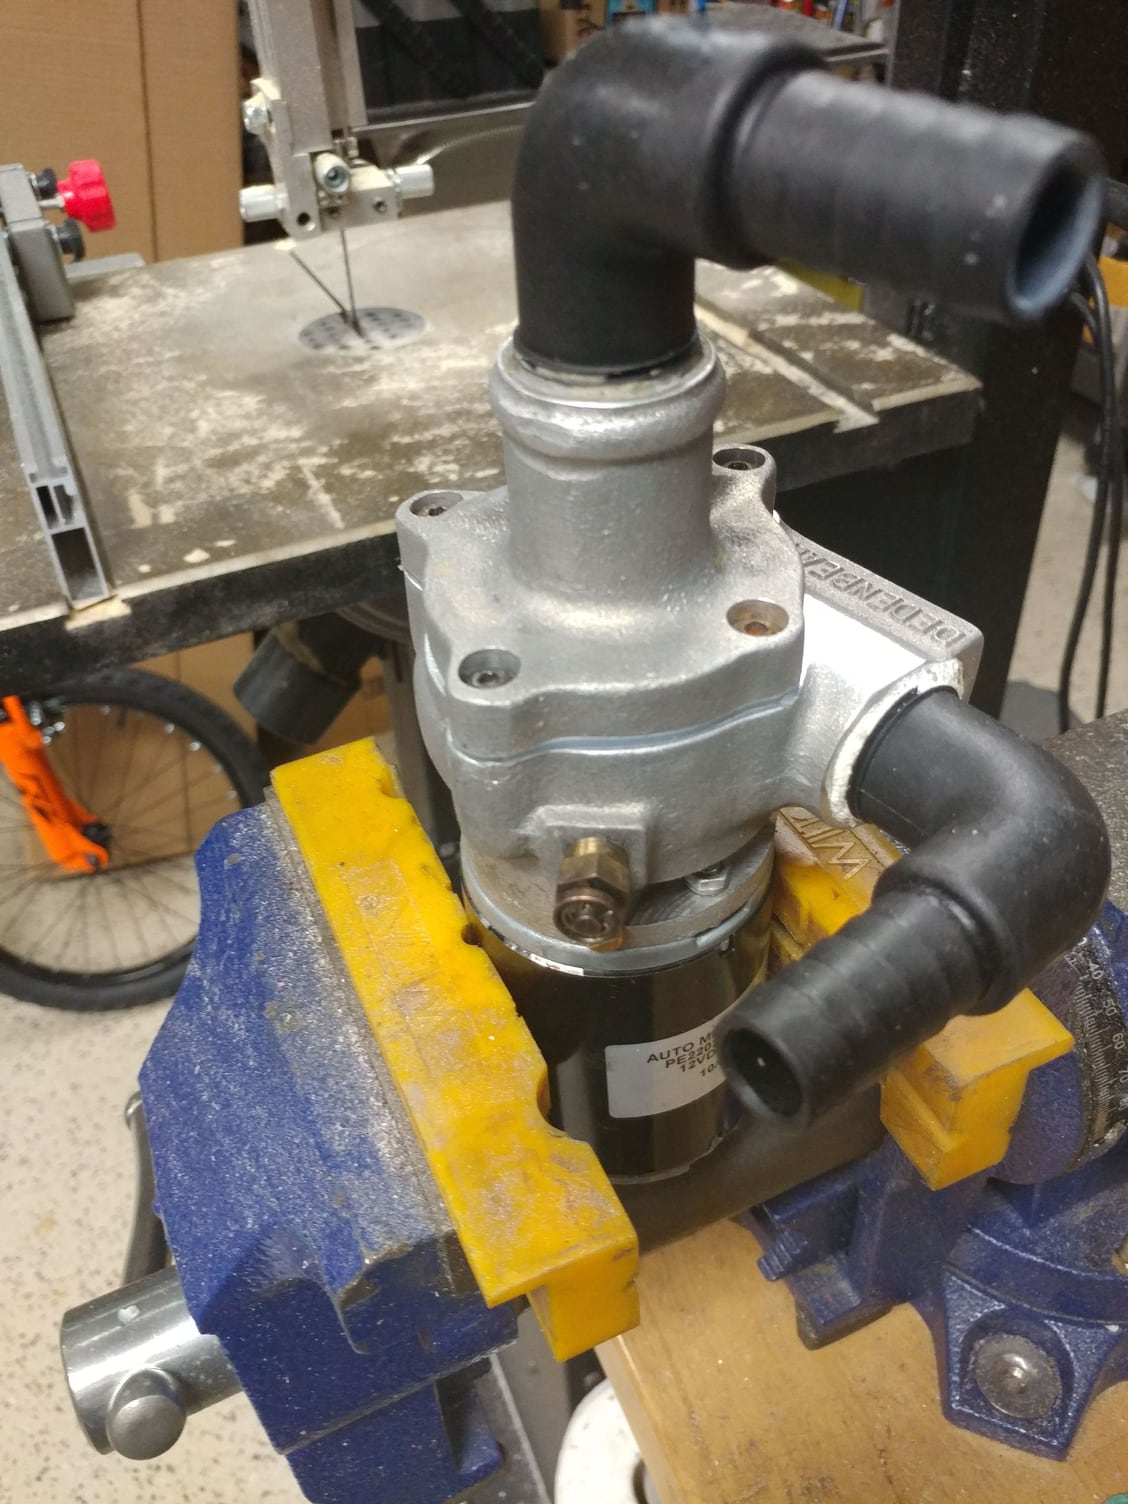
Back in business...
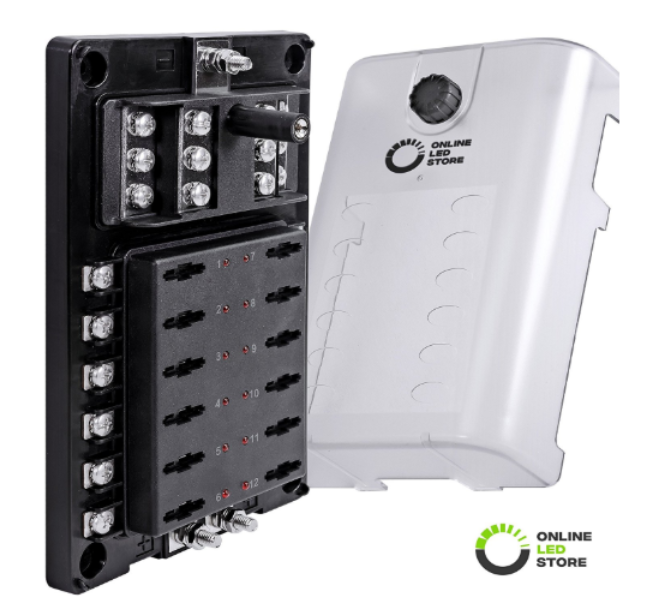
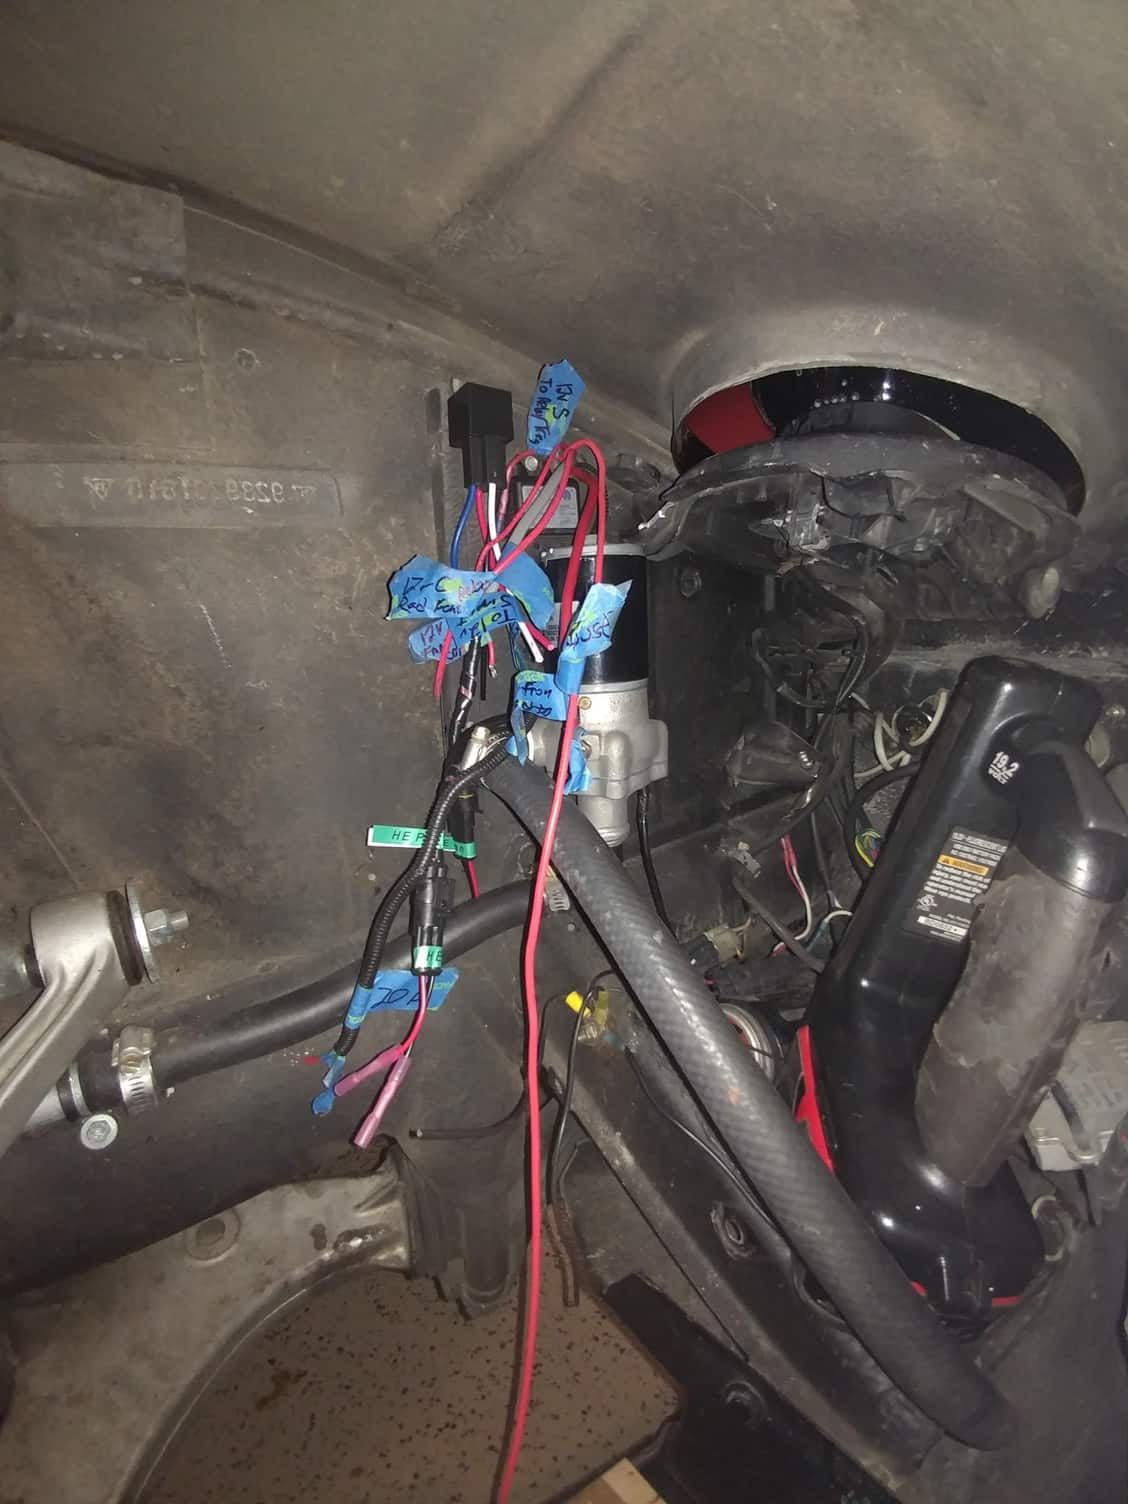
There are so many wires in that section of the car for the Xenon headlights, air horns, HE pump, HE fan wiring, etc that I'm going to redo how all that is done as multiple things were on shared circuits, etc. I'm going to mount a waterproof marine fuse box there as a secondary one so each wire can be on it's own fused circuit.
One side will get a Constant 12V feed from a wire I run to the jump post (push/pull fan controller, Xenon lights controller, etc) and another side of the fuse box will get a switched 12v feed. I'll use an SPDT relay, take one lead from the constant side of the fuse box to supply pin 30, take a trigger lead from a splice on a switched wire at the 14 pin connector to pick the relay, then use the other leg of the relay to supply the switched side of the fuse box and all the switched circuits will come off of that. The relay is an 30A so won't have any trouble supplying power to that side of the fuse box for the few switched circuits (HE fan, HE pump, etc).
The pump is reinstalled, all the wires are labelled ...
...just waiting for the waterproof fuse box to arrive tomorrow so I can put it all back together and I'll have my Stage 2 setup back in action, hopefully with more boost.
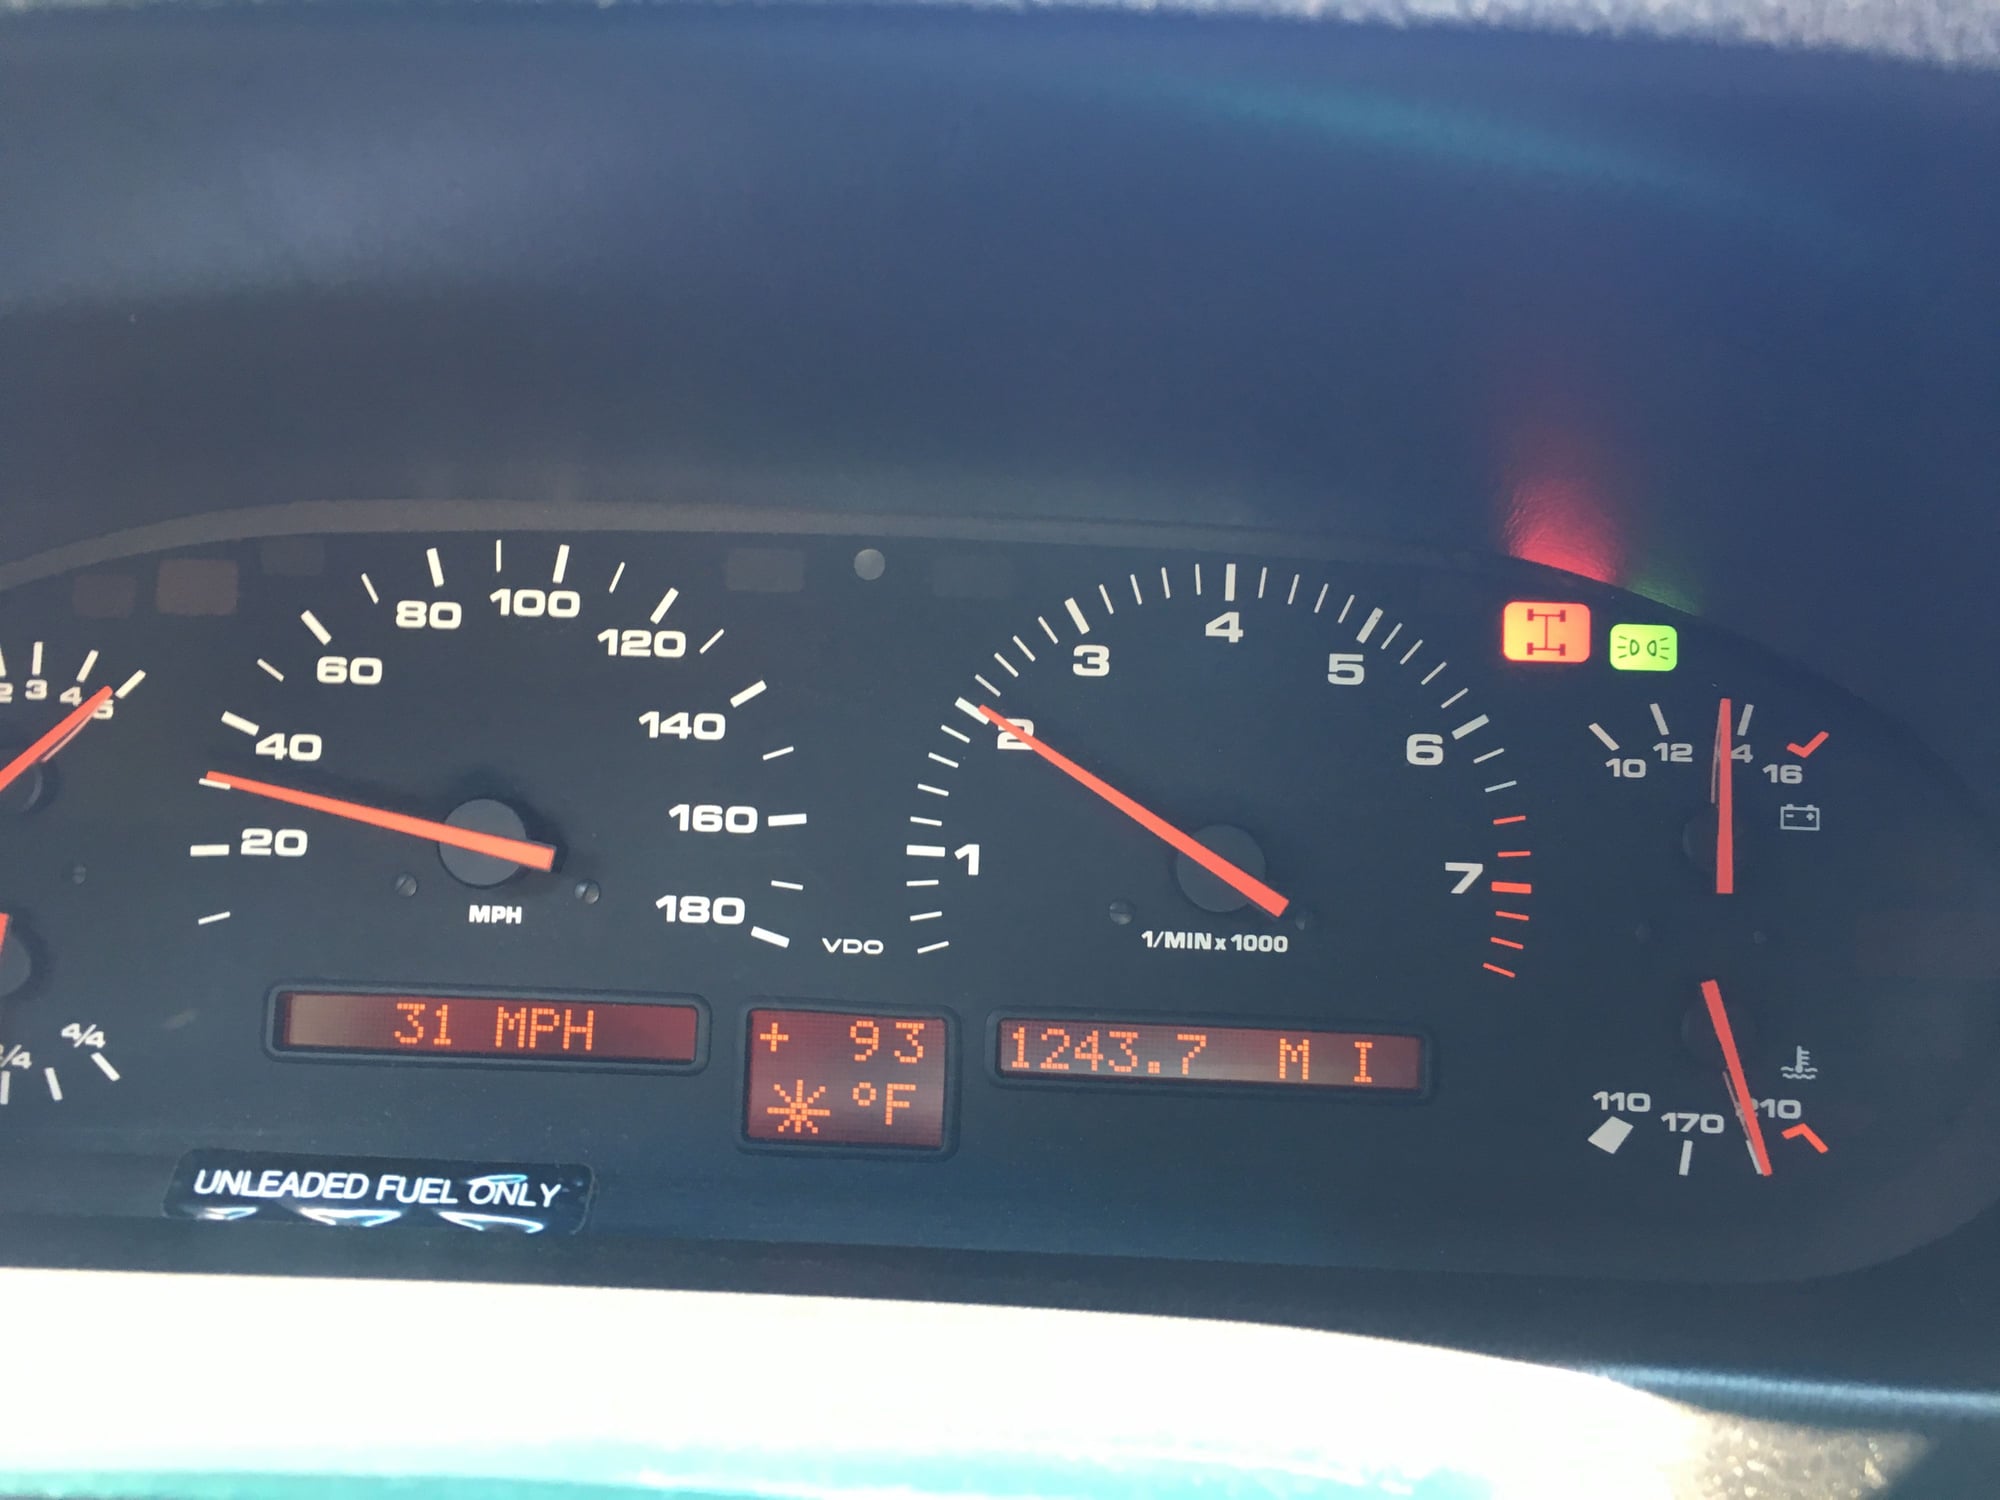
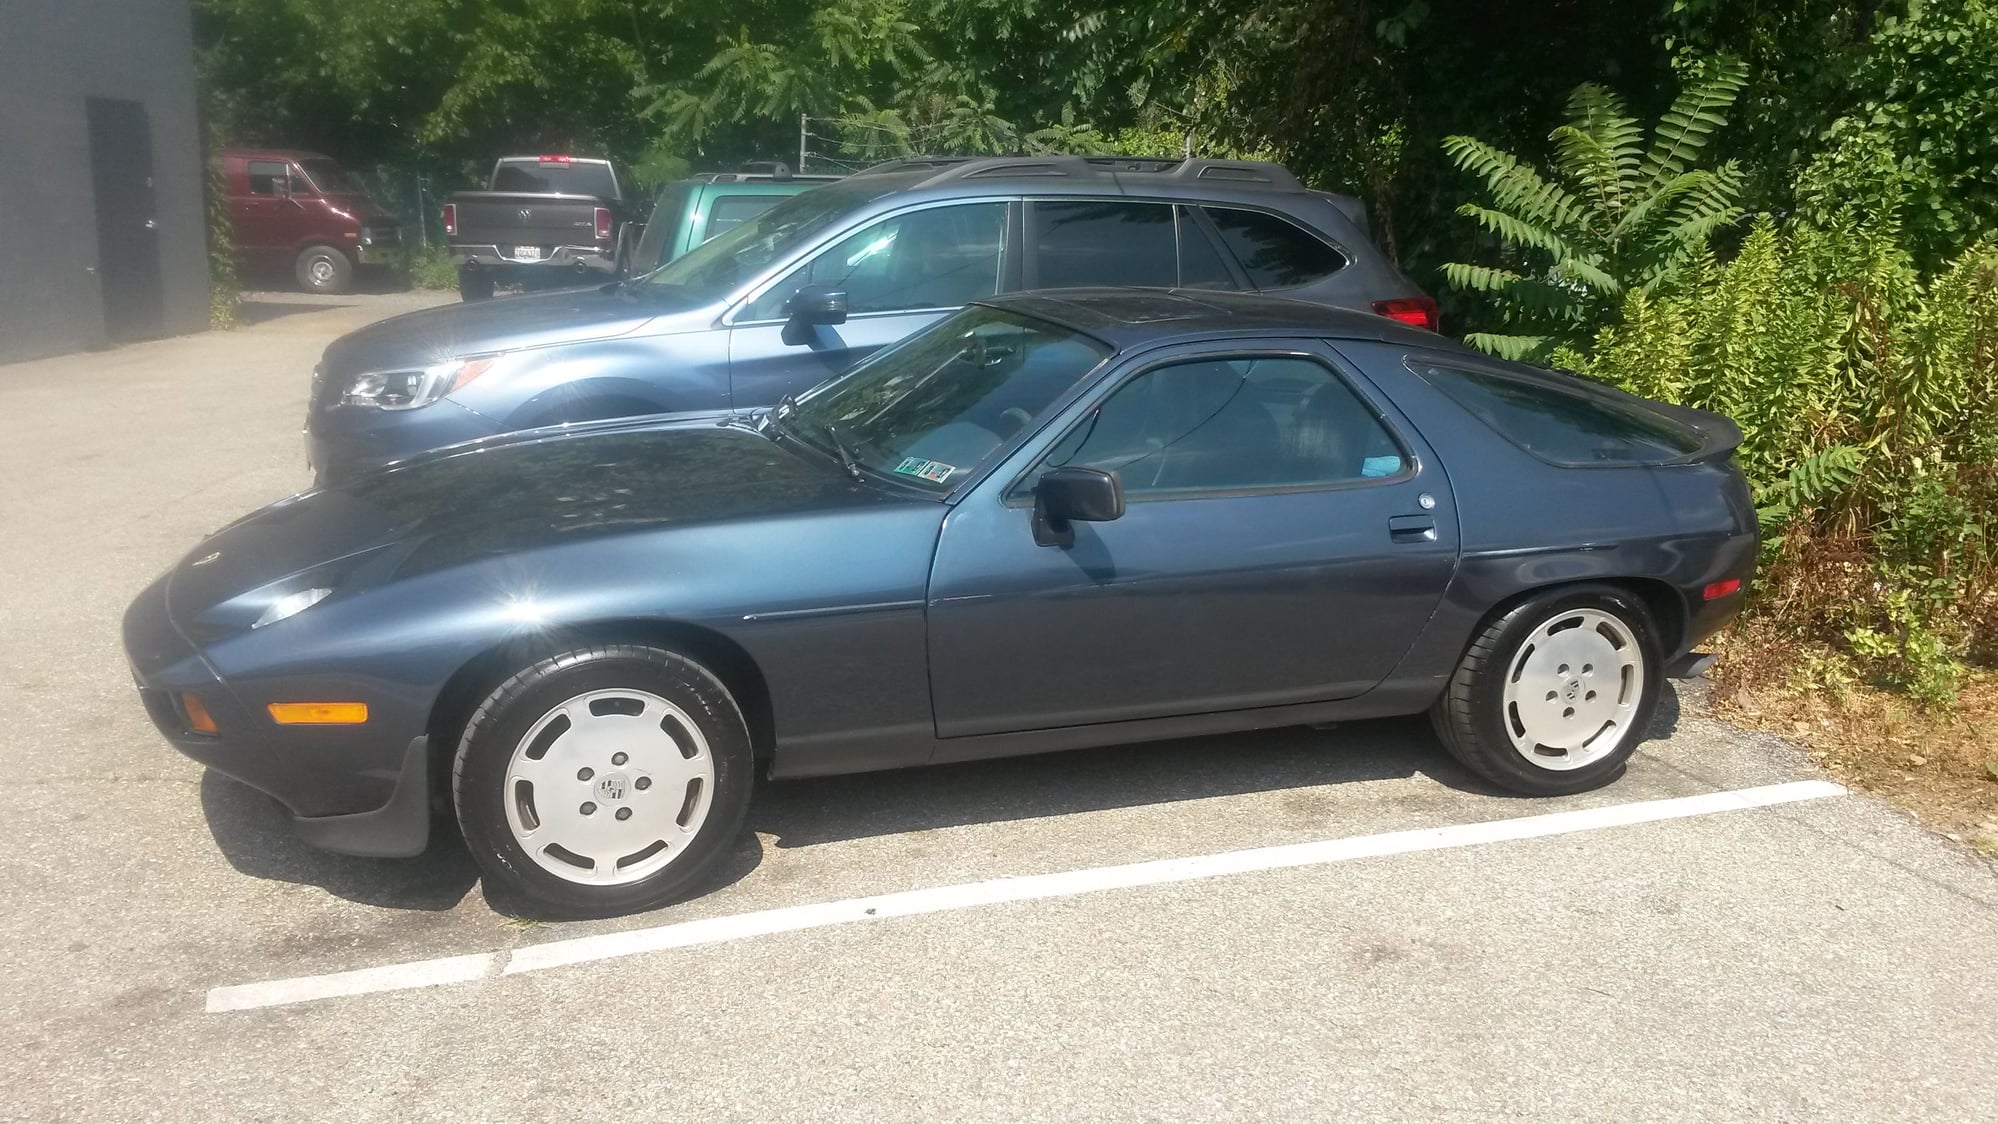
So it’s 95+ degrees here in Maine, so I decided to take the day to drive the TT down to our house in Mass and bring the GT up to Maine. (I must be nuts,) It’s about 100miles one way, mostly interstate. Going down there wasn’t much traffic, and temps were 88-90 degrees. Got home in Mass and ran a few errands and then hoped in the GT and headed back up to Maine. Temp was now around 91-93 degrees. Turned on the AC ( both front and rear) and took off. Temp rose to 94 and temp gauge held steady right below the 190 mark. About one hour into the drive the temp rose to 98 and temp gauge moved onto the 190 mark. Speed was average 75-80. Hit stand still traffic and temp was now 100 and temp gauge moved slightly over 190 Mark, AC still on and very cold. Traffic picked up after about 10minutes and sped up and gauge dropped back onto 190mark. Once outside temp dropped to ~ 93-94, gauge dropped just below 190 mark. I was very pleased at how the GT’s AC system performed.
Temp dropping once off the interstate and outside temp down.
Pulled the pod to install Peter Vik’s illumination prisms for the cluster with soft white LEDs. Looks great at night. Matches my soft white LED’s I have in the HVAC controller. Was a nice drive until I saw another light...first time in years my belt tension light went on. Checked it the next morning and tension was just below the window on the Kempf tool. Reset, and drove over 100 miles. All appears well.
Full on bottom of engine cleaning with Oil pan gasket and motor mount replacement! woo-hoo what a difference in cleanliness! Pressure washed and steam cleaned everything for hours!!! Special thanks to Jim Doerr of 928 Classics. He came up to my house/man cave for the weekend and shared his knowledge and experience generously and led the project with his infectious enthusiasm!
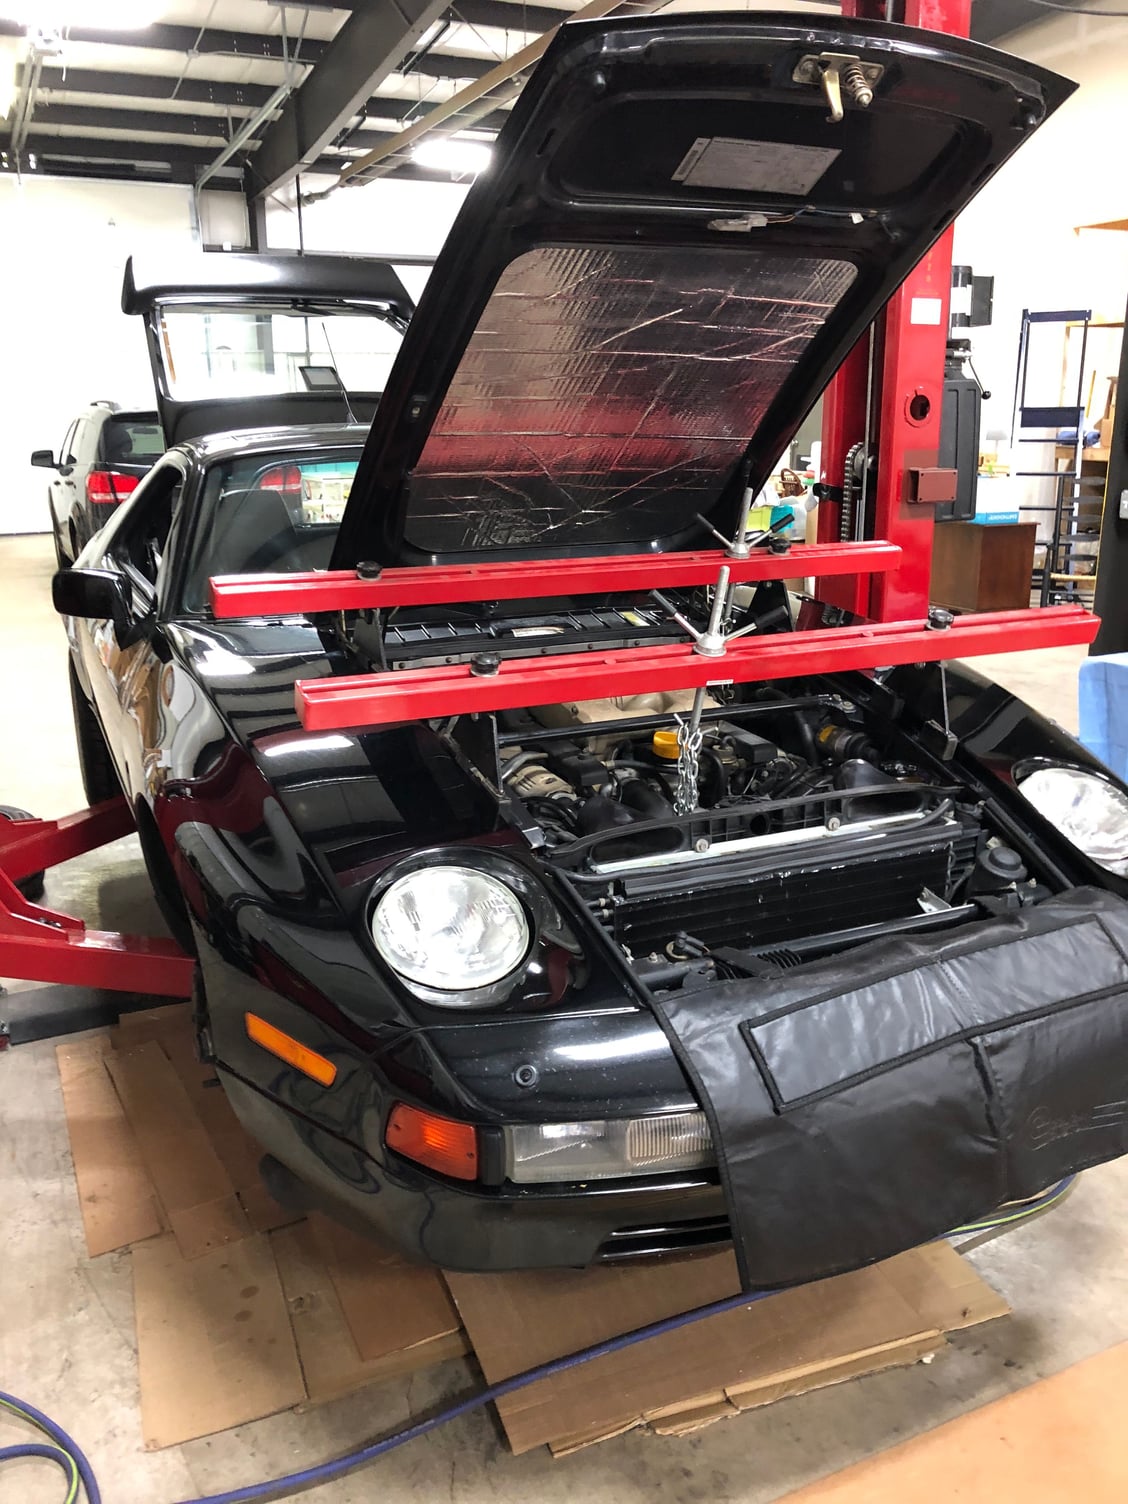
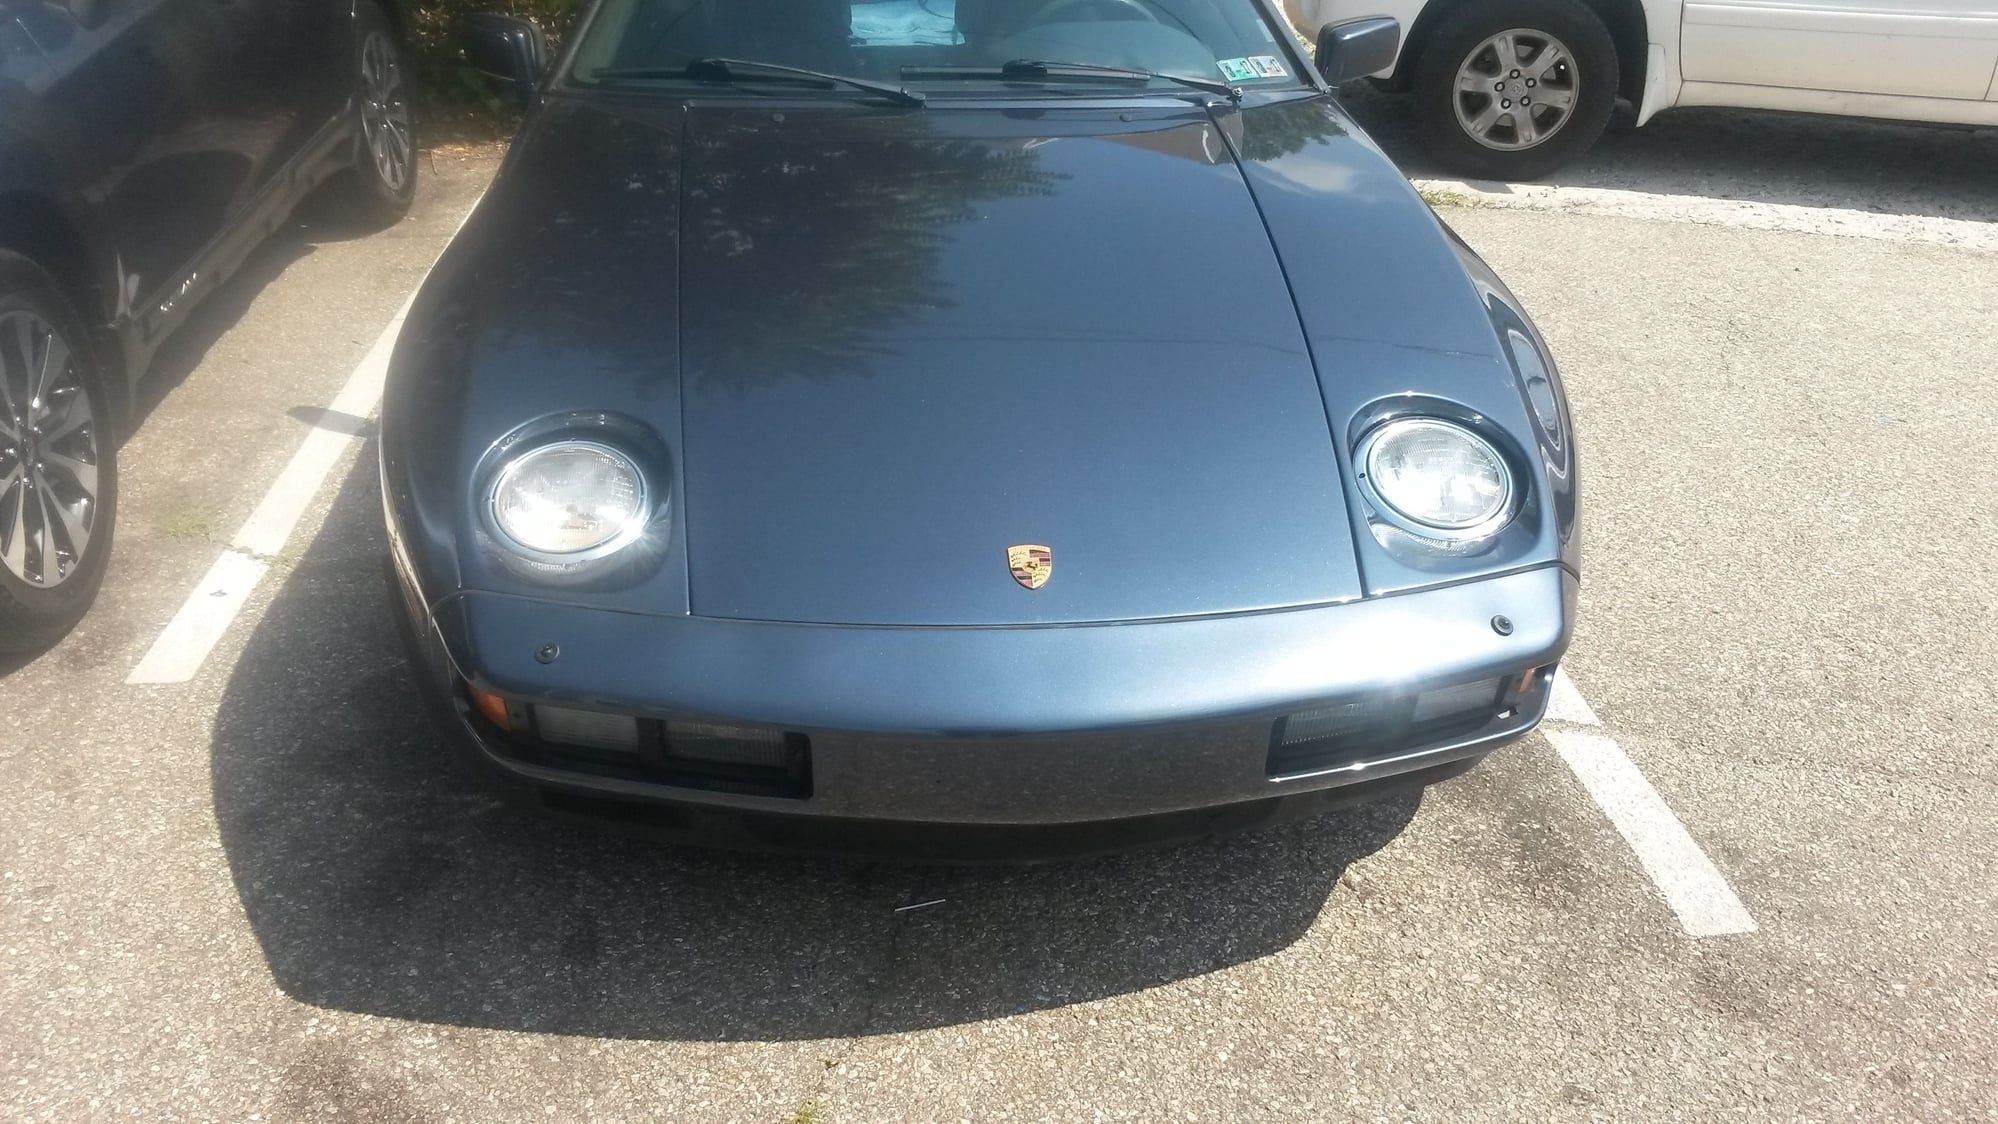
Picked up my 928S from the paint shop. He won't do a whole body repaint, but I just wanted the junk paint on the front pulled off and new paint/clearcoat applied. I think he did a really good job!
(PO put some paint on the hood, bumper, and front panels that looked OK but was splitting/cracking/peeling. So we went back to basics with good paint)
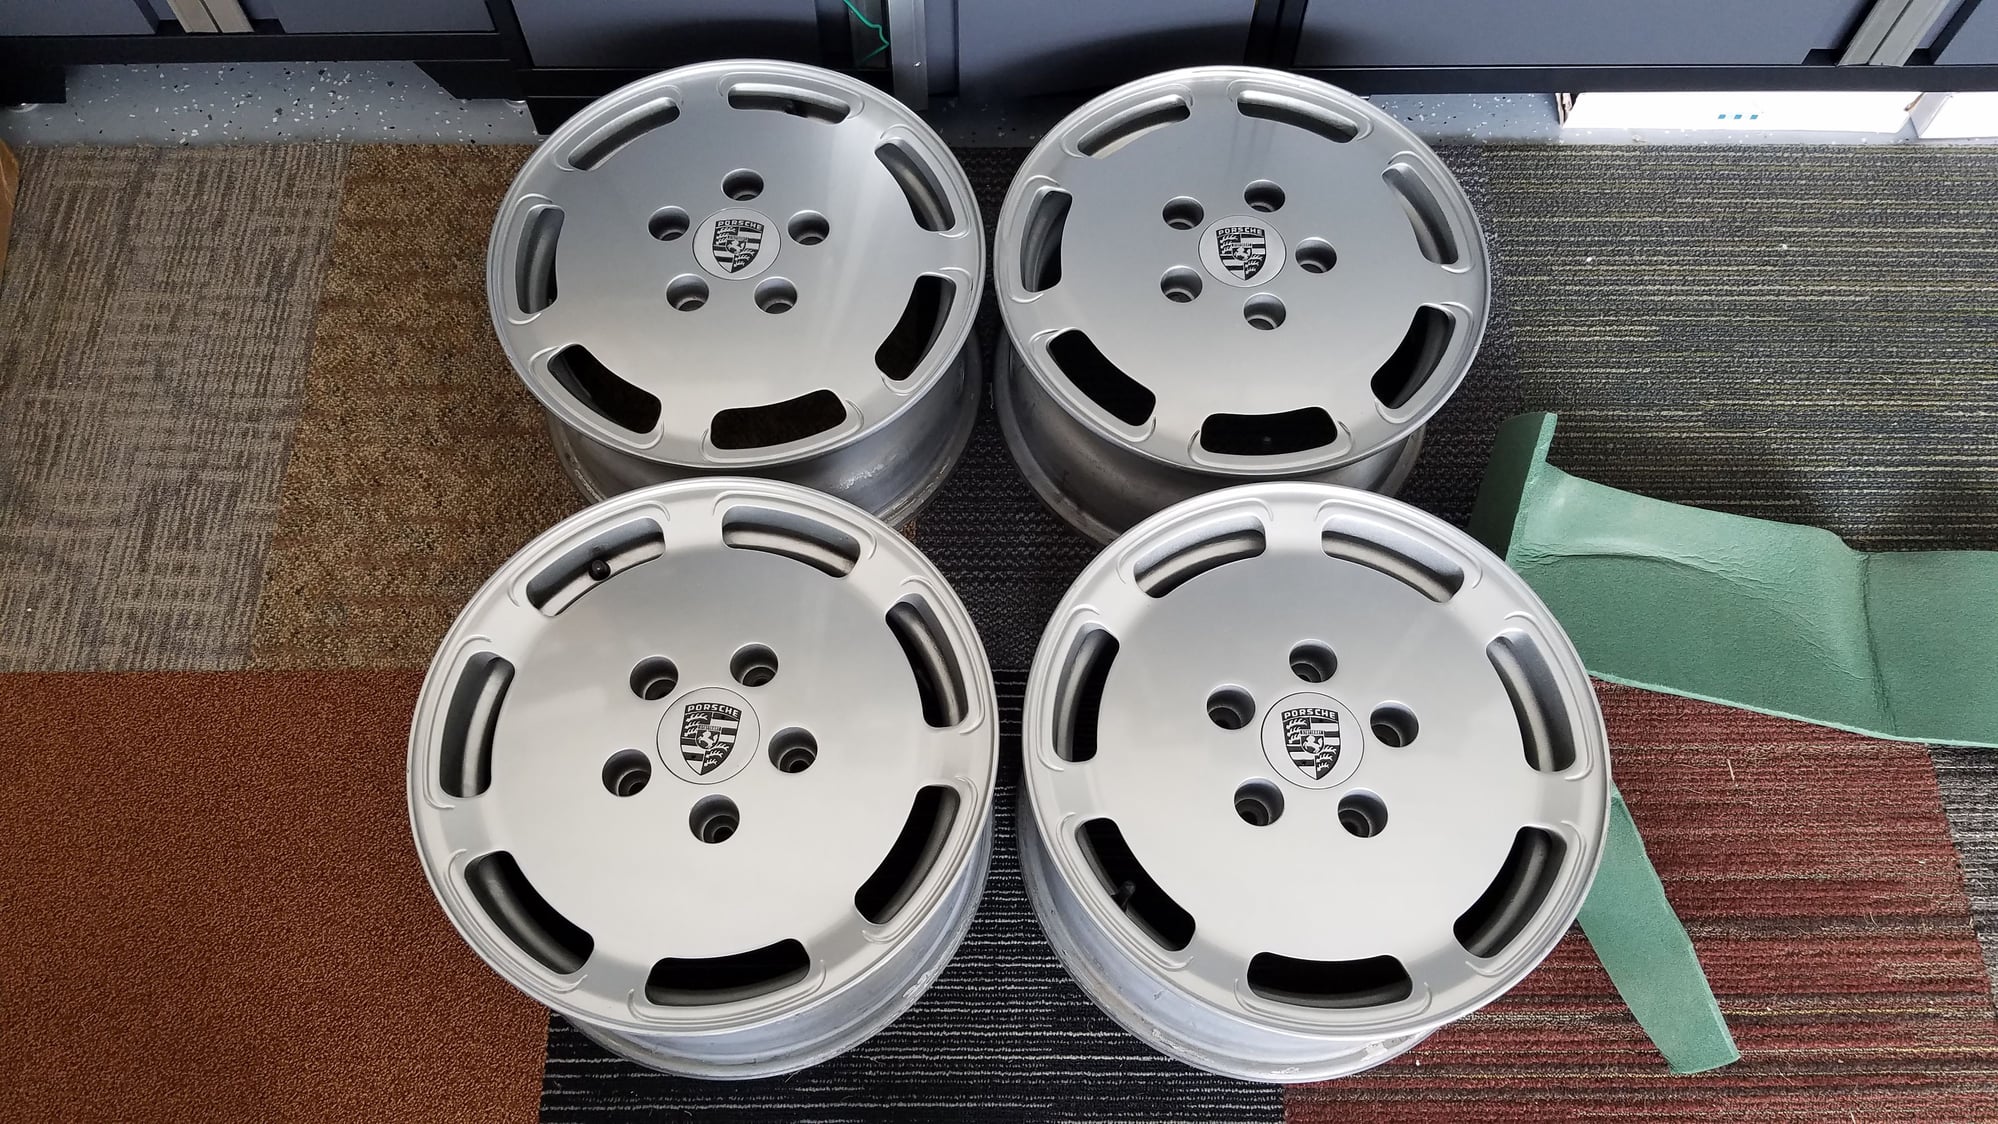
Speaking of the best. I have just sourced the correct Reno 2 radio for the XX8/U-Boat and it has been serviced to full functionality. That goes in soon as well.
FWIW, I am looking for the correct speaker covers for the larger speakers in the doors and the rear quarter panel speaker covers.


 06-17-2018, 05:18 PM