When you click on links to various merchants on this site and make a purchase, this can result in this site earning a commission. Affiliate programs and affiliations include, but are not limited to, the eBay Partner Network.
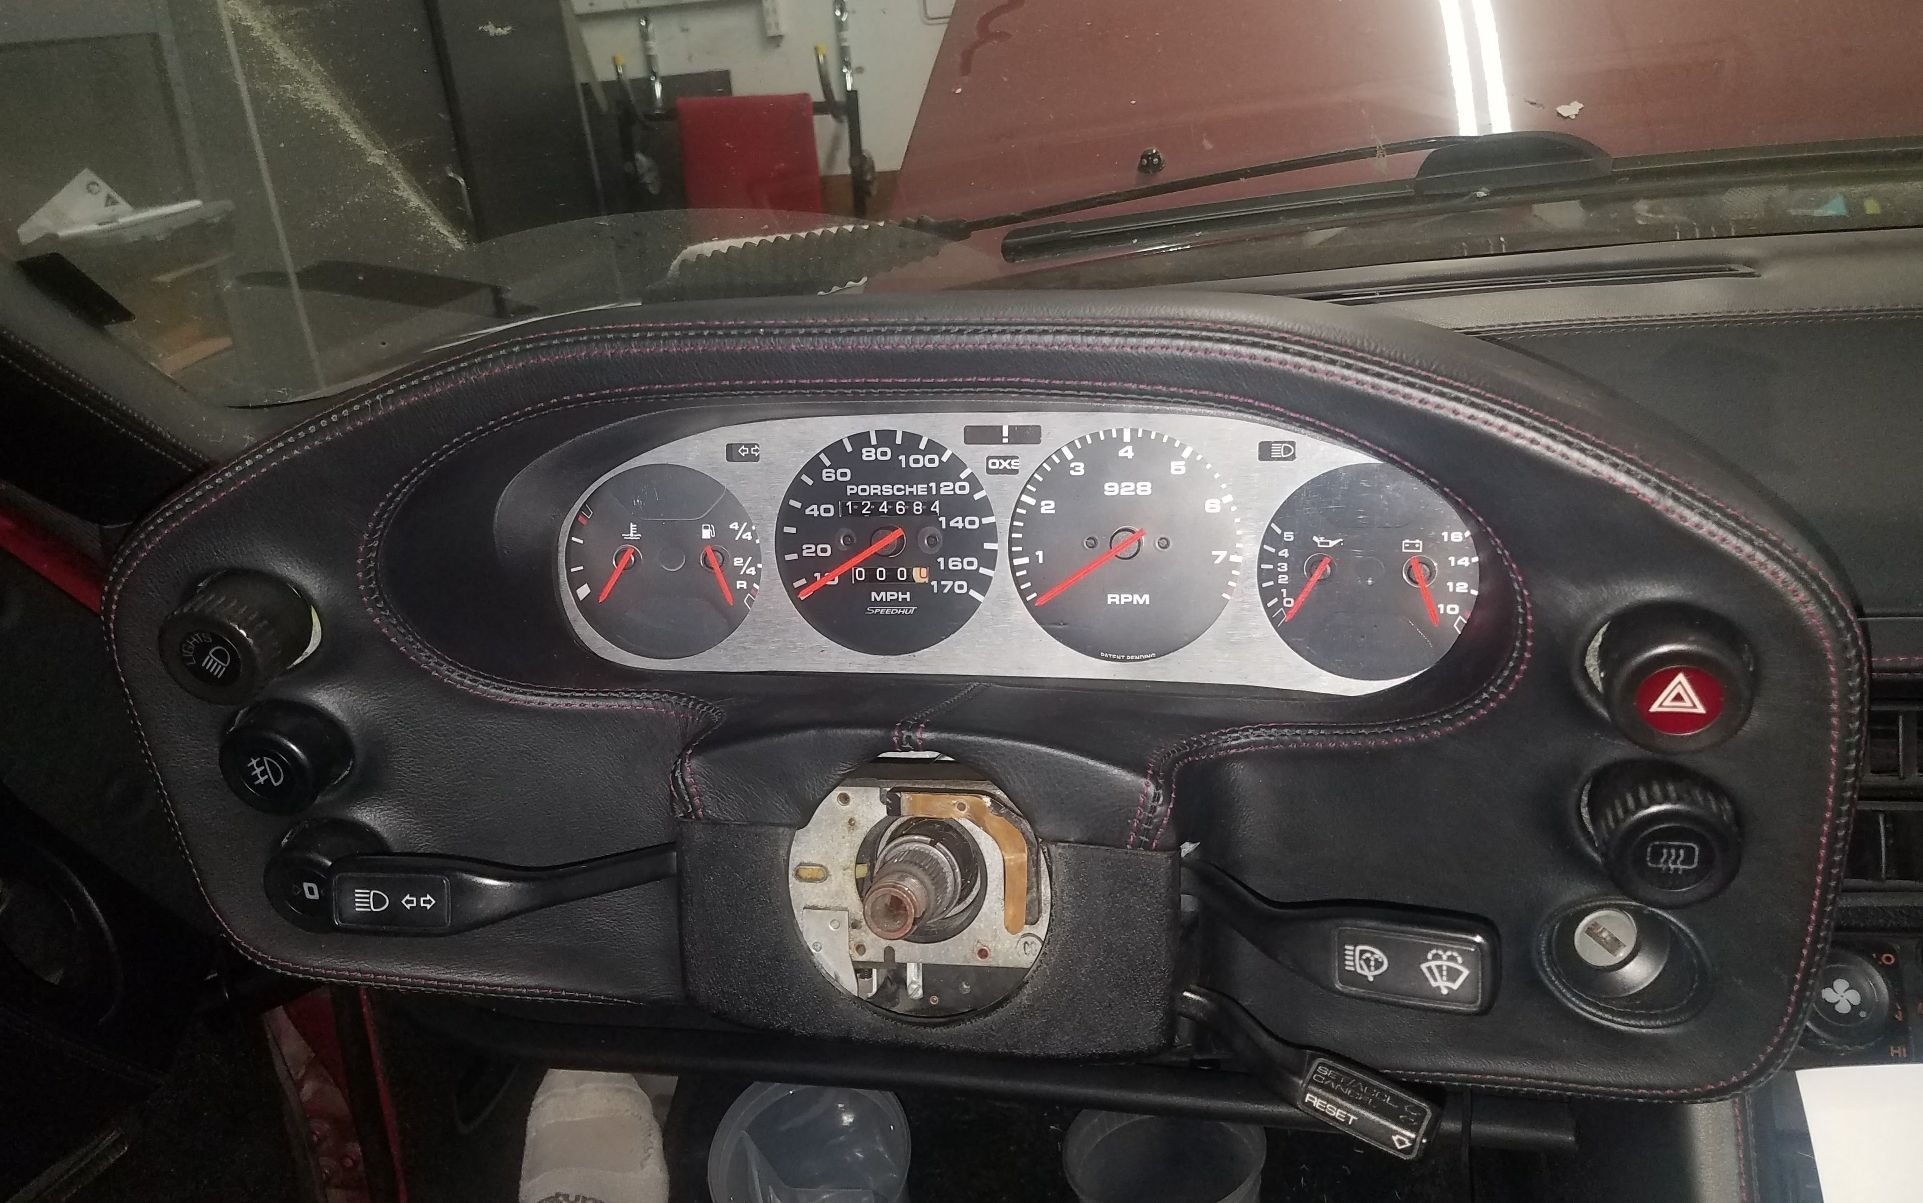
Installed the newly-wrapped Pod from Classic9. Really love the red stitching on it!
Also fixed a couple of the switches that had broken tabs on them, thereby preventing the switch from sitting flush against the pod. Used some cut metal bits from a large hose clamp as the source material, bent them using some pliers and adhered them using a plastic epoxy compound I got off Ebay. Worked like a charm.
Have the new door panels from Classic9 also mounted. Cleaned and SEM painted the armrests so everything looks clean. Need to reattach a few more things then they are done.
Hooked up a non working high beam light and retightened new AC belt on my 81 Euro S while looking for a new oil leak that is dripping on the passenger side exhaust. I did not see the source of the leak by the way!!!!
First steps towards swapping in the new transmission mounts -- Butt is up on stands and a casual survey of the work is done. The big question: how much cleaning will be involved? Hint: I haven't turned a wrench on it yet. Film at 11...
Originally Posted by dr bob
With everything lickin' clean, I decided to try a simple hose-section "spacer" in the existing mounts, a follow-on to others' efforts and shared results. I started with a 1.75" section of 5/8" heater hose with a similar-length section of 3/8" power steering return hose stuffed inside. Squeezed together, they just fit into the gap in the transmission mounts at "full extension". The transmission now sits up where a new mount would put it.
Of course, because it's so simple, cheap, and easy, it's nowhere near the isolation afforded by new transmission mounts. I'm going to drive it a few more times to be sure, but there's definitely more transmission sounds coming up into the cabin now. The Good News is that, along with the motor mounts over the winter, there is no hot air coming up through the console with the windows down or sunroof open.
I may try just pulling the inner pieces of PS hose out of the heater hose spacers before I put the new mounts in. I know I'm going to get them in soon. Just experimenting/playing on the way to completion.
After looking at how squished the hose "spacers" were, with no give at all really, I just put the new mounts in yesterday and called it done. The hose sections were intended to offer a little bit of cushion while raising the gearbox back to normal height. No cushion, no give, hose pieces smashed flat. Might as well have put solid block spacers in there. Full transmission mount replacement took less than an hour, including cleaning and clean-up time, so not too bad. Haven't driven it yet to gauge the improvement. The gearbox sits high enough now to slip fingers between the diff case and the crossmember, about half an inch higher than it was sitting prior to the project.
Attempting to stop an oil leak that appears to be at the lower front passenger side valve / cam cover. How do you get your hands in there to try and get away with tightening what appear to be allen head bolts?????
Waste no time "tightening" those bolts. They are shoulder bolts that don't change the actual pressure at the corners. They are 6mm bolts under the mushroom heads, so get torqued to barely greater than finger-tight else risk breaking the bolt.
The cam covers seal to the head at the edges with a gasket that's really a formed rubber o-ring-style seal. There are rubber seals under those hold-down bolts, seals at the base of each spark-plug well, and o-ring style seals where the vent system nozzles fit into the cam cover.
For the passenger-side cover, you'll need to remove the front corner engine lifting bracket after the front-of-engine harness has been freed. There's a connector there for the Hall sensor at the back of the cam gear backing plate. At the rear of the cam cover is a bracket that holds the air pump diverter valve. Remove those brackets, the plug wires, the vent hoses, and that fuel hose that passes between the fenderwall and the fuel rail at the front. Once all that stuff is out of the way, the cover can come off.
Easiest way to fit the new gasket is using mini plastic cable ties to hold it in place. Cut each tie as you put the bolts back in one by one. There's an instruction to use a little silicone gasket maker at the joint where the head and intake have a small seam.
Gasket sets come from our favorite sponsor vendors.
Diagnosed and confirmed a suspected timing advance problem. Wife said it starting running bad and pinging at any acceleration. Checked timing and it was 39� initial with 57� total.
Not sure why it changed suddenly and dramatically.


 08-20-2017, 07:24 PM


 What did he do to them? Reanodizing?