
'82 16V 4.7L Build - OE+ Goal
 07-26-2012, 11:58 AM
#91
Pro
Thread Starter
They're back! And contrary to popular belief, these were in fact, dipped. Coated completely, inside and out, every nook and cranny. And pictures don't do them justice. It's a damn shame these get tucked up under the car for no one to see. So for your visual pleasure, enjoy them while you can. Very satisfied. 
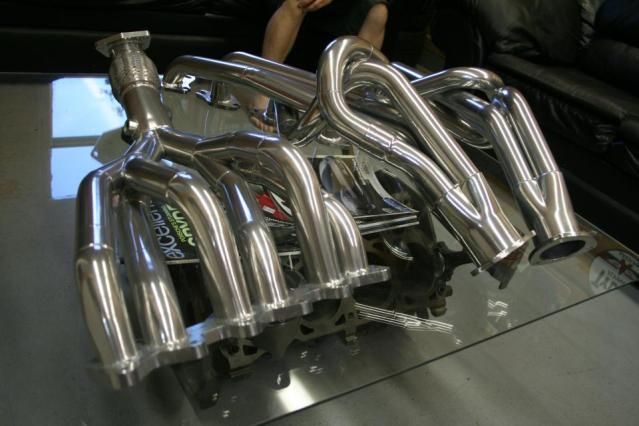
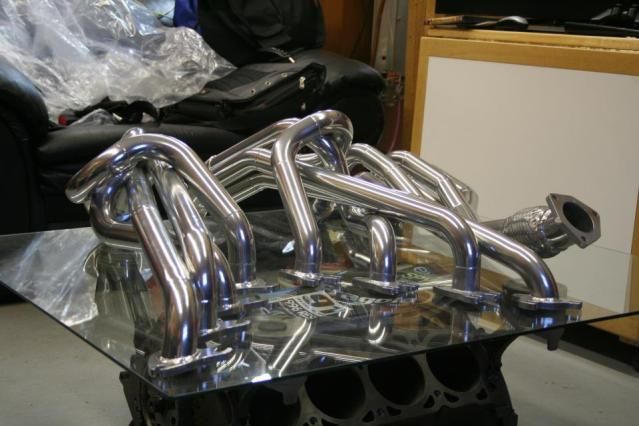
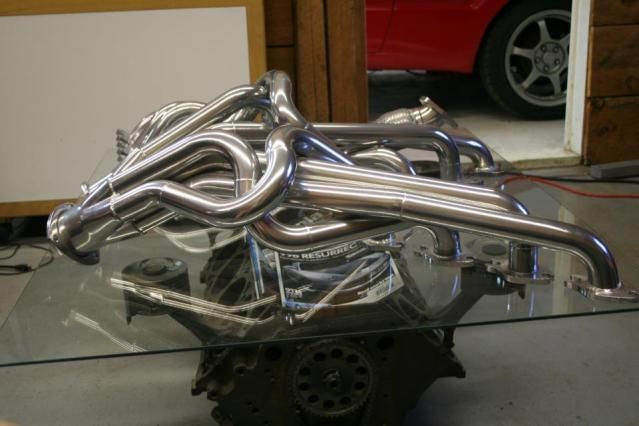
More updates coming as well as soon as I get the pictures uploaded.
More updates coming as well as soon as I get the pictures uploaded.
 07-26-2012, 12:04 PM
#92
Pro
Jeremy, they look great. Where they the Devek ones you were looking at? My friend just bought an '83 Euro with headers, no idea what make they are yet. Hopefully you'll see him at our next GTG.
07-26-2012, 09:52 PM
#94
Pro
Thread Starter
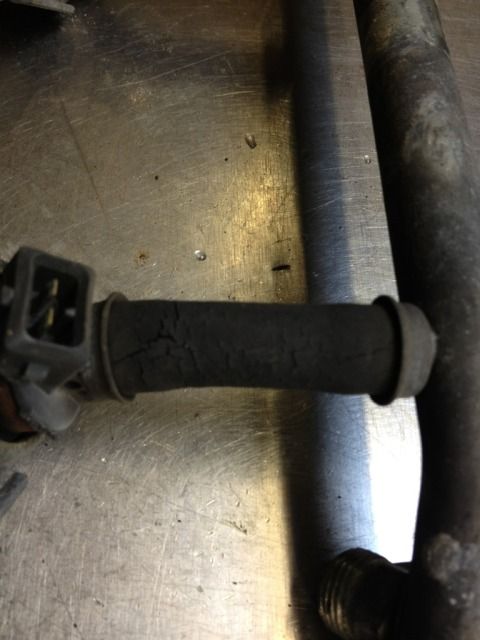
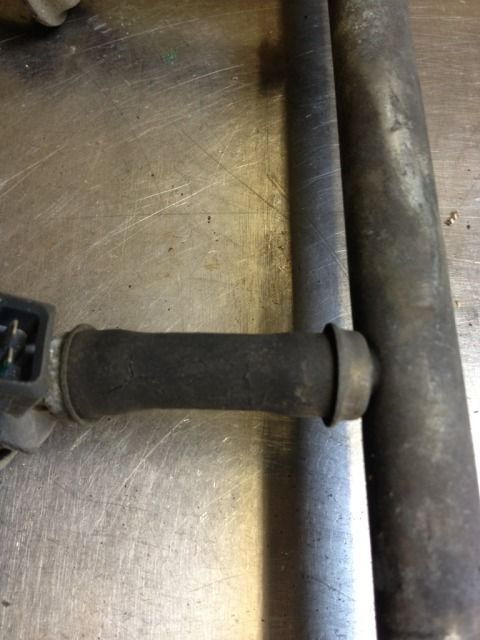
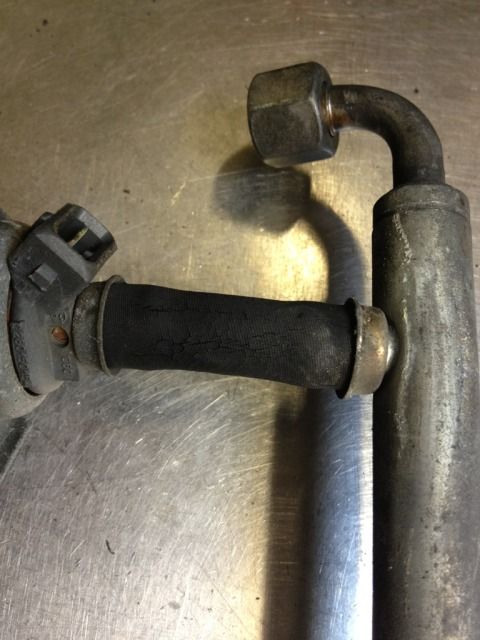
I've been doing a lot of driving with this car in the hot nice weather, and with a couple longer trips in the works I figured I'd rather be safe than sorry. So it was time to address this stuff:
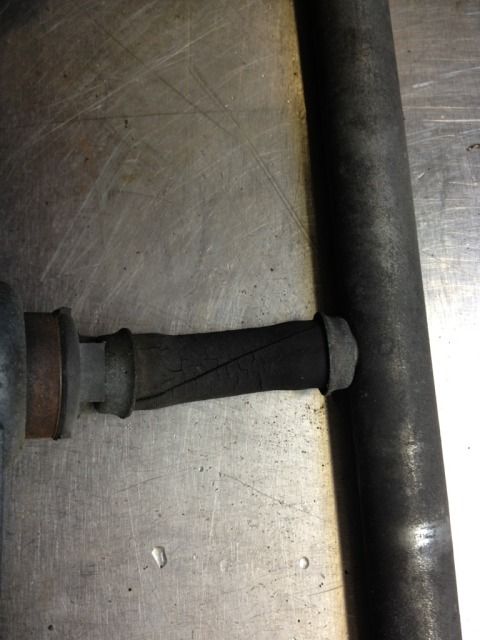
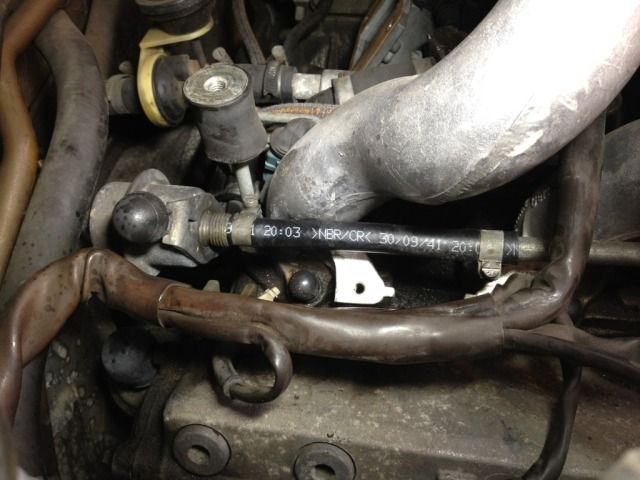
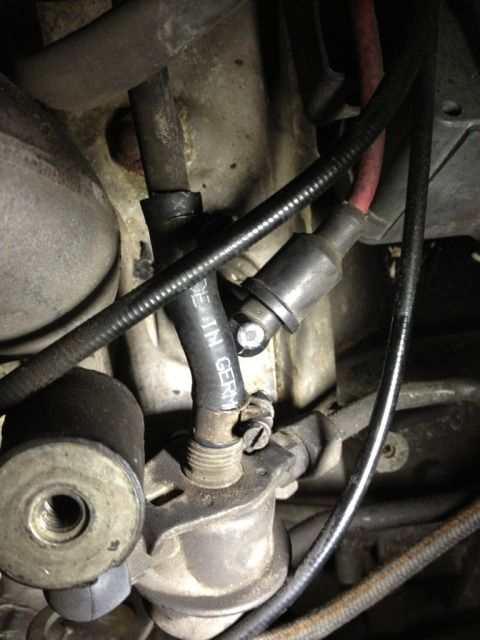
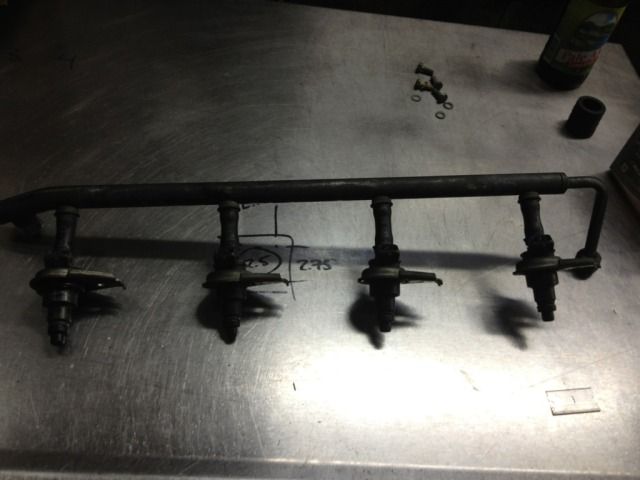
Fuel injector hoses and fuel lines from the regulators were all in this condition.
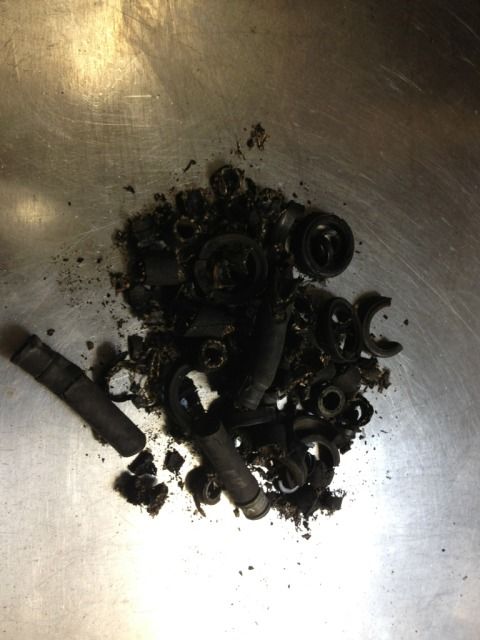
And after what felt like forever with a pair of very sharp flat edge side cutters and sharp pick, i had a very crumbly pile of hose debris and hard plastic o-ring bits.
New high-pressure 7mm hose with original clamps
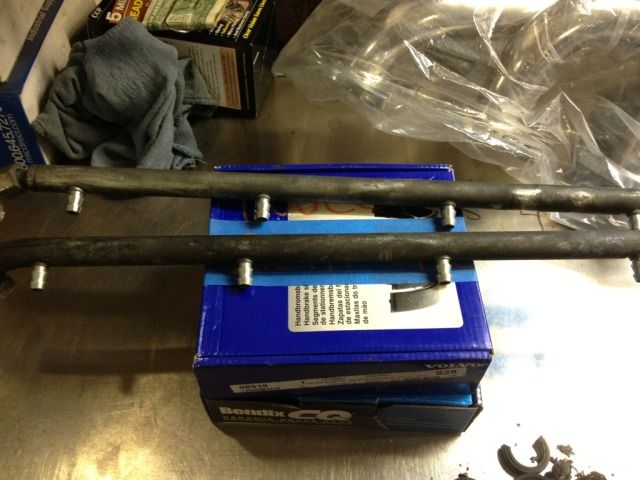
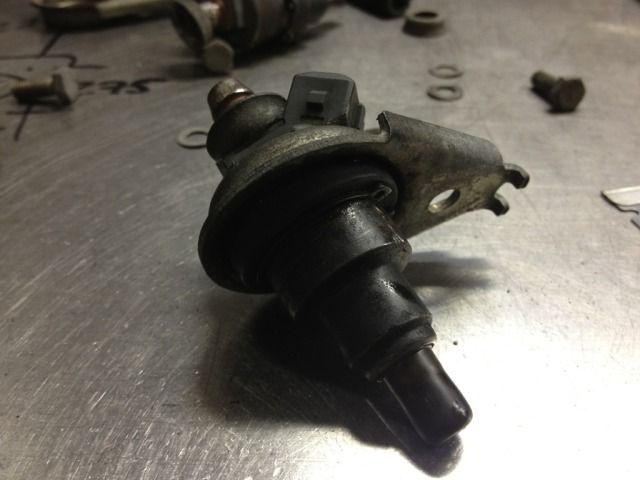
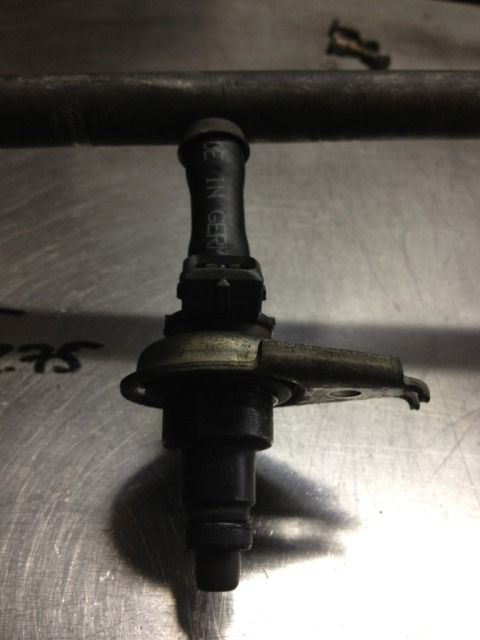
Rails and injectors all stripped, cleaned and boxed, awaiting the new o-ring parts.
And when they arrived, away we go...
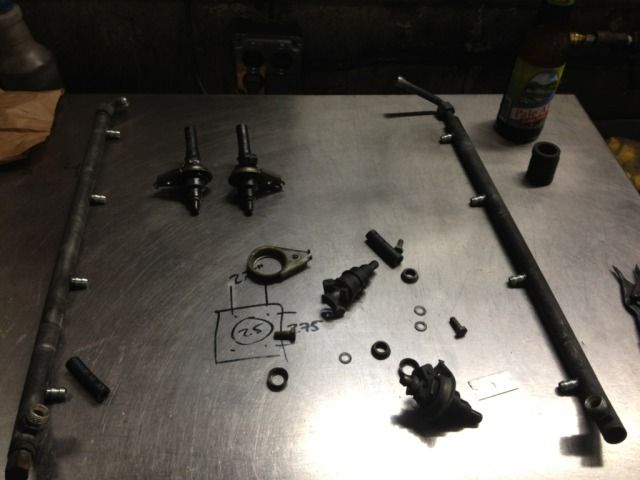
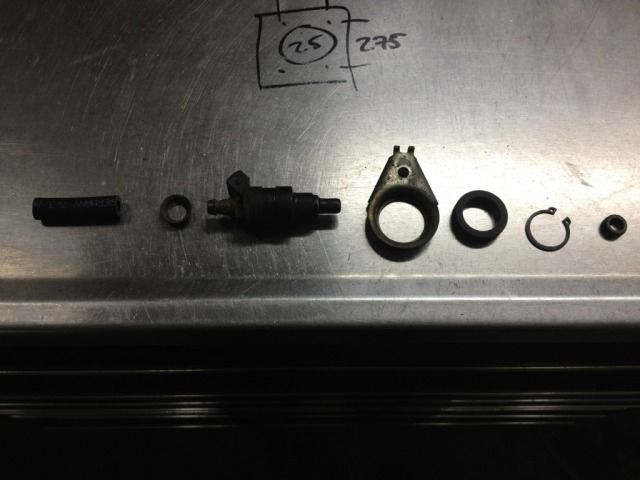
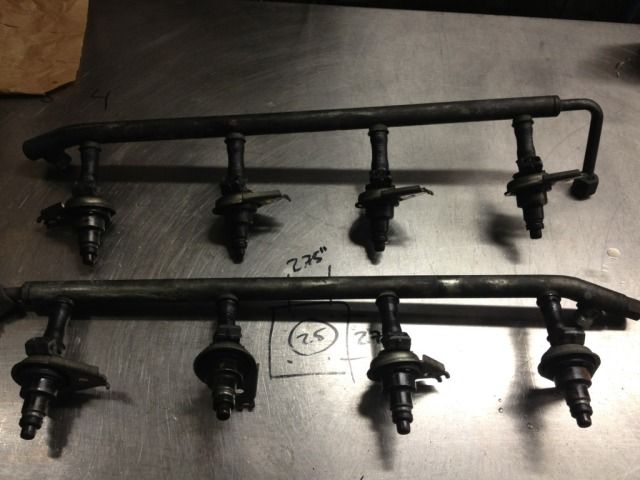
Couldn't believe how much crud and rusty junk was in each of the individual injector filter pre-screens. Ugh. I'm hoping all this makes as big a difference as I think it should. All the original o-rings were hard as rock and broke with very little/no effort. This should eliminate some vacuum leaks.
New air filter thrown in for good measure, as I haven't changed it since I bought the car.
Fuel injector hoses and fuel lines from the regulators were all in this condition.
And after what felt like forever with a pair of very sharp flat edge side cutters and sharp pick, i had a very crumbly pile of hose debris and hard plastic o-ring bits.
New high-pressure 7mm hose with original clamps
Rails and injectors all stripped, cleaned and boxed, awaiting the new o-ring parts.
And when they arrived, away we go...
Couldn't believe how much crud and rusty junk was in each of the individual injector filter pre-screens. Ugh. I'm hoping all this makes as big a difference as I think it should. All the original o-rings were hard as rock and broke with very little/no effort. This should eliminate some vacuum leaks.
New air filter thrown in for good measure, as I haven't changed it since I bought the car.
07-26-2012, 11:56 PM
#96
Pro
Thread Starter
07-27-2012, 07:42 AM
#97
Pro
Nice work young man. What new motor?
07-27-2012, 11:20 AM
#98
Pro
Thread Starter
08-28-2012, 06:47 PM
#99
Pro
The Devek headers have to wait for the 4.5 to implode first?
08-29-2012, 12:35 PM
#100
Pro
Thread Starter
That was the plan.....I have a feeling I may be waiting a long time though, so the 4.5 may just come out when the 4.7 is "ready".
In the process of revising my fan setup, have been running into issues with the contours, and seems to be running hot.
In the process of revising my fan setup, have been running into issues with the contours, and seems to be running hot.
08-29-2012, 01:12 PM
#101
Addict
Lifetime Rennlist
Member
Lifetime Rennlist
Member
You may be waiting a long long time for the 4.5 to wear out  The old very brown 1980 has years and years of track miles on it. Being run as hard as possible but not redlined that much as the power drops of earlier. Still years of full throttle acceleration, downshifts and way too much fun !
The old very brown 1980 has years and years of track miles on it. Being run as hard as possible but not redlined that much as the power drops of earlier. Still years of full throttle acceleration, downshifts and way too much fun !
08-29-2012, 02:15 PM
#102
Pro
Now I know what you mean about losing the viscous fan. My air pump siezed up and I had to cut the belt to the fan. I did notice the difference, engine revved quicker.
08-31-2012, 10:14 PM
#103
Pro
Thread Starter
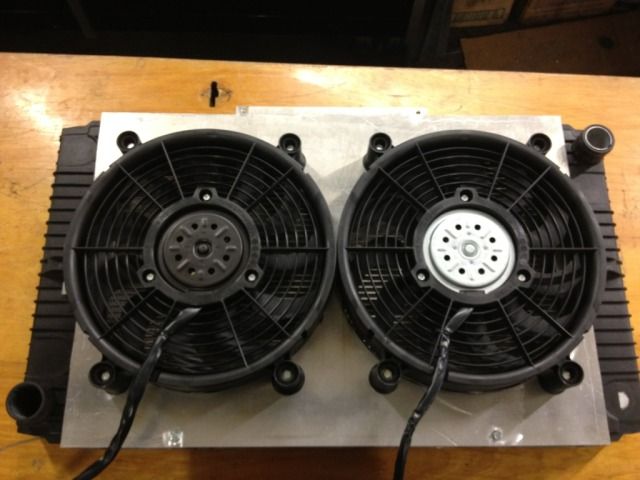
Newest addition today. Was having issues with the Contour fans. There was no solution to holding them against the radiator that I felt good with. This is my solution. $340 total cost. $300 in fans $40 in 1/8" aluminum plate.
Two of these:

Dual speed, 1000cfm per fan on low speed, 1450cfm per fan on high. They're quiet, and move what I feel will be more than sufficient for air.
4 hours of tedious trimming of the plate:
I'll install and wire them up tomorrow....i hope...
Two of these:
Dual speed, 1000cfm per fan on low speed, 1450cfm per fan on high. They're quiet, and move what I feel will be more than sufficient for air.
4 hours of tedious trimming of the plate:
I'll install and wire them up tomorrow....i hope...
09-01-2012, 06:20 PM
#105
Pro
Thread Starter
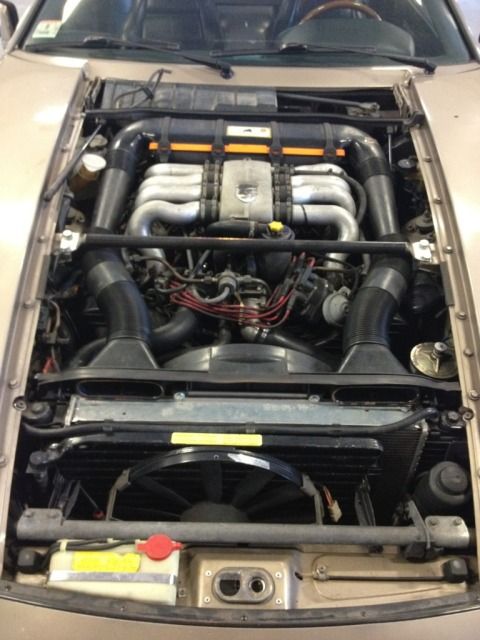
Installed, wired, tested and absolutely working wonderfully! Enough airflow through them to maintain temperature @ mid-gauge while moving 40mph, and turn on (currently) just about a 1/32" before the second white linen when sitting at idle for a while. May put a 75*C temp switch in, in the future. Because of the design of the shroud, I was able to keep the stock intake tube inlets. Ordered weatherproof 40A Hella relays and corresponding plugs for them from Susquehanna Motorsports, to revamp the harness when the parts arrive.
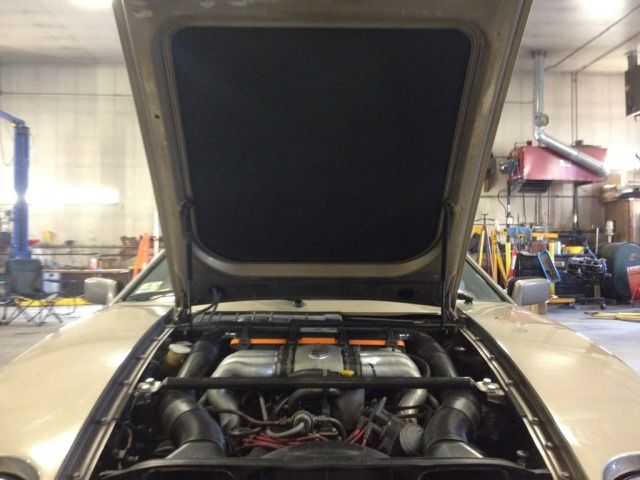
Hood off, new setup installed.
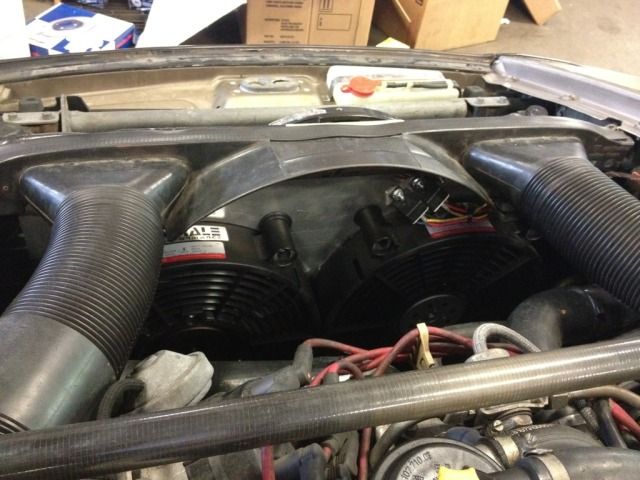
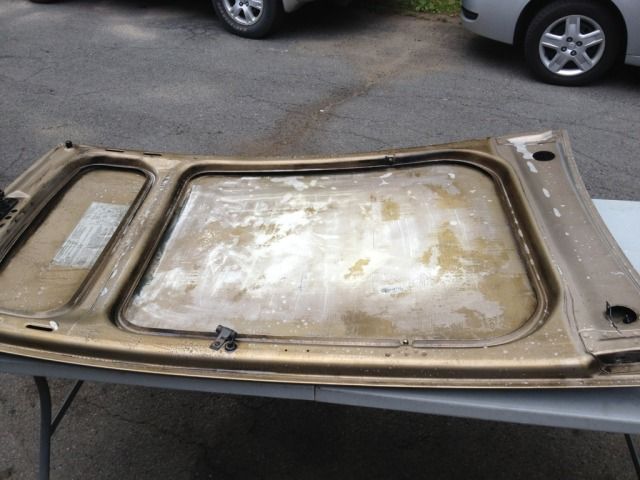
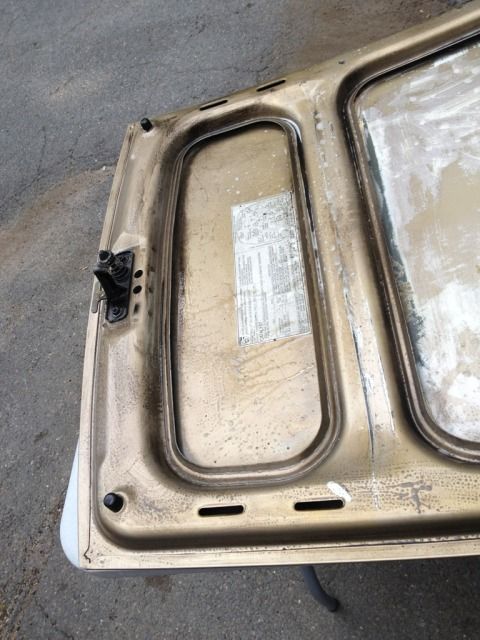
Removed hood, cleaned all the old hood goop off, following Dwayne's awesome how-to thread. Came out satisfactory. The mat seems to have shrunk a little while sitting in the sun all day. But hardly noticeable with the hood re-installed. Decided not to install the forward mat for now. I like retaining the emissions sticker, and factory front look. Main mat was installed textured side visible as IMO the huge stickers are a little gaudy.
After removal, and pre-wash. This hood was unbelievably filthy.
Fresh and clean hood re-installed with the new pad.
Next project.....exhaust....
Hood off, new setup installed.
Removed hood, cleaned all the old hood goop off, following Dwayne's awesome how-to thread. Came out satisfactory. The mat seems to have shrunk a little while sitting in the sun all day. But hardly noticeable with the hood re-installed. Decided not to install the forward mat for now. I like retaining the emissions sticker, and factory front look. Main mat was installed textured side visible as IMO the huge stickers are a little gaudy.
After removal, and pre-wash. This hood was unbelievably filthy.
Fresh and clean hood re-installed with the new pad.
Next project.....exhaust....