
'82 16V 4.7L Build - OE+ Goal


 07-31-2011, 02:21 AM
#62
Pro
Thread Starter
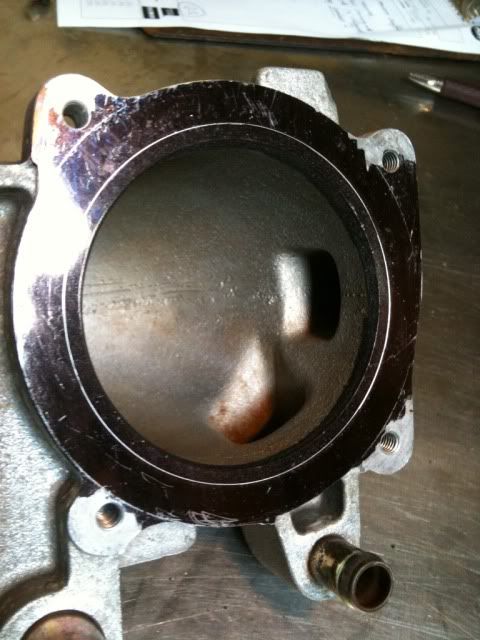
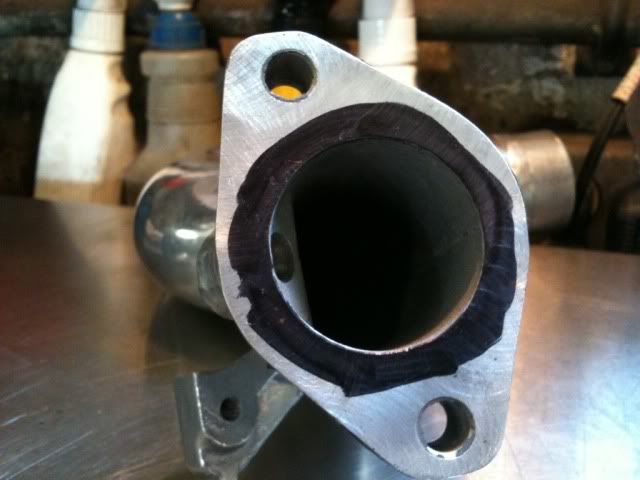
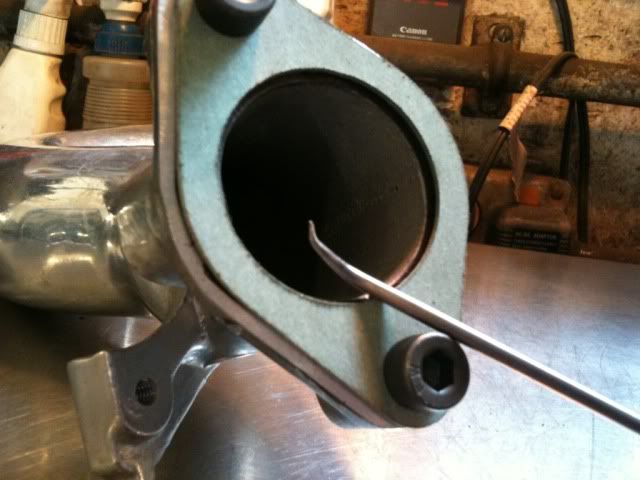
So, I started with this....
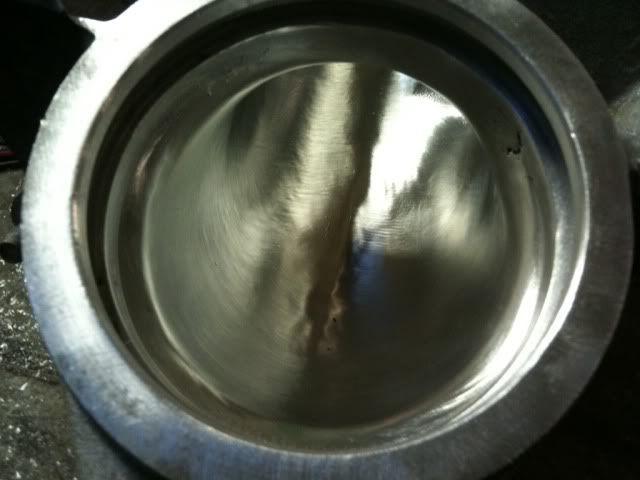
And then after ~3 hours I end up with this....

I know the picture angles aren't exactly the same, but it's not hard to see that it's considerably different now. The left and right sides, due to casting thickness, could not be opened up and blended and inch or so down in like was done elsewhere. These (side) areas were ported at ~45degree angle to meet the scribe line, then blended down, while trying to retain a decent wall thickness. So there is a little bit of an oval-ed look to the TB inlet end.
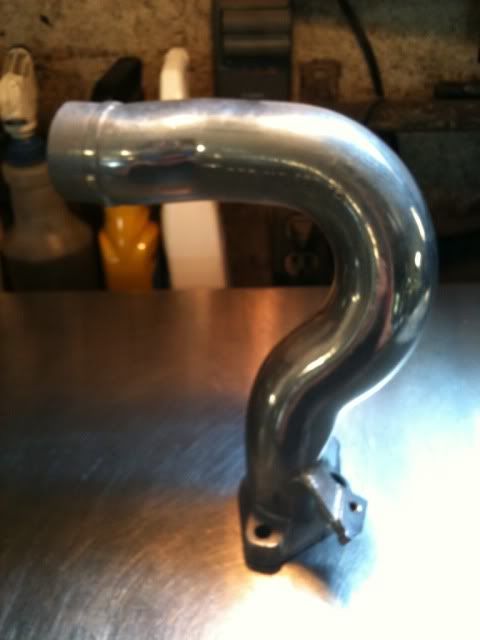
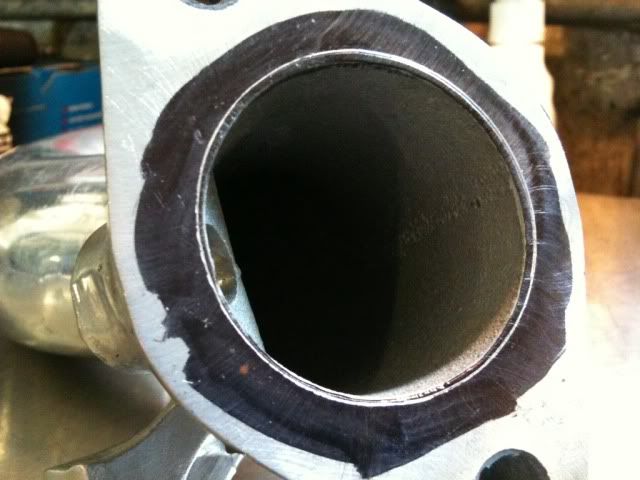
Fitment, hole size and finish all look pretty good with the throttle body bolted up. There's about 1/32" "wiggle room" all the way around. Meaning the hole in the j-pipe is just a hair smaller than the throttle body inlet diameter. Better for airflow if there isn't a step up. Step down = more better-er.

This is the vane inlet side, at the point which, I probably could have been "done"... but then the perfectionist-OCD in me kicks in high gear and puts me back to work. You can kind of see the "ripple" in surface finish. That. That had to go. I had to get a little creative with my tooling. All of my typical port-work tools and supplies are meant for <1.5" diameter holes. Not this 3.5" bohemouth. The small diameter of the sand wheels and such was leaving me with a less than desirable finished product. I ended up disassembling my scotch-lock surface prep tool, that usually lives on my 90*angle grinder, and made a make-shift adapter to mount it on the end of my 4" finishing mandrel. Turned the air pressure WAY down on my line, and went back at it, smoothing out and blending everything all over again, but this time with a disk that has a 2" diameter (opposed to < 1/2").
Final product, much happier. This piece makes me feel all warm and fuzzy inside, less the two areas of crap casting I poked into.
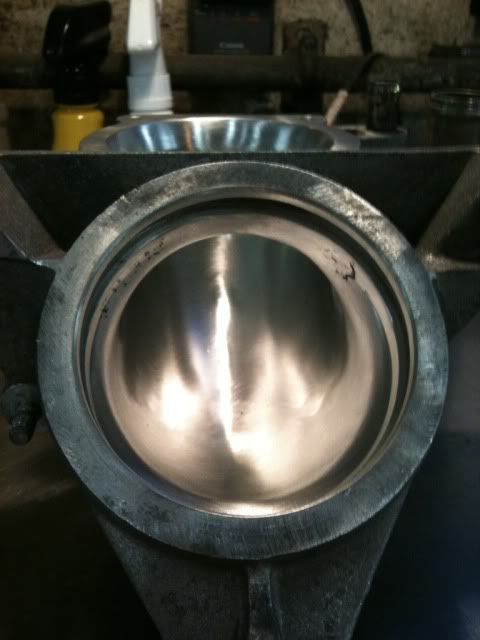
Next up....plenum and runners......and finishing the other cylinder head....ugh...
And then after ~3 hours I end up with this....
I know the picture angles aren't exactly the same, but it's not hard to see that it's considerably different now. The left and right sides, due to casting thickness, could not be opened up and blended and inch or so down in like was done elsewhere. These (side) areas were ported at ~45degree angle to meet the scribe line, then blended down, while trying to retain a decent wall thickness. So there is a little bit of an oval-ed look to the TB inlet end.
Fitment, hole size and finish all look pretty good with the throttle body bolted up. There's about 1/32" "wiggle room" all the way around. Meaning the hole in the j-pipe is just a hair smaller than the throttle body inlet diameter. Better for airflow if there isn't a step up. Step down = more better-er.
This is the vane inlet side, at the point which, I probably could have been "done"... but then the perfectionist-OCD in me kicks in high gear and puts me back to work. You can kind of see the "ripple" in surface finish. That. That had to go. I had to get a little creative with my tooling. All of my typical port-work tools and supplies are meant for <1.5" diameter holes. Not this 3.5" bohemouth. The small diameter of the sand wheels and such was leaving me with a less than desirable finished product. I ended up disassembling my scotch-lock surface prep tool, that usually lives on my 90*angle grinder, and made a make-shift adapter to mount it on the end of my 4" finishing mandrel. Turned the air pressure WAY down on my line, and went back at it, smoothing out and blending everything all over again, but this time with a disk that has a 2" diameter (opposed to < 1/2").
Final product, much happier. This piece makes me feel all warm and fuzzy inside, less the two areas of crap casting I poked into.
Next up....plenum and runners......and finishing the other cylinder head....ugh...
07-31-2011, 10:23 AM
#63
Three Wheelin'
Join Date: Apr 2010
Location: Virginia Beach, VA
Posts: 1,295
Likes: 0
Received 0 Likes
on
0 Posts
 08-01-2011, 04:21 PM
#67
Pro
08-04-2011, 01:18 PM
#68
Pro
Thread Starter
Spent the morning cleaning, labeling and boxing upper engine bits and pieces for prep to be powdercoated.
Intake port-matching needs to be addressed before it all gets sent out though. So:
Took the polished Euro intake runners I bought from 928 Specialists, cleaned the old gasket material off, prepped with acetone, and marked the ID of the flange mounting area (to head) with a wide felt-tipped permanent marker.
Then make the gasket-sizing "tool". This consists of a new gasket, some masking tape and two long 8mm bolts. Tape is wrapped around the bolt shank until it fits snug inside the corresponding hole in the gasket. Do for both holes/bolts. Then install gasket onto bolts. Wrapped more tape around the shank, post gasket so that the bolt fits snugly inside the bolt holes in the intake. Thus, perfectly centering the gasket around the port. When it comes time to mount the intake to the head, all the gaskets will be tacked in place with a light coat of trim cement, keeping all the holes nice and aligned.
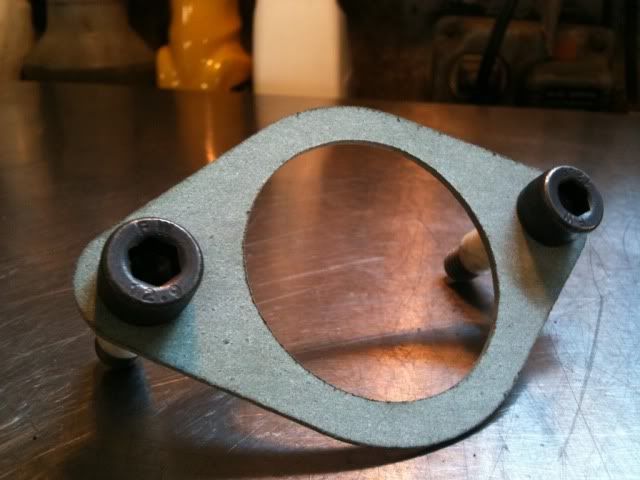
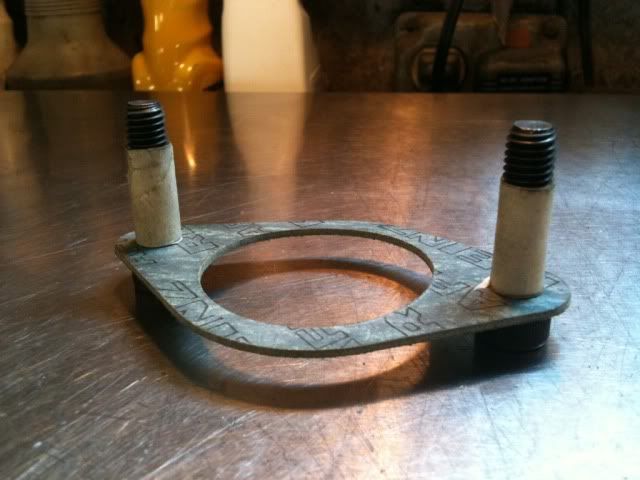
Then take a sharp scribe, I use a sharp pick.
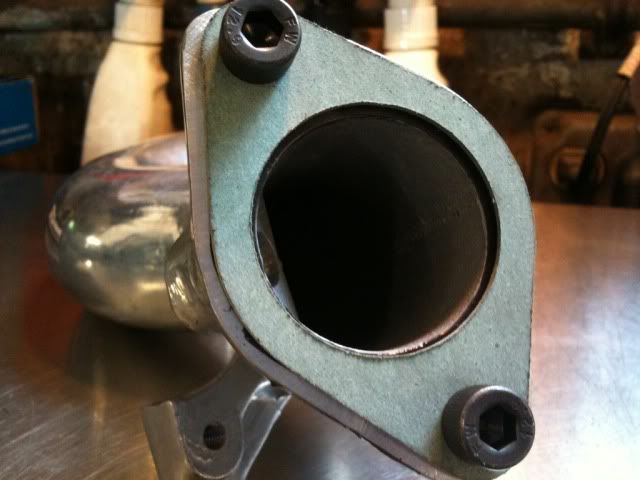
And trace around the ID of the now centered gasket.

Repeat eight times, and all the legs should look like so...
Intake port-matching needs to be addressed before it all gets sent out though. So:
Took the polished Euro intake runners I bought from 928 Specialists, cleaned the old gasket material off, prepped with acetone, and marked the ID of the flange mounting area (to head) with a wide felt-tipped permanent marker.
Then make the gasket-sizing "tool". This consists of a new gasket, some masking tape and two long 8mm bolts. Tape is wrapped around the bolt shank until it fits snug inside the corresponding hole in the gasket. Do for both holes/bolts. Then install gasket onto bolts. Wrapped more tape around the shank, post gasket so that the bolt fits snugly inside the bolt holes in the intake. Thus, perfectly centering the gasket around the port. When it comes time to mount the intake to the head, all the gaskets will be tacked in place with a light coat of trim cement, keeping all the holes nice and aligned.
Then take a sharp scribe, I use a sharp pick.
And trace around the ID of the now centered gasket.
Repeat eight times, and all the legs should look like so...
08-06-2011, 04:09 PM
#69
Pro
Thread Starter
Off track. Removed the airbox assembly and the clutch slave cylinder to replace the upper cup on the release lever. What a difference! This car just gets better and better.
Also made up a front lic. plate bracket and fixed the non-operational left front blinker.
Finally can go get an inspection sticker!
Also made up a front lic. plate bracket and fixed the non-operational left front blinker.
Finally can go get an inspection sticker!
08-06-2011, 05:38 PM
#70
Pro
So, you coming to the Porschefest at Lars Andersen in Brookline next month (and the party after)?
 08-10-2011, 11:03 PM
#74
Rennlist Member
08-31-2011, 10:26 AM
#75
Pro
Thread Starter
Well, shark is still here. Didn't swim away with all the water we've been dealing with. It did however decide yesterday, in traffic on my ride home it no longer wanted to be P/s equipped and promptly expelled its belt. 
Didn't take out any other belts, ,but did wrap most of itself around the insides of my fan clutch shaft. Pain in the ***.
Didn't take out any other belts, ,but did wrap most of itself around the insides of my fan clutch shaft. Pain in the ***.