
'82 16V 4.7L Build - OE+ Goal
 10-22-2011, 12:14 AM
#76
Pro
Thread Starter
Shortly after the p/s belt decided to go, I realized that the shrapnel had damaged the mechanical fan's clutch. Instead of replacing it, I decided to just go and replace it with an electric fan setup. I was initially going to have the car dyno'd pre and post electric fan upgrade to give a real world HP/TQ loss or gain. Alas, just wasn't in the cards.
Went with the much talked about Contour/Mystique setup. Grabbed the fans and almost all of the factory wiring with it from the local scrapyard for $80. Went with a early VW 3-pin fan switch in the factory radiator location. Wired the fans initially with a Bosch 40A rated relay, and 40A fuse and appropriate sized heavier gauge wiring. Used the fan switch to kick the relays when it reached temp. This setup did not work. Each fan pulls way to much amperage, and was heating the relay up something fierce, right before popping the 40A fuse. Removed the whole set-up and put the (broken) mechanical fan back in, so that at least I could drive the car while I made up a better wiring system.
Got a pair of sealed 40A relays, one for each fan this time. Also two 40A rated weatherproof inline fuse holders. Rewired them in the same manner, using the fan switch to kick the two relays. This has been working well now for a couple weeks. Stuck in traffic and on spirited drives.
Happy with the fans so far. The throttle response alone was worth it. Only seeing maybe 1 mpg difference. May be due to my right foot having more fun with the better throttle response though.
Had install longer headlight stops in the front fender wells. For some reason the old ones were out of adjustment and allowing the headlights to rattle around, causing an irritating rattle. Annoying since I had just thoroughly gone through the front end. Was especially notable on bumpy roads, often leading to the plugs falling of the back of a (or both) headlight bulbs. I have since crimped the connections to both bulbs tighter, and fixed the rattling lights.
All the cluster bulbs decided to go out on me mid-drive one night. That was fun. Dimmer rheostat had no effect. Finally had a chance to pull the pod tonight and clean up the shoddy rheostat. Incredibly erratic resistance readings initially, varying from no connection at all to in hundreds of thousands ohm readings. After a rigorous cleaning and swiping with some dielectric grease, nice smooth repeatable 0.4Ω-7.5Ω. Replaced all three back light bulbs while the cluster was out.
Initial outcome of the pod yielded nice bright back lighting, and no tachometer operation. Dammit. Back in to fix the pins in the right rear harness connection to the cluster. Then all better.
All followed by a nice 'ol Italian "tune up". Ready for Tass' tomorrow.

 10-22-2011, 08:09 AM
#78
Pro
Nice work young man. See you at Tass'.
04-23-2012, 10:46 PM
#79
Pro
Thread Starter
Been too long for an update, progress is slow. Over winter I basically lost motivation to finish the second cylinder head. I'm trying to re-motivate by picking off the little things around the edges so that all that I'll have left is the motor.
So in the last week:
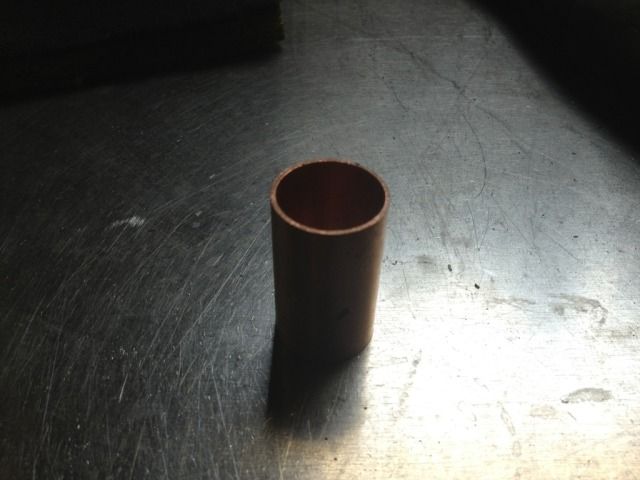
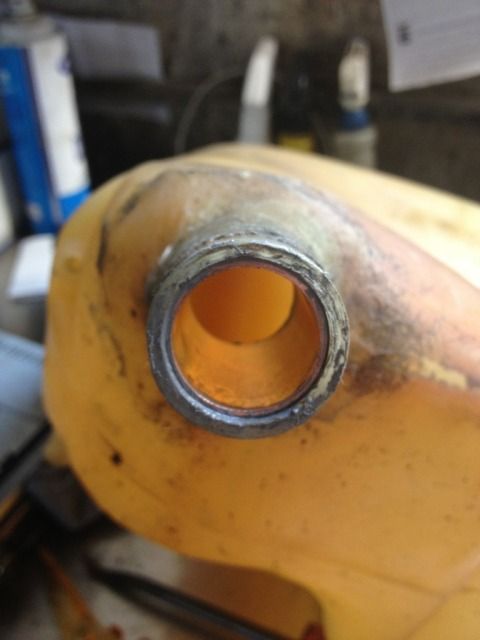
Removed both the washer filler neck and tank, carefully dremeled out the (remains) of the rusty metal sleeves, thoroughly flushed and cleaned them, and epoxied 1" copper replacements into where the steel once was. Call me frugal, but I really just couldn't justify the price of new parts when there was nothing structurally wrong with the parts on the car.
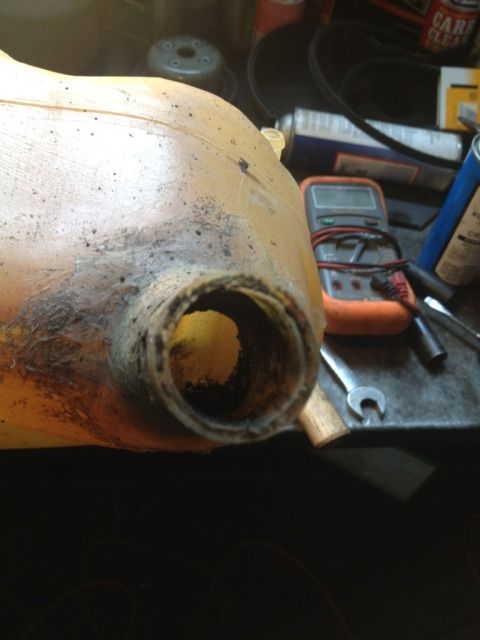
MMMmmmmm sludgey gunk in tank. Note the kinked inlet hose. That's going buh-bye, too.
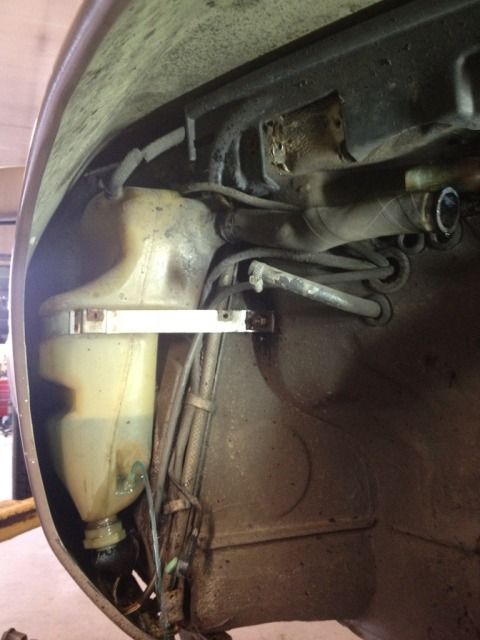
Good thing this is a normally open circuit.... This connector got cut off, and the ends of the wires capped shut with heatshrink to slow further corrosion.
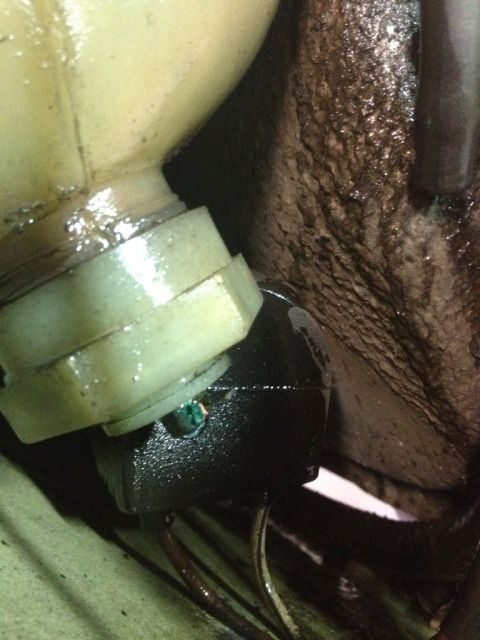
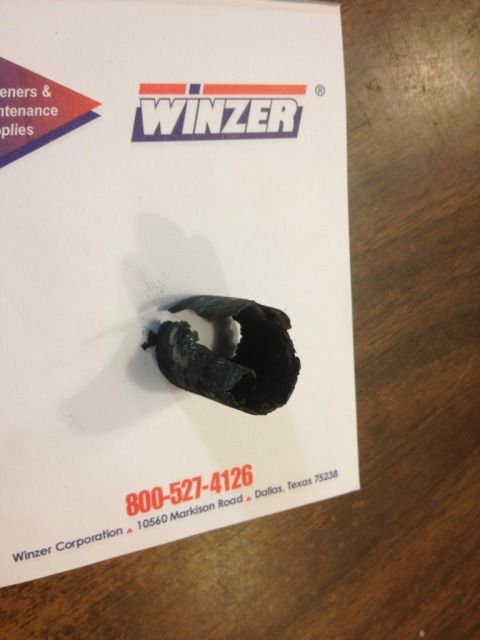
Dreadful little bastard sleeve
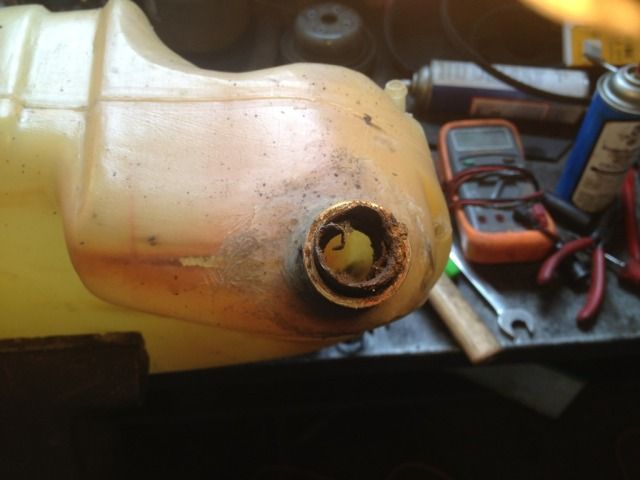
A little bit of 'dis
A little bit-a-dat'
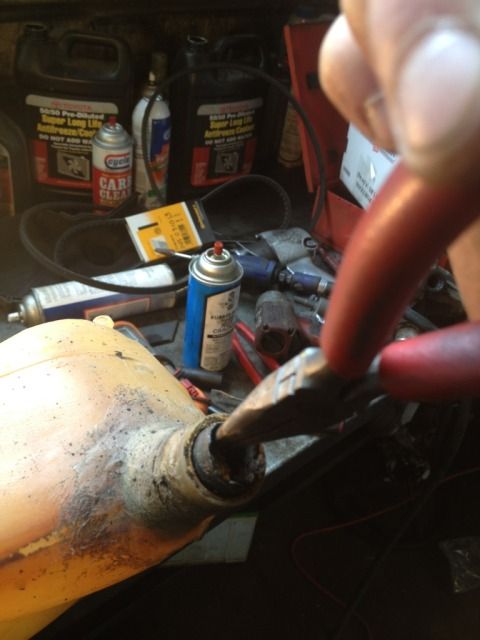
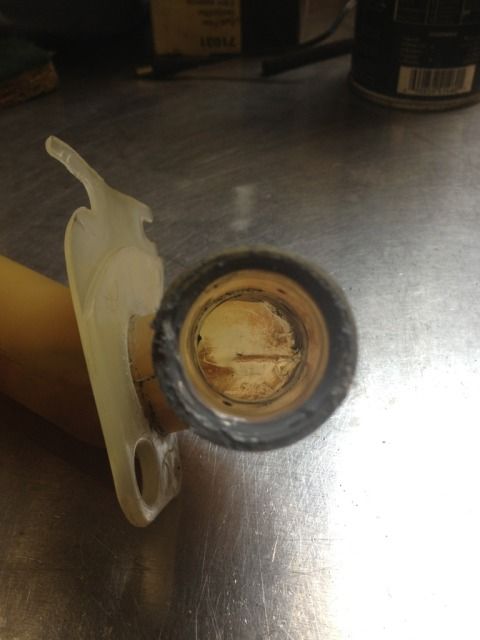
Ta-da!
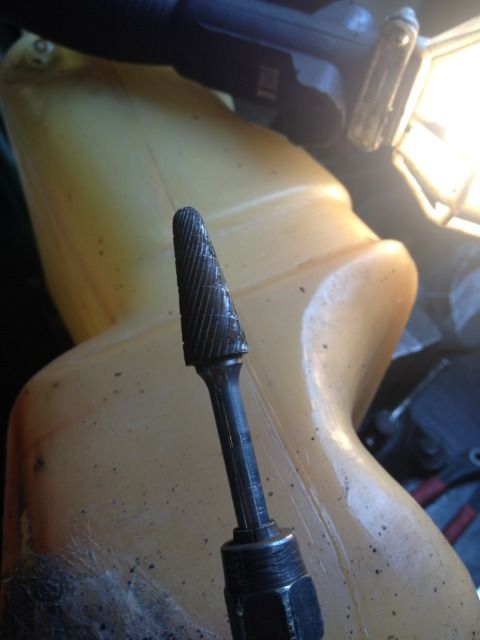
Clean all residual crap out, and mix up some quick-set two part epoxy
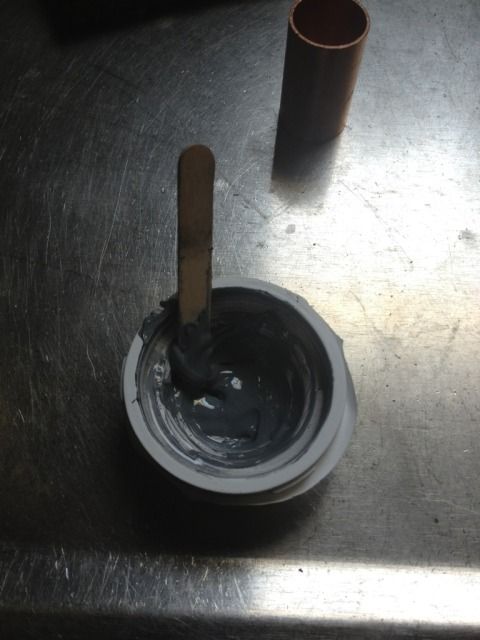
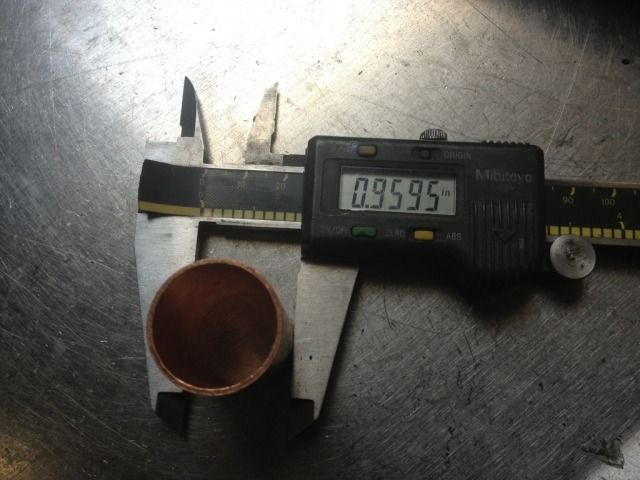
Coat 1" copper plumbing coupler and inside of tank/neck with the stuff and gently twist into it's new home
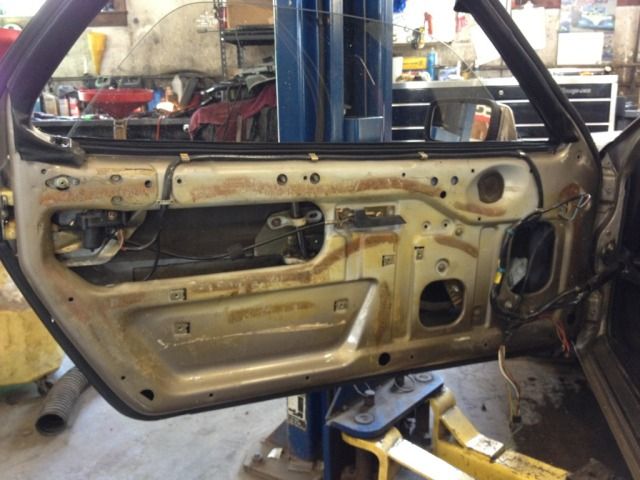
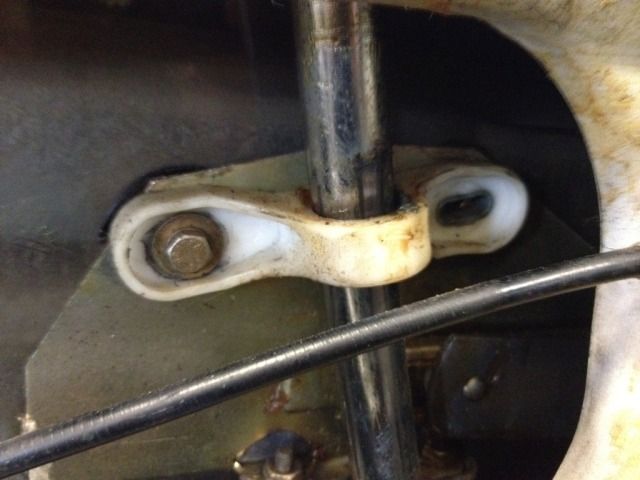
Finally decided it was time to figure out why I had to "help" my drivers' window go up straight. Found this, among a bunch of other missing or loose nuts, bolts, screws. now fixed. Goes up nice and straight. Also replaced the vapor barrier with some thick clear plastic I keep around the shop for this purpose.
Lamin-x-ed the fog lights with yellow "universal" overlays. And the parking lights with the "smoked" sheets. I like the look. But makes the orange front side-markers stick out like a sore thumb. They may get the smoked treatment as well, but I'm afraid it'll darken the front of the car up too much.
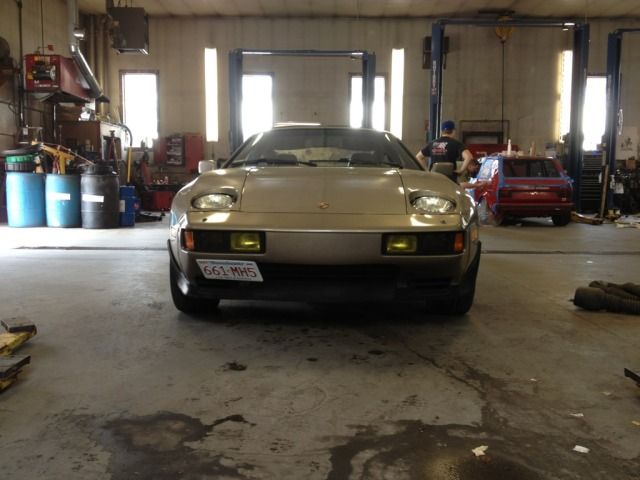
The middle "smoked" lenses look MUCH darker in photos. This Lamin-X stuff is awesome. Filled in a LOT of the pitting from road debris over time, makes the fog lenses look almost new again! Also hides the rather large crack in the left middle parking lens.
More updates soon, as more parts show up.
So in the last week:
Removed both the washer filler neck and tank, carefully dremeled out the (remains) of the rusty metal sleeves, thoroughly flushed and cleaned them, and epoxied 1" copper replacements into where the steel once was. Call me frugal, but I really just couldn't justify the price of new parts when there was nothing structurally wrong with the parts on the car.
MMMmmmmm sludgey gunk in tank. Note the kinked inlet hose. That's going buh-bye, too.
Good thing this is a normally open circuit.... This connector got cut off, and the ends of the wires capped shut with heatshrink to slow further corrosion.
Dreadful little bastard sleeve
A little bit of 'dis
A little bit-a-dat'
Ta-da!
Clean all residual crap out, and mix up some quick-set two part epoxy
Coat 1" copper plumbing coupler and inside of tank/neck with the stuff and gently twist into it's new home
Finally decided it was time to figure out why I had to "help" my drivers' window go up straight. Found this, among a bunch of other missing or loose nuts, bolts, screws. now fixed. Goes up nice and straight. Also replaced the vapor barrier with some thick clear plastic I keep around the shop for this purpose.
Lamin-x-ed the fog lights with yellow "universal" overlays. And the parking lights with the "smoked" sheets. I like the look. But makes the orange front side-markers stick out like a sore thumb. They may get the smoked treatment as well, but I'm afraid it'll darken the front of the car up too much.
The middle "smoked" lenses look MUCH darker in photos. This Lamin-X stuff is awesome. Filled in a LOT of the pitting from road debris over time, makes the fog lenses look almost new again! Also hides the rather large crack in the left middle parking lens.
More updates soon, as more parts show up.
04-24-2012, 07:24 AM
#81
Pro
Yankee thrift. I love it, no reason to be shy about it. Very good work Jeremy.
05-17-2012, 05:59 PM
#82
Pro
Thread Starter
This just in! Devek level 2's. Off to powdercoat with a ton of other parts shortly. Should make a nice addition to the heads and intake work.
Only slightly more work done on the remaining head. Soon....so soon...
Only slightly more work done on the remaining head. Soon....so soon...
05-17-2012, 06:46 PM
#84
Pro
06-06-2012, 09:19 PM
#86
Pro
Thread Starter
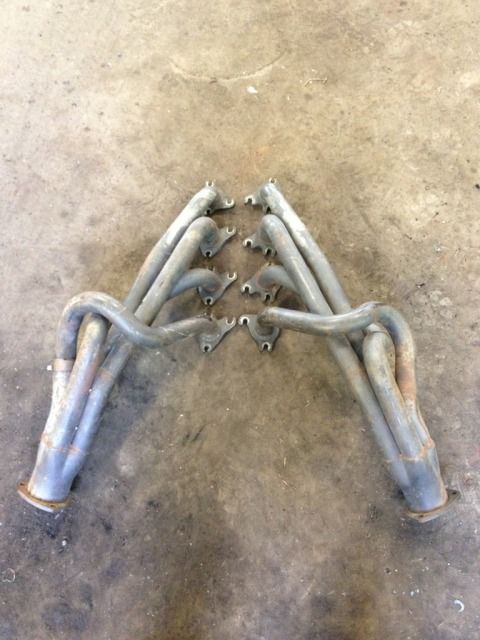
Headers awaiting powder coat.
Also upgraded to a 170mph speedometer, with a new drive gear should be good for a good long while. Reset the mileage from the used cluster to match the mileage from the one I took out. Thanks for the great write-up Dwayne!
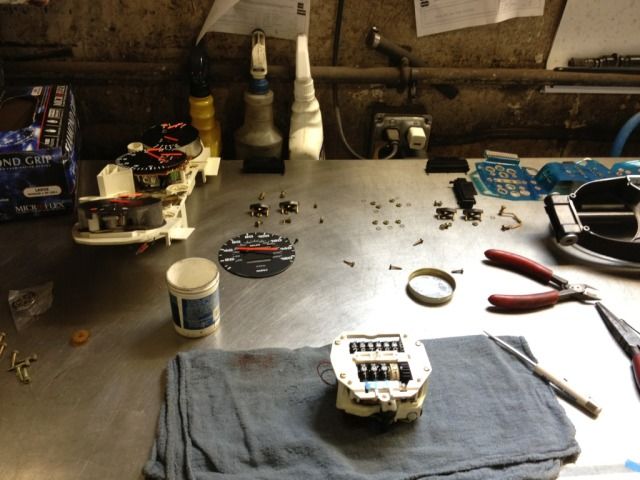
New drive gear & shimmed worm gear motor
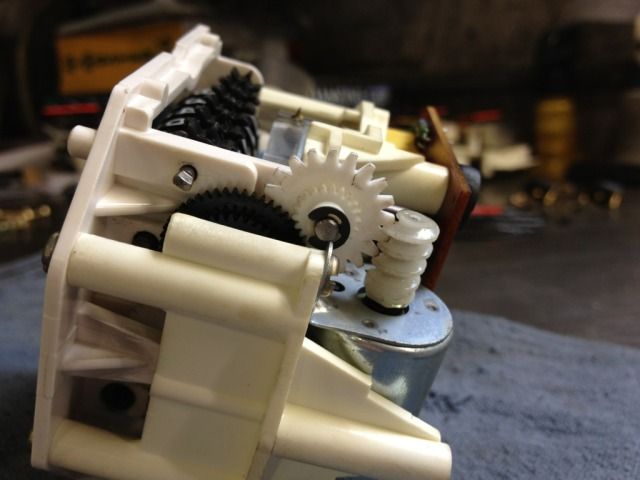
It even works! Crazy, right?
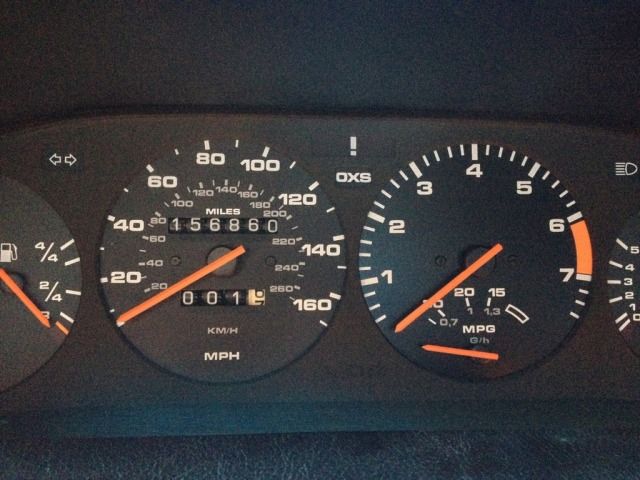
Also upgraded to a 170mph speedometer, with a new drive gear should be good for a good long while. Reset the mileage from the used cluster to match the mileage from the one I took out. Thanks for the great write-up Dwayne!
New drive gear & shimmed worm gear motor
It even works! Crazy, right?
06-07-2012, 06:59 AM
#87
Pro
Nice job Jeremy.
06-07-2012, 11:01 AM
#89
Pro
Thread Starter
Headers are really a test for the powder coat shop, prior to sending almost the entire top end to them to have coated. I've heard and seen good things from the shop so far, so I'm hopeful.