When you click on links to various merchants on this site and make a purchase, this can result in this site earning a commission. Affiliate programs and affiliations include, but are not limited to, the eBay Partner Network.
I love buying stuff from Jerry Feather - I mean, who packages stuff like this so it arrives in perfect condition?
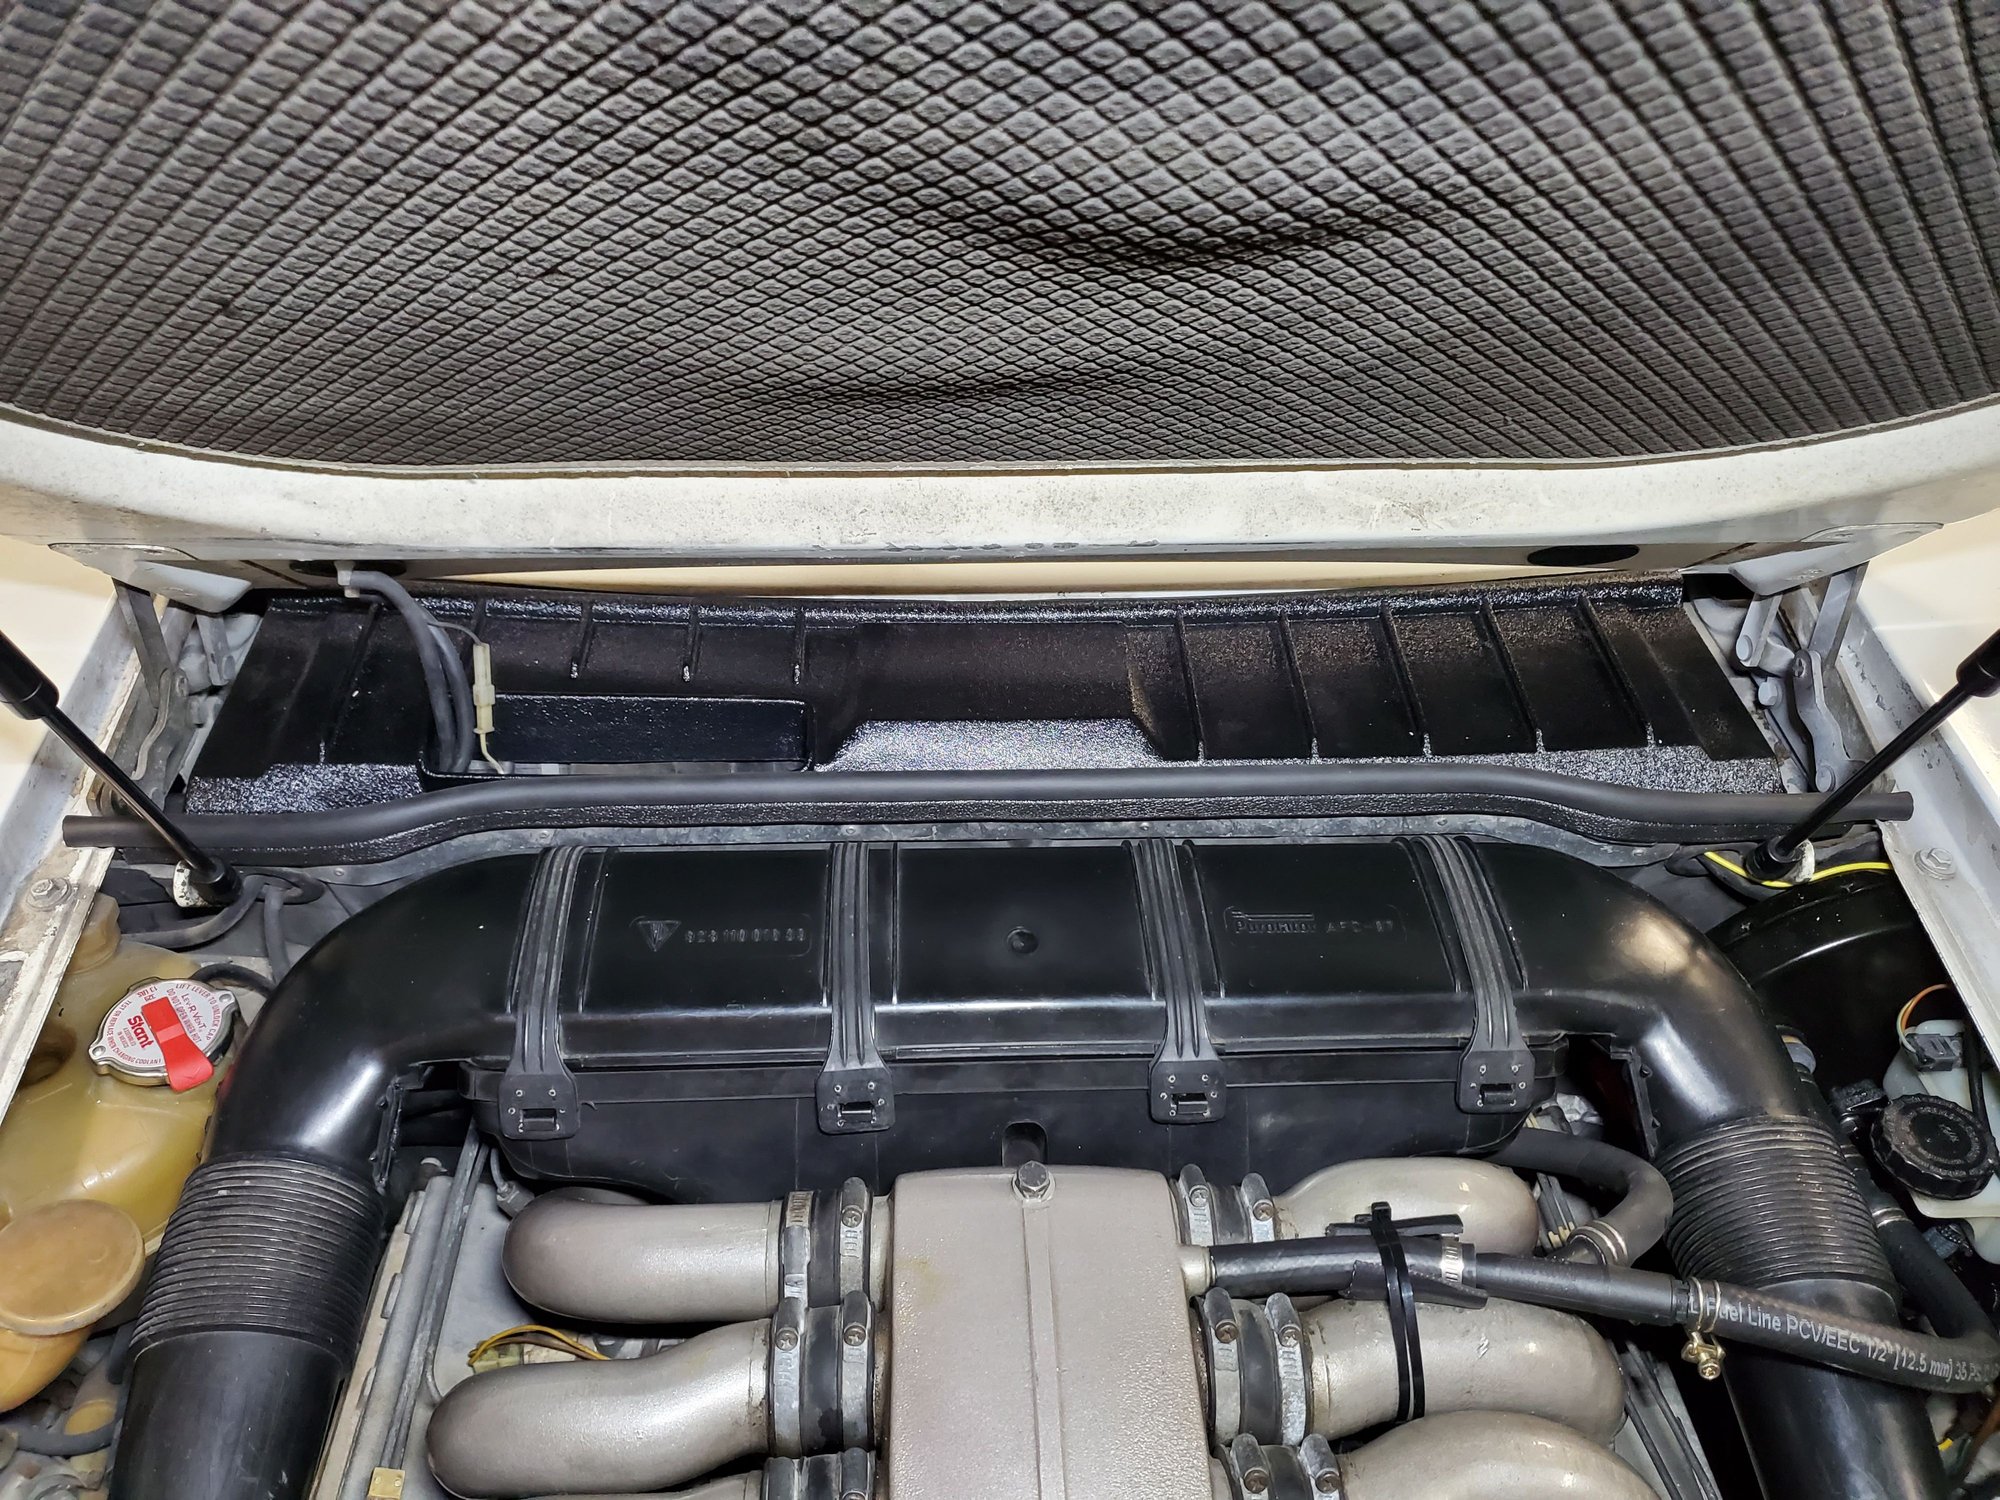
Quite the visual improvement under the hood now compared to the old one that was there. It was actually an original half-cover that I never liked the looks of and had some cracks and overspray on it. This is much better.
The tray looks great!
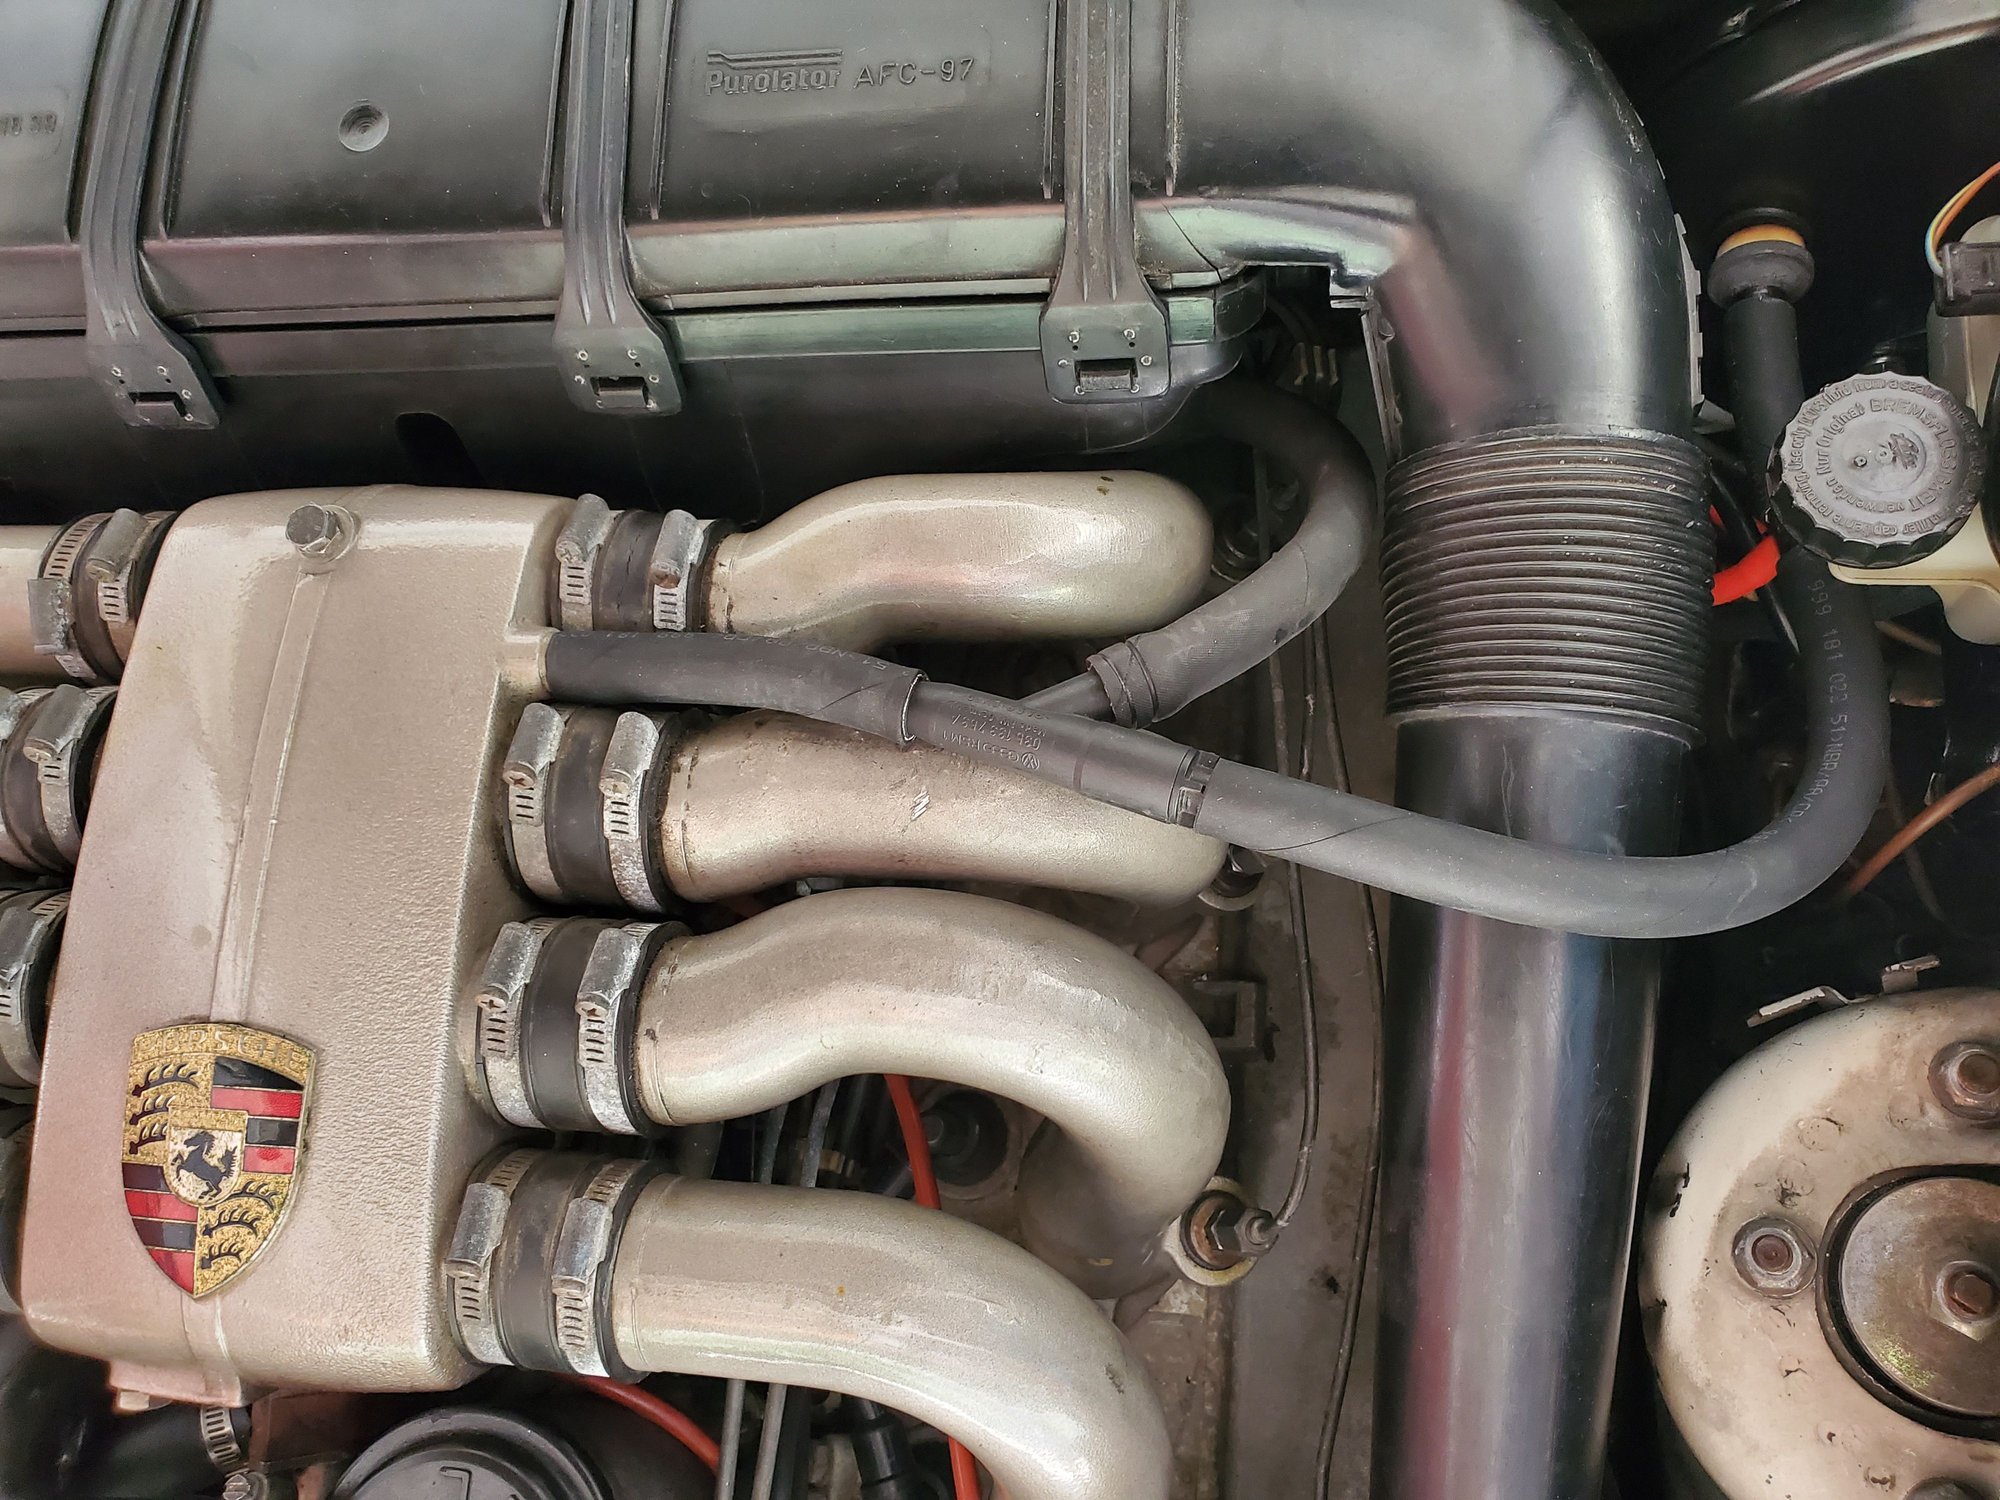
.....That PVC/EEC hose to the power brake booster is downright dangerous!
It's only a matter of time until it sucks flat and you loose your power brakes.
That hose needs to be a special re-enforced hose rated for power brake vacuum.
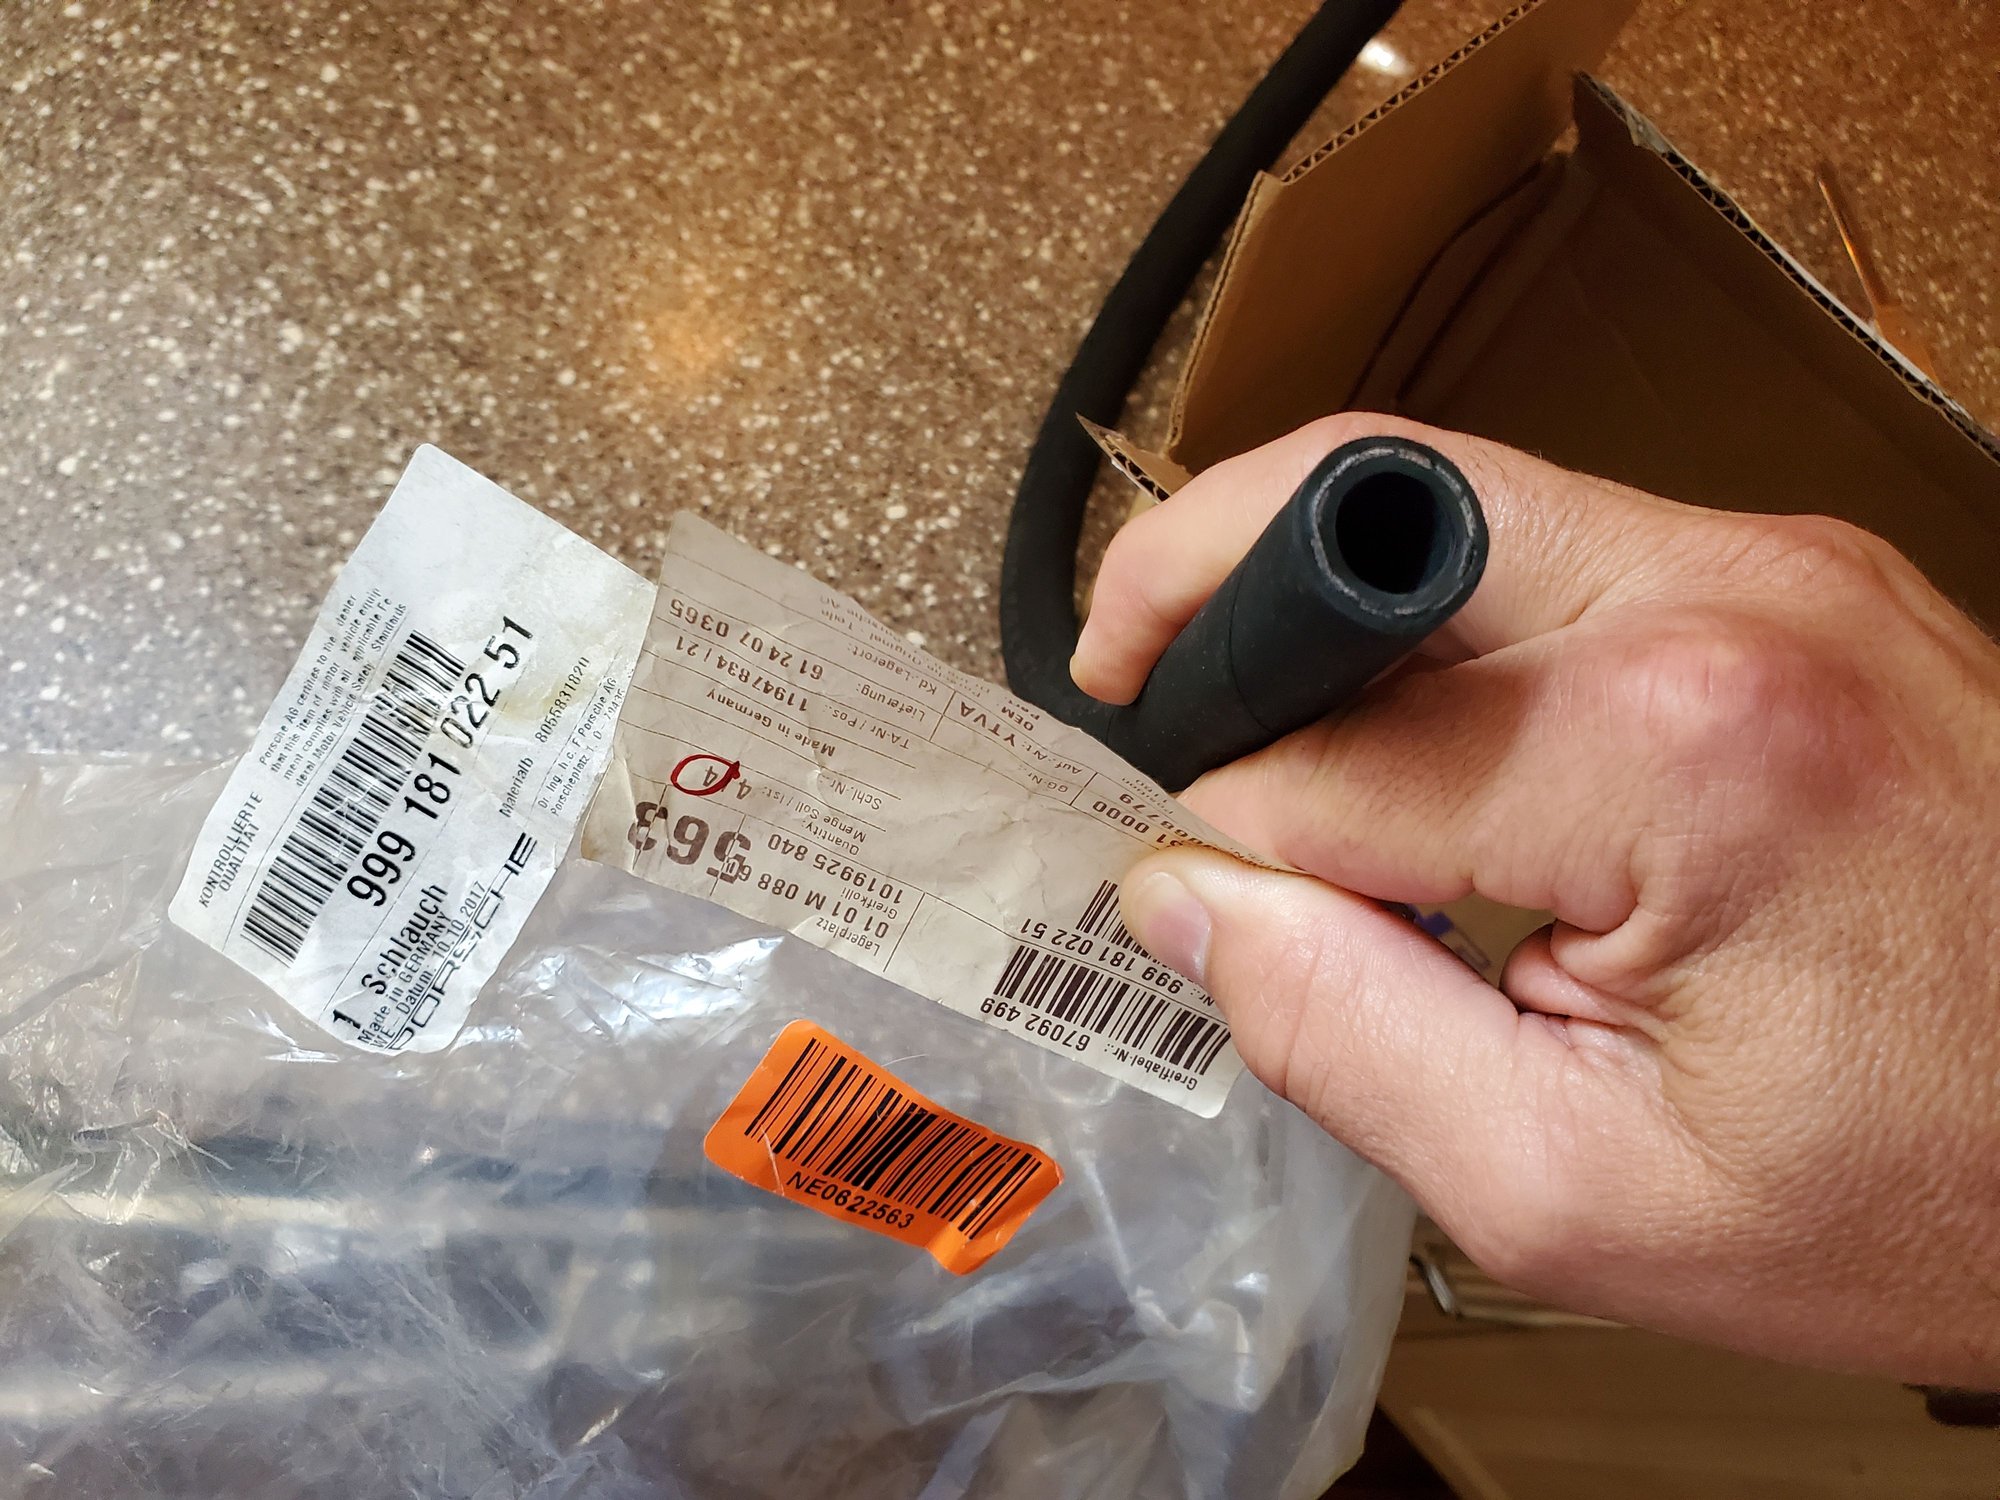
Part number 999 181 022 51 gets you a meter of the correct hose...
....You may not want to mention to your wife that you took your son on a trip with very dangerous brakes.....she might take your tools away.
Pete, try a Heat gun on that deformed lower section of the bumper [best when that leaking tank is removed! ] not hot enough to damage paint , plastic has memory it may return to it's original shape.
.....That PVC/EEC hose to the power brake booster is downright dangerous!
It's only a matter of time until it sucks flat and you loose your power brakes.
That hose needs to be a special re-enforced hose rated for power brake vacuum.
Part number 999 181 022 51 gets you a meter of the correct hose...
....You may not want to mention to your wife that you took your son on a trip with very dangerous brakes.....she might take your tools away.
Thanks Greg. I'll swap that out immediately though I haven't had any issues with the brakes at all since installing the new booster and the stainless lines.a few months ago.
I wonder if this is why my center vent wants to close by itself sometimes (loss of vacuum), if supplied by that same hose or is it just for the brakes?
...and I'd imagine this silicone vacuum hose on the Spyder is even worse for collapsing? ...,yet I've never had an issue with the brakes on that car either. Guess I'll fix that one too while I'm at it. How come the 81 Euro has a Y-connector on that hose and the 79 is just a single hose from the intake body to the booster port? Where does that 2nd hose go on the 81 (I'll see when I replace it , but thought you might know).
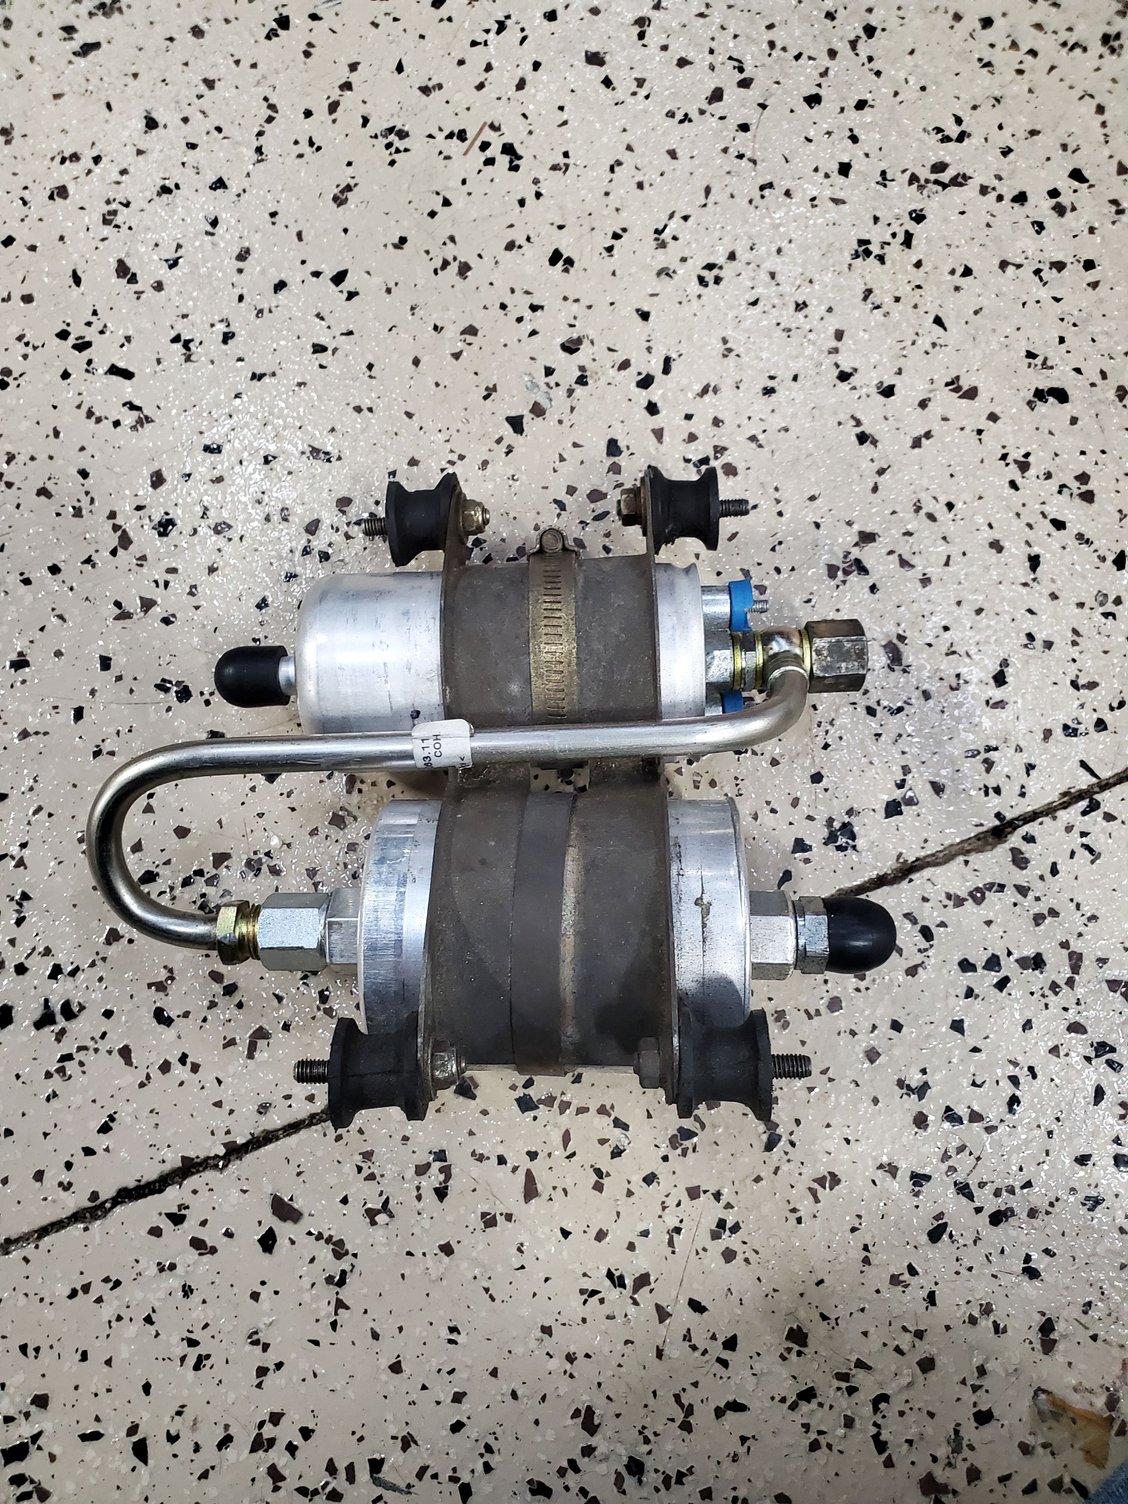
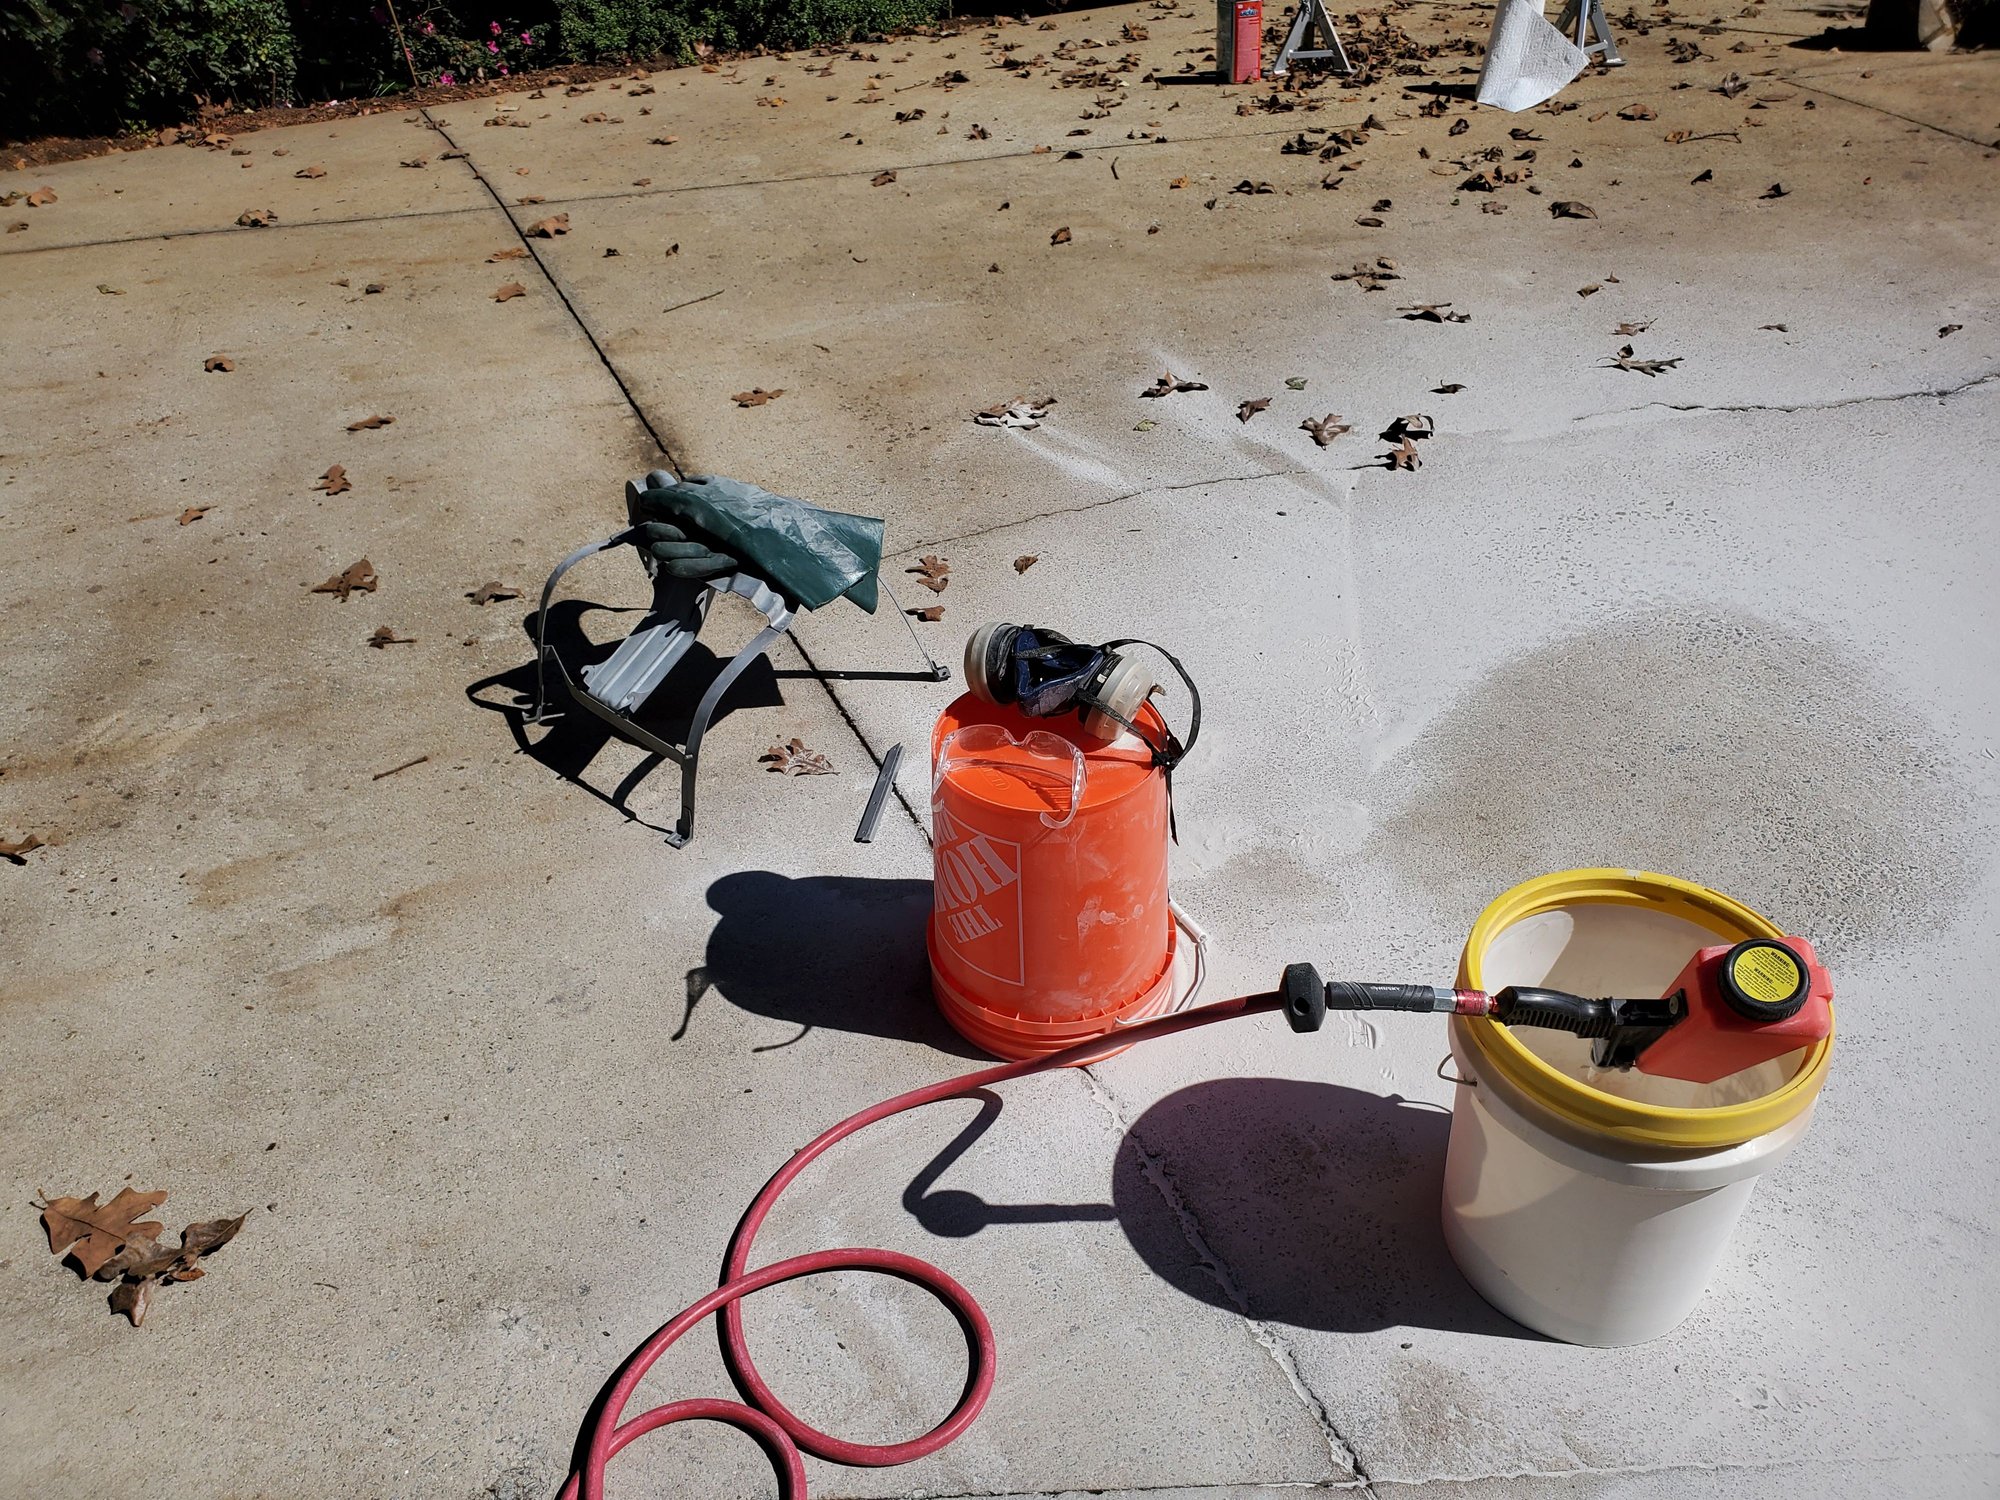
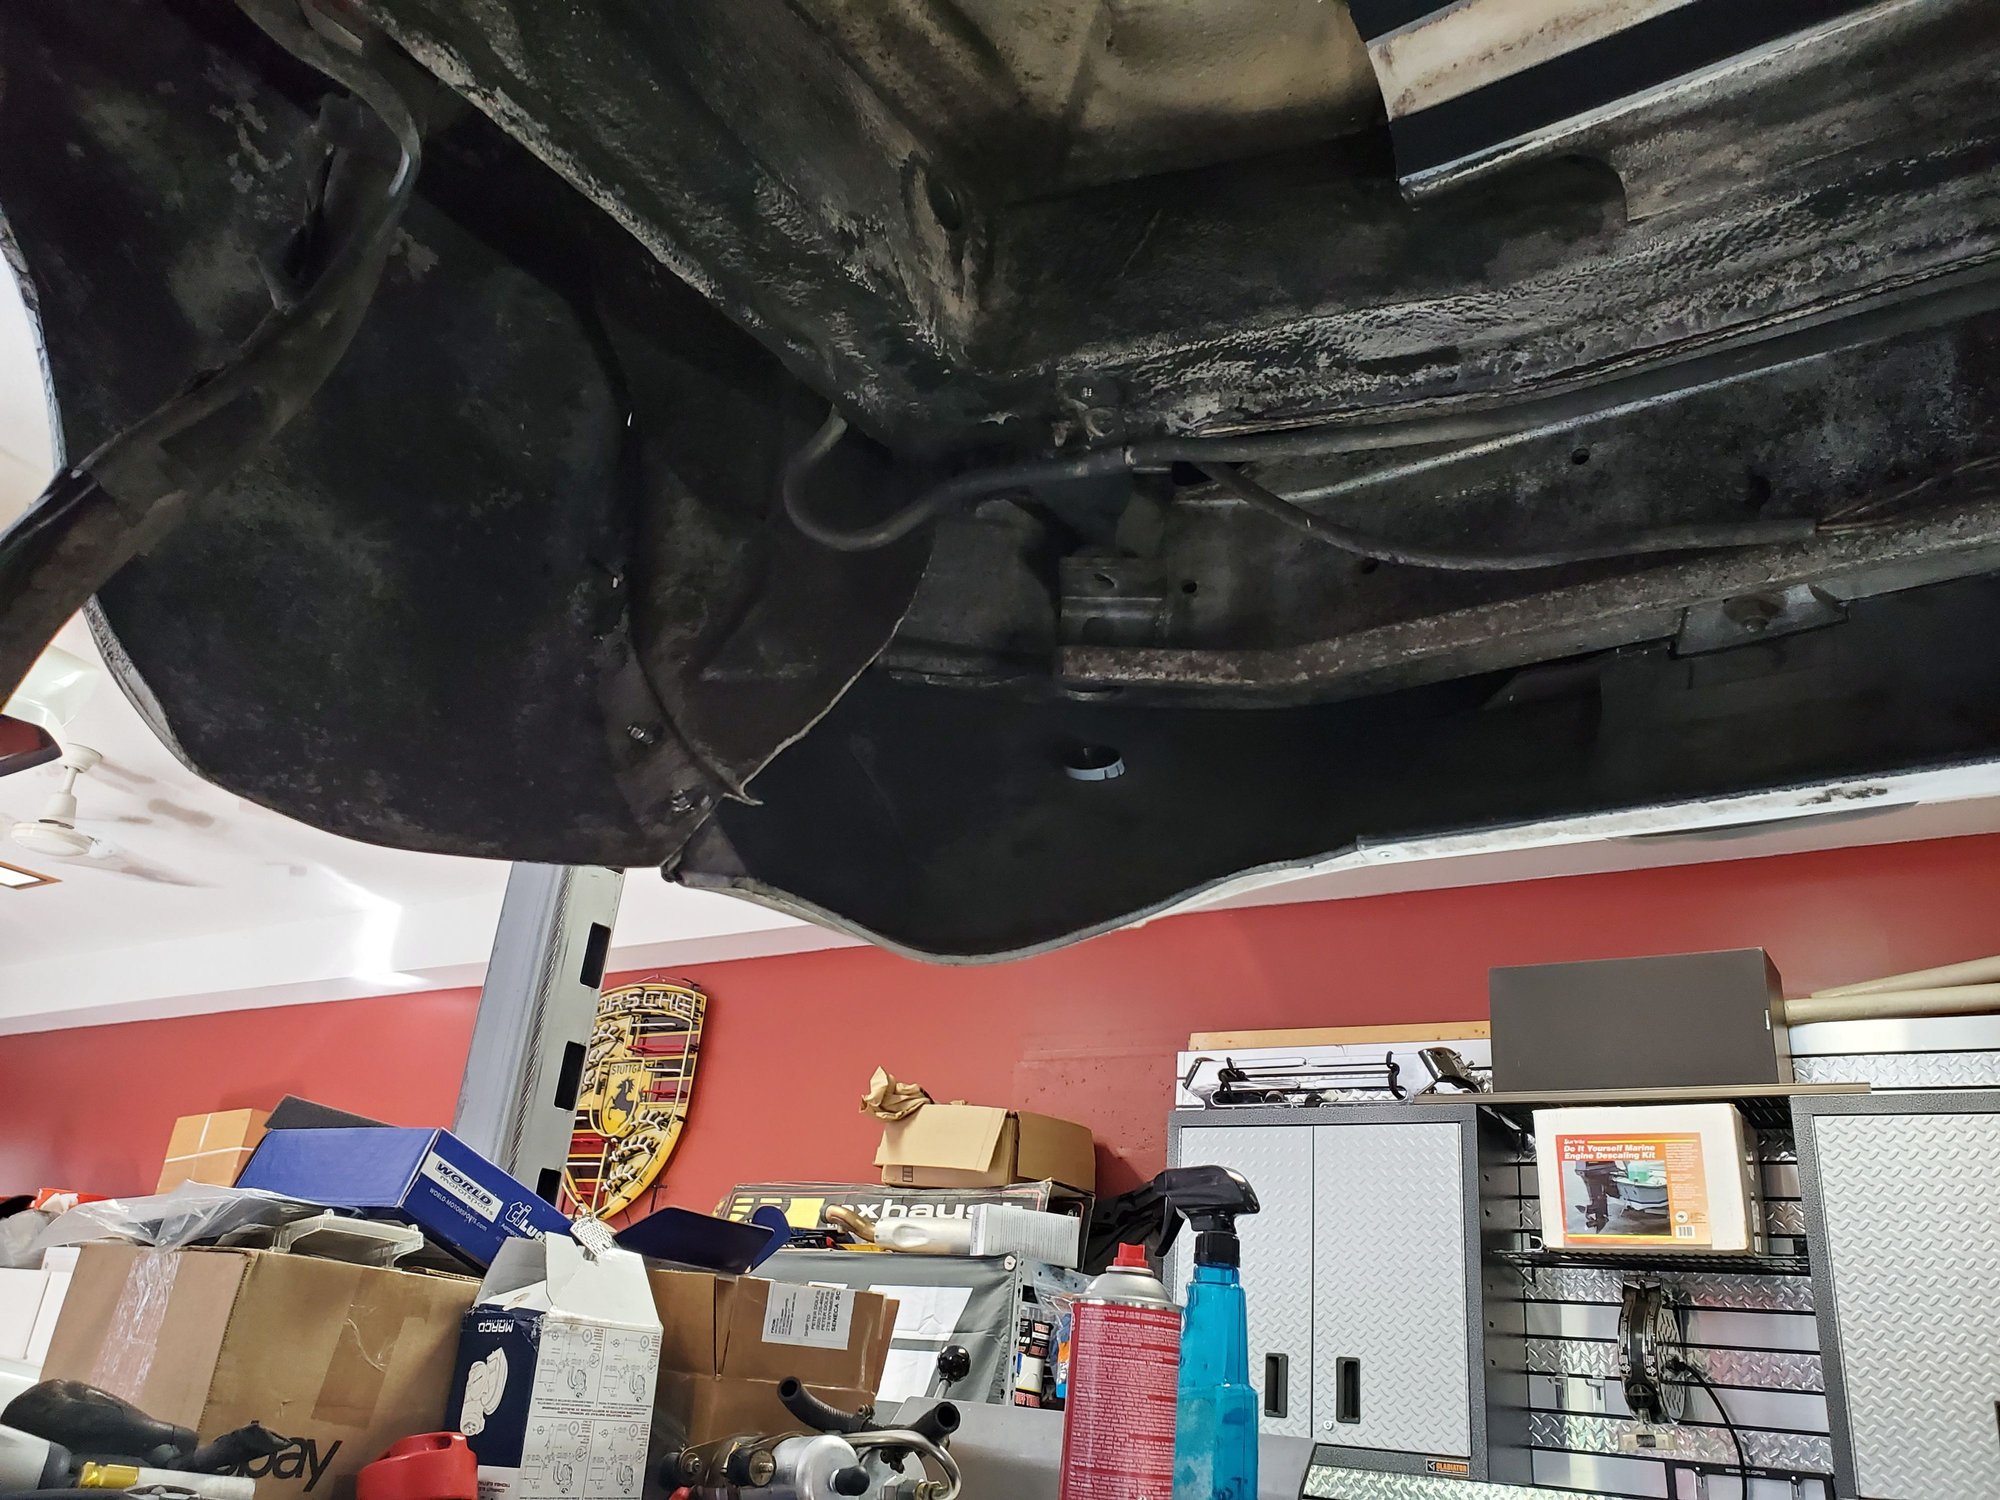
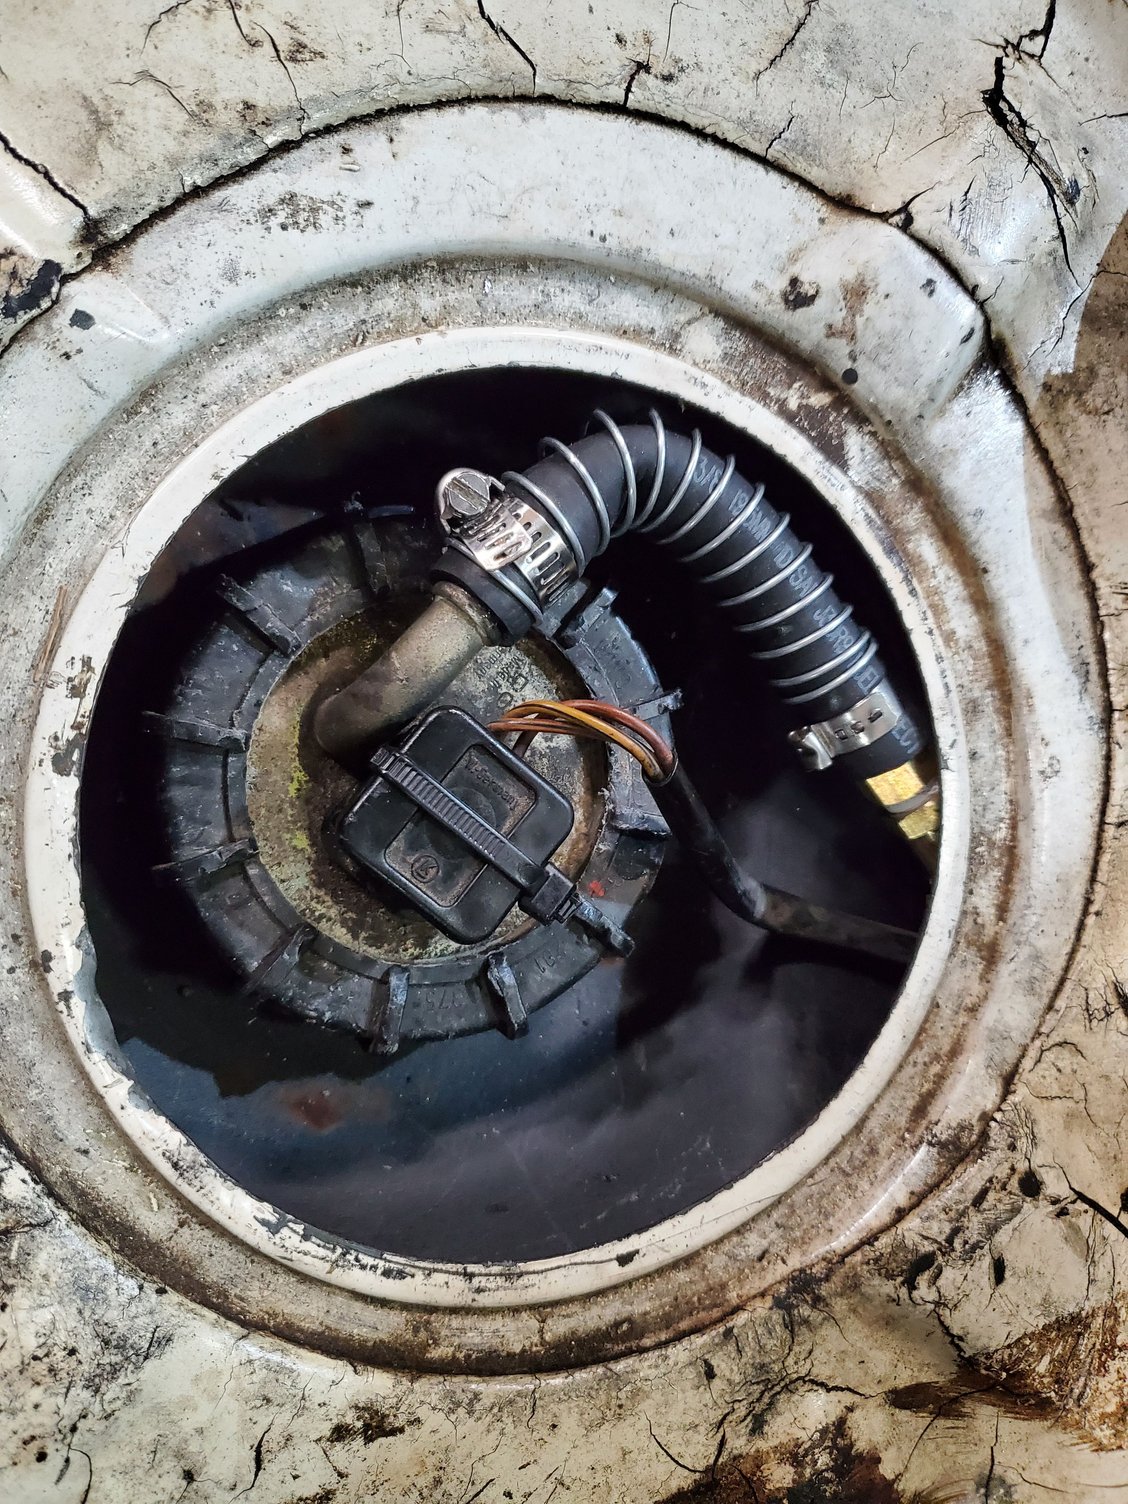
Started on the fuel tank replacement prep tonight. Drained the tank and removed the pump and filter assembly. On the way home from Frenzy, I filled up in Roanoke, VA figuring I could pull in with a mostly empty tank as that's 6 hours form home. Evidently, I'm getting pretty good gas mileage running 90 mph at 3,400 rpm as I still had to drain 4 gallons from the tank. Tomorrow I'll pull the old tank so I can clean up the cradle to get it ready for the installation of the next tank when it arrives next week. Pump, filter, and S hose look very new (as does the accumulator) - thanks PO.
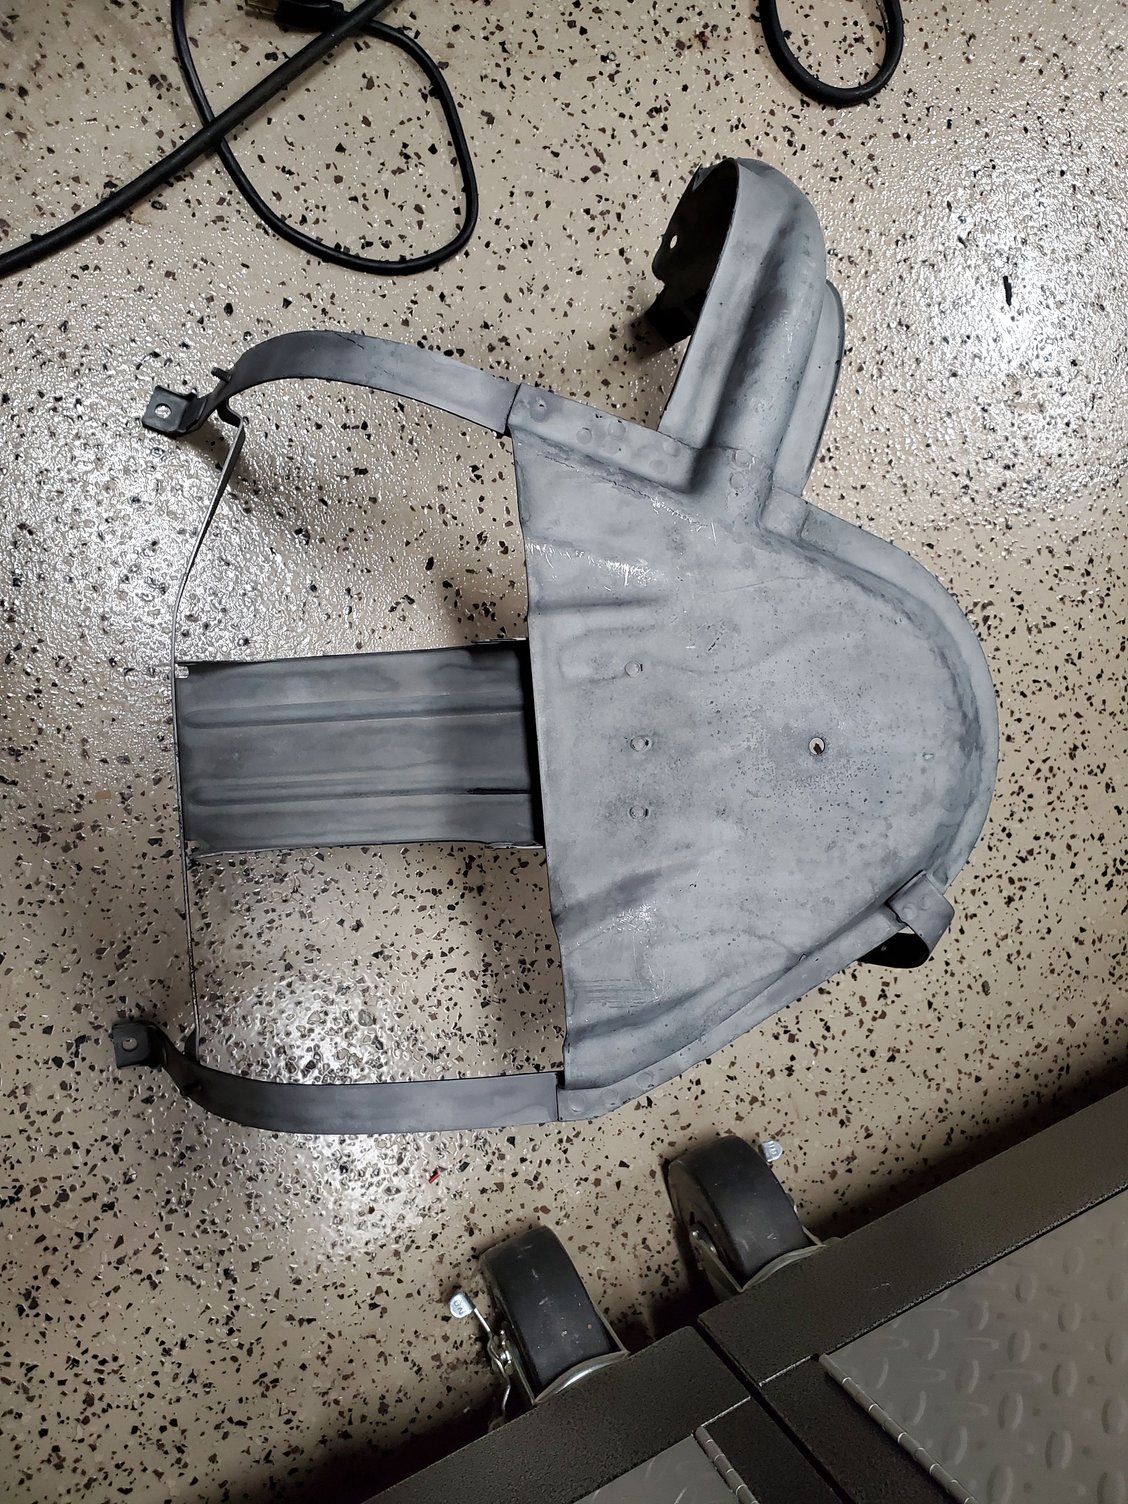
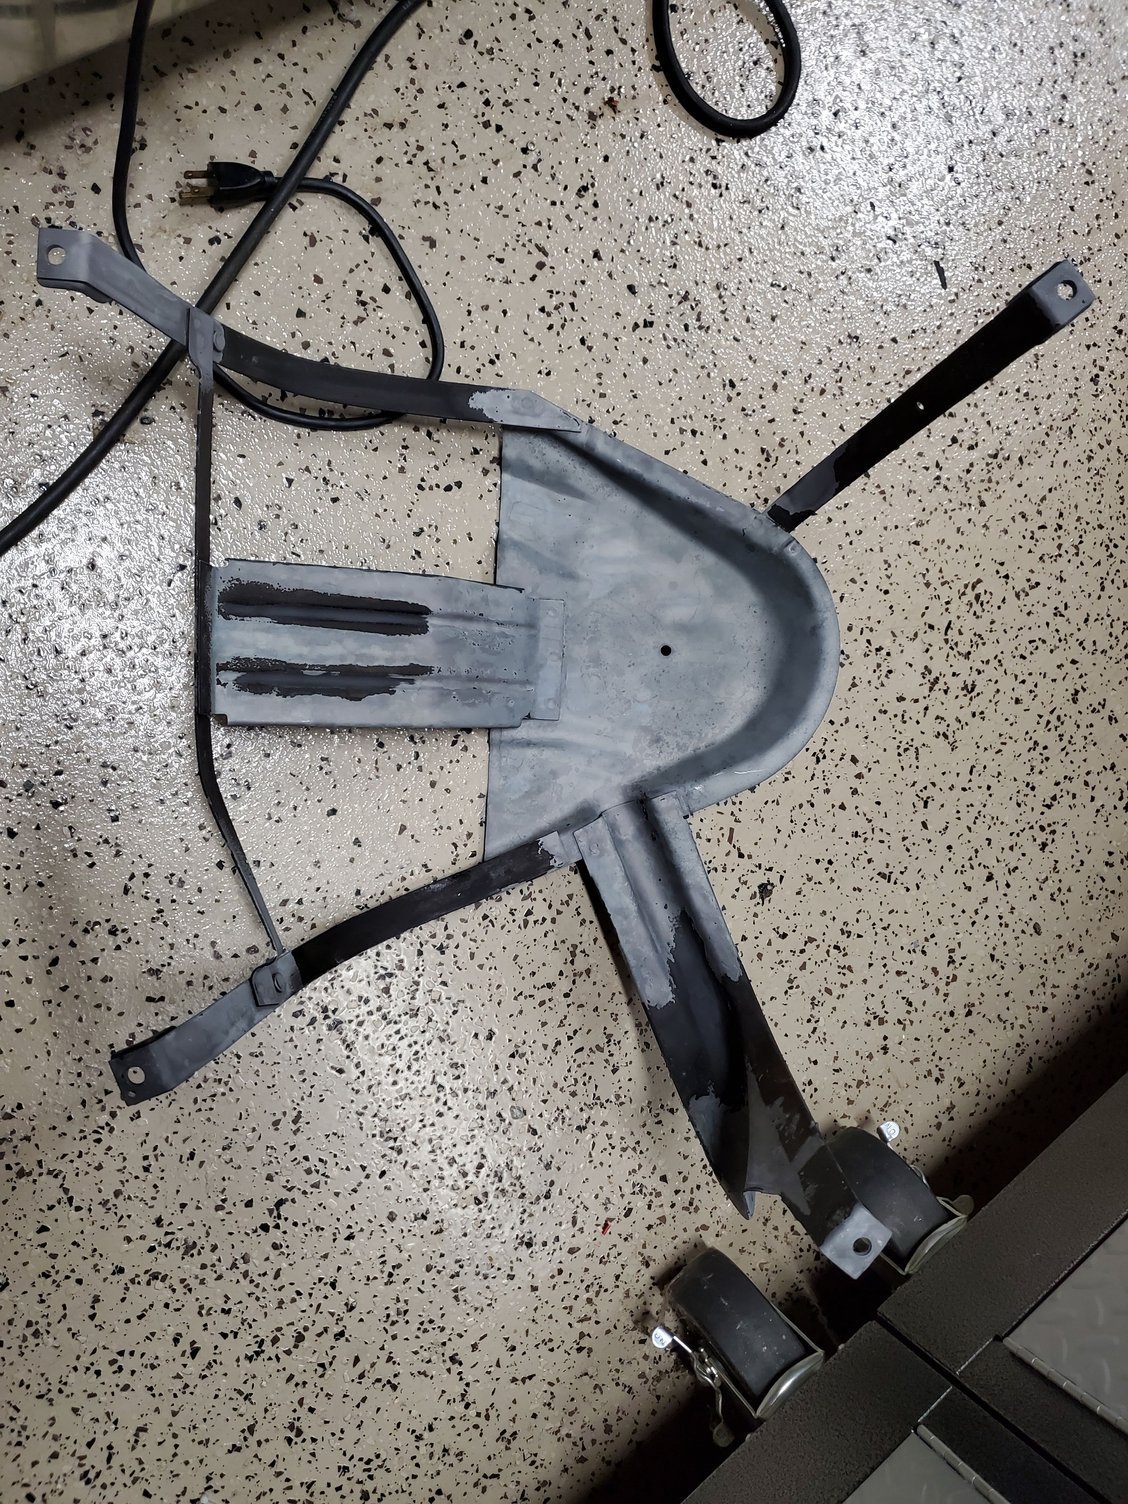
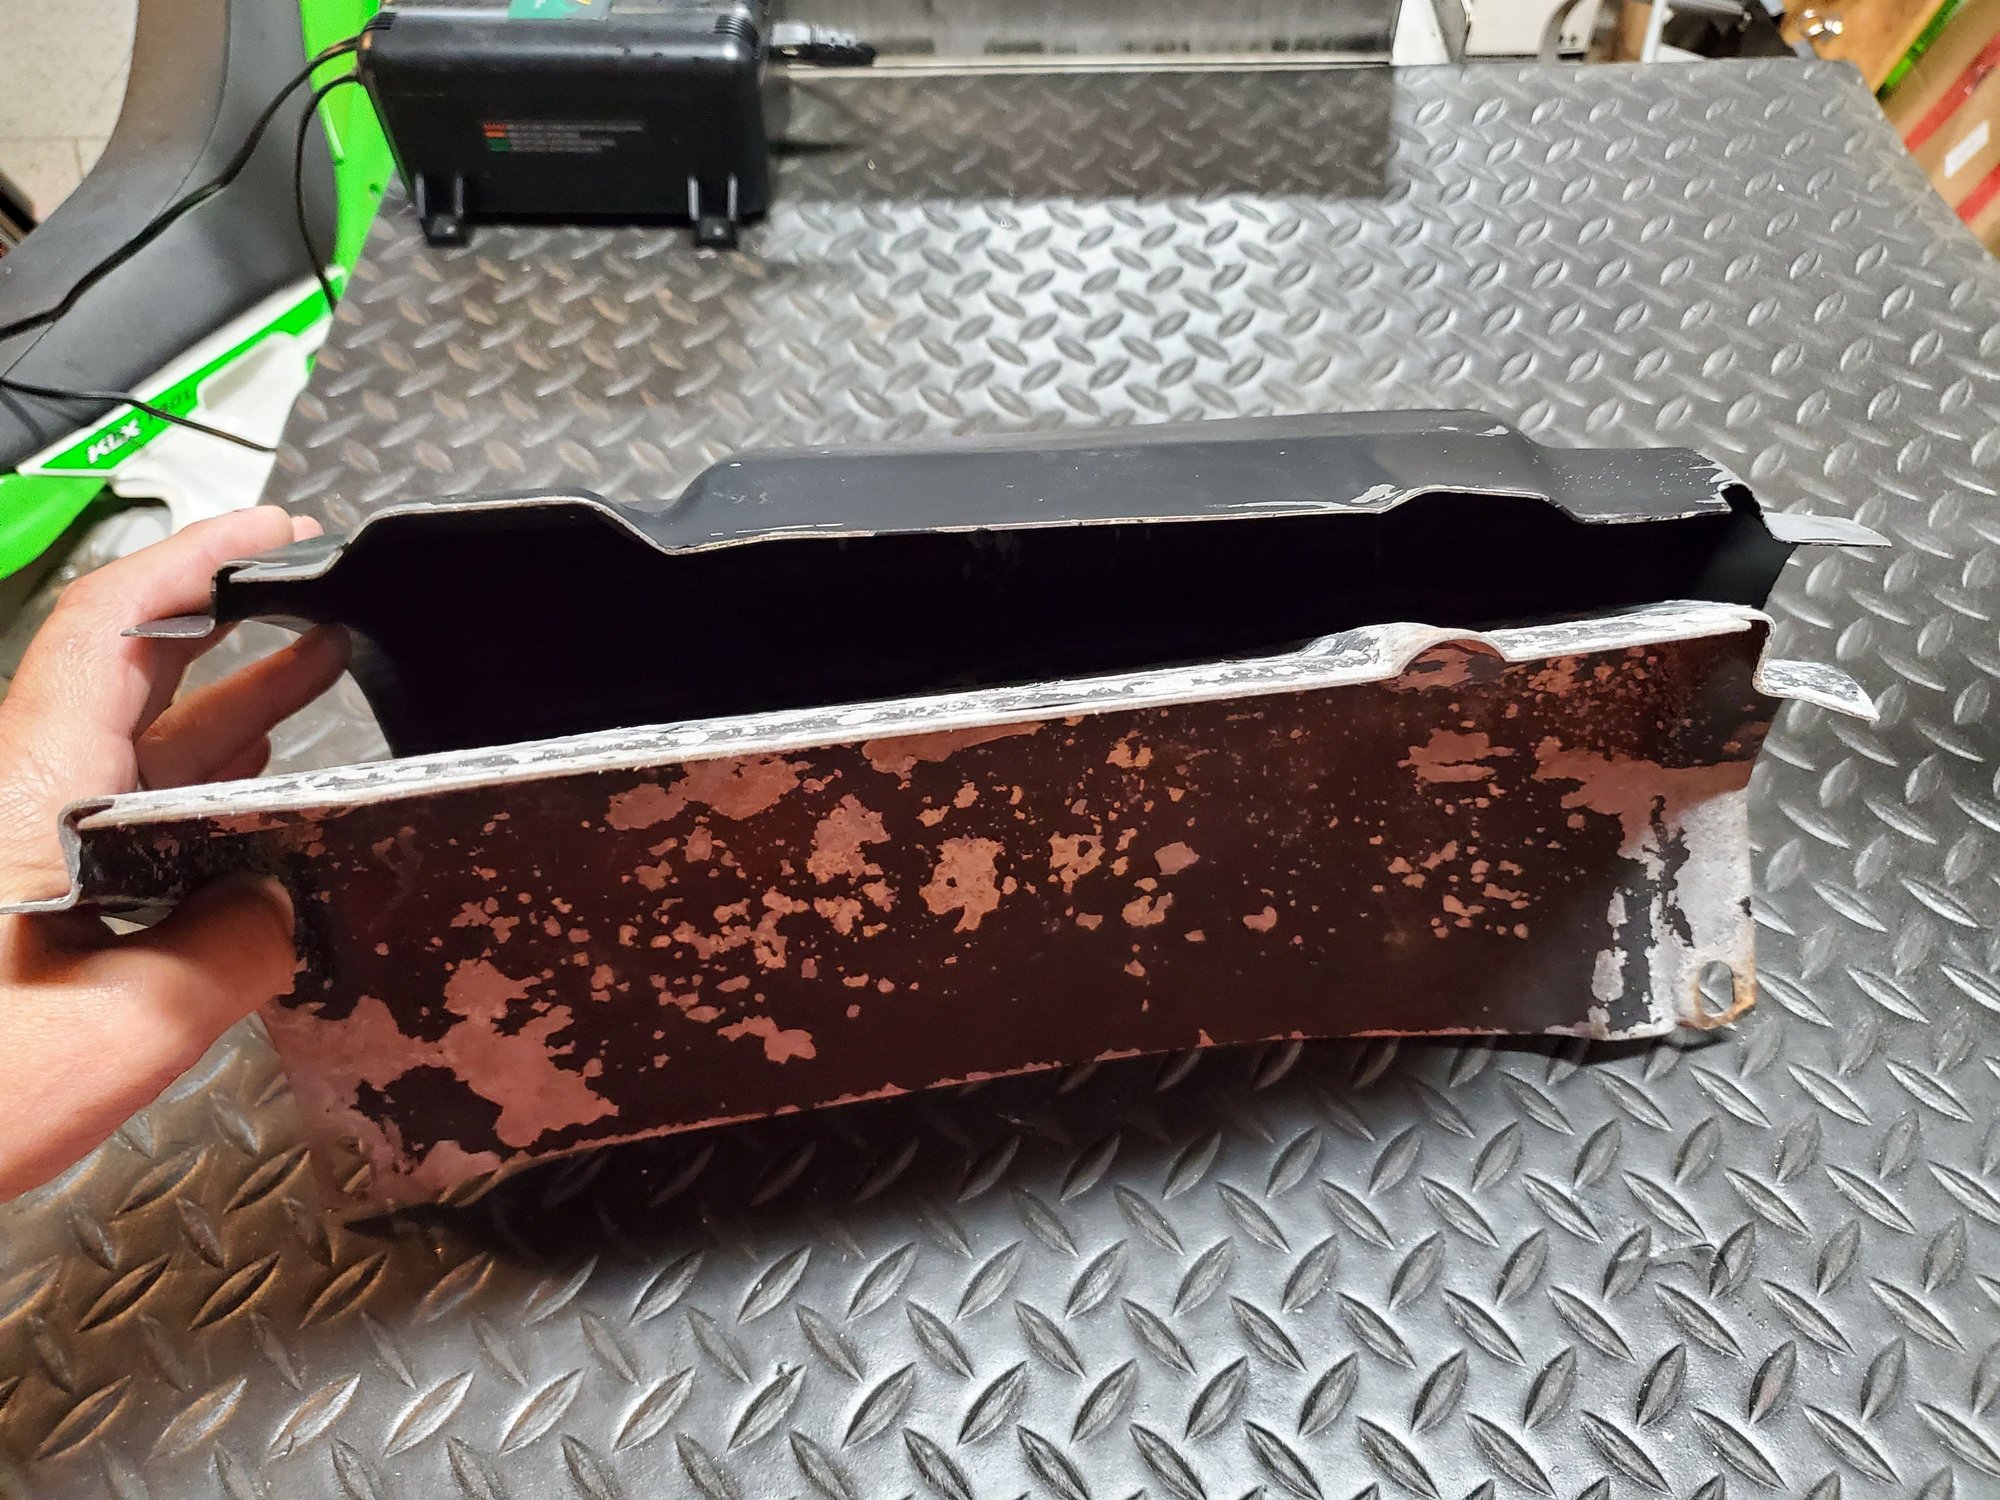
Started cleaning and sandblasting the cradle and fuel pump cover for a fresh coat of paint. Rain started before I could finish and started clumping my blasting sand, so will have to finish that next weekend. Both pieces are very solid, just need freshening since they're on one of my cars.
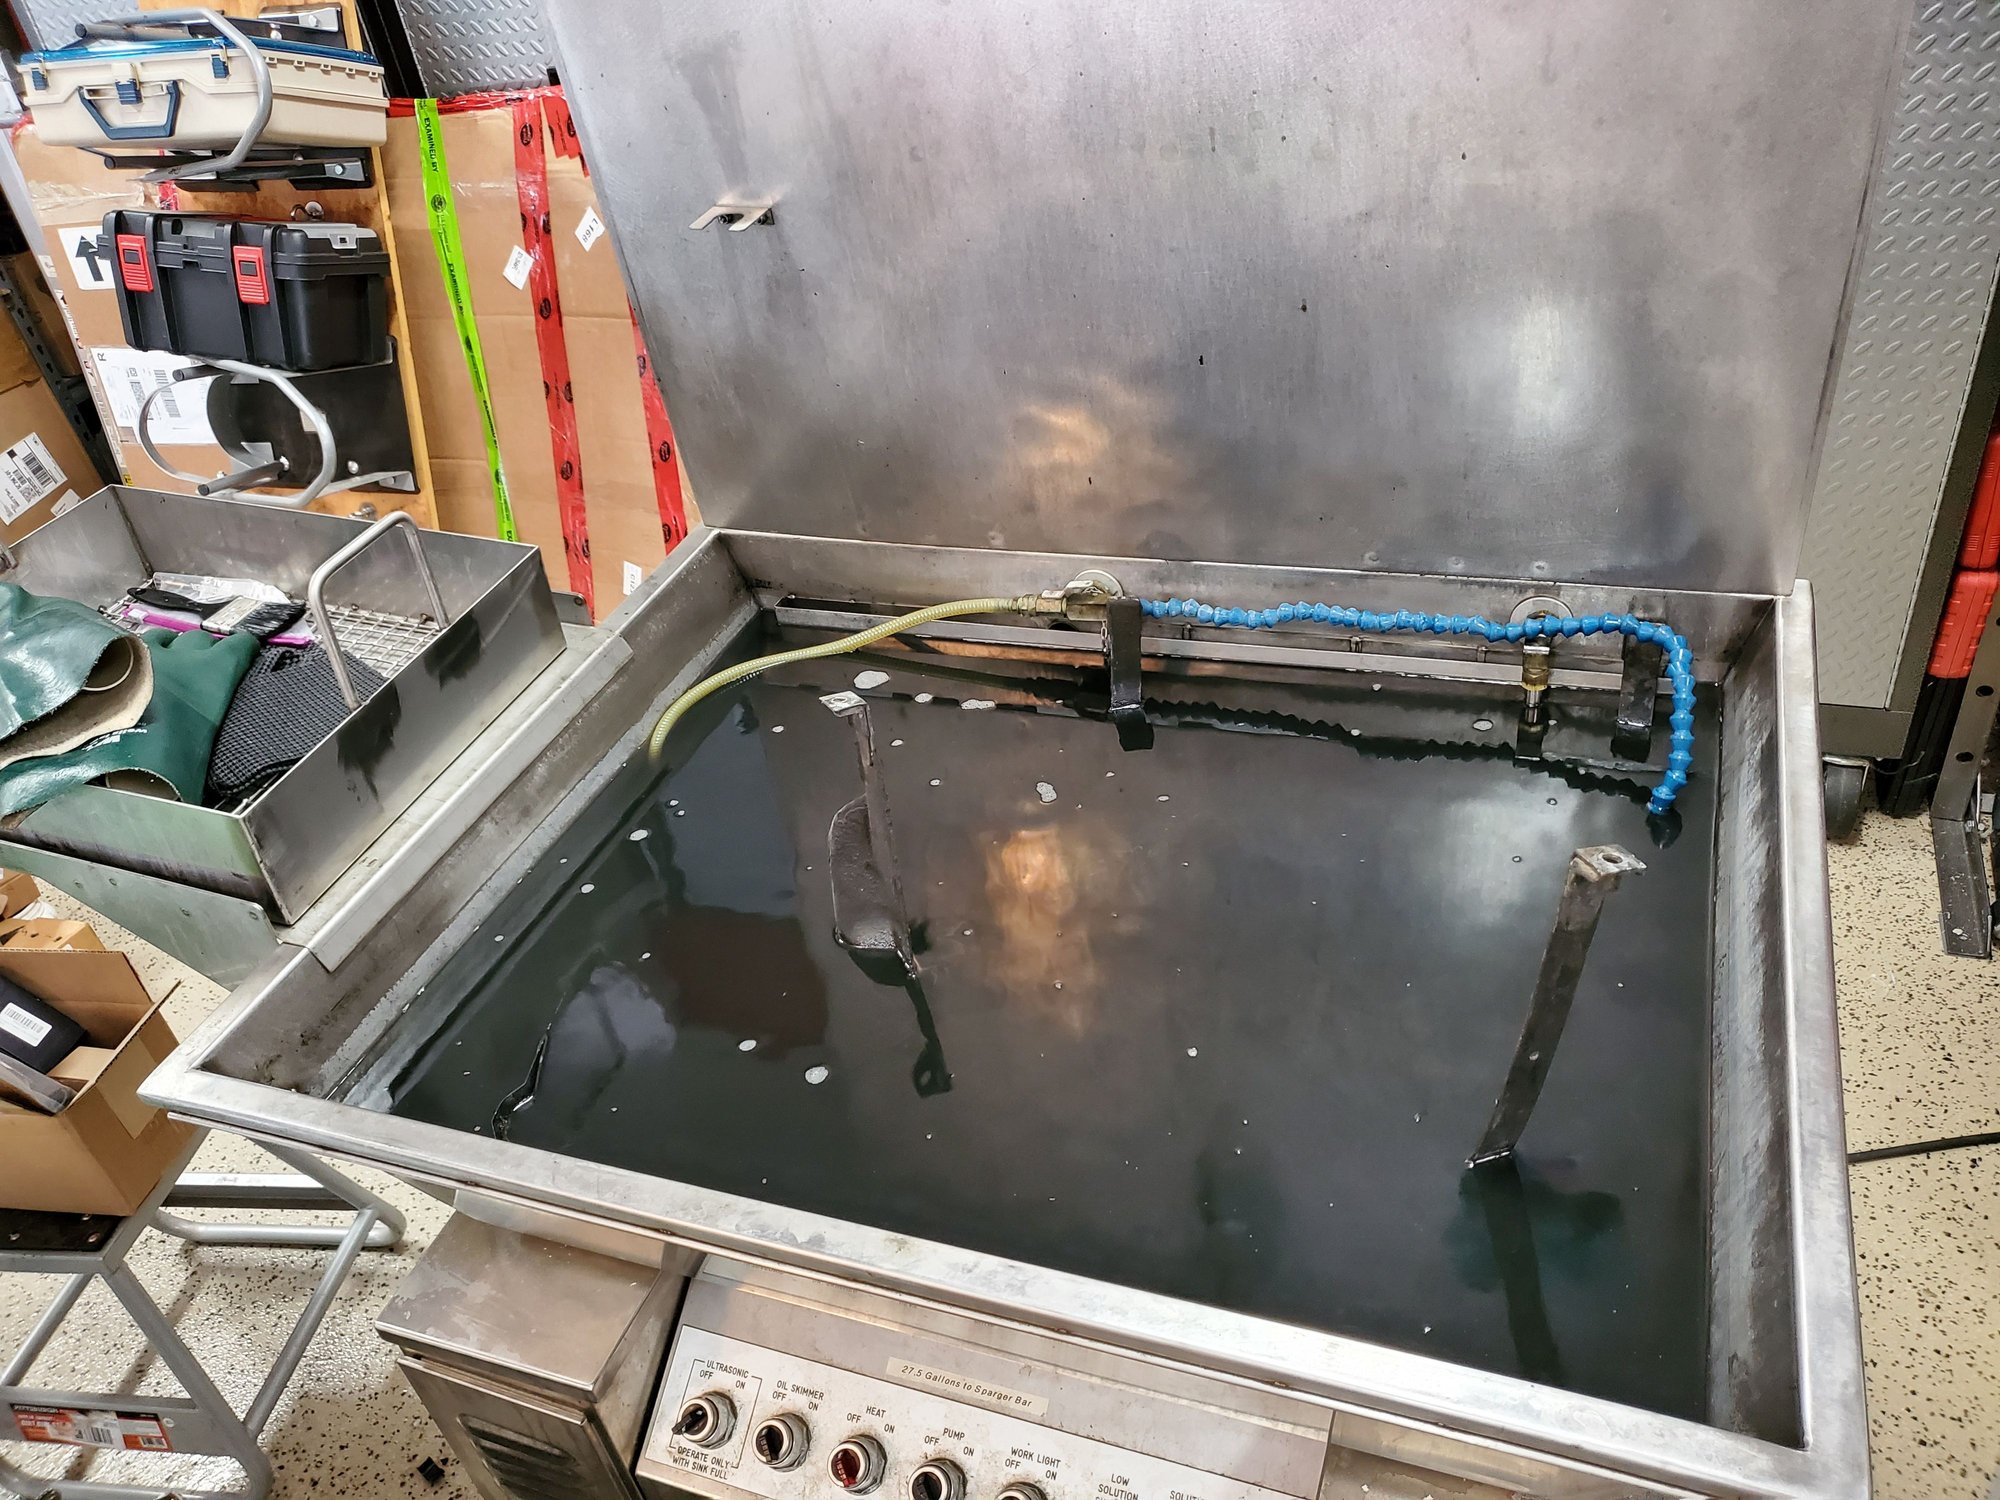
First a bath in the ultrasonic
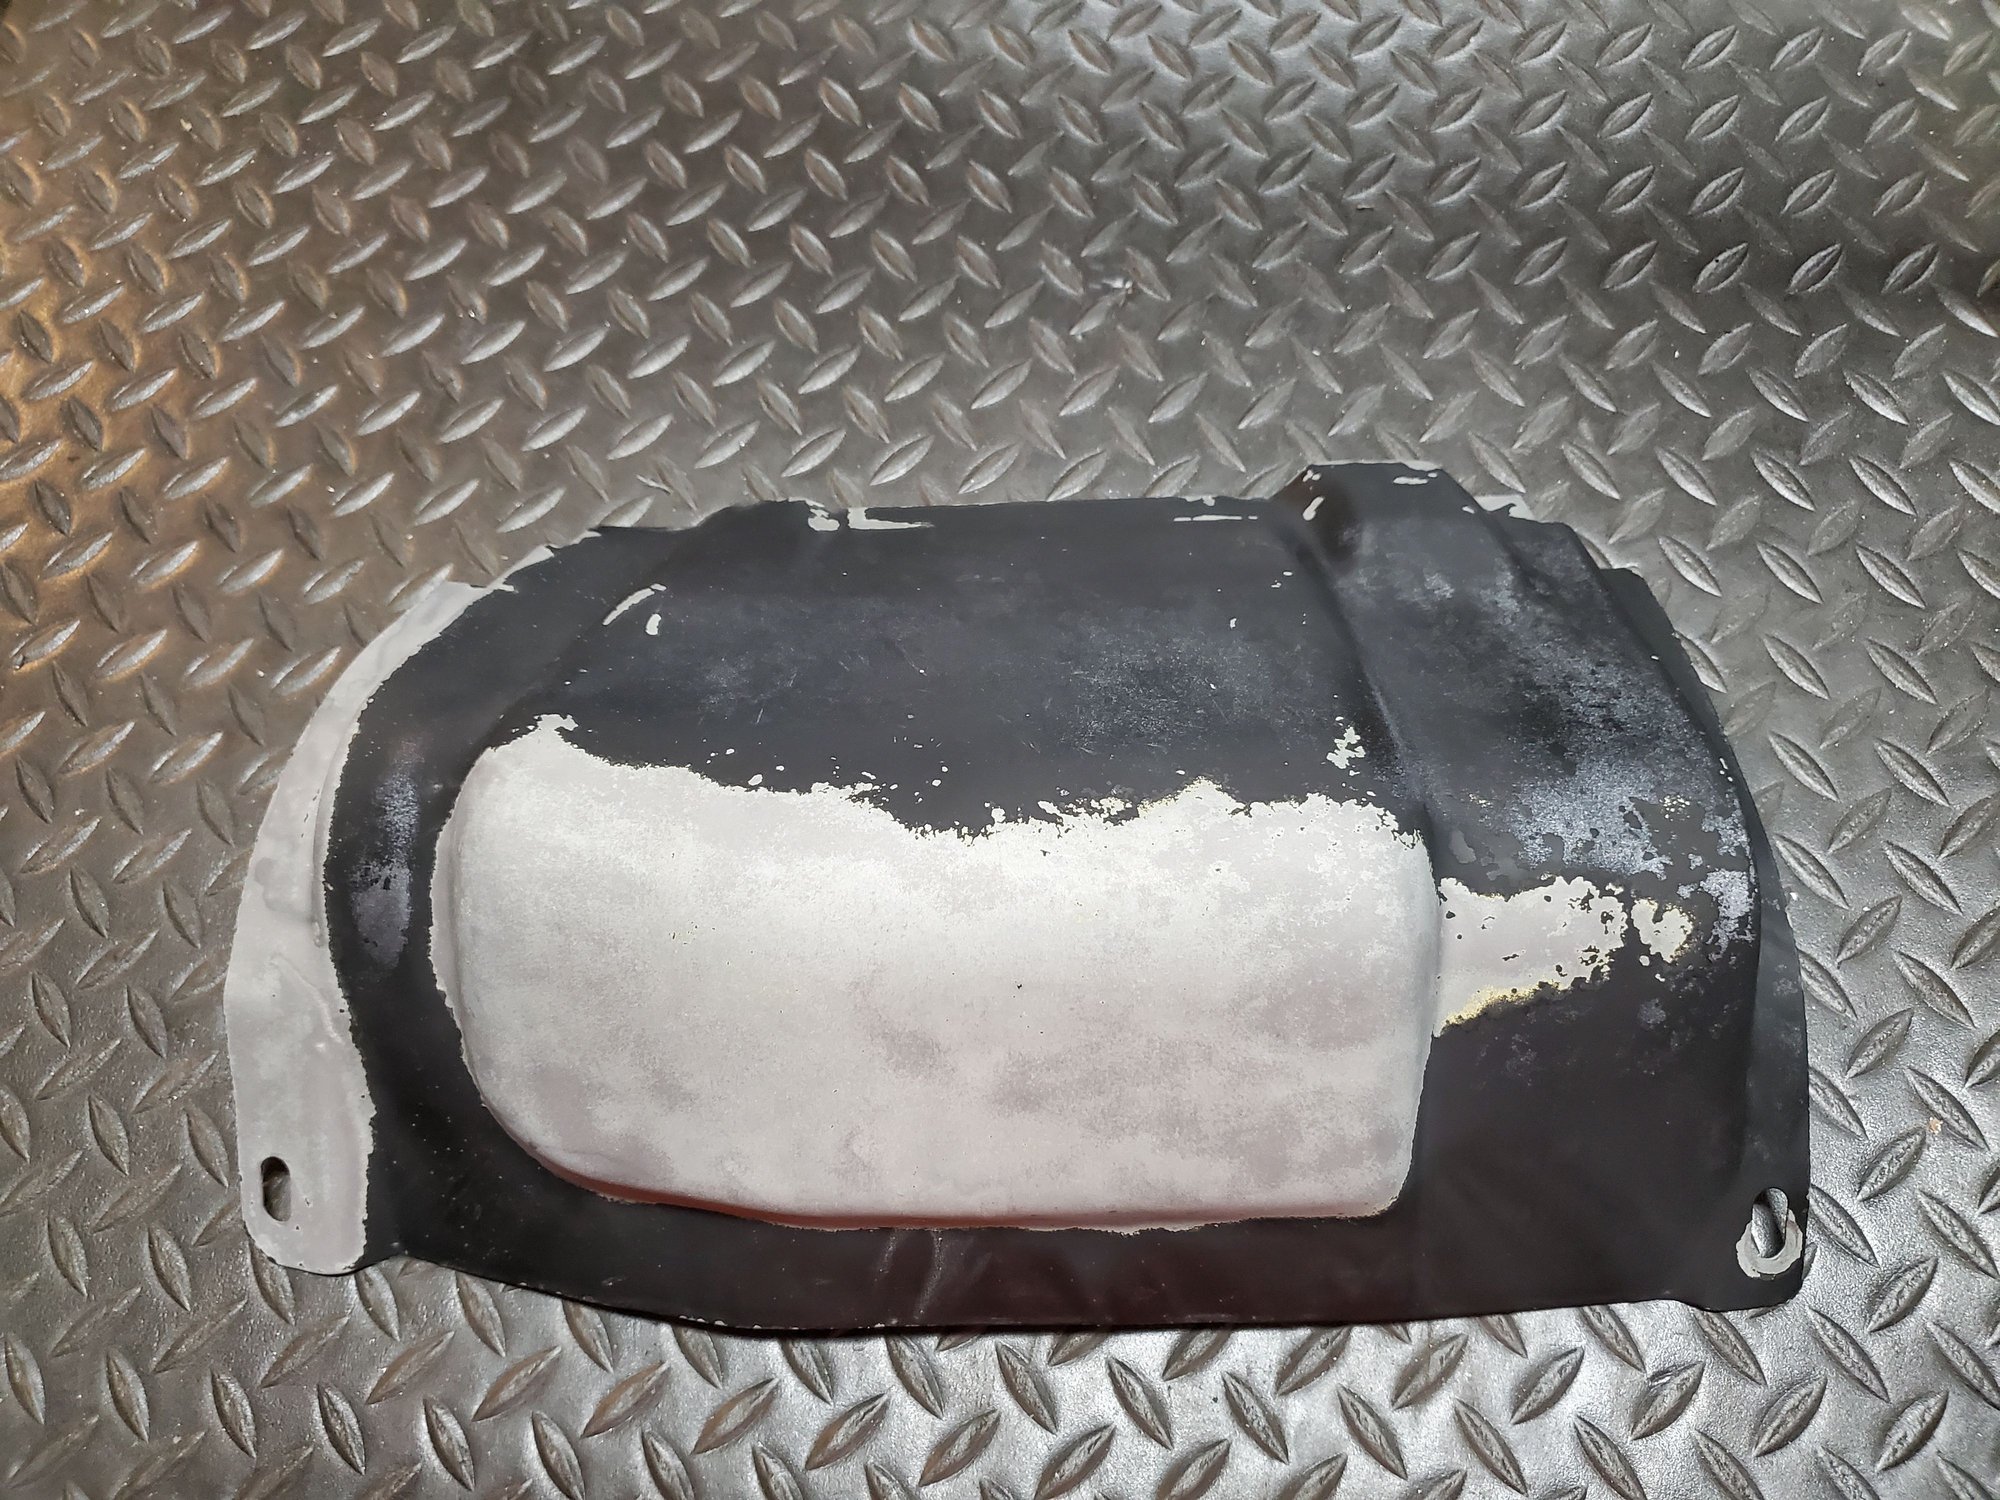
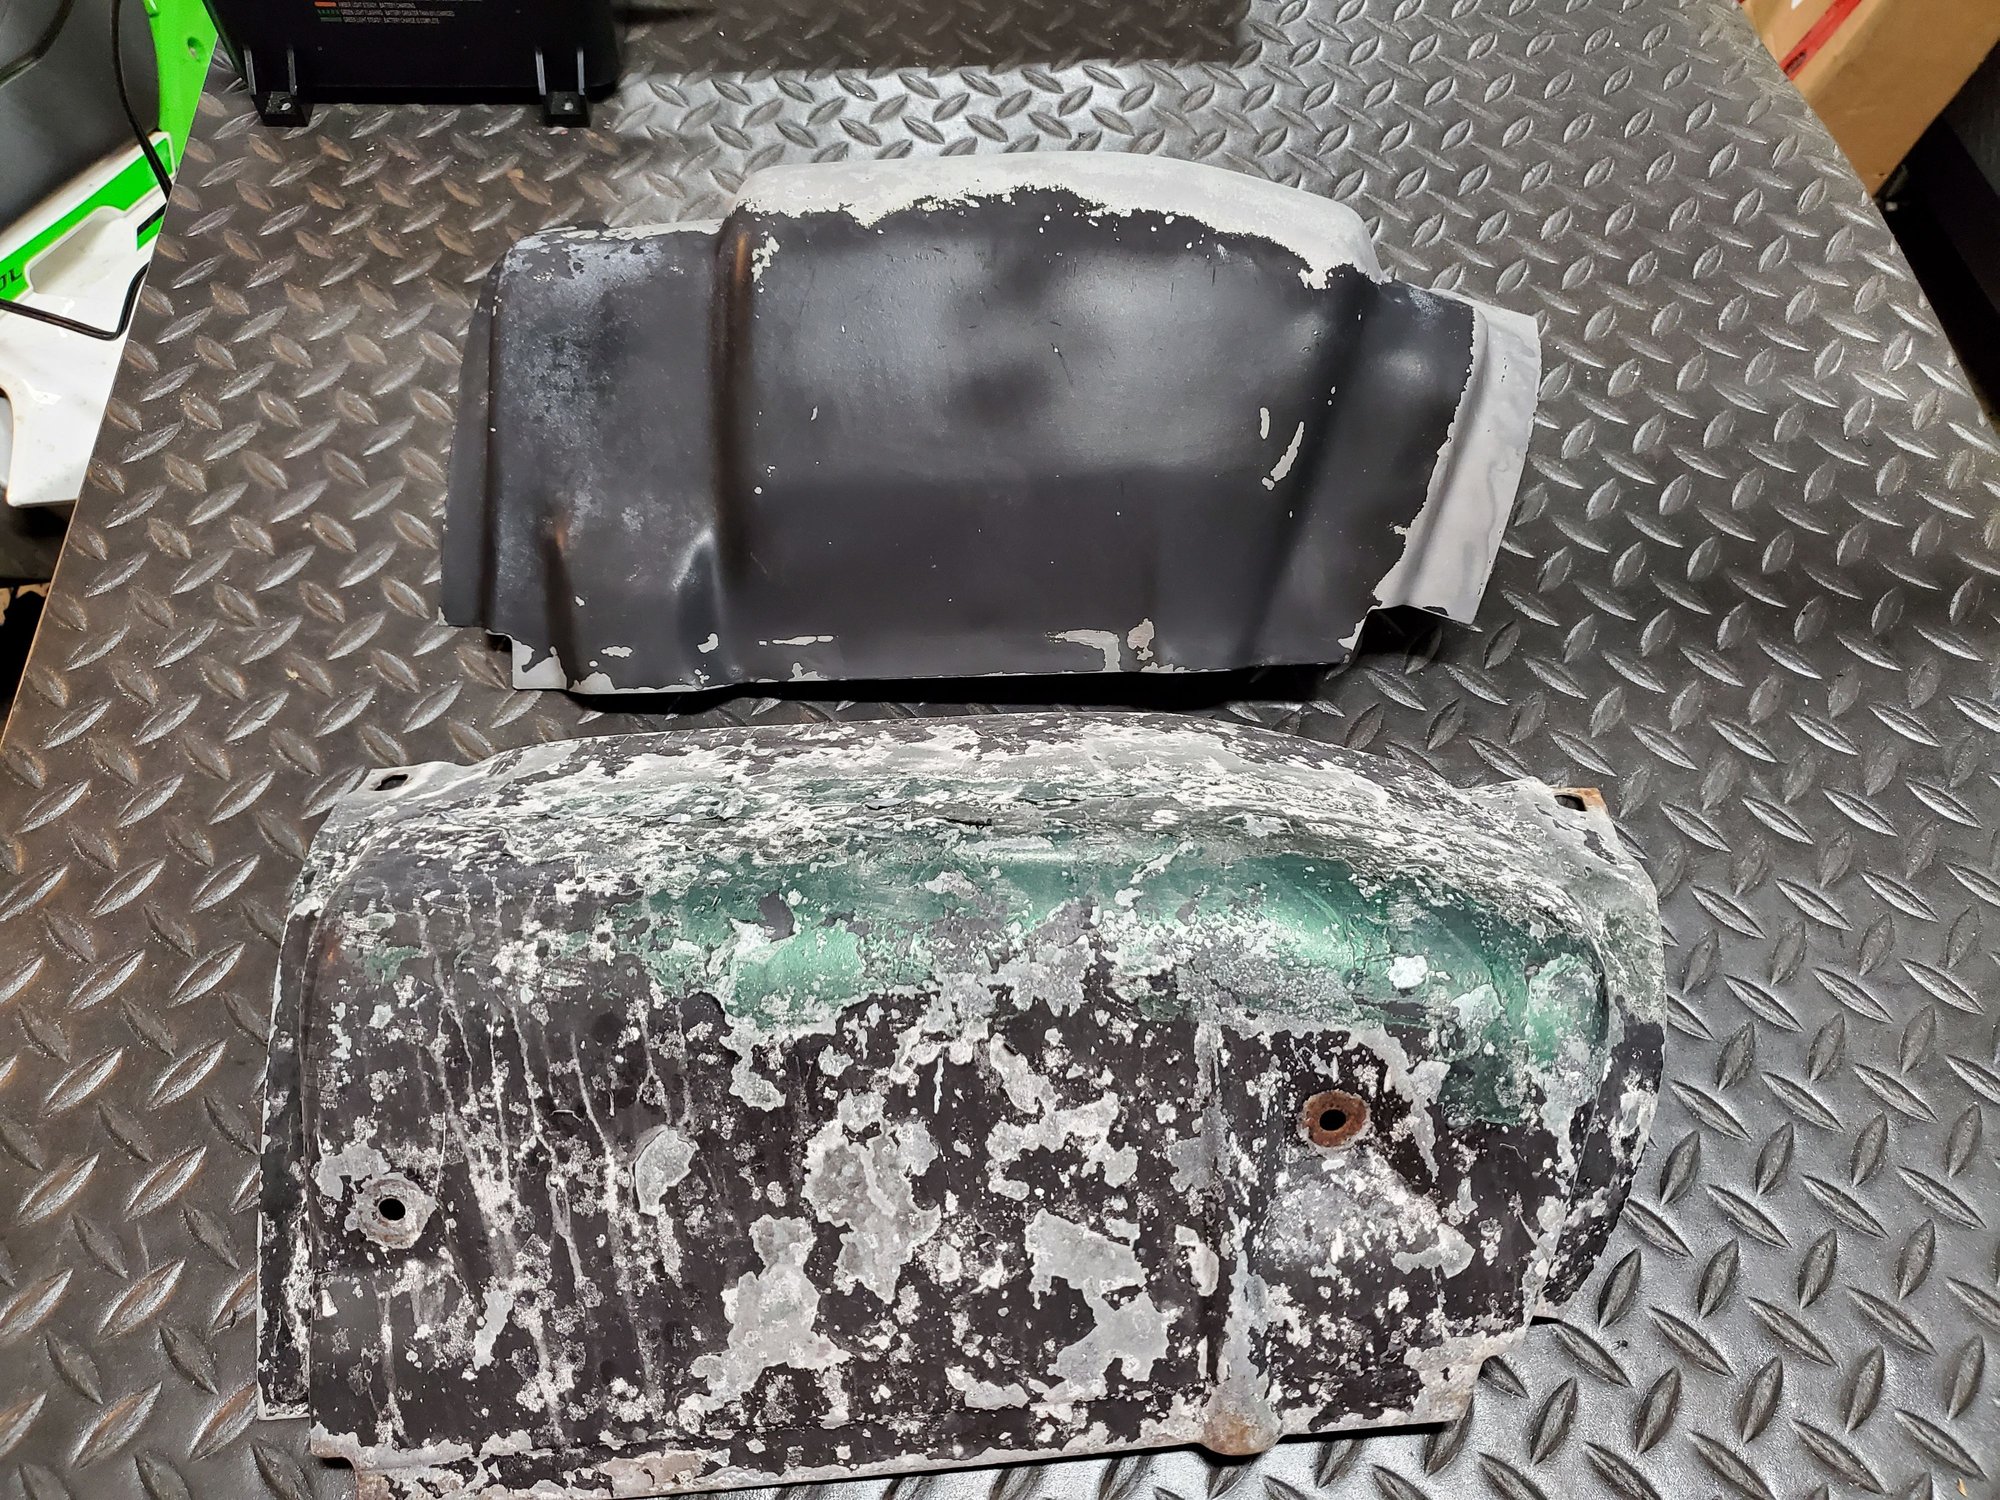
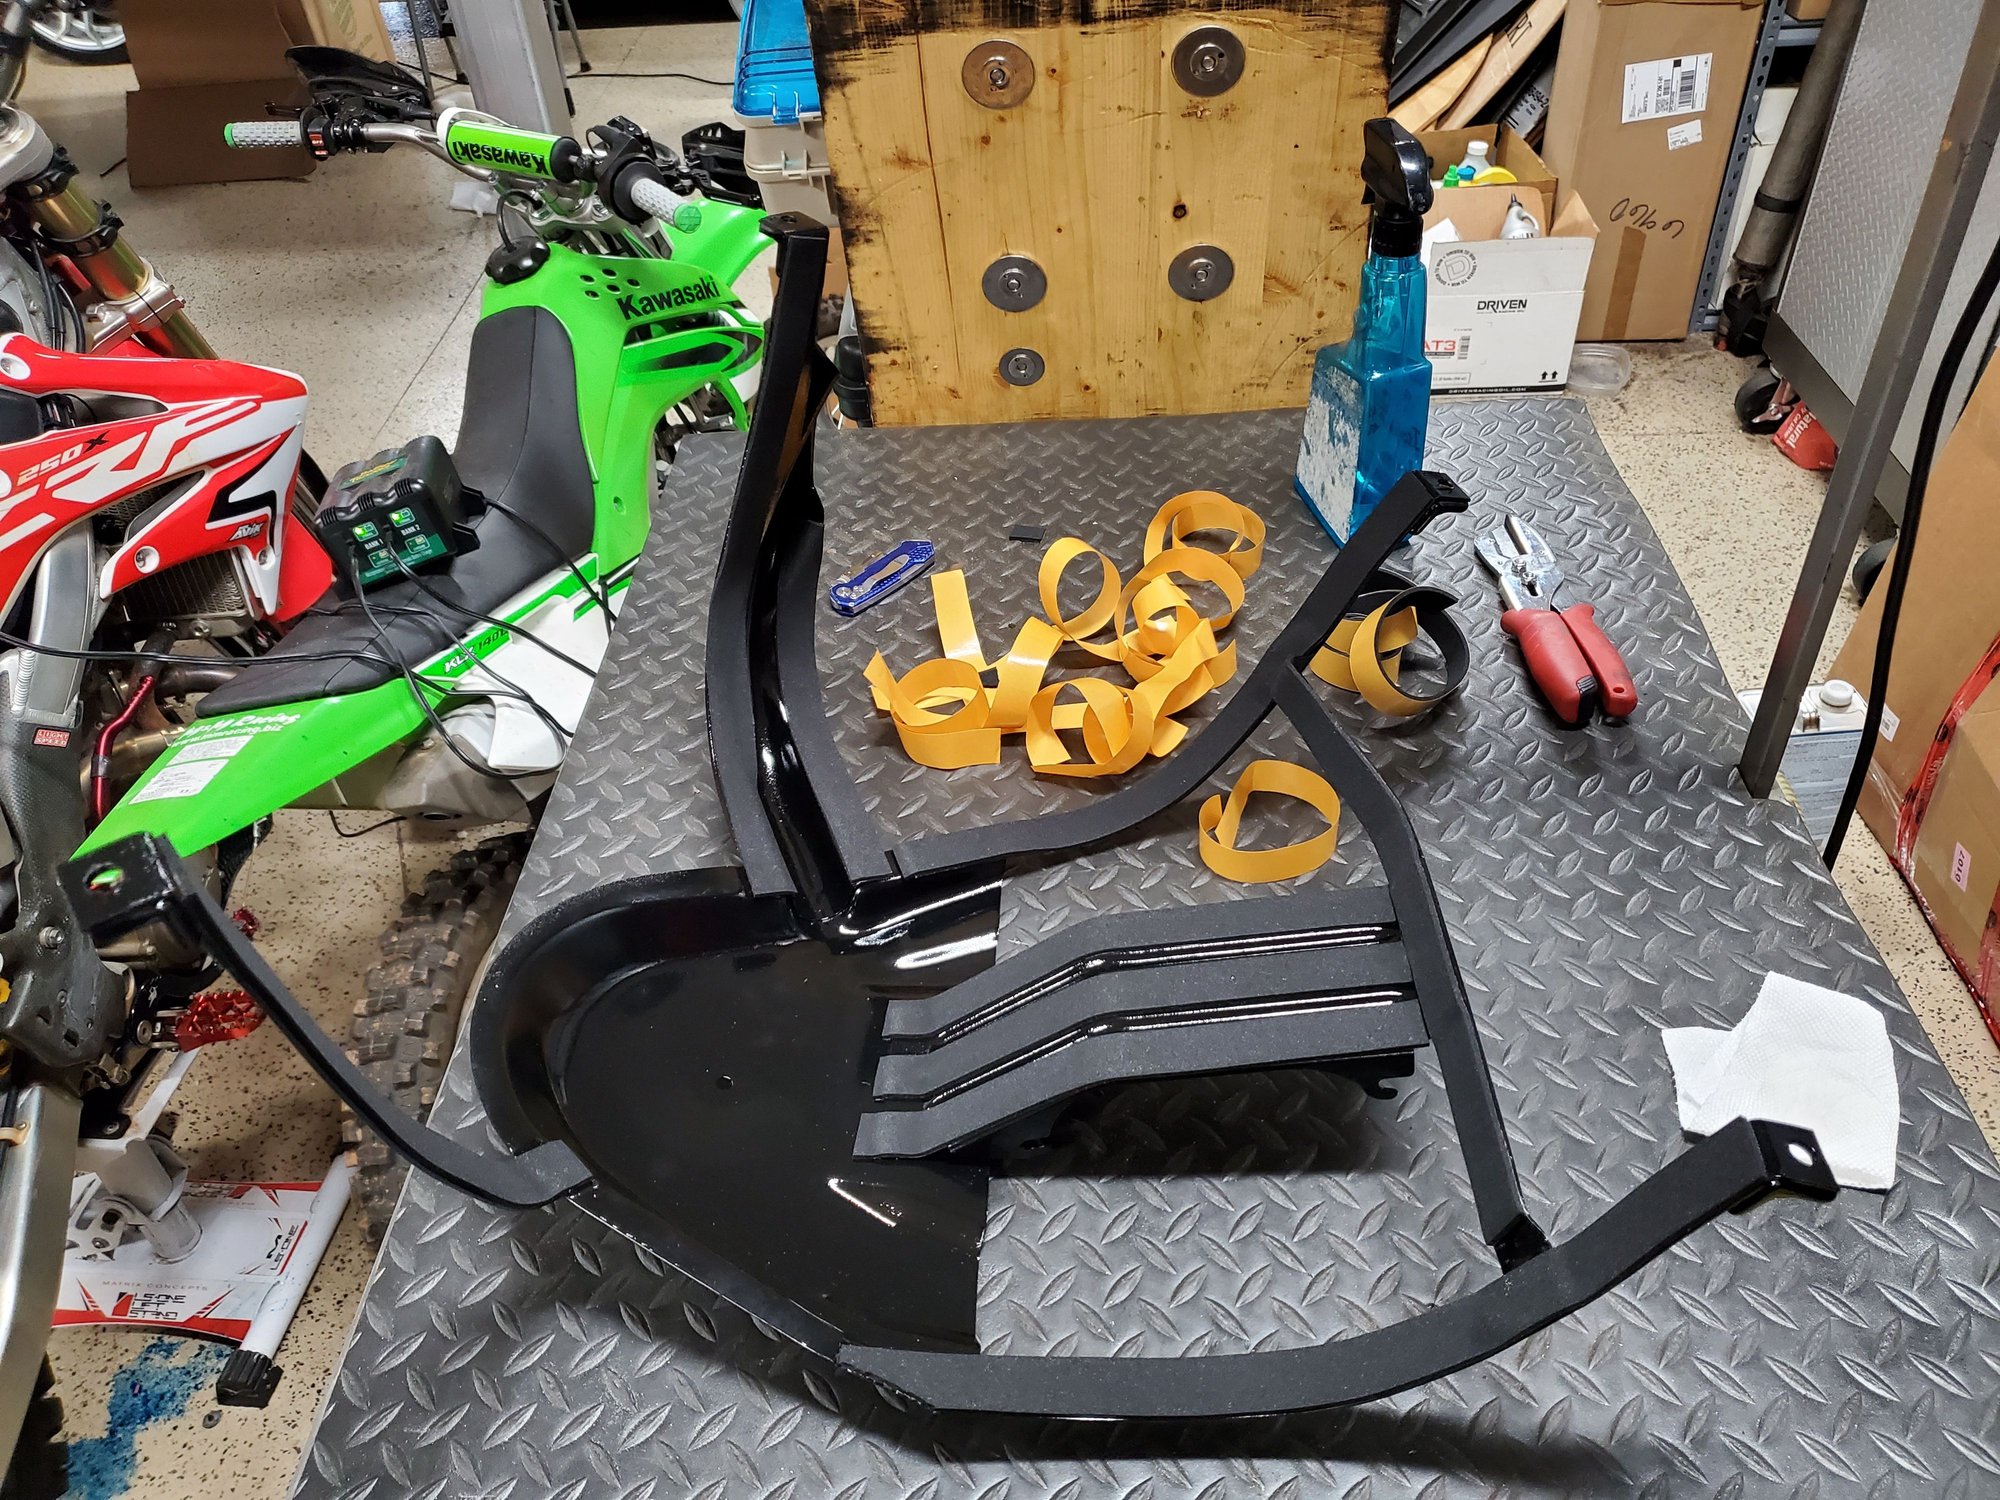
So, here's a question. The black fuel pump cover piece is from my 81. I got this other one in a box of parts I bought. Looking at the profile difference, what years does the flaky one with the green and black paint fit? I'm probably going to blast and repaint that one while I'm at it and then offer it up for sale to someone who needs a nice one.
green one is for early cars with CIS these had the pump bolted to the cover.
So 78/79? My 81 being a Euro S is actually a K-Jet CIS car, but maybe it was for the dual pump cars. I'll look under my 79 and see if it has that shape as that car still runs the dual pump setup.
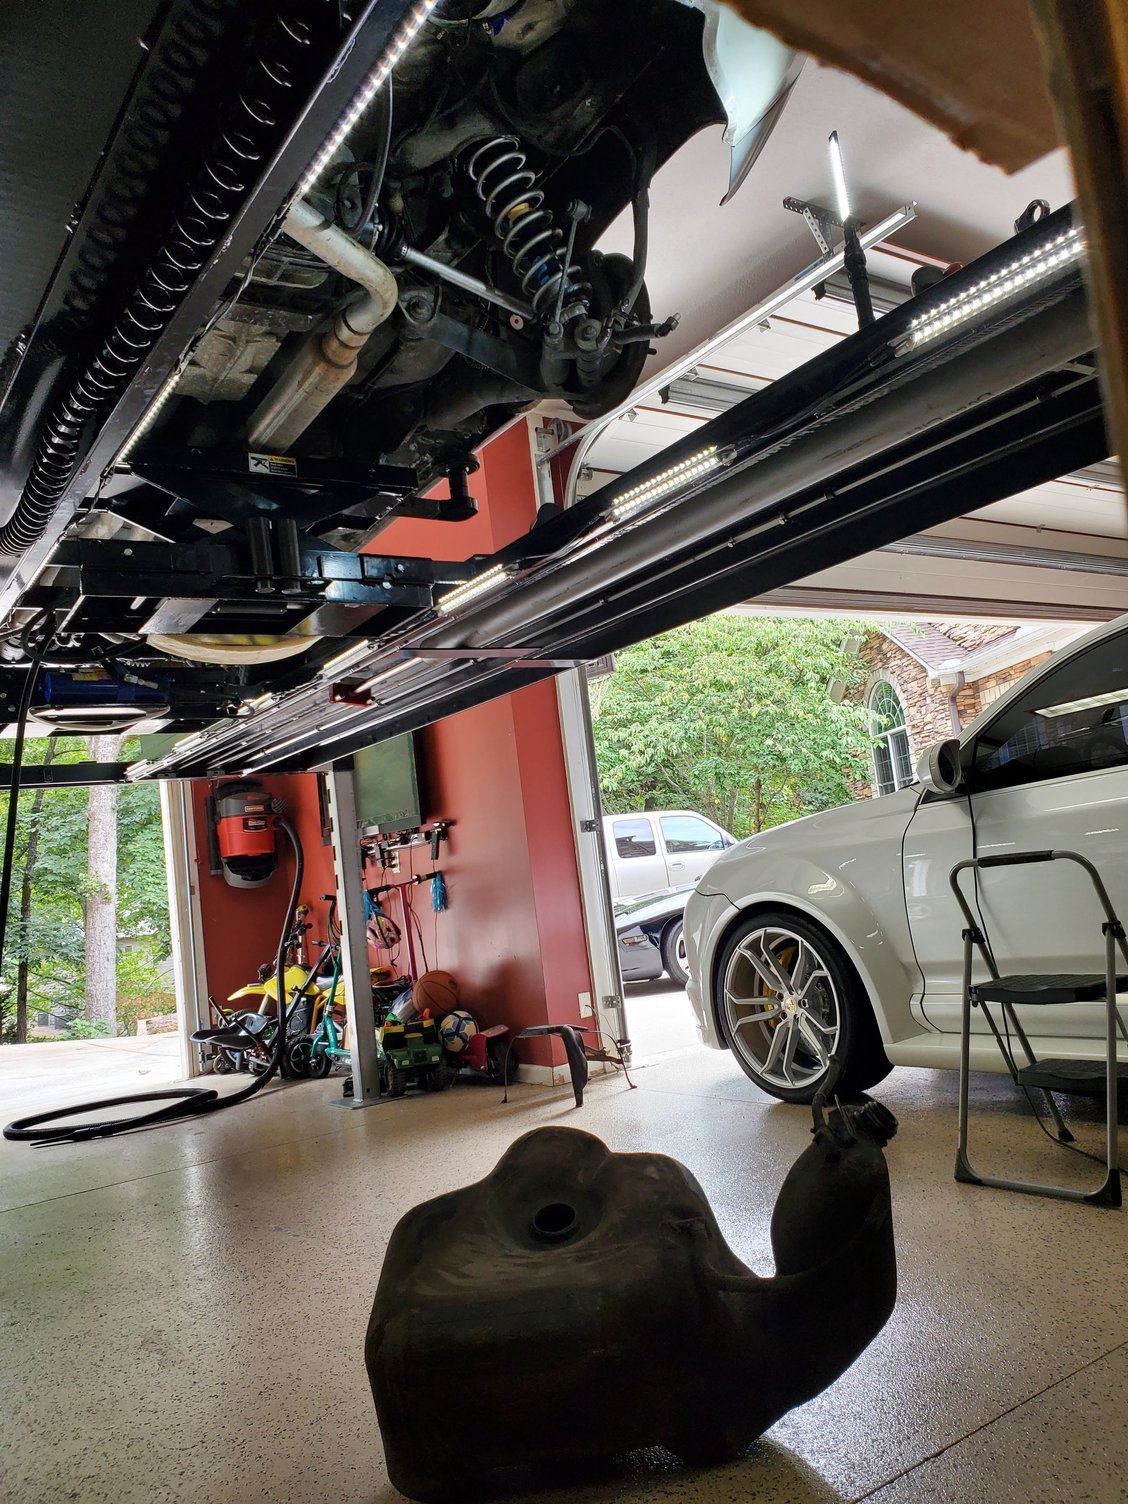
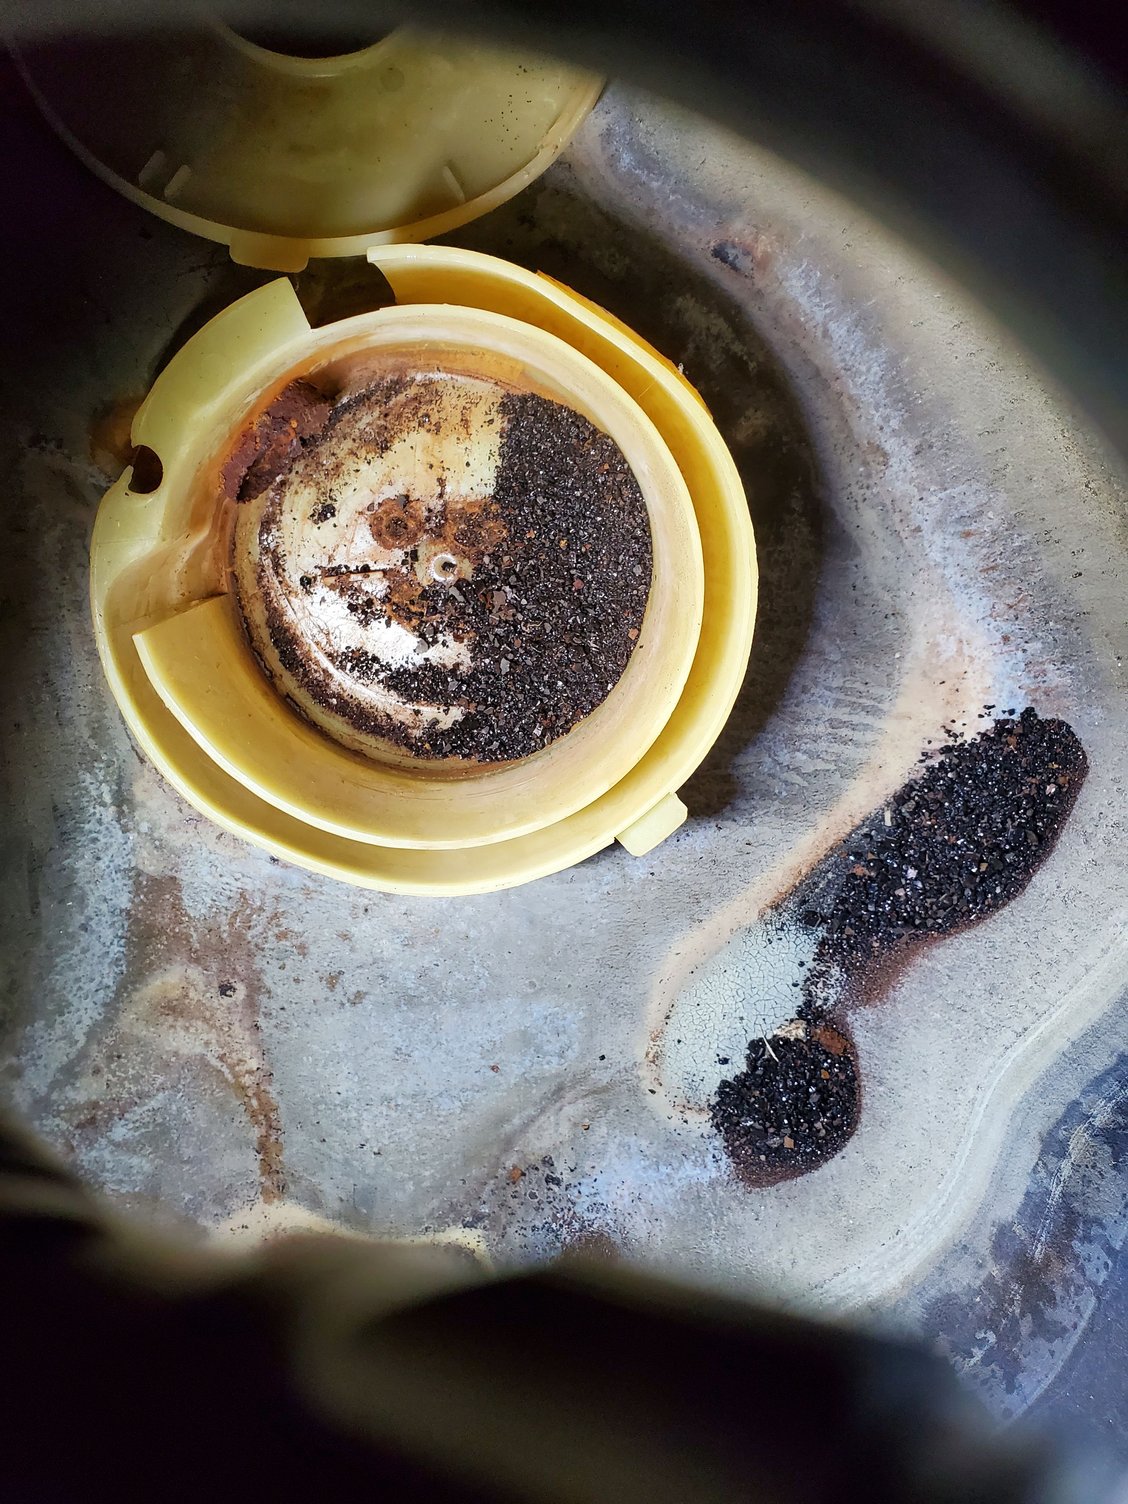
Replacement fuel tank arrived today. Some nice crystallized fuel in the sender basin but otherwise looks solid. Does the white cap that came loose during shipment just pop back on? Hoping my daughter's skinny arm will fit through the sender hole to reinstall it after I clean it out.
Fuel Tank is installed and plumbed, but I ran out of time to fill and test it before heading out in the morning, so I'll do that next weekend.
Stripped, Sandblasted, and repainted the cradle and pump/filter cover.
Renewed the cradle padding with some high density neoprene tape I purchased on Amazon. Perfect width, nice and sticky, should work great. Also added that under the body at the rear double strips and the corner that the fuel tank sits against once installed. Essentially replaced what was there before but dried out and falling down.
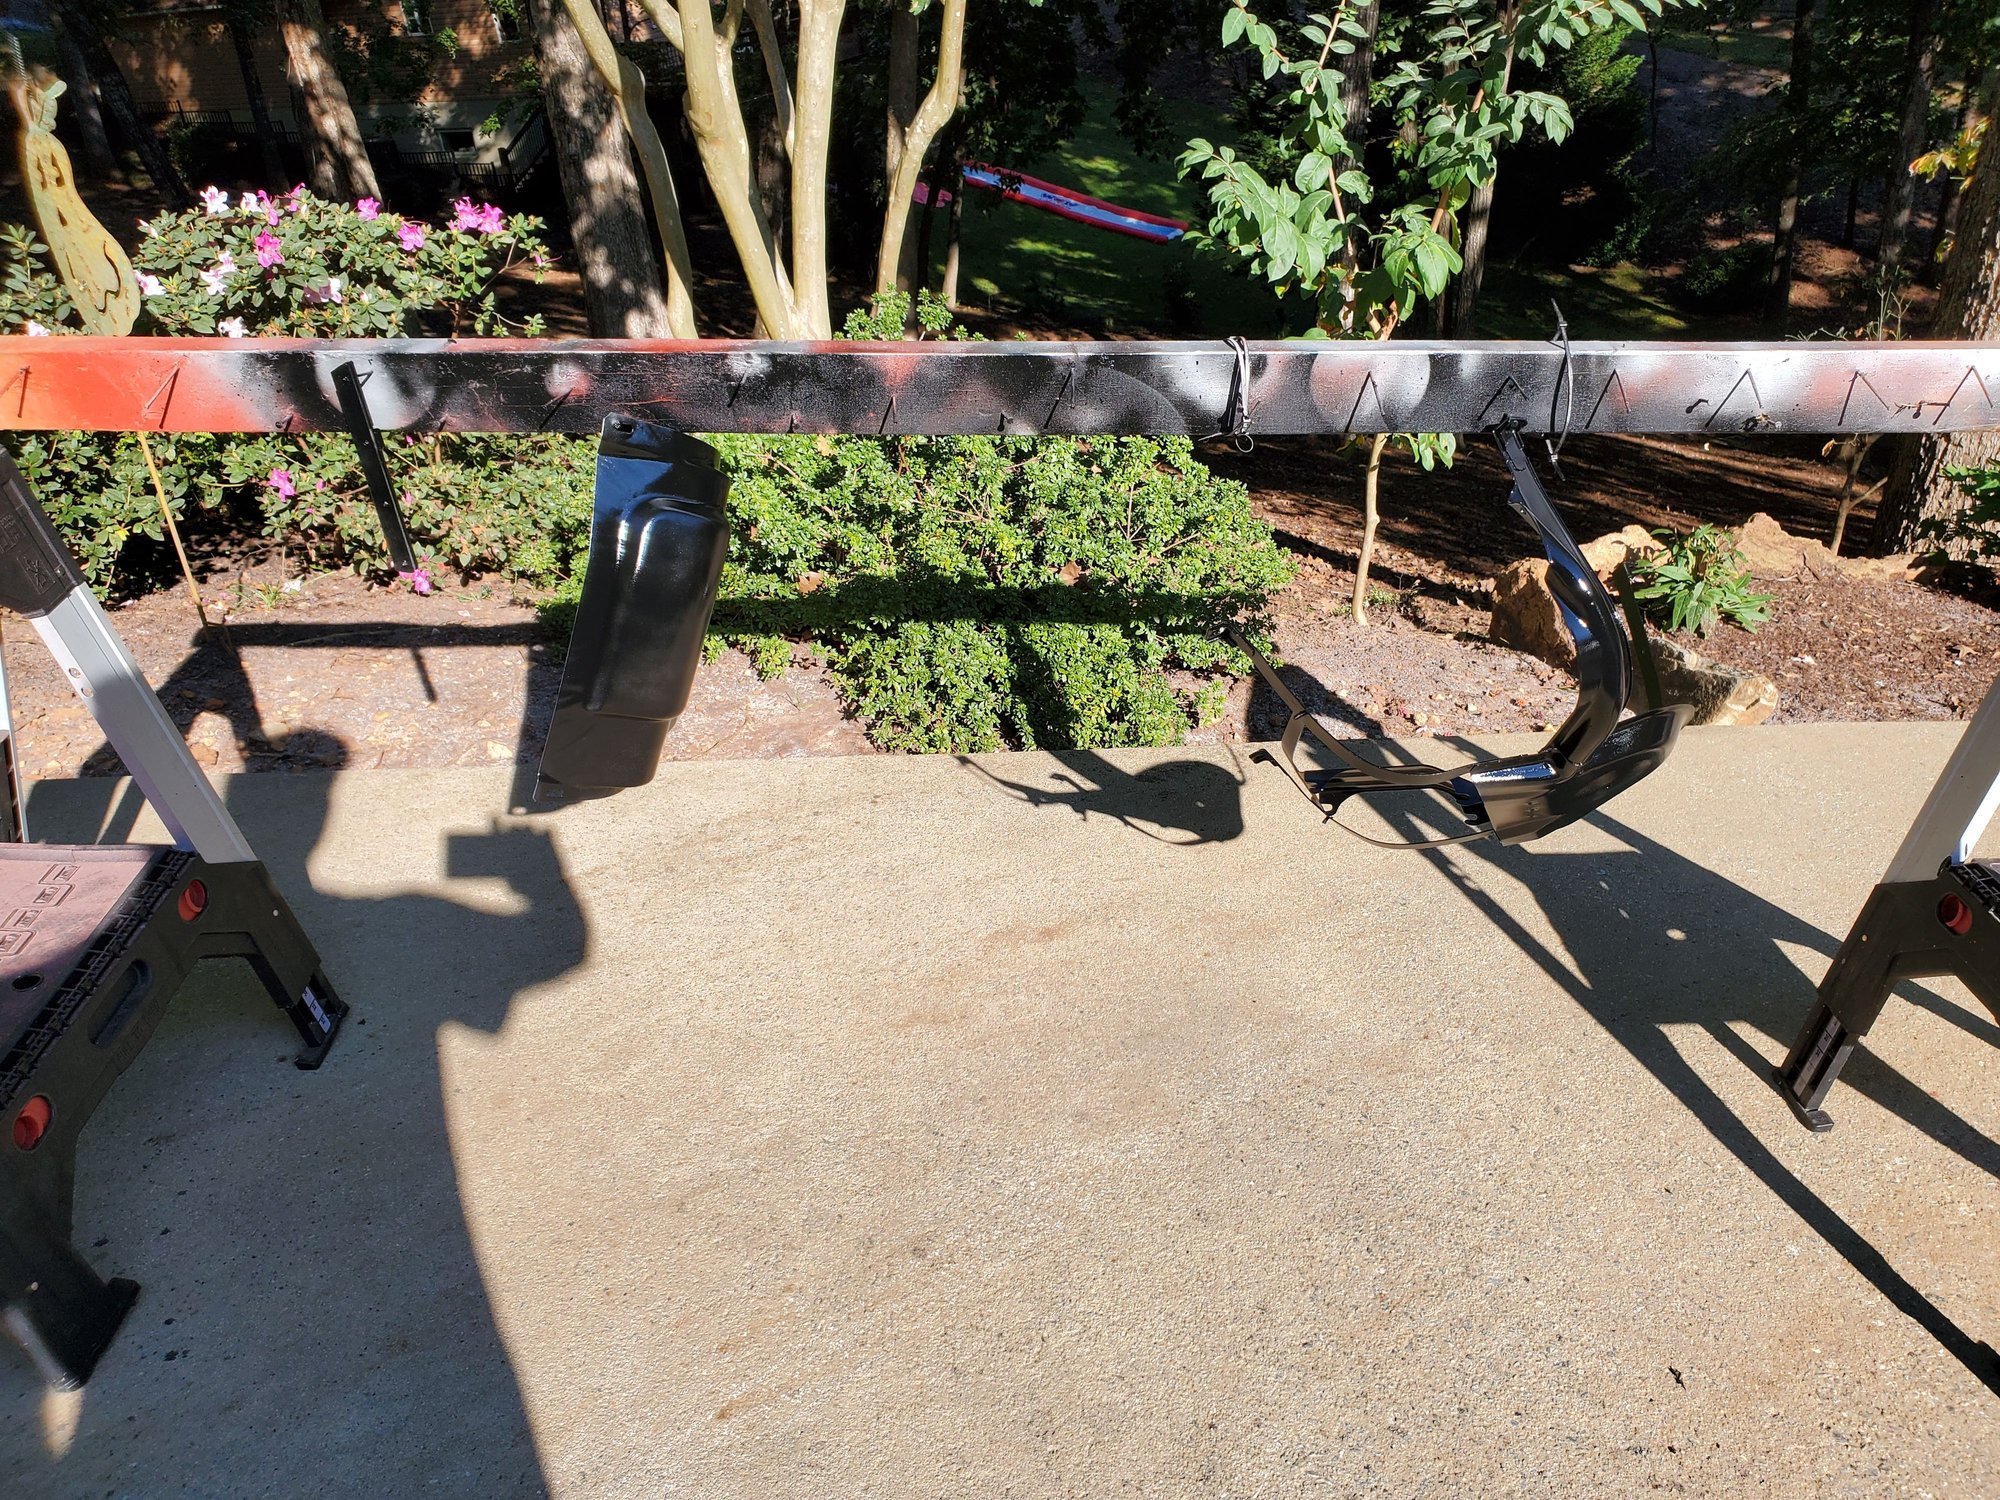
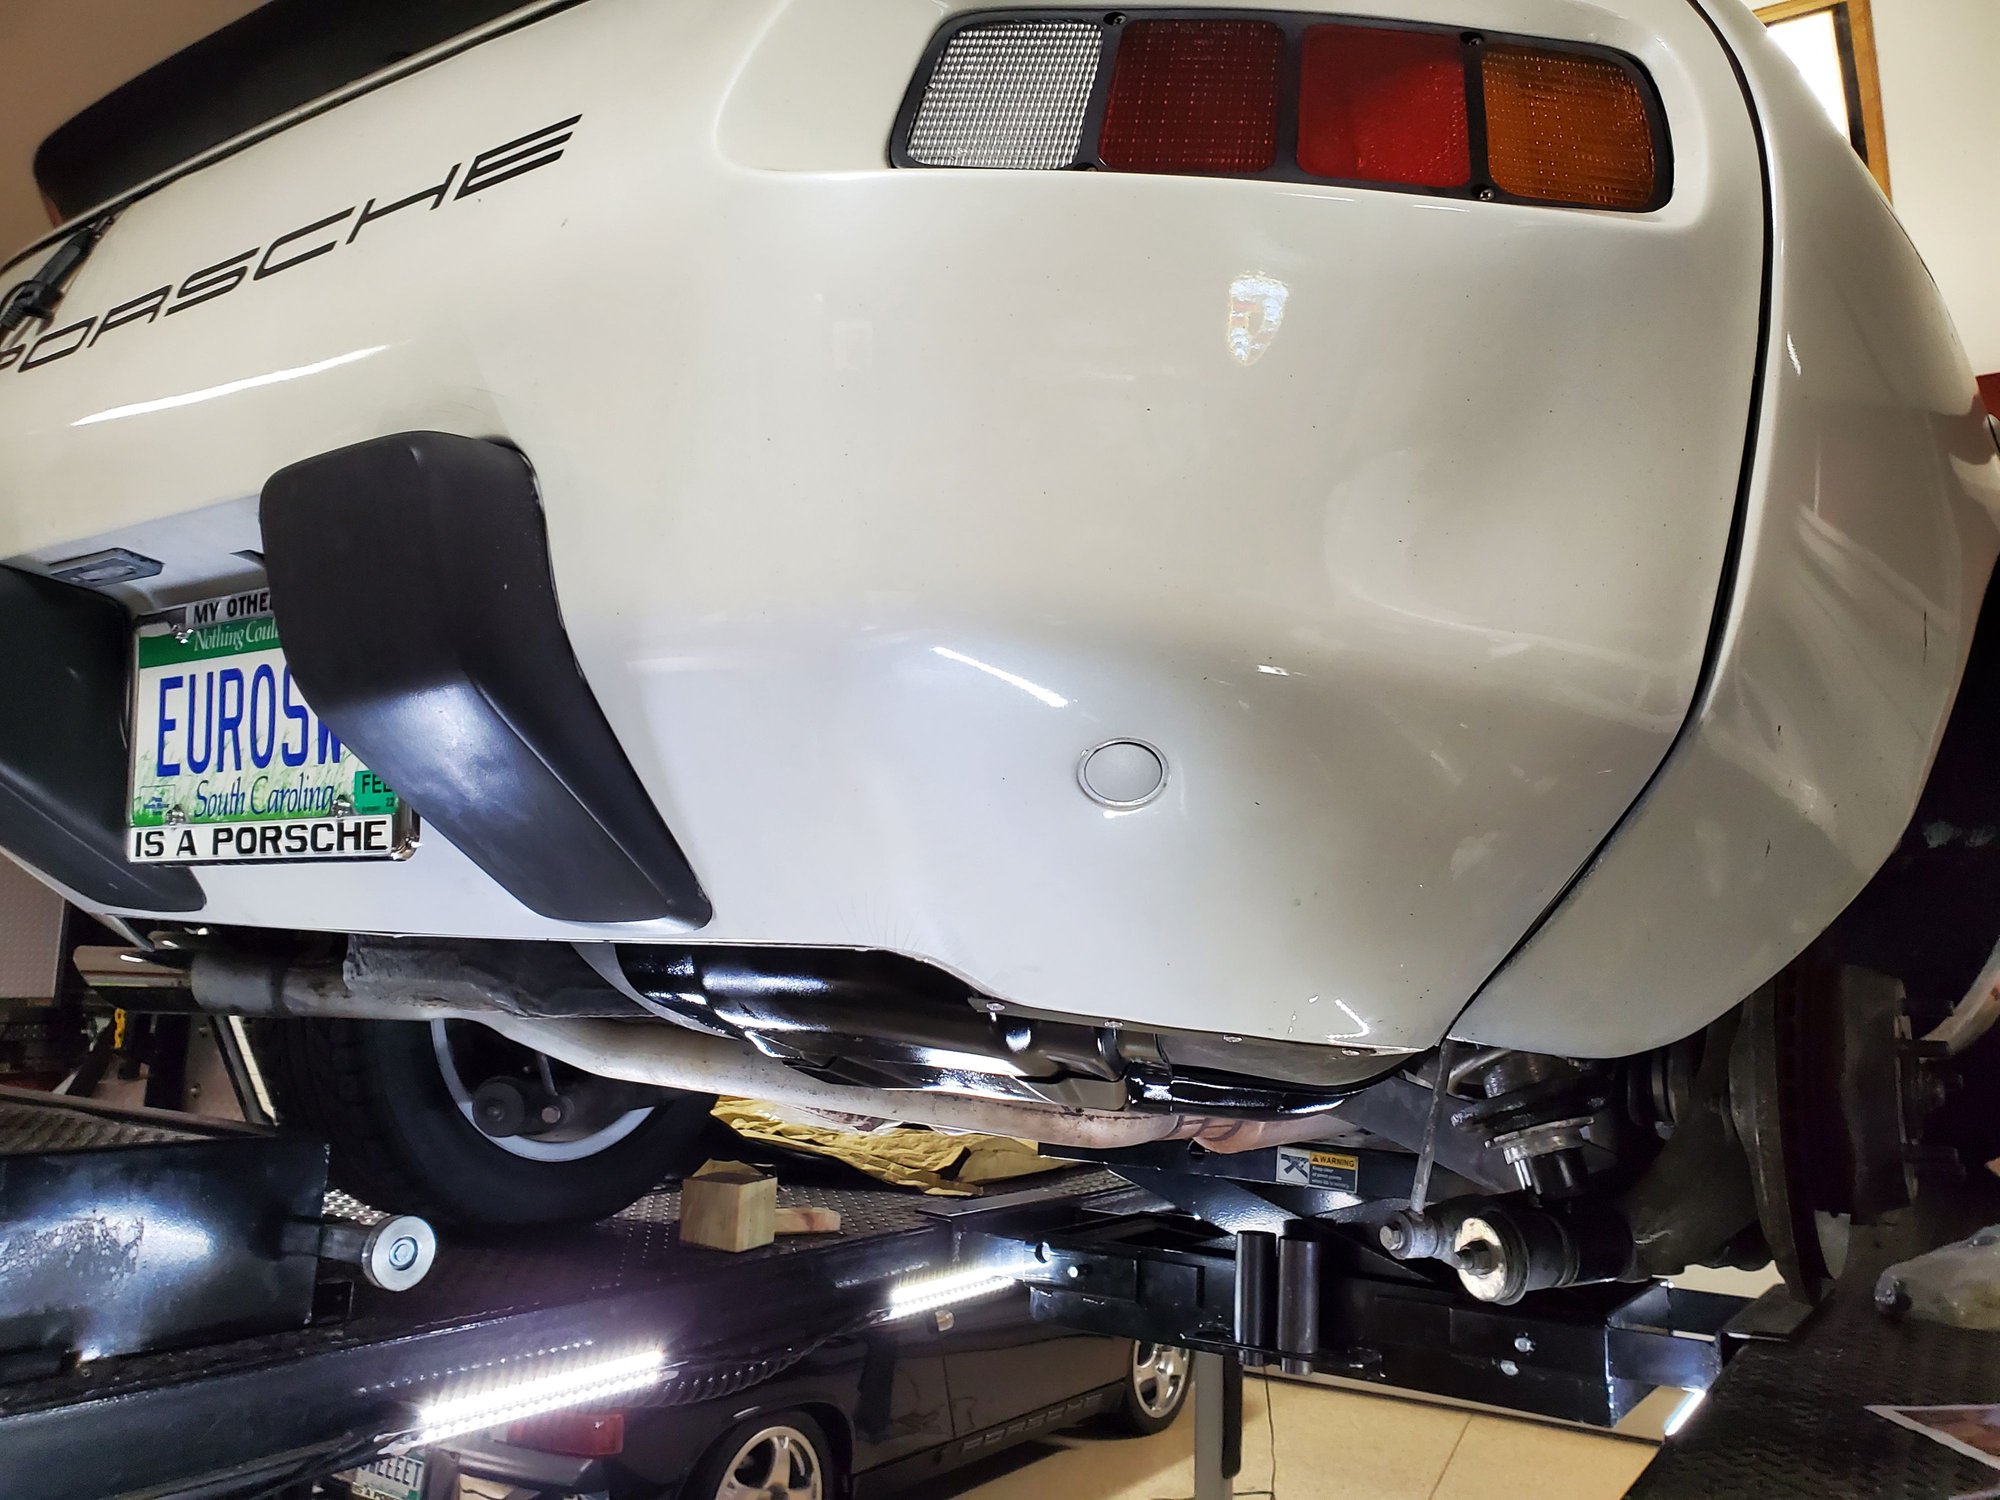
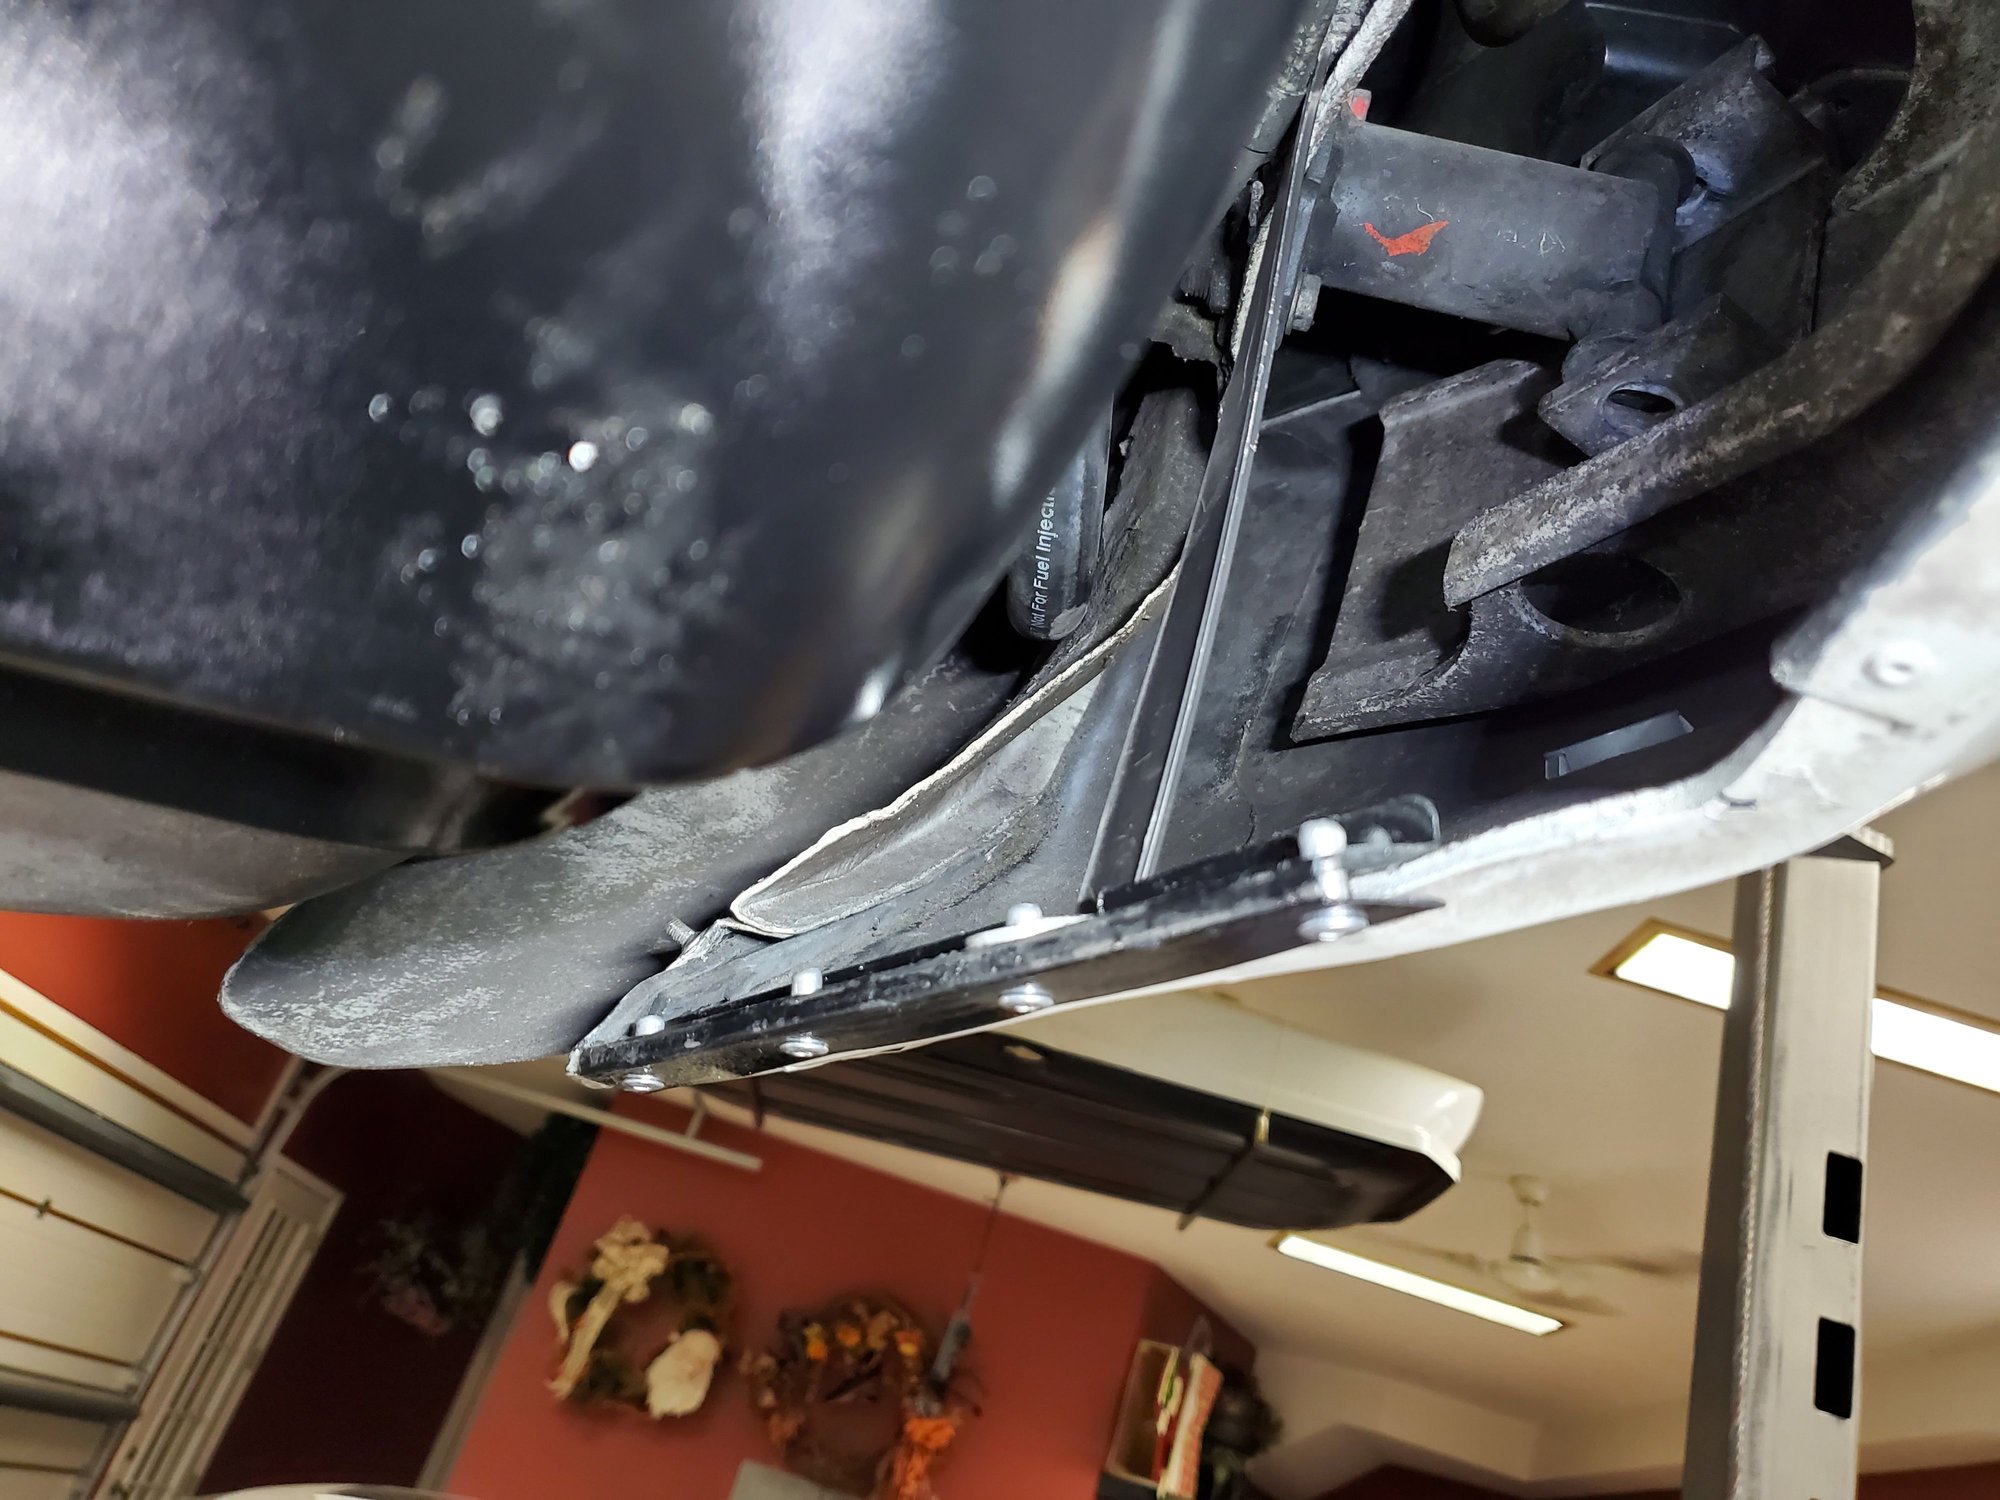
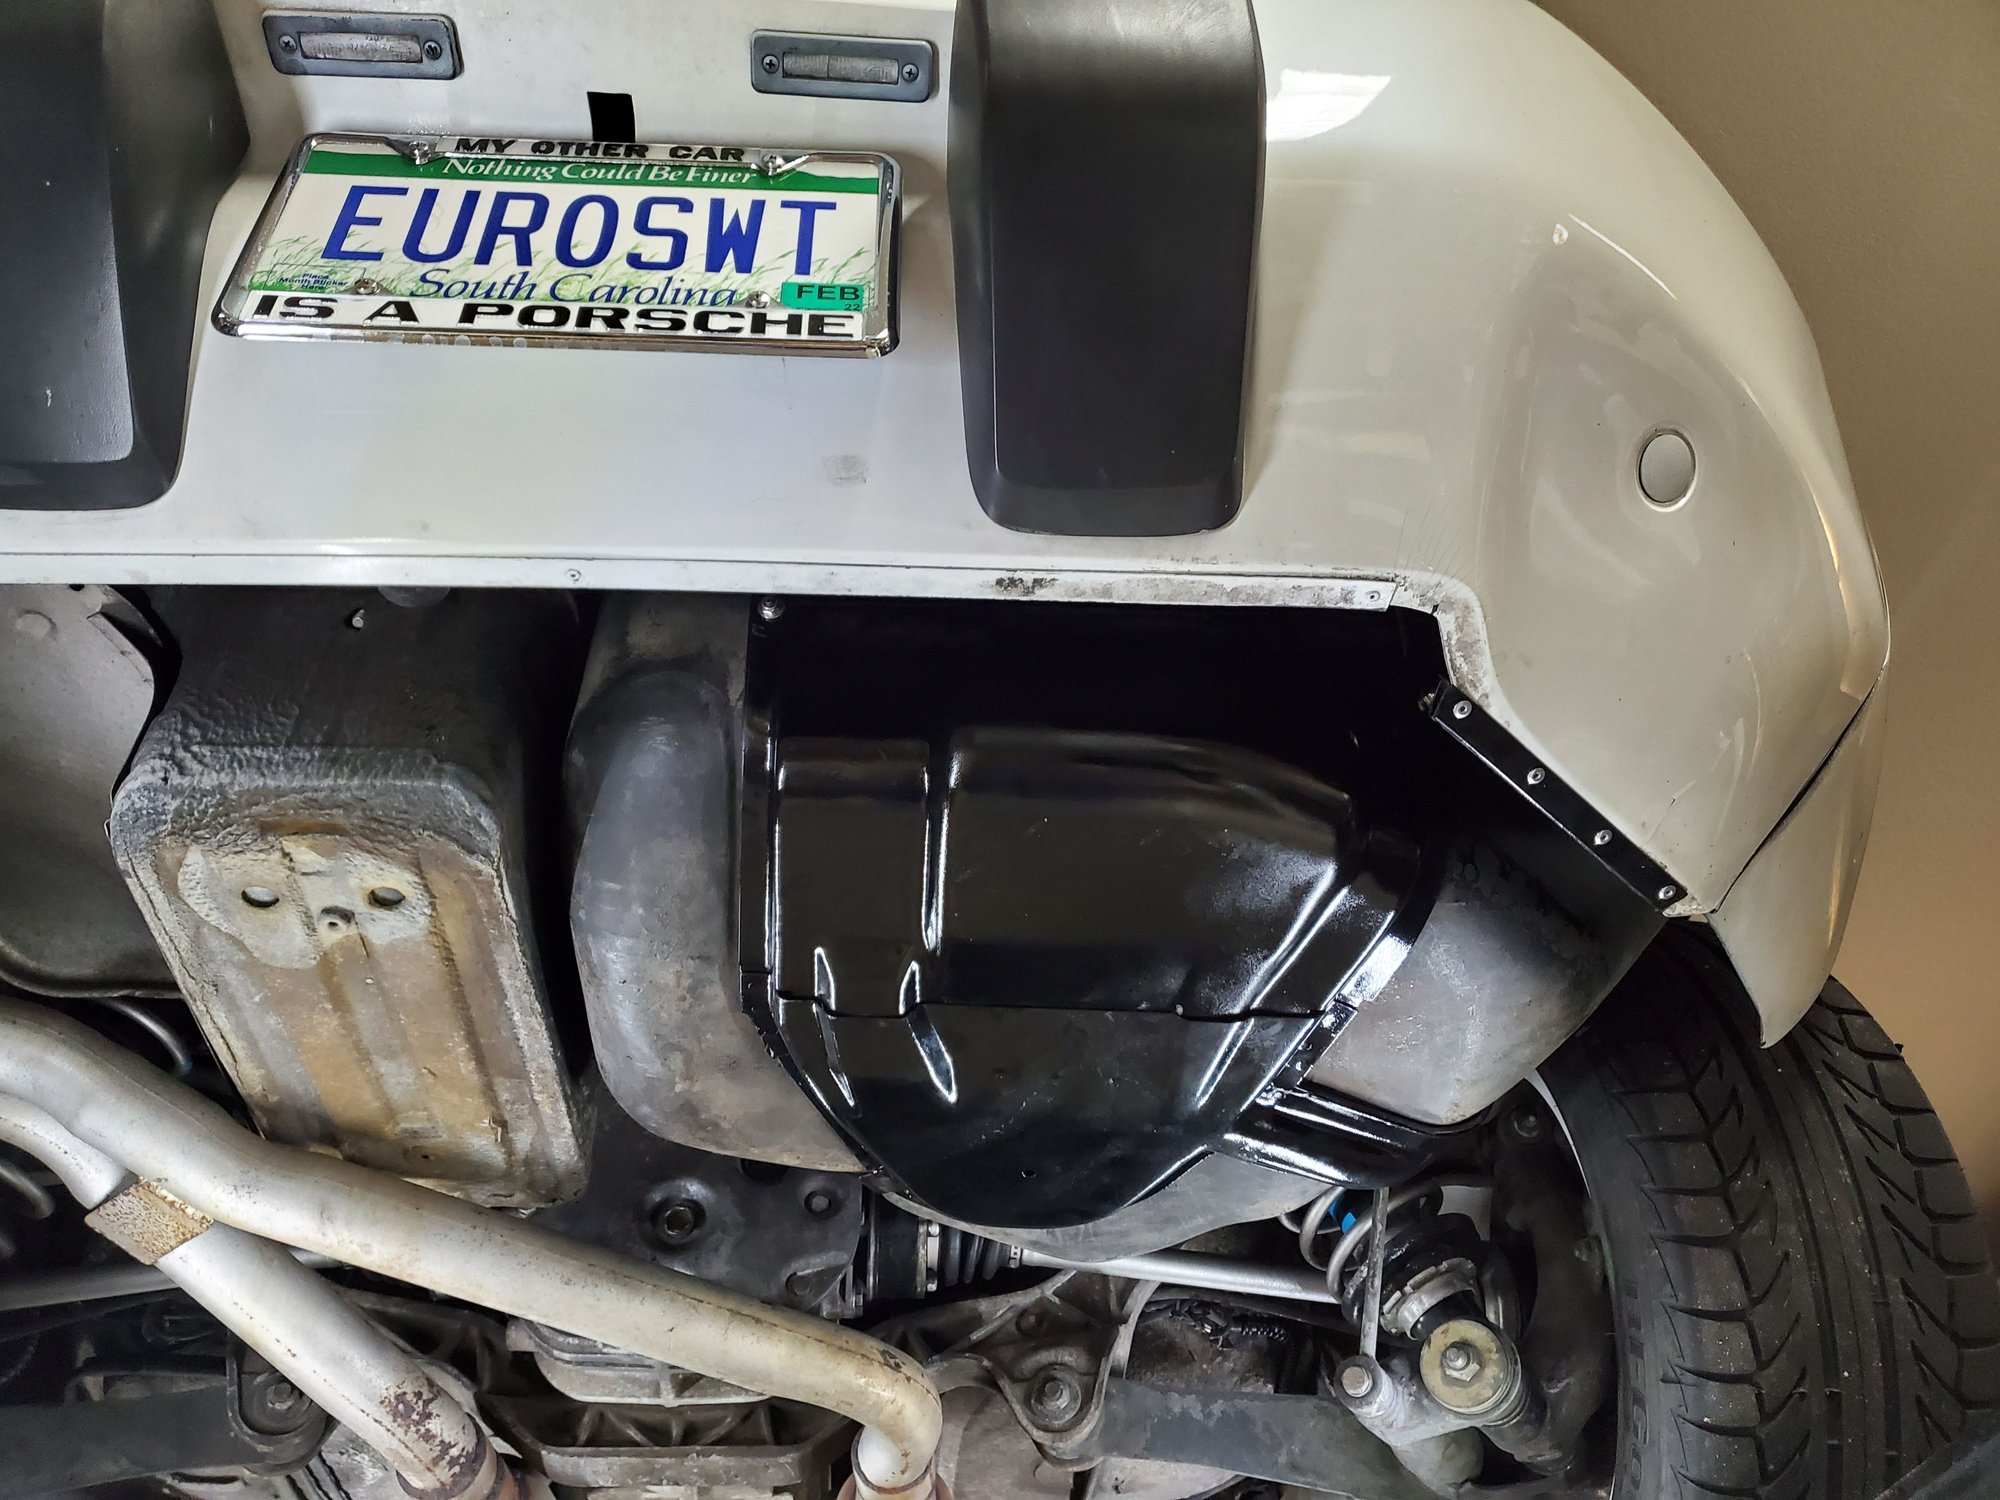
While doing this is also.fixed the rear bumper deformity that I observed in the shot Scott.Martin took at Frenzy.Frenzy. Ron Borras was nice enough to send me the metal center rear number strip from his parts car. I had the idea that I'd is pushed on the bumper where it's low and got it straight, then put the u shaped metal lower support around it that it would hold it straight. For good measure, I also created a bracket that supports what was the low spot. The braket attaches.at one of the cradle bolts and to one of the river holes I drilled into the support piece.
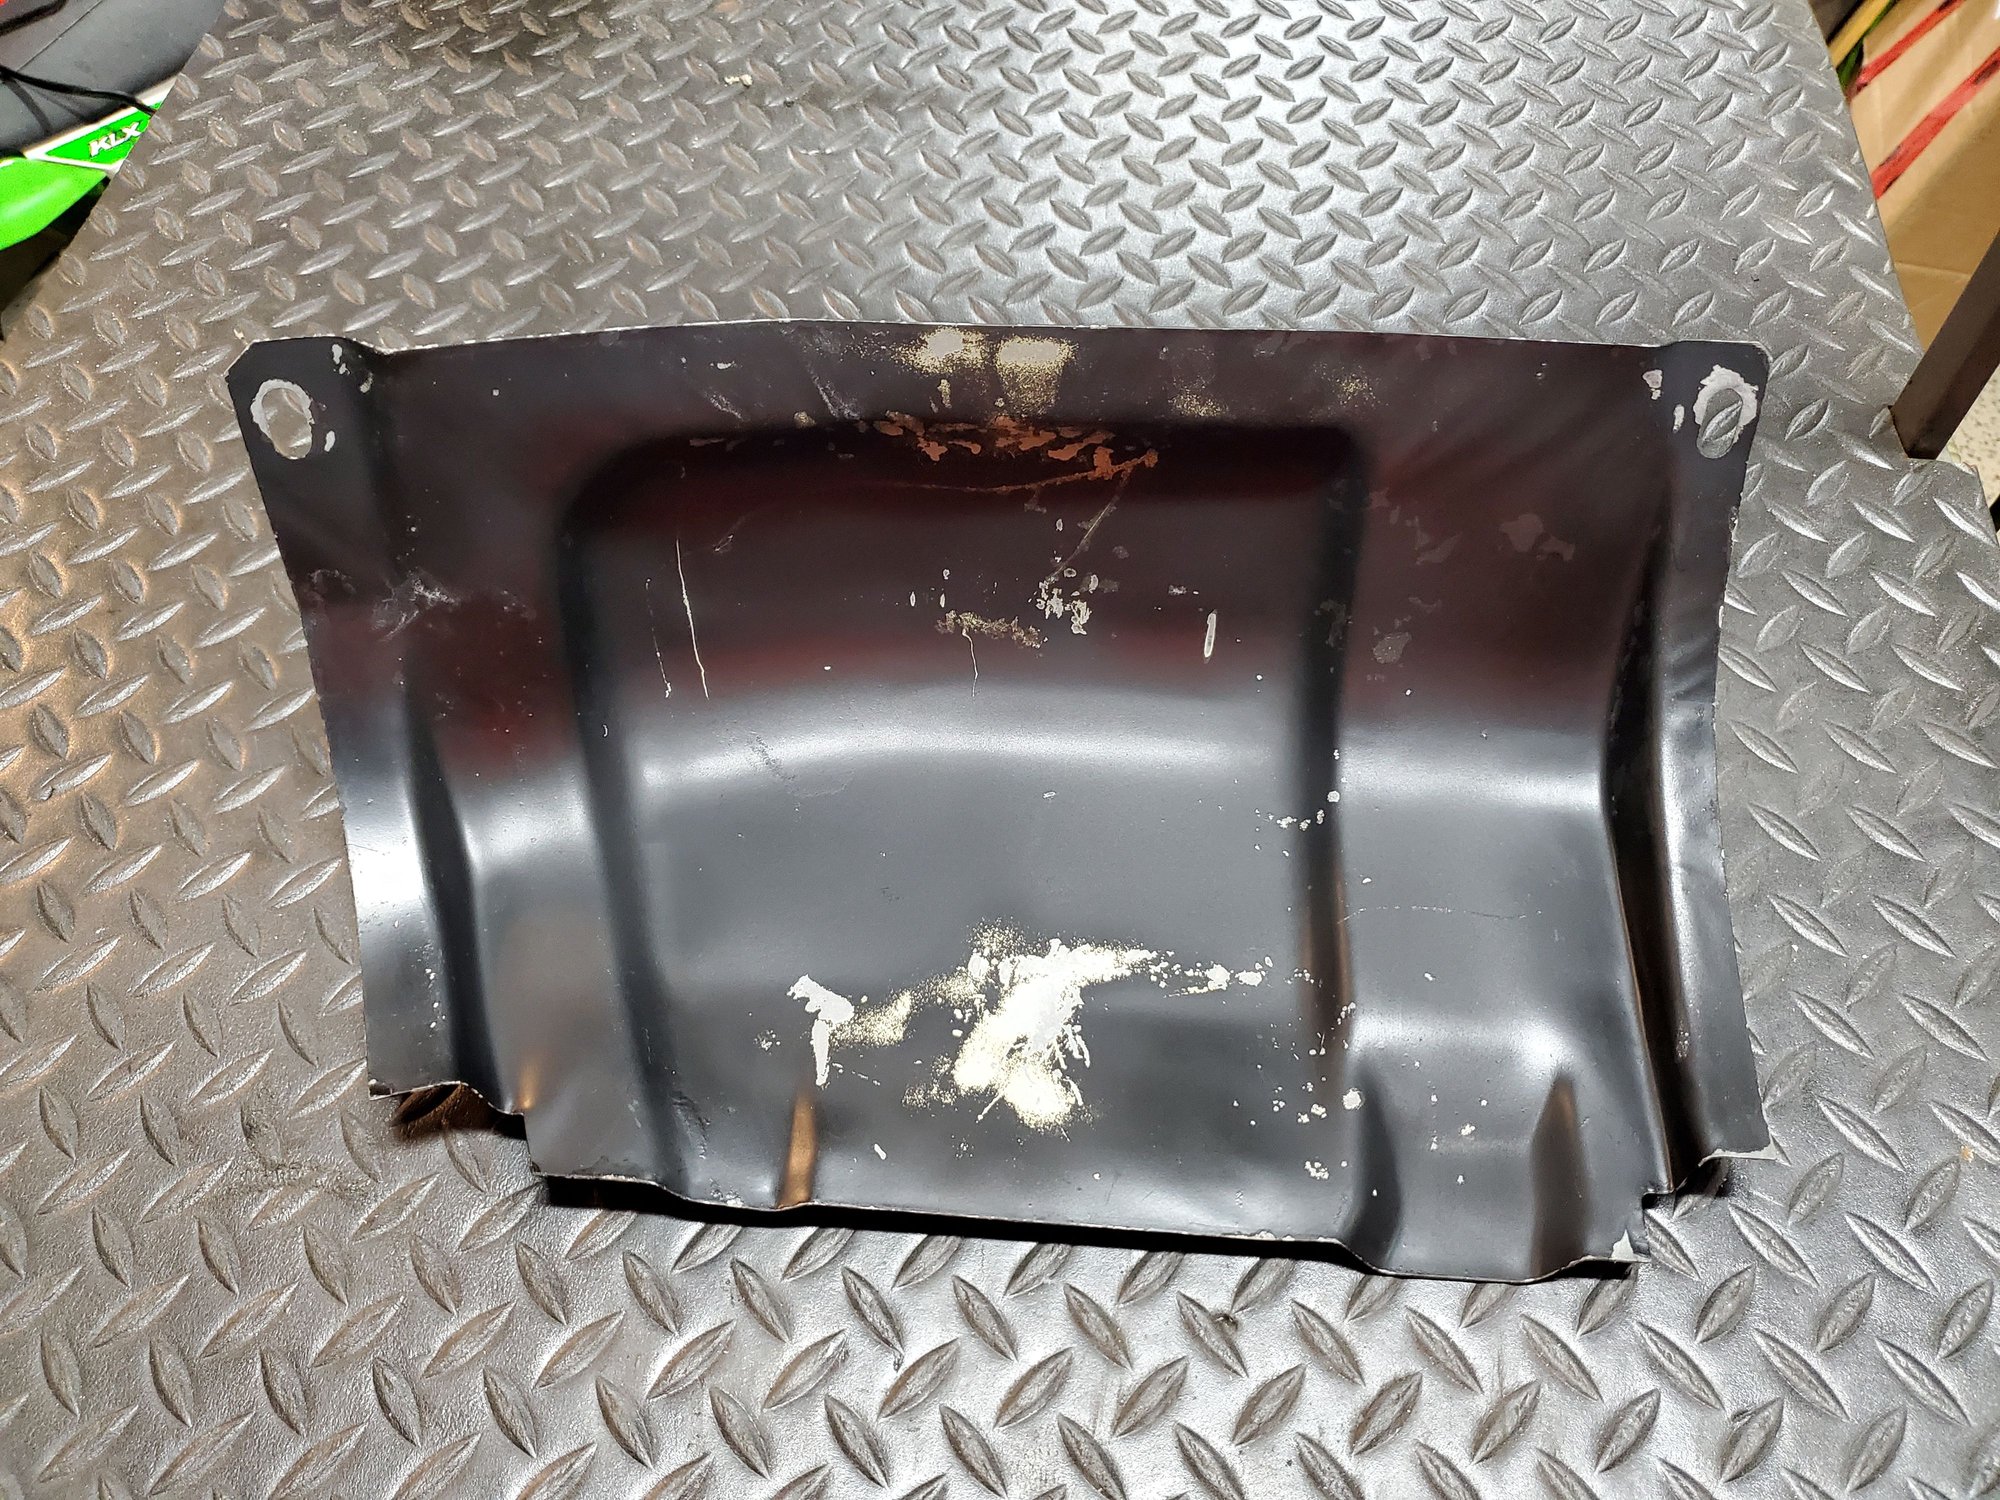
Hers the before and what I was attempting to repair.
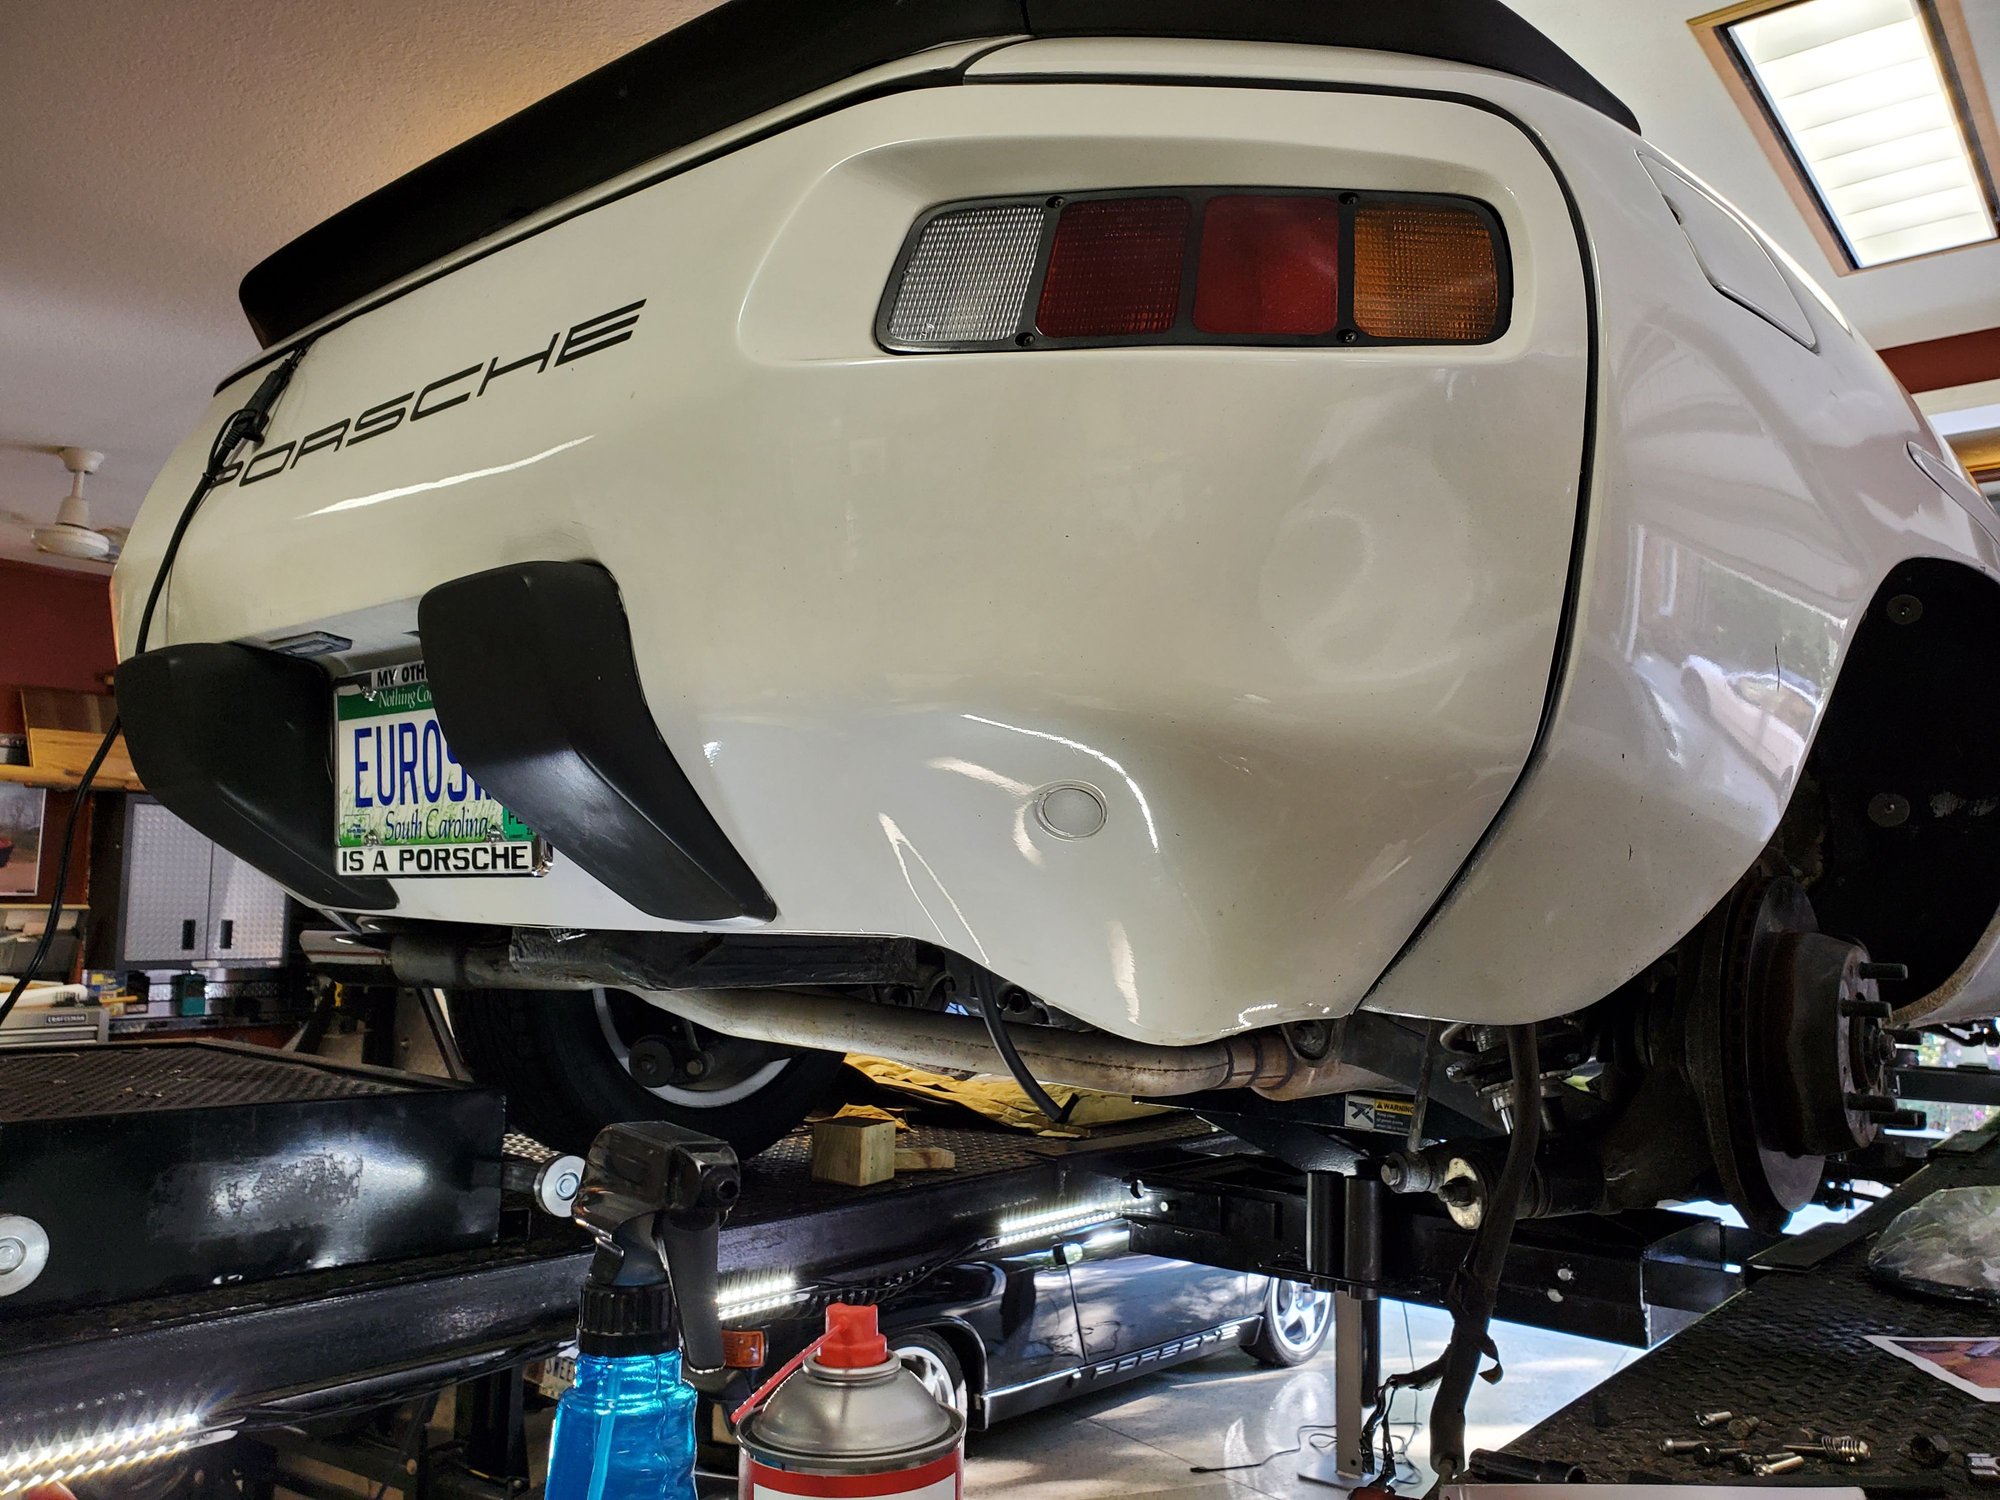
...and here's what it looks like now...straight like it should be. I may loosen the bumper nuts and adjust the alignment of the bumper to the fender, but it's much better.
The fuel tank was fun.
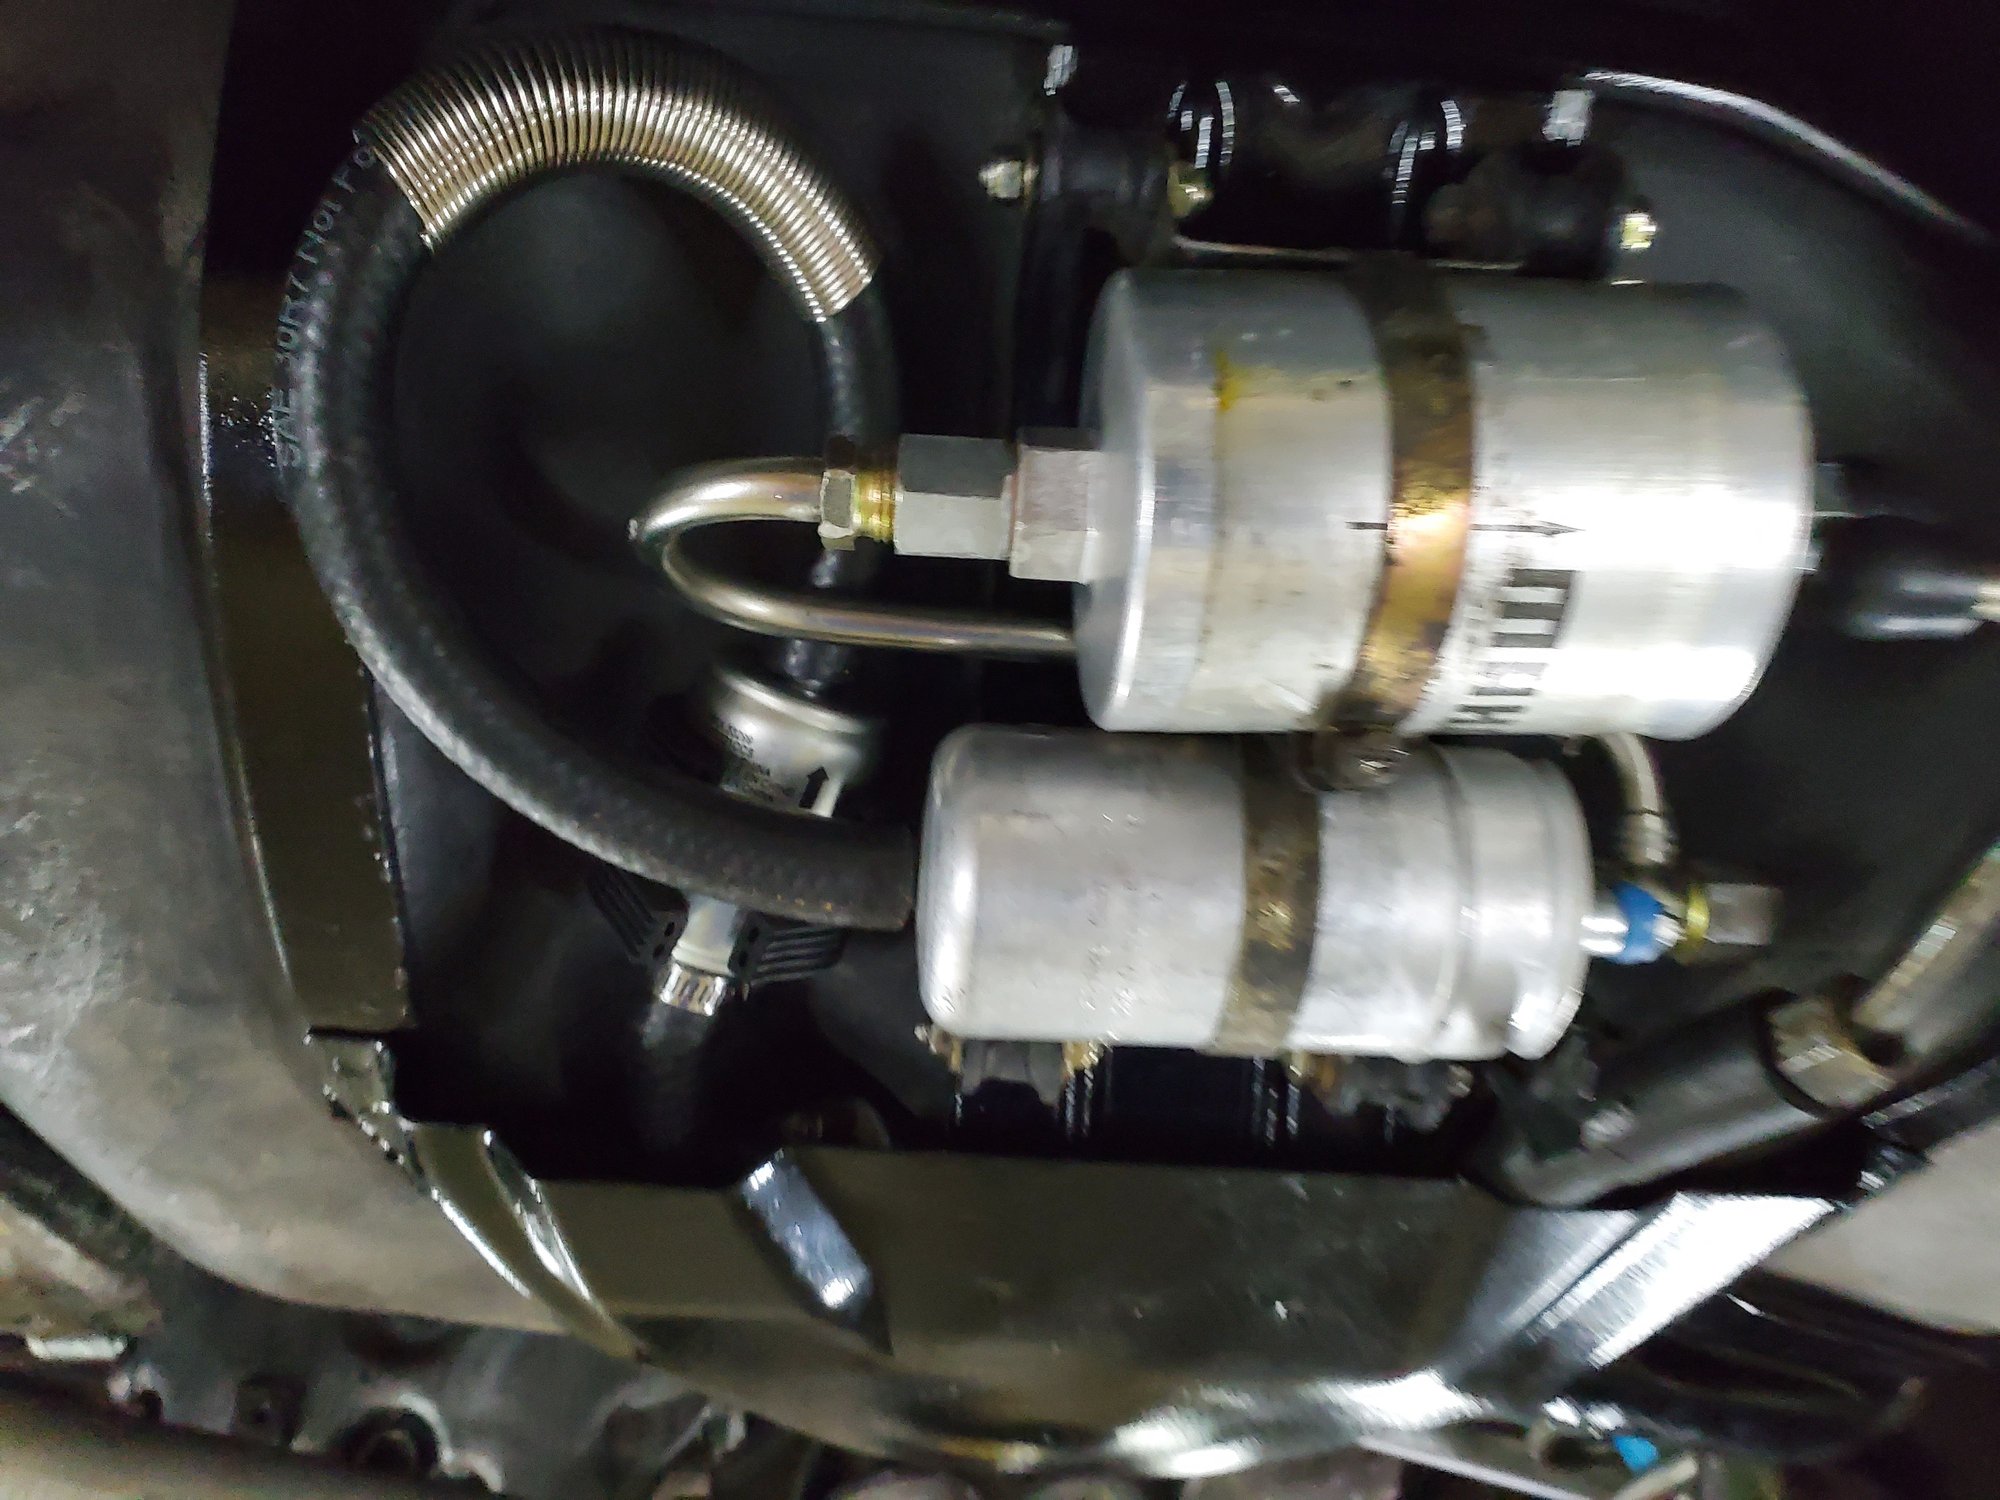
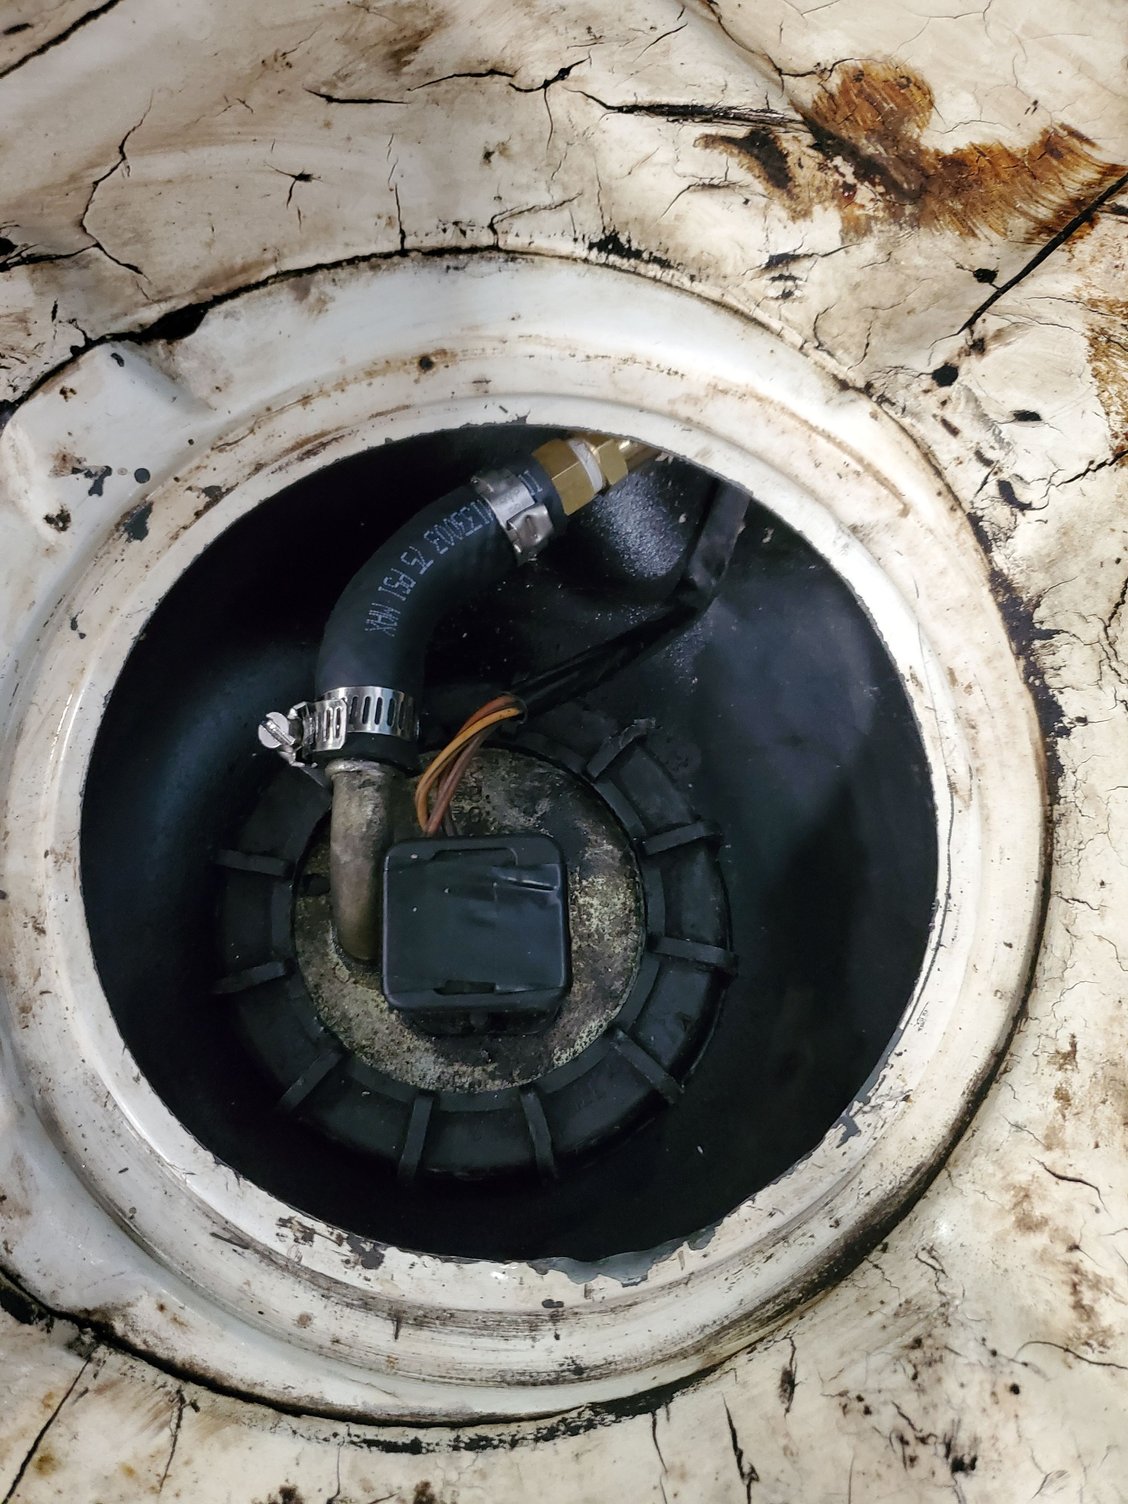
First problem was I boroscoped the boss port and there is not a strainer in this tank. The boss is also rusty so I didn't want to mess with it too much, but also know that without a filter, any fuel line junk will clog the fuel pump, so I wanted to install an inline filter between the tank and the pump as the factory filter only filters the fuel goin to the accumulator and engine. Seems like if they just filtered it before the pump it woul be fine, but maybe it's designed this way in case something in the pump comes apart so it catches that.
Anyway, not a lot of room in that compartment for hose turns, but I'm going to try this setup. The spring in the hose percents it from kinking in that tight radius turn and although a section of the hose kind of runs up hill, I'm hoping the wight of the fuel in the tank will push it though the curve and that the pump will also generate suction as it's pumping. It will actually be nice to have a renewable pre-pump filter if it works as designed.
Hose has clamps on it in the final install.
Cover fits on as well
Up at the top I had to figure out a way to arrange the previously cut fuel line to the sender return port. I added some hose onto what was there and through I could make a nice gentle hose loop but there is not space between the top of the tank and body, except eight at this hole, so had to make a 90ndwfewe bend in the hose and used another spring to form it nicely and keep it open. My sending unit ug is also in bad shape, so wore ties the cap on and out some Deoxit D100 on the contacts and it seems to be working - shows E and the light is on while the tank is empty
Testing next weekend to make sure there aren't any leaks and to see if this setup works.
Pete nice work on the rear PU cover and very creative repair on the rear fog lamp.
Glad the AC system is getting refreshed.
NOTE in the picture the Euro CAN type bumper mounting,
this is how the Euro versions were equipped,
So you have no crash protection. BUT the can will crush
This is a Euro only option.
NOTE the Euro could be specified to have impact absorbing bumpers.
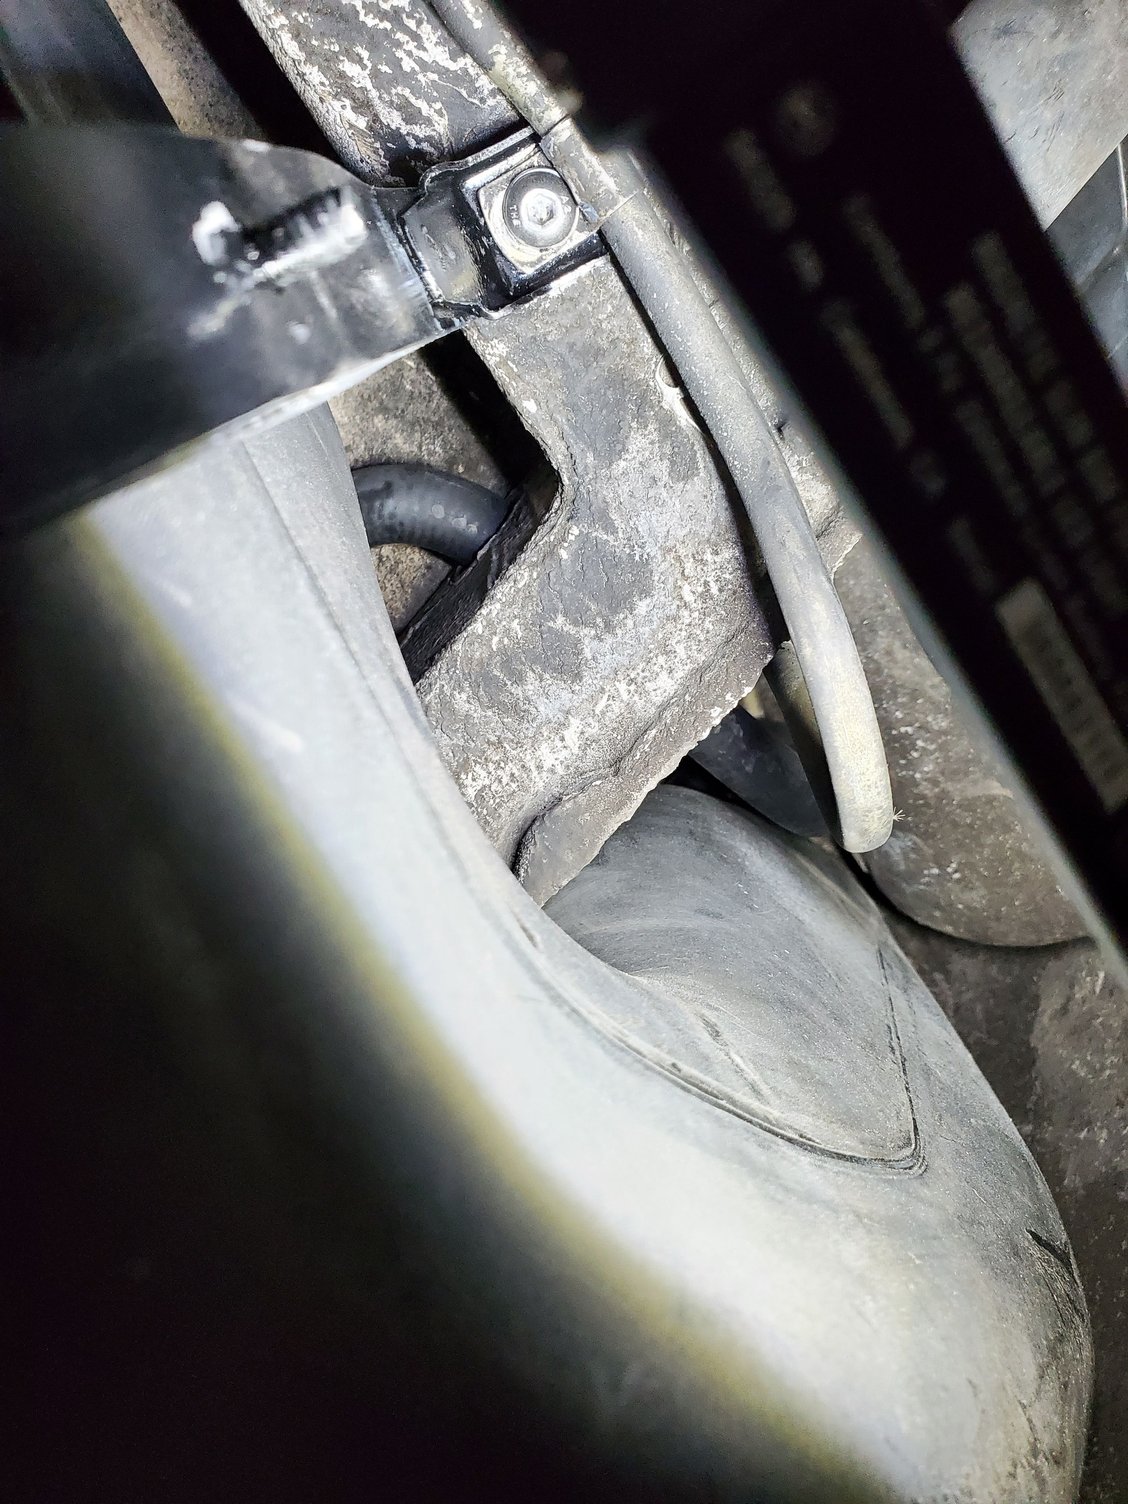
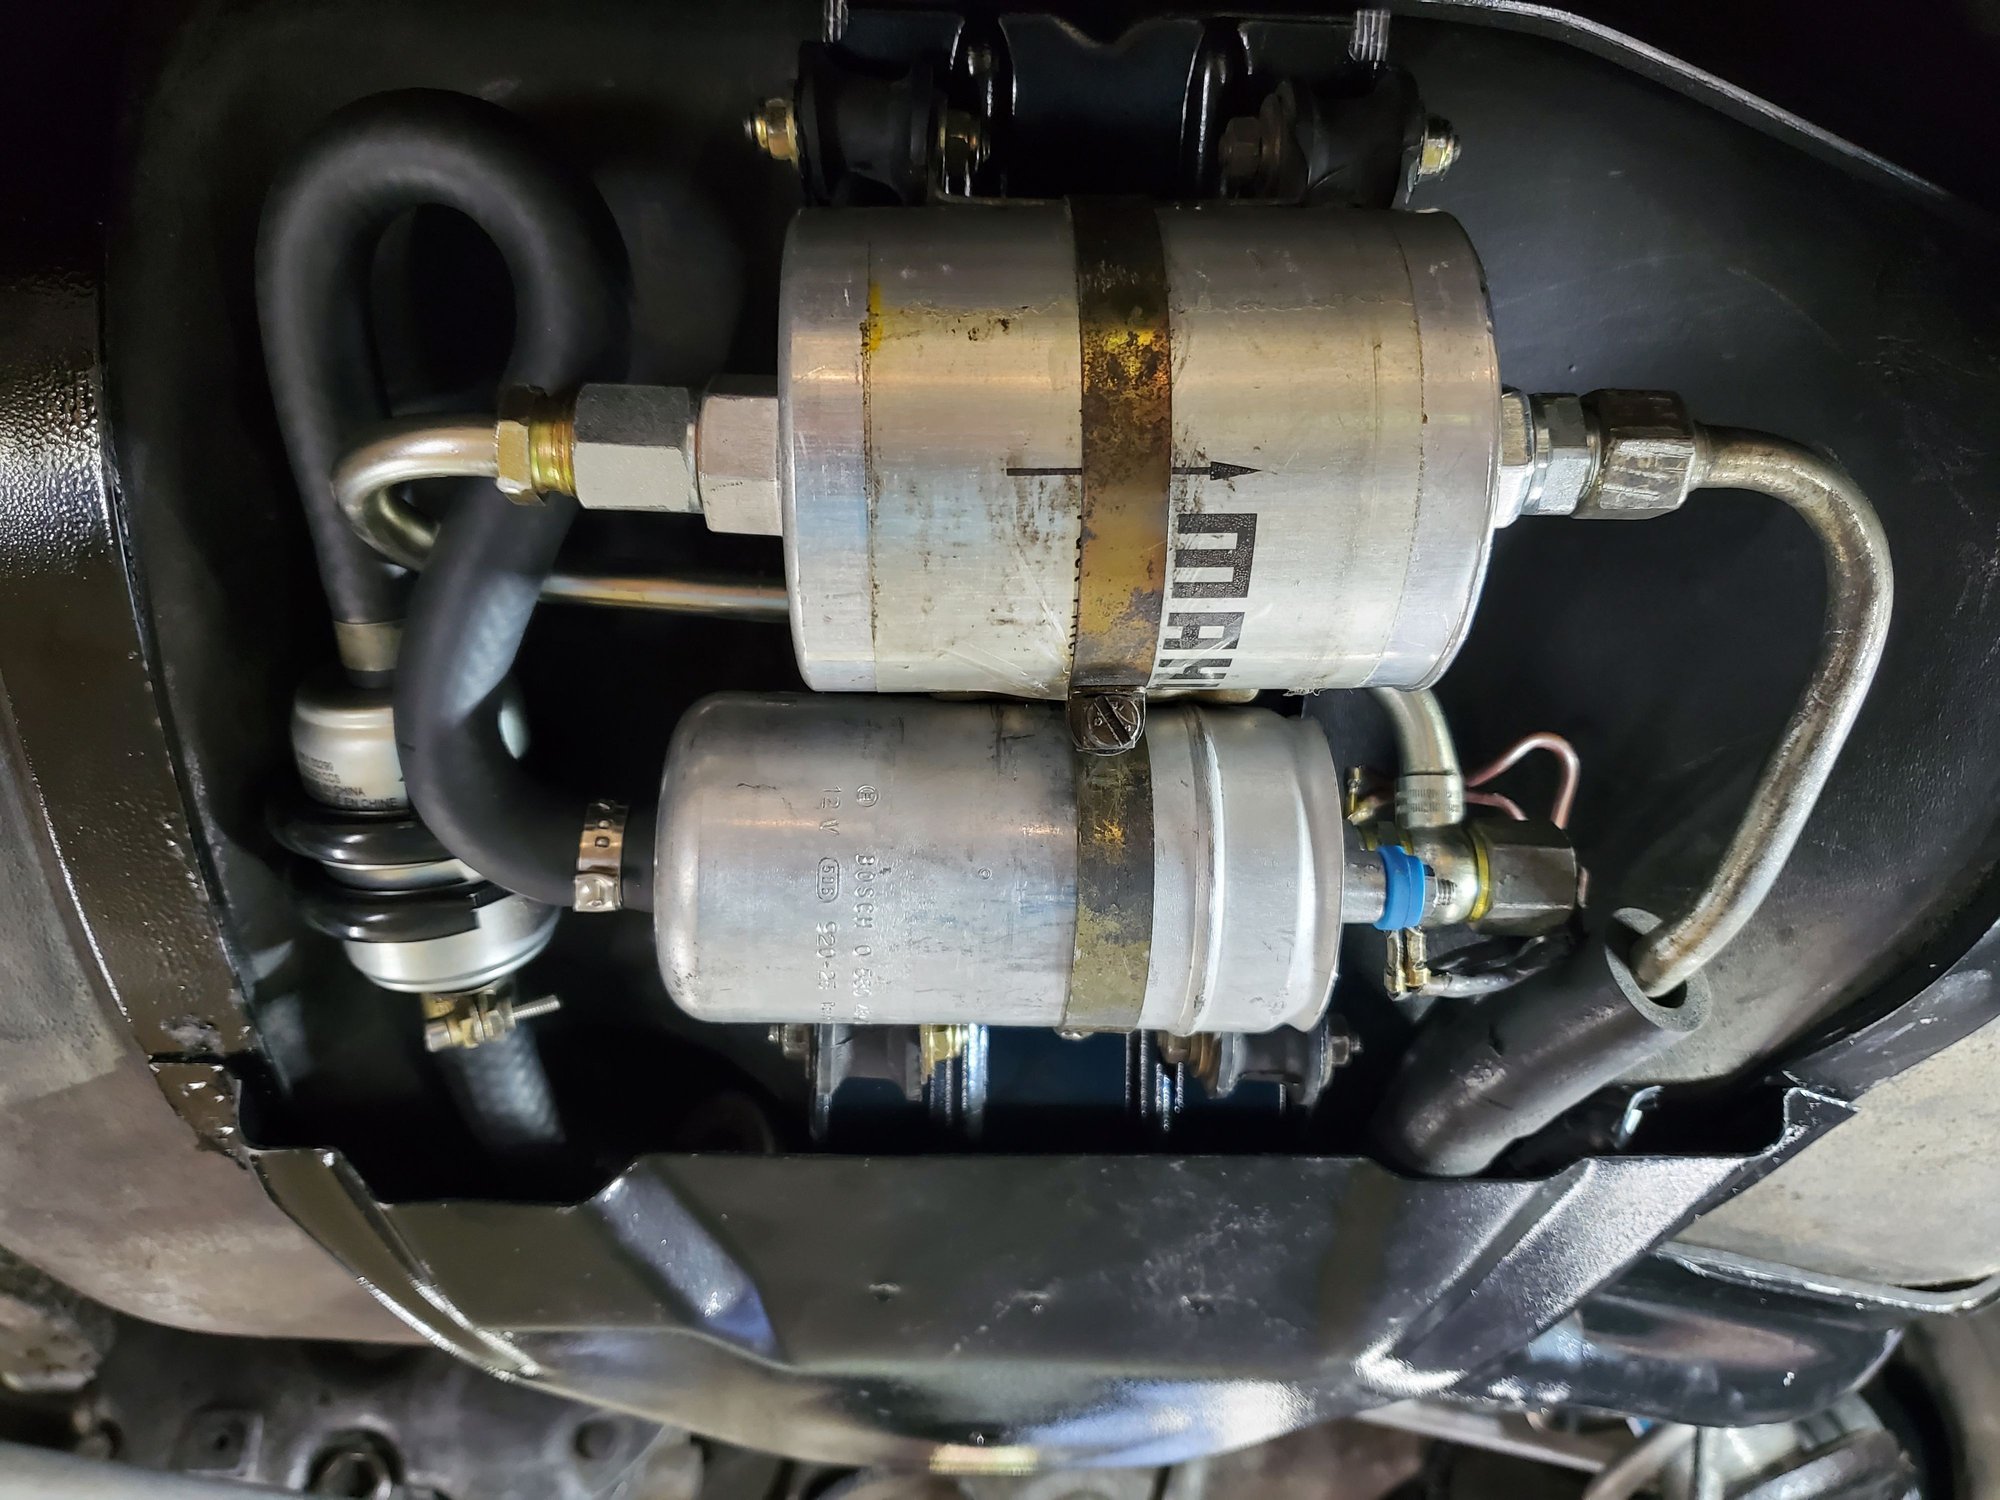
I have a few suggestions on the fuel return line.
I suggest to get the proper fuel injection hose clamps,
the clamp pictured can damage the outer wall of the hose and increase the chance of a leak.
Also the return line looks like it has a kink in it.
This could then become a secondary fuel pressure regulator.
NOTE based on some of your previous photos,
I will guess that you reconnected this return line as someone had it shortened then added an extension.
I would suggest to remove the whole flexible line,
Then cut the swage off the original line and replace the flex line,
the flex line should be about 10 inches long and run straight to the inlet.
Measure twice before you cut it.
NOTE this can only be done when the tank is removed.
NOTE when dropping the tank you should inspect this return line under the hatch floor to see if it spins on the hard line,
if its original it usually does spin indicating the line should be replaced.
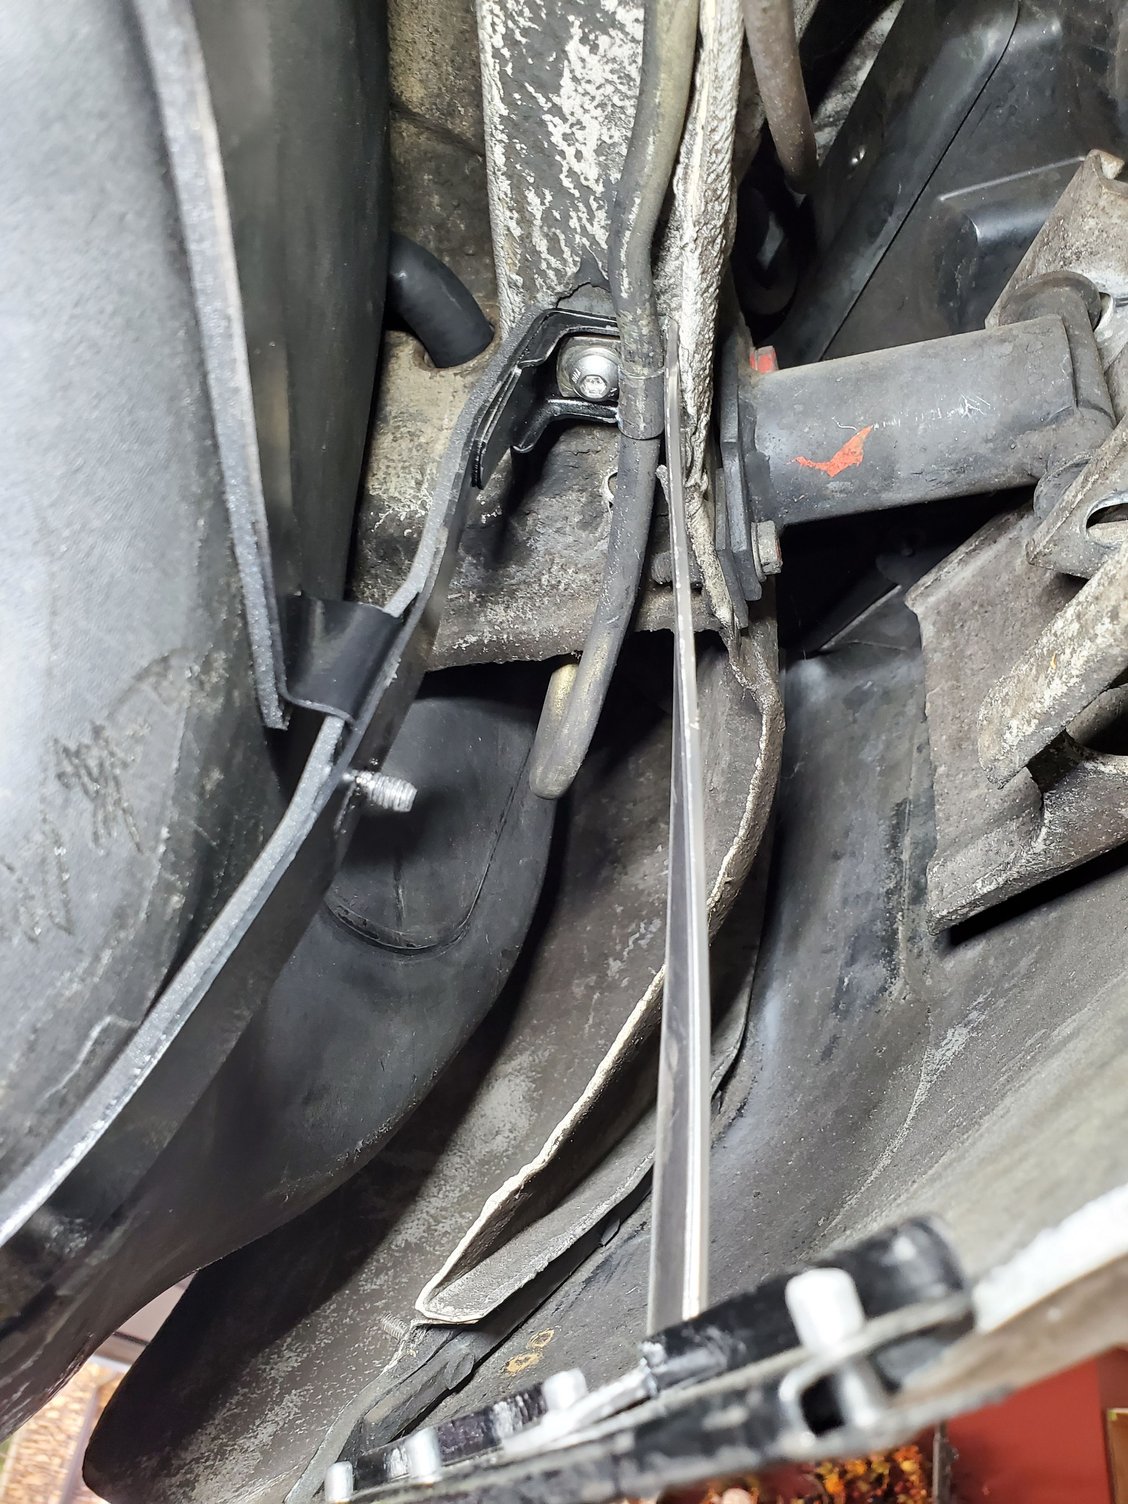
NOTE not pictured is your tank vent line,
this runs from the main tank body to the inlet fill neck.
its the line that runs through the frame.
NOTE the 85 Euro I had had a cloth wrapped thin walled hose,
and it eventually rotted out to a condition where the hose leaked on a full tank.
my car had an original hose.
The reason I am mentioning this is that if you get an early hose, Roger sells them,
it is a thick robust hose with thick walls and appears to be better suited to the job of carrying liquid fuel,
compared to the cloth lined hose that appears to be more of a vent hose.
NOTE when the tank is full this hose is also full of fuel.
I was also going to suggest to get a new Behr stainless coolant bottle cap,
Roger sells them, but you have to ask for the SS version.
Pete nice work on the rear PU cover and very creative repair on the rear fog lamp.
Glad the AC system is getting refreshed.
NOTE in the picture the Euro CAN type bumper mounting,
this is how the Euro versions were equipped,
So you have no crash protection. BUT the can will crush
This is a Euro only option.
NOTE the Euro could be specified to have impact absorbing bumpers.
I have a few suggestions on the fuel return line.
I suggest to get the proper fuel injection hose clamps,
the clamp pictured can damage the outer wall of the hose and increase the chance of a leak.
Also the return line looks like it has a kink in it.
This could then become a secondary fuel pressure regulator.
NOTE based on some of your previous photos,
I will guess that you reconnected this return line as someone had it shortened then added an extension.
I would suggest to remove the whole flexible line,
Then cut the swage off the original line and replace the flex line,
the flex line should be about 10 inches long and run straight to the inlet.
Measure twice before you cut it.
NOTE this can only be done when the tank is removed.
NOTE when dropping the tank you should inspect this return line under the hatch floor to see if it spins on the hard line,
if its original it usually does spin indicating the line should be replaced.
NOTE not pictured is your tank vent line,
this runs from the main tank body to the inlet fill neck.
its the line that runs through the frame.
NOTE the 85 Euro I had had a cloth wrapped thin walled hose,
and it eventually rotted out to a condition where the hose leaked on a full tank.
my car had an original hose.
The reason I am mentioning this is that if you get an early hose, Roger sells them,
it is a thick robust hose with thick walls and appears to be better suited to the job of carrying liquid fuel,
compared to the cloth lined hose that appears to be more of a vent hose.
NOTE when the tank is full this hose is also full of fuel.
I was also going to suggest to get a new Behr stainless coolant bottle cap,
Roger sells them, but you have to ask for the SS version.
Keep up the good work brother !
Thanks Stan.
The return line to the sender has a 90 degree bend in it, but no kink because the spring prevents the line from being able to kink. Your assumption as to why it's done this way is correct in that someone had already cut and patched that line once. I went further back, but still in the rubber section and patched it again with a new fuel line hose and there's not enough length for it to make a straight run to the inlet. Don't really want to drop the tank again so may see if this setup works before making further changes or maybe I should cut the molded 90 degree section of the old tank to pump line (since I'm not using that anymore) and fit that there instead of trying to bend a straight hose providing the ID is the same, which it may or may not be?
I had ordered a new through frame vent line from Roger, but id didn't arrive in time. I sourced 5/8" fuel line during the reinstall and ran it through that same hole in the frame, but there was no way to prevent straight line from kinking as it comes out of the lower elbow and then goes to the hole in the frame rail, so I ran it along the outside and below and then up to the T at the top. You can actually see the line in the bumper repair photo and actually happens to be oriented where the "fuel line" words are visible. Because I used fuel line, I think it's OK if it ends up with fuel in it and think vapor pressure will still be able to move the fuel for it it to vent when needed even though it dips down below the lower elbow connection on its way to the upper one - or will it?
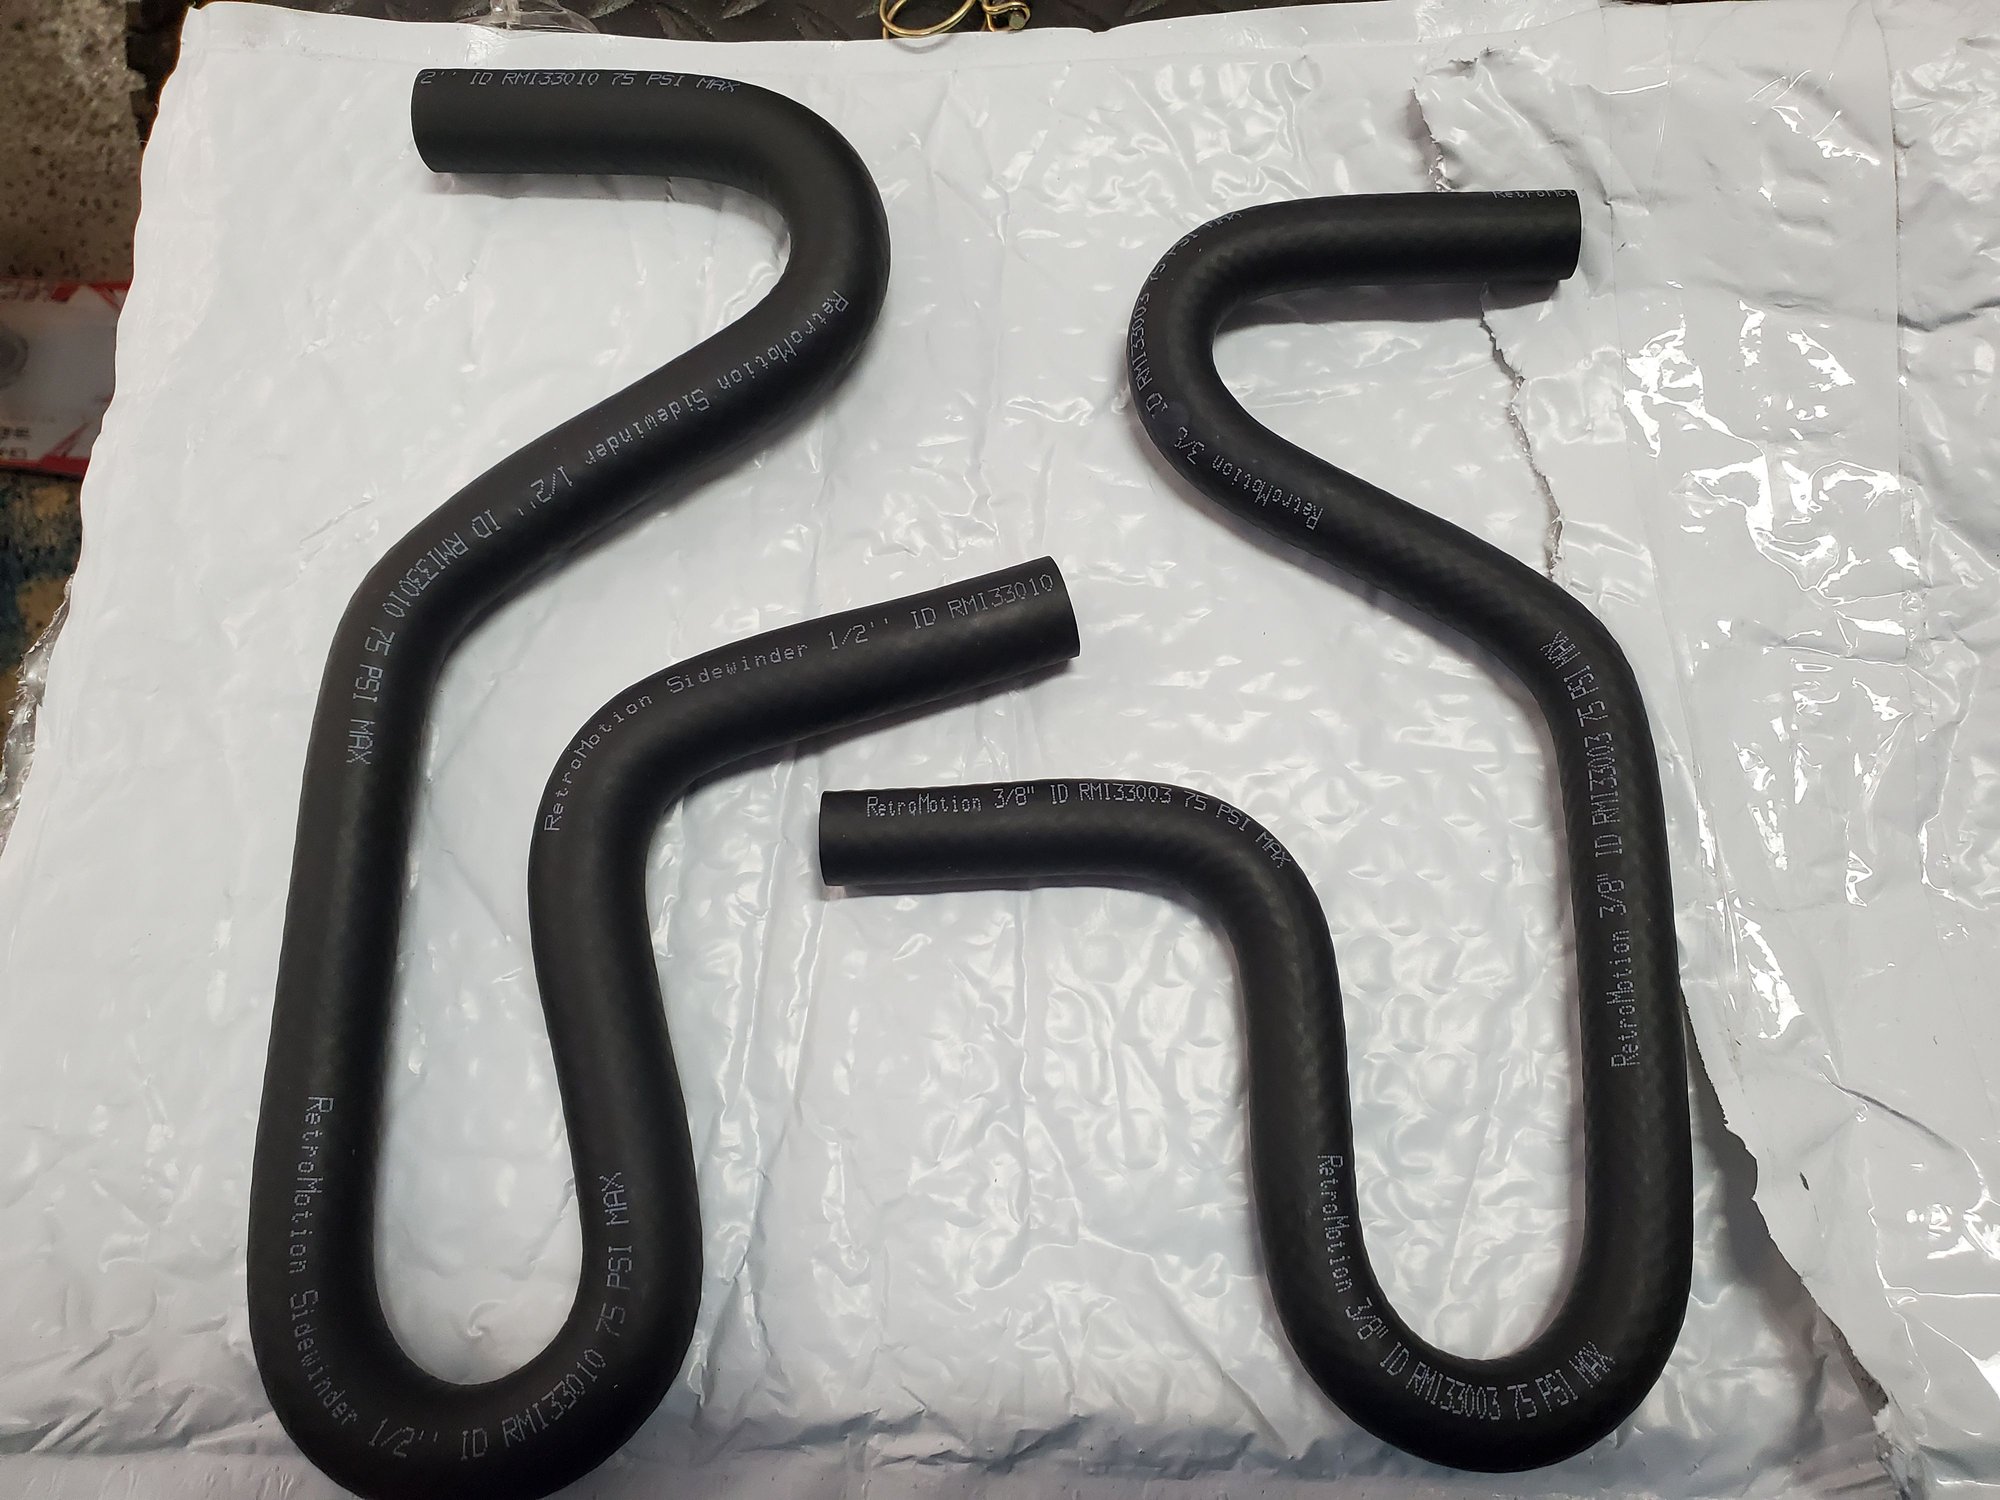
Actually found this neat offering from Retro Motion Innovations - universal fuel hose with various angles molded in. This will give me a nice 90 degree for the fuel sender return and a 180 with 90 to run the line from the new inline external fuel filter to the fuel pump.
The more I thought about the vent line routing and some of the other hose connections, I decided to drop the tank again yesterday since the proper parts from Roger and the sidewinder fuel lines were now on hand and do a better job.
So, now the tank is installed with the proper vent line that goes through the frame rail which means it doesn't drop down in a oop between the 2 connection points.
The 3/8" and 1/2" sidewinder fuel lines with various molded angles arrived too and I was able to use a 45 degree section for the rerun line to the fuel sender, so now that's a molded 45 instead of a straight line bent 90.
And there was a 180 section of the other hose that I used to connect my external filter to the pump inlet. I also used some hose held on by wire ties through them to isolate the metal filter from contact with the tank. Now these hoses sit in their naturally molded positions and no spring ariund them are necessary.
When installing the sender return line, I did the prep work before putting the tank all the way up and connected the side to my repaired connection, but left the other side loose until putting the tank all the way up so I could get the length and angle perfect. I put 2 gallons of the fuel I removed back into the tank after filtering it to make sure the tank boss wasn't going to leak and that was all good.
Then in my excitement to fire it up and check for leaks had forgotten to finish the hose connection to the sender
Would anyone like to know how much unused fuel returns to the tank sender when the engine is running....it's a lot. So the car is running, I look underneath to check my hose connections and then gas starts pouring down from all around the back of the car even on the driver's side where there aren't any fuel lines. After shutting of the car as fast as possible and getting catch pans under the drip locations, it hits me that I never connected the return line, and to top it off, I had the hose up above the hole in the floor so it wouldn't get trapped on the underside above the tank so it shot fuel across the deck, over to the spare tire area and into the battery box (lucky there wasn't a spark).
All total it was only about a pint of fuel, but what a mess.
So I cleaned up all the gas and left the battery box cover, hatch, and windows open so whatever was left would evaporate away.
Today, now that all the gas is gone, I'll run it again to check the connections I couldn't check yesterday because I didn't want to energize anything after the gas spill. Also didn't want to unhook the battery for fear of a spark that ignites any vapors that might have remained.
One odd thing that happened is my fuel pump relay stopped working yesterday - no voltage at the pump wires with key on initialization after hooking up the pump and connecting everything. I jumpered the relay and got voltage so replaced it with another one and got voltage. It's just odd that the car ran perfectly to and from Frenzy in VA, then I did the tank swap (twice) where the car hasn't moved from the lift, and then the fuel pump relay was dead - can this happen? Maybe I'll put it back in and try it again once I know the rest of the install is tested and the car runs fine?
While the spilled fuel was evaporating away, I did take the opportunity to replace the booster vacuum hose with the right type per Greg Brown's advice. Being vacuum lines, do these connections need clamps on them or are they fine just press fitted onto the connection ports since they should only see vacuum?


 09-27-2021, 10:08 PM