When you click on links to various merchants on this site and make a purchase, this can result in this site earning a commission. Affiliate programs and affiliations include, but are not limited to, the eBay Partner Network.
I use the Ultimate Cupholders in the Spyder and they work great. Nothing permanent, easy in / out if I need to remove them for any reason, etc. I just put some industrial hook velcro on the back side and they very securely lock onto the aftermarket plush carpet kit I installed in the car when doing that build. I can position them anywhere along the sill.
Closed Position
Open position & in-use
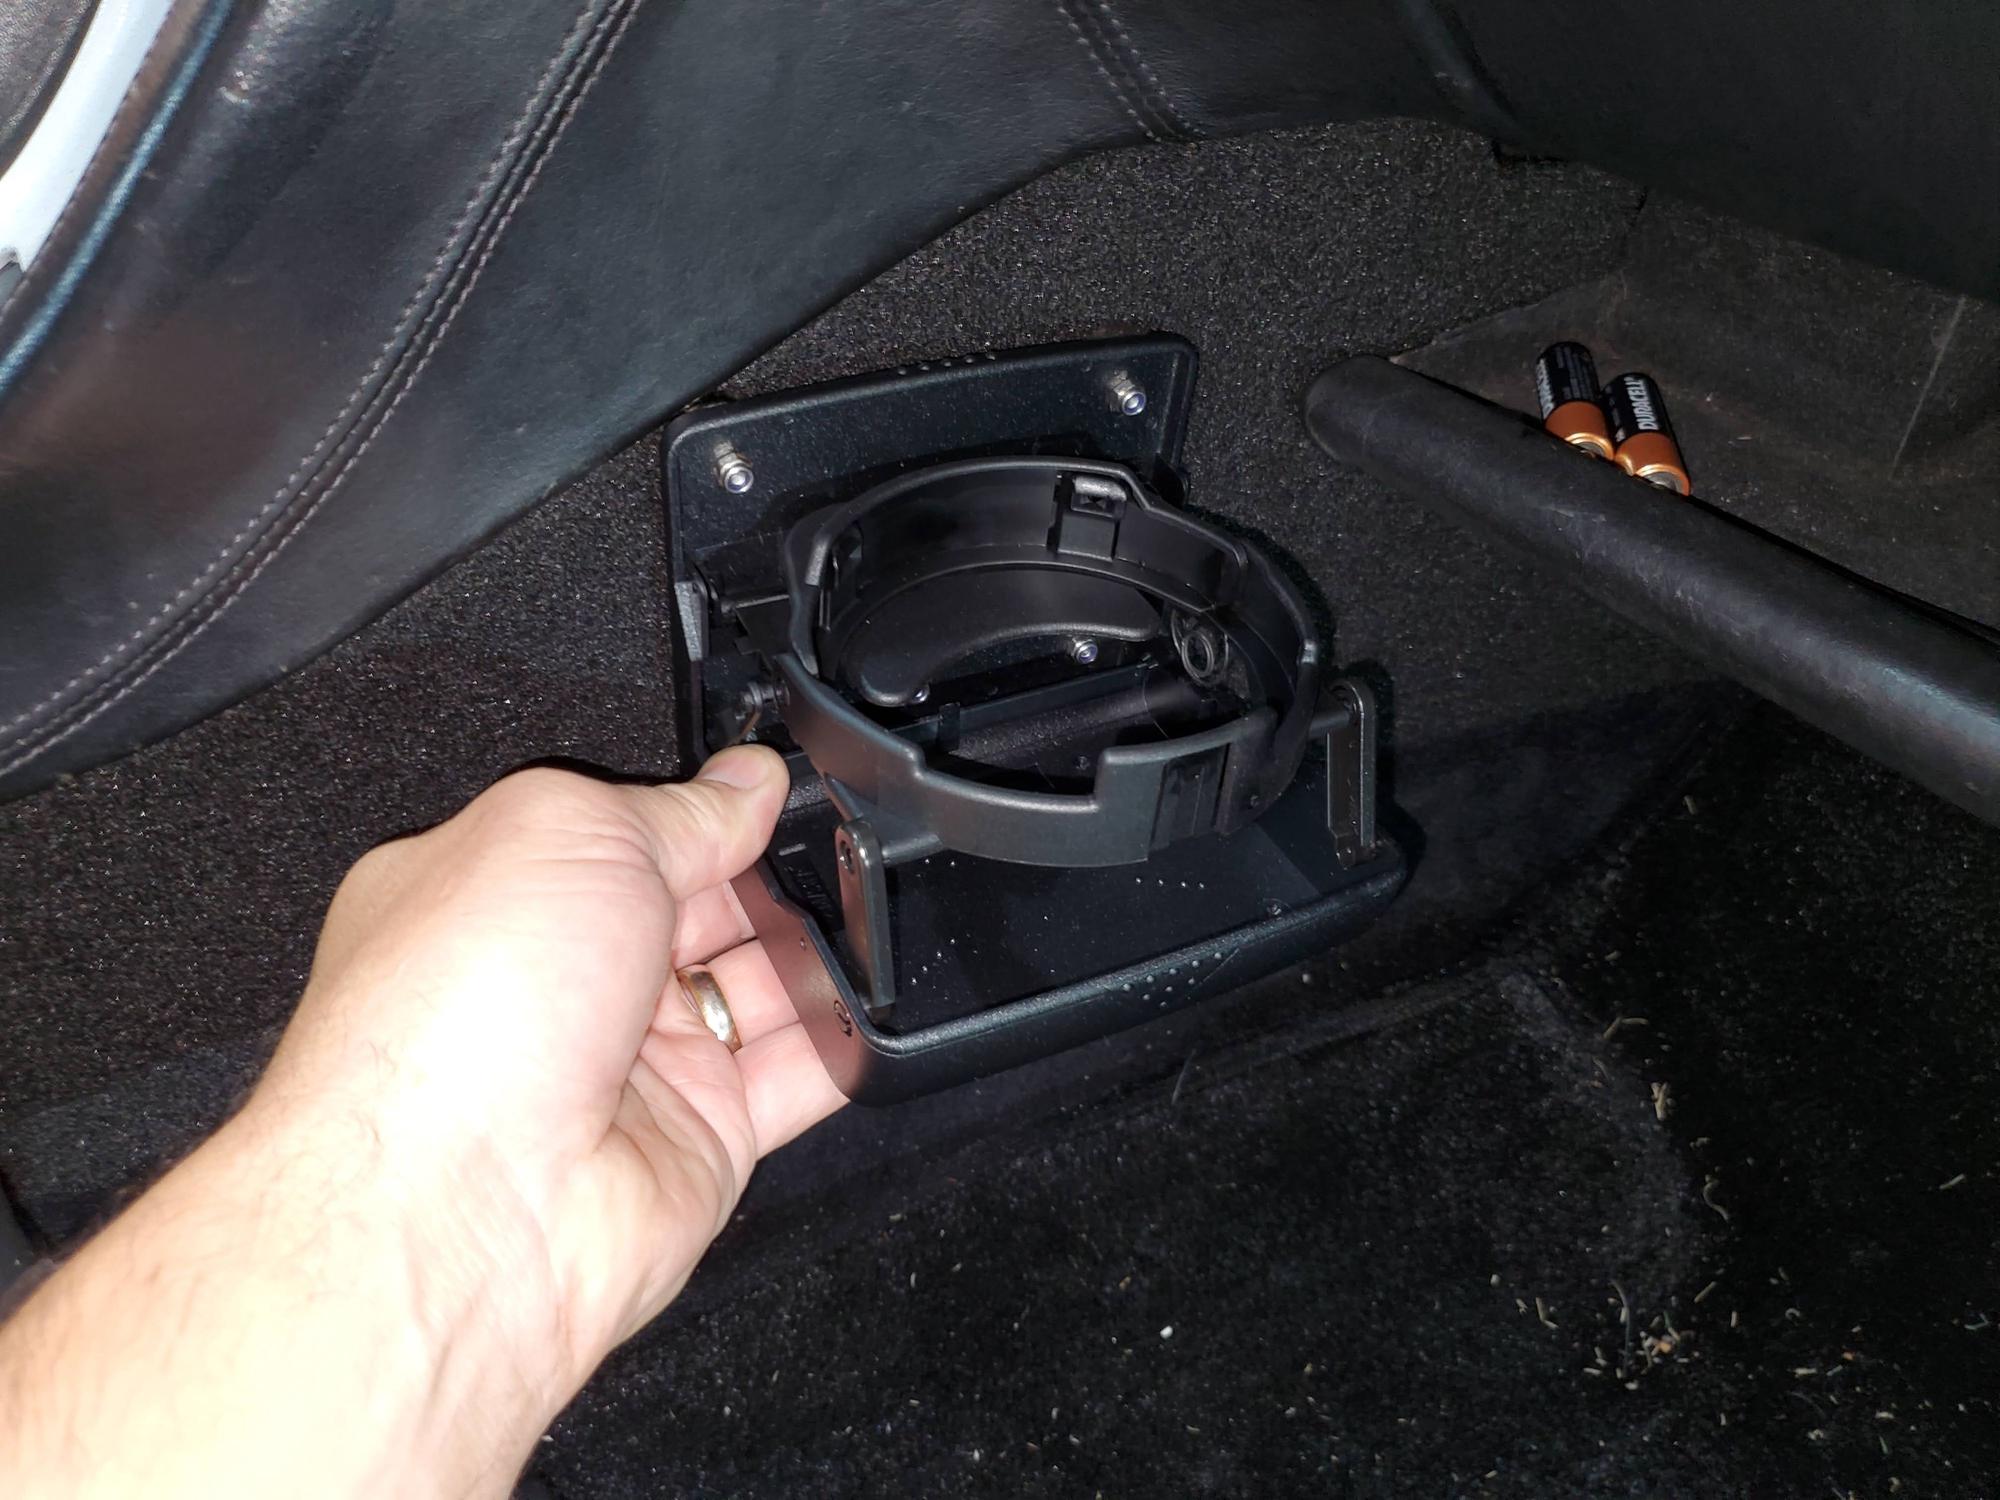
So, I bought another pair with the intent of doing the same thing in the Euro. Unfortunately, the OEM carpet isn't velcro hook friendly - doesn't lock in well at all. So my next plan was to use some rare earth neodynium magnets and have them adhere to the steel body through the carpet, so I modified one with the magnets and tested it...
... it adheres, but not strong enough for the way I drive
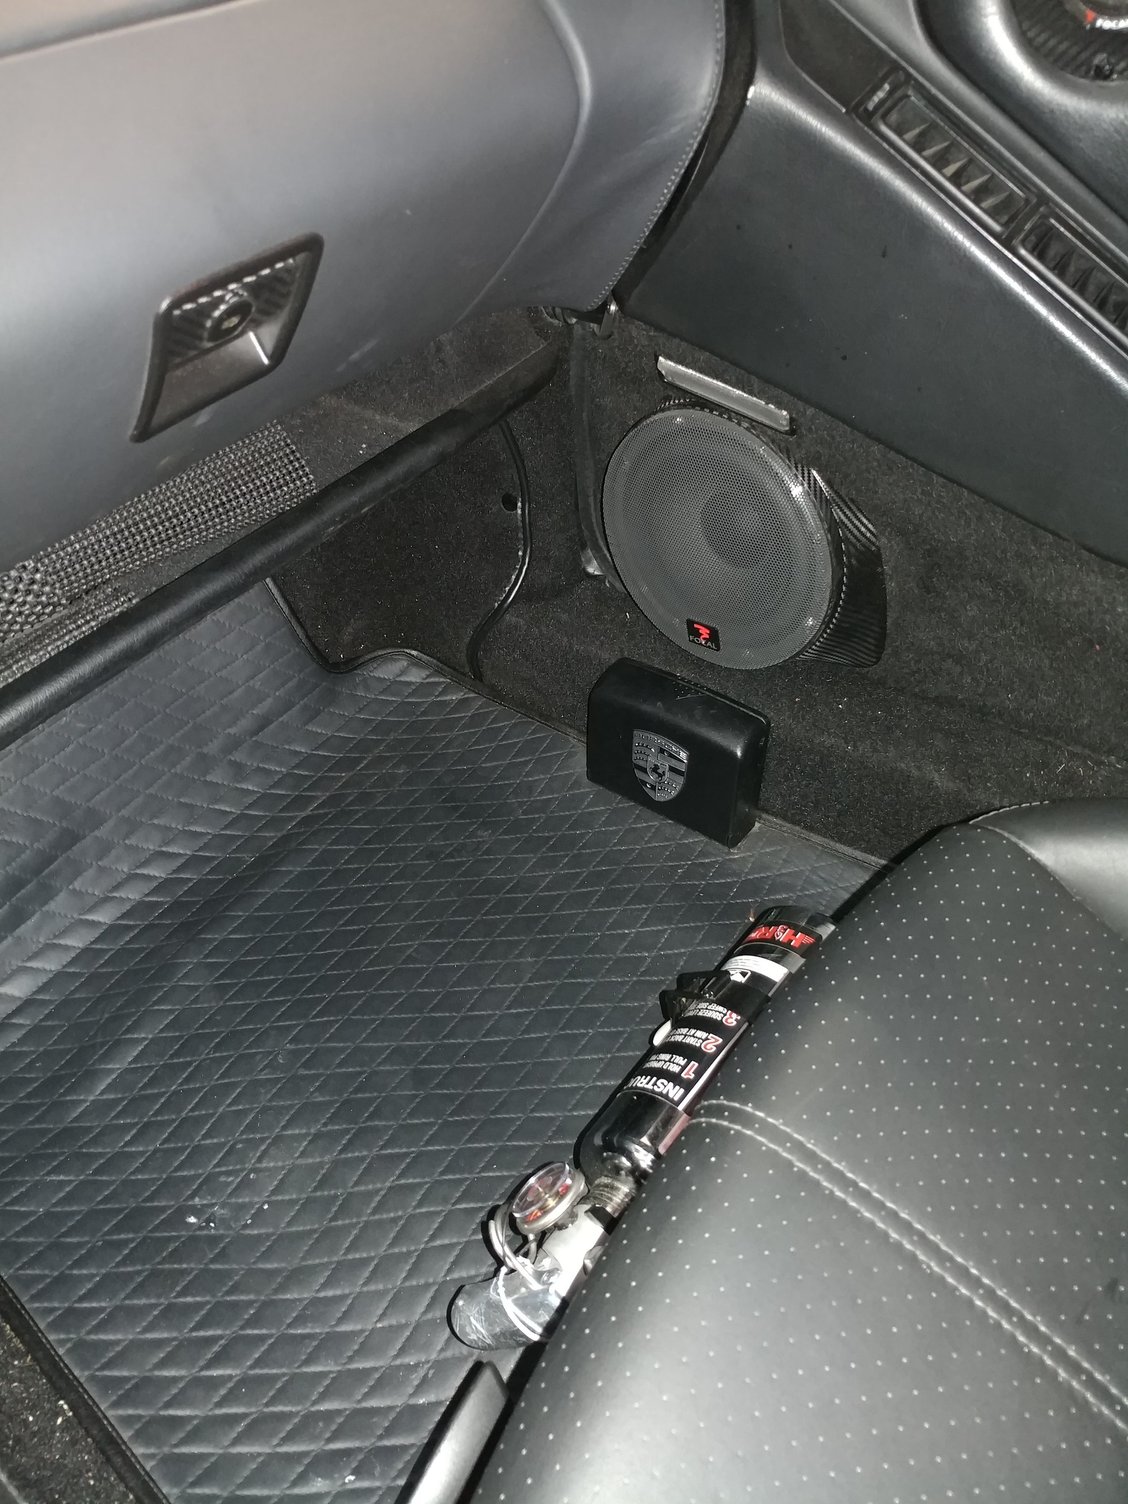
So, came up with a new plan for this one that was already put together this way. I'm going to slide a thin sheet of steel behind the center console side panel on the passenger side and lock this onto it through the plexiglass side panels I made. The initial testing of this seems like it will be plenty strong. Also removable, no permanent damage or holes on the inside of the car, etc.
Will be adhered roughly here.
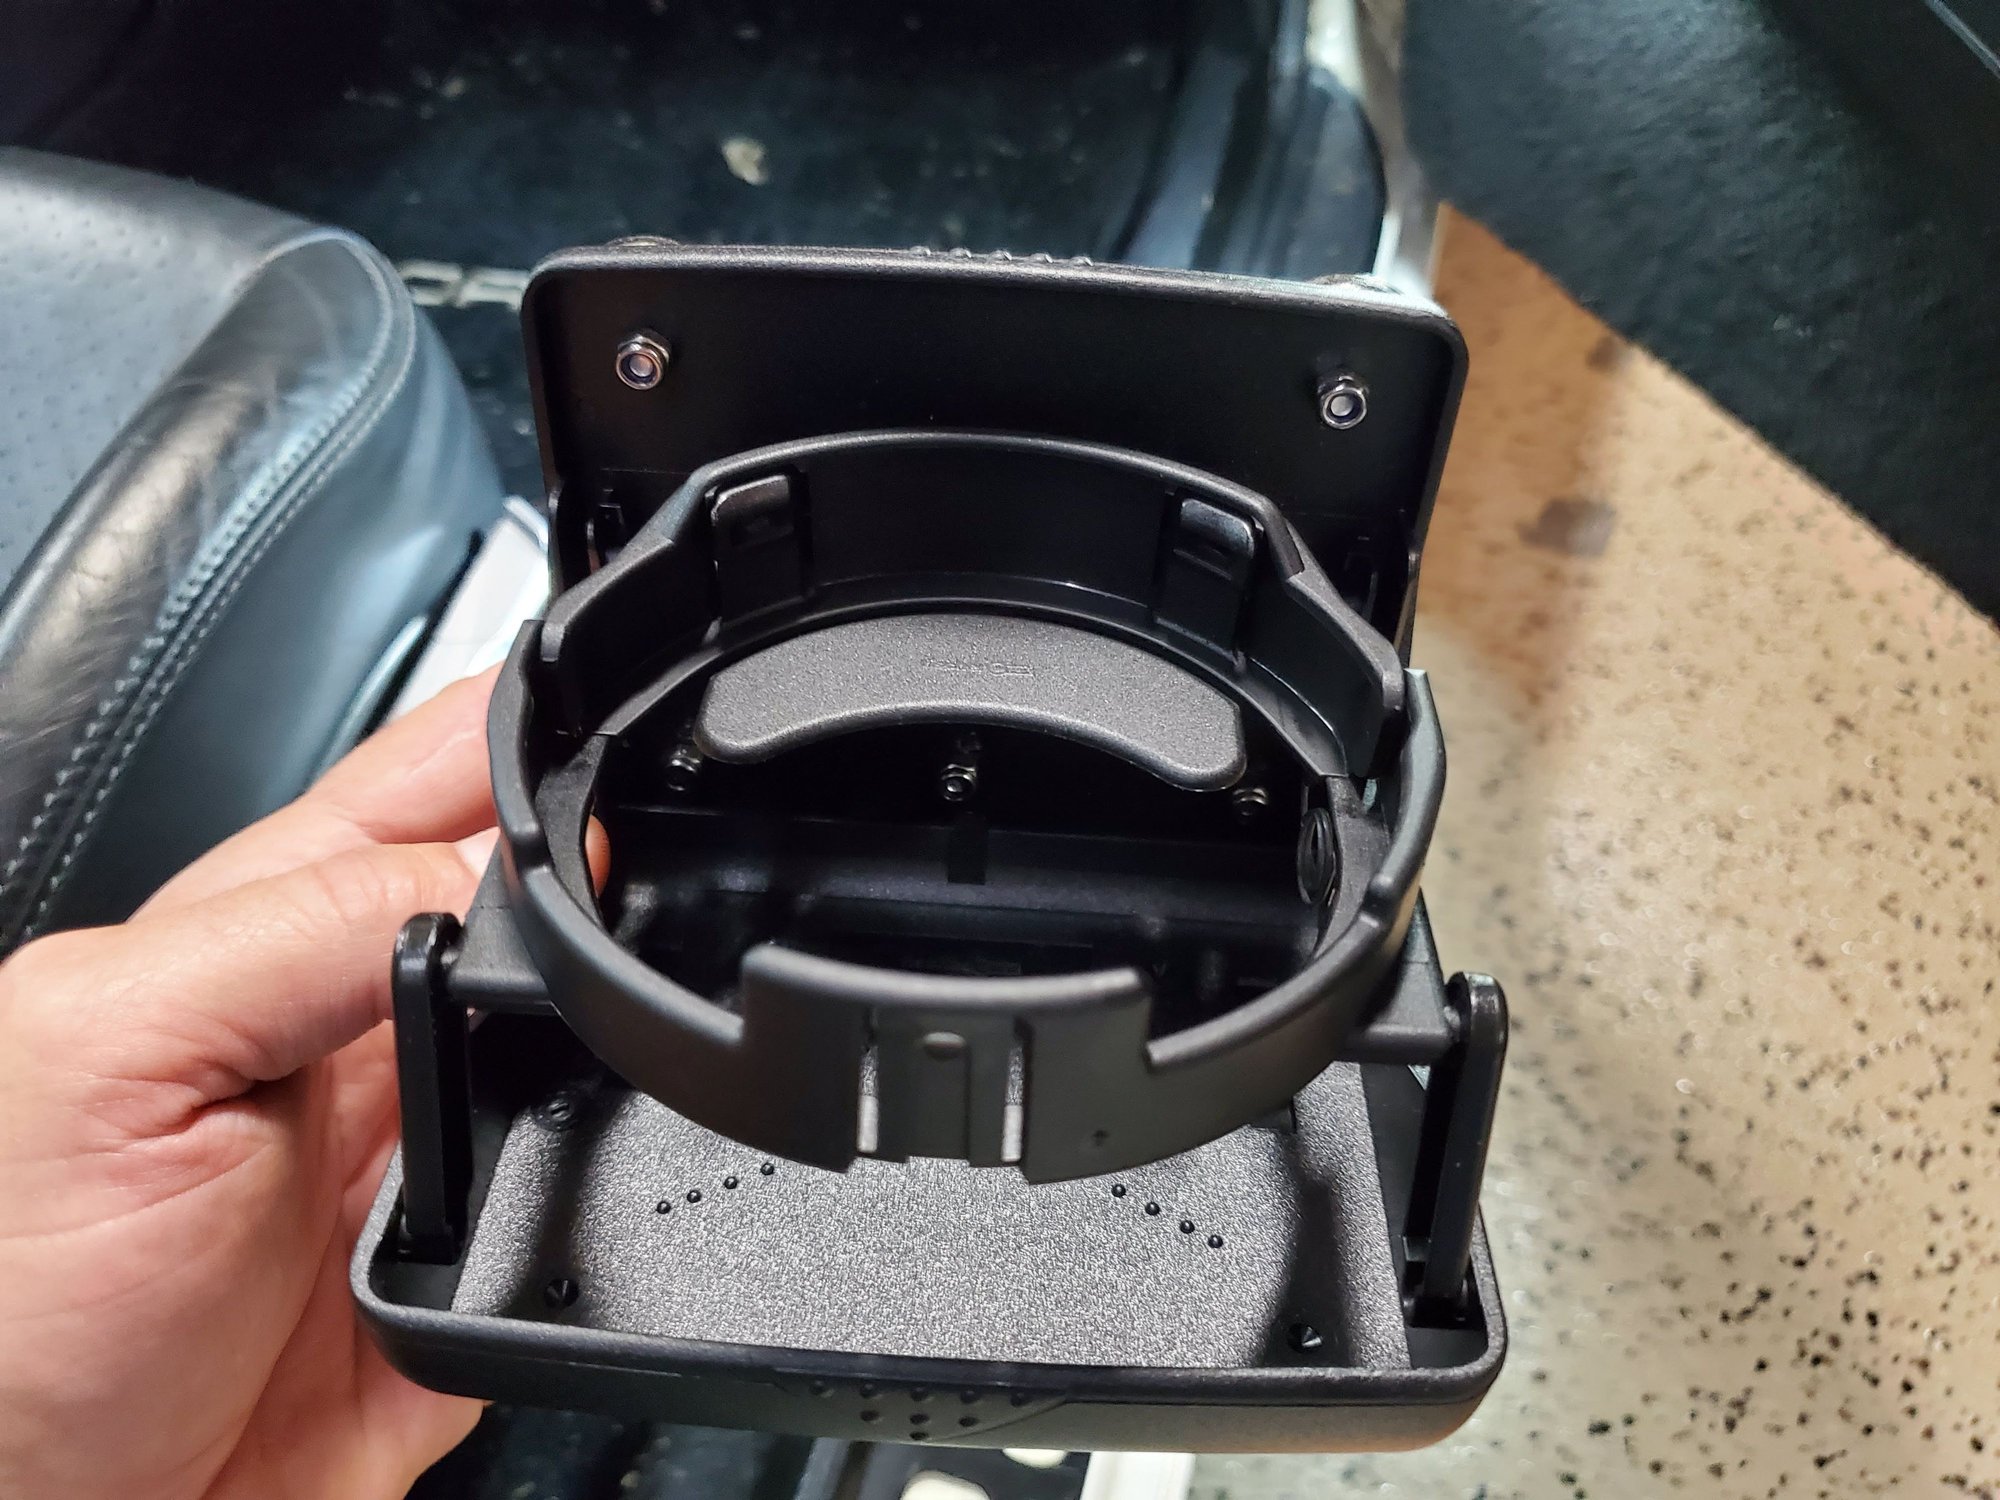
The nuts pictured here hold the magnets on. The assembly isn't bolted through the side panel.
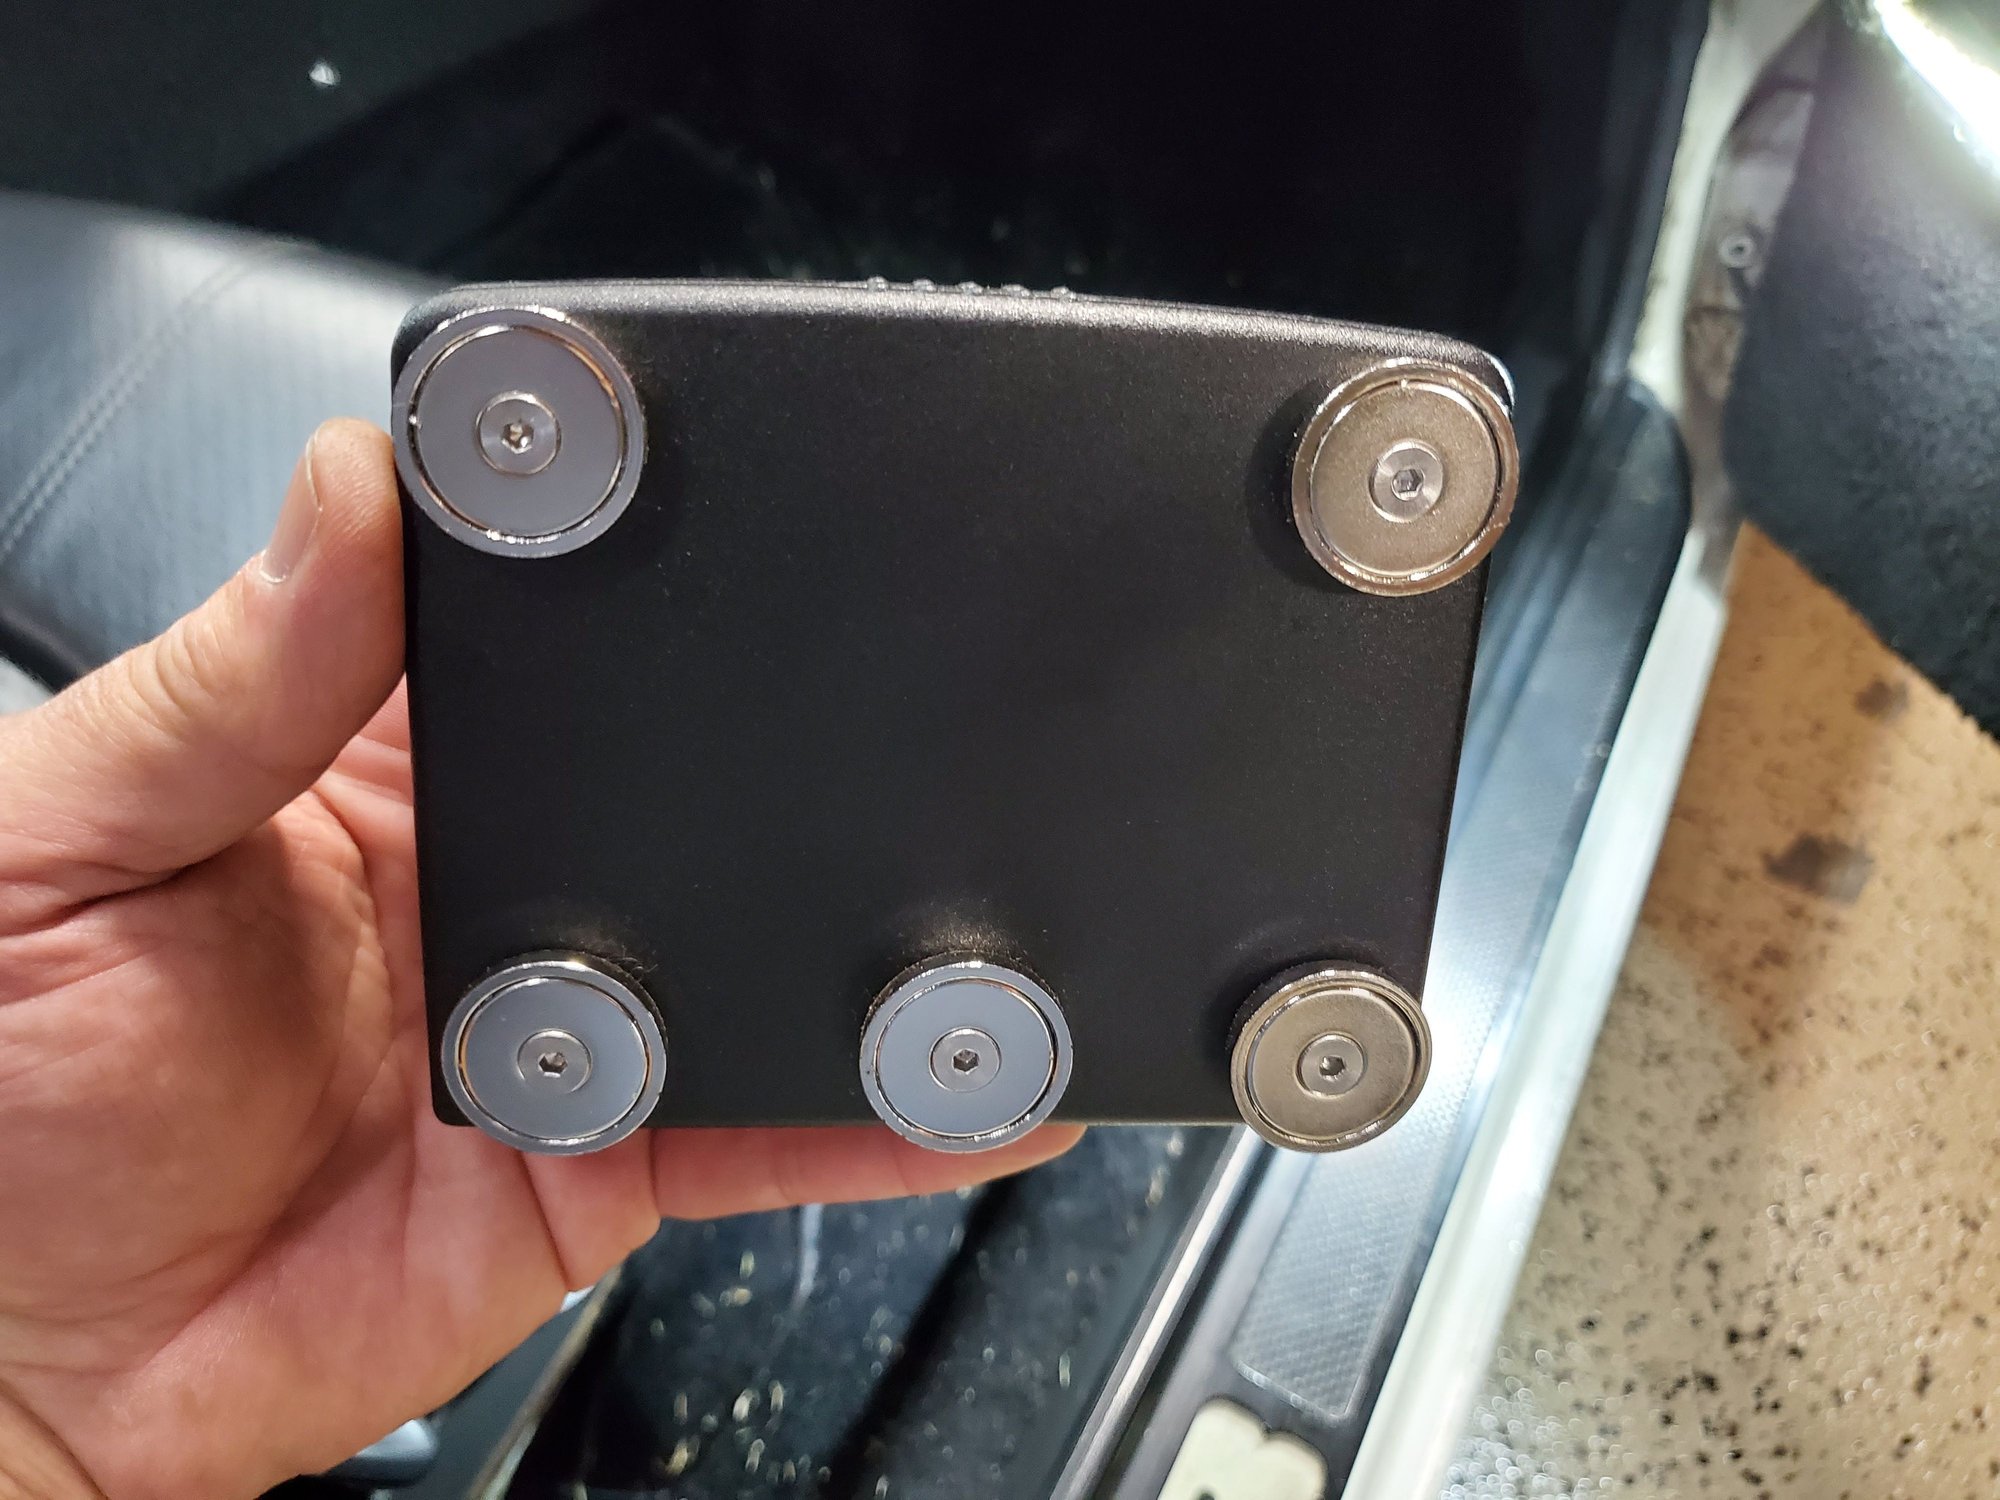
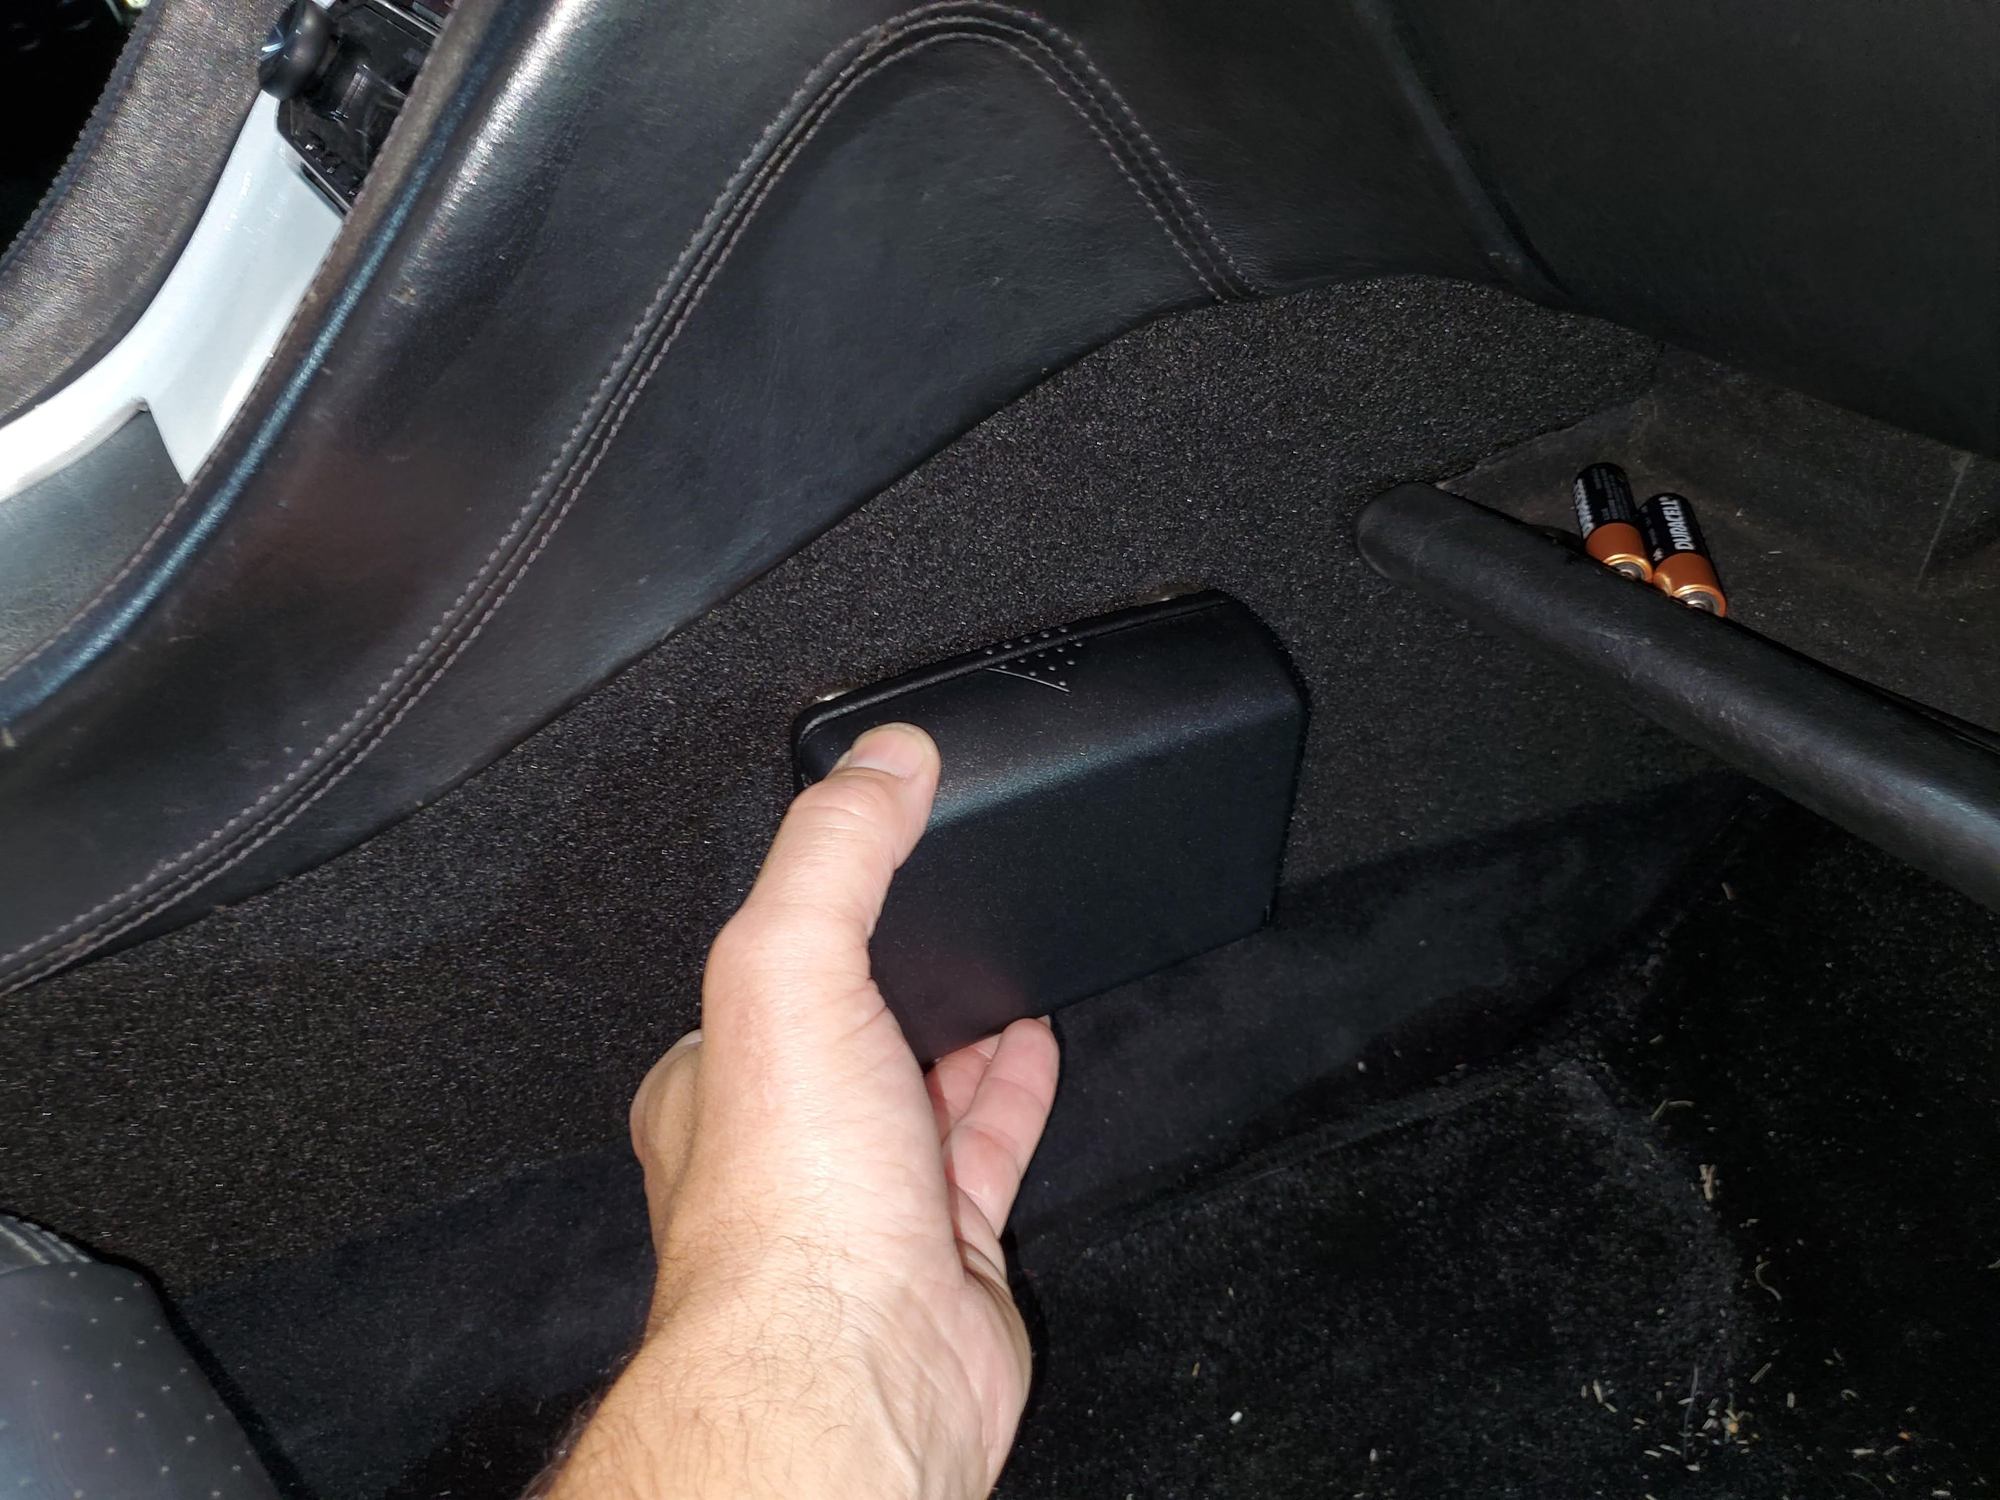
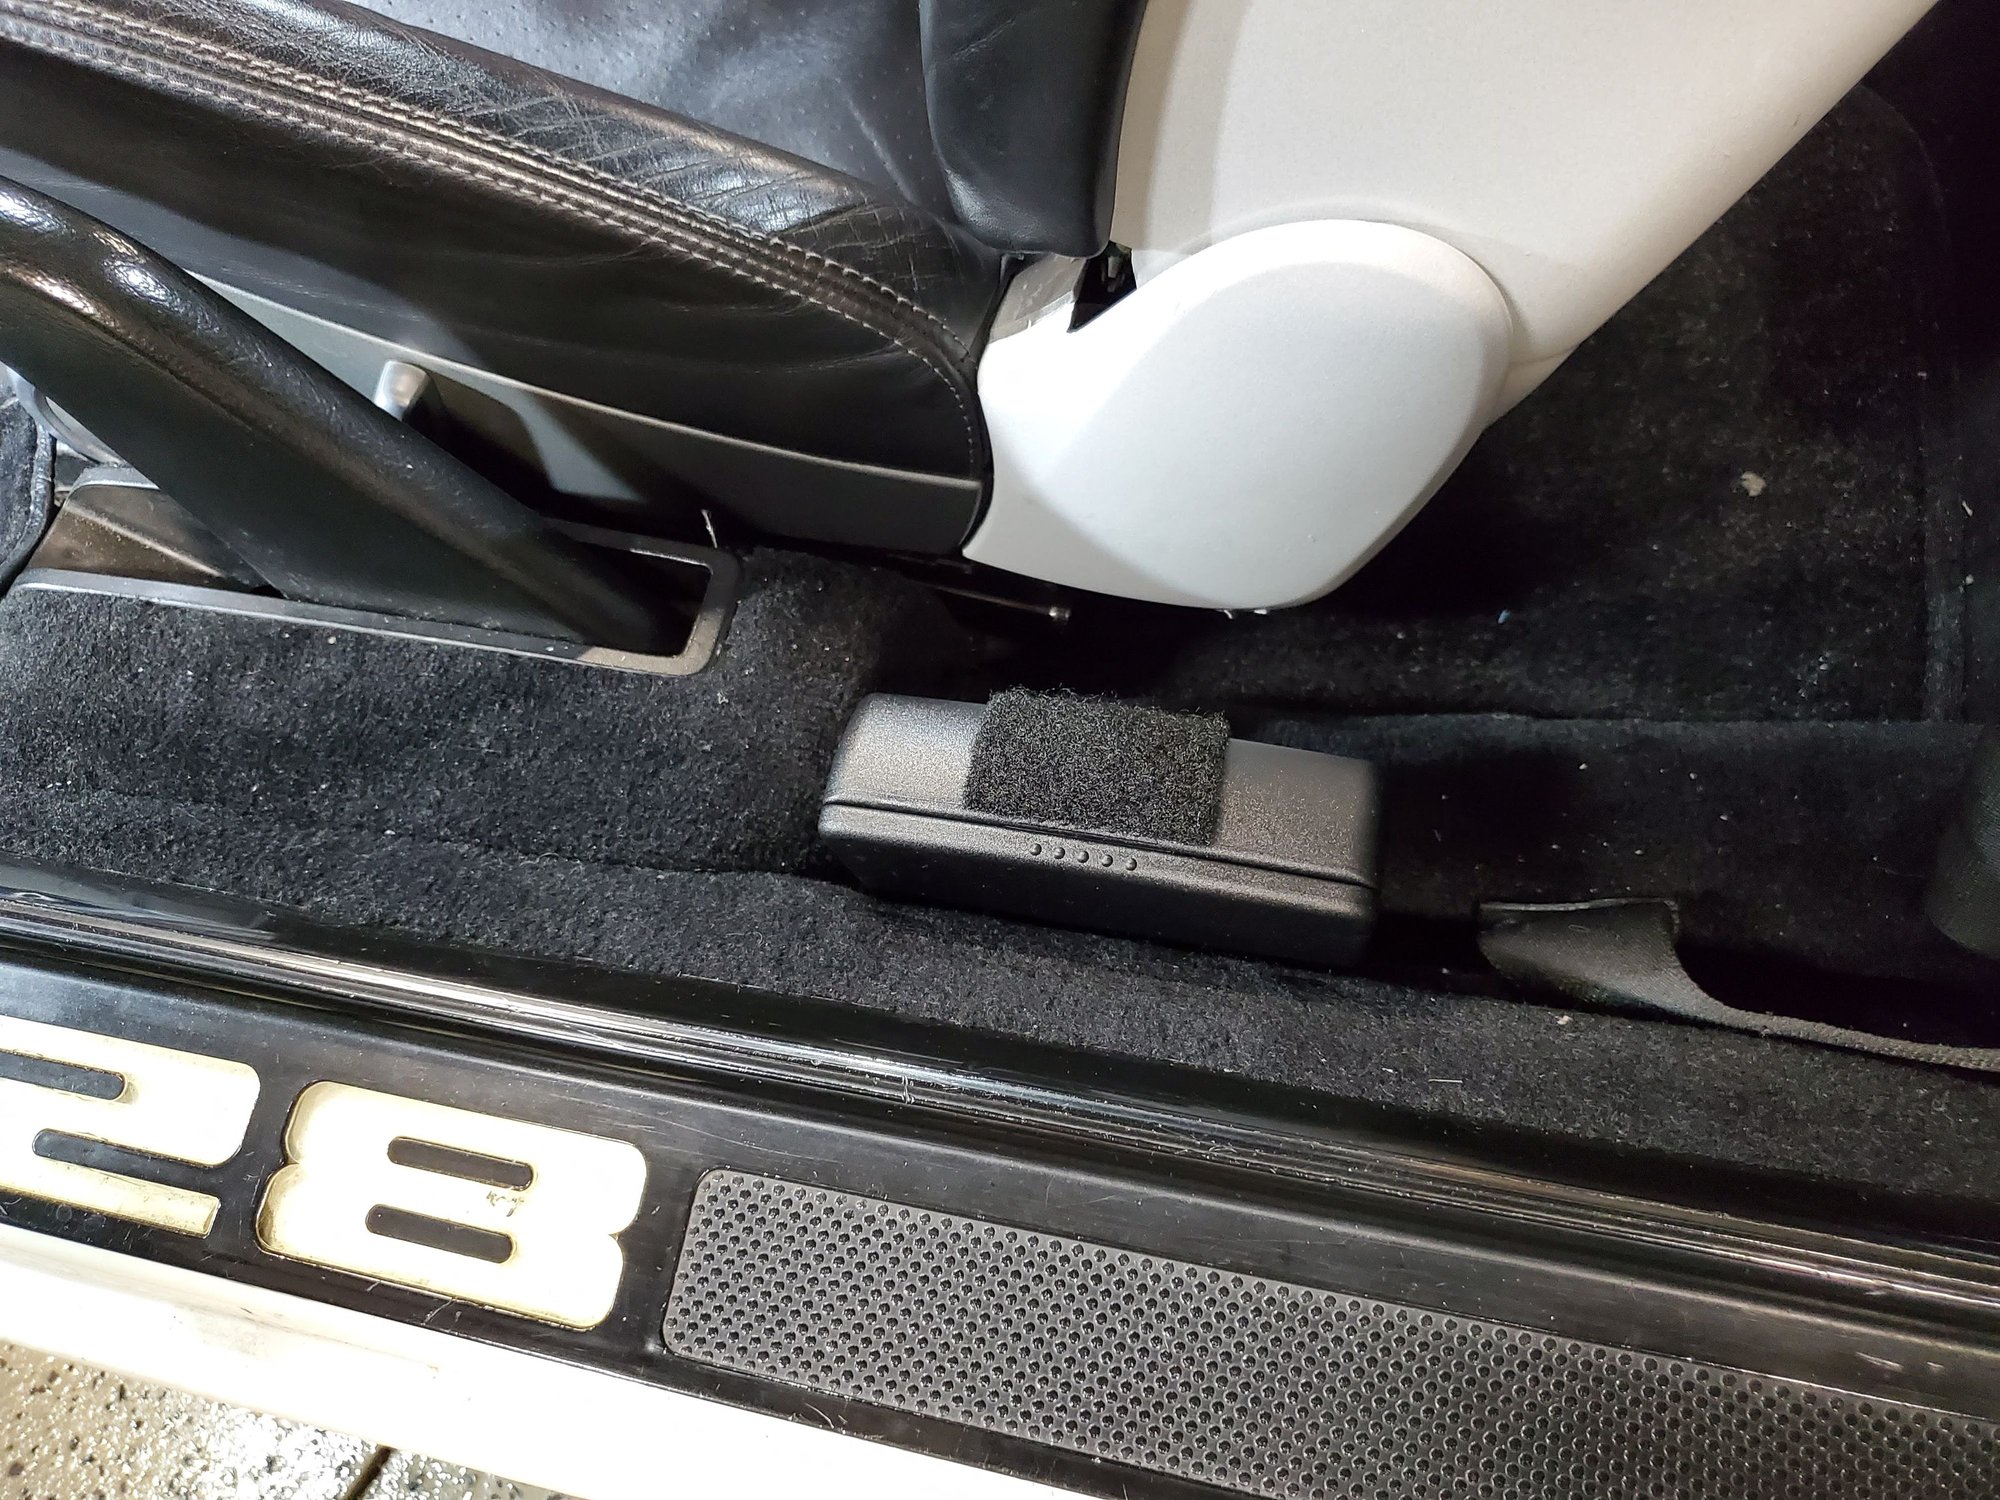
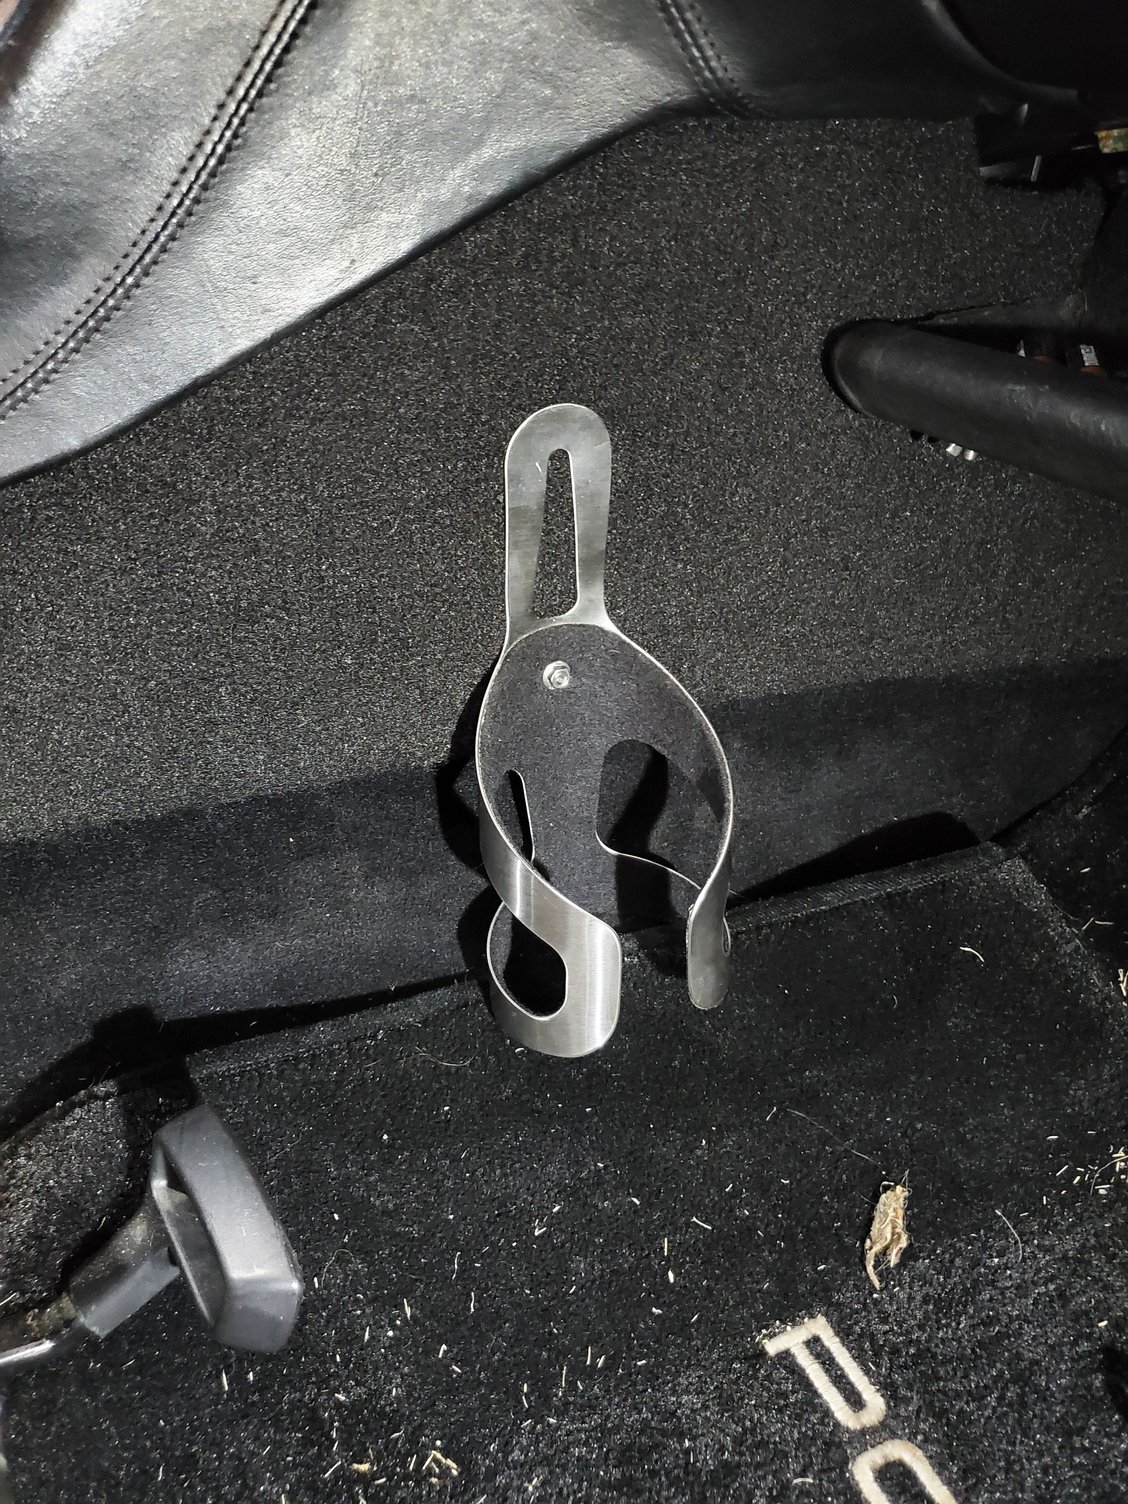
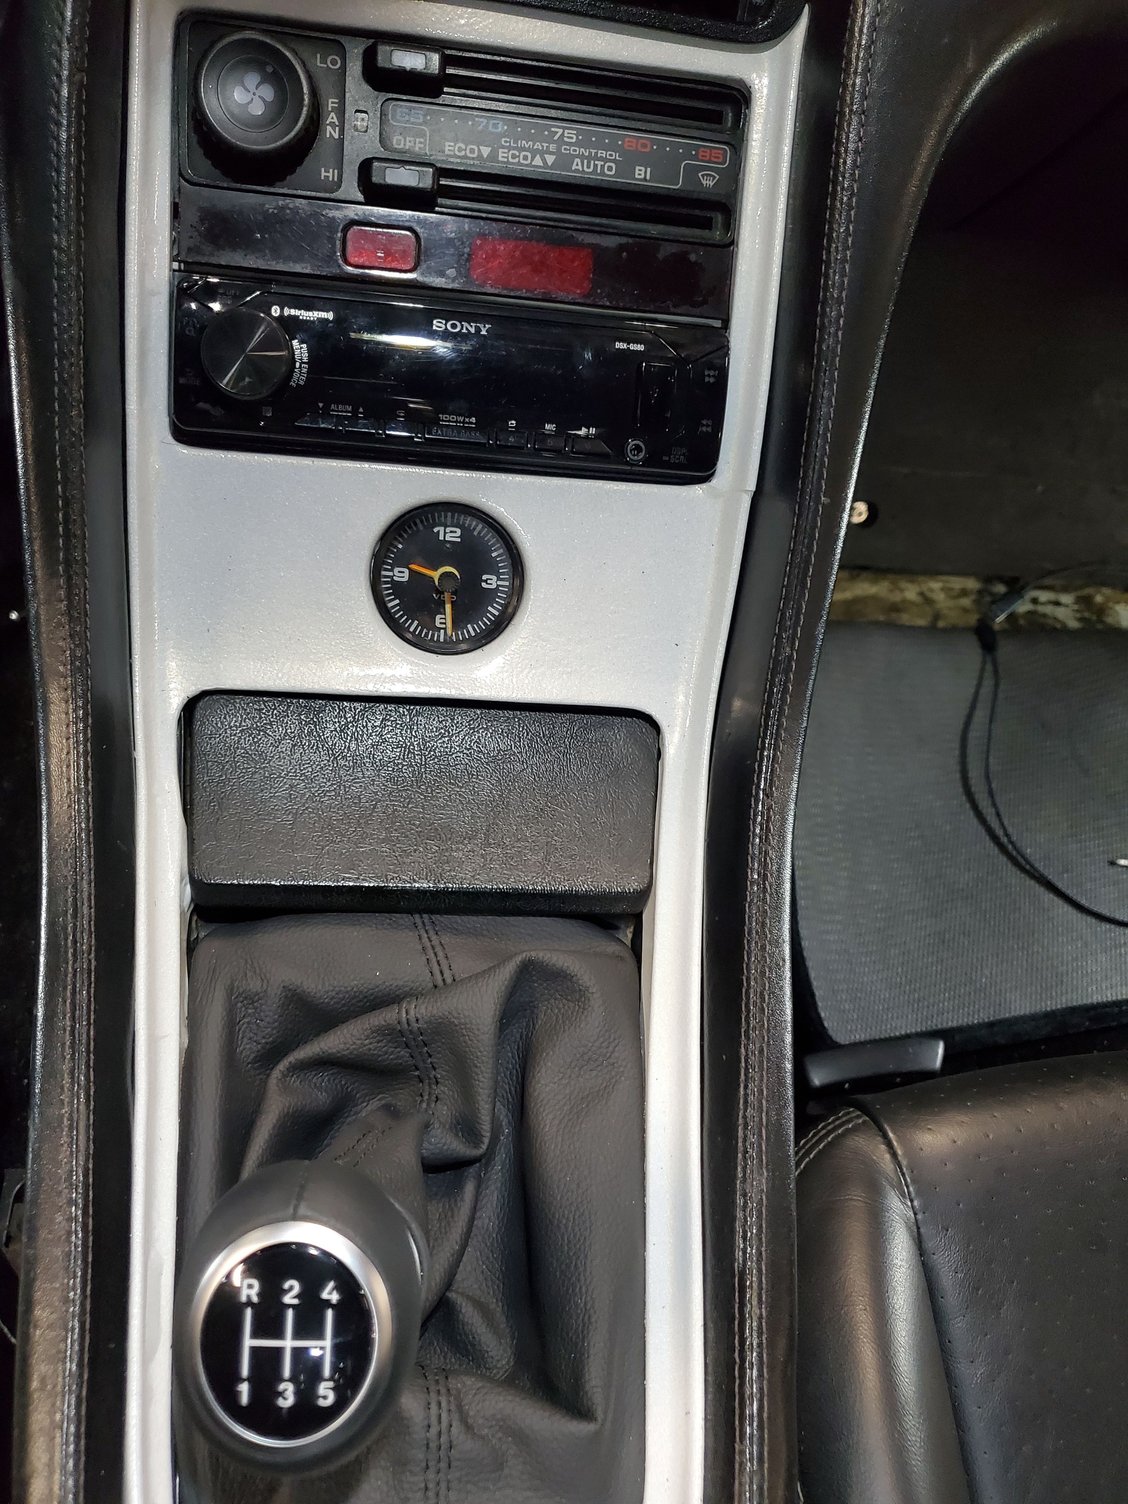
Then I had to come up with something different to do on the drivers side as my right leg needs to be right where that console side panel is. I decided with magnets mounted to the bottom edge, I could adhere it in the little recess right behind the parking brake, and it doesn't effect ingress or egress to the front or back seats when closed or open and in-use.
The carpeted cover for that brake is on the steel cover so the magnets stick through that quite well. I also used larger 1.25" diameter magnets since there would only be 2 of them, and they're stronger than the smaller 3/4 in versions.
Magnets on the bottom of the DS cupholder
Applied some loop velcro to the edge of the cupholder so when it's open, it doesn't scratch the vinyl of the 997 wrapped seats
Open position with velcro pad
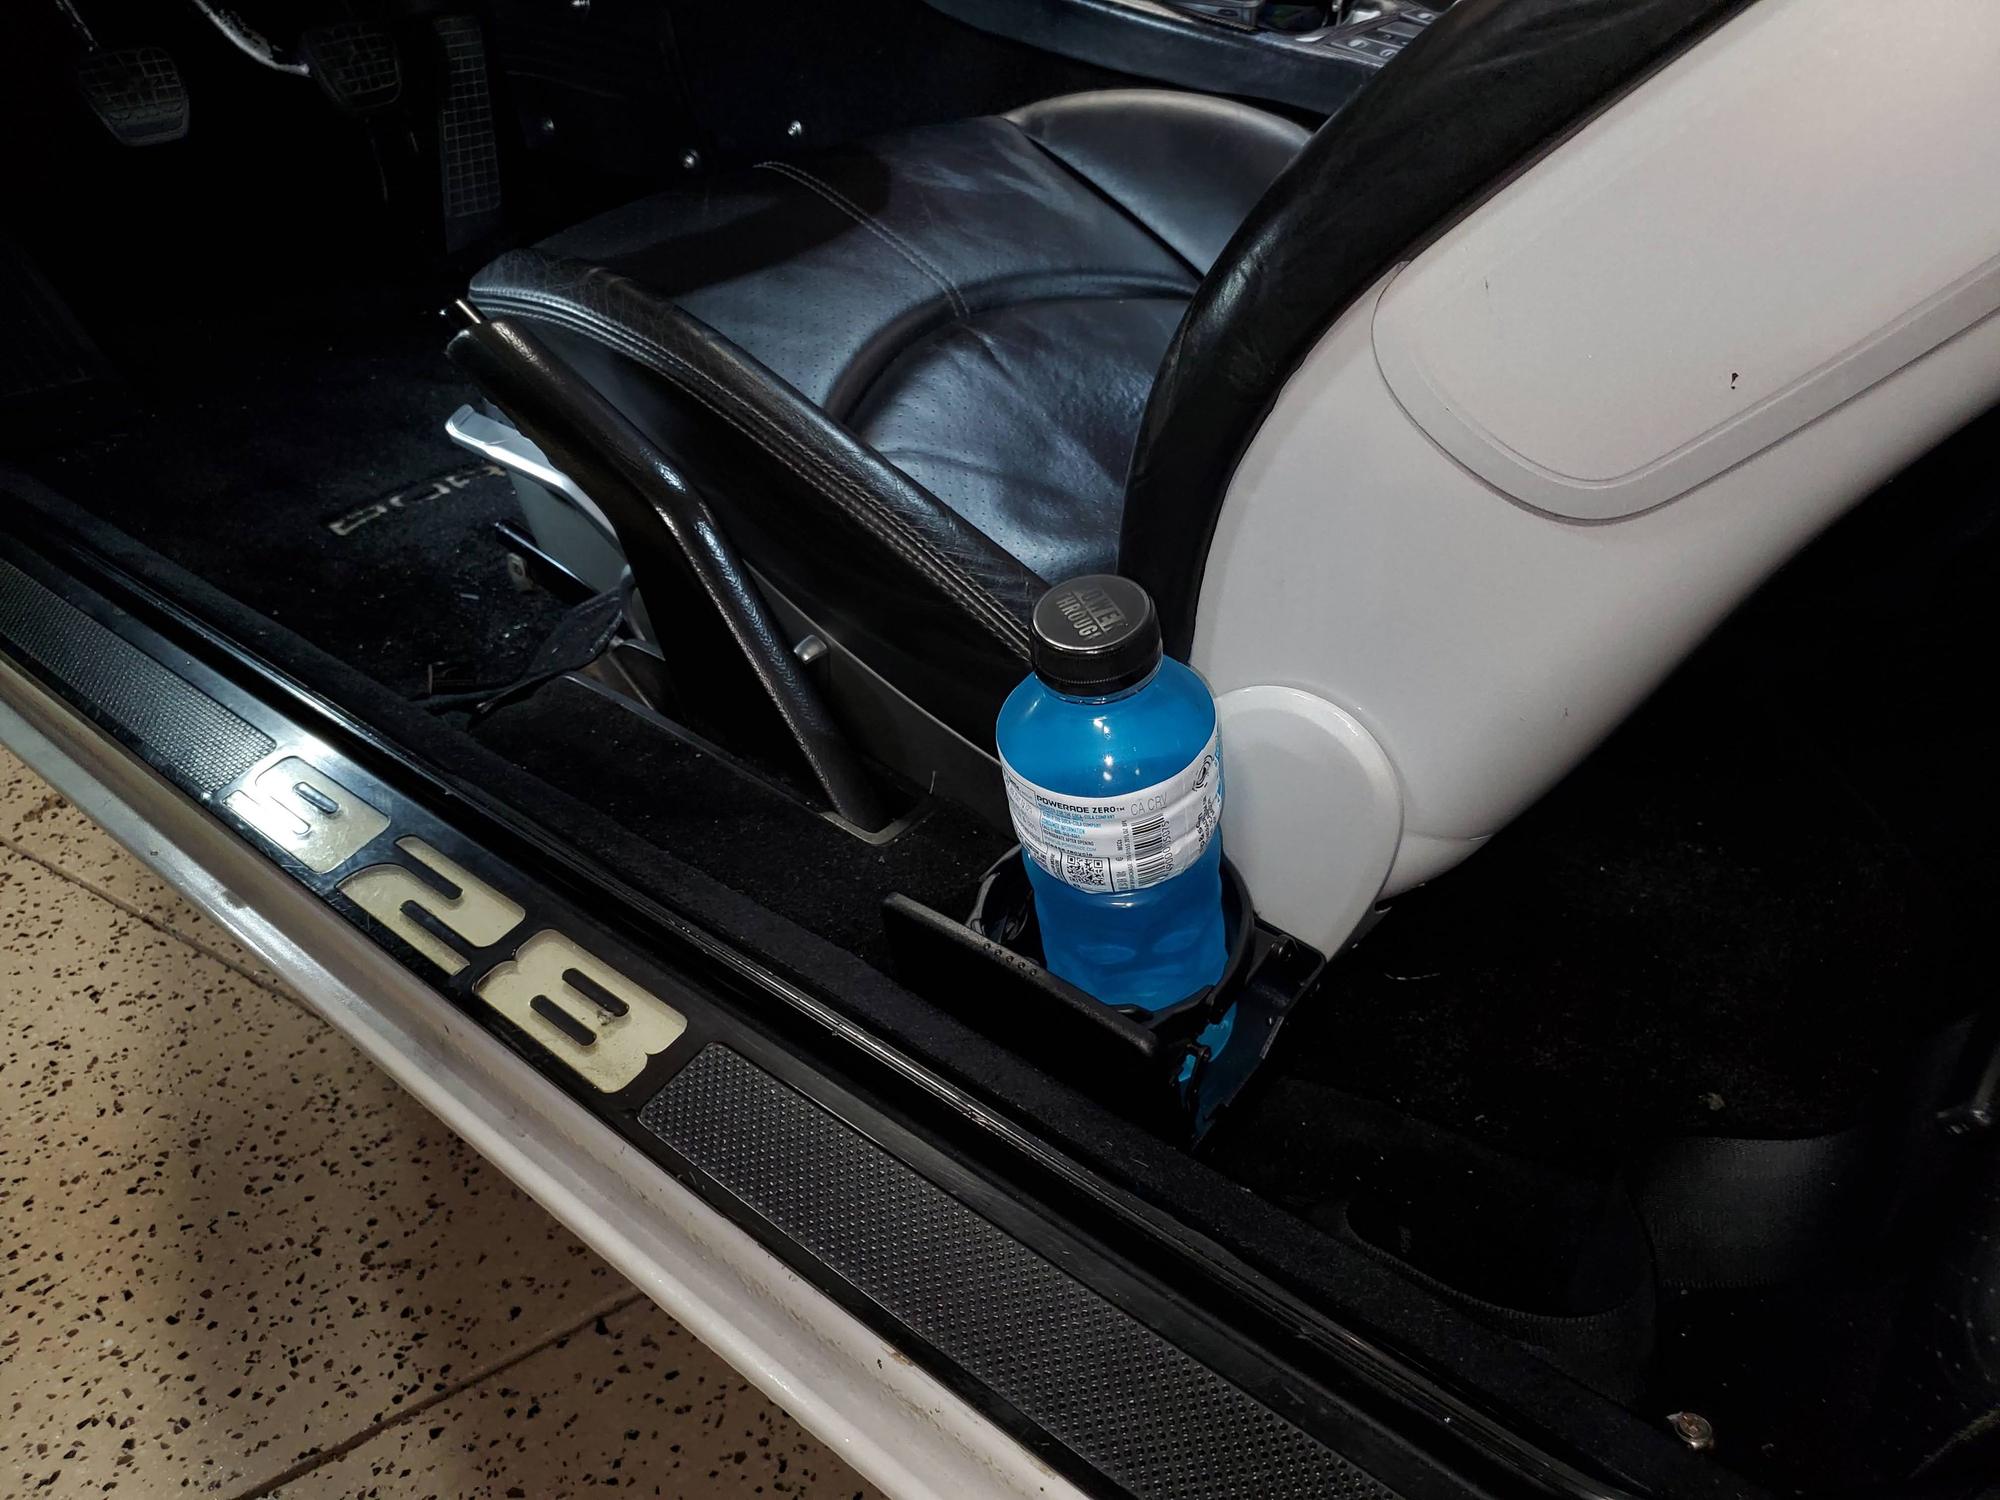
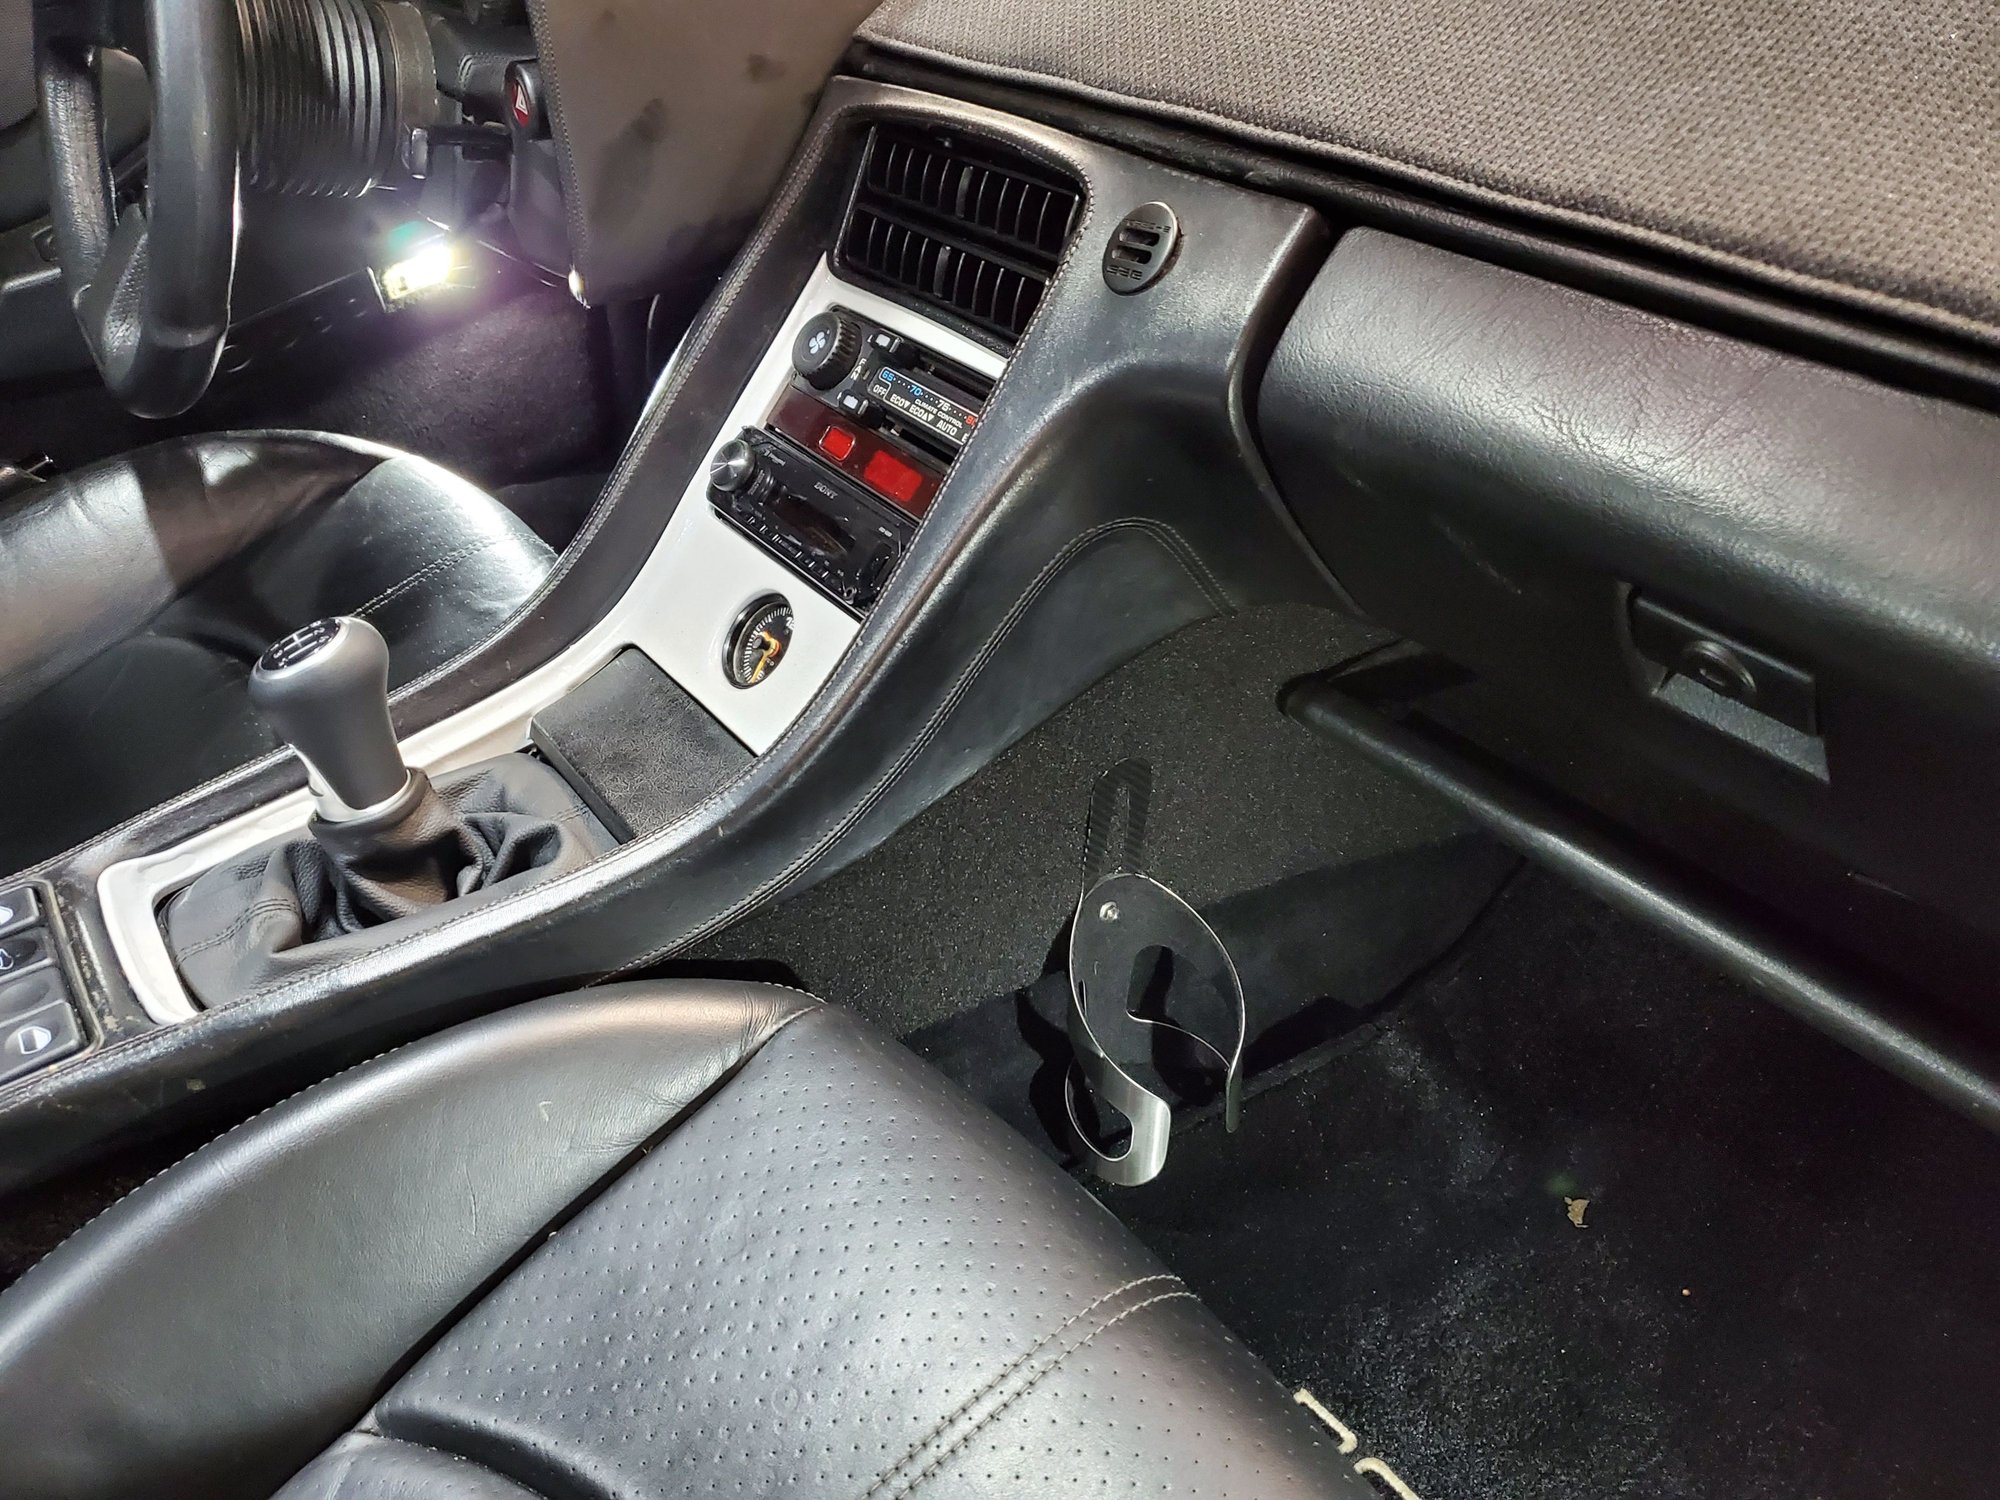
Fits securely and works great
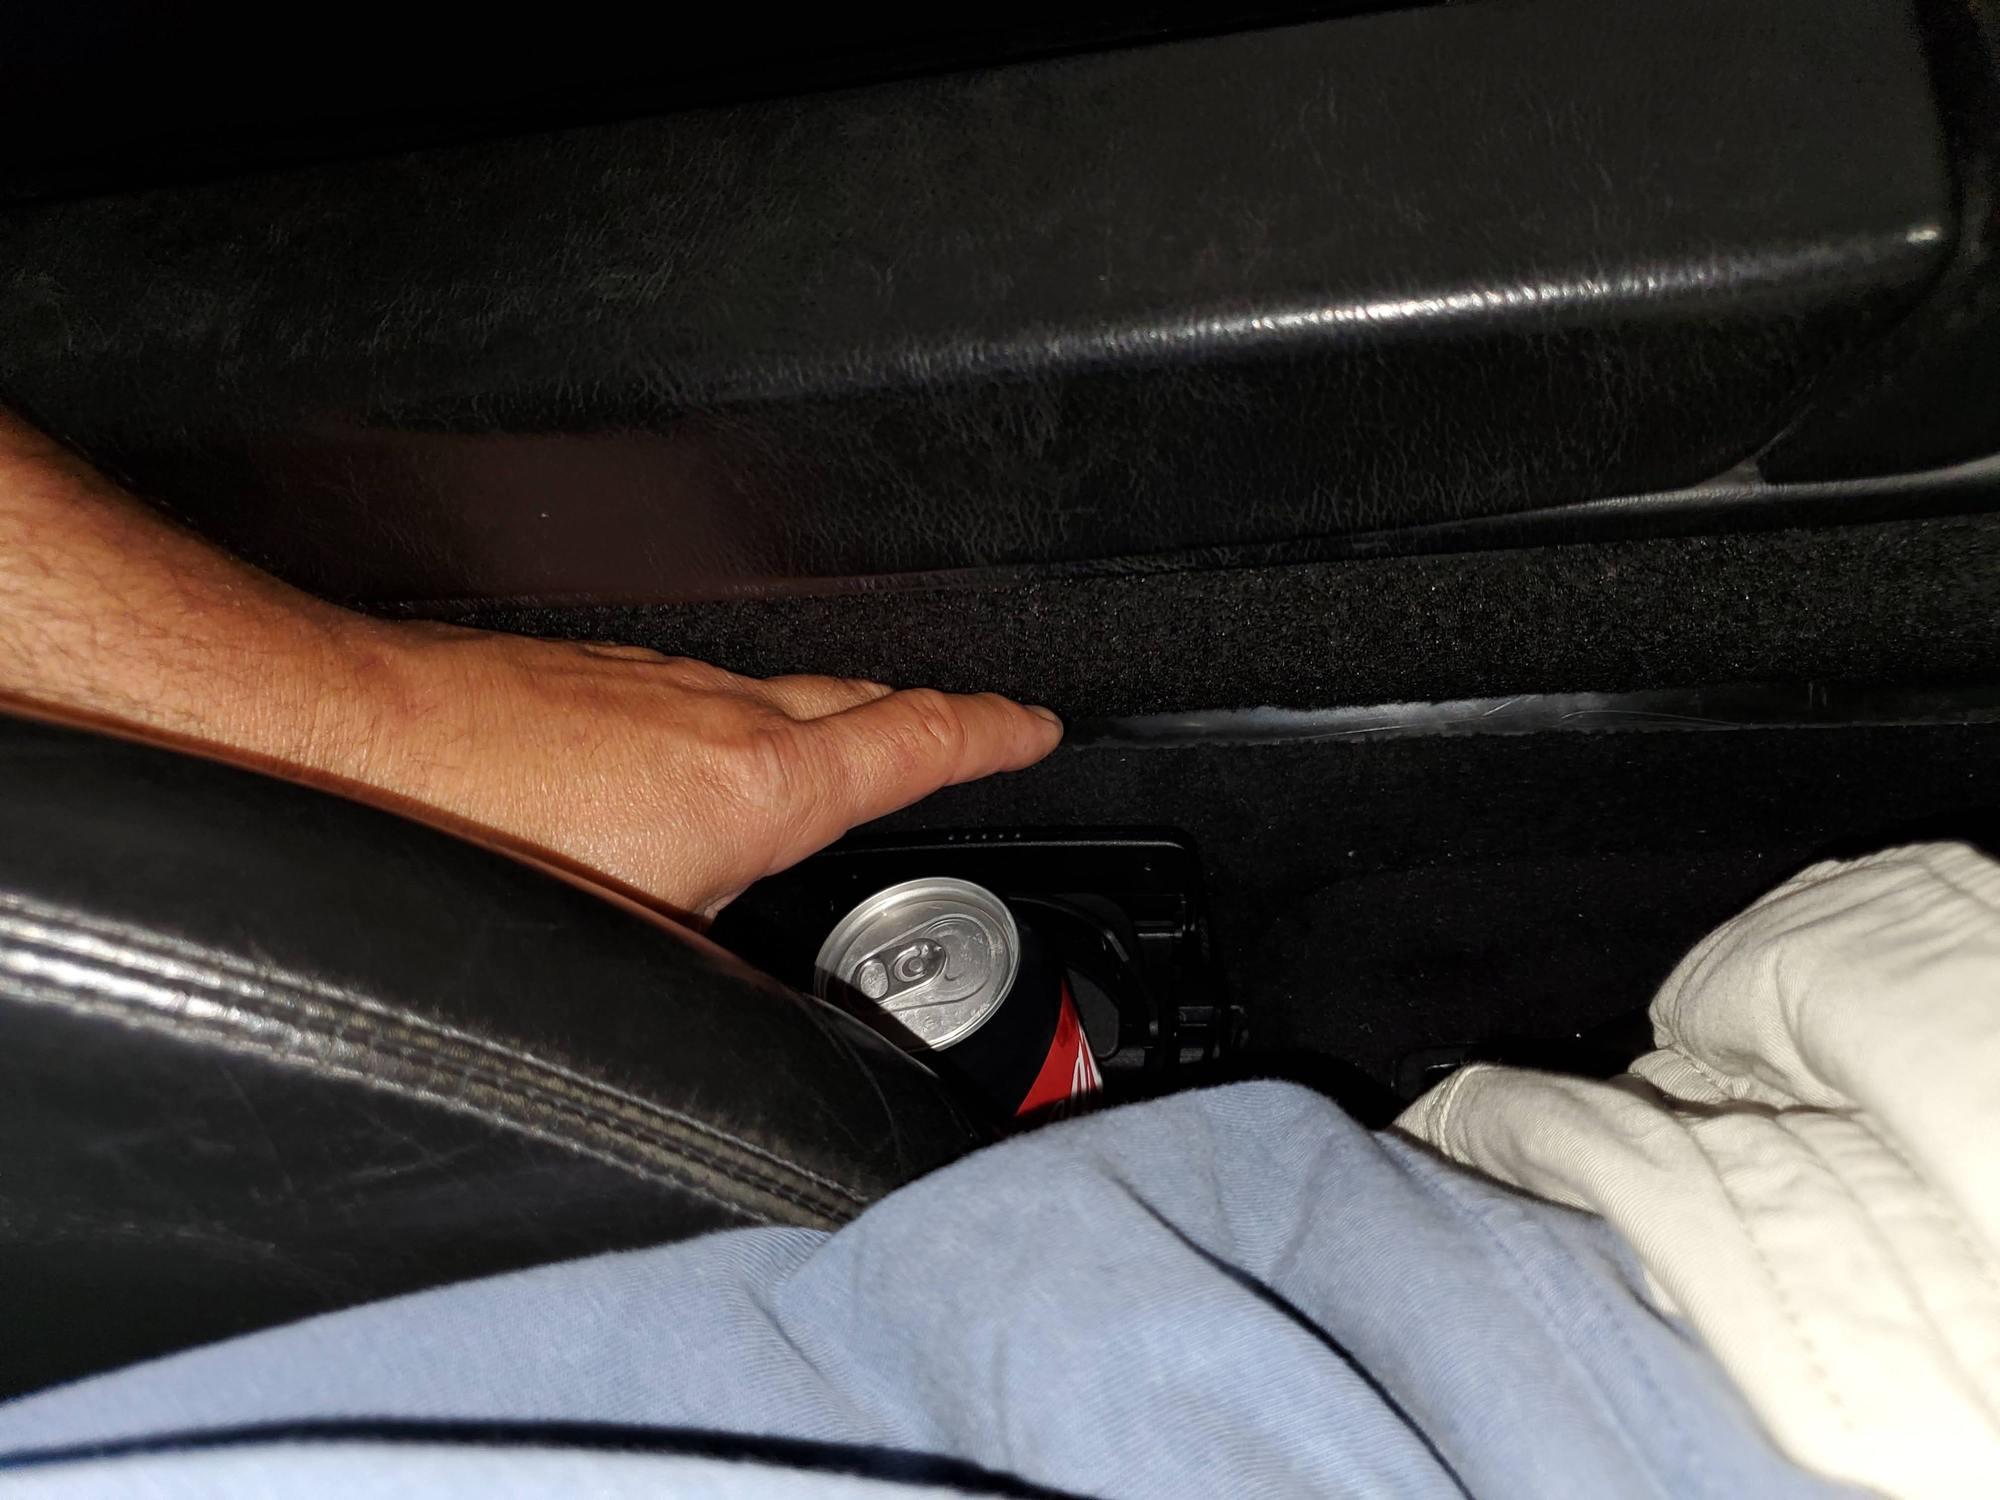
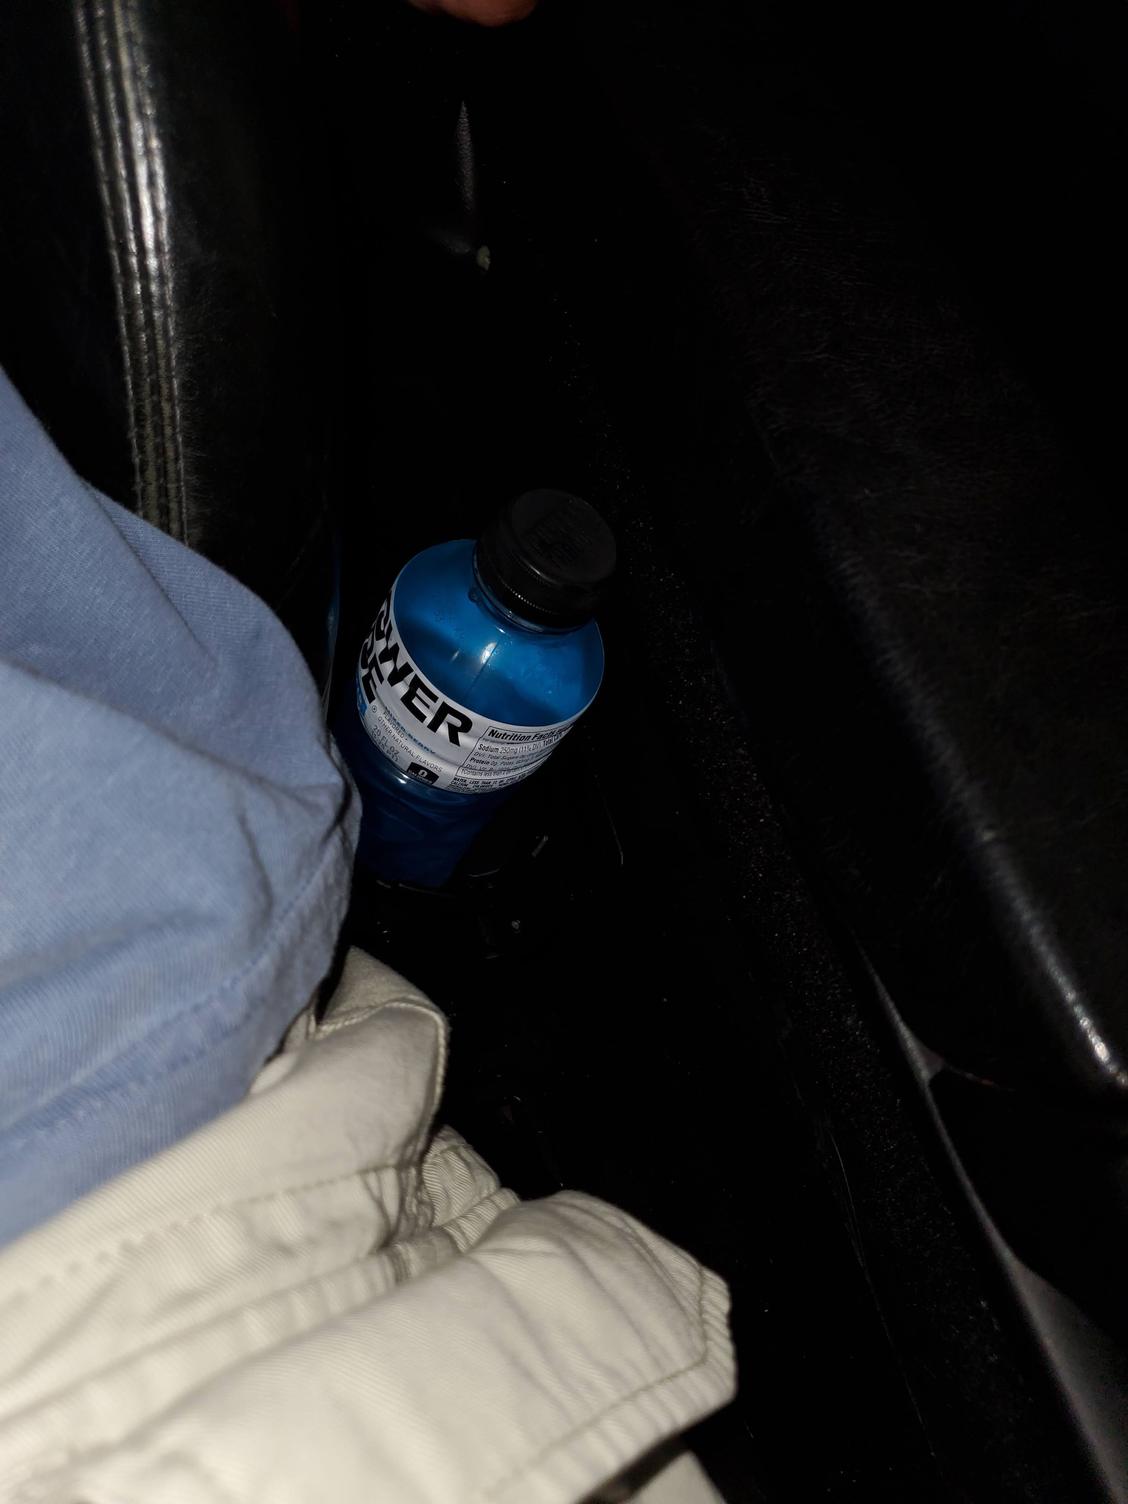
With door closed, access to a 12 oz can
With door closed, access to a 16 oz bottle
Just need to attach some colored wheel center Porsche crests to them (on order) to dress them up like the ones in the Spyder, and they'll be finished.
Well, my passenger side concept didn't work. Not strong enough through the Plexiglas panel.
Had a couple of these alternate Ultimate Cup holders around too. I mounted my side panels. With a stud and a nut on the outside that tightens against a an inner lock nut. By turning the inner lock nut in a couple turns and drilling one hole in the Ultimate Cup holder, I now have a passenger side solution. I will either black the top section with vinyl to make it less visible or just cut it off.
Drink is supported by the floor and the cup holder expands to handle various cup and bottle sizes. 👍
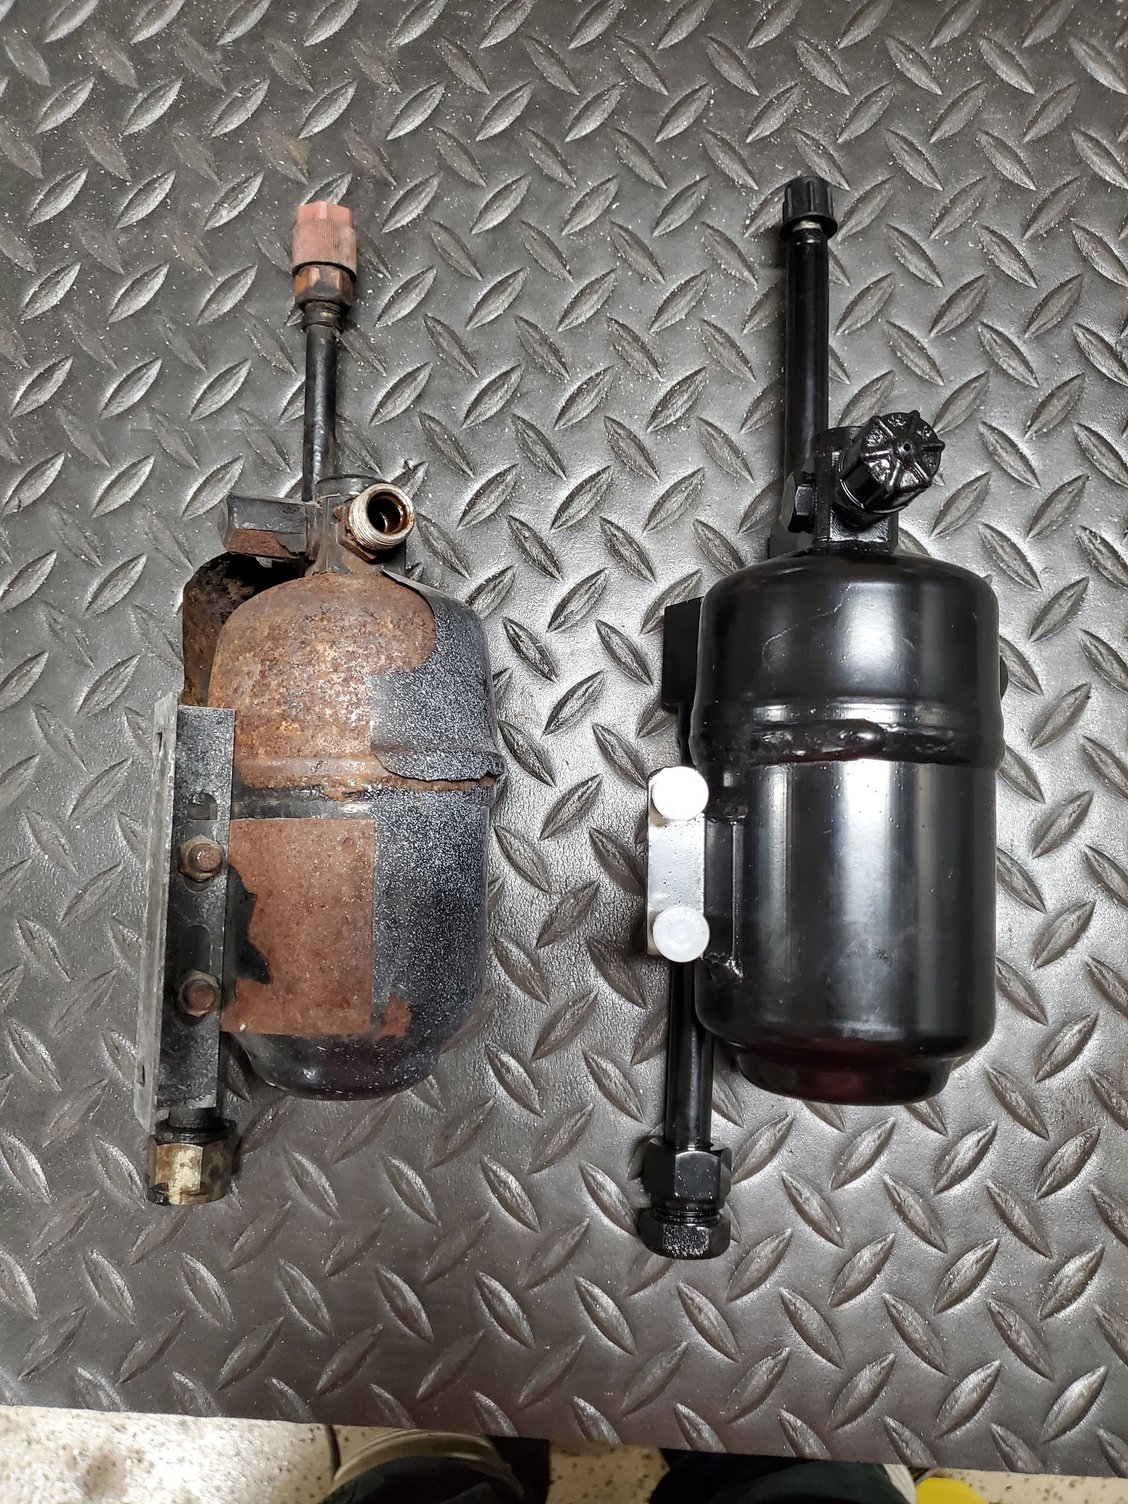
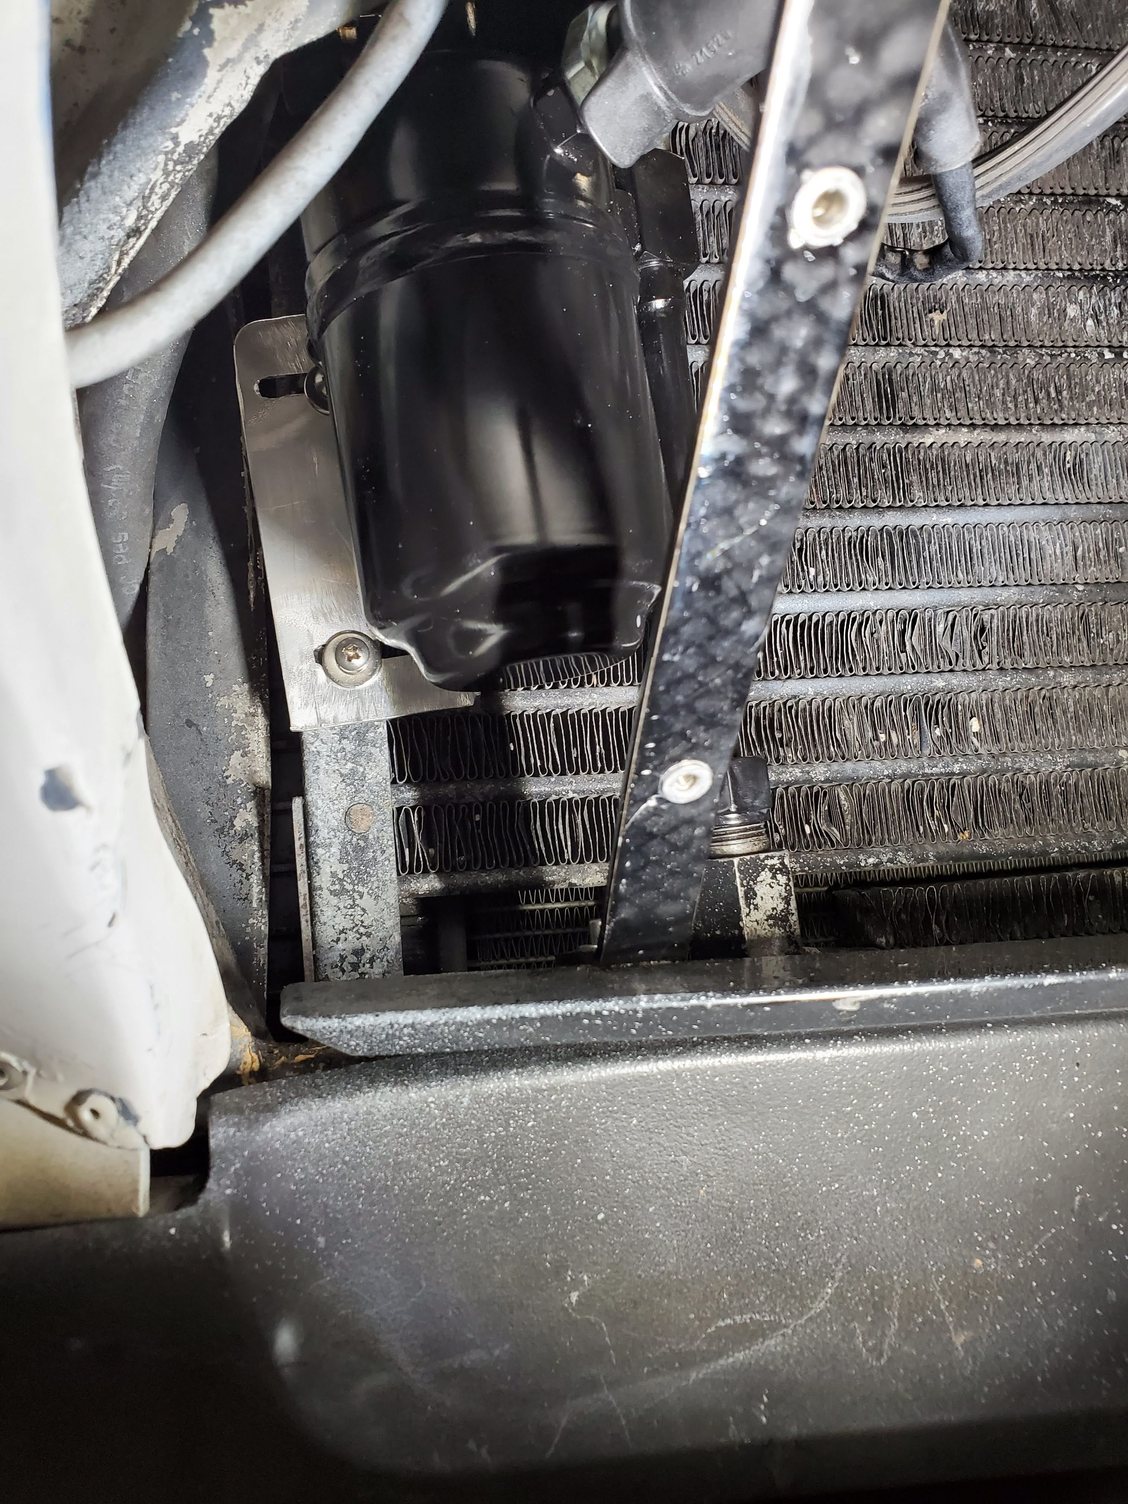
Continued work on the A/C system over the weekend. Installed the new URO Parts Dryer. Of course nothing is ever easy, even when it should be.
New vs Old dryer - old one looks crappy enough where it may be the original
Other side of New vs Old
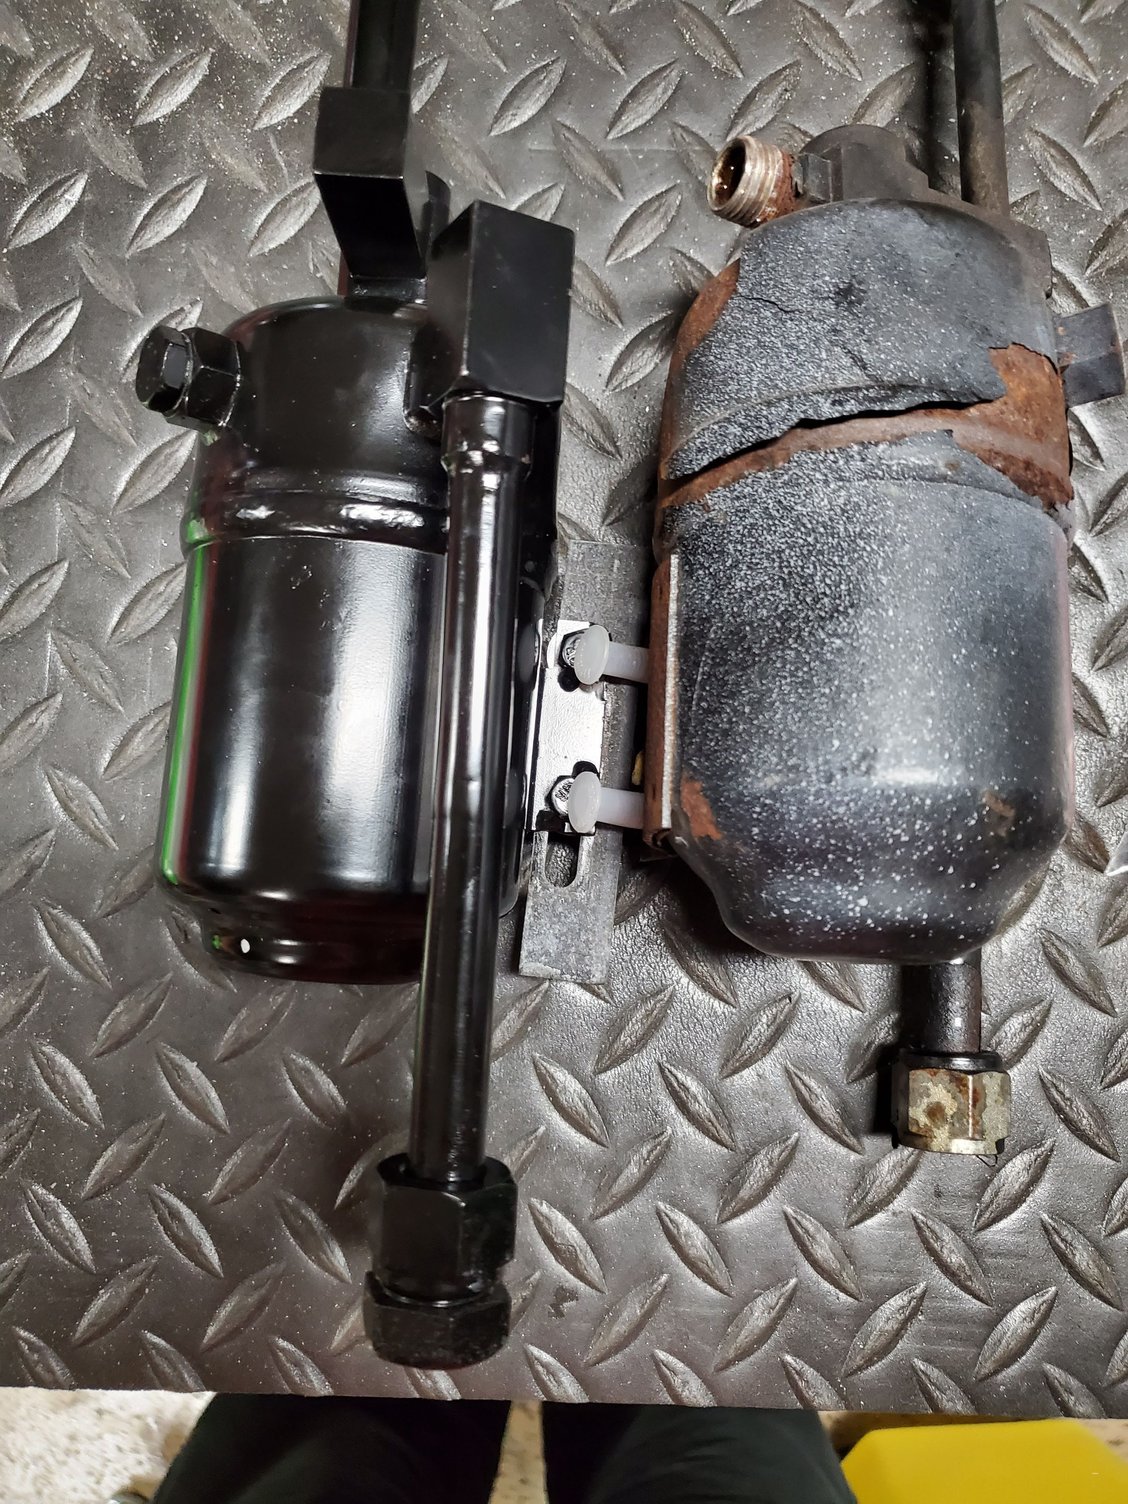
You can see the fitment difference well in this pic after lining up the mounting studs of both units. Bottom pipe is quite a bit longer on the new one
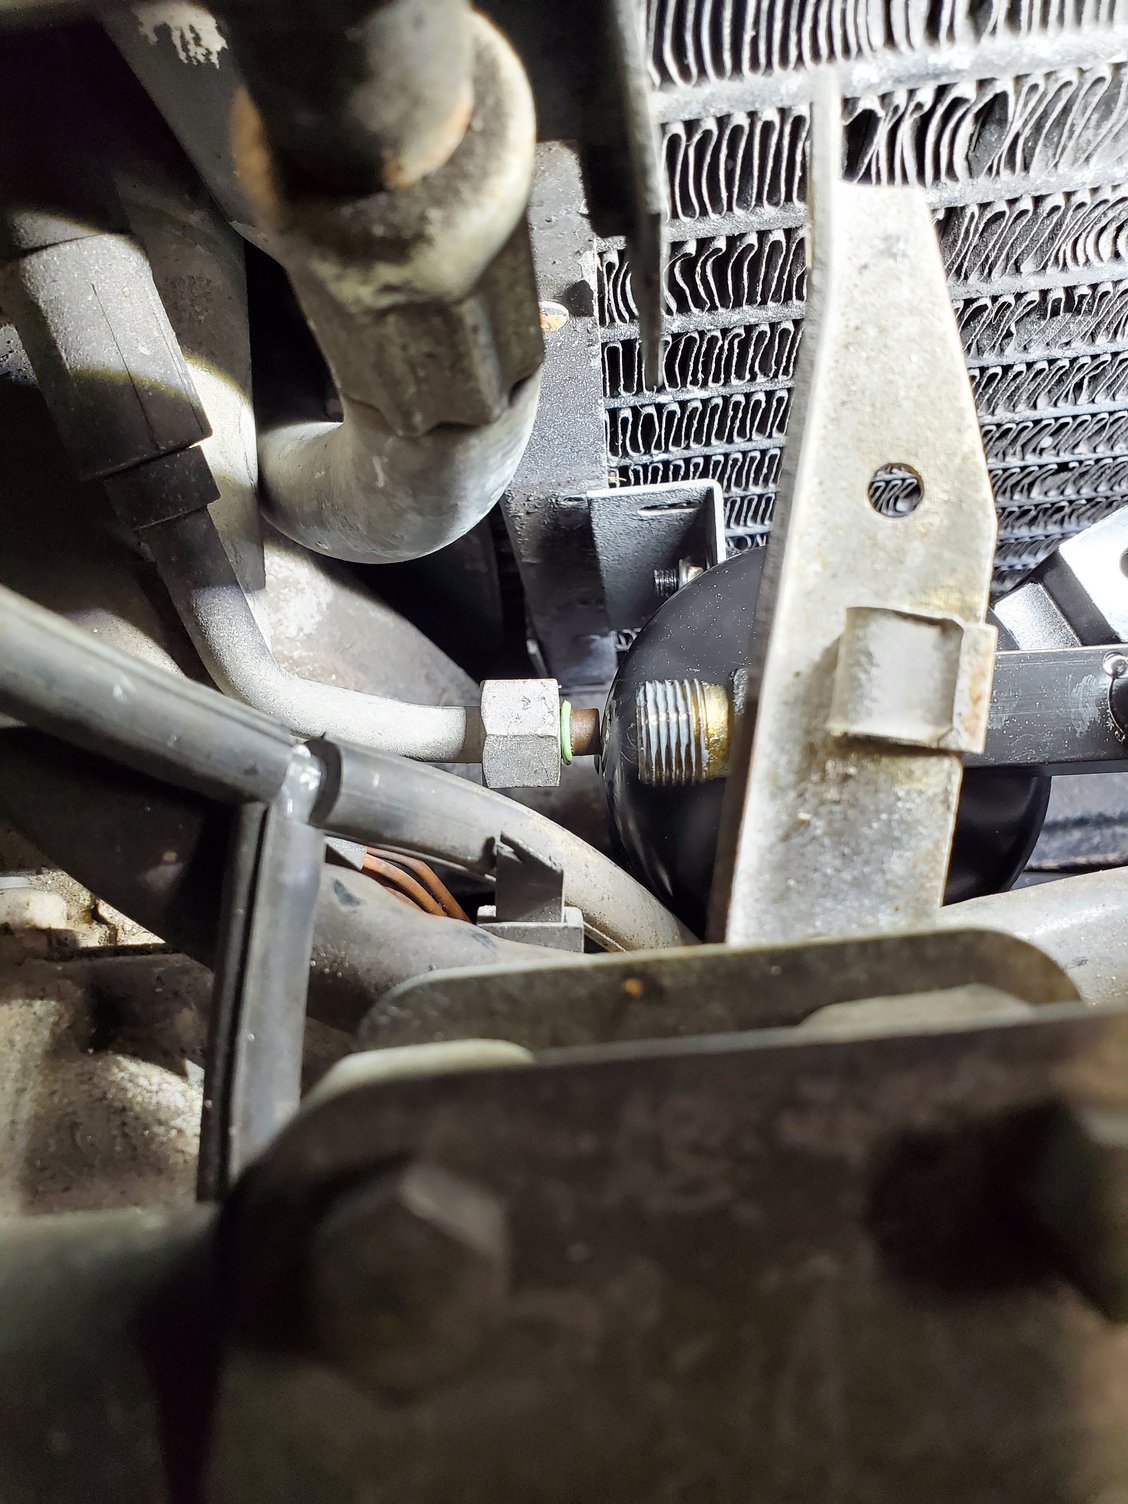
When test fitting it you can see that the original bracket isn't going to reach the mounting holes. Not only with the longer pipe is it sitting too high, but also quite a bit further to the right.
2nd view of new dryer with original mounting bracket
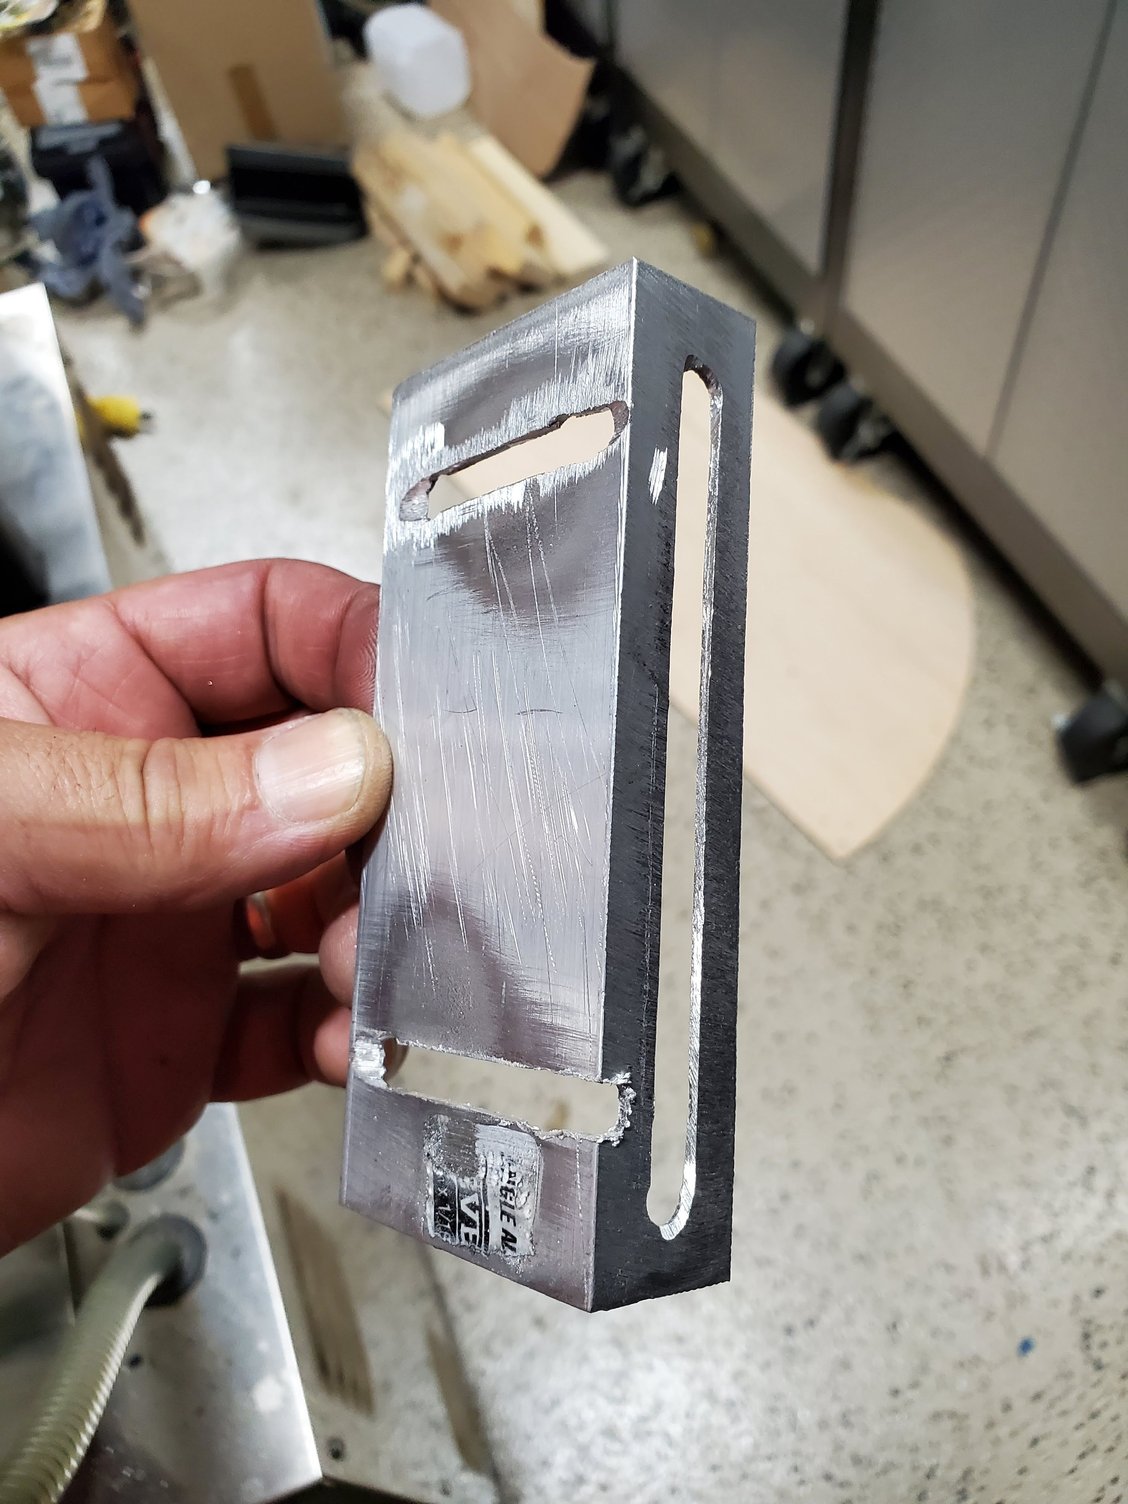
Time to fabricate a new bracket. Did slots in both sections so I could tighten down all the dryer fittings then have the bracket have enough play to fit the way it needed to, then tightened down the bracket mounting nuts last. Not very pretty, but functional.
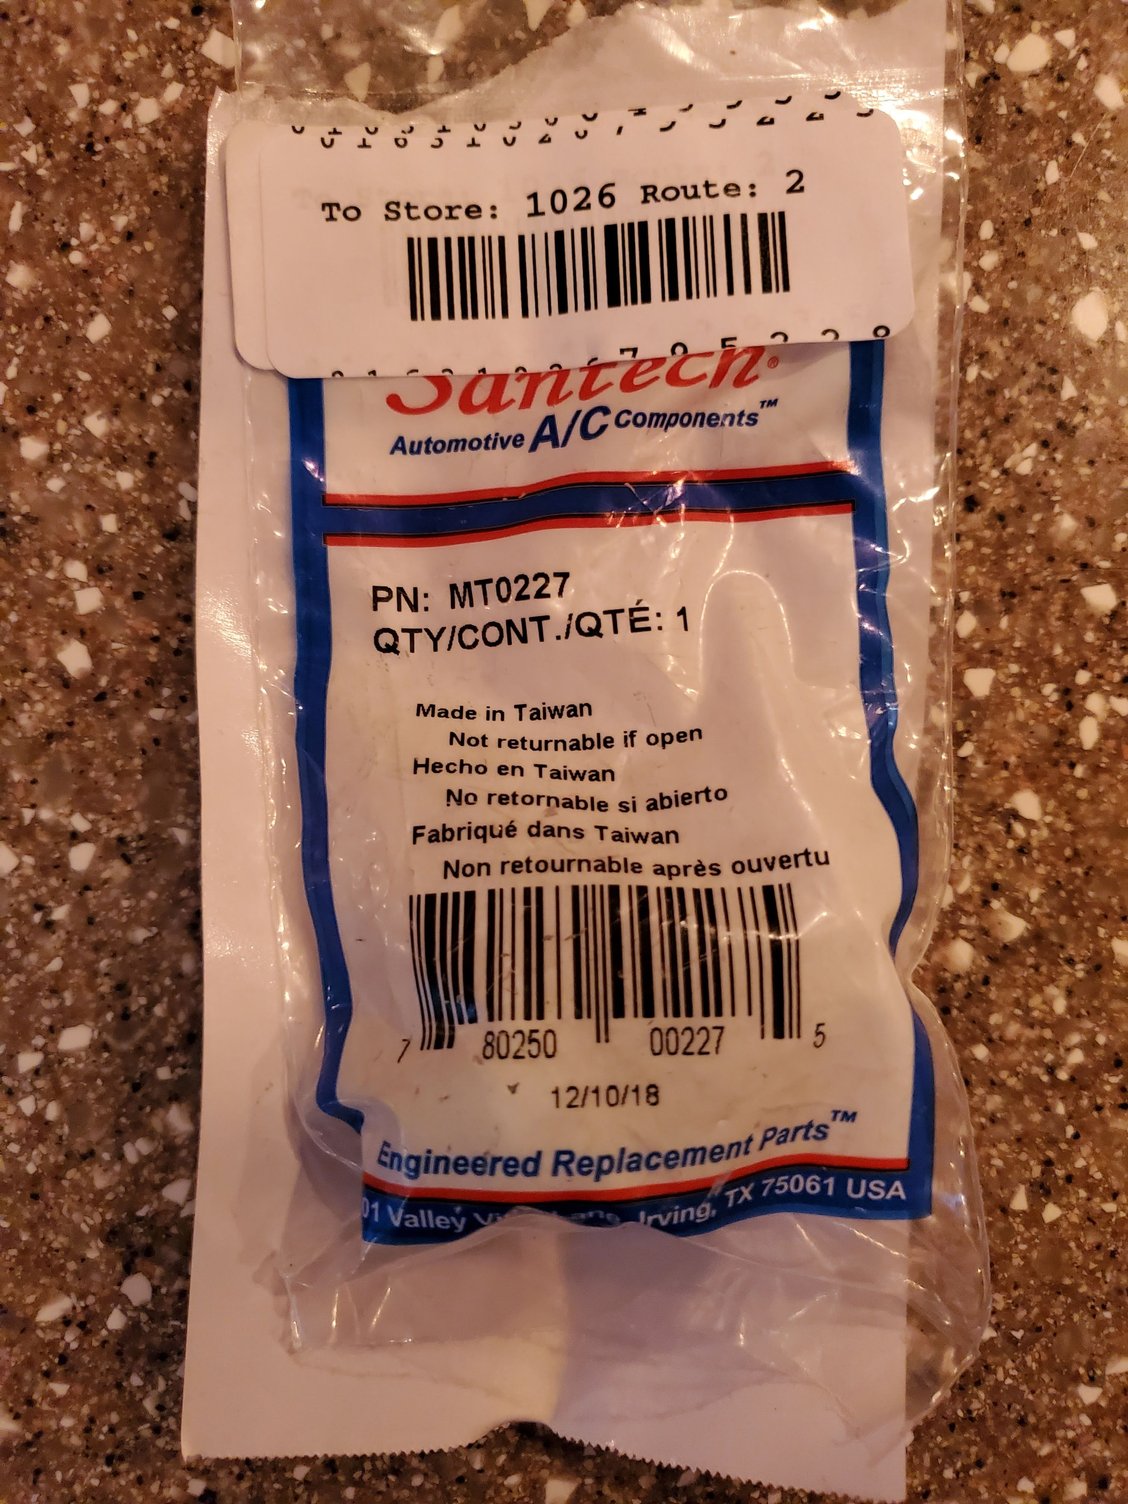
Also installed a new low pressure switch since the switches themselves are sometimes the cause of leaks. Actually available at your local Auto-Zone with same day delivery if not in stock.
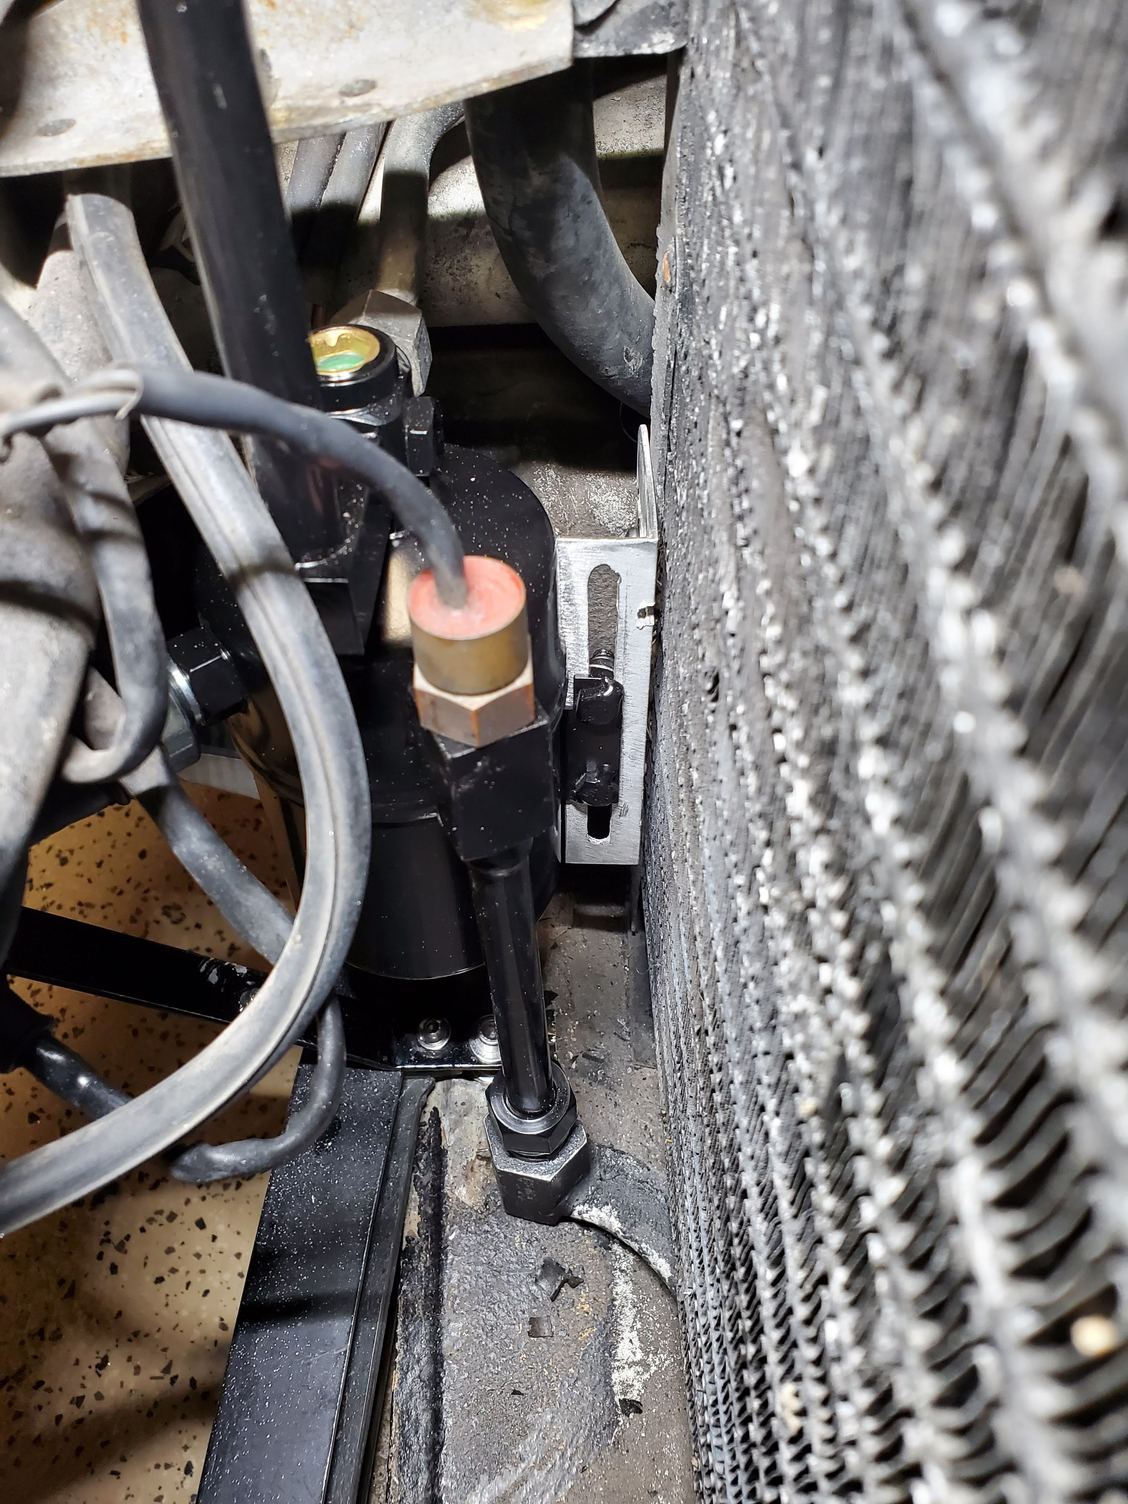
New dryer install completed
2nd view of completed install
Vacuum pump arrives tomorrow and have new gauge set so I can pull a vacuum, make sure it holds overnight, then refill the system and see if I now have working A/C in one of my 928s....
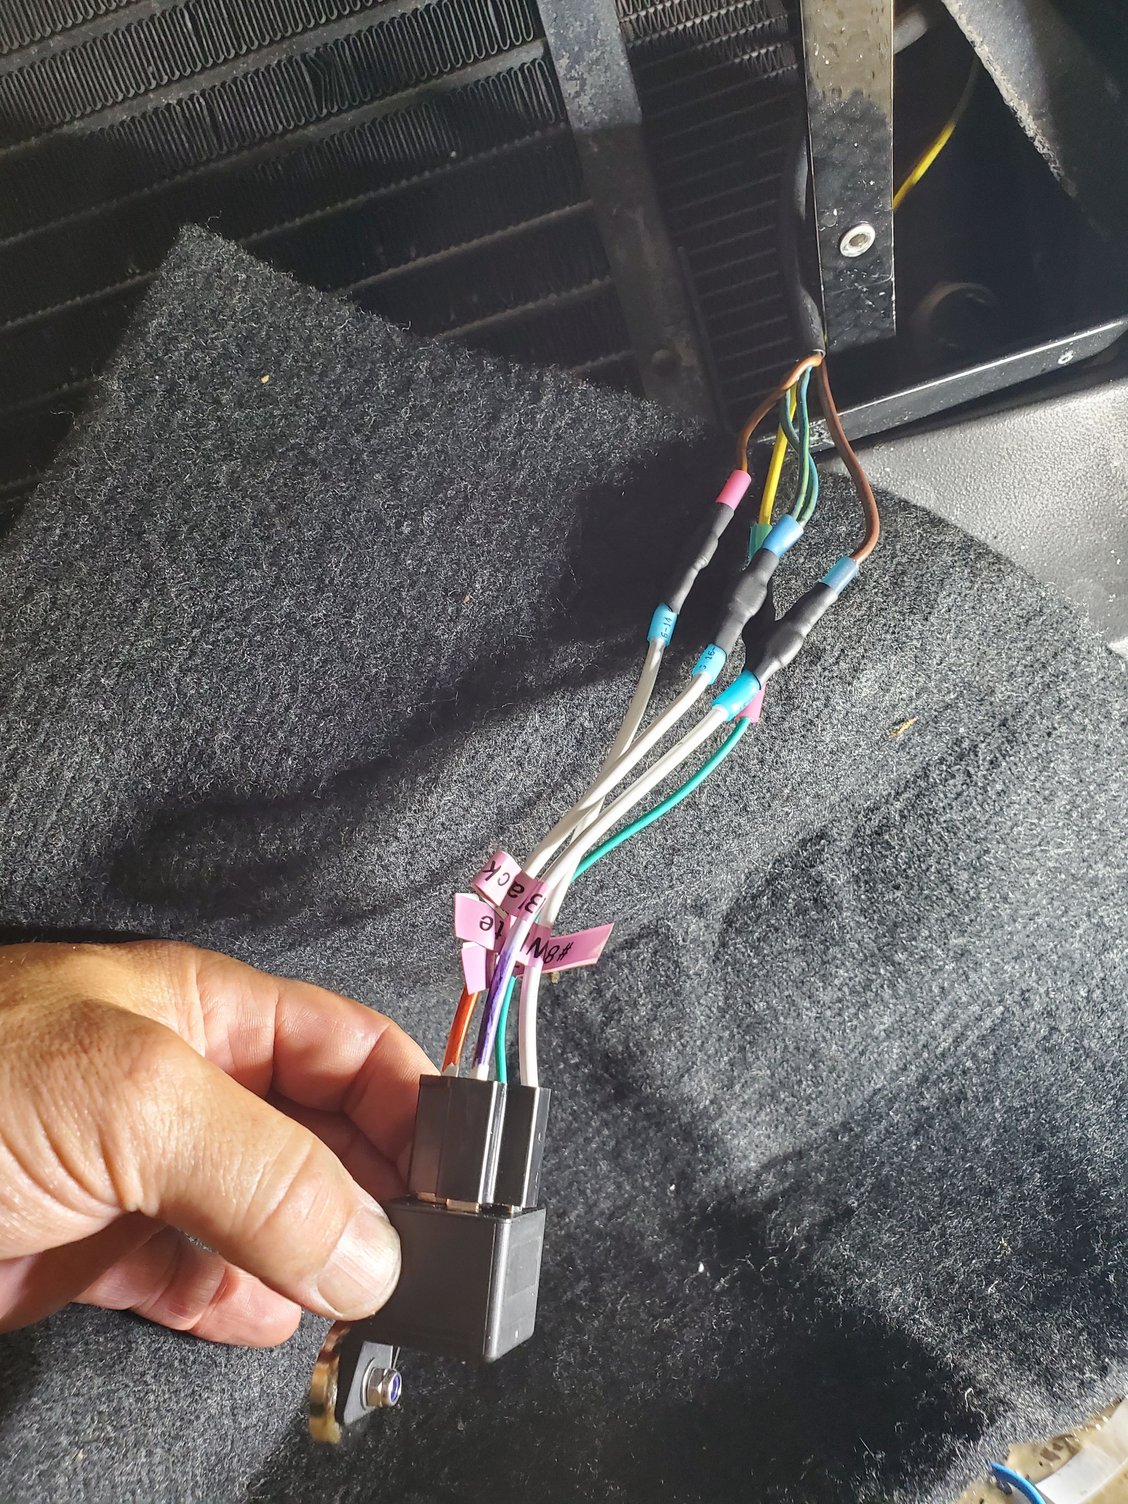
After sitting in the drive-thru on a hot summer day and watching the temp climb higher and higher until I had to switch off the engine, a later test revealed my front fan wasn't running at all - also not with the ac on. I didn't want to unplug the coolant temp sensor wires where it runs all the time as that's how the PO had it, so I decided to wire up a manual fan switch button in the ashtray. Did almost all the wiring last night and finished it up tonight.
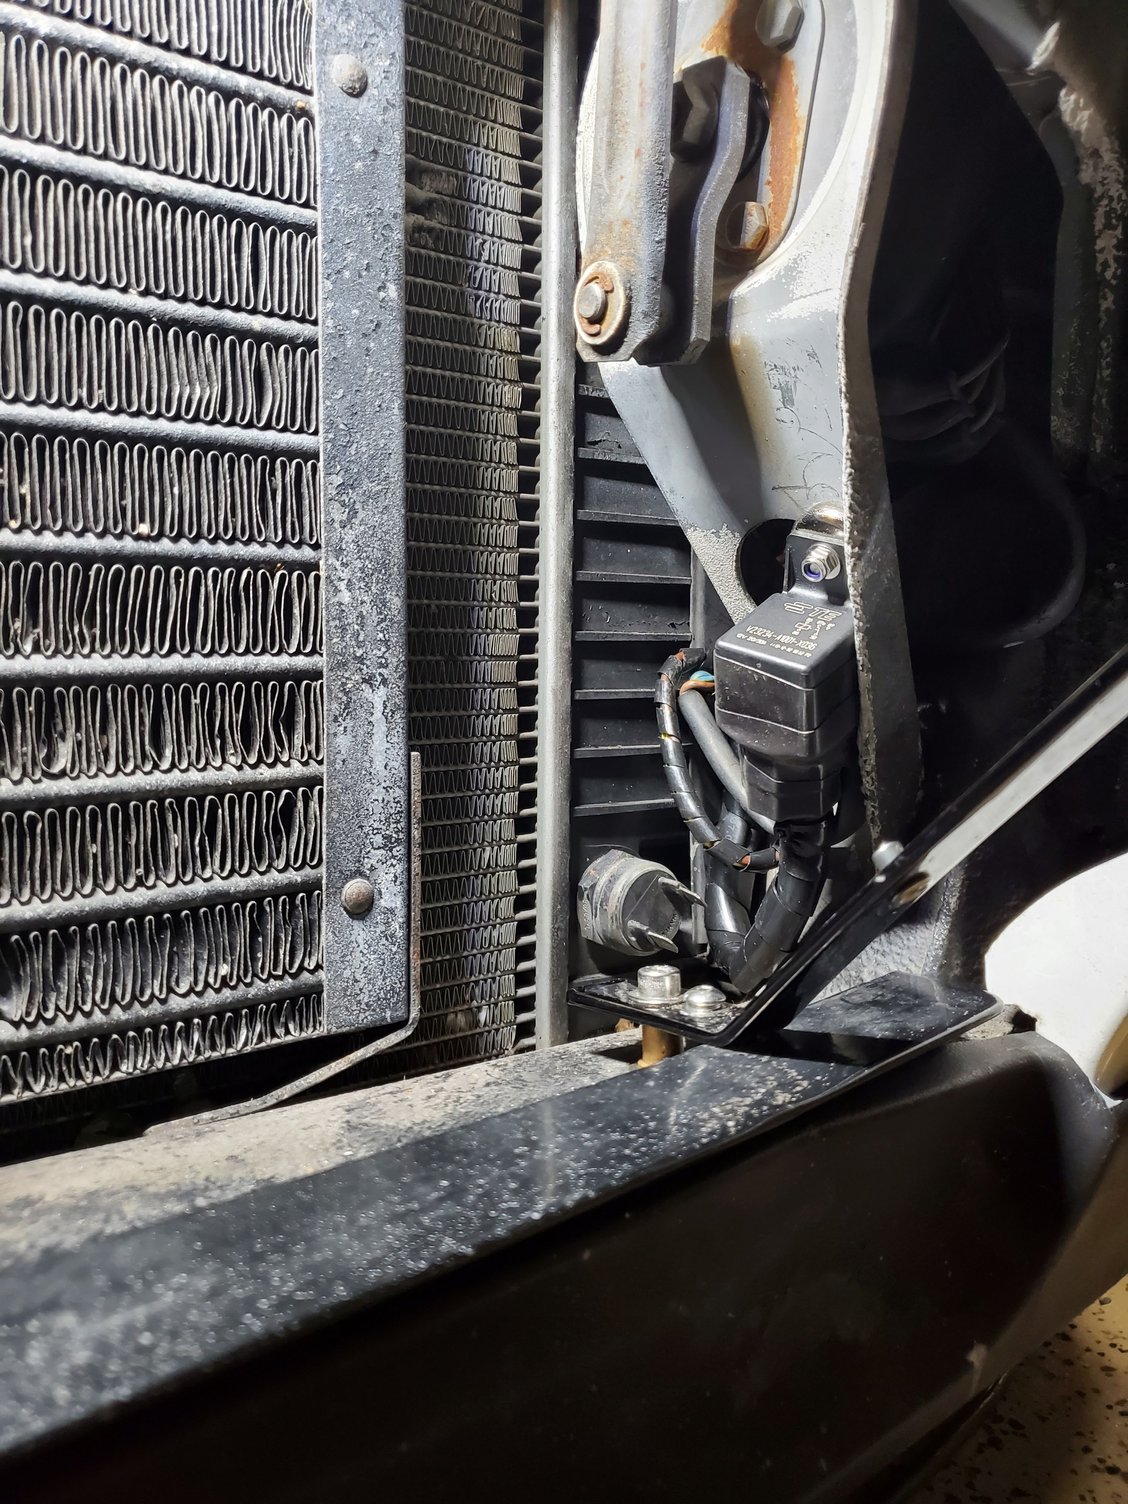
I have a secondary fuse box installed in the car for the electrics I've added. I ran a wire from the 12v switched side past the fuse and relay panel and over to the center console. I drilled a hole in the ashtray cigar holder plate for a push button switch and ran a wire from the other side of the center console through the firewall and down the driver's side of the car to the front near the radiator, where I have an SPDT relay with a neodymium magnet attached to the relay mounting hole. This holds the relay securely in place.
The wire from the fuse box that goes through the switch supplies 12v to the trigger wire of the relay. The #30 terminal is connected to the hot side wire that was on that lower radiator temp switch that gets 12v when the ignition is on. The 12v output side of the relay connects to the other wire that connected to the temp sensor switch. I ran the chassis ground up to one of the factory ground points behind the headlight lifting bar.
Tested it last night and worked as designed - just needed to finish the switch wiring today (couldn't run the vacuum in the garage last night at 2 am with the kids asleep above me to suck the metal shavings from the ashtray hole out). The relay mounts using the magnet to the metal support up front and I wrapped and sealed it with stretch, thermal tape to keep water out of the contacts.
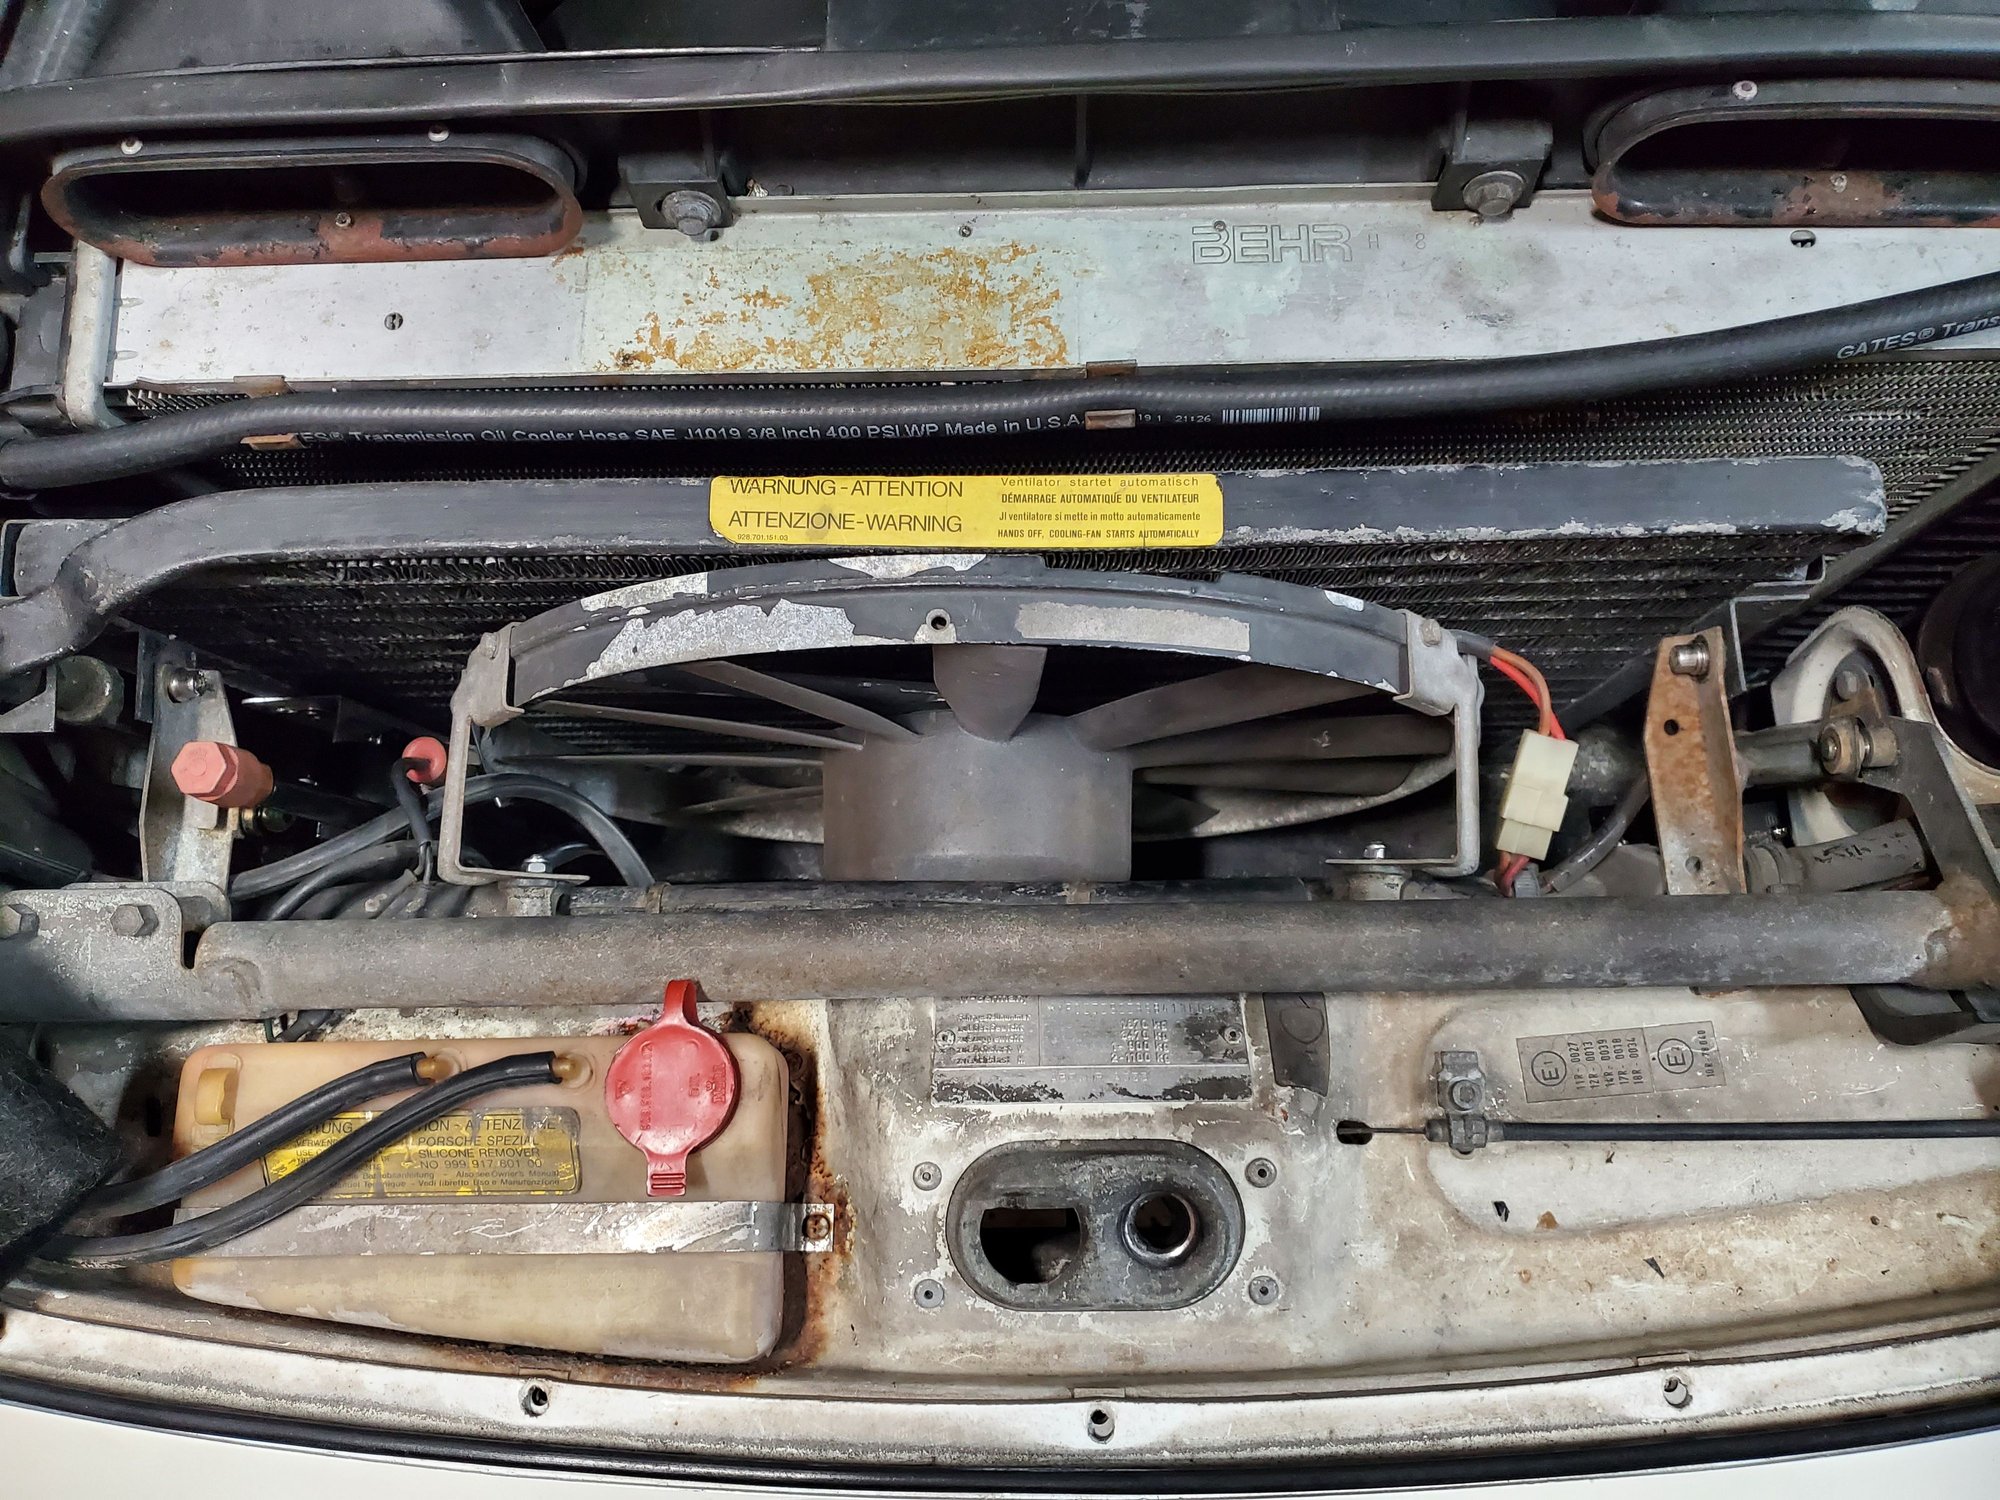
Also put the fan in with some new isolating rubber mounts (others were rock hard) and added some foam cushion to the bottom of the fan too where it sits on the body - should run nice and quiet now.
When I want the front fan to spin, I just push the button under the ashtray cover. I have my USB charger with voltage display in there too, so the door is usually open when I'm driving the car anyway
Now tomorrow, I just need to pull a vacuum on the system, make sure there aren't any leaks and recharge, then see if I have working A/C 🤞
Decided to go to Frenzy this year (my first), so have a few things to button up over the next few weeks.
Need to test the A/C system, which I believe will now be functional.
Going to replace my alternator belt with a shorter one so I have more adjustment space as it stretches and keep the contact wires further from the PS metal line (avoiding the pre-SITM excitement).
May try to dig into the sunroof, but it's jammed up pretty good, so maybe not. I have it fully closed to where it won't leak and the motor wires unplugged and if the A/C works, that becomes pretty unimportant.
Start putting together spare parts and a tool kit for the trip.
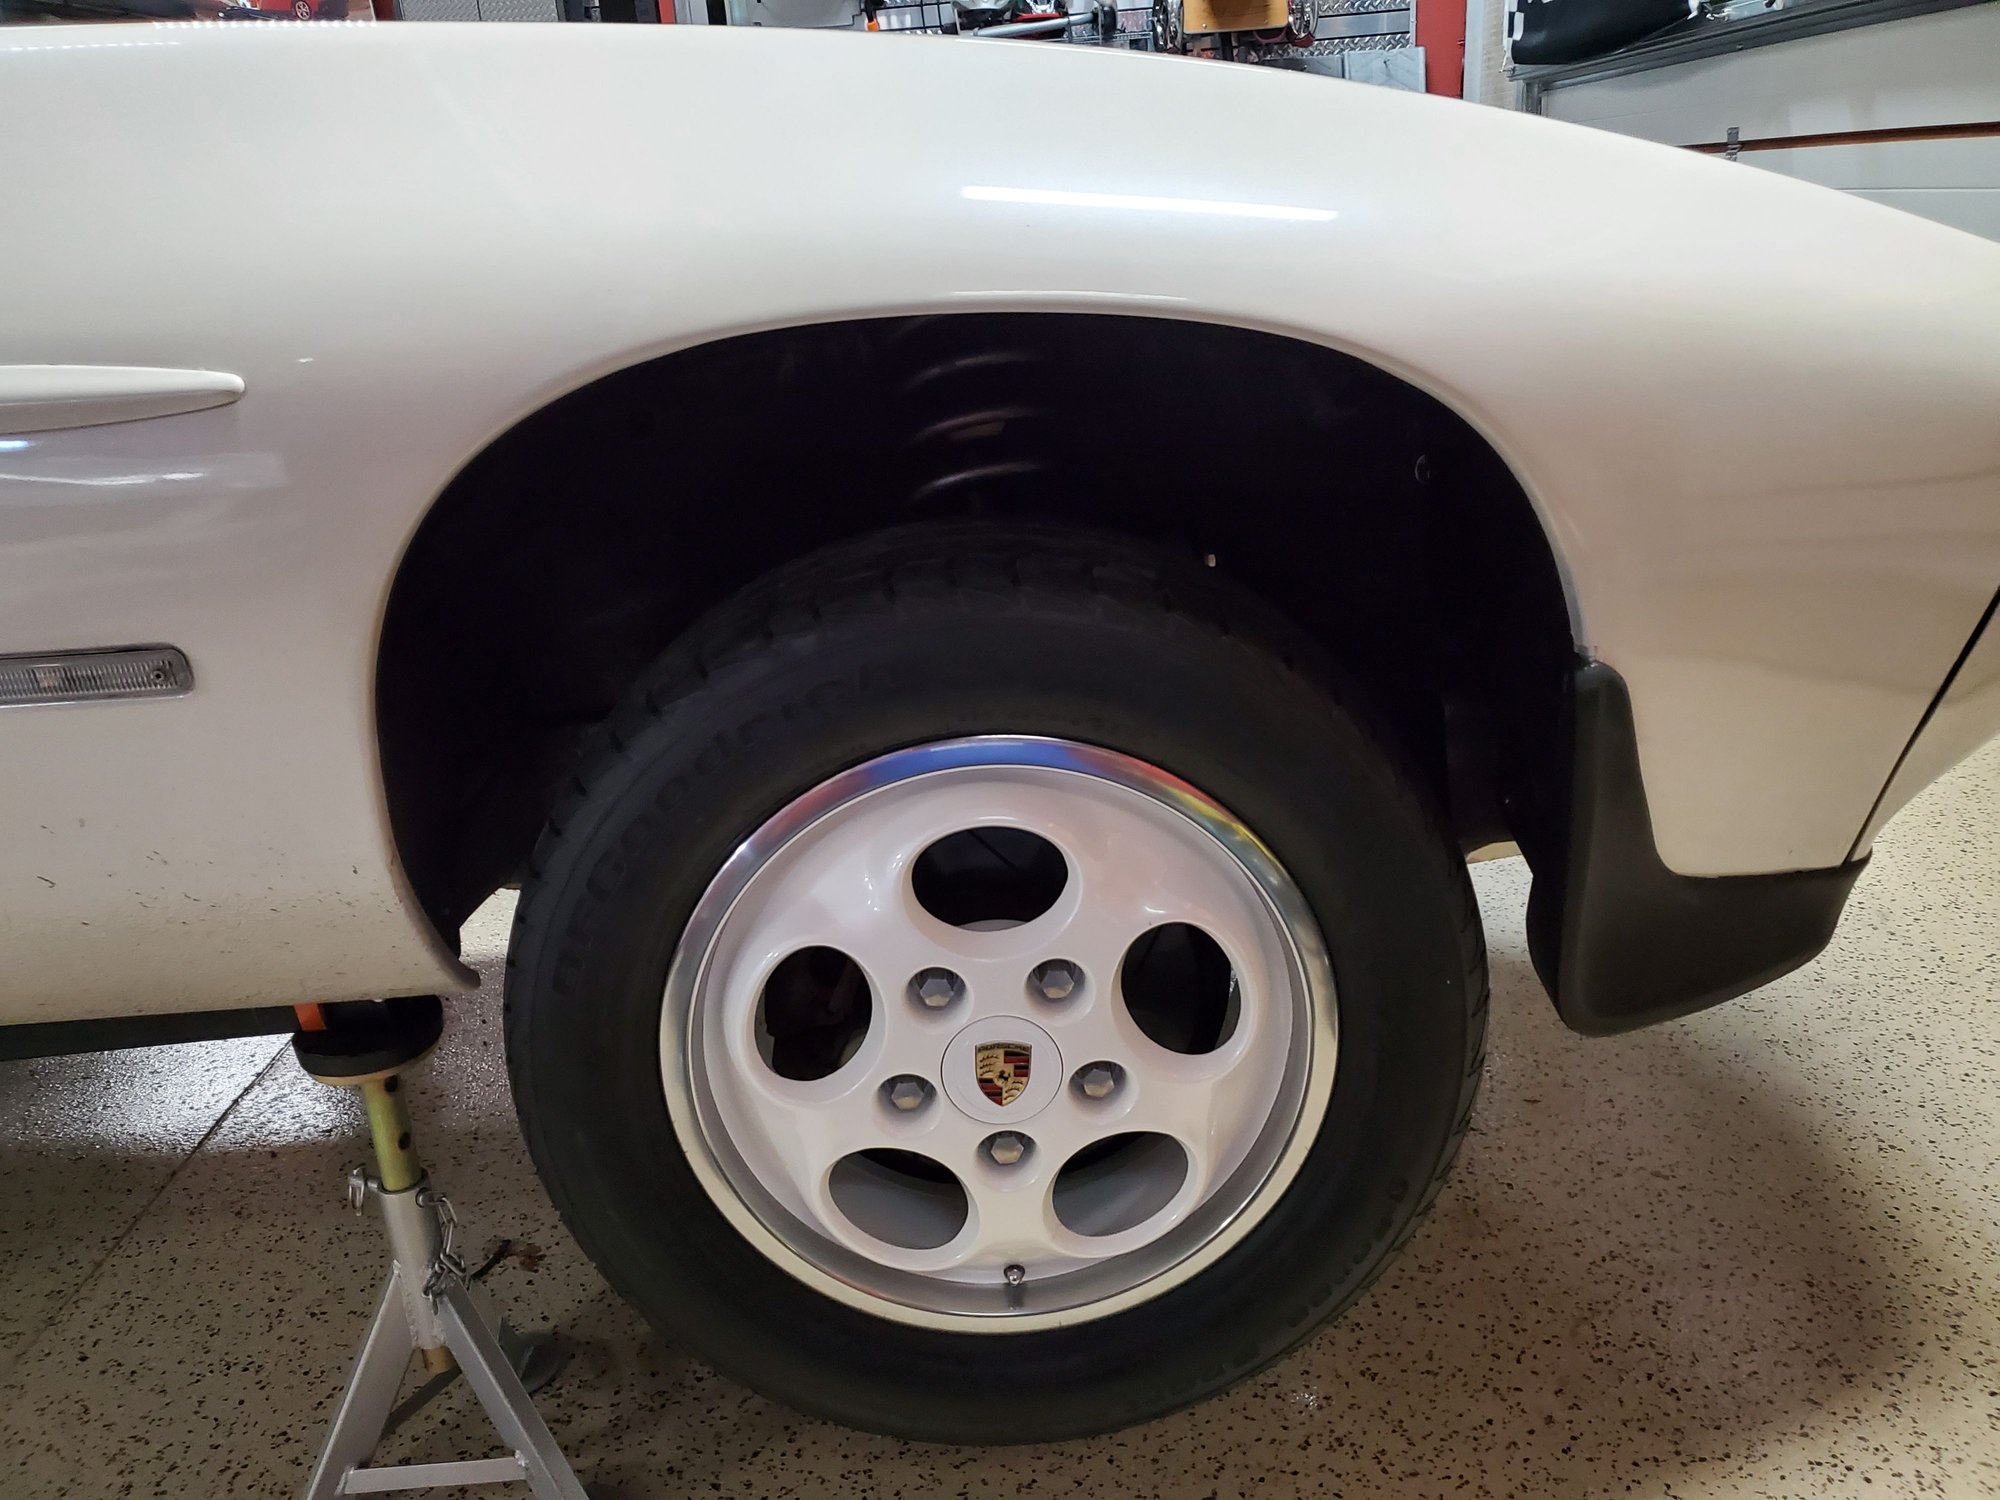
Need to roll the back part of the right rear fender a bit more.
Might be a good time to do an oil change before I go since I changed it when I bought the car in January, but haven't since, and it probably has a couple thousand miles on it with the airport trips, a couple trips to Atlanta, and the SITM weekend....or I'll change it when I get back.
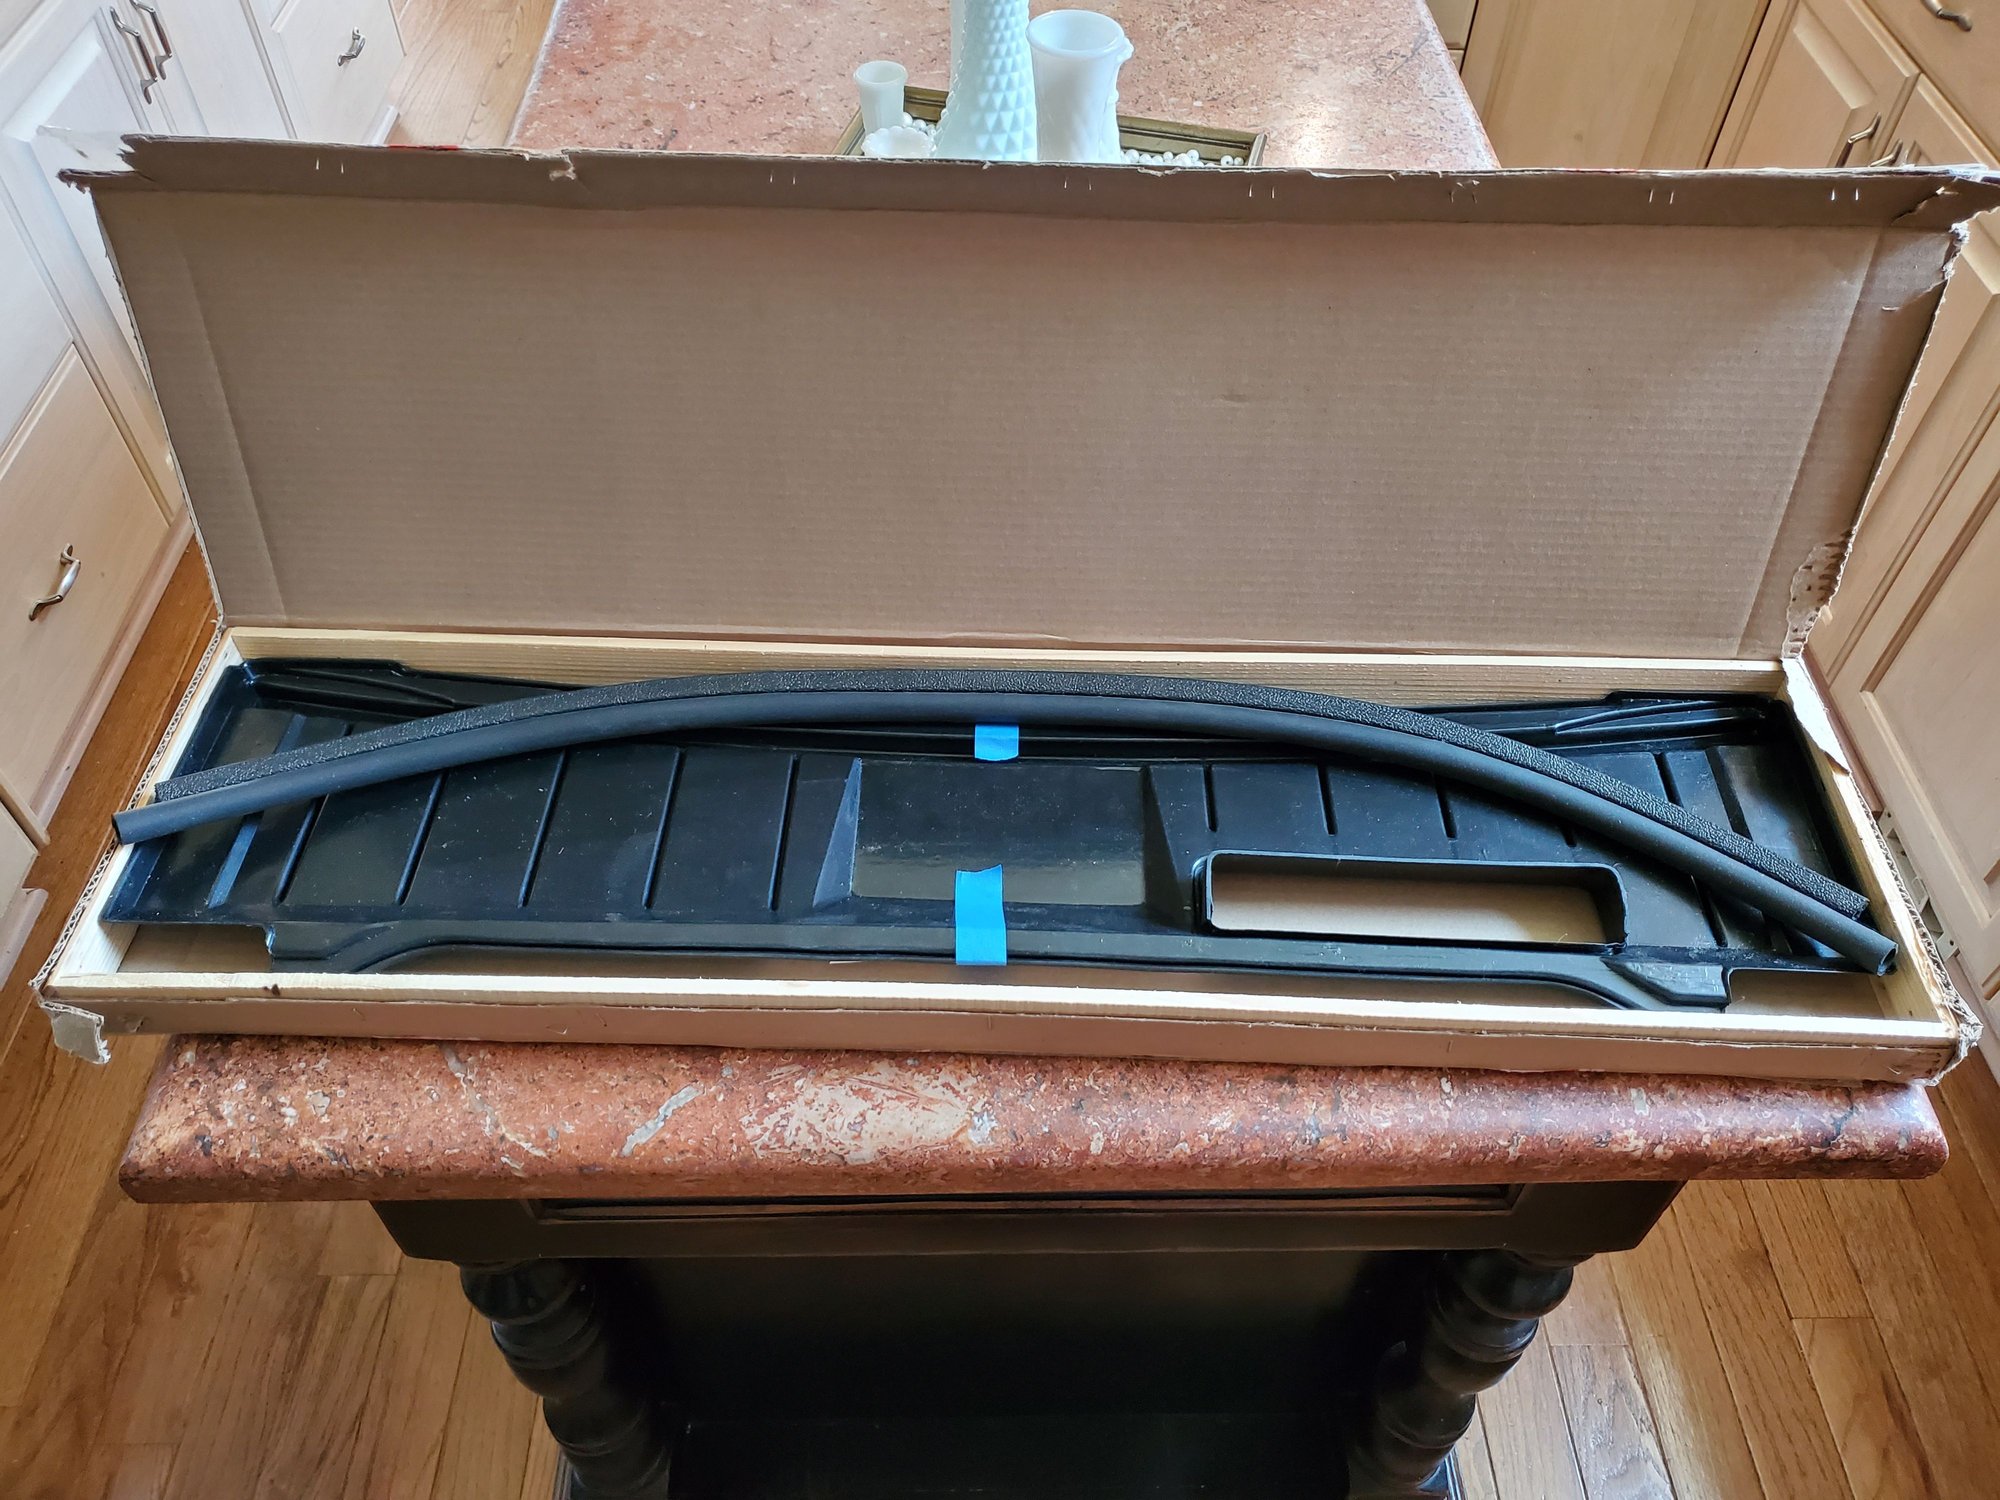
I love buying stuff from Jerry Feather - I mean, who packages stuff like this so it arrives in perfect condition?
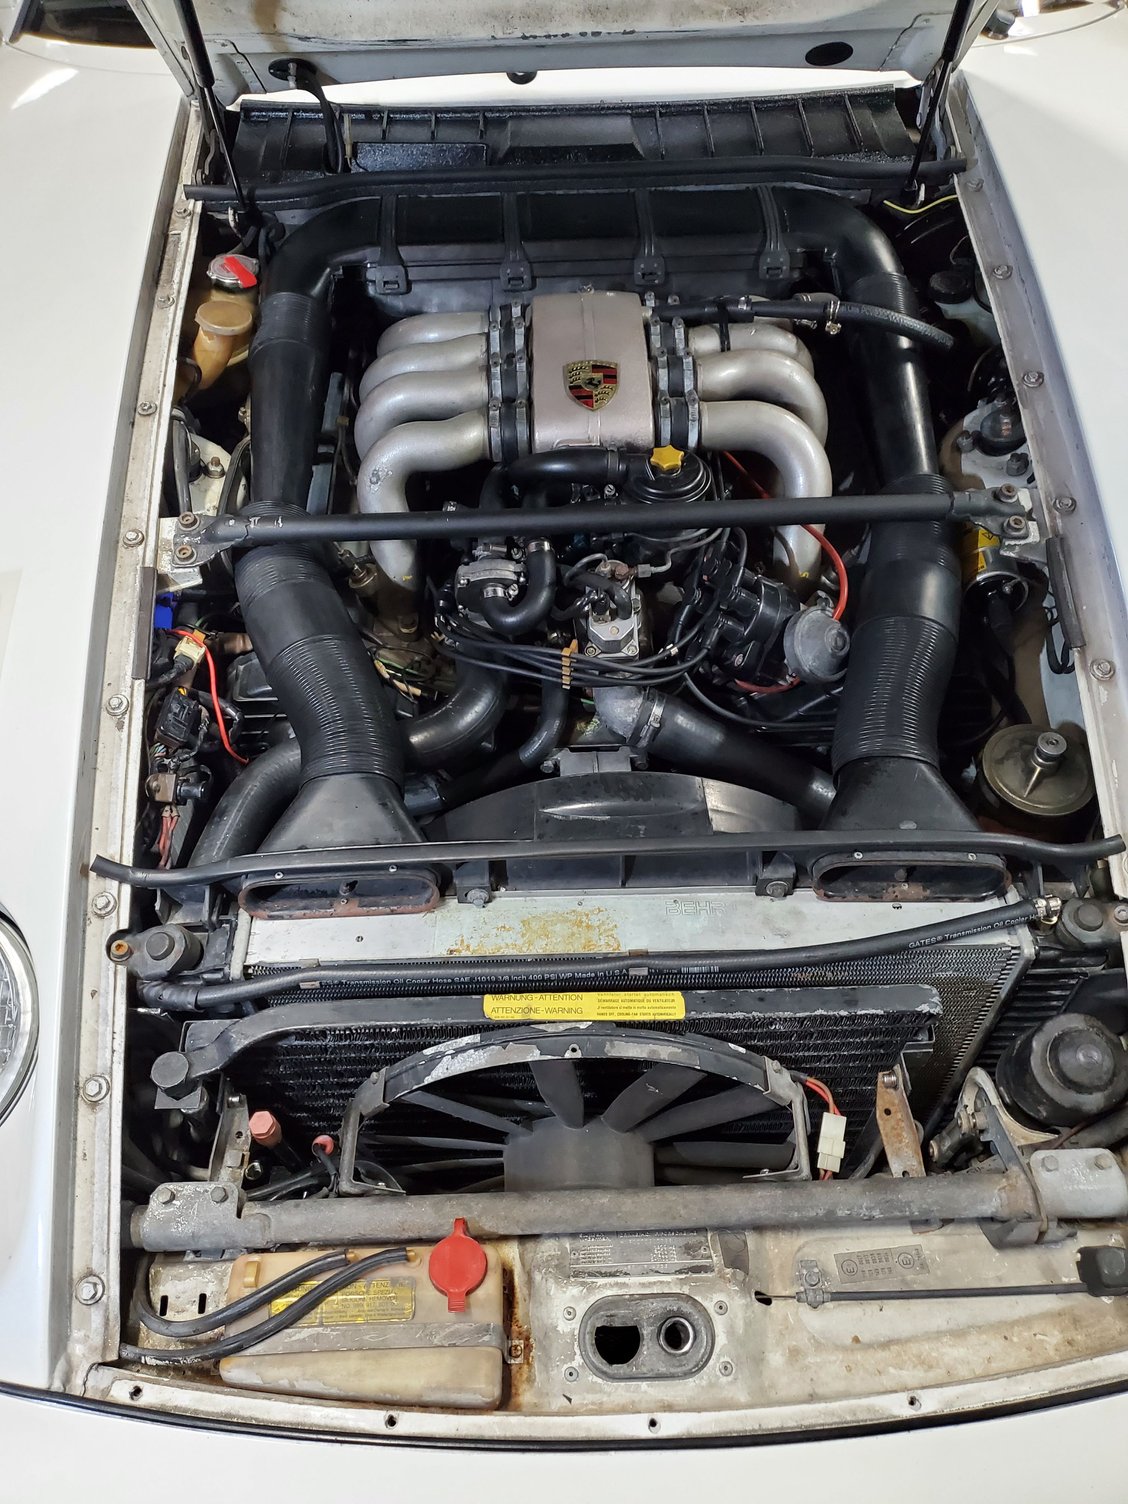
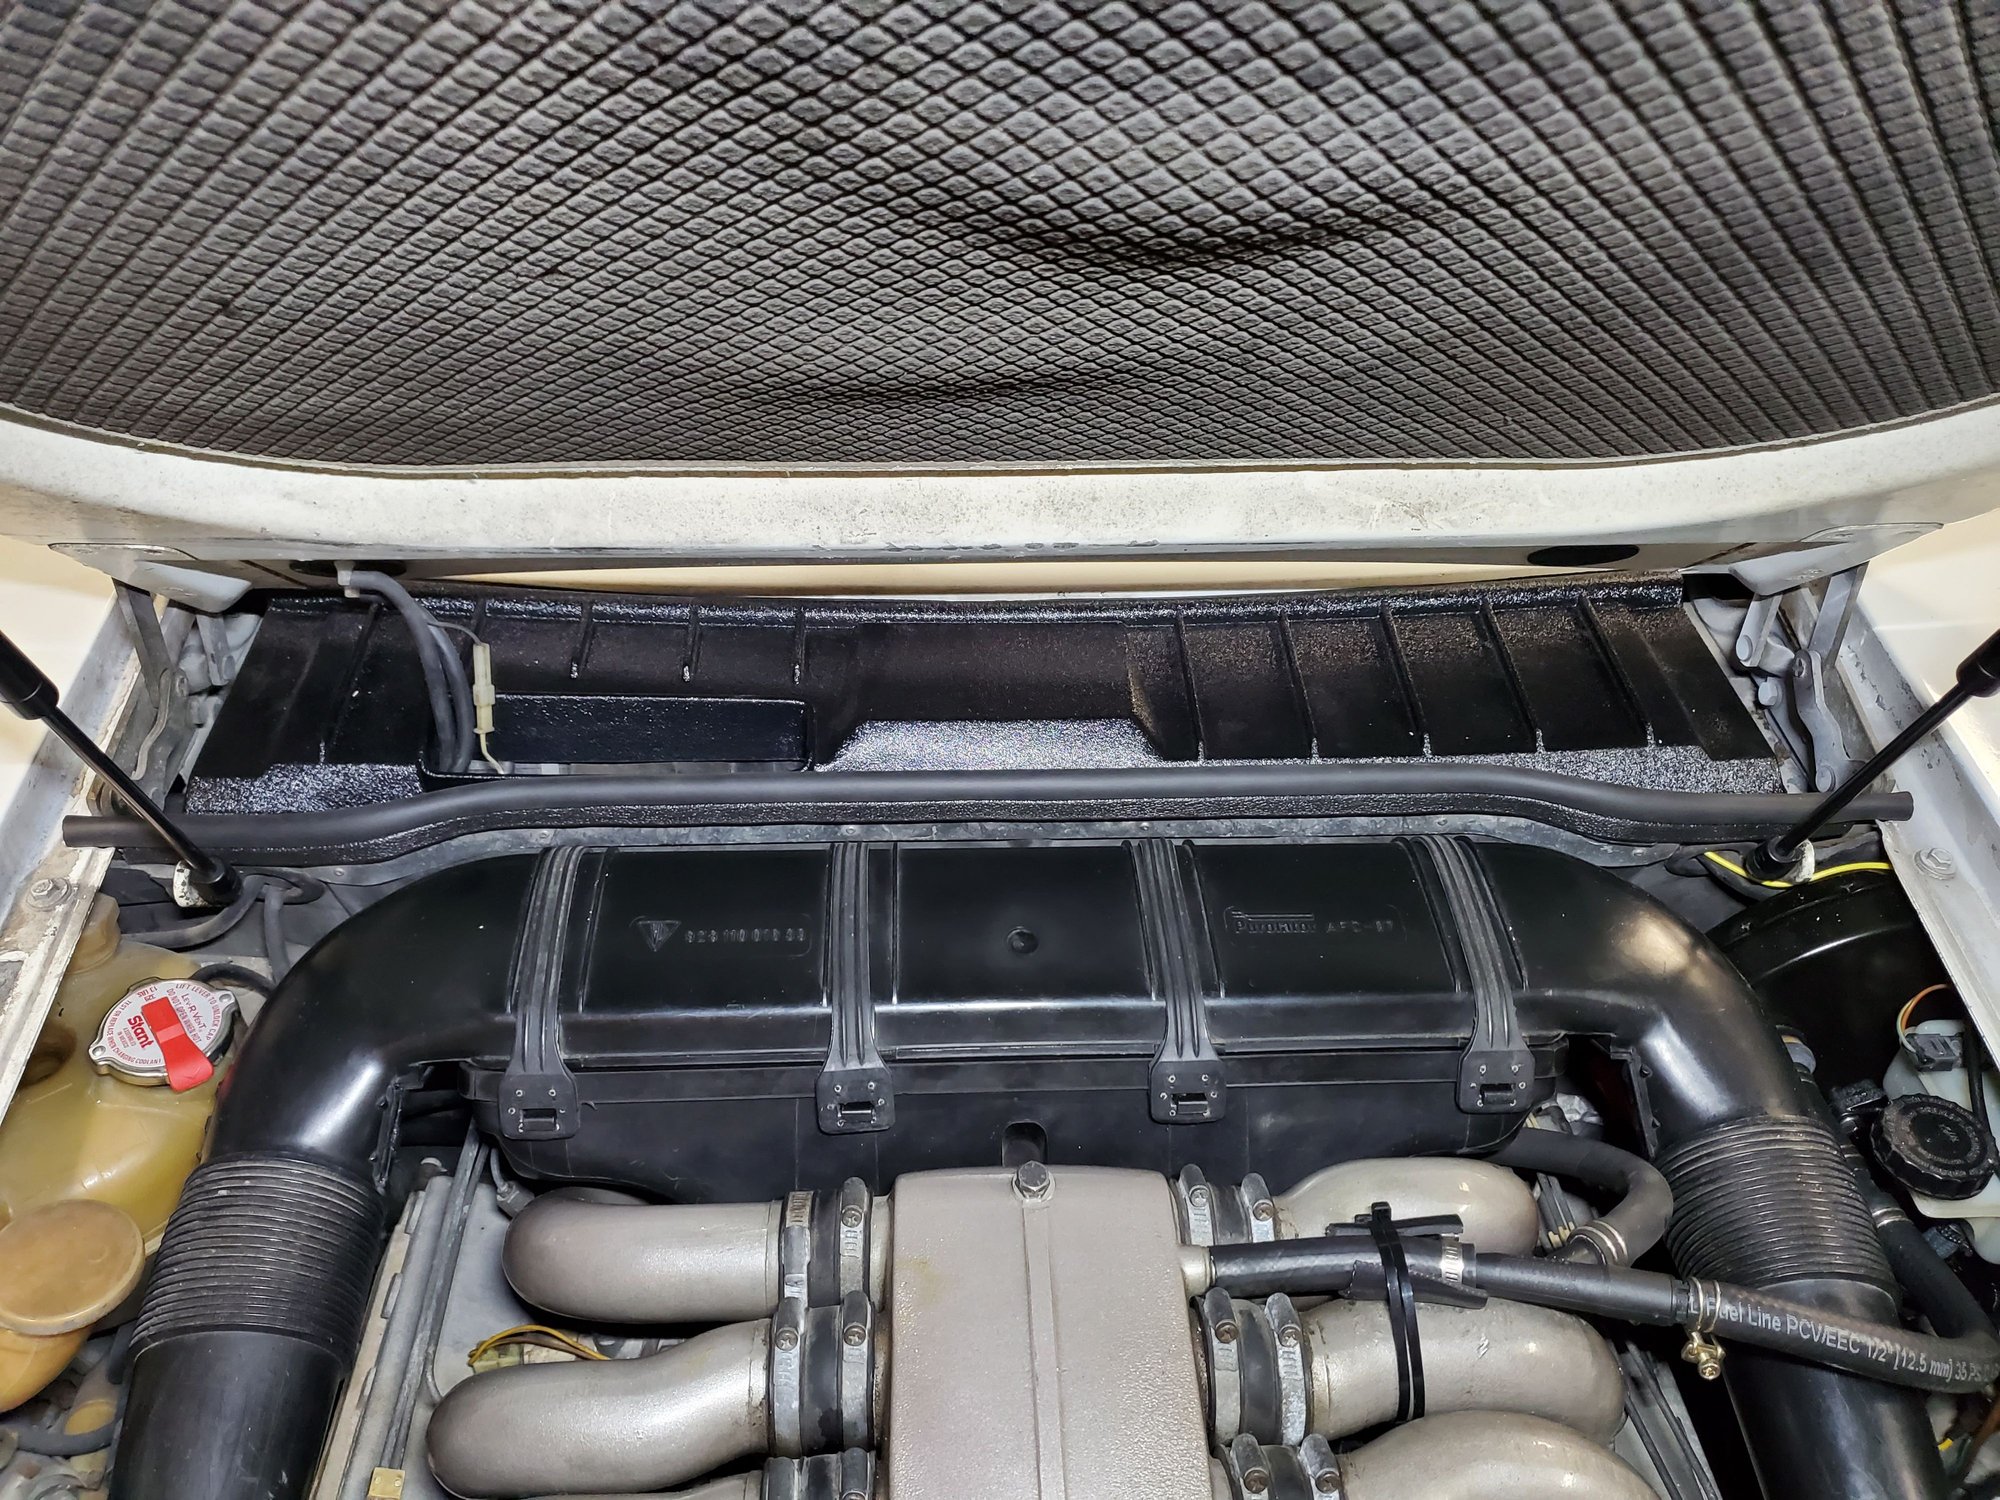
Quite the visual improvement under the hood now compared to the old one that was there. It was actually an original half-cover that I never liked the looks of and had some cracks and overspray on it. This is much better.
I really, Really need to get Jerry's cover. Mine is a POS that doesn't stay in place on the wiper side (I also think one of the metal tabs on the underside of the cowl piece is broken off)
I really, Really need to get Jerry's cover. Mine is a POS that doesn't stay in place on the wiper side (I also think one of the metal tabs on the underside of the cowl piece is broken off)
Yep. You've still got time before Frenzy Hit him up.
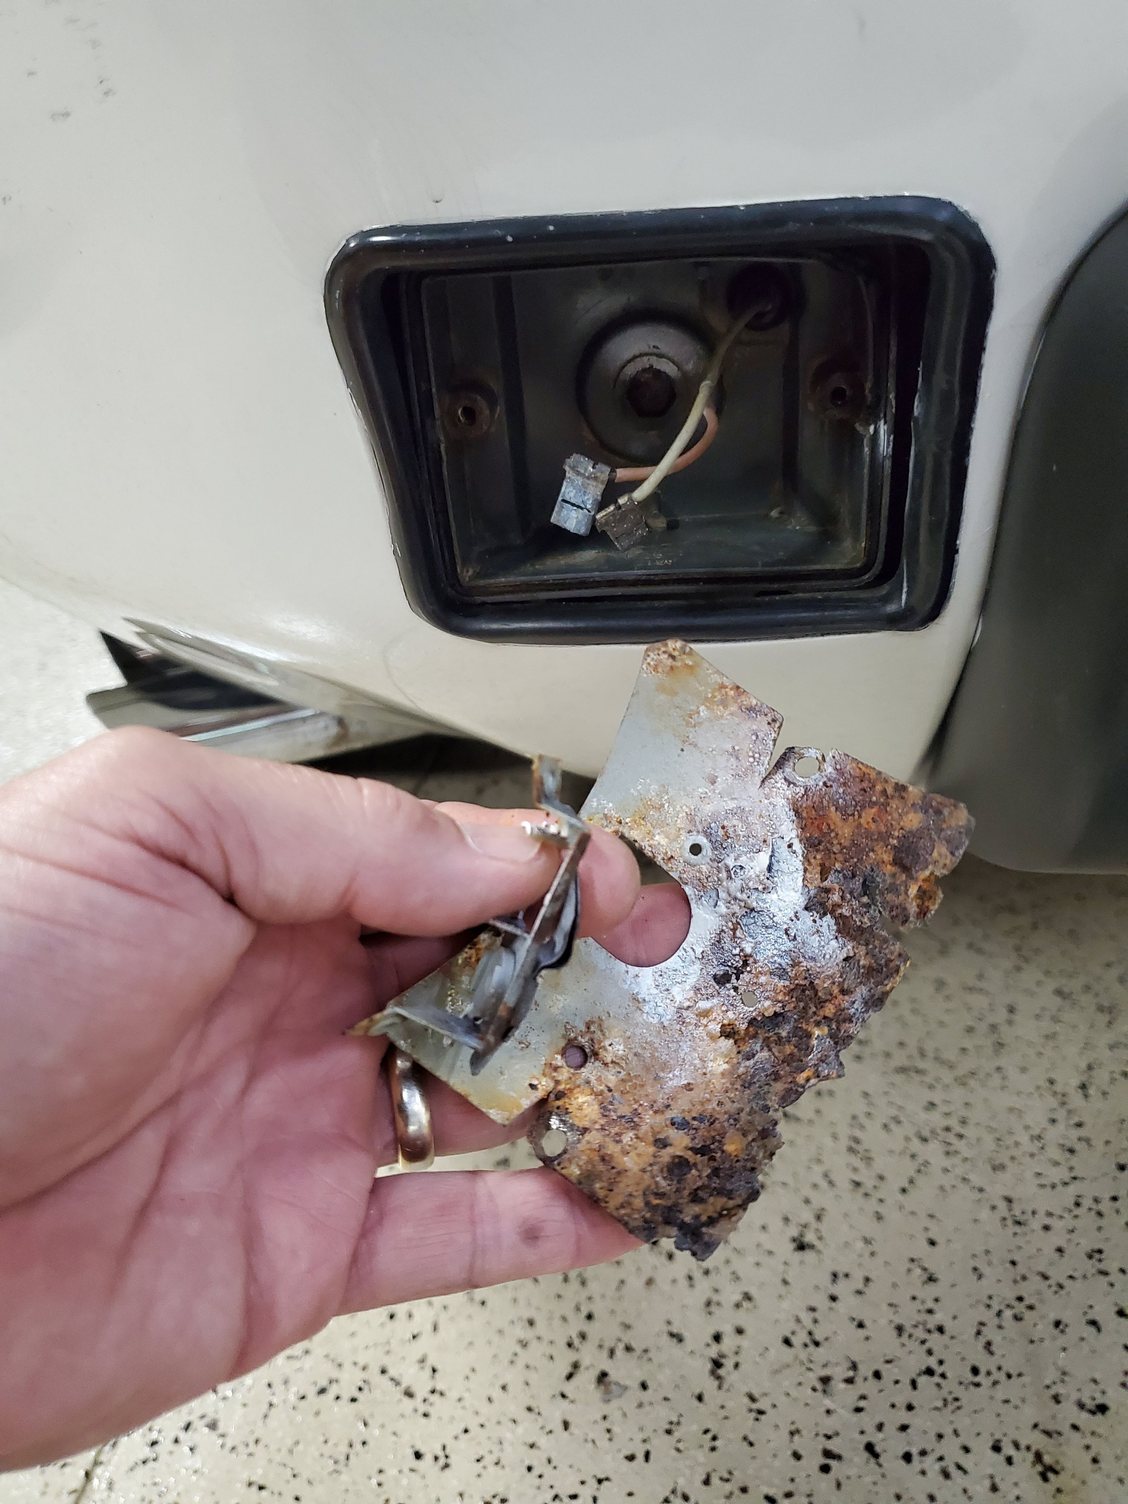
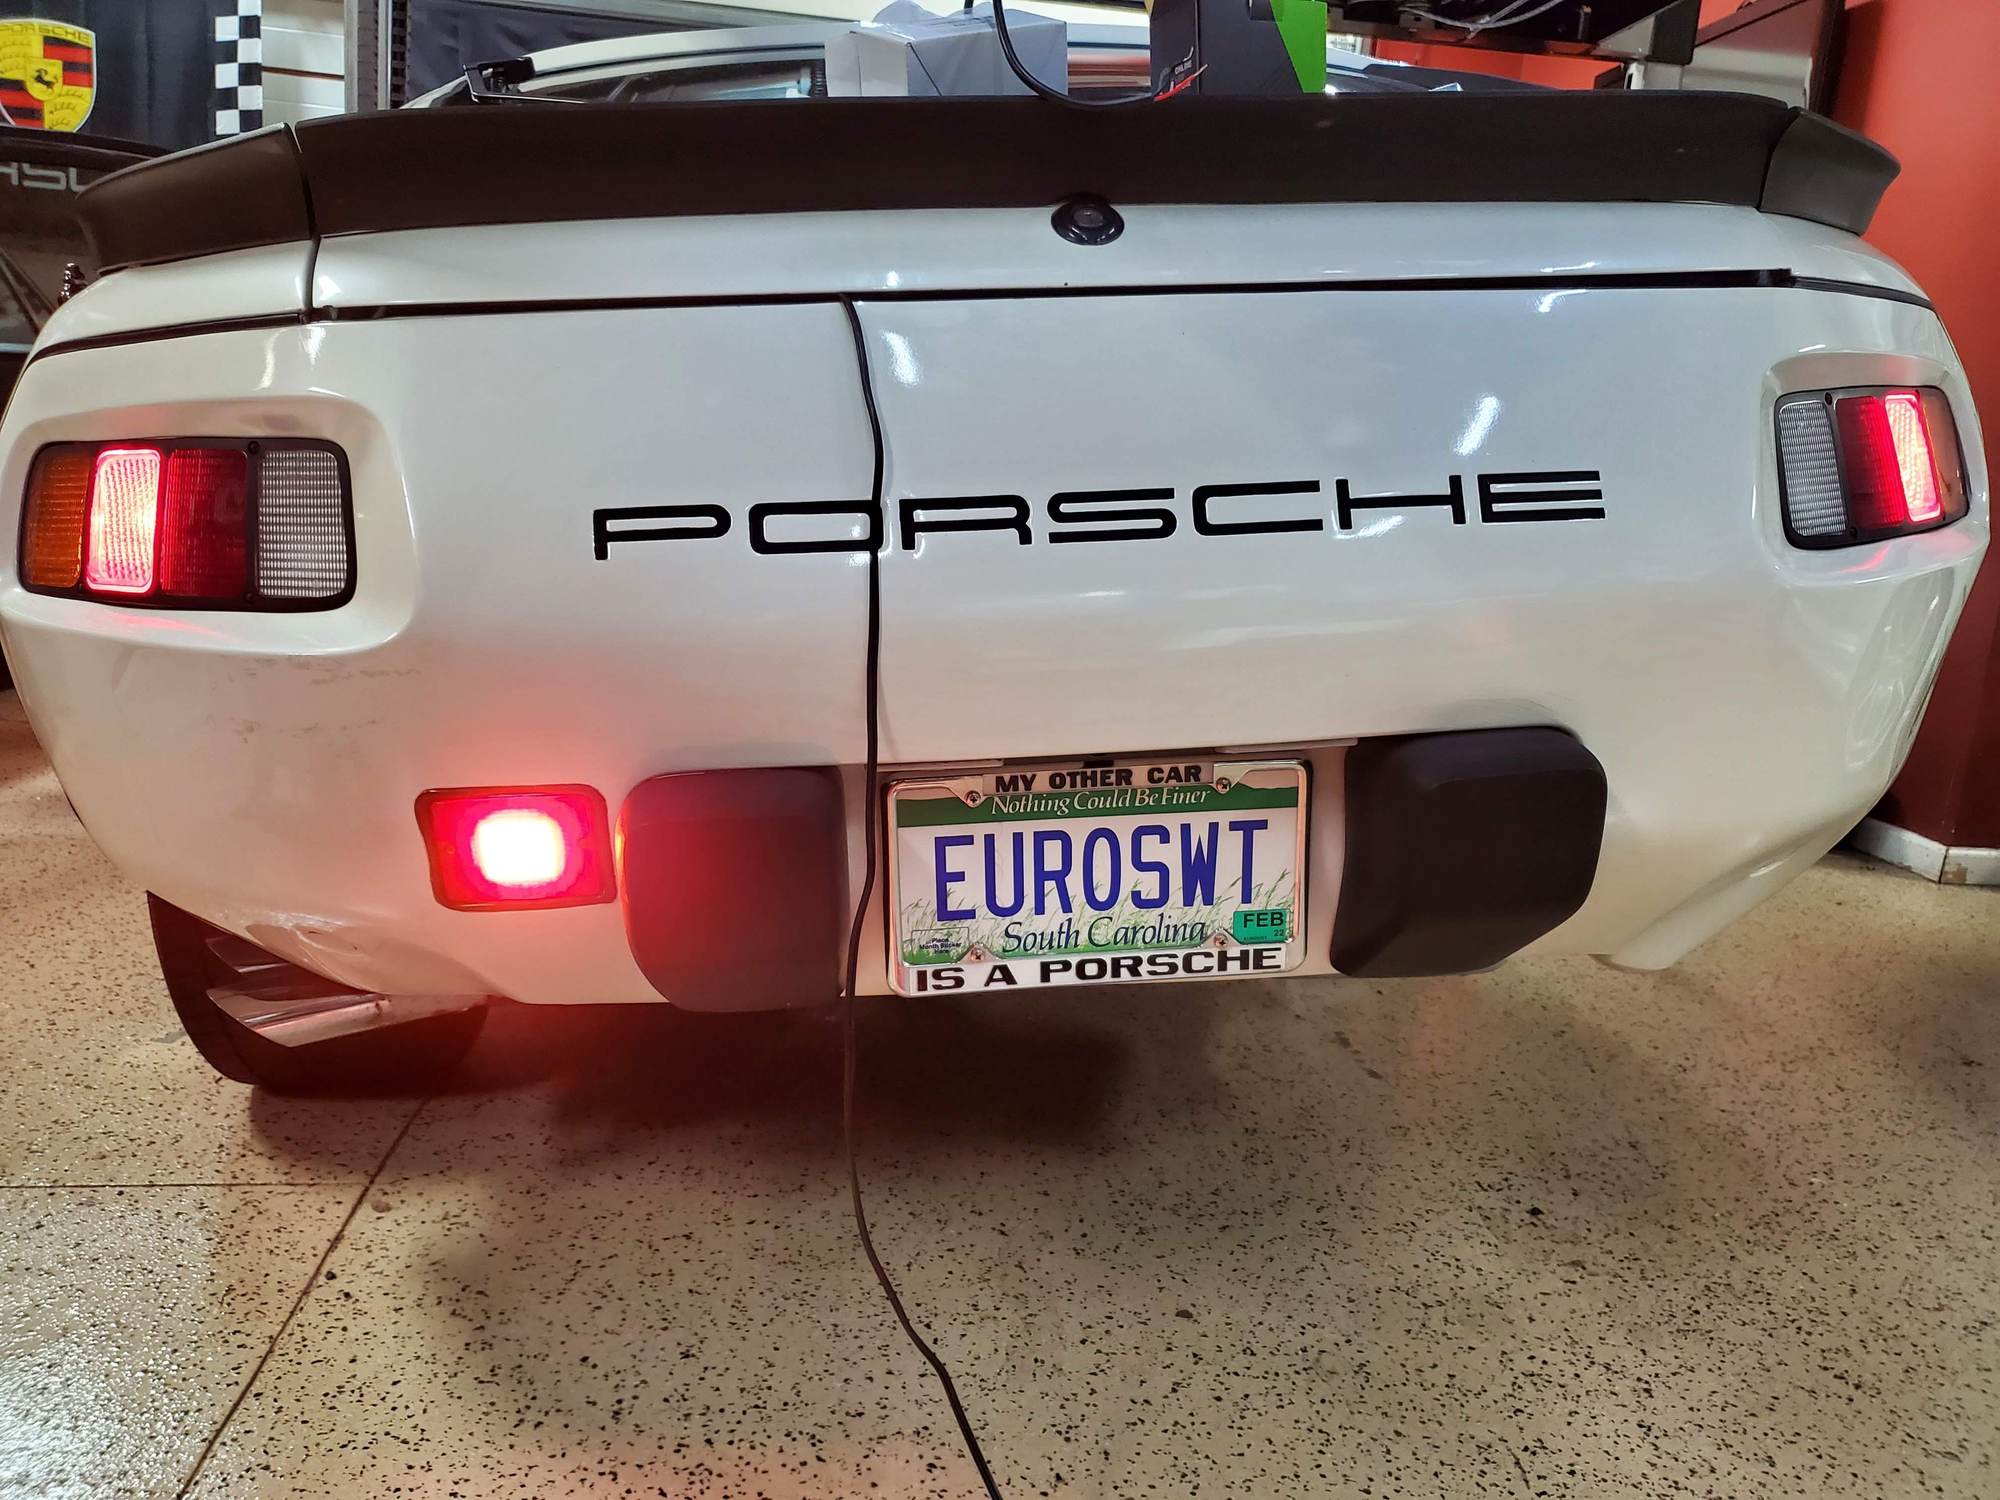
Replaced my non-working rear fog light today after taking it apart a couple days ago and finding no bulb this rusty reflector and corroded bulb contact.
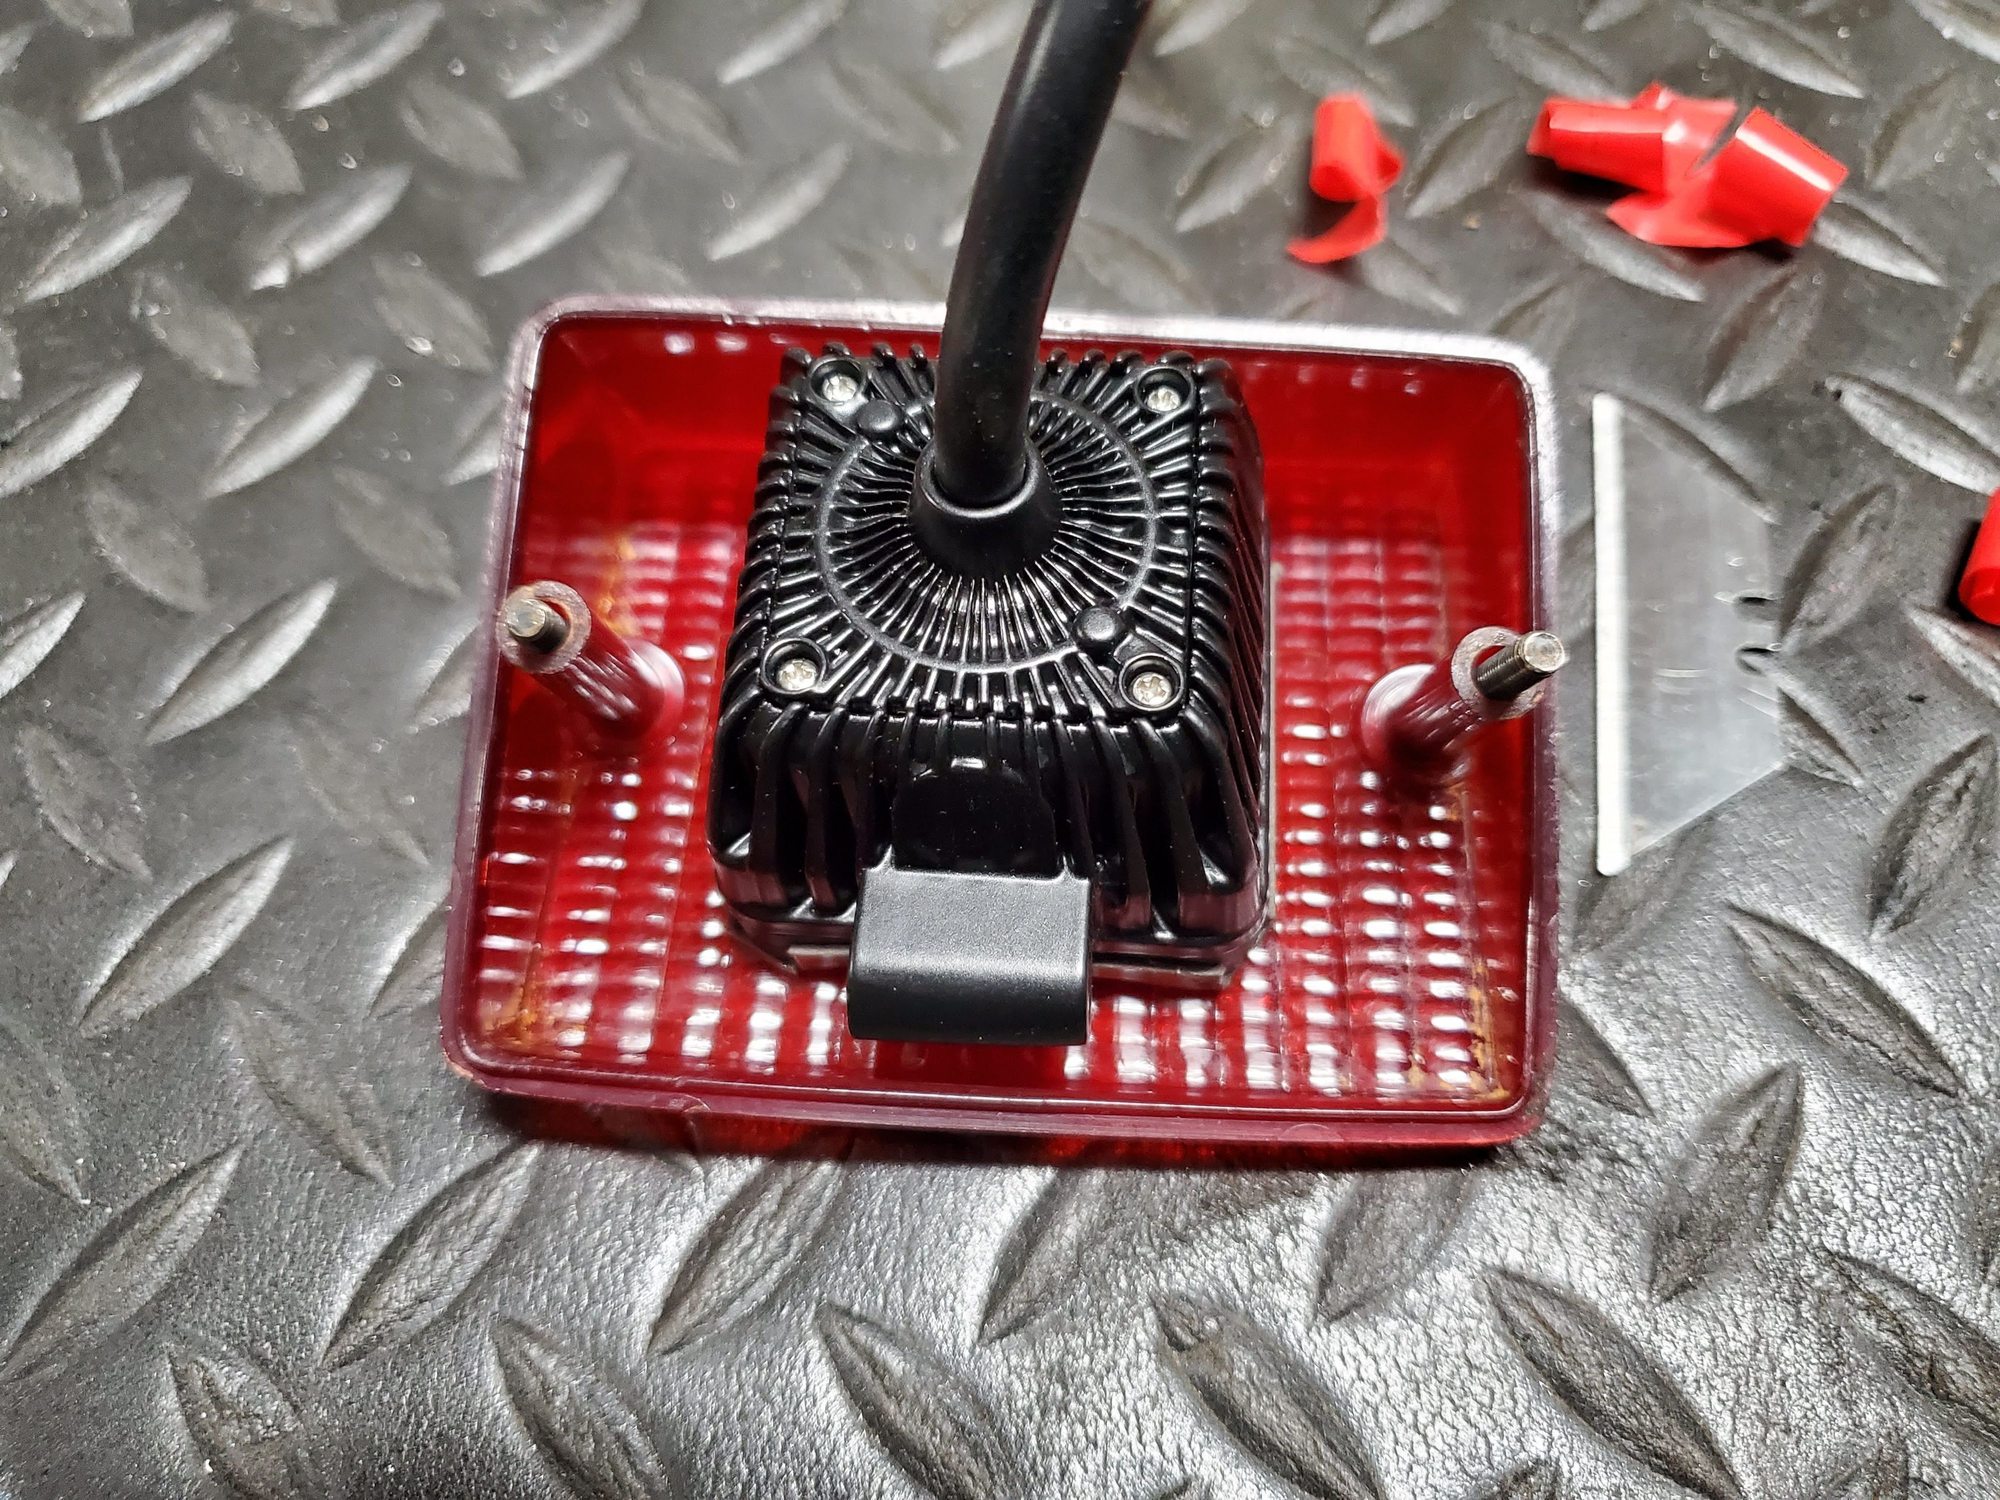
Since rear fog lights need to be really bring, since they're only used in dense for when visibility is low, I decided rather than get new versions of the original parts I'd try an update. Measured the box and clearance and found a sealed LED 2"x2" light that looked like it would fit in there.
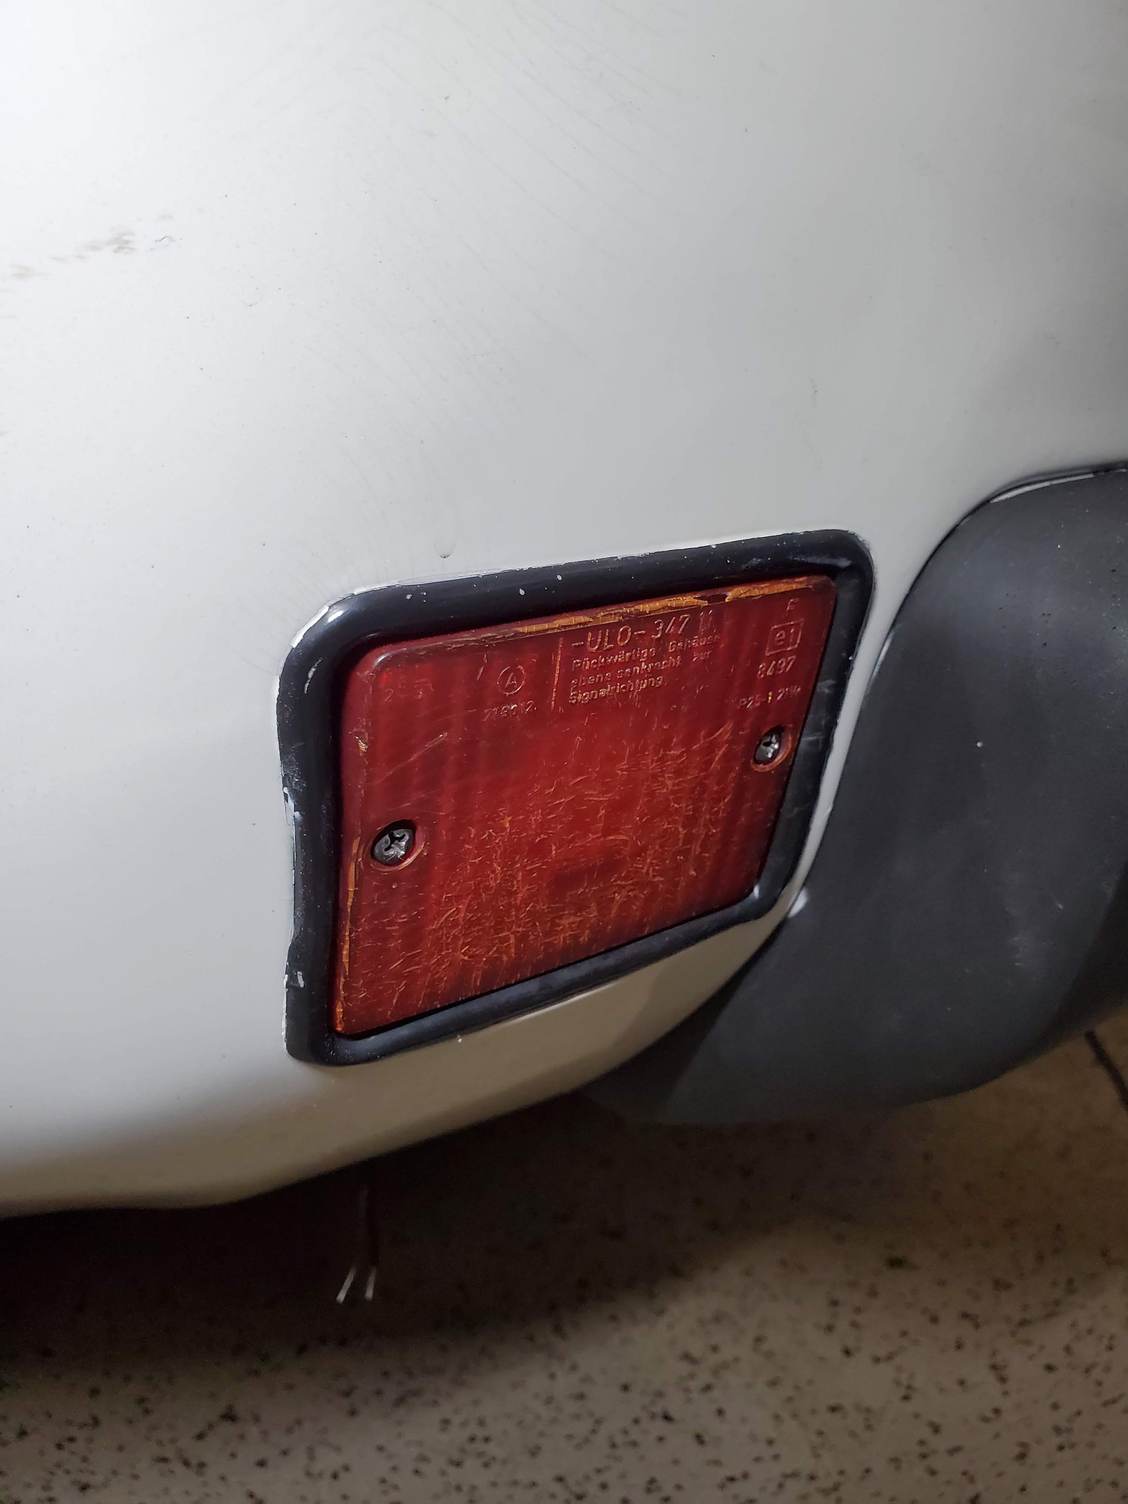
I used some of the 3M trip tape along the front edge of the light to be able to adhere it into a center position of the reflector. Changed the grommet in the fog light housing that would allow the slightly larger wire for the new light to pass through, but still seal. Getting the wire through was challenging until I grabbed some dirt bike tire bead lubricant from my dirt bike box - the "slicker than bull snot" stuff wiped on the new cord had it sliding right through. Connected the wires under the rear bumper and secured them with zip ties, attached the lens (it fits just like it did before), then tested the light - really bright and should do the job nicely on the 1 night every 3 years I end up driving somewhere in dense fog. You can see how much brighter it is than the regular taillights, which are actually pretty bright.
Great Job on the cowl cover and Fog light Pete!!
I did the full cowl cover on the 79 years ago and it really cleaned up that area. When I first got the car, I thought it was a 2 piece item that was missing half of the cover??
Not sure what the factory was thinking in initial iteration??
Found some new wheel center caps with colored Porsche crests and had them painted to match the refinished wheels
Brake Light Issue solved too. Had wires on one of the MC pressure switches reversed (don't have the OEM connectors) and then when fixing that, grounded the power feed wire and blew the fuse.
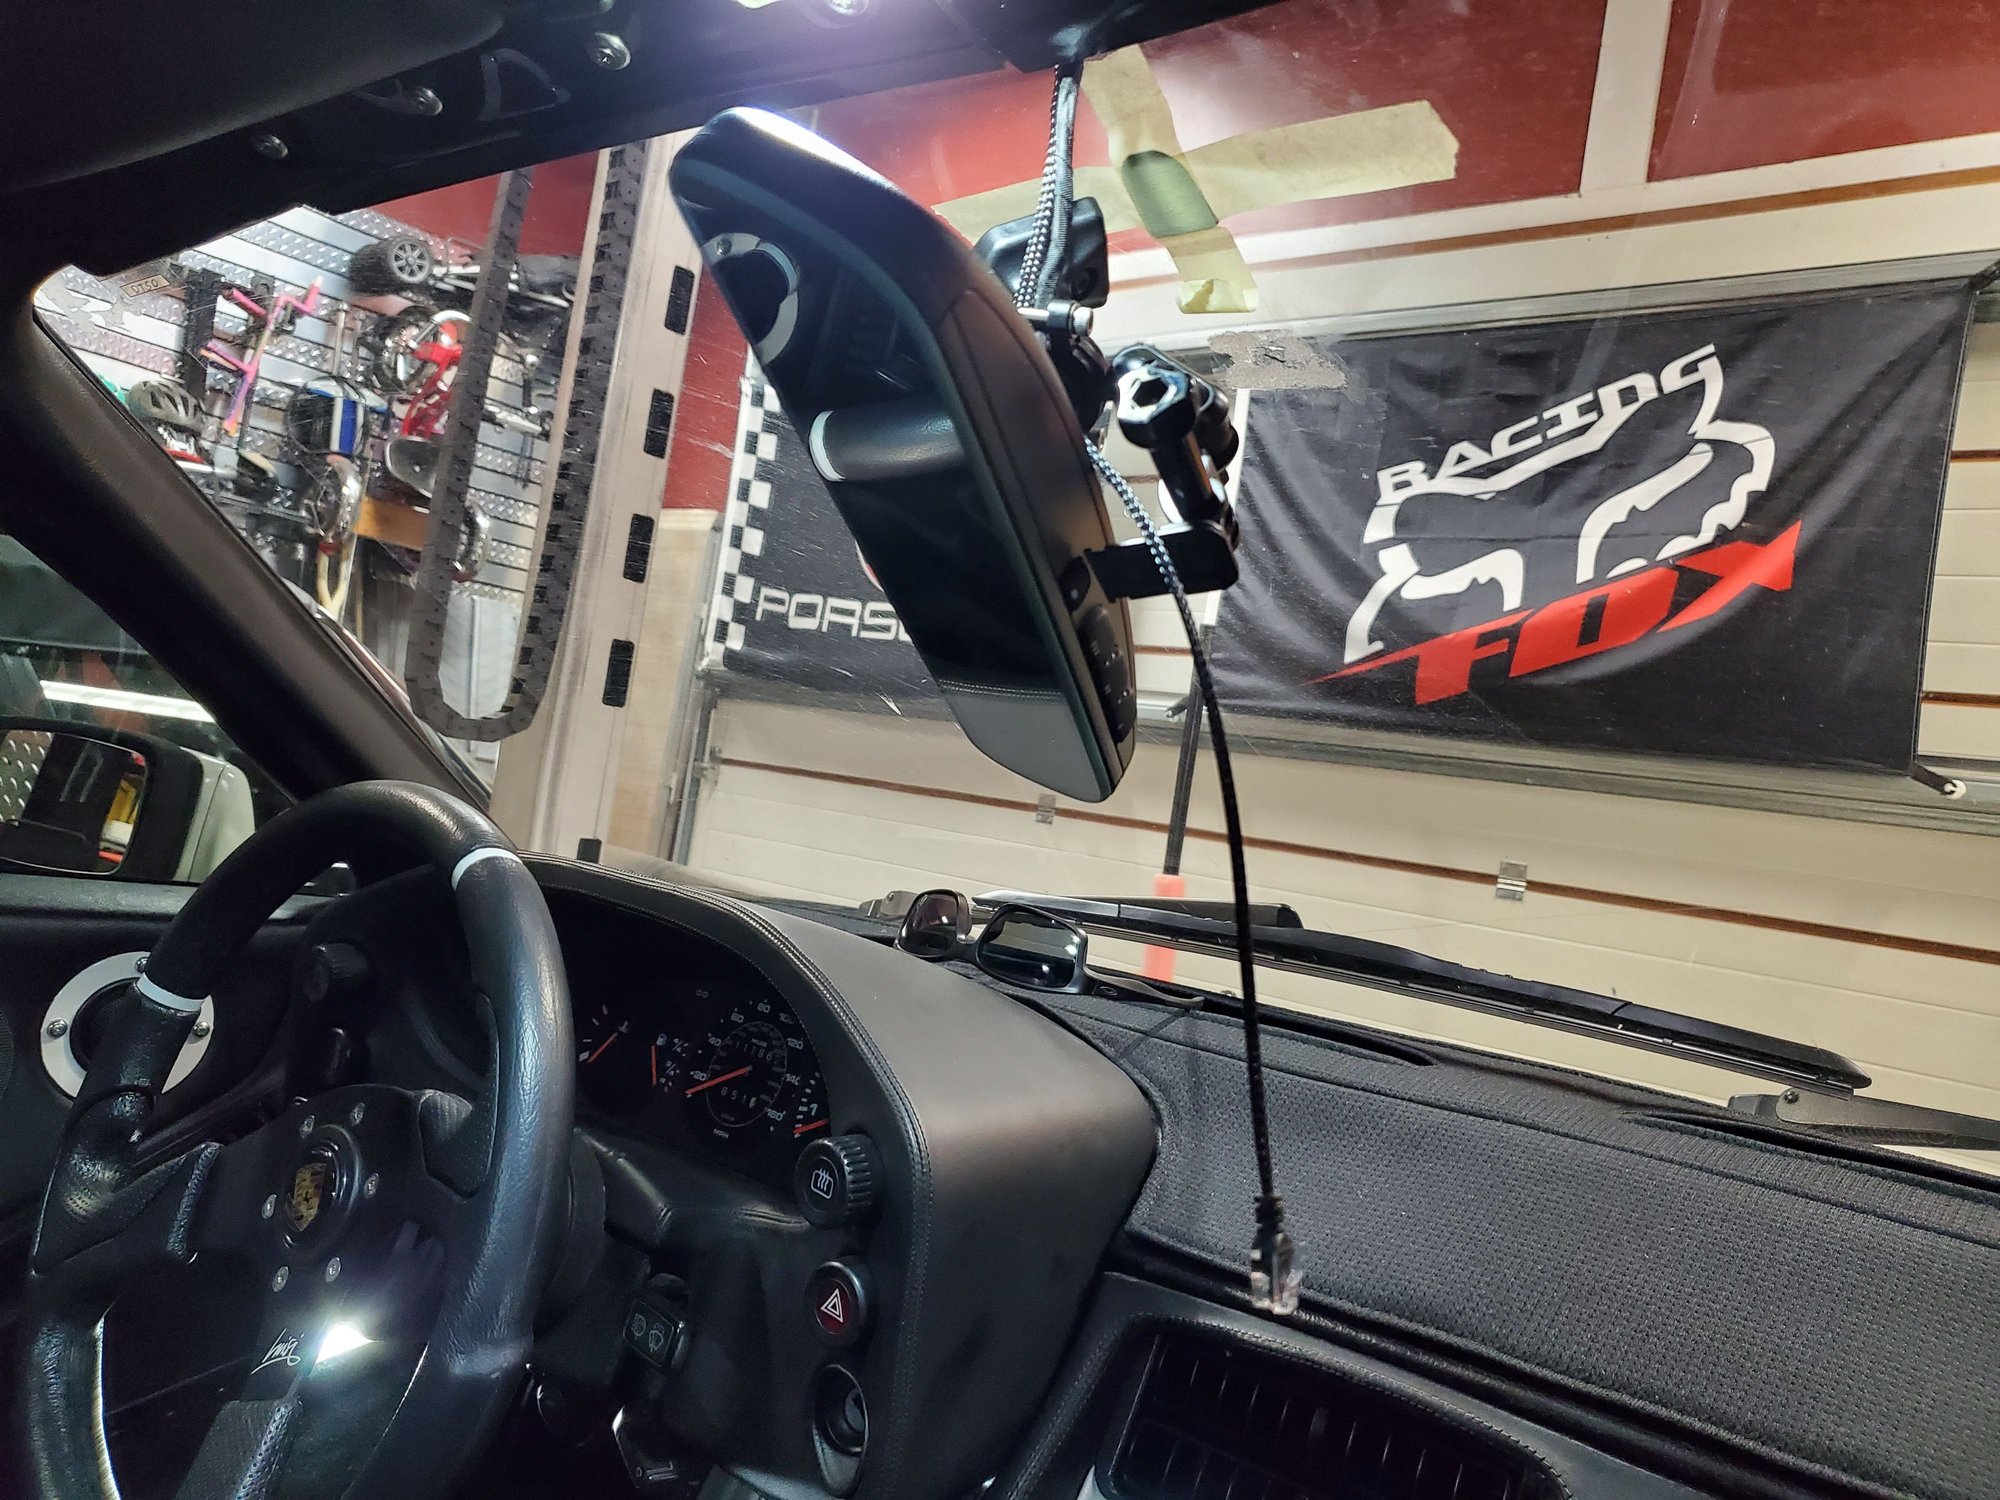
Next up Homelink Auto-dimming frameless mirror install.with hardwired radar detector and mirror mount..
Mirror installation done and tested. Waiting until morning for the new button adhesive to fully cure before hanging it. Programmed the Homelink buttons too.
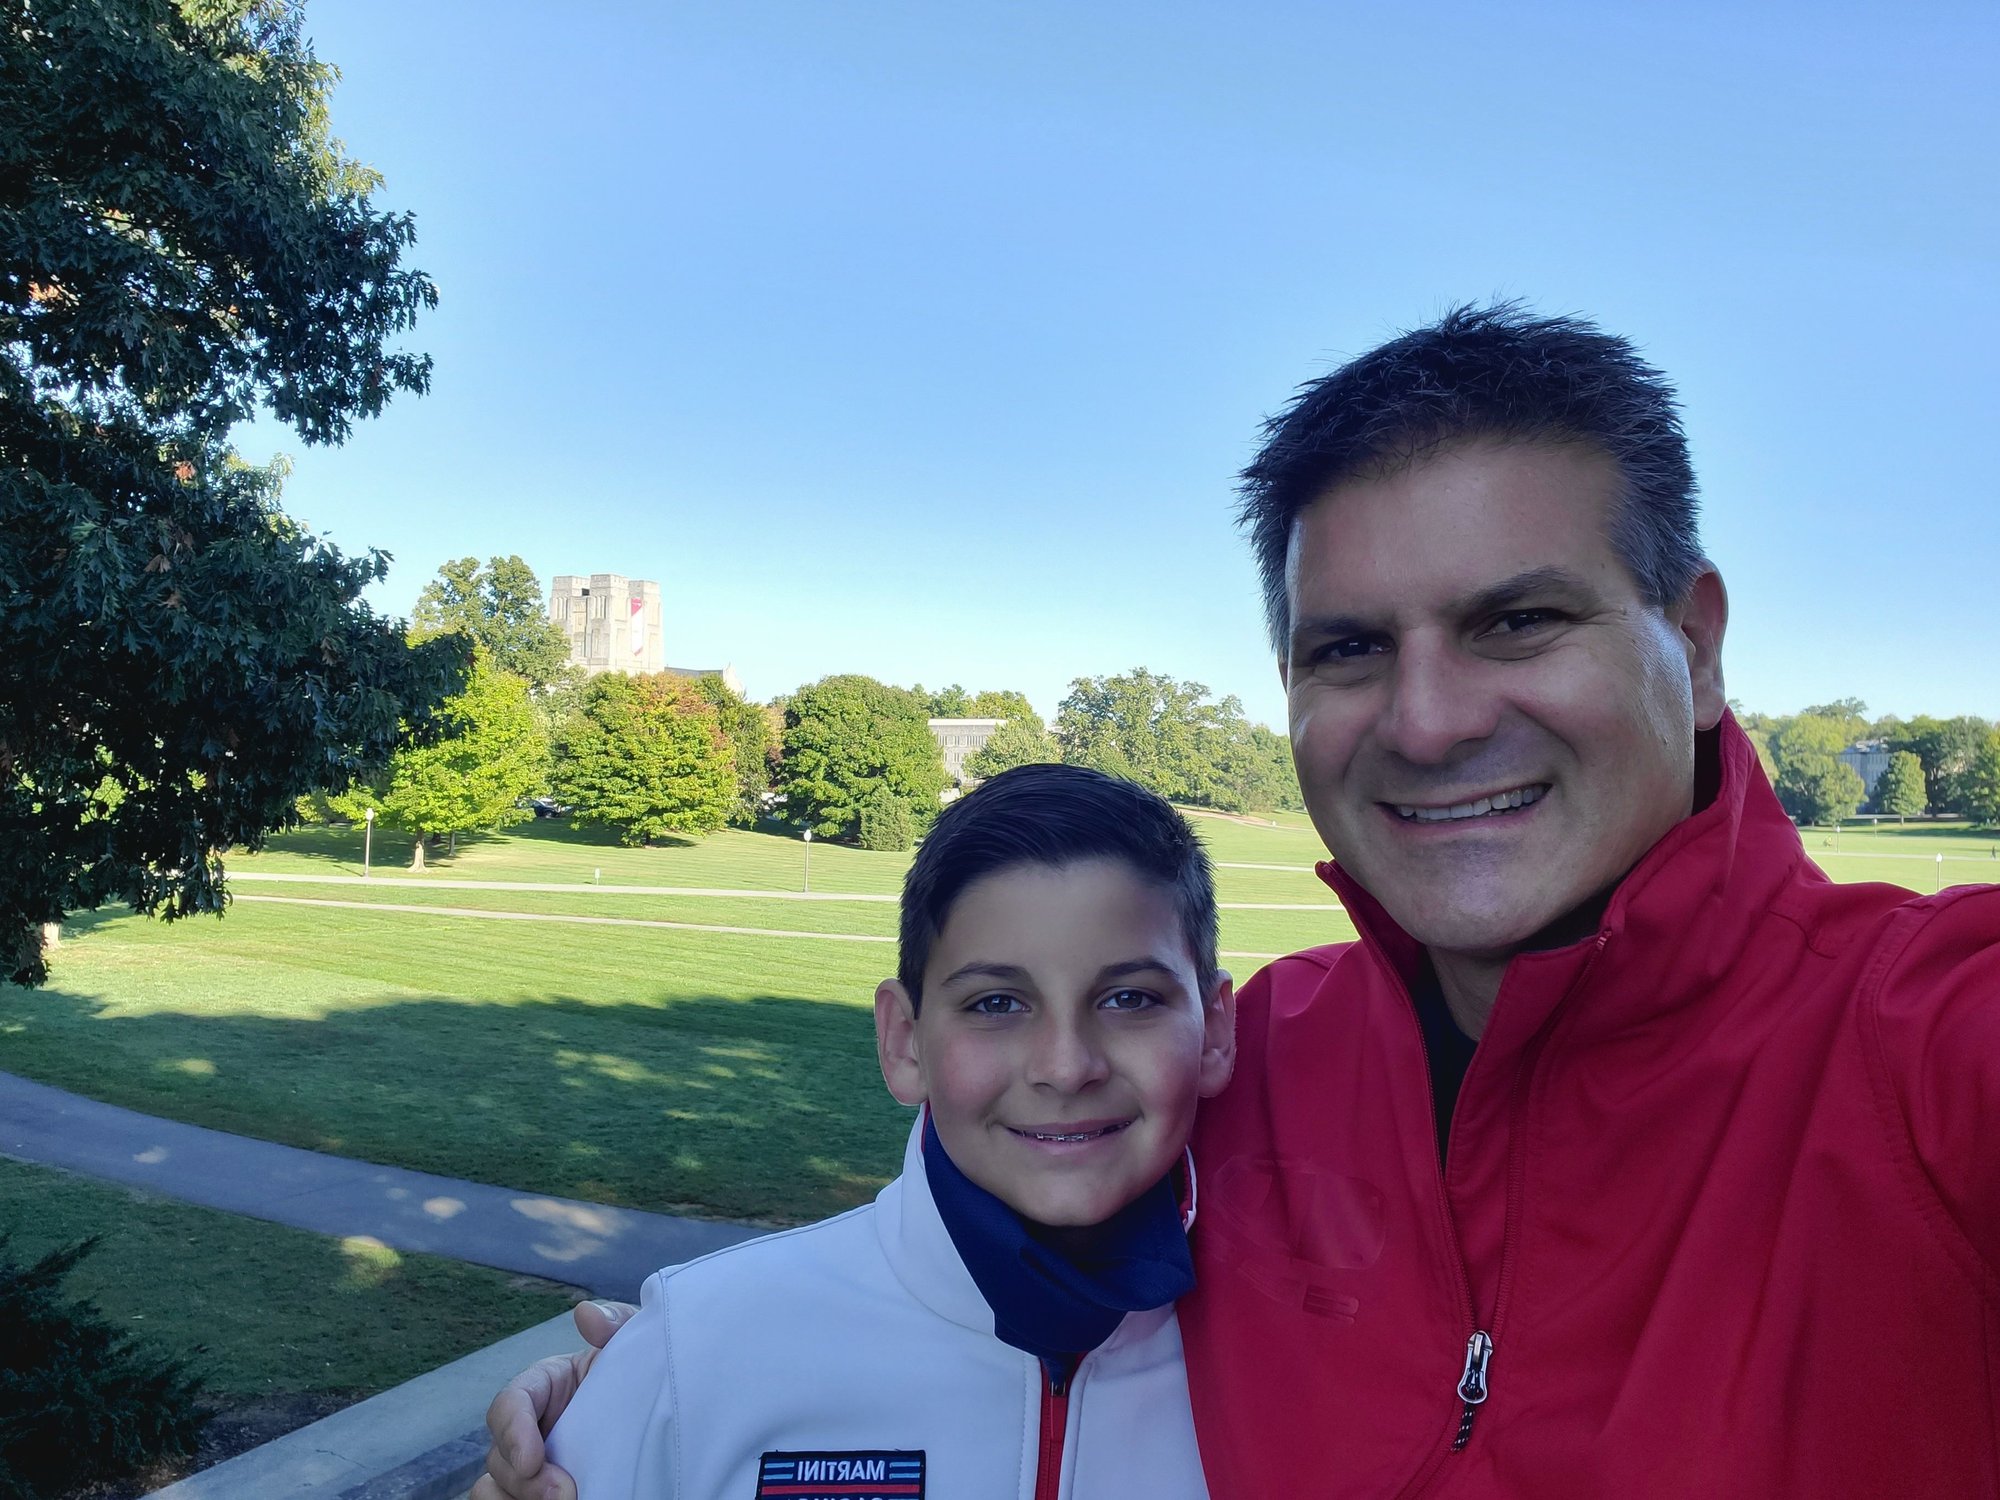
Drove the Euro to 928 Frenzy. Was a great shakedown trip with perfect weather the entire 4 days I was there and on the road.
Swung by my Alma Mater Virginia Tech to show JP where I went to school. He loved it.
Learned a few things only a multi-hour drive can expose.
The car drives great. Ran 80-110 almost the whole highway drive without any issues. Turns 3200-3400 rpm at that speed which is very different than the Z06 6-speed setup in my Spyder, but at that rpm with the 300 HP motor passing doesn't require a downshift, just some pedal.
The 997 sport seats are great on long drives - no stiffness, pain or soreness today after 9 hours in the car yesterday.
Had some noise and light vibration in 90 mph highway sweepers that I determined was likely wheel bearings that had a bit too much play. Checked that out tonight and sure enough both wheels had some 6 & 12 play. Driver's side needed about 50 degrees on the nut and passenger side closer to 90. Can still move the washer with a screwdriver so we'll try that and see if it's enough or I need to go a bit further. The bearings need some expansion room as they heat up and expand.
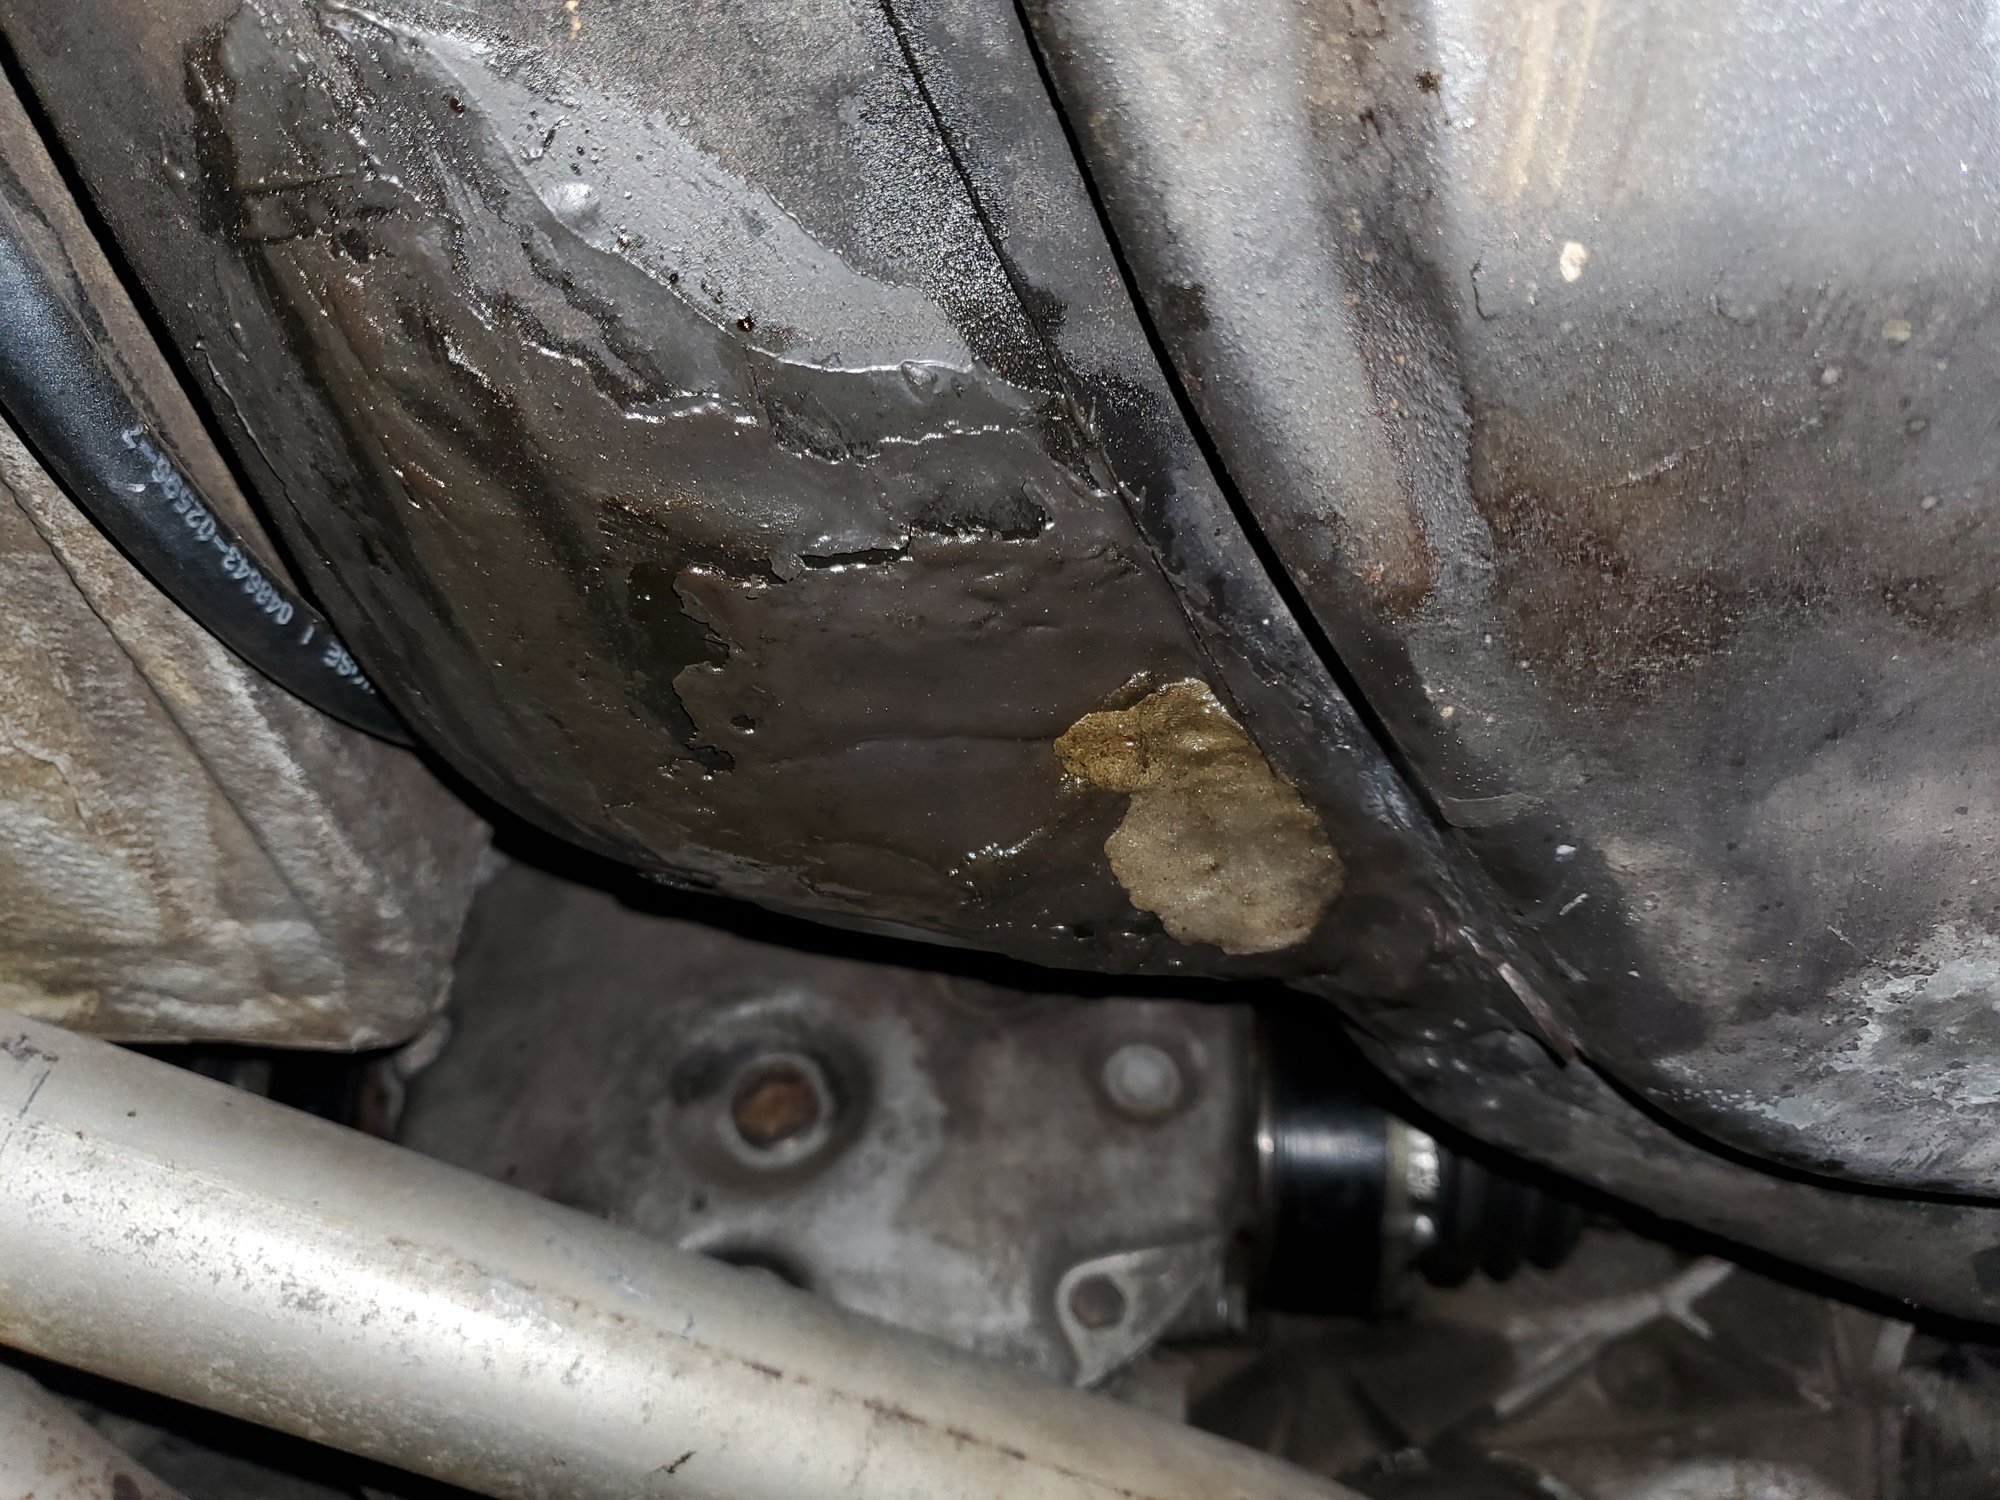
The repair a PO had done to my fuel tank has started to separate and seep gas. This just happened during this trip as I never smelled gas when the car was parked prior, but did over the weekend as we were around it. The bottom of the tank has the patch separating and is wet with fuel on the surface. It made it home no problem and I filled up about 5 hours away, so it's just about empty and I'll be replacing the tank with one from either WALTSTAR or Kevin Berez.
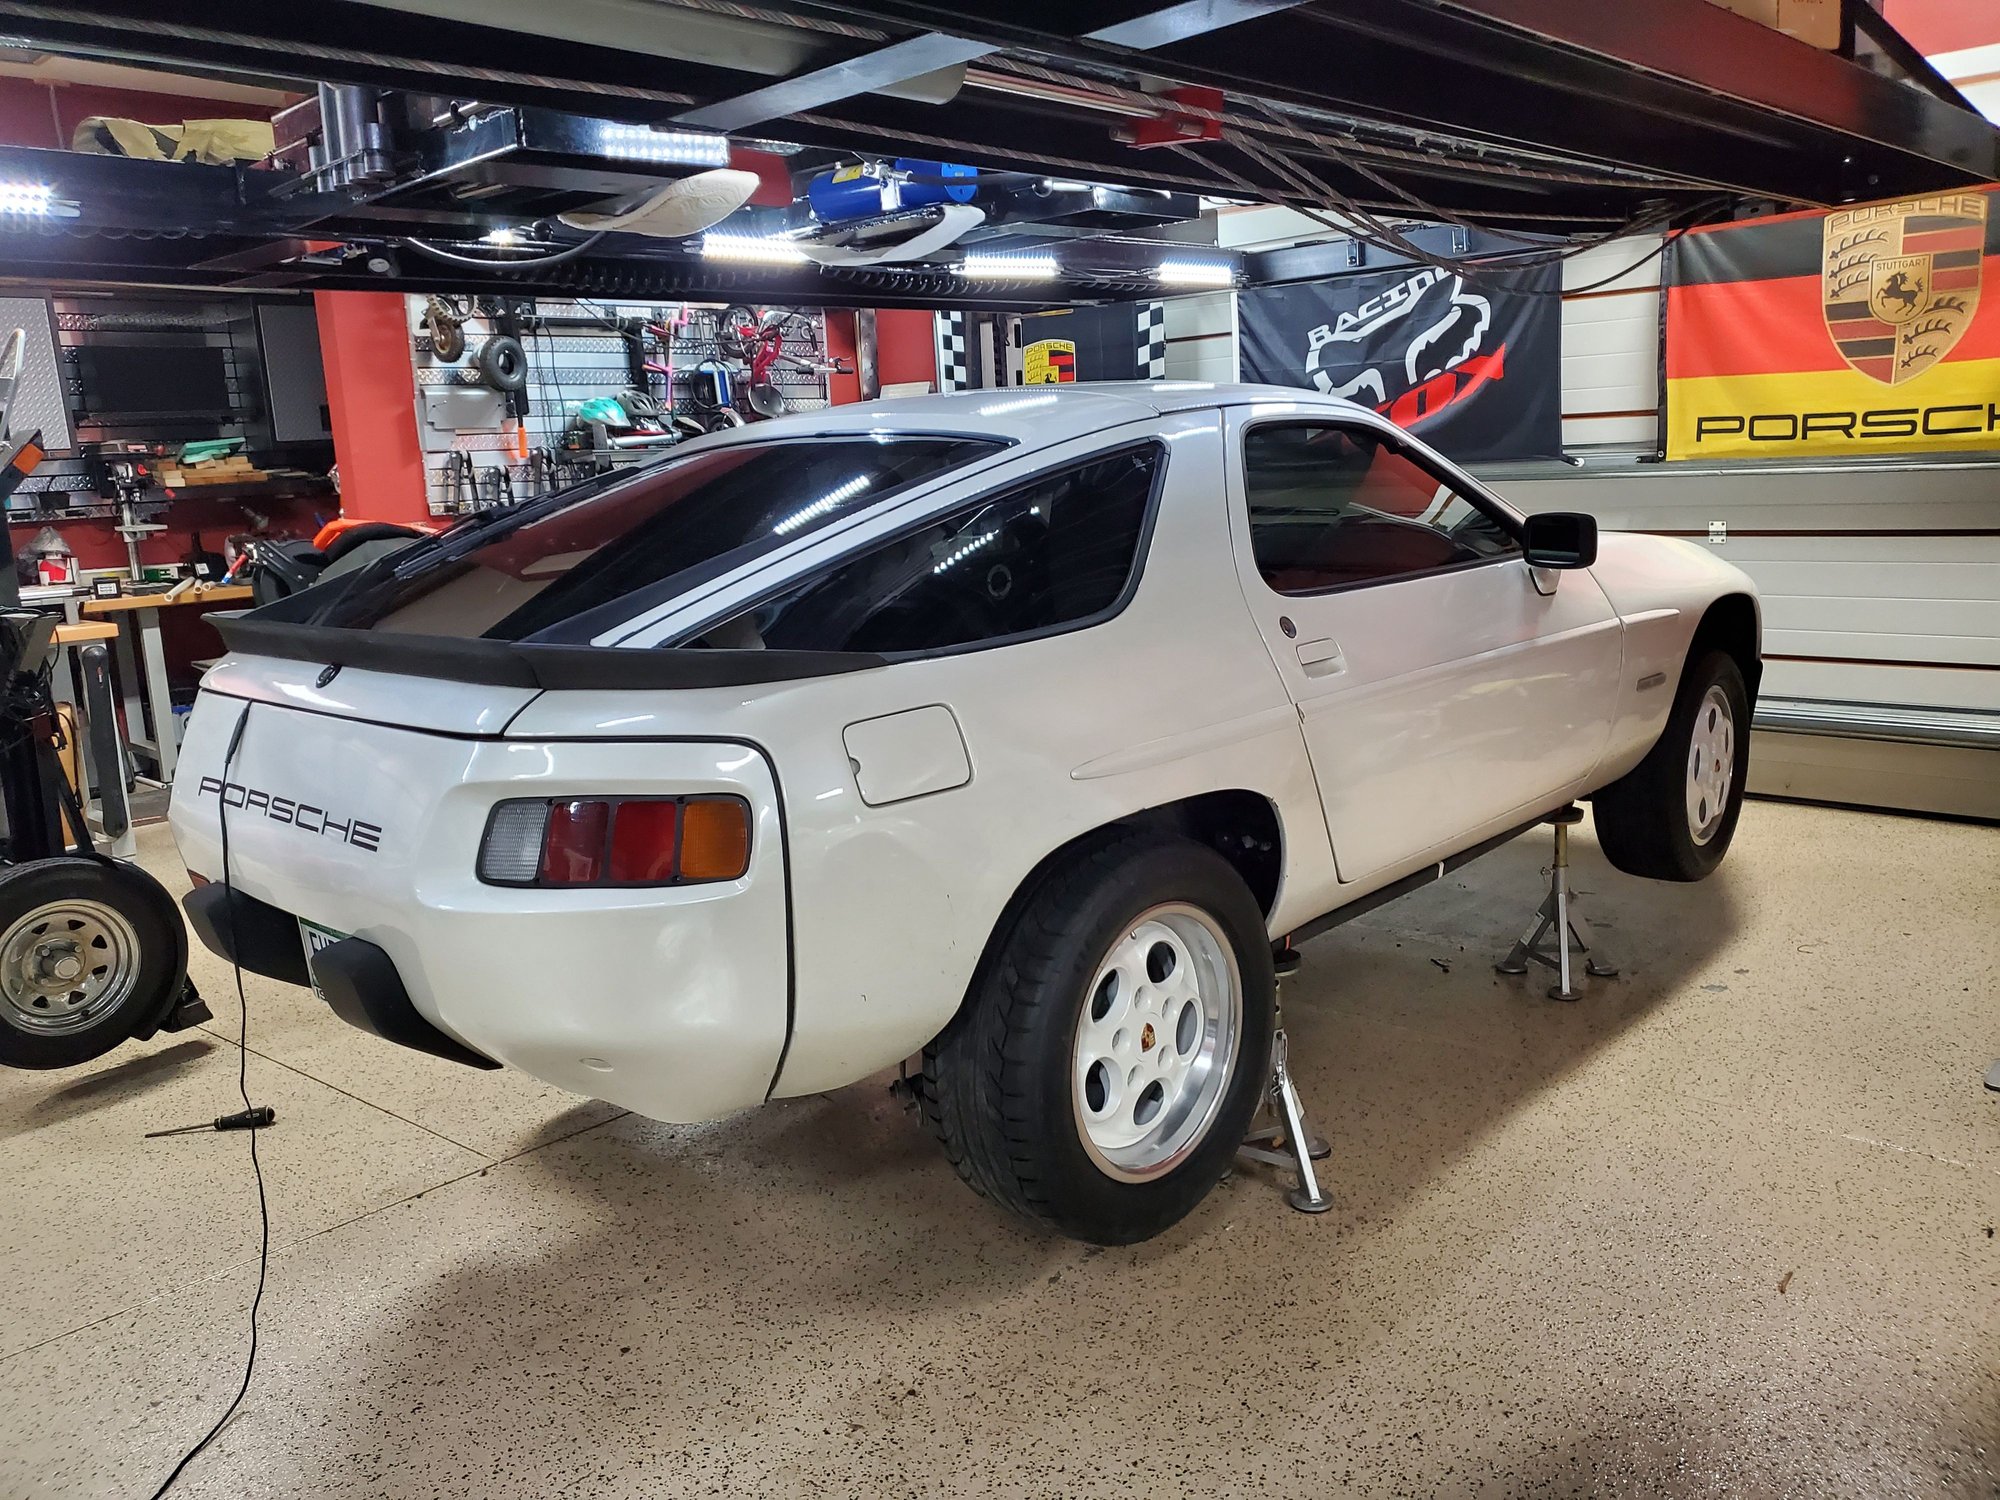
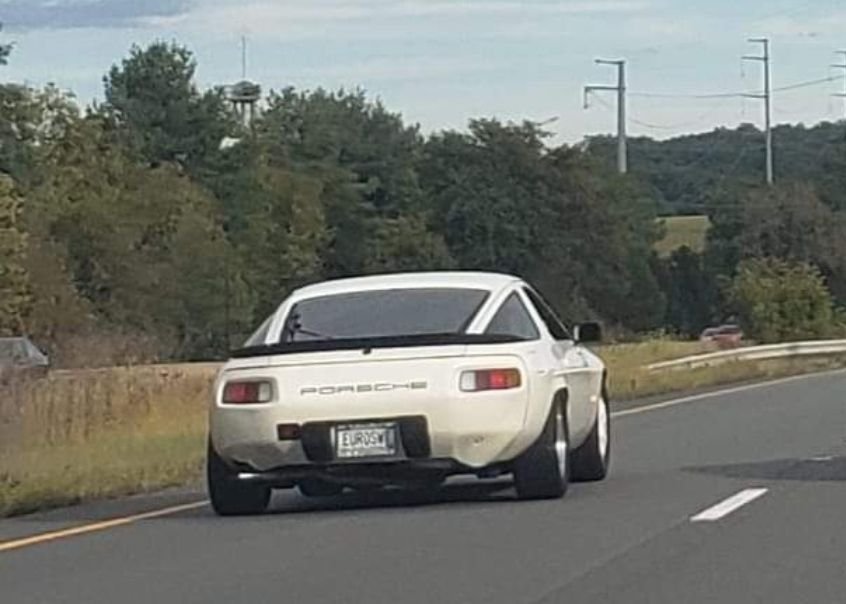
Notice from a rear shot photo that RS Martin captured that my rear bumper is actually warped on the right hand side. I can push up on the deflection point which straightens the bottom endge and rounds the bumper, so I'm going to come up with a fix and support that holds it in that position and maybe over time it will relax and reshape to the proper form. Easiest way will be if someone has that trim piece from the bottom center of a rear bumper where I can cut it to the length and use it on the right side - anyone have one of those?
The Euro at Frenzy as the lineup forms at Odds 'N Ends Detailing
Rear view rolling shot shows the right side bumper deformation
Patch on fuel tank is separating and seeping. Tank will be replaced.
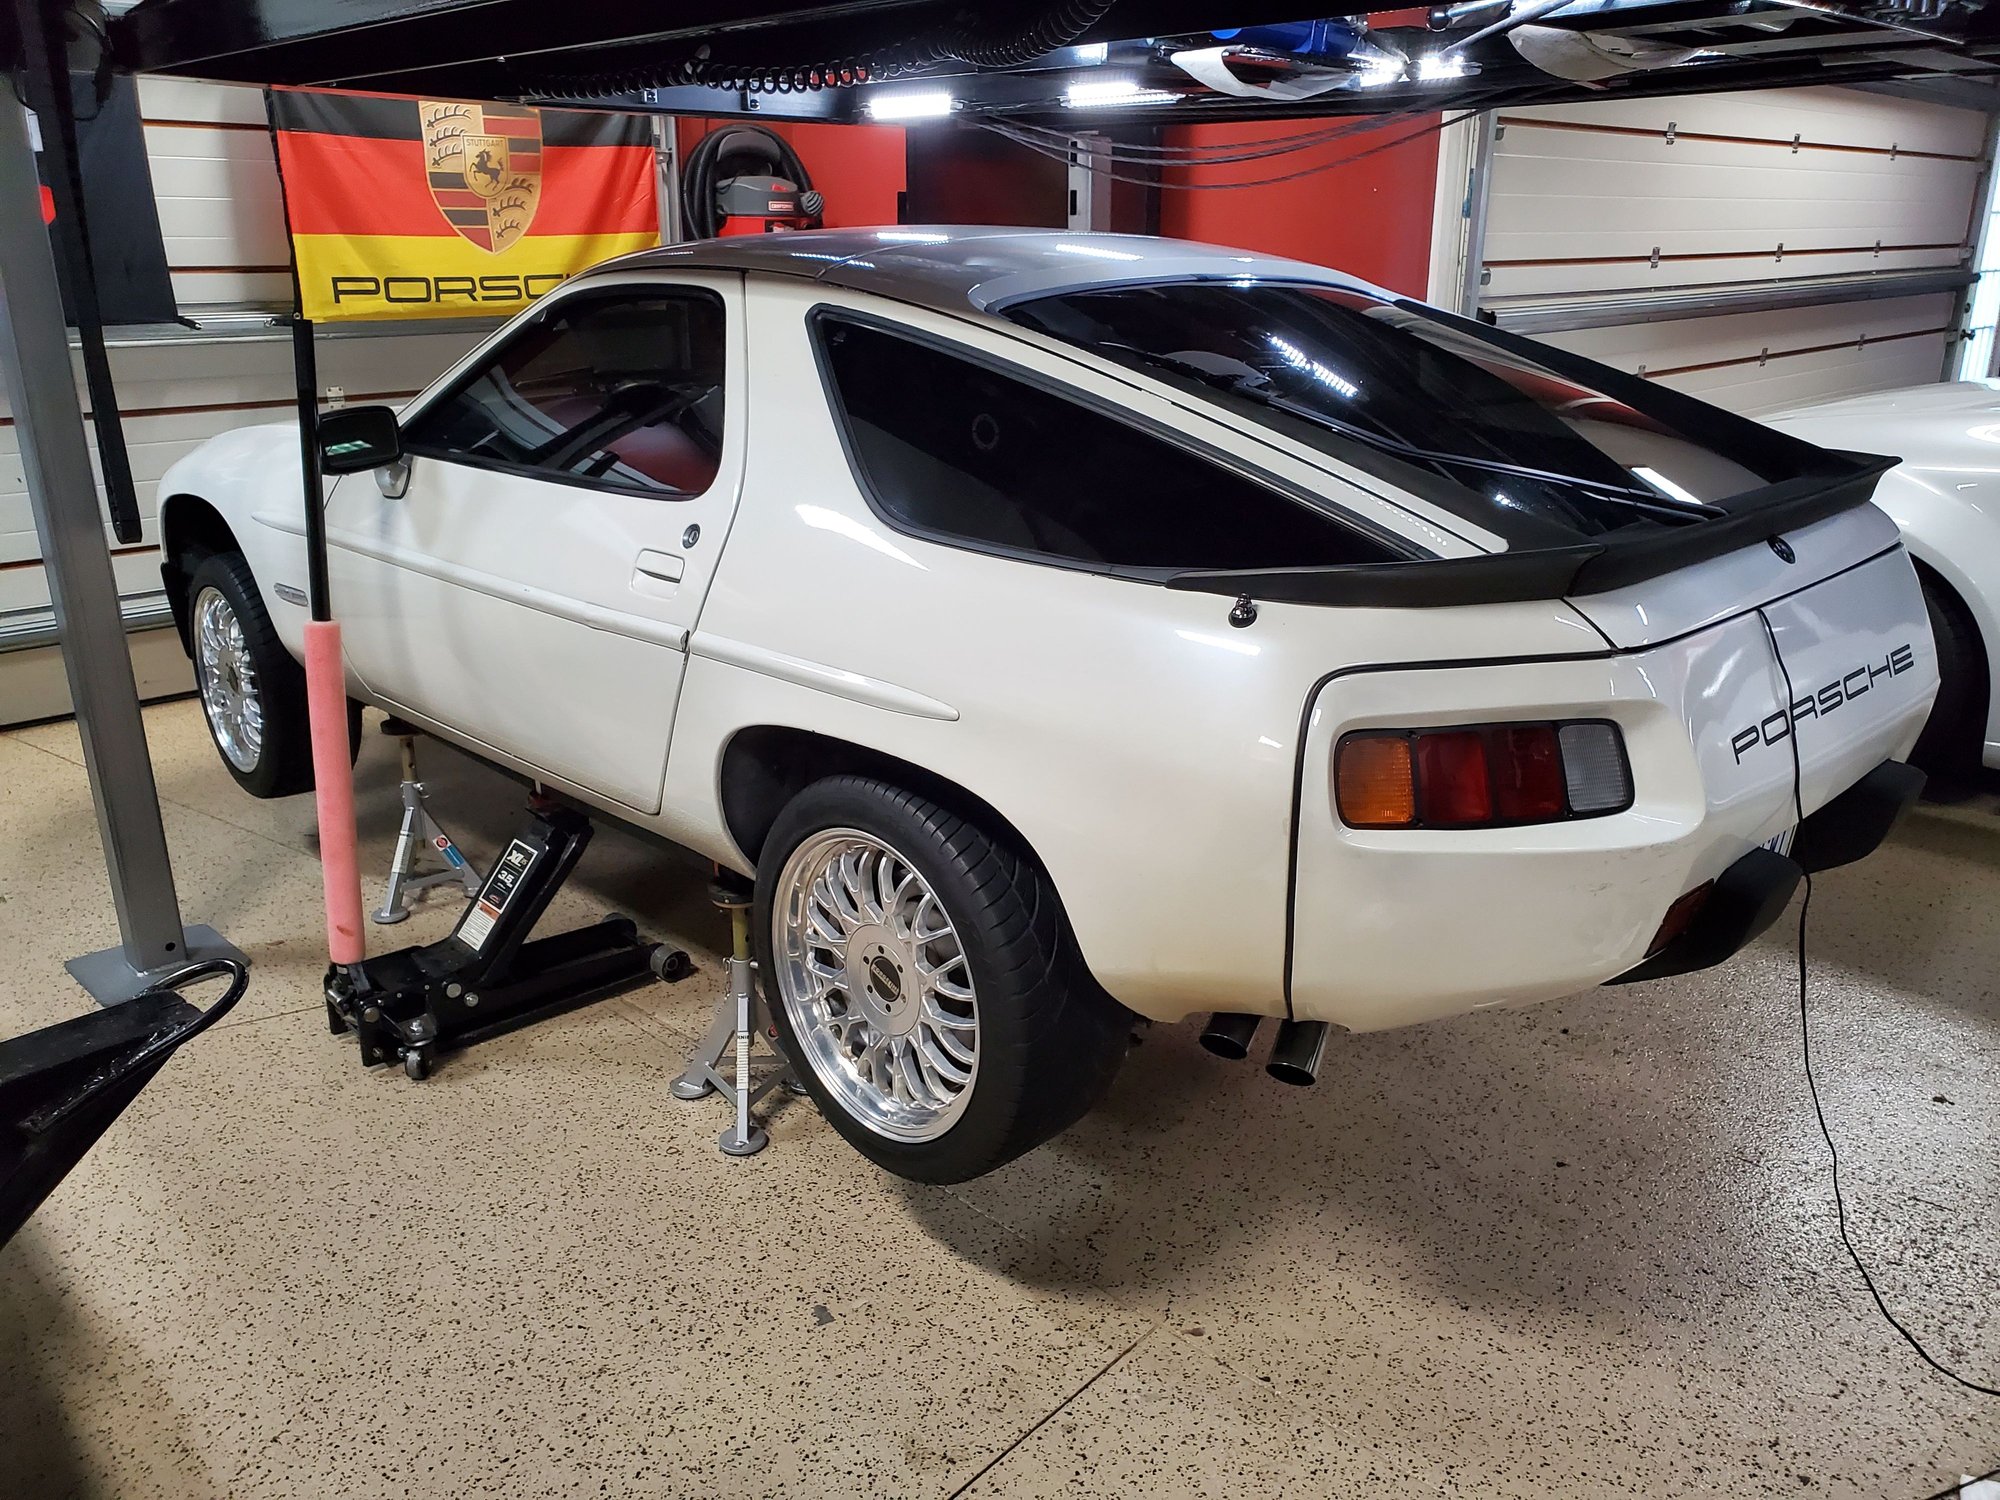
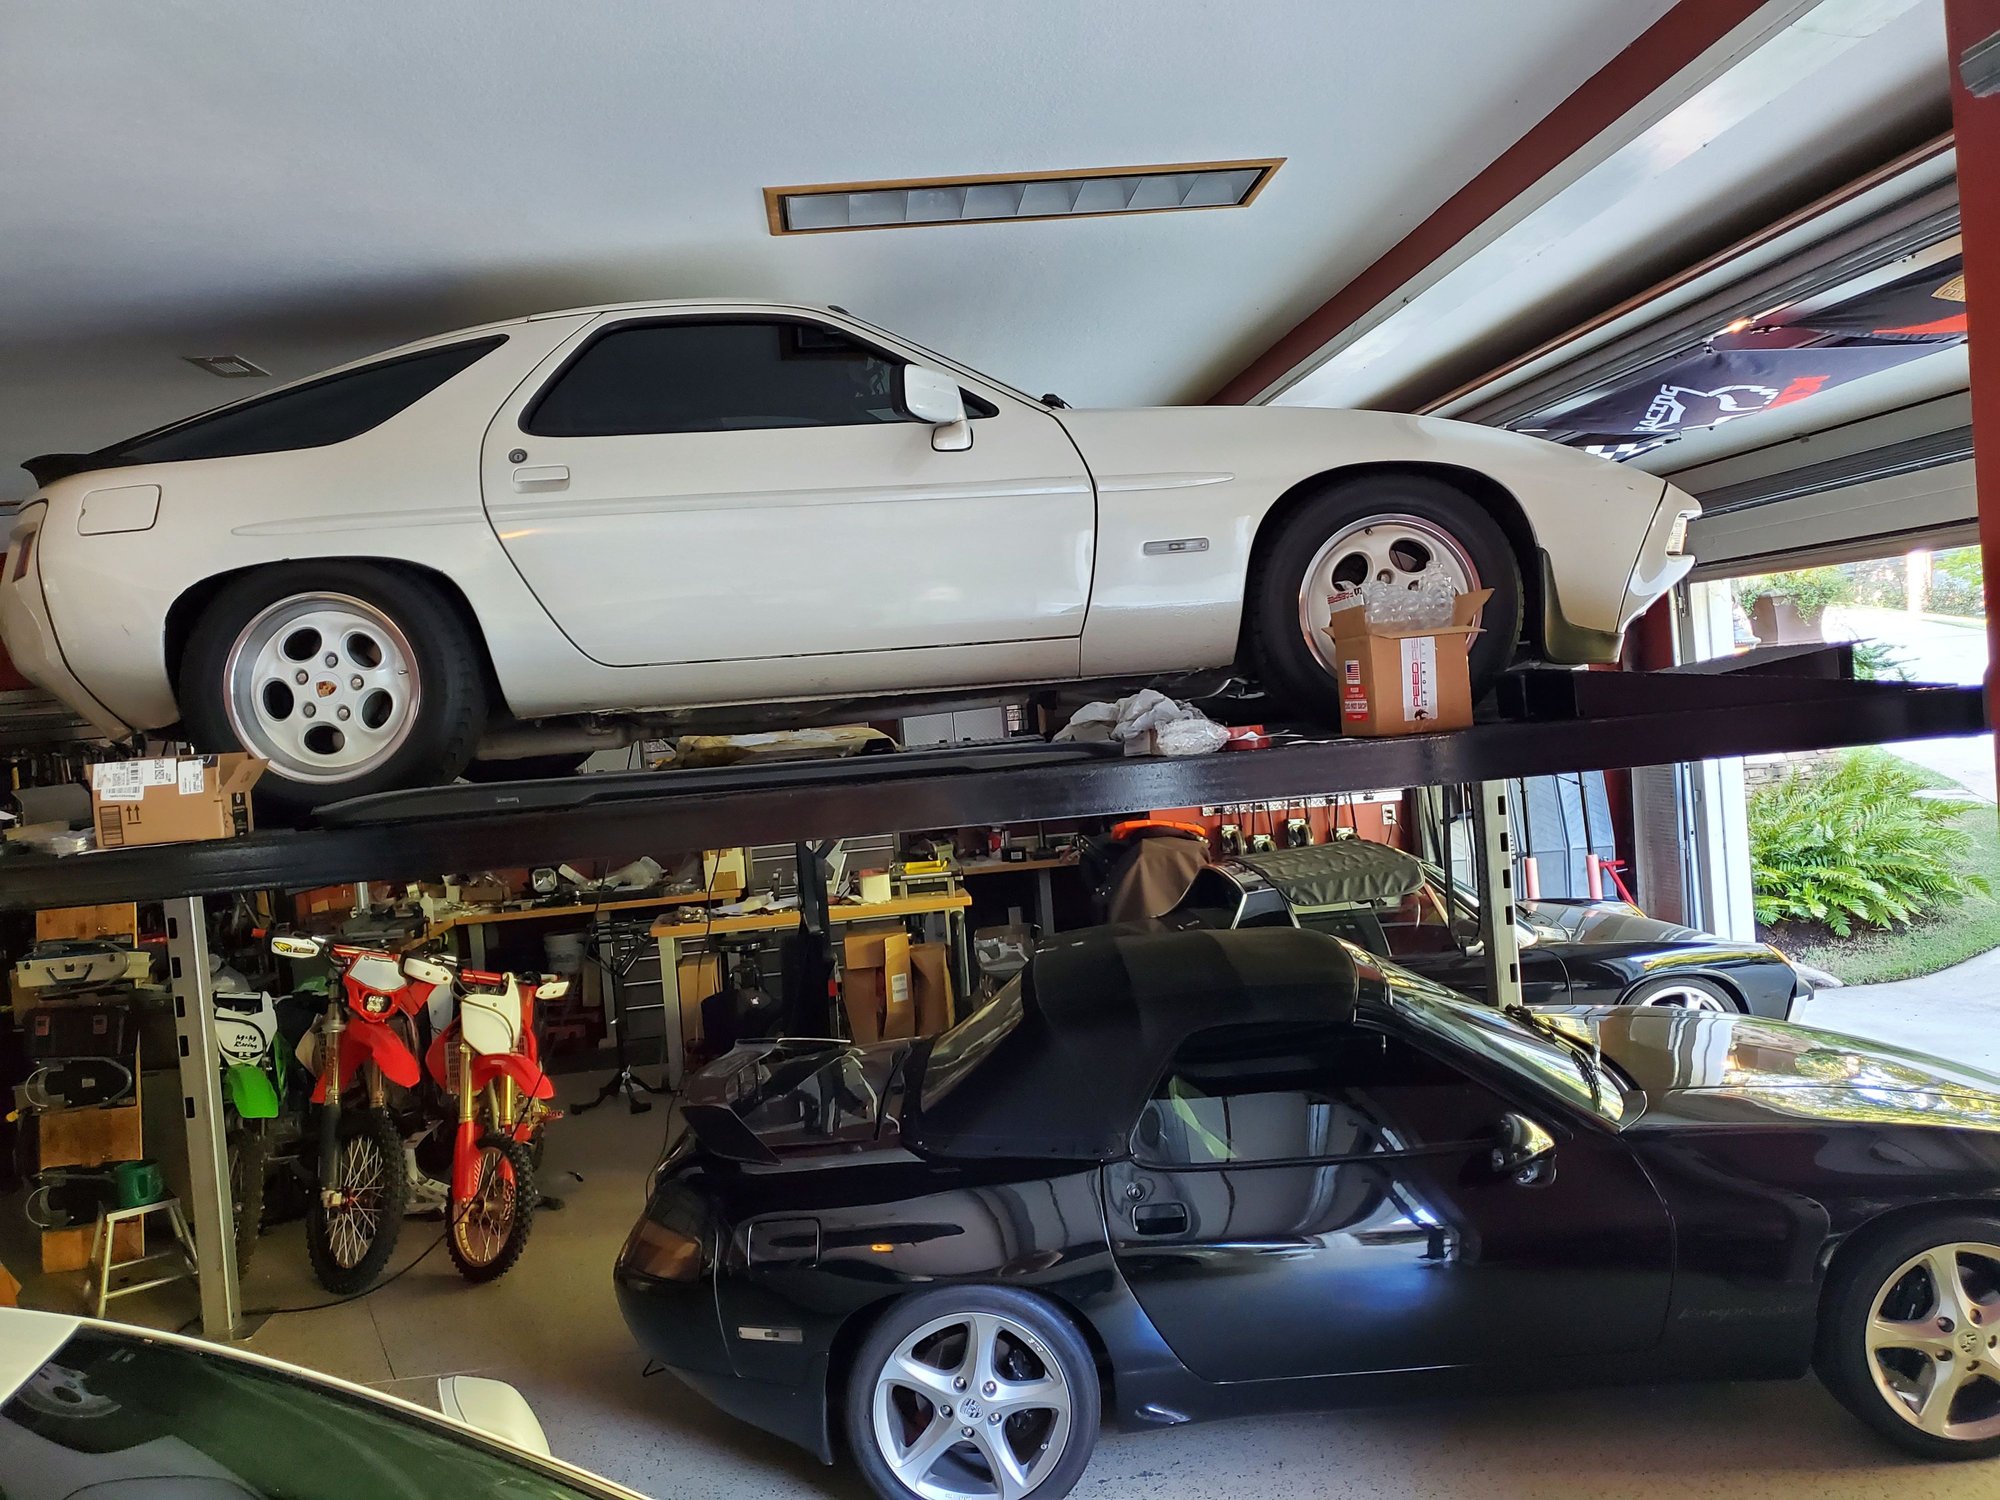
Euro swapped with the Spyder so I coukd adjust the wheel bearings and replace the fuel tank


 08-12-2021, 04:19 PM