When you click on links to various merchants on this site and make a purchase, this can result in this site earning a commission. Affiliate programs and affiliations include, but are not limited to, the eBay Partner Network.
Stitch was a full-leather car. The dash and pod are long gone and the rear quarters are toast, but the console and door arm rests are still pretty nice. I'd be interested in swapping them for black vinyl equivalents.
Definitely interested in the Drivers' door leather one if it's in good shape and I have a very nice non-leather one I recently bought from Mark Anderson that is going into the car. Looks like maybe you now do need to come to Sharks so we can swap armrests in the parking lot.
The vinyl center console I have will be up for sale also and maybe the excess adhesive someone sprayed on there can be removed.
Definitely interested in the Drivers' door leather one if it's in good shape and I have a very nice non-leather one I recently bought from Mark Anderson that is going into the car. Looks like maybe you now do need to come to Sharks so we can swap armrests in the parking lot. The vinyl center console I have will be up for sale also and maybe the excess adhesive someone sprayed on there can be removed.
If I understand the pics in your thread: Stitch's center console is in much better condition than yours.
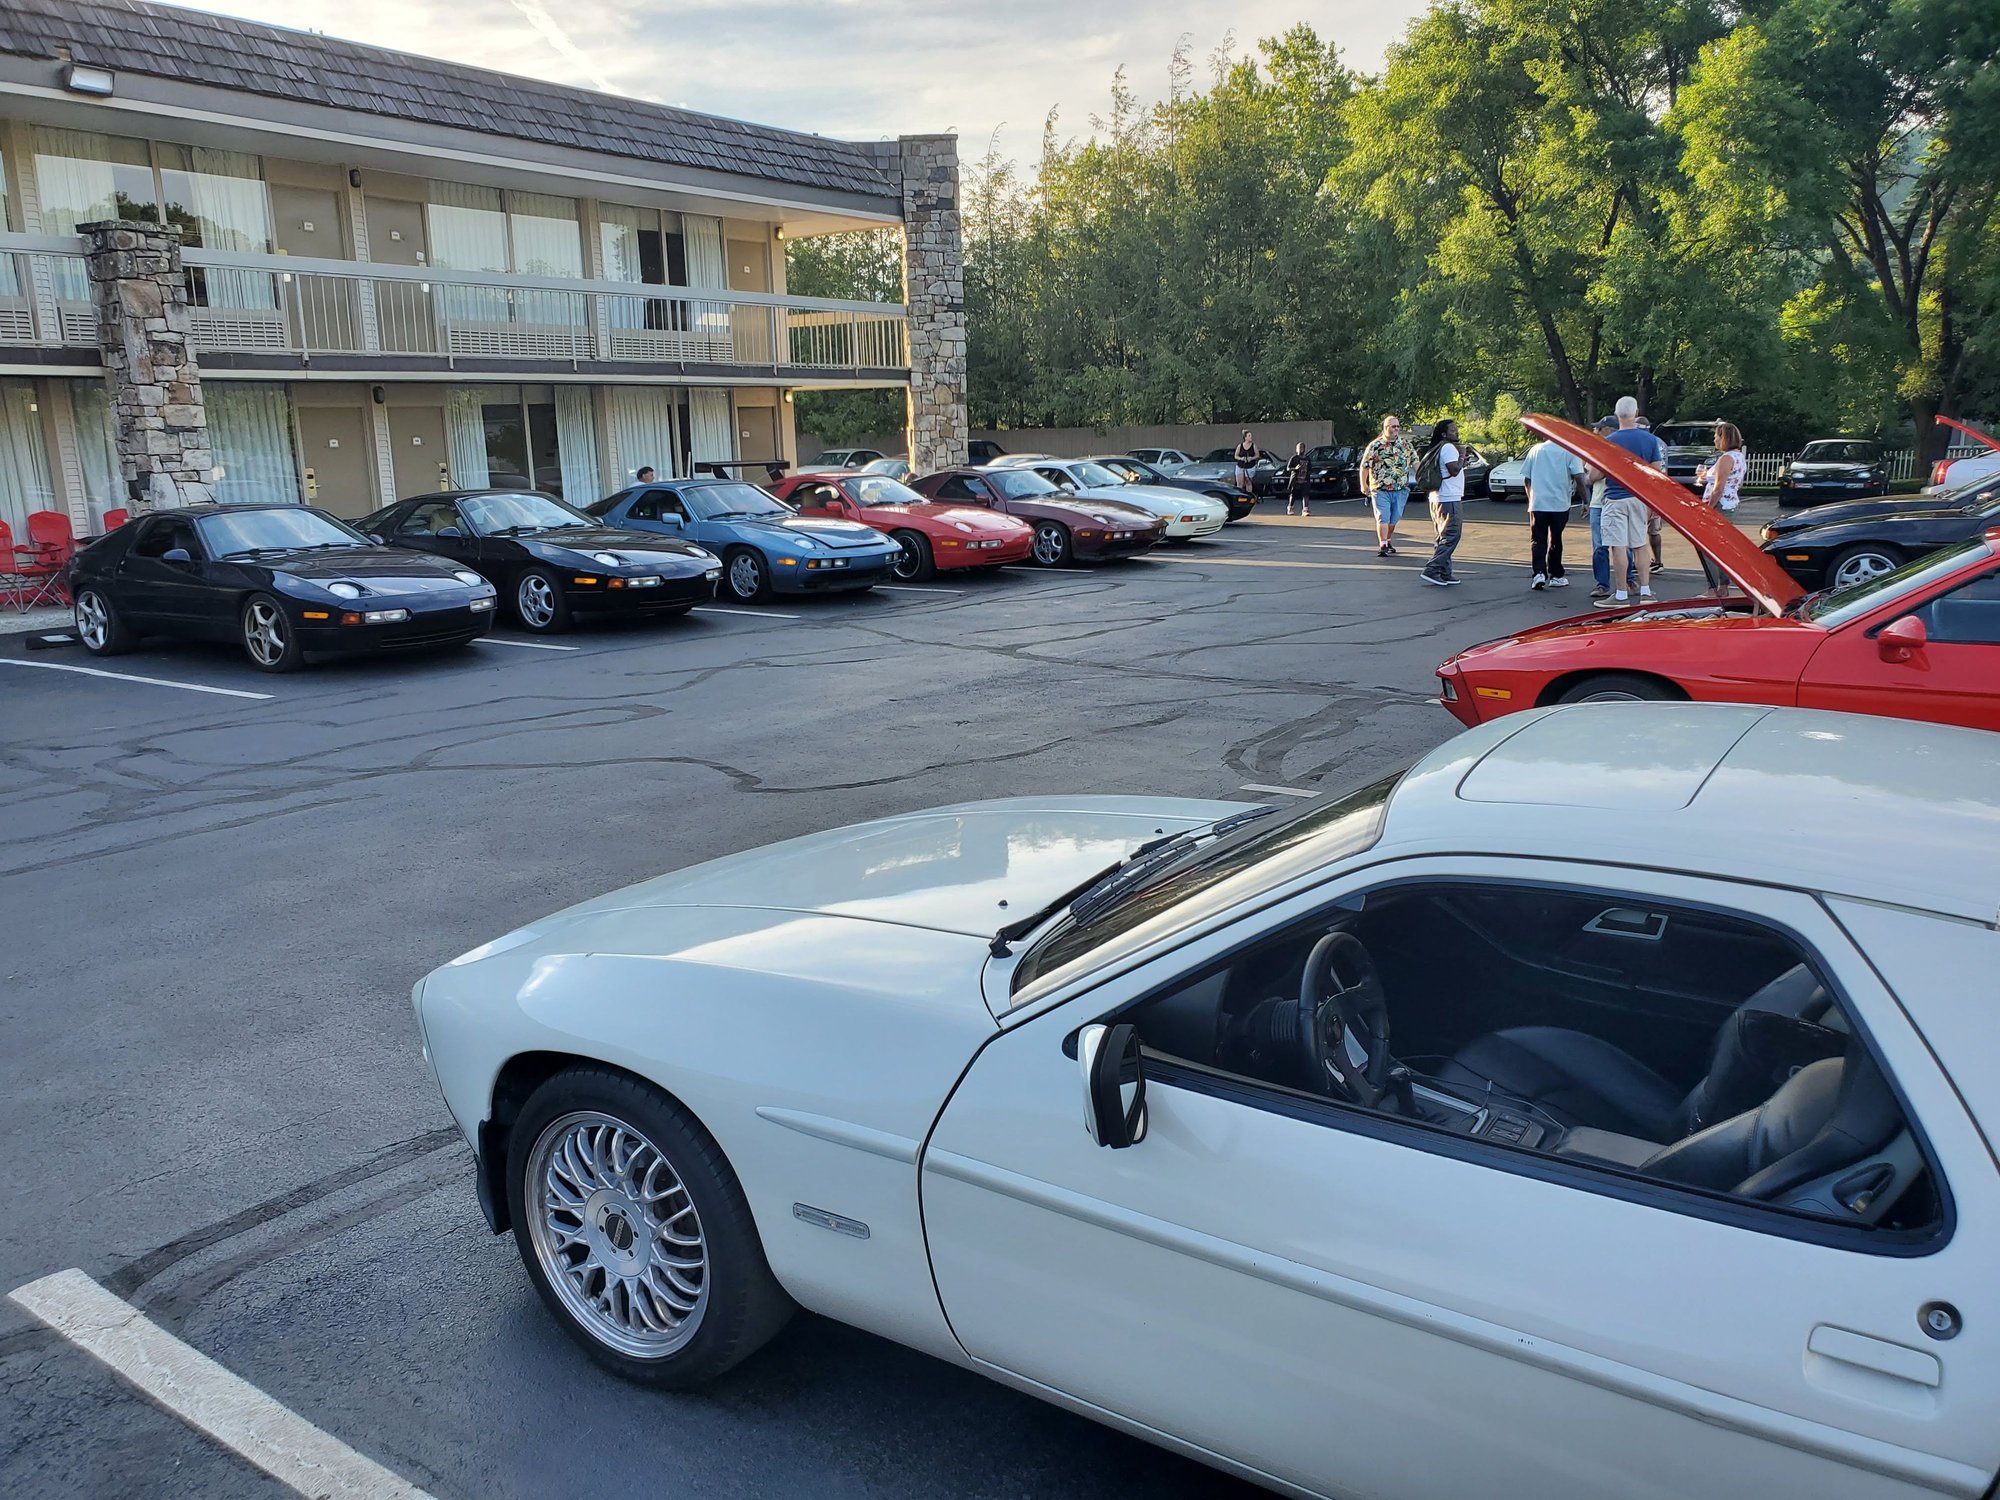
I'm going to be driving north from Jax heading to Charlotte and on to Elkin, NC tomorrow...
Still hoping to get the car ready for SITM, but still a ways to go. 3:30 AM Monday night and 2:30 AM last night - I need a nap
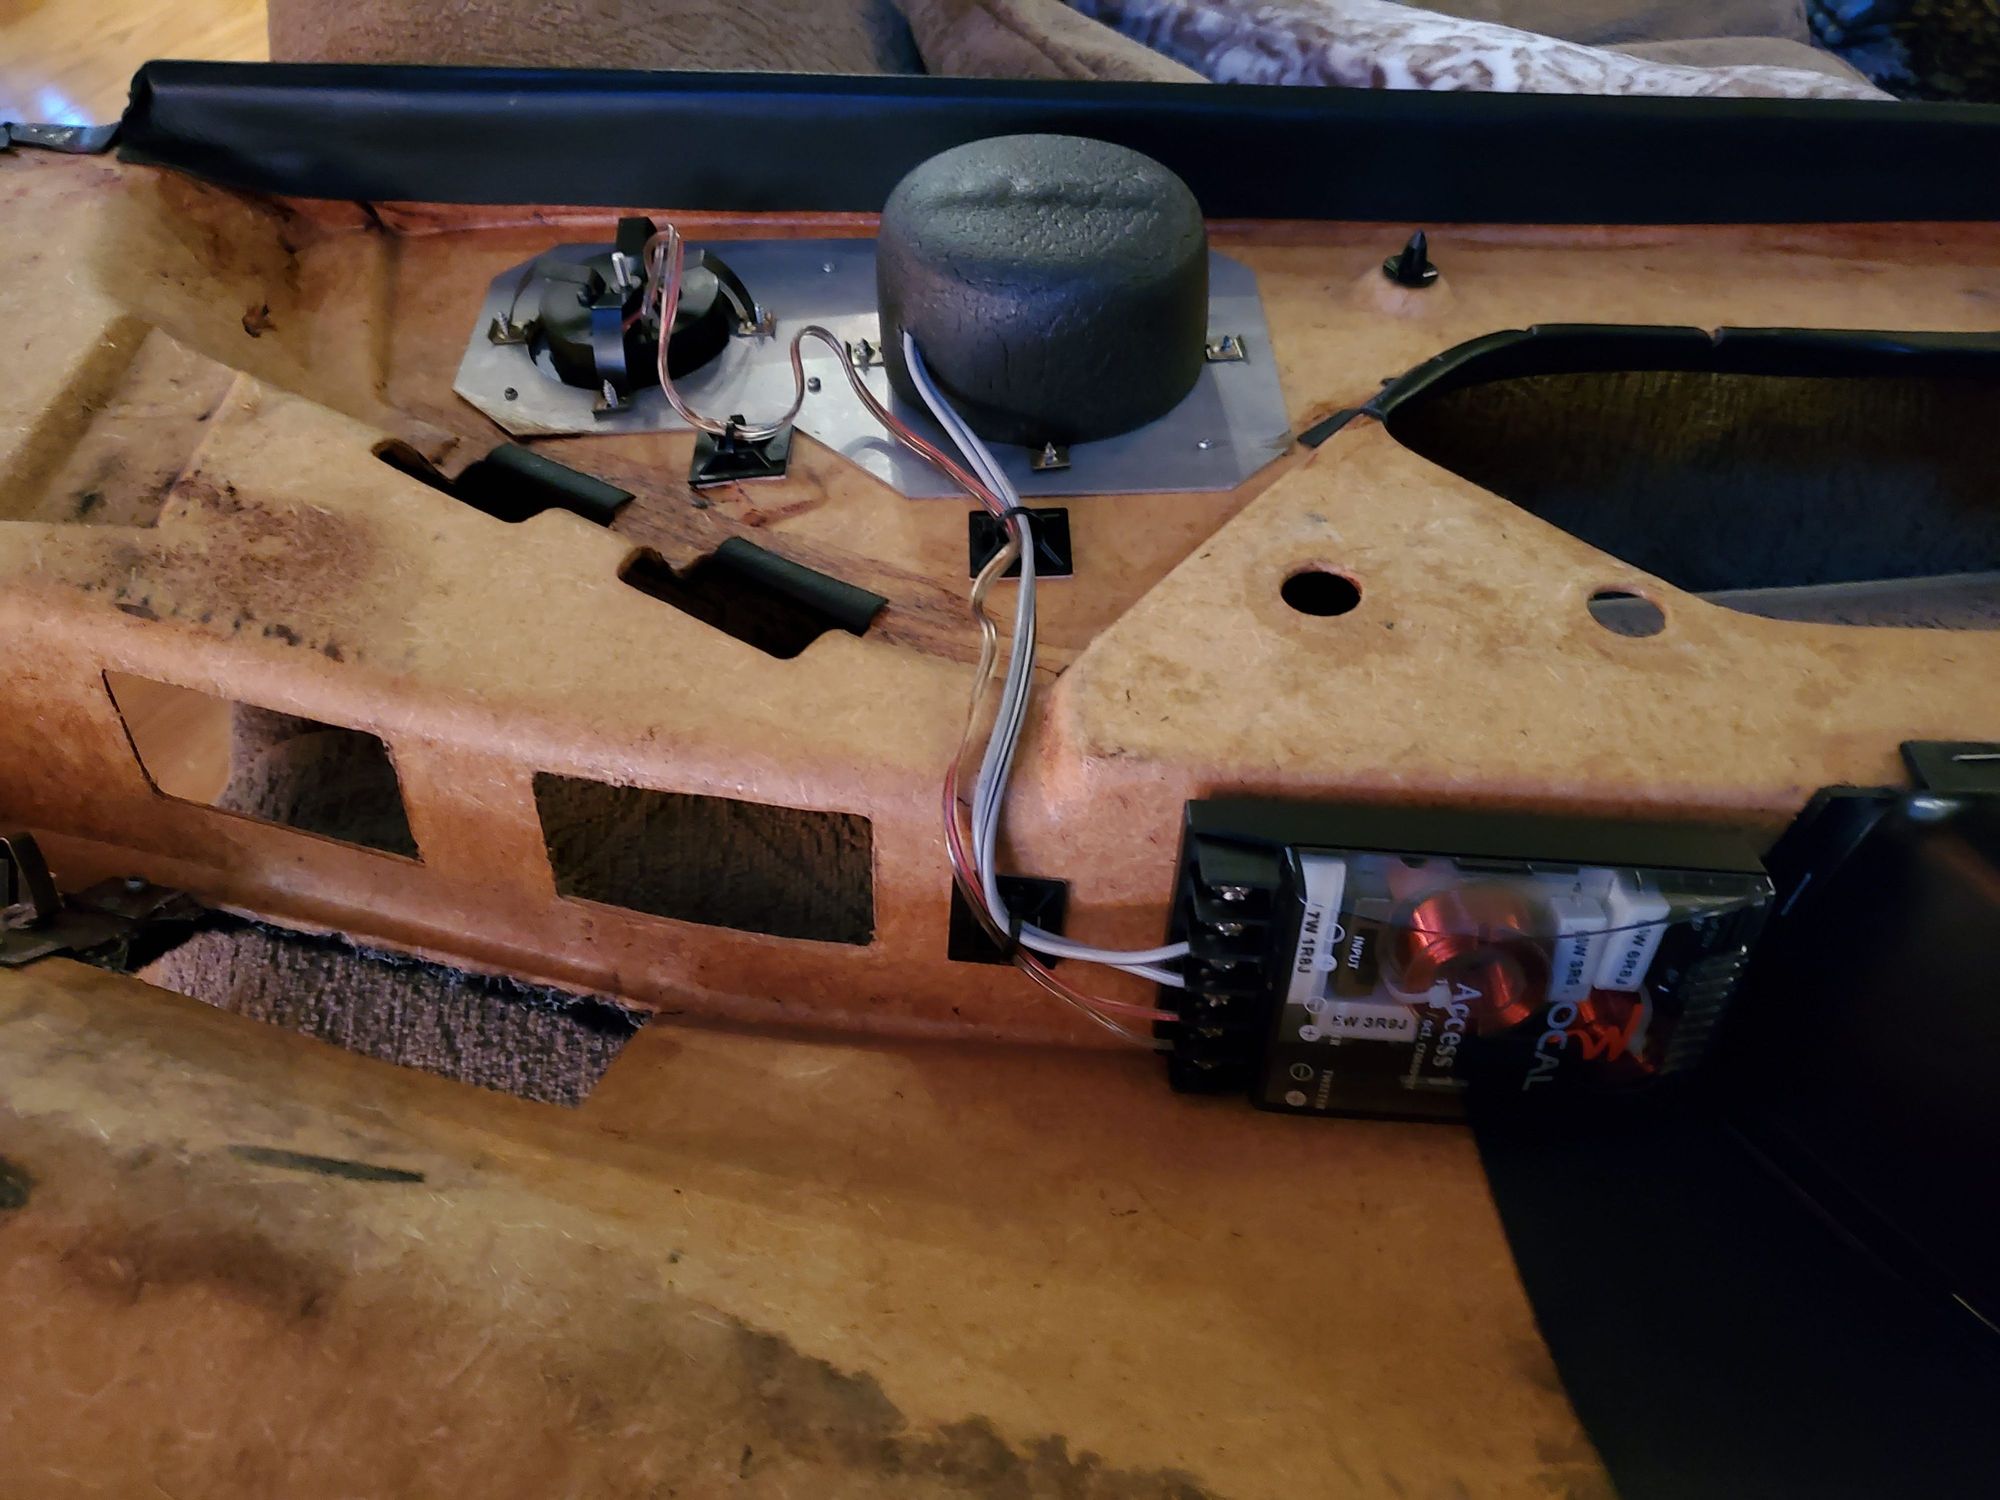
Got the center console reinstalled (upper bolts fought me for about 90 minutes). Got the rear speakers, USB charging ports, and a bunch of wiring installed. I decided to distribute some of the exterior pearl white color throughout the interior in some trim areas.
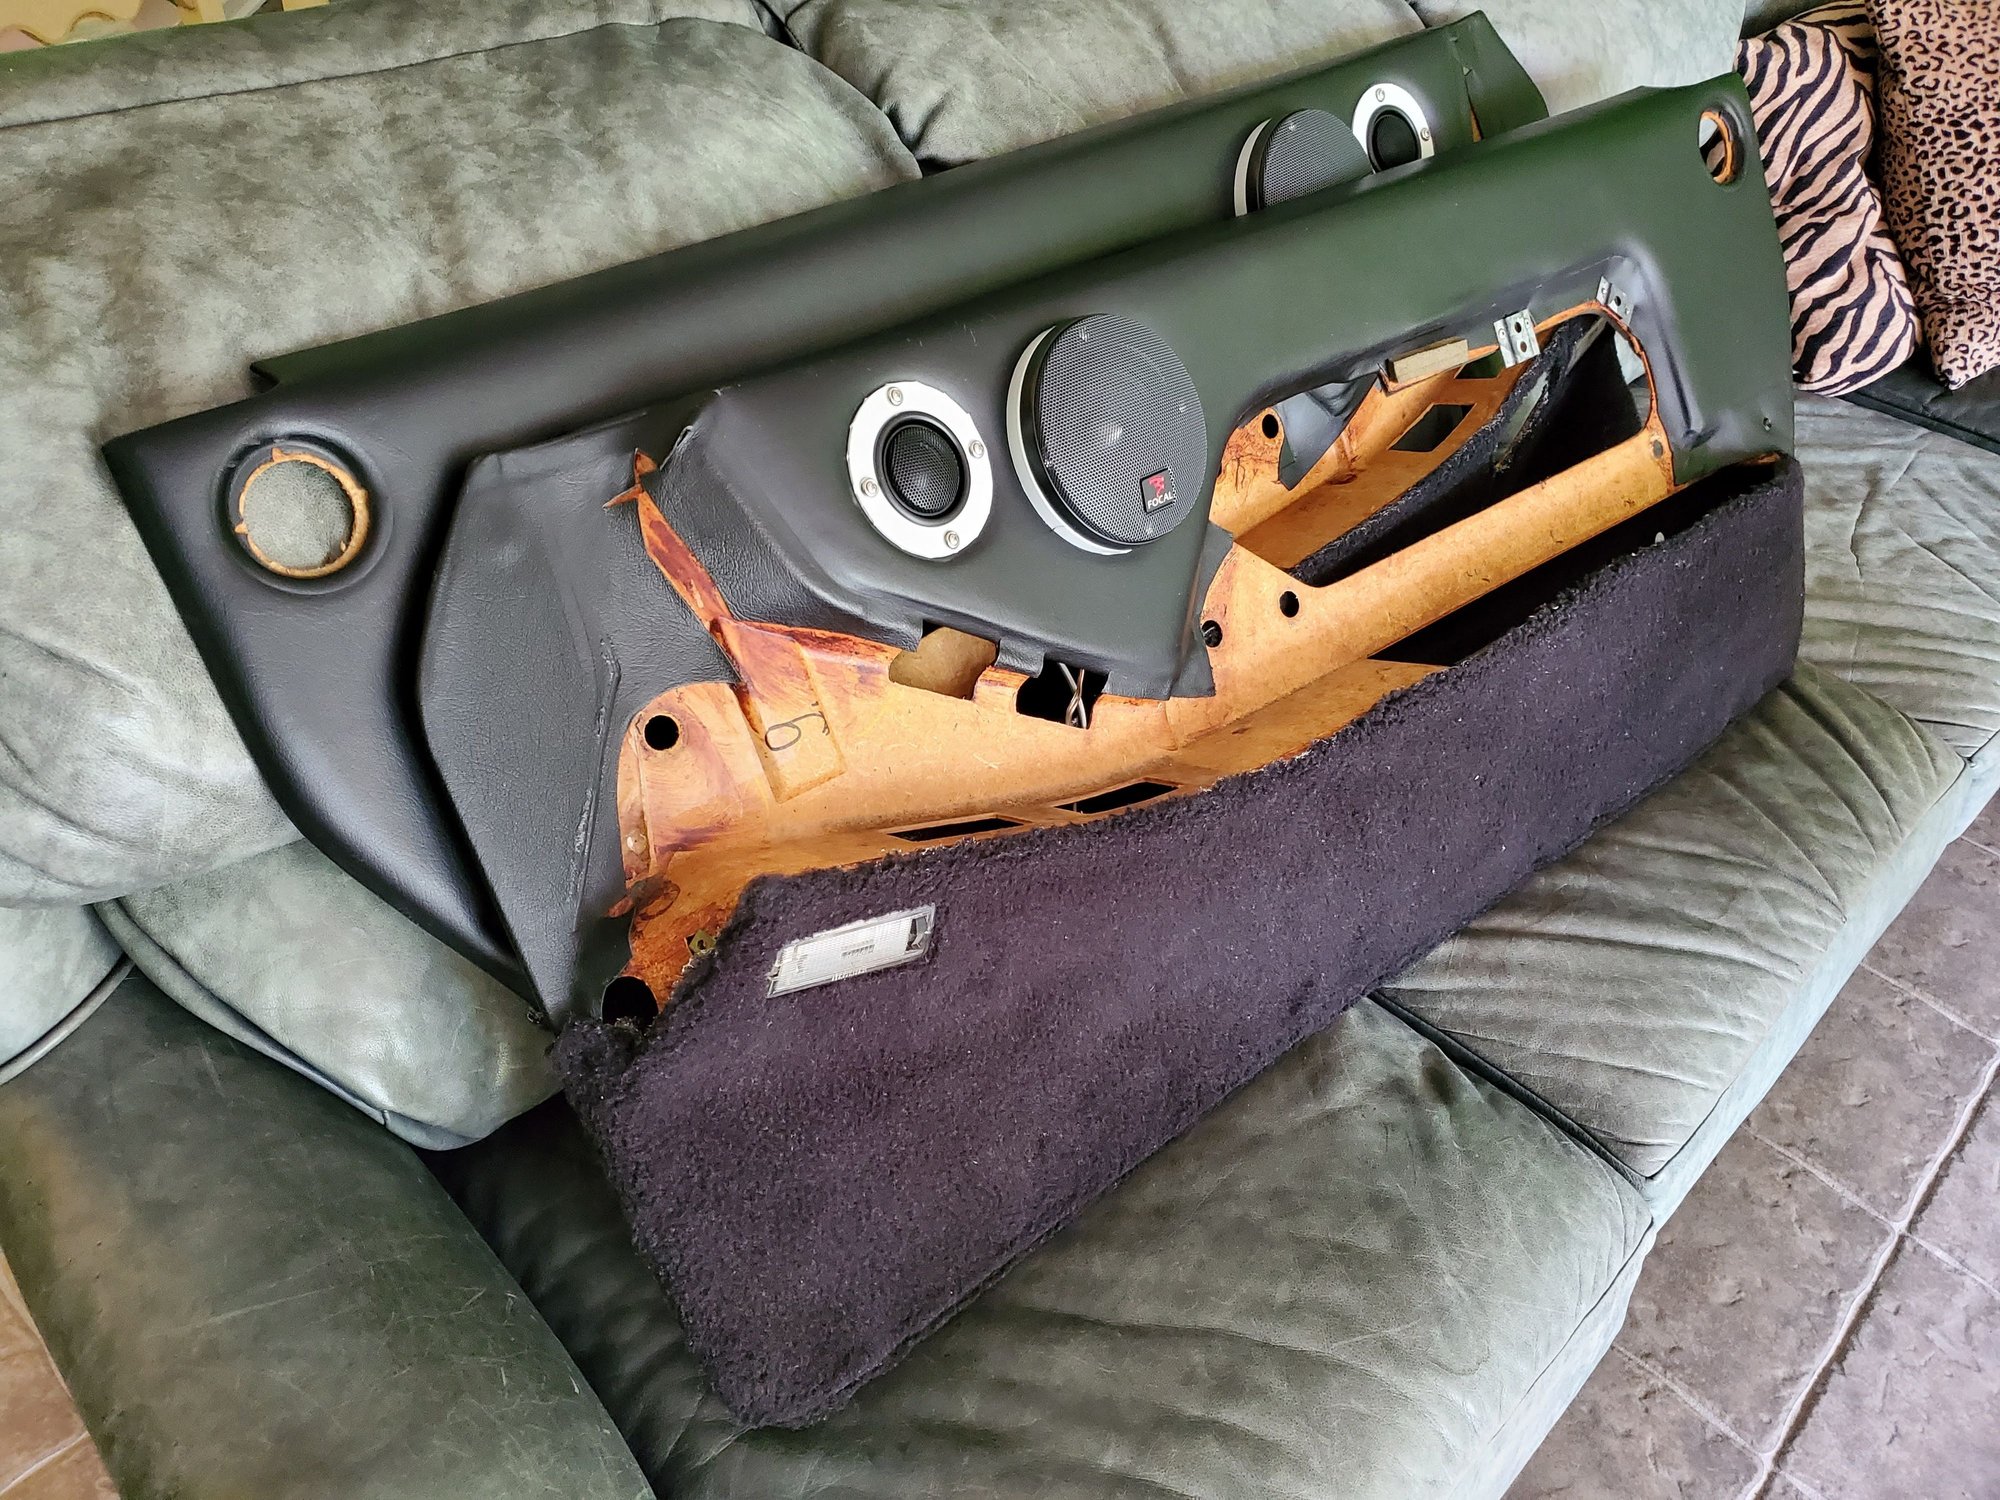
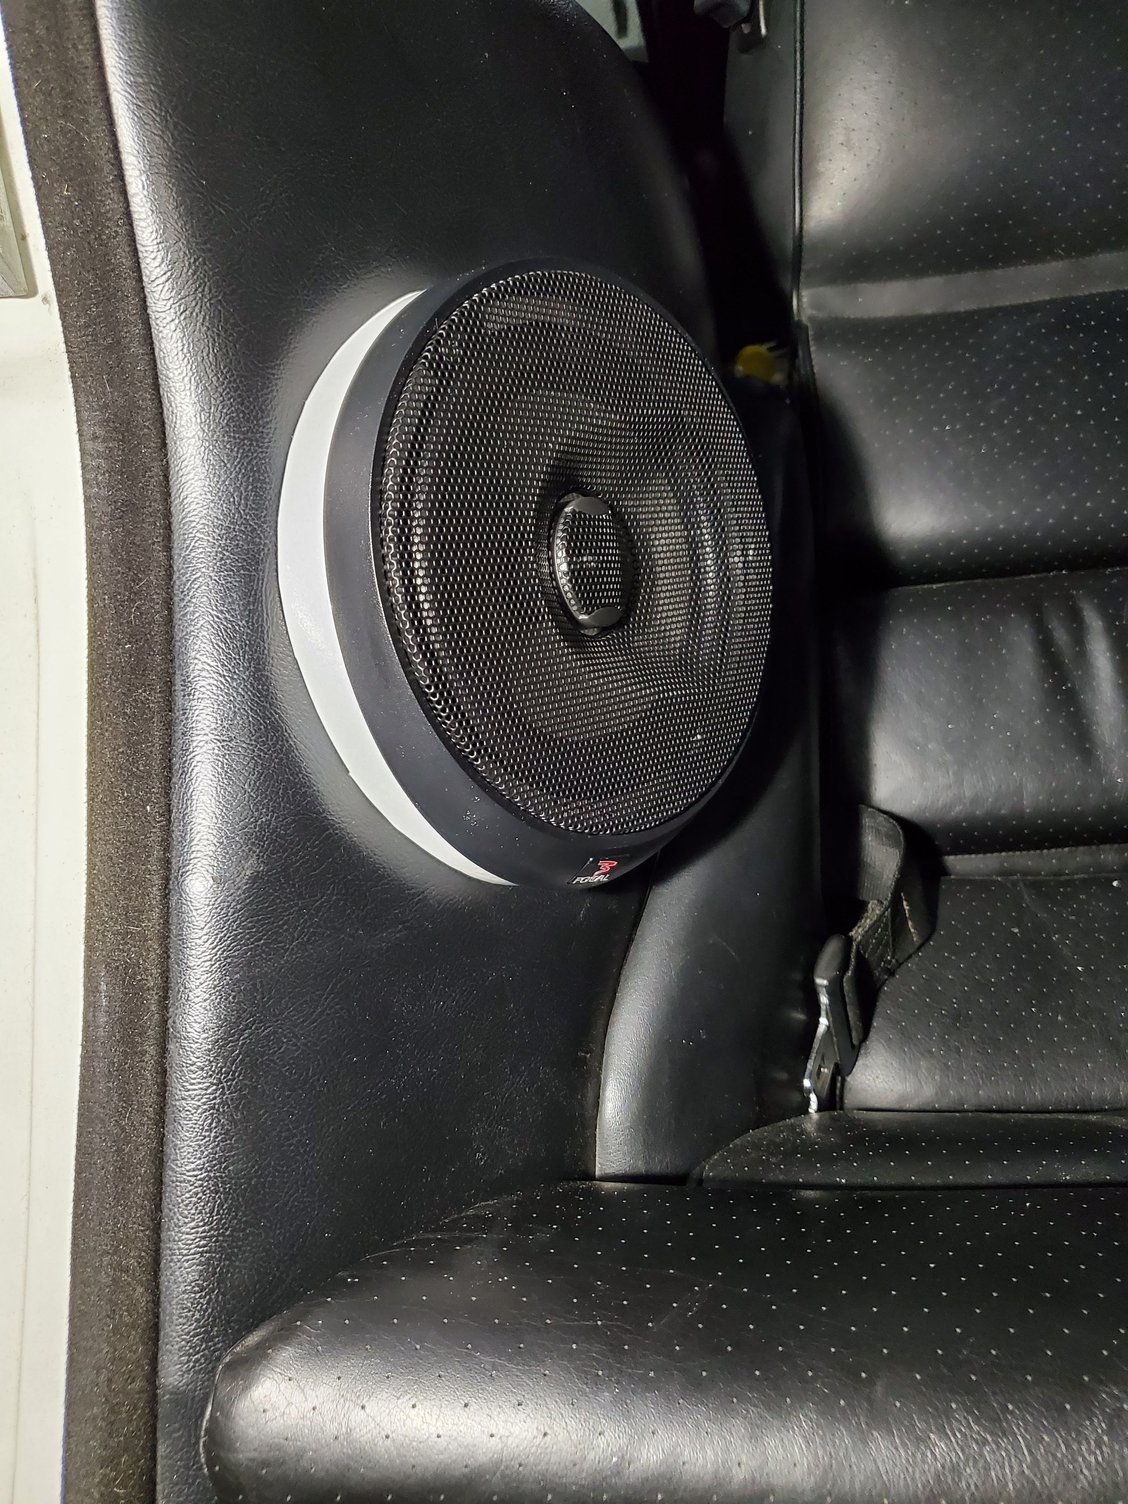
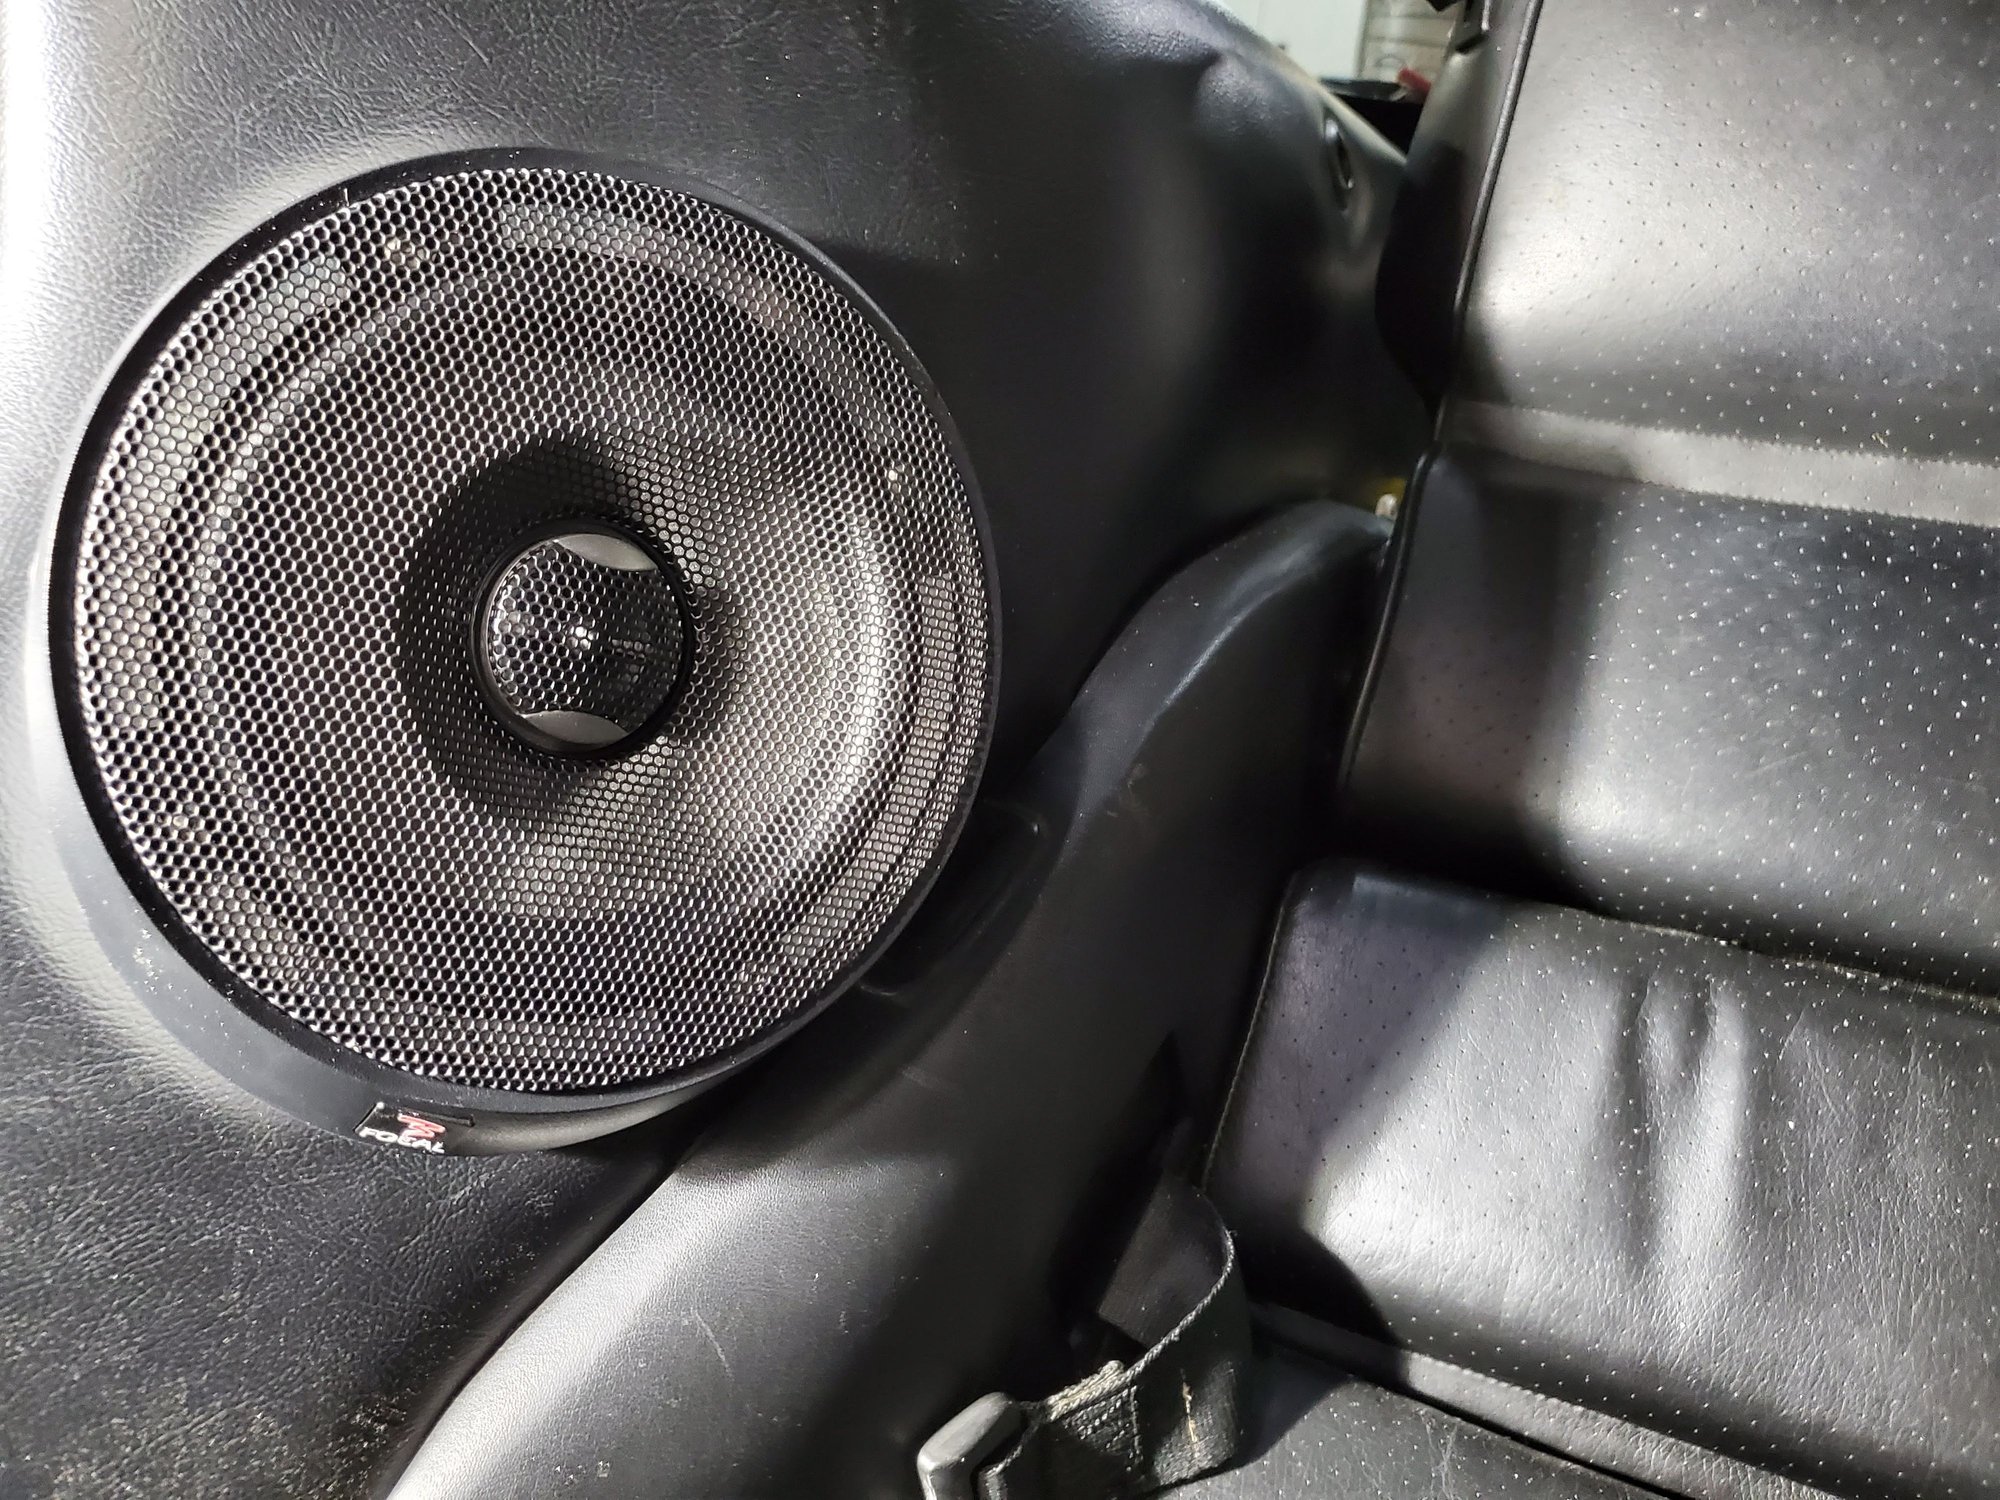
Speakers & Crossover mounted in the door panels
Focal Woofer & MTX Tweeter with crossover installed
Made a custom tweeter mounting plate from Plexiglass, then wrapped it.
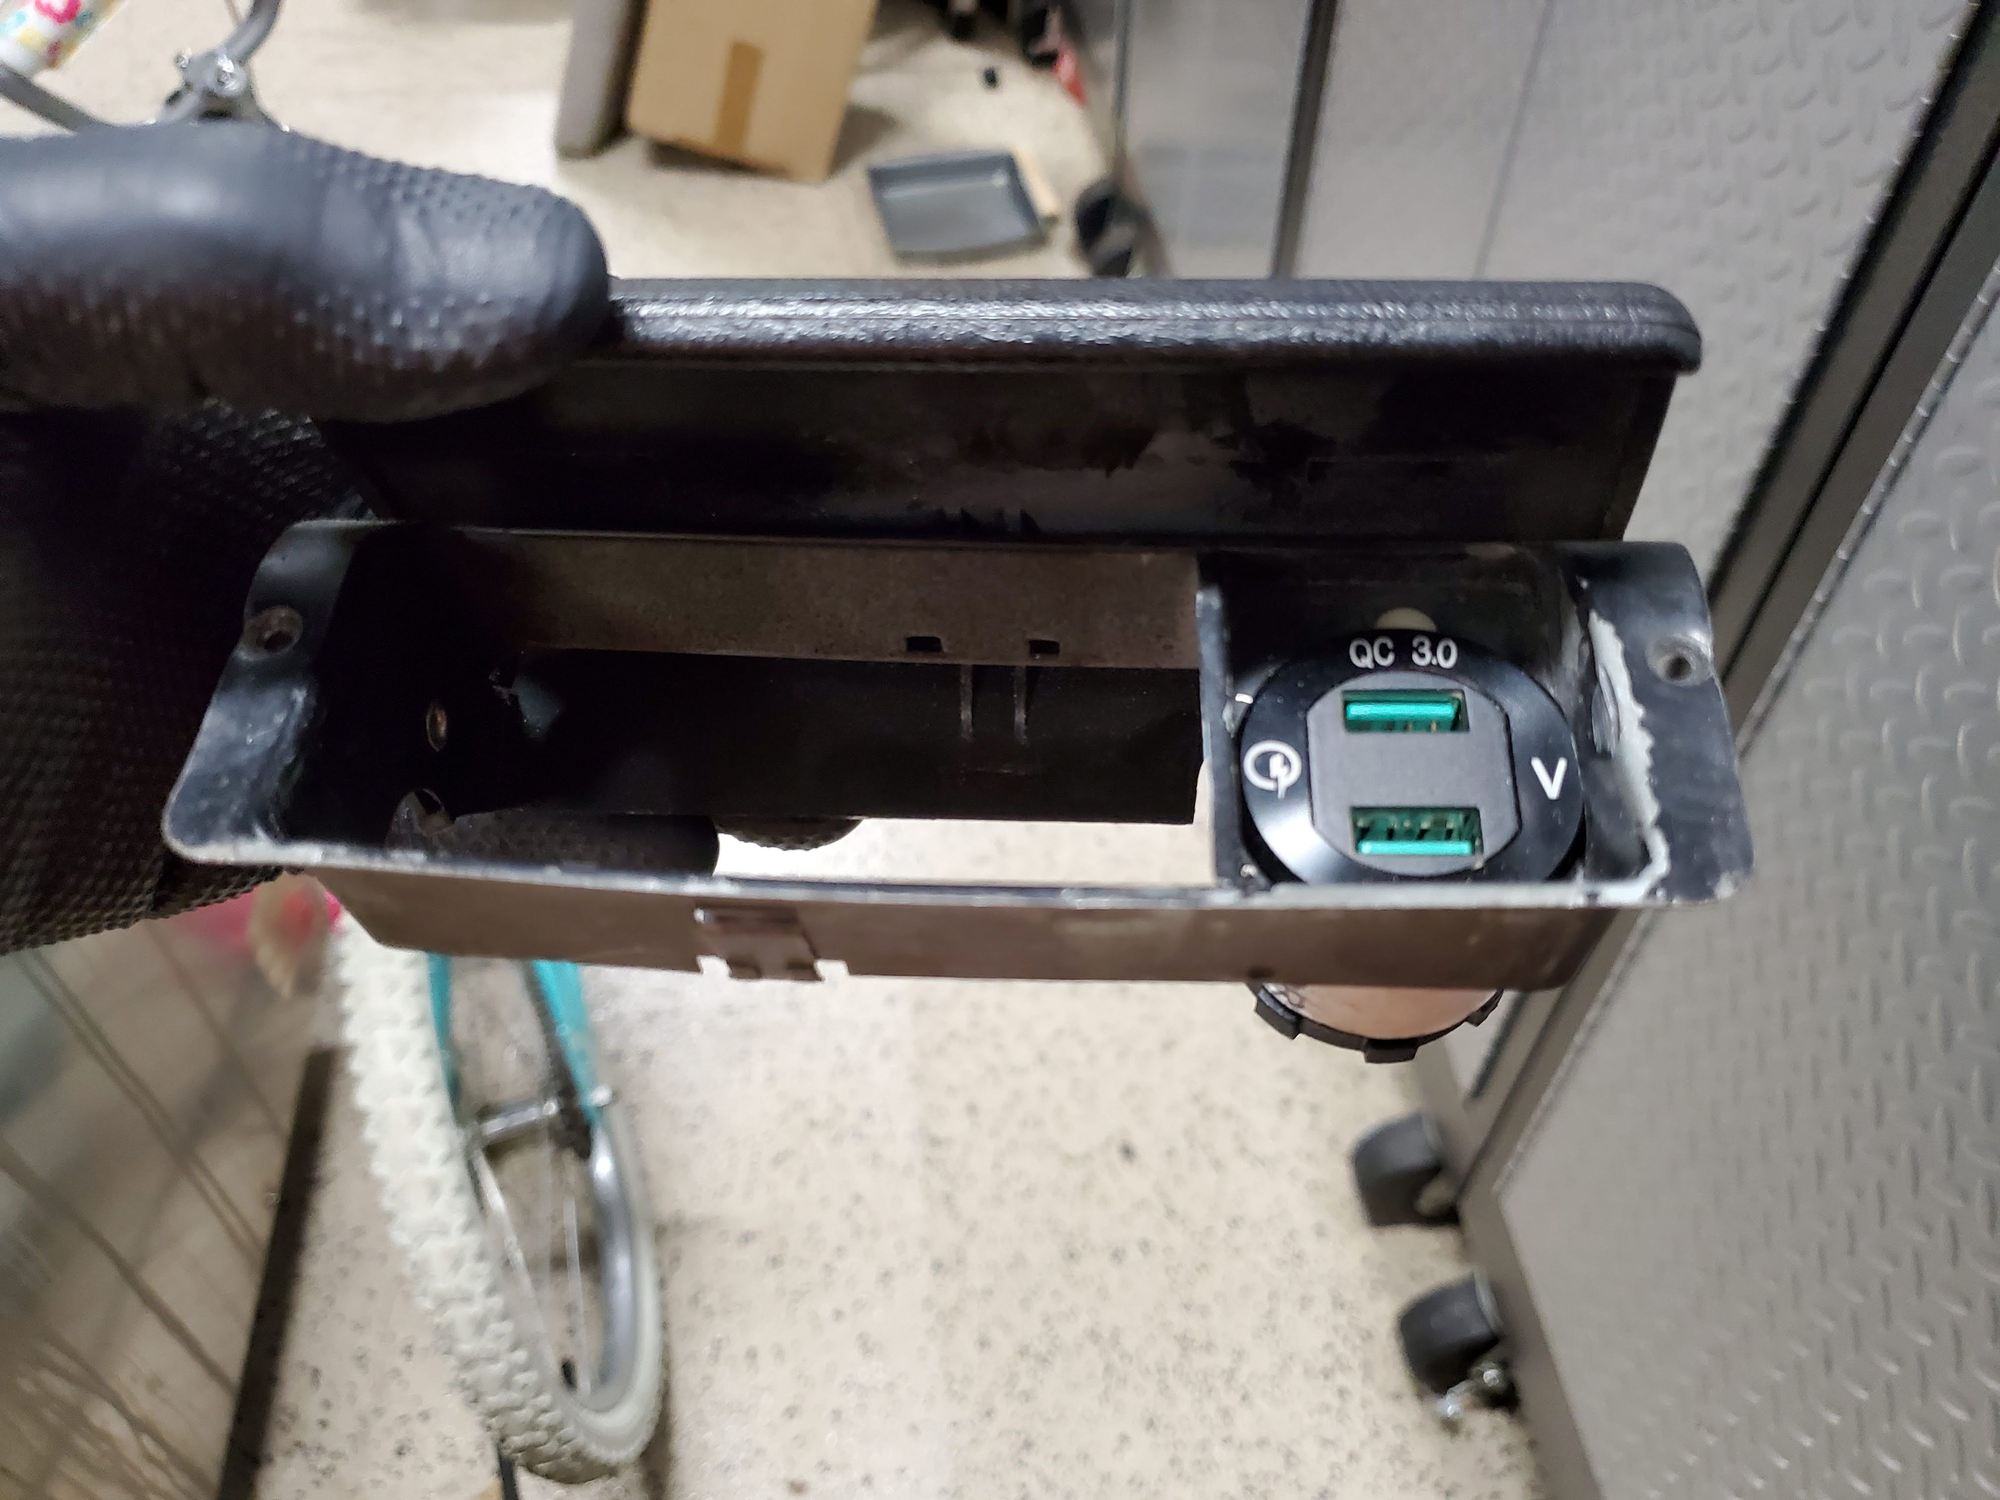
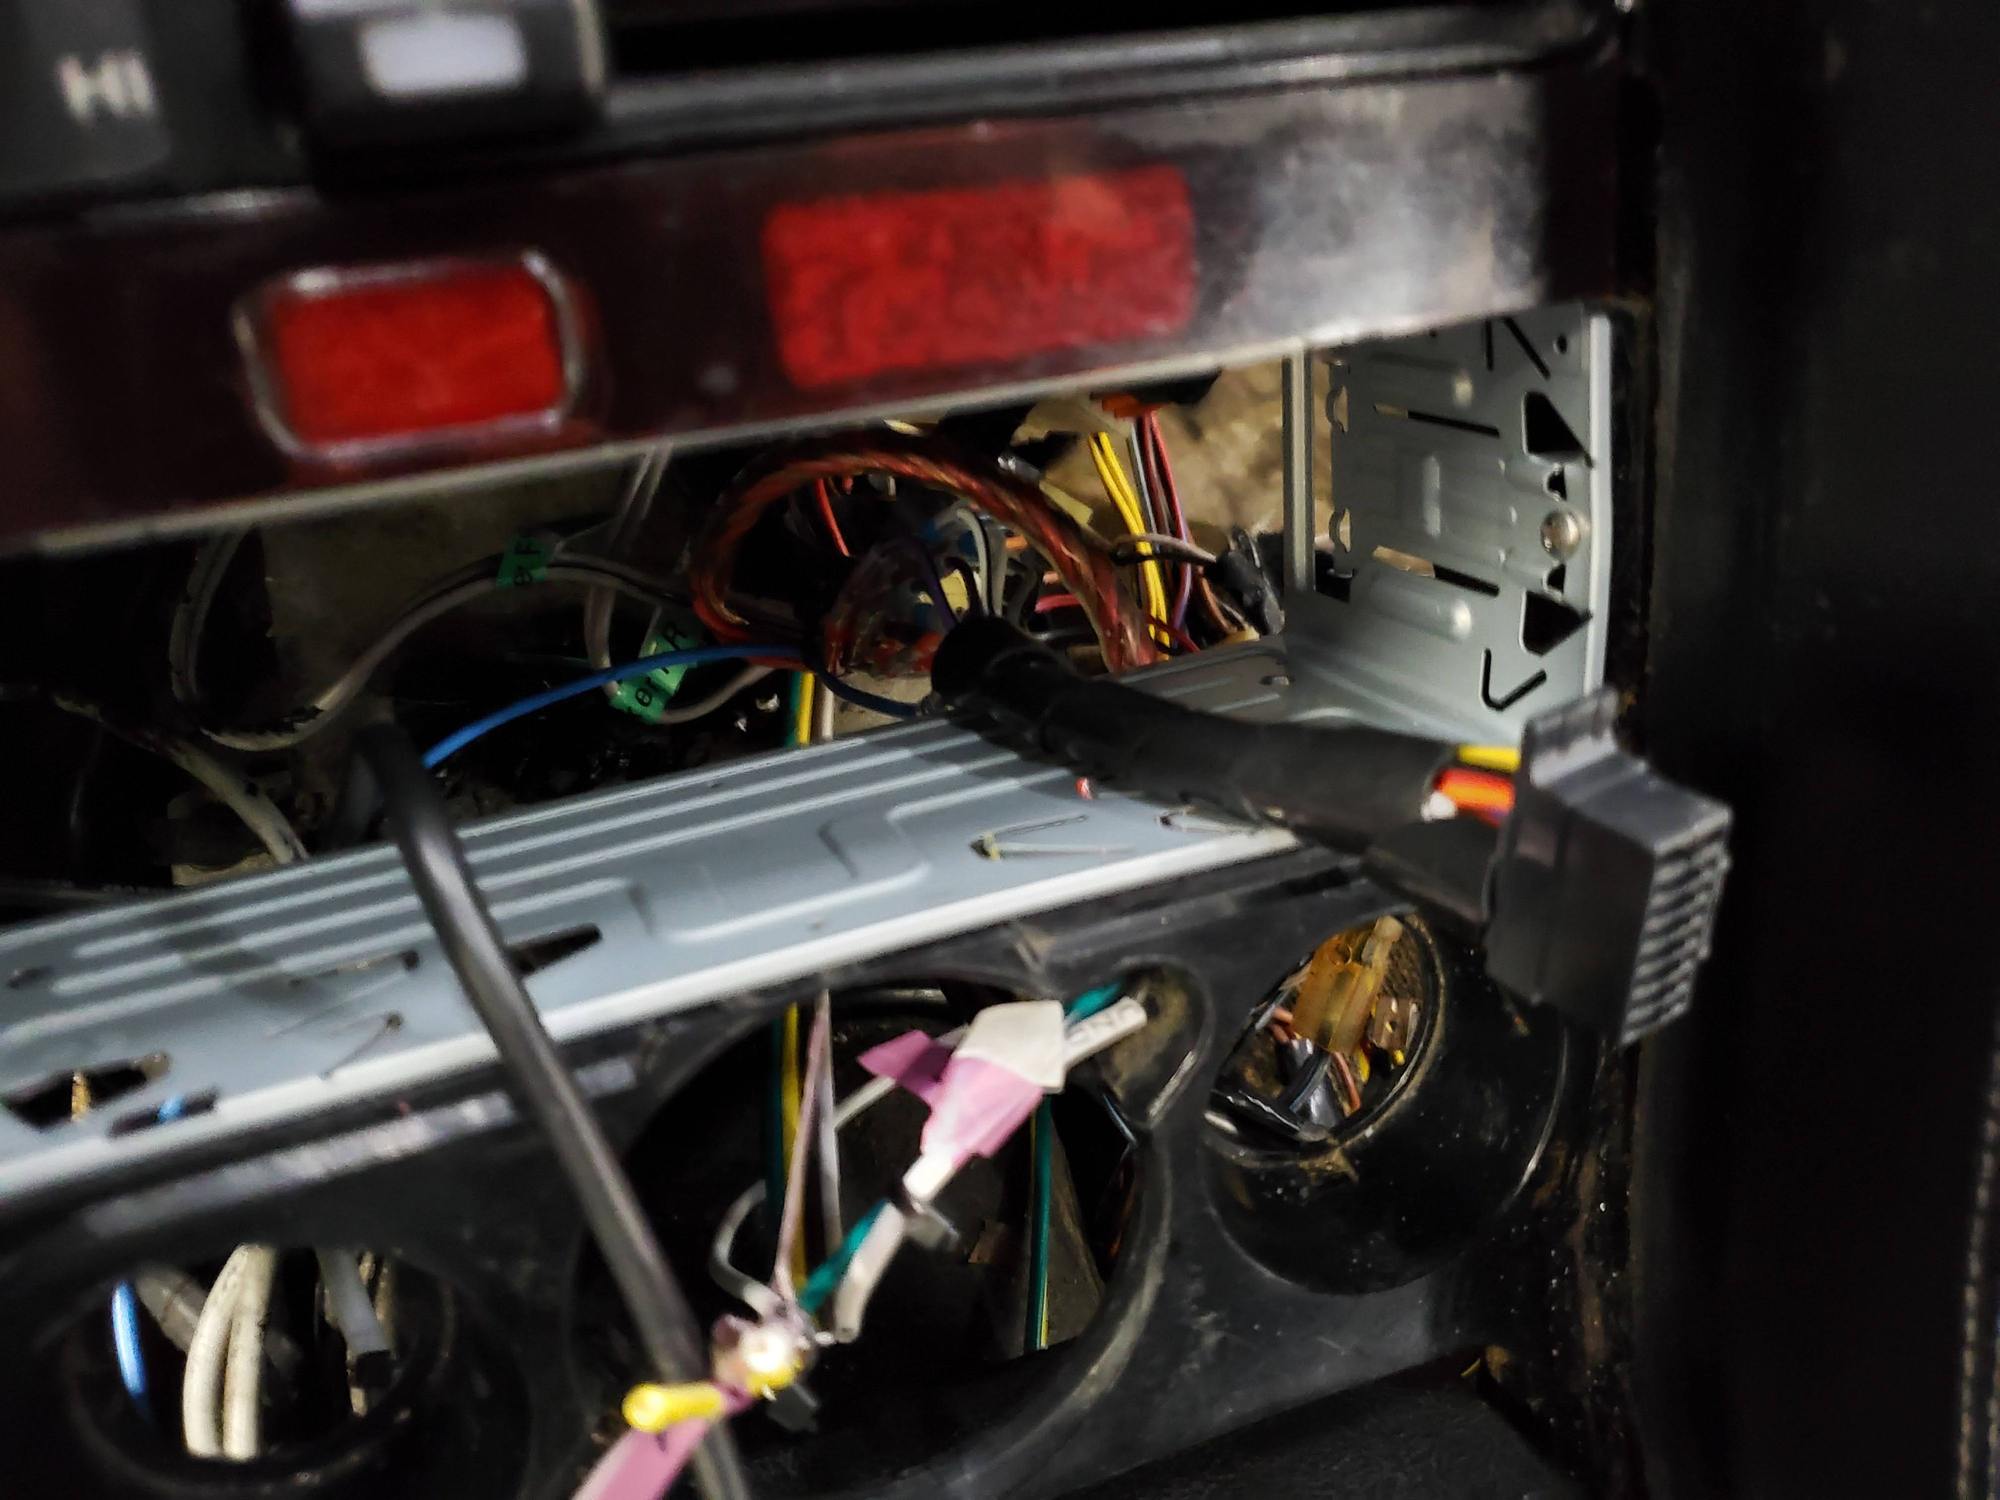
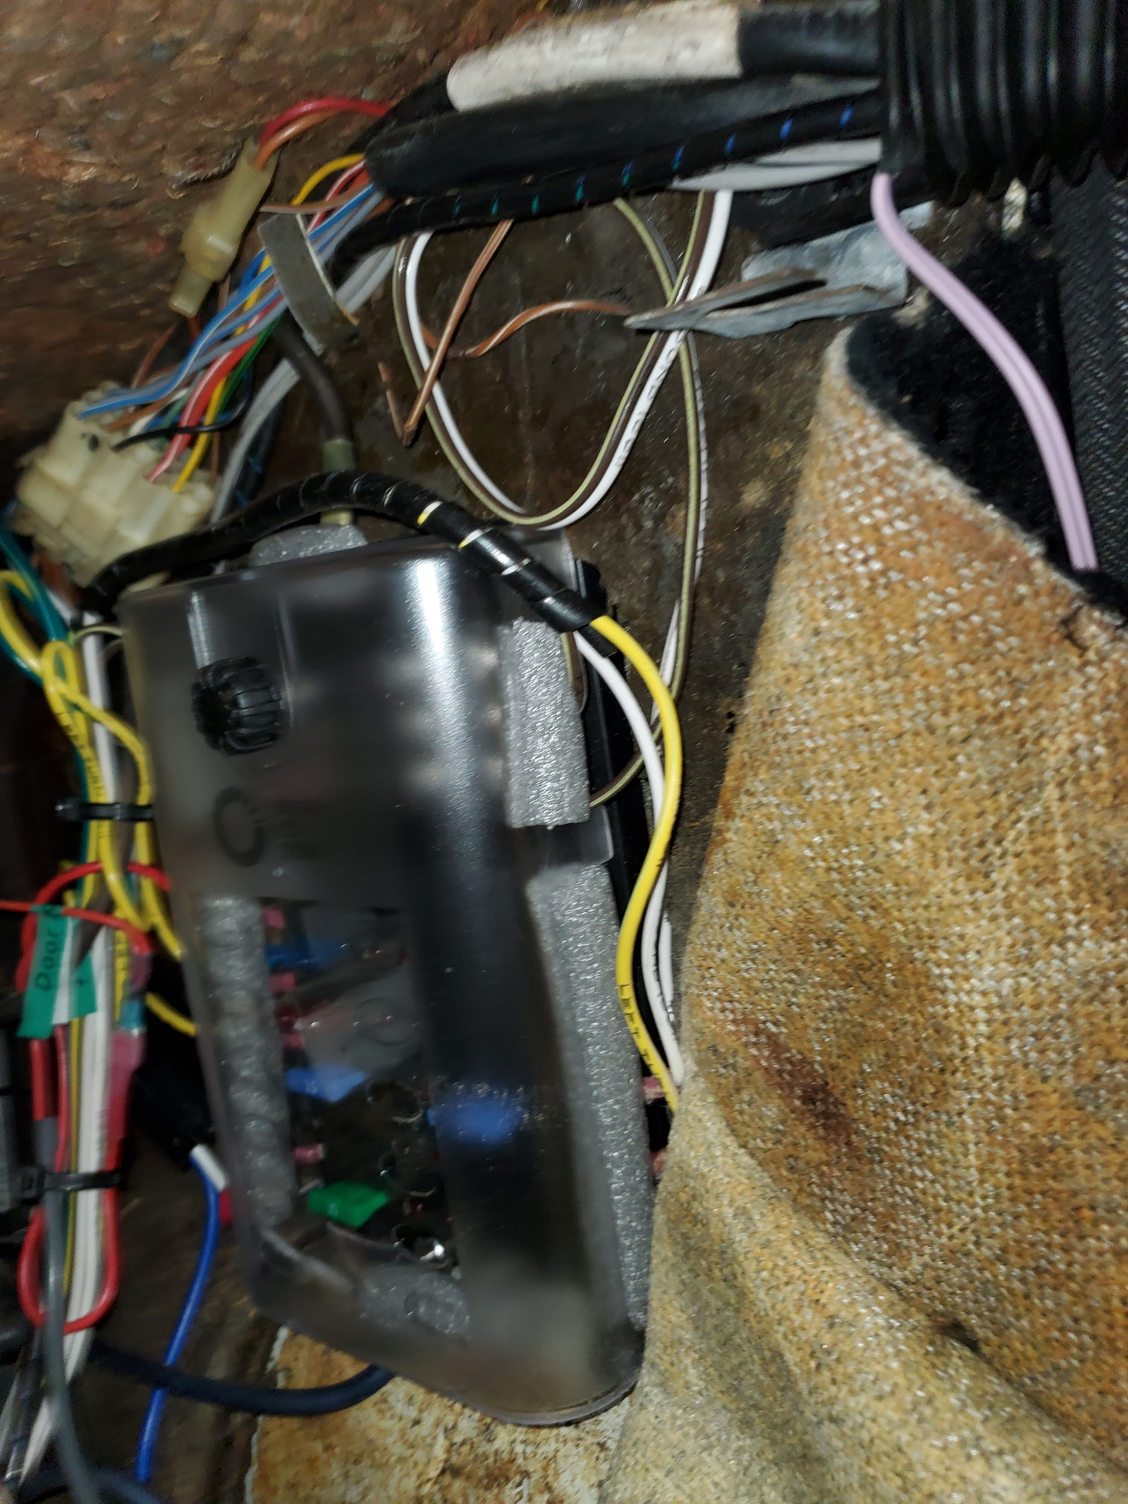
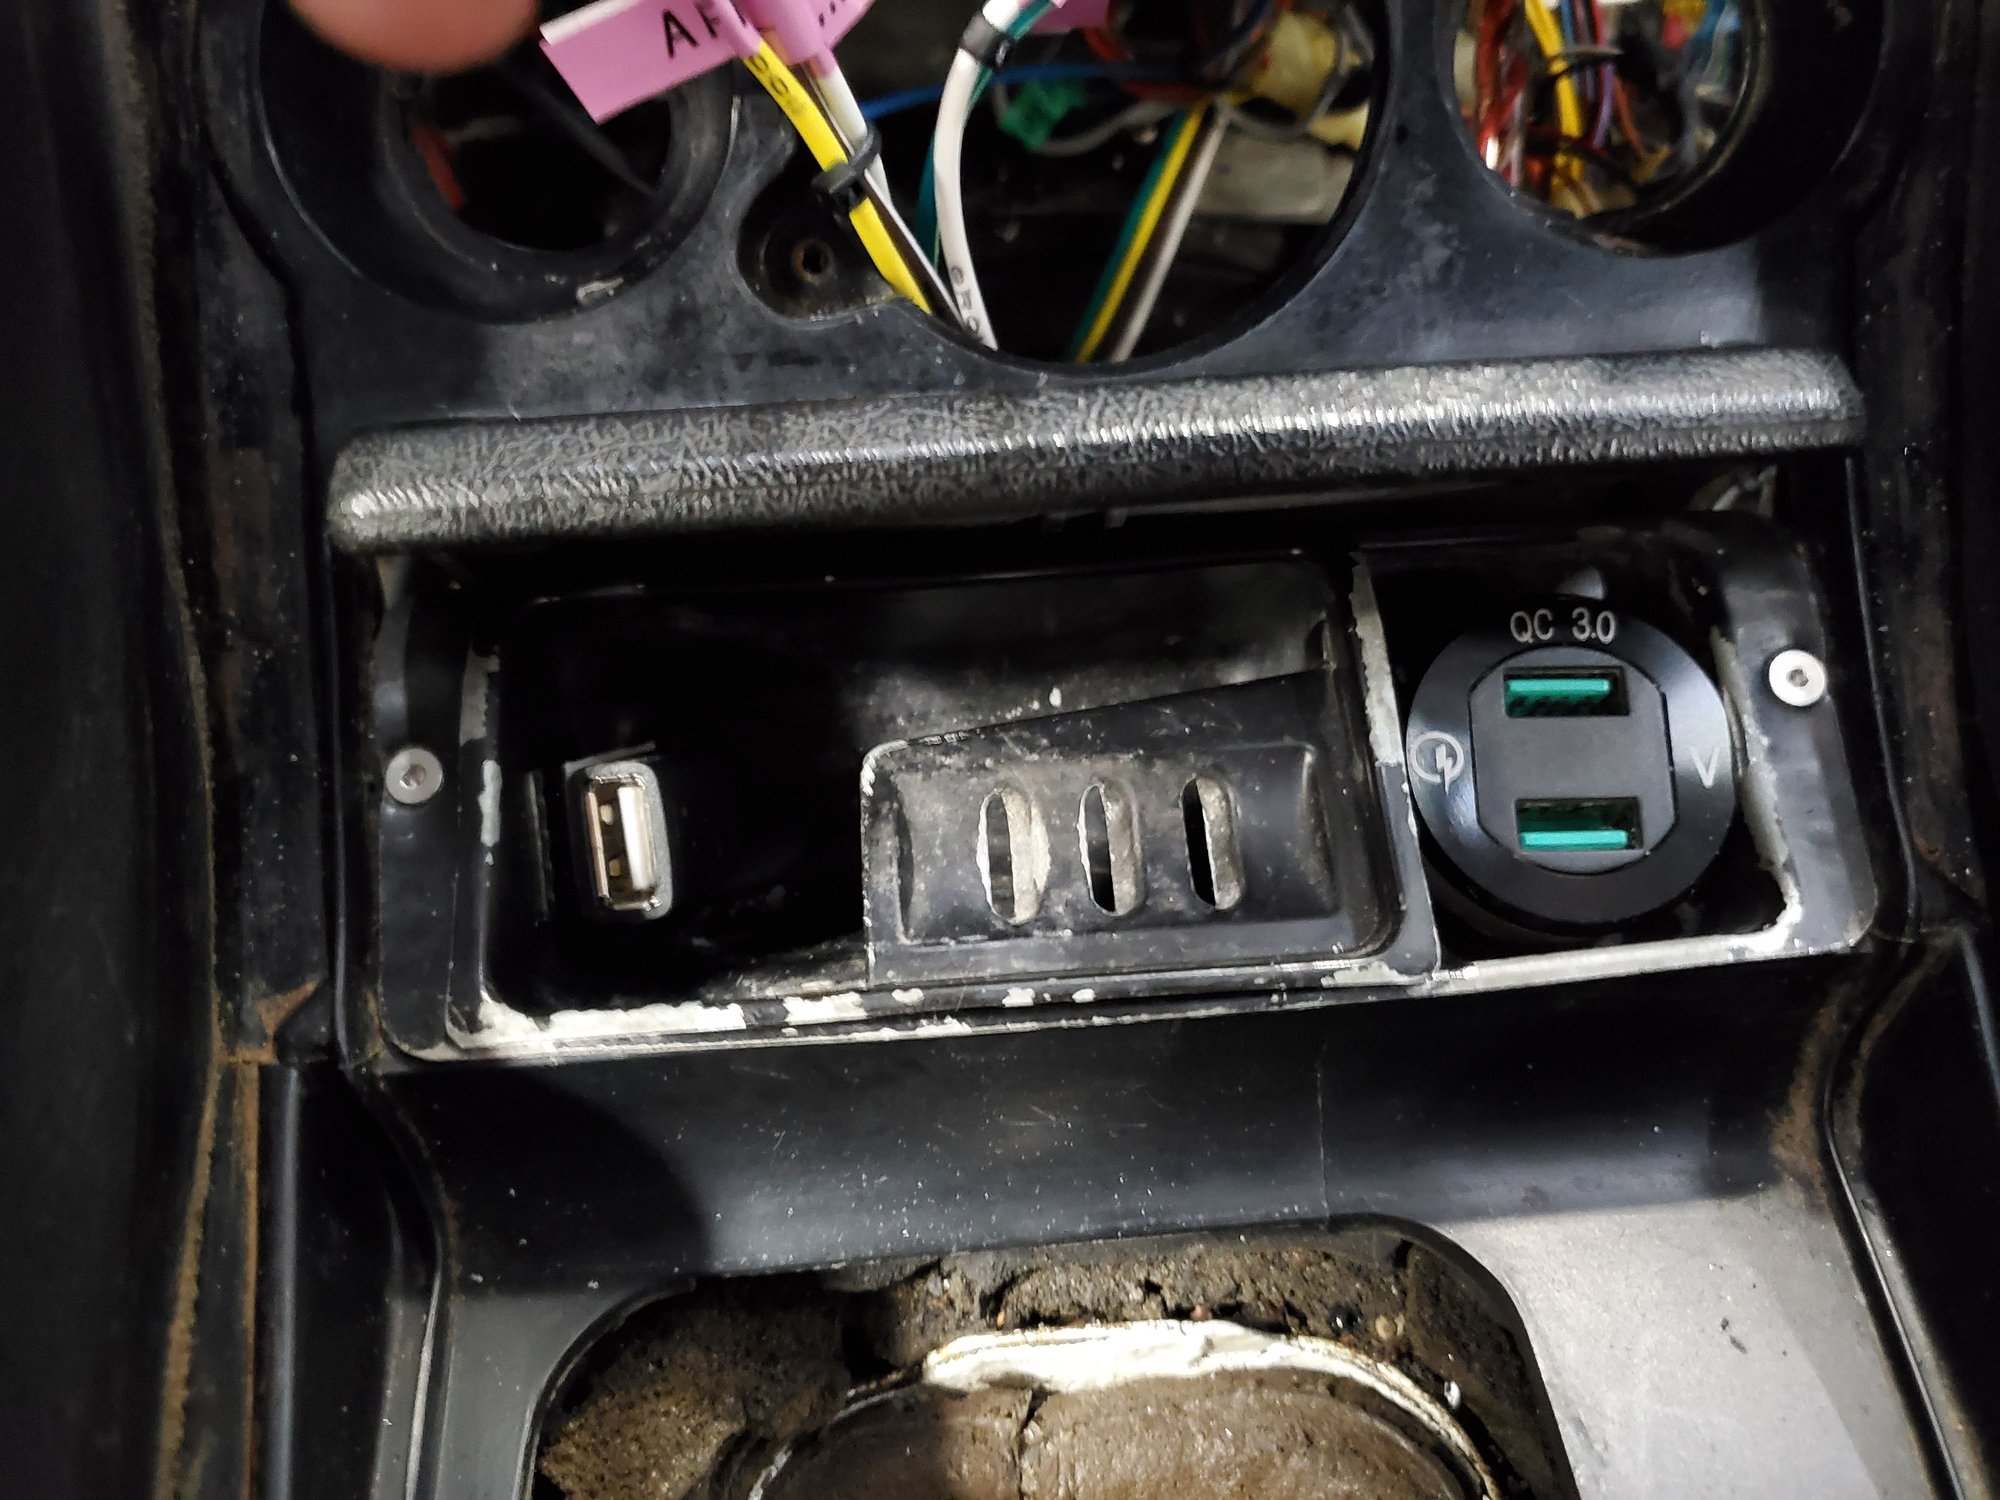
Added a dual fast charging USB port with voltage readout (between the 2 ports) into the old cigarette lighter location. Removed the old lighter and drilled out the hole to fit. Ground down the right edge of the bezel so it slips inside the opening since the lighter port actually isn't centered in that section of the holder. It's powered from the new fuse box on the constant side so it can charge phones even while the car is off. Now I'll have an accurate voltage gauge too.
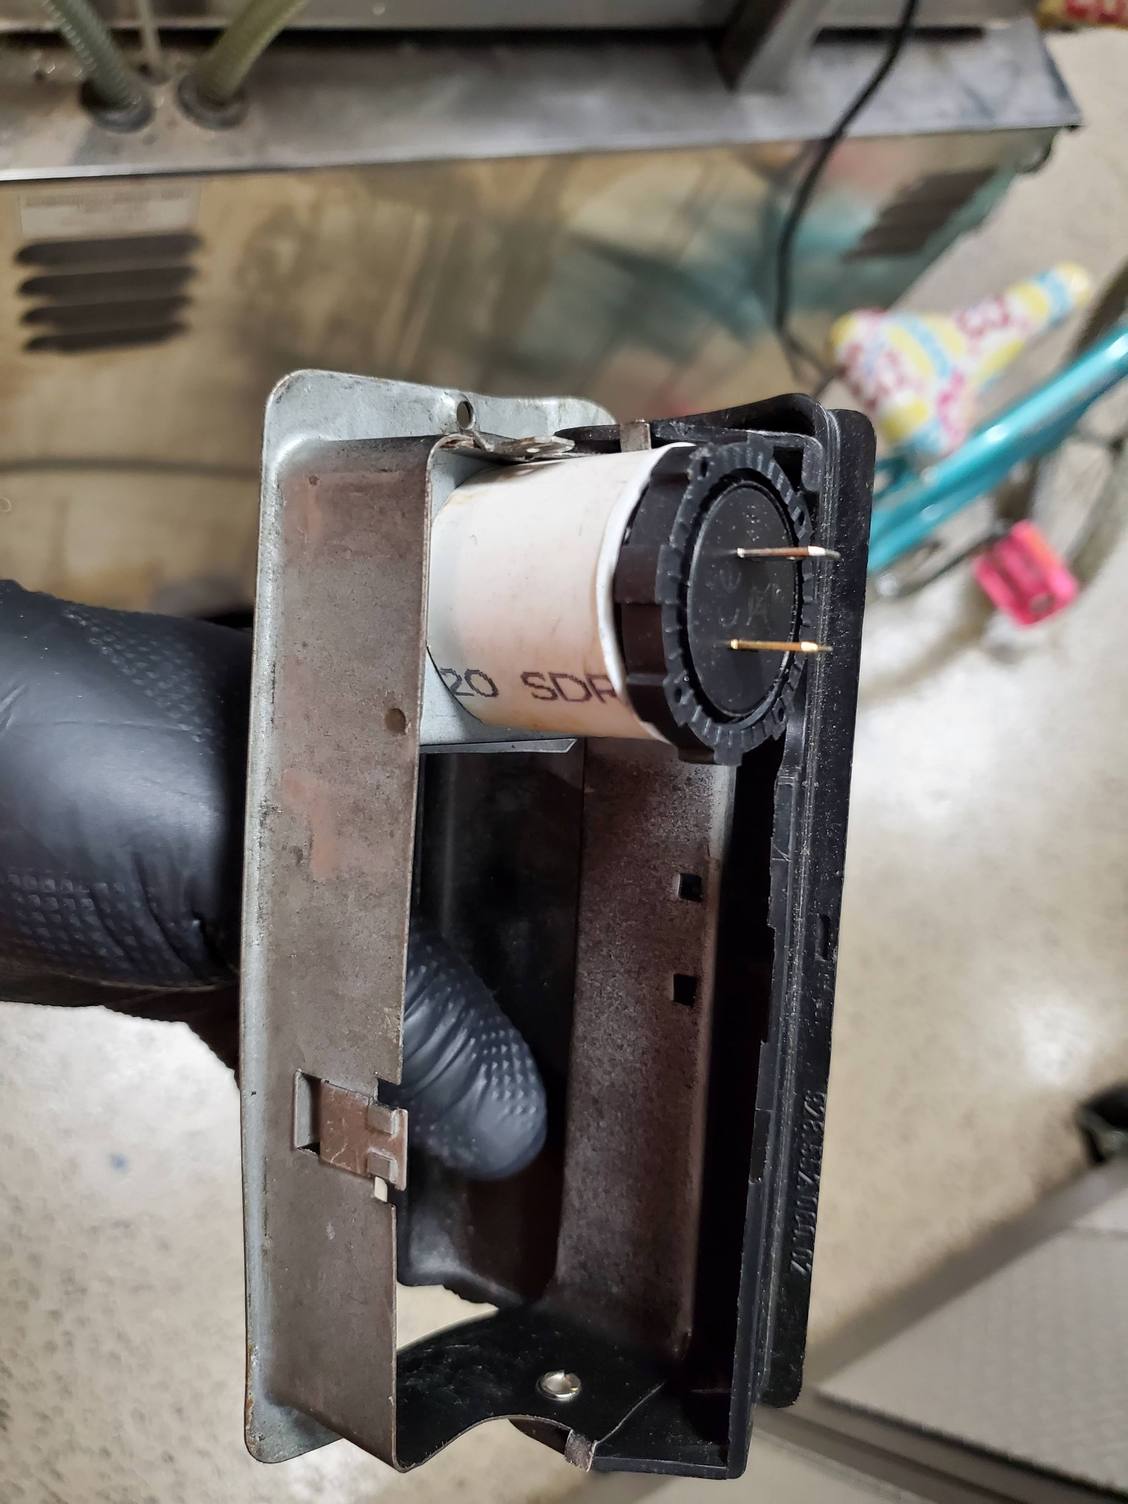
Cut some PVC pipe as a spacer to be able to use the threaded ring to hold it tight. Actually modified it after this picture to sit higher up so the connectors would clear the center tunnel when installed. Bent the connectors 90 degrees too.
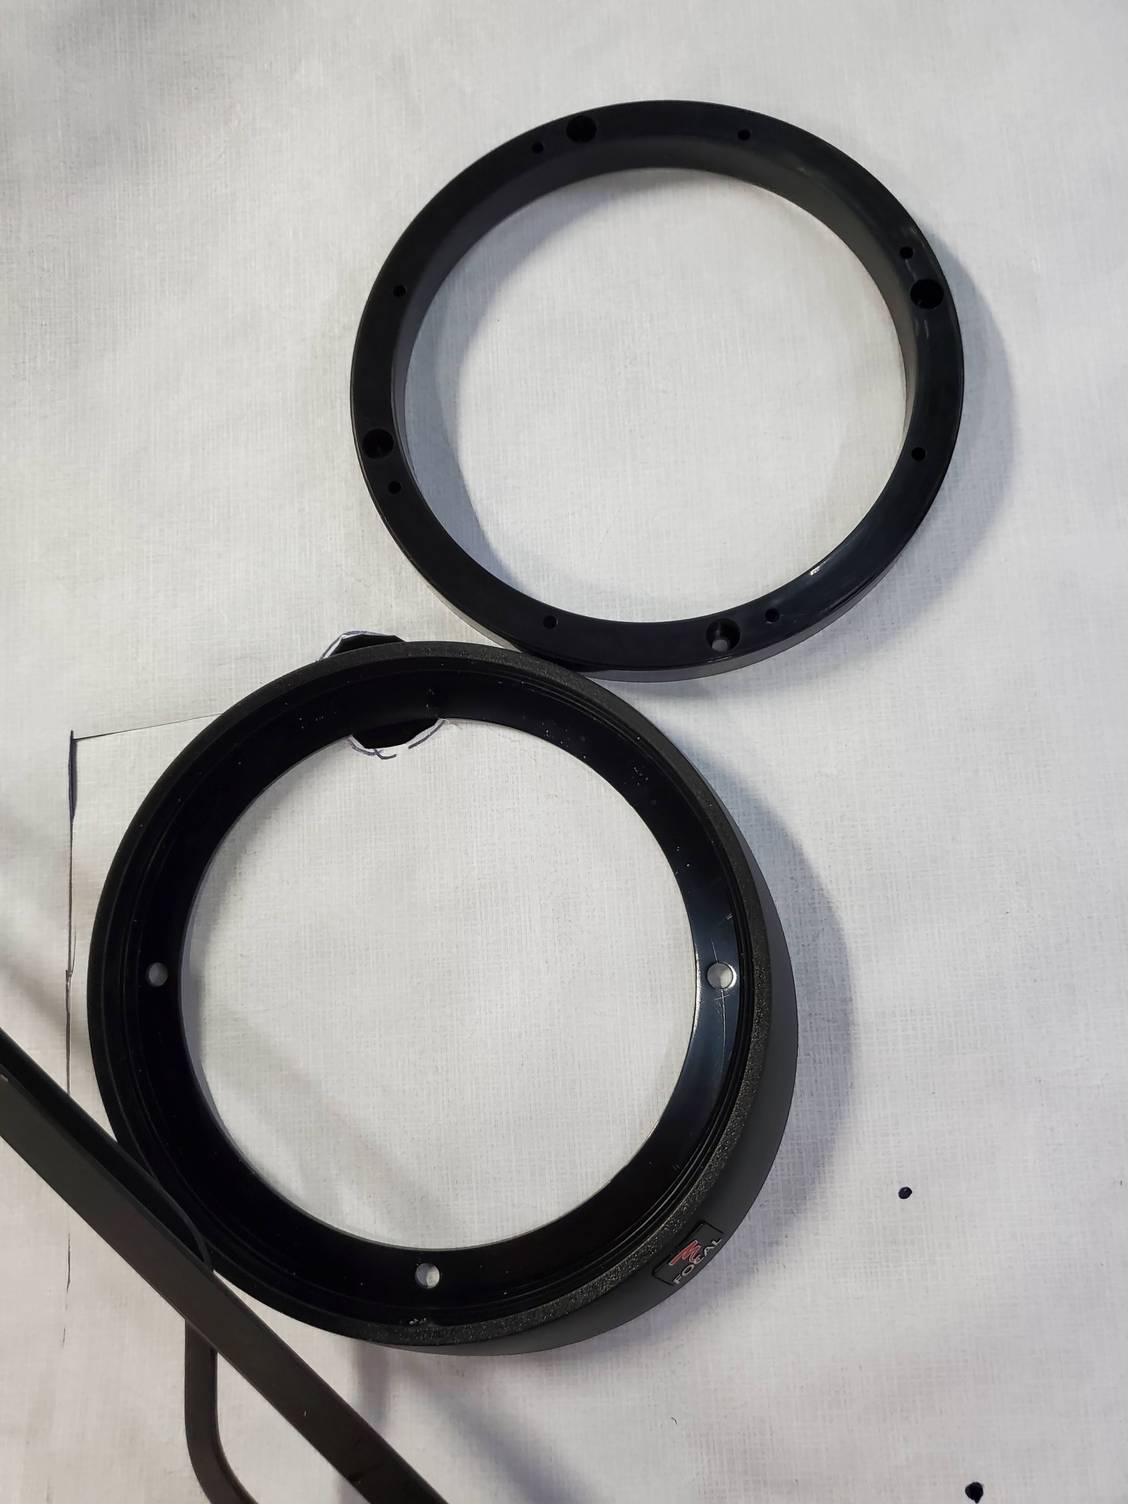
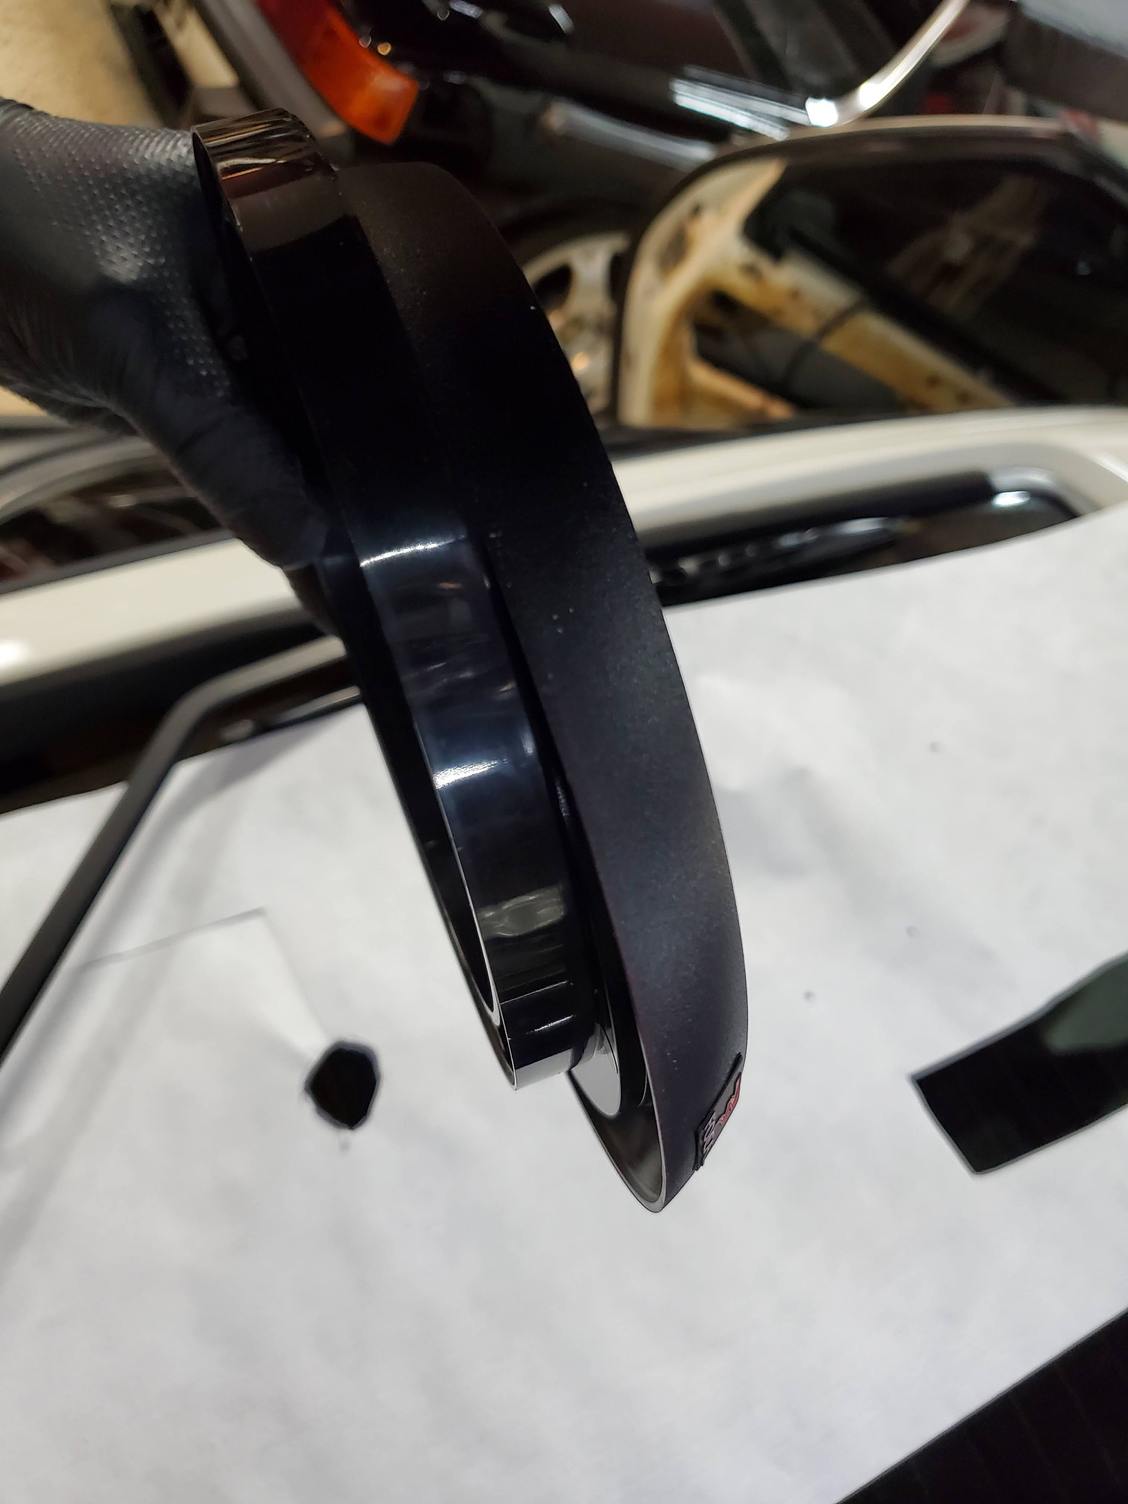
Bought some speaker spacer rings from the rear seat 6.5" Focal speakers, but because of the shape of the grill holder plate that setup wasn't going to look good.
Spacer ring is the right size for the speaker, but doesn't look good with the speaker grill plate. So much for easy...
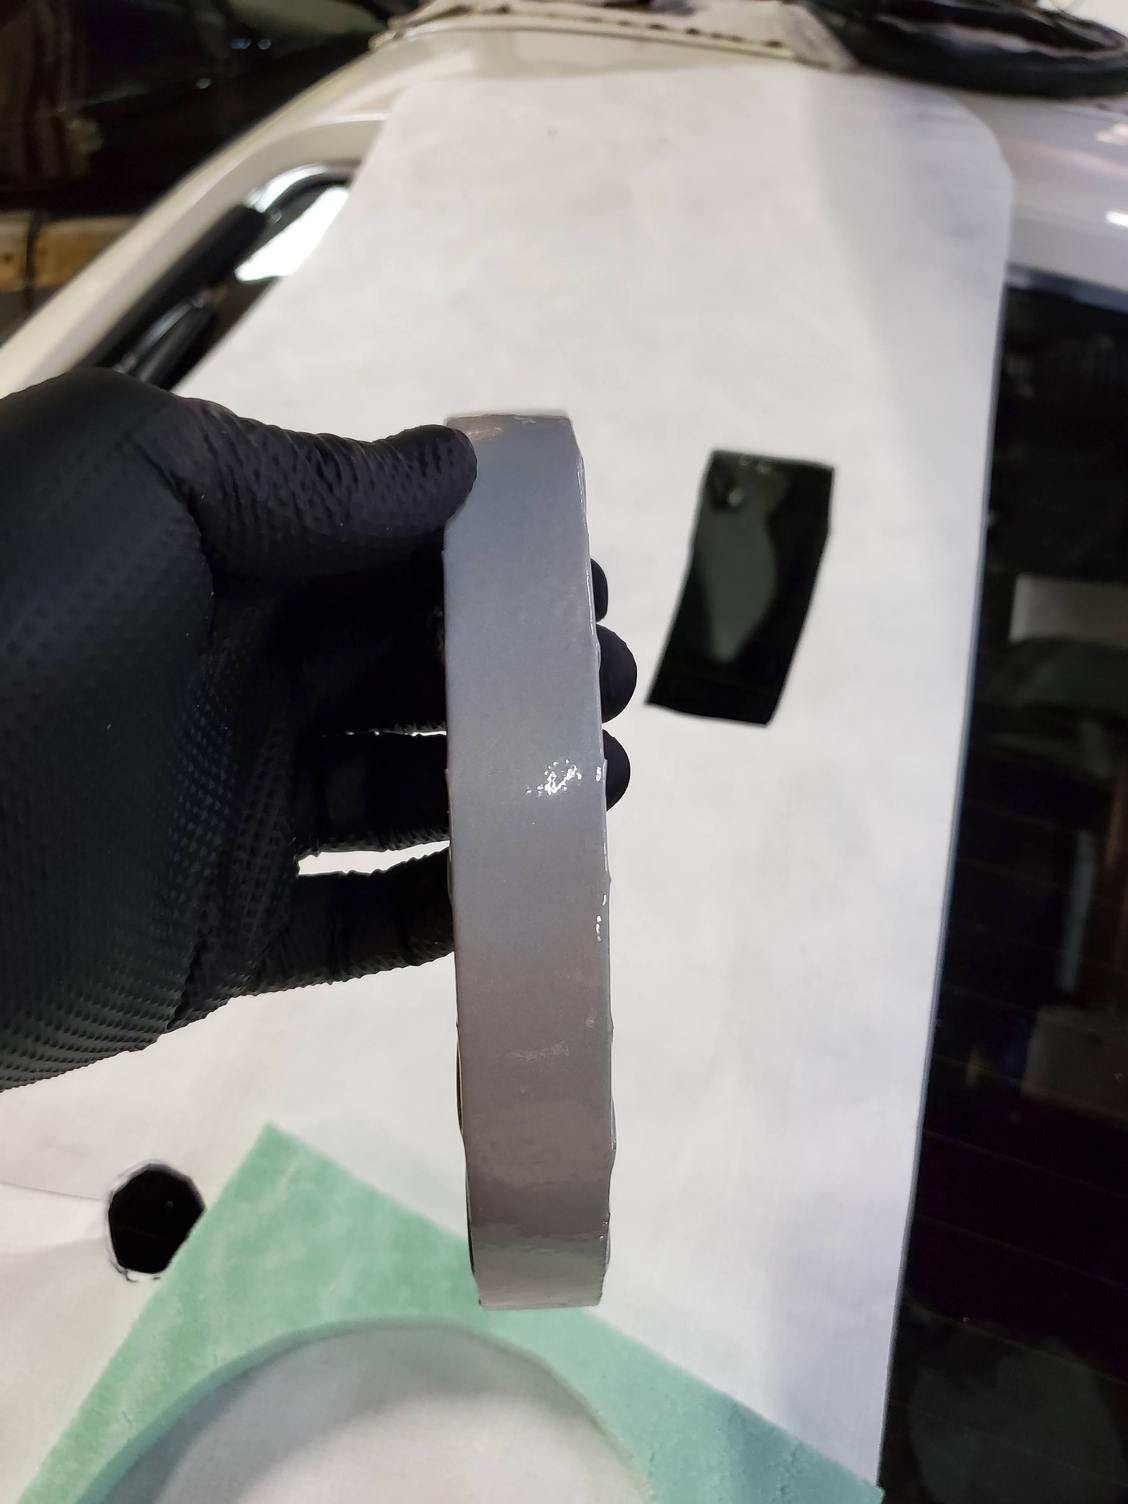
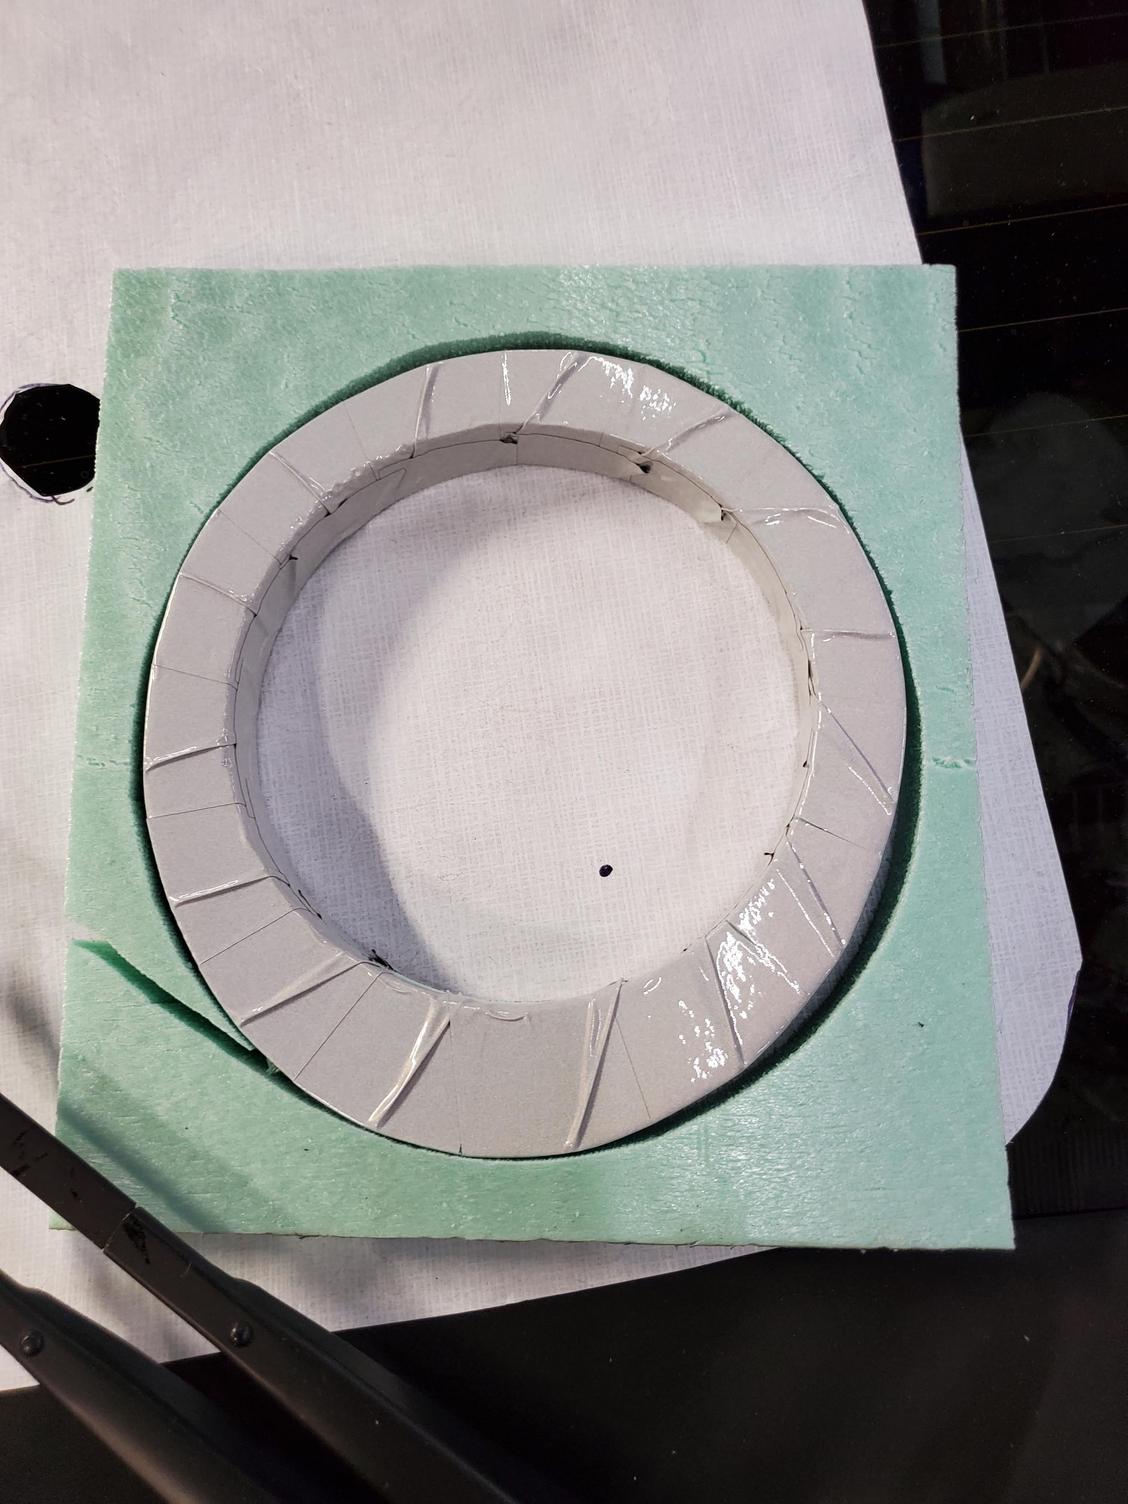
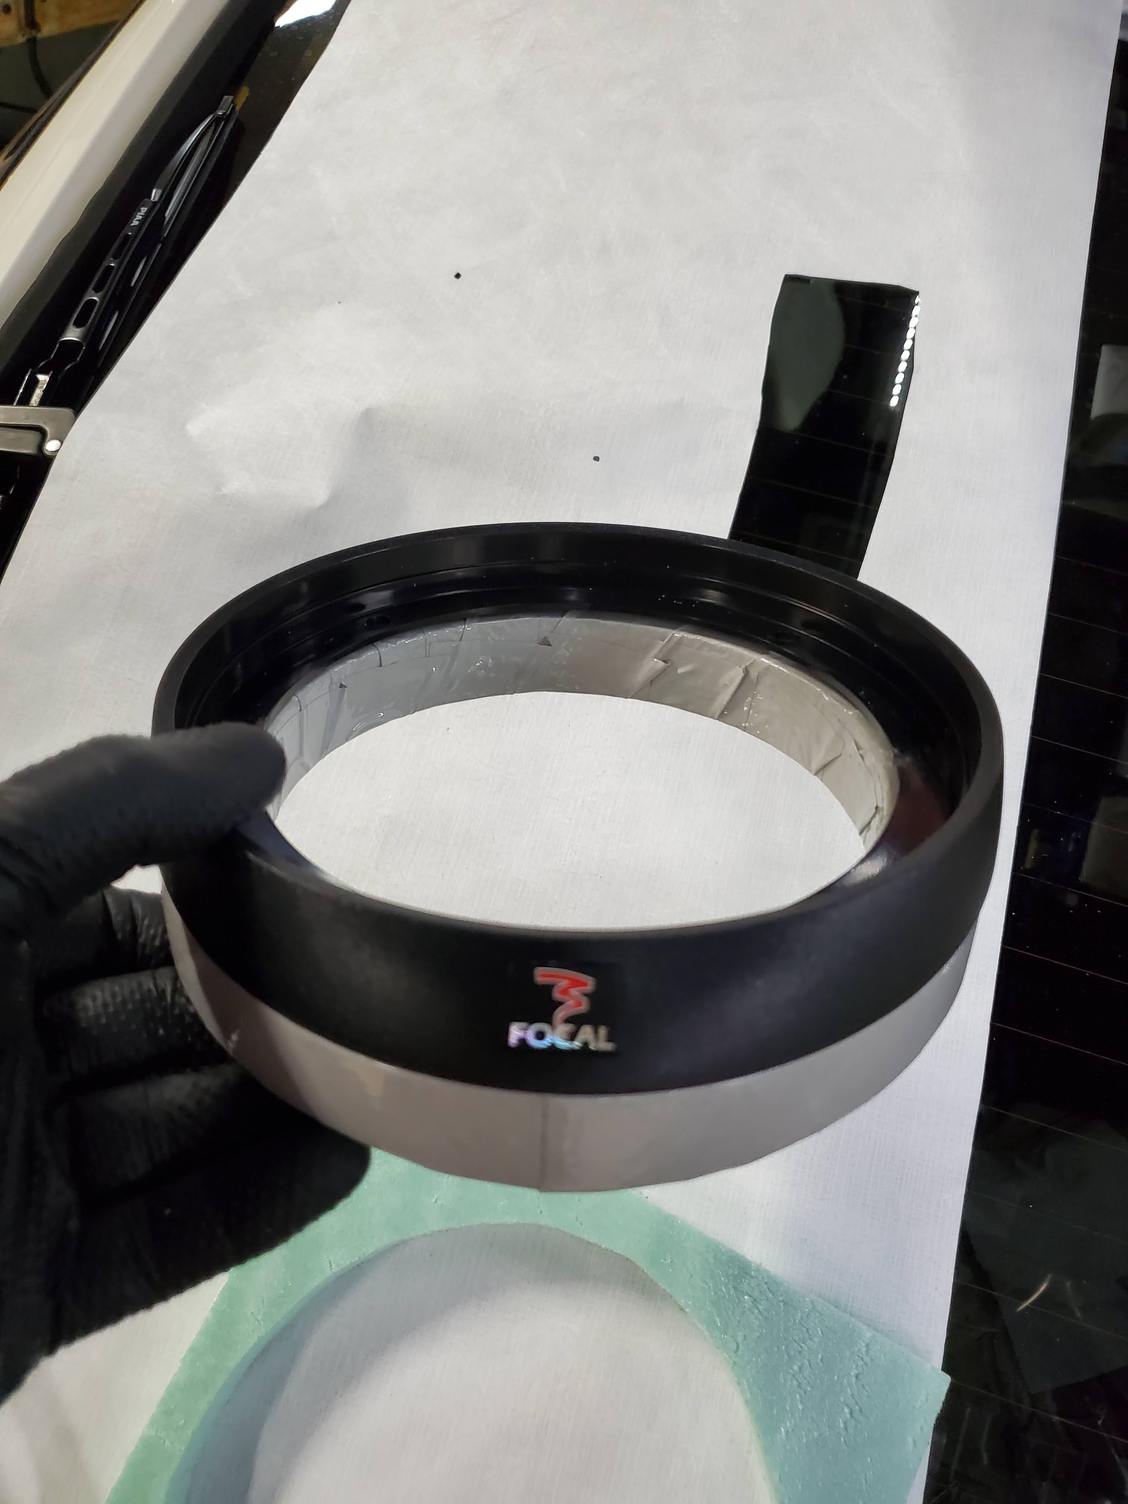
so I had some high density foam laying around and decided to make a custom speaker spacer that follows the grill plate shape.
Trimmed the outer circumference on the band saw and have a hole saw of the correct size I put into the drill press, then sanded everything down and wrapped them in the same pearl white vinyl on the seat backs.
Added a dual fast charging USB port with voltage readout (between the 2 ports) into the old cigarette lighter location. Removed the old lighter and drilled out the hole to fit. Ground down the right edge of the bezel so it slips inside the opening since the lighter port actually isn't centered in that section of the holder. It's powered from the new fuse box on the constant side so it can charge phones even while the car is off. Now I'll have an accurate voltage gauge too.
Cut some PVC pipe as a spacer to be able to use the threaded ring to hold it tight. Actually modified it after this picture to sit higher up so the connectors would clear the center tunnel when installed. Bent the connectors 90 degrees too.
Last week I spent every spare moment trying to get the car together for SITM - that meant up until 3 AM Monday night after a 10 hour drive back from FL, 2:30 Tuesday night, 3 again Wednesday night, and 5 AM Thursday night, so no time for updates here and why it's been a while.
8 AM Friday morning in preparation to depart for Banner Elk, I cleaned all the tools out of the floor boards, vacuumed the interior, jumpered the fuel pump to check for leaks before attempting to start it......and oh hell, had a major one at the alternate line I ran to the fuel distributor to try ad bypass the hot start contraption at cylinder 4. Dried up the gas from the floor and then spent the next couple hours putting the fuel lines back to stock after remembering I had used the combo banjo fitting from the fuel distributor at the alternate WUR line. Fuel leak resolved.
All that was left was to tighten the alternator belt that had been squealing on the last couple drives. Quick and easy, right? Put a lift bar under one side, jacked it up, put safety stands under the end and started tightening the adjustment bolt. Spark, spark arc, smoke, holy hell...loosen, loosen, loosen - disaster averted. In looking underneath the alternator pivoted enough for the harness wire that runs to the hot post to touch the metal of the power steering line. Figured I could change the angle of the wire to the bolt a bit to achieve some clearance and coat it with liquid electrical tape. Did that, but before the liquid electrical tape had fully cured moved it with my hand to check the clearance, and it touched again - holy crap. PSA, there is major solvent in that stuff before it cures which is what makes it liquid and then cure into a solid - it's like napalm, so now have an actual fire under the car where that goo is burning. Managed to blow it out, and decided to stop being an idiot and disconnected the hot cable from the battery, which is what I should have done to start with....
Now I'm 10 minutes from deciding to jump into the 911 for the trip because I can't get the belt tight enough without the cable being uncomfortably close to the power steering line, then I remembered I had ordered a few different alternator pulleys when I needed to replace the way too large one that was originally on the car where the belt was only running with the teeth touching the center of the pulley. I had chosen the one that was on there because it was the only one that was keyed and the others didn't fit the alternator shaft correctly. I tried one of the others and tightened the bolt, but it still spun. One of my other was a perfect fit for the belt size, and had a larger diameter center section which would make the belt tighter without allowing the alternator to pivot over near the PS lines, so decided to just make a keyway for it. Got out the jigsaw with the metal bit in in and cut a perfect sized keyway into the inside of the pulley. Installed it, tightened the nut, tightened the belt and now the wires that had touched before are at least an inch away from the lines, For good measure, I cut a piece of silicone tubing and wire tied it over the exposed wire strands after recoating them with liquid electrical tape, then reconnected the battery.
It's now 3 PM and I'm ready to head out. Car ran great and got there in time for Ron's birthday dinner.
Up until that point though, here's the work that was done.
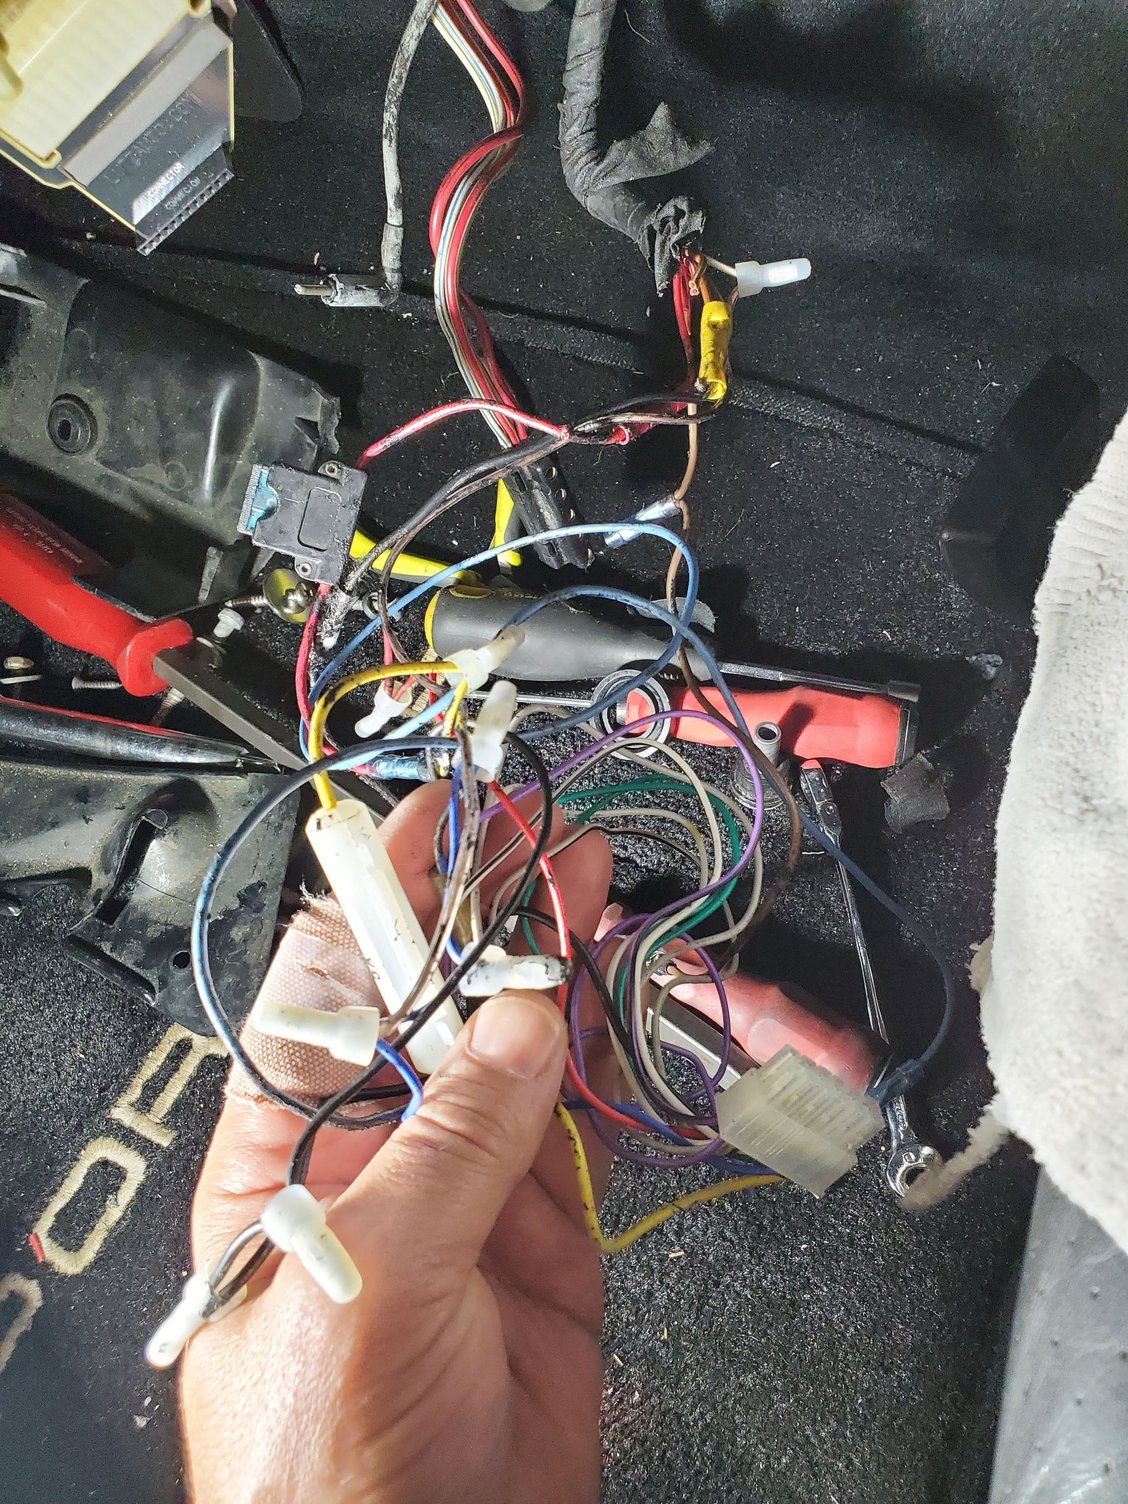
How old stereo was wired
New stereo wiring
Secondary fuse panel install location
Stereo USB and dual charging ports added in lighter
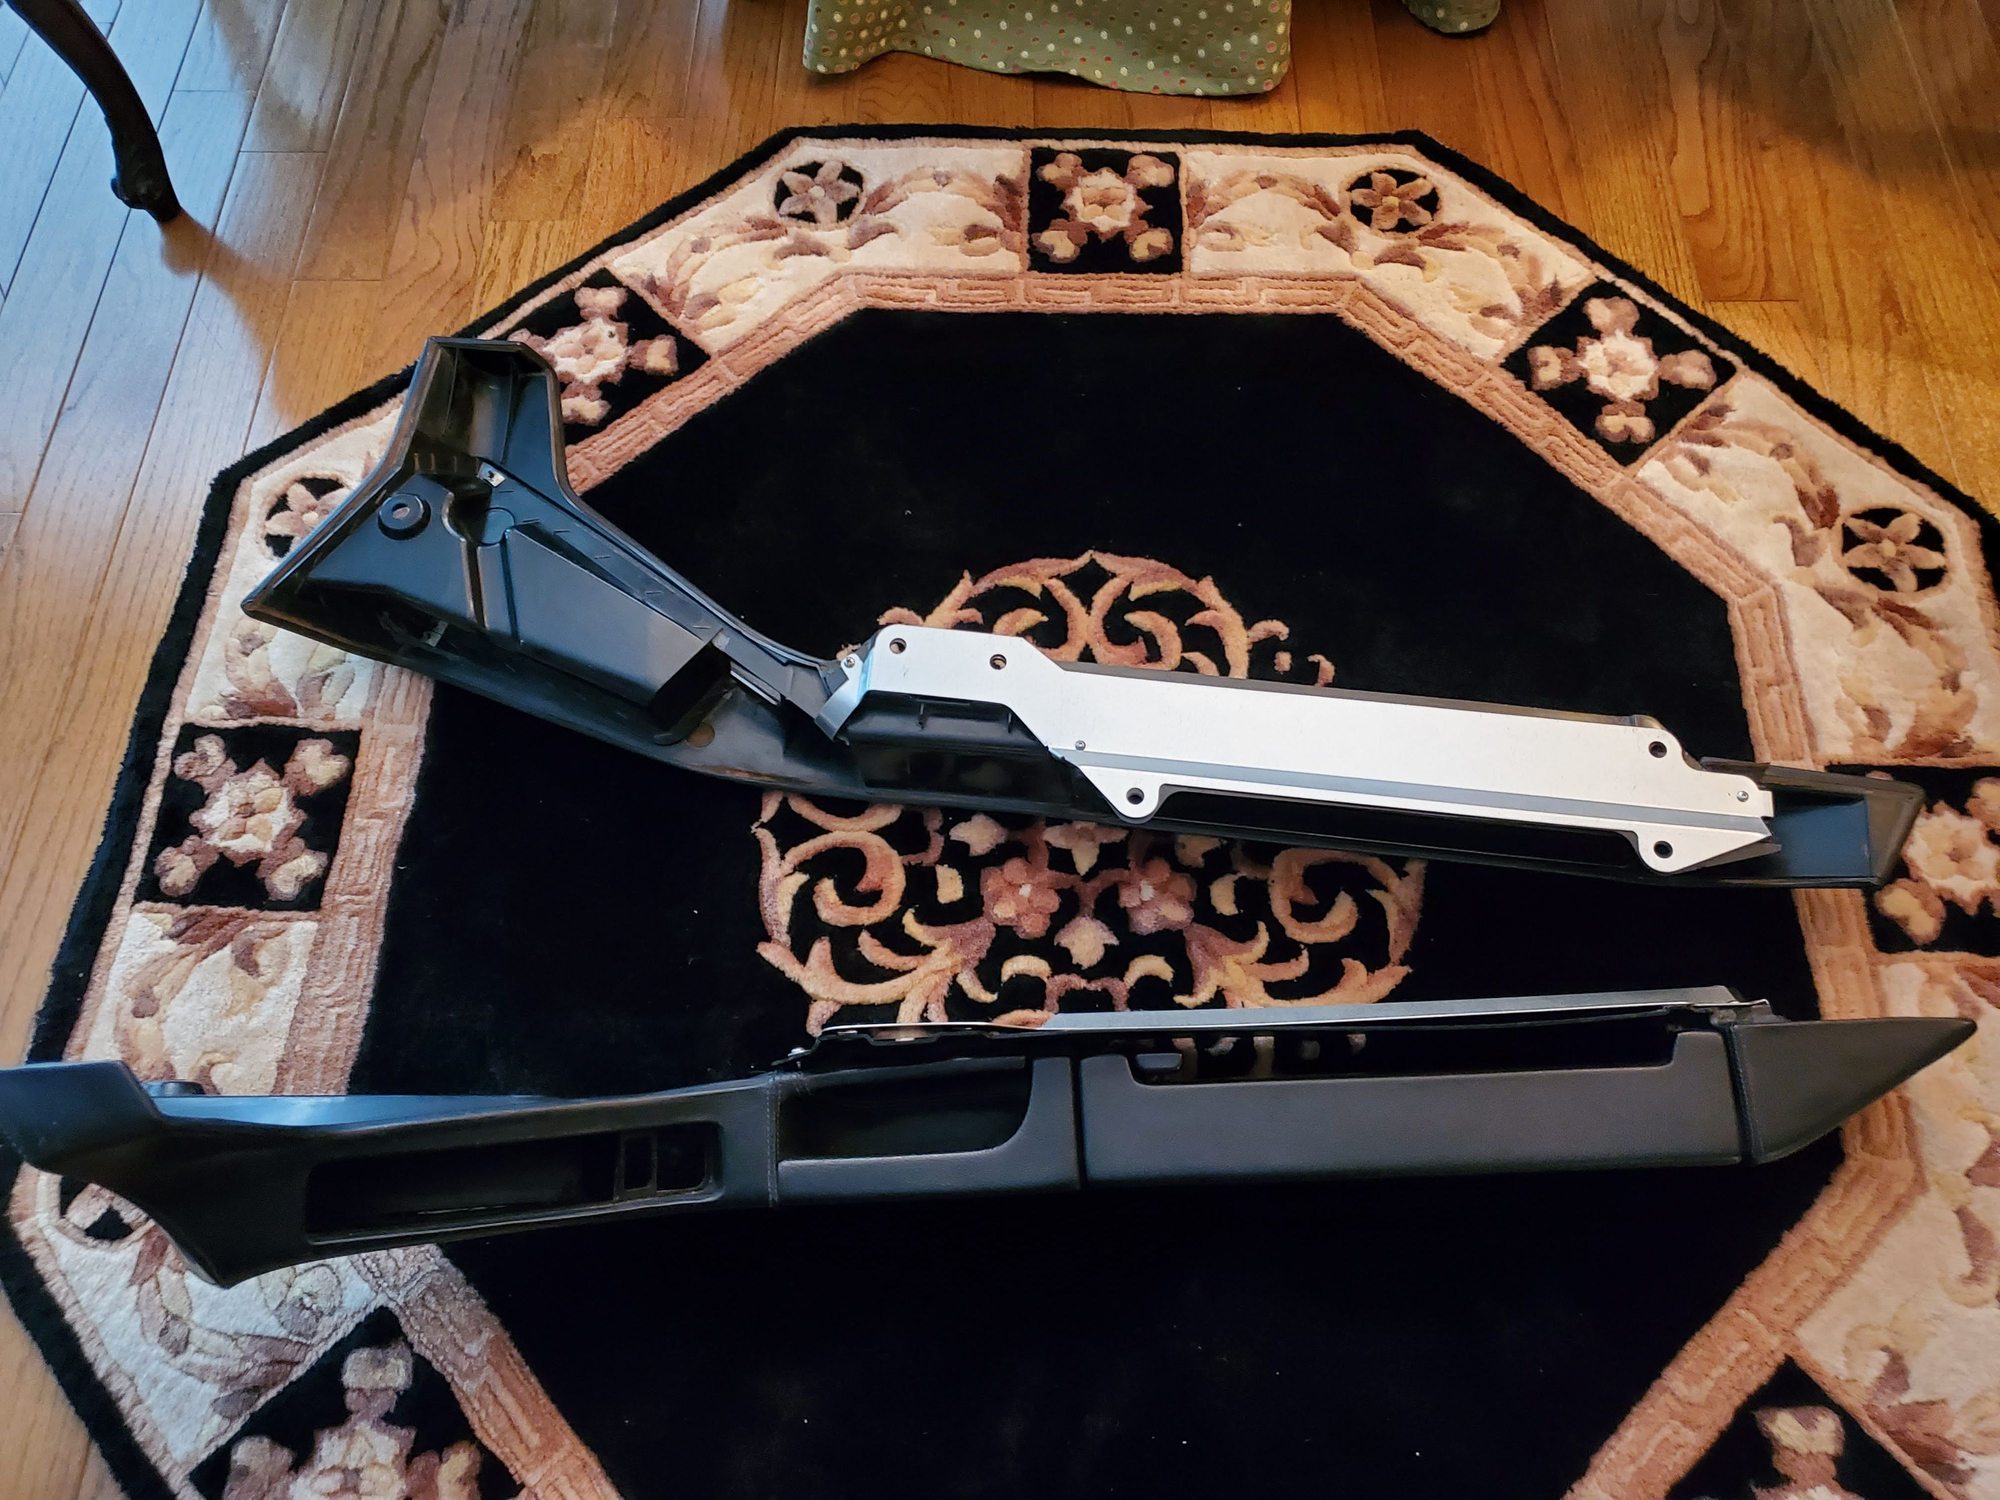
Door panel armrest reinforcement plates installed
Reinforced Armrests
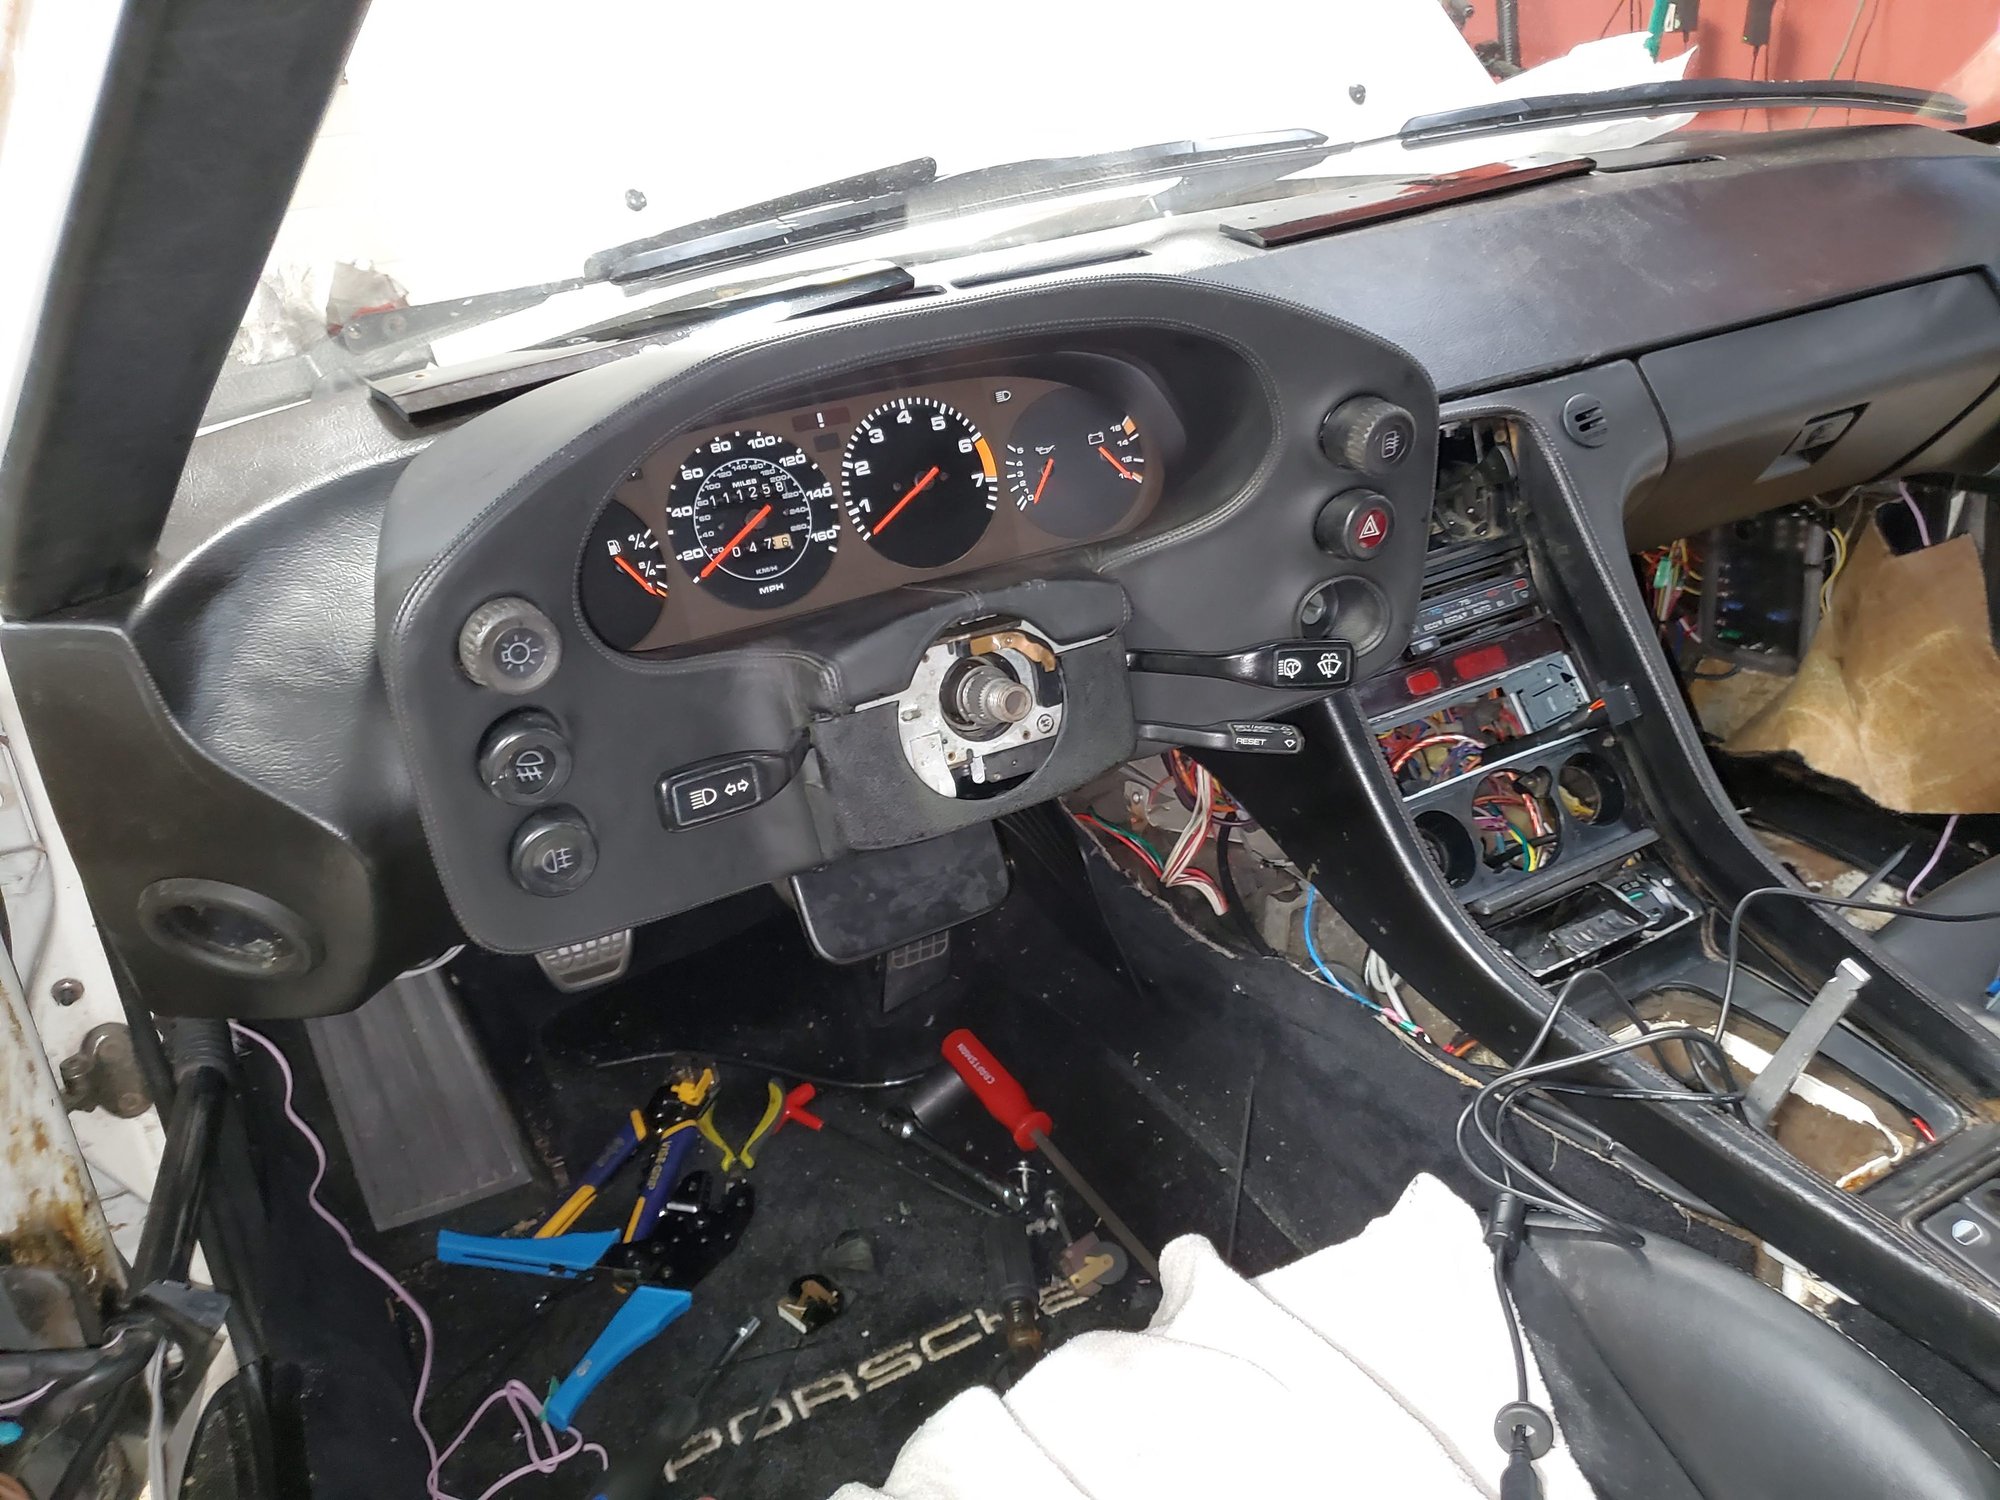
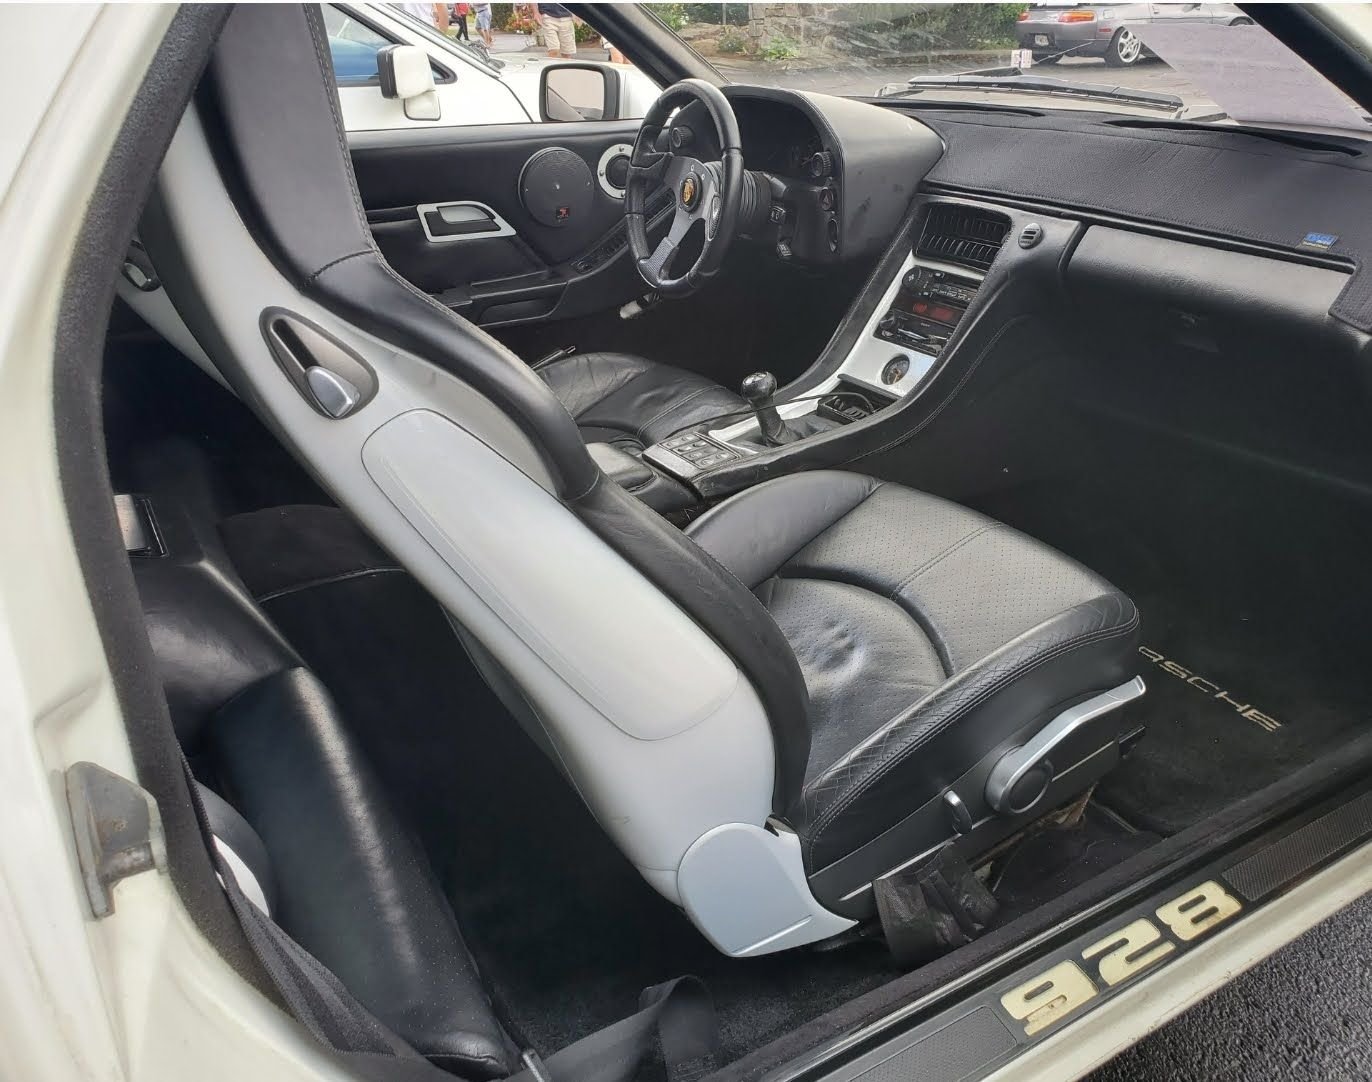
Leather Dash Pod and Center Console Installed
Panel with speaker crossover ready for installation
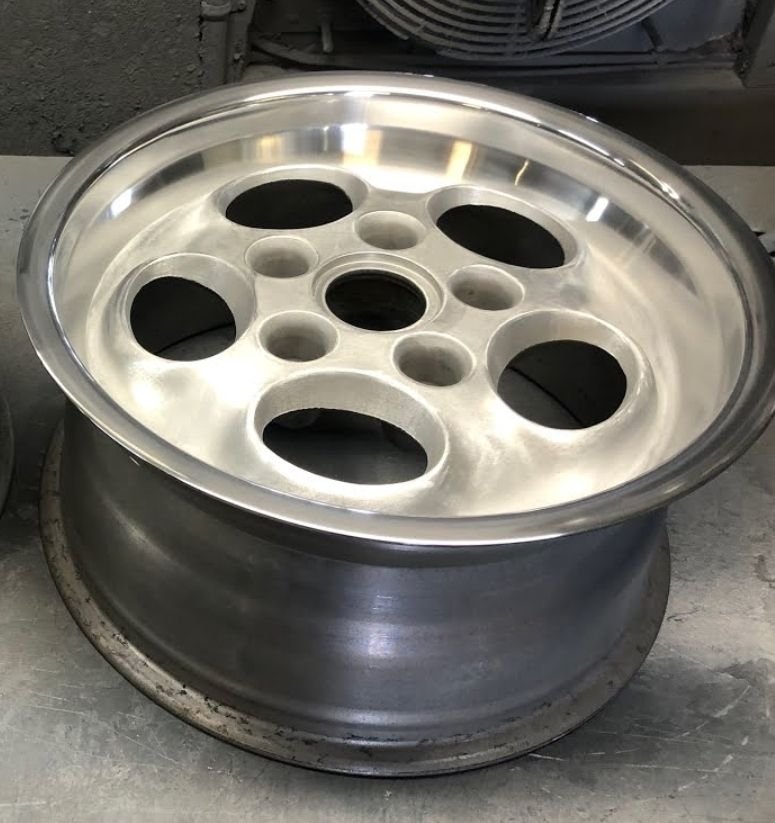
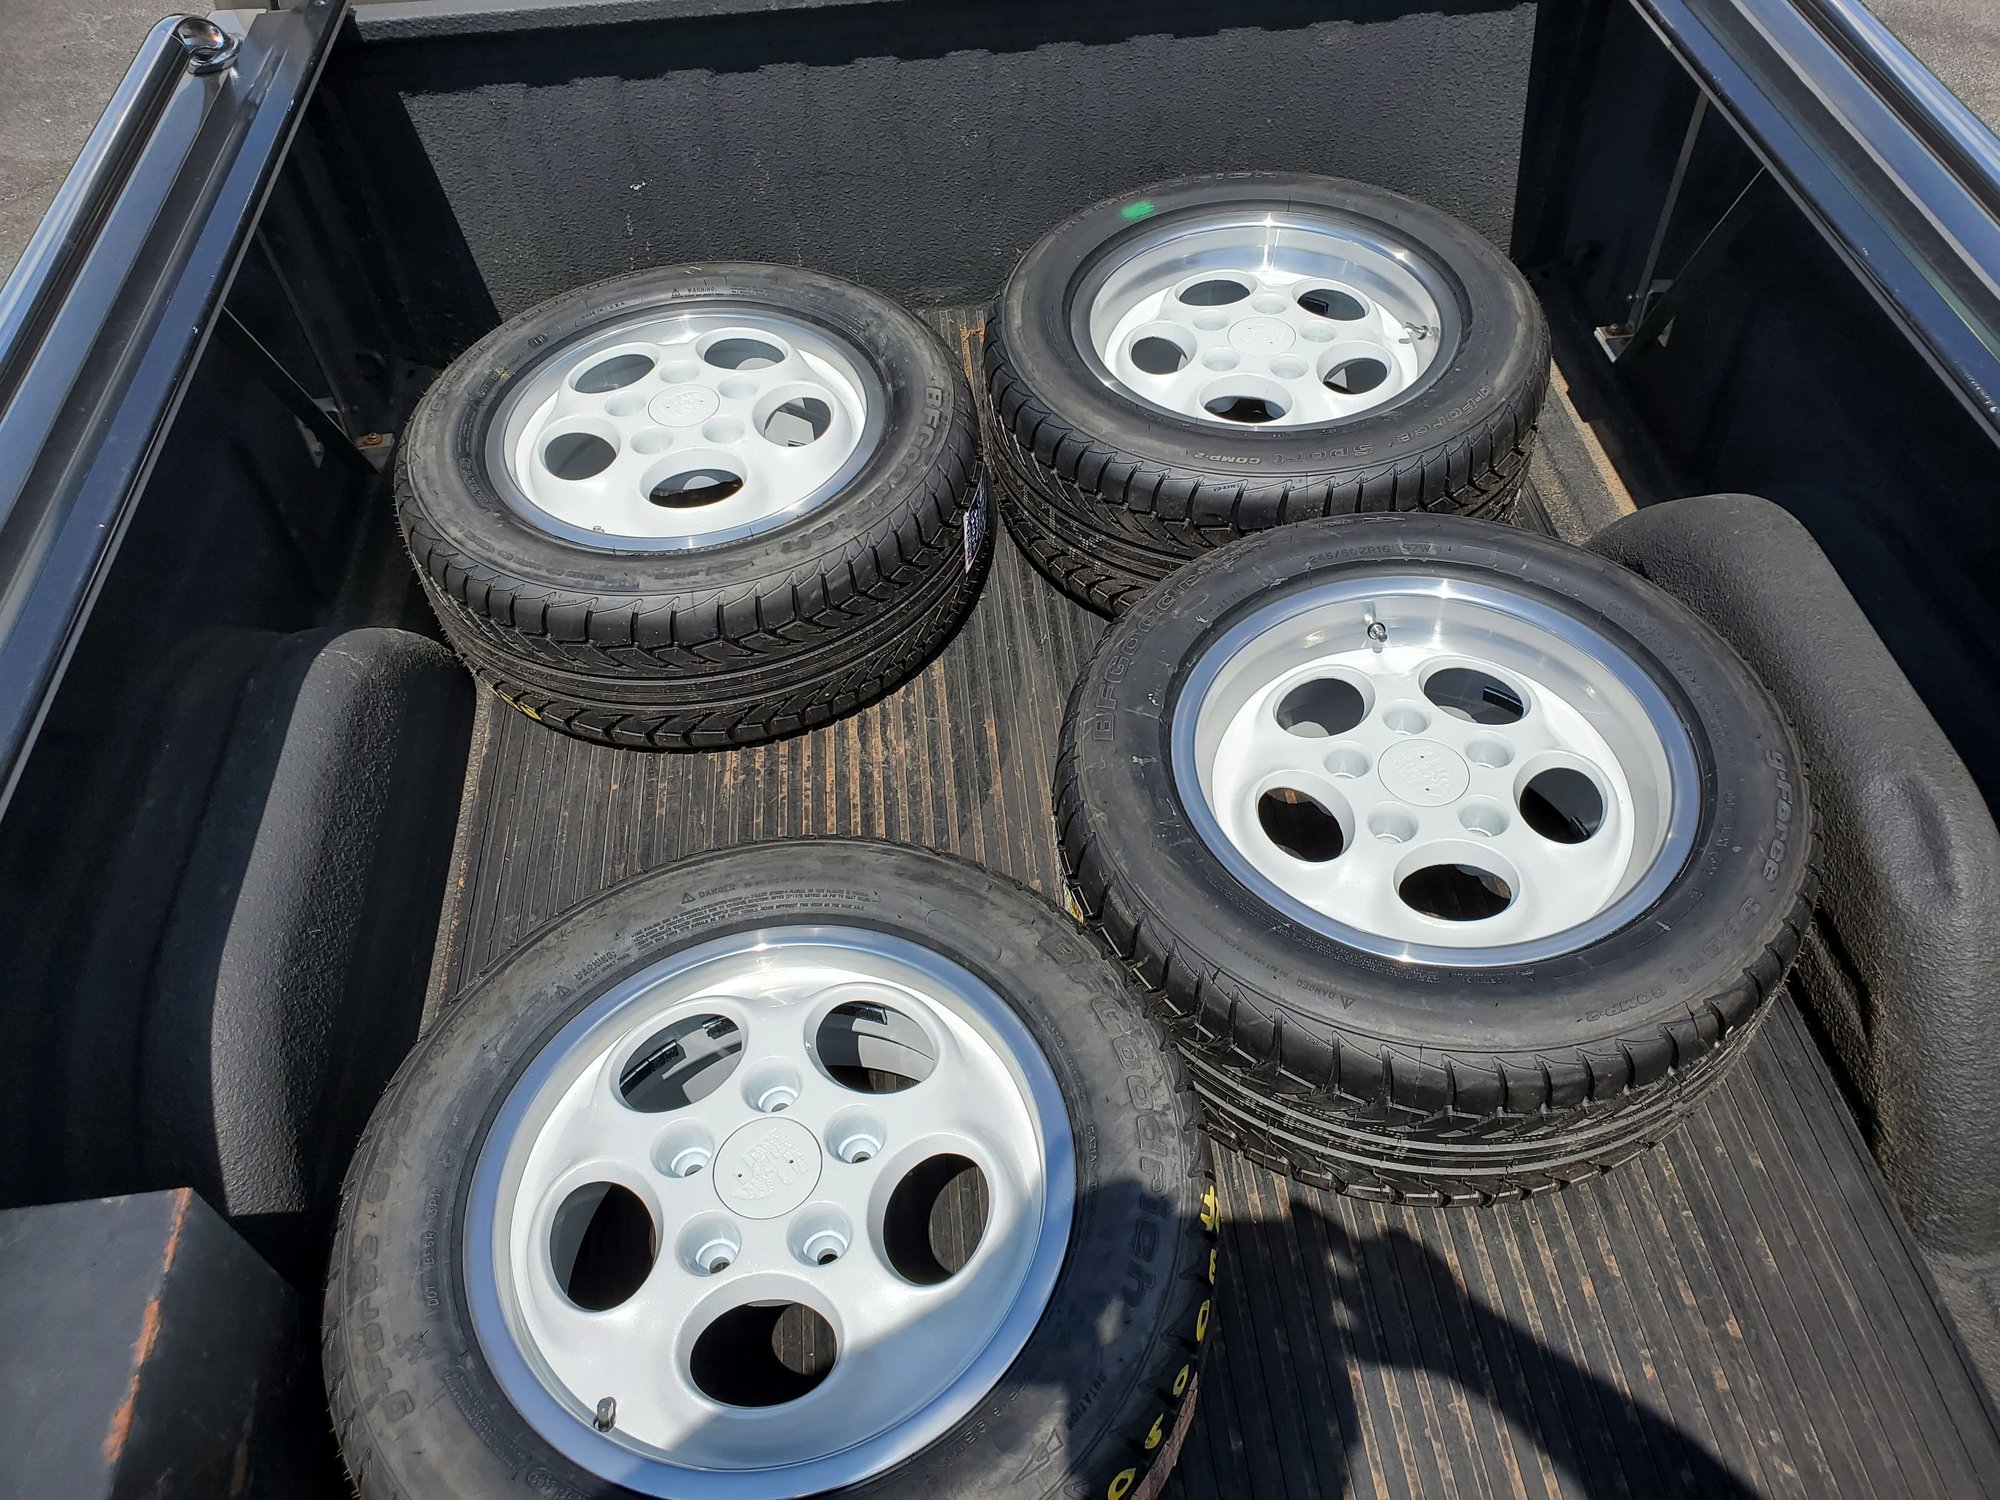
Got a surprise email from the wheel shop today that the phone dials were ready.
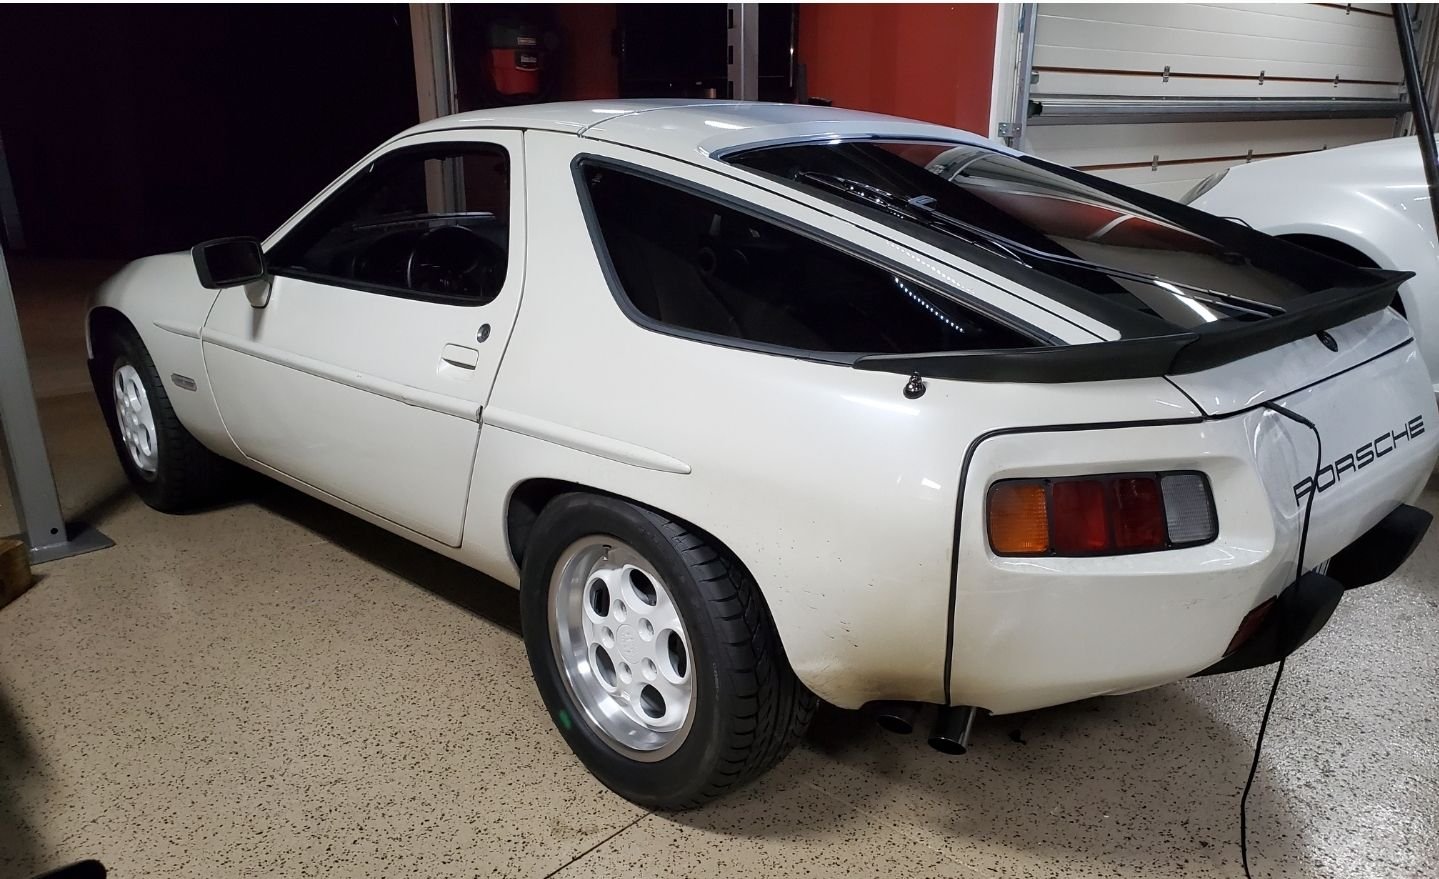
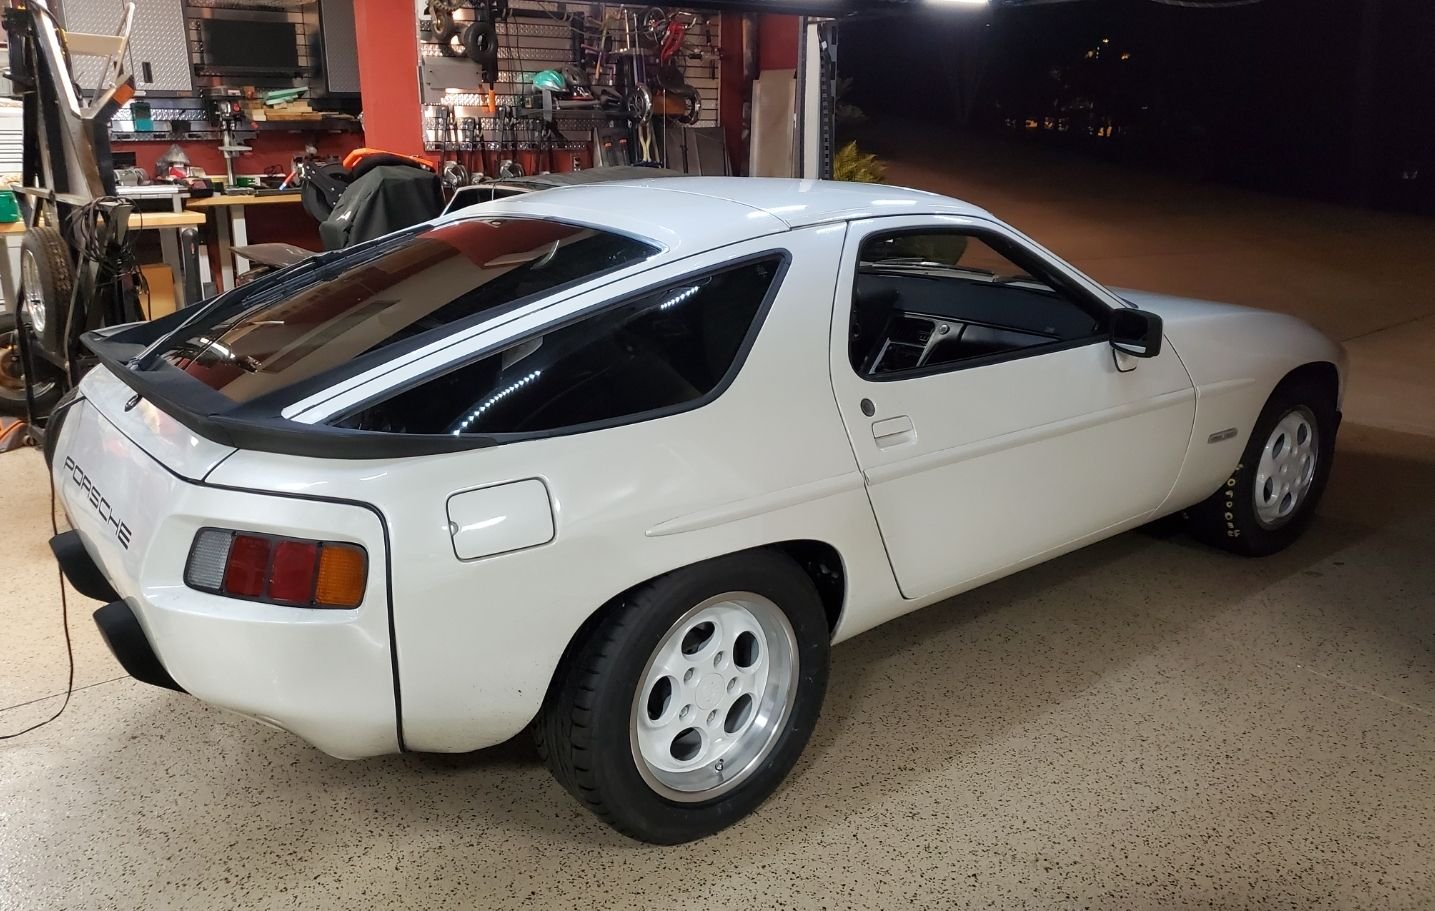
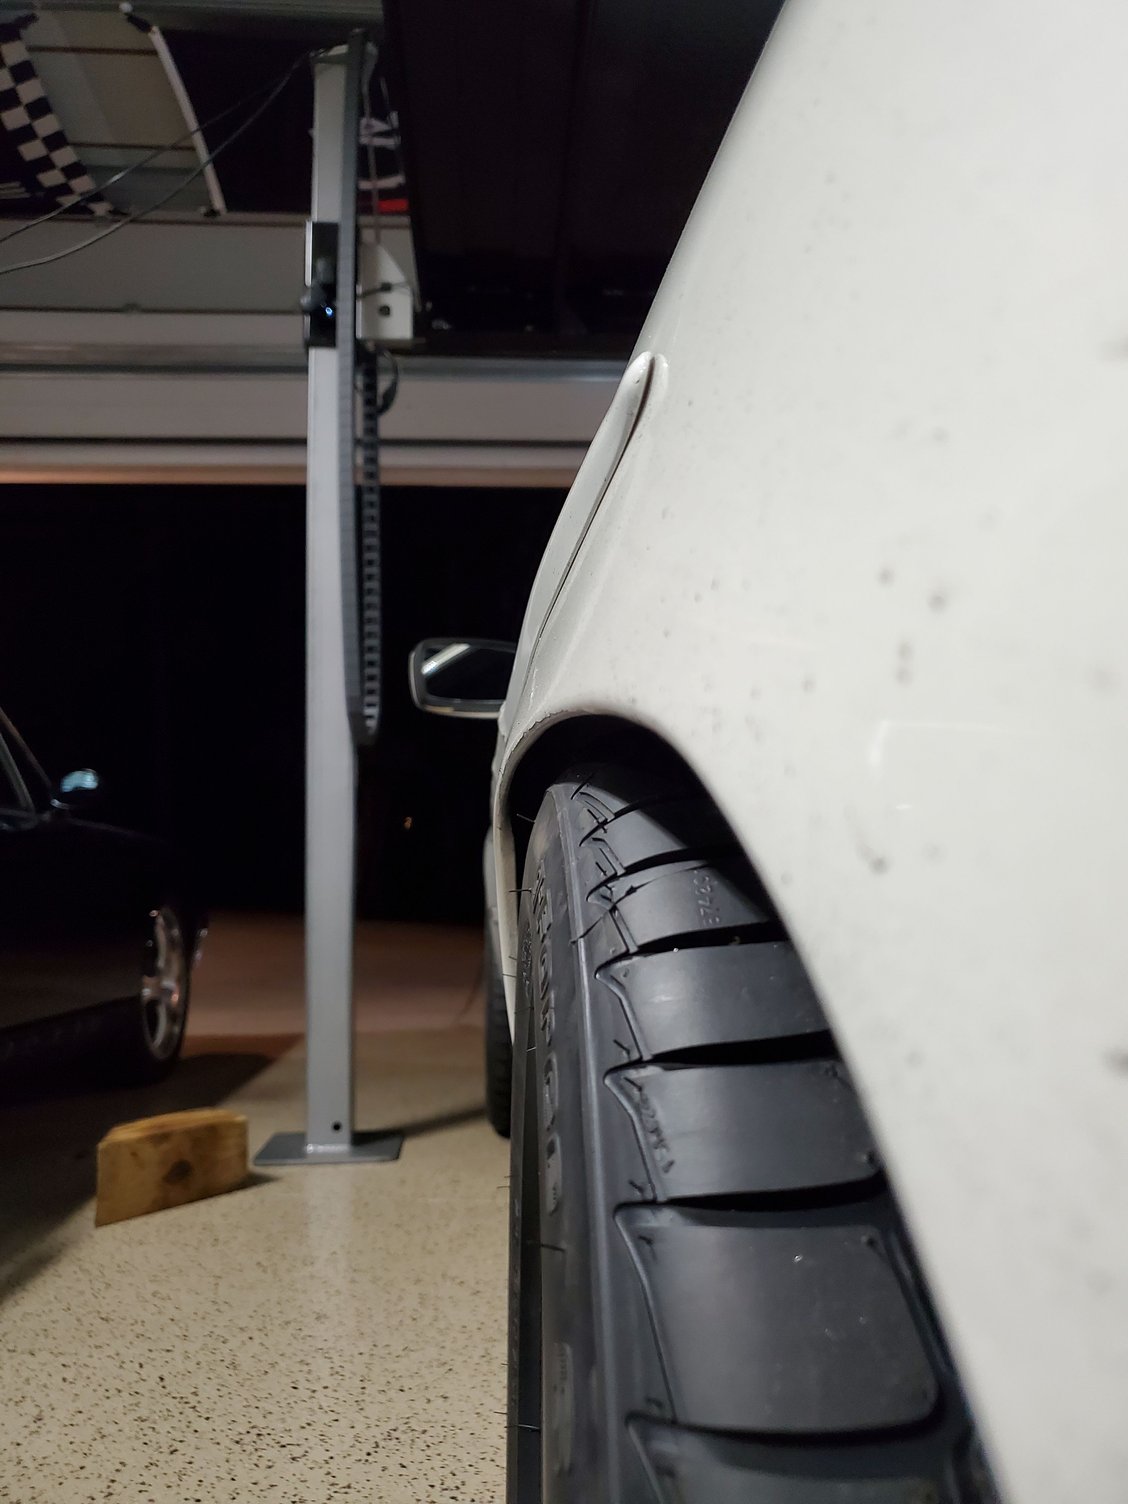
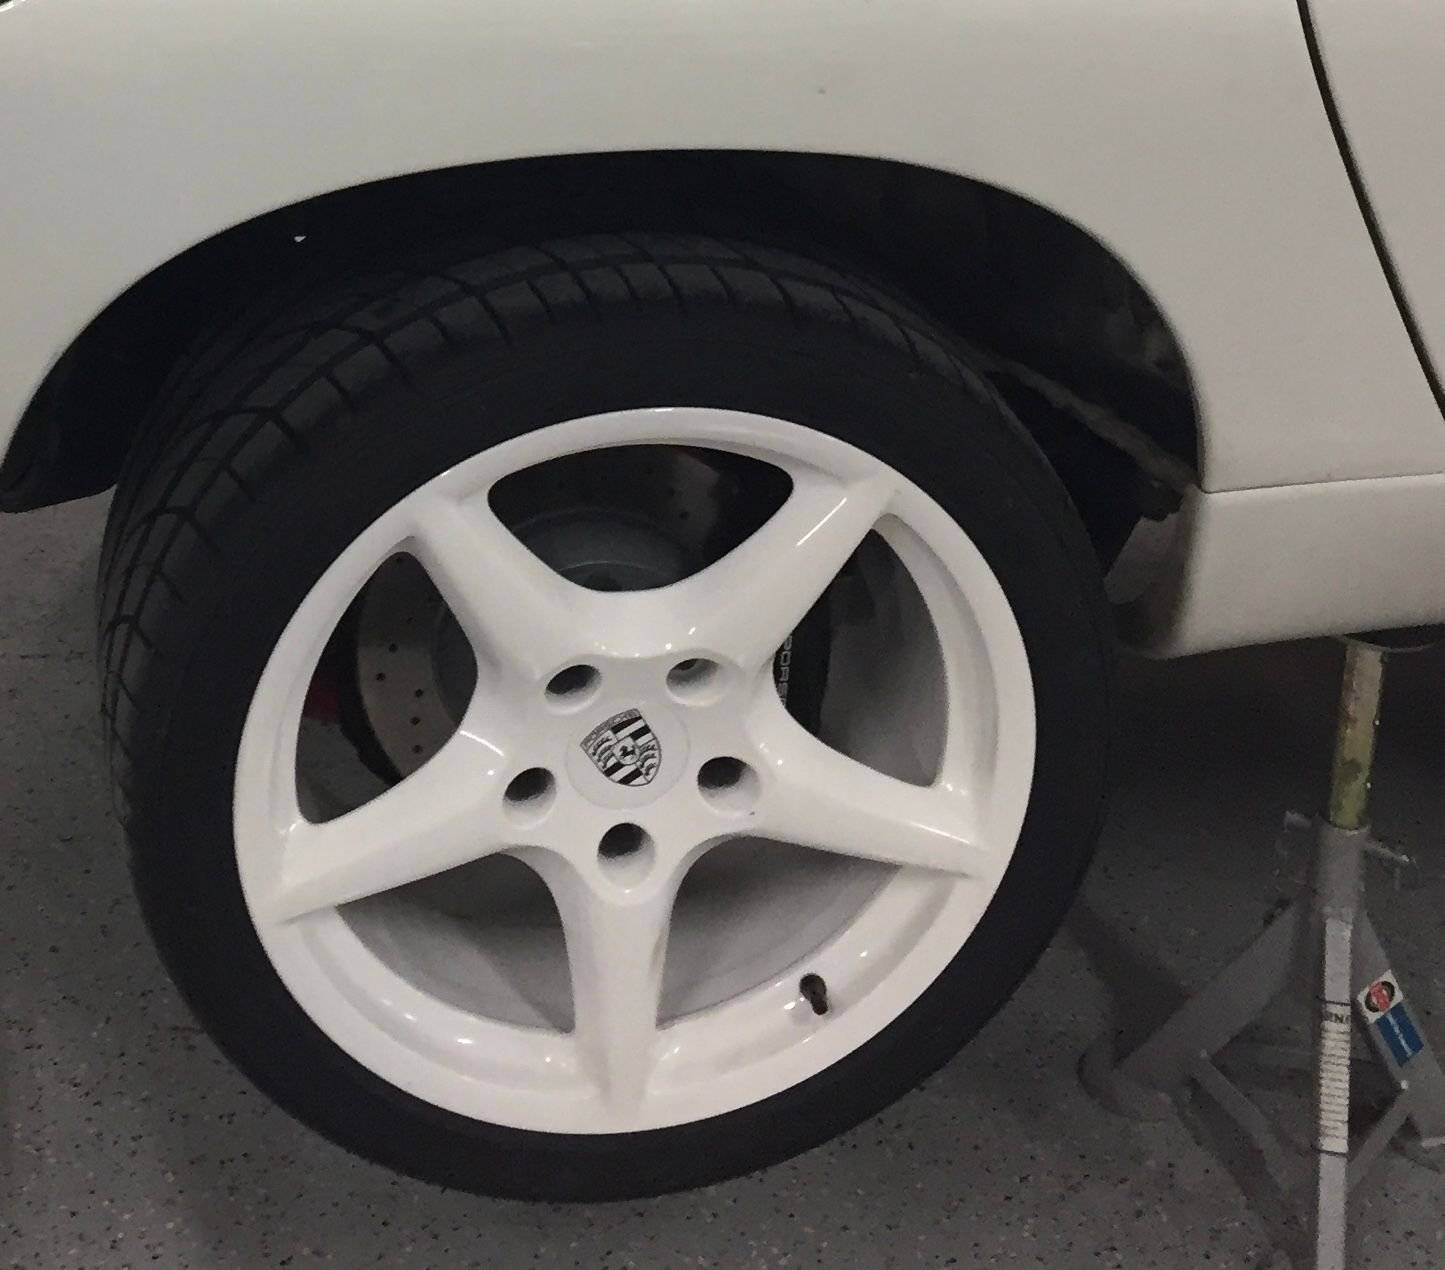
So, you know I had to put them on tonight. Exactly the look I was going for - more old school and appropriate for an 81 Euro S 5-speed but with a little custom touch as I've been known to do.
Poor car hasn't been washed since SITM and was the airport car this week too, so pretty dirty.
Right side rear might be a bit close to the fender - we'll see what the camber does as the suspension compresses, but might have to roll that one a little. The left rear is the one shown here and the right rear is a bit tighter, but loving the stance and no spacers front or rear.
Are you going to add black background to the center cap crest?
Wasn't planning to, but that's an interesting thought. Do you just brush it in, then wipe off the high spots, leaving it in the low spots? Silver instead of black might look really cool to complement the polished lip. Might have to play around with that.
Wasn't planning to, but that's an interesting thought. Do you just brush it in, then wipe off the high spots, leaving it in the low spots? Silver instead of black might look really cool to complement the polished lip. Might have to play around with that.
Yes, exactly that. Spray on and let it dry just a bit and then wipe of with rag that has some thinner on it. If your wheel paint is epoxy or powder coat the thinner won�t phase it. It will leave the paint in the recesses and look really nice.
Silver would probably look good but black will really pop on the white.
Here is a pic off of my old GTS wheel.
After seeing your pic, yep, that now has to be added to the list. Everything is powder coated.
try your paint remover on the back of the wheel if you use acetone it could eat into your PC
maybe better to use paint thinner on an old T shirt wrapped around the tip of your finger,
one pass and let it dry for a few seconds


 05-27-2021, 01:38 PM