When you click on links to various merchants on this site and make a purchase, this can result in this site earning a commission. Affiliate programs and affiliations include, but are not limited to, the eBay Partner Network.
Hi Pete. Those heads were a little (not much) corroded when i tore down that motor so I had them re-worked by Engine Supply in Costa Mesa, who was recommended to me both by Mark A and Greg B. The leak in the right head was found when they pressure tested it, not visible to the naked eye, and I don't know the cause of the crack, but the car had not been in any accidents that I know of. I would think, given their clientele, they've seen and worked on as many 928 motors as any machinist in the country, so I felt comfortable with the work they performed.
I do recall when I first re-assembled that motor, I didn't use any sealant on the water bridge gaskets. And the right side was leaking at that gasket when I first filled the system with coolant. I disassembled and reassembled with driebond on the gaskets and didn't have any leaks moving forward. Hope that helps and thanks for posting your trials with your car. I'm rooting for you and I can appreciate all the work you're putting in to make it perfect.
Thanks ladybug and BC for clearing up the history. When I put the waterbridge on with some sealant on both sides of the OEM gaskets, it was water tight too. Even went down and back to the Rendezvous event. It didn't develop a leak on that passenger side until later when i was test driving it pretty hard to determine if my differential noise had been rectified by a fluid change. Got home and had a thin layer of coolant in the valley. Cleaned that up, pulled the bridge and resealed it with new gaskets, but wasn't able to pull a good vacuum which is why I've been working on it these past few days to get that gap smaller.
Should be putting it back together tonight and am going to try and pull a vacuum to see if it now holds. If it does, I'll stick the hose into a bucket of new coolant and distilled water, and fill it back up, then see how it does under live driving conditions and how the new AOS setup works.
Because the head work was done by a reputable shop and the compression test on all cylinders was good, that's why I've been looking for other causes of the plug fouling on cylinders 5 & 7. I've now changed those injectors and plug wires, but haven't had a chance to really drive the car to see if they're still fouling - that's when my coolant leak popped up.
I'll keep you guys posted as I'm coming into the perfect season for driving this car - no pollen and cooler temperatures for the top to be down.
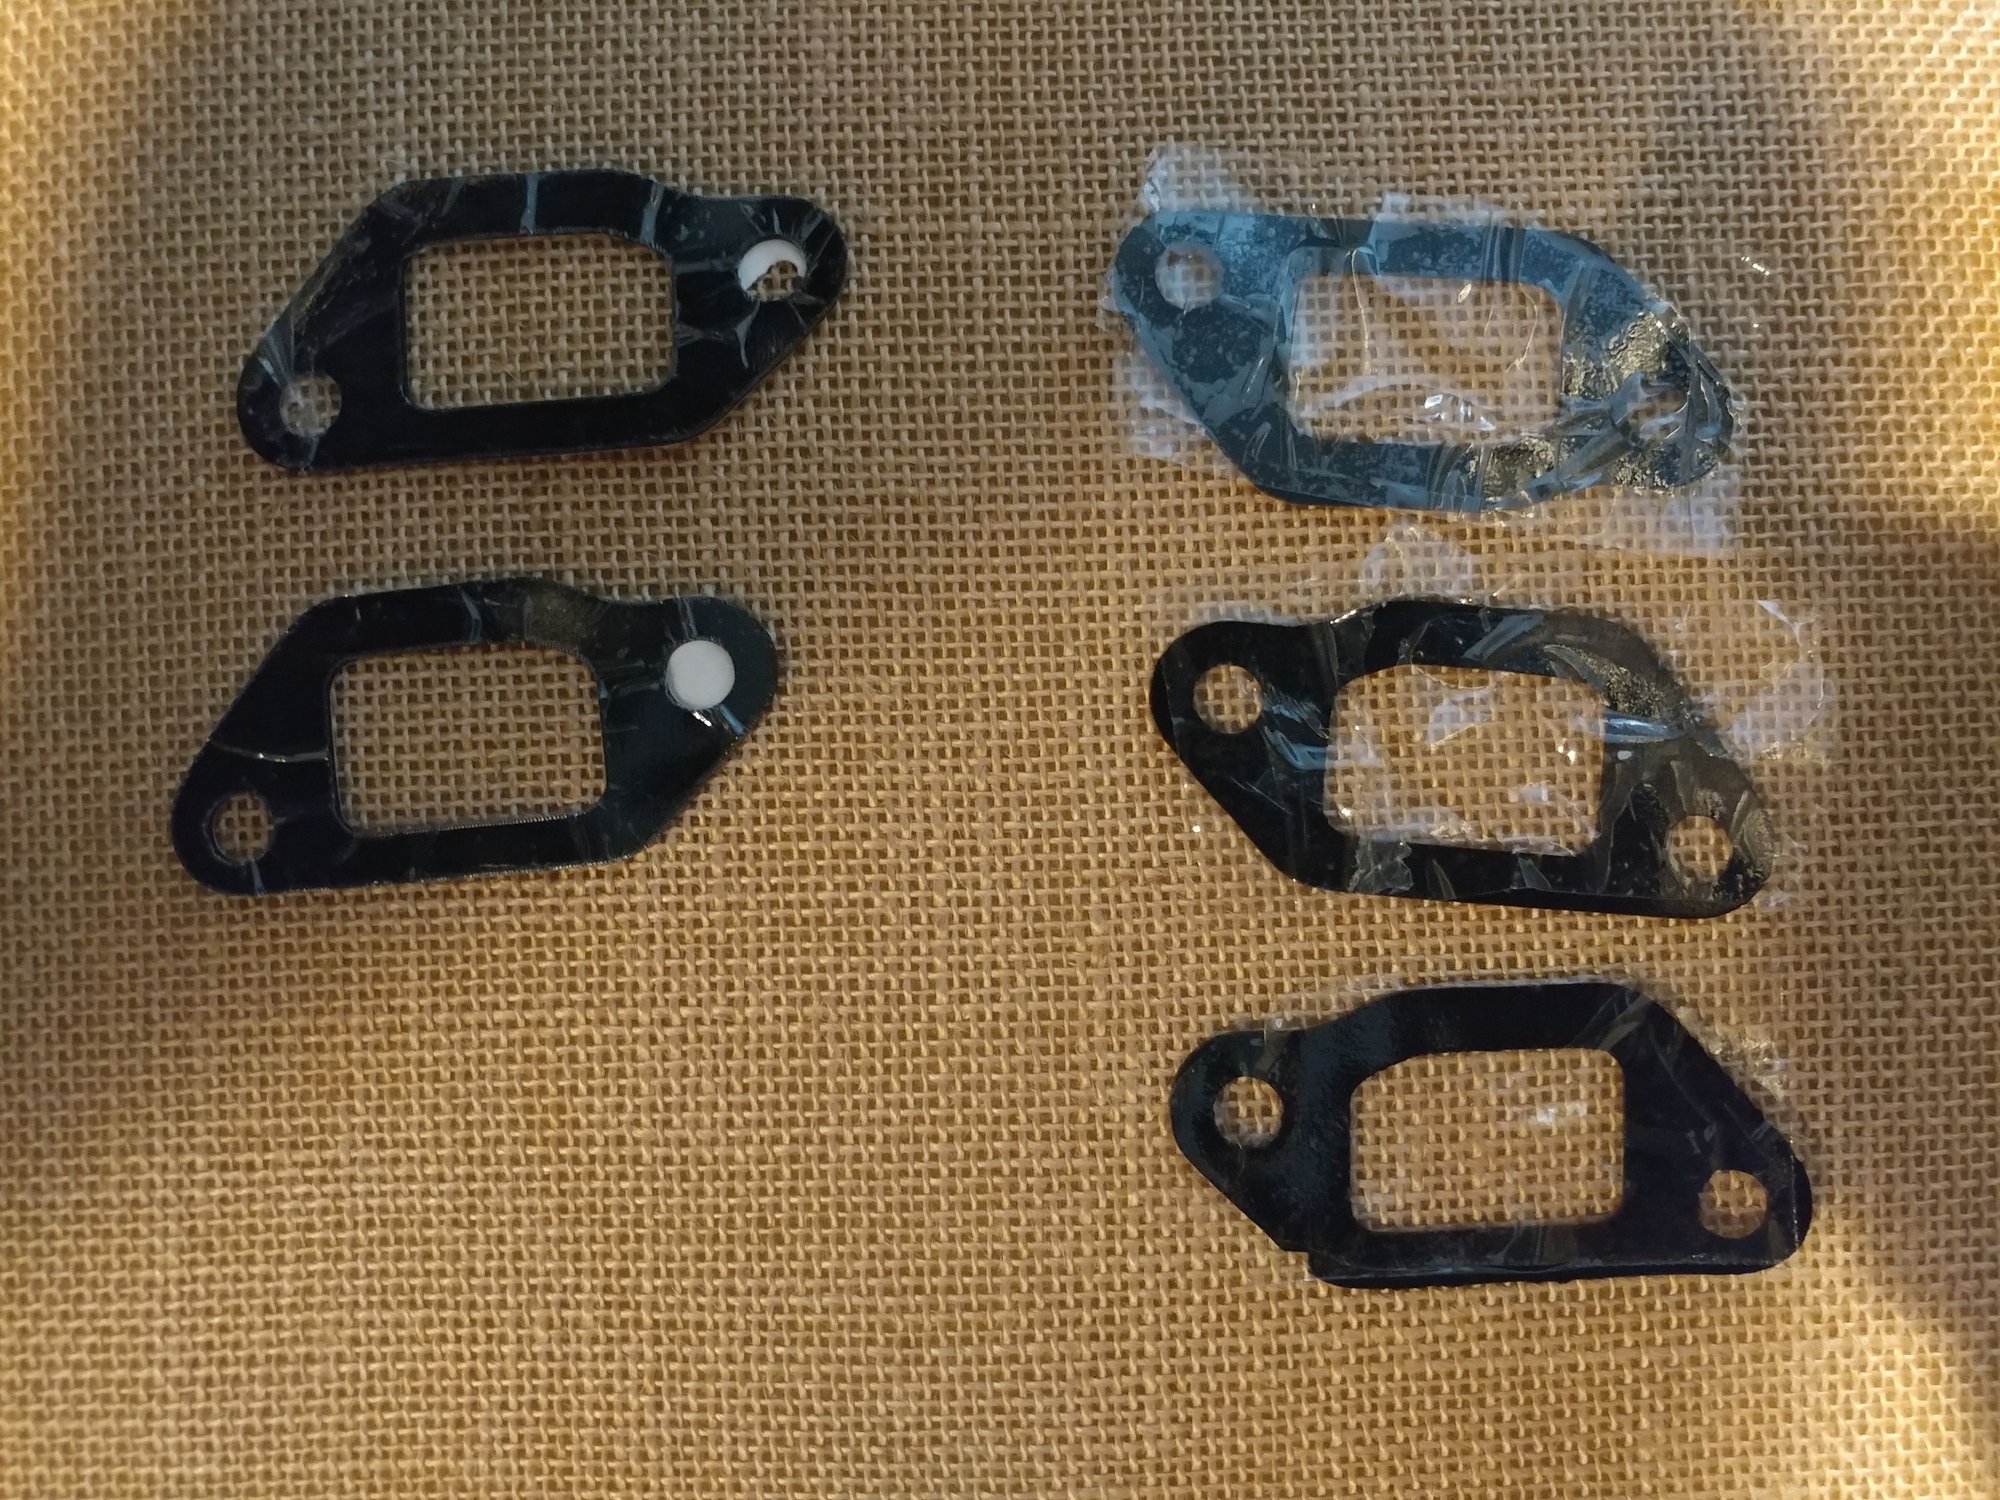
Water bridge gaskets. I cut some from the adhesive carrier backside and some from the plastic covered front side. This way if I need to double up the thickness on one side (passenger), I can stick the two adhesive sides together to make it like a single thicker gasket, or if they're even on both sides, could do that for a slightly thicker and better sealing gasket.
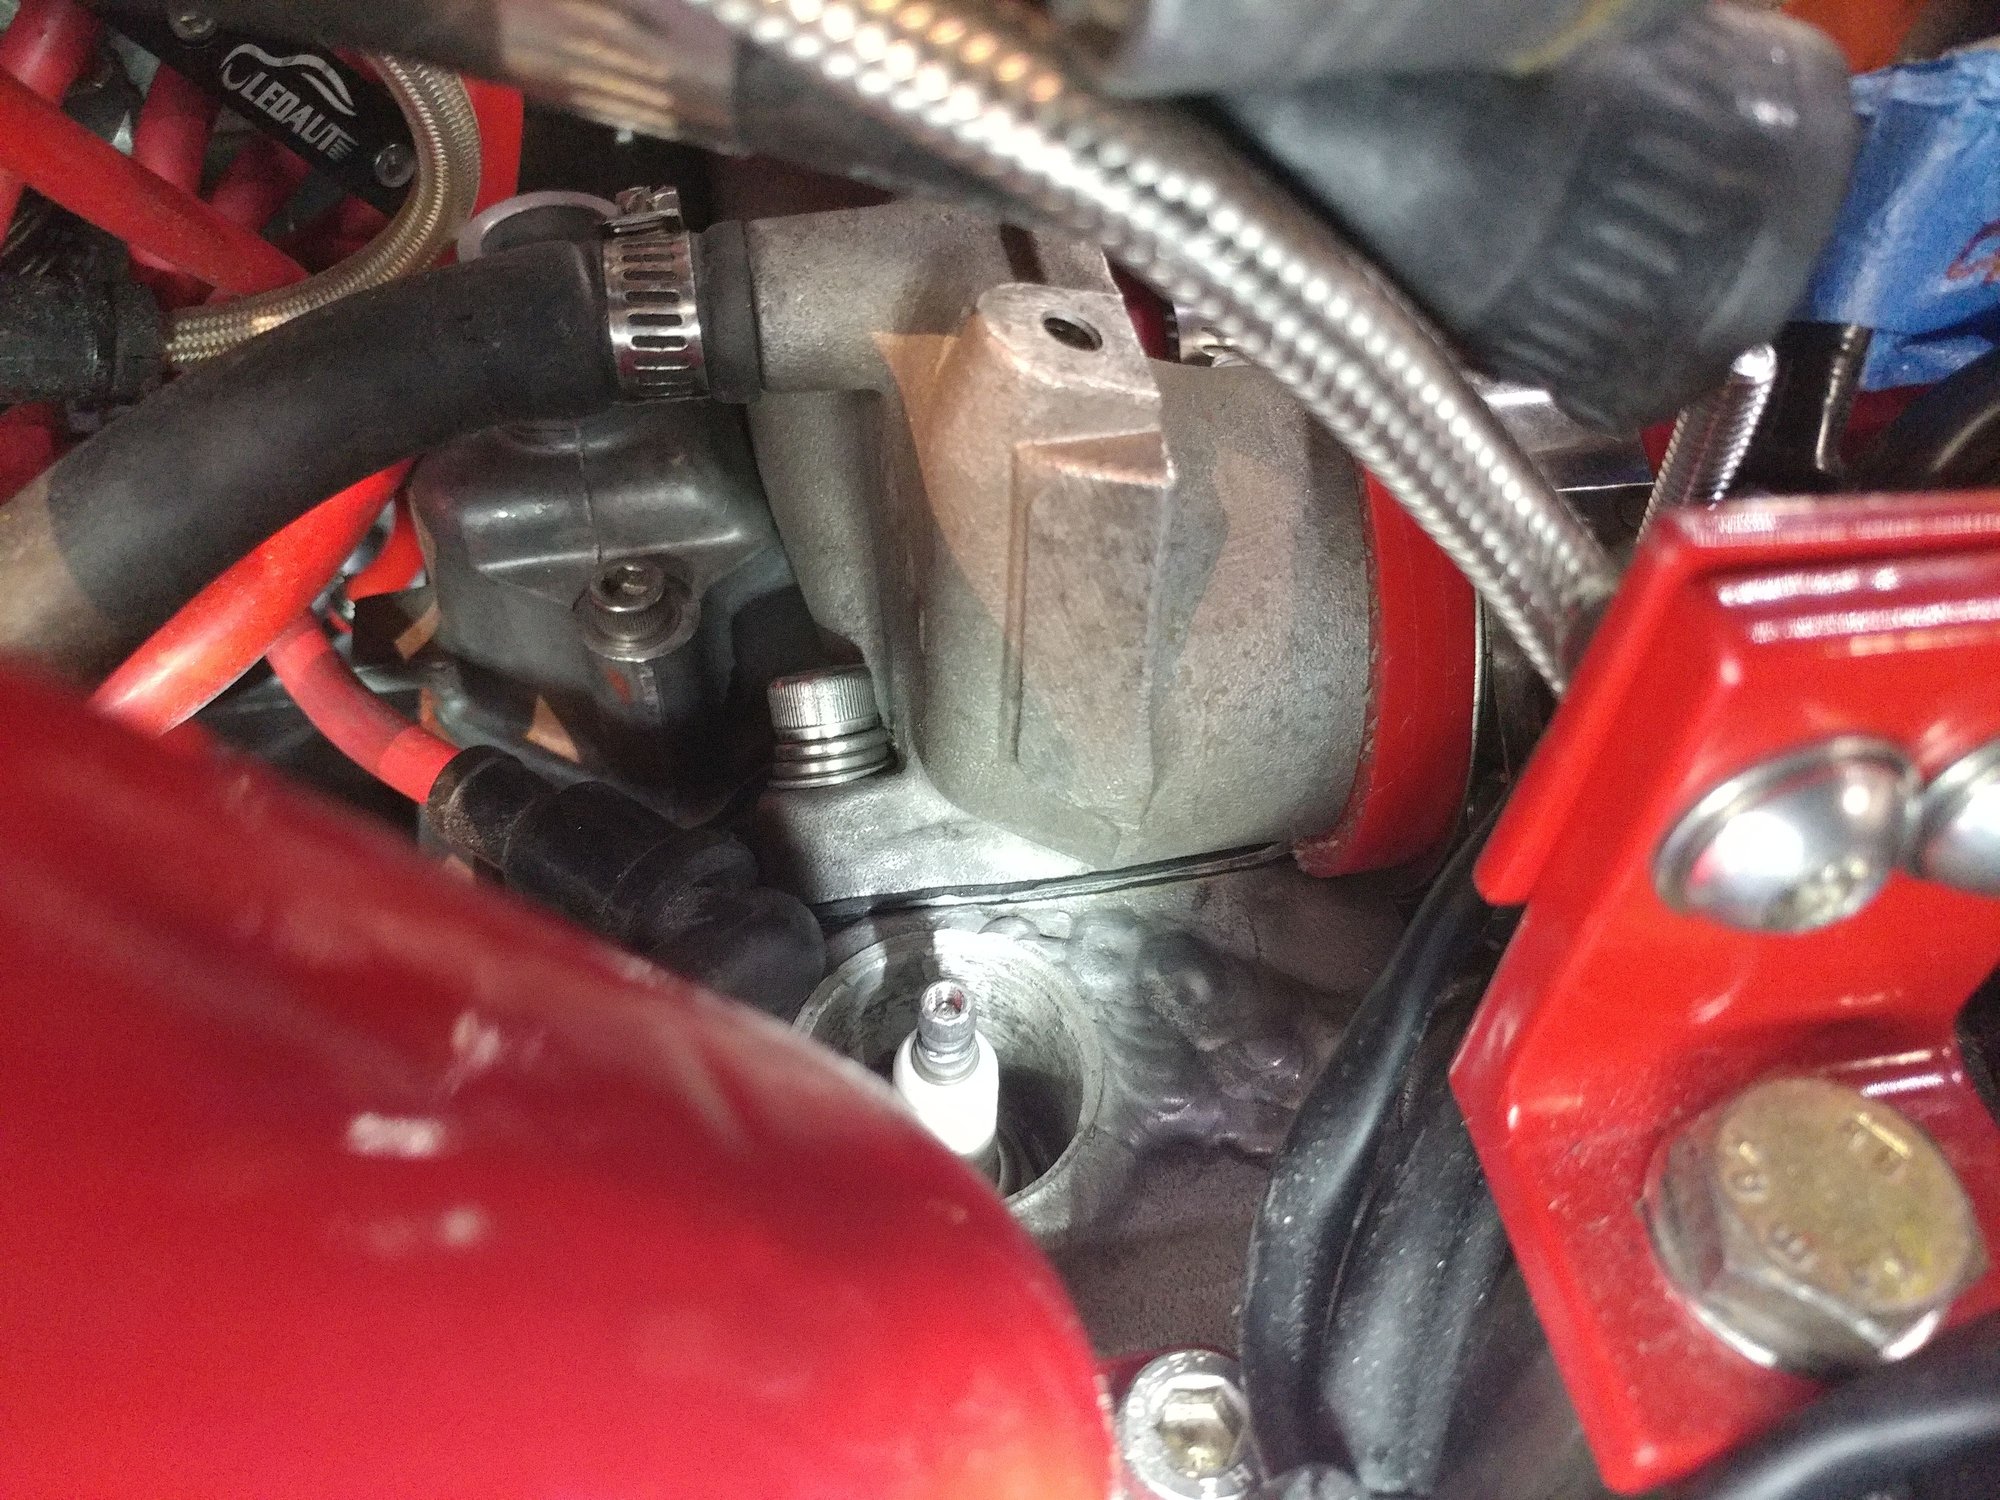
I installed one on the driver's side as a test fit and snugged down the bolts to see how high the bad side would be, and it doesn't look bad at all. The gap on the passenger side is about 0.65mm using the feeler gauge to measure.
So, should I use
the OEM gaskets - one per side?
Should I use the silicone gaskets I cut that are softer and may conform to the imperfection better with one per side,
Should I stick two of the silicone gaskets back to back to have more gasket material to take up the imperfections?
Should I cut a different material that's a bit firmer, like a rubber gasket material. I can cut anything up to 2mm in thickness.
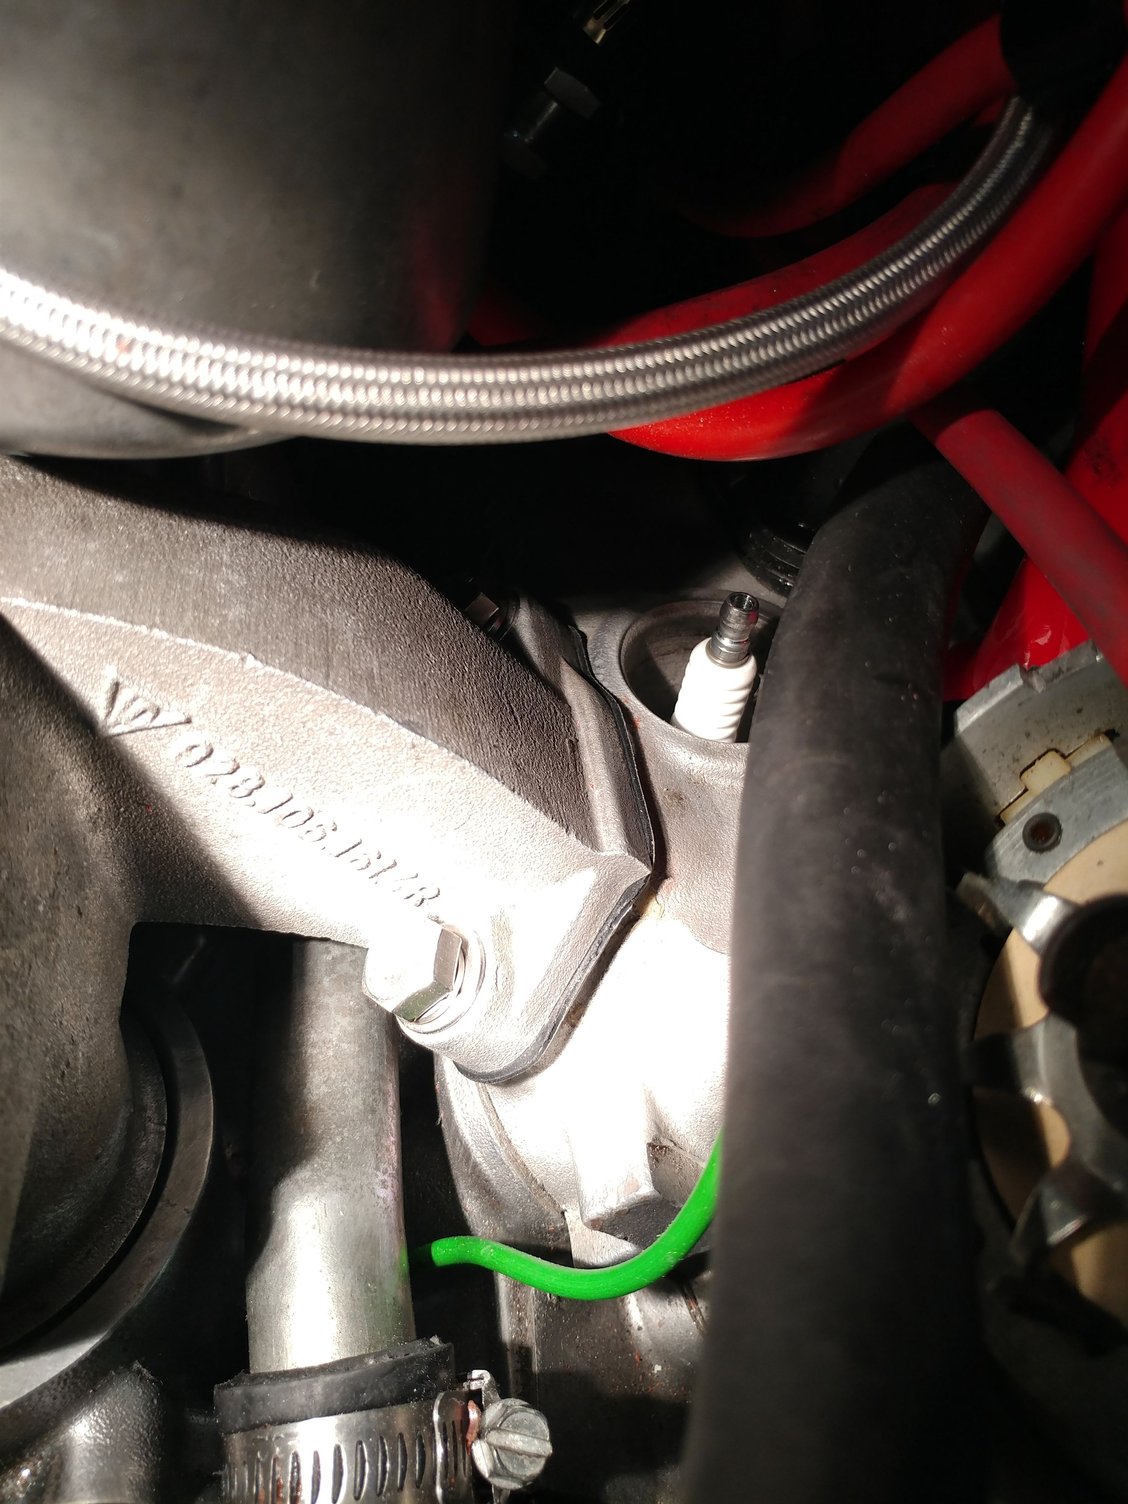
Here's the installed side with the gasket compressed.
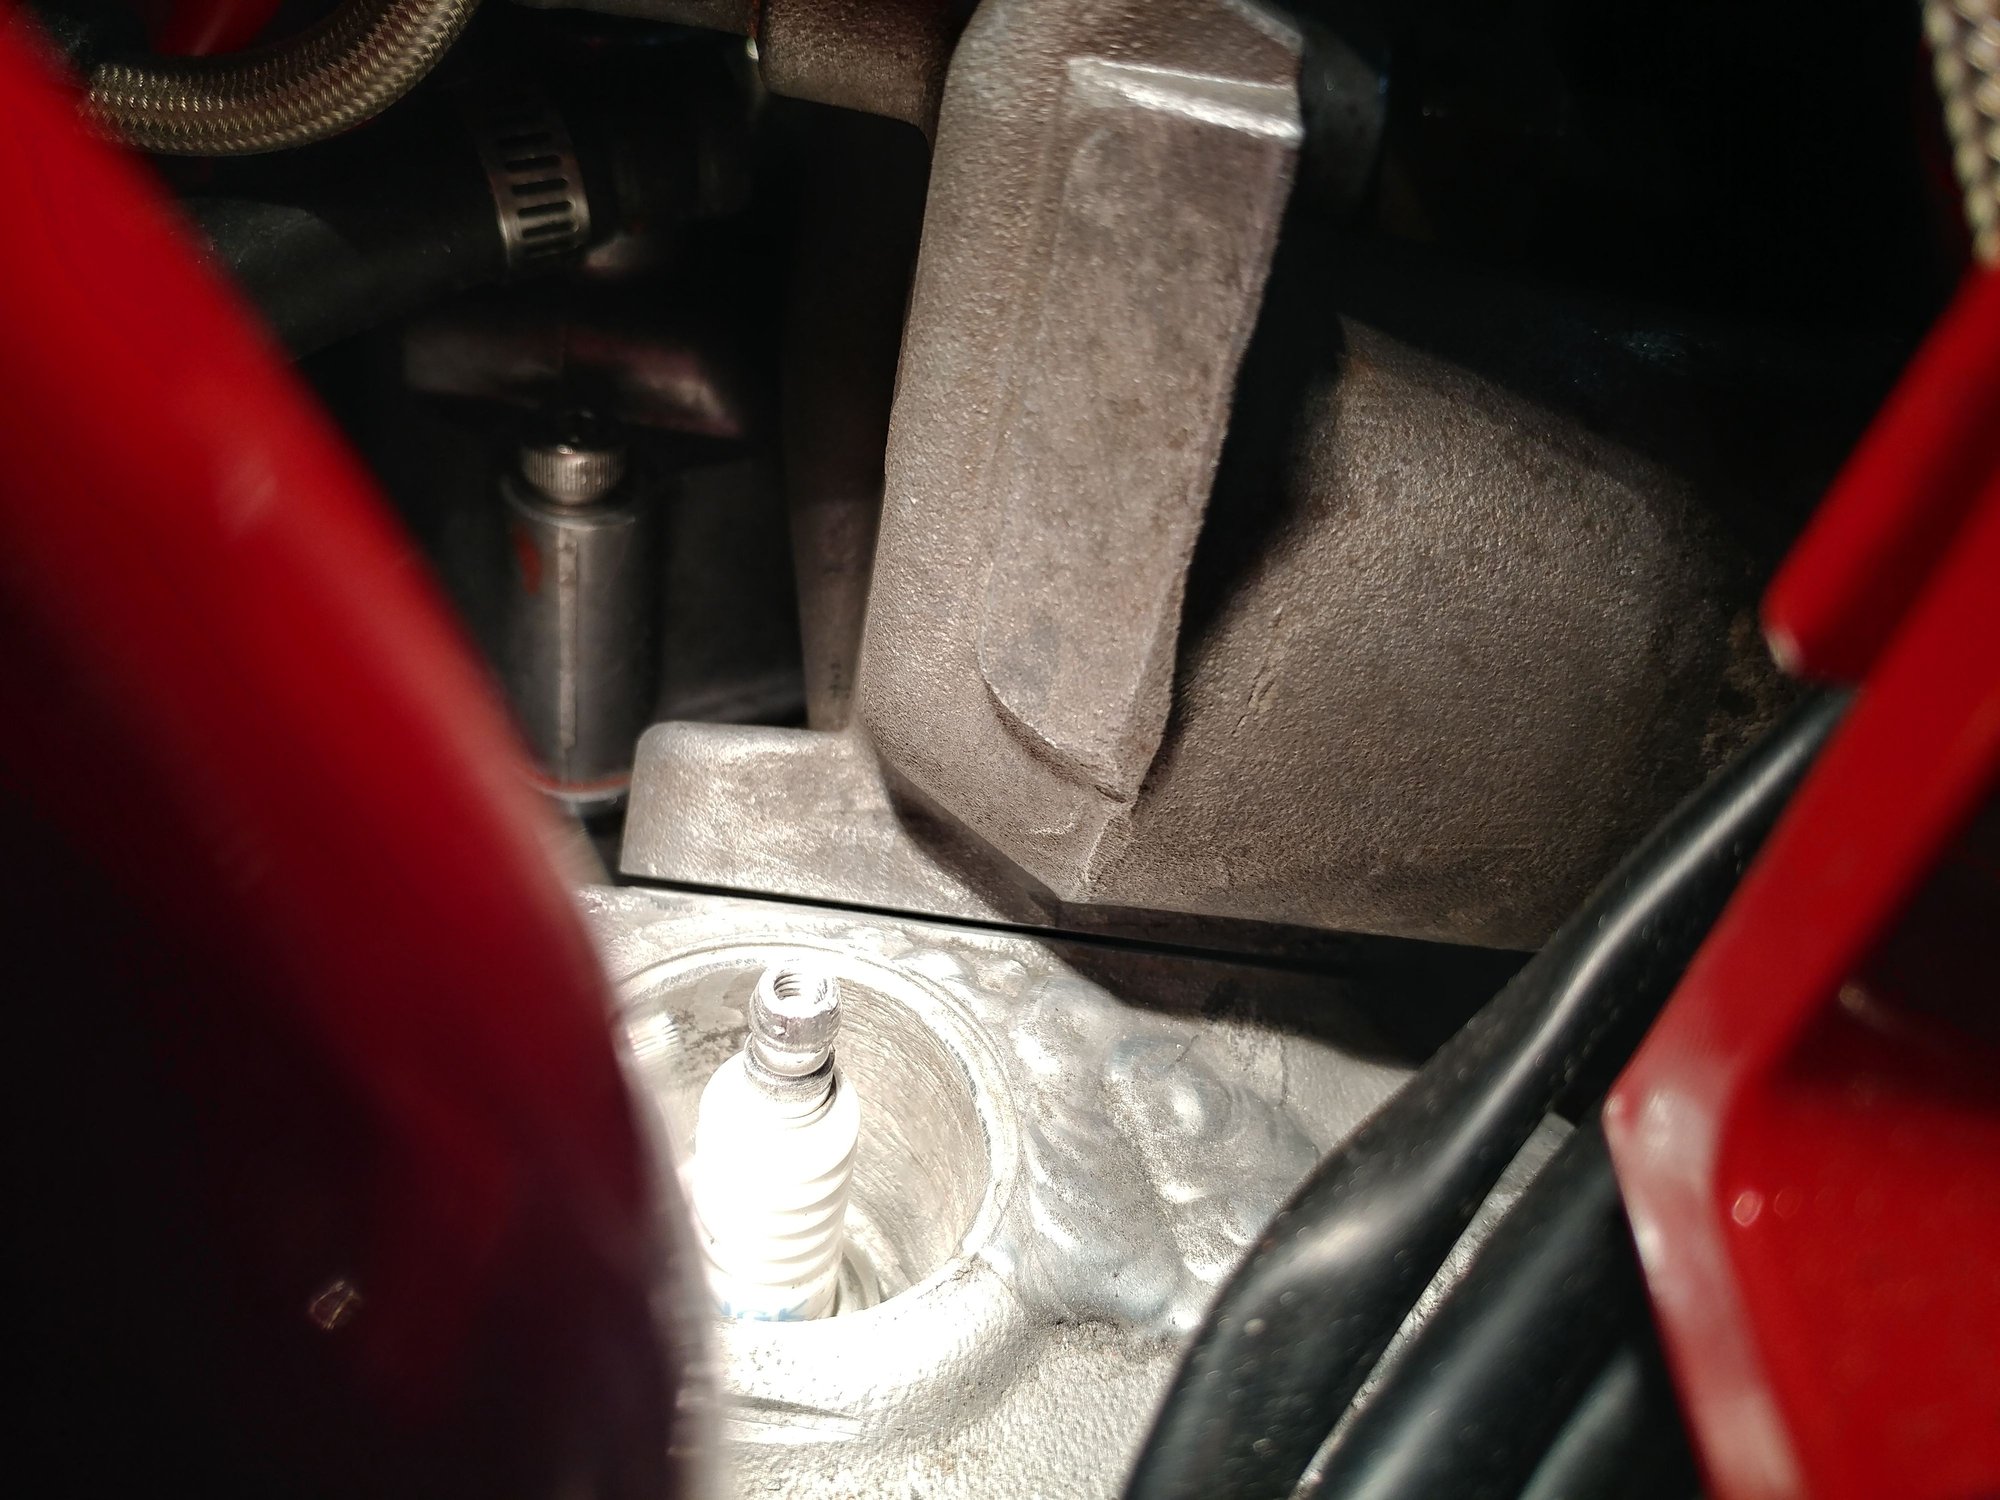
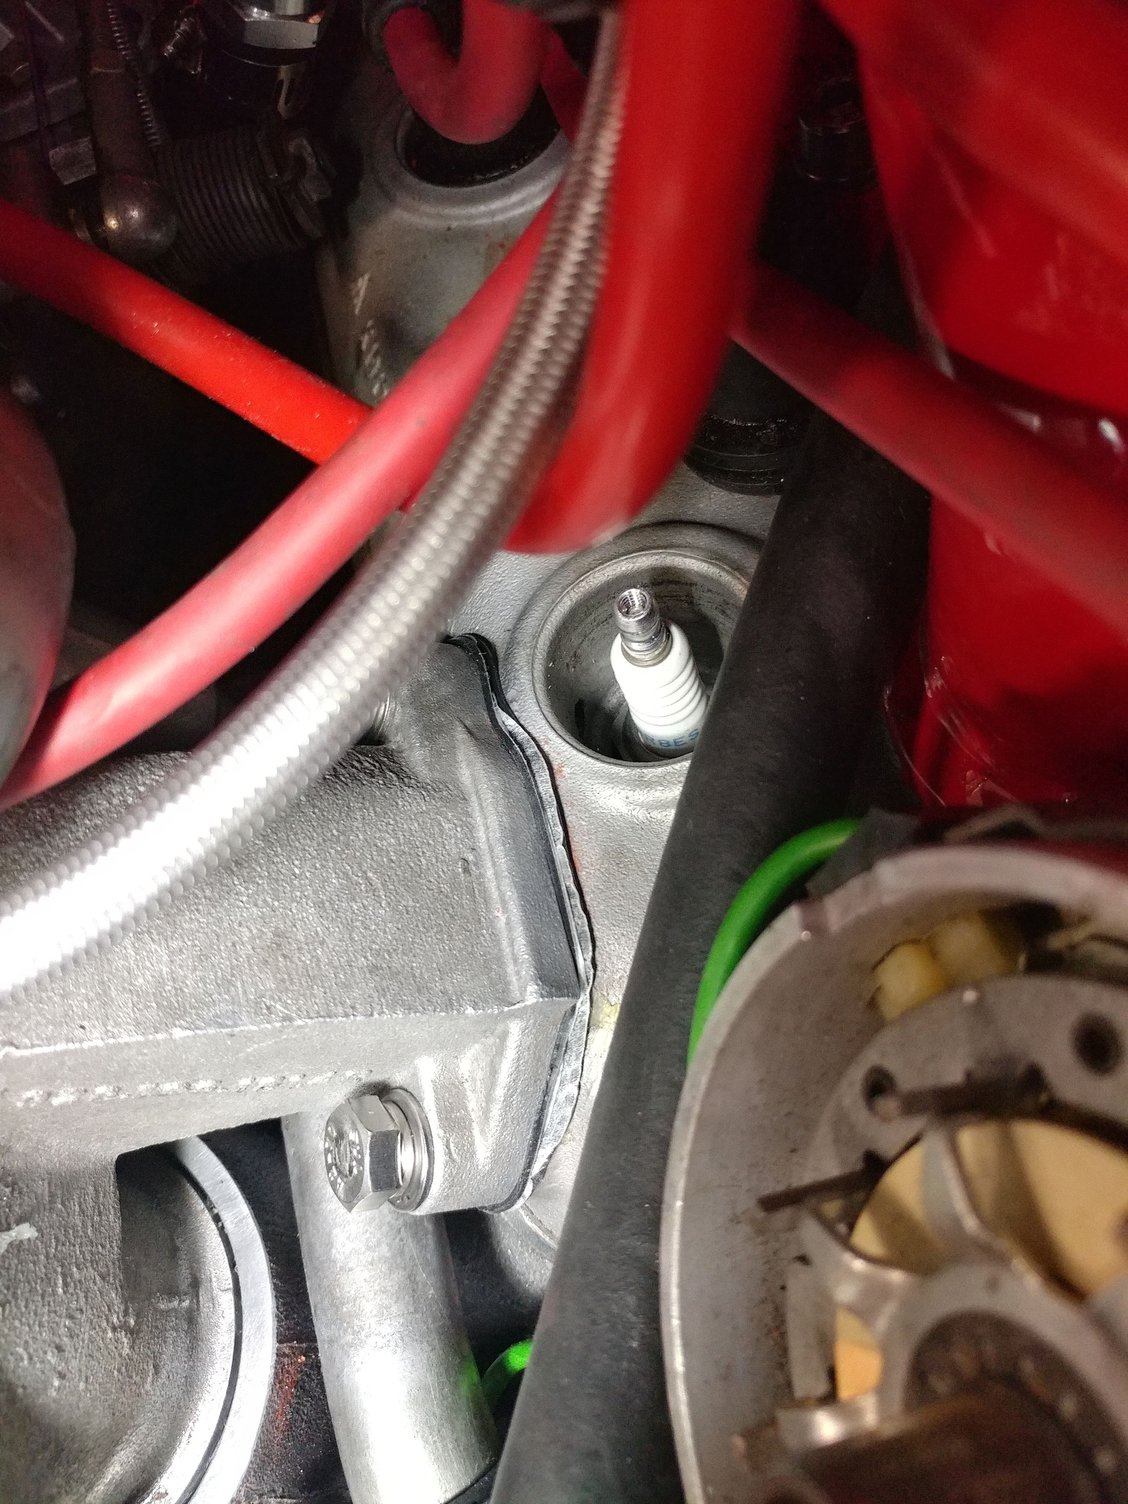
And here's the gap on the passenger side with the driver's side installed.
i wouldn't go to "thick" with soft materials , as they will want to "flow" to the outsides under compression.
Don't you want a little of that to make the seal. The parts that mate compress the gaskets and the part of the gasket that "flows" outside the mated surfaces helps to make the seal.
I think I'm going to try the dual stuck back to back gaskets and see if they will make a seal that holds vacuum. I'll try it tonight, then retension the parts again tomorrow and try it again. When I installed my silicone oil pan gasket I had to retension the bolts in the pattern multiple times before they'd hold the torque setting on the wrench from one tightening to the next.
I'm not going to refill the cooling system until I'm comfortable with the sealing setup. I'm also installing everything dry (except some silicone grease on the thermostat and water bridge o-rings, so it's not hard to take it apart and try something else again.
I ended up using 2 of the gaskets I cut adhered to each other on both sides, sandwiched between the mating surfaces and installed dry.
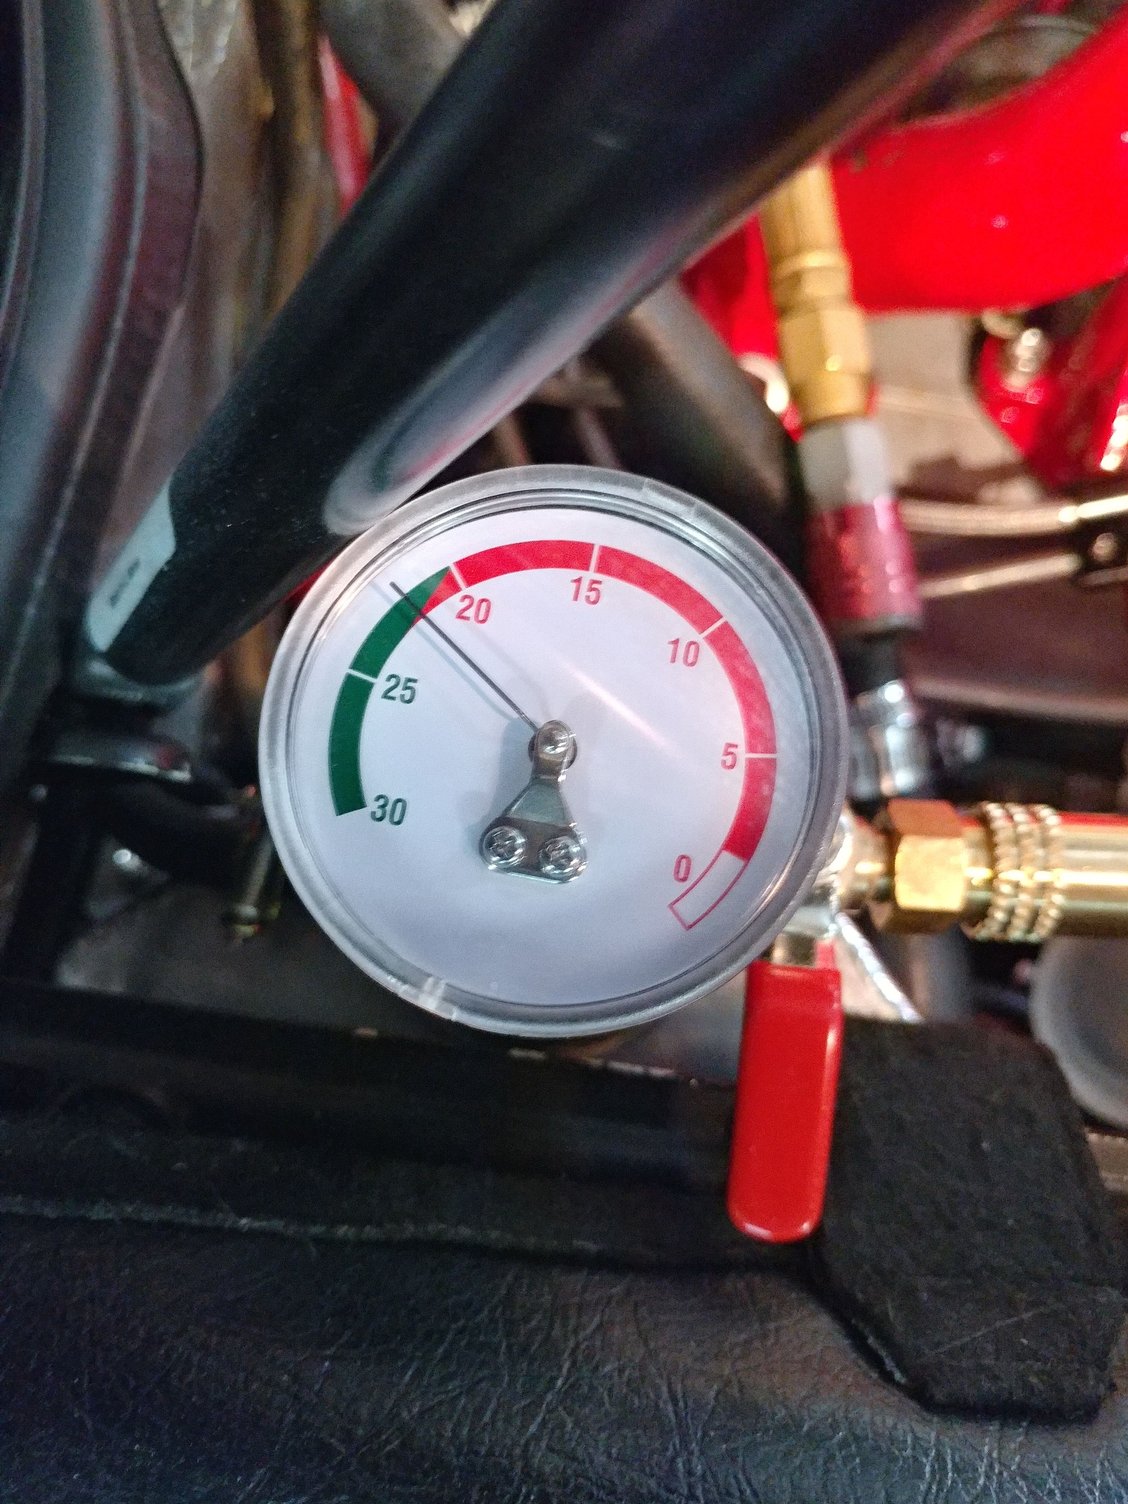
I'm happy to report that it looks like we have success. I pulled a vacuum of 22 with my Airlift tool and it held to k steady there for 10 minutes. I even took my new ultrasonic leak detector, turned the sensitivity all the way up, and wanded the water bridge connections - both sides, the large center one with the o-ring, and the thermostat, and it didn't detect a thing.
I released the vacuum and am going to leave it overnight so the gaskets can do whatever compressing they will. Tomorrow, I'll retension the bolts again and try the vacuum test again. If that one is also successful, I'll fill it with coolant and reassemble everything, and hopefully test drive it Friday.
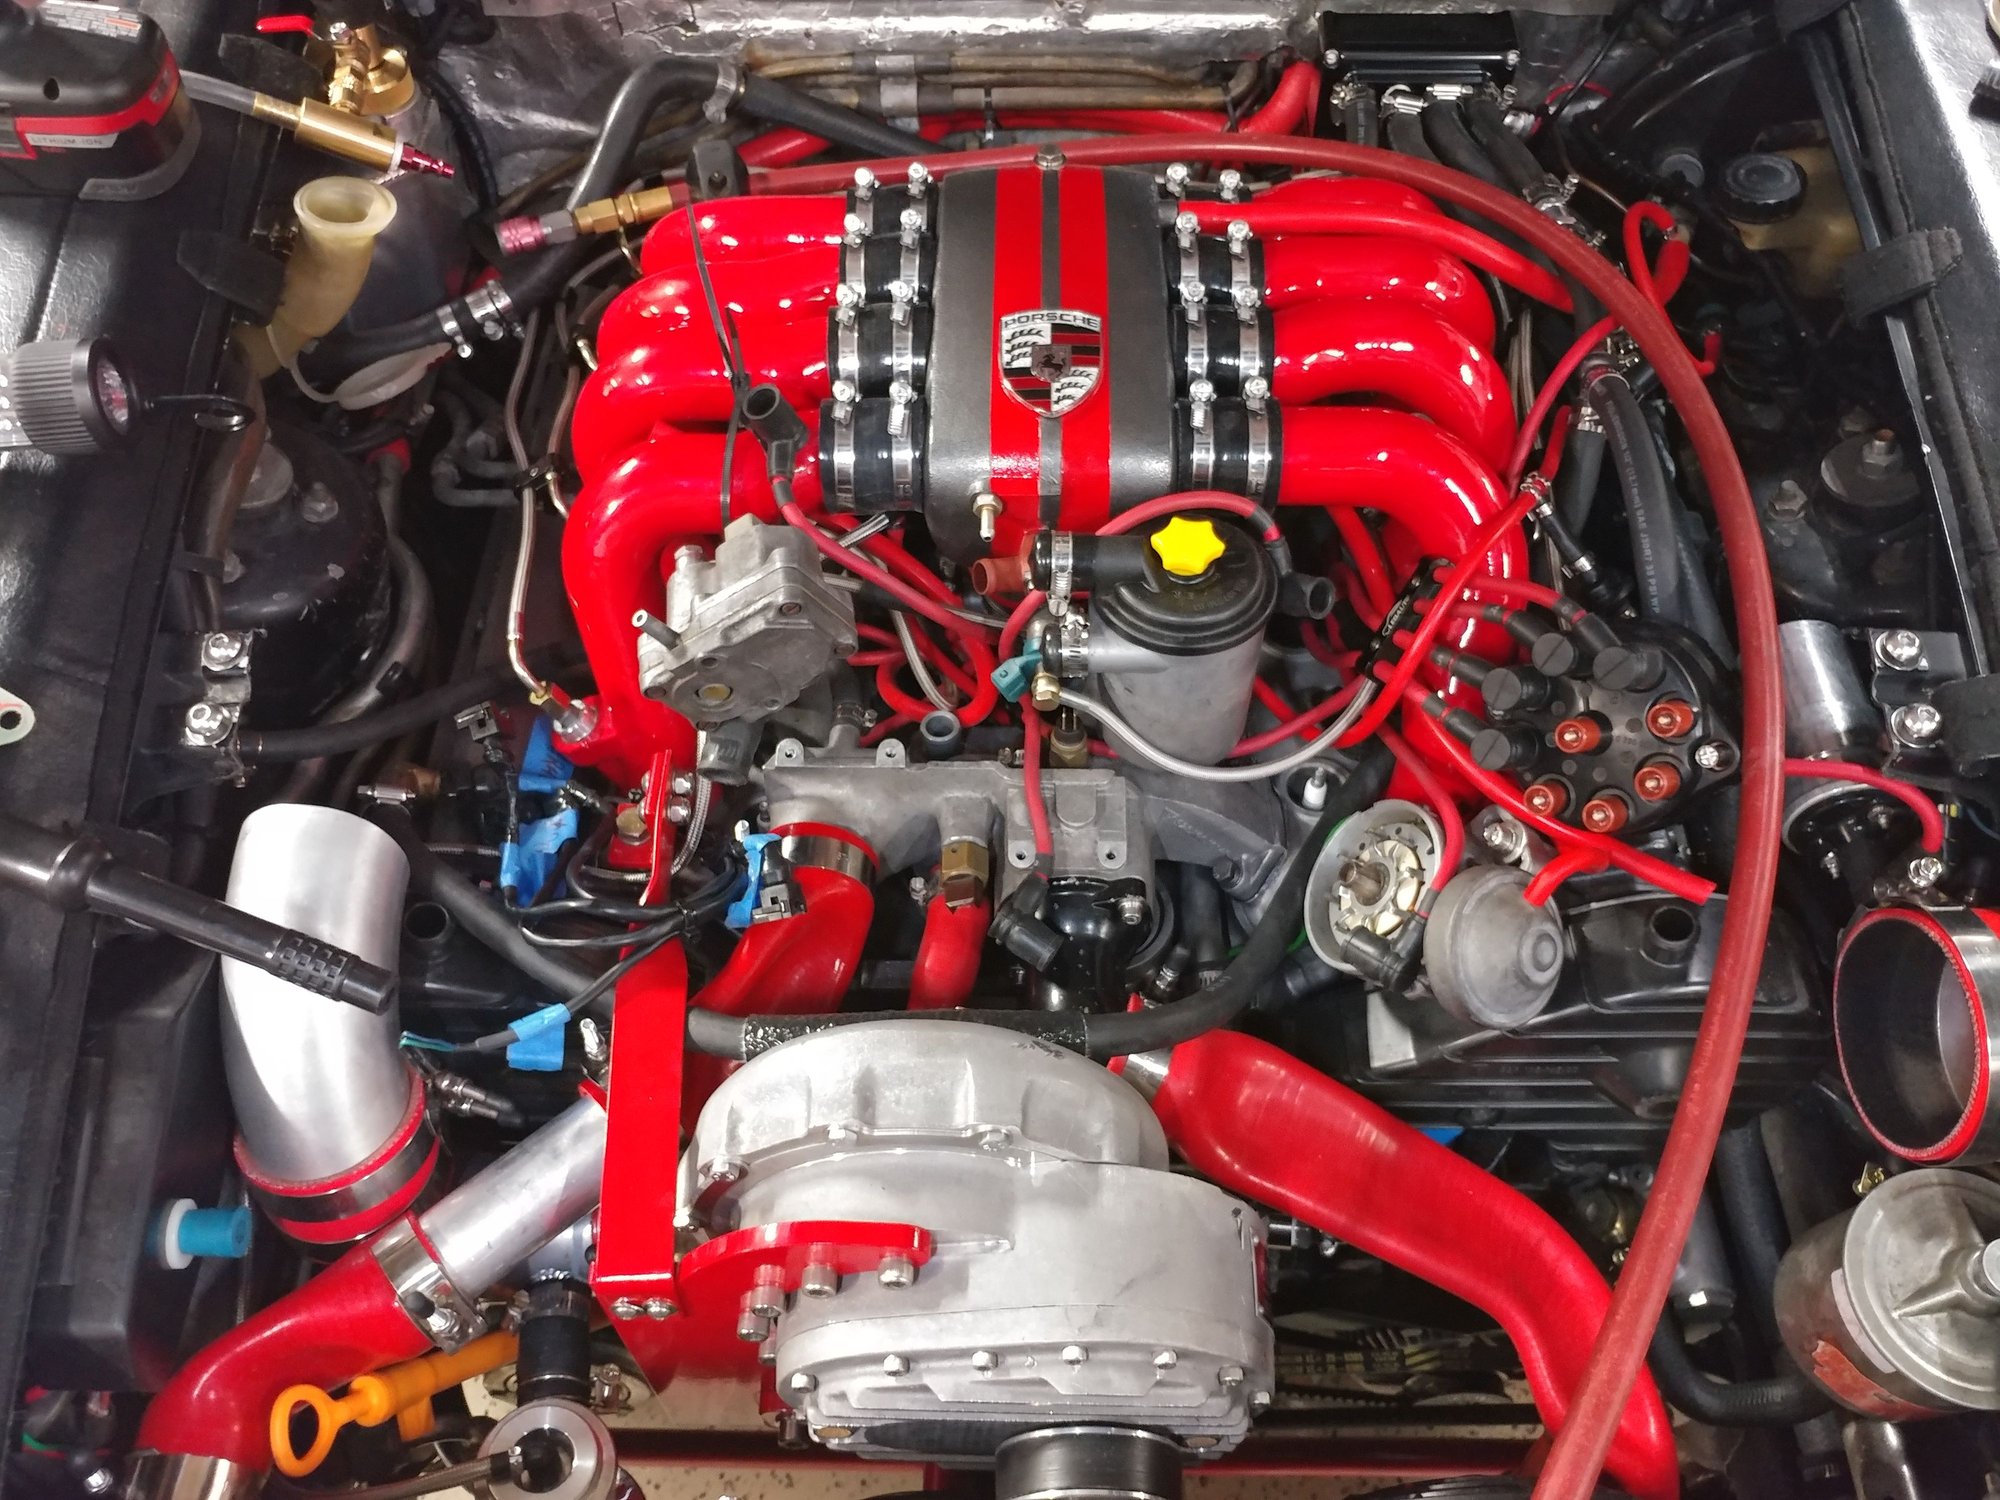
Fasteners hardly moved at all when I went to resnug them this morning, so I think the gaskets are now fully compressed. Pulled another vacuum of 22 and used the ultrasonic sniffer and nothing, so think I'm good to go. Going to continue reassembling all the accessories, then fill with coolant and fire it up.
Clemson opener tonight, so won't get to that until Friday. GO TIGERS !
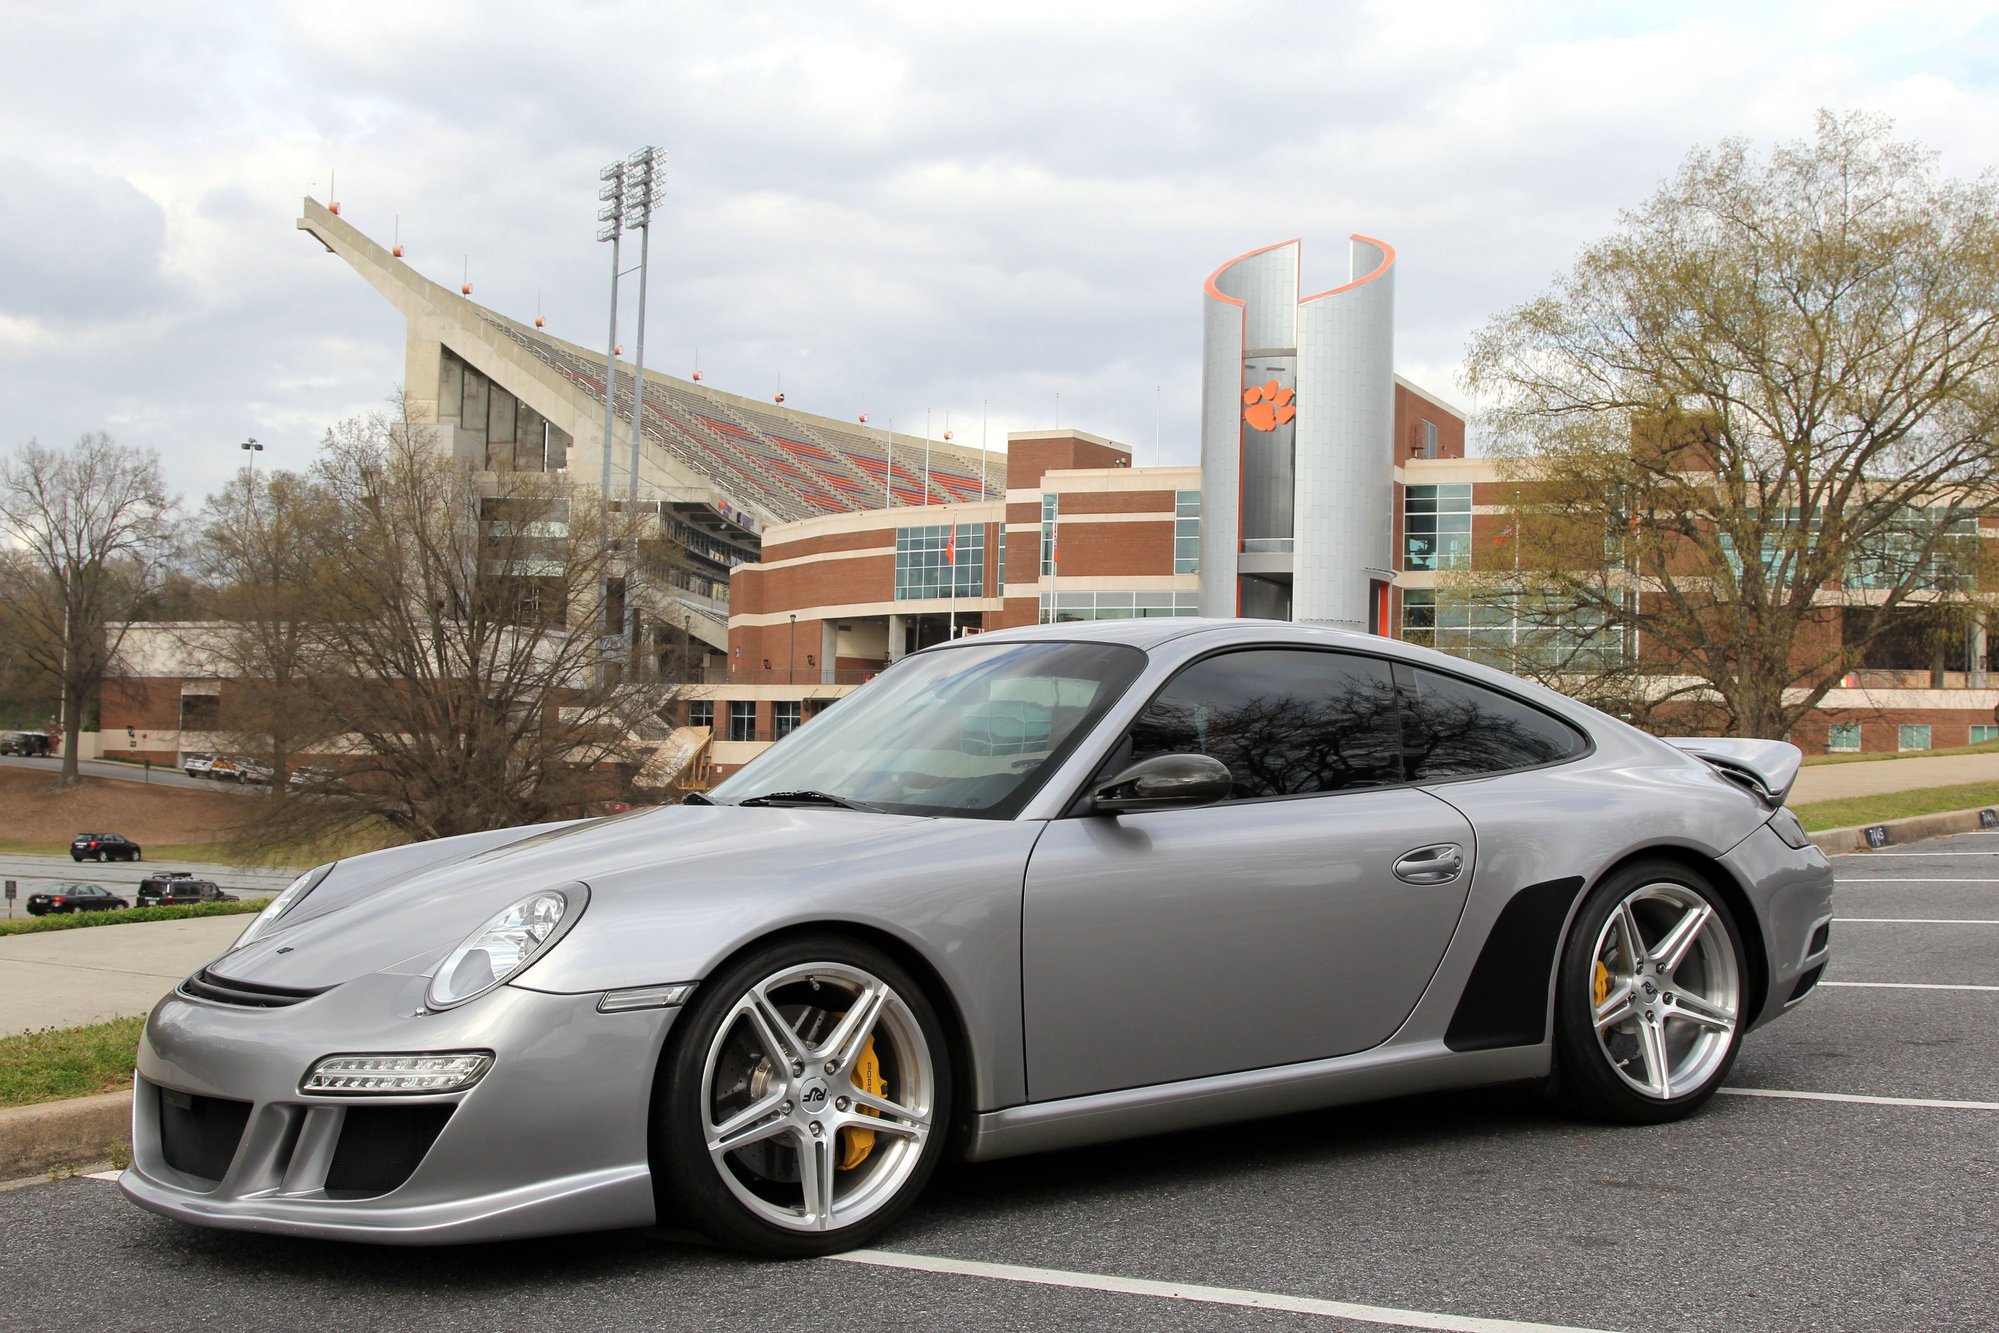
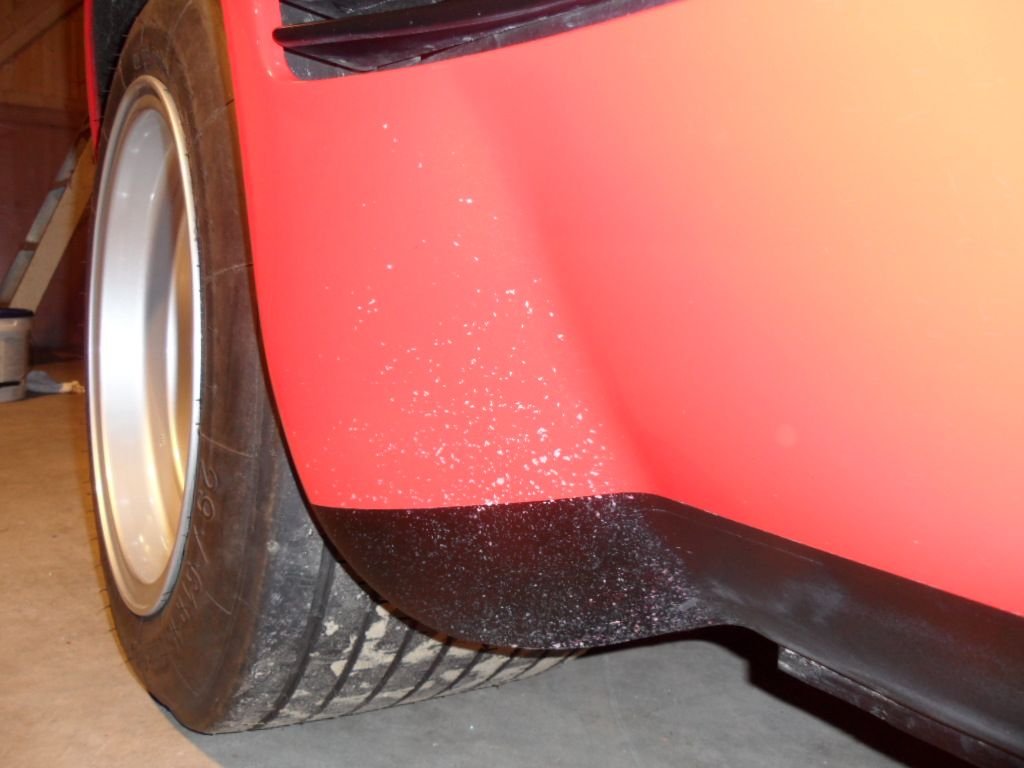
haha, thank you …. i was looking for a pic with that black anti rock ships painting on the rear fenders for my 928 rally car build…. think i have it now
haha, thank you �. i was looking for a pic with that black anti rock ships painting on the rear fenders for my 928 rally car build�. think i have it now
Those are actually black carbon fiber vinyl adhered over the OEM clear ones that have yellowed a bit, not painted.
My Cayenne has black chip guard on the back wheel well side of the rocker panel.
thanks ! i would like to paint it with anti-gravel "rubber paint" as used under the cars body ….. it is a "rally" car …. so gravel off roads are no exceptions…
here you see why i did it on my DeTomaso Pantera …
thanks ! i would like to paint it with anti-gravel "rubber paint" as used under the cars body �.. it is a "rally" car �. so gravel off roads are no exceptions�
here you see why i did it on my DeTomaso Pantera �
That's an awesome car. I've always thought the Panteras were very cool, especially the later models like yours with the larger rear aero wings !
I see what you mean about the rock damage though.
For underbody spray, you need to use the kind that hardens a bit, not the kind that stays gummy. It doesn't look great though. I think I'd look into a thicker vinyl material instead so it's less permanent, but still protective.
awesome..yes... BUT i sold it … it' a mid engine car, so to work on the carb(s) you have to sit on your knees upon the gearbox…. to do anything in front ,like ignition timing , you have to move the seats all forward and remove a cabin panel... not my cup of thee in the end.
Mine was a GT5S from '86 , in fact the same car as the '70s but with factory steel wider fenders and bigger wheels. Also the dashboard is a bit different. Glad i had it and .. sold it.
PS i also got no confidence in the suspension parts…. those are suspended to thin chassis brackets with small bolts and arms.... have not heard of mishaps , but i didn't daire + 120 mph…. BMW or Porsche are a lot firmer made !


 08-28-2019, 11:56 AM