When you click on links to various merchants on this site and make a purchase, this can result in this site earning a commission. Affiliate programs and affiliations include, but are not limited to, the eBay Partner Network.
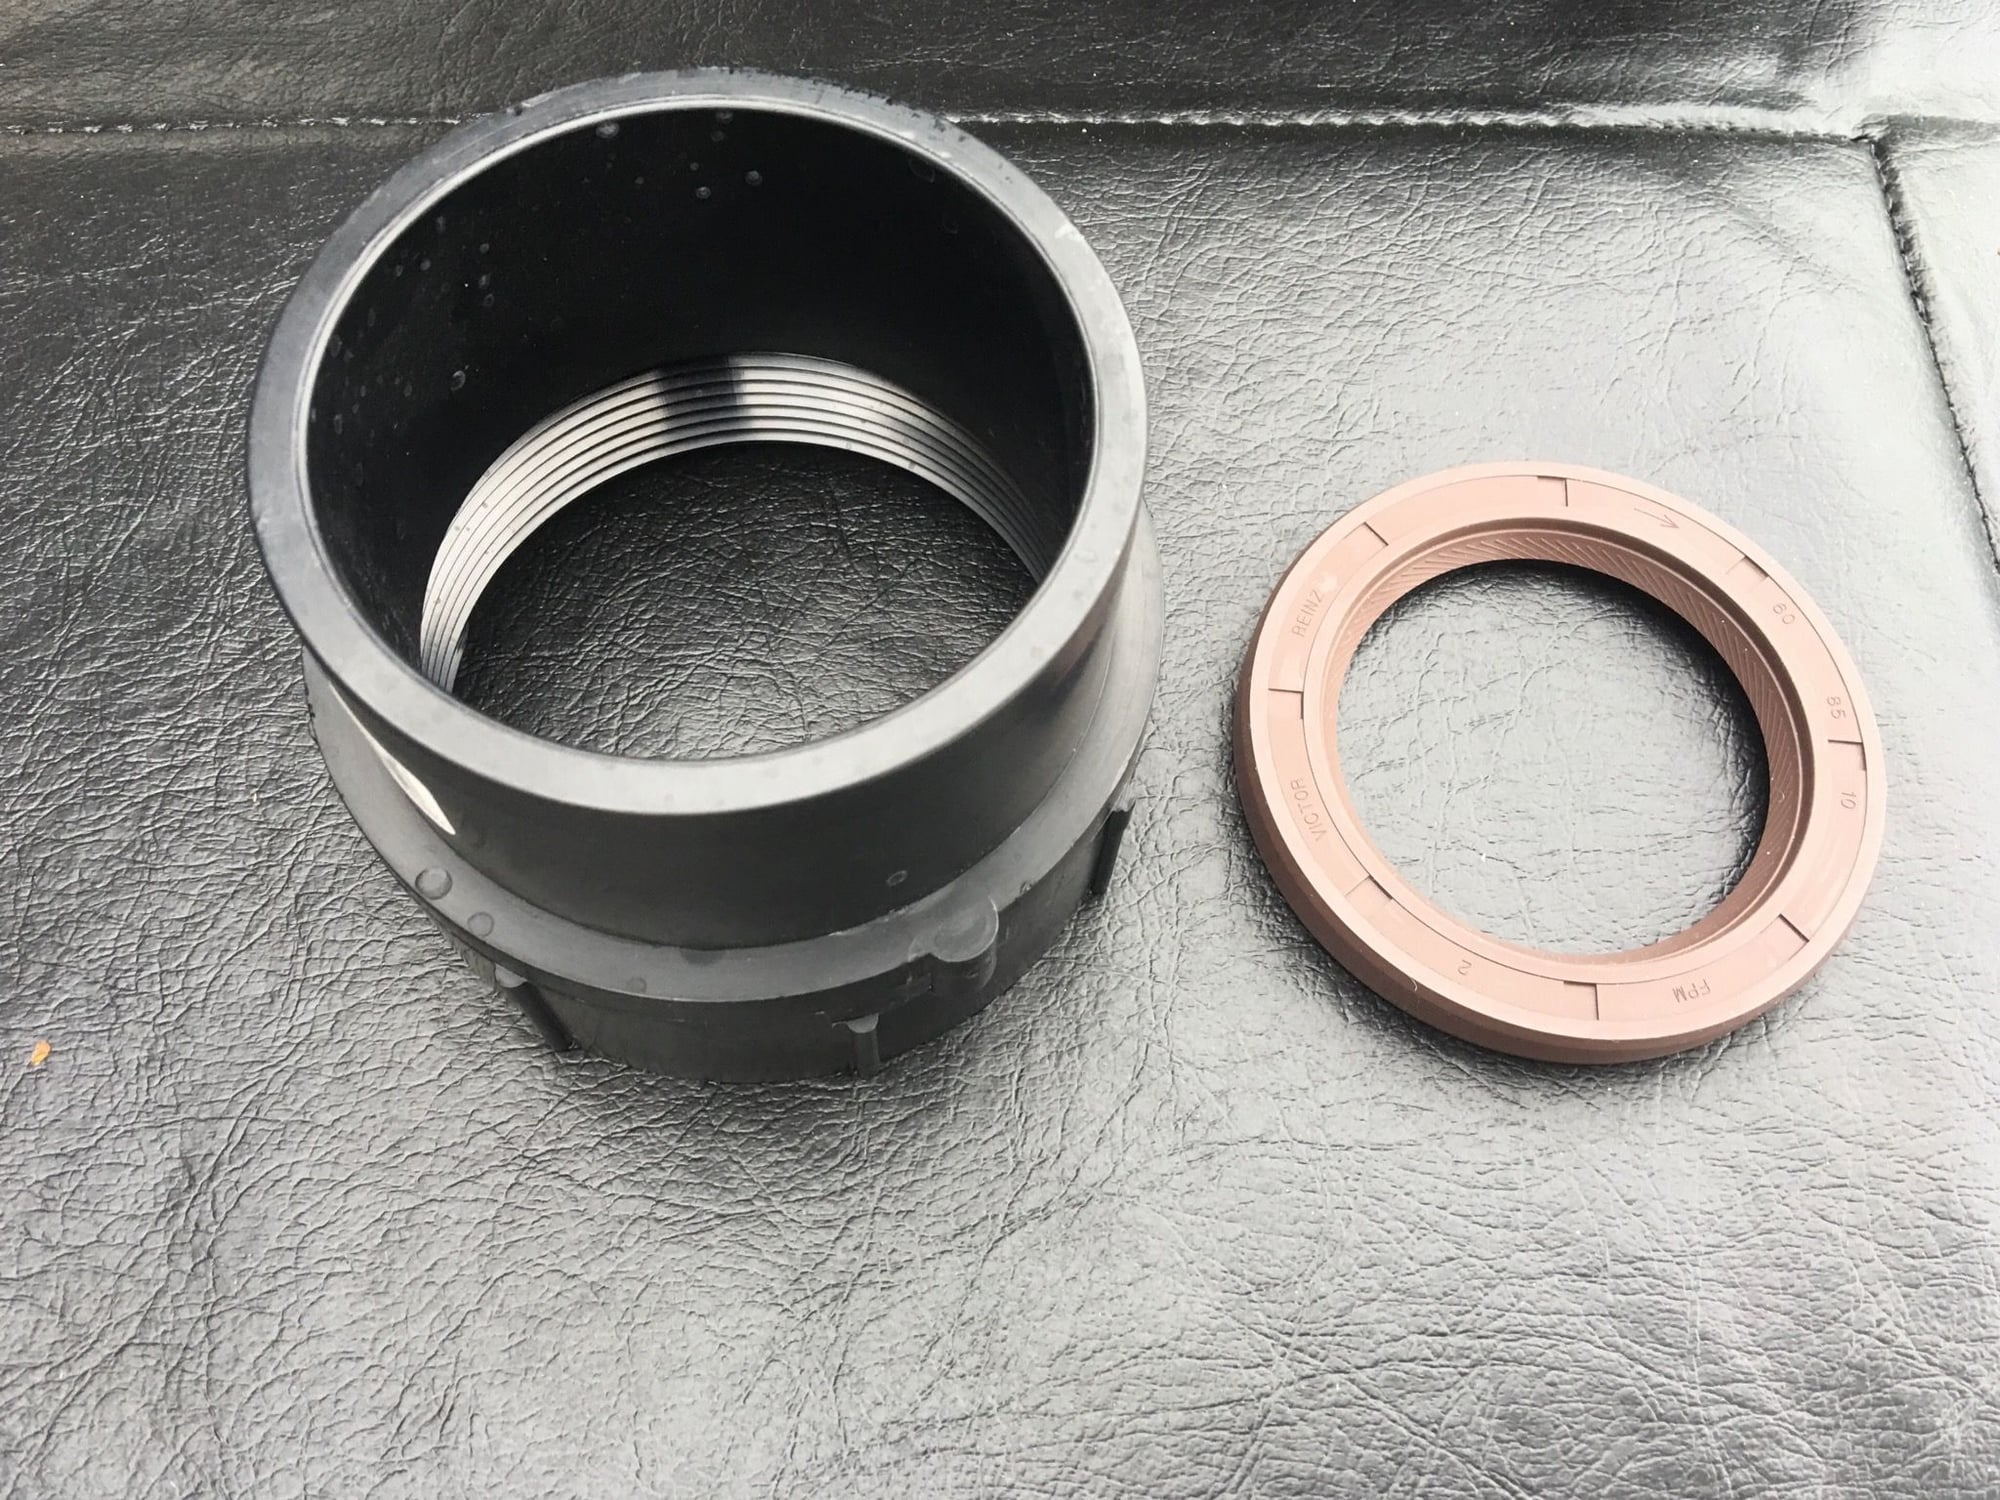
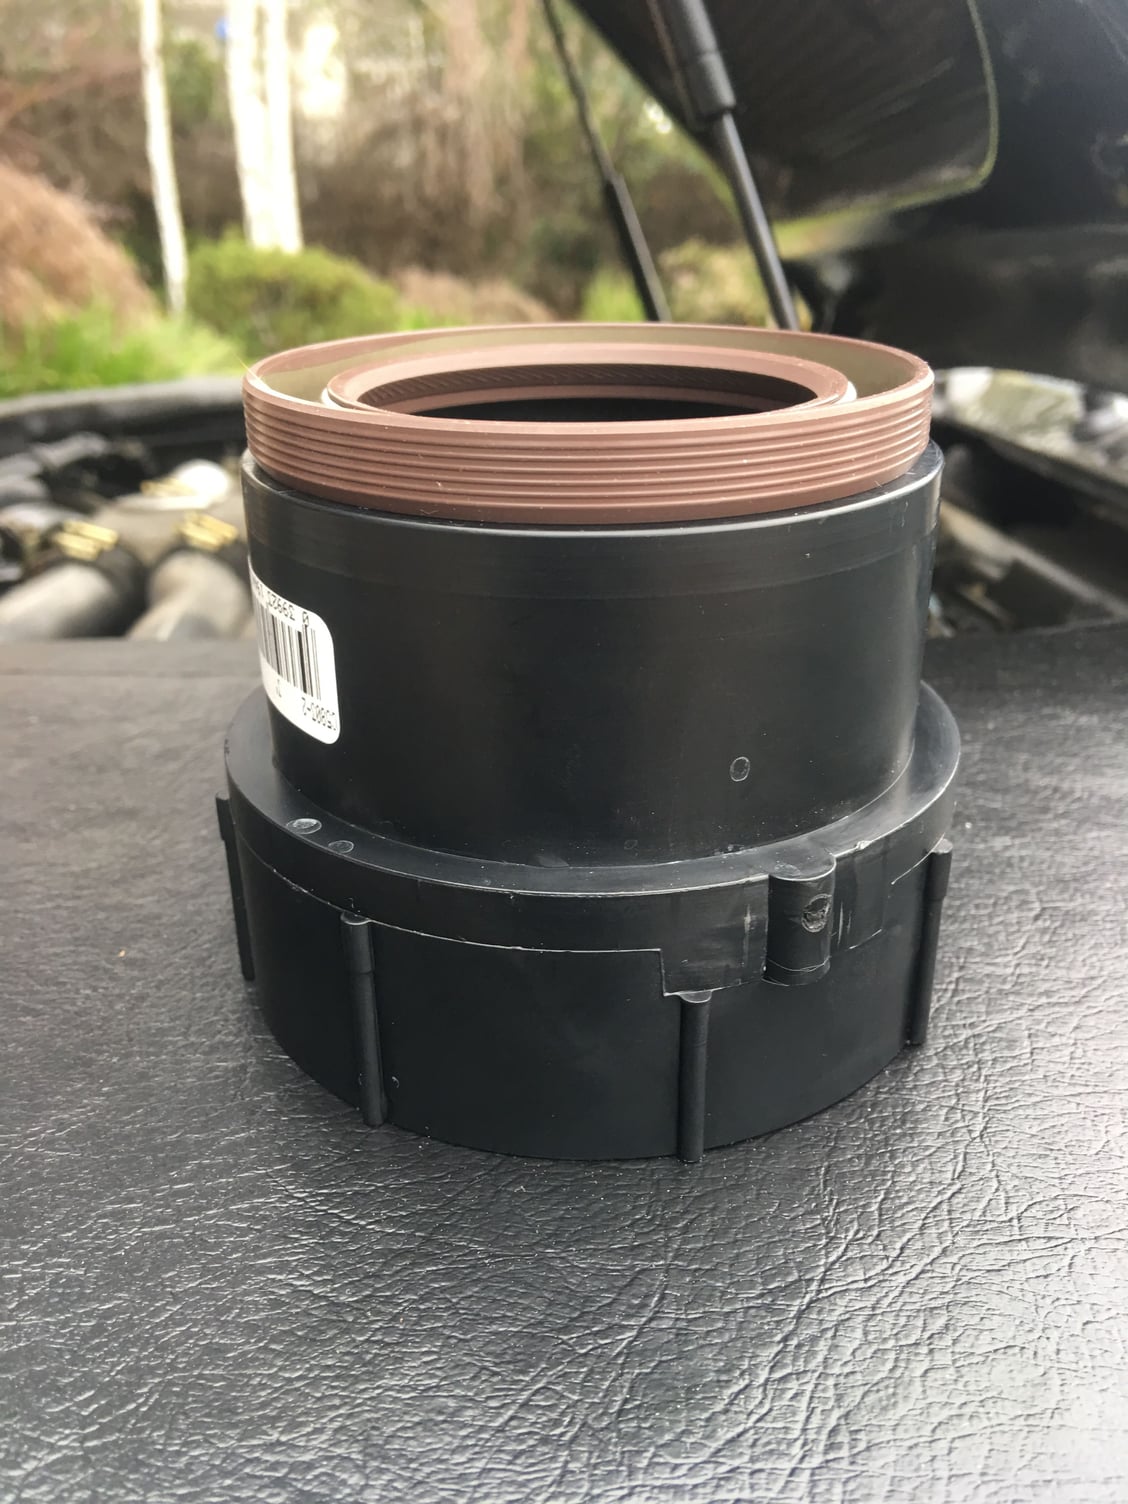
I made a mistake on replacing the driver's side cam seal that made my job 10x harder. The way you SHOULD do it is install the cam seal carrier assembly back onto the cam tower without the main cam seal installed... that way you can just install the keyed rear spacer and keyed distributor gear on the rear camshaft key easily, then the front spacer, and finally the main seal. Hopefully this helps someone!
Instead -- you guessed it -- I put it all together first -- not good. I got it all on though after I realized my mistake, and I didn't want to deal with removing the main seal and having to order another. Instead I was able to align the rear spacer in the housing to match the location of the key (just eyeballing it), then carefully held the two spacers and gear in position by pressing them all with a thumb from the front spacer while installing the whole carrier on the cam nose. The notch in the rear spacer is slightly oversize (I guess Porsche must have figured this would happen!!) and after two or three attempts I got it on and aligned with the key no problem. But the distributor drive gear wasn't keyed in place yet. To do so, I inserted the distributor to engage the gear and gently turned the rotor while gently pressing in from the front spacer. Then - a click and it went in like butter! It all worked out fine, but it was definitely the hard way.
Finally, for both carriers, just watch out for the last thing that you'll meet resistance on as you install, and that's the little O-ring inside the spacer/sleeve. Make sure you use plenty of STP or grease and gently walk on the sleeve until the O-ring pops over the nose of the camshaft. Make sure the O-ring isn't damaged and slides smoothly once it's on. I lubed the O-ring with STP and used moly grease on the camshaft.
By the way, I did pre-assemble the passenger's side carrier with its sleeve and main seal beforehand, and that worked out just fine because there are no keys to align and it went on easily.
You'll also need to install the distributor back with the rotor in the correct position. The distributor rotor at 0 TDC is pointed straight forward. I took a picture and placed a piece of tape to mark the rotor location prior to disassembly, just in case. I also got lucky with my crazy drive-gear-rotating-until-keyed scheme because the rotor ended up in the correct location. Some small positive karmic payback from the Porsche assembly gods!!!
Question for the experts: I realized afterwards that I didn't check to see if the three bolts holding on each carrier to the cam tower go through to the inside of the cam tower. Are these bolts exposed to oil and should I use sealant (such as PTFE) on them?
I installed the oil pump after ensuring the pump gear was on properly (dots facing block) and poured some STP on gears per Stan�s suggestion, then torqued in multiple stages. Manual calls for two stages 20Nm then 30Nm. I also put Molykote on the big o-ring and liberally around each of the three small captive o-rings.
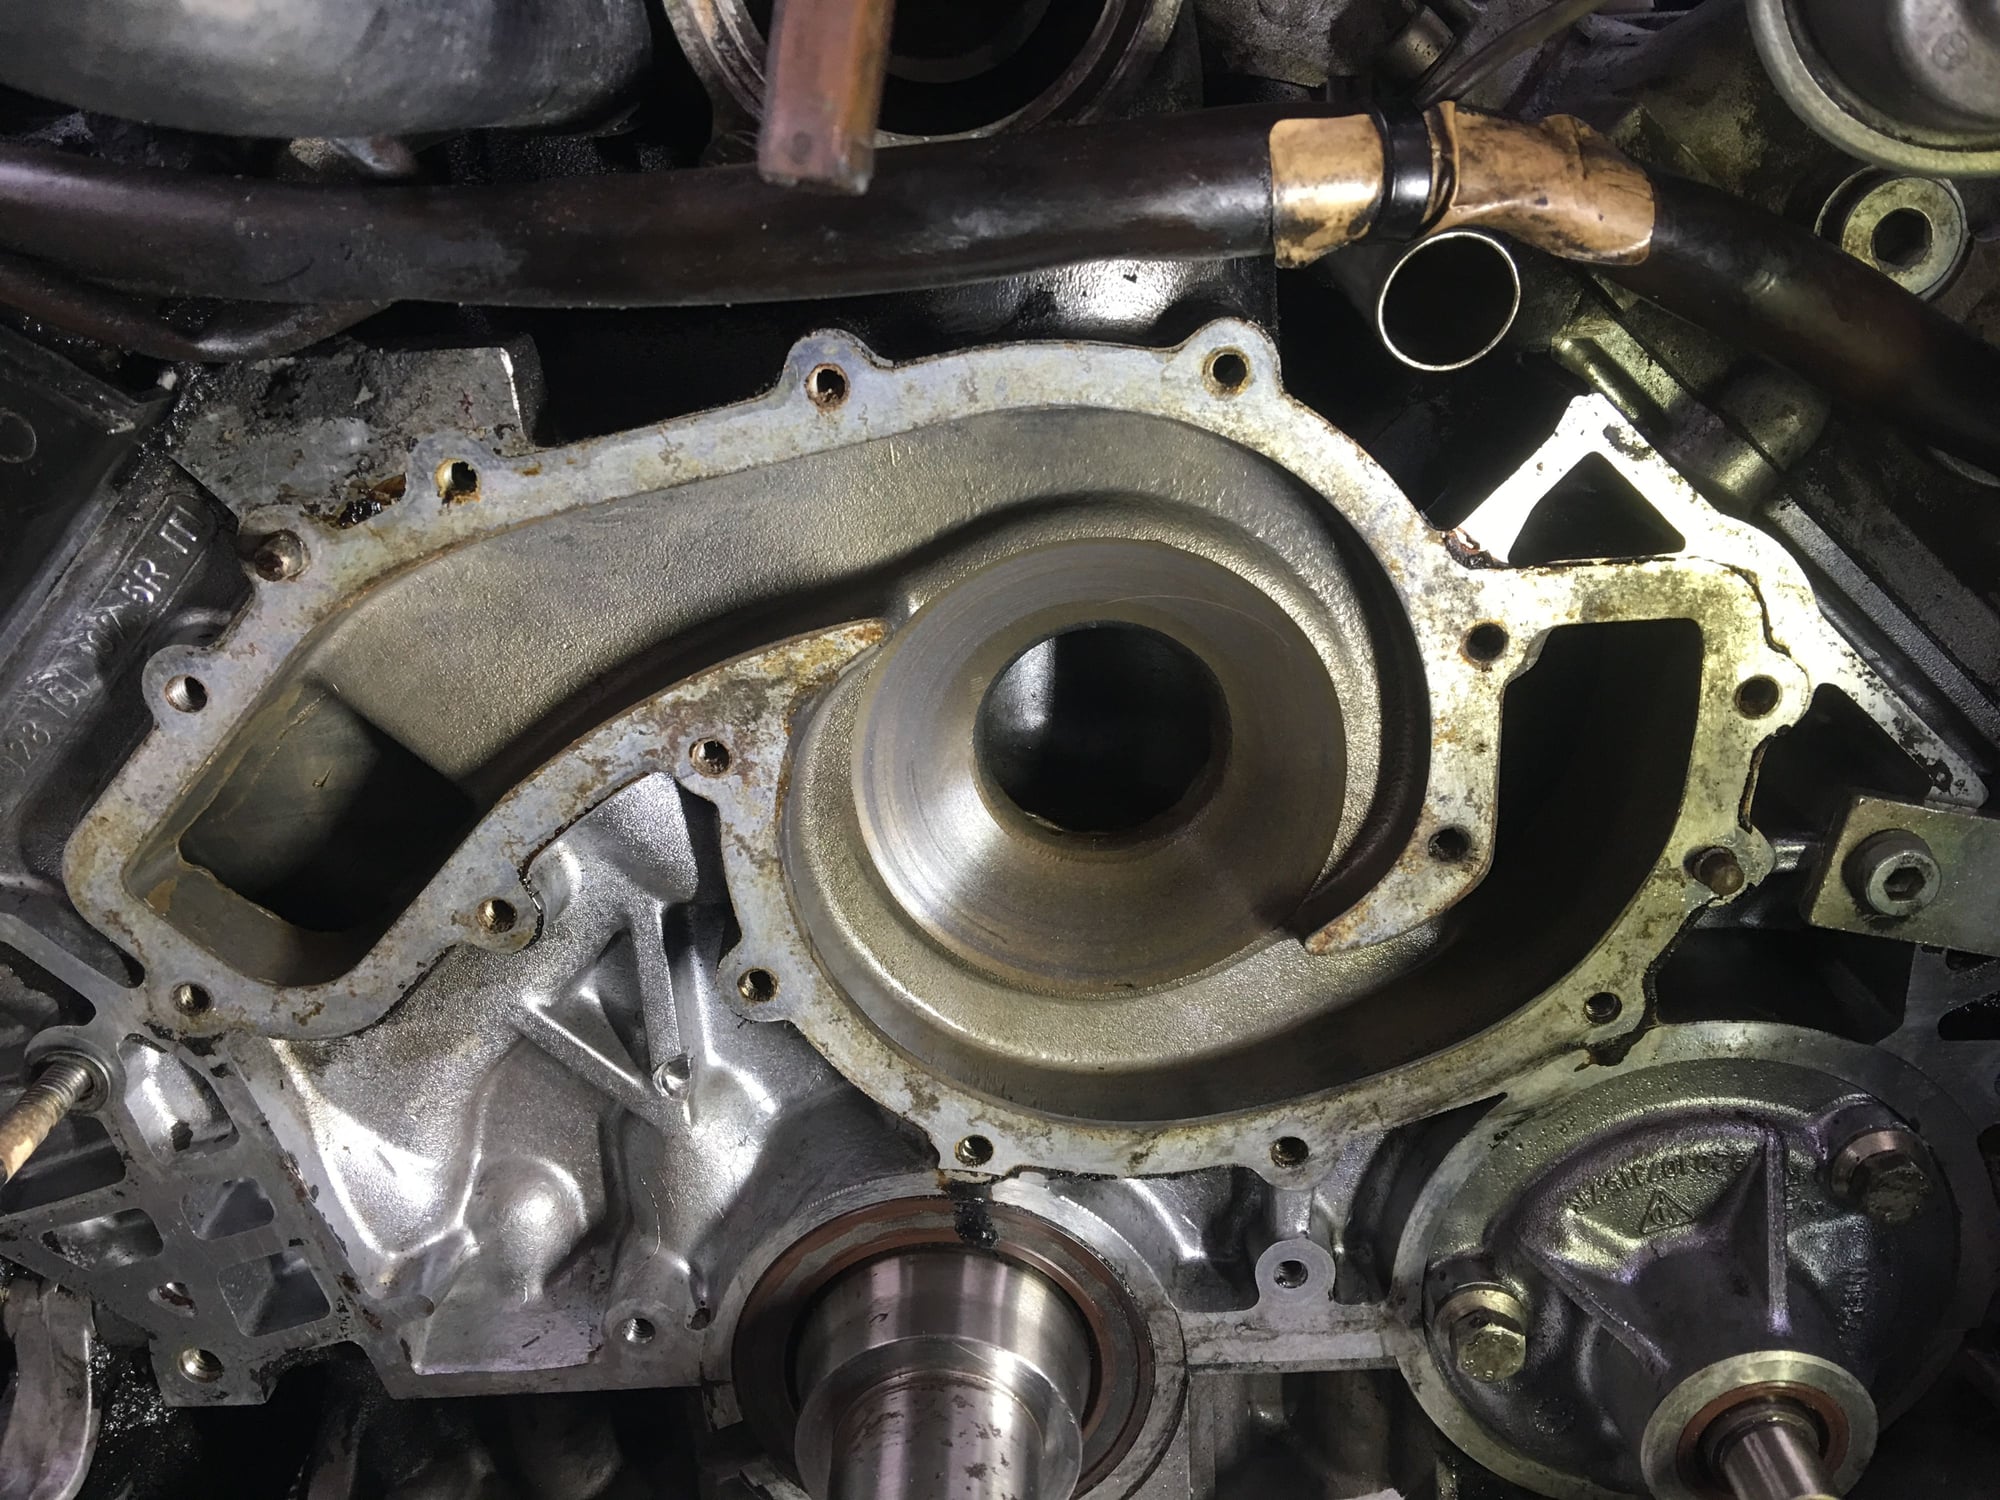
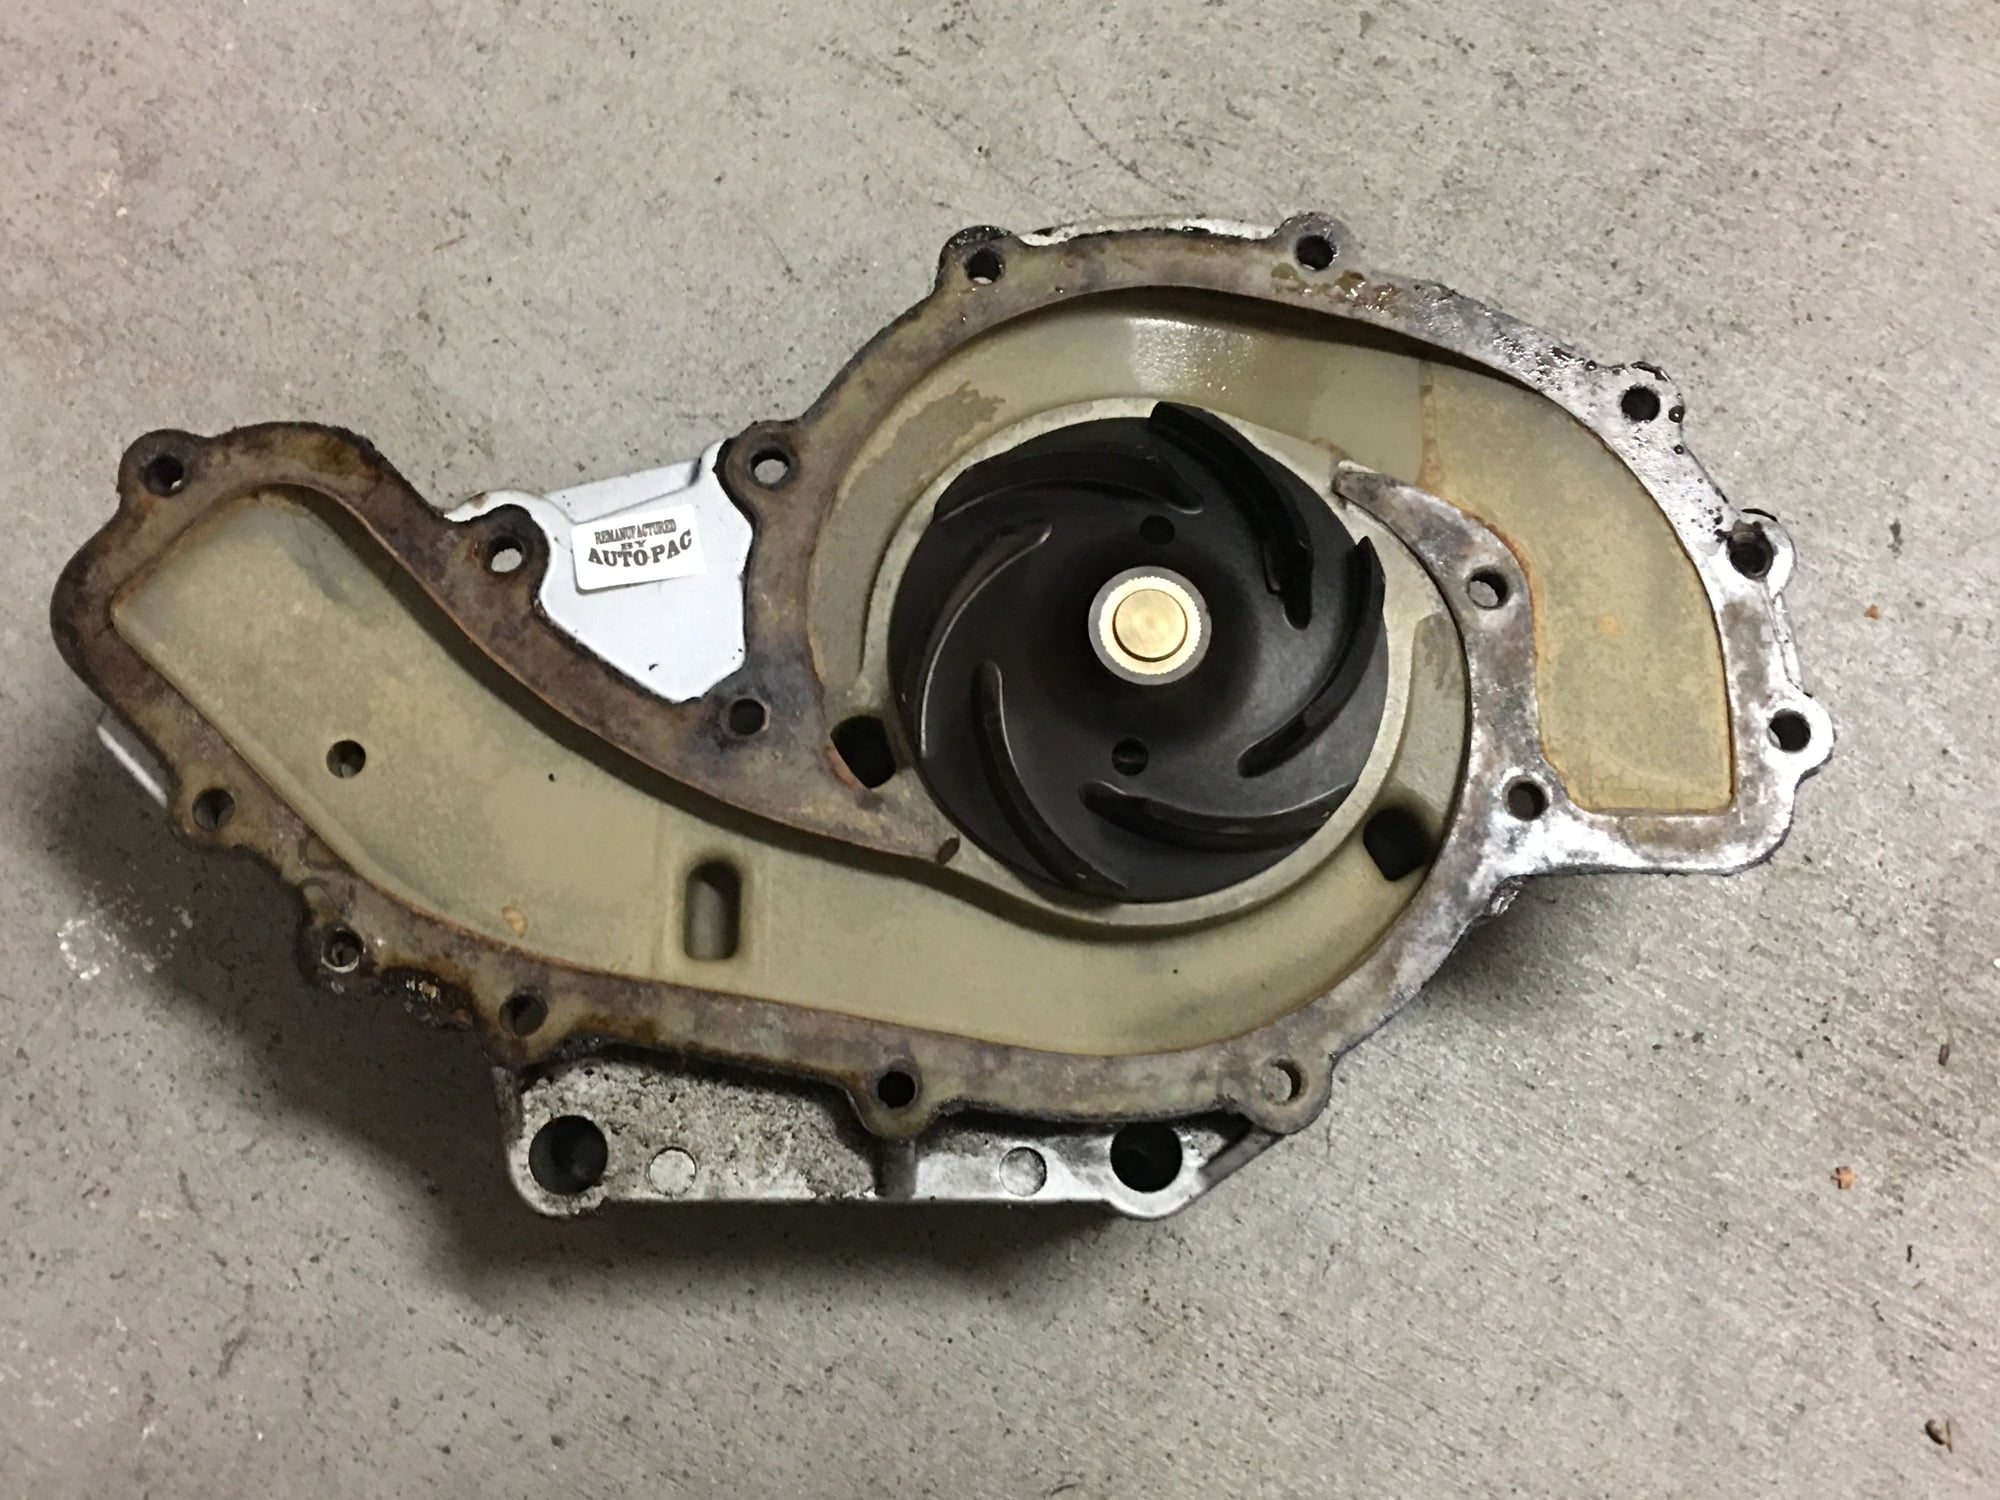
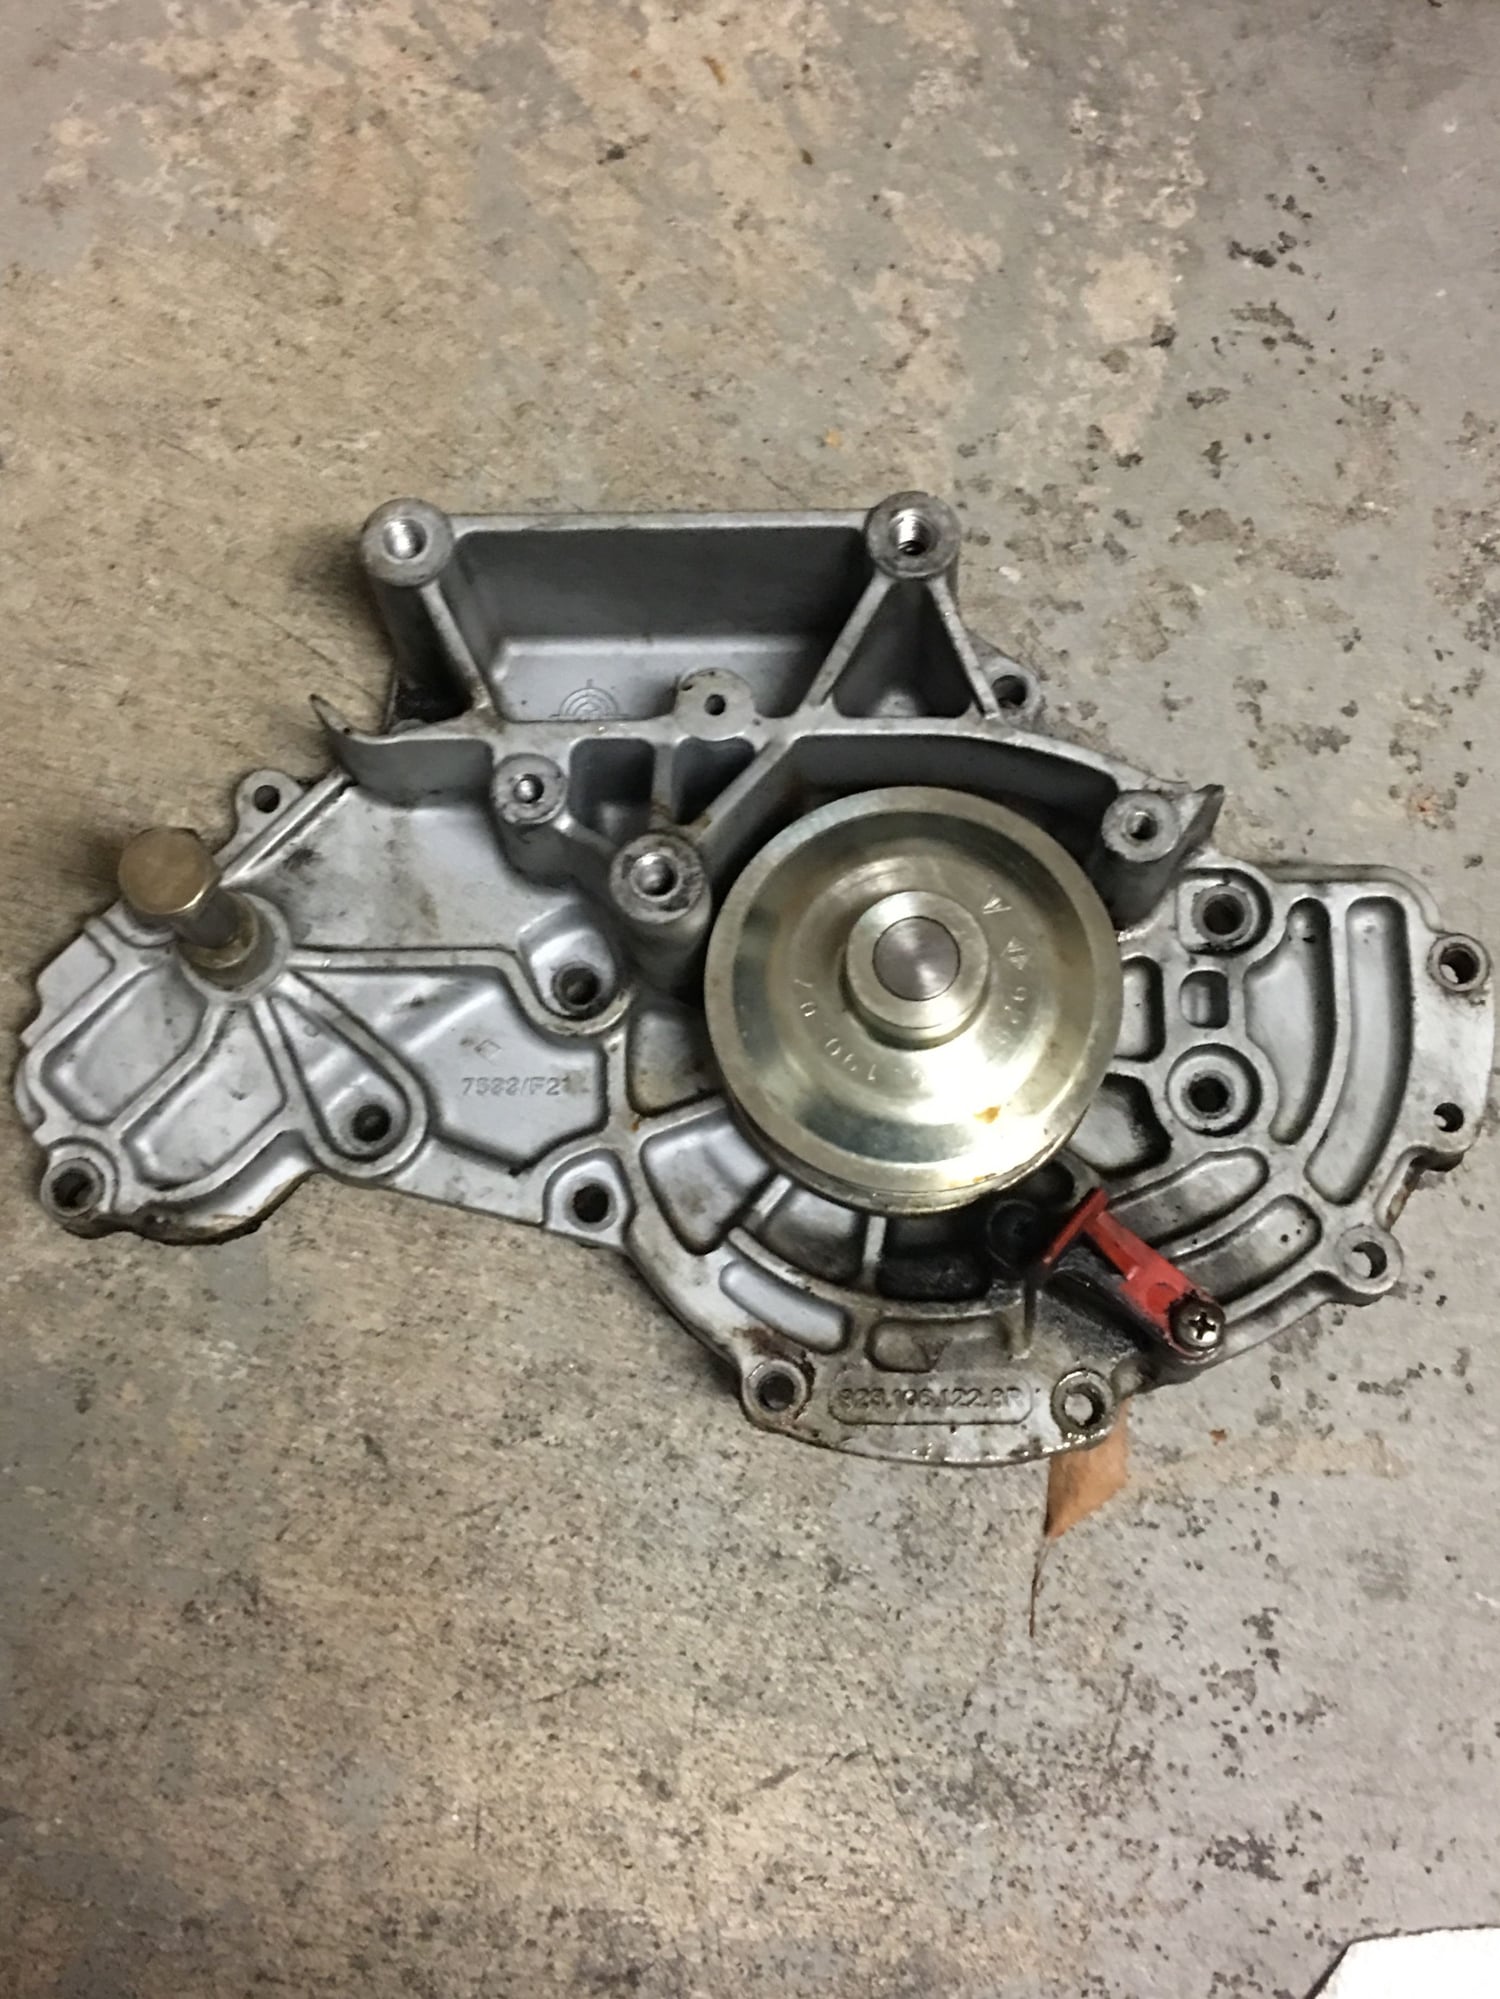
Turned to the old water pump which came off super easily. I removed the bolts, placed each in the same position in the new pump, and cracked the old pump free. Got lucky in that almost nothing was left on the block. I discovered that my old pump (which I put on over ten years ago) was remanufactured �by Autopac� according to its sticker... but at least had a plastic impeller. There was evidence of weeping around the bearing, but there was no other evidence of bearing failure (it still turned smoothly, felt just fine even under load and no wobble or play). Also the impeller hadn�t shifted, yay. Overall it worked great! However I�m replacing it with a new Laso from Roger.
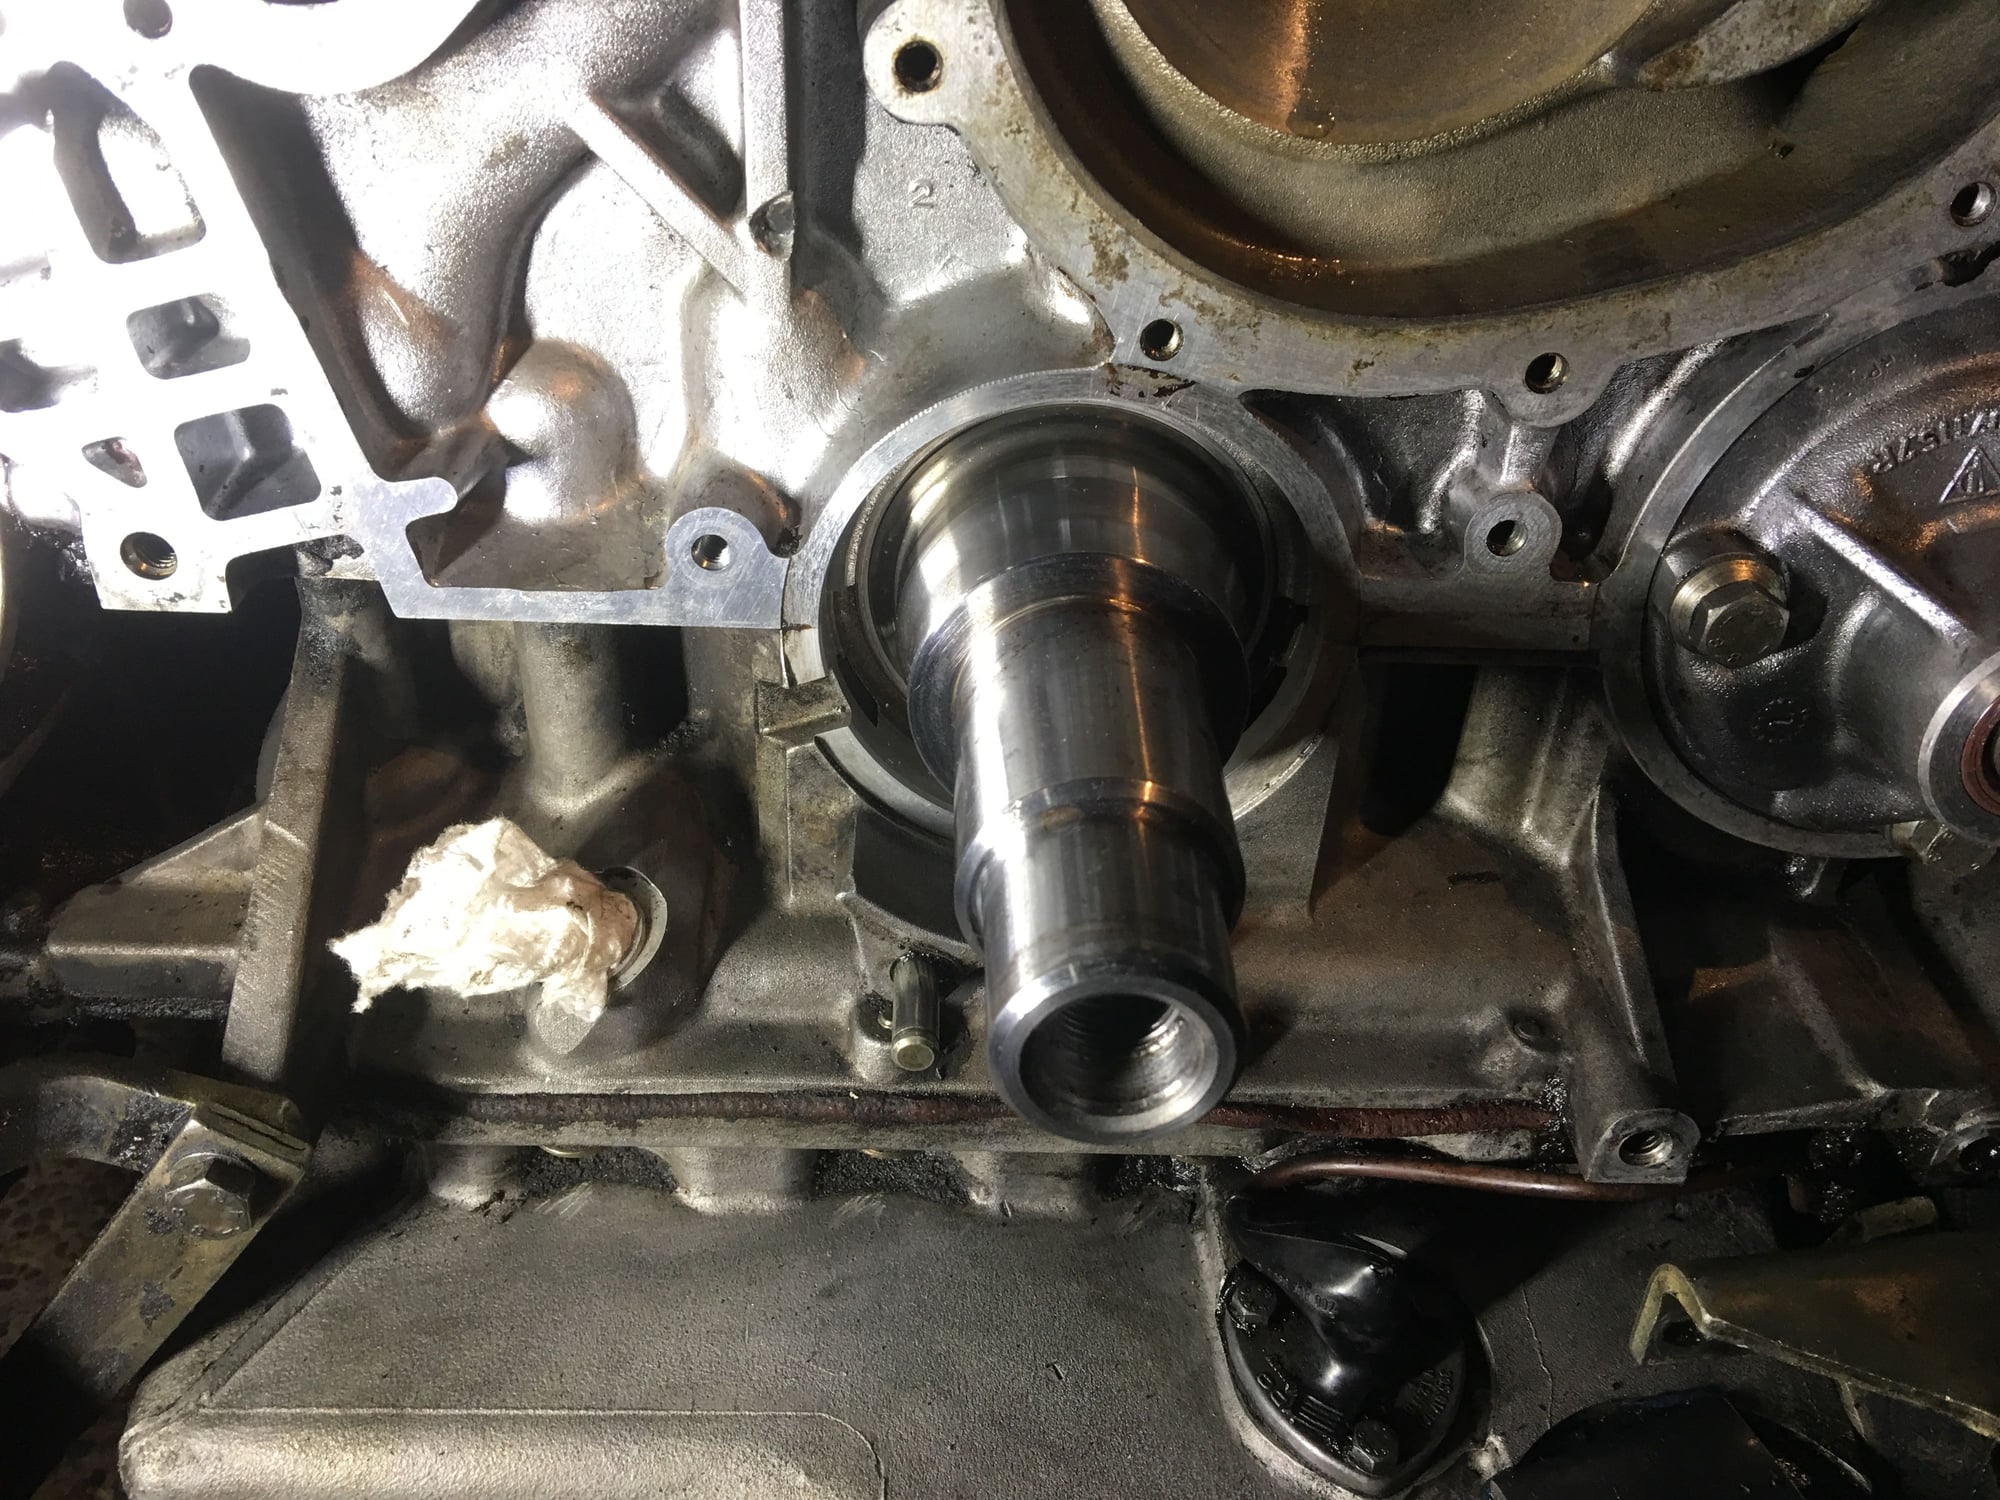
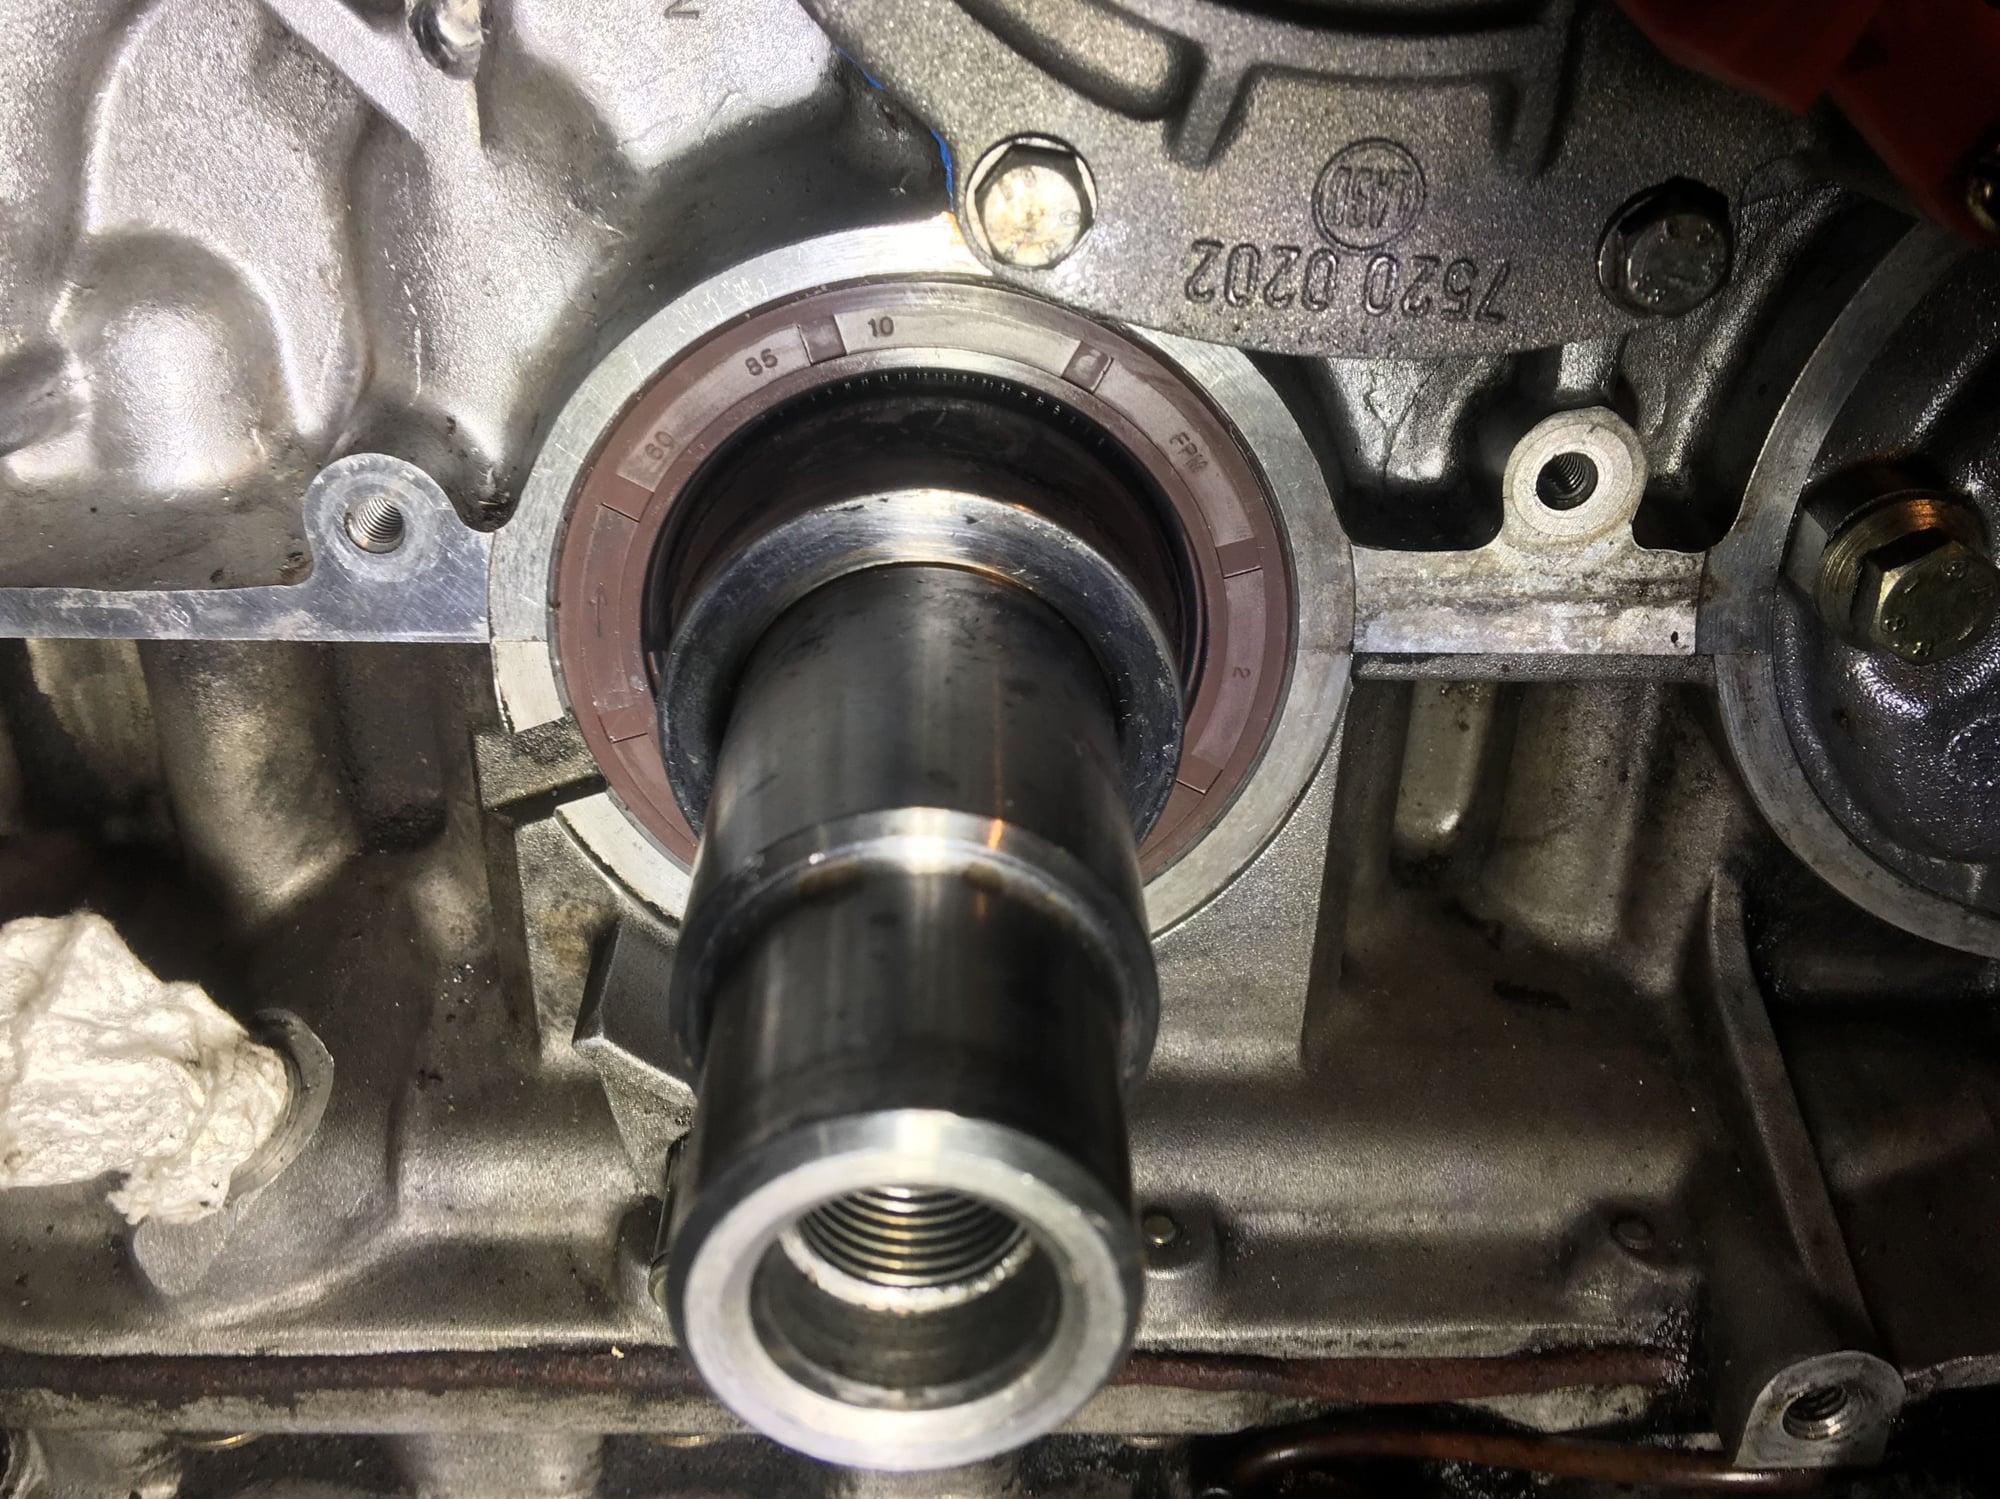
I finally turned to the crank seal. I used my drill-and-pry-out from the front method again, same as on the cams. It was stuck in super well. I could tell that I loosened a section near where I was prying (against wood of course) but it just wouldn�t pop out. After some cursing and drilling of a second hole about an inch away from the first hole, that did the trick and it popped right out.
I can see a mild groove on the crank where the old seal�s spring was causing pressure on the crank from within the seal. Should I install the new seal in the same location (flush) or push in deeper to avoid the small groove, does it matter?
I went to Home Depot this afternoon with crank seal in hand, intent on building the PVC seal tool as linked earlier. They didn�t have all the parts needed. I did, however, find a PVC part that looked like the perfect driver: it is just the right diameter to make good contact with both the seal and the block (and not so big that it extends outside the flat area around the seal, either). You literally cannot go wrong to end up with the seal perfectly flush with the block.
BTW I measured the thickness of the seal at 10mm, the depth in block from front edge of the seal area to oil galley at 9mm, and the depth all the way at 13mm (the max depth possible for the seal).
In preparing to install the seal, I discovered that there was actually residue or rough buildup of some kind on the crank. Maybe it was partially baked on bits of the old seal. I hadn�t even noticed it until I felt carefully all the way around the crank. Good thing I caught it. I cleaned it off with a razor blade after coating the crank in wd40 to prevent scratches.
I had to decide whether to go with the outside of the seal dry or oiled. Because I heard from Roger of one known incident of a front seal blowing out soon after install, I followed Bill Ball�s suggestion in a thread from years ago to use Gaskacinch.
I cleaned the block area accepting the seal with acetone first to allow a good bond, then coated the crank area with moly lube and the inside of the seal with a thin layer of lube and then STP. I then lightly coated the outside of the seal with Gaskacinch (which appears to basically be a rubber cement, fairly harmless and not able to form any real strength), slid the seal over the ramp on the crank, and worked the seal on partially by hand. I then used the PVC driver and a rubber hammer to lightly work in the seal the rest of the way in.
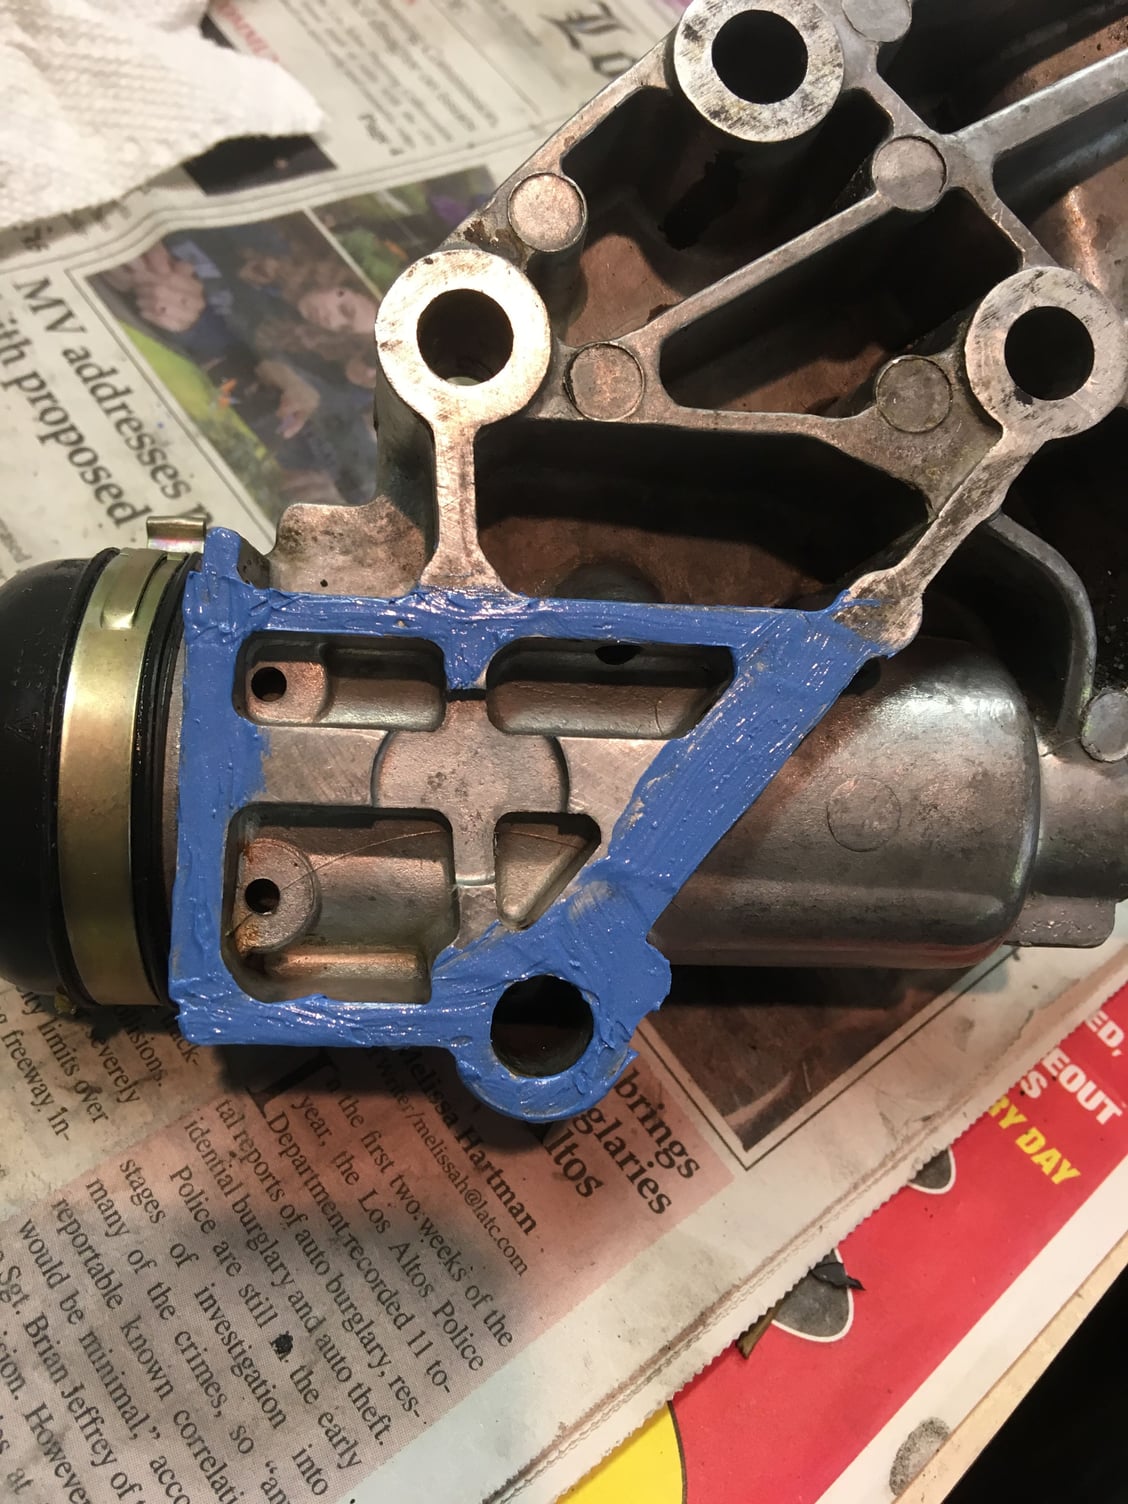
Also got the pump on, using a thin layer of blue RTV which I spread with my finger - first coating the pump side of the gasket completely coating that side, then placing the gasket RTV side down on the pump, then coating the block side of the gasket, then installing the pump. I re used the original bolts (all in good shape) but coated them with antiseize. Then went round the bolts tightening in stages. It took a lot of incremental rounds as the RTV was pressed out and the gasket compressed!
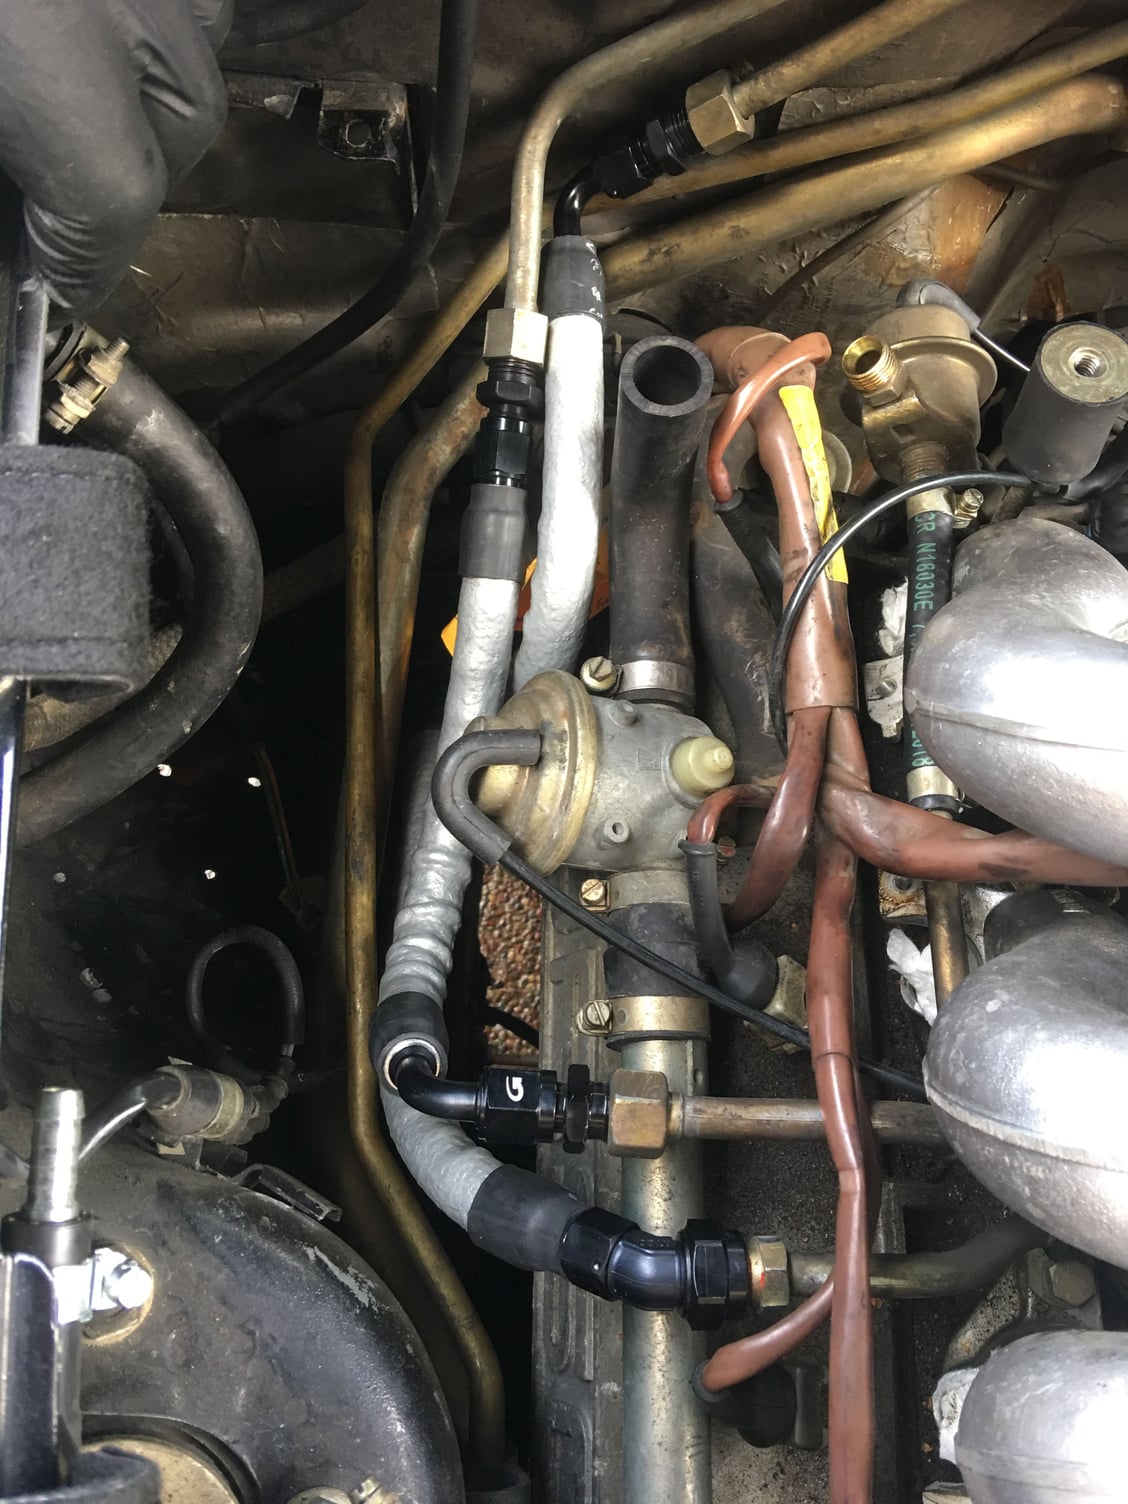
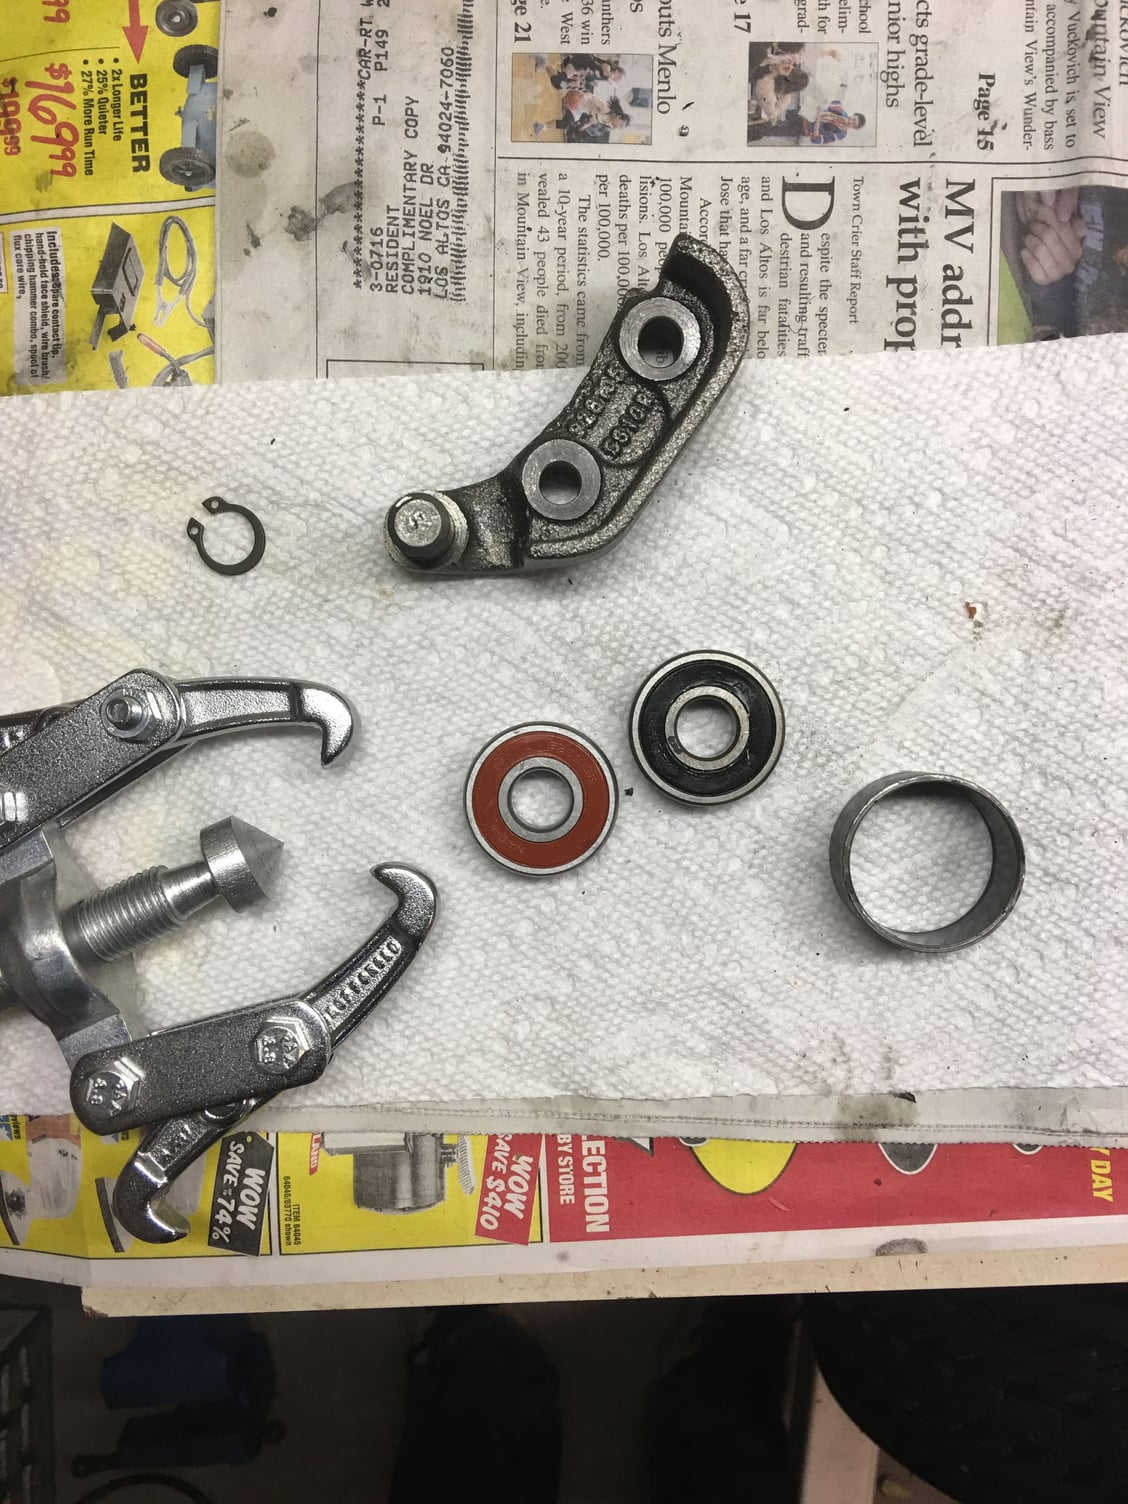
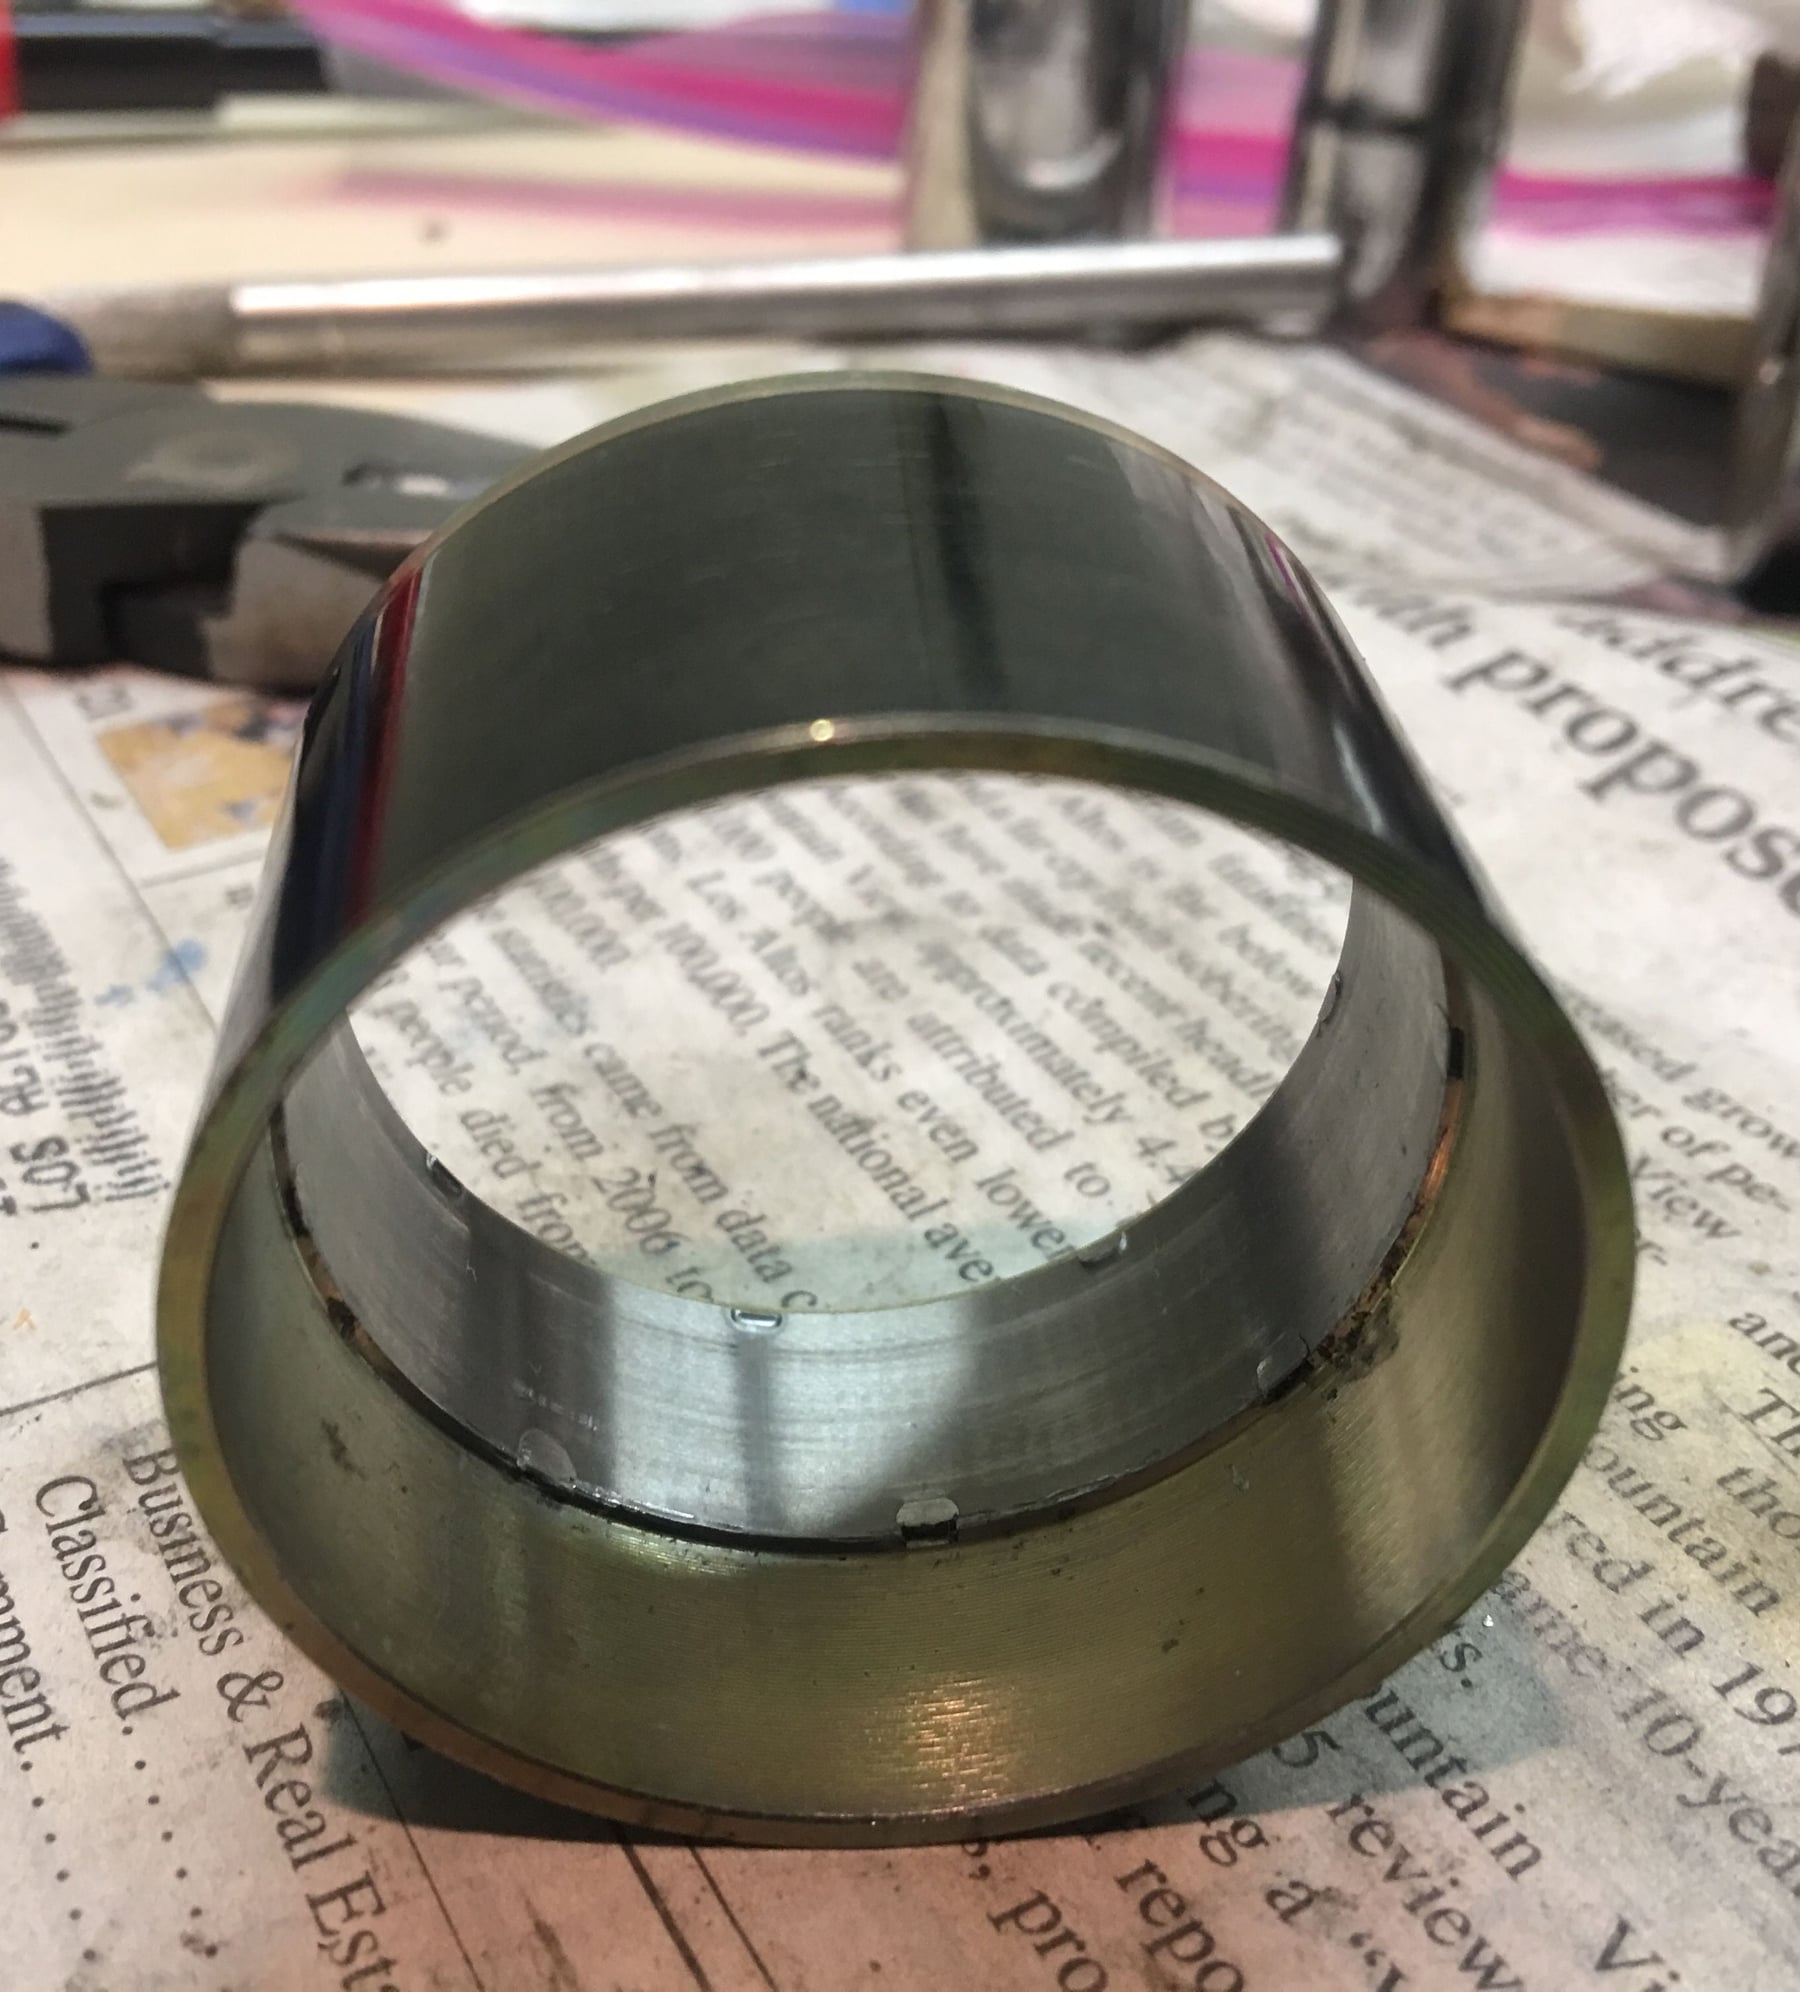
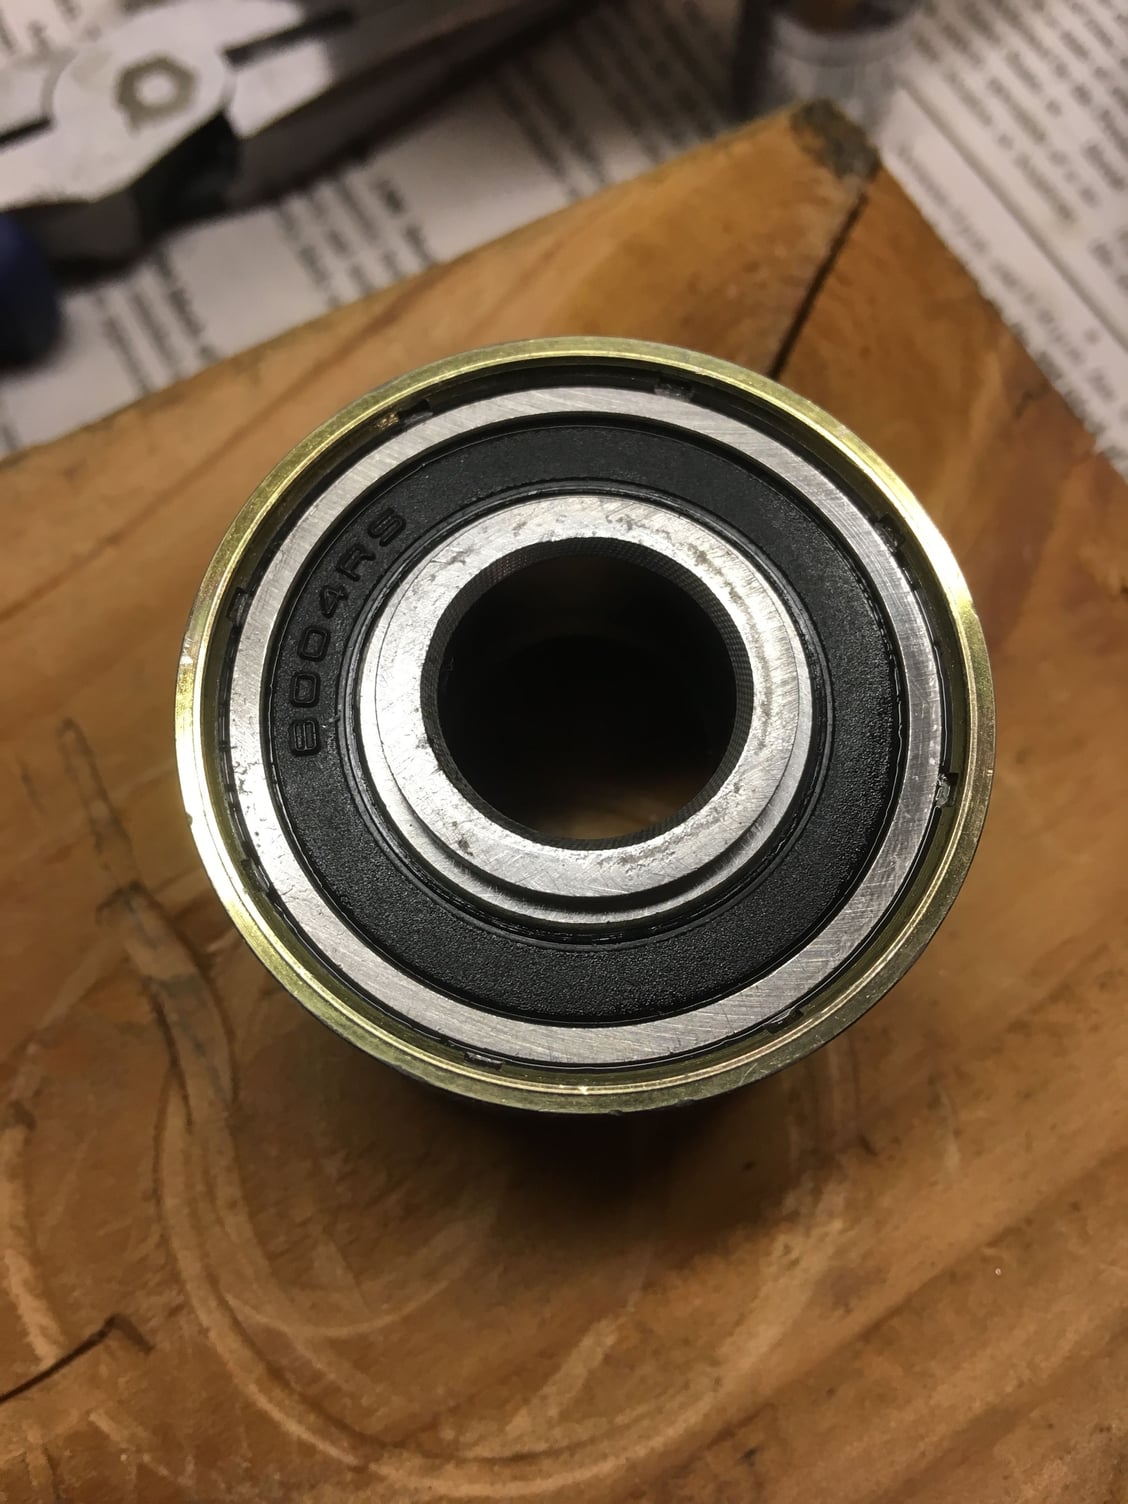
Got on the oil pump pulley, torqued by holding in place with the old belt. Test fitting the fuel lines. Replaced the bearing in the lower roller. Had to use a puller to get the bearing off the mounting plate, it’s a tight fit! I removed the old bearing by resting the outer lip of the roller on two pieces of wood and driving out the bearing. I inserted the new bearing by coating everything with STP then placing in a vice between pieces of wood and closing the jaws! That got the bearing in flush. Tapped it in the rest of the way, then used the metal tube to tap the bearing onto the mount (tight fit). Eyeballed the bearing in the middle of the sleeve. If it’s in too deep the roller will hit the mount, not deep enough will hit the belt shroud plate on the crank. Middle of sleeve is the sweet spot! Finally installed tensioner. I used RTV on each side of the gasket but only around the oil area. Also used PTFE sealant on the one tensioner bolt that touches an oil galley.
You are definitely an inspiration. Great work!!
Good luck,
Dave
Thanks, Dave! You know, at the end of the day, it's all just standard maintenance, and clearly overdue in my case in some areas -- I'm not expecting anything I am doing here to improve the car's performance in any fundamental way, ideally just factory specs. BUT it's been really fun to get into and freshen up some areas of the car that haven't been touched since it left the factory. There's also some satisfaction in keeping things original, almost like storing a beautiful bottle of wine for posterity. I can hardly wait to get it back on the road and enjoy the feeling of having it seem as good as new! Having said that, I'm already planning the NEXT two (!) projects, namely a pod refresh (and believe it or not I want to replace the lights with original incandescents) and replacing shocks (and maybe motor mounts and steering rack bushings).
Cheers and thank you for the comment!!
Rick
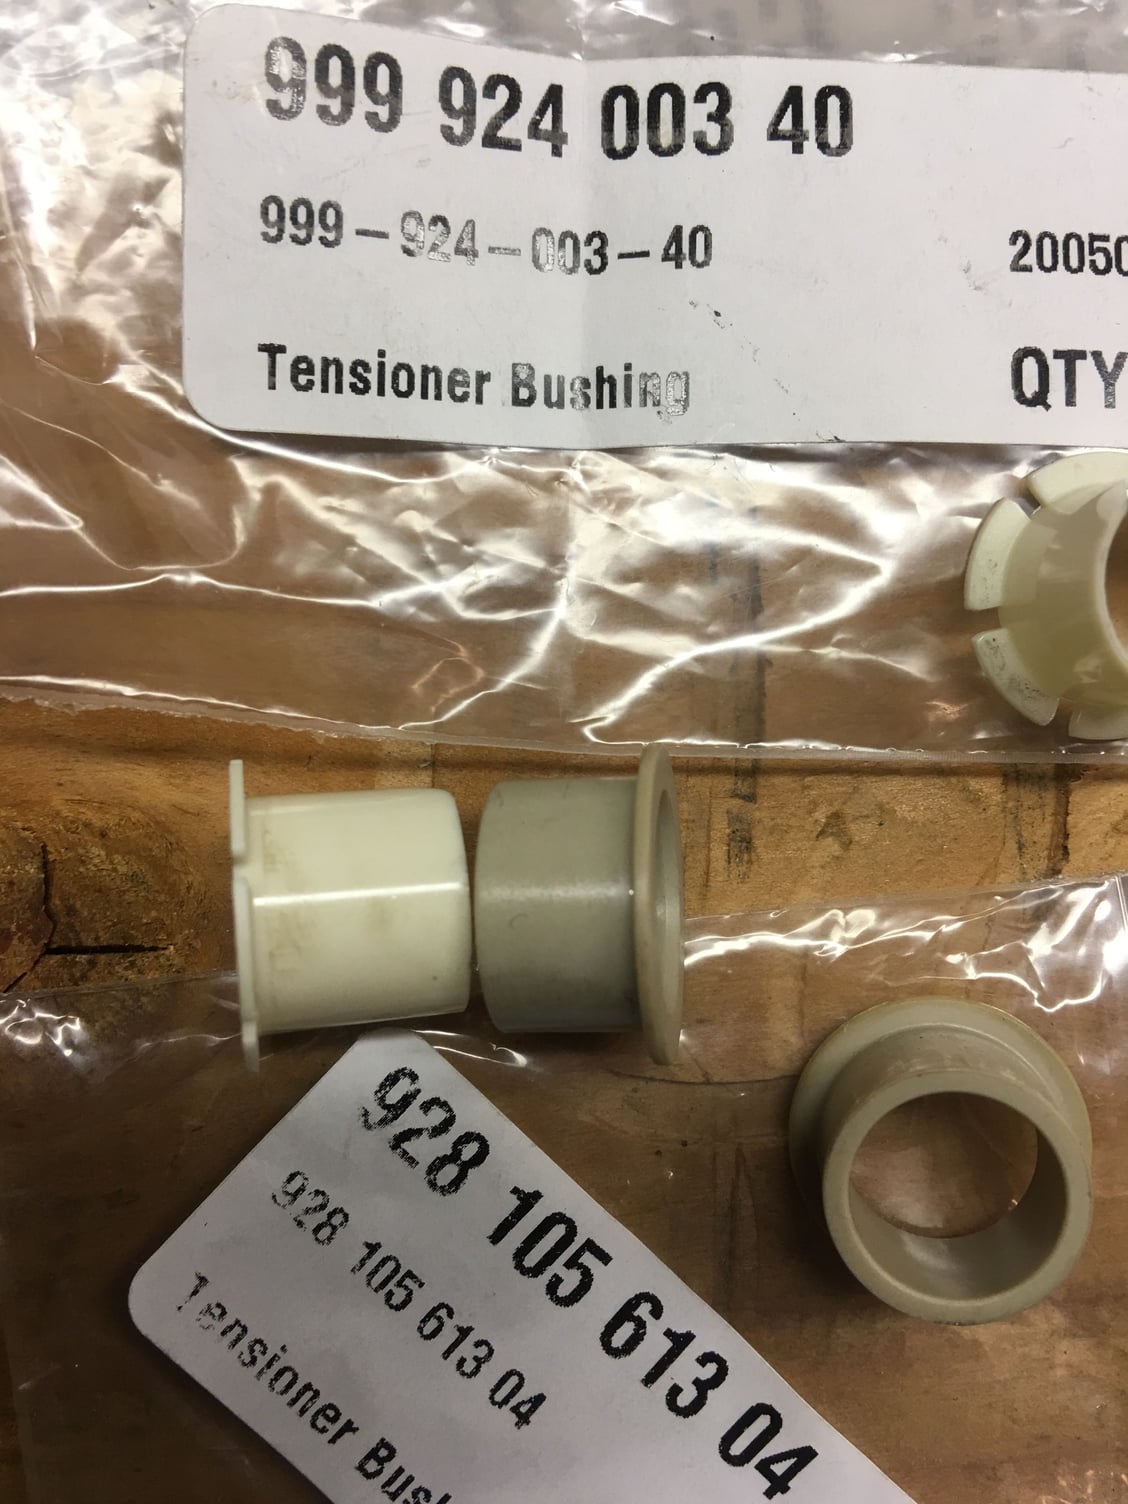
Fun fact: I upgraded my tensioner arm to the ‘85-86 design circa 2000. And it turns out to have been a good decision. The original 16V design uses small plastic bushings at the pivot (through which the pivot bolt mounts). They are made of fairly thin plastic. At some point my original arm had worn at least partially through the plastic bushings, which could allow the whole tensioner to become askew. The later design arm uses much thicker and beefier plastic bushings. I had not changed the bushings since that time and they were still like new!!
Of course I had forgotten about this entirely and ordered the old style bushings from Roger initially. Just got the new ones and installed them!!
Fun fact 2: My ‘83 continues to surprise with some updates that Porsche made very late in the model year. One is the addition of the fuel cooler. Another is that the idler roller installed on the water pump at the tensioner pivot is of the later ‘84 type.
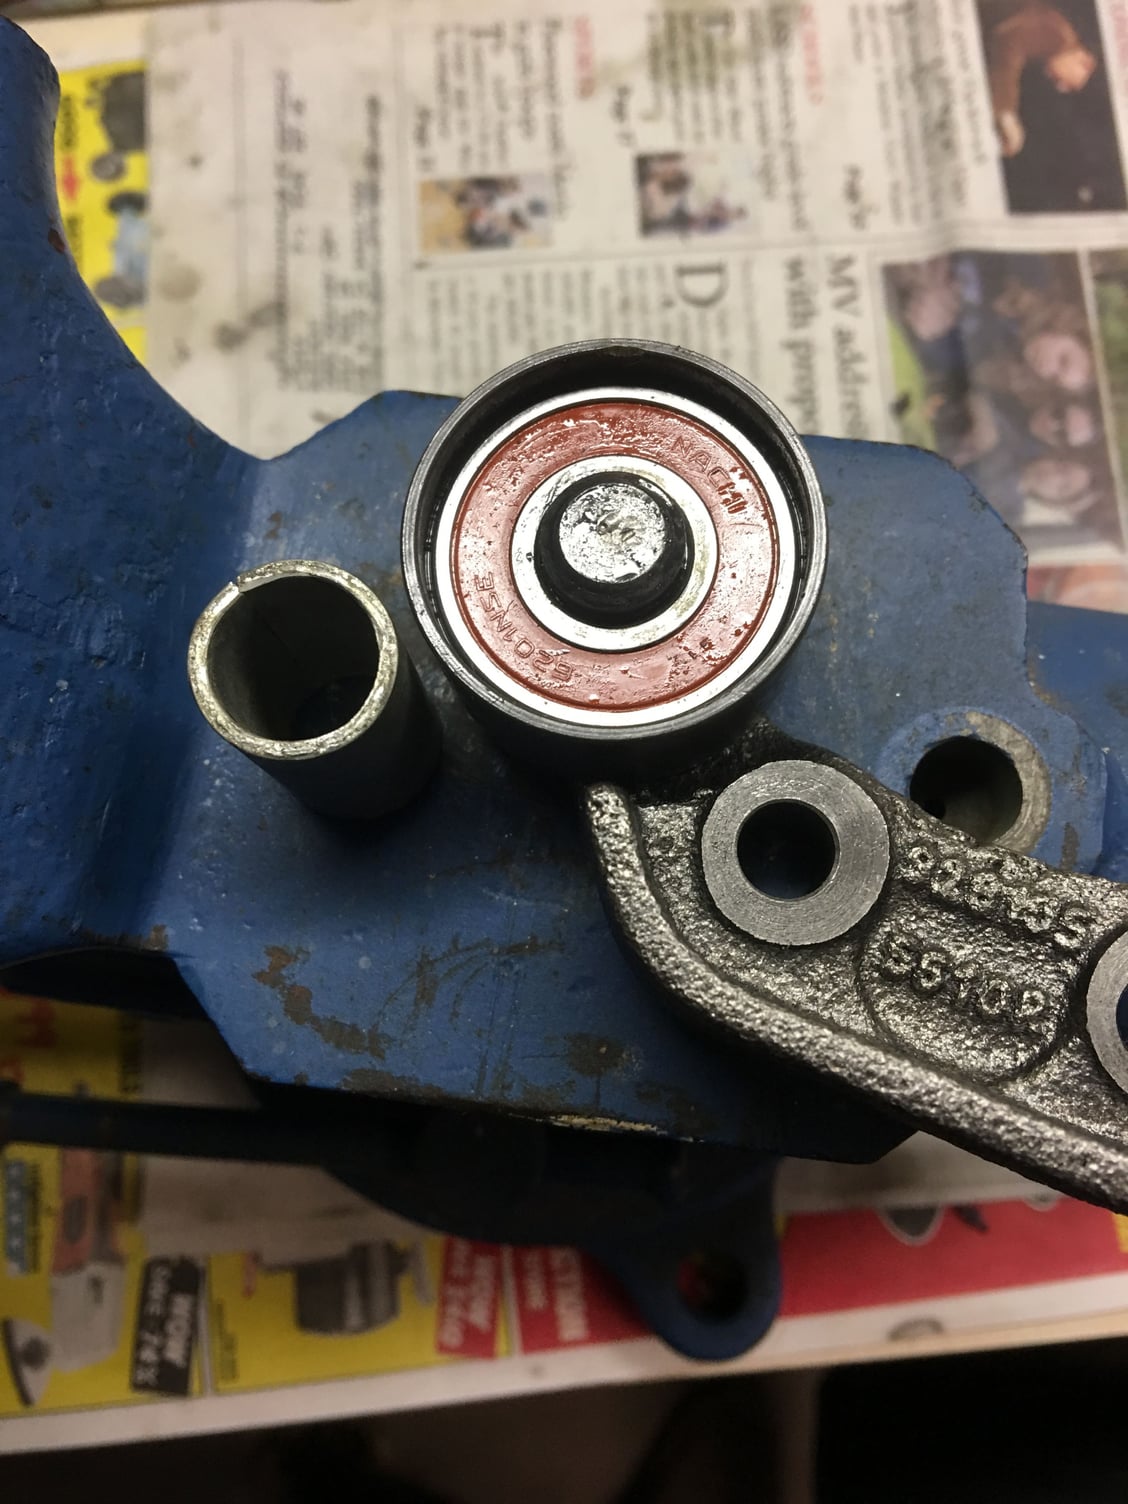
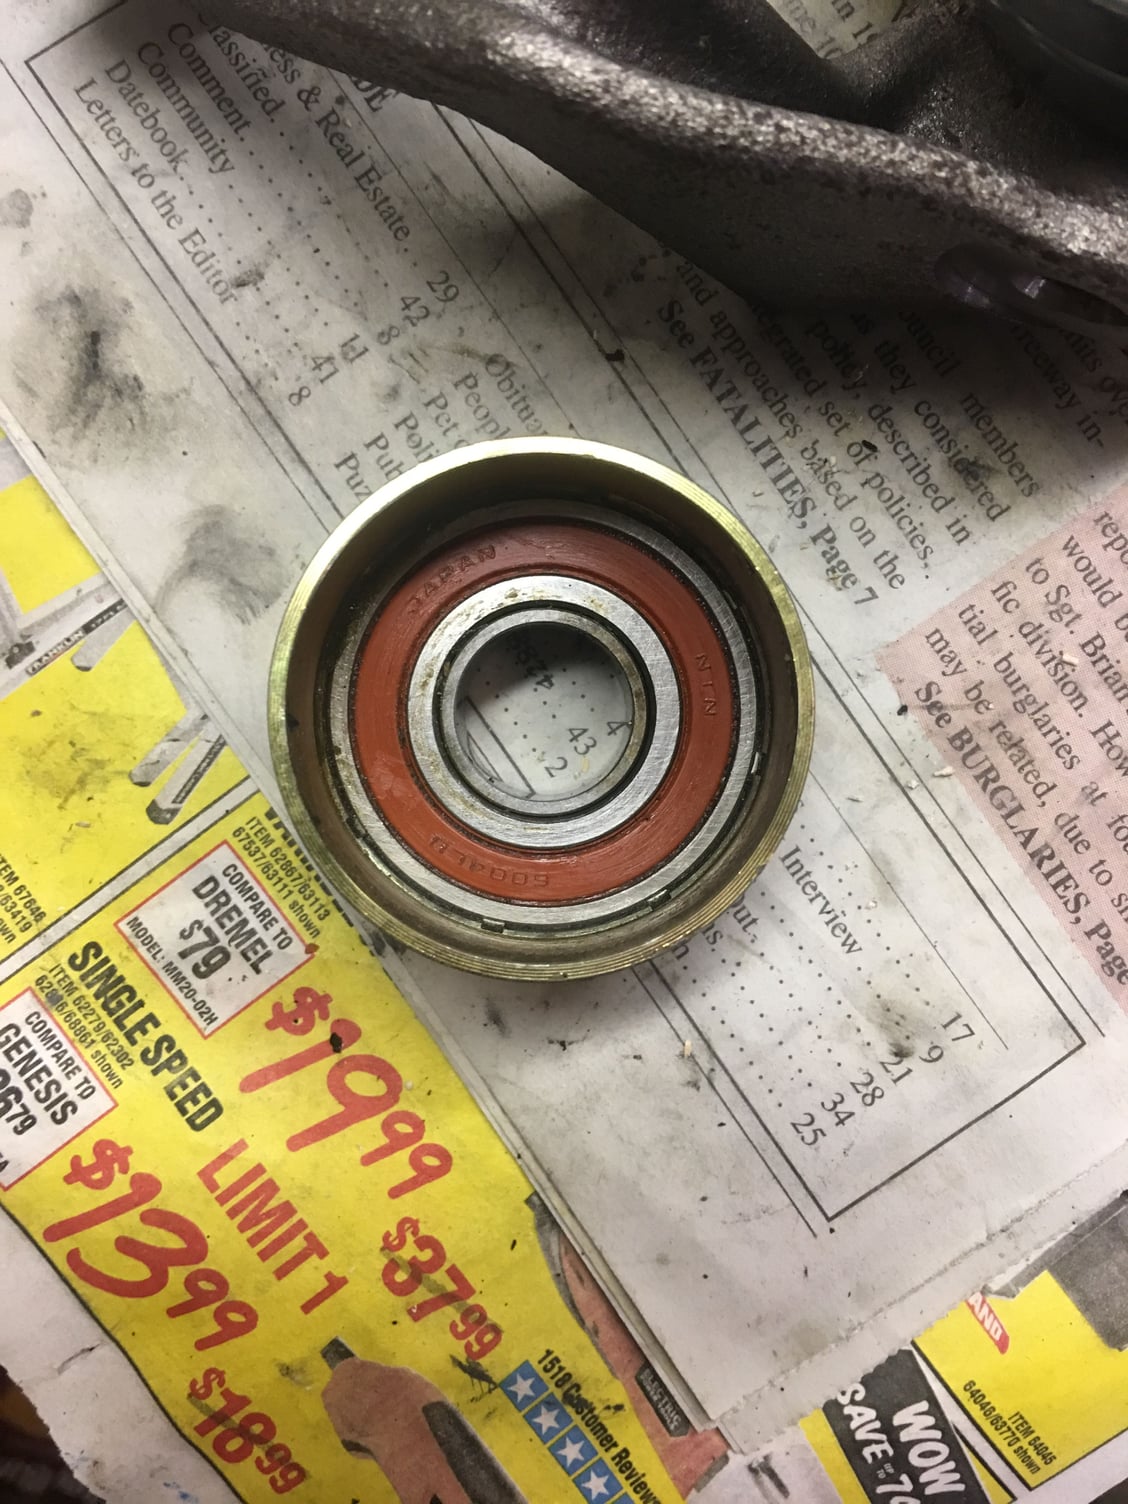
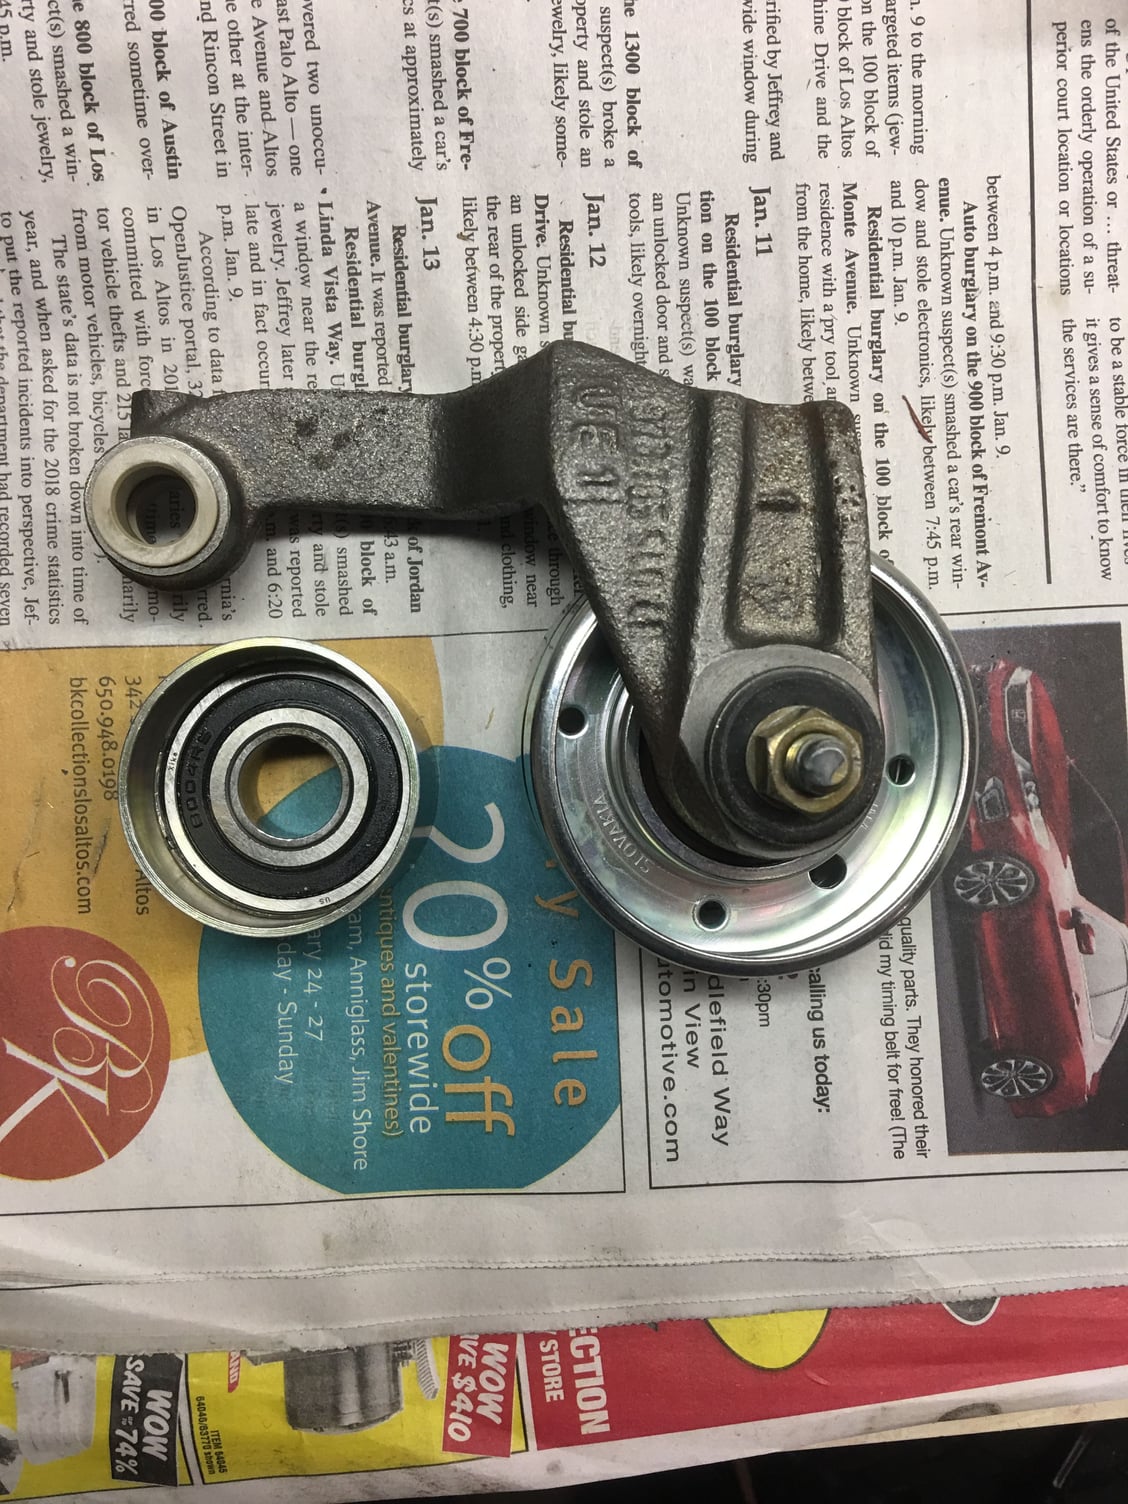
Original tensioner pivot roller bearing. You can buy a new one for big bucks or replace the bearing only. Roger has the bearing for ten bucks! I’ve driven out the bearing with a large socket. Following Stan’s great advice I heated the ring and froze the bearing. I put a thin layer of STP on both parts and it was easy to drive the bearing in square. I also re used the original sleeve inside the inner race. I tried but was unable to bend the tabs back on the back side of the bearing. I replaced both rear cam tower seals with Roger’s silicone seals. LOW TORQUE, 15 to 20 inch-pounds!! (per Roger) Here are the 83-84 style tensioner bushings versus the 85-86 style. Check out how much thicker the newer style bushings are. Tensioner arm and new bearings ready to go!! No tensioner warning system on the '83 so no spring/wire.
Came home early from work today. Love the longer evenings - the MORE daylight to WORK ON THE CAR!!! 😂
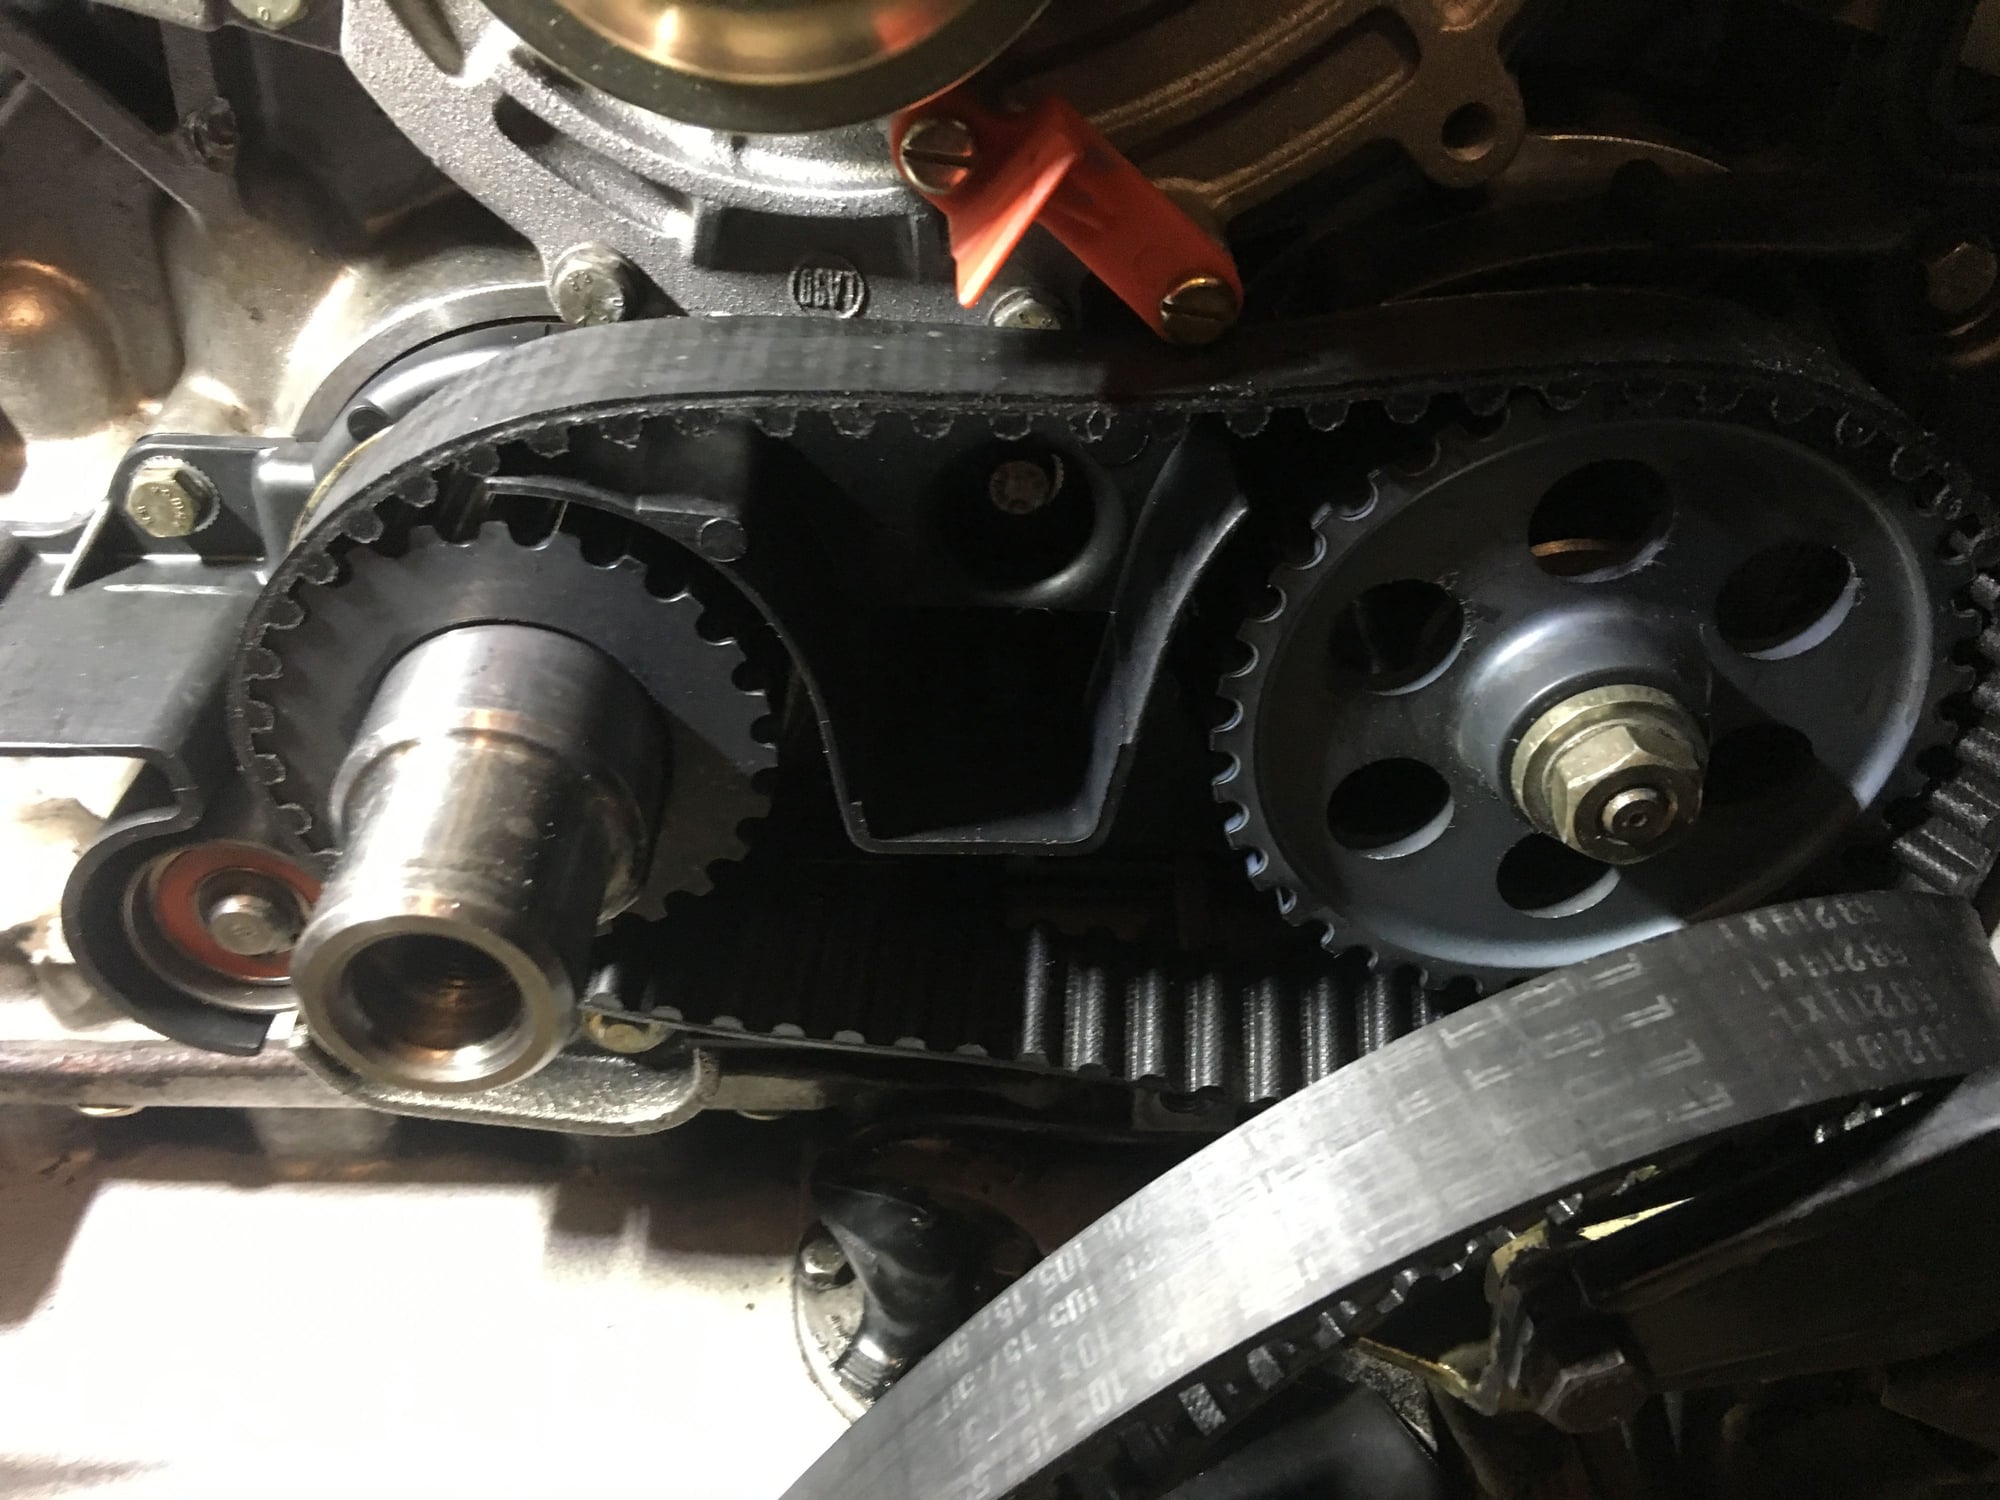
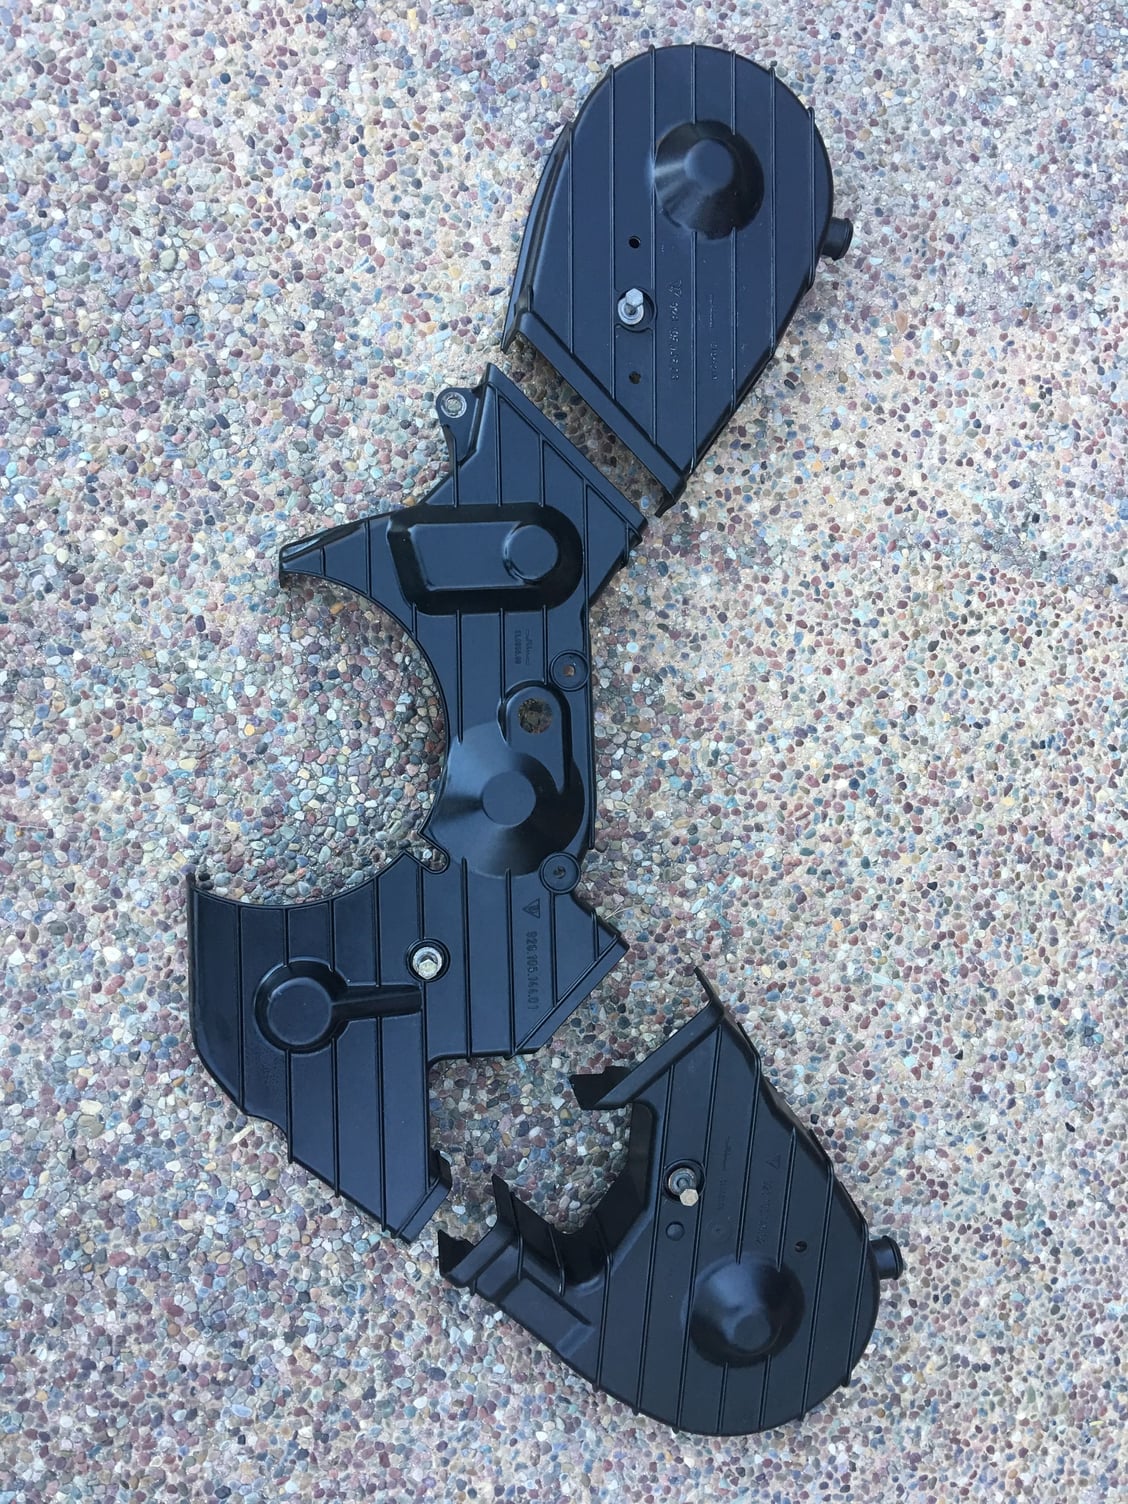
Made a lot of good progress: Installed roller bearings, installed cam pulleys, and got the belt installed and tensioned!! I also cleaned up the belt covers. For thirty six year old pieces of plastic they literally look like new. Good job Porsche!!!
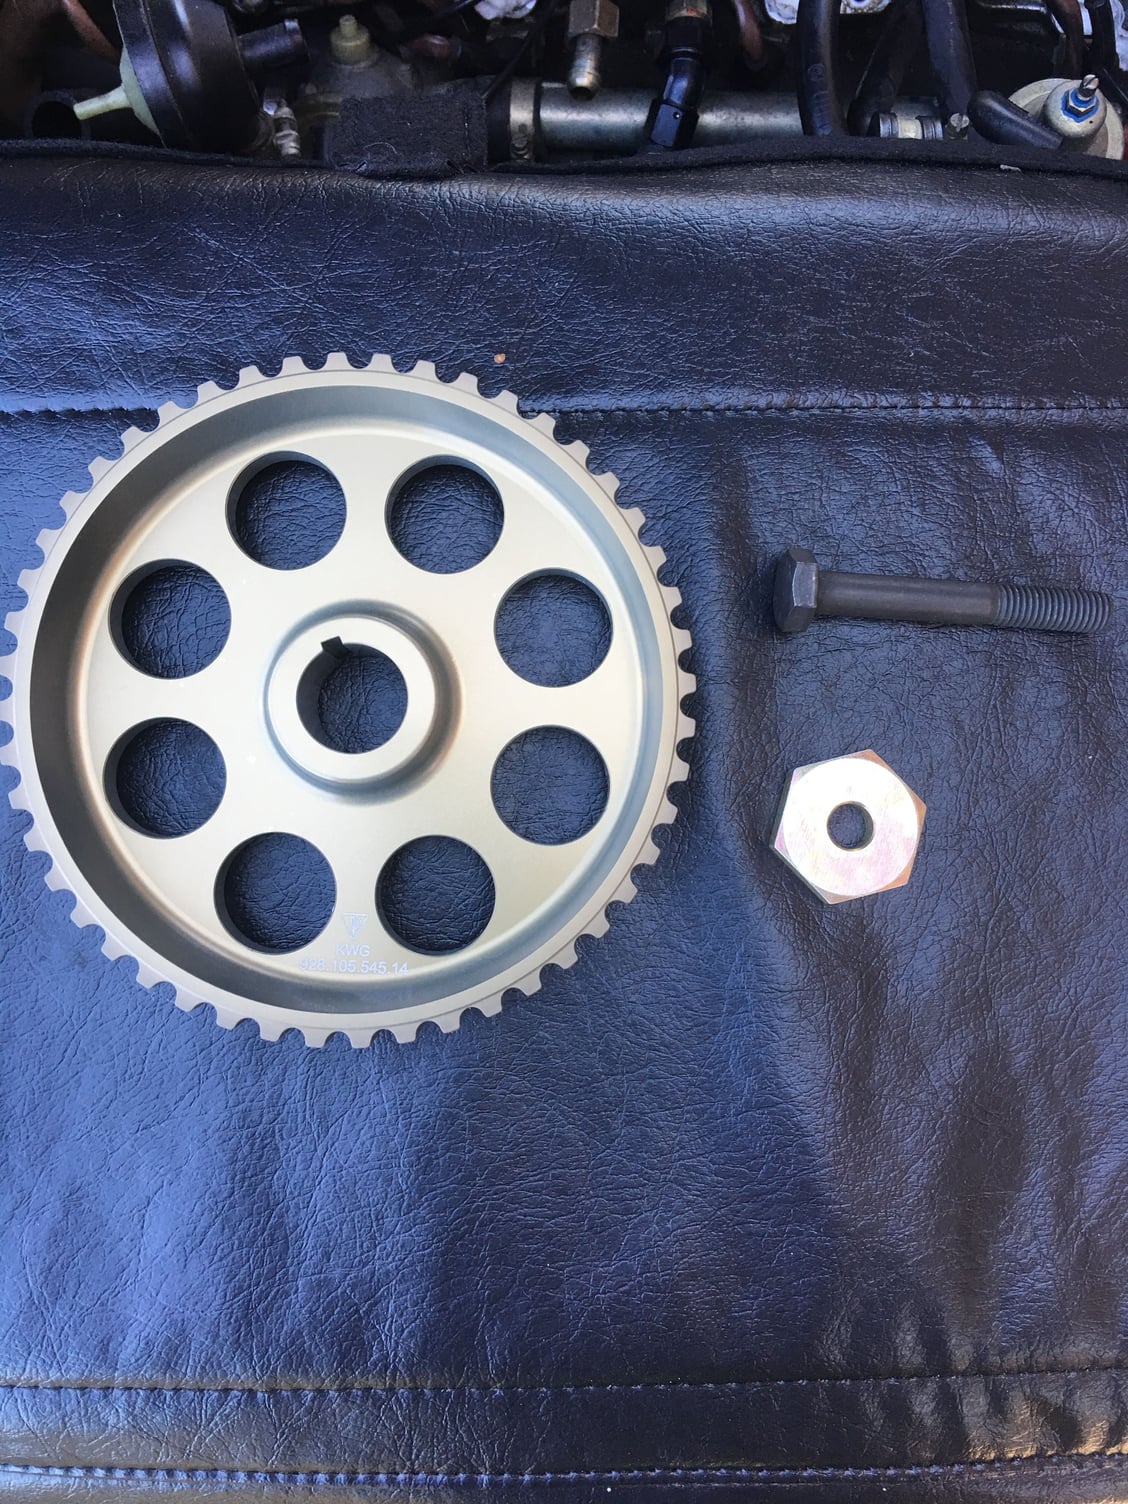
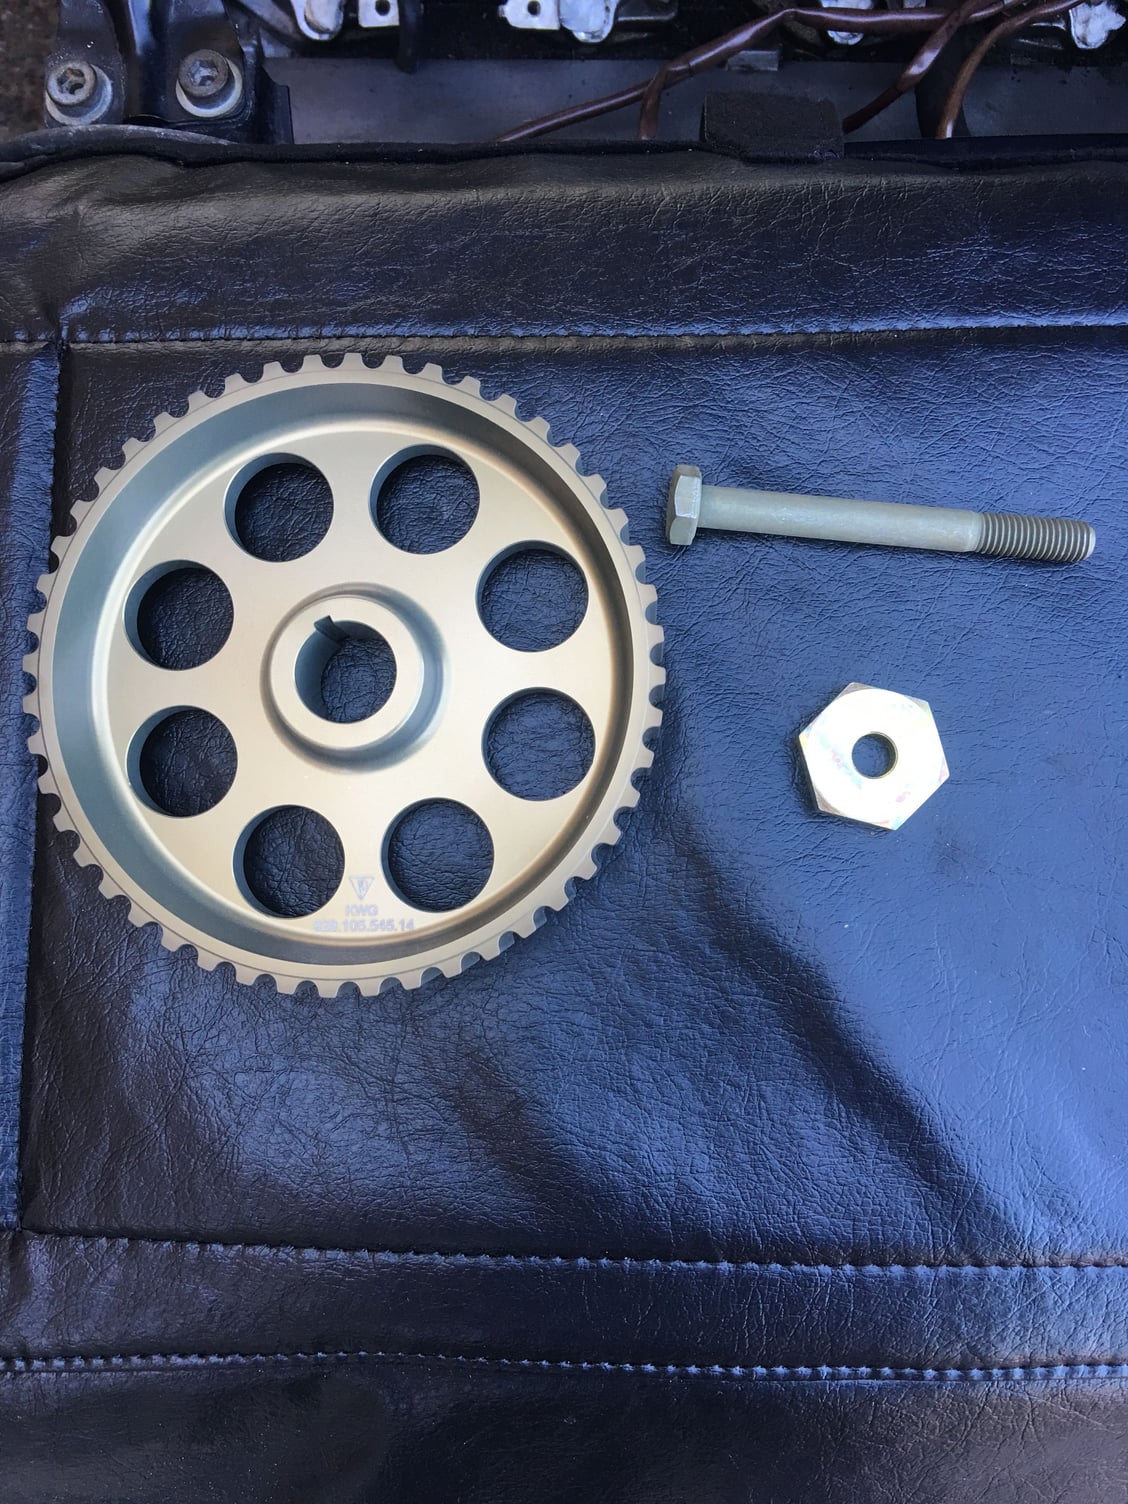
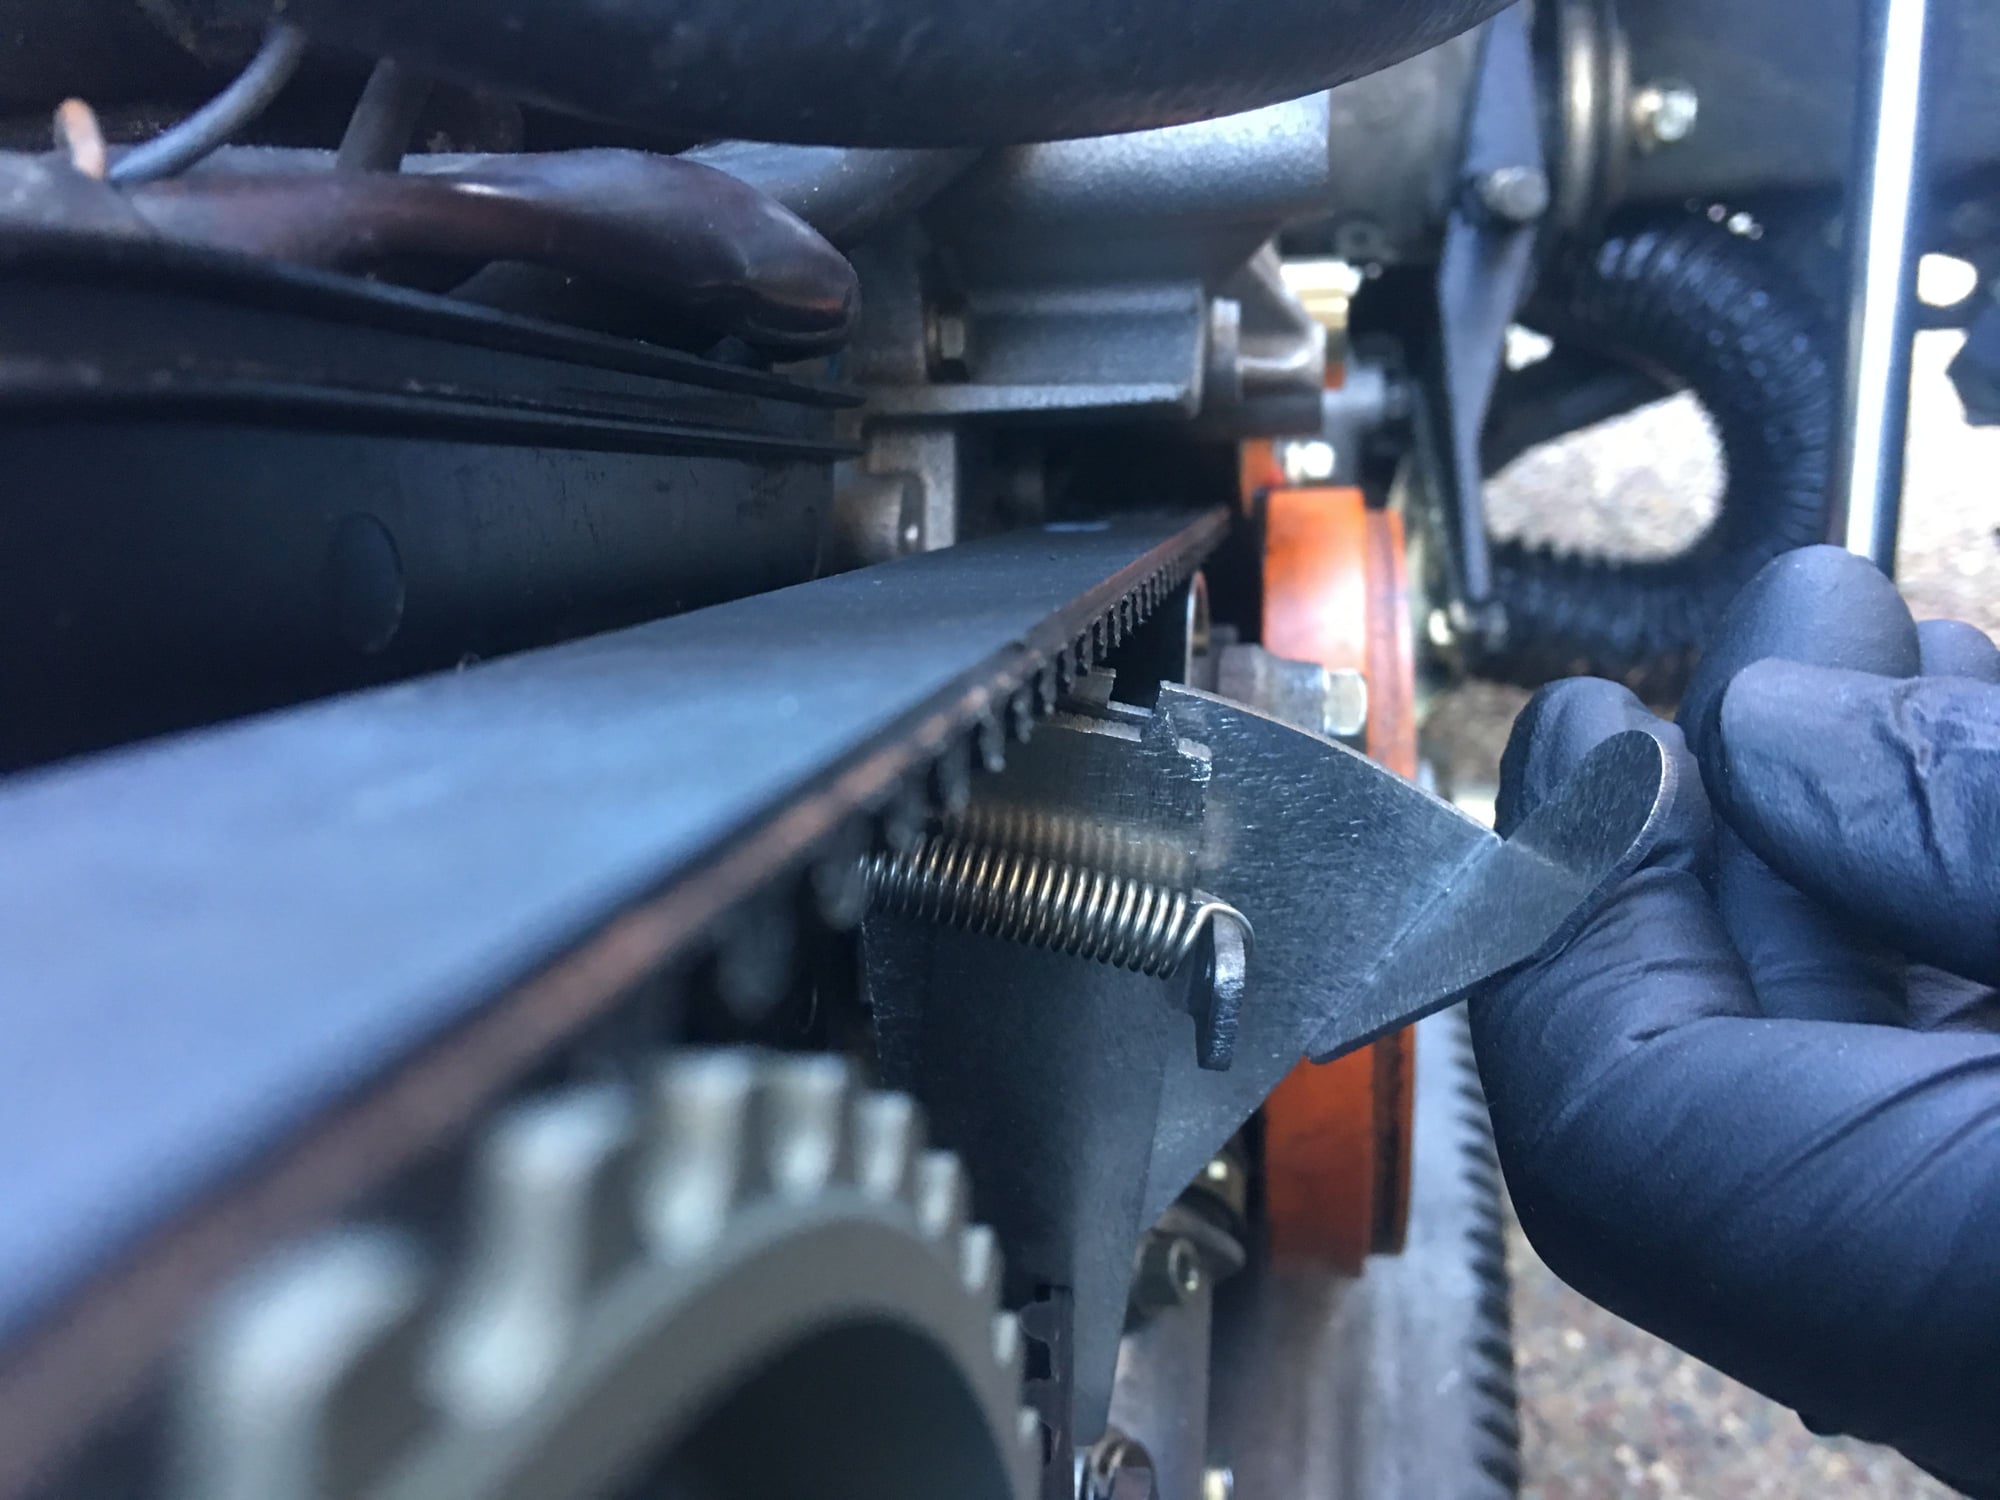
Passenger side pulley and bolt Driver�s side pulley and bolt. The washers, by the way, are slightly concave. I placed the concave side towards the pulley so that it acts like a spring to compress the pulley onto the camshaft. Tensioner bolt with special new washer supplied courtesy of Paul, aka �mitWasser� who sent me an extra for free!!! THANKS PAUL!! Here, I�m also trying some PTFE to see if that�ll help prevent any seepage between bolt and nut. Got the belt on yay!! Had to rotate and hold the cams slightly while installing the belt. I first did the driver�s side, which put tension on the belt down to the crank and stayed in place while I worked the belt on the other side. I also used PTFE on the tensioner pivot bolt (it contacts coolant). Using the Kempf tool. Tightened up to the max side of the window, or just slightly beyond, based on a thread here that concluded 1/16 past max corresponded to the Porsche tool correct reading. Injecting STP into the tensioner. FWIW it took just over 50cc. Cleaned up the covers!!! Both cams lined up virtually perfectly!!!
Wow, that looks great. My eyes are not what they used to be, and my last timing belt job, I got one cam one tooth off. This led to a different AFR in the two cylinder banks. I looked at all kinds of stuff, before I figured that out. Yours looks perfect, but I thought mine looked good too. I would rotate a few times, even with the starter and recheck. It's sure a lot easier to catch an error now.
OTOH, I'm probably the only one who ever made that mistake.
Good luck and keep up the excellent work.
Thanks,
Dave
Thanks Dave, I appreciate the feedback! Yeah I was paranoid about that (and the tension) too. Lining up the first cam is kinda weird because there�s a little slack in the belt (from driver�s side cam to crank) no matter what, so I purposely lined up the driver�s side cam rotated a half tooth or so too far to the right/clockwise on the assumption that a fully taught belt would pull it back to the left/counter clockwise. Which it did! Pulled through several cycles (2 crank rotations each) to check both pulleys and tension.
Still have fuel tubes open, injectors out, harnesses disconnected so couldn�t readily crank the starter but for a normal TB replacement that�s a great idea!!
I discovered that the threaded hole in the block for the adjustment arm for the alternator is completely stripped!
I have no idea why - I didn�t note anything unusual when I removed the bolt, and I also haven�t been in there for a long time. The belt was working fine. And no noticeable hit marks on the alternator. Somehow it held together.
Oh, and I AM using the longer of the two bolts that hold the alternator and power steering bracket.
So what now? I�ve redone threads in other applications by coating the bolt with vaseline or lip balm and then coating with epoxy or (obviously better here) JB weld, then unscrewing the bolt before full hardening, what�s the best thing to do here?


 02-26-2019, 04:34 PM