When you click on links to various merchants on this site and make a purchase, this can result in this site earning a commission. Affiliate programs and affiliations include, but are not limited to, the eBay Partner Network.
I tidied up almost all my remaining loose ends tonight. Tomorrow will hopefully be the big day!!
I finished up the radiator-to-expansion tank hose with a 2 1/2� hose extension near the tank (needed because the 83 one piece hose is NLA and the later hose comes close but doesn�t quite reach the tank due to later years having a pressure sensor installed inline there), connected the other small hose from tank to water bridge, filled the system, got the AFM and air filter assembly all cleaned up and reinstalled, and finished up doing my S4 style window washer tank conversion. I had only been missing the special rubber plug that covers the 2-pin connector block plugging into the washer pump�s rubber surround, there�s a special square rubber plug for the connector itself. It�s part of the s4 main engine harness and not sold separately. I sourced a used one from 928 International last month and got that installed tonight. Oh, and got the original hose reinstalled that connects the filler neck and tank, and reinstalled the carbon canister.
For tomorrow, the plan is to finish everything under the car: finish the starter connections and reinstall the heat shields I removed to get the new battery cable in, install a new block ground strap, and re-attach the fuel hard line hold down at the bottom firewall. Then I�ll hook up the battery and hope that the car doesn�t explode.
THEN SEE IF IT STARTS!
After checking for leaks and driving a bit I�ll still need to install the air tubes and my new Jerry Feather cowl cover and a new underhood foam insulation pad! The old one vaporizes upon contact right now!
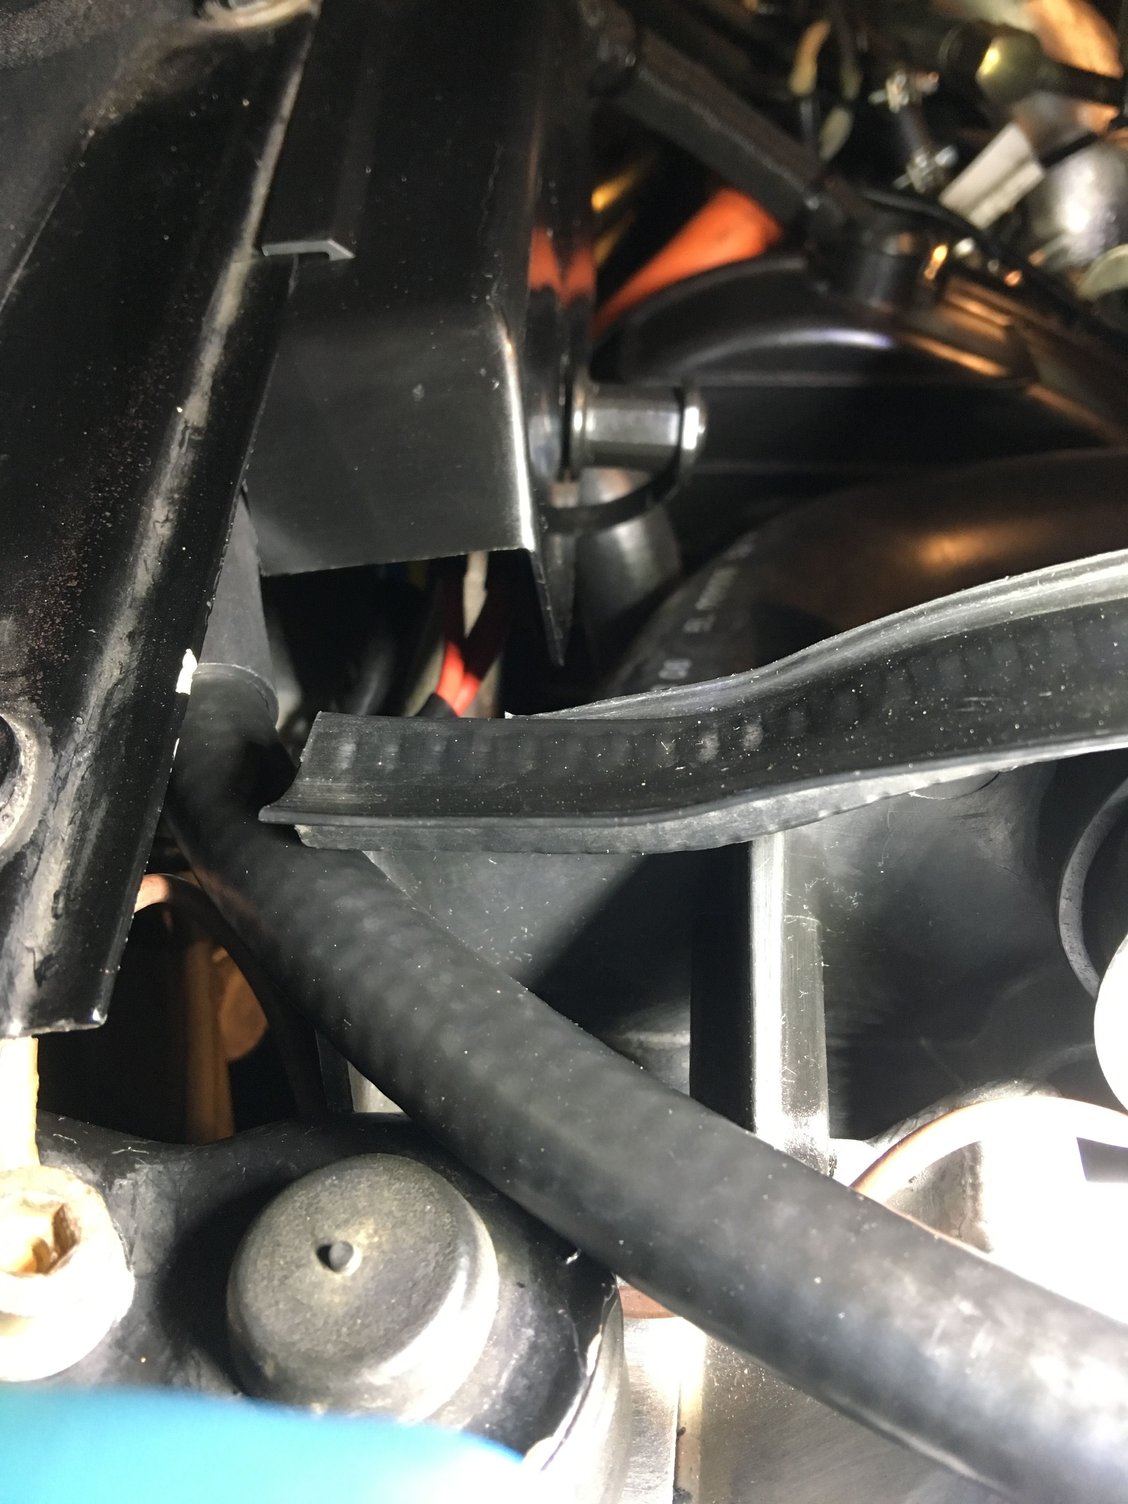
Fun fact: In the top corner of the upper radiator shroud, there�s a little semicircular cutout for the radiator-to-tank hose. In fact one on each side. Never noticed that before!! (On a separate note, you can also see the end of the PVC heat shield housing for the hose, which was disguised as 1/2" sprinkler drip pipe at Home Depot. This goes all the way back to the expansion tank and will hopefully help protect the beautiful and all-important "Engine Wiring Harness #1"!)
Another fun fact: I bought a giant tube of Molykote near the beginning of this project and thought it would be a lifetime supply. Well, it�s already half gone. I�ve used it on all kinds of rubber pieces everywhere, including the injector seals and all the boots on all the harnesses. Just tonight I used it on the outside of every rubber vacuum connector underhood, plus on the big O ring at the AFM, plus on the air filter hold down straps. It really is a must have for every tool box!
IT STARTED!!! I cranked with spark unplugged for 10-15 seconds to build some semblance of oil pressure, then reconnected and cranked. Instant start WOOHOO!
Initial impressions are great!! The engine is just SO buttery smooth and pulls super strong to redline. It ran very well before but... it feels jet engine solid now, just a smooth push of power all the way up. There was a very subtle harmonic under medium acceleration before which probably only I ever noticed that I always attributed to 80s fuel management and mechanical flow meters but I take it back, the Ljet system is actually rock solid and works damn near perfectly as designed. I think the injector cleaning and, perhaps also the new harnesses, take the credit. I�ve had the car since 1987 when it had only 10k miles and this is honestly as good as or better than I ever remember it being. I should also mention that I cleaned the flow meter itself not long ago and repositioned the electrical contact slightly to run a fresh trace, so just about everything is fresh with the L-jet now.
I was curious about whether the starter would crank faster now. Honestly, while there might be a little more there, it�s hard to tell. Guess that means the good news was that my battery positive and negative cables were not rotten on the inside to begin with, and that�s good. The positive cable�s insulation was decomposing as I mentioned earlier though so definitely not too soon to change. On the other hand, dash voltmeter seems higher than before, pegging about 14, though I didn�t record its prior readings because changing all the harnesses was an afterthought after I was already doing the front of engine work!
While I was installing the battery, I also followed Dr Bob�s advice and used sprinkler drip feed hose to connect to the battery vent, then ran it out the small vent just below the rear hold down bolt hole, over to the existing drainpipe in the center of the car behind the license plate, and zip tied it facing straight down. This will keep harmful vapor from causing corrosion in the box.
Oh, other very good news is that between the new all-aluminum radiator (which I�m very impressed by, it�s really quite well made), the new thermostat and the new water pump, the car seems to be running cooler. It usually was halfway in between the white lines, now even on a 90 degree day and with or without AC it was solidly at the first line. In fact I�ve never seen it stabilize that low before. Seems to have better cooling capacity (or to give credit again where due, perhaps it may be more accurate to say that it�s once again working at full factory specs).
BTW, I immediately noticed two new behaviors: First, a warning light on the dash that I haven�t seen for many years: Washer fluid!!! The new sensor is doing its job yay!!! Note to self, fill tank and test all three new pumps. Oh, and a bottle of Porsche Special Silicone Remover showed up
from Roger today!!
Also, after I started the car initially its inside buzzer wouldn�t stop. I released the handbrake? No difference. Trip the door closed switch? No difference. I finally remembered my hatch was open but I don�t recall that EVER tripping the buzzer, even in 87. I looked inside (I have the tools removed as part of the battery work) and saw the wires going to the pin switch in the hatch receiver and thought what the hell, let�s close the hatch. That stopped the buzzer!!! I don�t know why it suddenly works, but I�ll take it.
My only regret now is not changing the stupid oil level
sender in the pan when I had the chance... totally forgot, but it has been giving me some strange blinks of the main red warning light when just starting off from a dead stop. It�s clearly falsly triggering intermittently. It doesn�t trigger the actual low oil warning, and I can work around it by keeping oil fully topped up. Oh well, next time I�m in there...
Special thanks to Roger for all his time and patience through countless phone calls and emails, including going the extra-extra mile to help me figure out whether the 84 harness would work on my 83 (and generally putting up with months of my pestering) and also to Sean for the fantastic harness and re-doing a few small custom details for me. Twice :-) Thanks Sean!
This pretty much wraps up this project. Changing shocks and doing any needed refresh on suspension and brakes will be next. BUT I�LL ENJOY IT FOR THE SUMMER FIRST! Thanks for watching and commenting!!
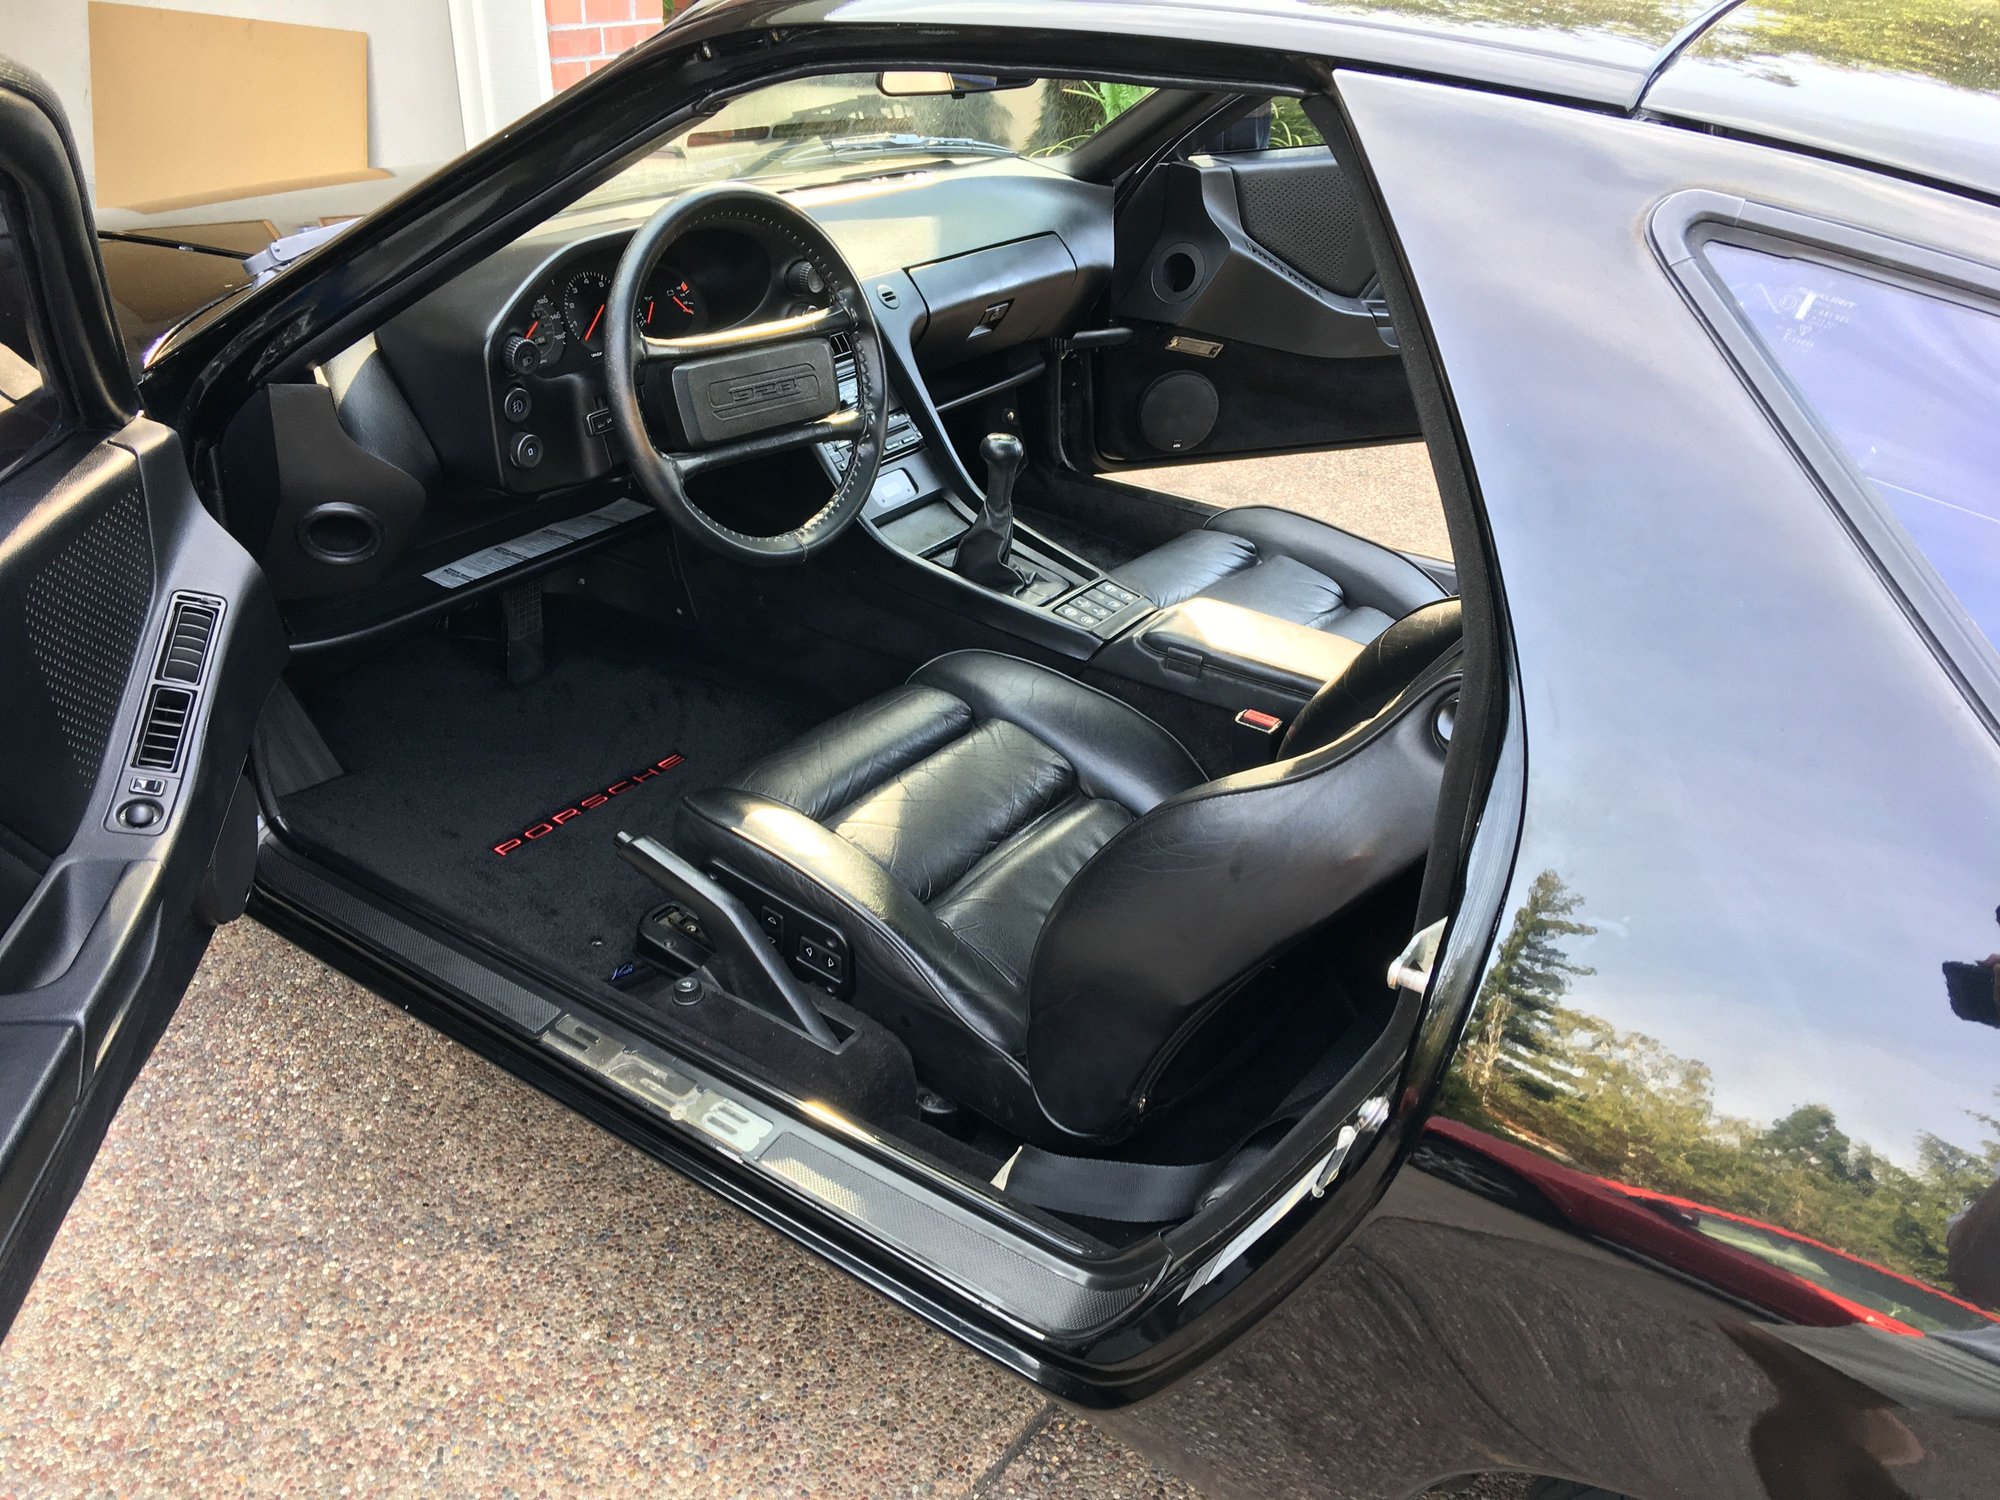
Finally gave the car its first wash since last year. I�m now doing some R&R by treating the leather, removing and having the sheepskins drycleaned, vacuuming all the carpets (with new Lloyds mats on the way), and of COURSE treating all the weather seals with Molykote! Oh, and after doing the cheap n cheerful �front only� central panel cleaning by pulling/cleaning/replacing all colored connectors and all relays, the power seats started magically working again too. Yay!!
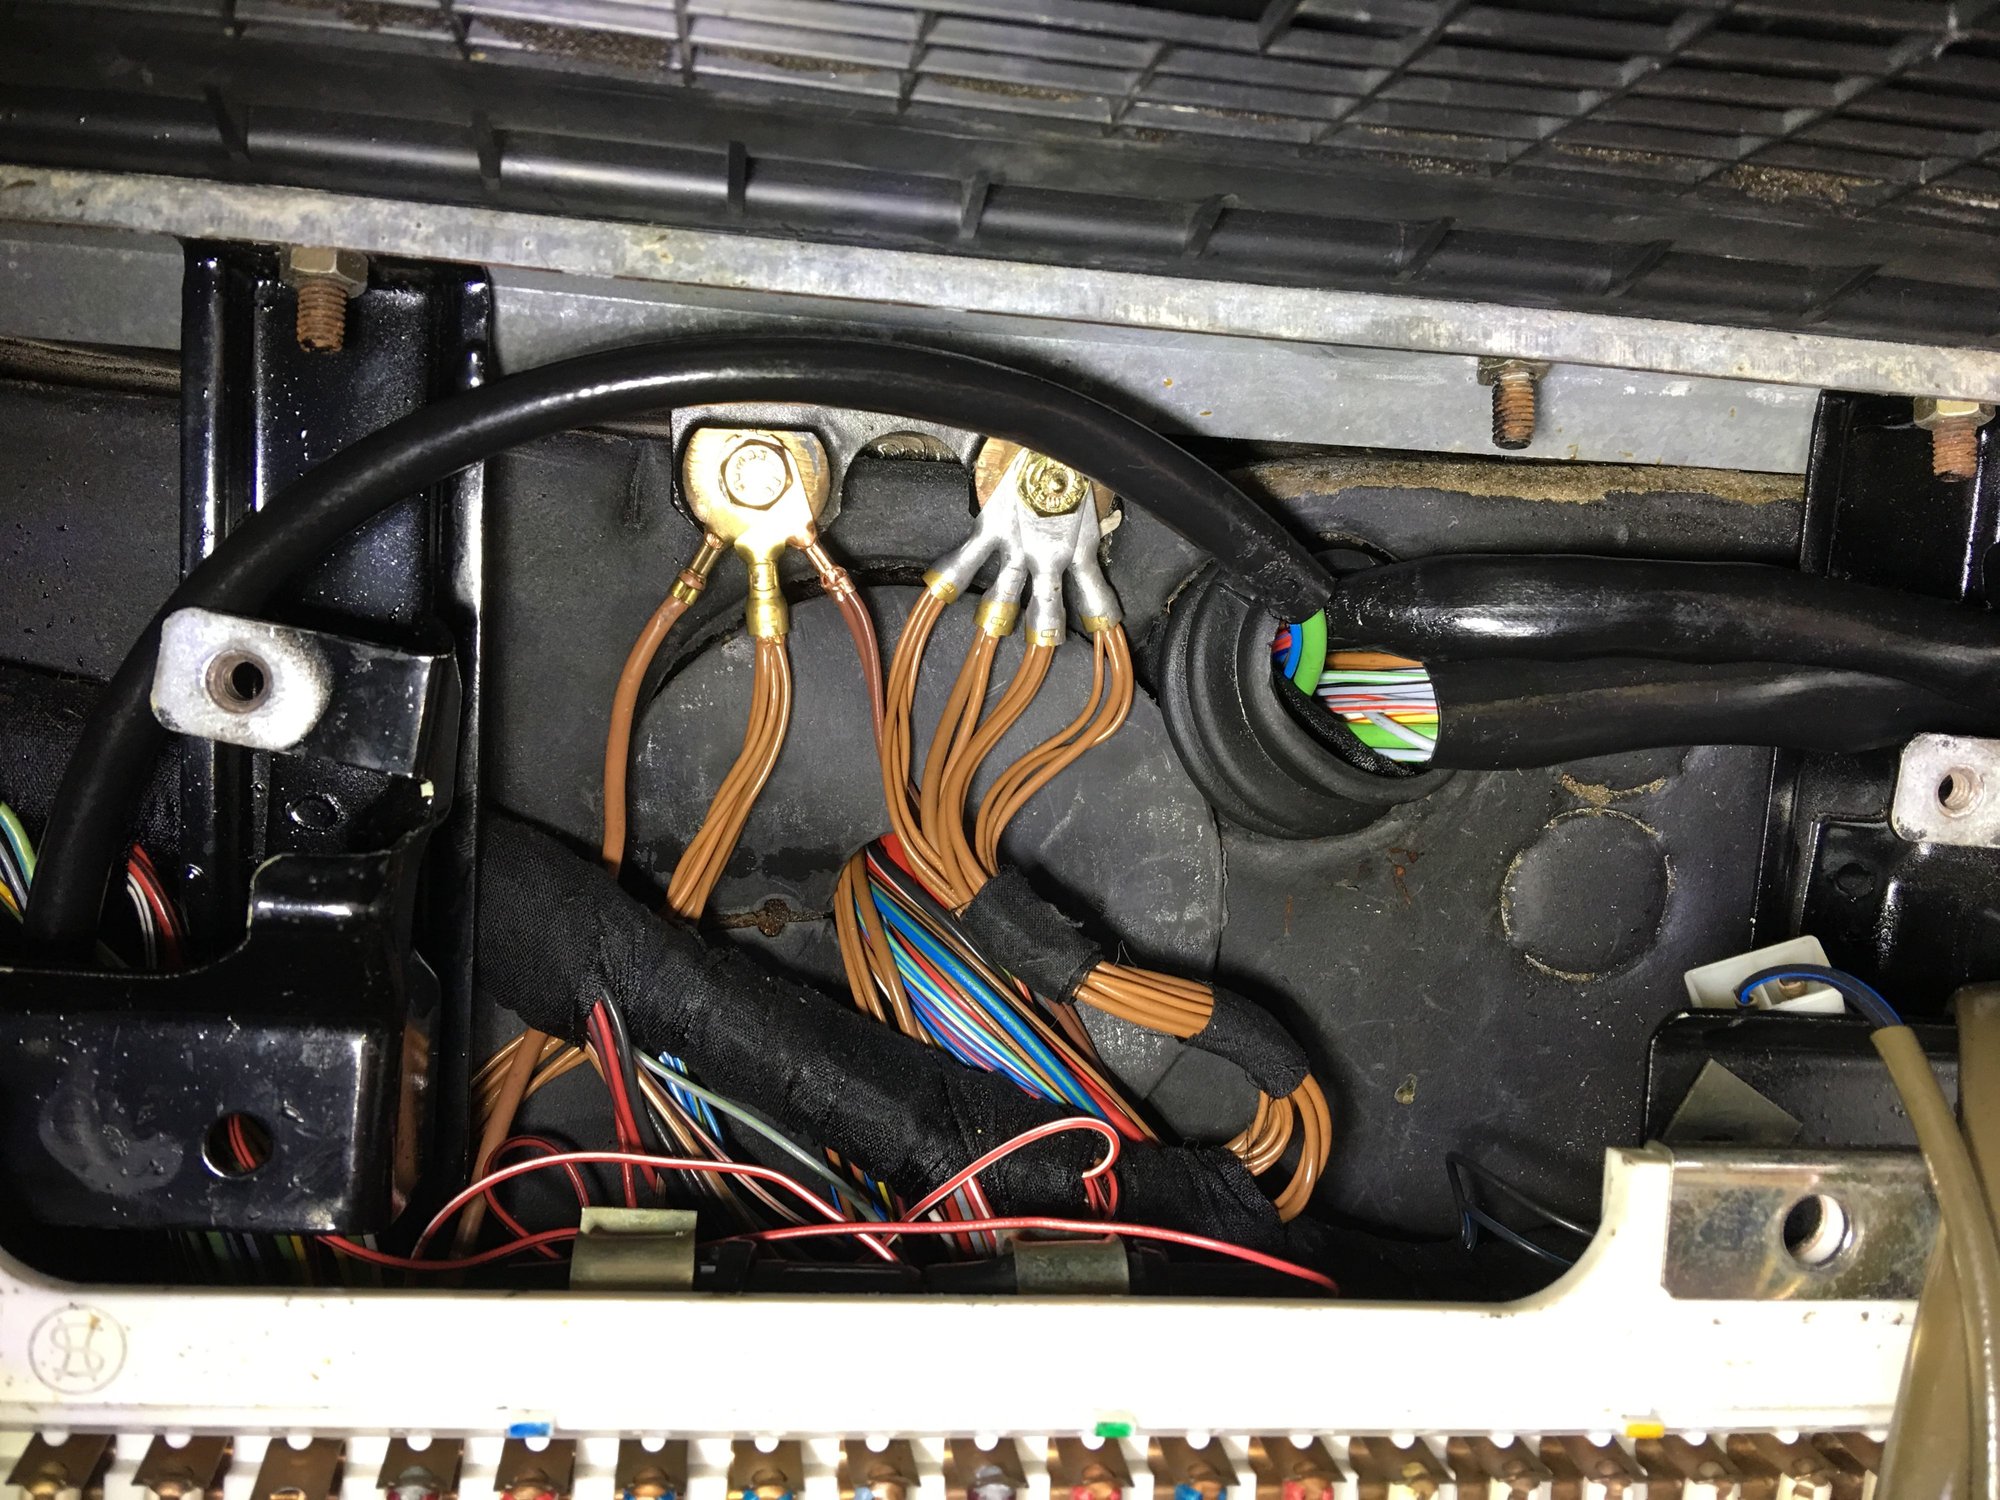
I was having some intermittent start issues going back many years which I believe were caused by a periodic bad ground on the starter relay which popped up every few years like clockwork. The ground wire goes all the way from the central panel to the back of the car. I decided to patch in a direct ground from connector block U pin 7, replacing the original pin (now covered in shrinkwrap and labeled, but removed from the connector block). More info here: https://rennlist.com/forums/928-foru...l#post15942385
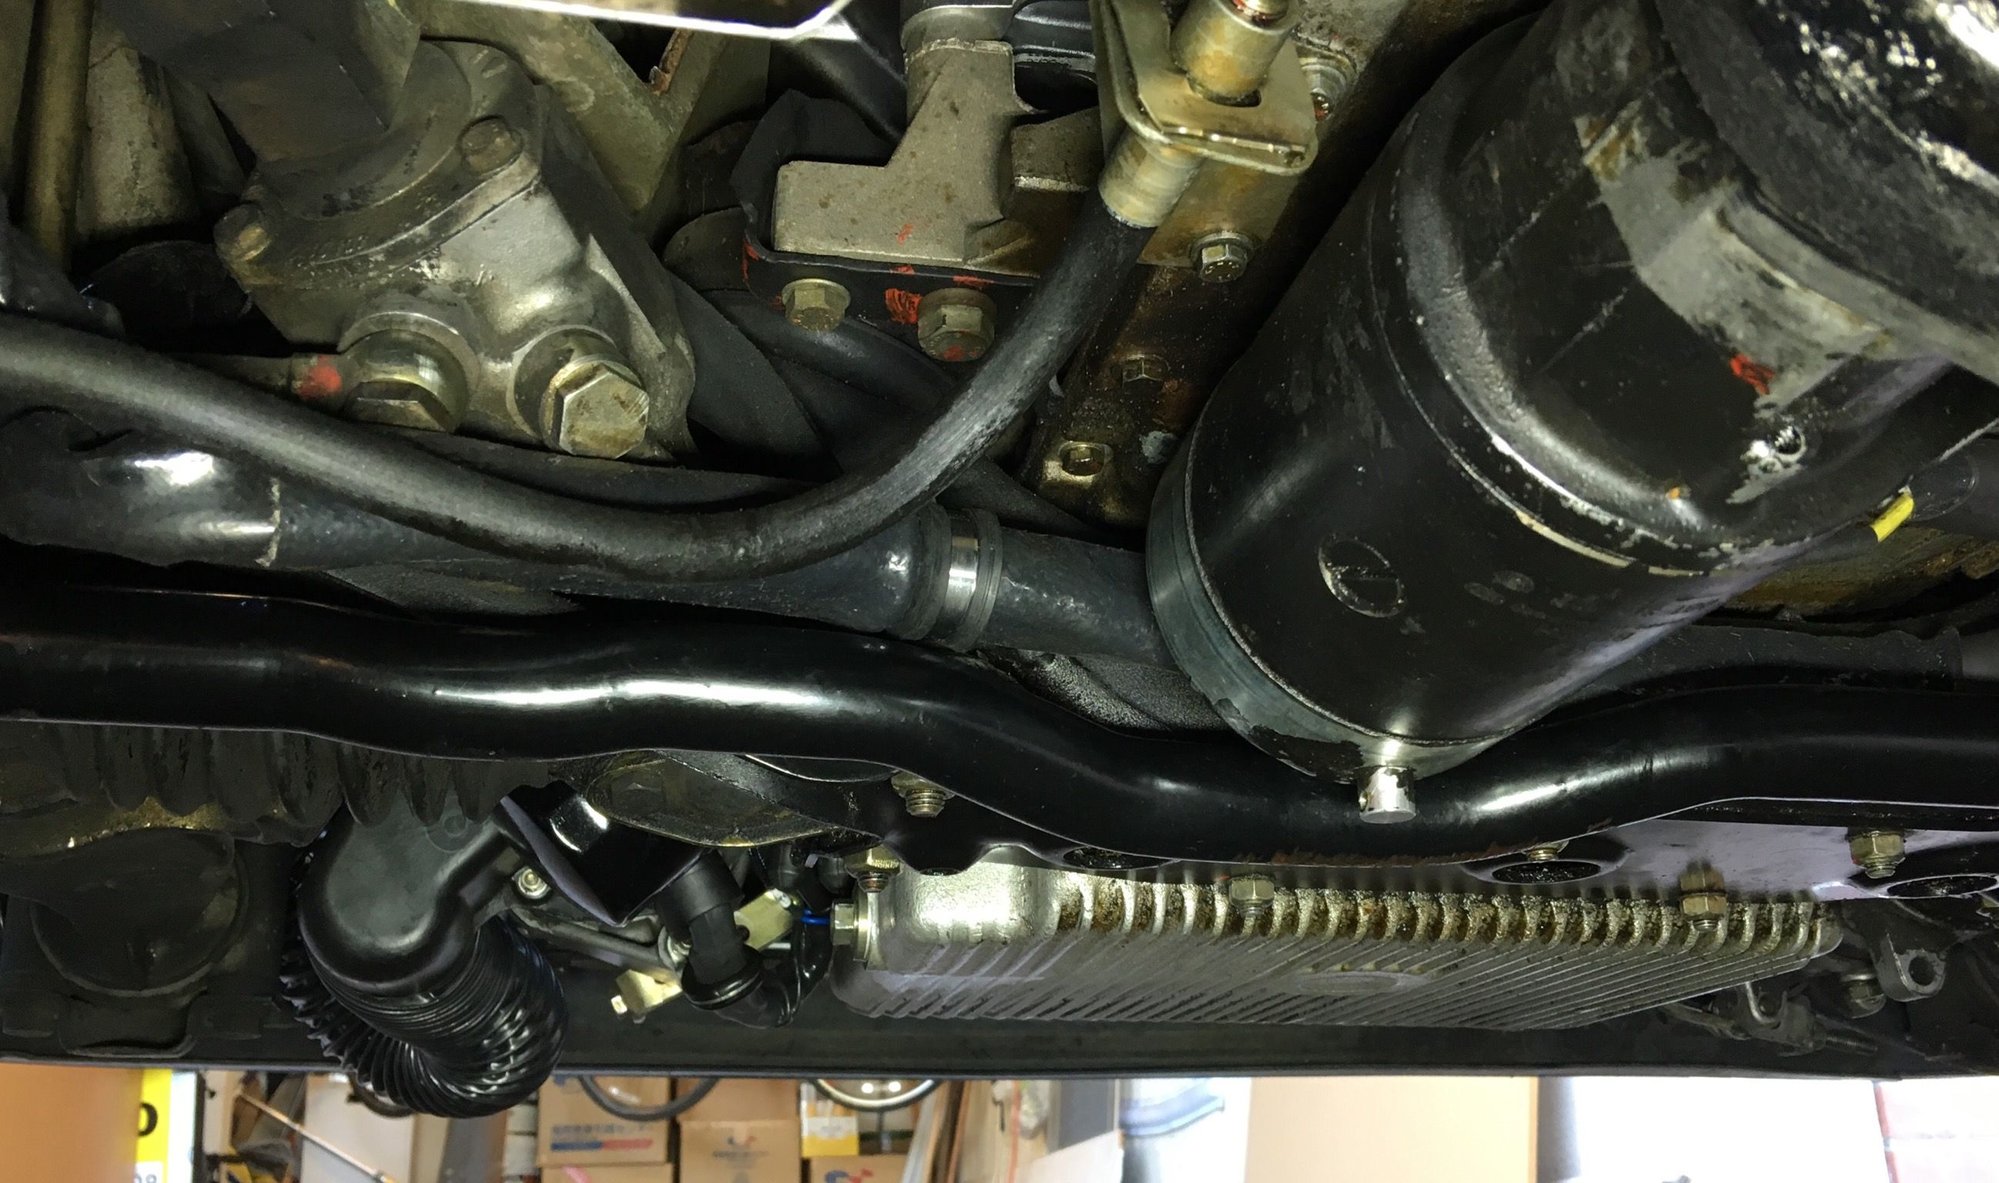
Separately, I installed the clamp holding the starter/battery harnesses to the crossbar. This was one of the last things remaining to button up from the big project. I had to order a new, larger clamp (28mm from Roger) to hold the larger 1 AWG Ancor battery cable and Sean harness combination. Pic below.
New, larger diameter clamp on the crossbar. Note the Fireflex sheathing, which holds both the battery cable and Sean’s harness (each of which has their own individual sheathing as well). It’s hard to tell but there’s plenty of space between the harnesses and the swaybar. Here’s my fix for the intermittent ground issue, a replacement from U7 to the upper left ground point. I used two 1mm2 European style brown wires for plenty of current path, and original style connectors on both ends. (The new one is on the left ground point, sticking out to the right). Wiring tucked away to follow the other wires to central panel. New Lloyd’s carpets, also posted in the other thread.
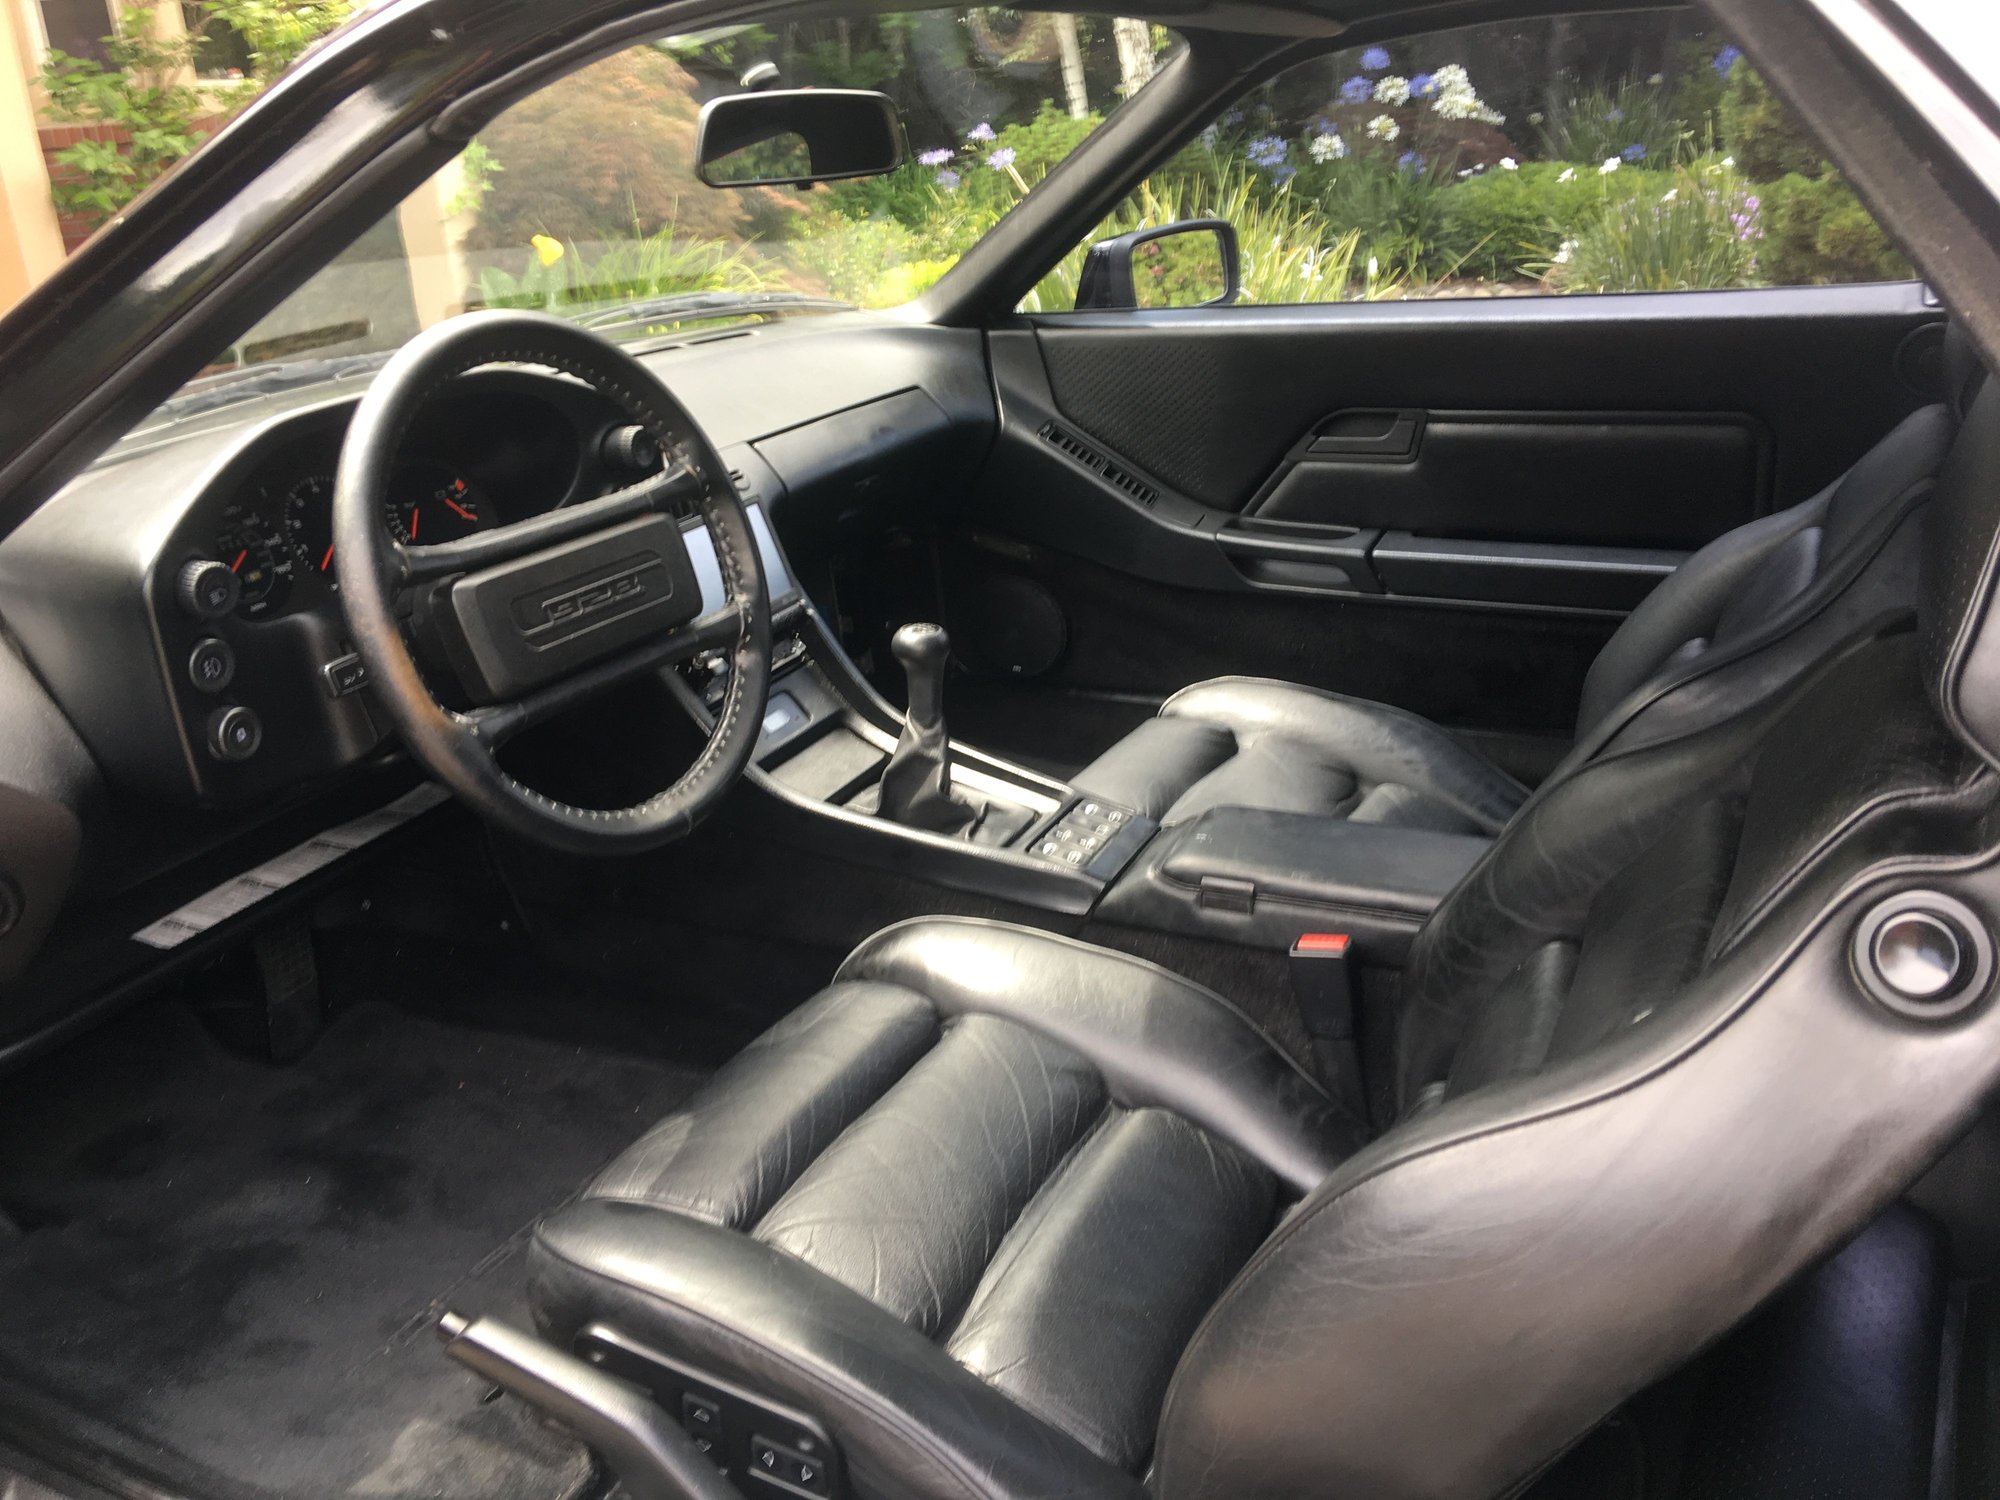
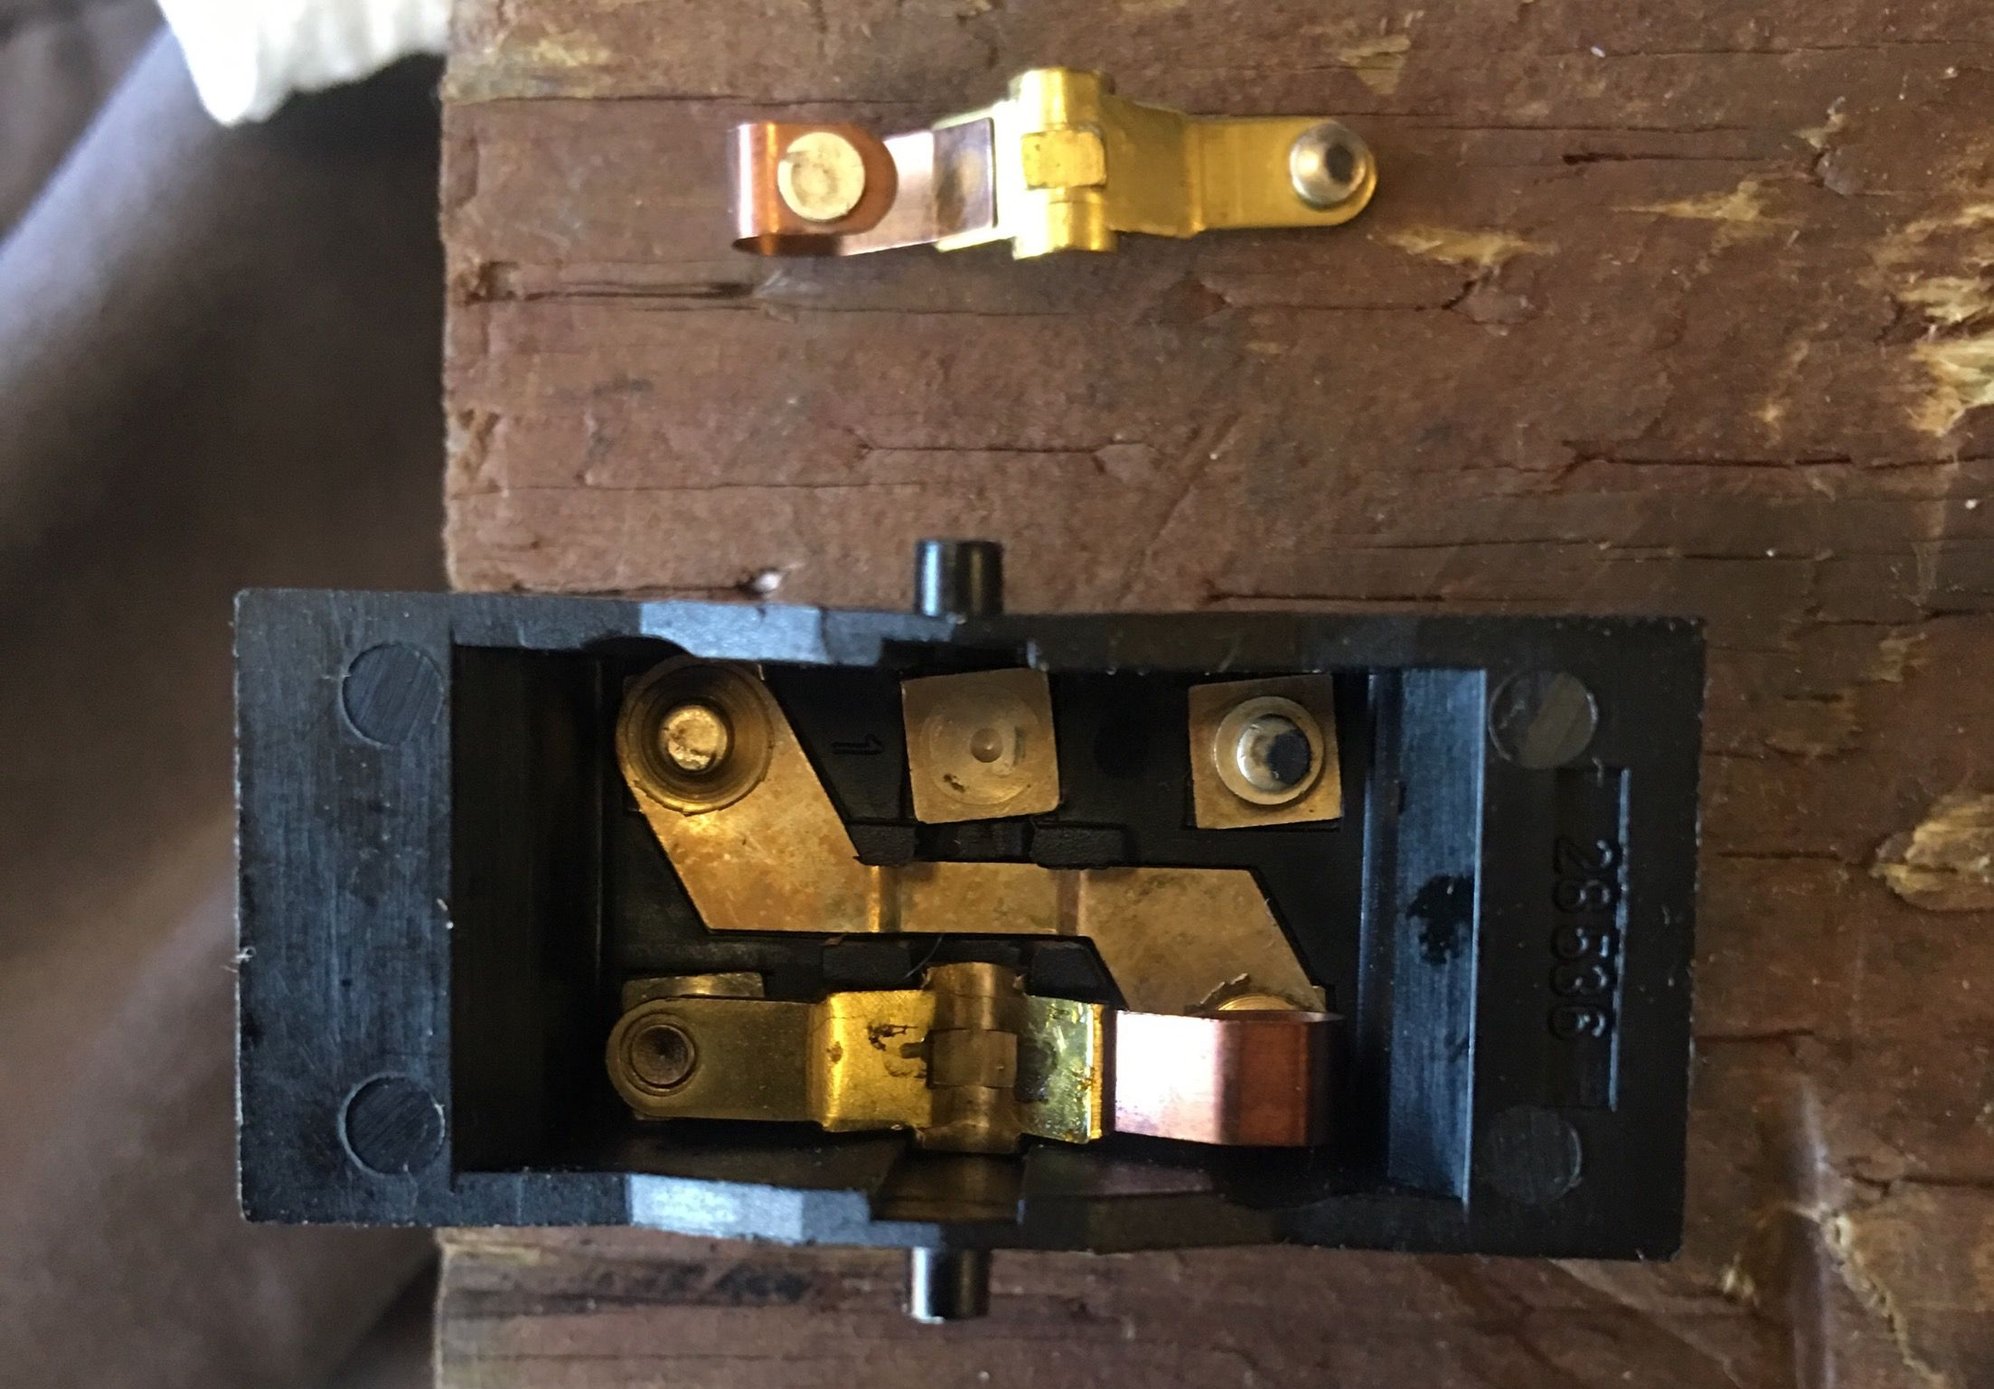
My front power seat wasn’t moving up/down properly, so I removed it today expecting to need to clean and grease all the gears. This is the first time I’ve ever removed it and likely also the first time the seat has ever been removed. Instead of finding dried up grease and dirt clogged gears, I found the everything still nicely greased and clean!! Although I ALSO found a bunch of loose change, a headliner screw bevel piece, and a missing plug from the rear of the plastic door sill scuff plate lol!! After applying 12v to the motors and discovering they worked great, and also checking the connectors, it became apparent that the switch was the problem. I ended up cleaning all 3. They have small rocking contact arms that were in various states of corrosion at the contacts. They look a lot like old school ignition points. After cleaning everything with a pencil eraser, the motors all work better and faster now. Like new!!
I also re-installed the seat using the rear bolt holes... I didn’t realize there was a second set that would move the seat back about an inch. Good stuff! Potentially more headroom too! I’ll see how that works out once I re-adjust everything.
As a note to self, removing the seat was pretty easy but reinstalling it was a pain... all with the two rear bolts. There’s just so little room to get the threaded plates in under the rails. I ended up a) raising the seat to its max and b) removing the outer side plastic trim piece and the small, rearmost inside trim piece in order to hold the threaded plates in place while I started the bolts. This made bolt access much better... but then meant I had to remove the hard trim pieces surrounding the emergency brake in order to re-install the seat trim. Overall it was a several hour project start to finish.
I also had my sheepskin covers professionally dry cleaned. I purchased them soon after buying the car and have had them ever since. I like the feel of the leather better, but like the sheepskins because they protect the leather so well. After cleaning, they too came back looking like new!! I’ll get those reinstalled this week.
Here’s one of the seat switches. Each has two rocking contacts to send either +12v or -12v to each motor. One of the rockers removed and turned over. You can see the dirty contact points.
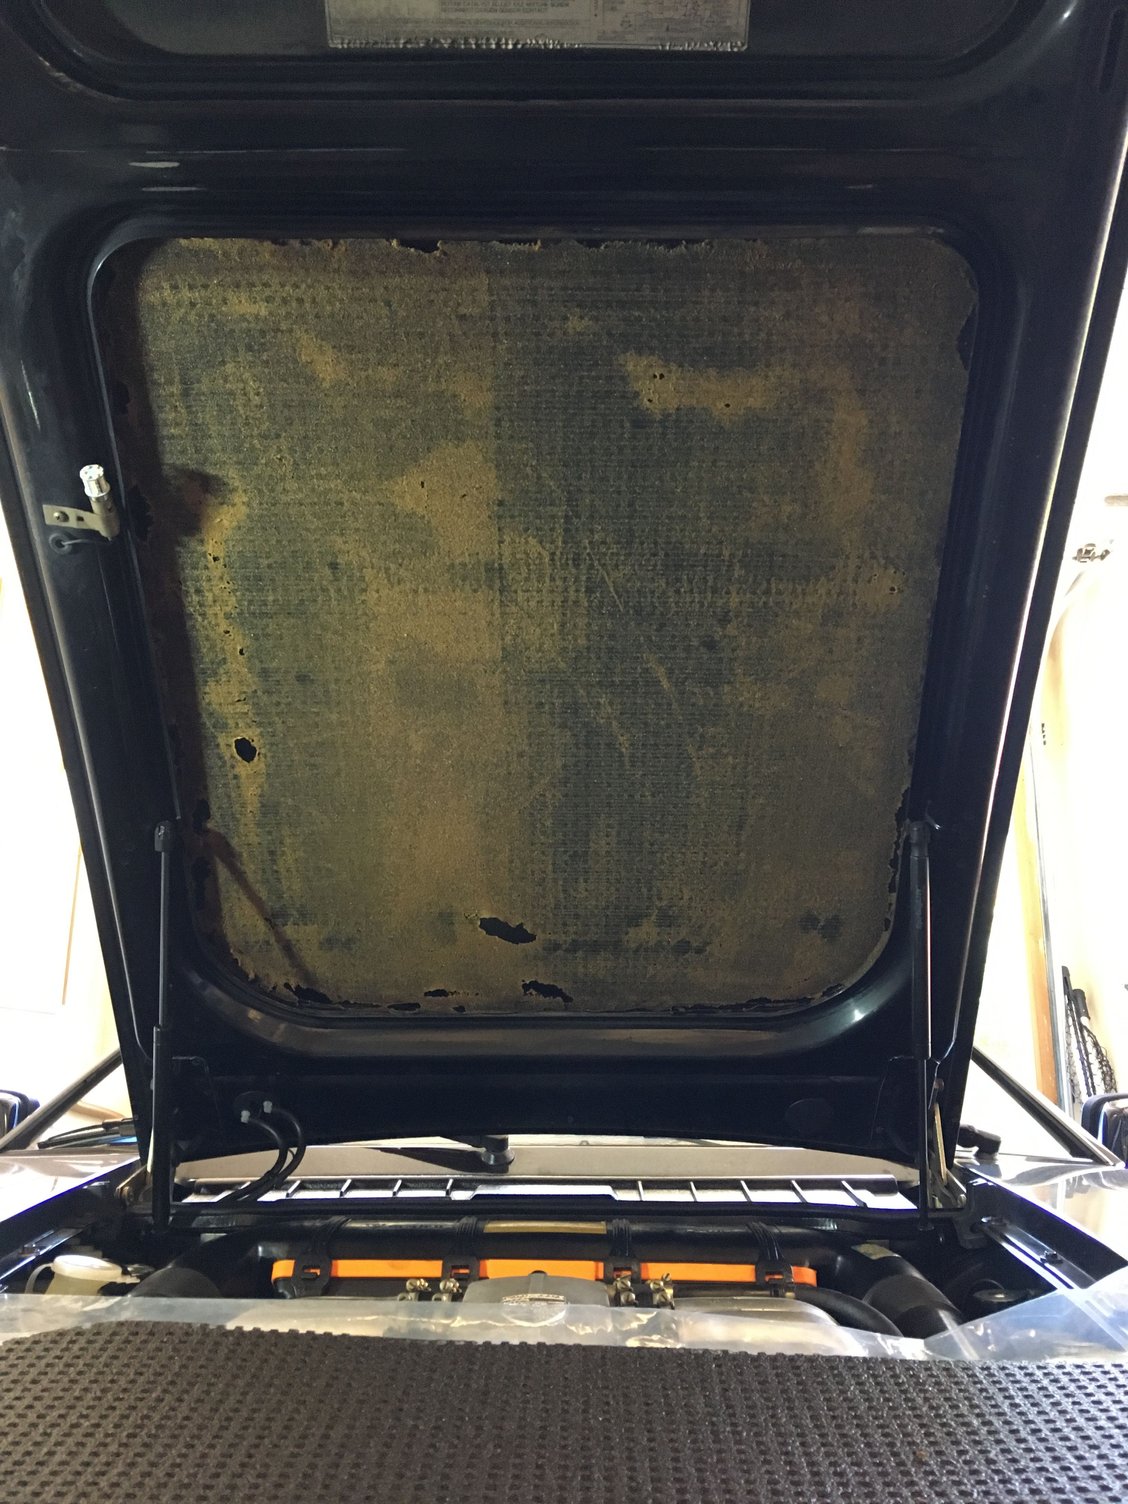
More details. I picked up a new Porsche underhood foam pad from Roger months ago, and finally got around to installing it!
I followed Roger�s advice to vacuum off the original with a shop vac, leaving behind the original film backing material. You can see that almost all of the adhesive film was left behind save for a few small areas where it was no longer adhering to the paint. The foam just turned into powder as I vacuumed, but it still took me about an hour to get rid of almost all traces of it from the backing. The edges are the worst, where it�s a bit harder to get at the foam tucked under the edges. I actually followed up the shop vac with my floor vacuum with its rotating scrubber to get the backing as clean as possible.
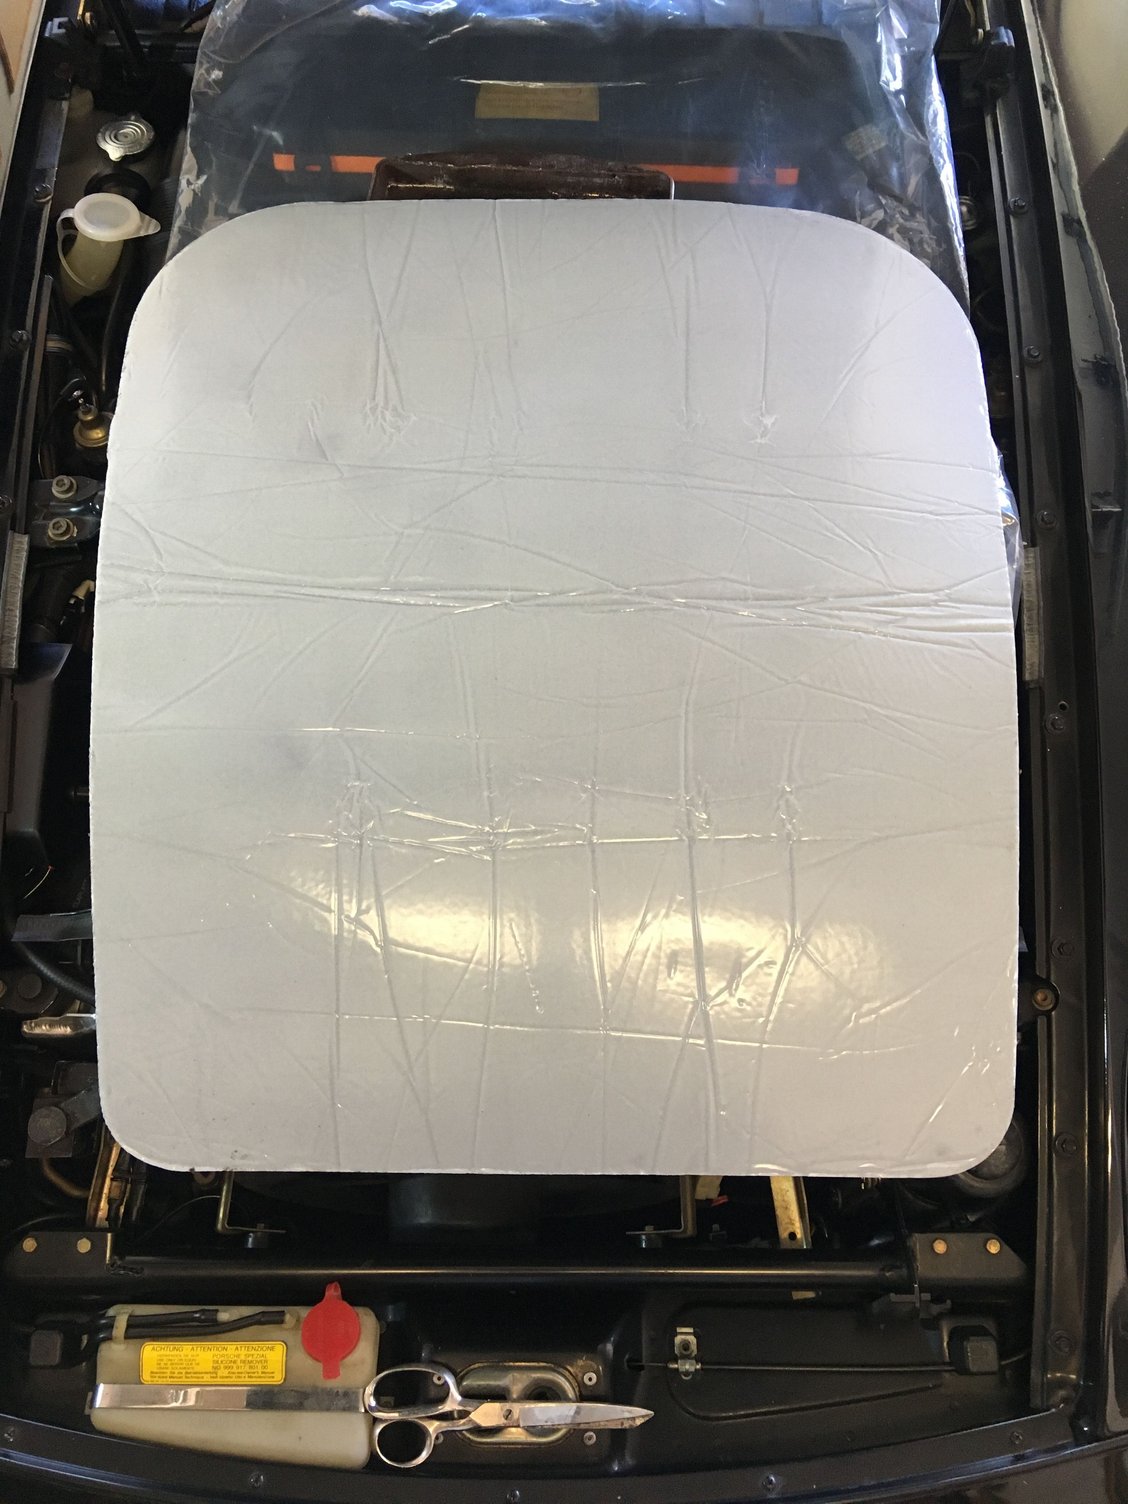
I decided that the divide-and-conquer method of installation would work best. Note that there is a top/foreword and bottom/rearward to the pad, the hood cutout is not symmetrical. After test fitting the new pad, three times, I used scissors to cut the plastic sheet backing into three sections (peeling back the plastic to make the cut, then laying it back down on the adhesive layer - I didn�t take a picture). I made the center area biggest, with each end area � always the trickiest in these situations� smaller, perhaps about 8�. With a helper, I then reinstalled the pad, getting it centered (the pad is slightly bigger than its destination and the edges end up getting slightly stuck under the edges). My helper held the pad in place in the middle while I gently lifted out the forwardmost/uppermost area and removed the first backing strip. The best trick seems to be to let the foam fall into place, gently tack the pad in place to within about two inches of the edge, then tuck the edges in (unsticking any edge that sticks to the protruding sheetmetal surround). I don�t think that trying to insert the edges in first would work because the adhesive will stick down the foam before the edge is positioned fully under the sheetmetal. I then moved down towards the back of the hood, doing the center section and finally the third and last section.
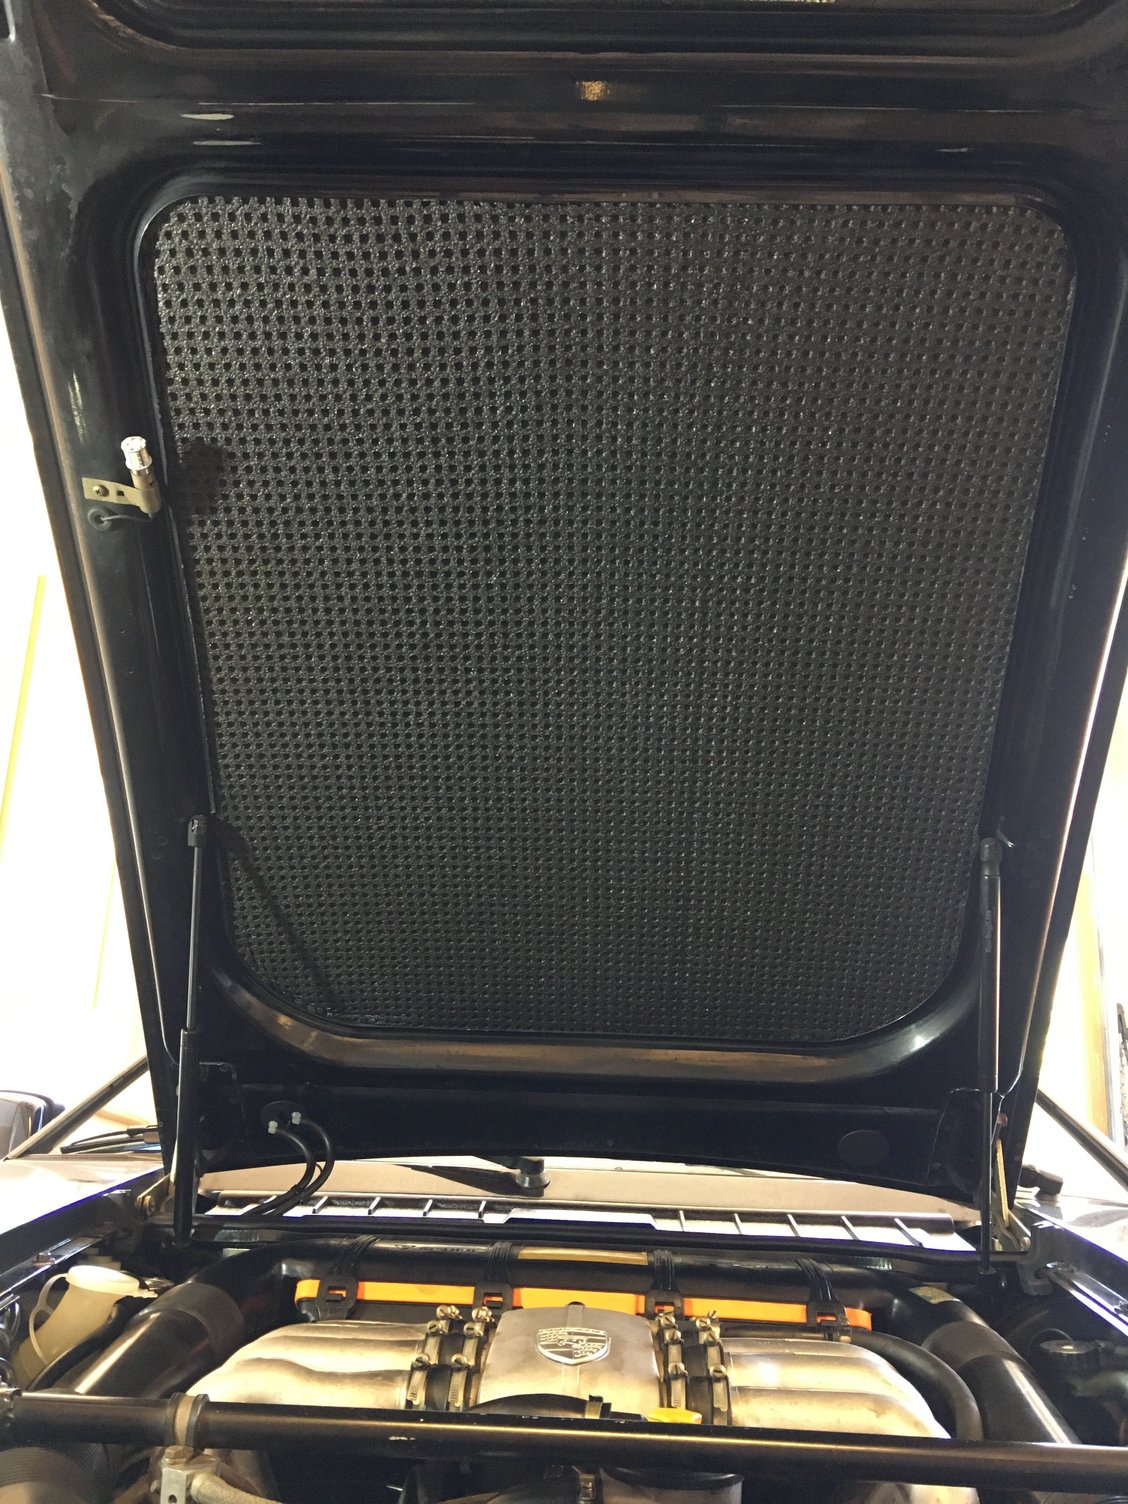
Very happy with how it turned out. The foam fell right into position, no bunching up or any stretching. Once it�s fitted without removing the backing, it really doesn�t move, so it�s actually pretty easy to do a section at a time, just don�t ever pull as you stick it down!
I�ve slowly been collecting all needed parts for a suspension refresh. I�ll be:
- Replacing shocks
- Replacing front upper control arms
- Replacing front lower control arms
- Replacing springs with the shorter green stripe springs from an �84 and its adjustable front suspension components
- Replacing all rear rubber bushings
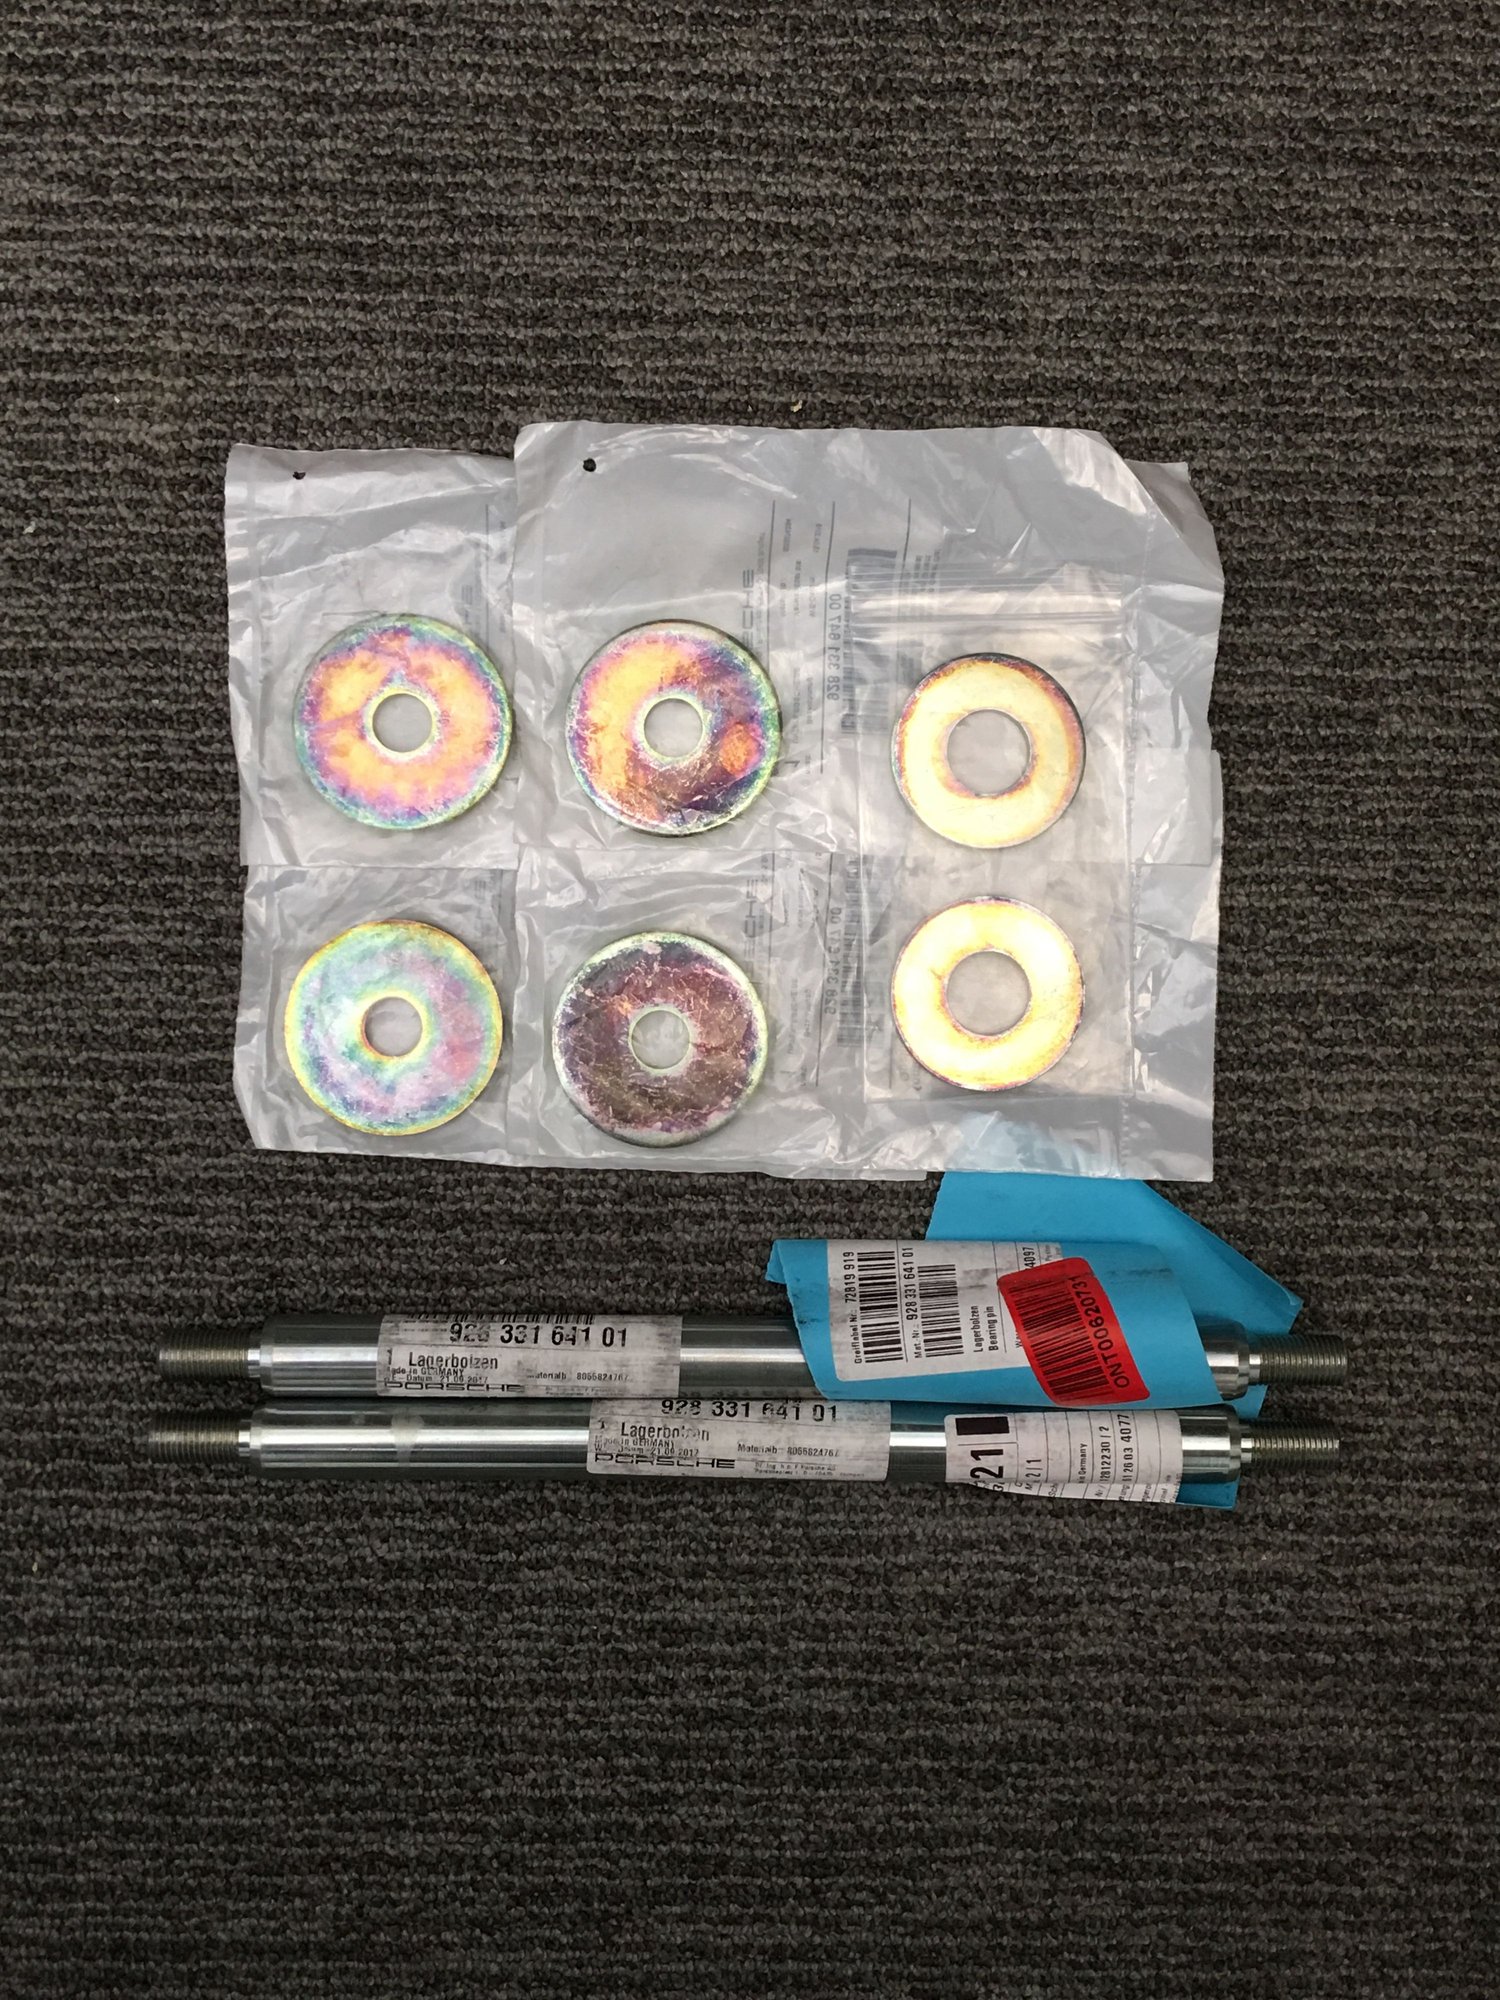
- Replacing rear pins bc why not
- And of course replacing all misc pieces and nuts n bolts specified by the WSM and as needed.


 06-22-2019 | 02:44 AM