When you click on links to various merchants on this site and make a purchase, this can result in this site earning a commission. Affiliate programs and affiliations include, but are not limited to, the eBay Partner Network.
I'm so hosed! Replacing coolant/fuel hoses, oil seals, harnesses and TB/WP '83 m
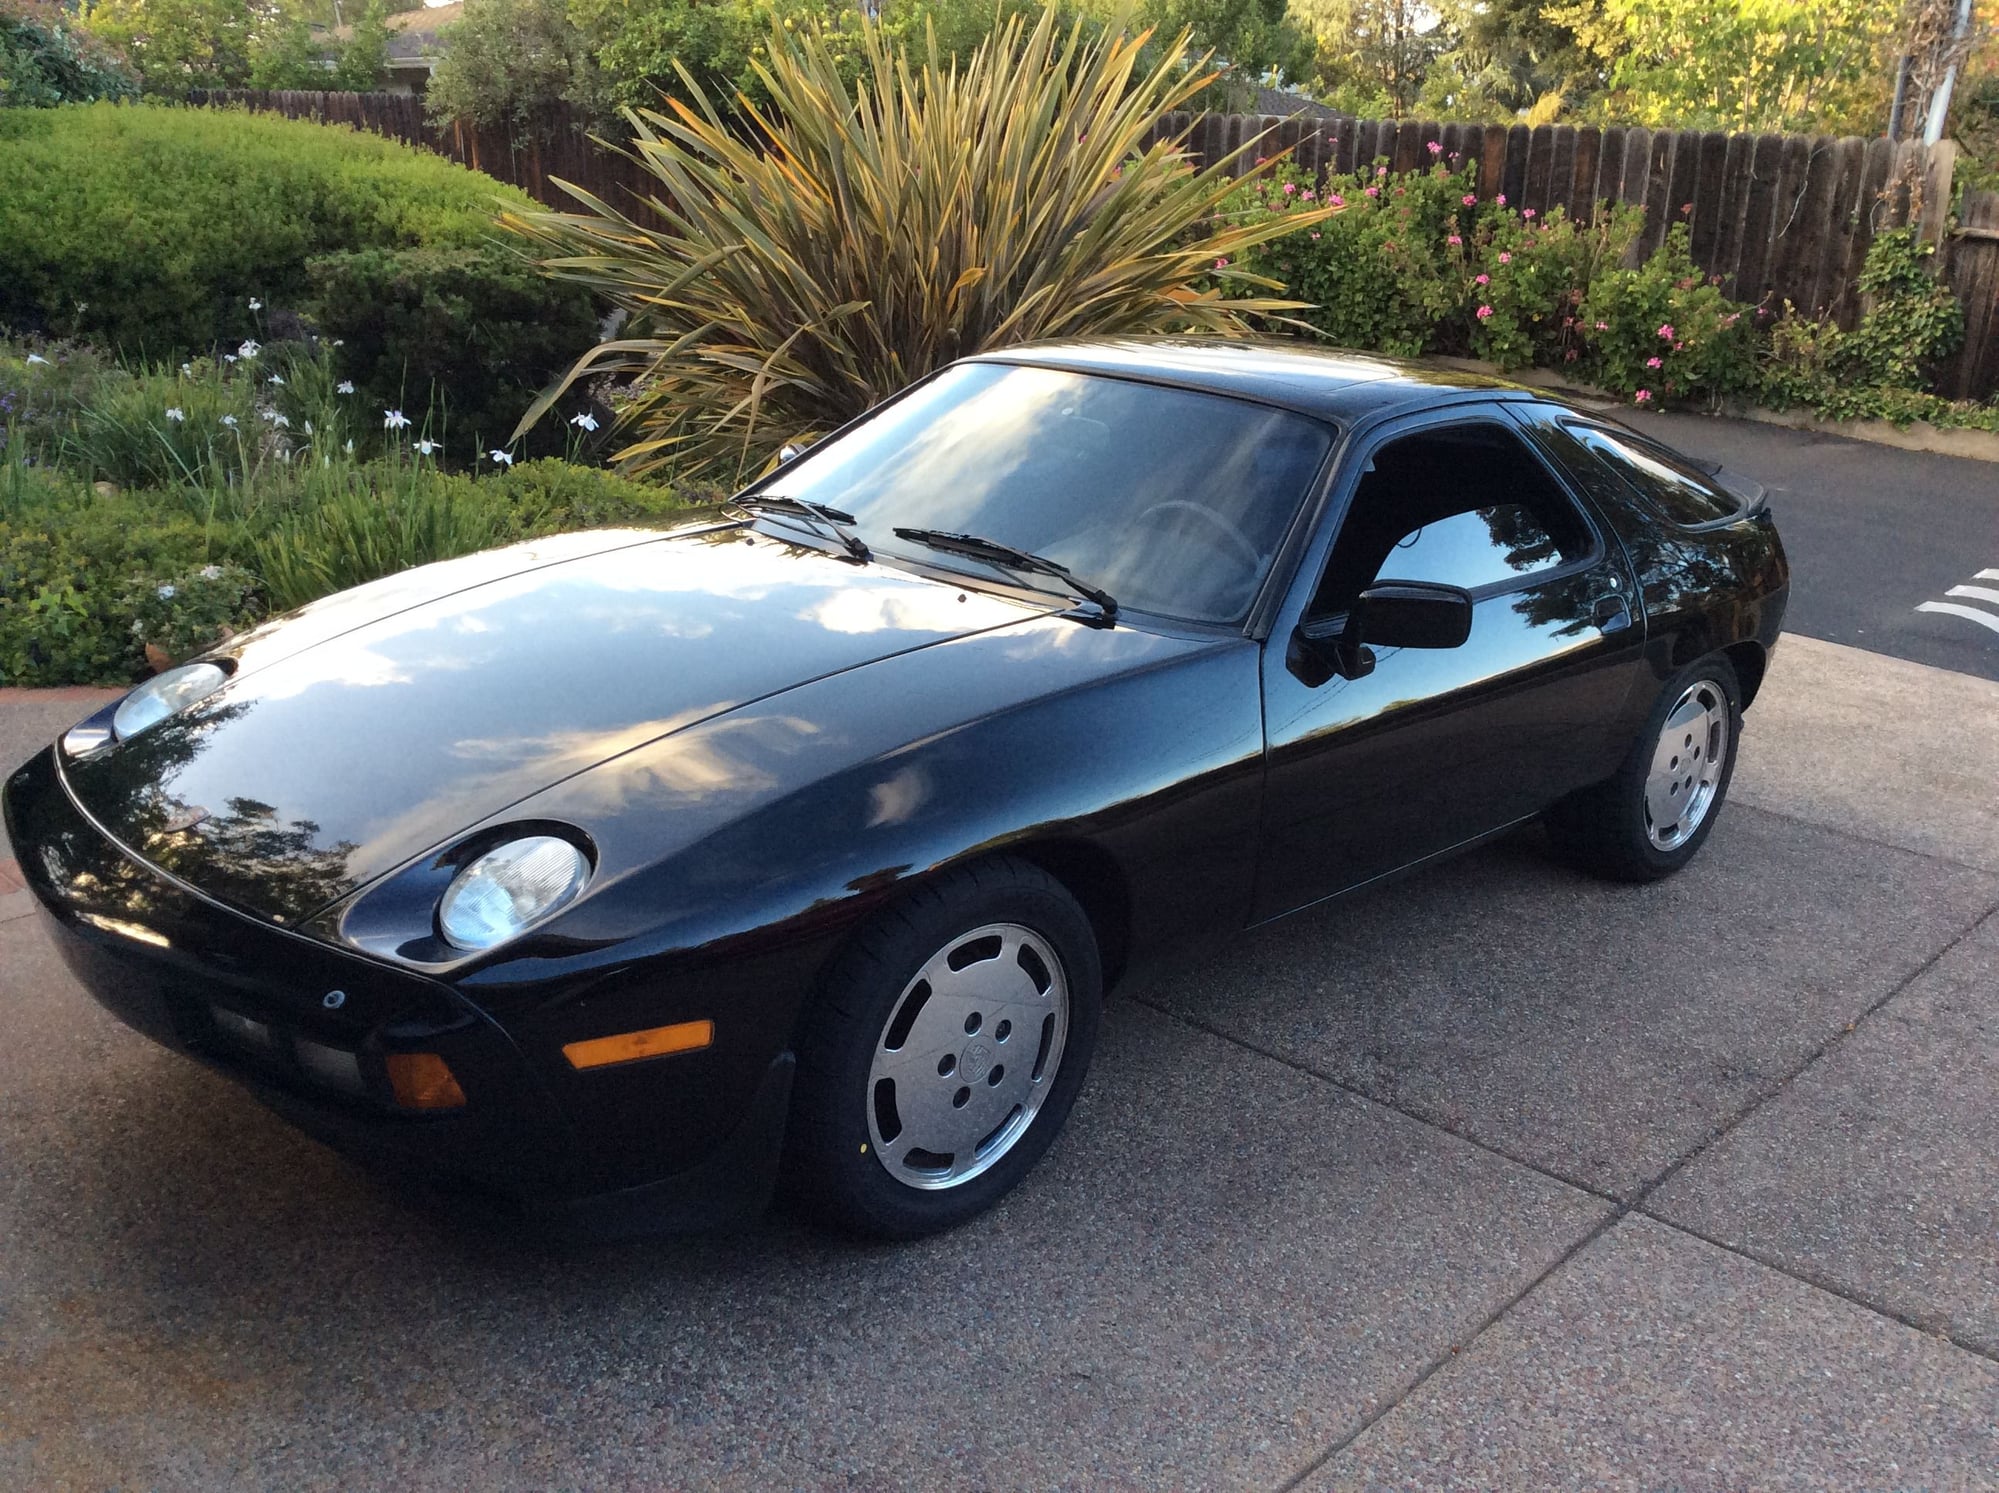
I'm probably WAY behind the curve here, but finally decided to take the plunge and do an underhood hose refresh on my '83 S (USA car, L-Jet). I'll take a few pictures and document as I go for amusement and just in case it may help someone some day!
I have to admit, this project was not QUITE what I had in mind and is a GREAT example of one thing leading to another! AKA WYAIT!! All I REALLY needed to do was replace my radiator, an all-aluminum Devek from about 2000 that had started to seep in the core. So I ordered a new CFM radiator from Roger, got that installed with a couple of new hoses, and then realized I needed that teeny tiny hose from the top of the radiator back to the expansion tank. Why not replace that one little part before I fill the radiator?
Well, that was something like three weeks ago, and I'm STILL ordering parts! I decided to change out some of the STILL ORIGINAL coolant hoses at the back of the engine and under the expansion tank. Yes, even though nothing was leaking and they were all still flexible. I'll be good to go for another thirty five years? Of course, I knew that if I took the expansion tank out, I may as well replace the window washer pump under the tank while I'm at it. It hasn't worked for years! And hey, why do just ONE when Porsche gives us the joy of replacing THREE washer pumps!!
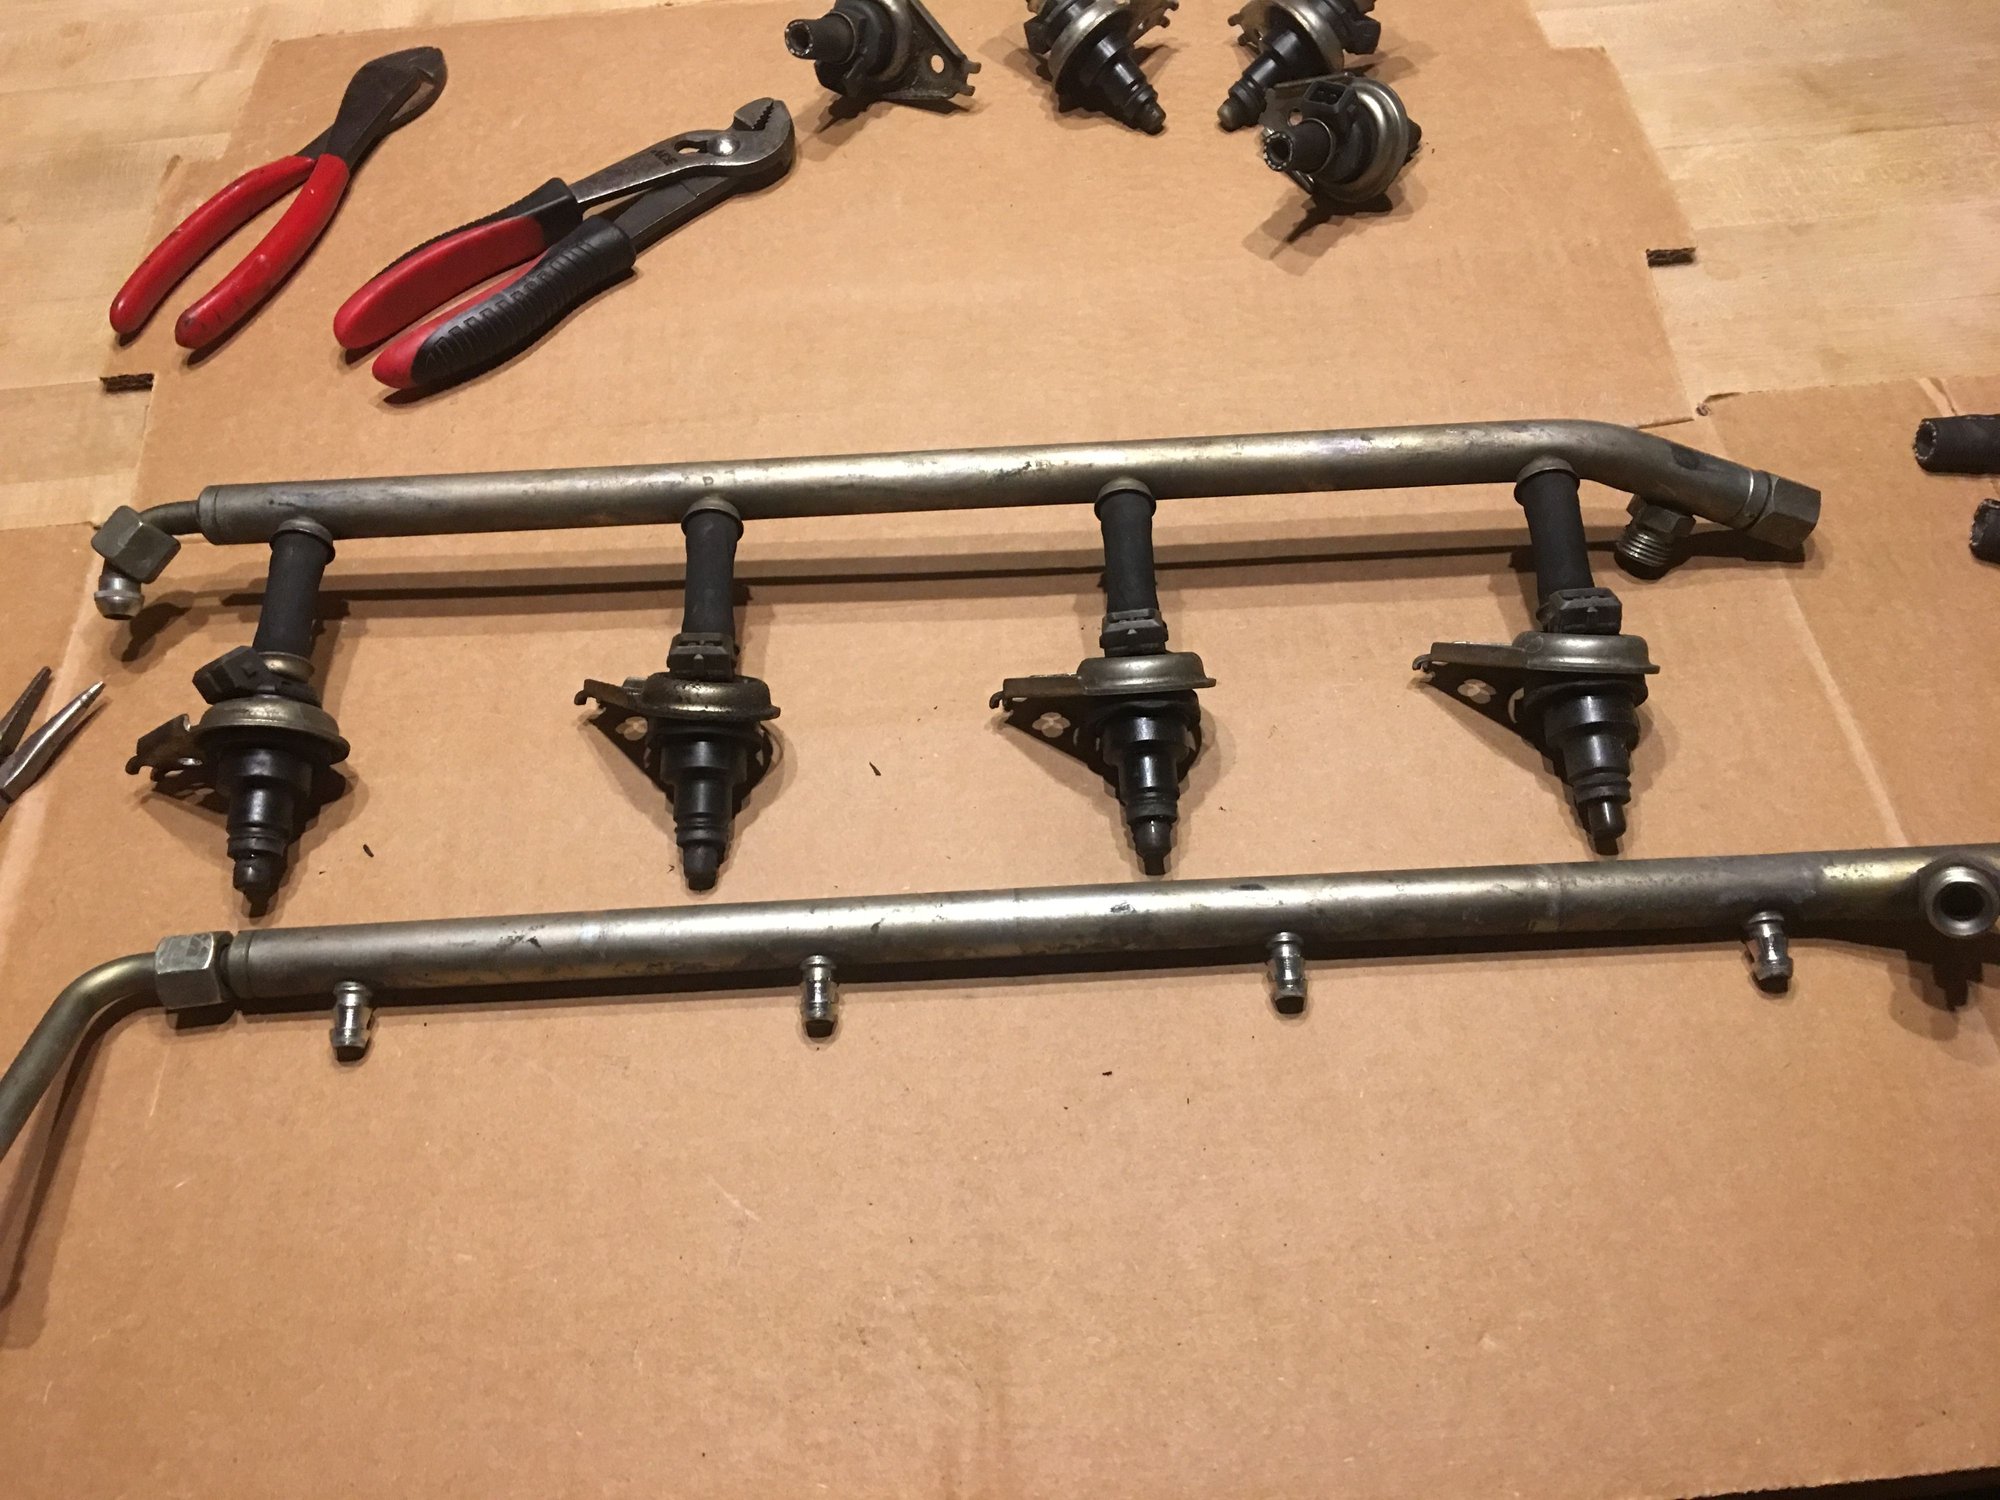
I also realized that while I had all that OTHER stuff out, I may as well replace fuel lines too. I had no idea even how many there were, but Roger has me covered. Oh, and don't forget the crazy little two-inch-long fuel lines connecting each injector to the rails.
This project is still expanding in scope as we speak! I just yesterday decided that while I have the injectors out... and already having checked into replacing the injectors with more modern equivalents (there are a few threads on that)... that I'll send off the injectors to Witch Hunter for cleaning and flow-matching, and of course install them with new seals.
I'll split this into four parts: Coolant hoses, the new fuel lines, injectors, and finally washer pumps. And maybe I'll add more stuff WYAIT
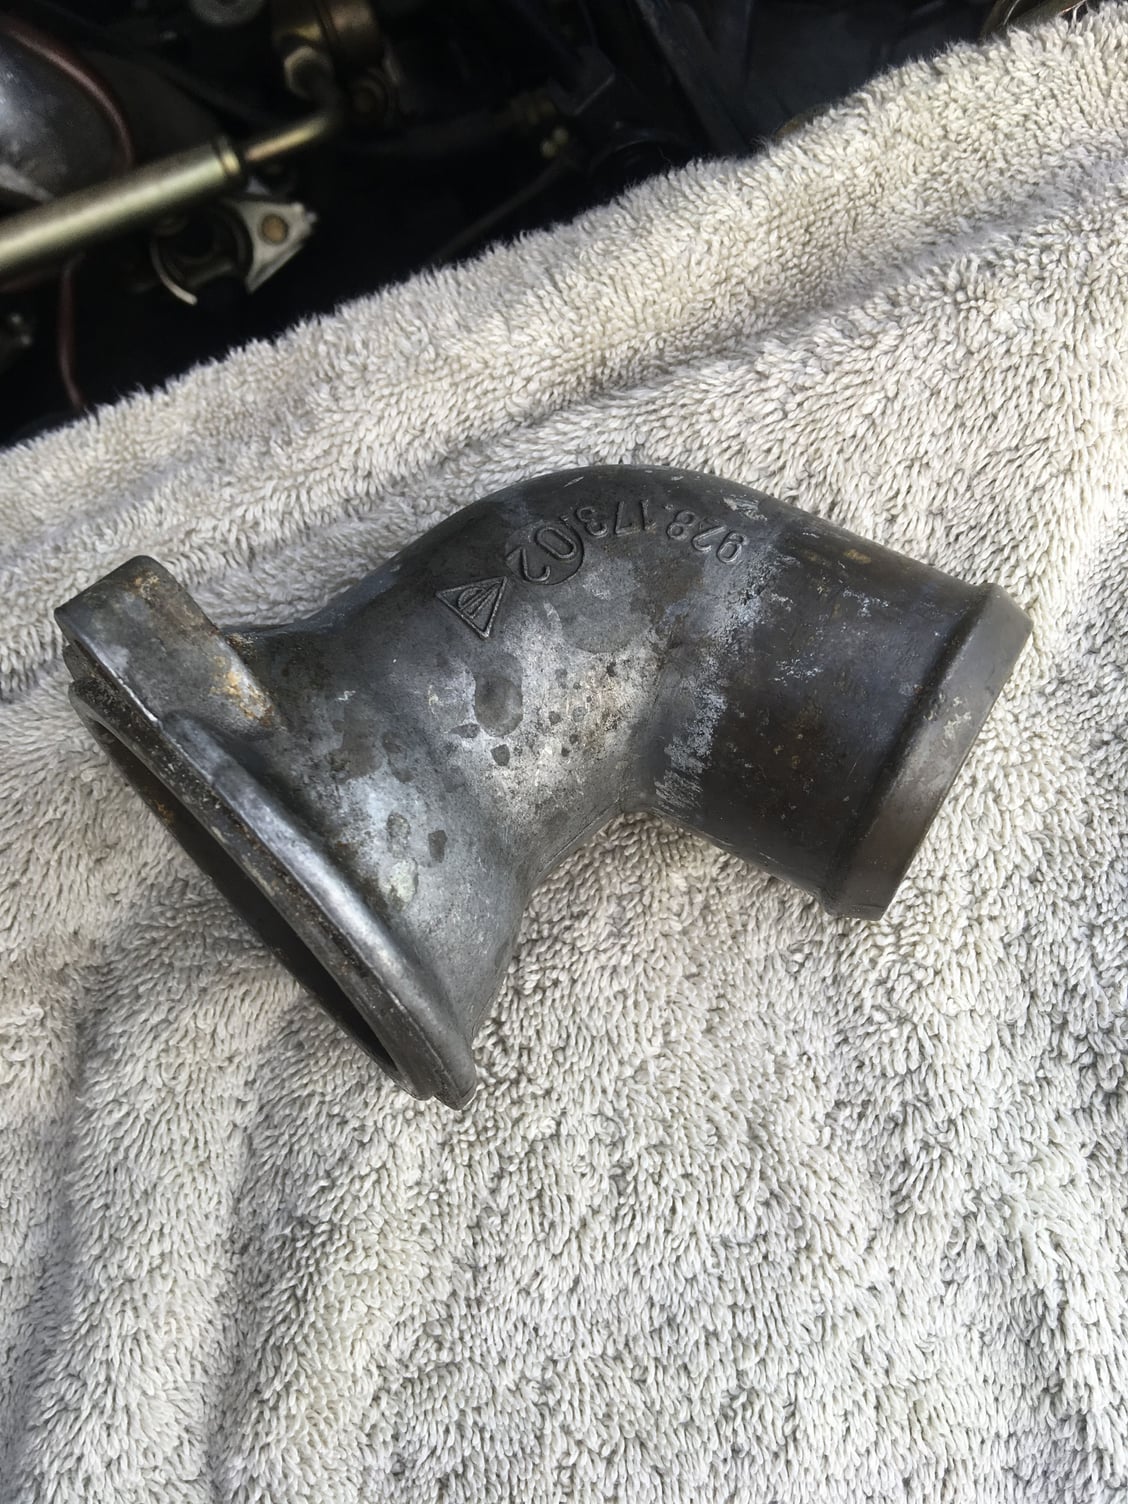
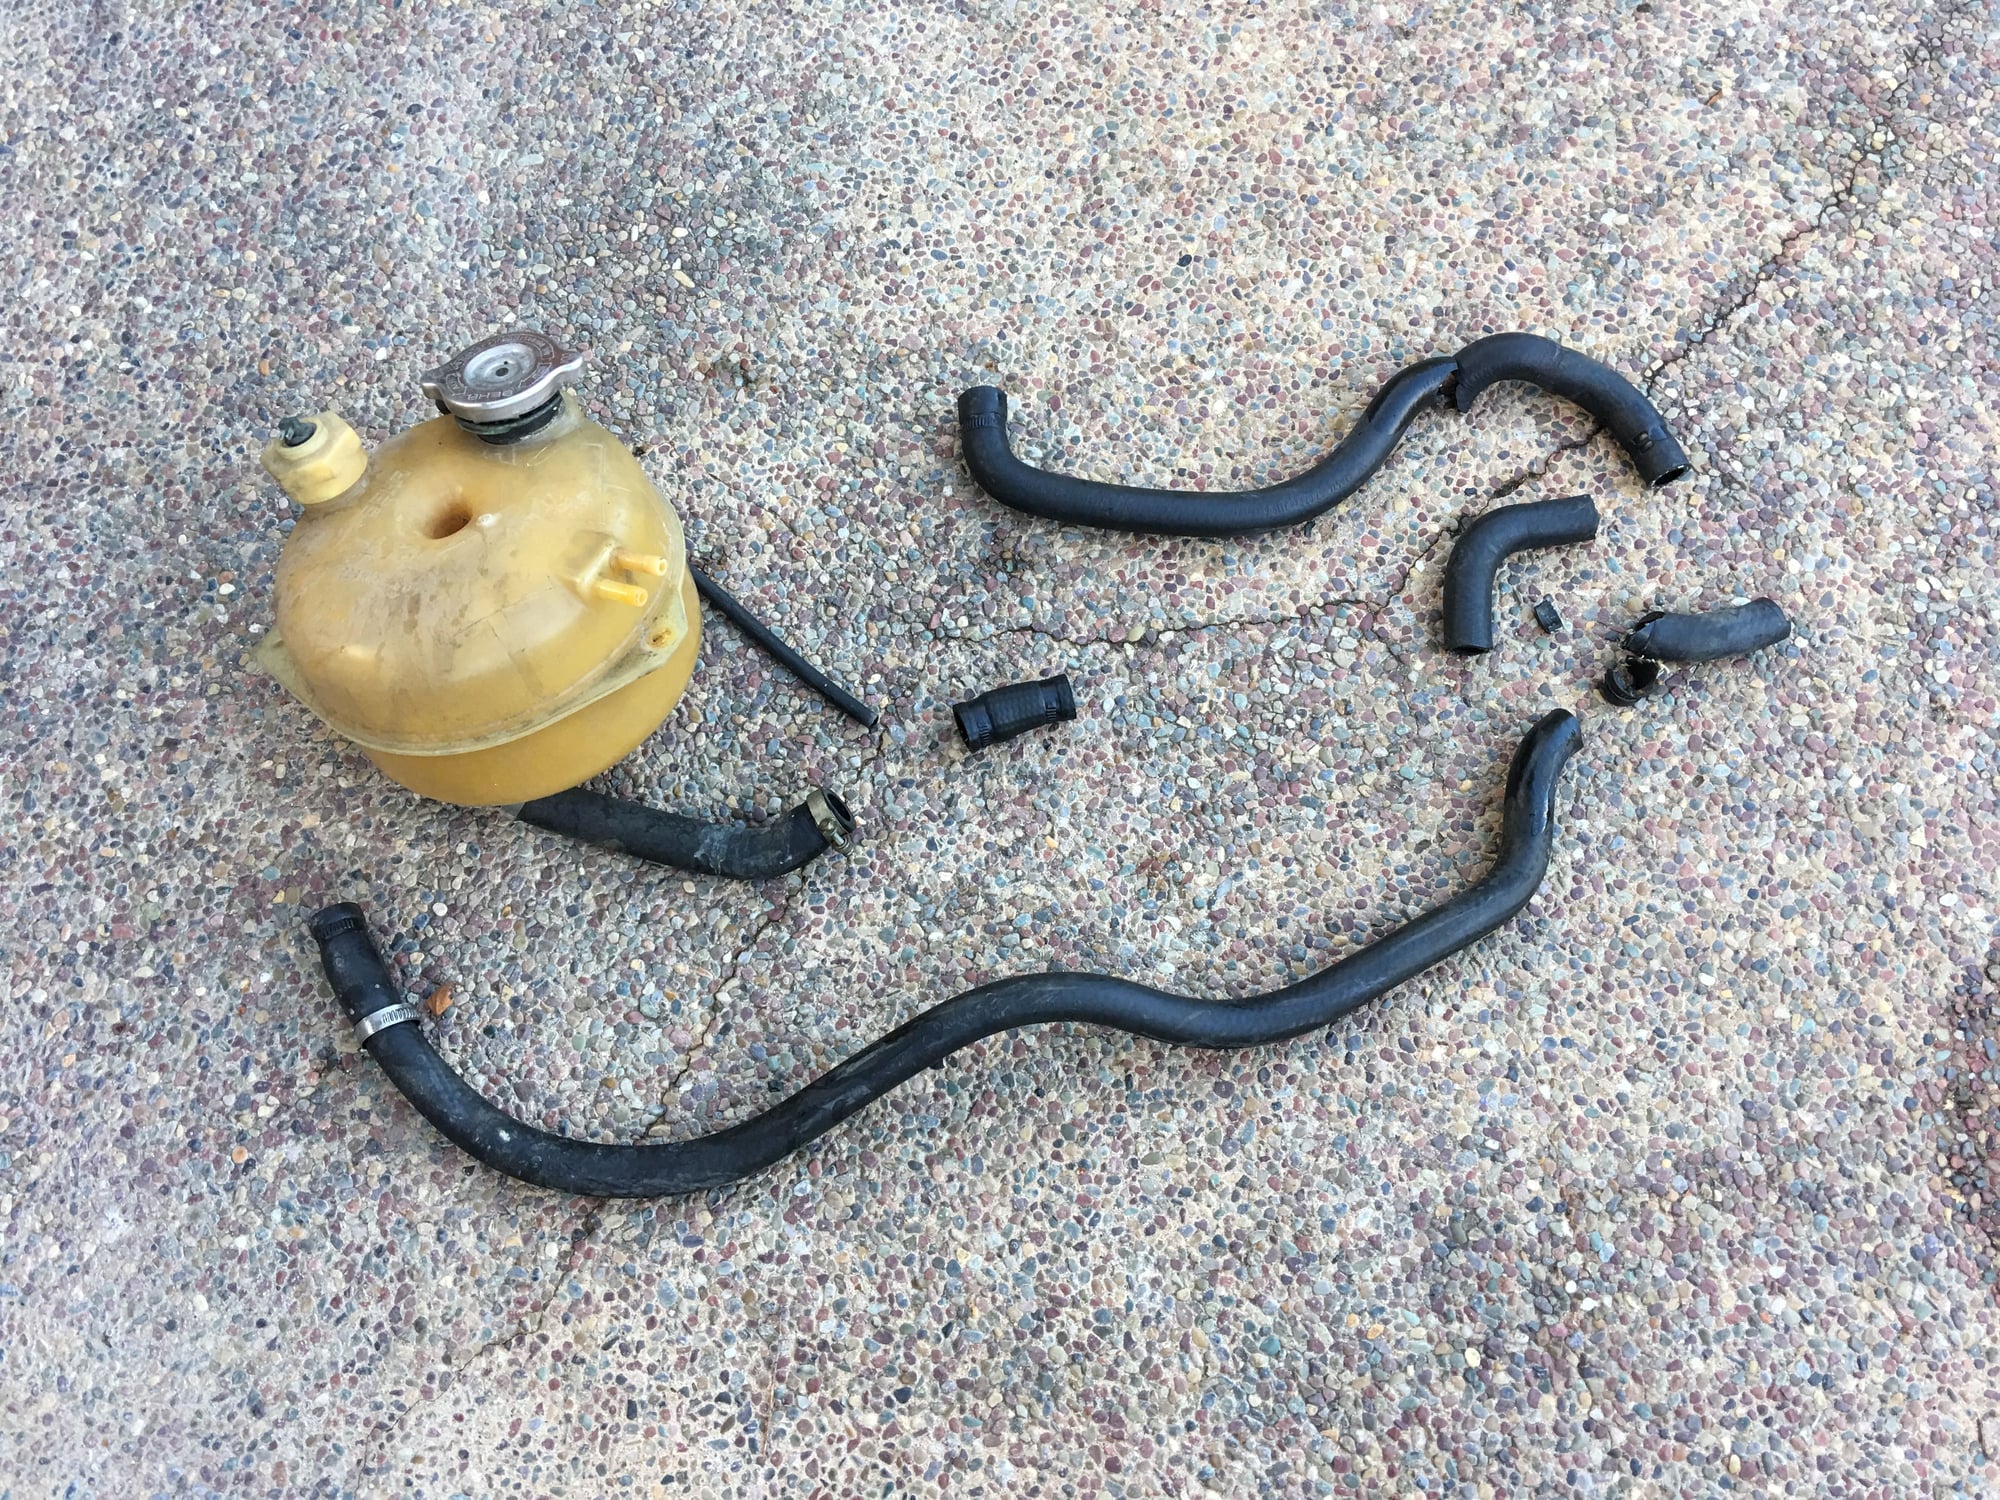
Fun fact: My model year is apparently the only one that has a single-piece coolant hose from the top of the radiator back to the expansion tank. And, of course, it's NLA! And also of course, the only difference between it and regular heater hose is that Porsche molds in a 90 degree bend at the very end and charges thirty bucks for it!! Anyway, I now have the required two pieces of hose and a connector to join them together in the middle, ready for install.
Edit: I decided to do a TB/WP job while I'm at it and also to replace all the seals at the front of the engine, and also replaced cam and oil pump gears. And also upgraded to the S4 style washer tank/pump. Later edit: AND decided to replace all major underhood harnesses and battery positive cable. Even later edit: AND did a full suspension refresh with new shocks and new rubber bushings all round, and upgraded to '84 adjustable front springs. And refreshed the door wiring harnesses, refreshed the instrument cluster (including replacing the infamous odometer gear, having the speedometer professionally serviced and calibrated, cleaning and ensuring electrical continuity around the instrument foil and rivets, and replacing all dash lights), got the headlight squirter valves replaced, and replaced old fender liners.
Even later edit (9/2020): AND rebuilt the 5-speed transmission, vapor blasted its case and all aluminum suspension parts and other underbody aluminum parts, new motor and transmission mounts, replated calipers and other components, complete underbody cleaning/restoration, renovate exhaust, replaced all wheel bearings, replaced tie rods, repacked cv joints, and attended to a million tiny renovation details!
I started by tackling the expansion tank. I need to replace these hoses in the diagram: 20, 40, 37, 46/48 and (not shown) the two hoses that go to the heater core on the firewall plus a short length of hose from the block to the heater valve.
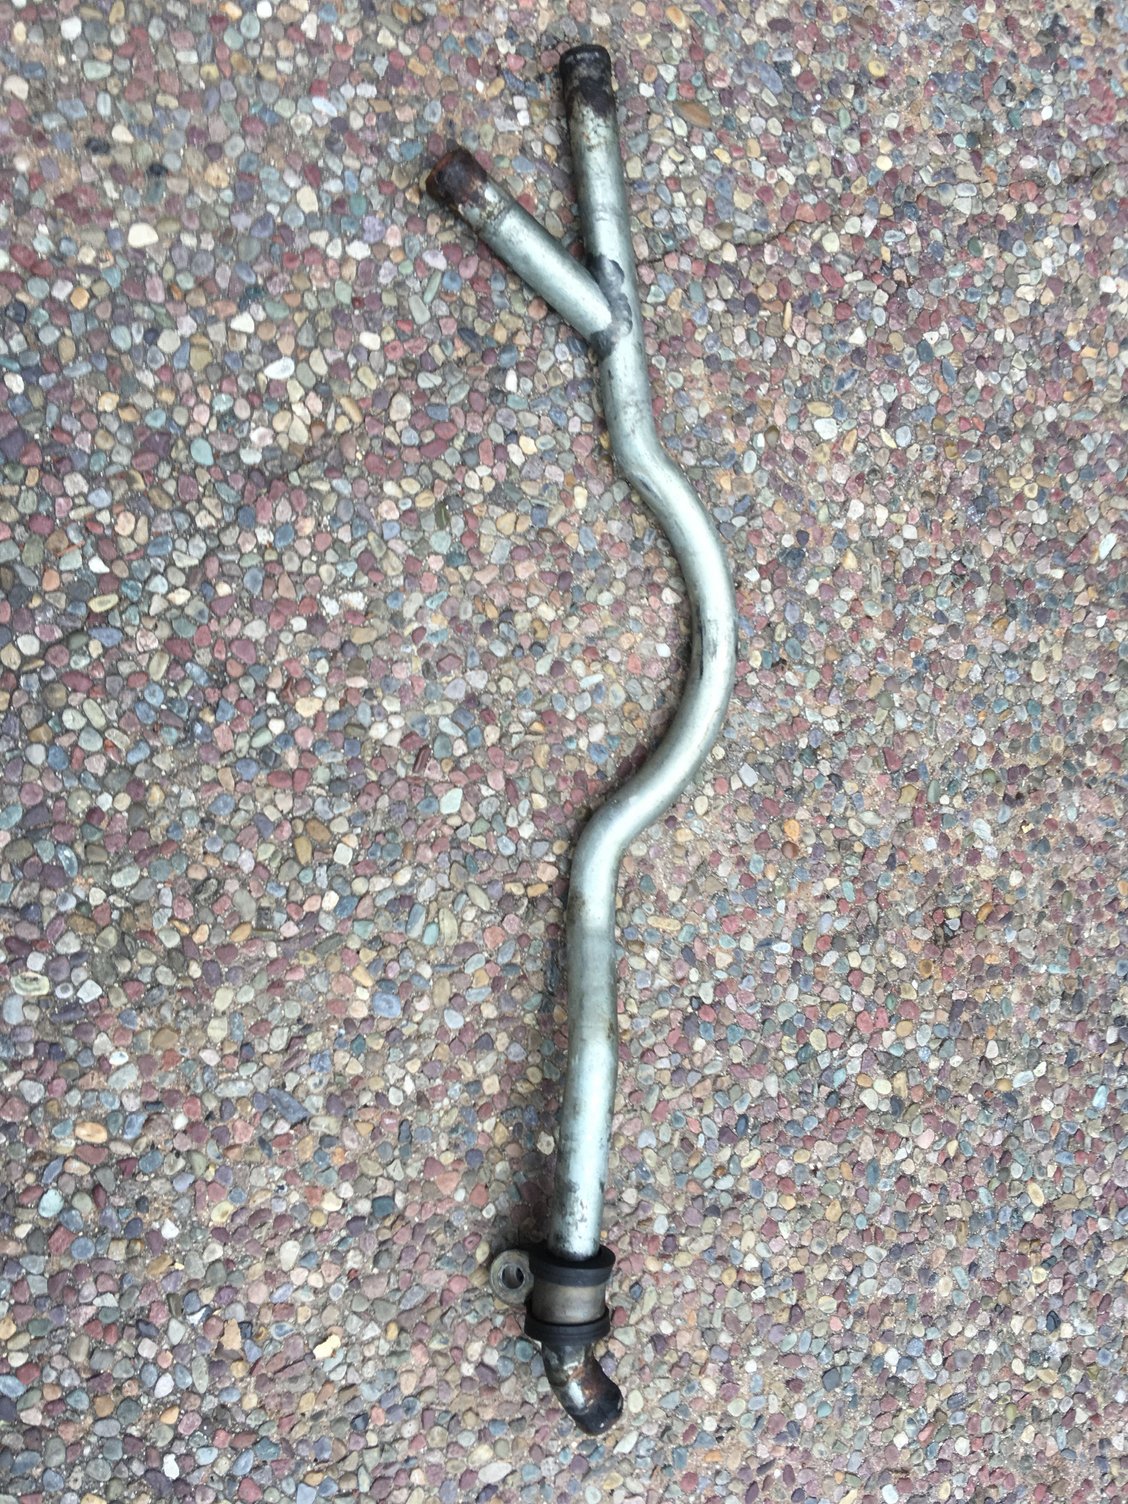
I had heard that the expansion tank was a bear, but -- after removing the washer filler neck -- mine came out pretty easily with just two bolts. The hard part I was expecting was accessing and removing the heater hose at the bottom of the tank (#40) which attaches to one leg of the metal Y tube, but the hose clamp was easy to access and the hose wasn't TOO badly baked on to the pipe. I had the tank out in ten minutes!
However, what I thought would be pretty easy to replace turned out to be AWFUL. Namely the two hoses to the heater core through the firewall. I removed the weatherstrip at the top of the firewall and, with it, the little plastic shield over the windshield wiper motor to reveal the ends of the heater hoses. They attach to tubes sticking out of the firewall there with hose clamps. As you can see in the pictures, the *#$& clamps at the firewall were rotated under the hoses so as to be TOTALLY not accessible to loosen. I ended up struggling for about two hours altogether to get these two hoses off. The top hose was totally baked on. I chopped off all but the last three inches of the hose at the firewall, grabbed it with some big pliers and twisted, but it wouldn't rotate. I ended up using an X-Acto knife to cut lengthwise and under the hose clamp as far as I could go, and also to cut off the parts of the hose I could reach between the clamp and the firewall. I then had to wrestle out the hose from under the clamp. $%&*#!!!! Oh, and to make things even more fun, the stupid clamp fell down into the unknown depths under the wiper motor not once but twice during the remove and reinstall -- I had to blindly fish it out each time. Thankfully, the lower hose was not baked on at all (must be the return line) and the chop-and-twist method worked to rotate the hose clamp to a good position to remove it. Reinstalling the new hoses is a bit of a pain just because there is so little room to work, but I got it all on in the end, and of course with the hose clamps pointed up this time!!
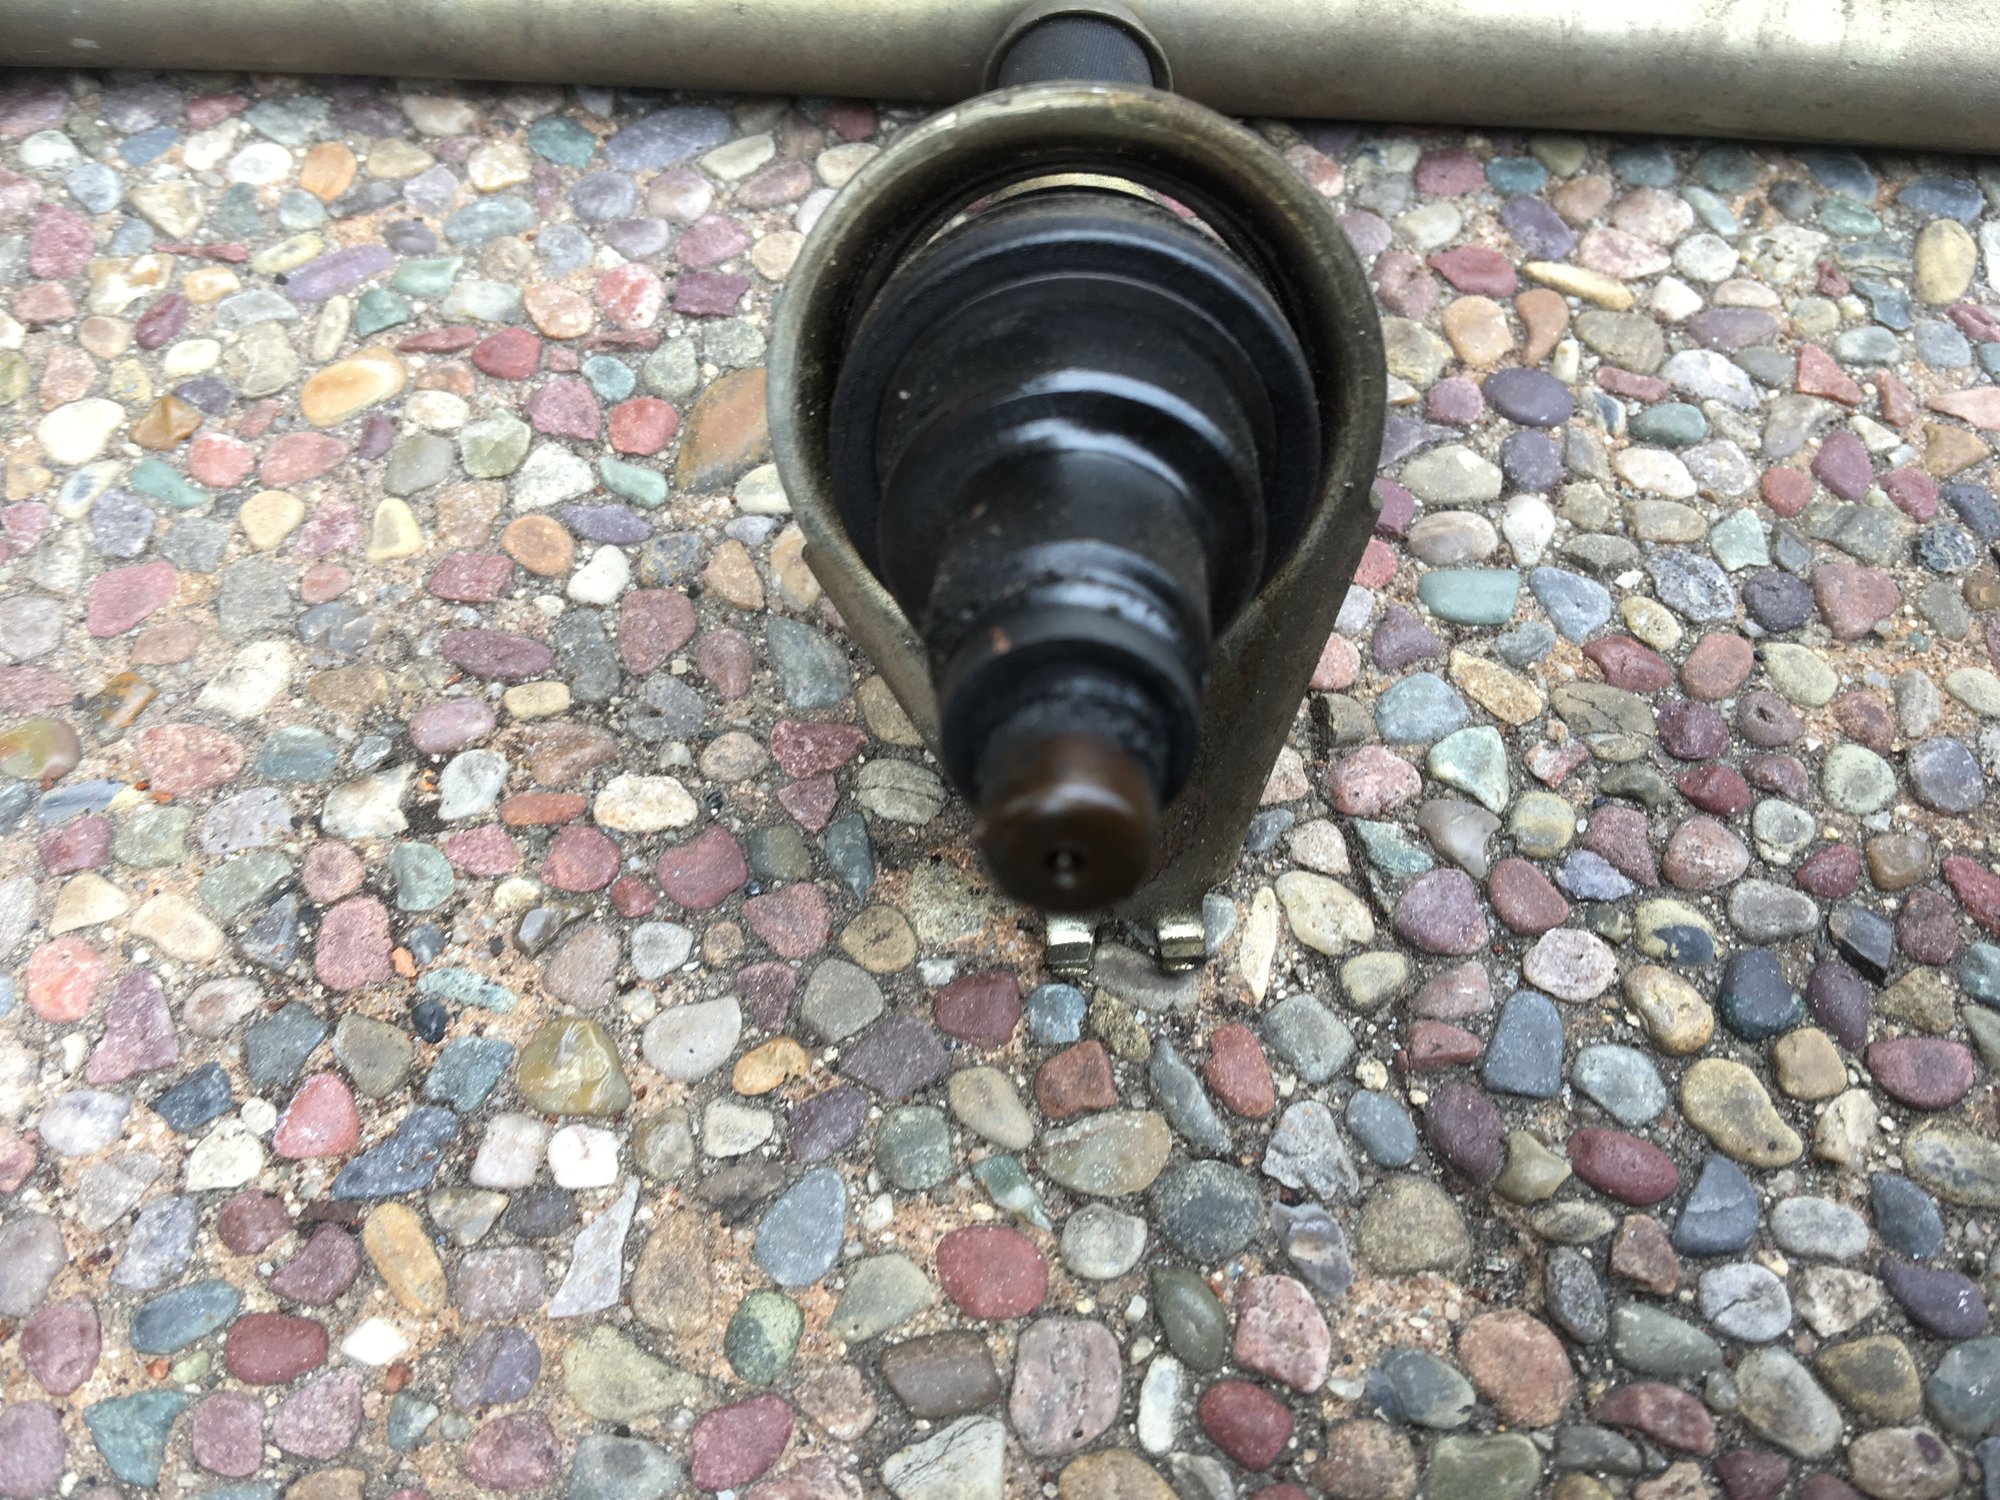
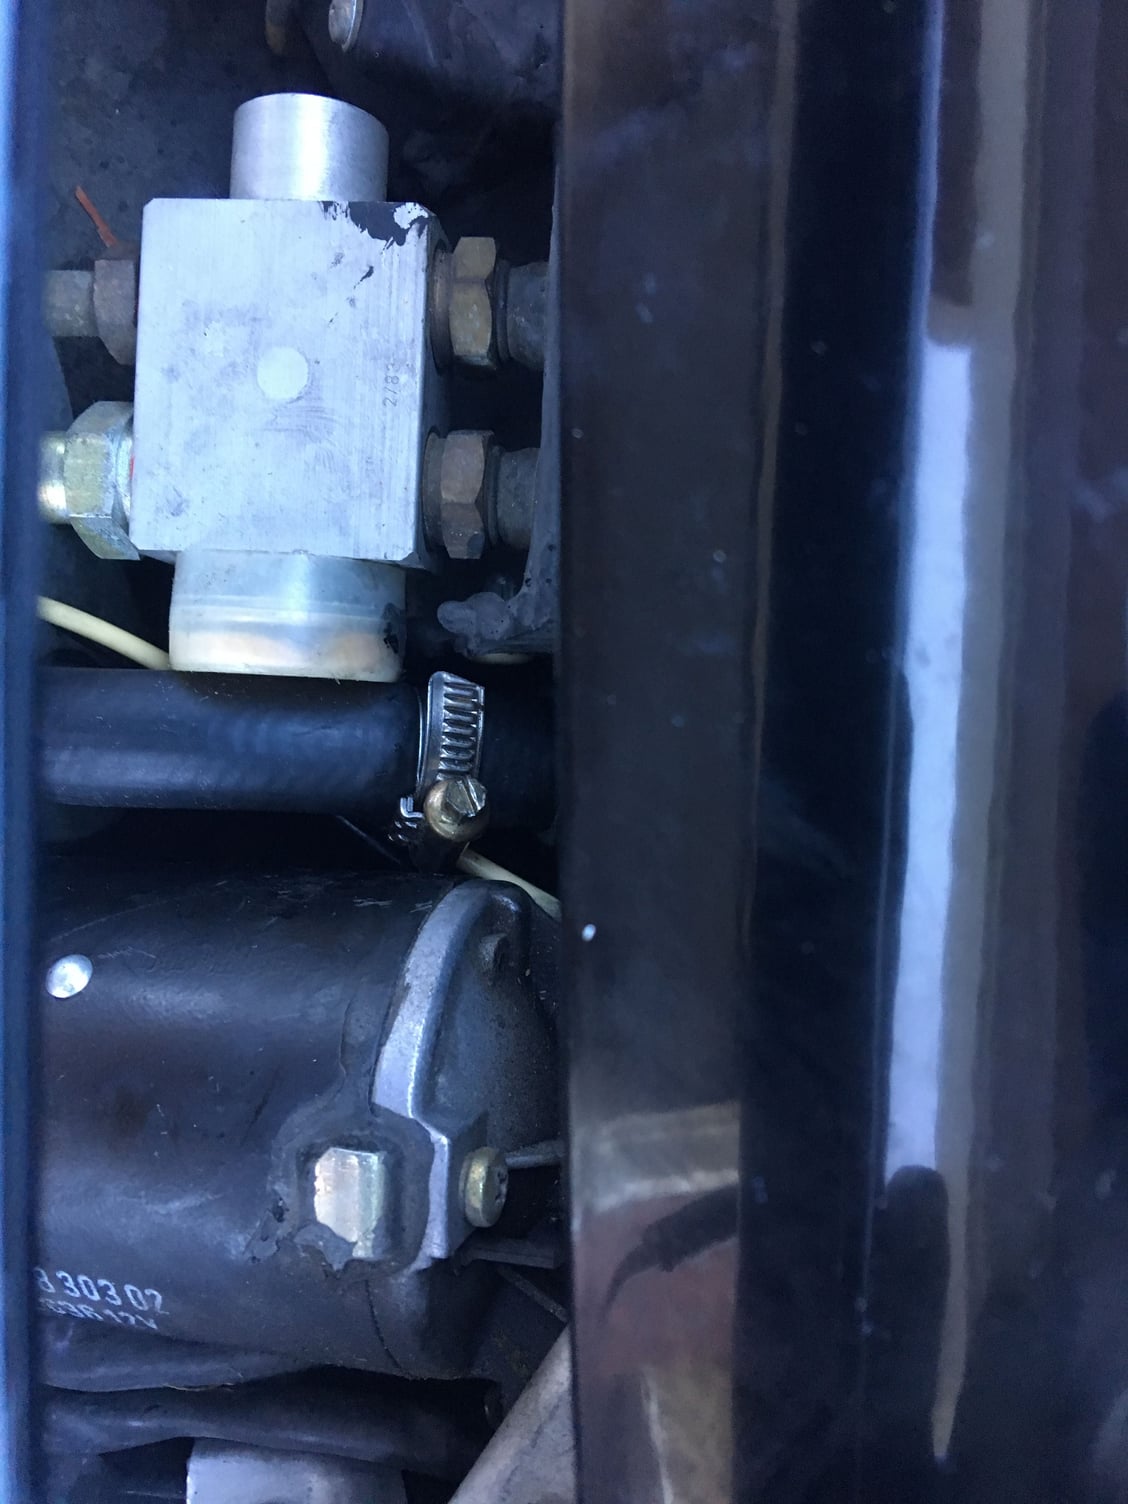
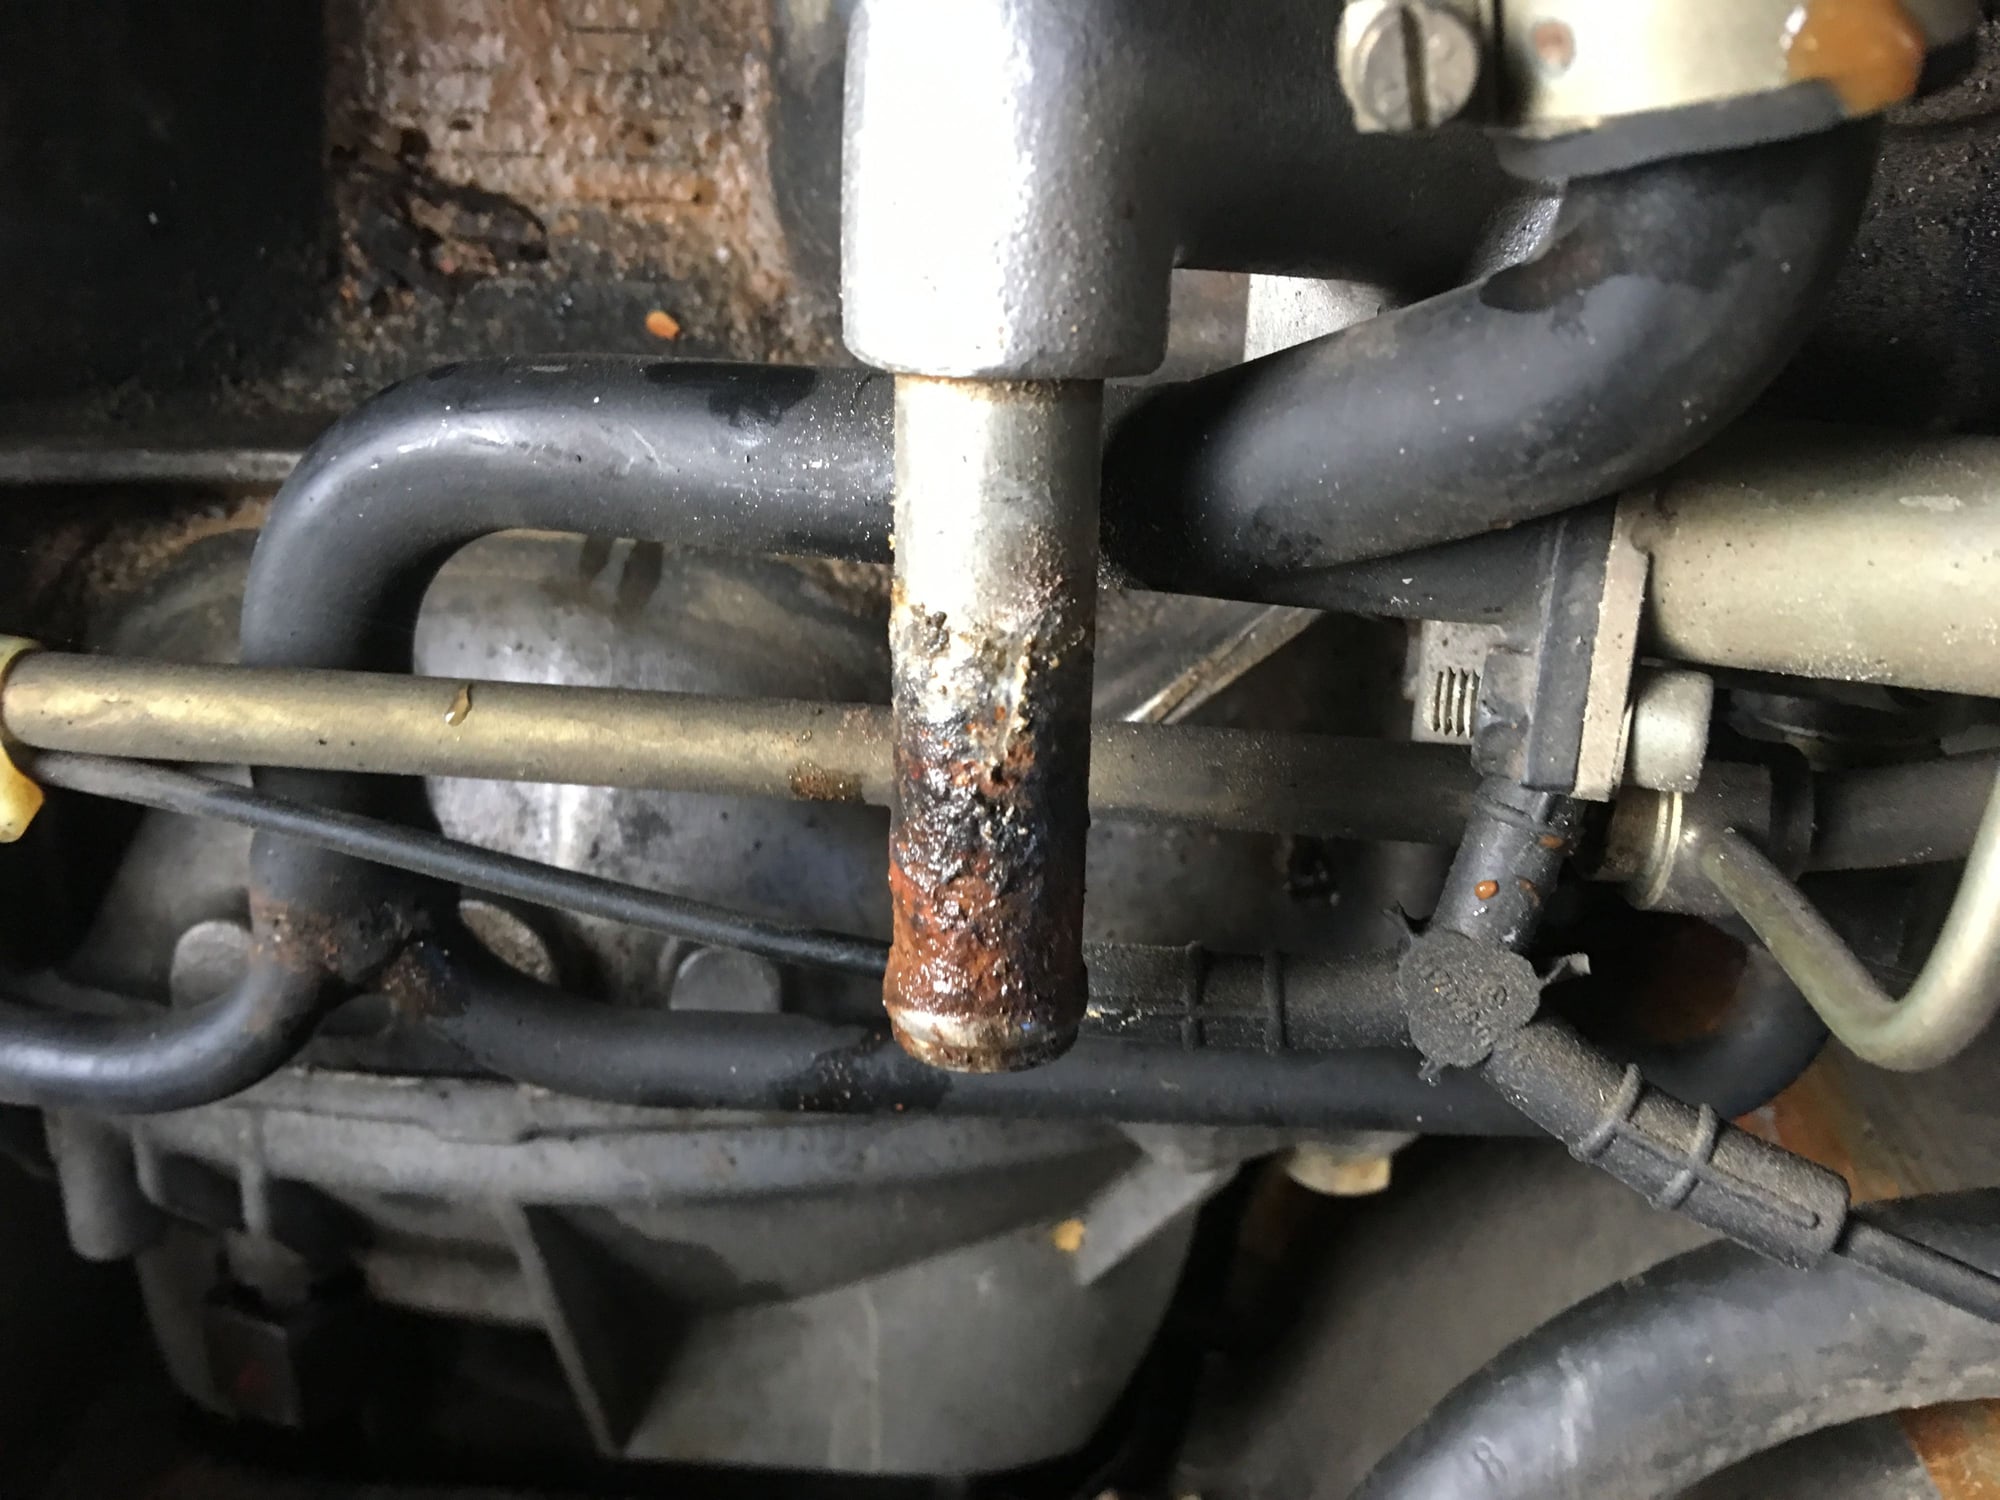
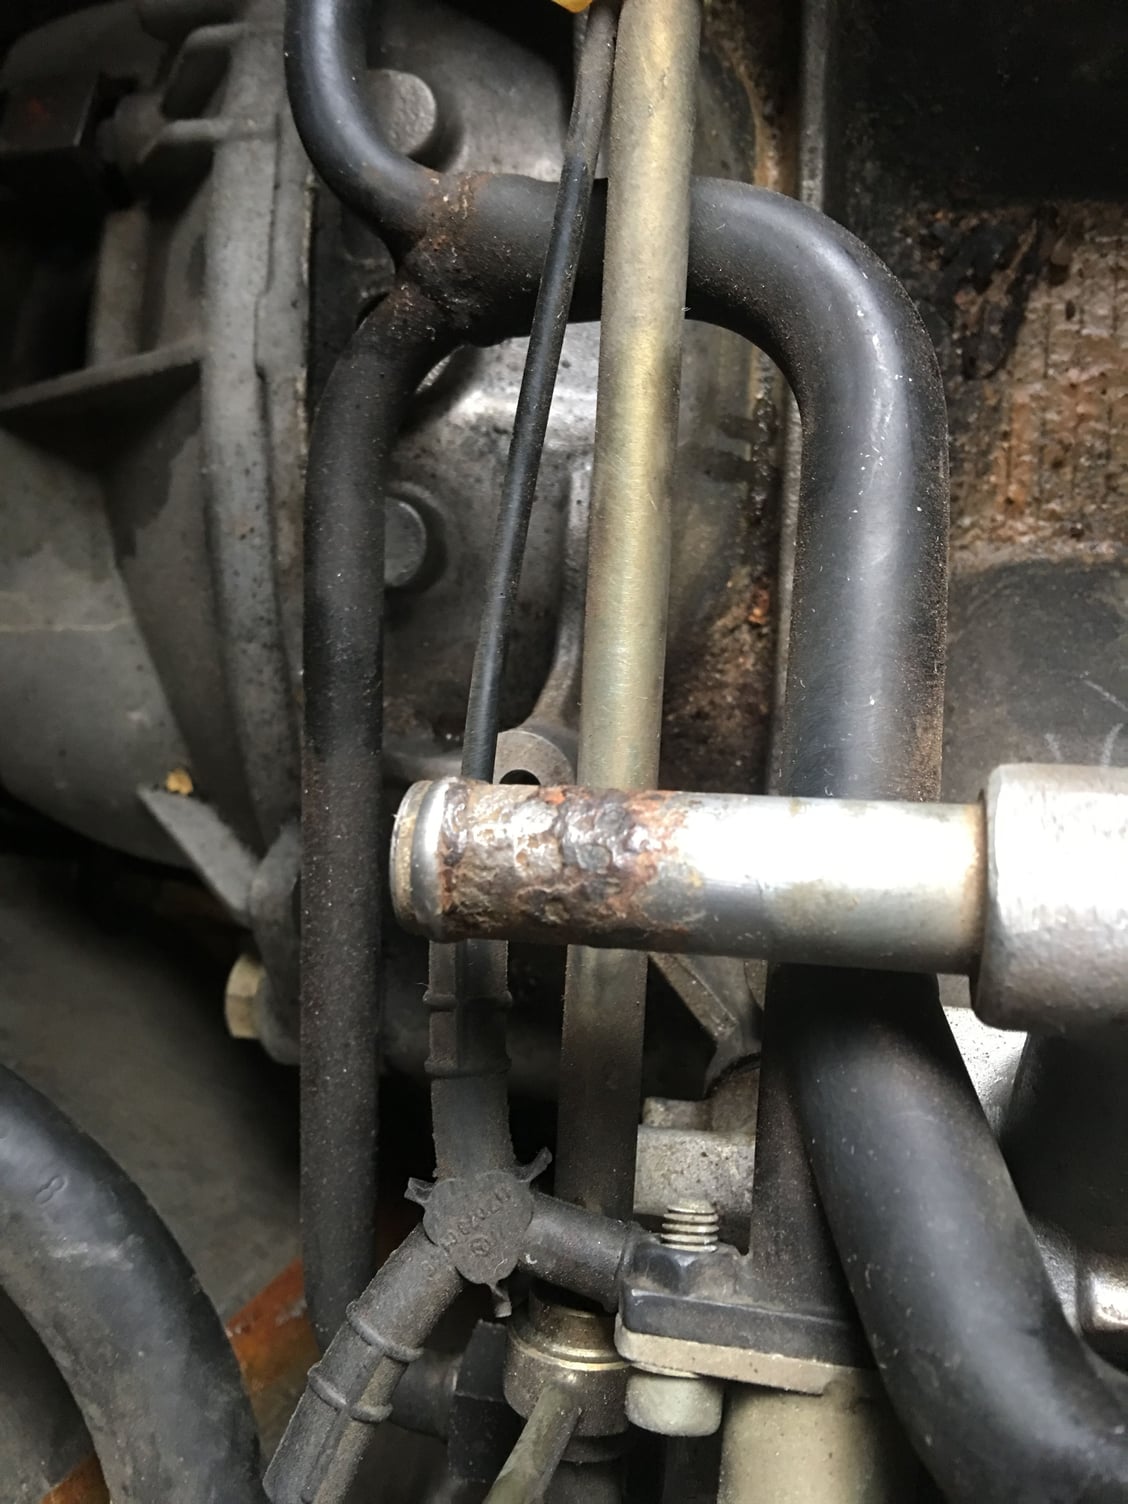
There was quite a bit of corrosion where the heater valve hose connects in the top back of the "V", and also some corrosion on the ends of the metal Y-pipe. I cleaned up the heater valve connection the best I could. I'll see if I can clean up the Y pipe and price a new one too just in case.
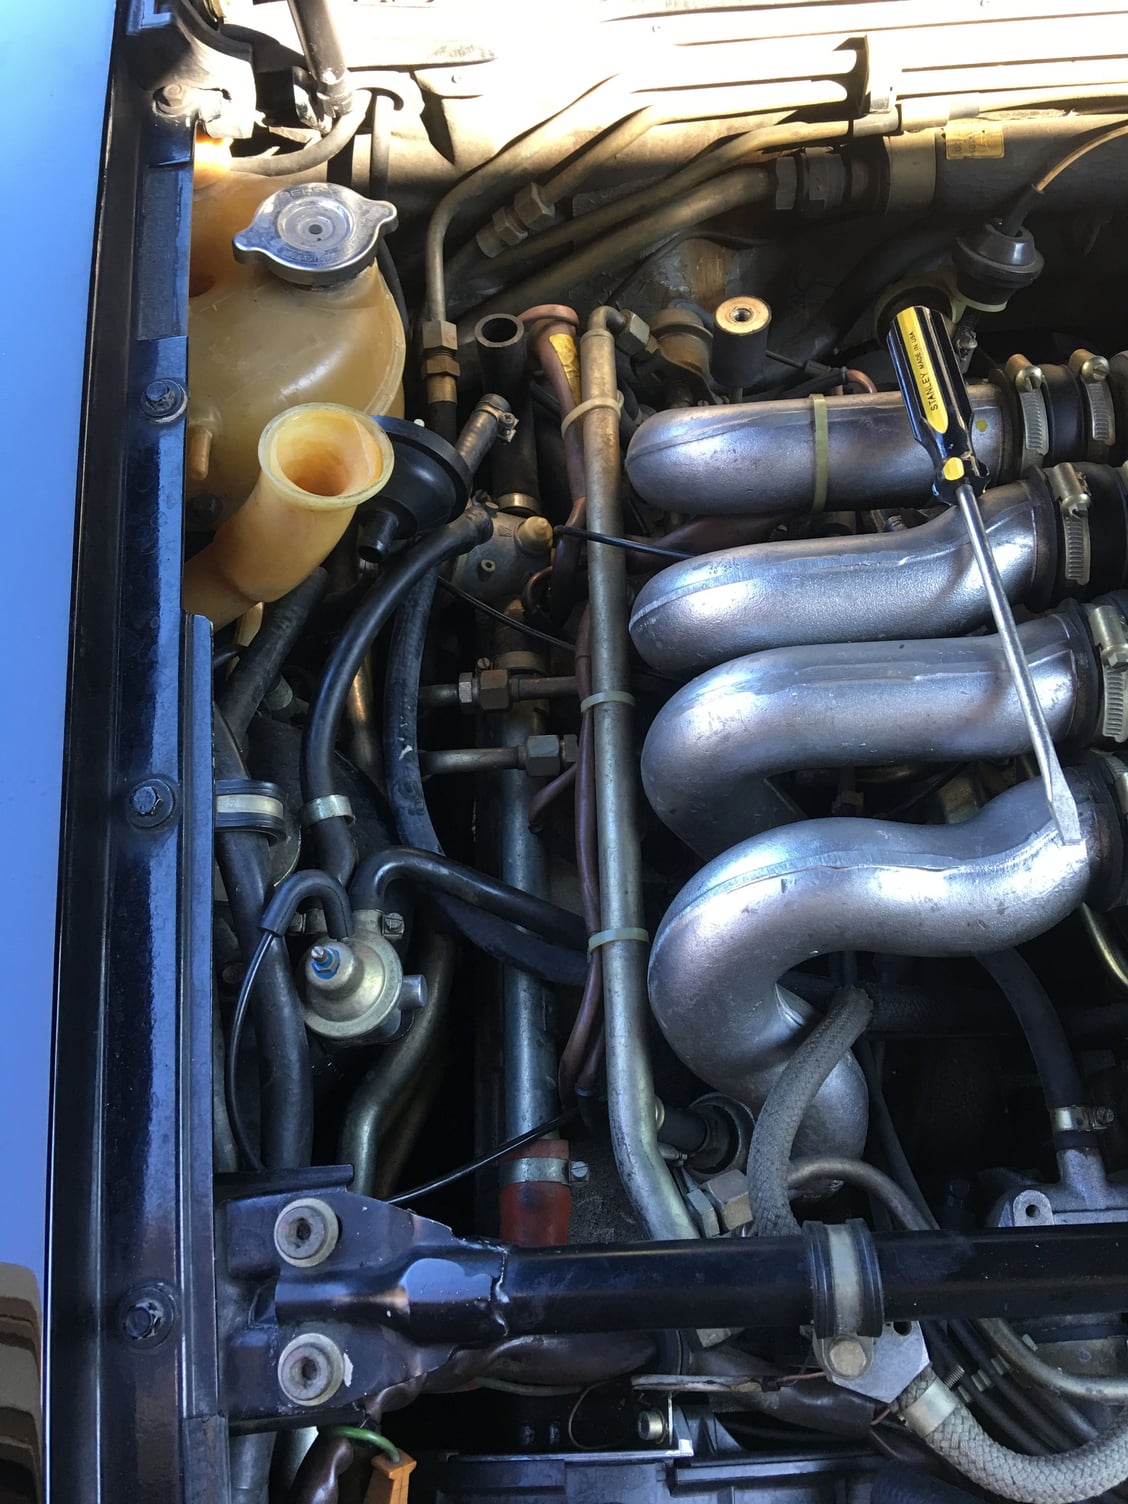
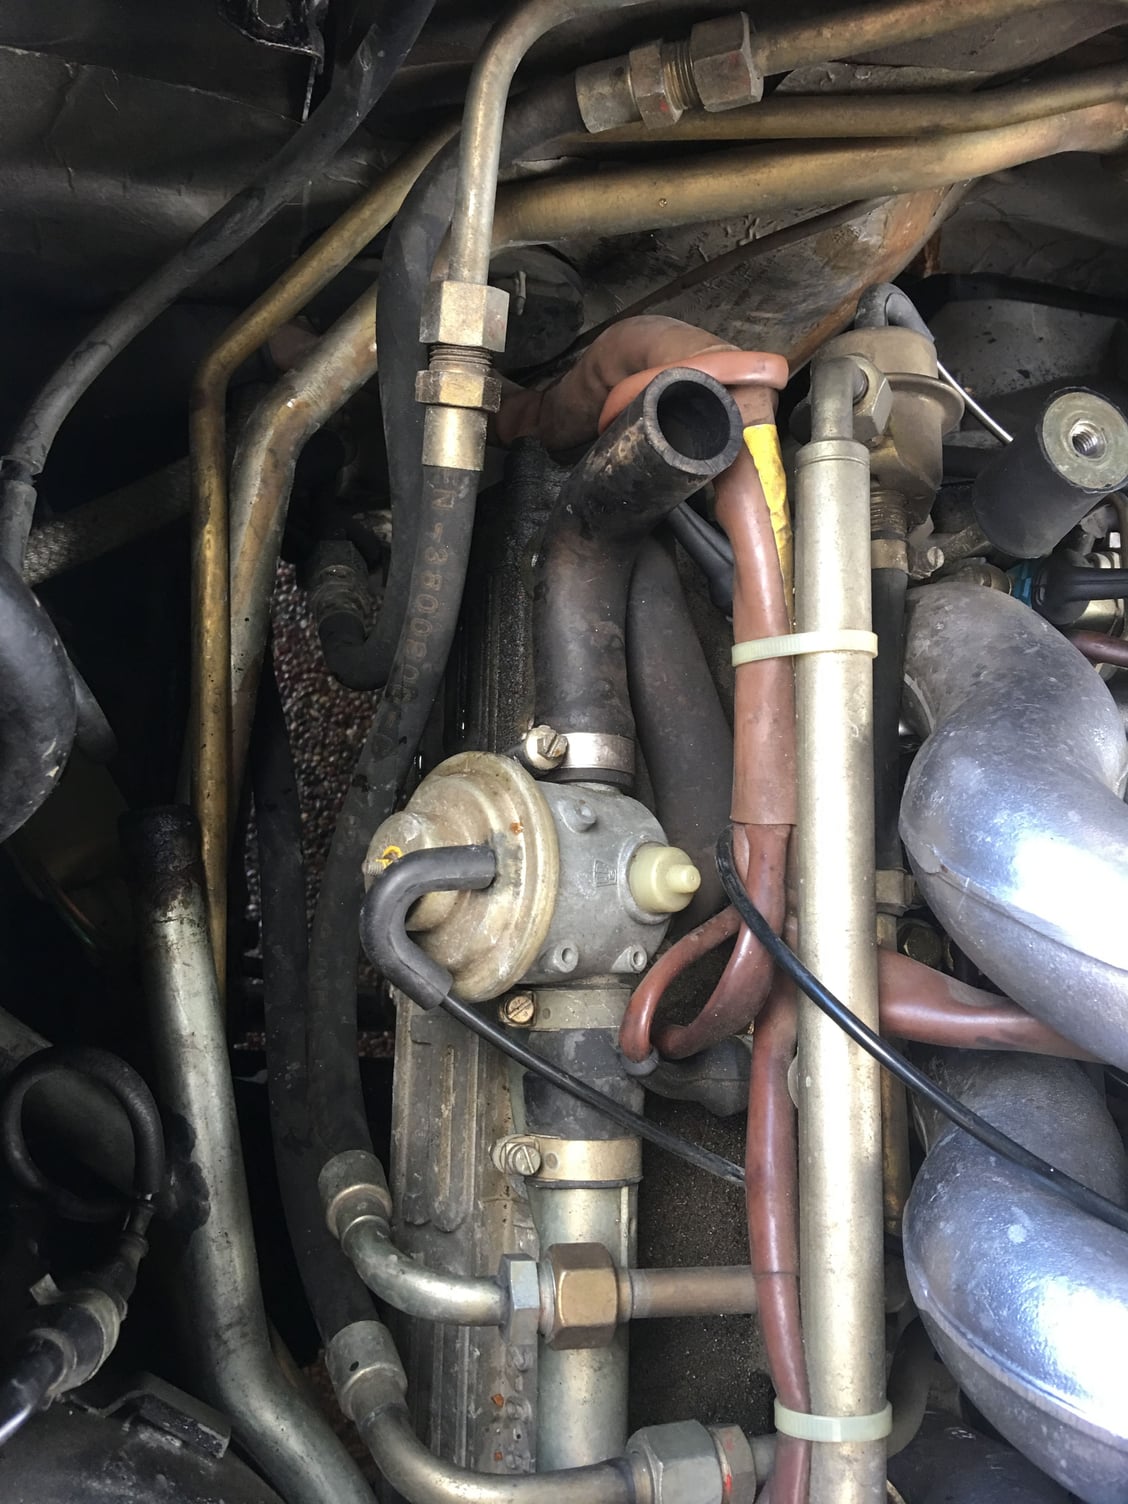
Next: Before I reinstall the hoses on the Y pipe and re-install the expansion tank, I'll take a detour and deal with the washer pump underneath the tank now that it's exposed, and also the fuel lines (see picture). Until next time...
Some of the many hoses and other parts that will find their way under the hood. Heater core connections with inaccessible hose clamps :-( Re-installed heater core connections, much better :-) Getting ready to uninstall the expansion tank (and filler neck) Original heater valve connection Lots of corrosion Cleaned up with Scotch pad -- not fantastic but fine as long as it doesn't leak Why I was dreading this project Fuel hoses accessible with tank out!!!
Actually the filler neck looks pretty good. Not a currently available part. Clear the corrosion out of the end leading to the reservoir and replace with a straight sweated copper joint.
__________________
Does it have the "Do It Yourself" manual transmission, or the superior "Fully Equipped by Porsche" Automatic Transmission? George Layton March 2014
928 Owners are ".....a secret sect of quietly assured Porsche pragmatists who in near anonymity appreciate the prodigious, easy going prowess of the 928."
Hey Red,
Thanks! I've had the car for many, many years and it's been incredibly solid and dependable. So much so that I haven't spent a lot of time under the hood for a while. Definitely time to freshen it up and do some deep cleaning as I get it buttoned up!!
Cheers,
Rick
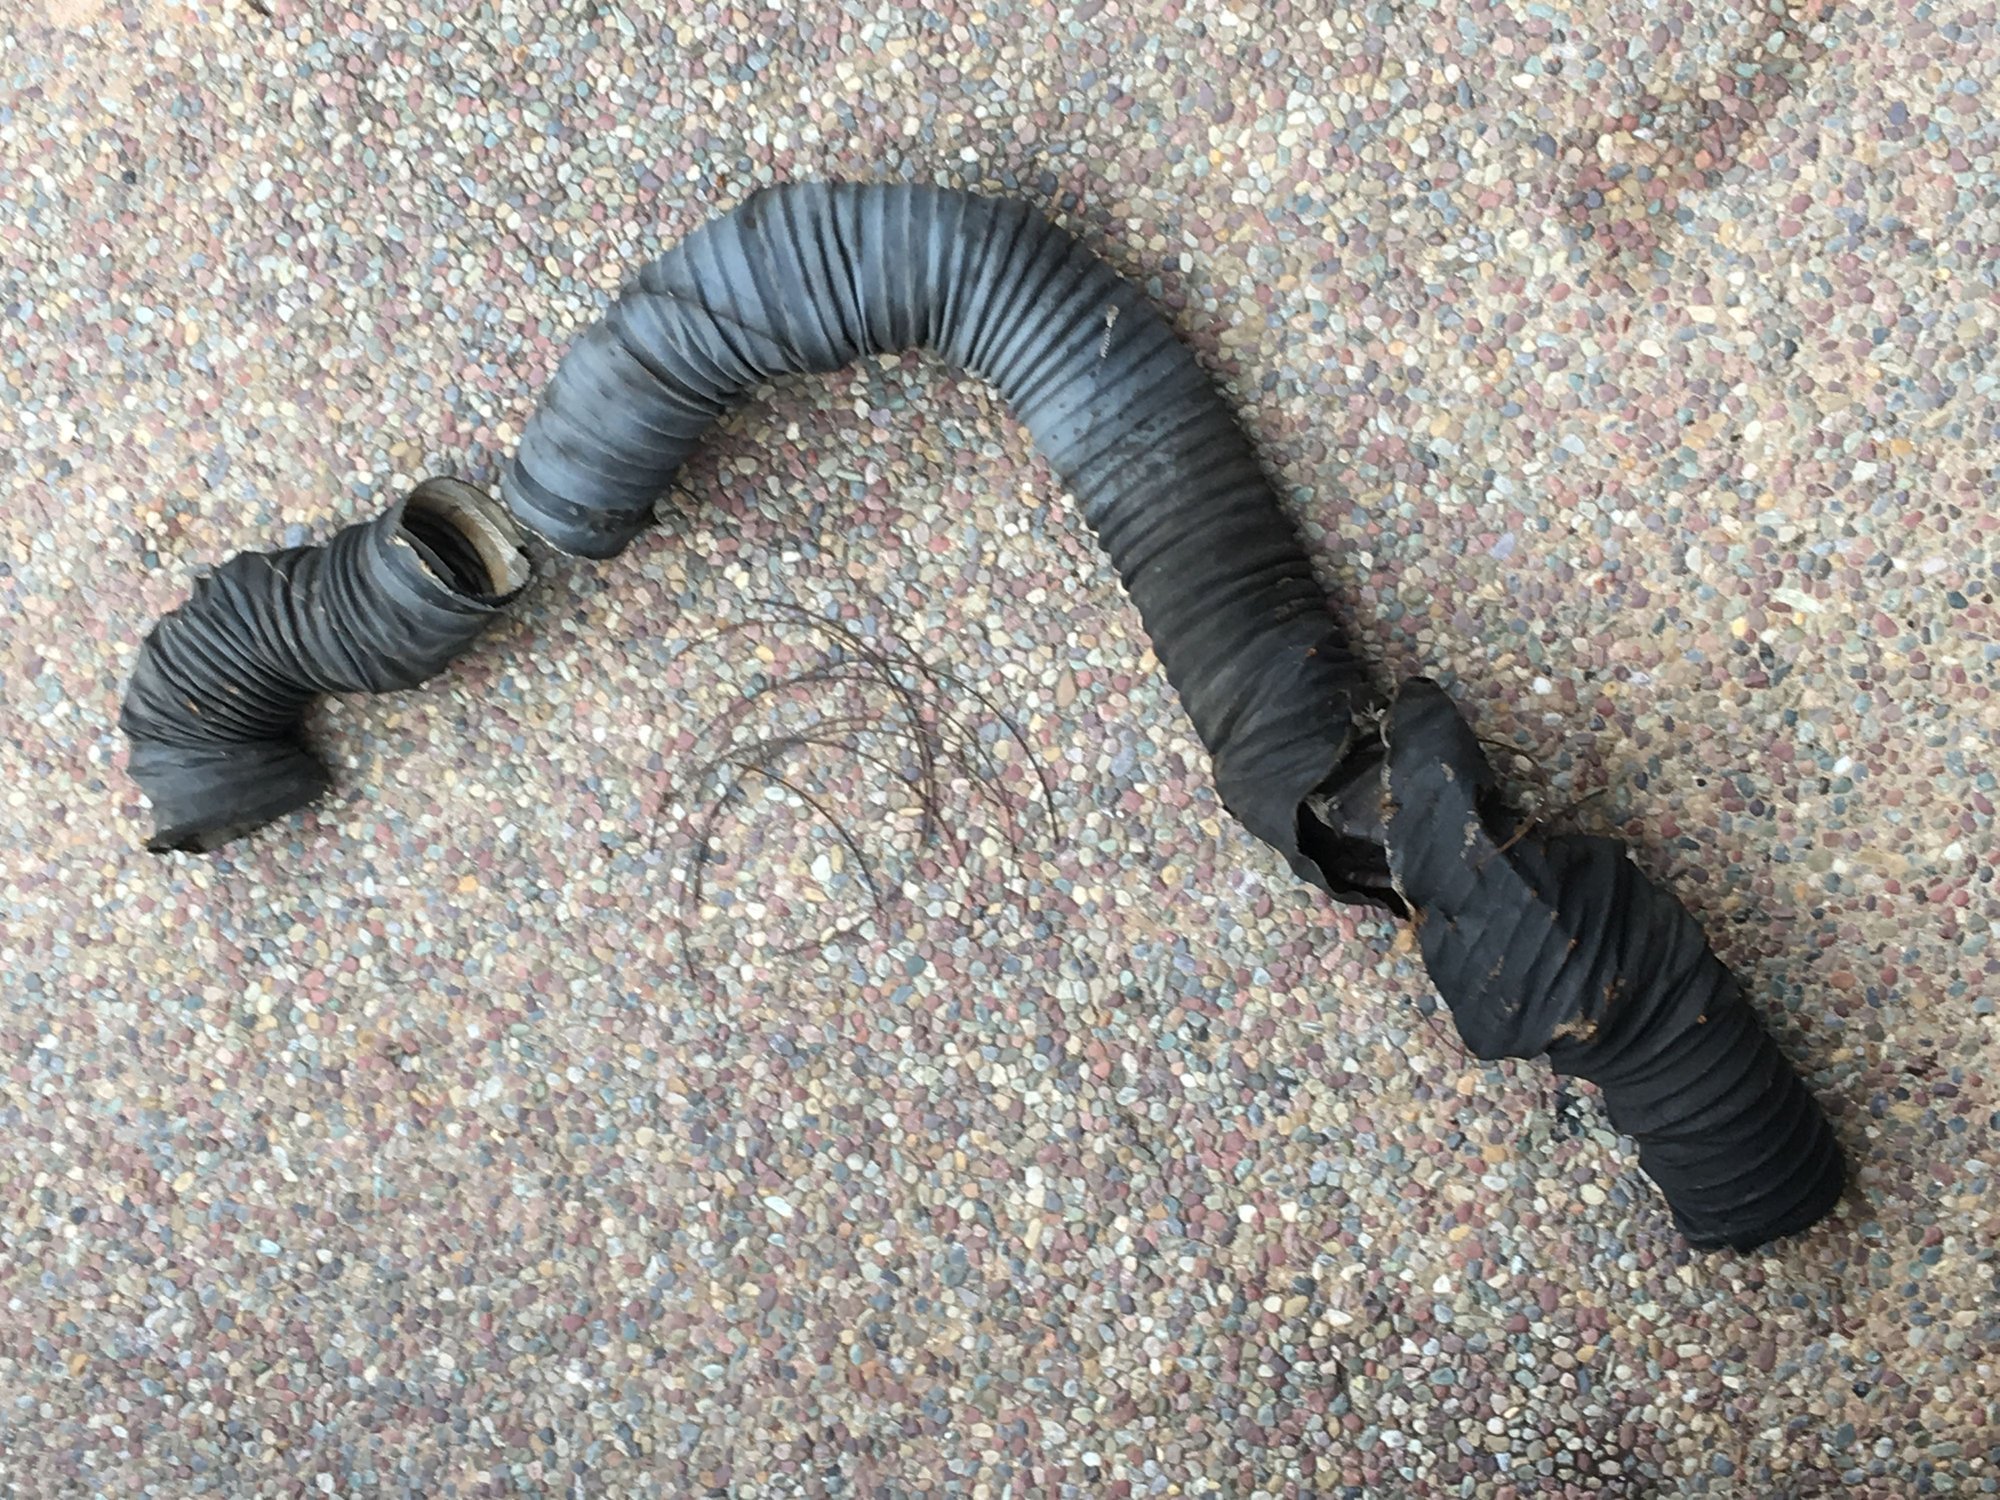
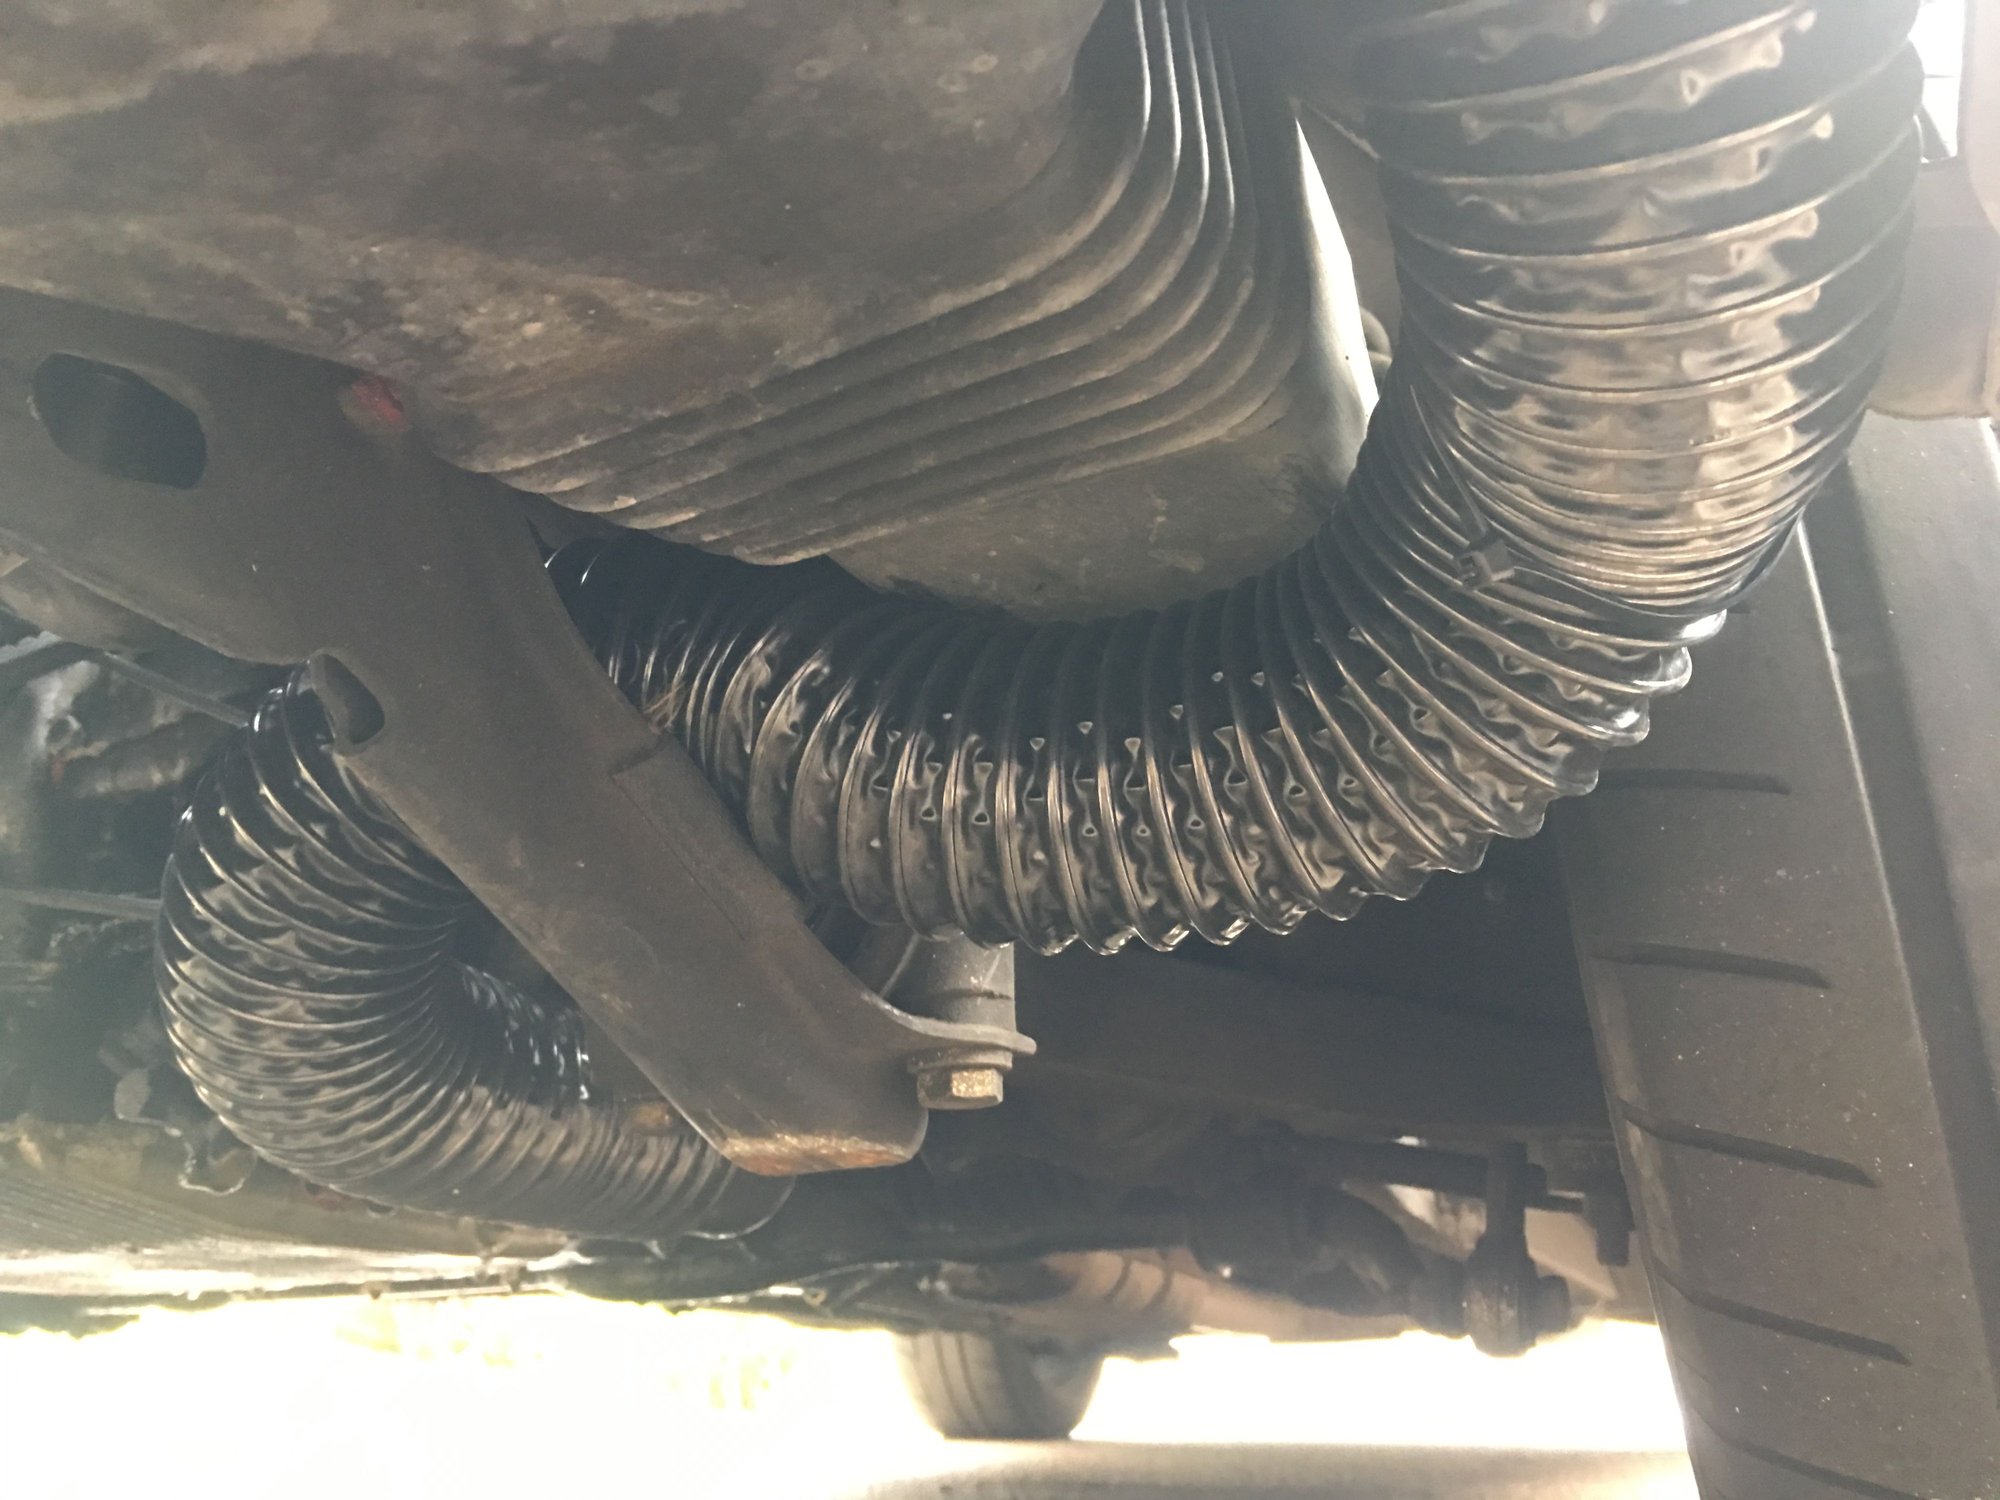
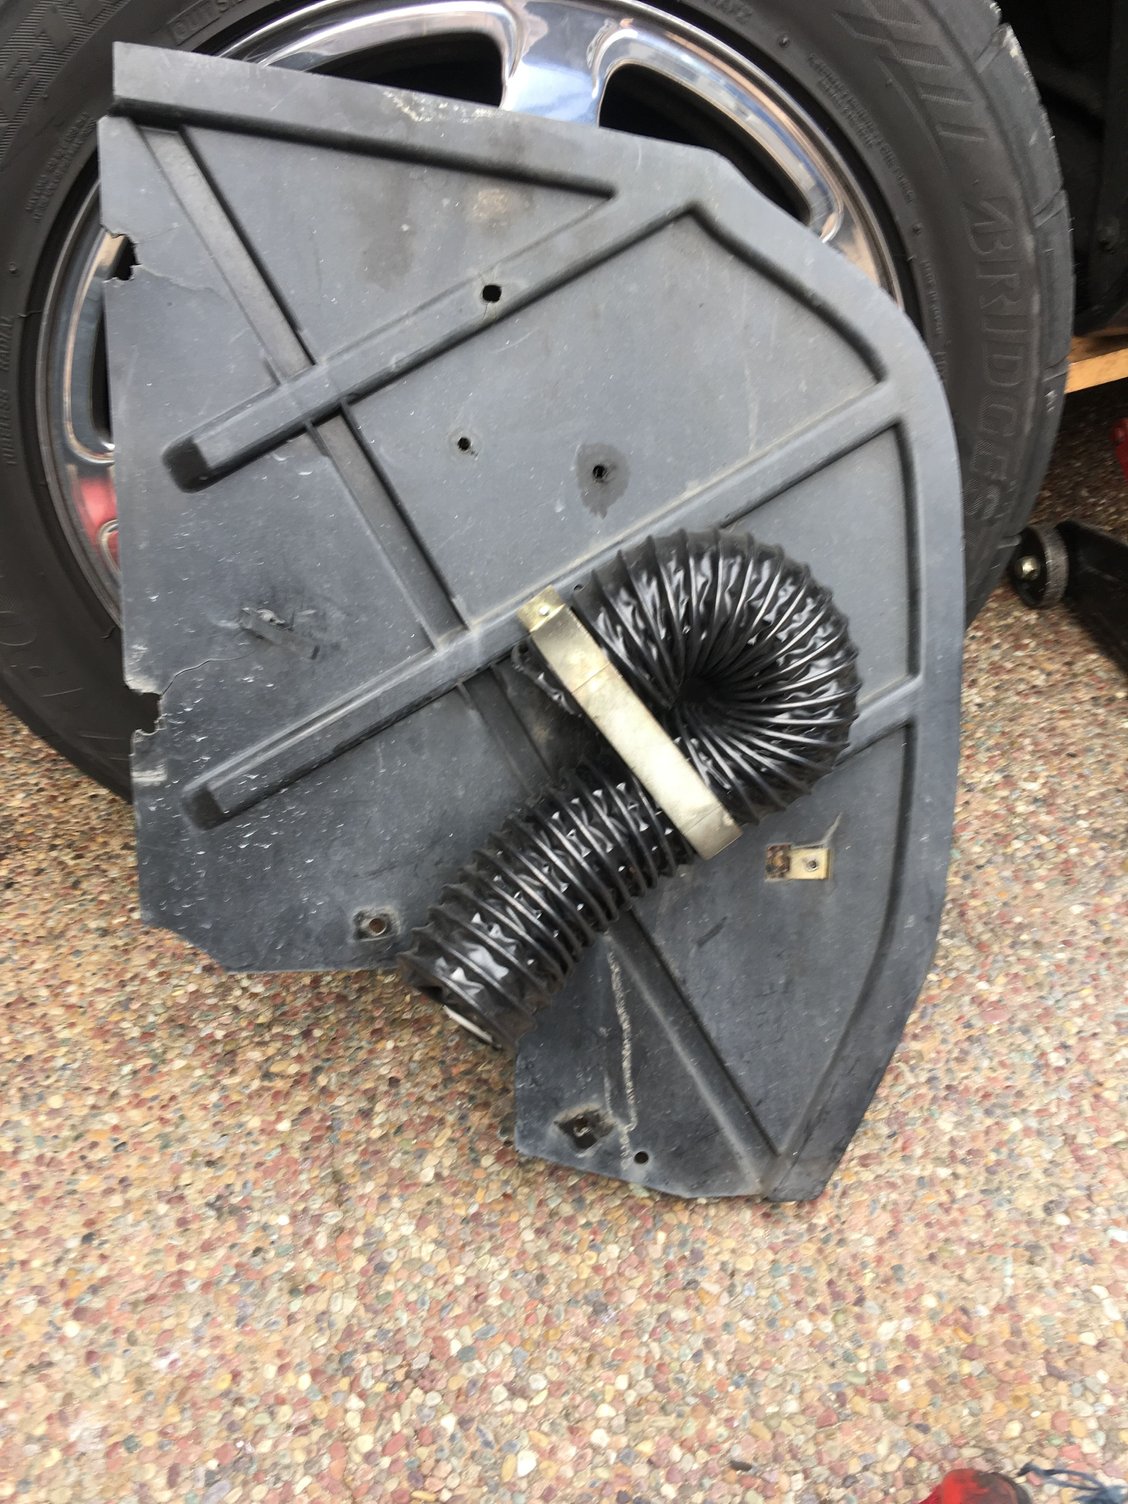
I ordered a replacement alternator cooling hose from Roger when I changed out my radiator and noticed what looked like a rusted out Slinky covered by tattered cloth attached to the alternator. Roger's replacement hose uses a plastic winding, not metal, and is just the right inside diameter to slide over the alternator housing mount. Hopefully it will hold together better than the original!
I also realized I didn't take pictures, but there's a temperature sensor inline in the hose inside the left/driver's side wheel well (that I believe is used for HVAC control). That's either a strange place to put a temp sensor or a great example of two-for-one engineering, I'm not sure which! My old cooling hose was so tattered it is difficult to tell how it must have originally been fitted, but I made an educated guess. I also zip-tied the bottom of the hose as it enters the fender area to help keep it as high as possible.
Grrrr, also noticed the two inner screw mounts on the fender liner were torn through, but as far as I know it's been that way for decades... the washers are big enough to hold it, so back it goes.
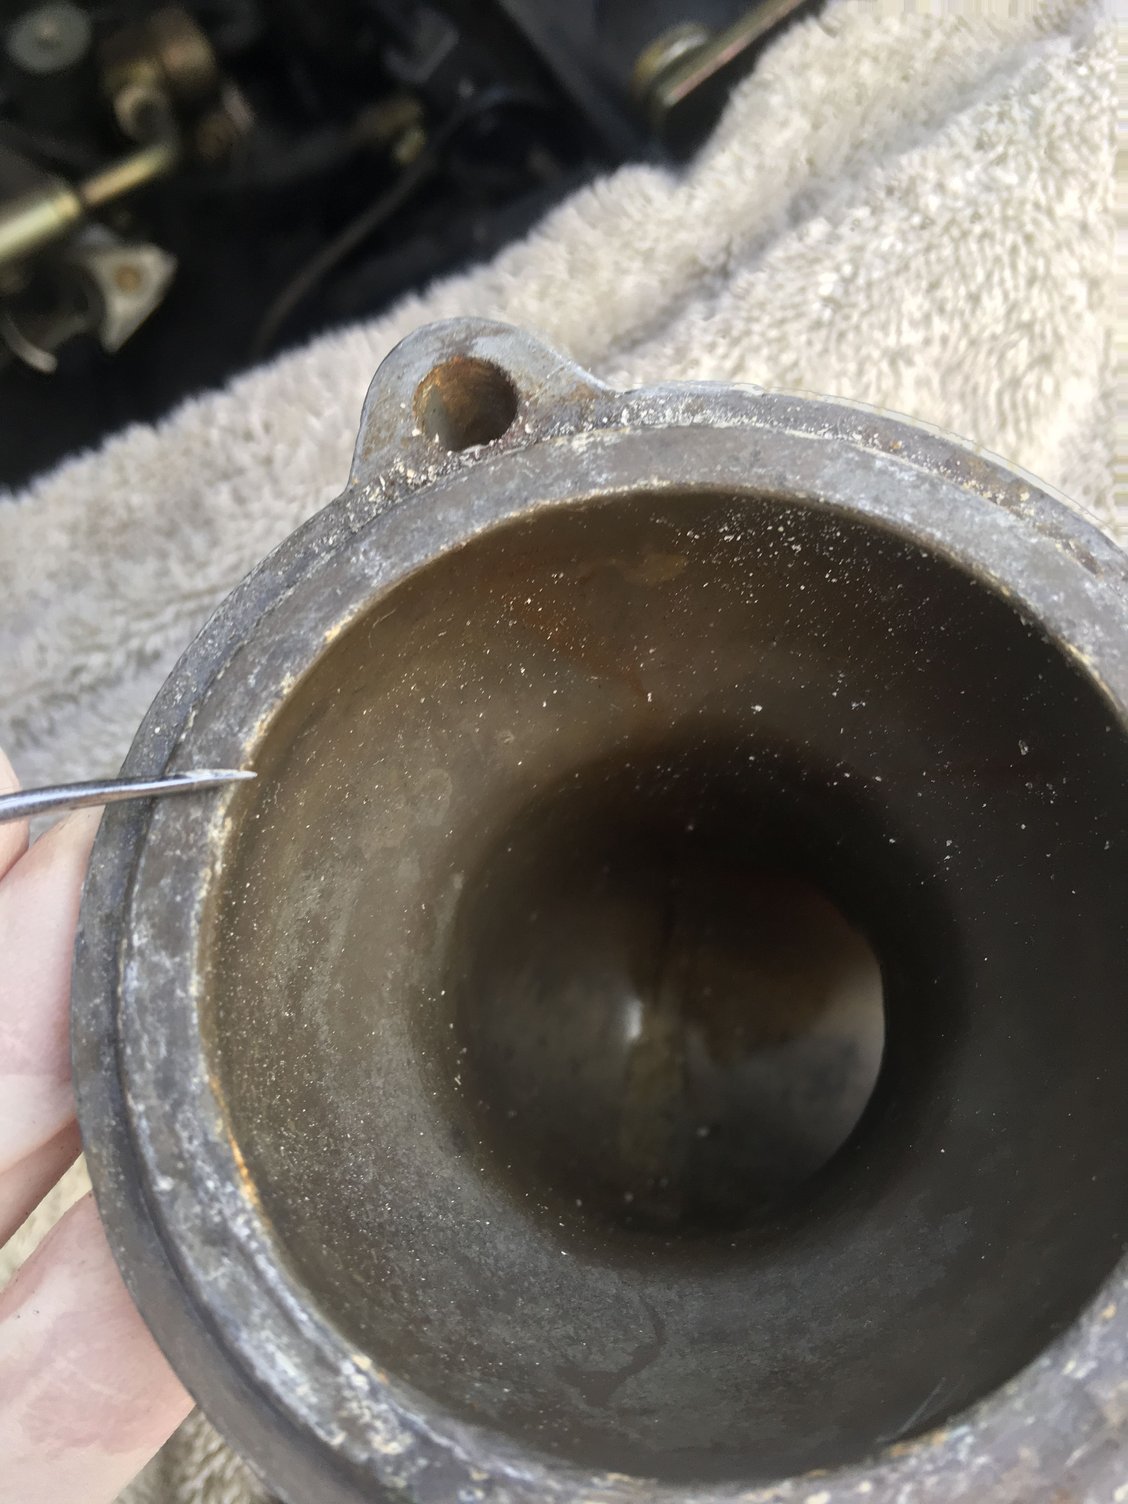
Next up was replacing the thermostat, its seal, and the lower radiator hose. The thermostat housing was in great shape and had very few deposits. I used a tiny bit of anti-seize to mount the housing back. @Red... it's too dirty I know... I'll clean up up before this project finishes!
Next, I took out the metal Y tube while getting ready to replace the hose at the front of the engine that connects to it. I spent a lot of time on the second leg of the Y (going to the firewall) to get rid of massive scale deposits. I got off a lot of it but am not happy with it. Haven't cleaned the front-of-the-engine end yet. Will see if I can get a new one.
Last thing for today, I got the injectors out. This required a bit of delicacy. First, you need to be very careful with the injector electrical connectors and their crazy little wire clips. I pulled of the first one and tore off a corner of the plastic of the connector, so after that I did it the hard way... I first removed all the injector hold-down plates, then undid the fittings on each end of each fuel rail (and tried to sop up as much gas that spilled out as I could). I then could gently lift up each rail just enough to use a jeweler's screwdriver to gently lift up the spring wire clip on one side of the connector, then partially rotate the wire clip halfway down the connector so that the wire would release on the tabs on both sides of the injector.
Fun fact: The upright rubber-isolated posts that the air filter box bolts to are mounted asymetrically: The driver's side points forward and the passenger's side points backward. If you look inside the airbox, you'll see that those mounting bolts at the bottom of the airbox (that mount into the upright posts) are not in the same fore-and-aft location. I had never noticed that before!
Fun fact #2: I couldn't loosen the driver side fuel rail rear connection to its fuel pressure regulator because that aforementioned air box mounting upright was in the way. Also, I tried to get a wrench on the base of the upright (where it does double duty as an intake tube bolt), but there's no way I could get a wrench there buried down low next to the firewall. I was stymied -- no way to remove the rail OR that upright!! Then I thought... maybe, just maybe... and felt at the top end of the upright, where it attaches to the rubber part that the airbox attaches to. Sure enough, there's a six-sided "nut" cast into the top of the upright, totally invisible otherwise, and in the perfect place to get leverage on a 13 mm open ended wrench. Solved!!
The injectors appear to be in reasonable shape externally. These are originals. There did not appear to be any evidence of fuel leakage or seepage around the tubes at all. I'll be interested to see if the car runs better after the injectors have been cleaned, and with new seals!
I'll send off my injectors to Witch Hunter (https://www.witchhunter.com/) for cleaning and testing. But first... it's a bit of a project to remove the injectors from the fuel rails. This is definitely an area where the 32V cars have a much more elegant design. On those cars the injectors can be removed without destroying anything, not so on the L-Jet cars!!
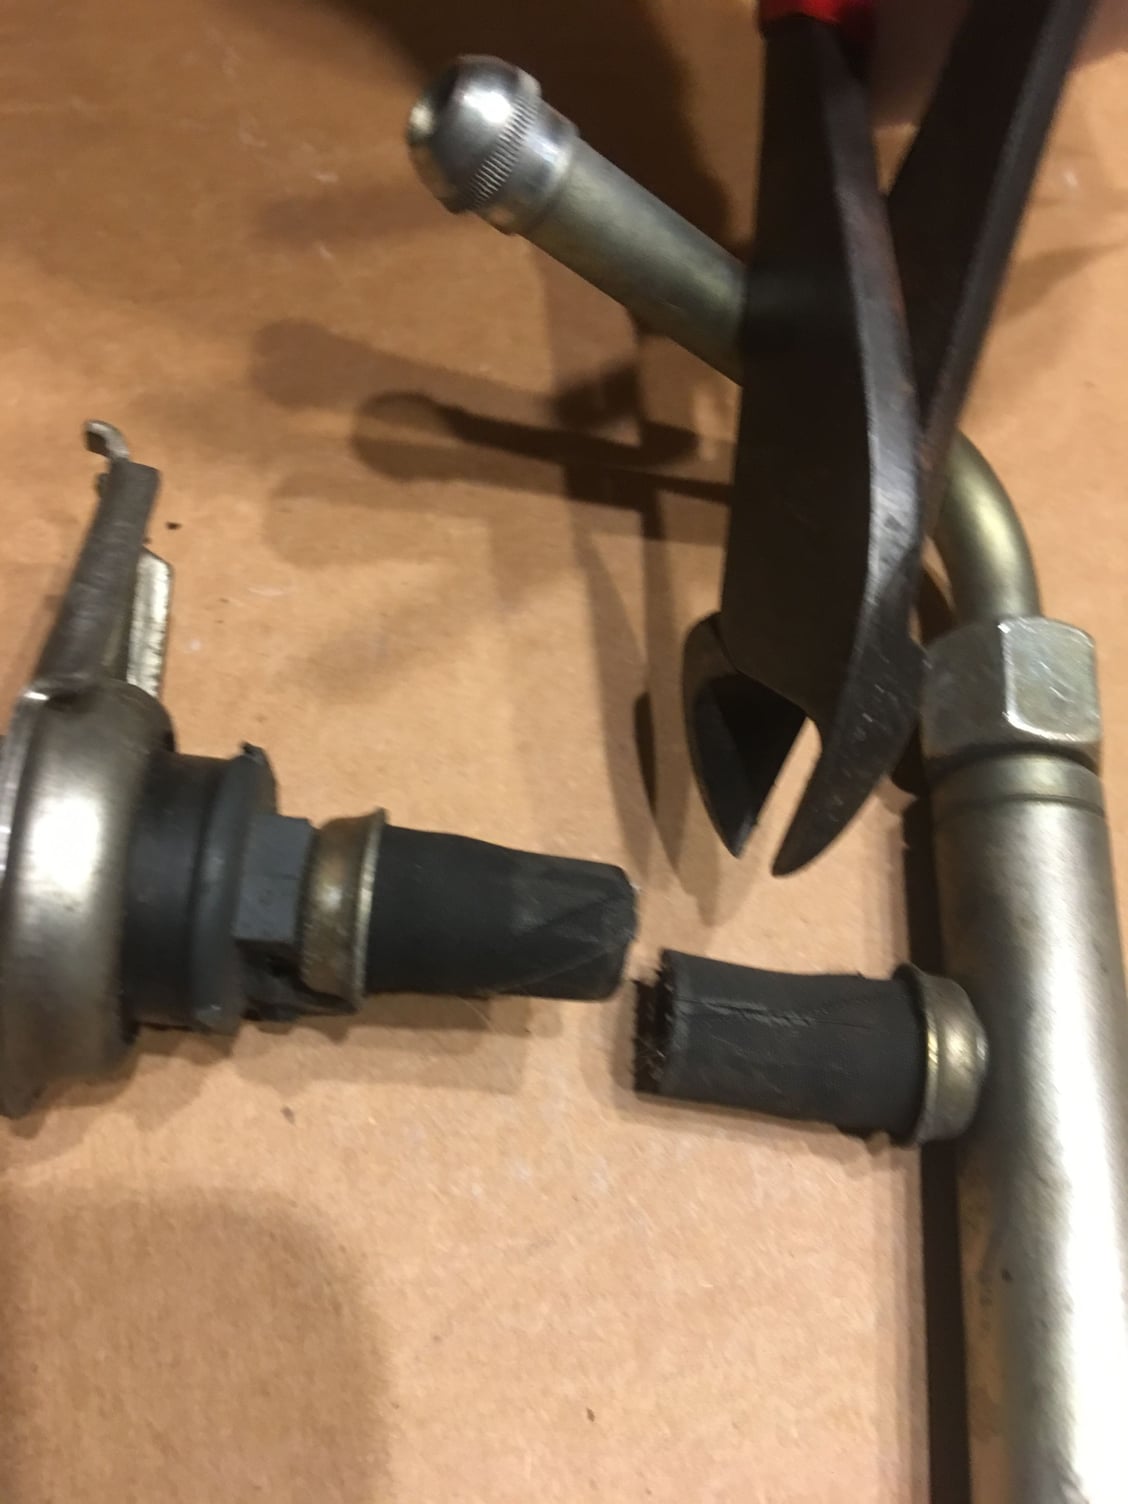
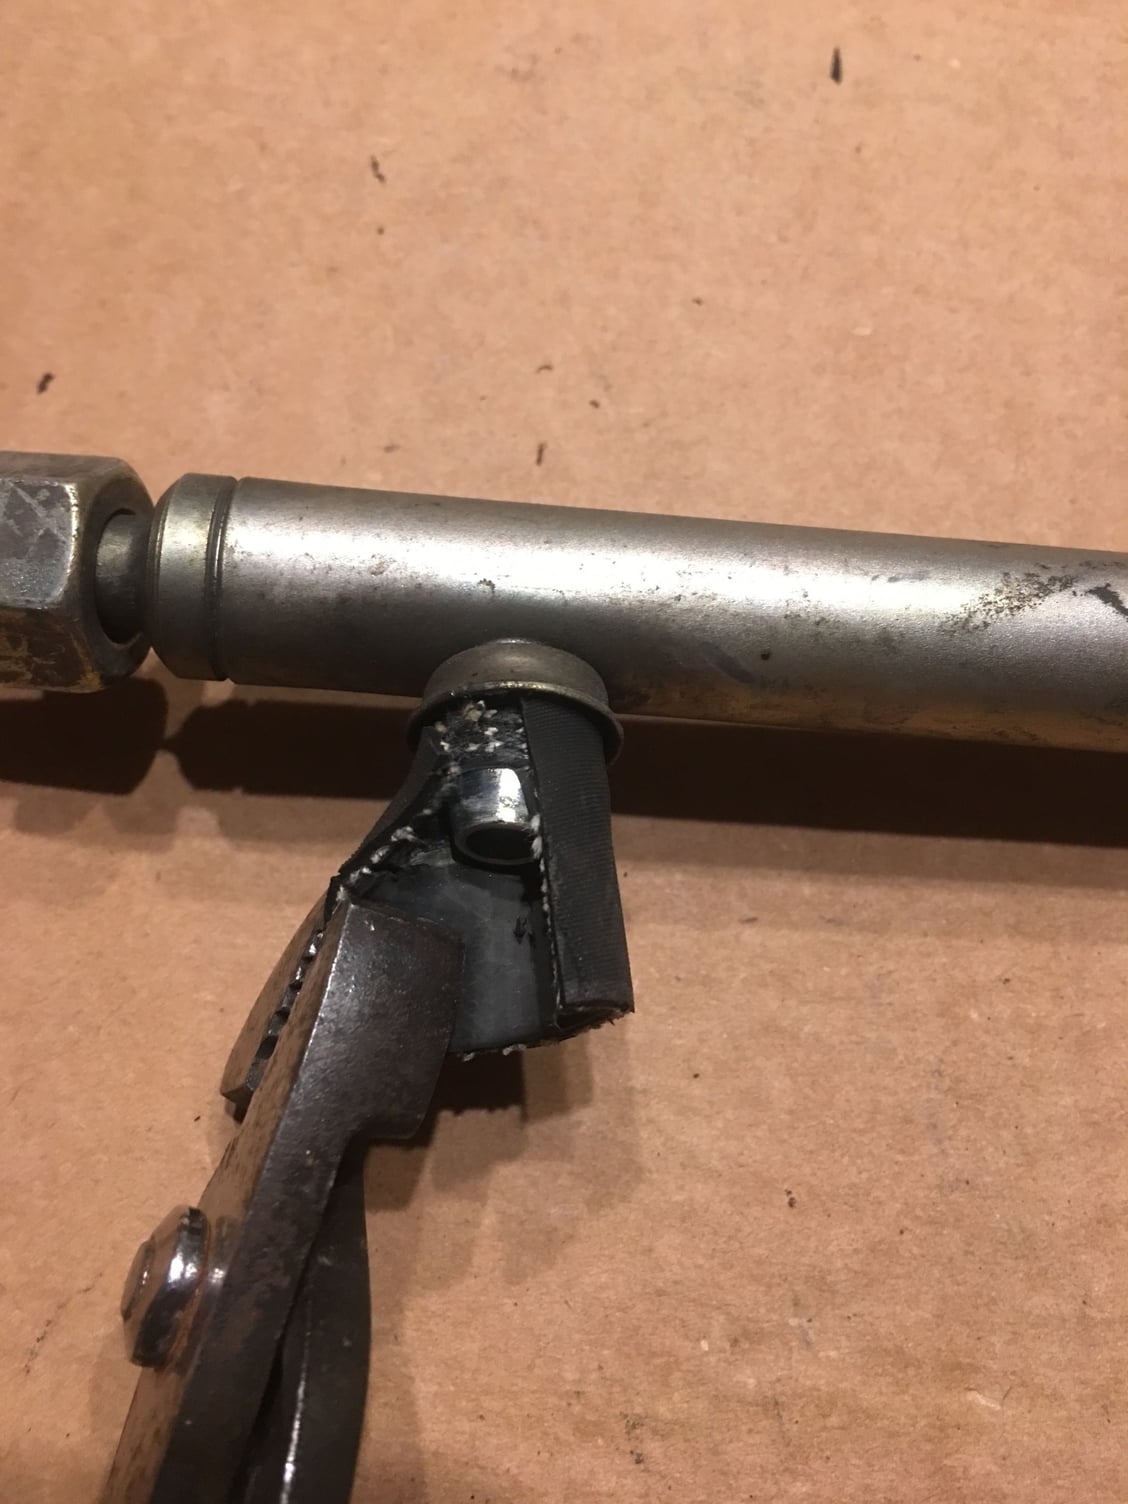
As has been documented on many previous threads, there is a short piece of fuel tube that connects the injector to the rails, and everything uses barbed fittings. That means, unfortunately, that the only way to remove each hose is to cut it off. And has also been documented, the most logical thing to do -- cut through the hose -- will also almost certainly damage the barbed fittings. Any small cuts or scratches could cause a leak.
FWIW, here's the method I used, documented in the pictures below. First, let's get the injectors out of the way... Now CAREFULLY use an X-Acto, through a series of shallow cuts, to cut most but not all the way through the fuel hose. You'll have to be very careful on the first one to judge just how deep you're going. Slice all the way through the tube on the part that's not on the fitting. You do not want the knife to make ANY metal contact. Now with a pair of beefy pliers, start gently trying to peel back the hose around the fitting. Don't try to pull it off, it won't budge, but you can slowly open up the cut you made earlier. Resist temptation to gain leverage with the pliers directly against the fitting. As you work on the hose, its internal threads will break. If the hose is really old the outside will crumble off leaving a tough matrix of threads behind. Use additional very judicious X-Acto cuts here if needed (and face the sharp end of the blade up, cut from the inside out). I needed to do this on a few injectors, the others came off in one piece with enough encouragement. Success!! This one came off pretty easily (and without falling apart) One down one to go!
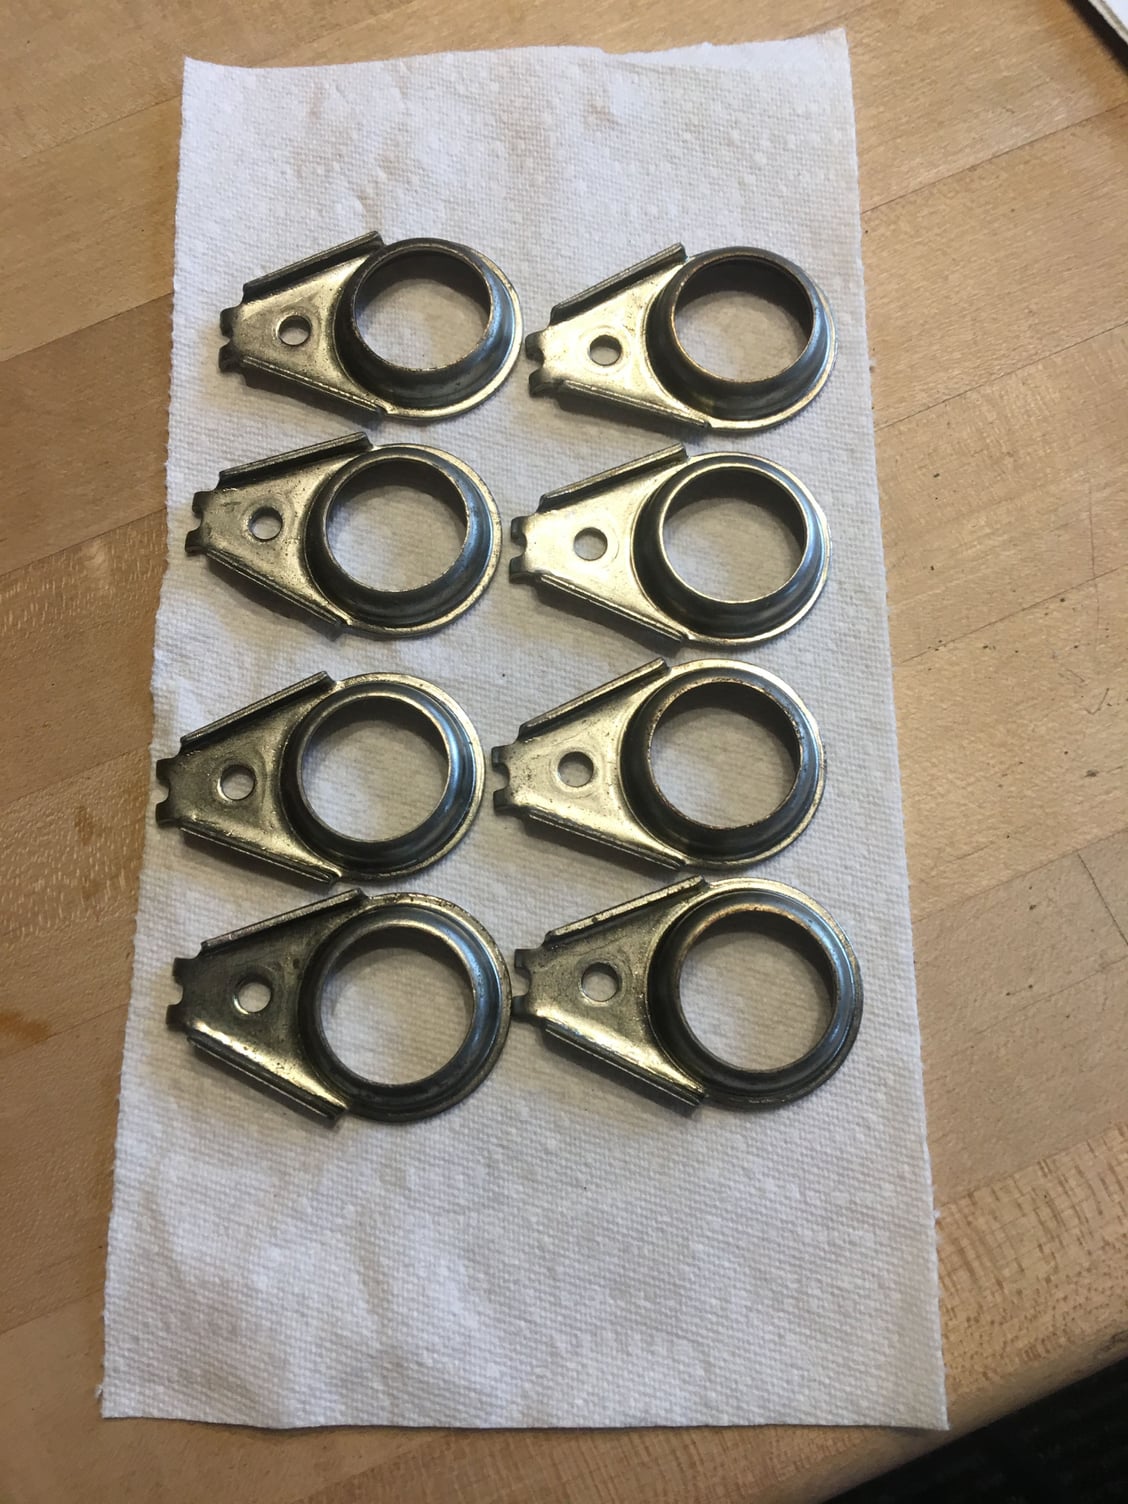
I decided to remove all the hardware from the injectors prior to sending them to WitchHunter, so removed the circlip for the large seal, the large seal, the small seal, and the boltdown clips.
The boltdown clips ended up cleaning up very well with a bit of engine cleaner spray!
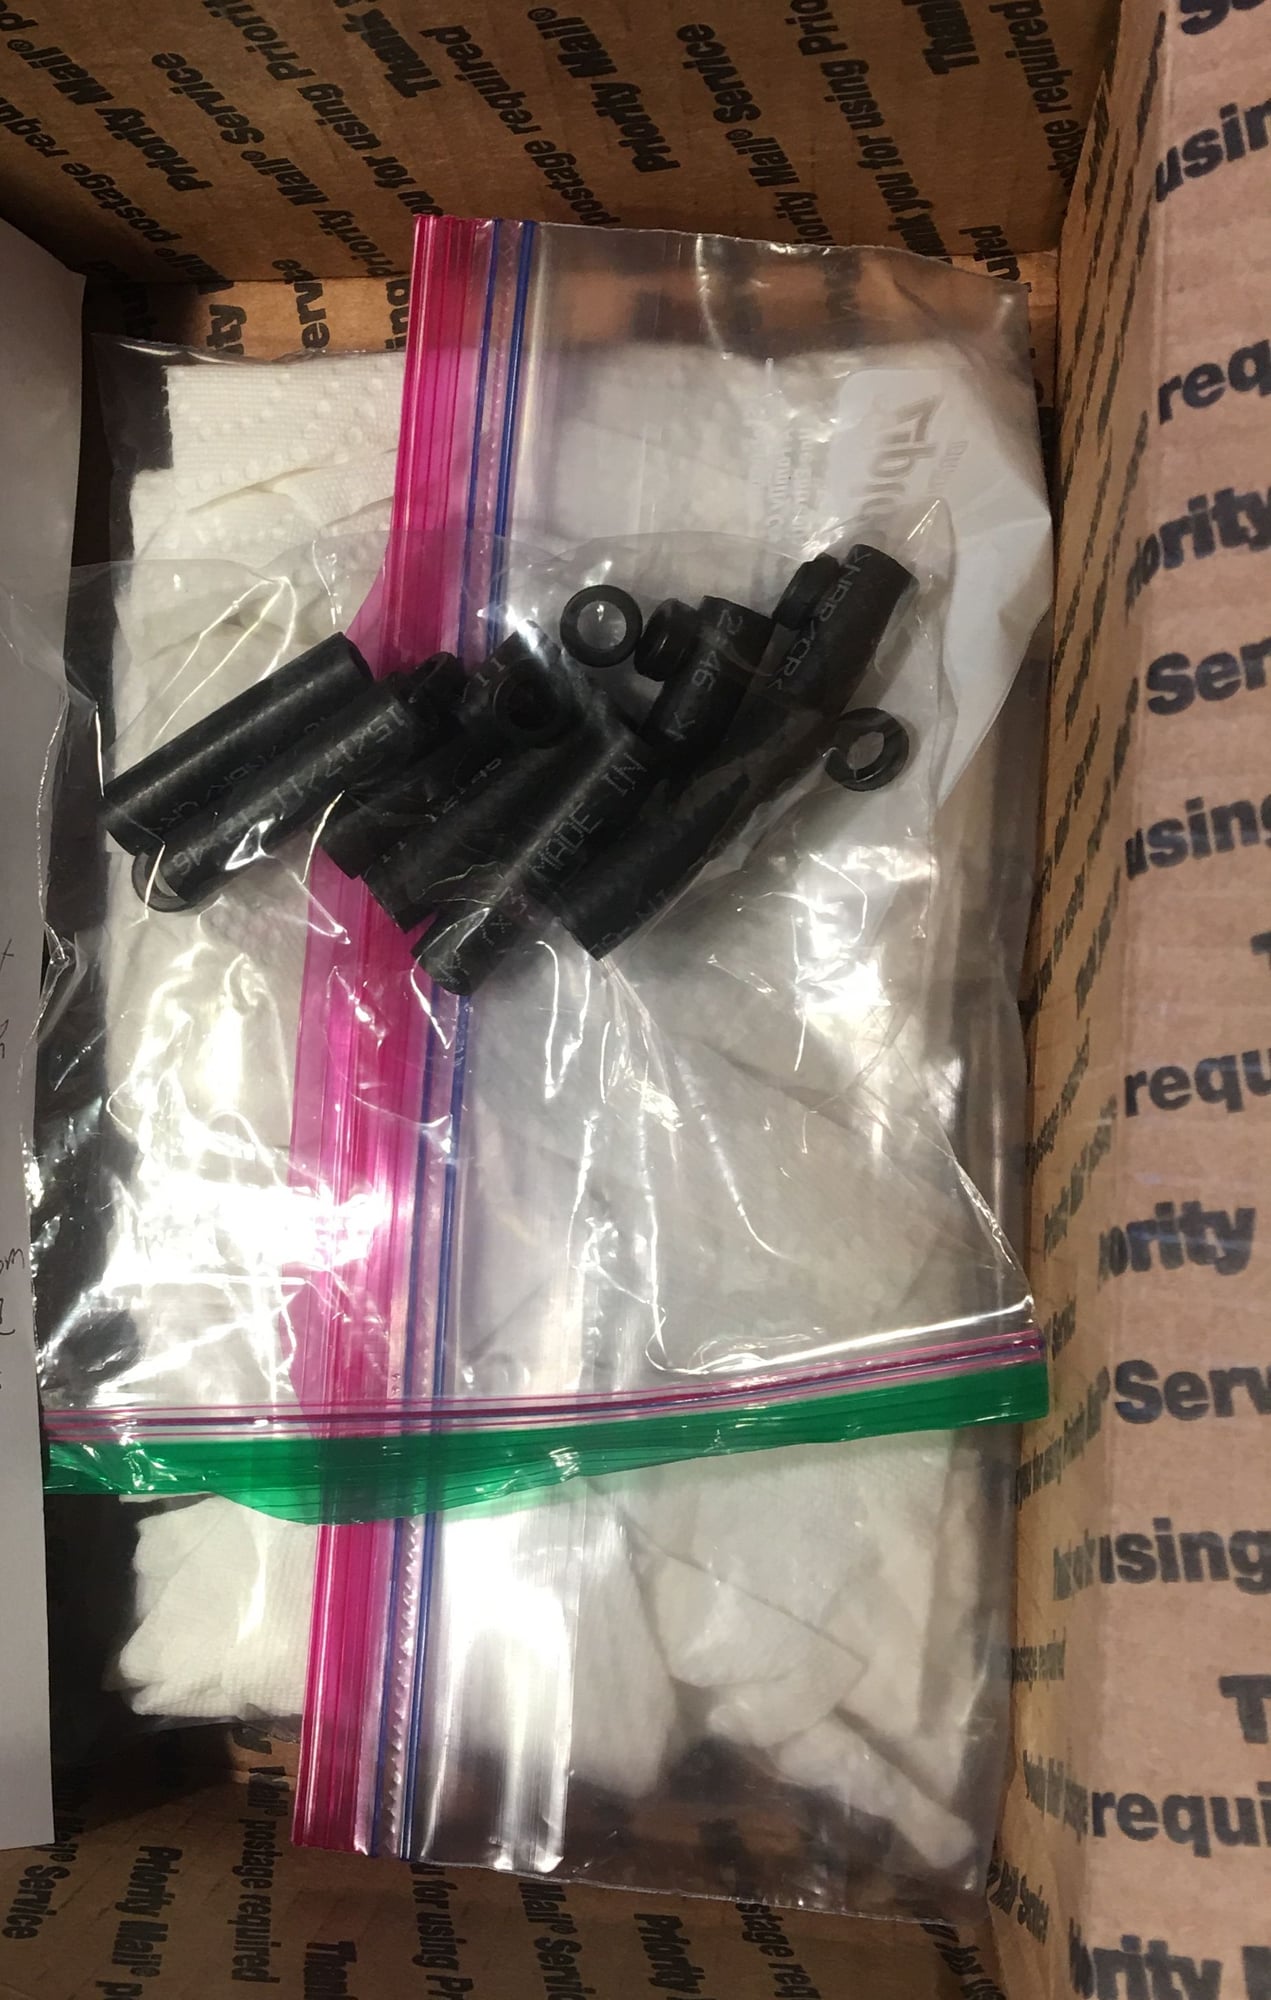
And off they go. I tried contacting Witch Hunter first, initially last week by email and tried by phone a couple of times this week, but no response at all. But they did update their lead time on their website, so I'm assuming the lights are still on there. Packed up and sent everything off this morning with instructions to install Roger's new fuel tubes and re-use the hats, and to install the small seals (which I included), but to not install the big o-rings (because I need to install the bolt-down clips first before the big o-rings go on and will do that myself).
I did leave the hoses on the injectors with instructions to have Witch Hunter remove them, so keeping fingers crossed that they can do so (properly).
I also asked for rush service so we'll see what happens. Assuming that will take the better part of two weeks, I'll have everything else done by then and should be able to get the rails on and the car running soon thereafter!

 01-12-2019, 08:50 PM


 George Layton March 2014