When you click on links to various merchants on this site and make a purchase, this can result in this site earning a commission. Affiliate programs and affiliations include, but are not limited to, the eBay Partner Network.
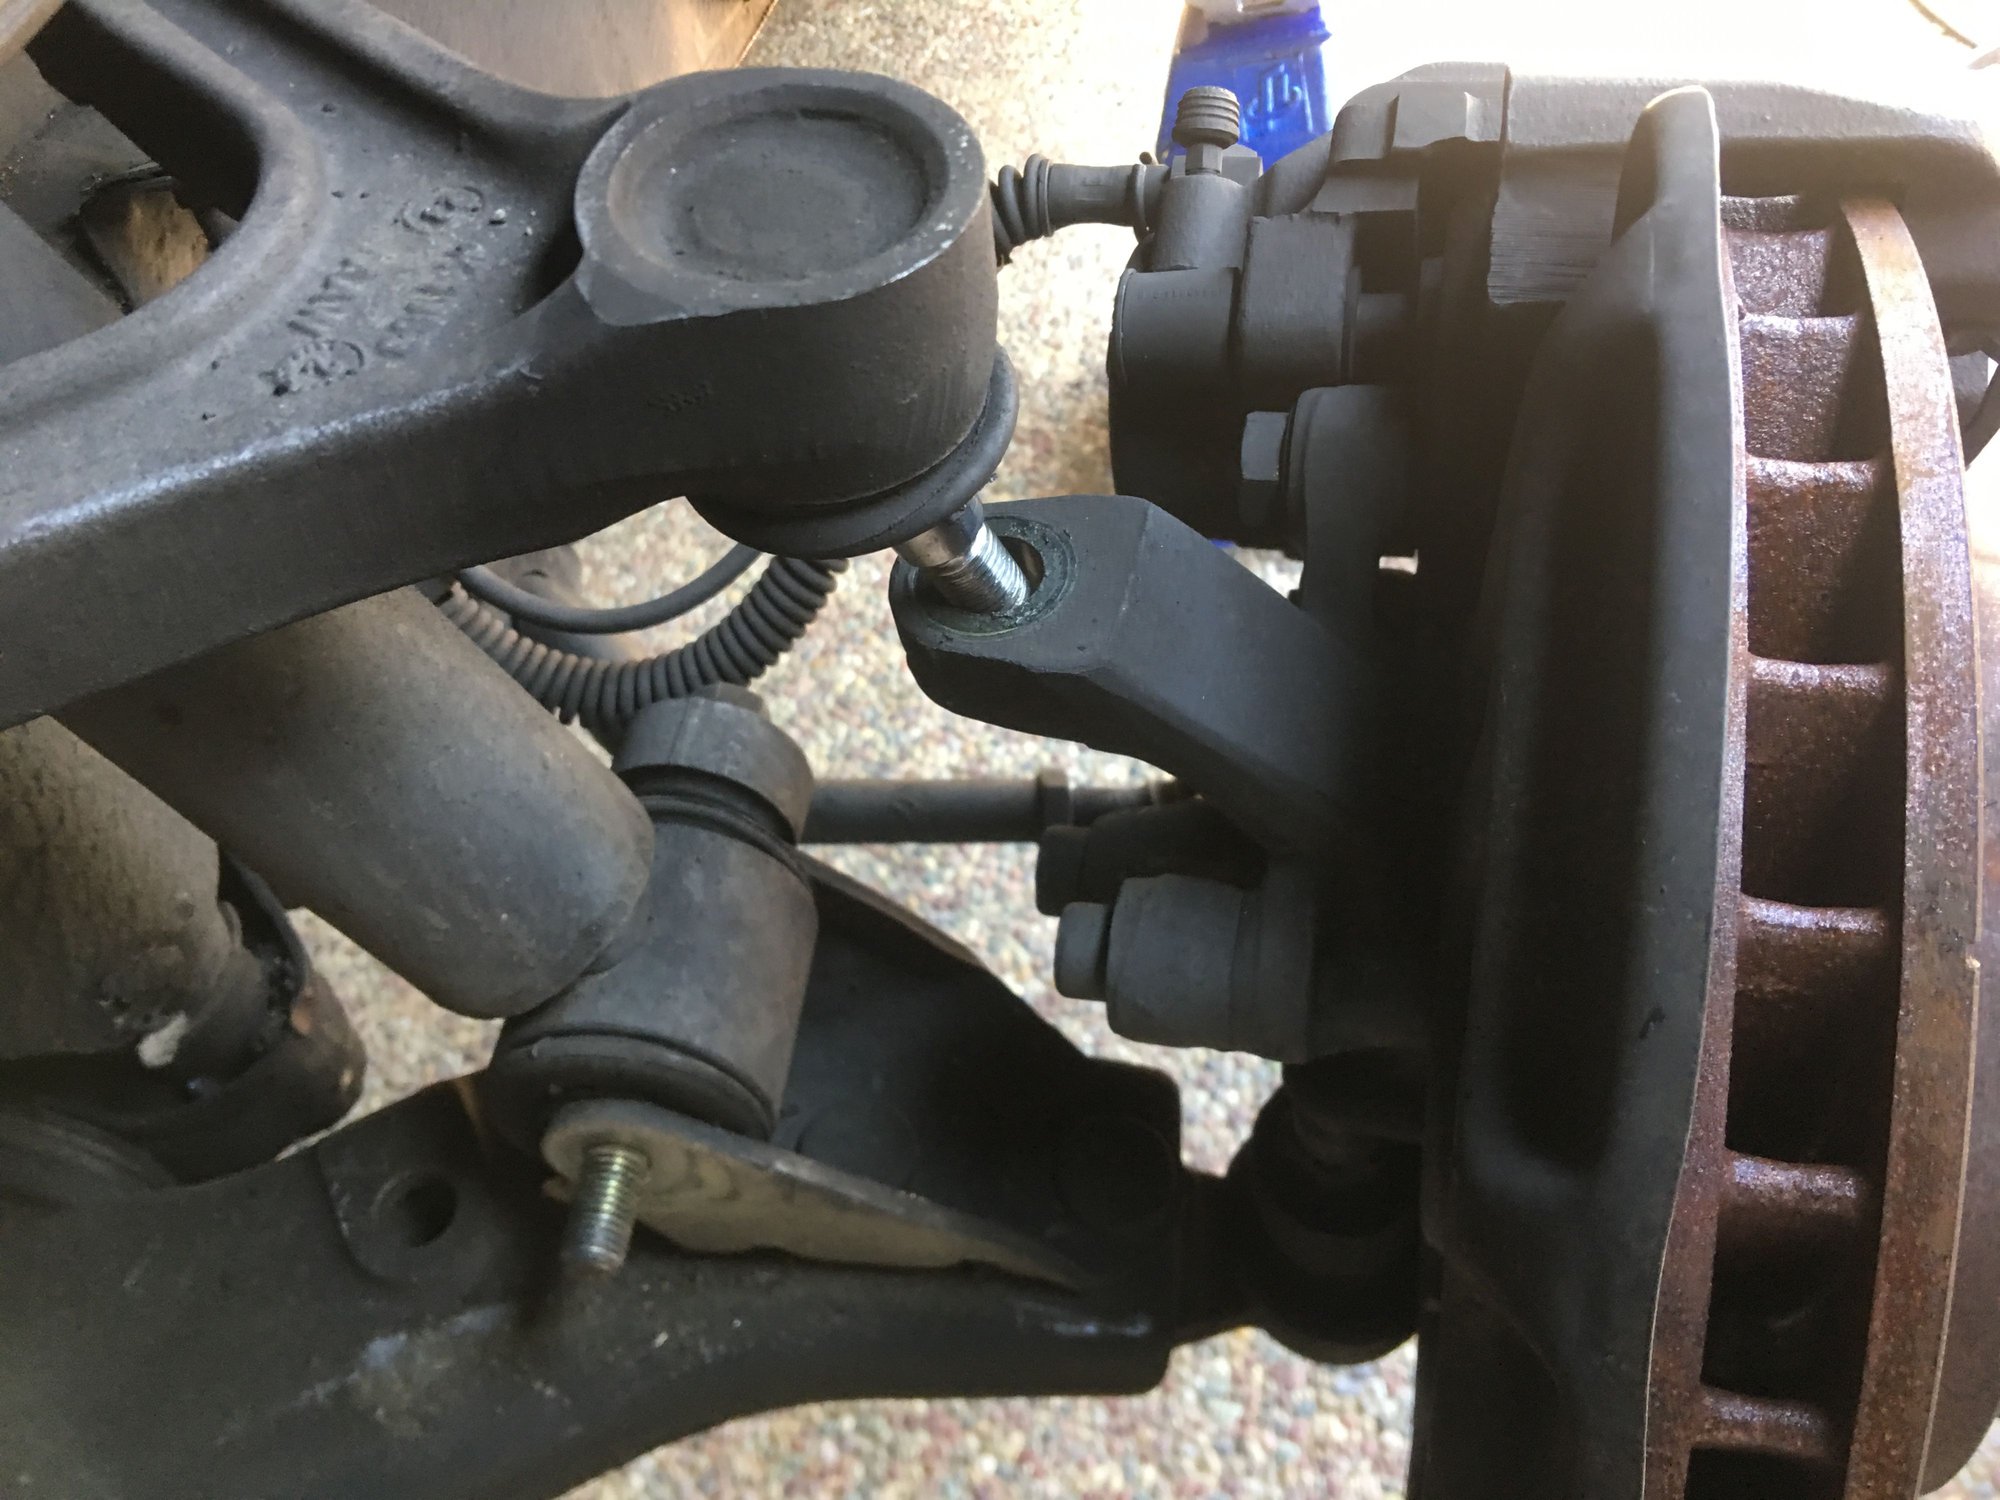
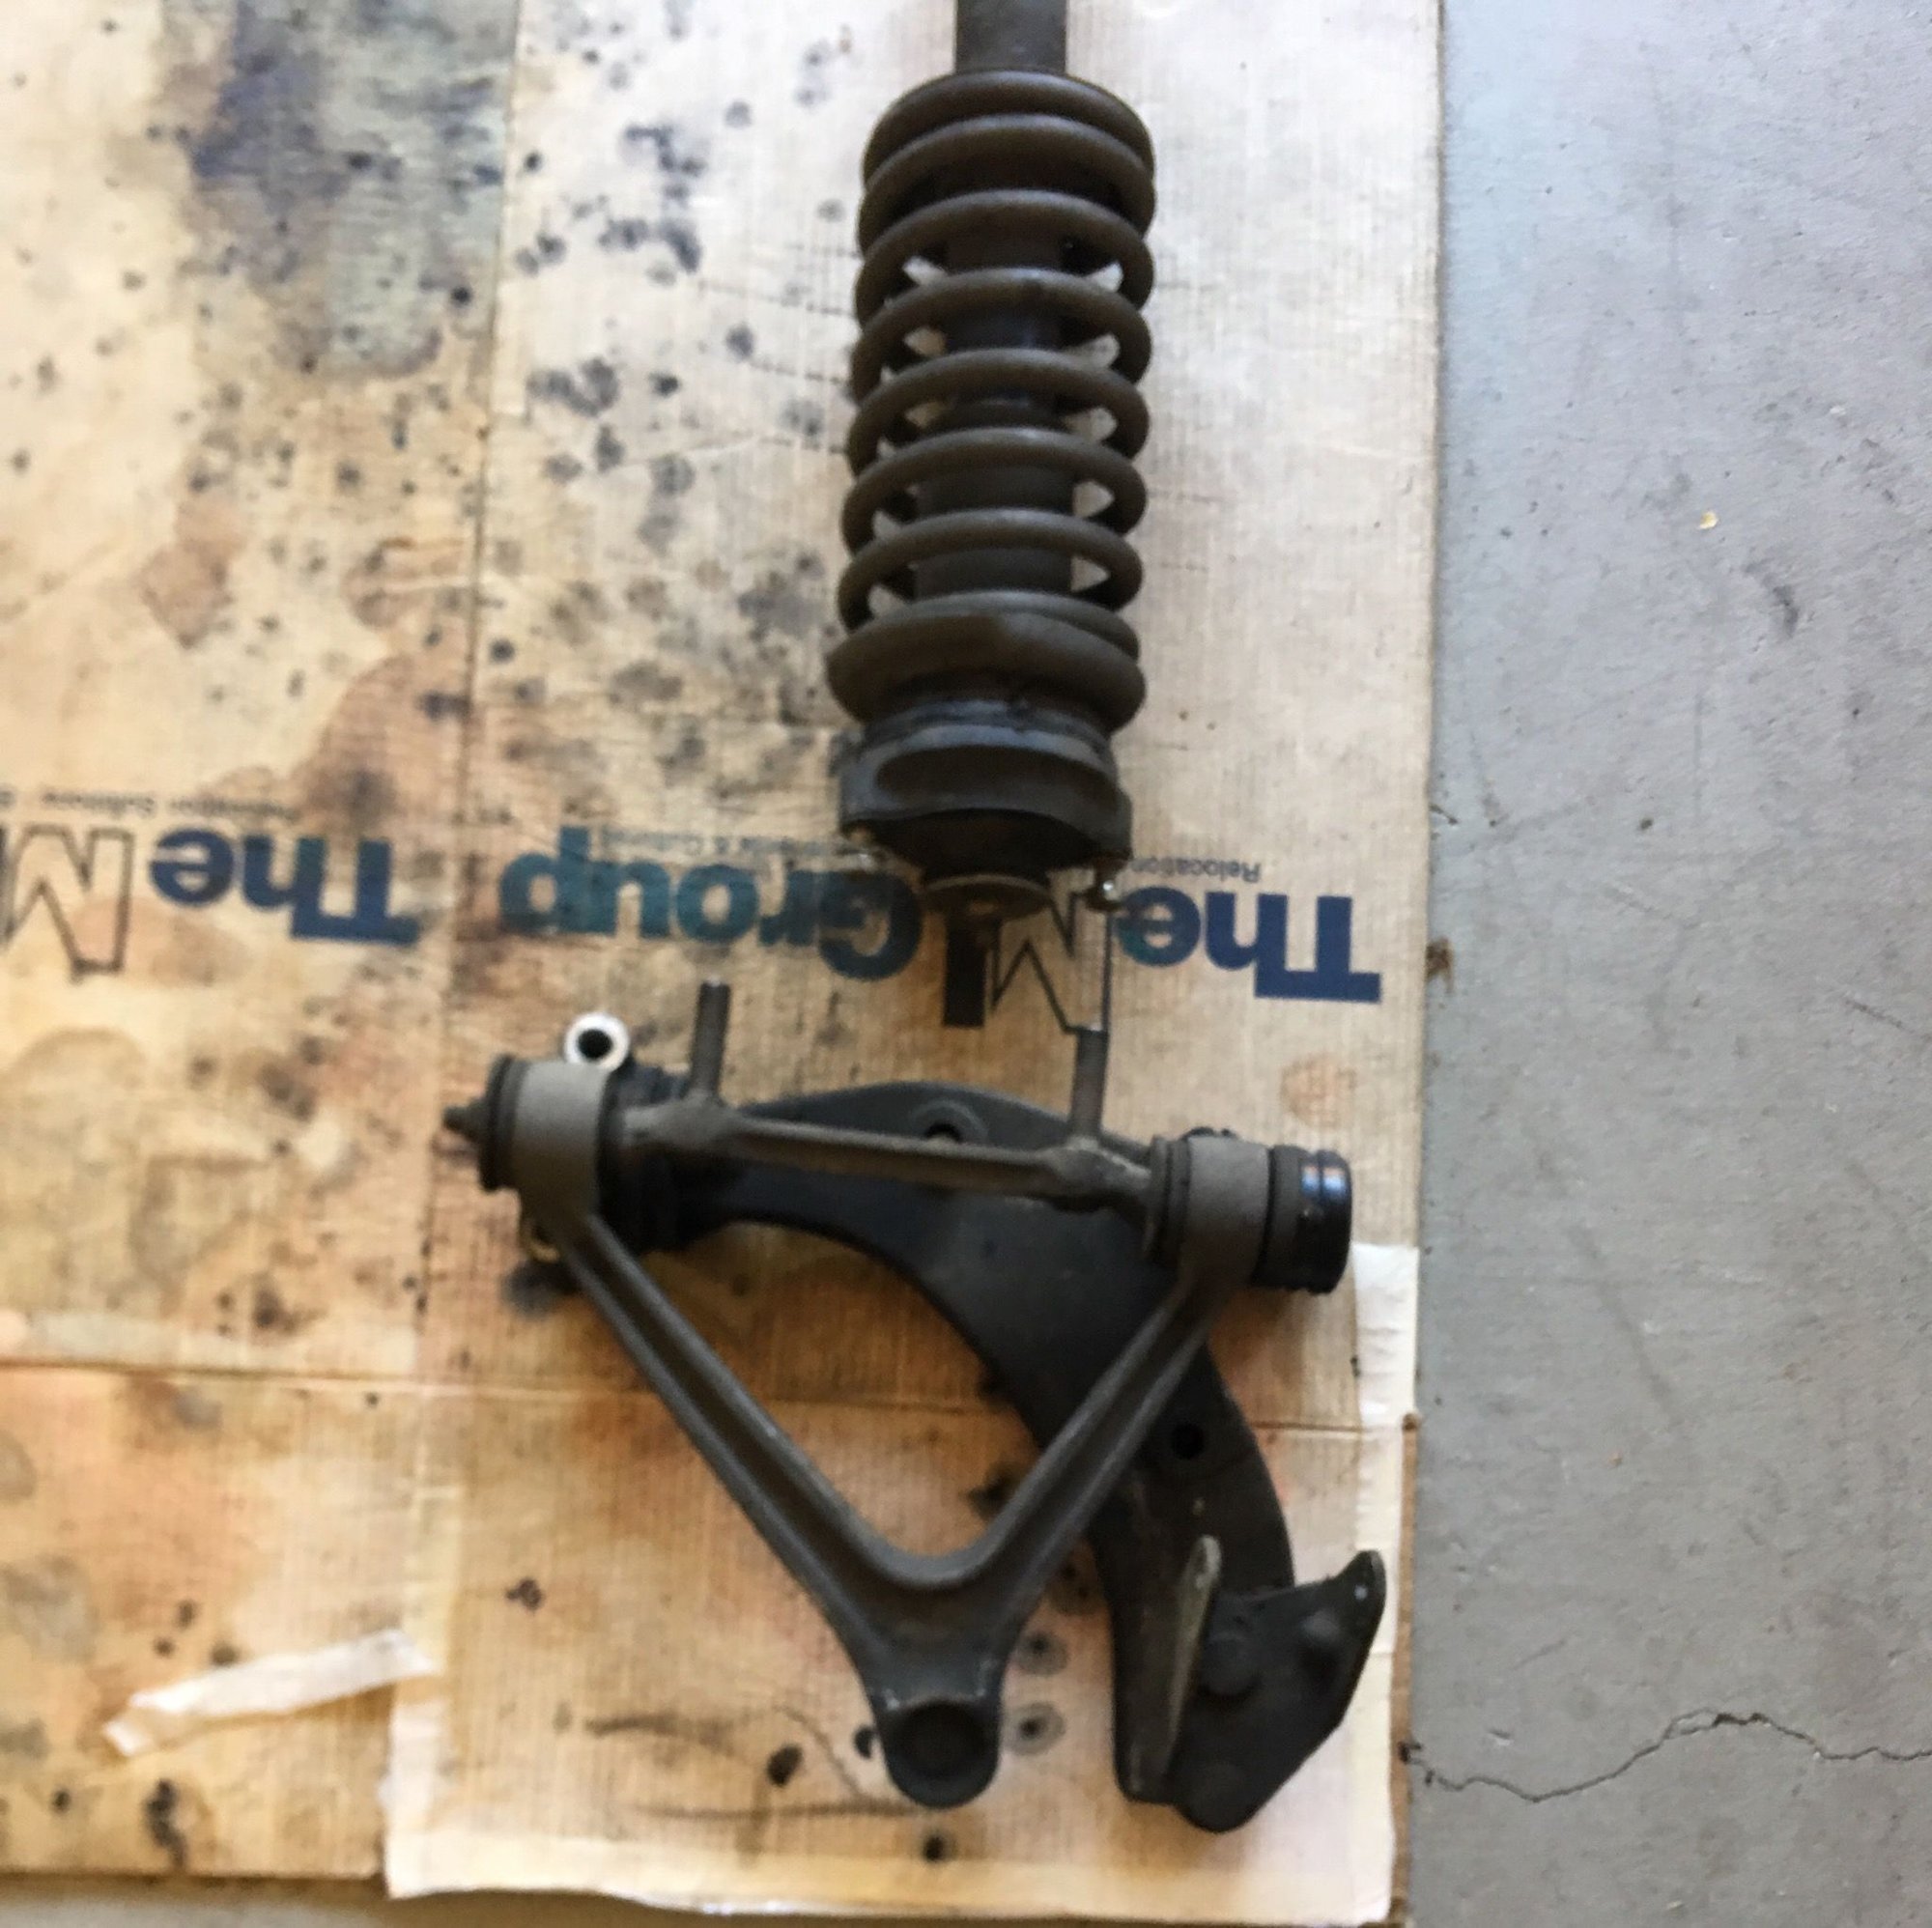
I got everything pulled off last weekend. Because I�m going to change control arms anyway, I just decided to pull everything off. But I�m saving brakes and bearings for later, so left the spindle behind, attached only to the tie rods (and brake lines). The only trick I used was the famous �two-hammer� maneuver to pop the upper ball joint. I left the lower ball joint (which I replaced less than 10k miles ago) connected to the spindle.
Upper ball joints popped Everything out!! Had a LOT of corrosion on the lower control arms bolts Spindle, rotor and brakes left behind
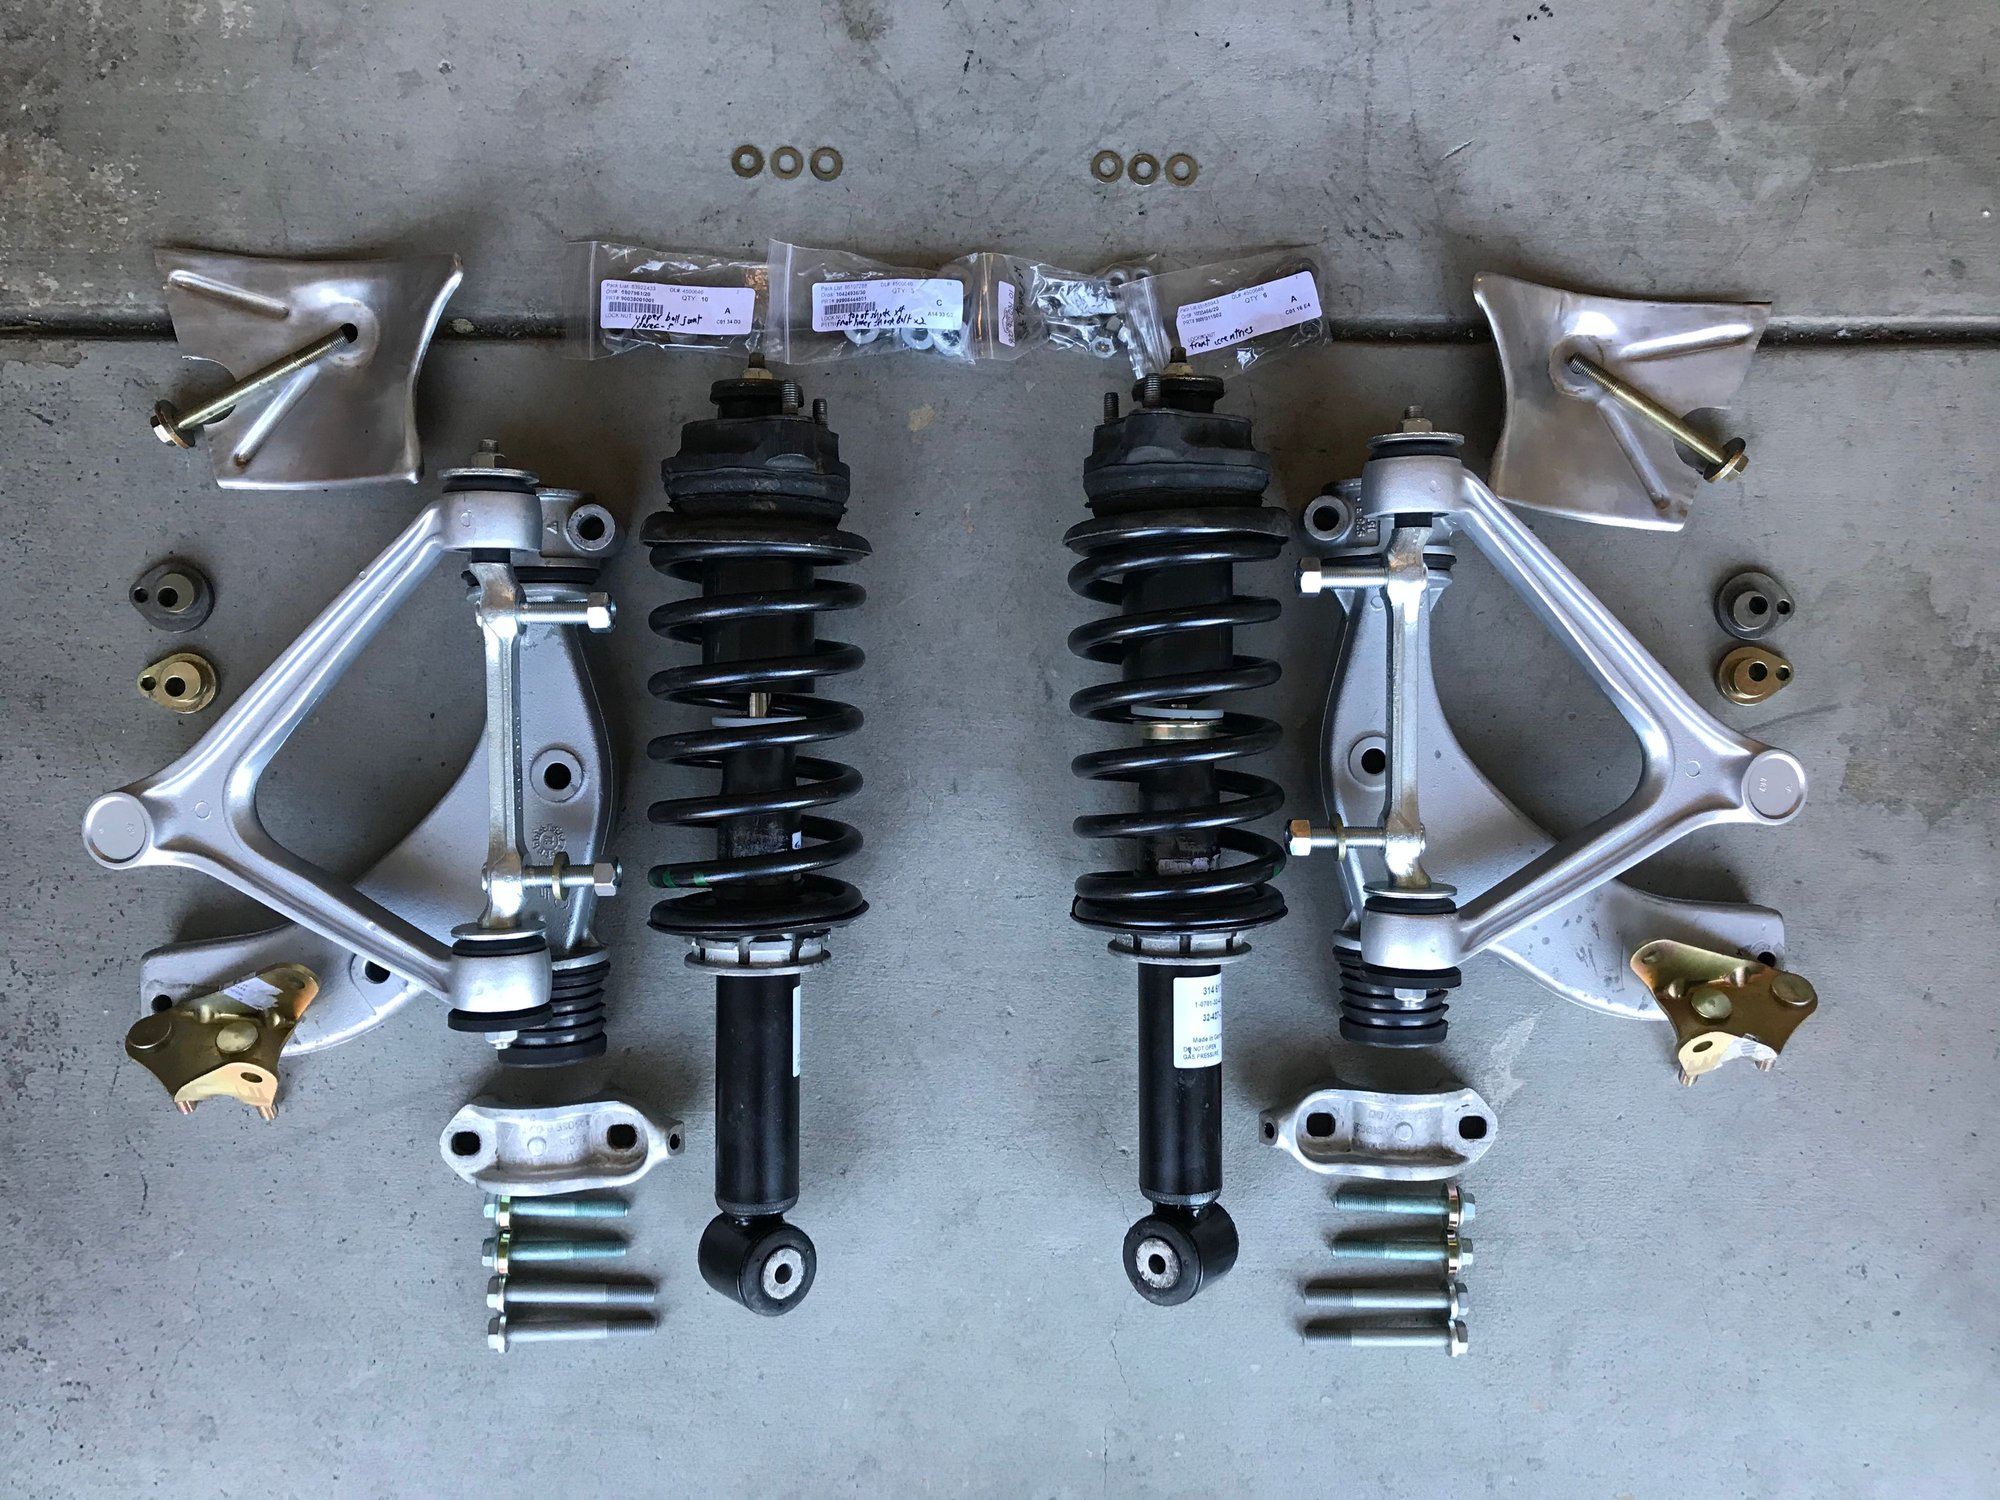
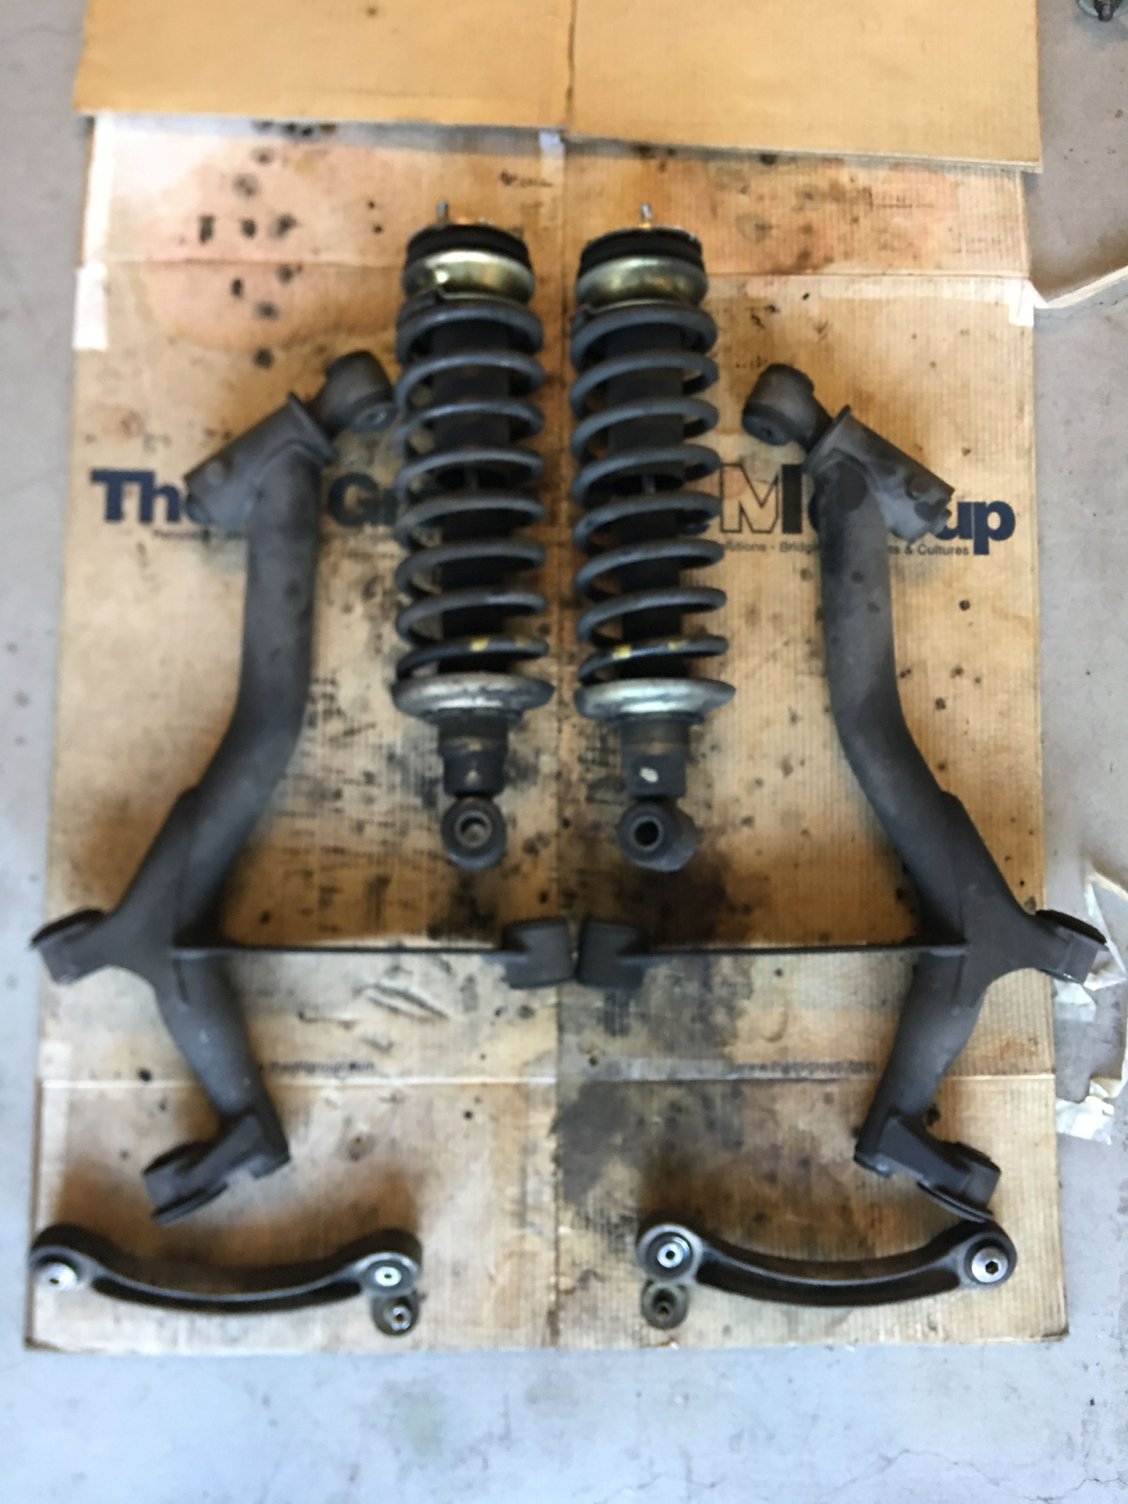
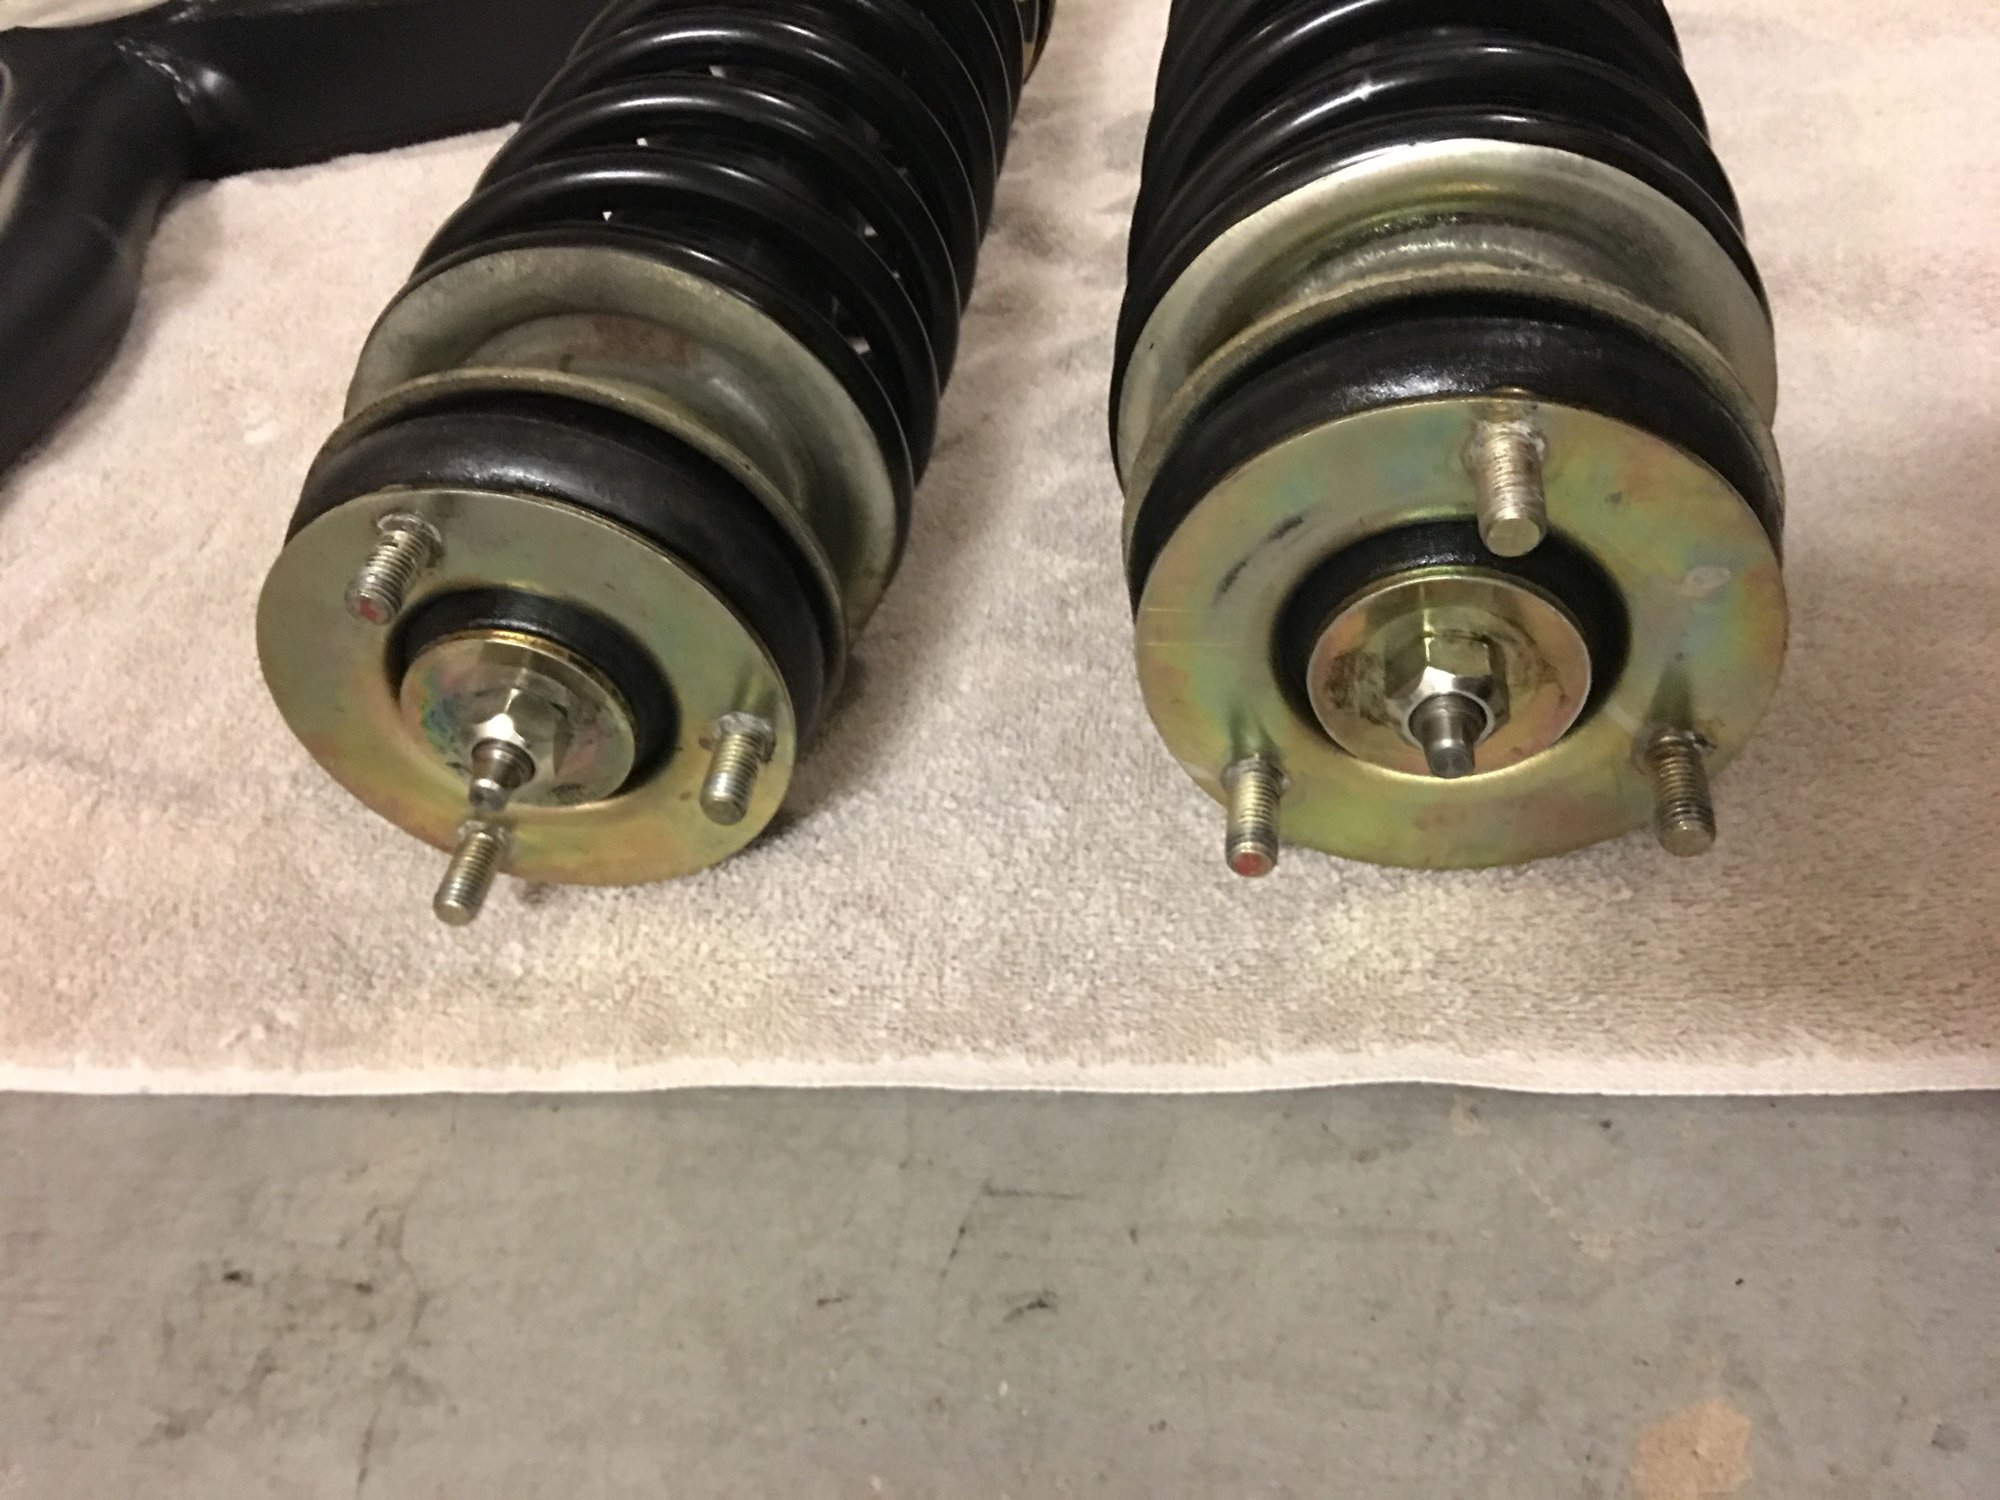
I bundled the front shocks and springs up and took everything over to Paul�s place (�nosnow� here on Rennlist). Paul had super graciously offered to help out changing the springs with his hydraulic spring compressor. It ended up being a kinda big job because one of the nuts at the top of the shock rod was more or less welded in place from corrosion, which wasn�t even visible. We ended up Dremeling the stupid nut off. Thank goodness Paul had a spare upper shock washer. Otherwise it was smooth sailing and we got the �84 style strut components all assembled. THANK YOU PAUL!!!
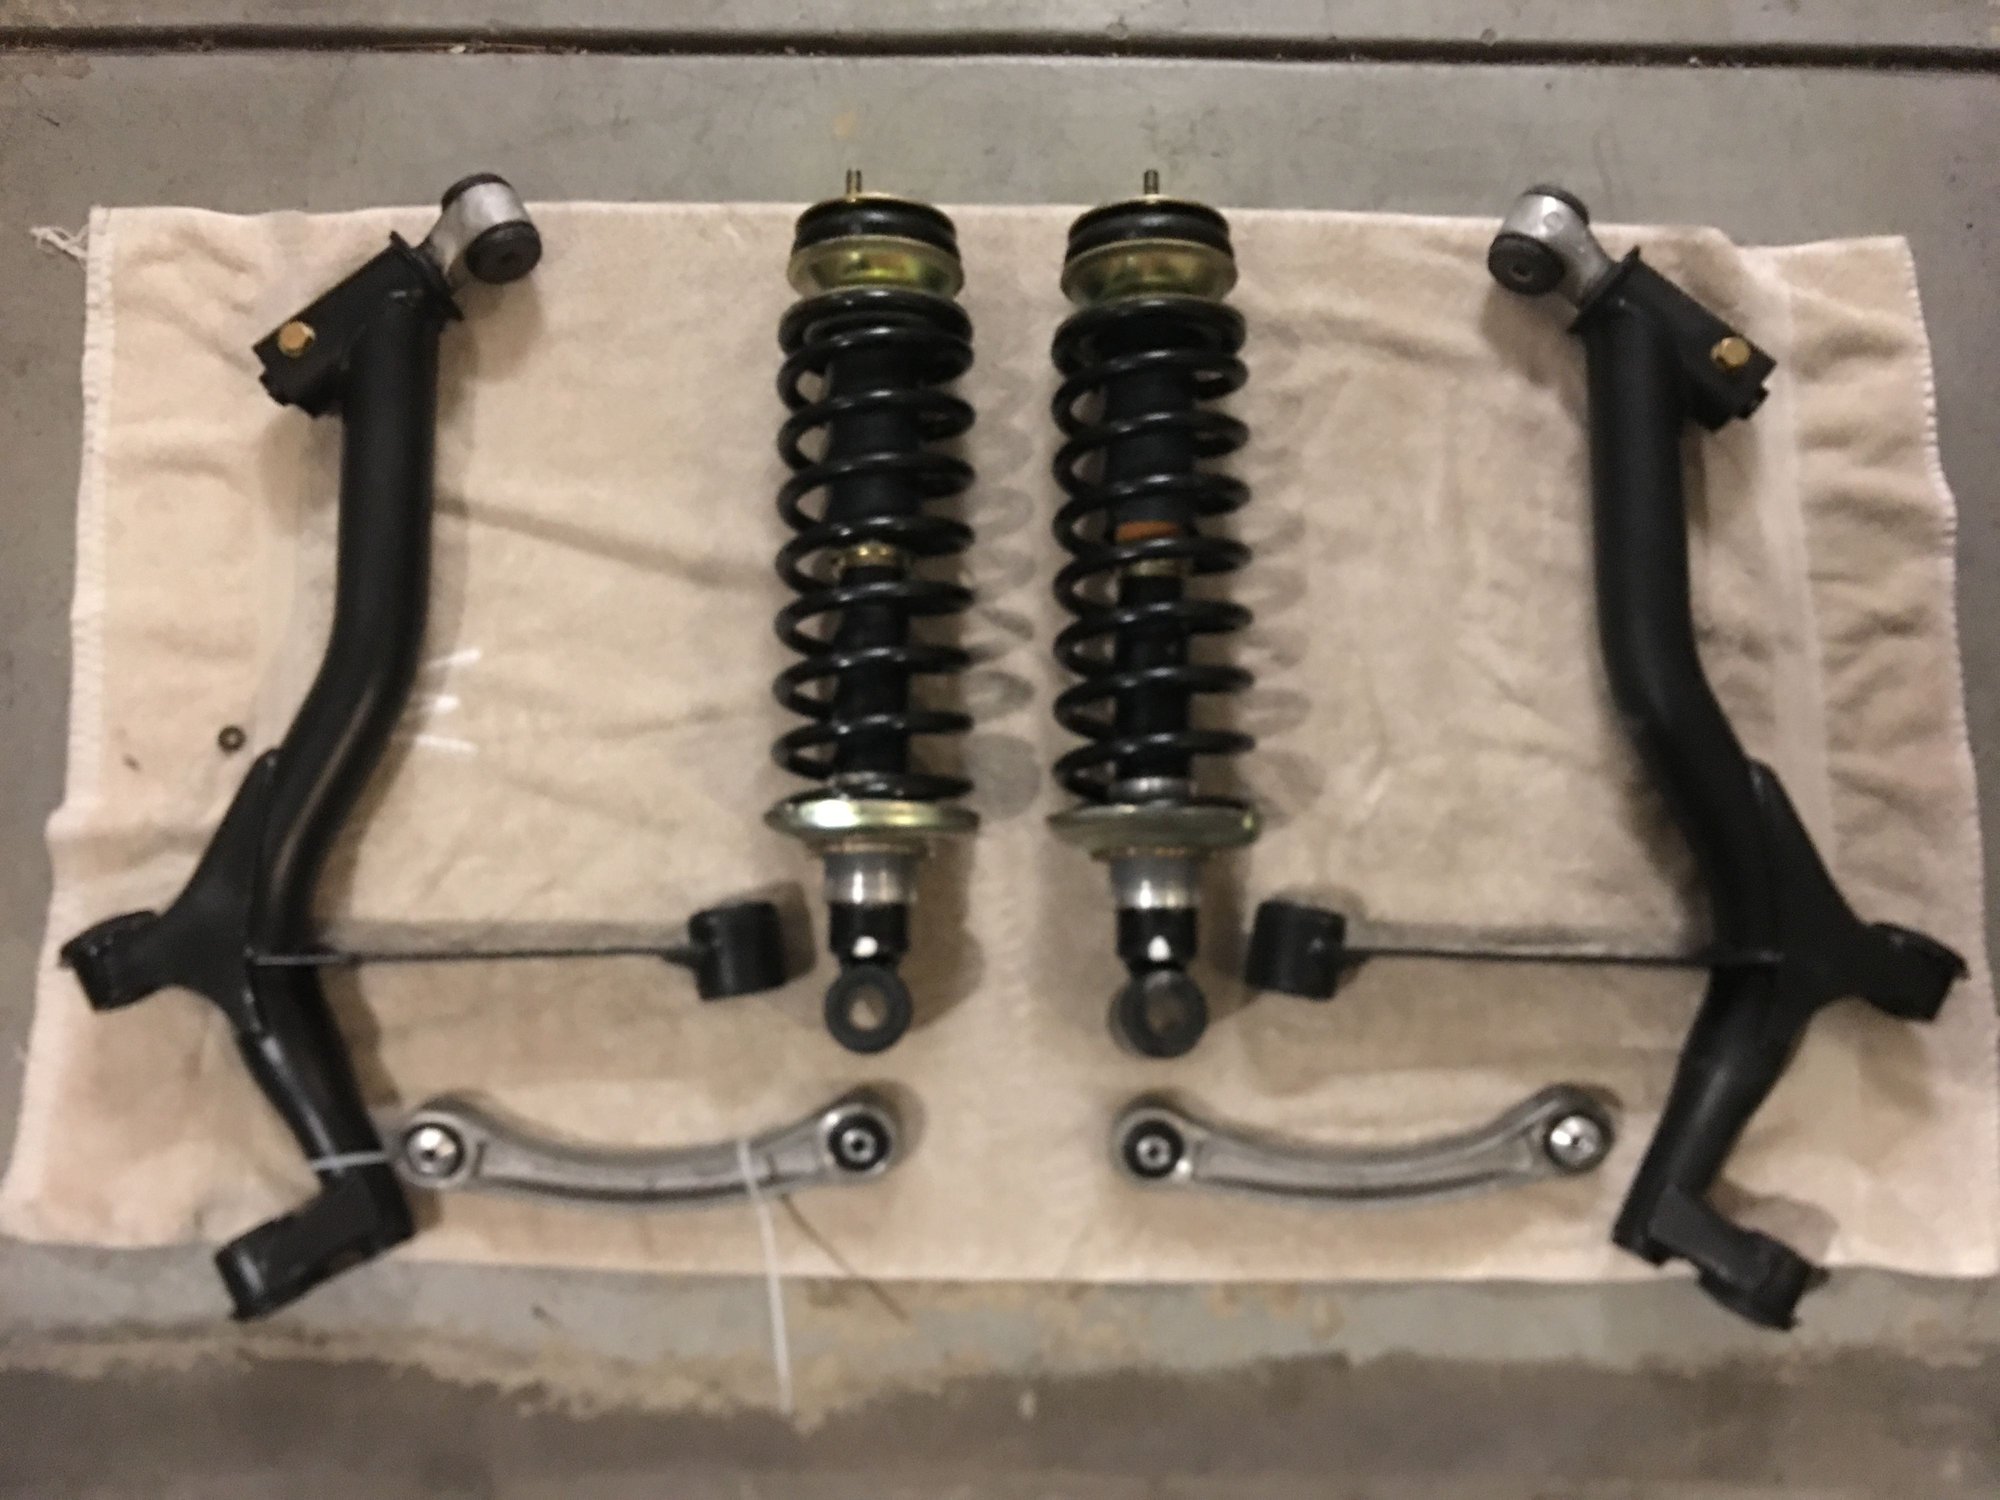
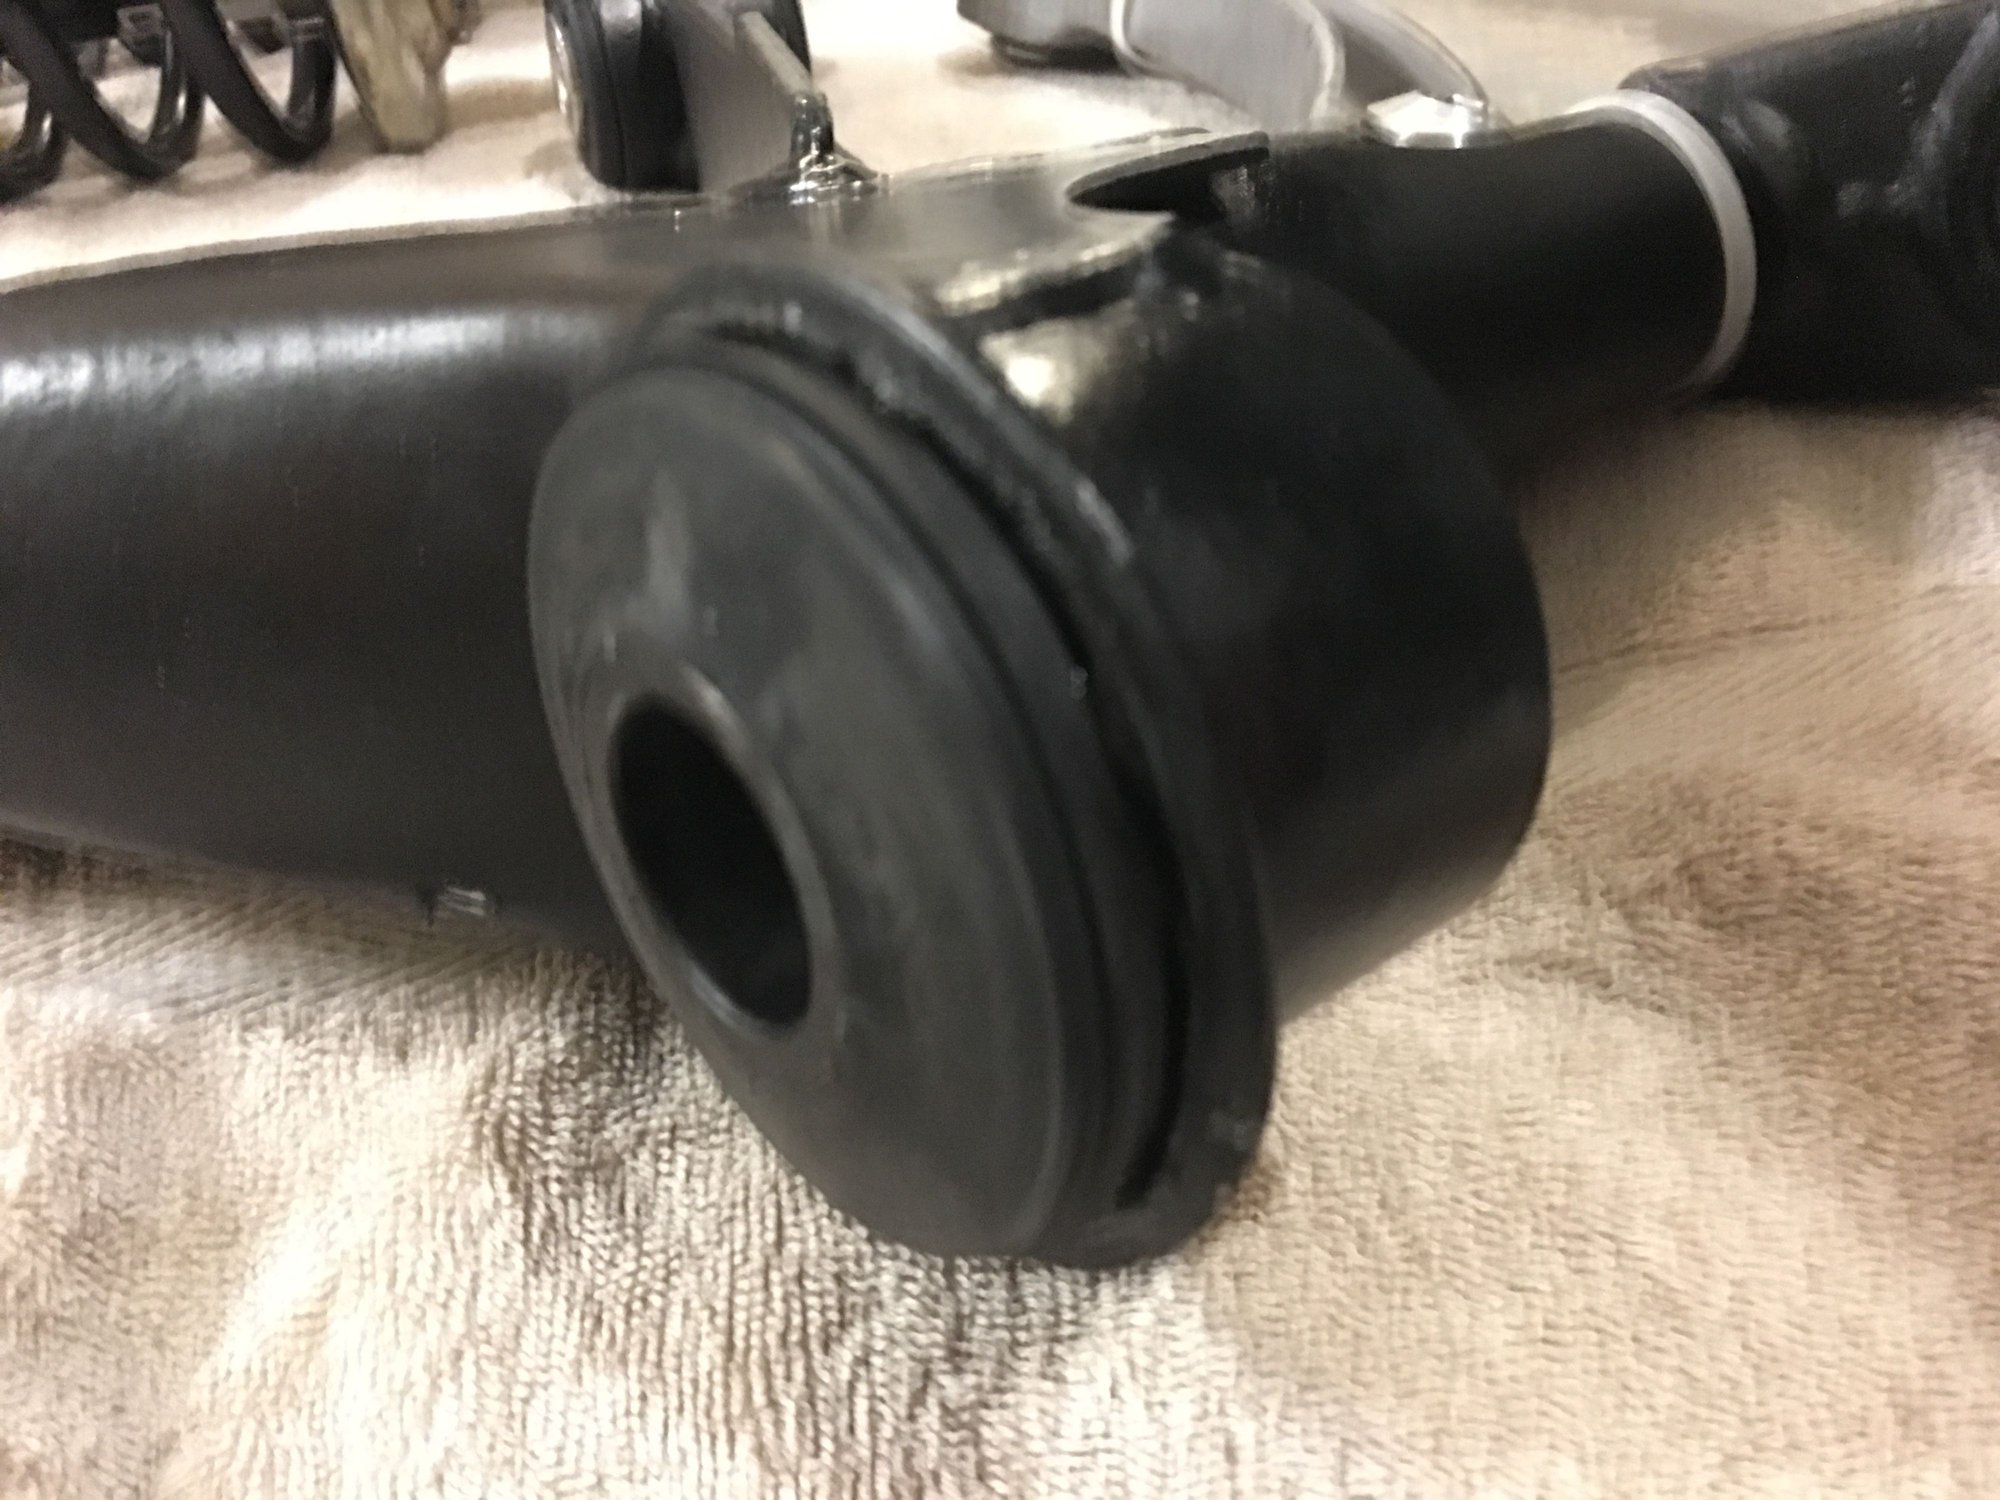
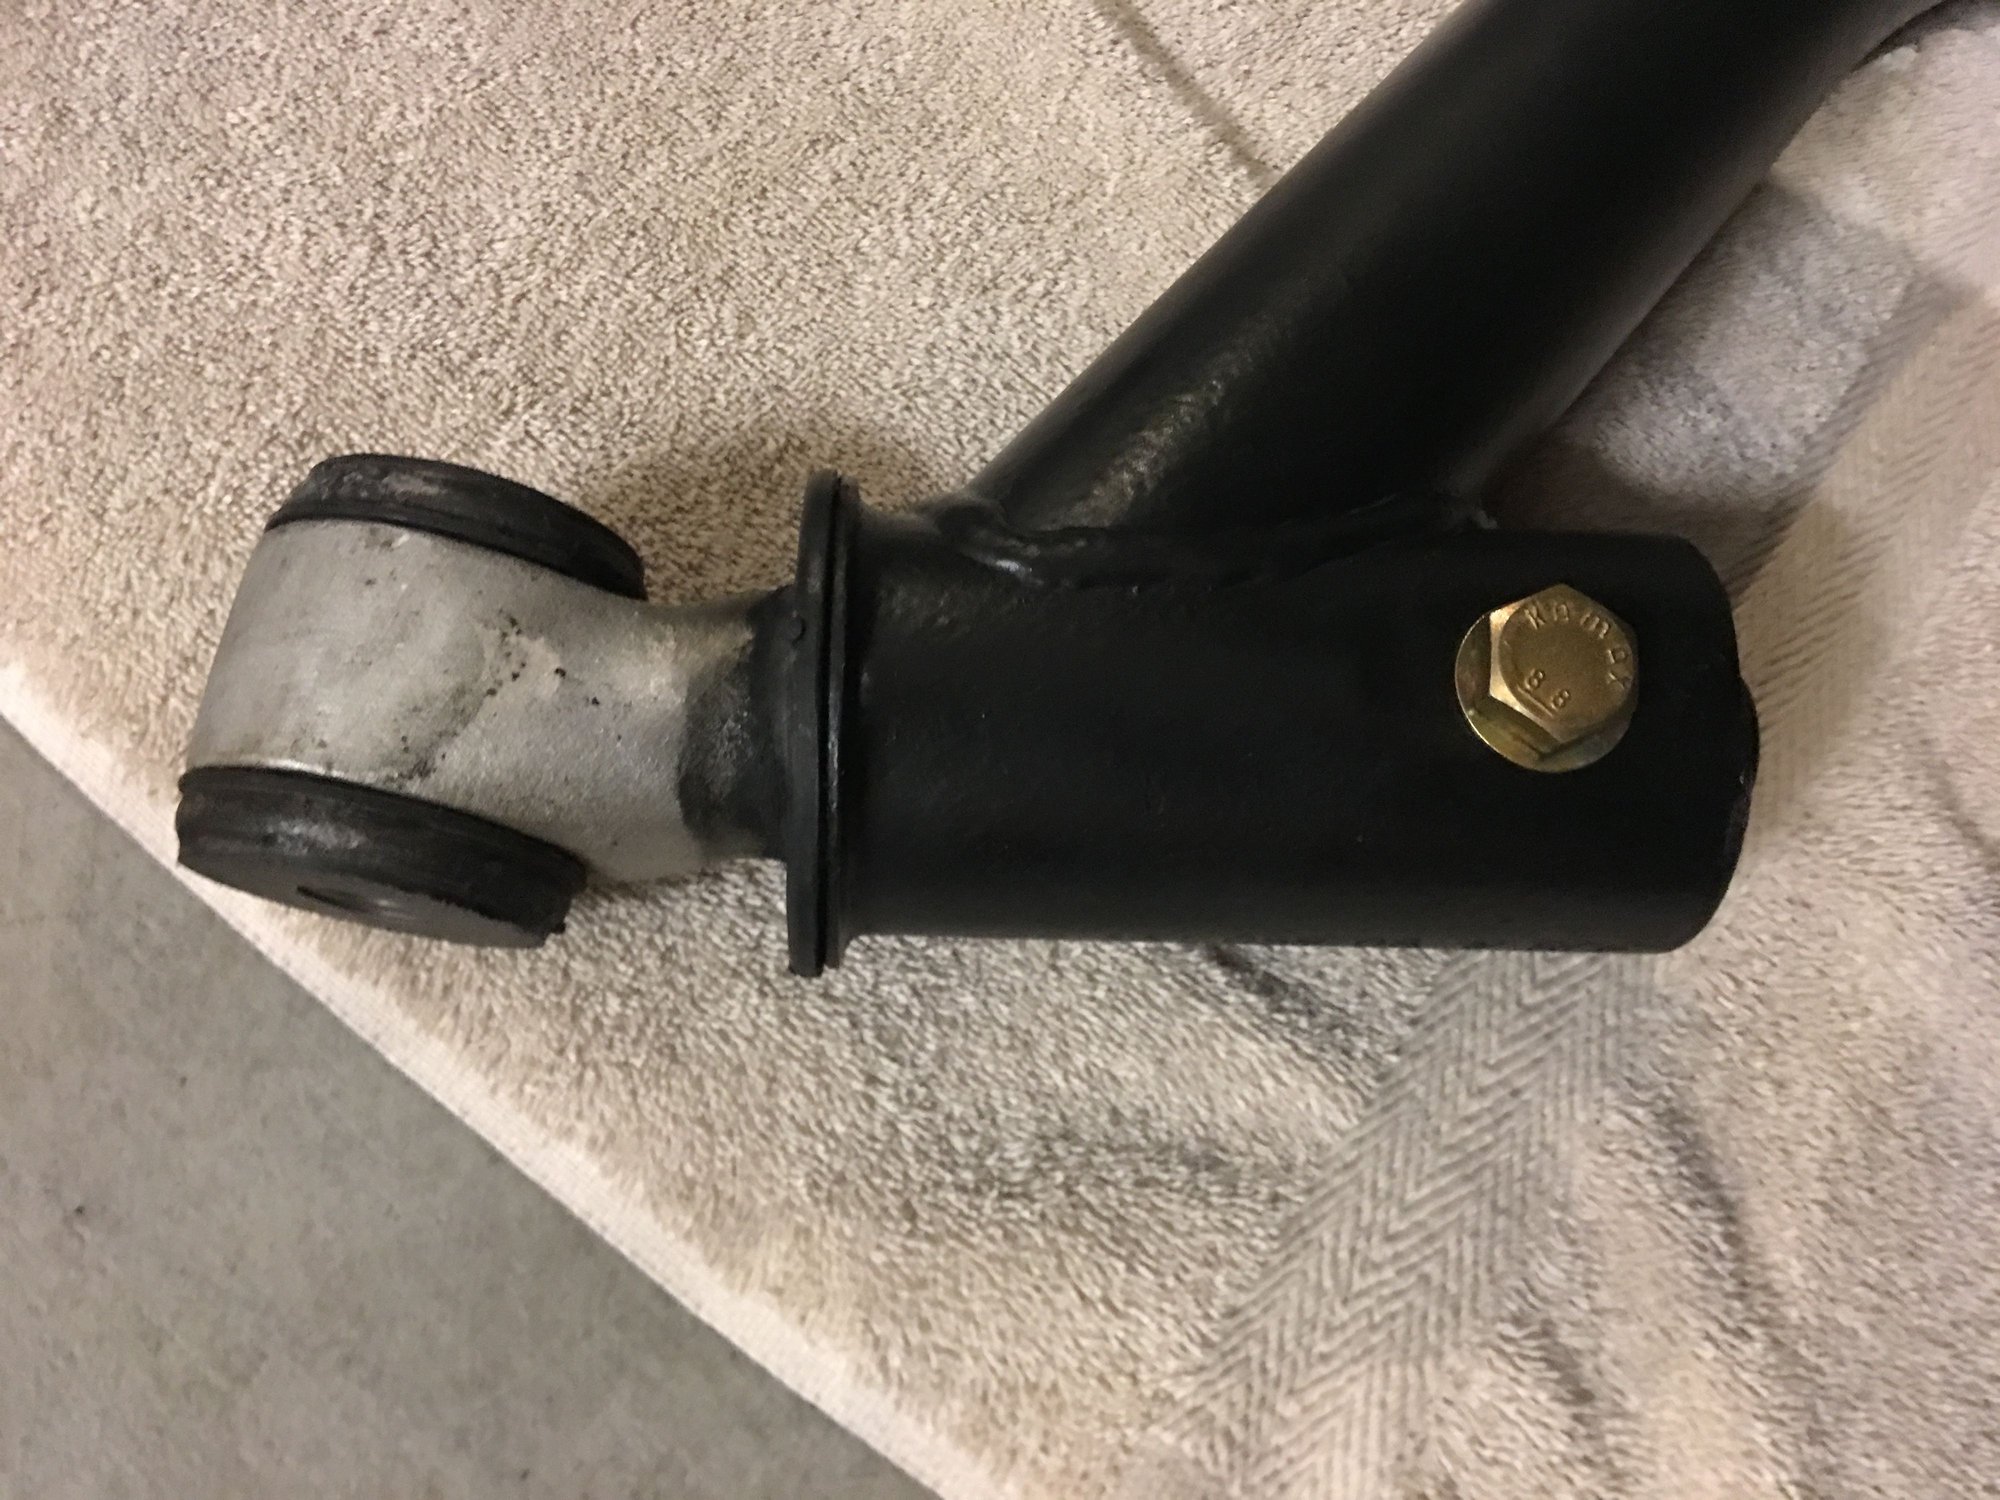
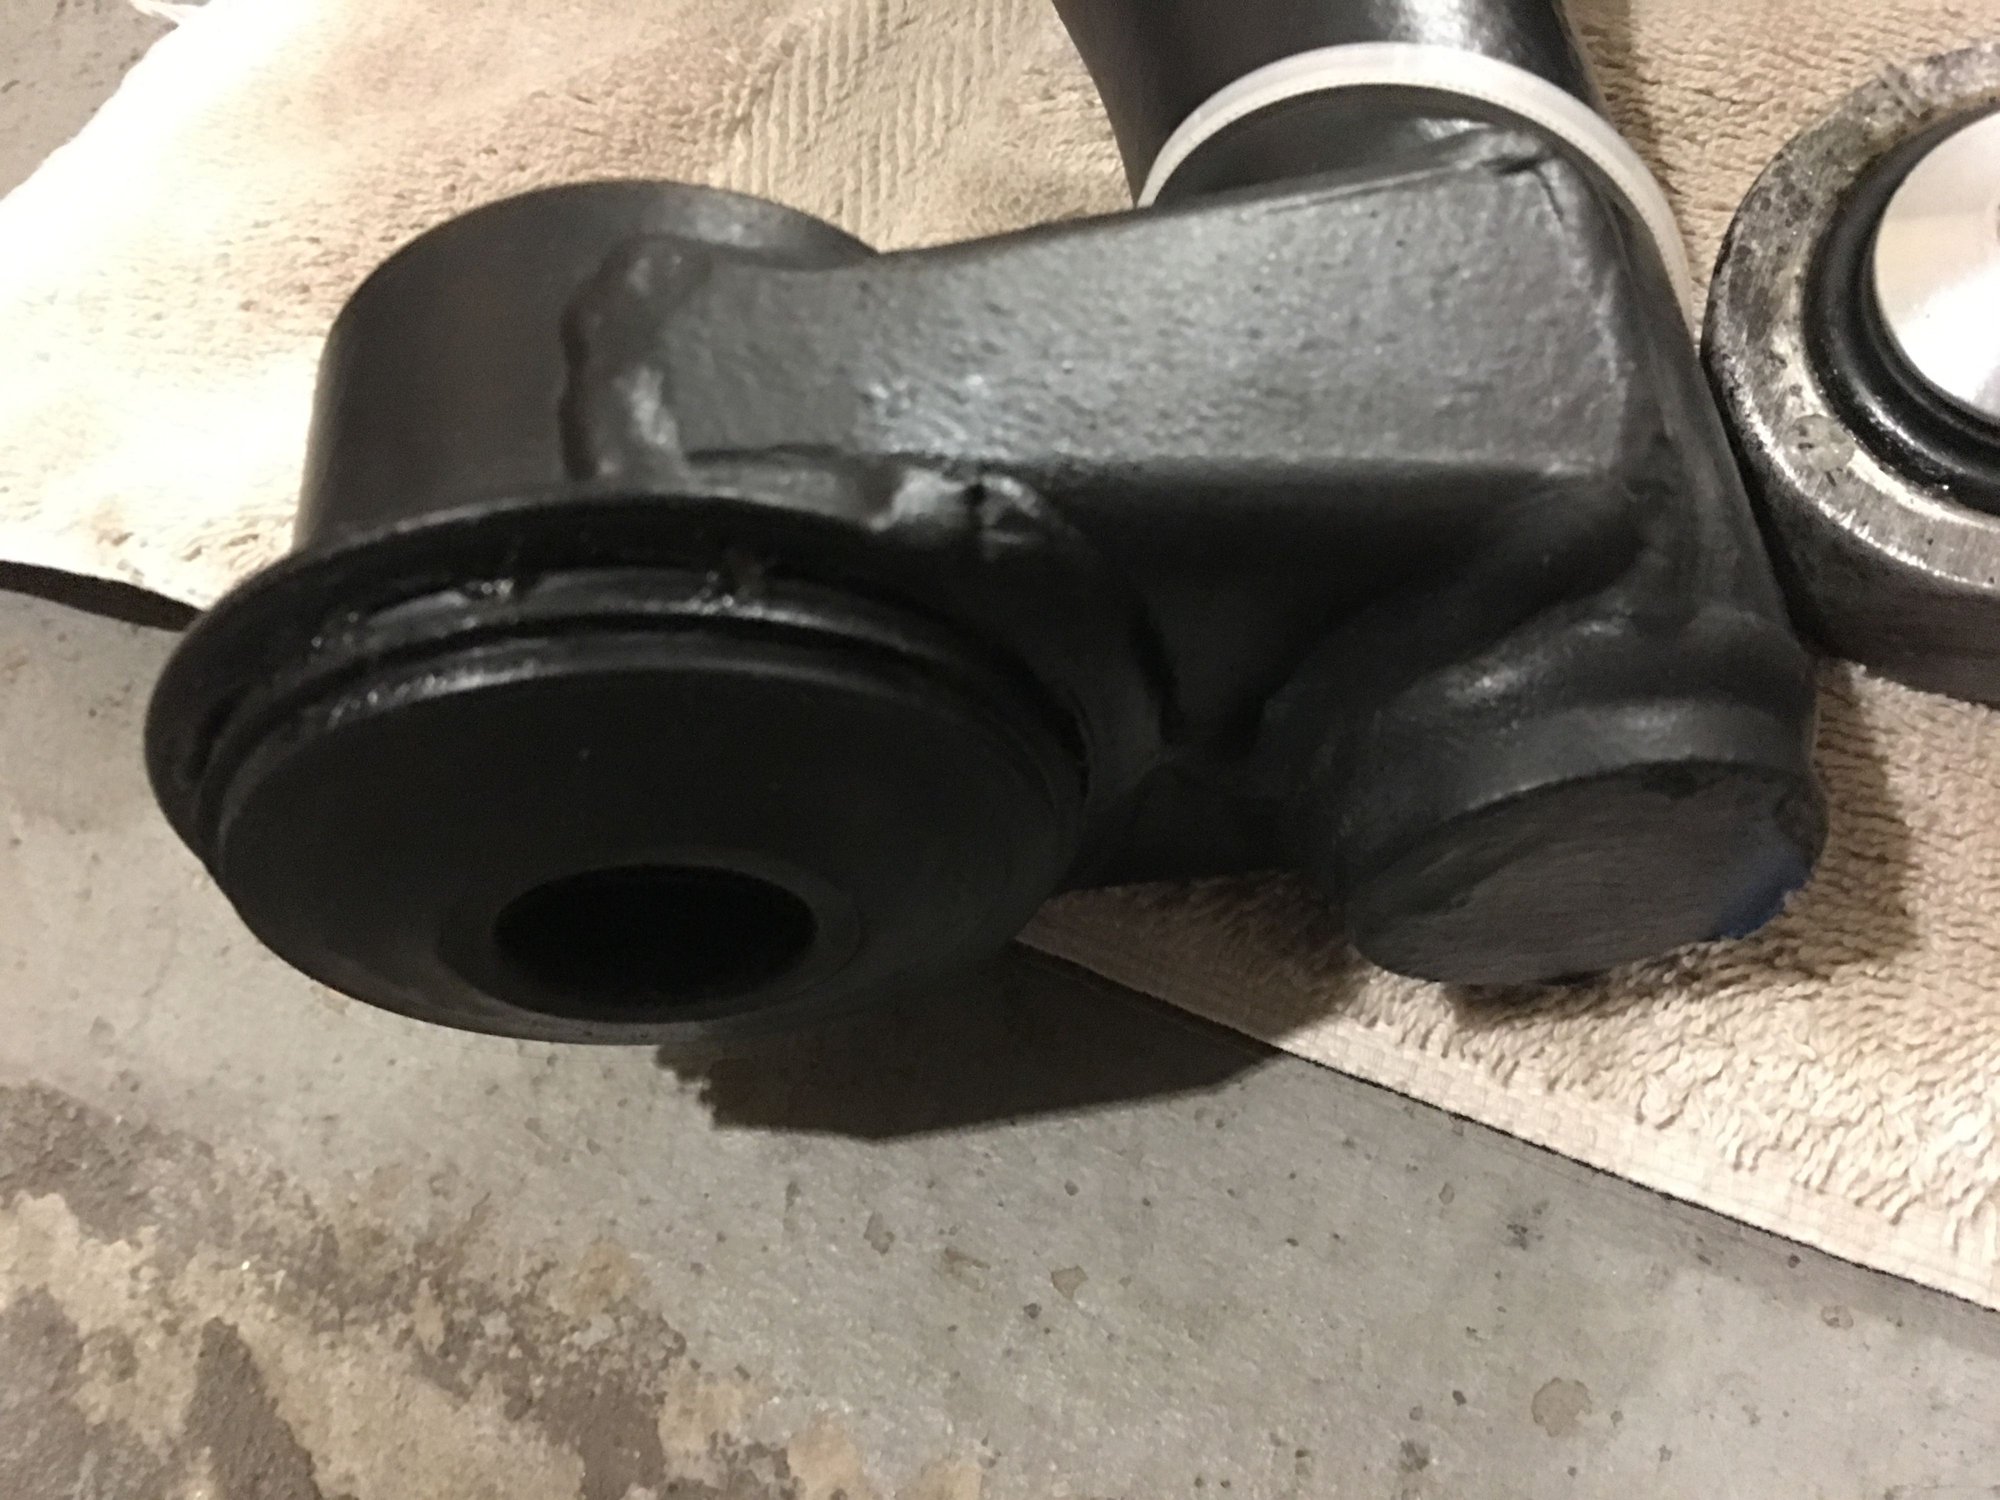
Here�s what everything looked like just prior to going back on the car:
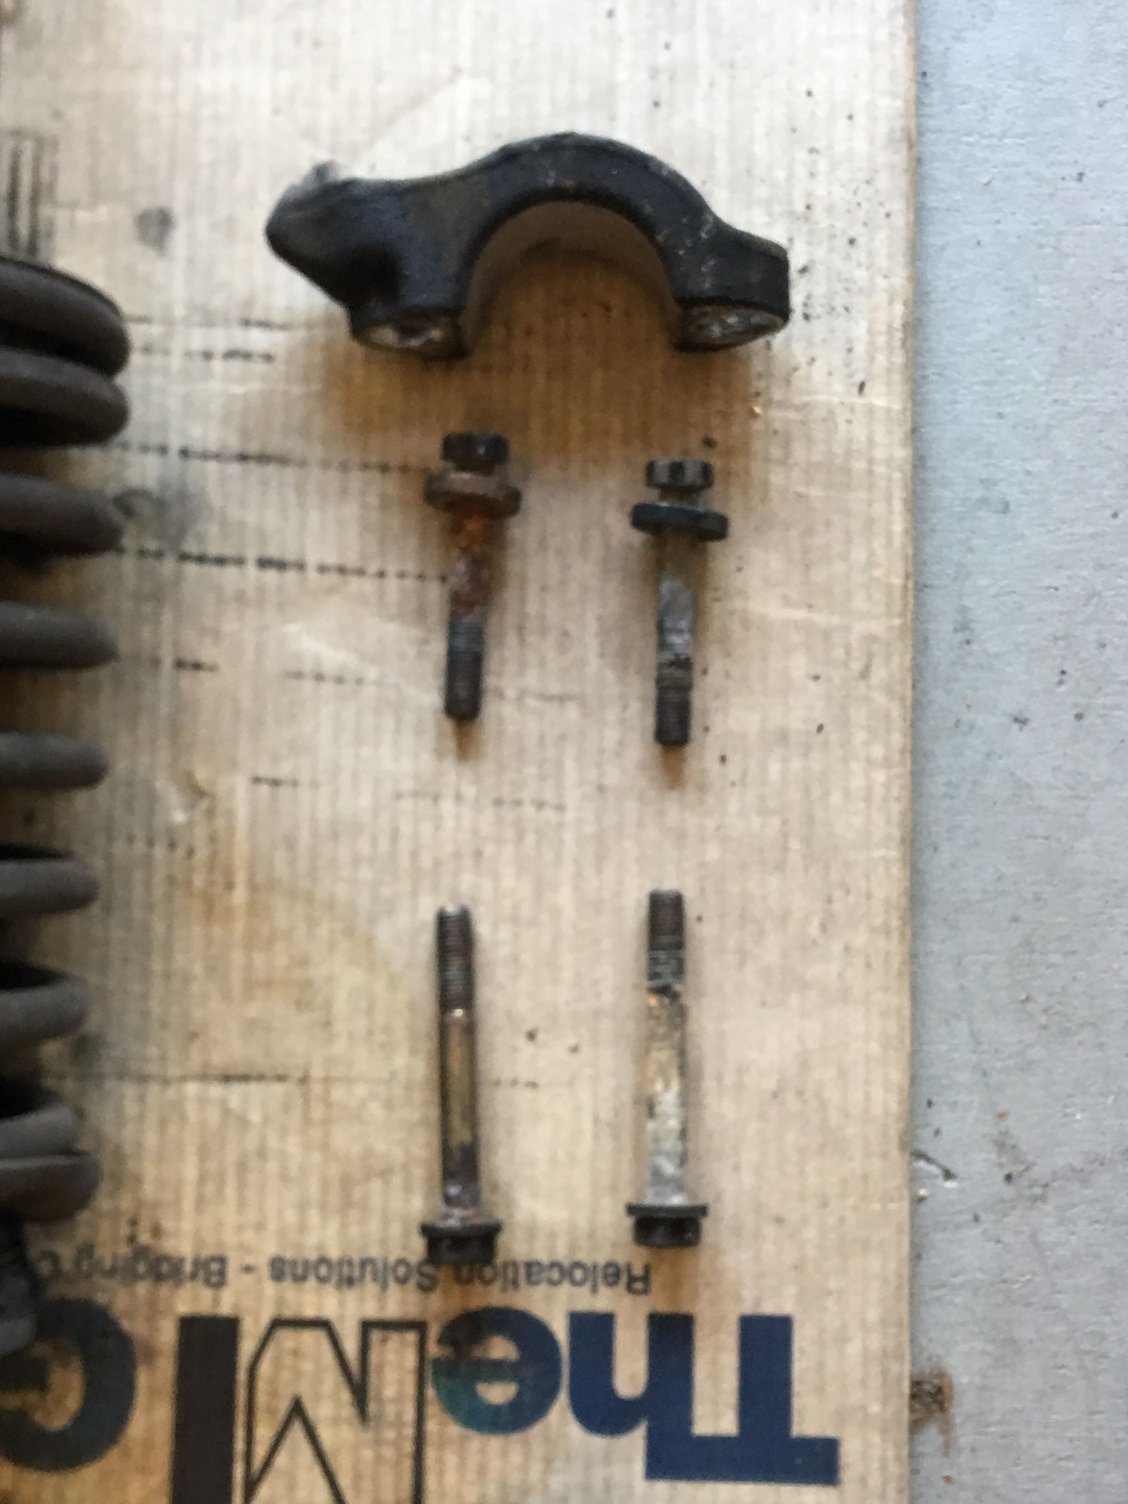
It went back together smoothly but took a whole lot longer as I cleaned up the few re-used parts. Used Optimoly HT ant TA as specified in the manual, except that on all lower control arm bolts I�m using TA on shanks and HT on threads. I got all new bolts and washers, the originals all came out heavily corroded and hopefully the full coverage will help prevent that again.
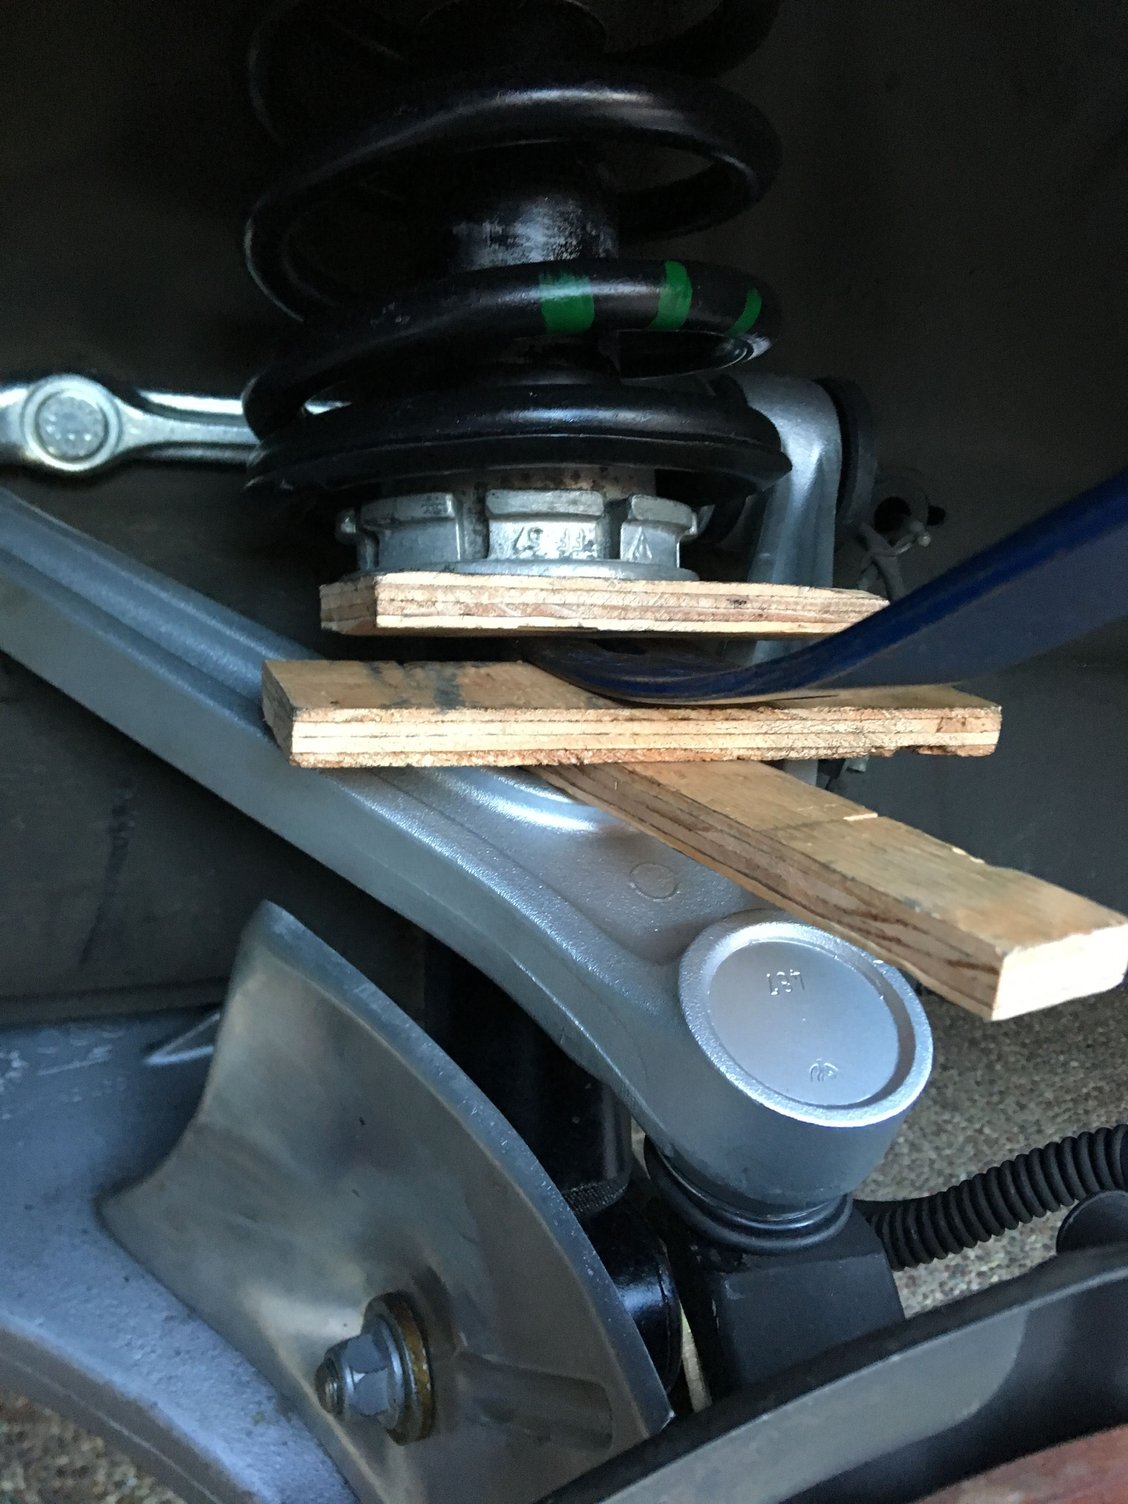
I�ve left the two aft lower control arm bolts loose per WSM, and also the upper control arm bushing nuts AND the lower shock mount nut. Plan to tighten all once suspension is settled.
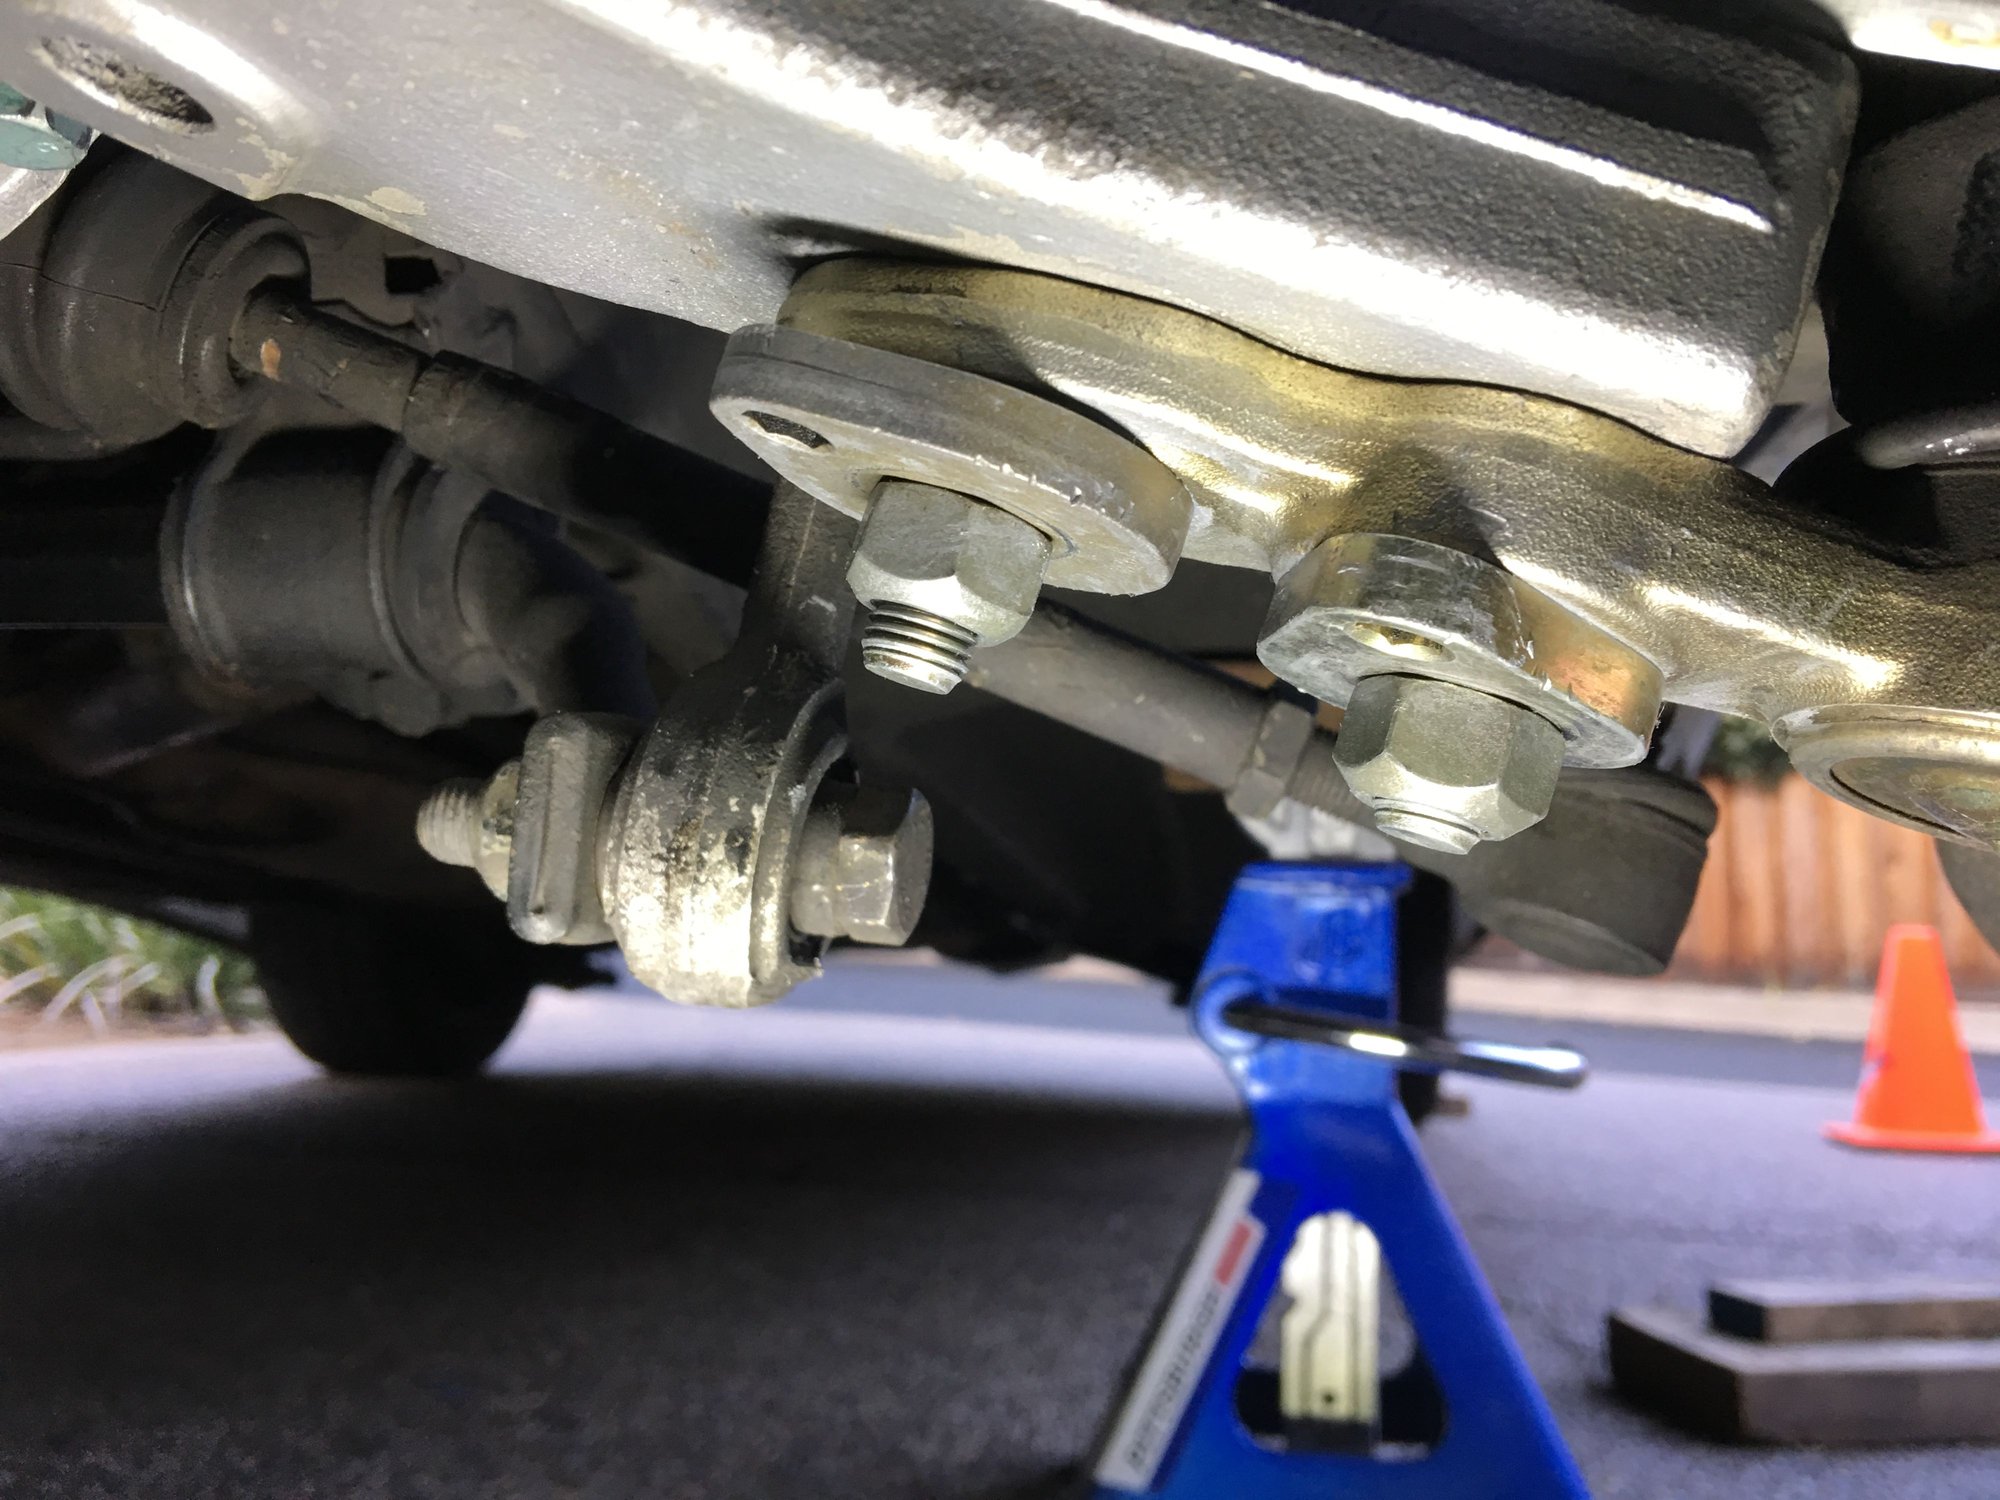
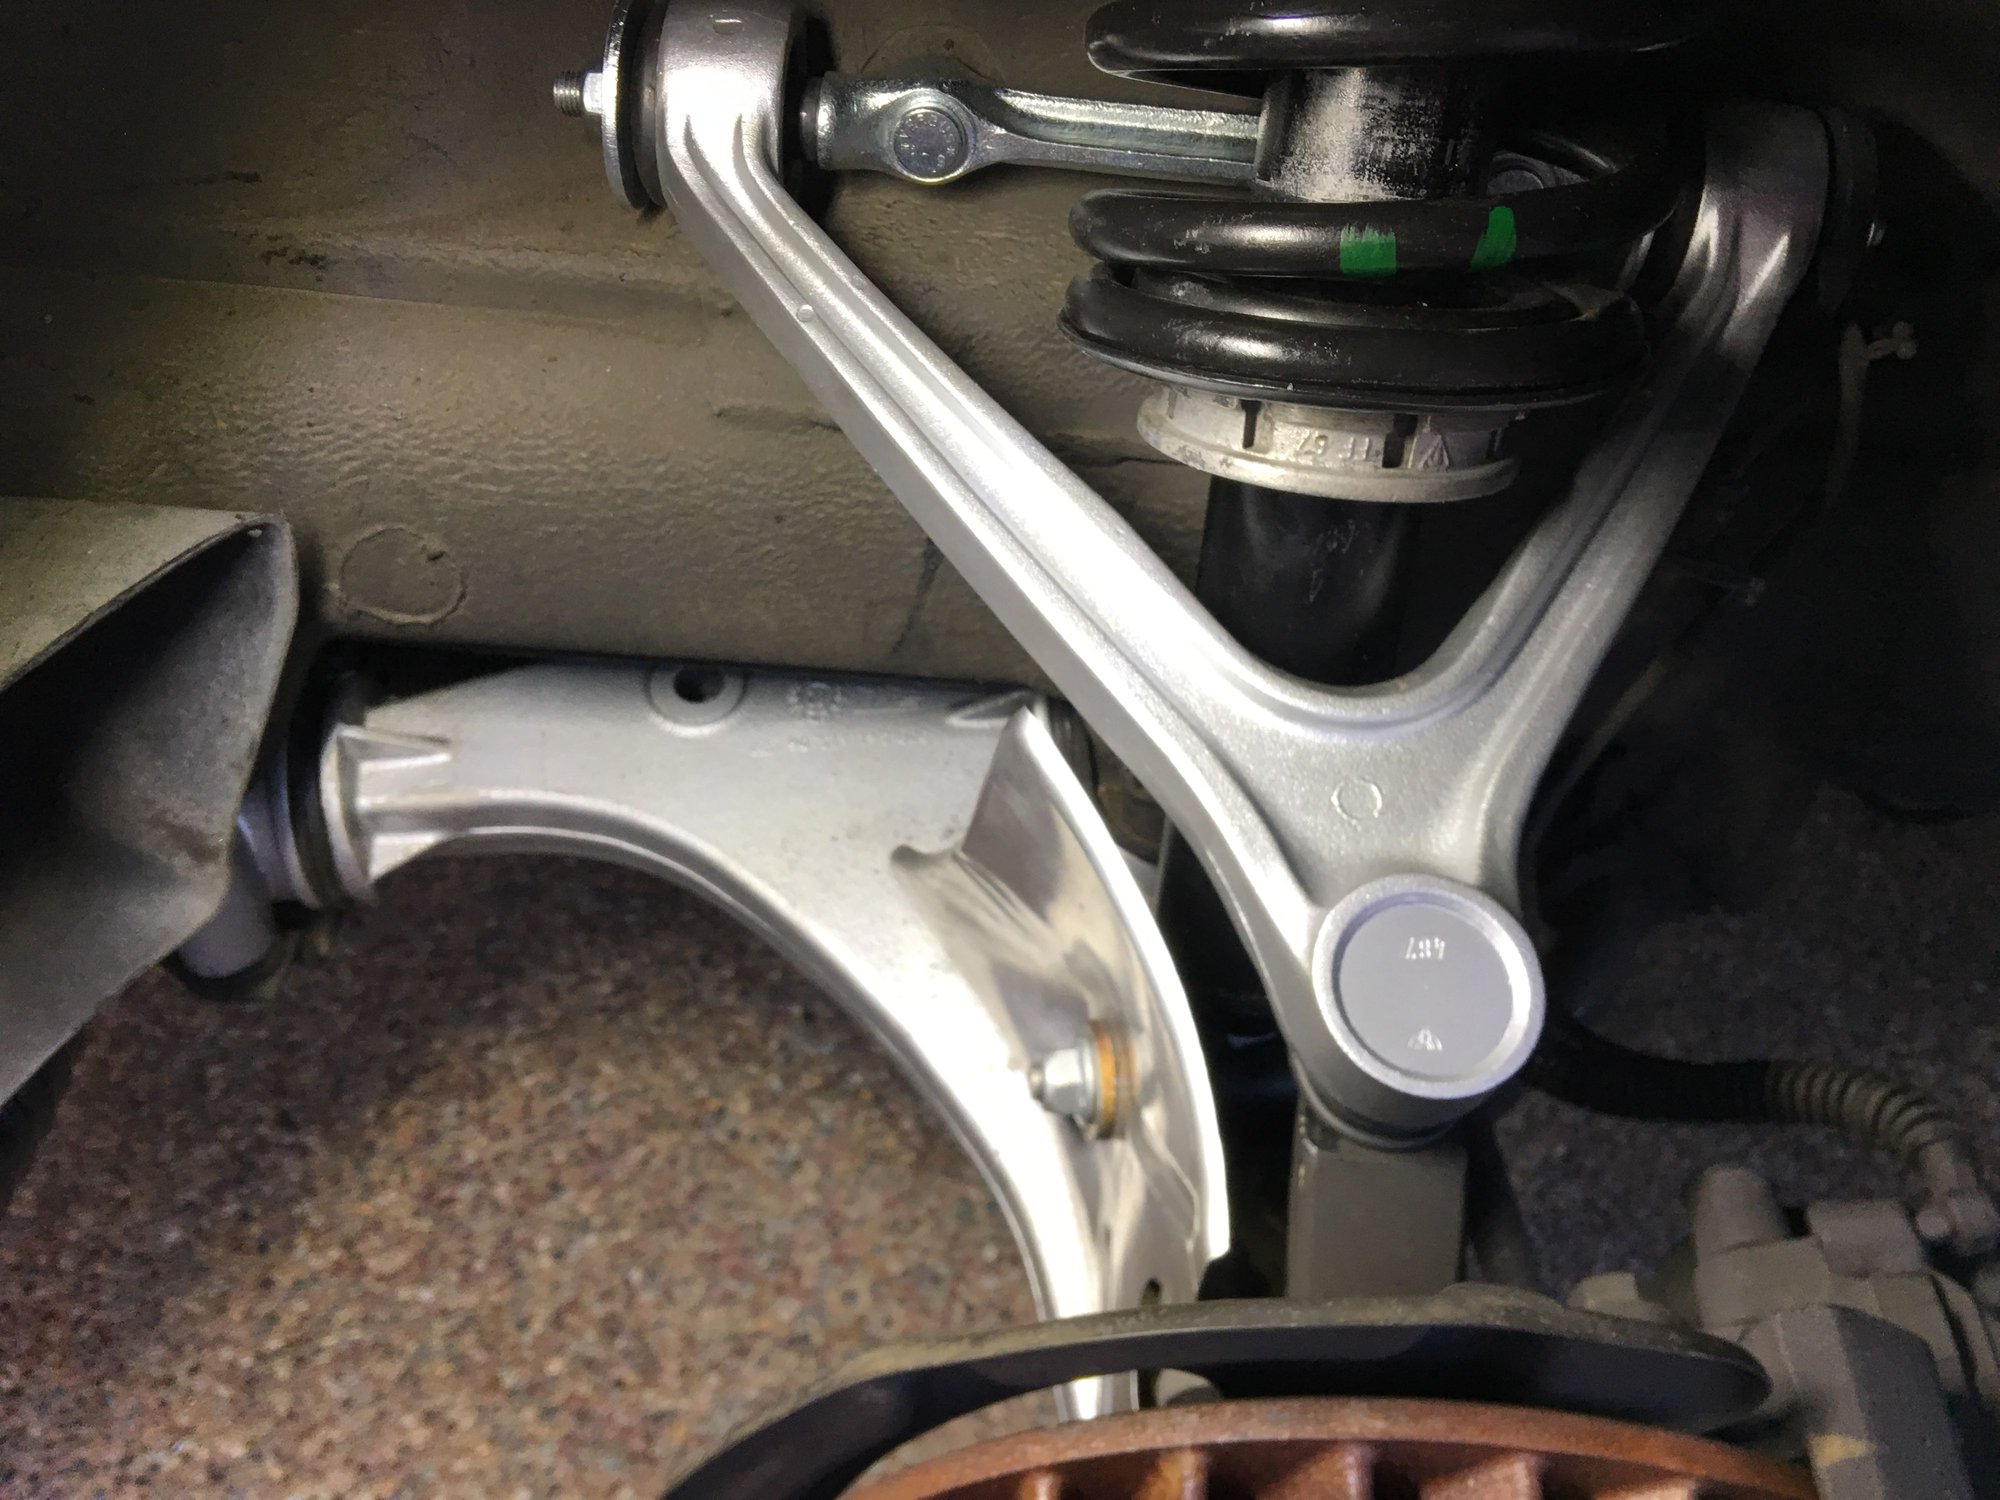
Out with the old, in with the new. Upper control arm and shock tower bolted in. Lower control arm and eccentrics mounted. Optimoly TA everywhere inside the eccentrics. All back together. The only issue I encountered was a spinning upper ball joint, I couldn�t tighten the nut fully. Followed WSM suggestion.
Initial impressions with the refreshed front end (and still-all-original rear) are very positive. Supple but well damped, the suspension feels great. I was going back and forth over some speed humps at low speed to help settle the suspension and there is little to no overshoot on compression or extension, it's very smooth but at the same time very taught. It's not a night and day difference at least with mild driving (surprisingly, given that I was on original shocks) but it feels awesome.
Oh, and my guess is that I won't be hitting that chin spoiler any more -- the new shocks appear to be keeping that WELL clear of the road now. As for ride height, it came out almost identically to where it was before, though still about 5 mm too low in front (at least as settled so far). I set the top of the adjustment collars even with the tops of the threaded rings per the WSM and will need to raise it just slightly. And I'm very happy to discover that the '84 springs seem thus far to have an identical feel to my original '83 setup, which is what I wanted. The car feels plenty taught with this (and the original) setup, barely any motion under hard braking (especially now), minimal body roll, very responsive turn-in, yet soaks up the bumps quite well -- I've always admired how Porsche seems to have been able to engineer the best of both worlds there. More impressions to follow after the rear is complete and I do some more "enthusiastic" testing.
Remember how the car mags back in the day always complained that the 928 was somehow "big and heavy" and its responses felt "isolated"? What a load of BS!! The irony, of course, is that back in those times (late 70's early 80s) what passed as a "great sports car" then would feel like an uncomfortable, noisy and unpredictable tin can to modern sensibilities, whereas the modern sports cars are now JUST as or more big, heavy, and "isolated" (shall we say comfortable instead?) as the 928. The modern 911 is the new 928. And present-day reviewers driving a 30-year old 928 for the first time seem to invariably comment how modern the car feels. Just goes to show how crazily far the 928 was ahead of its time. And that�s not a coincidence that the industry steered towards the 928, if you will. It�s hard to overestimate the fundamentally profound influence the 928 had in the 80s and 90s. It immediately reset the goalposts and redefined what a car could be. The 928 was so far ahead, I think it little exaggeration to say that it took not one but several decades for the industry to catch up, and eventually with the aid of technology that did not exist until much more recently, finally surpass what the 928 offered thirty years ago.
By the way, here's a parts spreadsheet of everything I used/will use for both front & rear refresh with part numbers, torque values, and WSM installation notes.
Moving on to the rear suspension now. I followed the excellent advice here on Rennlist, including the double-nut trick to remove the pins from the back. Everything came apart super easily. Pins are still well greased (with gray grease, presumably Optimoly TA) and slid out effortlessly with just a little twisting while pulling straight back. Eccentric bolts and washers in great shape. I was also pleasantly surprised to see that the adjuster collar is in decently clean shape.
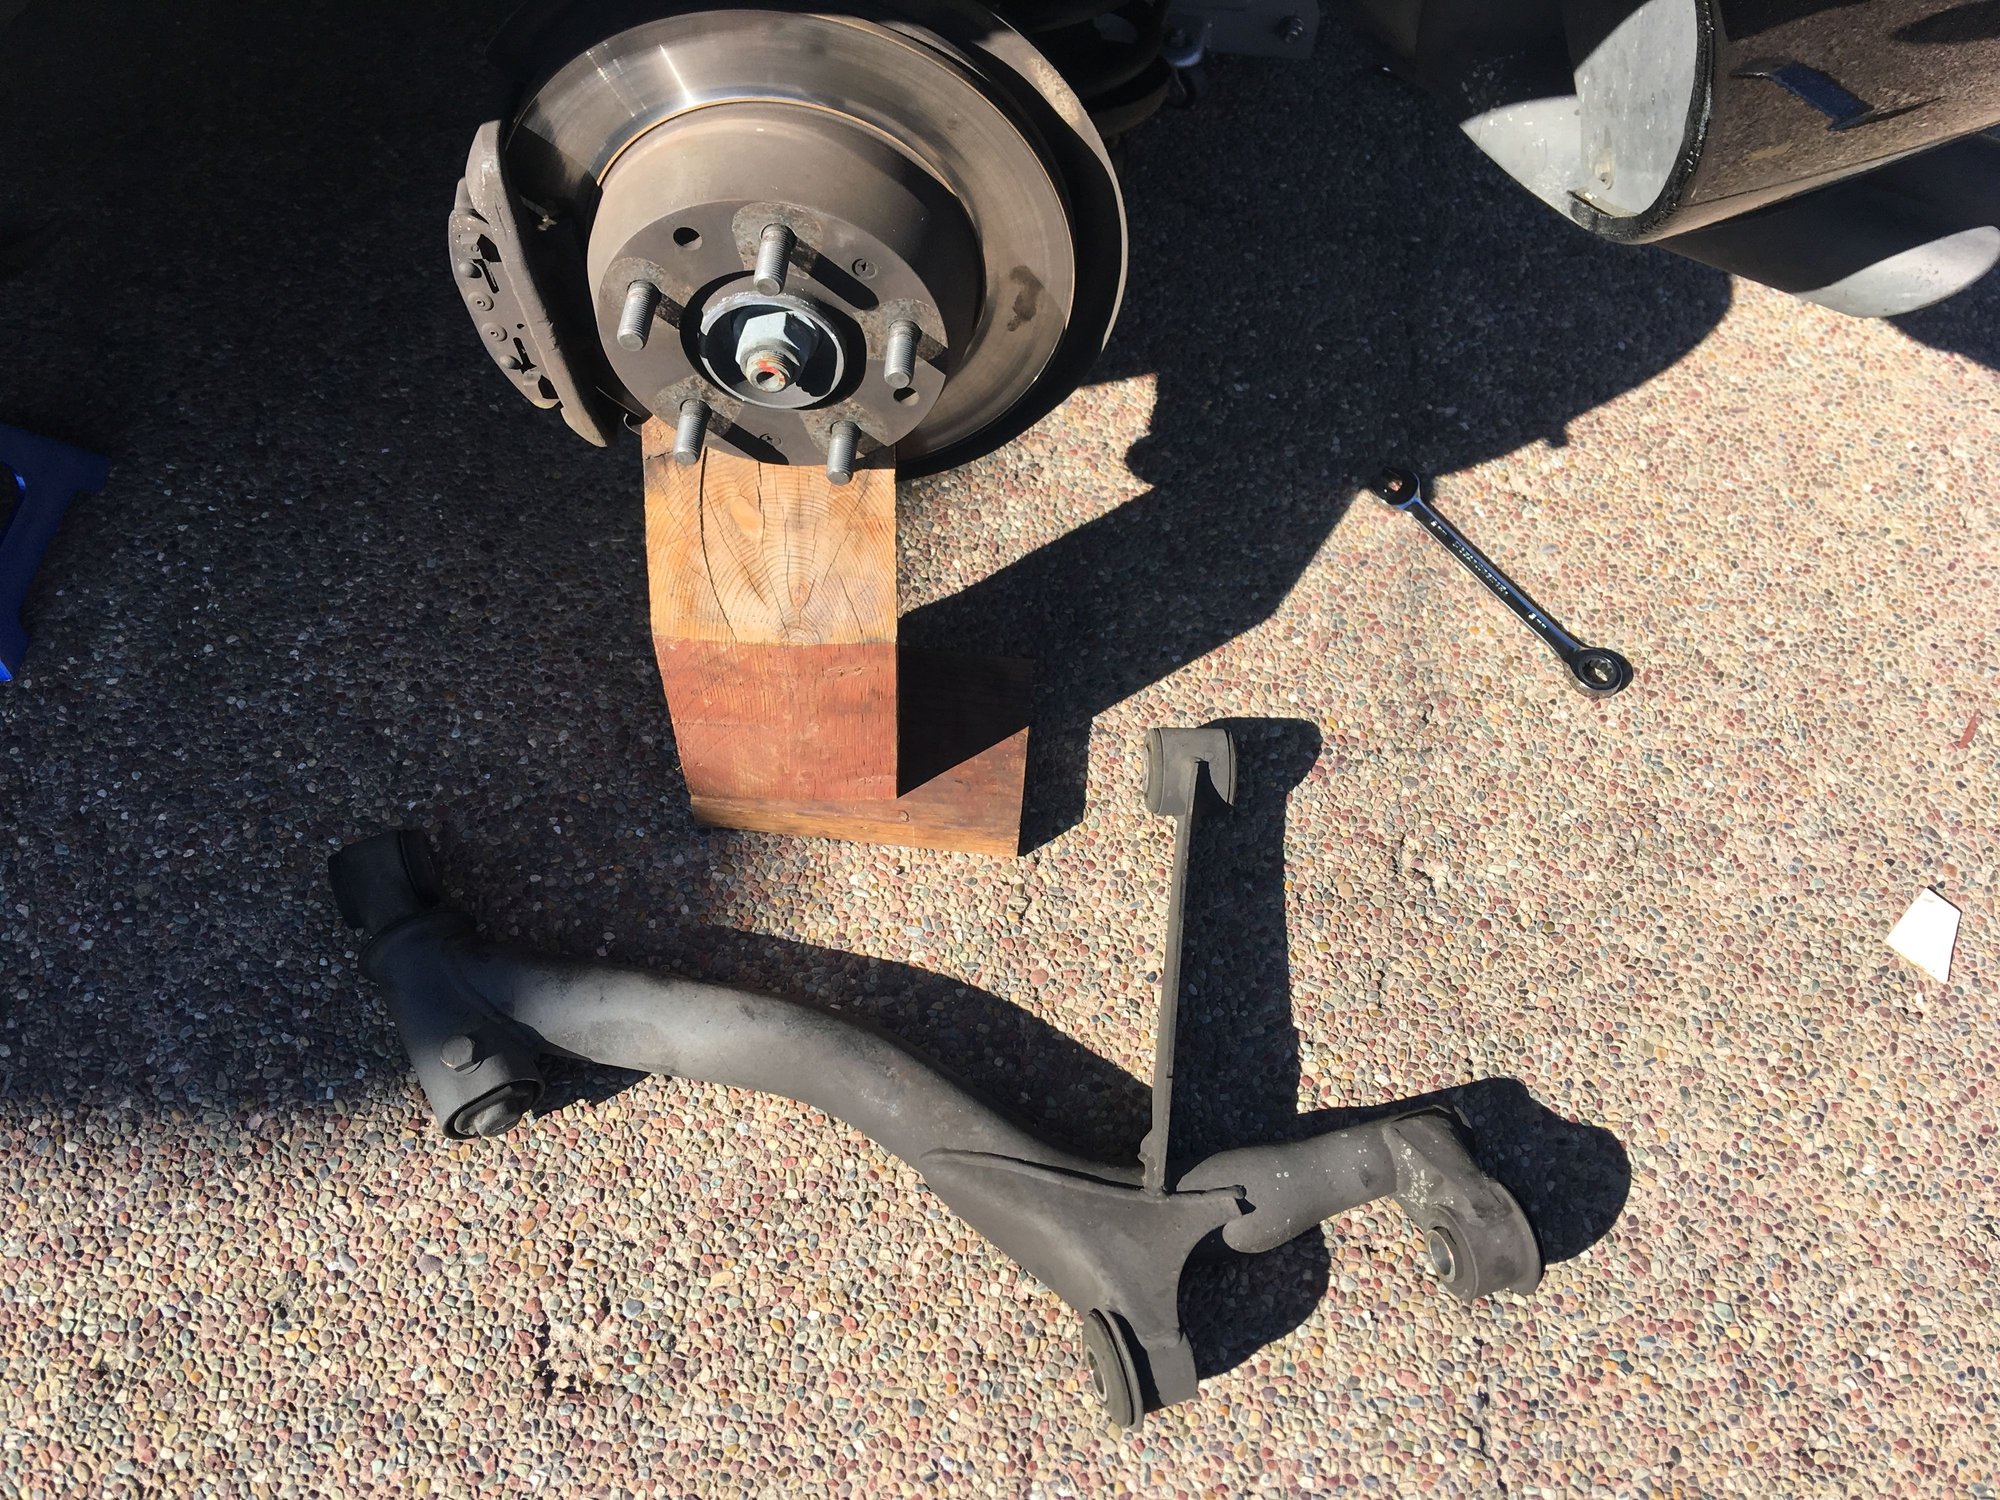
As on the front, I left the discs and brakes completely untouched and after removing the control arms have left the rear carrier, still connected to the parking brake cable and halfshafts, balanced on a wood support under the disc hat.
Fun fact: The upper control arms (�banana links�) are the exact same part (not two different mirror image castings, they�re identical) and are both oriented with the part number in the casting facing rearwards. They are symmetrical, that bend in them must be a circular arc! The only difference is how the bushings are installed L/R, as mirror images.
Now for some elbow grease on cleaning things up. To be continued!!!
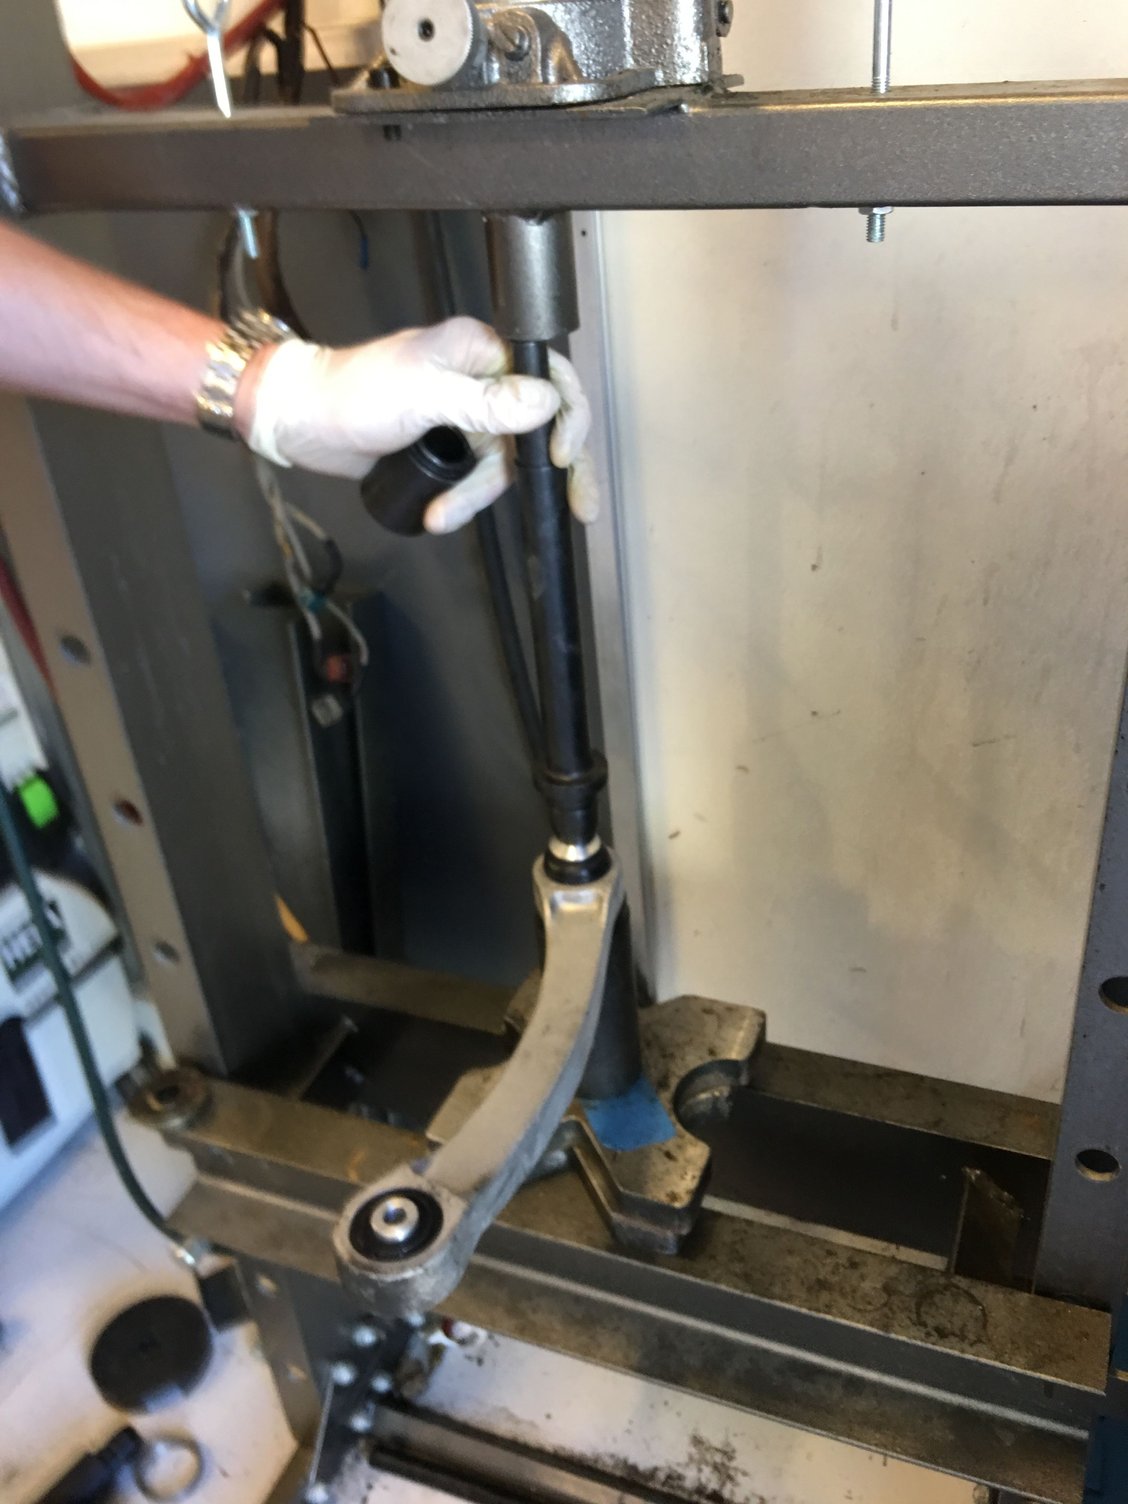
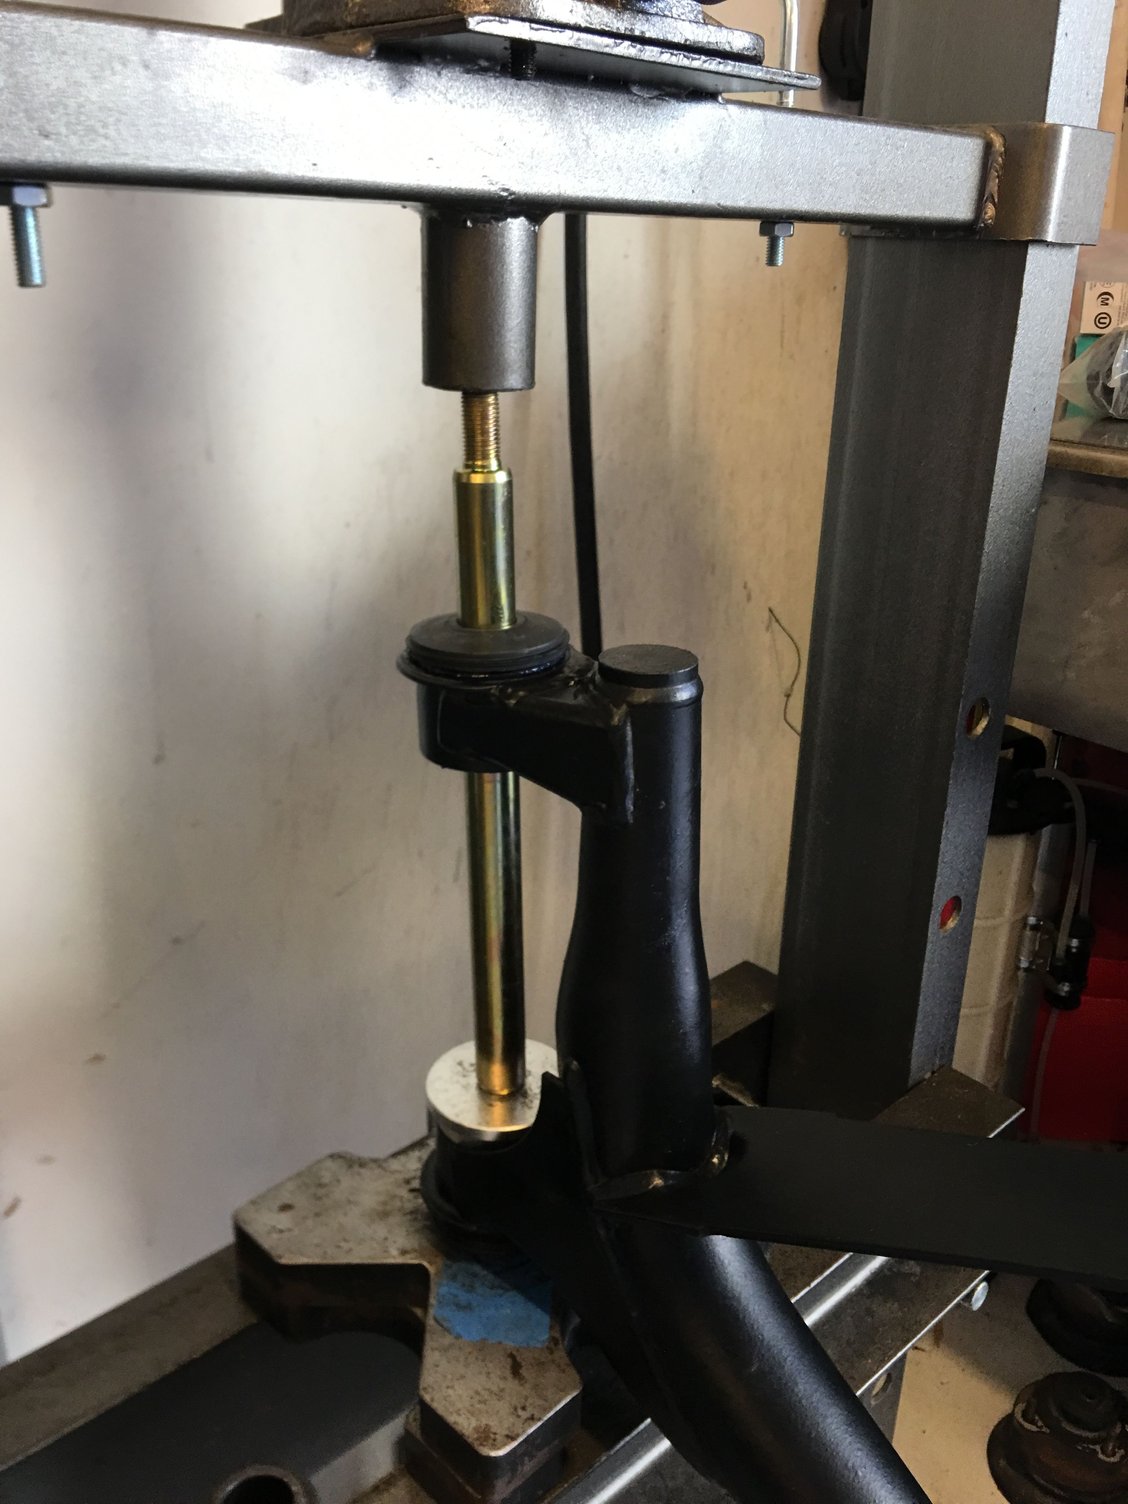
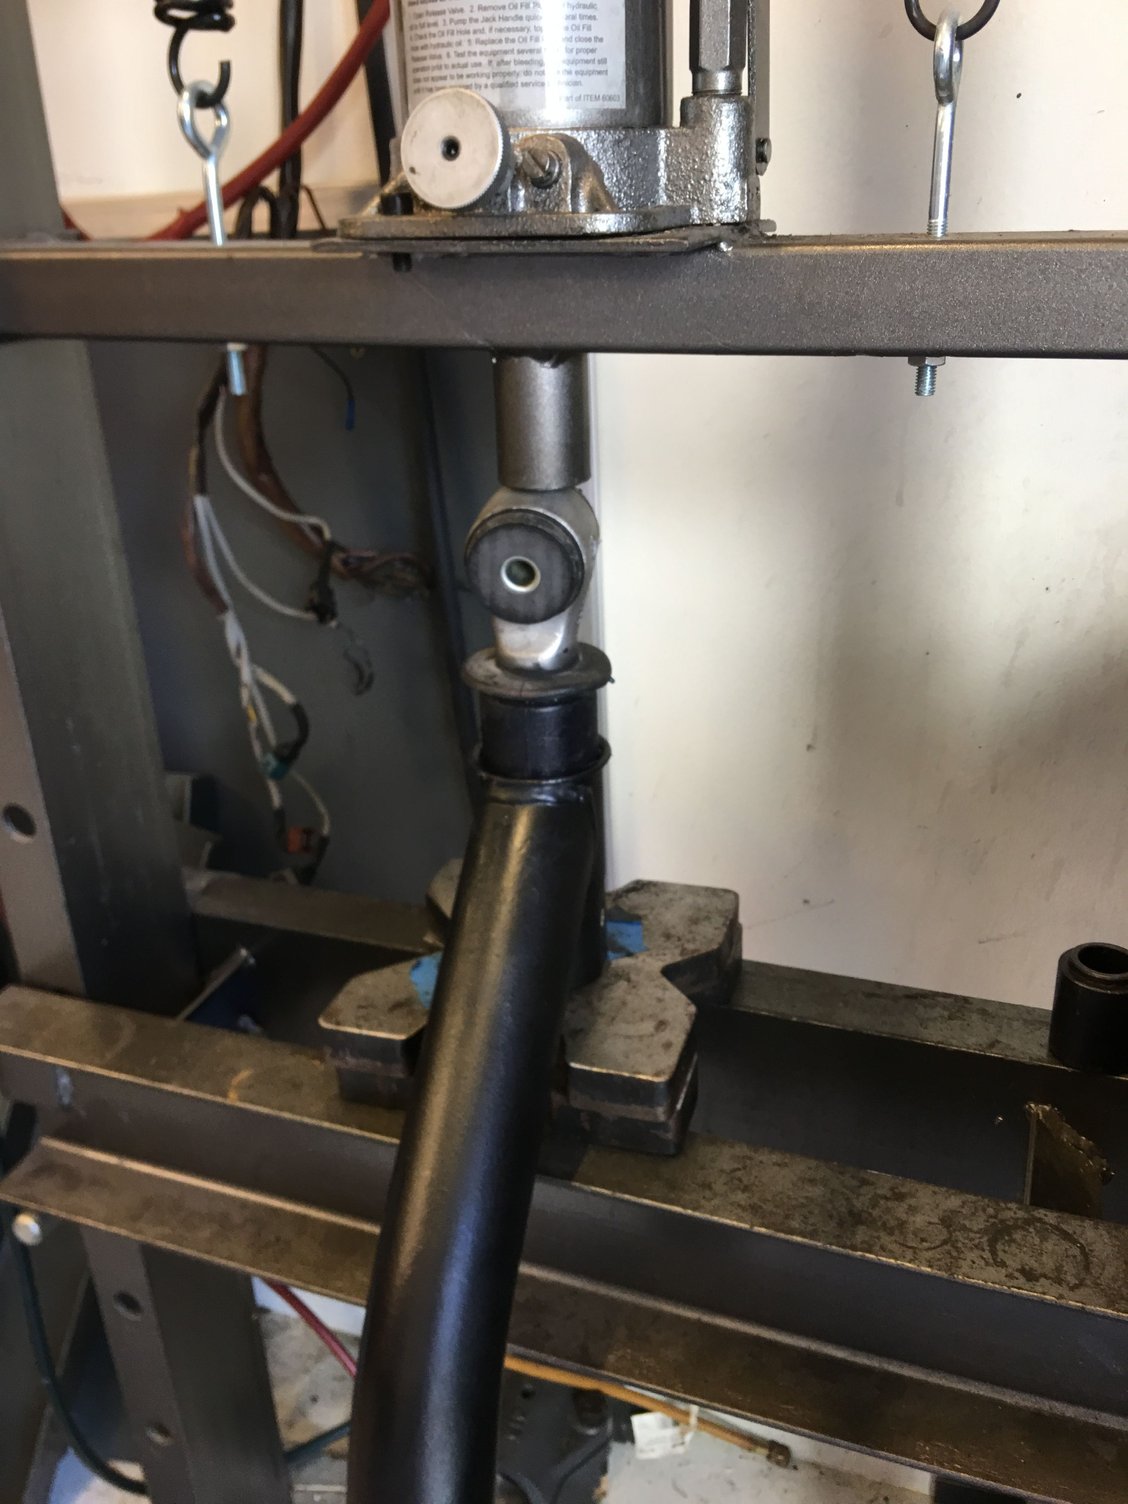
I paid a visit to Rob Edwards on Saturday. I hauled over a trunkful of loose suspension parts and bags of bushings and came away four hours of hard work later with fully assembled rear shock assemblies and all-freshly-pressed-in rear suspension bushings!! THANK YOU ROB!!! I could not have done this job otherwise!!!
Rob�s skill and experience with these bushings really showed... everything pressed in very smoothly (pardon the pun). Most if not all of the bushings require a bit of a touch to determine how far to press them in - it�s gotta be far enough but not too far. As Rob said, it�s an iterative process, but he knows just how far is just right.
It took both of us (along with all Rob�s special pressing tools and some clever arrangement) to get some of the operations set up properly. The trickiest part is getting in the two link pin bushings in each lower control arm. I won�t even attempt to describe that, other than say it was a multistep operation requiring a lot of press tools. The final push was done with one of Rob�s spare link pins (did I mention that he has several!!!) called into duty to keep both bushings aligned. Final result - perfect alignment, the pins slide smoothly through both bushings!
By the way, I didn�t get any pictures of Rob�s garage but it could do double duty as a fully stocked 928 repair center. There�s even an entire wall devoted to beautifully plated bolts, nuts and other hardware in (every?) size needed by the 928. Quite impressive.
LOL, what Rick may not appreciate is how smoothly it all went relative to how it could have gone. Nice to meet you Rick, and I'll look forward to hearing about how she drives once she's all back together.
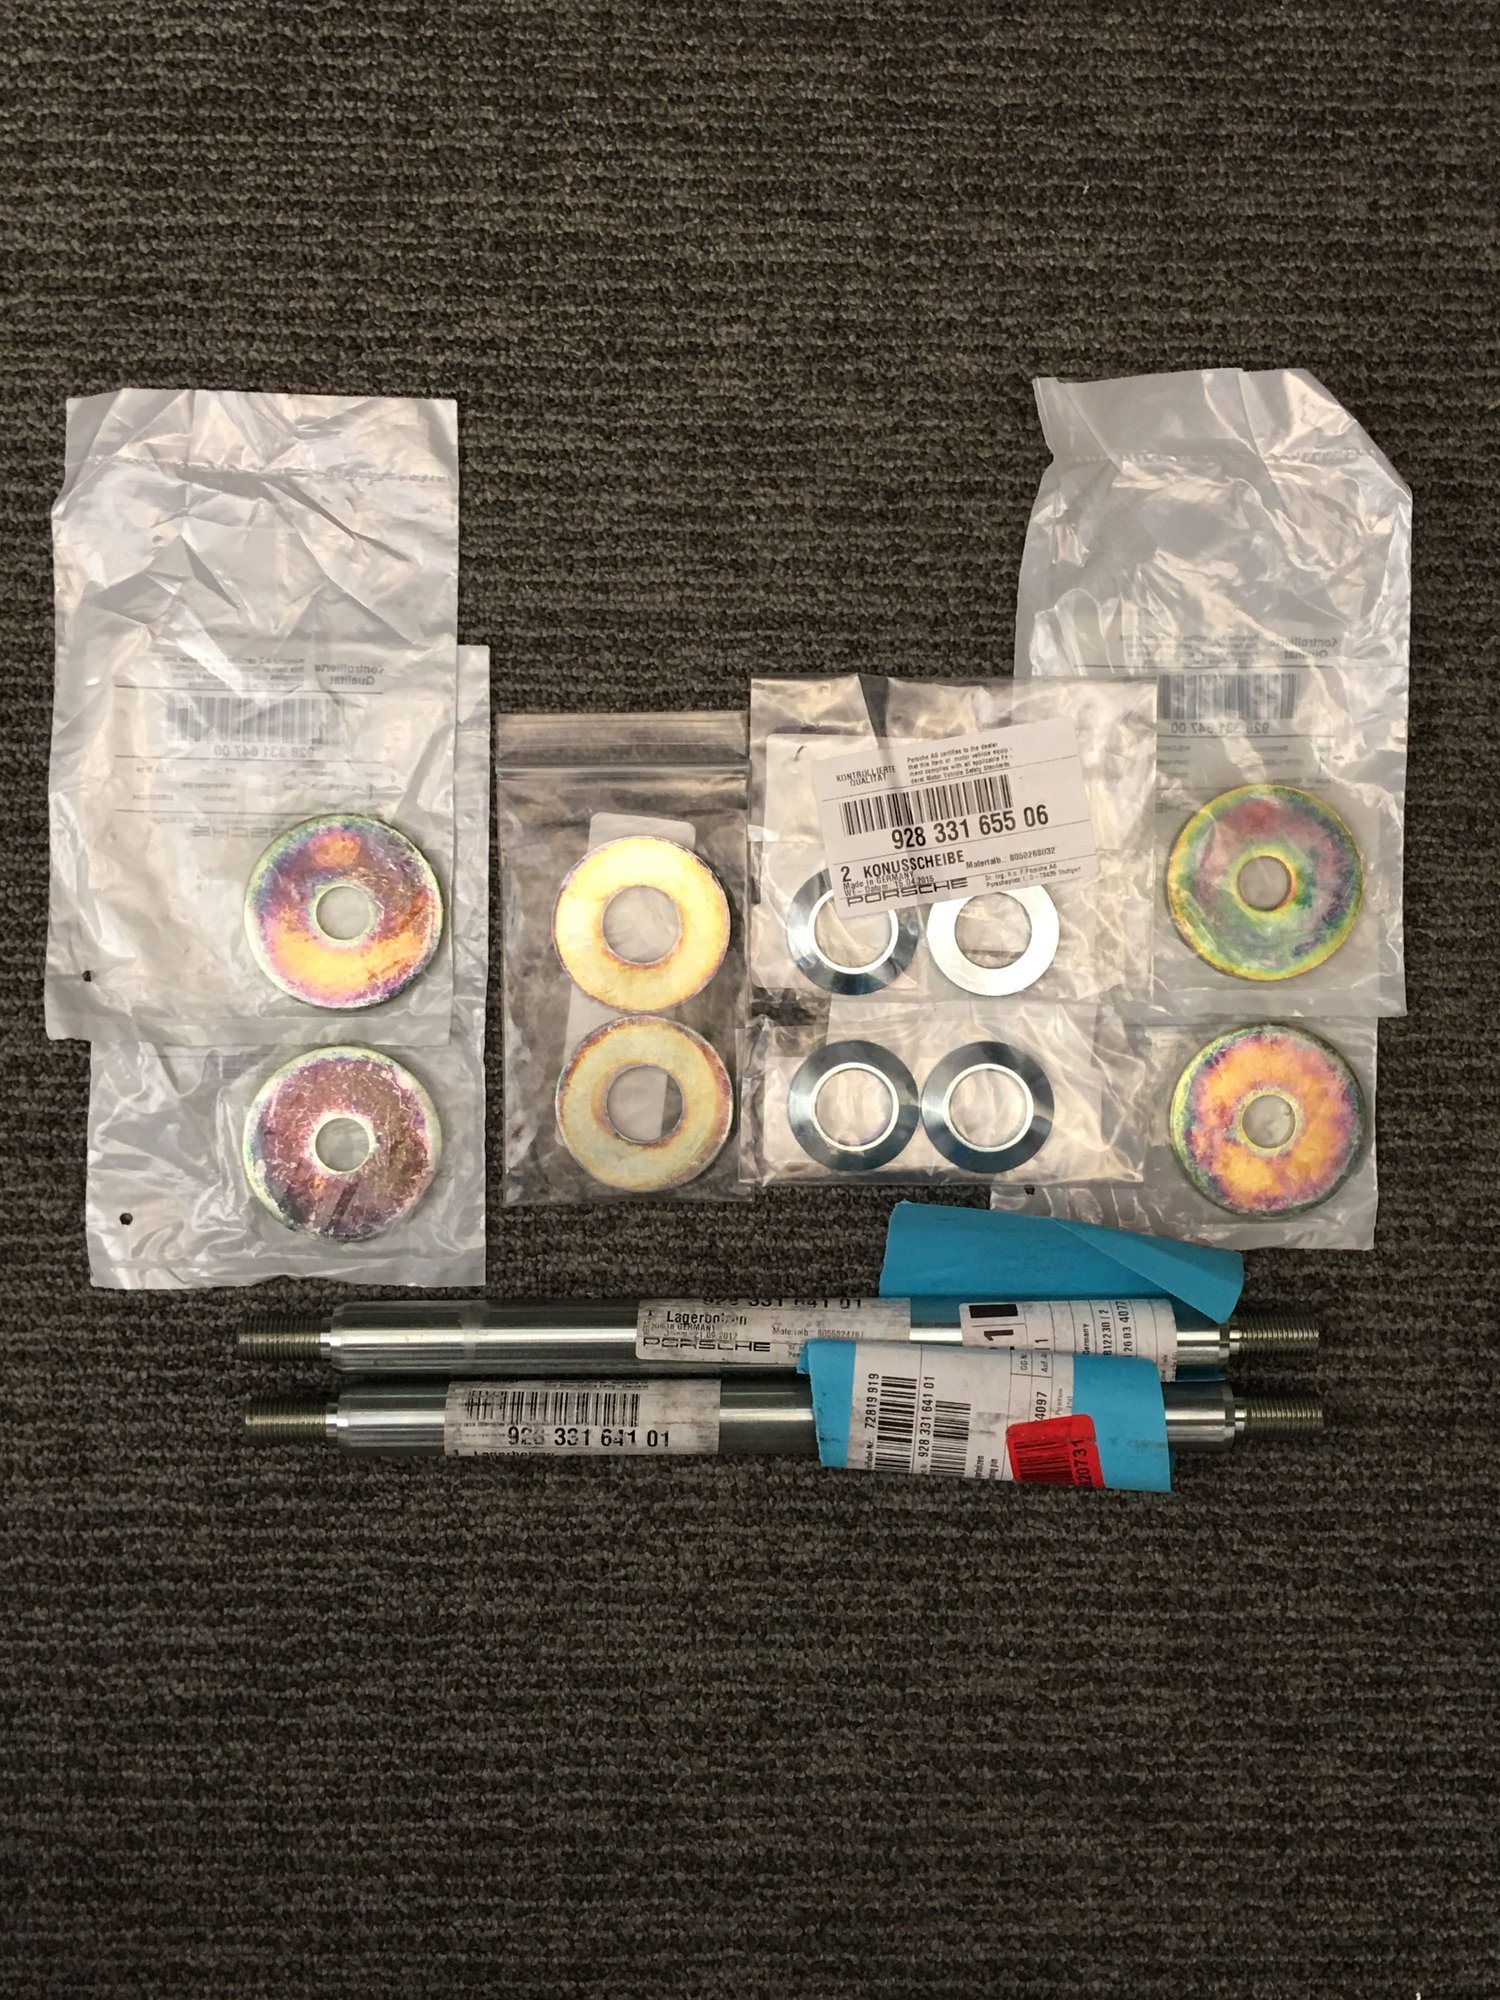
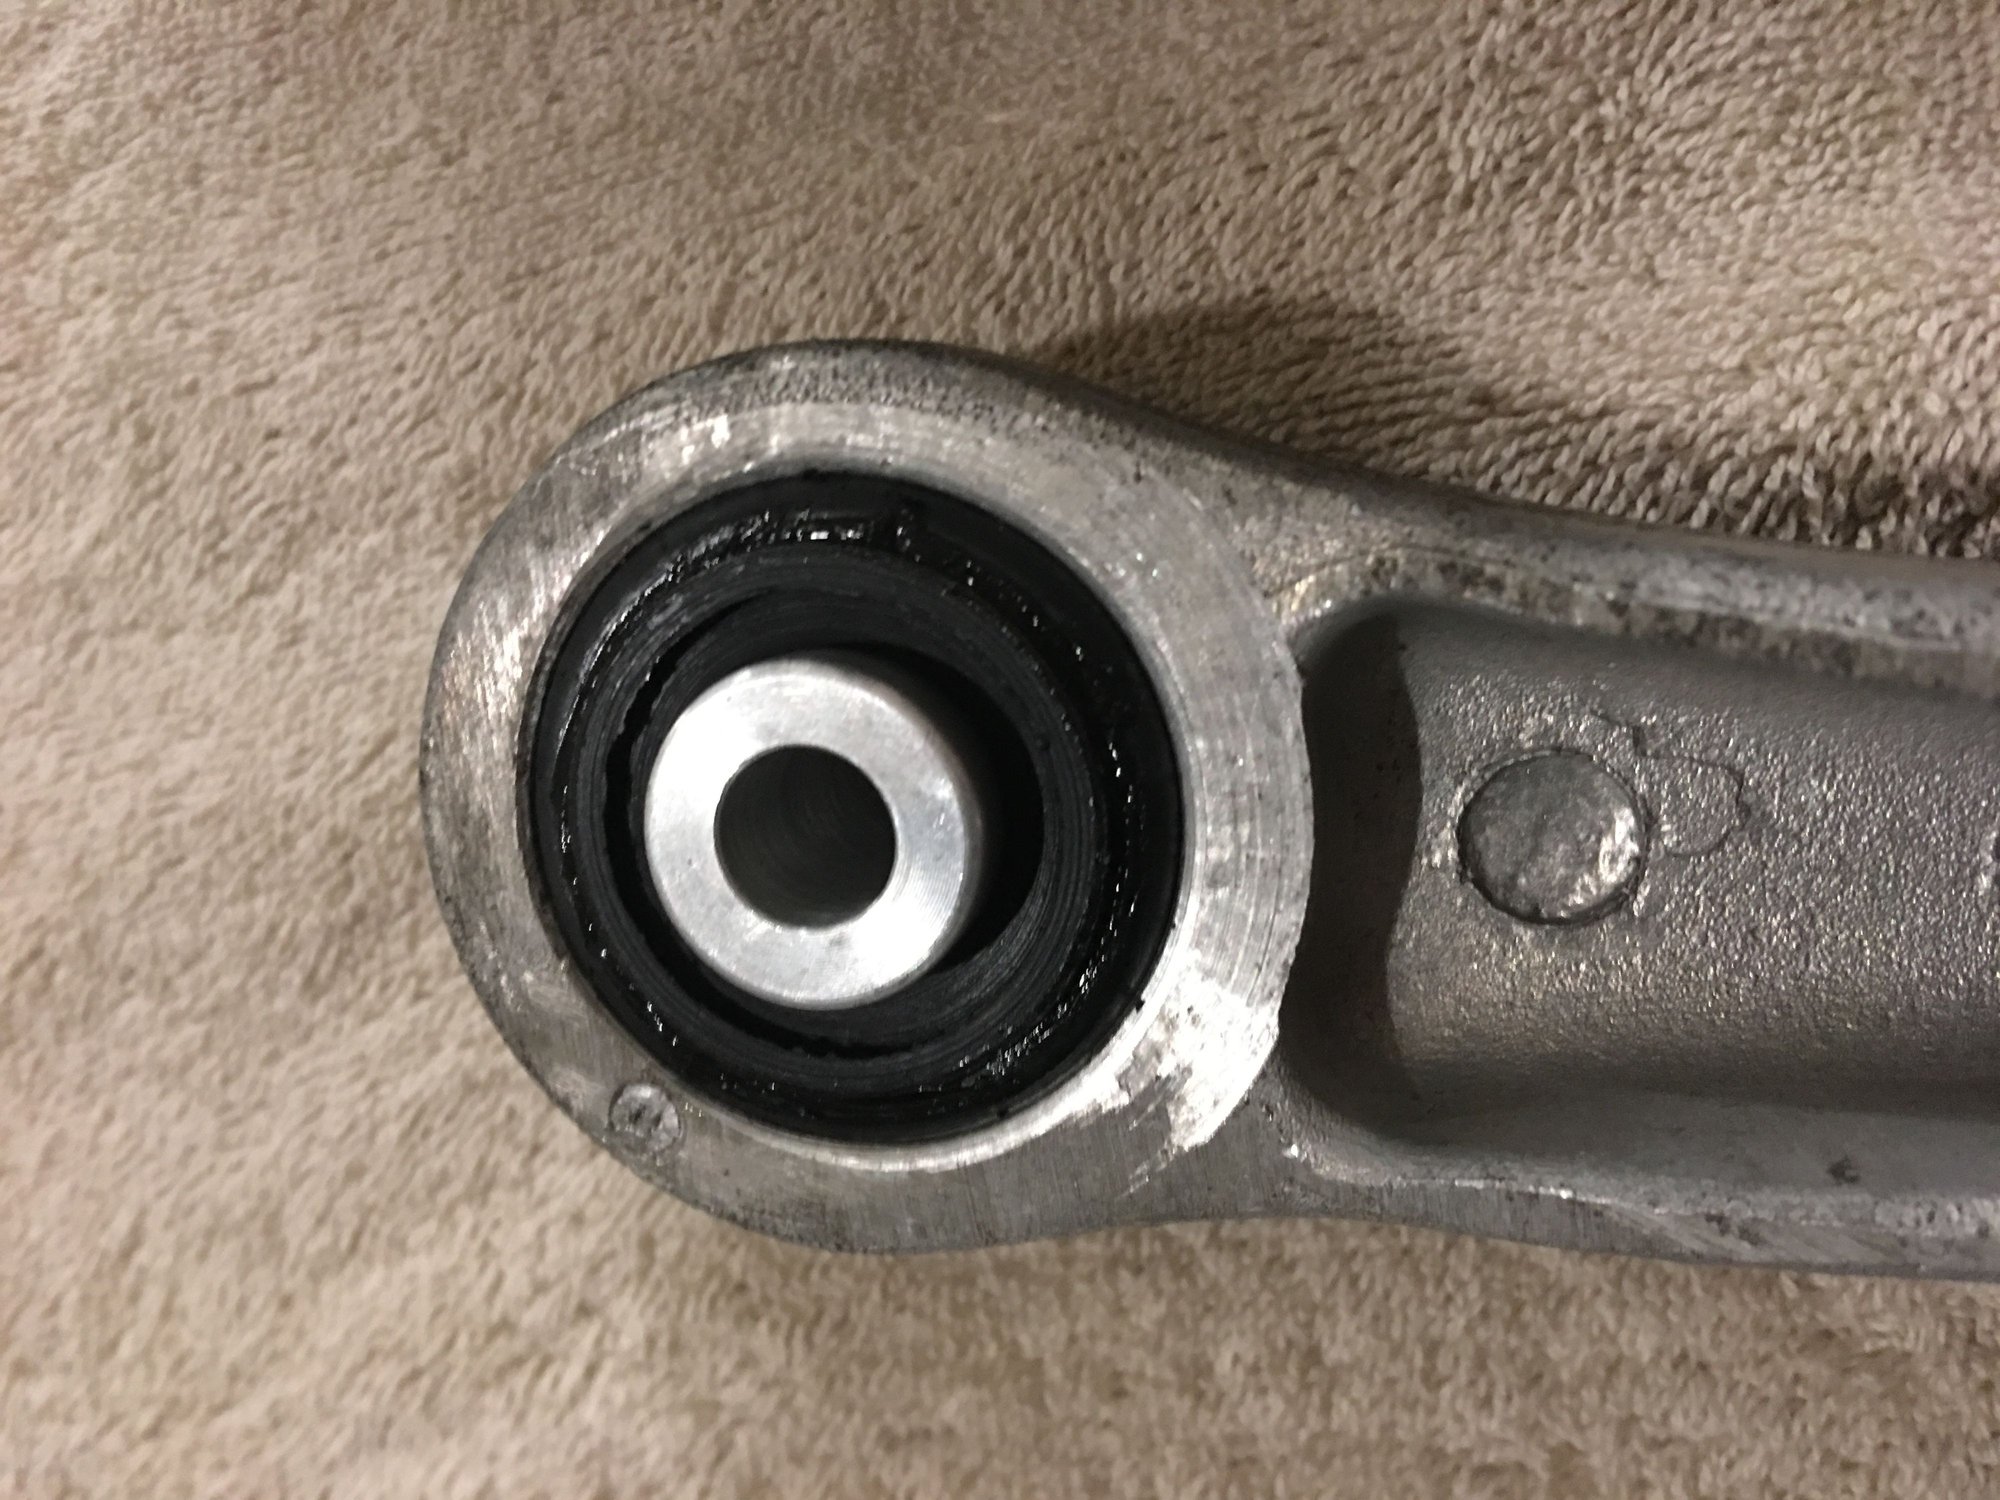
Just some miscellaneous photos of parts that I replaced/am replacing.
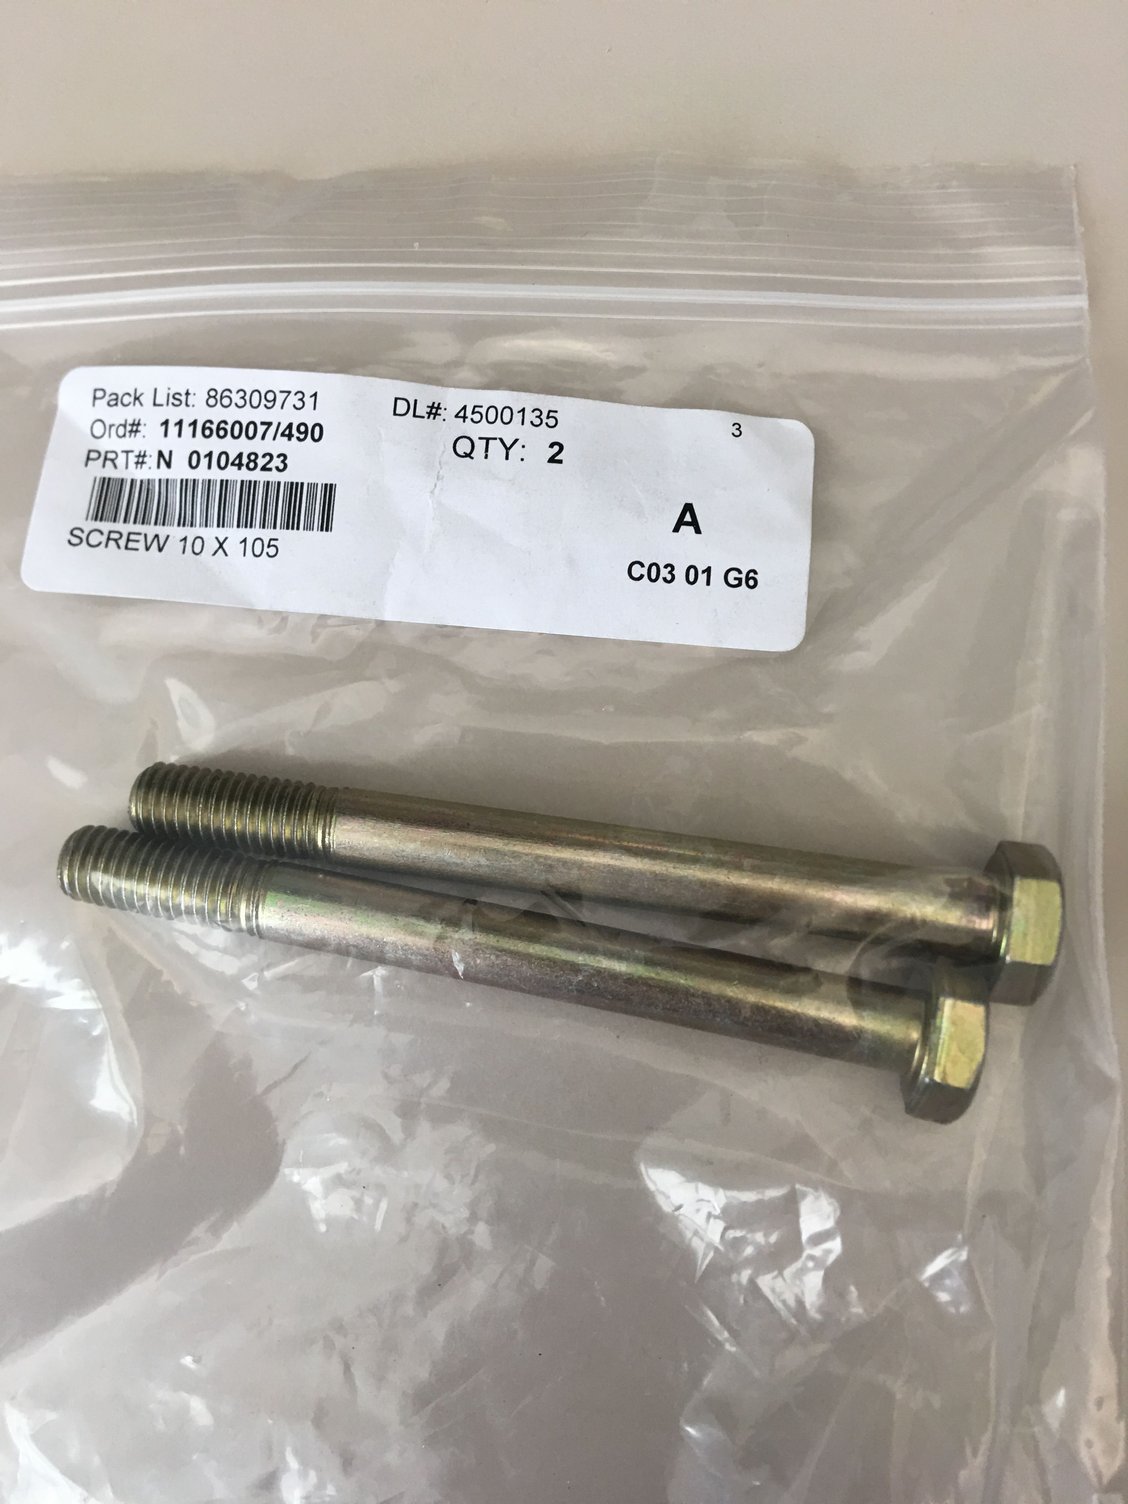
Fun fact: actually not fun from the aesthetic point of view, Porsche has switched at least some parts over from the original gold-colored plating to other types of finishes. The rear link pins are, for example, now a bright metallic (which still looks good though!) The newly manufactured bolts attaching the front suspension lower control arm to the body, though, are a flat grey, for one end, and a strange blue-green for the other.
Which is why I�m happy when I still receive new nuts and bolts with the gold style finish. The rear upper link cone washers, cupped washers, and outer bolts all came this way, for example.
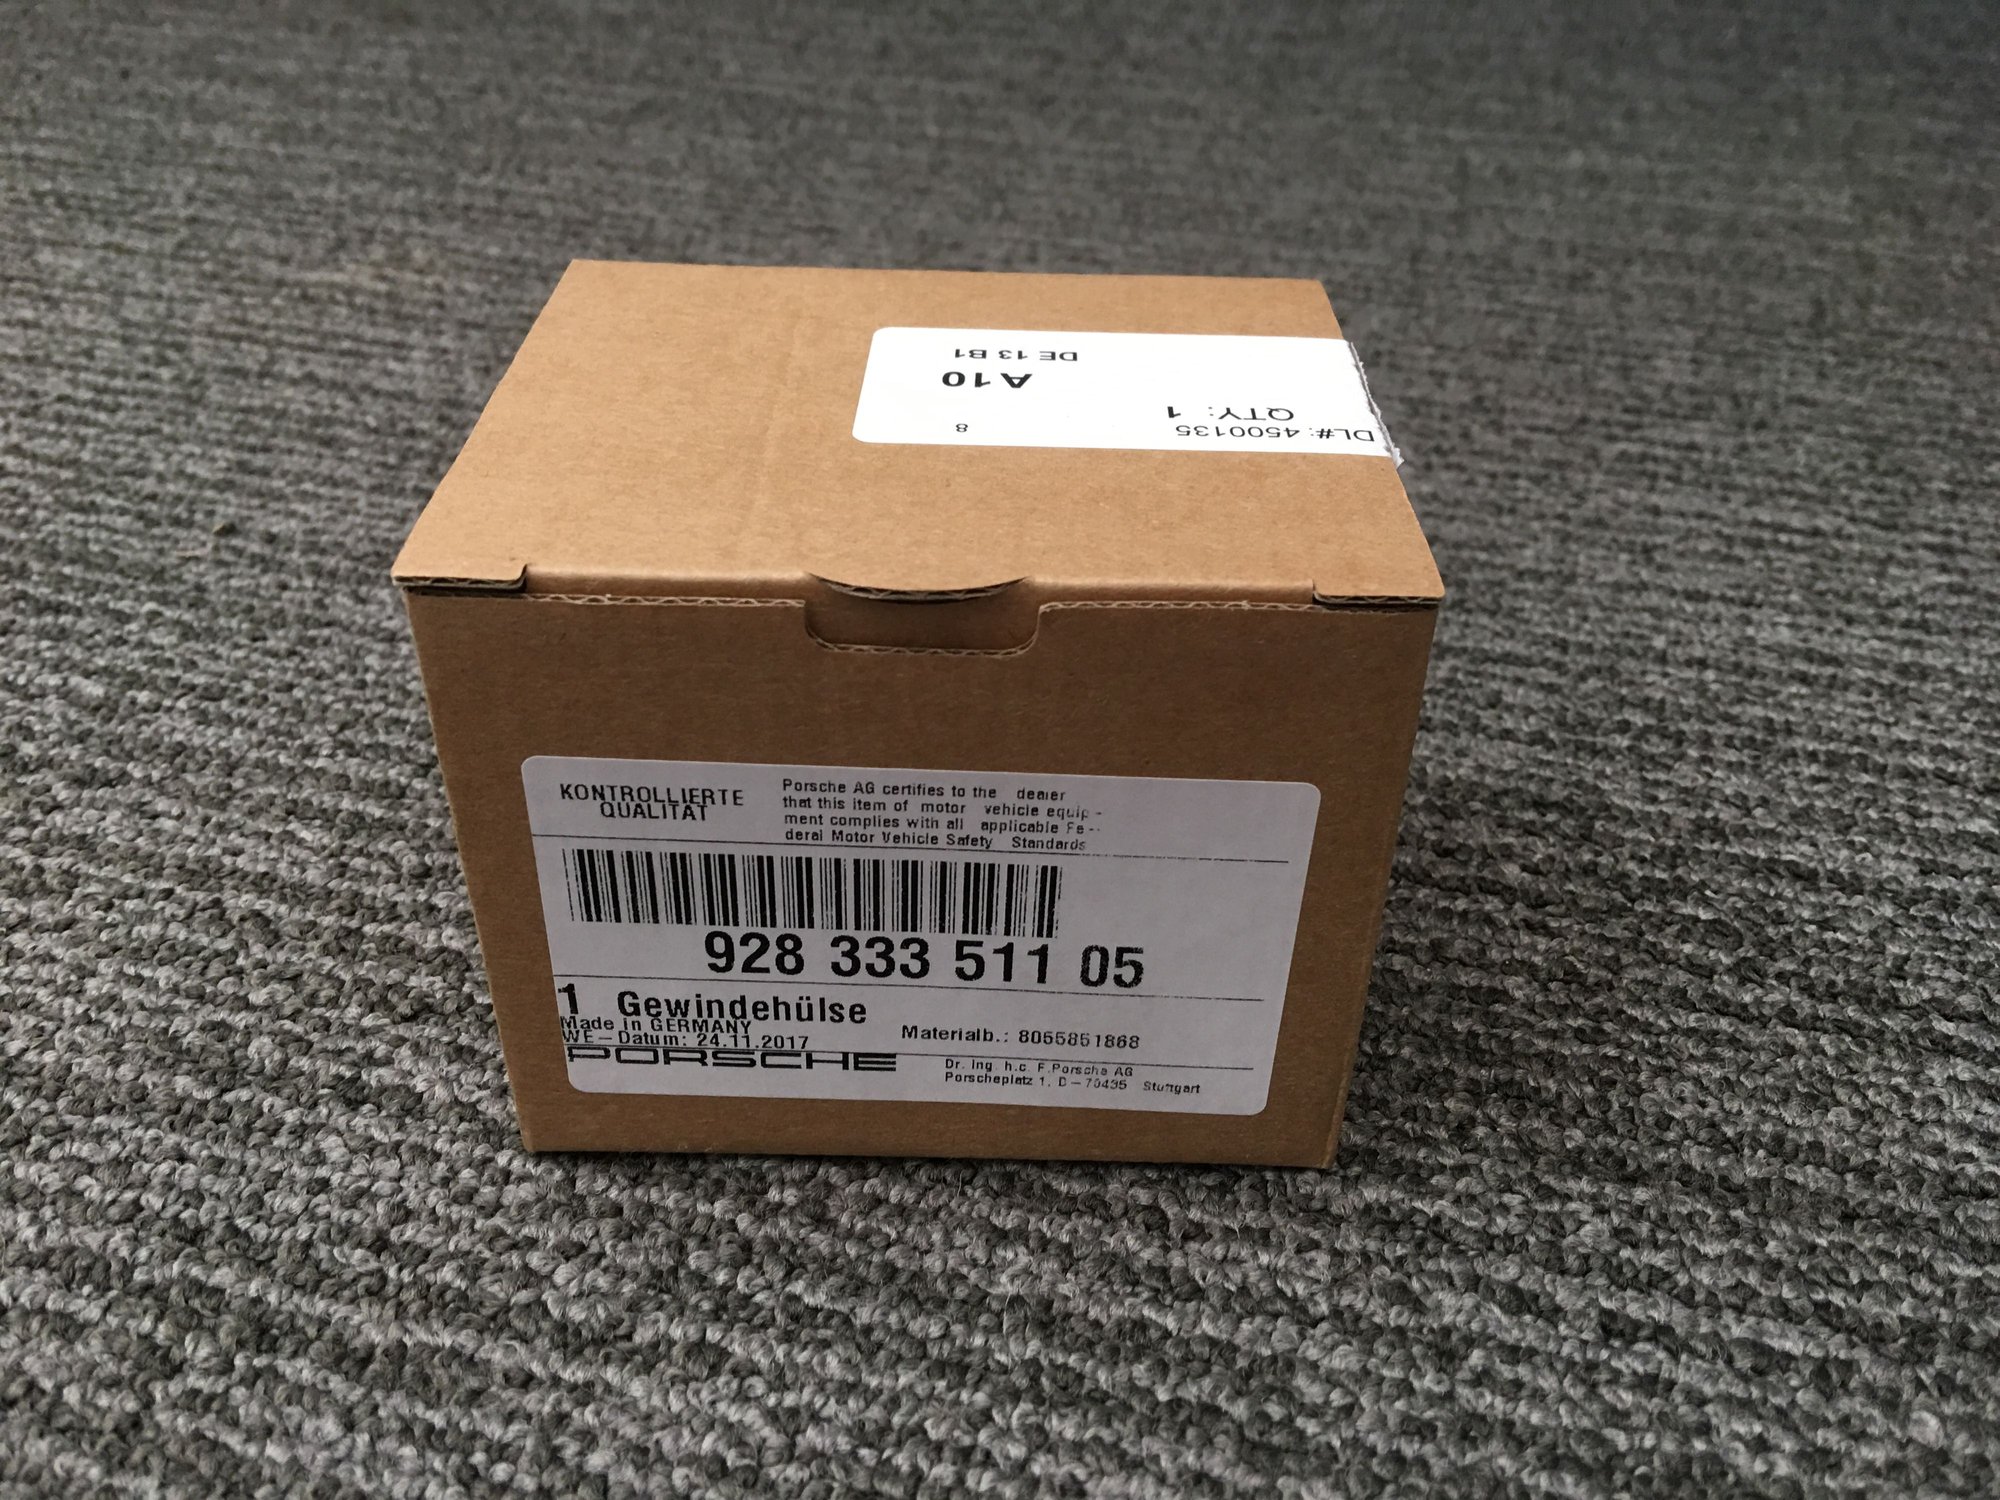
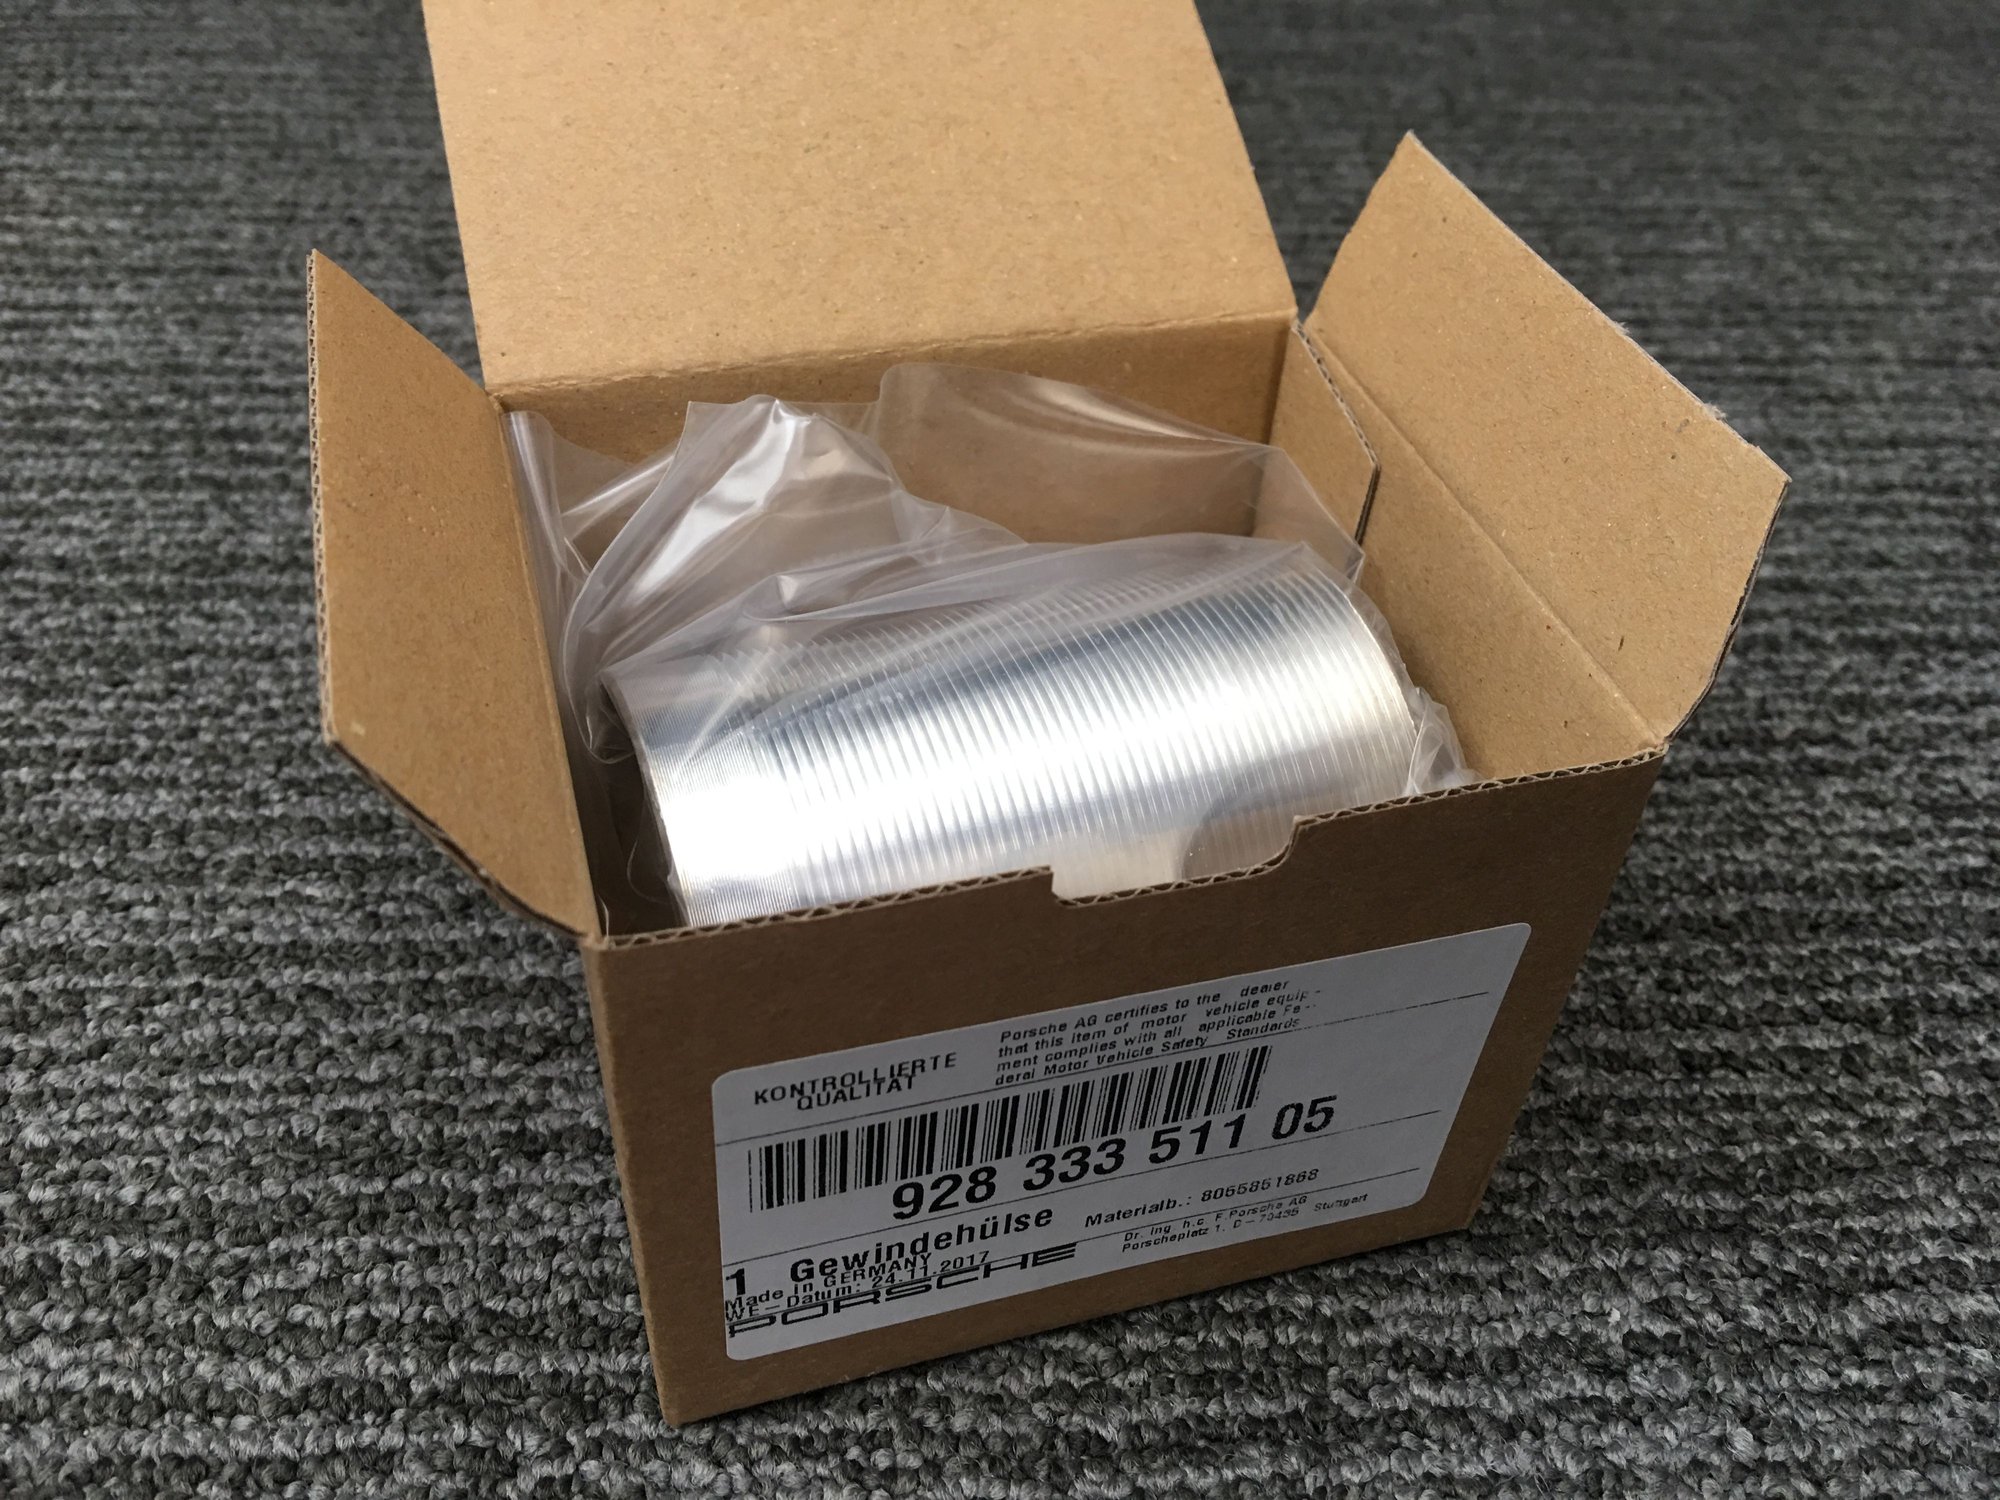
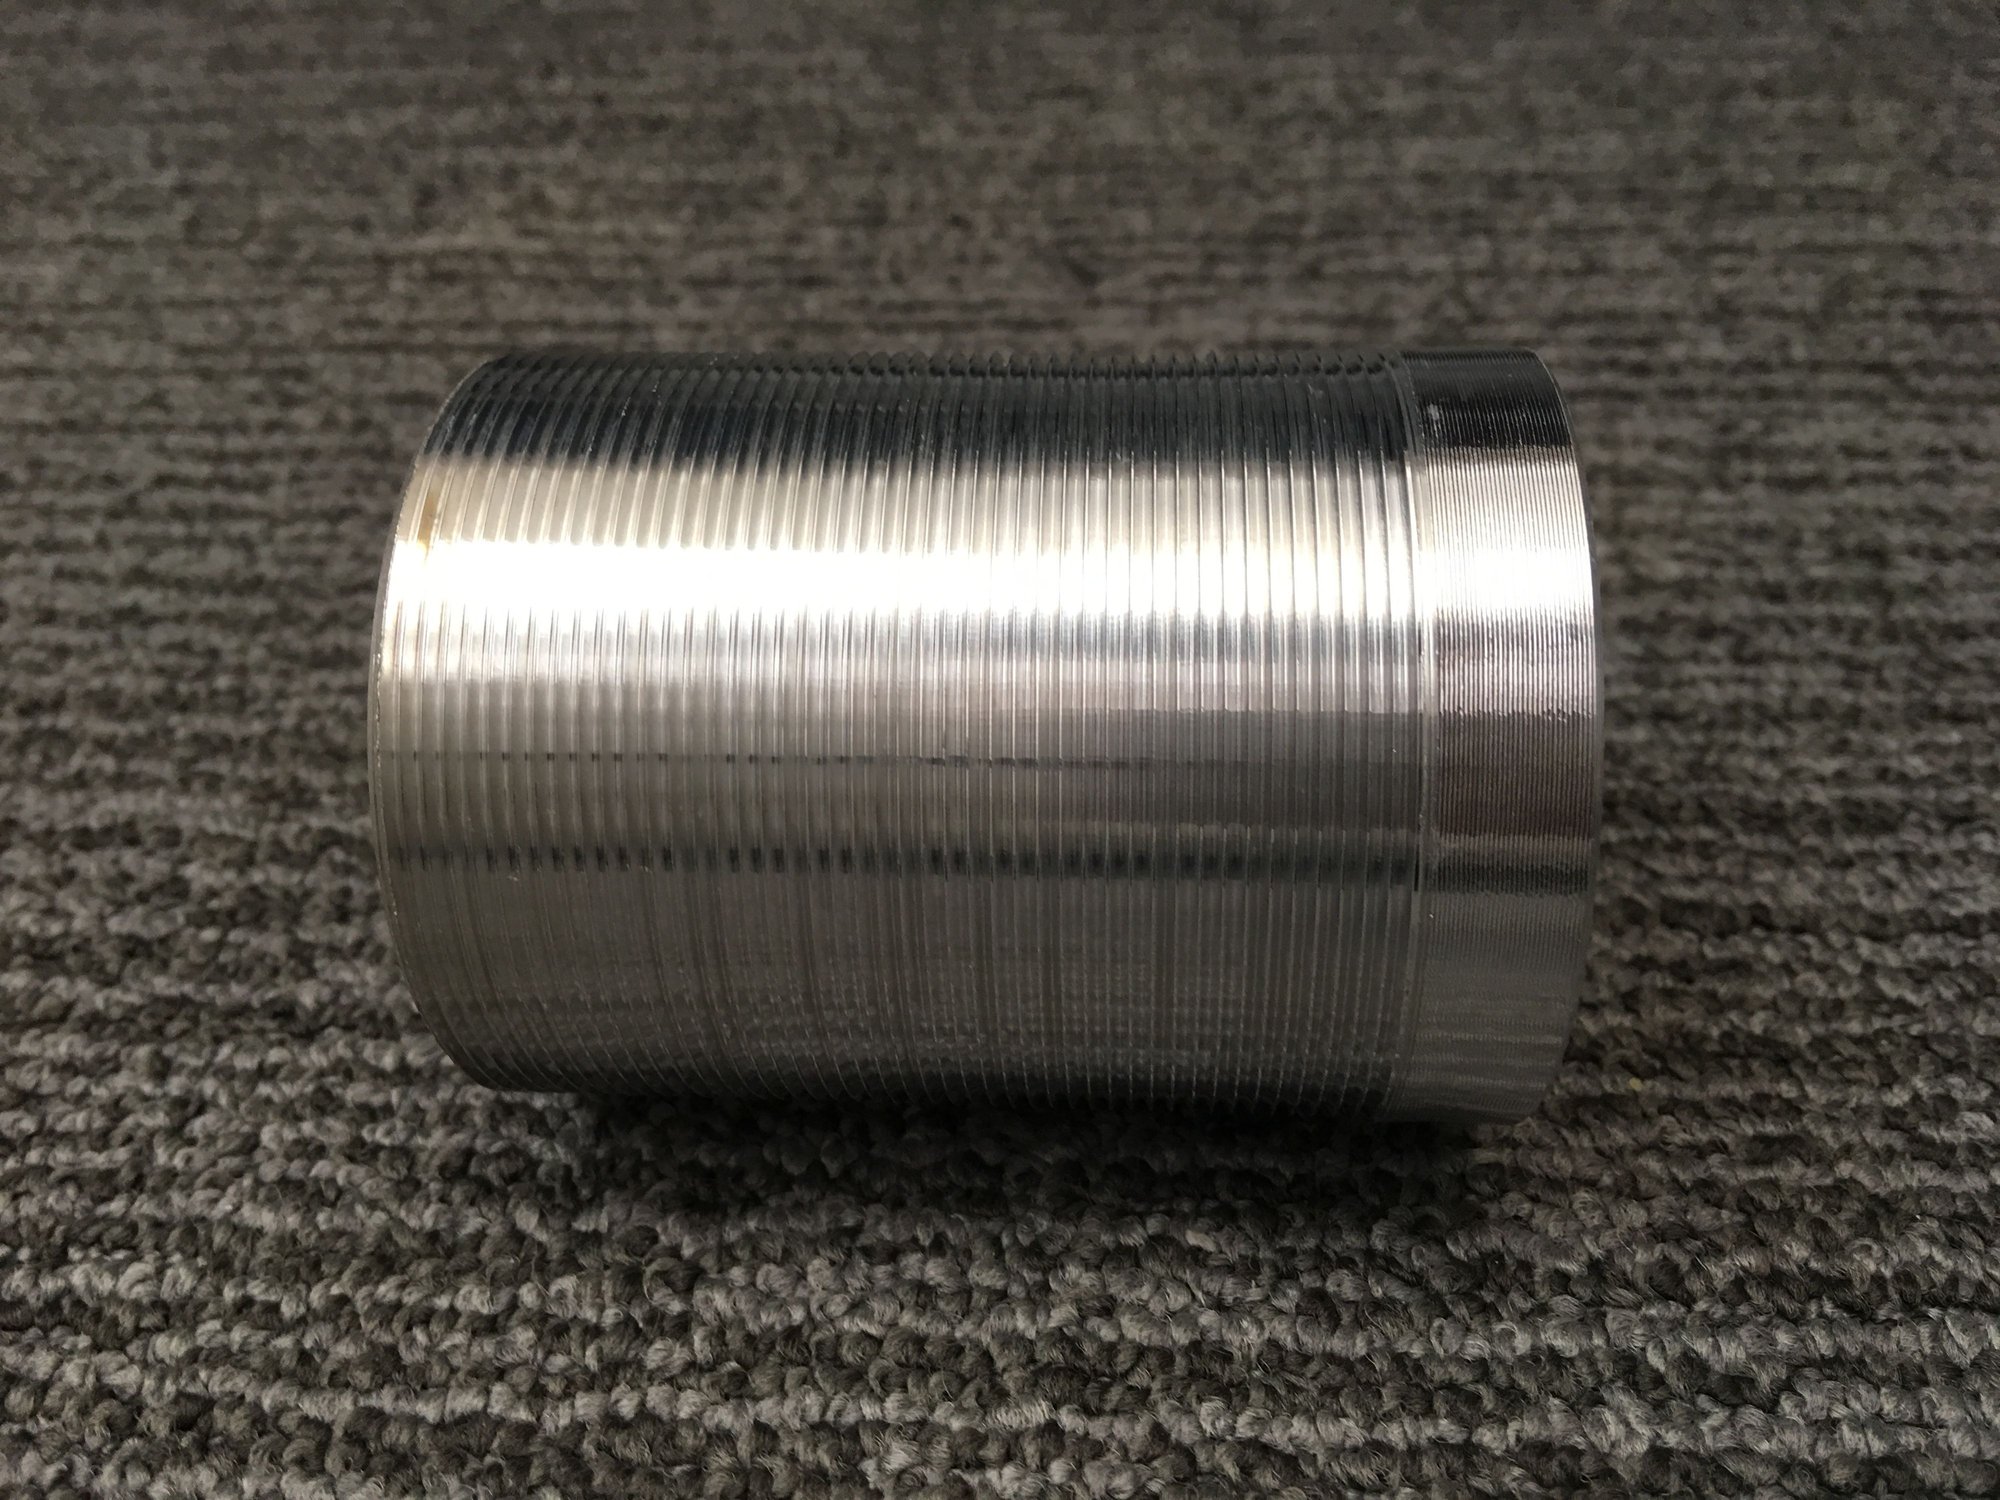
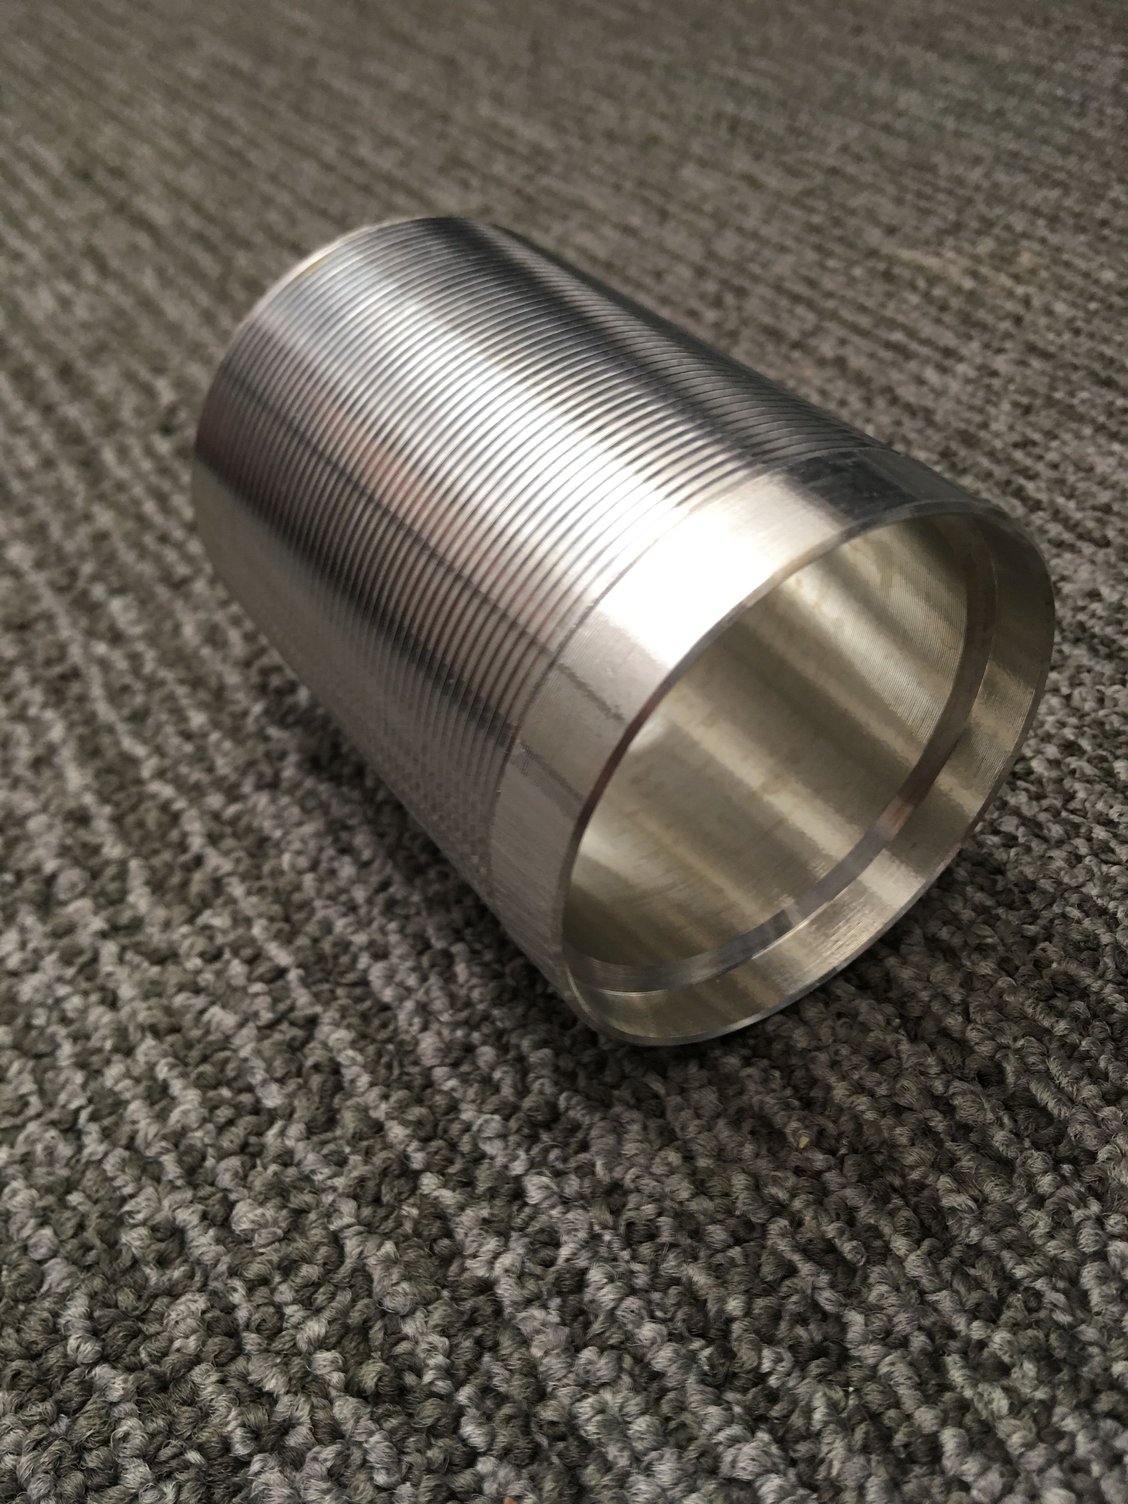
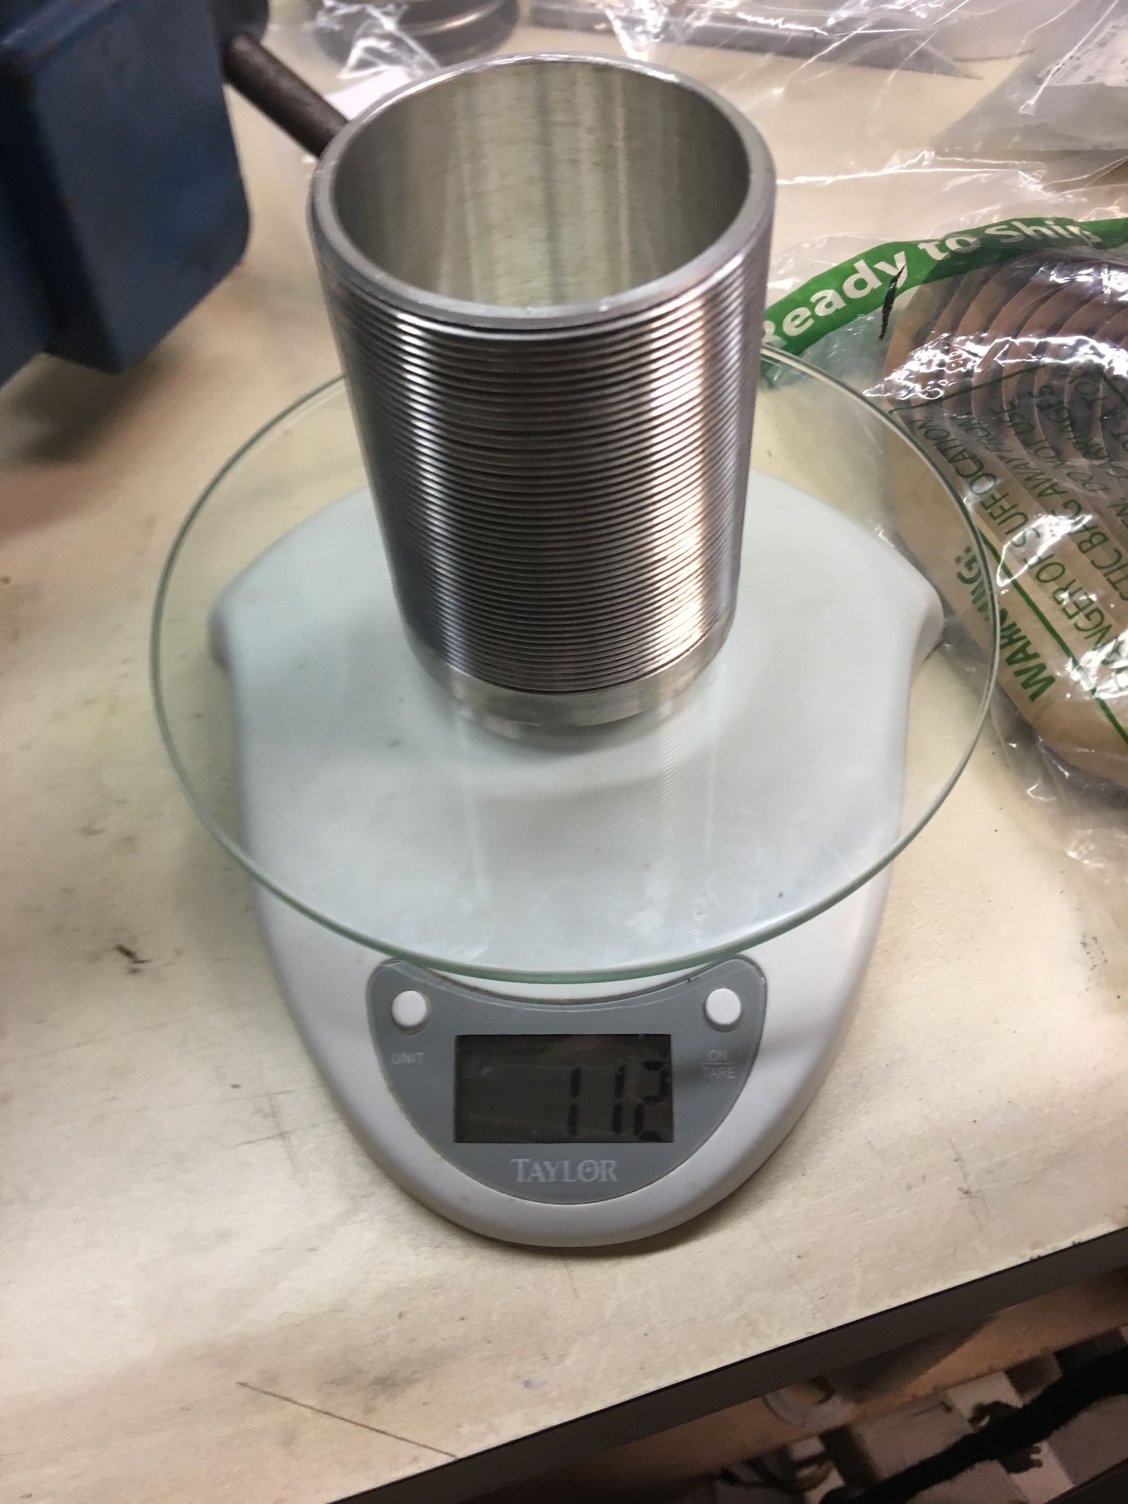
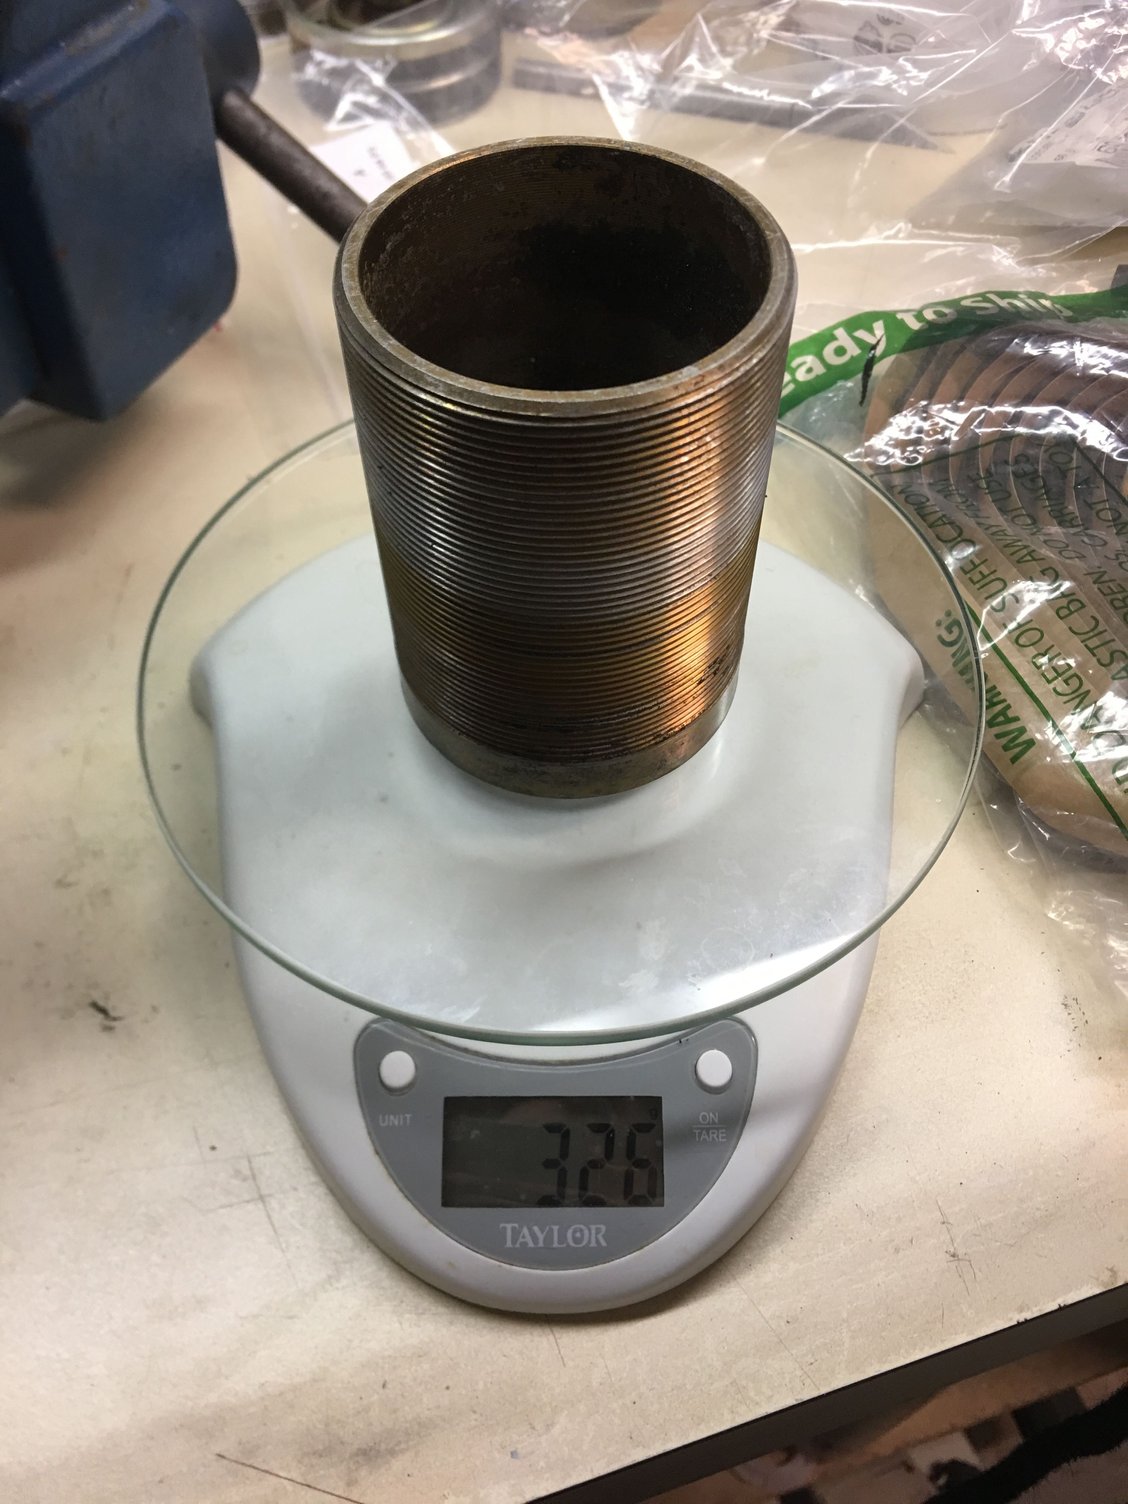
I�ve also decided to upgrade to the new style ALUMINUM rear shock collars. It�s what comes from Porsche now. No more rusting on to the shock and lighter too. I don�t know about you, but I�m really enamored with just how well engineered and manufactured this otherwise humble part is. It�s in an out of the way place, has a very utilitarian purpose, it�s in a heavy duty role, most other cars would have a beefy but cheap and ugly part... and here is Porsche with an elegant and simply beautiful part, like a miniature piece of art. Isn�t this a great example of why we love these cars?
Good things come in small packages! Attention to detail. The iPhone and Jony Ive have nothing on this - indeed likely inspired by the Germans Just beautiful... And elegant in its simplicity. Bauhaus indeed! I�m back ordered on one more of these. Check out the manufacture date!! New upper link-to-hub carrier bolts
Rick, please clarify about your rear shock adjusters.
What was getting rusty on them?
My 1986.5 had the same type of aluminum adjusters as you show new here.
Did earlier 928�s have steel collars at the rear shocks?
Hi Seth! Yes, my '83 came with steel collars (with the gold-colored plating) and they had rusted solidly to the shock bodies on the inside and had to be pressed off the old shocks. I was conflicted on whether to stay original or not, and would have done so if the collars were 100% aesthetically perfect but they weren't quite there. I decided to give the aluminum versions a try.
You raise a good point though -- I wonder when the change was made? I'm going to guess it was in '84. There's a note in the WSM at page 42-18c: "in the current 84 model year, the coil springs, both spring plates of the supporting plate and the adjuster nut with threaded sleeve have been modified to reduce weight."
As far as I can tell, the old style steel collars are no longer manufactured, the old part number apparently supercedes to this part.
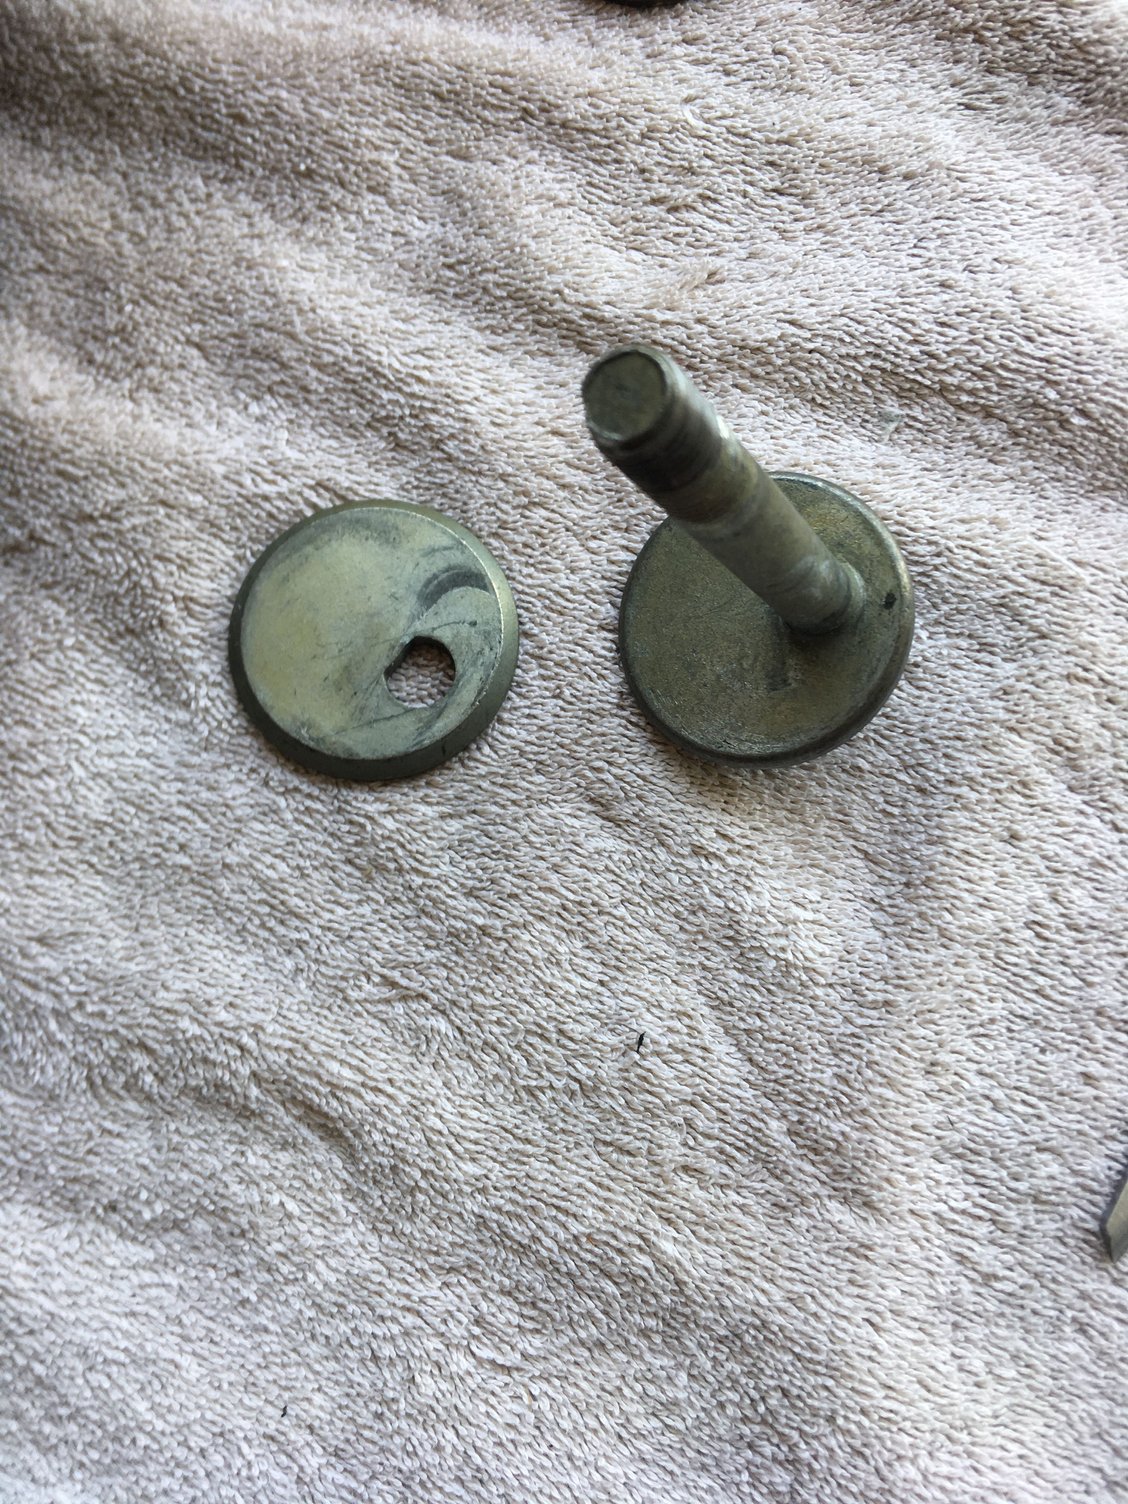
I�m getting ready to put everything back in over the weekend. I was in the garage this morning before work evaluating the condition of the very few pieces of hardware I planned to re-use, including the track eccentric bolts (which also have separate eccentric washers). The originals had no corrosion at all. I realized, however, that one bolt/washer pair was slightly damaged... the washer sits on a flat formed in the bolt, and there was slight deformation of both the bolt and the specially shaped hole in the washer allowing the washer to have excessive rock on the bolt. Only a little excessive, but the OCD kicked in and I immediately called Roger for replacements.
Unfortunately, the washers are NLA but Roger has a good stockpile of the track eccentric bolts. So 2 on the way! (Already have the new nuts).
EDIT: Sigh, these bolts are only for the later models with the removable aluminum casting mount point. These bolts are too long for the direct-to-body attachment. Unfortunately with the special eccentric washer and a special flat shoulder on the bolt for the washer, that means the new style bolt will not work (and no you can�t just add a washer or two). The correct bolt, AND the washer, are sadly NLA. This means I�ll continue to use my originals.
This evening, I was able to massage the slightly deformed hole in the washer back into shape with some gentle taps using a small flat and ballpeen hammer. It was only a tiny deformation, and the washer is a nice snug fit again. No other damage incurred along the way, so back into service it will go.
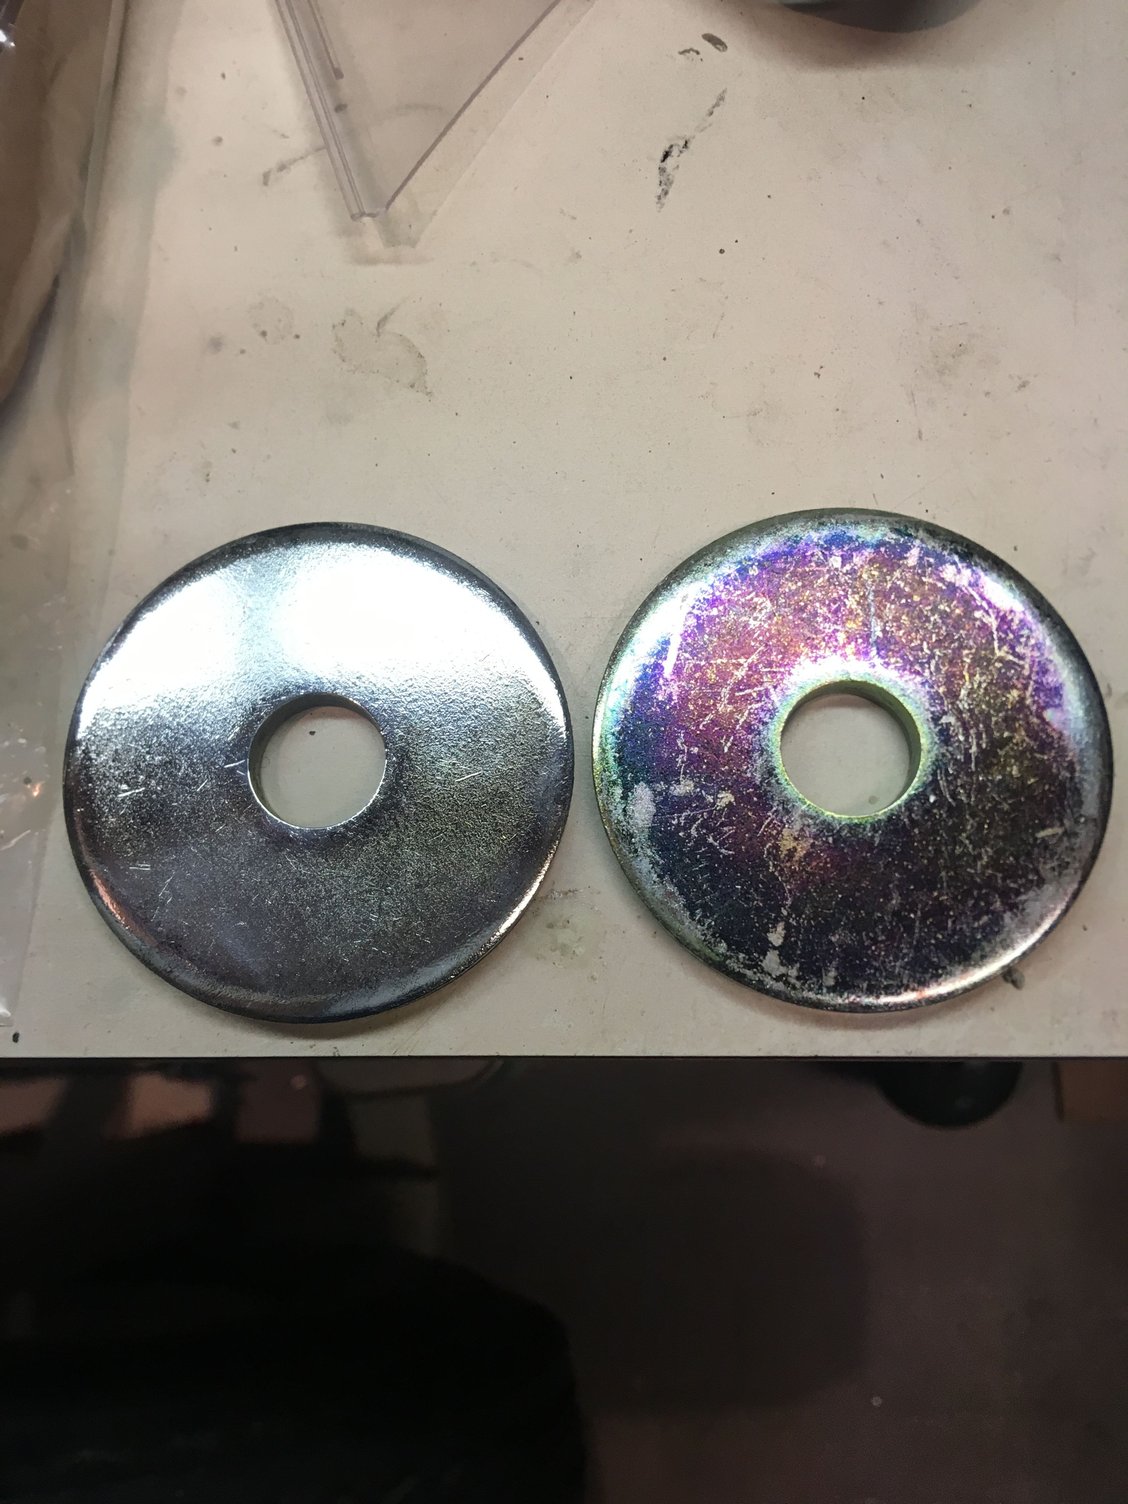
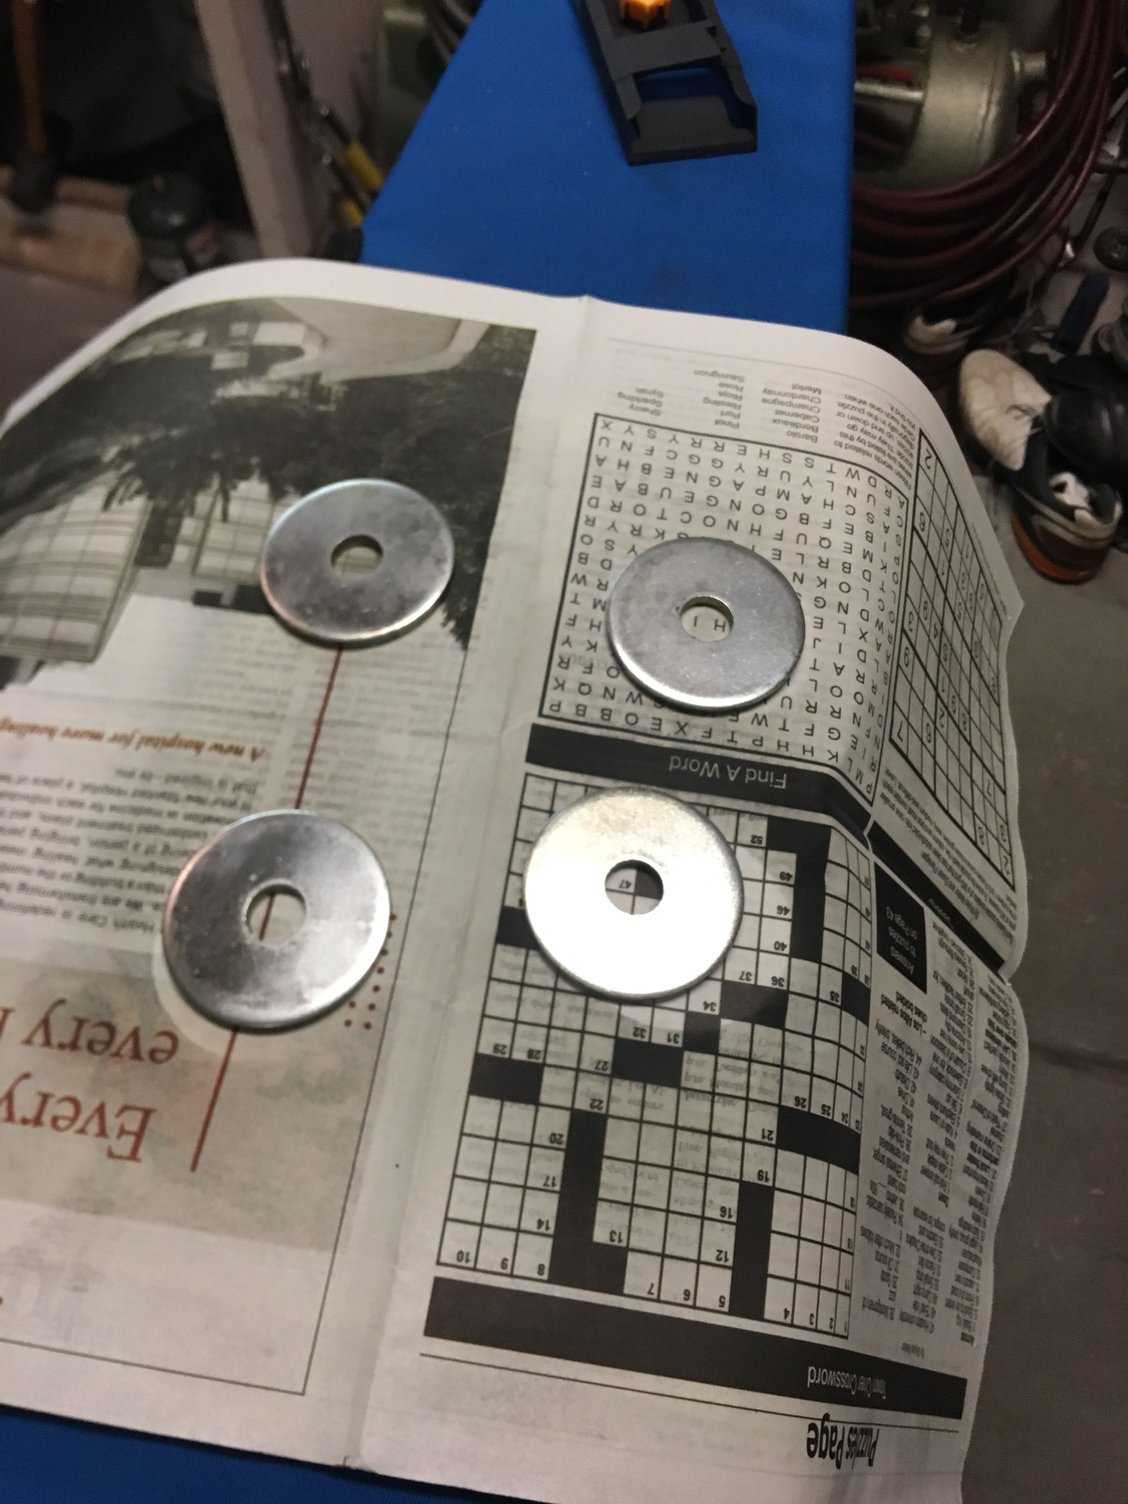
Also, I went into full-on OCD about the big washers that go on the link pins. I have 4 new ones from Porsche but 3 of those had a strange purple color from the plating process. I REALLY wanted the rear-facing ones to be PERFECT. They are super visible!
After a fevered call with Roger only to discover that new ones are all back at the mother ship in Germany, I decided to try - gulp - buffing them. I used the gentlest buffing compound I had on my buffer wheel, namely a light compound intended for polishing auto paint. And worked carefully. I did NOT want to go through the plating.
IT WORKED!
Purple disapeared but shininess appeared. Taking a tip from Rob Edwards, I gave them a thin coat of matte clear to tone down the shine.
End result: Another save! Washers beautiful enough to use!!
As received. Three of four are very purple Before and after buffing After matte clear coat.
Yeah, you know it�s bad when:
- You shed a tear for originality every time you even have to replace an old (but original) bolt.
- You think that replacing old parts with OE Porsche parts is somehow not �original enough.�
- You worry about the damn finish on a bolt, nut or washer.
AND ESPECIALLY:
- When after seeing Rob Edwards� bolt collection you want to cad plate EVERYTHING IN SIGHT.


 11-03-2019, 12:50 AM


 Nice to meet you Rick, and I'll look forward to hearing about how she drives once she's all back together.