When you click on links to various merchants on this site and make a purchase, this can result in this site earning a commission. Affiliate programs and affiliations include, but are not limited to, the eBay Partner Network.
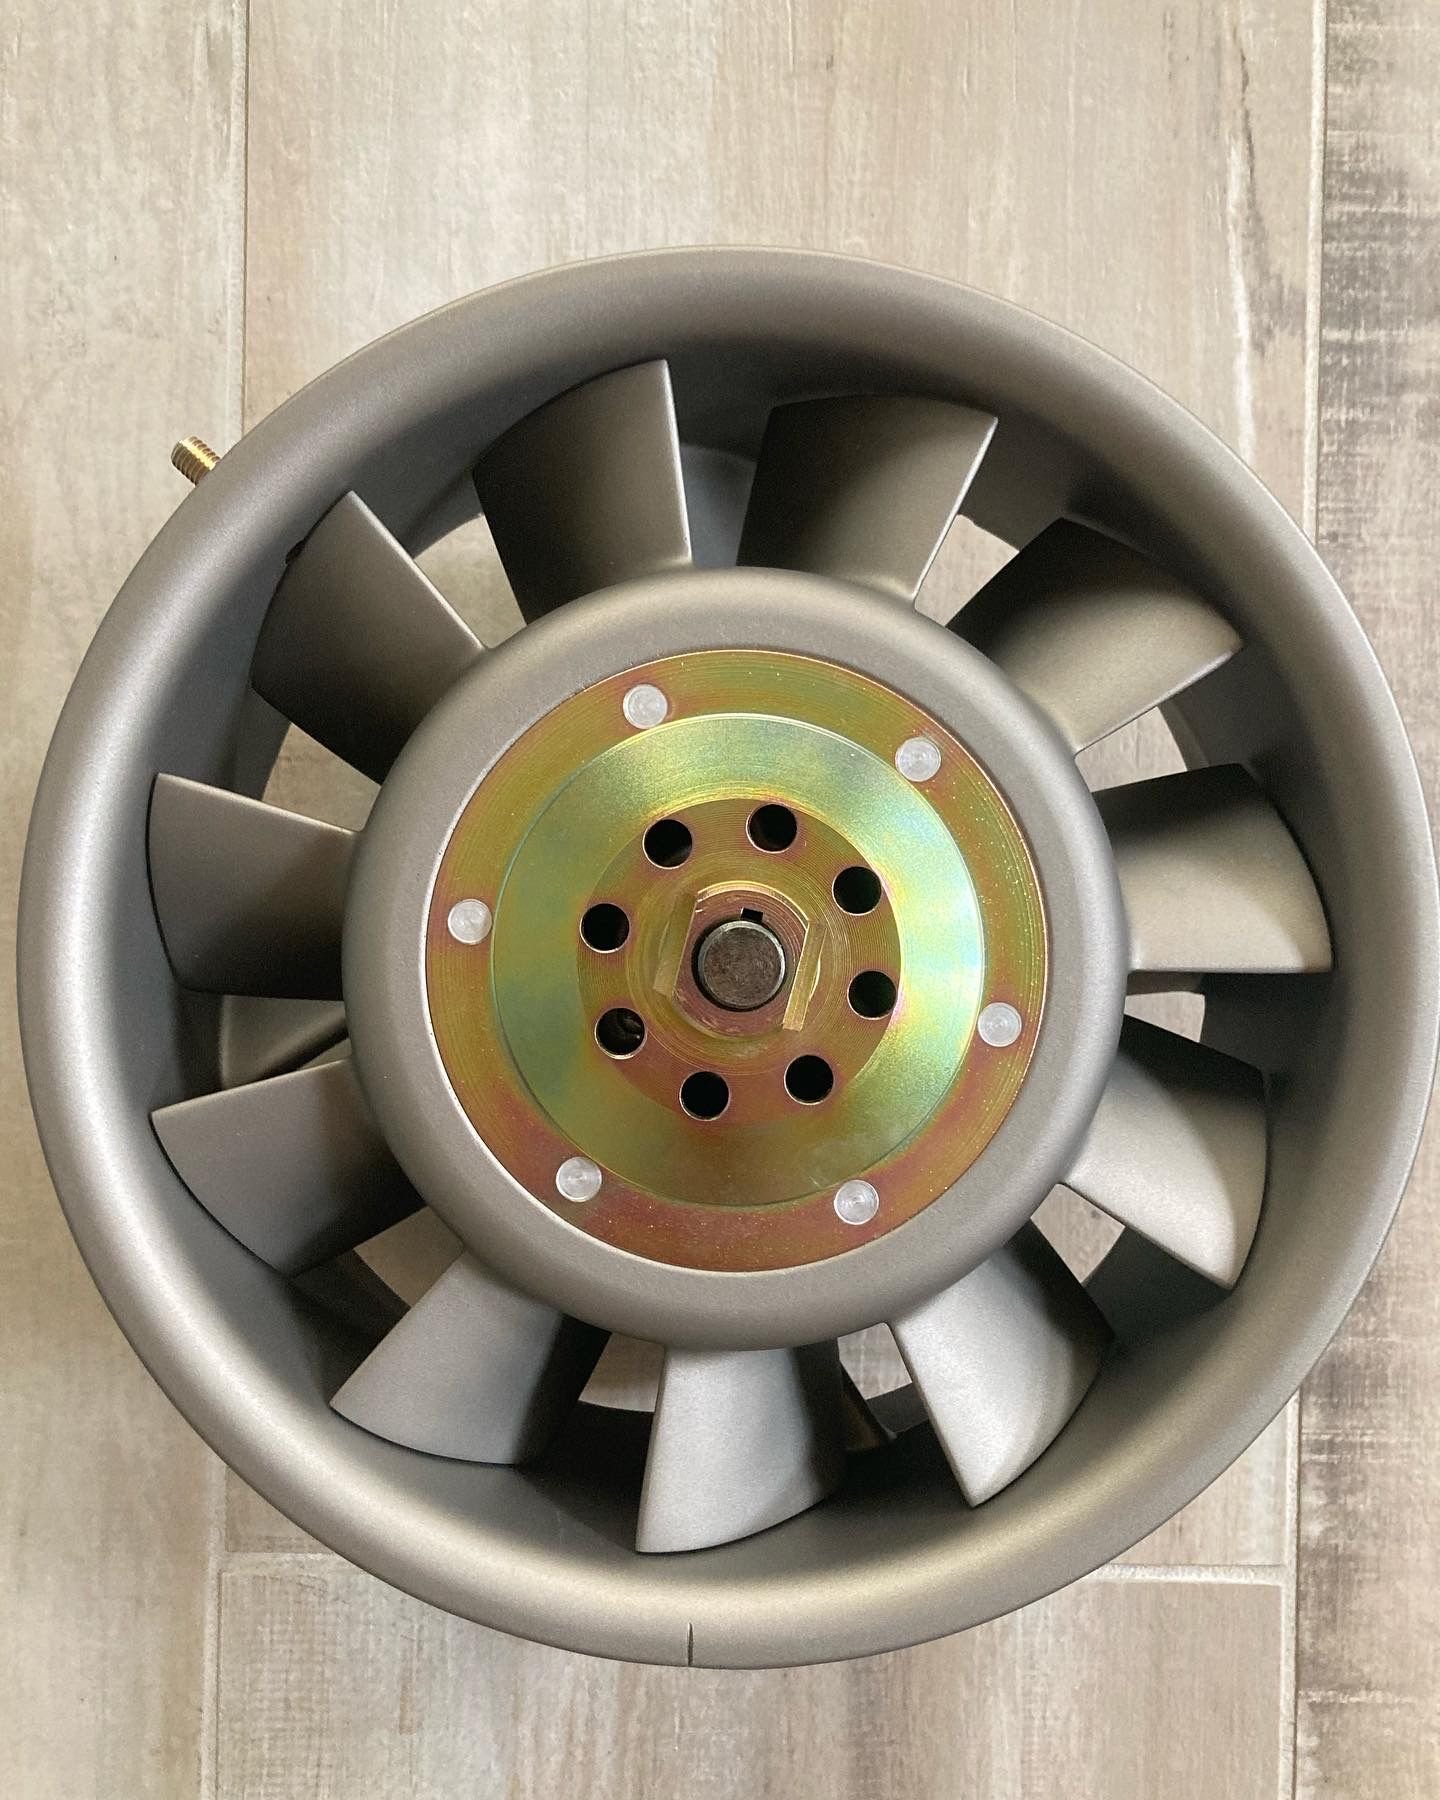
With the heart of the air-cooled 911 being the cooling fan, I figured it deserved to be a beautifully restored focal point. If you go back on my thread over a year ago you will recall I had approached Mark Motshagen to restore my early fan assembly. Mark is trying to retire and no longer takes one off restorations like mine, as he has more demand for work than he can actually complete. He only does work for restoration shops now - with his largest client being Brumos. He was restoring Brumos RSR fans for their museum cars when I chatted with him. Anyway, I feel lucky to have him do work for me, as he is one of the best guys in the Porsche community. Nice man and passionate about wrenching on Porsche�s.
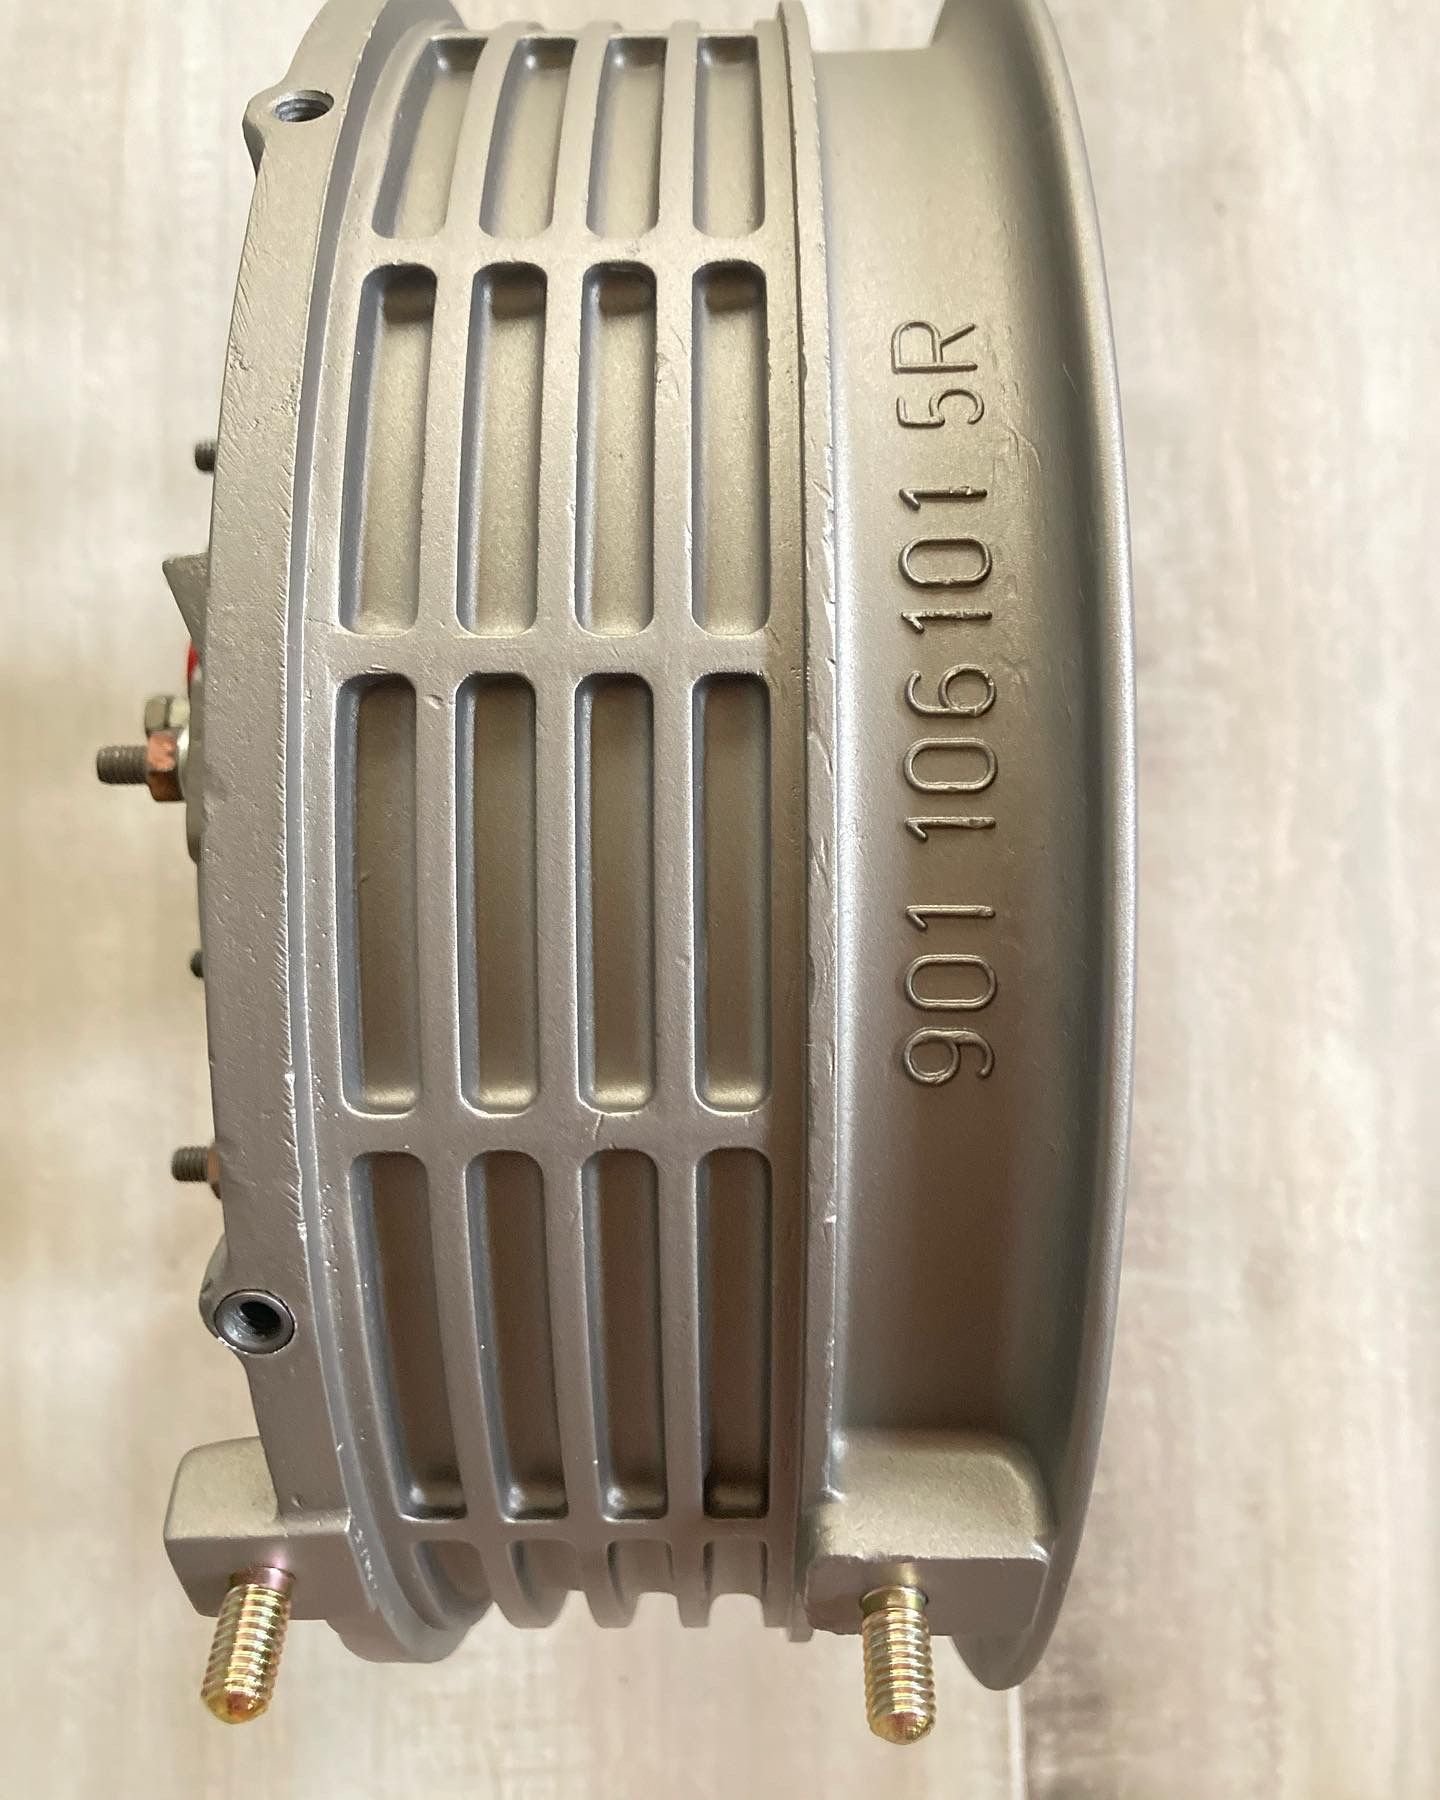
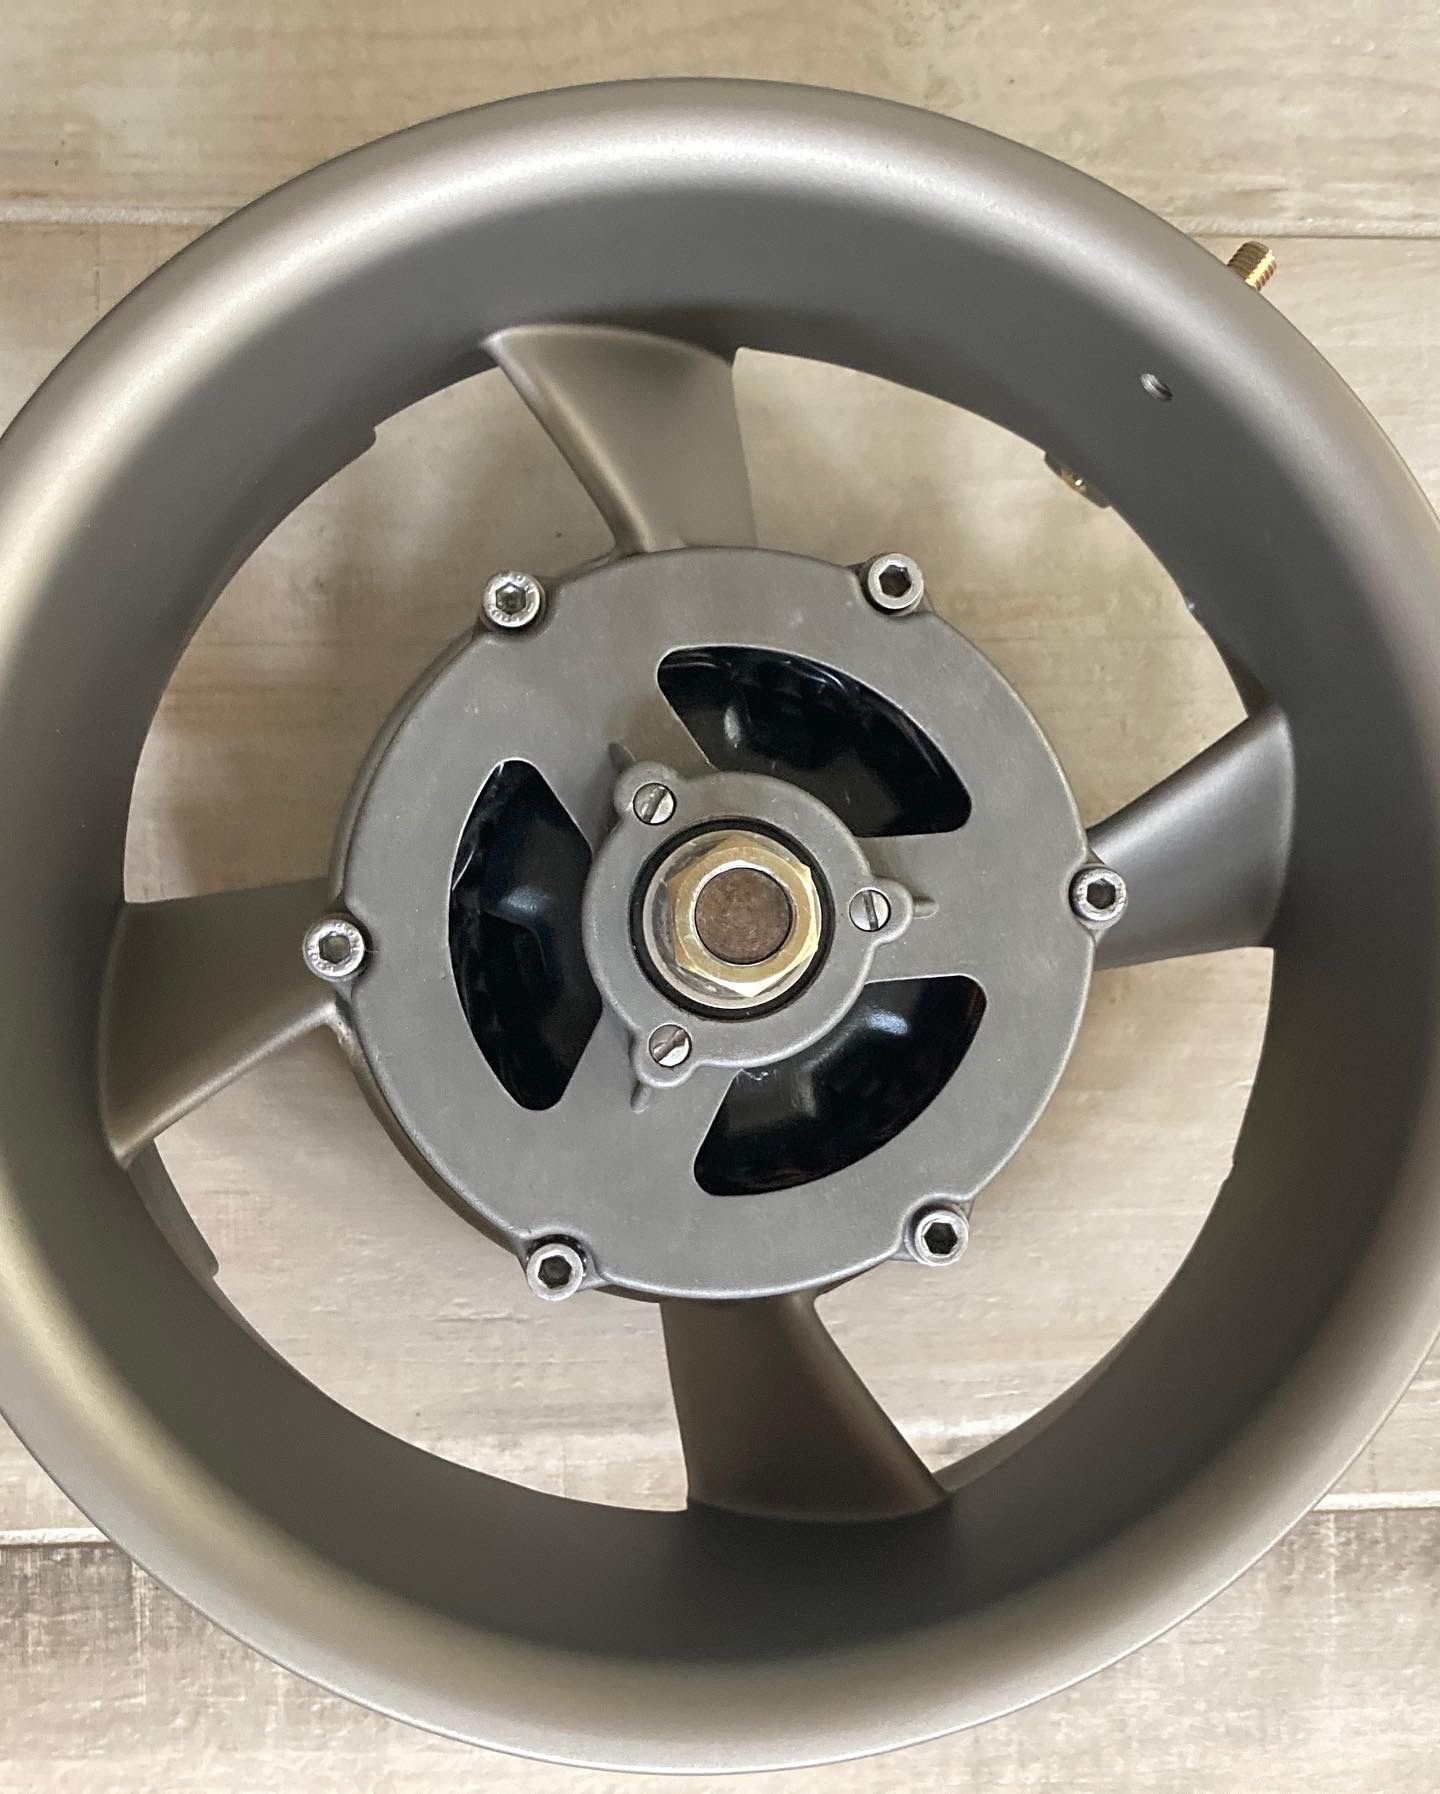
Here are some photos of another part that I am tempted to make a coffee table piece lol
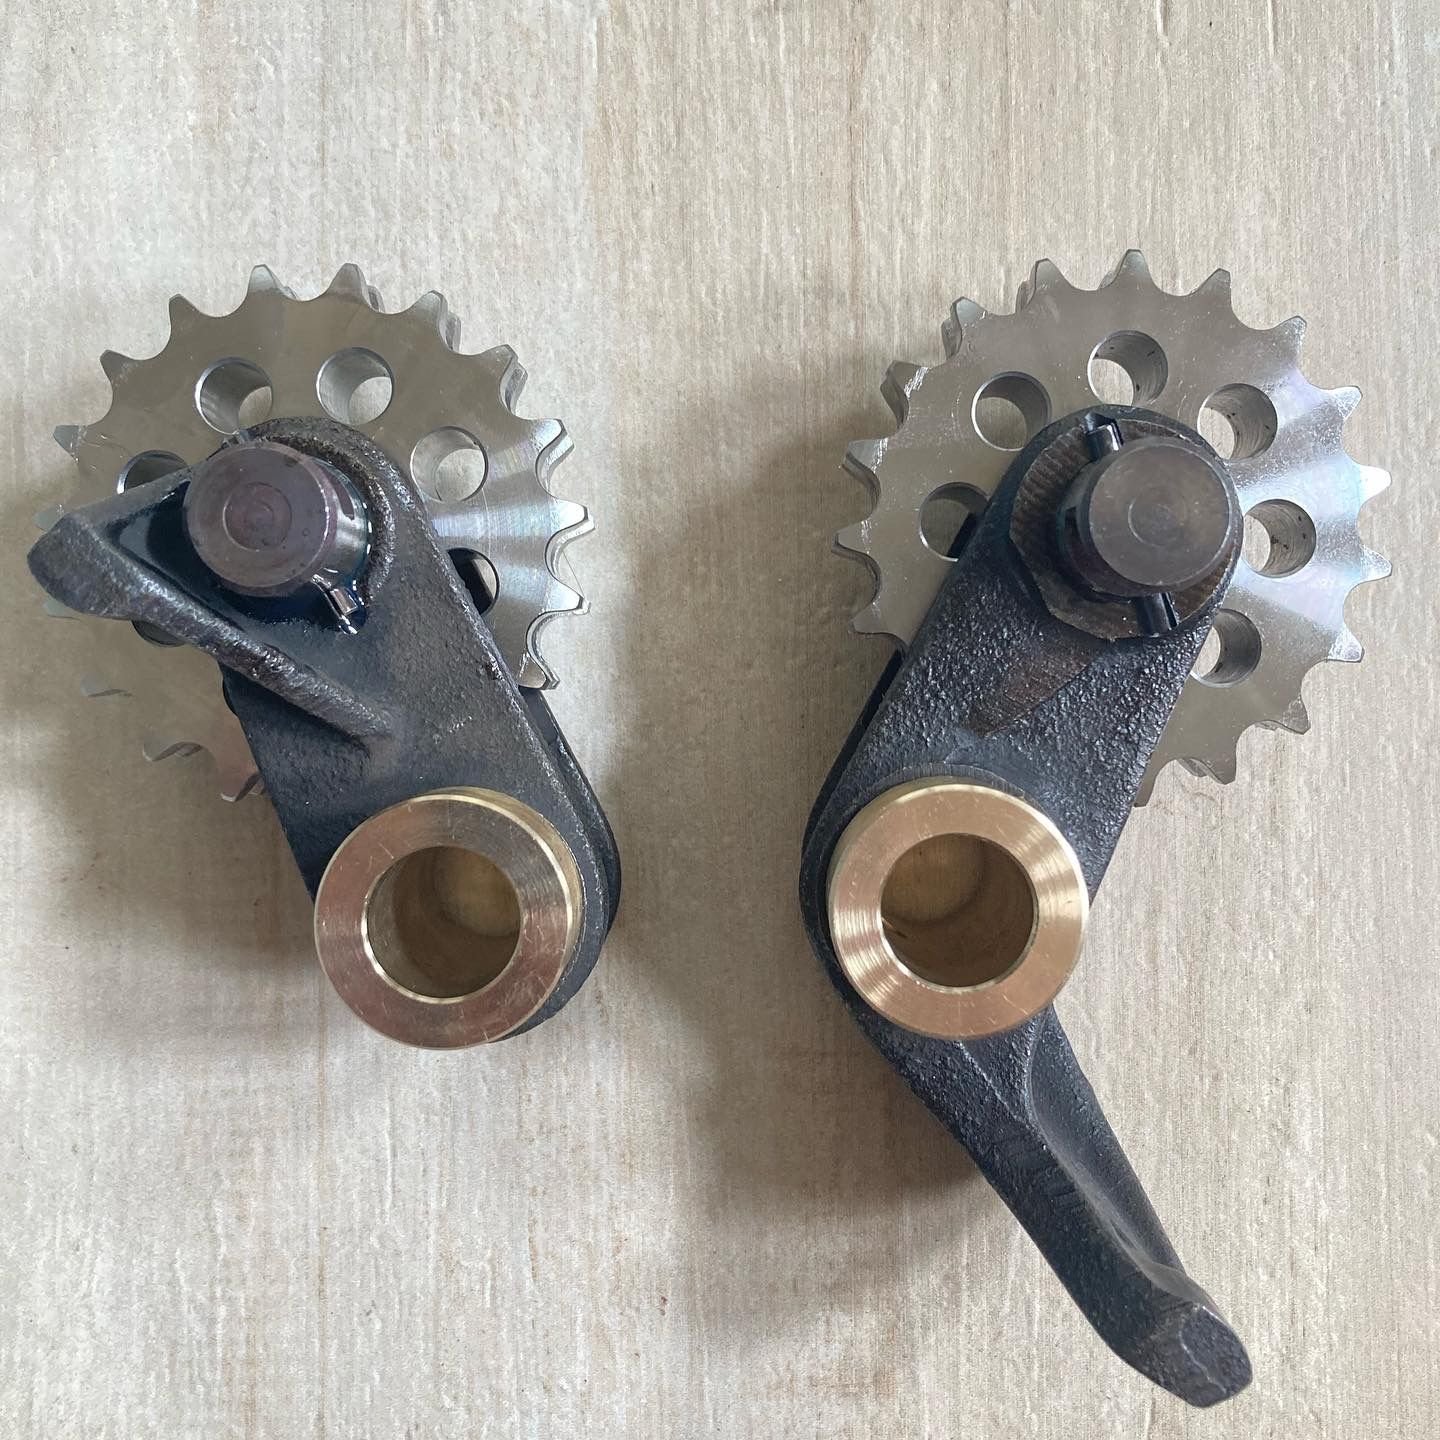
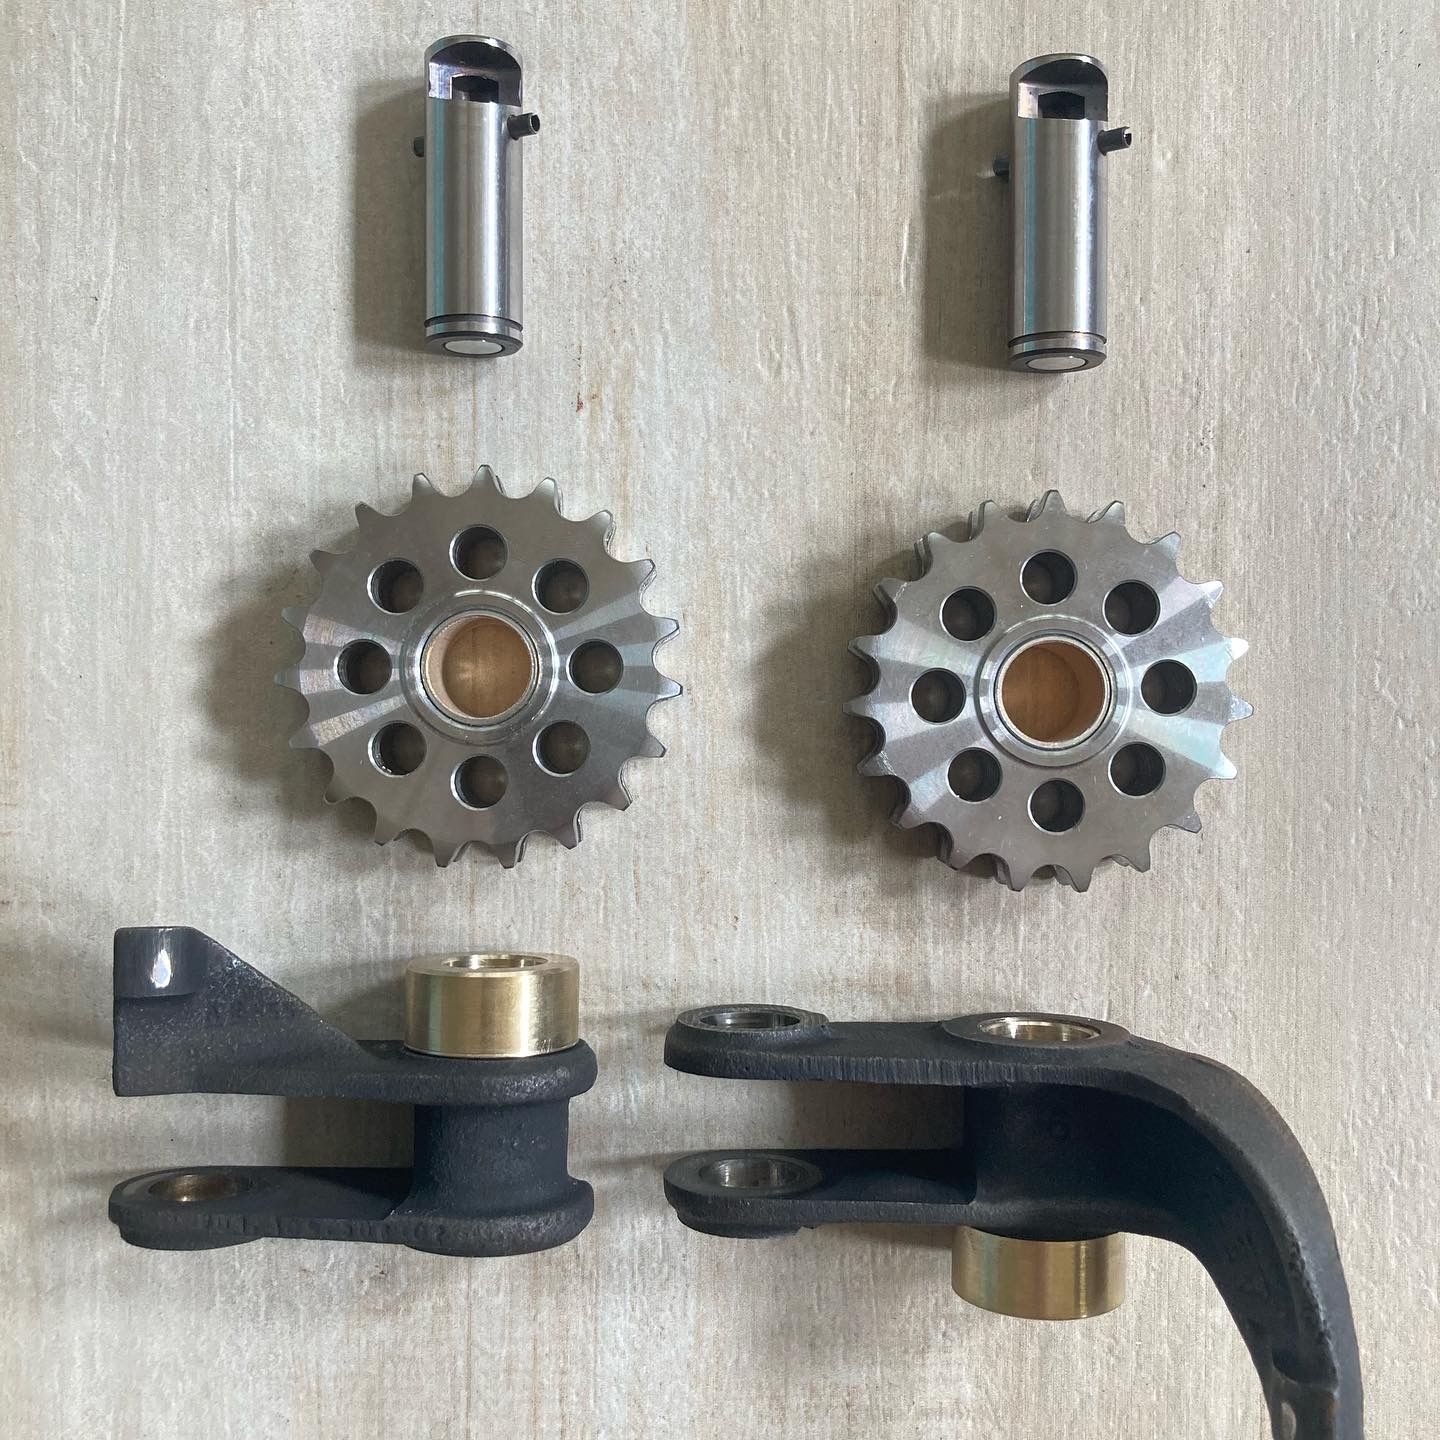
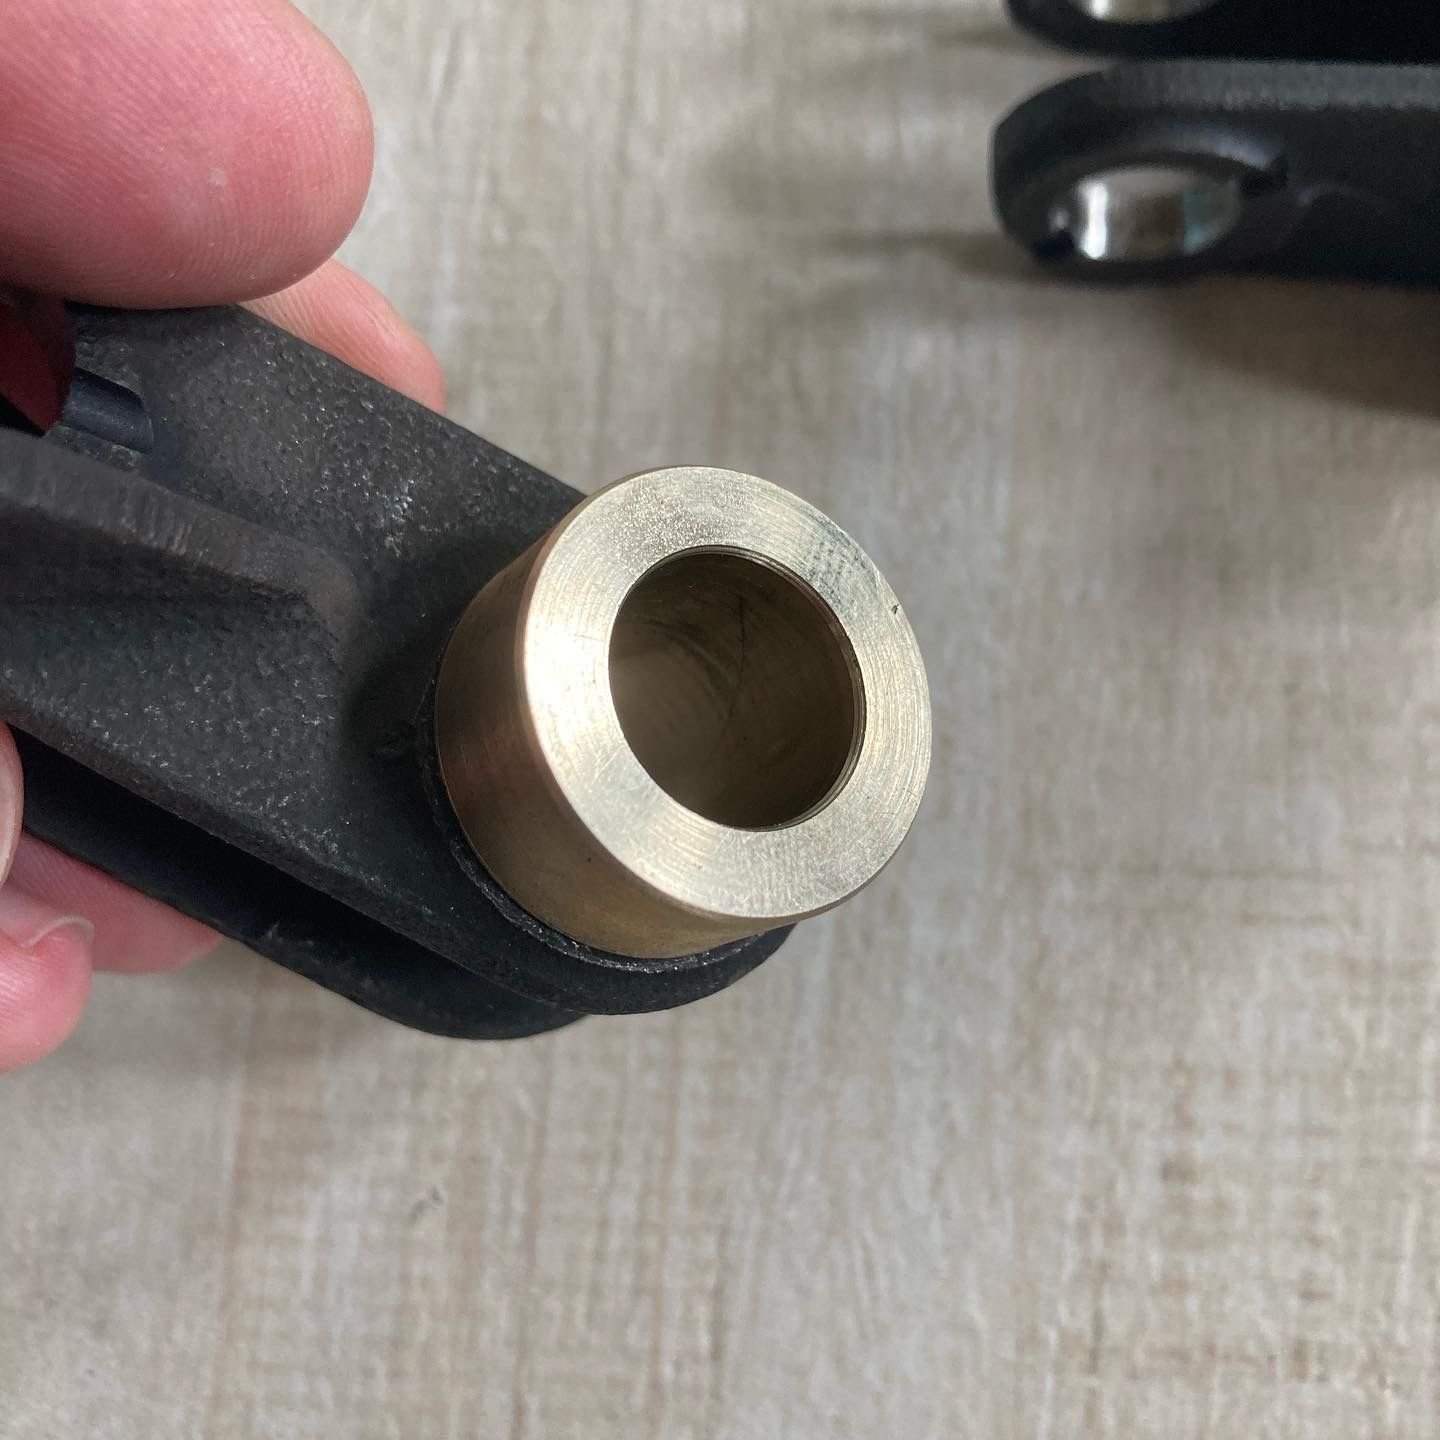
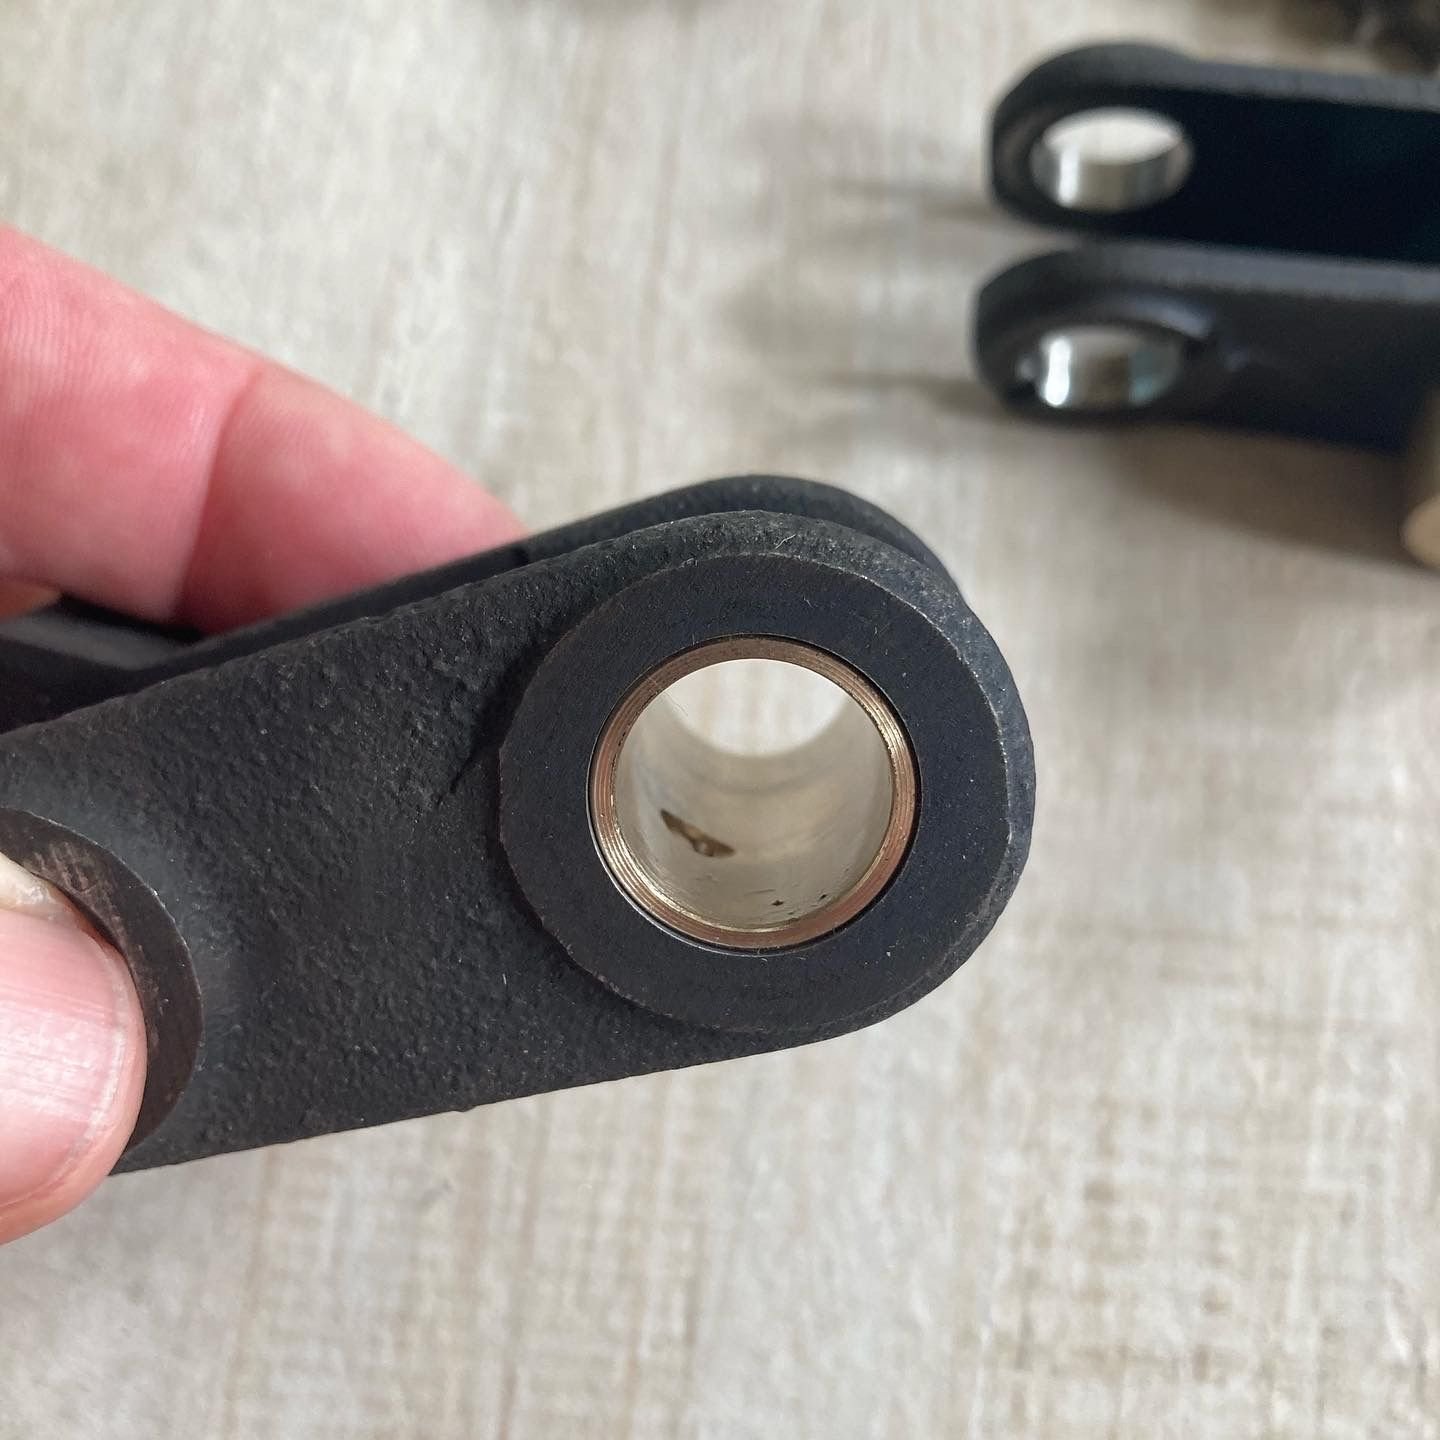
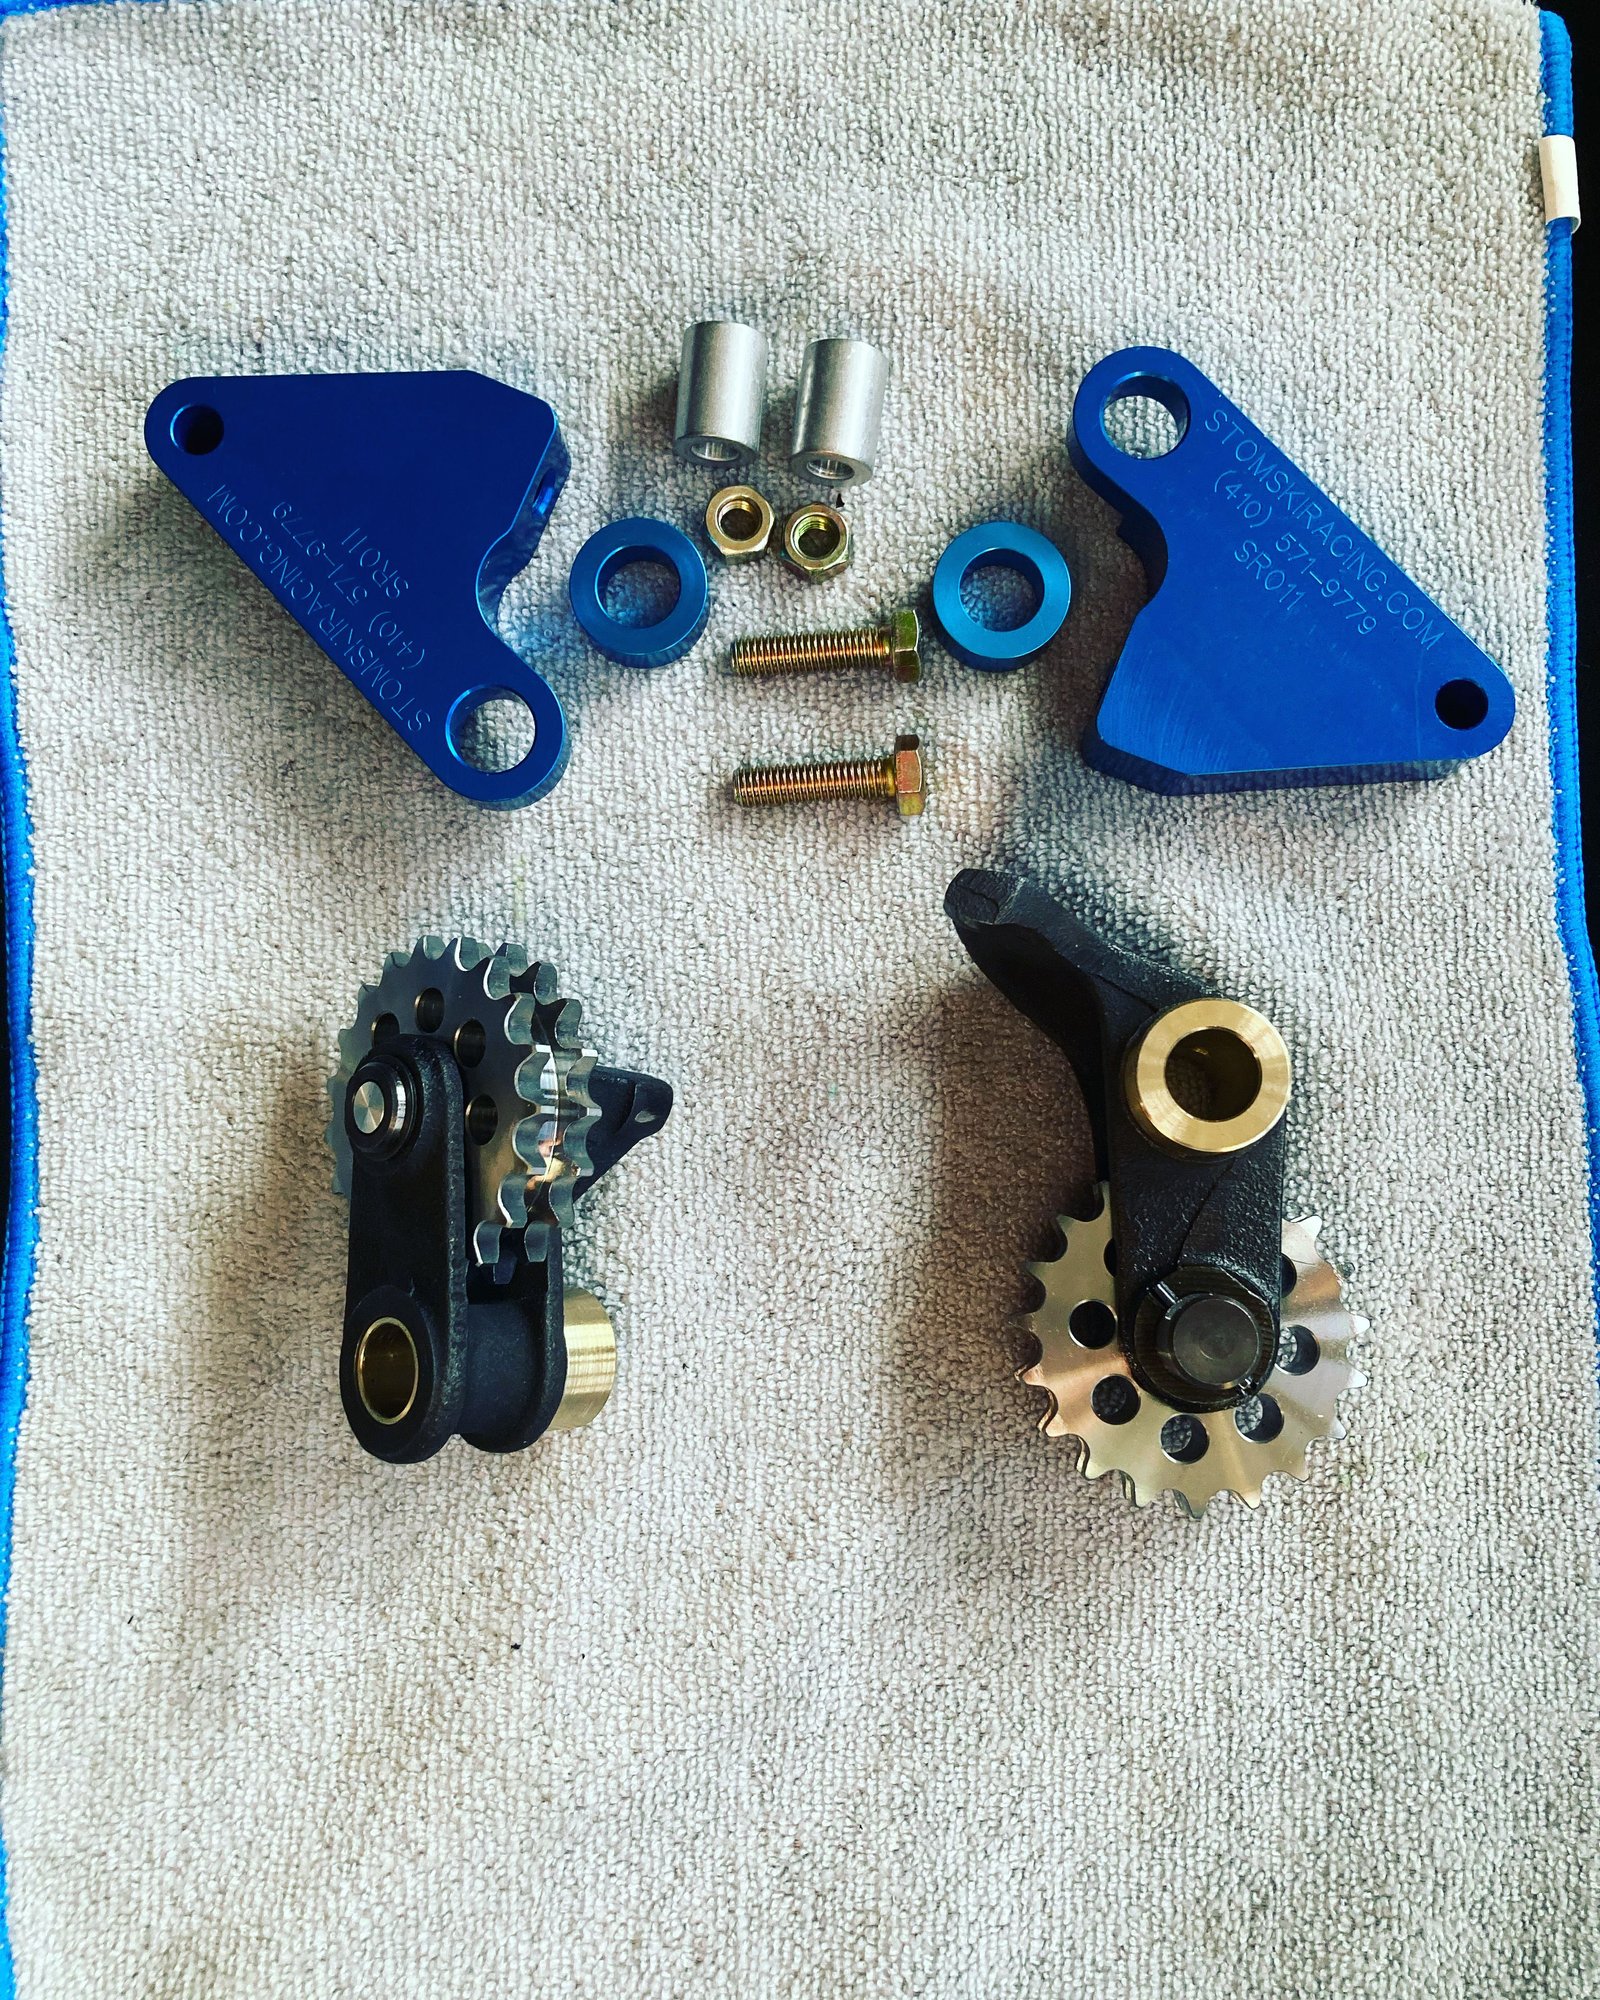
I inspected my idler arms and found many issues. Unlike the later idler arms, these early arms do not have bushings and have much less bearing surface. This results in binding on the chain housing posts that they ride on. Mine had quite a bit of scoring in the bores and on the posts. Scary as this is thought to be a common reason for tensioner failure - Carrera tensioners only solve part of the problem.
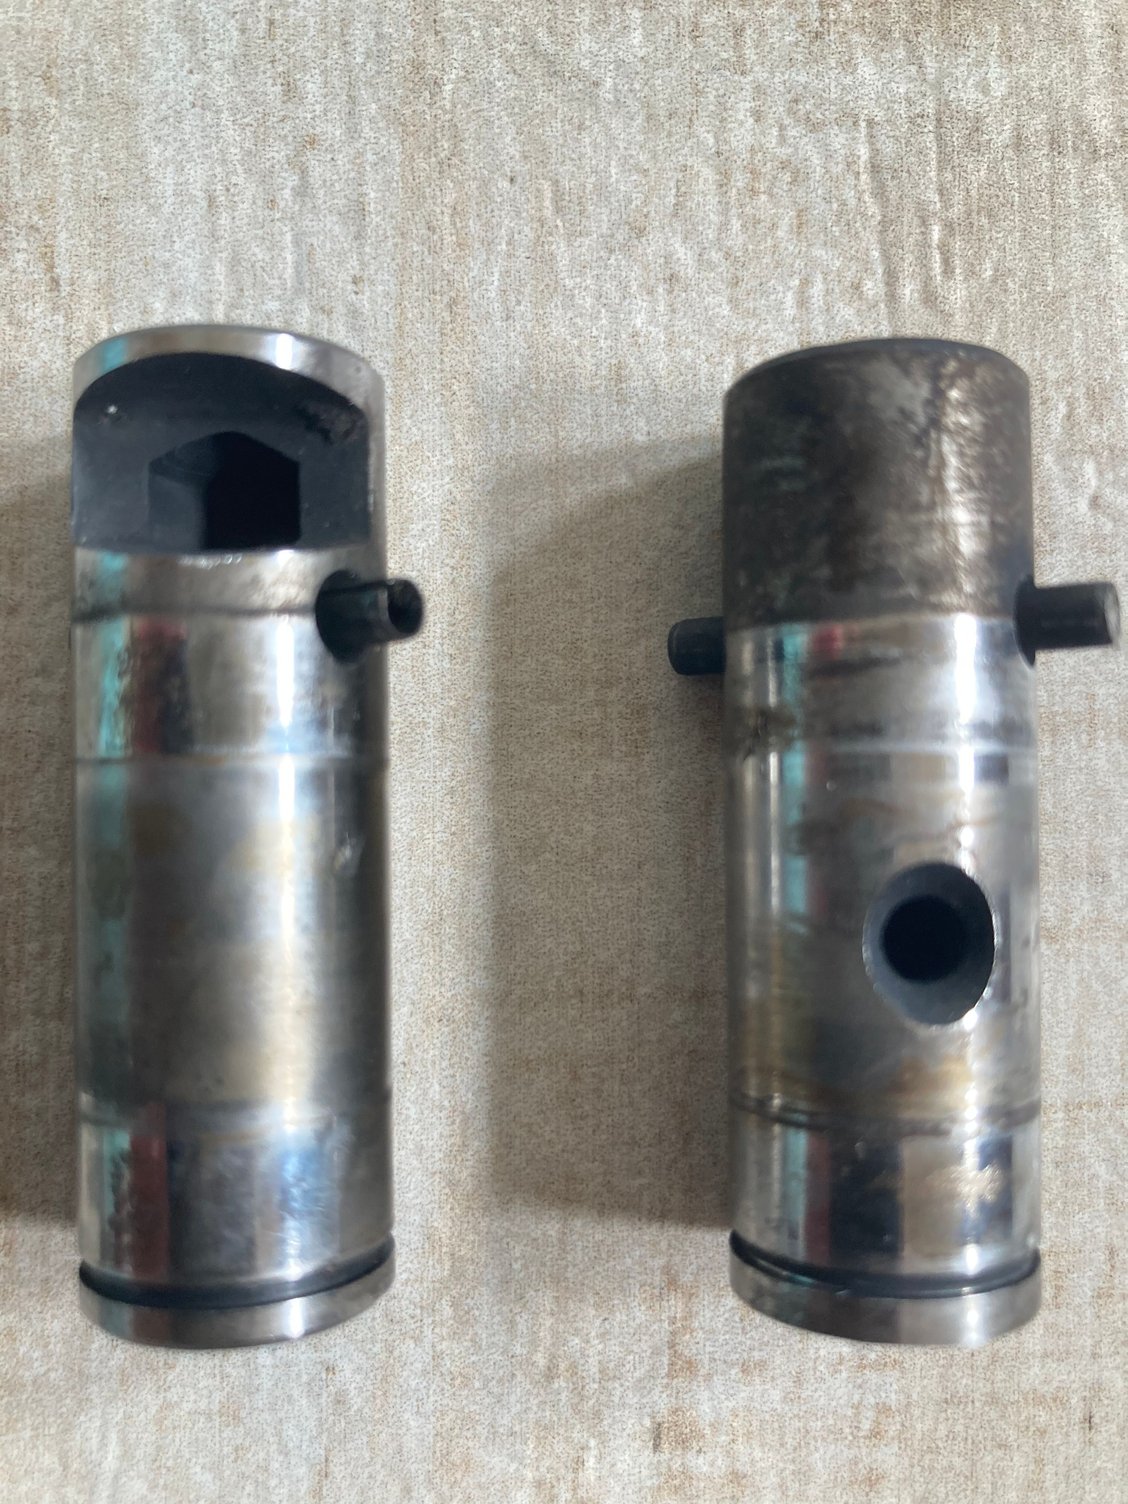
I was able to lightly sand/polish the posts to smooth out the surfaces and ended up completely rebuilding the arms. I sent my arms to Craig Garrett who I found on Pelican to bore and install bushings. The bushings he installs also adds the additional bearing area/flange to match the later versions so I will not use the spacers with my Carrera tensioners. When I disassembled my arms, I also found that the sprockets had quite a bit of wear on the outsides of the teeth - most likely from inadequate alignment. The sprocket shafts were also showing a lot of wear - the hardening surface was wearing very thin/gone in some areas. So, new sprockets and shafts were also in order
So here are some photos of the new and improved arms.
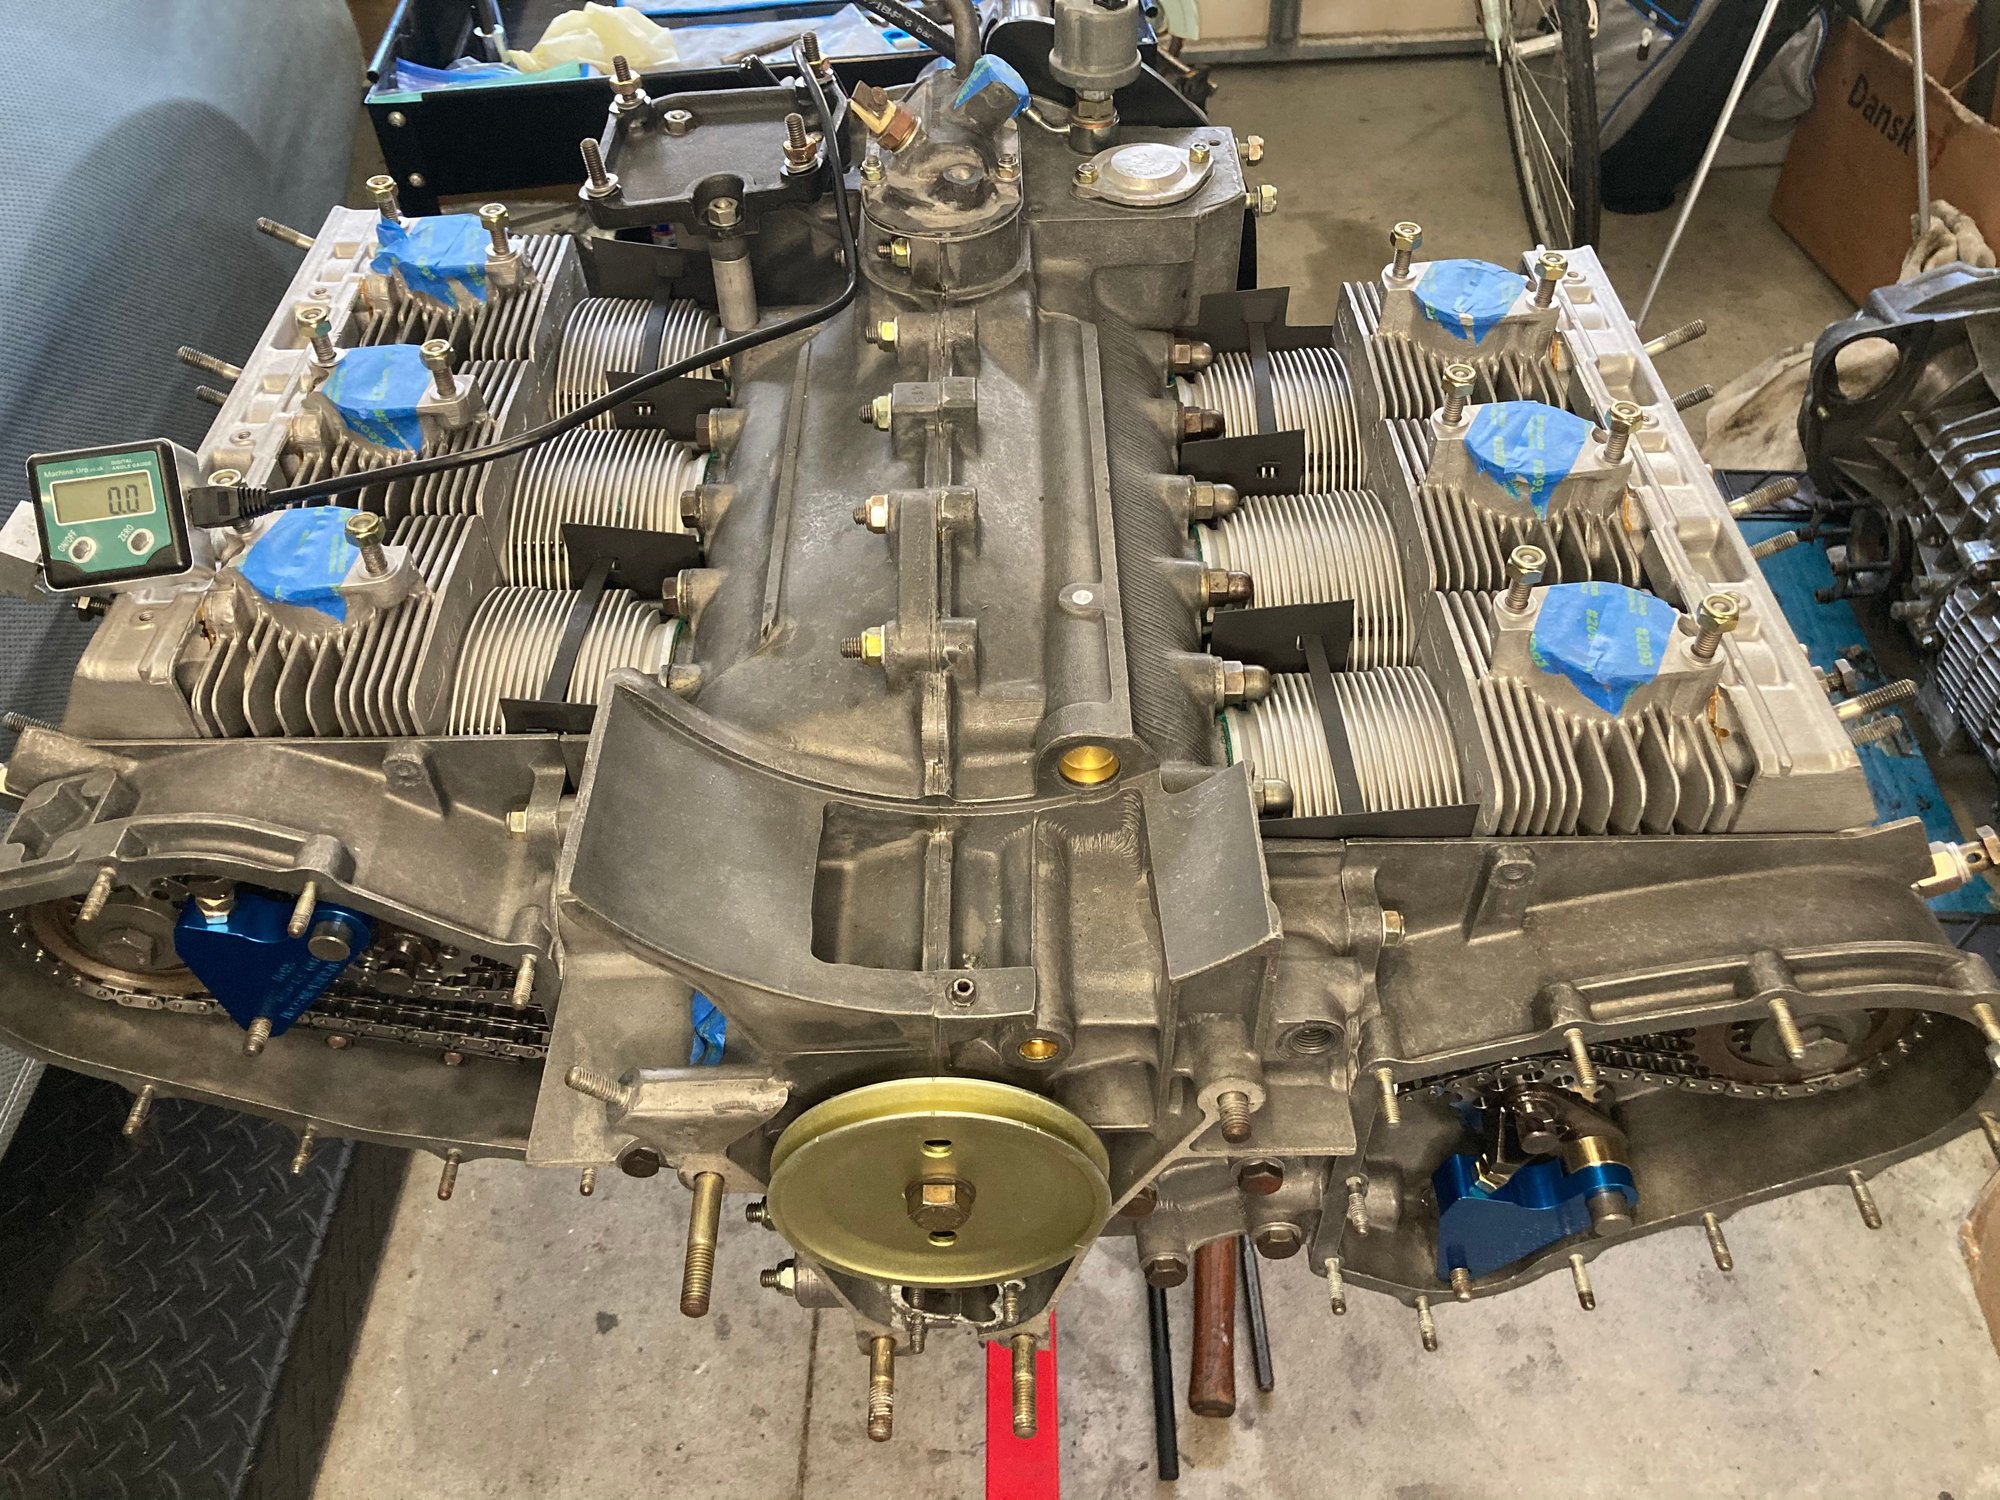
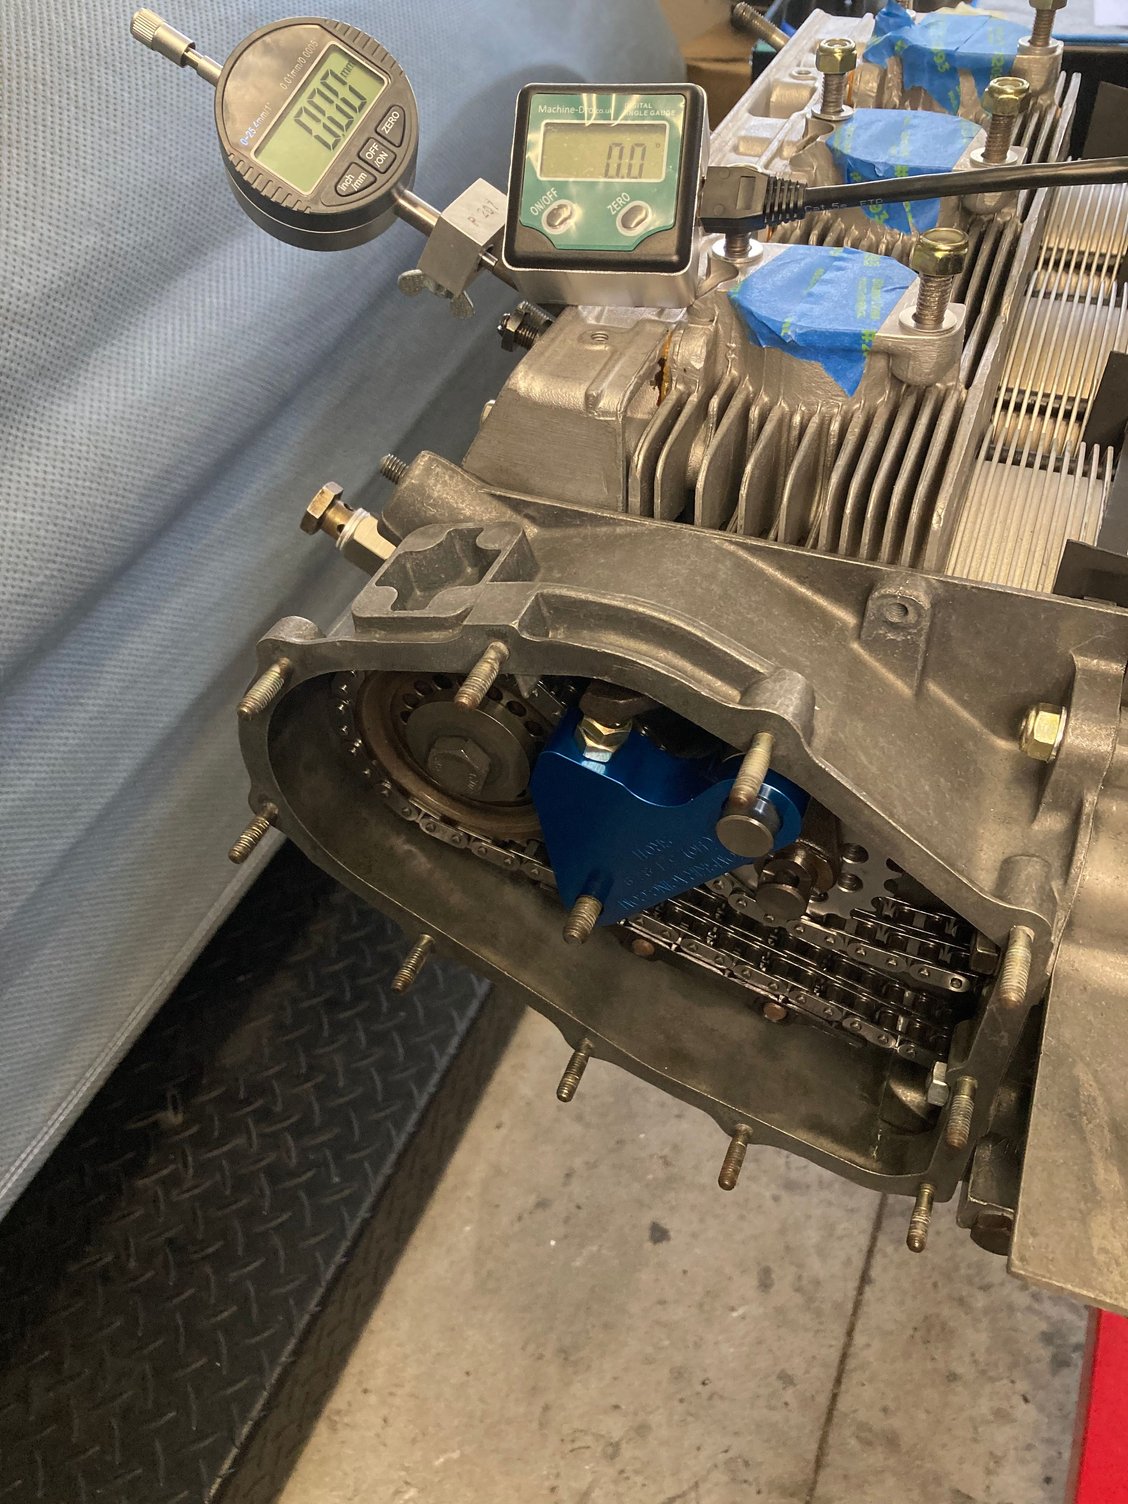
Been slowly working on the motor as I have time. I am now to the point of timing the cams. Being new to this and and wanting to get my high lift, high duration cams timed perfectly, I invested in a few tools. John Dougherty gave just one number (3.8mm) to time these at, not a range like the factory cams - so I want to nail that number!
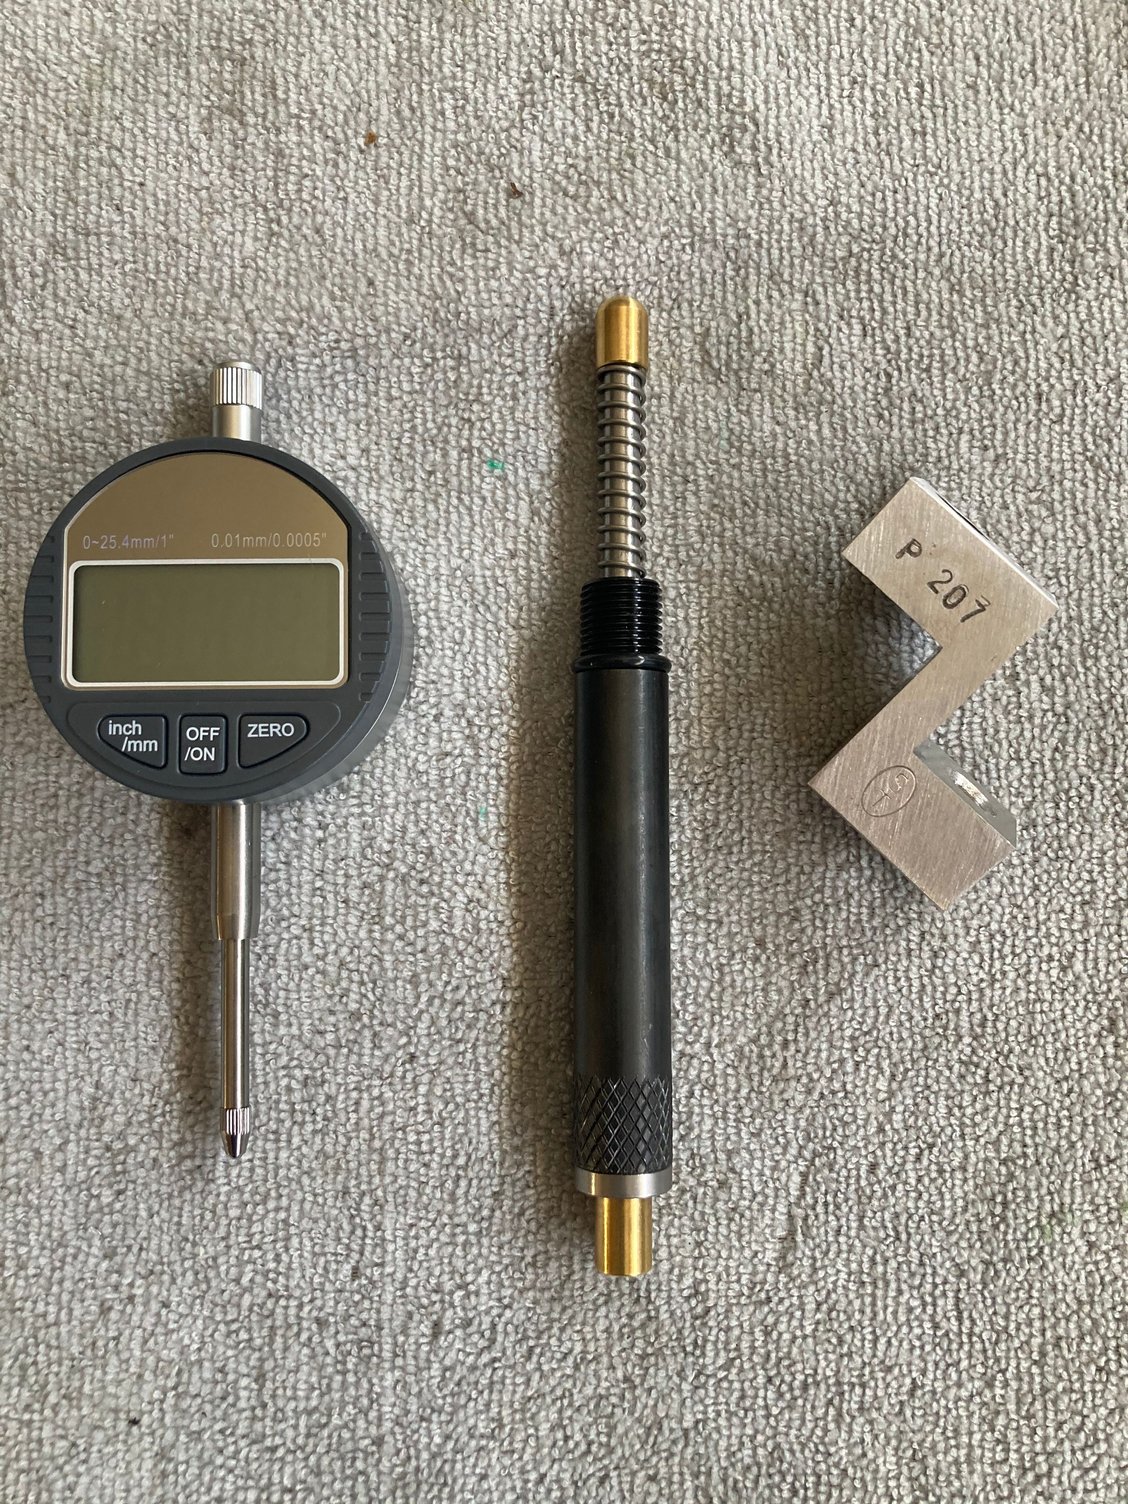
So, I am using:
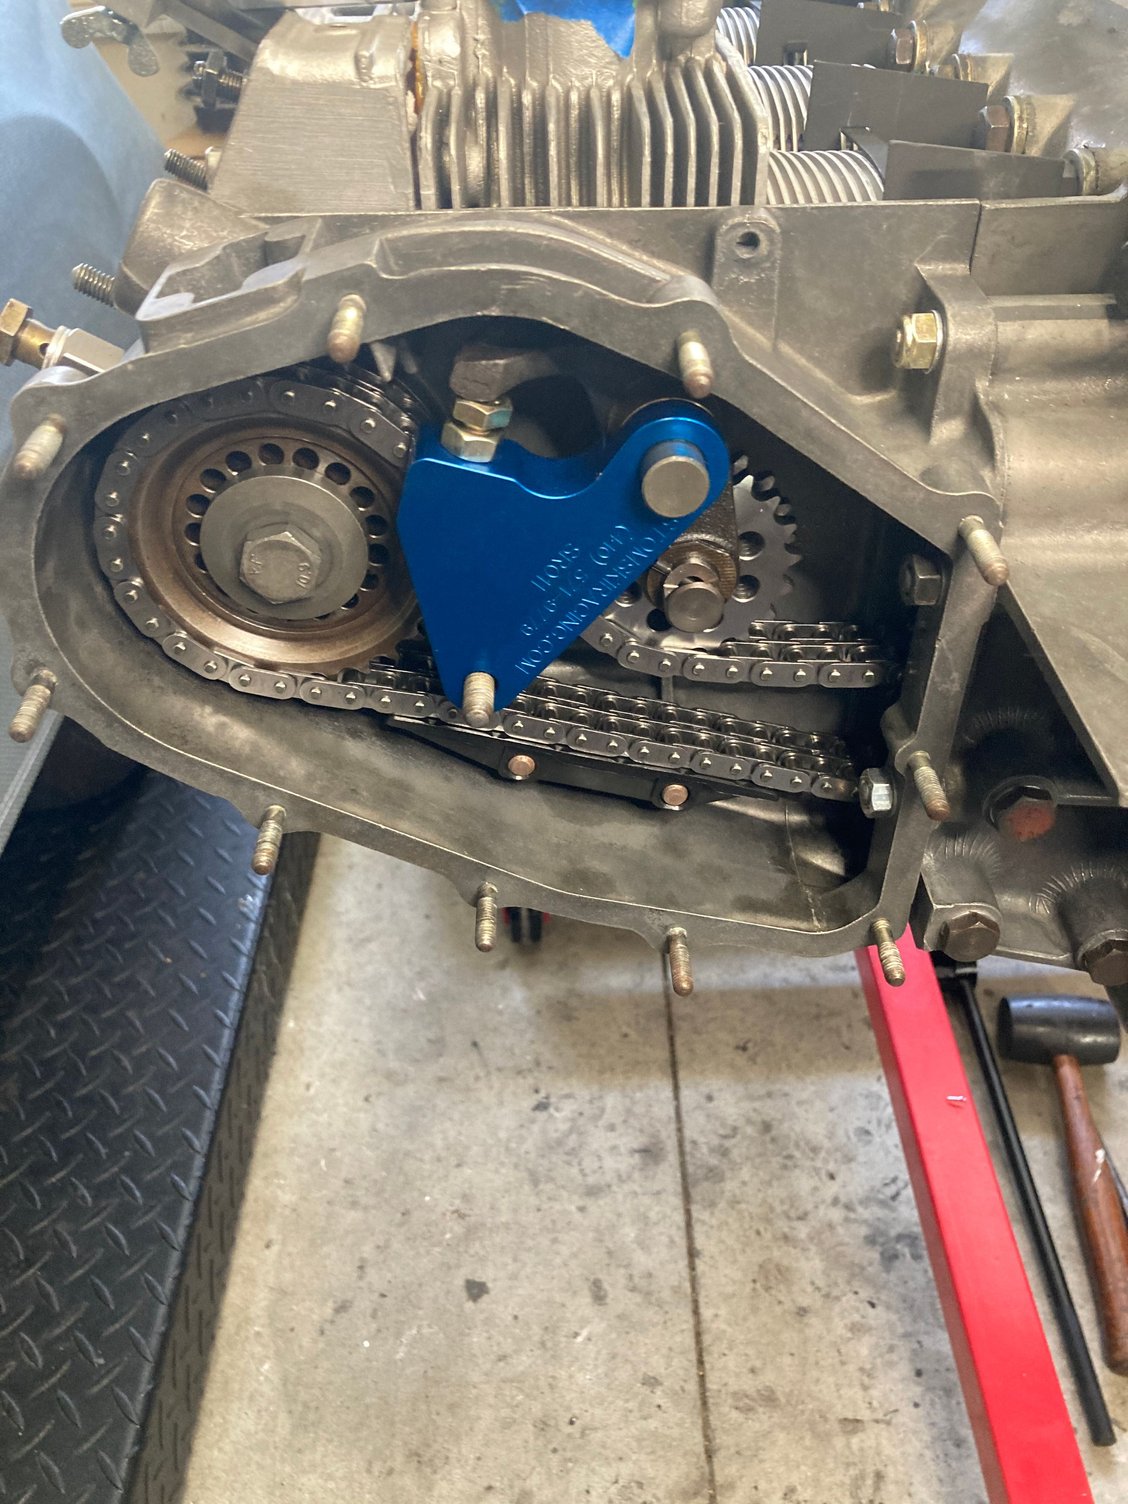
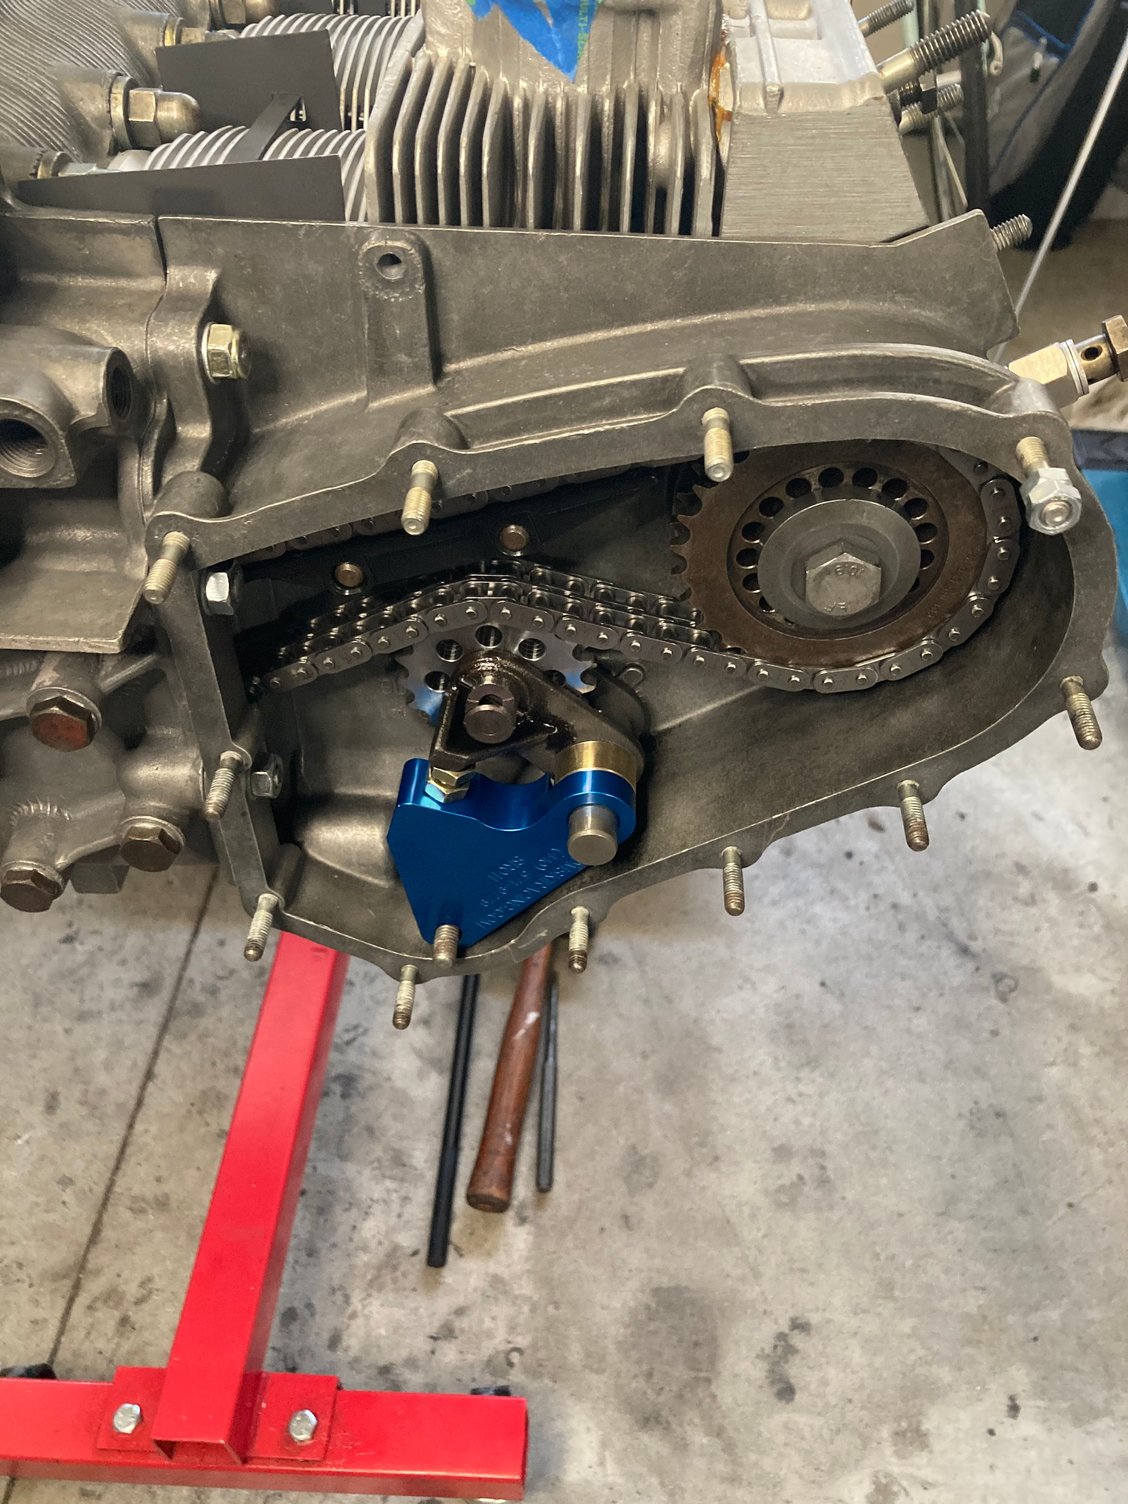
- Stomski mechanical tensioners to keep tight tension.
- A piston stop to ensure I find TDC as accurately as possible.
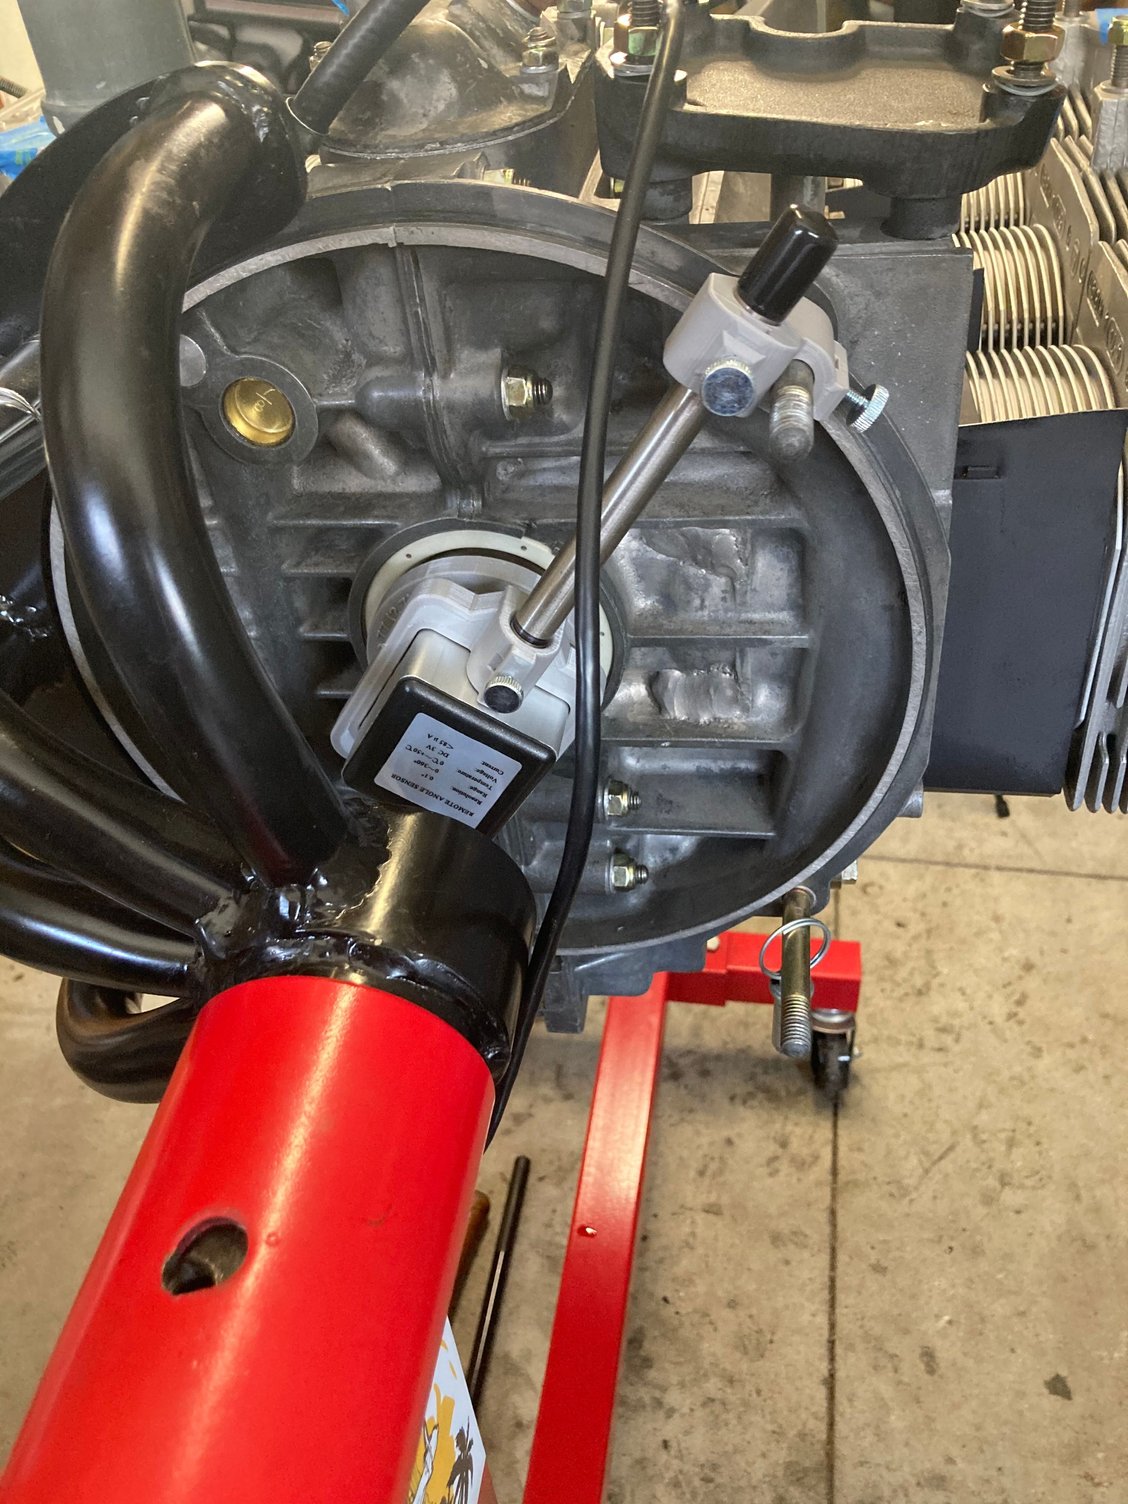
- A digital degree wheel so I don’t rely on the pulley markings and for improved accuracy. This is a great kit sold by Roger Kamp on Pelican - much cheaper than the Stomski version.
- Standard P207 tool with a digital dial indicator.
Here is what the motor looks like today - ready to be timed! If you have been following along, my motor started being built in my family room -- it is now moved to the garage where it belongs
Here is the digital degree wheel attached to my motor
You can see the digital degree wheel display next to the dial caliper
Ordinary piston stop, dial indicator and P207
Stomski Racing tensioners and my rebuilt idler arms.
Cams are timed - was a long day to get this right. Glad I invested in the tools to do it right. Now installing the rest of the rockers. I am way behind on my YouTube videos - will try to get some posted soon - but I am finding I am not very good at YouTube!
Did you check the calibration on your vintage torque wrench?
Haha fair point. I have two 'vintage' torque wrenches that I have been using. Actually, I worked at Sears in high school selling Craftsman tools. That was when Sears was still doing well and their tools in particular were very good. Still my favorite job all these years later. So from my time at Sears I purchased a ton of tools that have been great all these years.
I actually have some Craftsman socket wrenches from the 1930's (not that I was working there at that time lol)
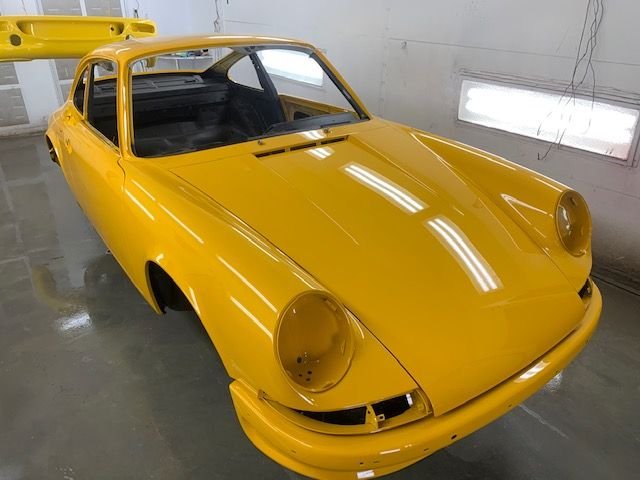
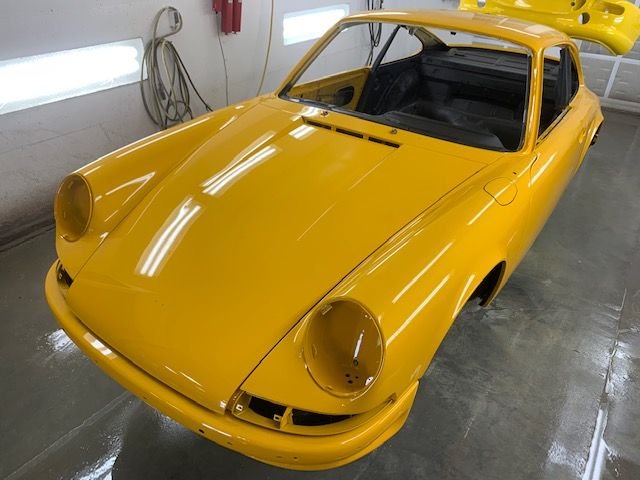
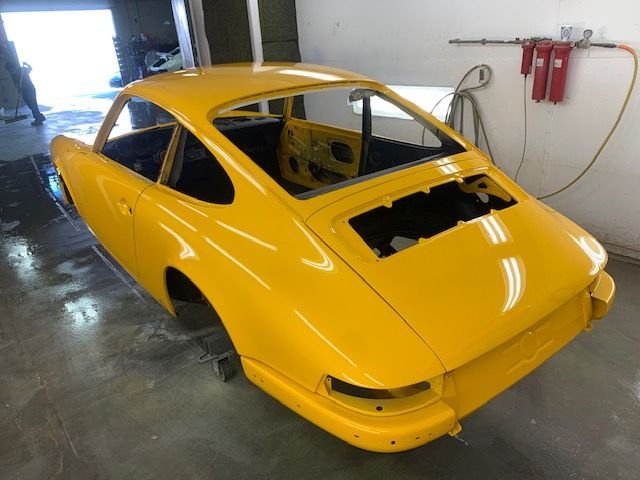
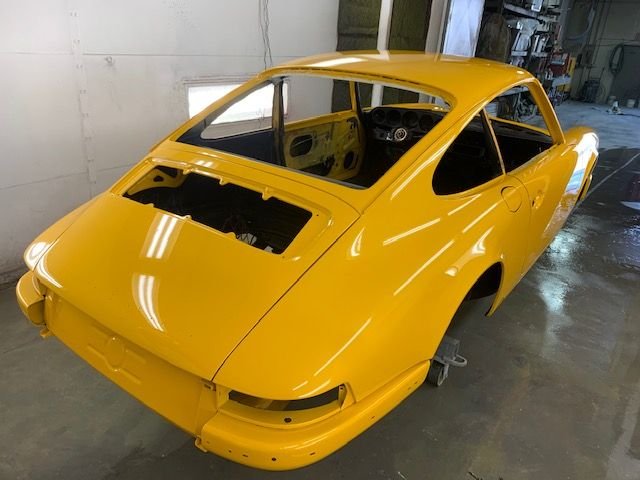
^thanks! I think you are right about the photo. Can't wait to see it in person tomorrow. You are right about the variation of this color. I took a paint sample from Wilhoit and compared it to Shane's Glasurit paint card and they were a match. Just the depth/sheen or whatever you would describe it as between 2 stage and single stage was different between the paint cards. Also matched to the areas where the original signal yellow was still on the car, so I am sure it is the correct shade.
Was not expecting for the car to be ready yet so the pressure is on to get my motor done and get ready for reassembly!


 09-12-2020, 12:31 PM