When you click on links to various merchants on this site and make a purchase, this can result in this site earning a commission. Affiliate programs and affiliations include, but are not limited to, the eBay Partner Network.
Did you have to trim the DO88 pipes? Mine were too long on both ends, I had to trim to keep them from bending out of shape.
Confirming I did not have to trim the do88 inlet pipes after getting everything back together and tightened up. Worth mentioning I installed new 964RS hard rubber engine mounts at the same time which might have helped. i'm at 62k miles and with the engine sitting lower on the originals i may have needed to trim.
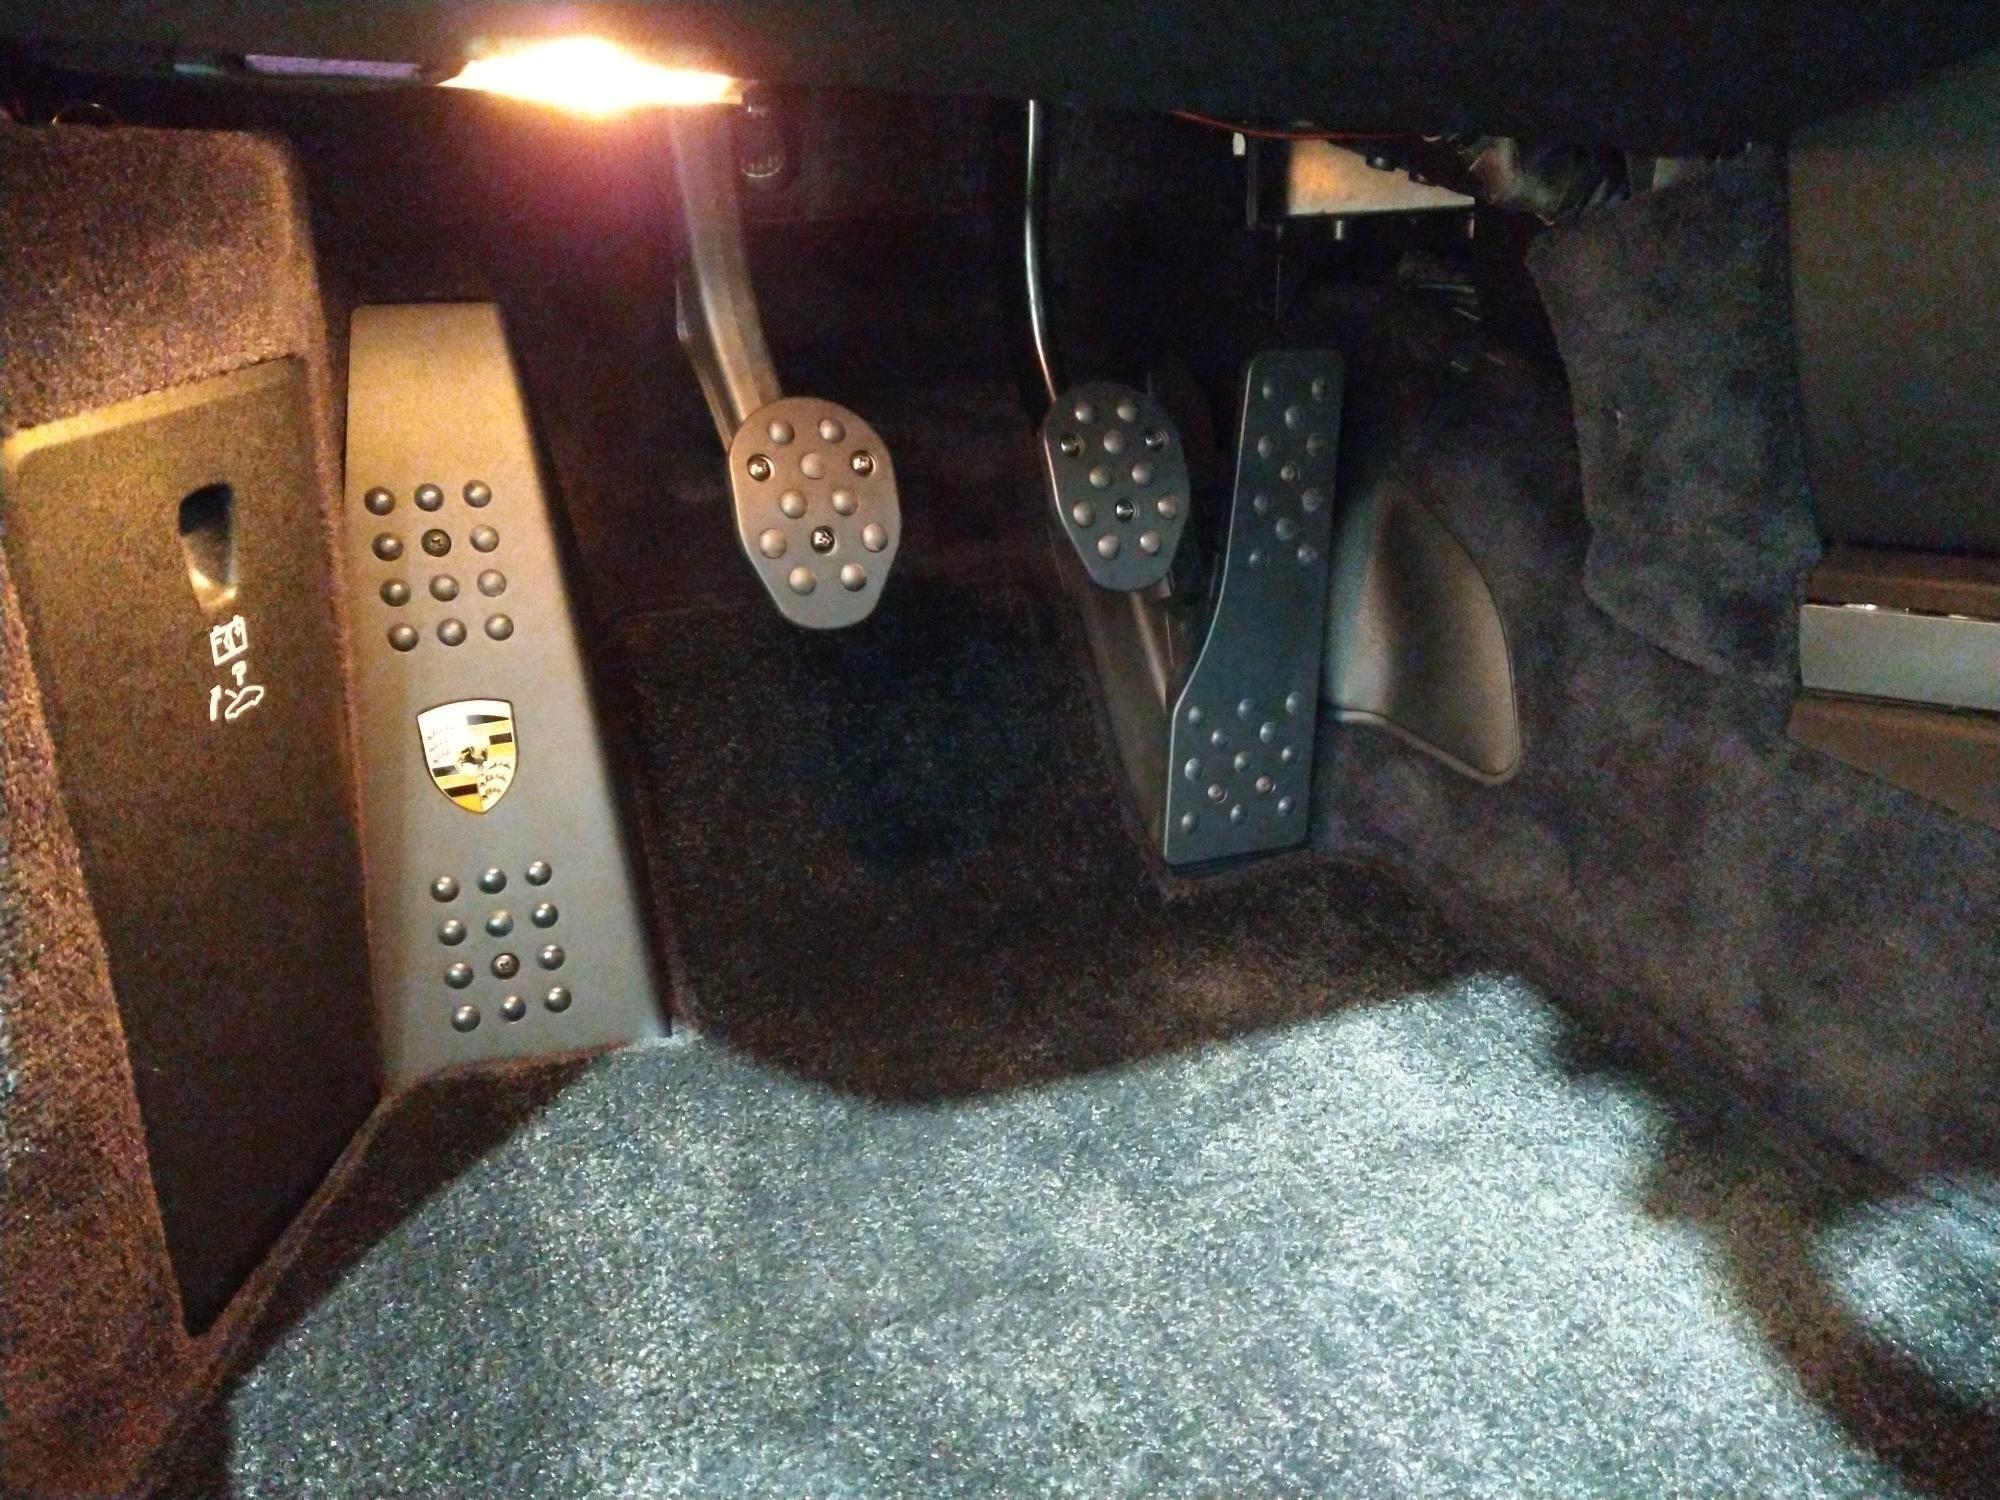
Installed a Rennline 4-pedal set. This set is the black with the dead pedal that accepts the Porsche crest. I went ahead a bought a used dead pedal and accelerator pedal so I could use those for the install, and revert back to stock if need be. The dead pedal and accelerator pedal use sheet metal screws and the clutch & brake pedals use machine screws. The kit comes with nuts for the machine screws, but I just tapped where the machine screws were used. Overall I think it looks much better than the stock chrome trim. If Rennline could cover the screw heads with more of those little rubber *****, the kit would be 10/10. Still looks good IMO. Did you know that our clutch pedals are plastic?
All done. I could not get a decent pic with the light conditions.
Just to follow up on this install. I finally drove the car today and I must say I like the feel of the pedals. I noticed right away my feet felt better connected to the pedals. The rubber inserts grip my shoe much better than stock. Happy camper.
Pretty busy weekend. Finally got around to installing some major things ive been putting off installing because i just recently moved to a new house.
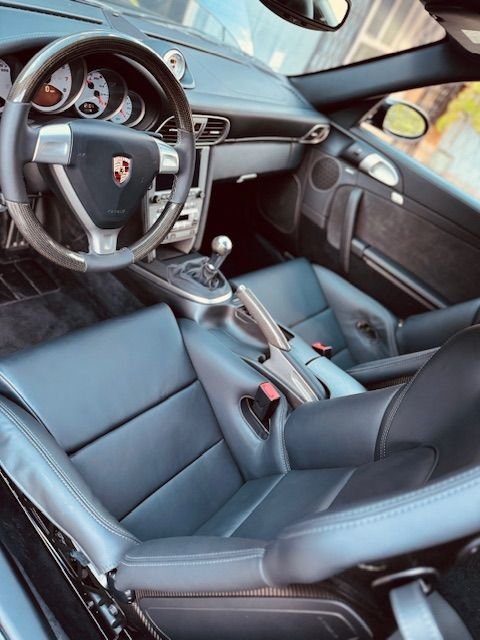
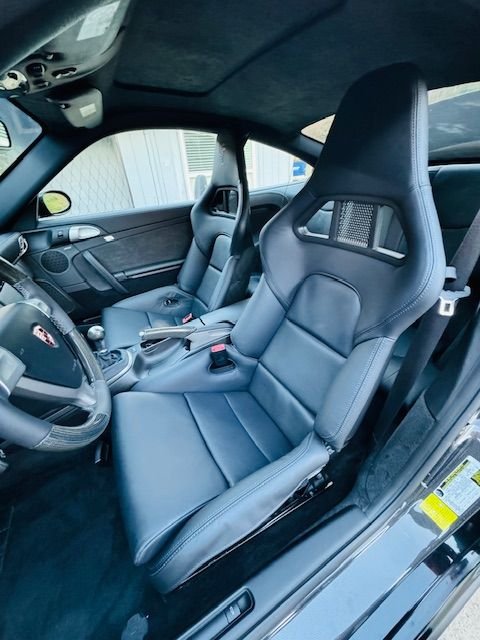
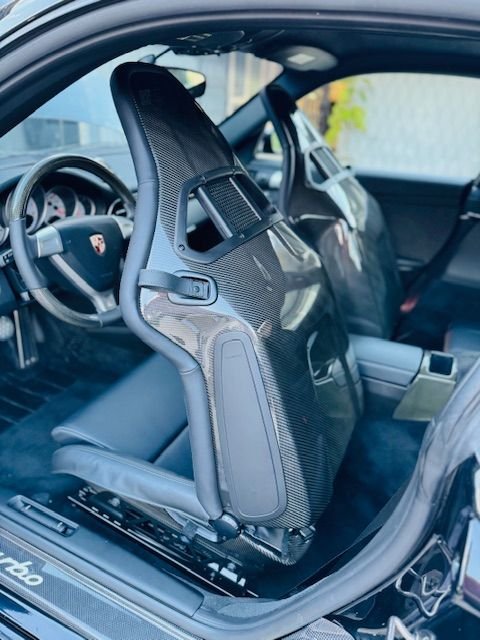
Installed new GT3 Alcantara door cards, PCCM Plus with wireless carplay (thank you jgoga!!), Installed a backup camera to go with the PCCM. While the lower center console was removed decided to install new carbon fiber shift **** and E-brake. Finally, i installed my Carbon fiber folding seats. Bought them brand new 2 years ago, went back and forth between selling them but life is too short, so i decided to install them.
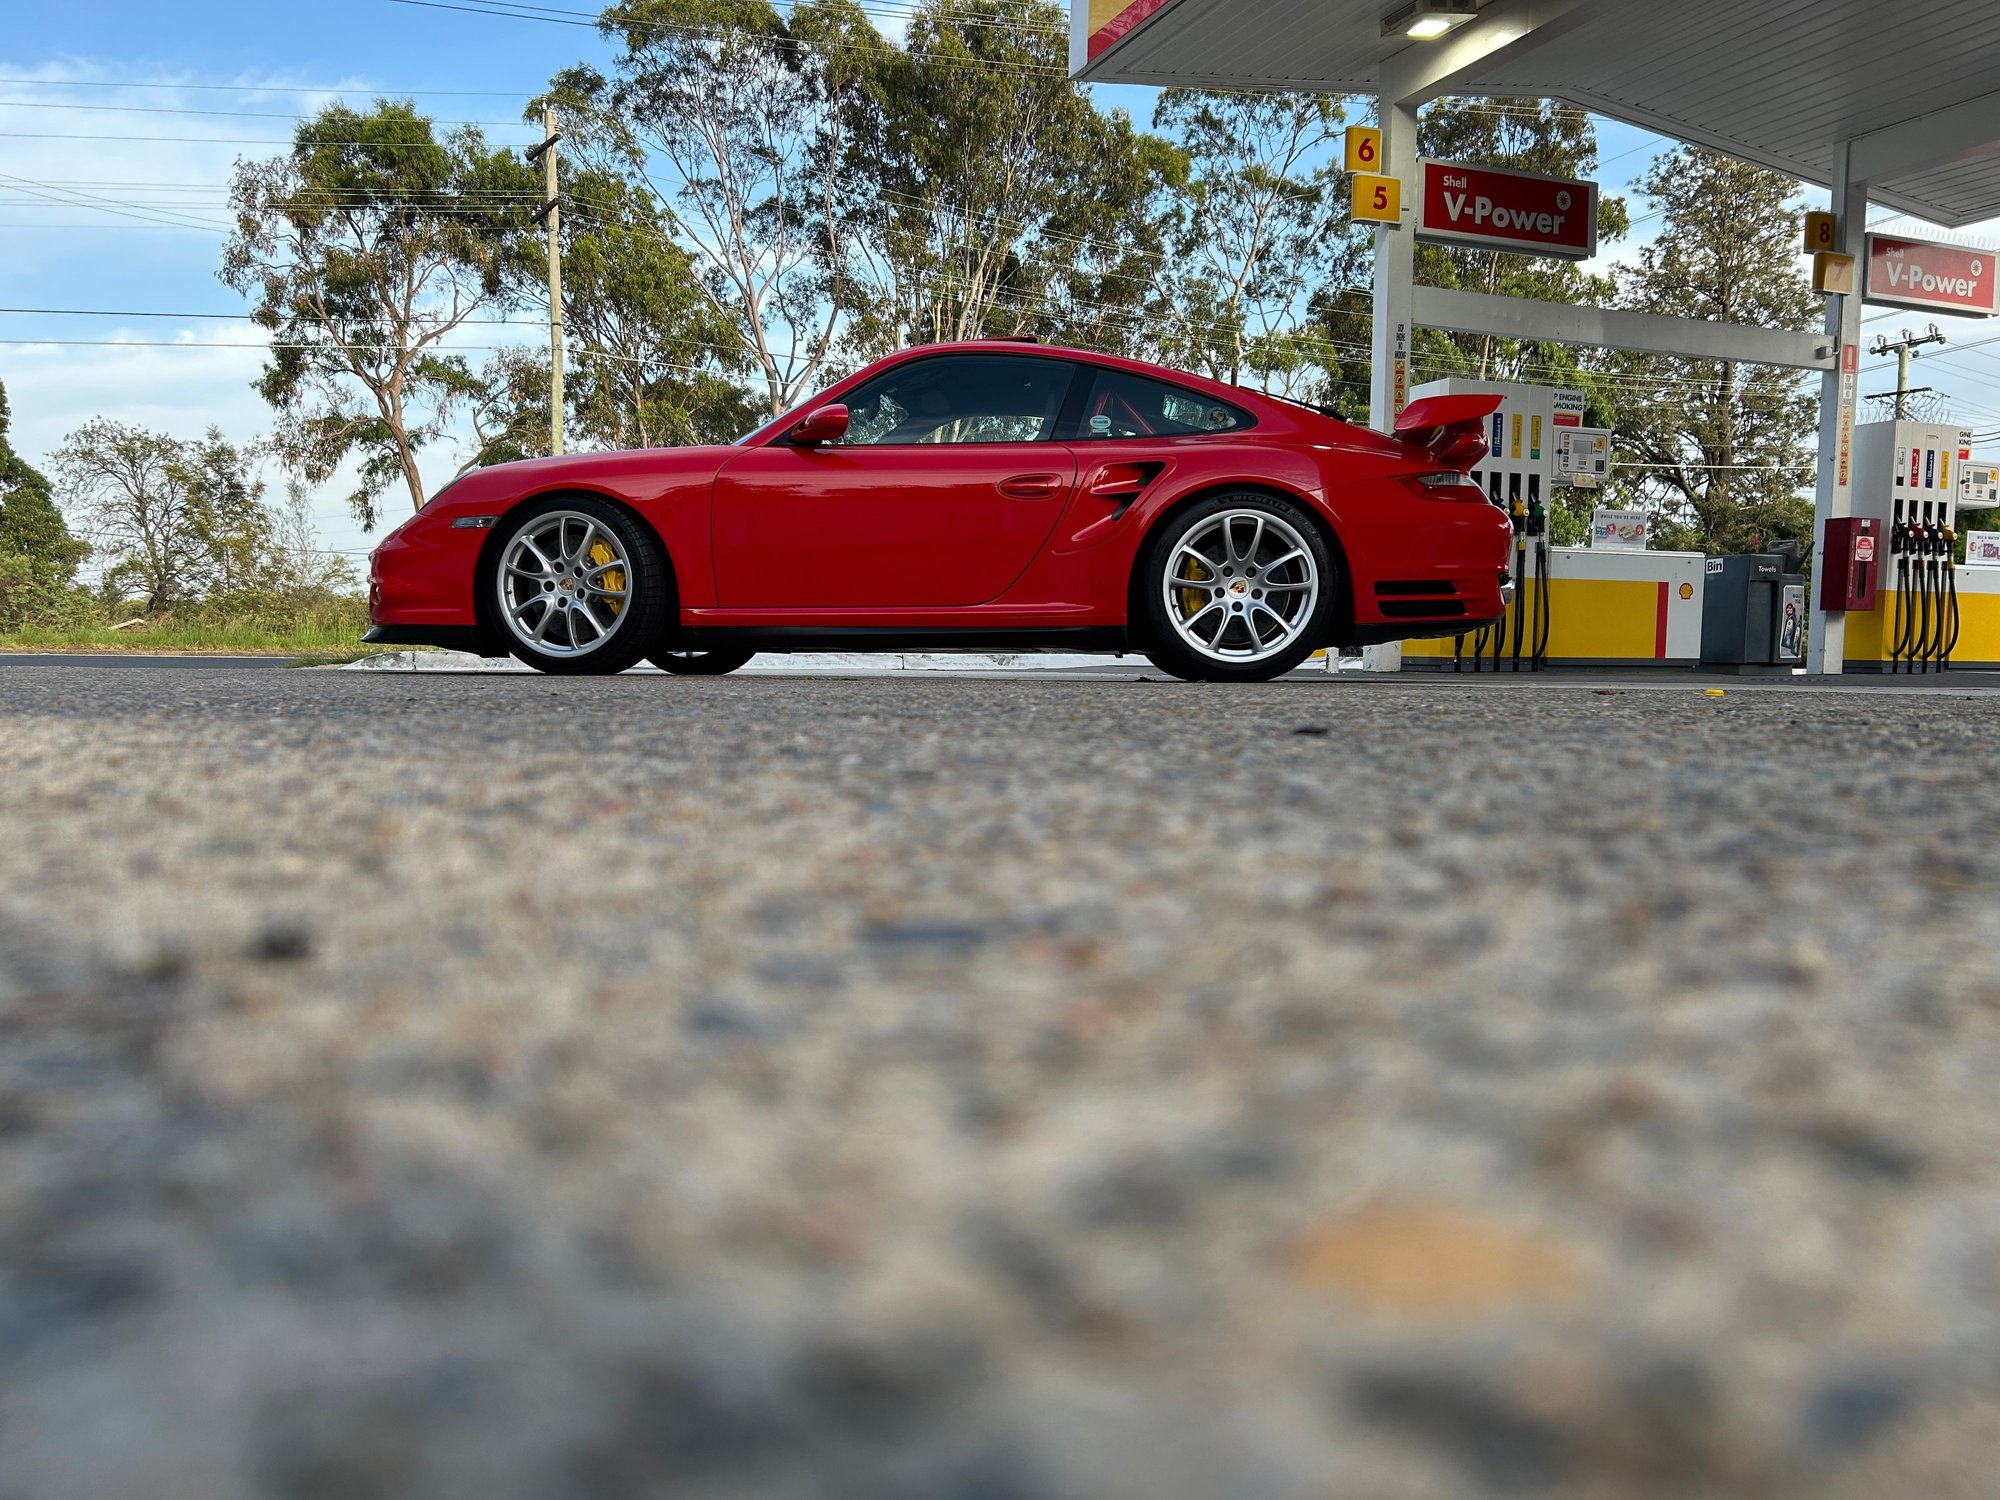
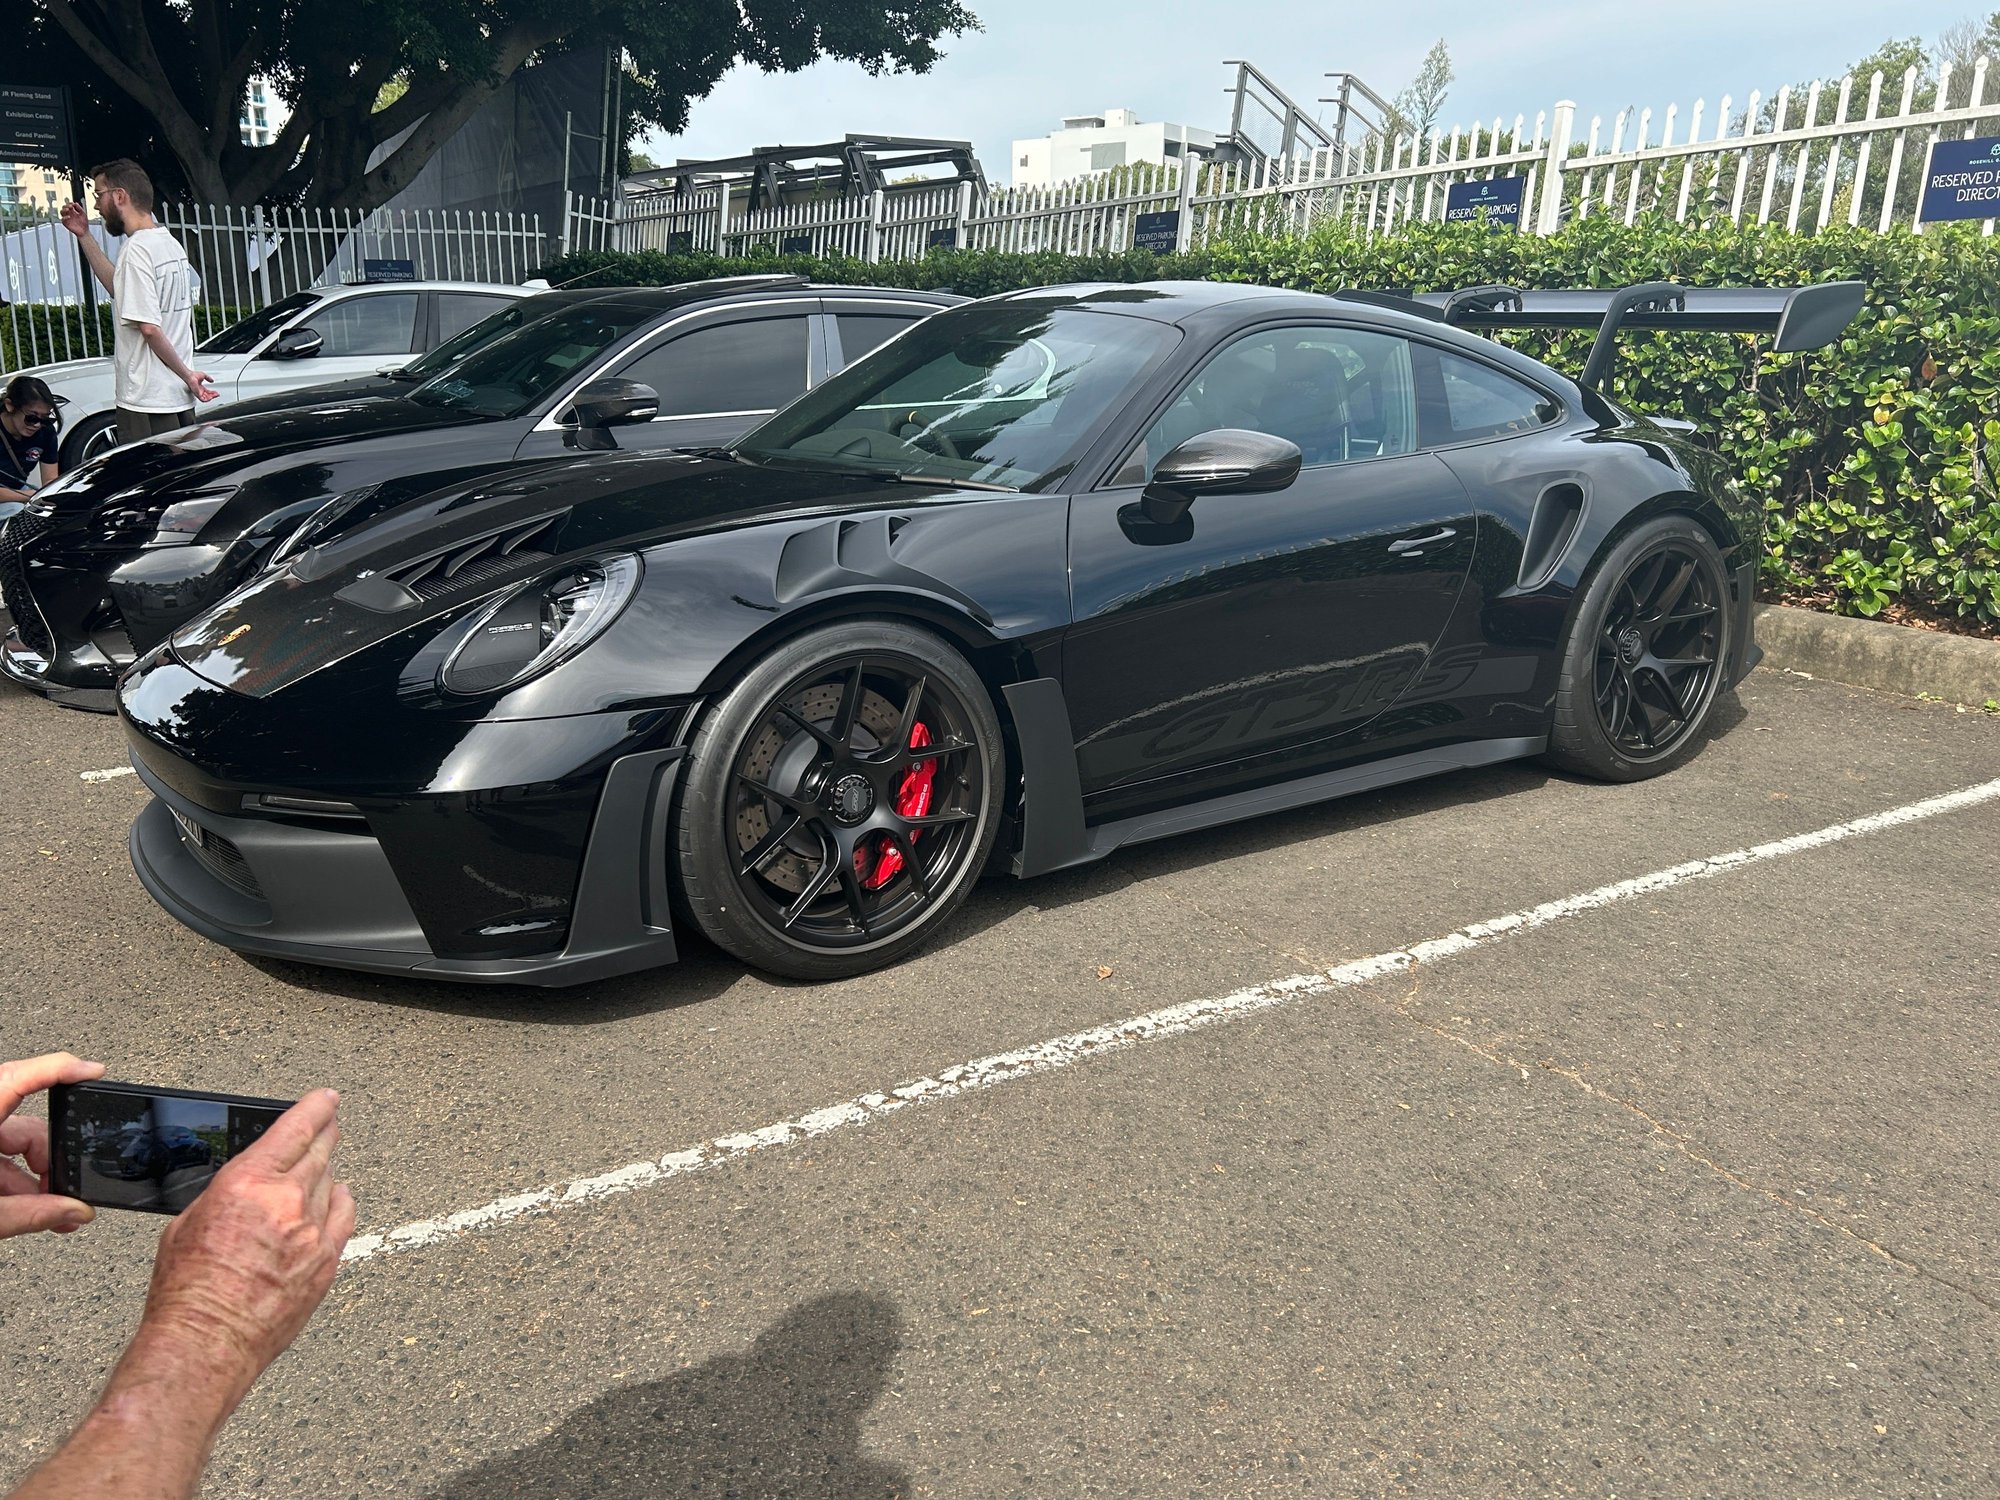
There was a C&C in Sydney with Chris Harris - which pretty much bought every single supercar in Sydney out..... SVJ's, GT3RS x every colour and even 2 x P1.
Did see a new 3RS in all black - totally change my mind in person.....
The New GT3RS in All black looks WAAAAAAY better in person.....Oh be still my beating heart....
Last edited by Full Boost; 02-05-2024 at 03:18 AM.
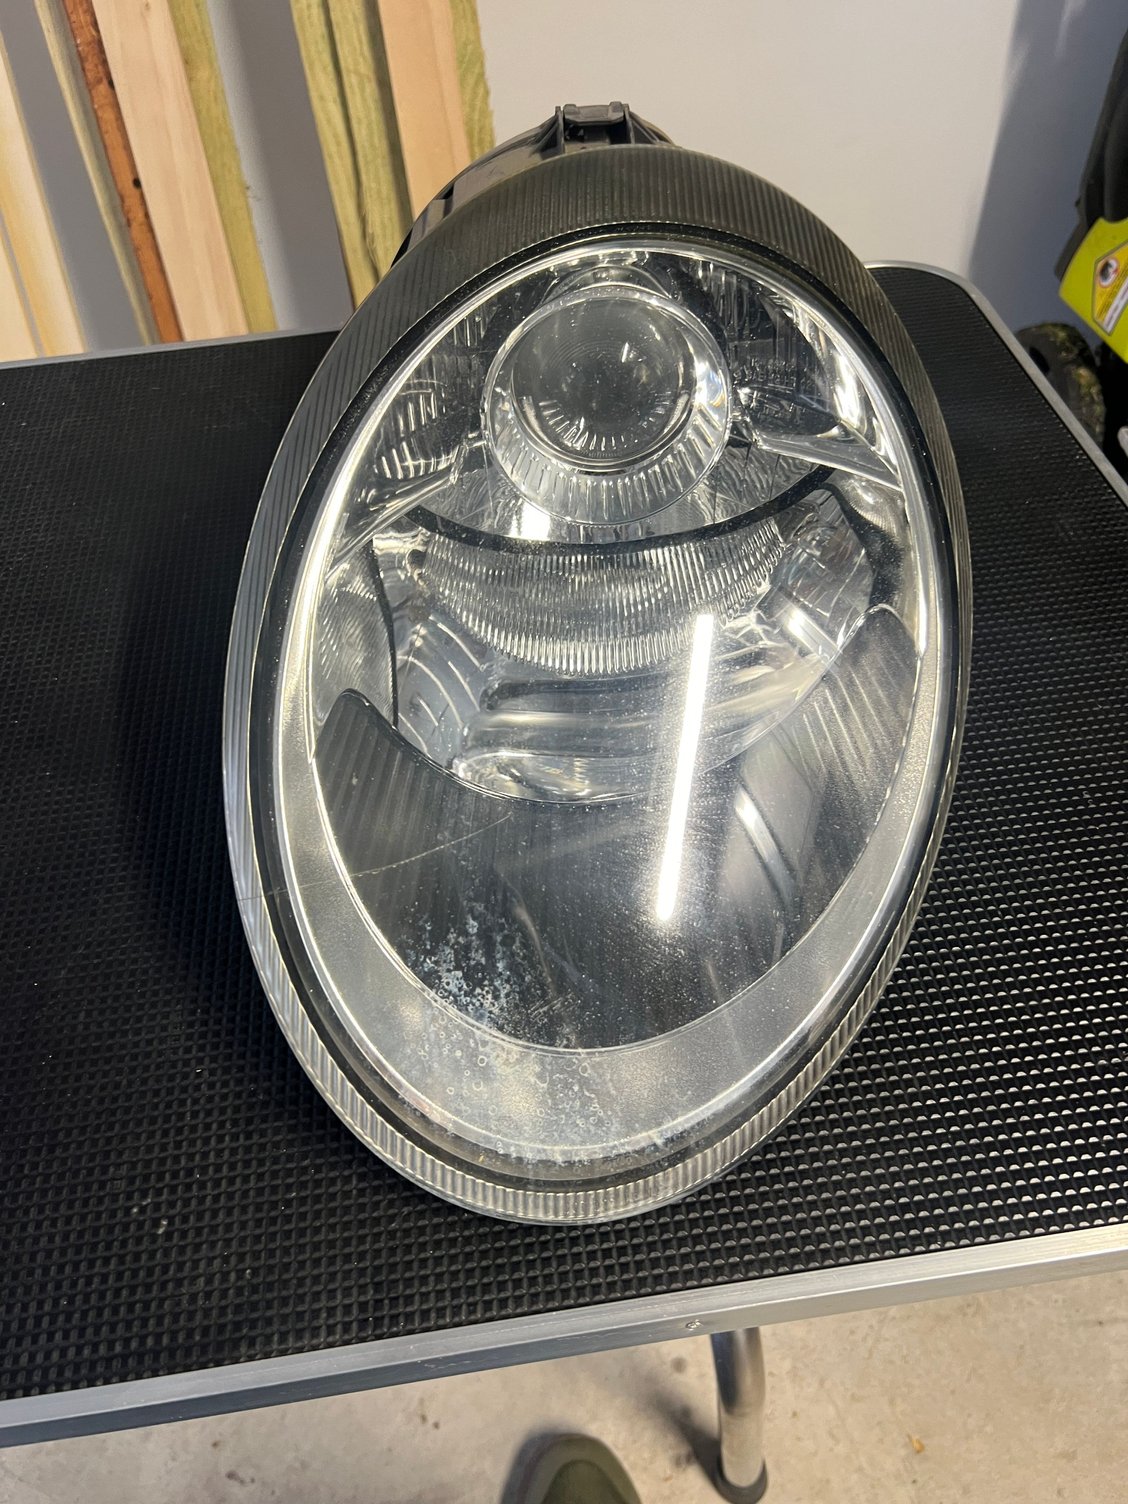
Finally got around to restore an extra set of headlights I had. If anyone would like a how, I took enough pictures to make one. It is a lot simpler than I thought. I follow a thread from another forum, but there are some detailed not posted there.
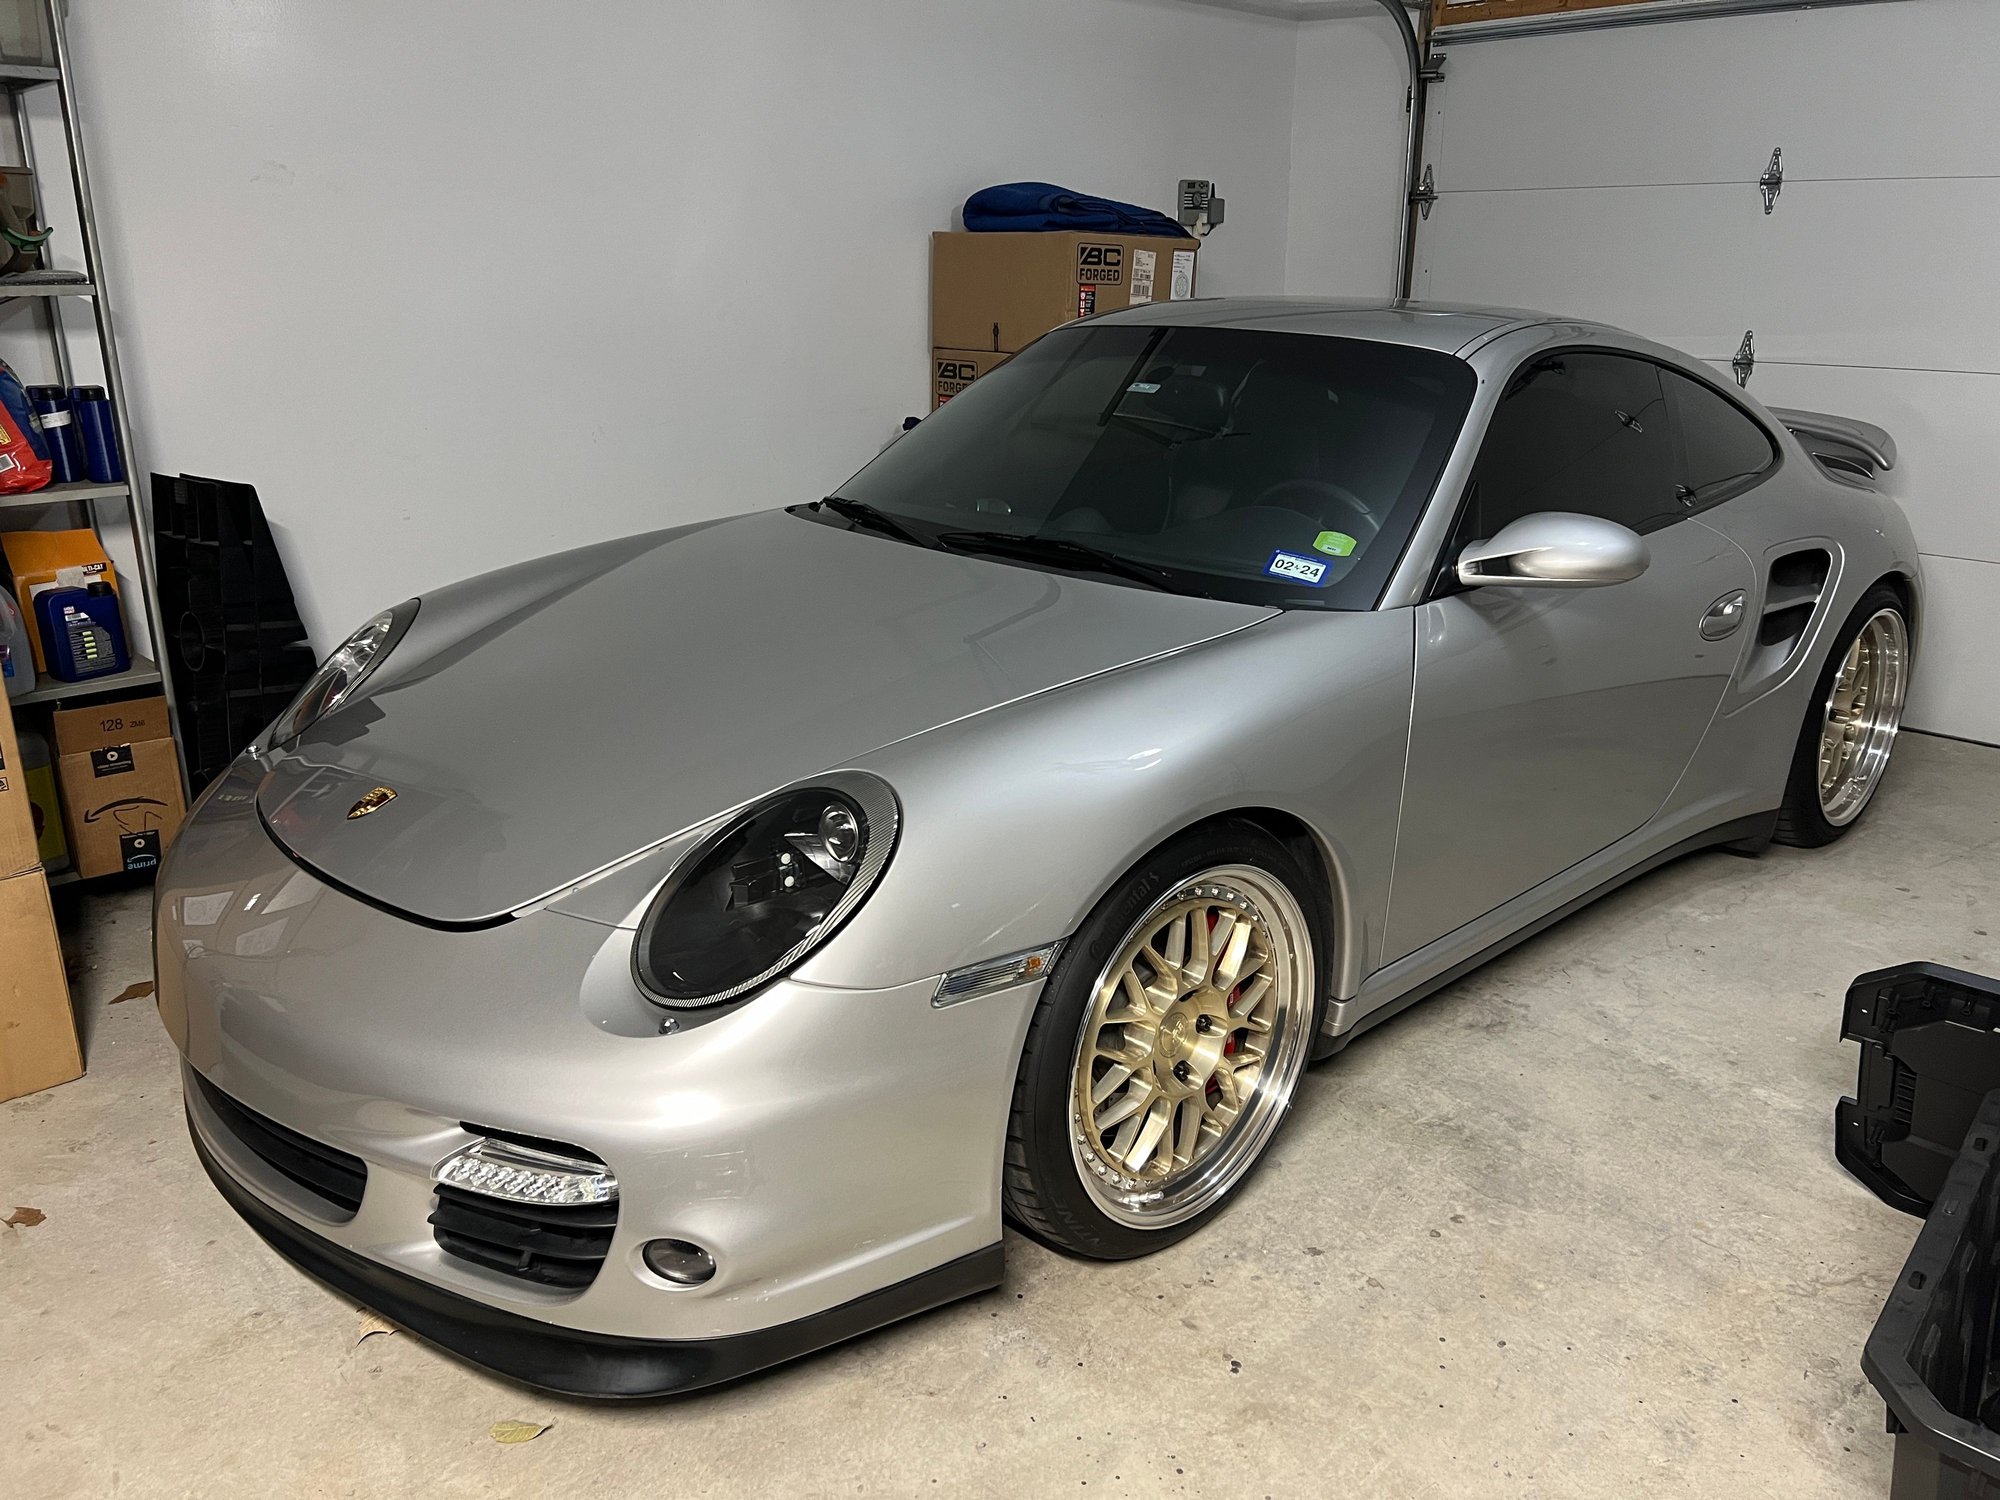
This is what I started with
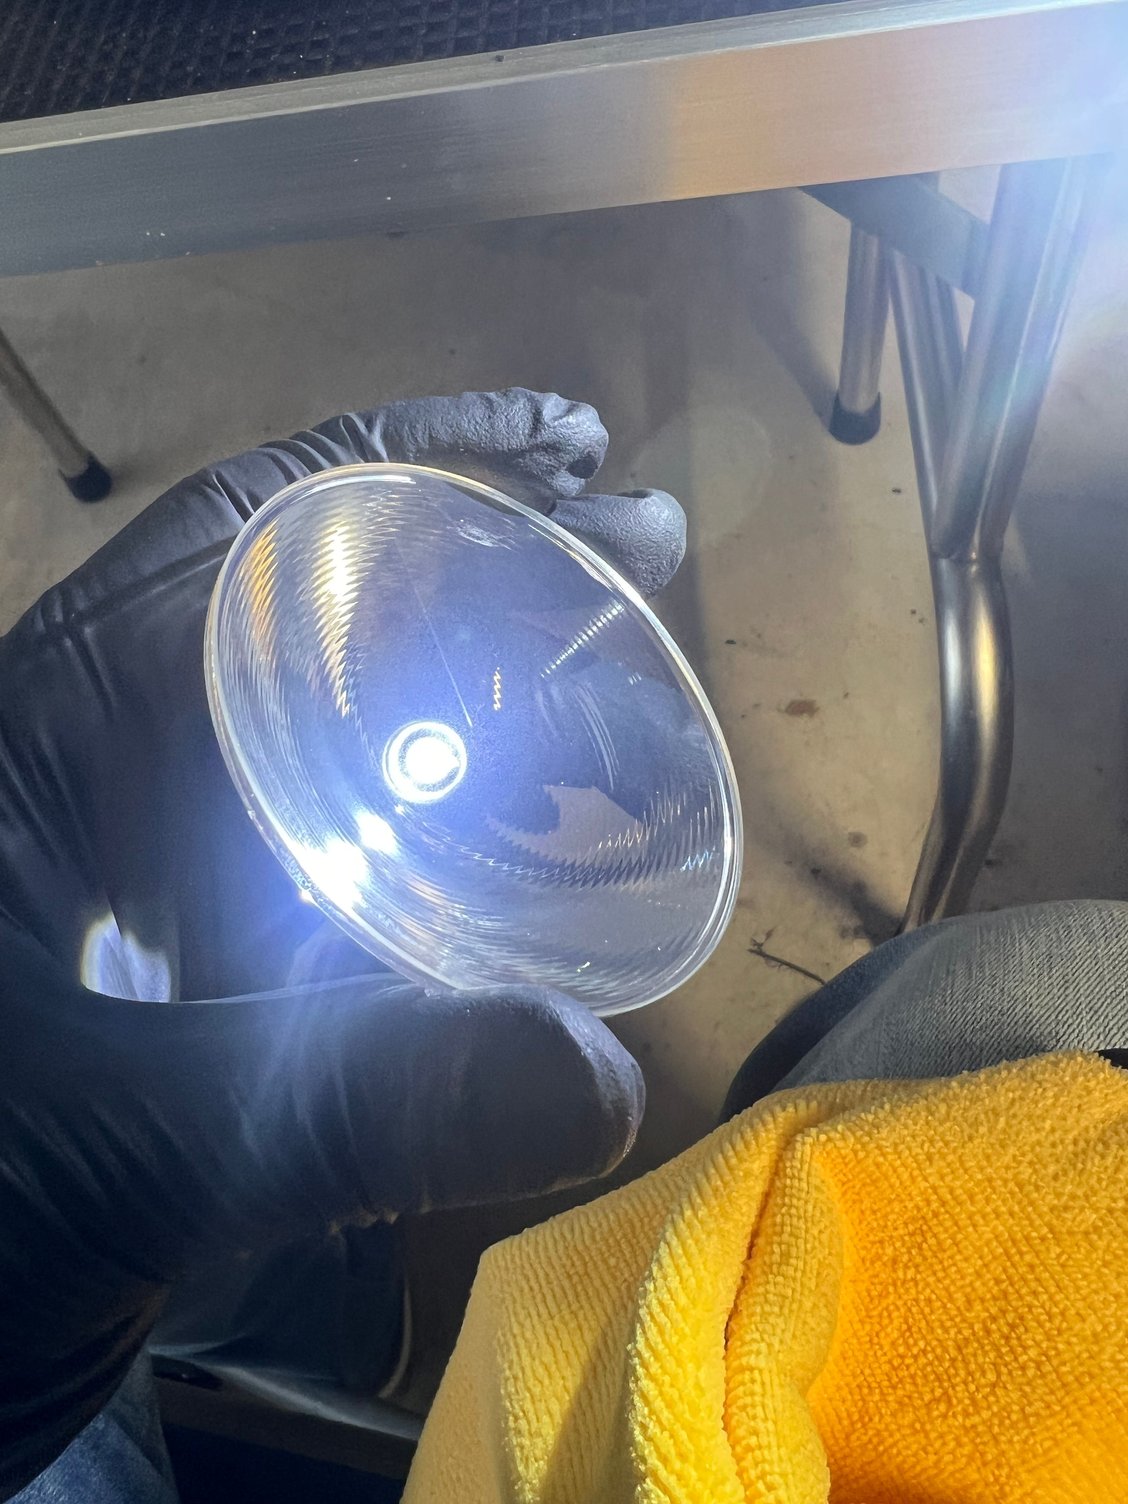
Upgraded the projector lenses. They are much clearer and not milky. Projectors are the same size, just camera trickery. New one on the left.
notice the milky look of the OE ones
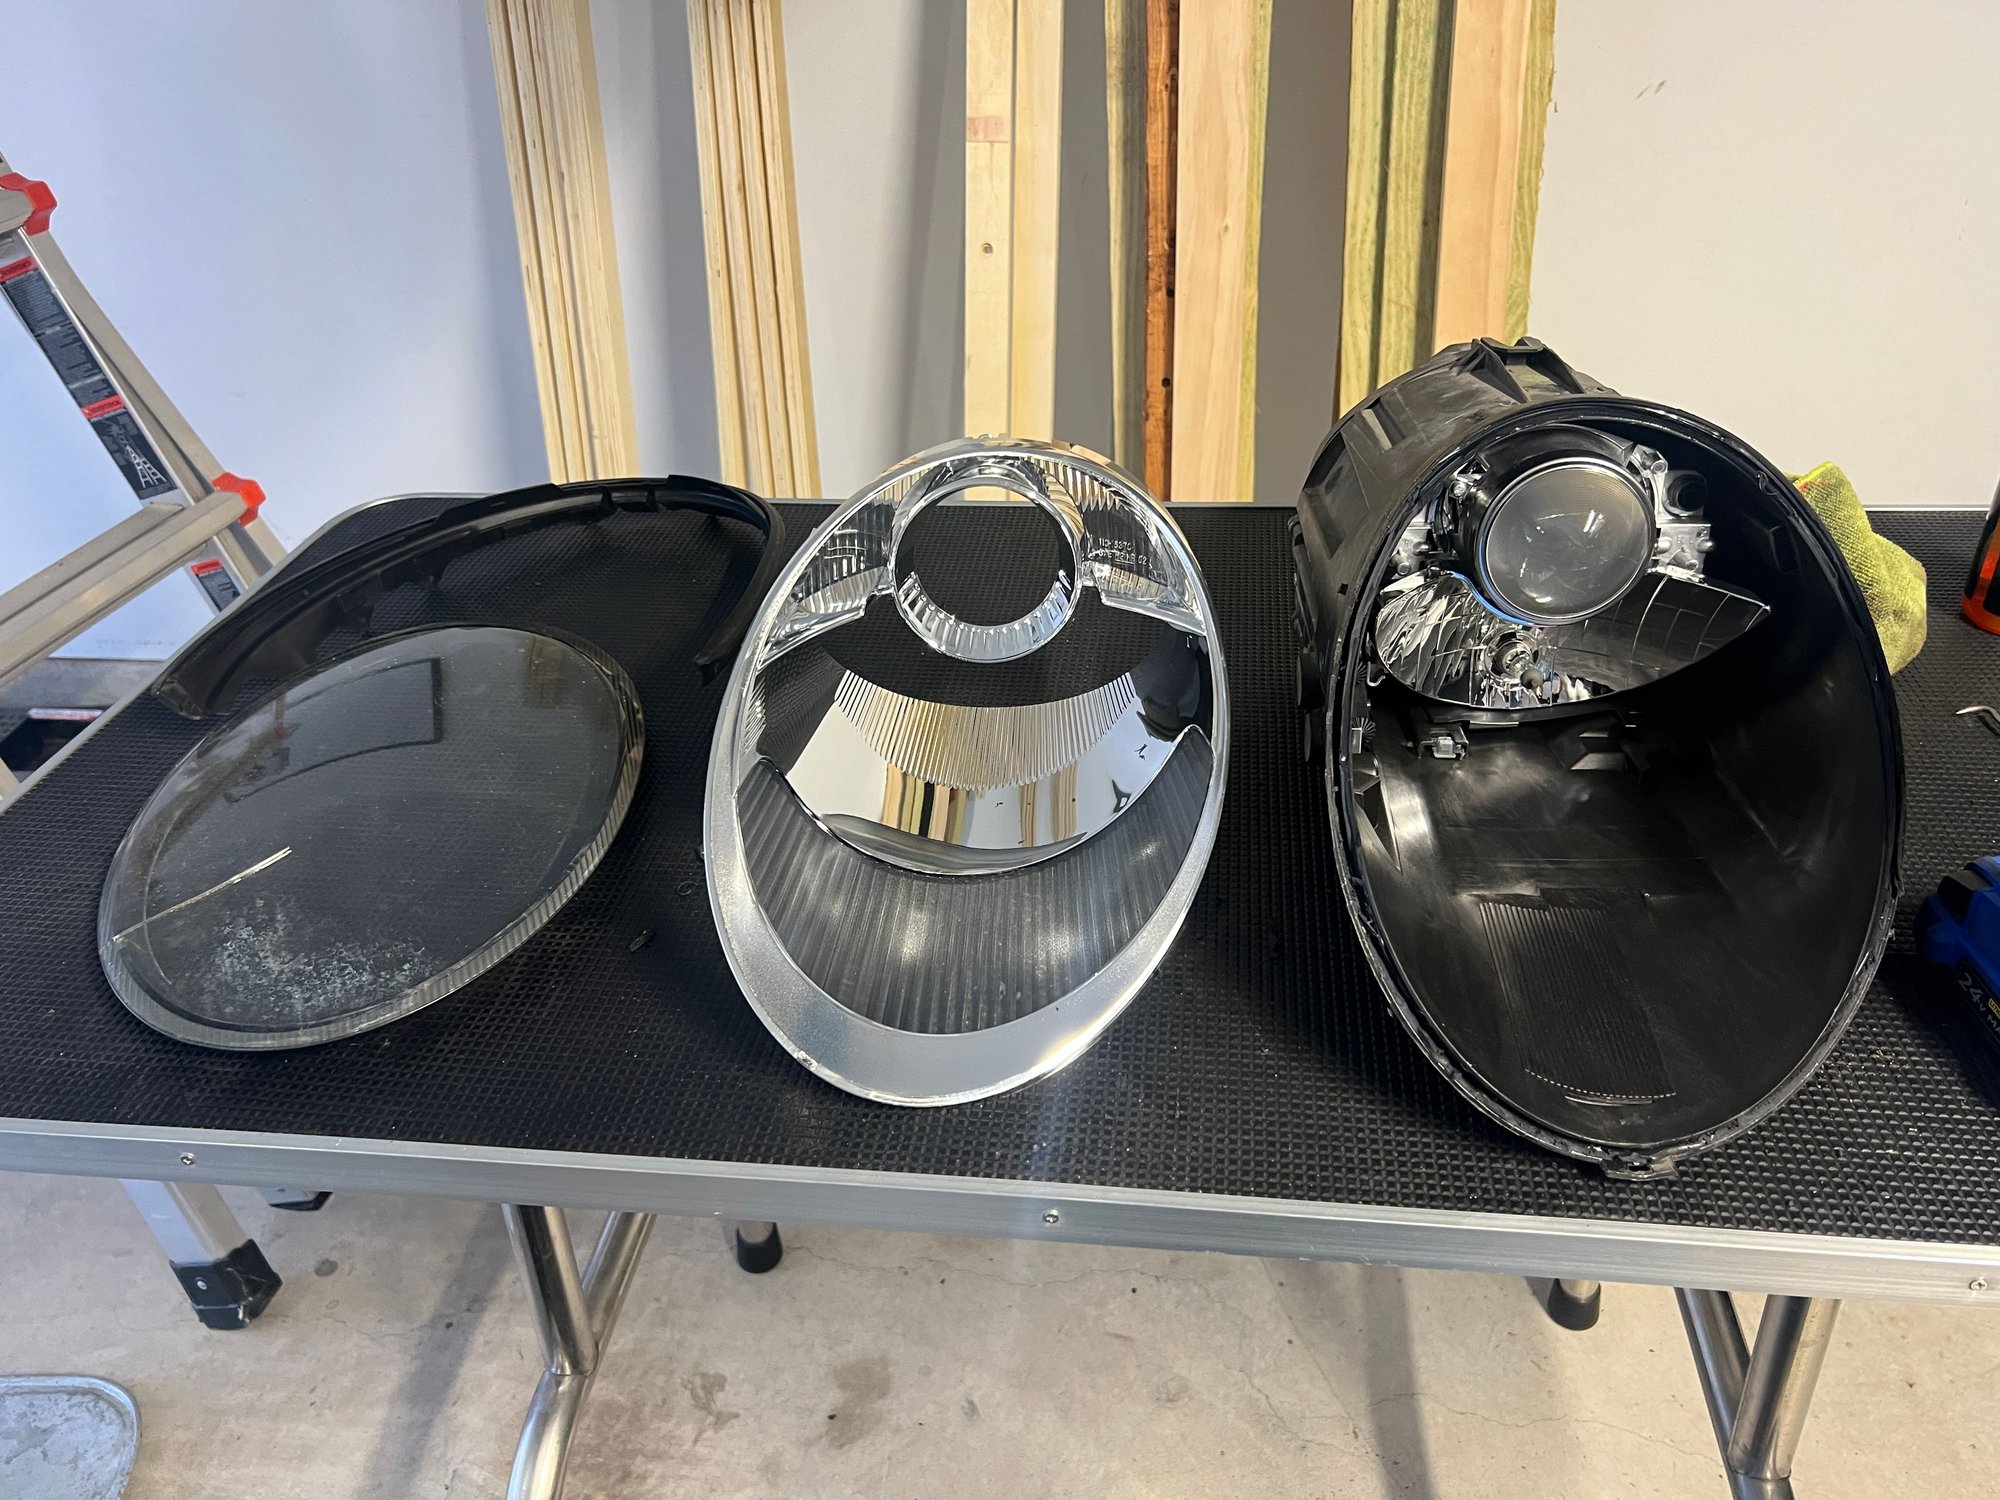
since these are an extra set, was entertaining the idea of doing black housings. Did a dry fit without guts in the headlights to get an idea. Couldn’t decide so I stuck to keeping it chrome.
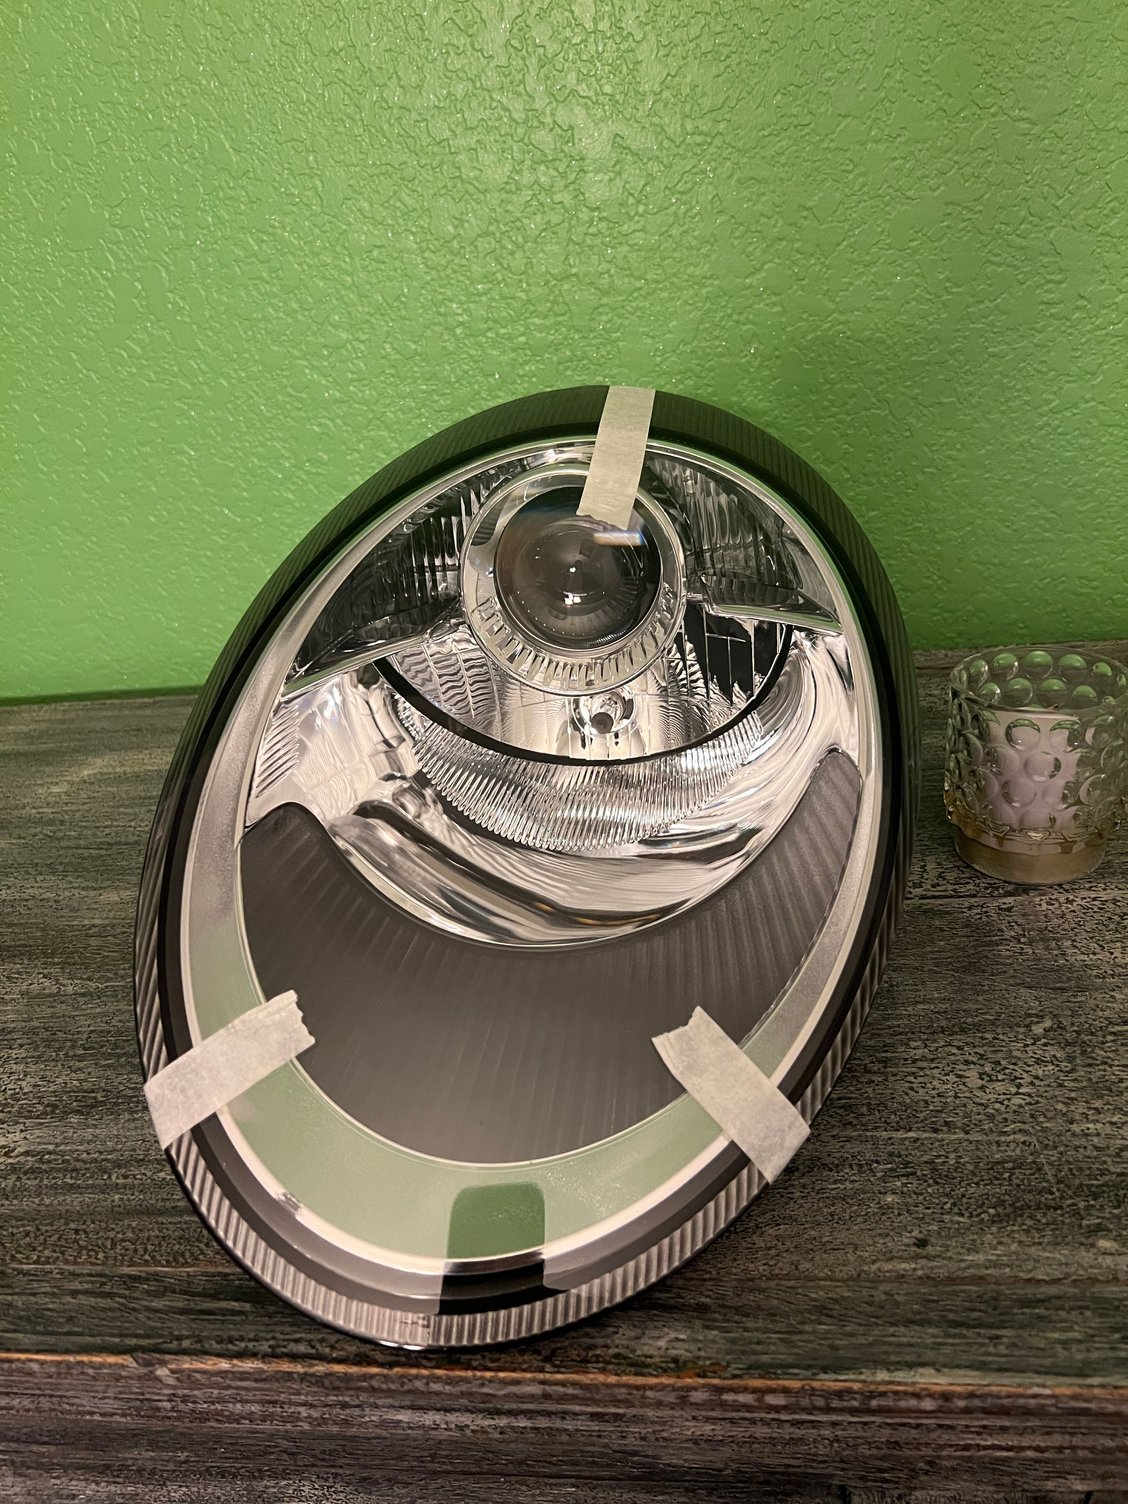
Almost finish product. Waiting on the sealant to cure
What the finished product will look like. Need to finish passenger side and for the new bulbs to arrive.
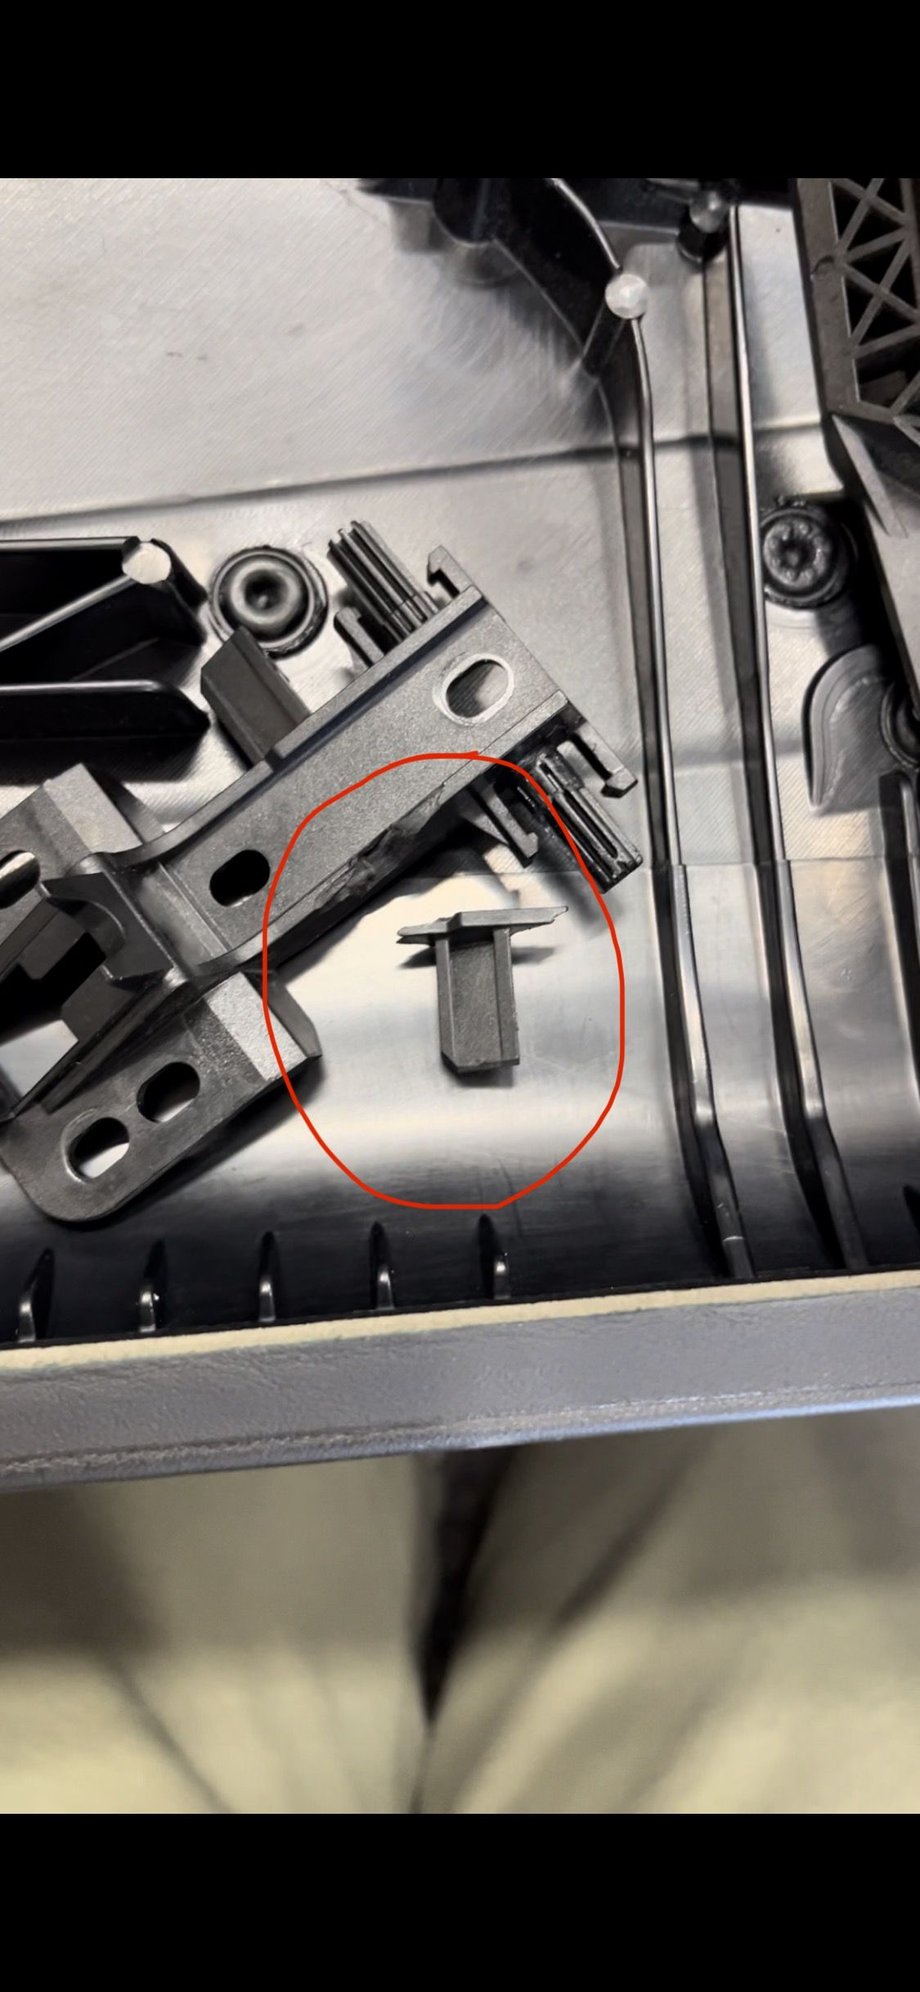
Replaced the internal door handle mechanism as the original broke while opening the door. Certainly not the most durable part, being that it�s mostly plastic. A straight forward repair though, just make sure you have plenty of replacement door panel clips on hand! You�ll break quite a few when pulling off the door card.
Broken internal mechanism.
Finally got around to restore an extra set of headlights I had. If anyone would like a how, I took enough pictures to make one. It is a lot simpler than I thought. I follow a thread from another forum, but there are some detailed not posted there.
This is what I started with
Upgraded the projector lenses. They are much clearer and not milky. Projectors are the same size, just camera trickery. New one on the left.
notice the milky look of the OE ones
since these are an extra set, was entertaining the idea of doing black housings. Did a dry fit without guts in the headlights to get an idea. Couldn�t decide so I stuck to keeping it chrome.
Almost finish product. Waiting on the sealant to cure
What the finished product will look like. Need to finish passenger side and for the new bulbs to arrive.
Gotten a few PMs about where and how I went about doing the headlights.
here are the links where I sourced the materials https://www.ebay.com/itm/385558085149
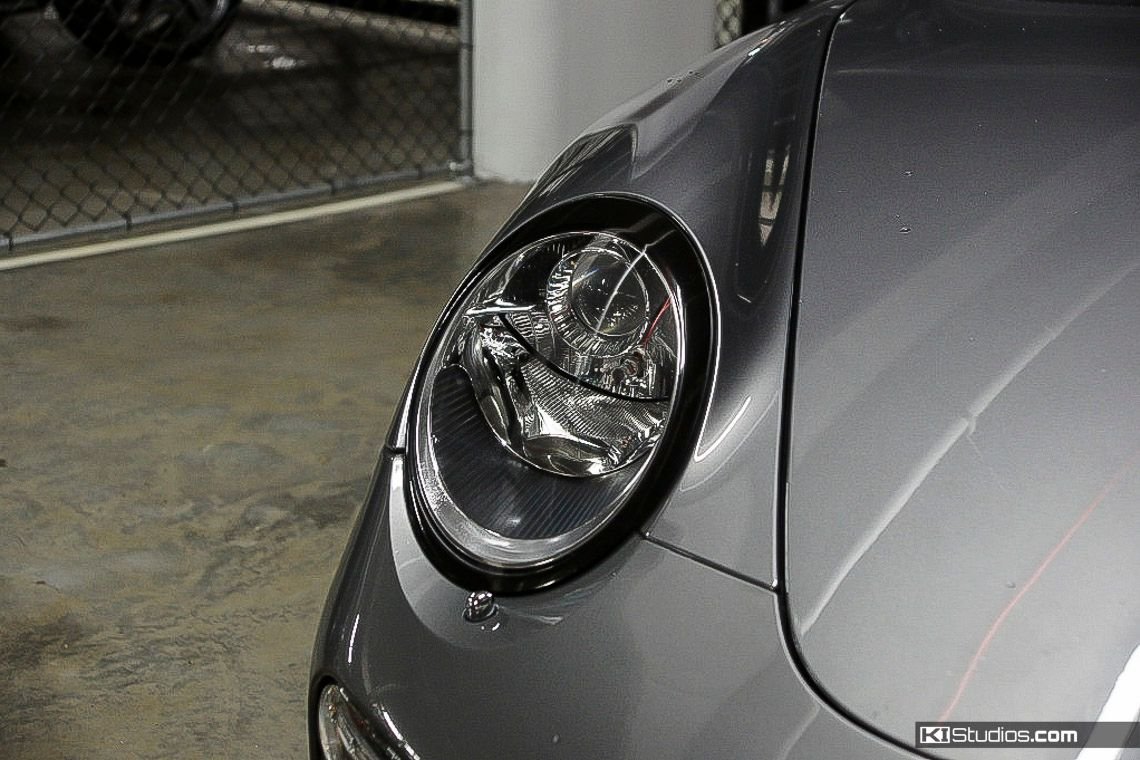
I�m currently running the LEDs on my other set of headlights and they are great. Not issues with warning on the cluster and they are brighter. I used a sealant that has a cure time of 7 days so I haven�t been able to install the new headlights in the car yet but can�t wait. They look awesome and glad I stuck to the chrome housings. If anyone want to tackle this project, it is very easy but you have to have patience and take your time.
currently how they are sitting�they are dirty. Want to let everything set before I clean them up and coat them.
1. How do you like it? CarPlay? Audio quality?
2. From online photos, screen resolution doesn�t appear to be crisp - is it?
3. Are you planning to paint it to match?
Replaced the internal door handle mechanism as the original broke while opening the door. Certainly not the most durable part, being that it�s mostly plastic. A straight forward repair though, just make sure you have plenty of replacement door panel clips on hand! You�ll break quite a few when pulling off the door card.
Broken internal mechanism.
Funny thing is if you break the divers side, it can be used as a passenger side and vice versa.
Funny thing is if you break the divers side, it can be used as a passenger side and vice versa.
I had no idea but, now that you mention it, I can absolutely see that. Perhaps I should have kept the old one? I will say, that plastic is surprisingly brittle and I can�t believe the original held up this long. The first replacement I bought, I snapped it in half just by seeing how it worked before installing�not even 30 seconds after taking it out of the packaging. Even though I used very little pressure when �playing� with the part, felt like a complete idiot holding a brand new but now broken and completely useless part. Fortunately my local dealer had one in stock. But lesson learned; install the part before playing with it 😆
Gotten a few PMs about where and how I went about doing the headlights.
here are the links where I sourced the materials https://www.ebay.com/itm/385558085149
I�m currently running the LEDs on my other set of headlights and they are great. Not issues with warning on the cluster and they are brighter. I used a sealant that has a cure time of 7 days so I haven�t been able to install the new headlights in the car yet but can�t wait. They look awesome and glad I stuck to the chrome housings. If anyone want to tackle this project, it is very easy but you have to have patience and take your time.
currently how they are sitting�they are dirty. Want to let everything set before I clean them up and coat them.
1. How do you like it? CarPlay? Audio quality?
2. From online photos, screen resolution doesn�t appear to be crisp - is it?
3. Are you planning to paint it to match?
@V-TT the sound quality is great. I briefly tested the am/fm and it behaved as if the antenna was less than optimal placed, but the XM receiver that I had installed simultaneously works perfectly. The screen resolution is perfect (the unit is not powered on in those photos.). I'm thinking about painting it, though the plastic surround matches almost perfectly the plastic shroud on the vent-control units right above, so it's doesn't necessarily stand out as "not original" equipment.
 01-24-2024, 10:36 AM