While in Germany...
 07-07-2009, 11:07 PM
#76
Rennlist Member
Hi TDM,
Thank you for the info on the supplied tools; I figured we would only get the 3/4 drive socket. Looks like the PCNA guy who wrote the letter (Re: CL Wheels, which was posted on another thread here) stating that no special tools will be required was given the wrong info, or snoozed through the technical briefing on the new GT3. We will need a torque multiper to R&R wheels - I define this as a "special tool".
Perhaps this info posted by Nizer will be helpful (once confirmed):
Part # 997-361-069-02 - may be the CL socket or torque multiplier
Part # 997-361-161-00 - may be the breaker bar to go with it
Can anyone help with this?
TDM enjoy the rest of your trip!
Cheers!
Doug N.
 07-08-2009, 01:16 AM
#77
Intermediate
Join Date: Sep 2007
Location: Long Island, NY
Posts: 29
Likes: 0
Received 0 Likes
on
0 Posts
Hey Buddy!!! 
so glad to read your trip is playing out so incredible!!! the car is absolutely beautiful and i am so excited for you!!!
can't wait to see it when it arrives home.. have you named it yet??

so glad to read your trip is playing out so incredible!!! the car is absolutely beautiful and i am so excited for you!!!
can't wait to see it when it arrives home.. have you named it yet??
07-08-2009, 08:35 AM
#78
Burning Brakes
Thread Starter
Join Date: Oct 2008
Location: Trying to be the driver my car wants me to be
Posts: 1,249
Likes: 0
Received 0 Likes
on
0 Posts
So, since the car has been working so hard I figures a day at the Spa is well deserved. Now this is not the circuit Spa, as that is on next Tuesday with RMA. Today I brought the GT3 in for an oil change. I am sure it is way too early, but that is ok. I am pretty sure the car is in good hands at Manthey Racing. They were quite interesed to see my car. Within about 5 minutes of it being on the lift there were about 10 to 12 mechanics and such poking around to see what is different. The item of most interest to them was the Central Locking Wheels. I do not think we have see the assembly yet so I figured I would post some pics and info on it.
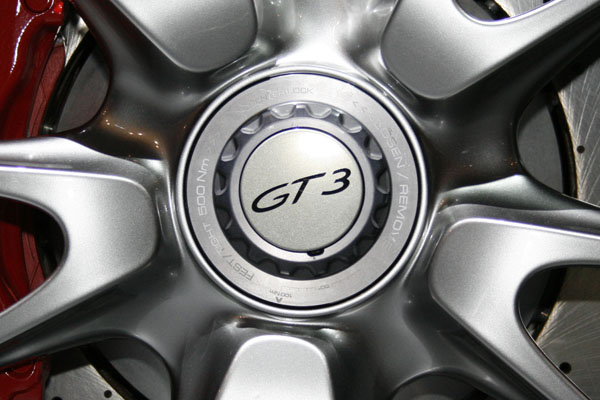
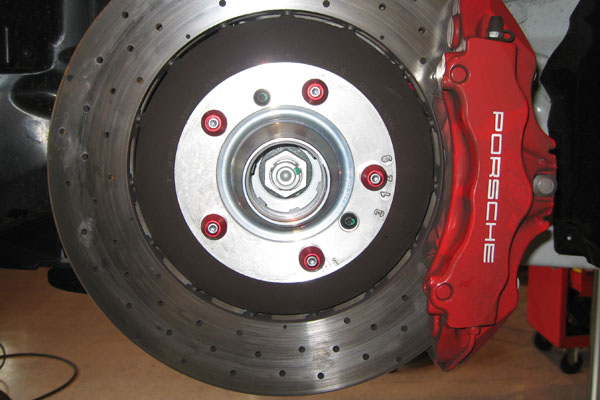
This first pic is obviously before you do anything. First step is pry off the GT3 marked center cap, noting the slot to do so.
You are then left with this

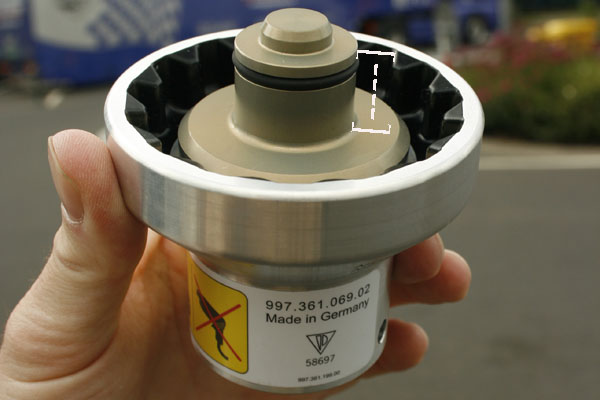
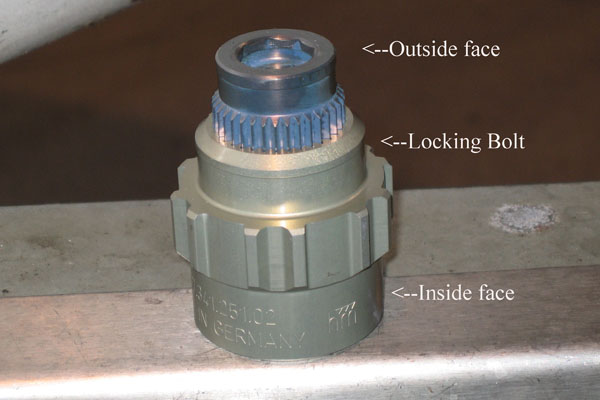
Now the Center Lock Wrench Socket shown below has a part that sticks out as indicated. This is to push the locking bolt in so the centerlock can spin. Please note the section marked that sticks in to unlock the Locking Bolt.
Now look at the picture below. The part with the letter O over it is the part that needs to be pressed inwards so that the Center Lock can spin. You can see where there are teeth, or gears. Once the Locking Bolt is pushed in you are ok. So look a couple pics below to get the whole idea. I can imagine you will just have to read the whole thing to get it. I am sure there is a better way to explain all this, but I am all you have for now!
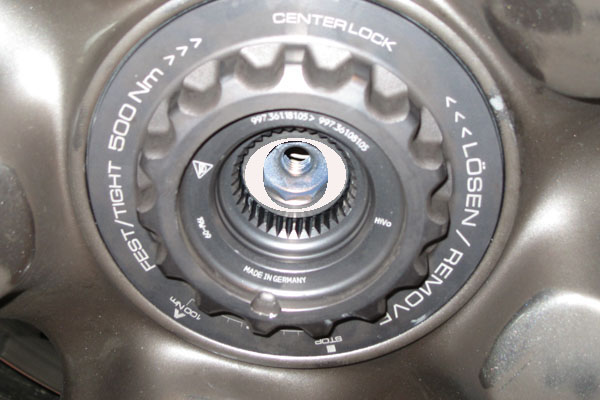
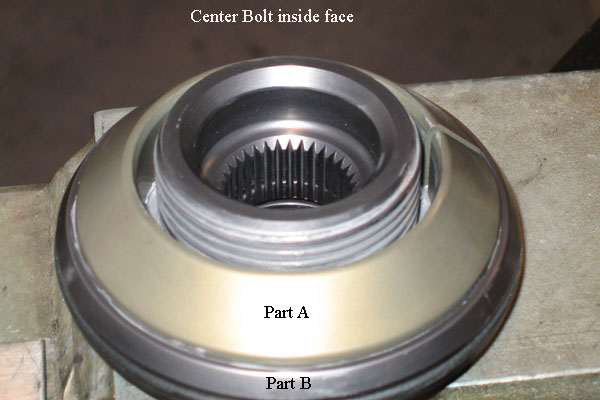
So when you flip the item in the picture above you see the side of it that is in the picture with the O marked in the center. Now part A and part B spin freely from each other. This eliminates the need for CL bolt to be greased.
Here is a picture with the whole thing removed
Special instructions exist for all this. They tell you to tighten the CL bolt to 370 ftlb or 500Nm, then back off 1/4 turn, then retighten.
This first pic is obviously before you do anything. First step is pry off the GT3 marked center cap, noting the slot to do so.
You are then left with this
Now the Center Lock Wrench Socket shown below has a part that sticks out as indicated. This is to push the locking bolt in so the centerlock can spin. Please note the section marked that sticks in to unlock the Locking Bolt.
Now look at the picture below. The part with the letter O over it is the part that needs to be pressed inwards so that the Center Lock can spin. You can see where there are teeth, or gears. Once the Locking Bolt is pushed in you are ok. So look a couple pics below to get the whole idea. I can imagine you will just have to read the whole thing to get it. I am sure there is a better way to explain all this, but I am all you have for now!
So when you flip the item in the picture above you see the side of it that is in the picture with the O marked in the center. Now part A and part B spin freely from each other. This eliminates the need for CL bolt to be greased.
Here is a picture with the whole thing removed
Special instructions exist for all this. They tell you to tighten the CL bolt to 370 ftlb or 500Nm, then back off 1/4 turn, then retighten.
07-08-2009, 08:42 AM
#79
Burning Brakes
Thread Starter
Join Date: Oct 2008
Location: Trying to be the driver my car wants me to be
Posts: 1,249
Likes: 0
Received 0 Likes
on
0 Posts
Now here is the part that I think is really cool! If you do not have a torque wrench that goes to the desired force, you are allowed to use the "Emergency Fastening Procedure." Look at the picture below again....
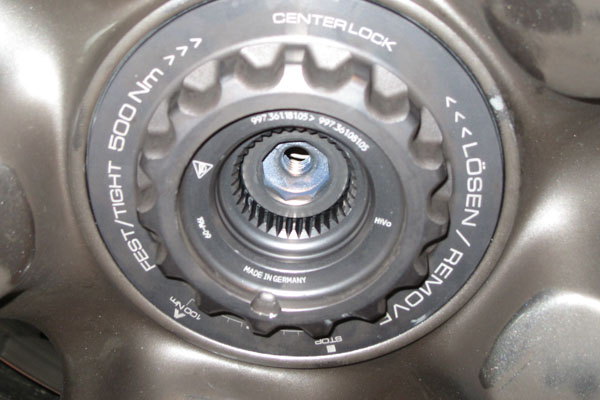
Notice the spot where it says 100Nm at about 7 O'clock. You must tighten the CL to that force, mark the wheel where that is at, then proceed to turn the CL to the stop mark that is about 5:30 O'clock. Now that is pretty slick!
This ought to give you guys enough to chew for a while!
Notice the spot where it says 100Nm at about 7 O'clock. You must tighten the CL to that force, mark the wheel where that is at, then proceed to turn the CL to the stop mark that is about 5:30 O'clock. Now that is pretty slick!
This ought to give you guys enough to chew for a while!
07-08-2009, 08:52 AM
#80
Burning Brakes
Thread Starter
Join Date: Oct 2008
Location: Trying to be the driver my car wants me to be
Posts: 1,249
Likes: 0
Received 0 Likes
on
0 Posts
In the manual they list part # 997.450.323.90 as a torque multiplier available from Porsche Motorsport. Maybe someone can find out pricing and availability. MJones this might be your cue as it is customary for you to provide us these details!
07-08-2009, 07:18 PM
#81
Rennlist Member
Team Drug Money, are any these of your forbears?
http://www.youtube.com/watch?v=er3uI...layer_embedded
http://www.youtube.com/watch?v=er3uI...layer_embedded
07-08-2009, 08:20 PM
#82
Rennlist Member
On Order: 2010 GT3.2 delivery Oct 09 Cobalt Blue
Also, where the hell do you drive, and service a GT3 in the Falkland Islands????
 07-08-2009, 08:50 PM
#84
Addict
Lifetime Rennlist
Member
Lifetime Rennlist
Member
MY10 parts are not in the system as yet.
Regular PET at dealer has not been updated either.
An interesting note:
There is a 10 page WM 440519 doc titled:
Removing and Installing wheel with center lock.
Interesting that for PCCB there is a "locater" which the dealers have that that is approx 2.5in x 6in long out of aluminum, conical in shape.
A weighty piece no doubt with a weighty price
Last edited by MJones; 08-03-2010 at 12:41 PM.
07-08-2009, 08:58 PM
#85
Rennlist Member
Called PMNA today and that PN does not come up...Reason most likely is that the
MY10 parts are not in the system as yet.
Regular PET at dealer has not been updated either.
An interesting note:
There is a 10 page WM 440519 doc titled:
Removing and Installing wheel with center lock.
Interesting that for PCCB there is a "locater" which the dealers have that that is approx 2.5in x 6in long out of aluminum, conical in shape.
A weighty piece no doubt with a weighty price
like to 2 pins you get with the 997.1 GT3 ...
07-08-2009, 10:59 PM
#86
Rennlist Member
...actually, it's a joke, I'm a Limey living in Houston, Texas.
07-09-2009, 01:20 AM
#87
Burning Brakes
Thread Starter
Join Date: Oct 2008
Location: Trying to be the driver my car wants me to be
Posts: 1,249
Likes: 0
Received 0 Likes
on
0 Posts
Team Drug Money, are any these of your forbears?
http://www.youtube.com/watch?v=er3uI...layer_embedded
http://www.youtube.com/watch?v=er3uI...layer_embedded
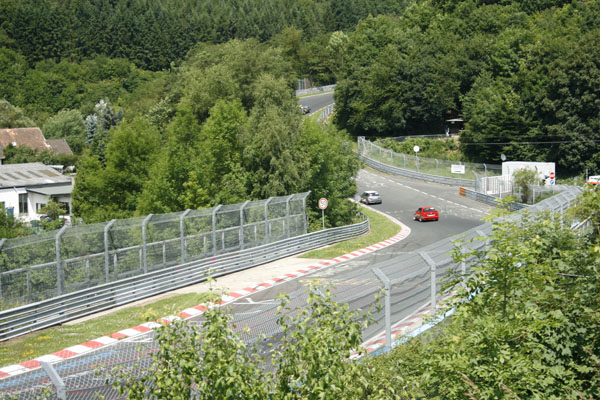
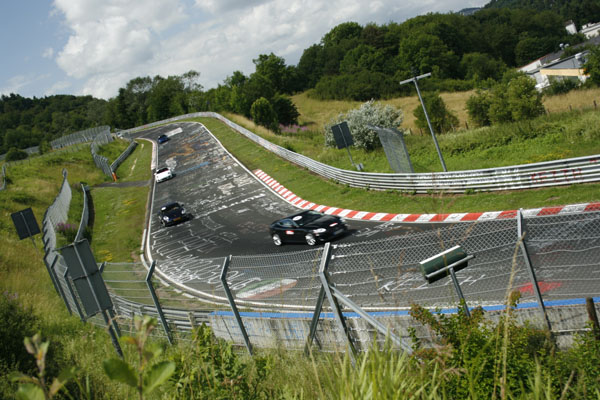
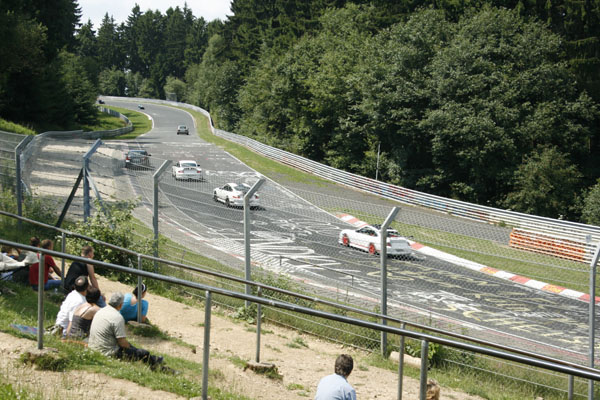
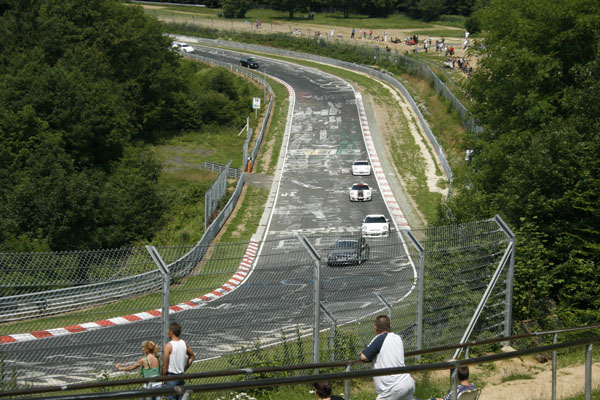
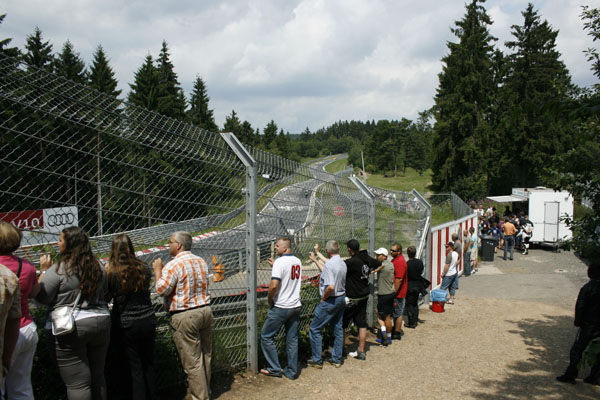
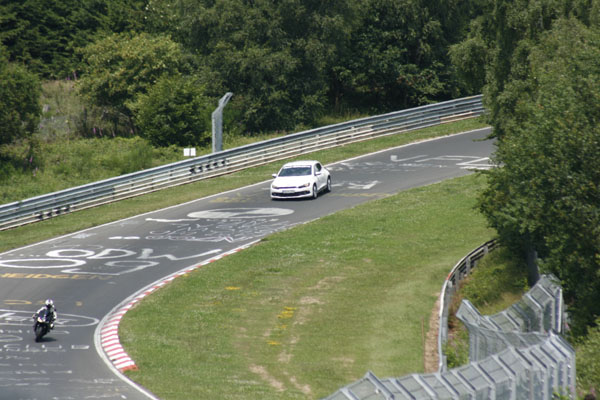
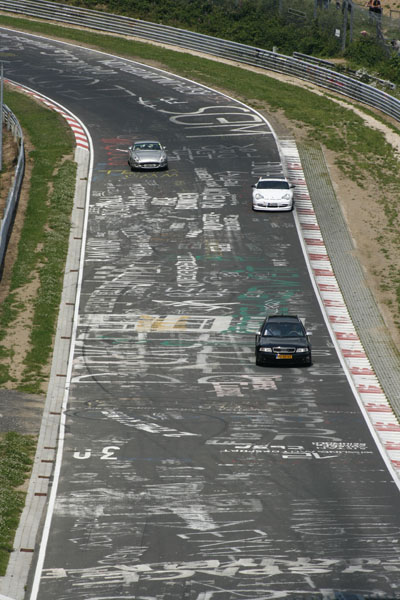
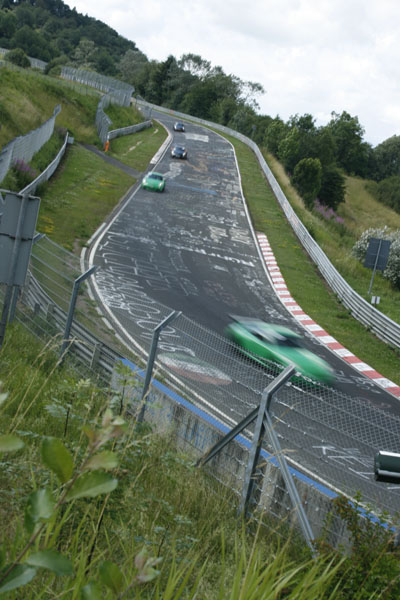
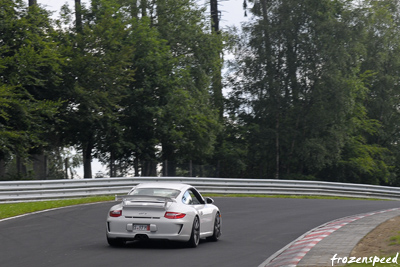
This turn that everybody is missing is quite tricky. The reason so many people are going off here is you have just come through Foxhole at about however fast your car can go, you have a lefthander that is not too much of an issue, then another somewhat slower righhander, then this lefthander you cannot see until it is too late. Add to this the turn is quite sharp, though it looks like it is tighter now than in these pictures. This could just be the angle. Apparently it is one of the better places on the track to see this kinda stuff happen.
Thanks for your encouragement! Much appreciated.
Caren named is Marsha, since without graphics it looks like a marshmallow. I can live with that! Now I can go to the track with two other women! I now have Marsha to add to my harem of women which currently includes my track bitch...
 07-09-2009, 01:51 AM
#88
Burning Brakes
Thread Starter
Join Date: Oct 2008
Location: Trying to be the driver my car wants me to be
Posts: 1,249
Likes: 0
Received 0 Likes
on
0 Posts
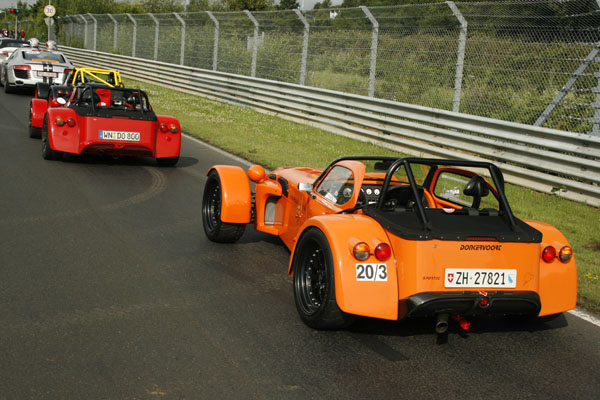
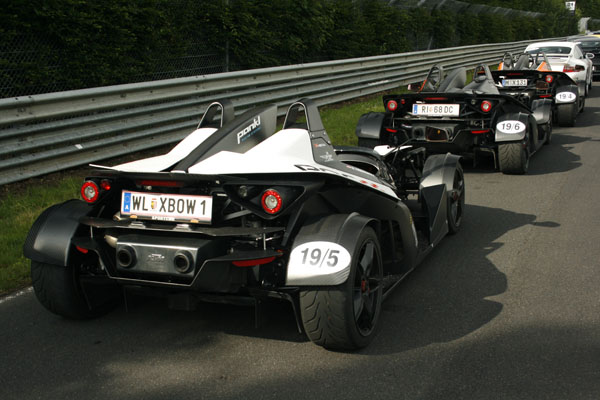
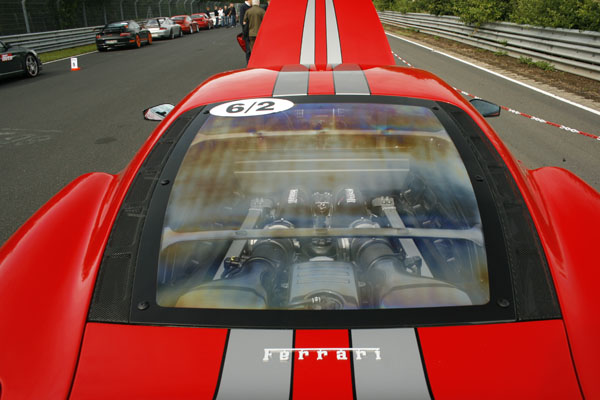
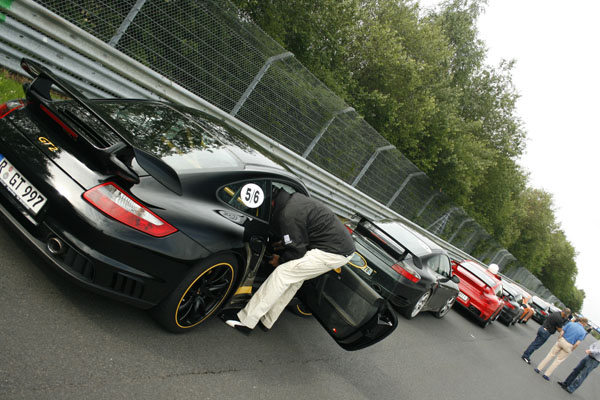
Sport Auto Magazine had a 2 day track event at the Nordschleife. There was some crazy money on track! I counted at least 16 GT3 RS's, all but one 997s. At least 7 GT2s.