When you click on links to various merchants on this site and make a purchase, this can result in this site earning a commission. Affiliate programs and affiliations include, but are not limited to, the eBay Partner Network.
997 Center Console Respray: DIY Instructions For Amazing Results
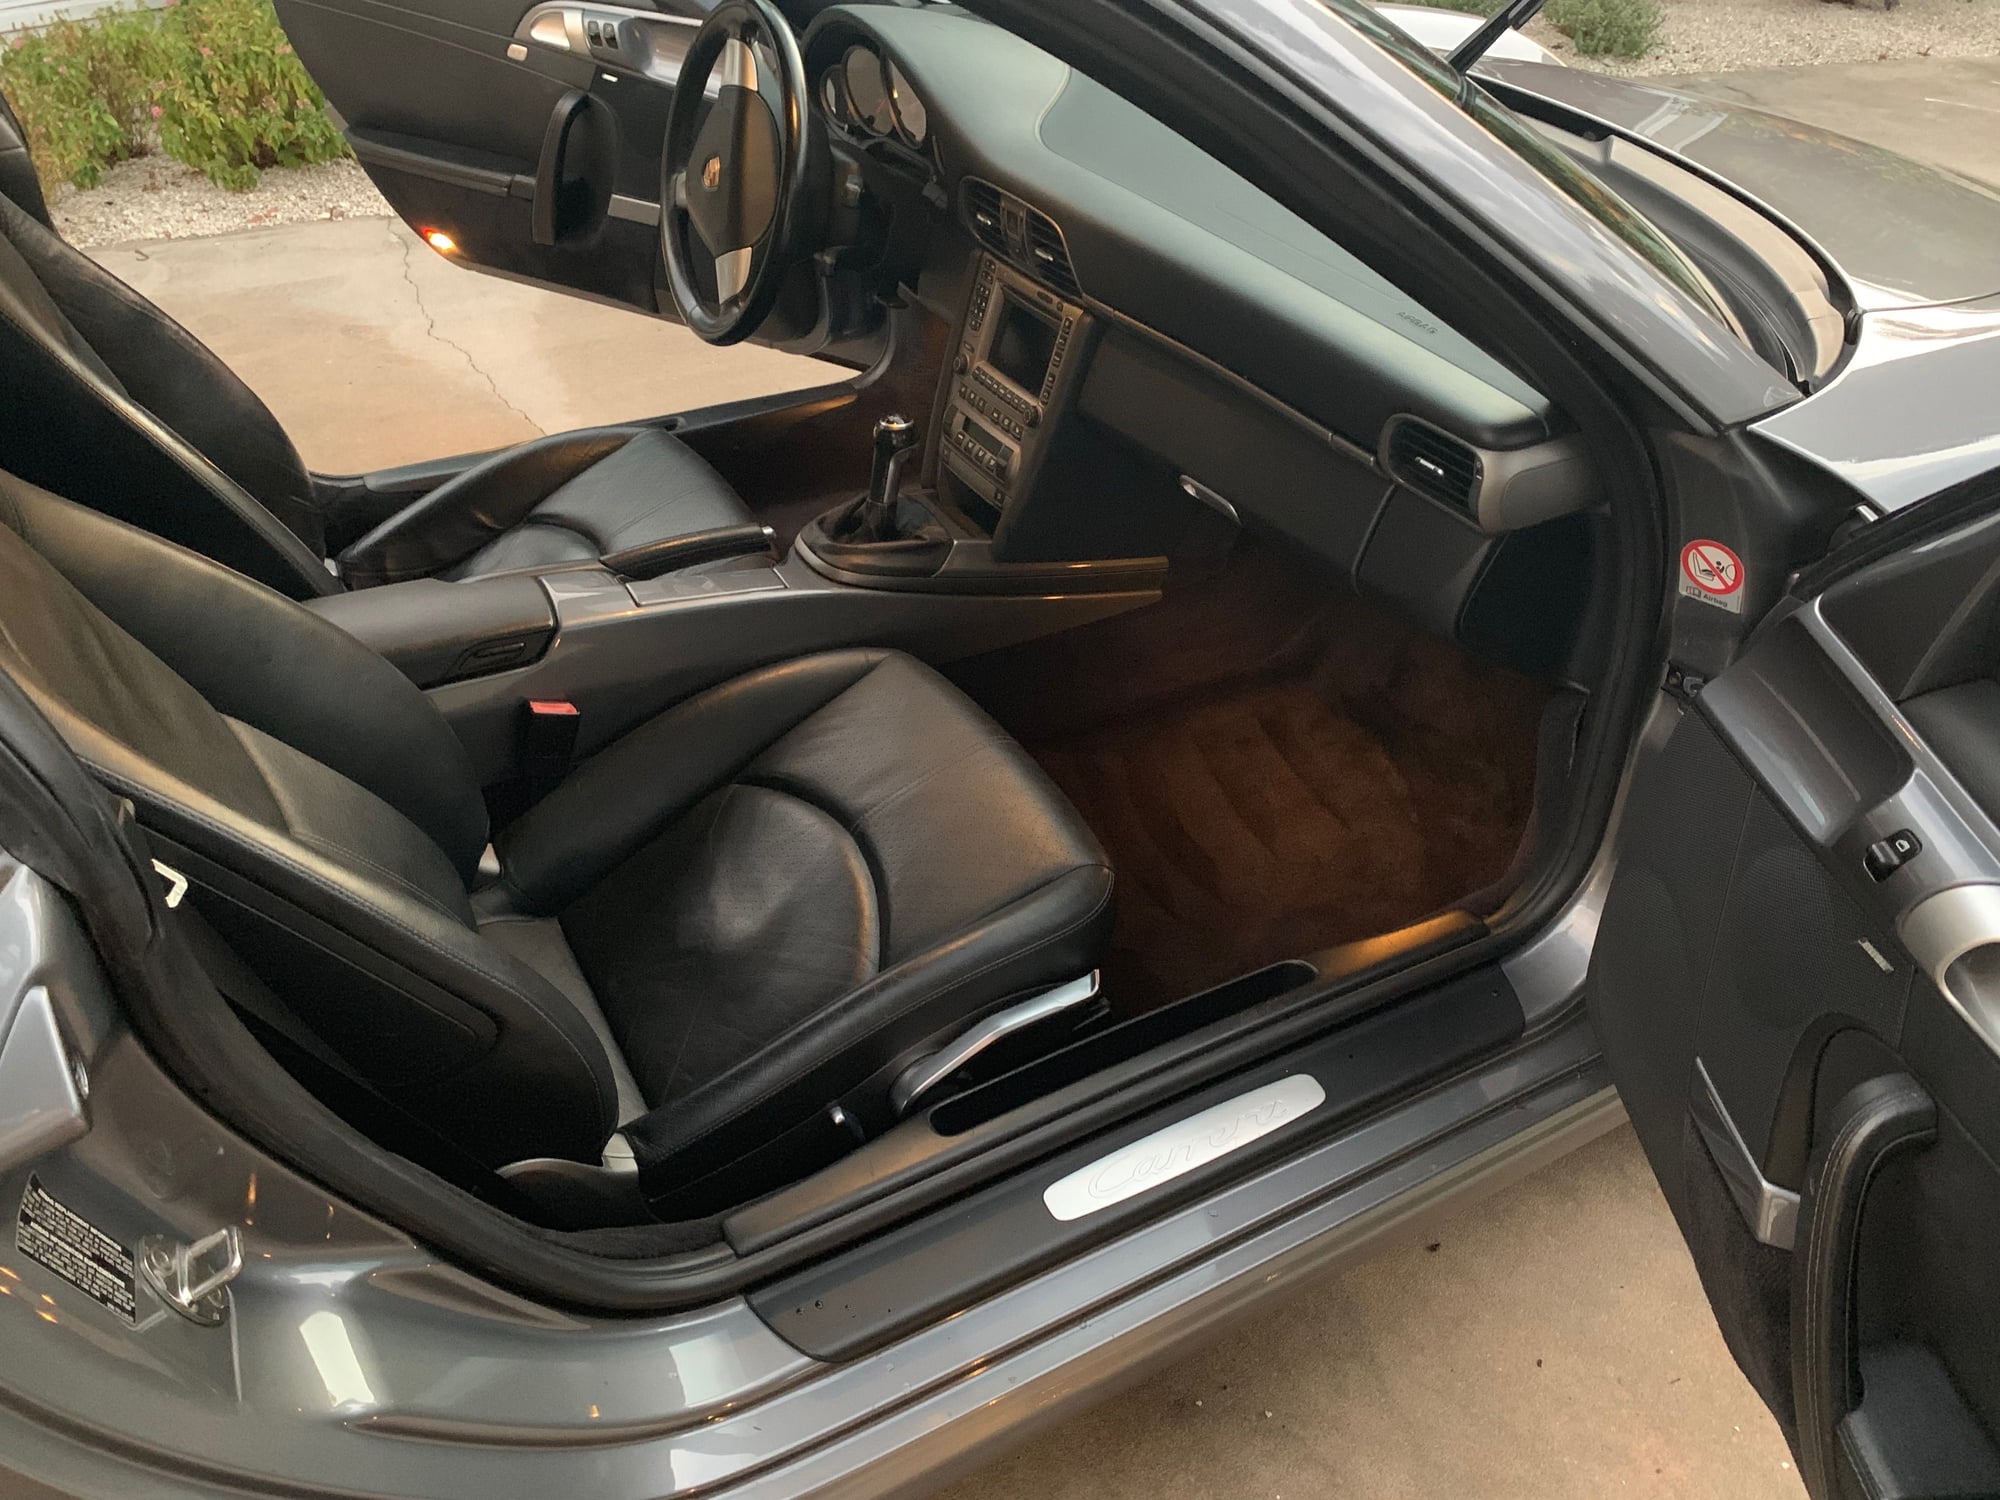
I took the plunge yesterday morning and resprayed the center console of my 997.1. All-in the project took 6hrs. It was a nail biter at times but the end result came out far better than I expected. If I can do it anyone can so I wanted to share my experience as well as the options I researched before ultimately pulling the trigger on the DIY job.
Background
This is actually the second time my center console has been resprayed in 4 months. When I bought the car the console was pretty worn so RAC Performance resprayed it for me. See "lesson 15" here: https://rennlist.com/forums/997-foru...ew-buyers.html
At the time I thought the results were great, however it didn’t last. They just resprayed over the old soft touch paint so it scratched easily and after a few months looked like crap again.
The Options
I researched a couple different options before “the incident”:
1. Exclusive Option leather console was my top choice but I couldn't justify the $1700. I spoke to the owner who was super nice and he even offered a 11% discount, but the economics just don’t make sense for a 11yr old car.
2. Classic9 leather looks like the best value at $850 for a leather console. However they don’t offer a core exchange and its a 4wk turnaround…this was a non-starter. The owner offered to ship the leather template for $440 and then have it installed at a local auto upholstery shop. I still may go this route in the future. I figured if i remove the console myself the all-in cost will likely be ~$640.
3. My local Porsche dealer parts website is now selling a factory center console for $676. This is way cheaper than Suncoast! It’s also described as a new “leatherette” model which replaces the old SKU. I am unclear if that means the material was upgraded from the old soft-touch rubber but was planning to call.
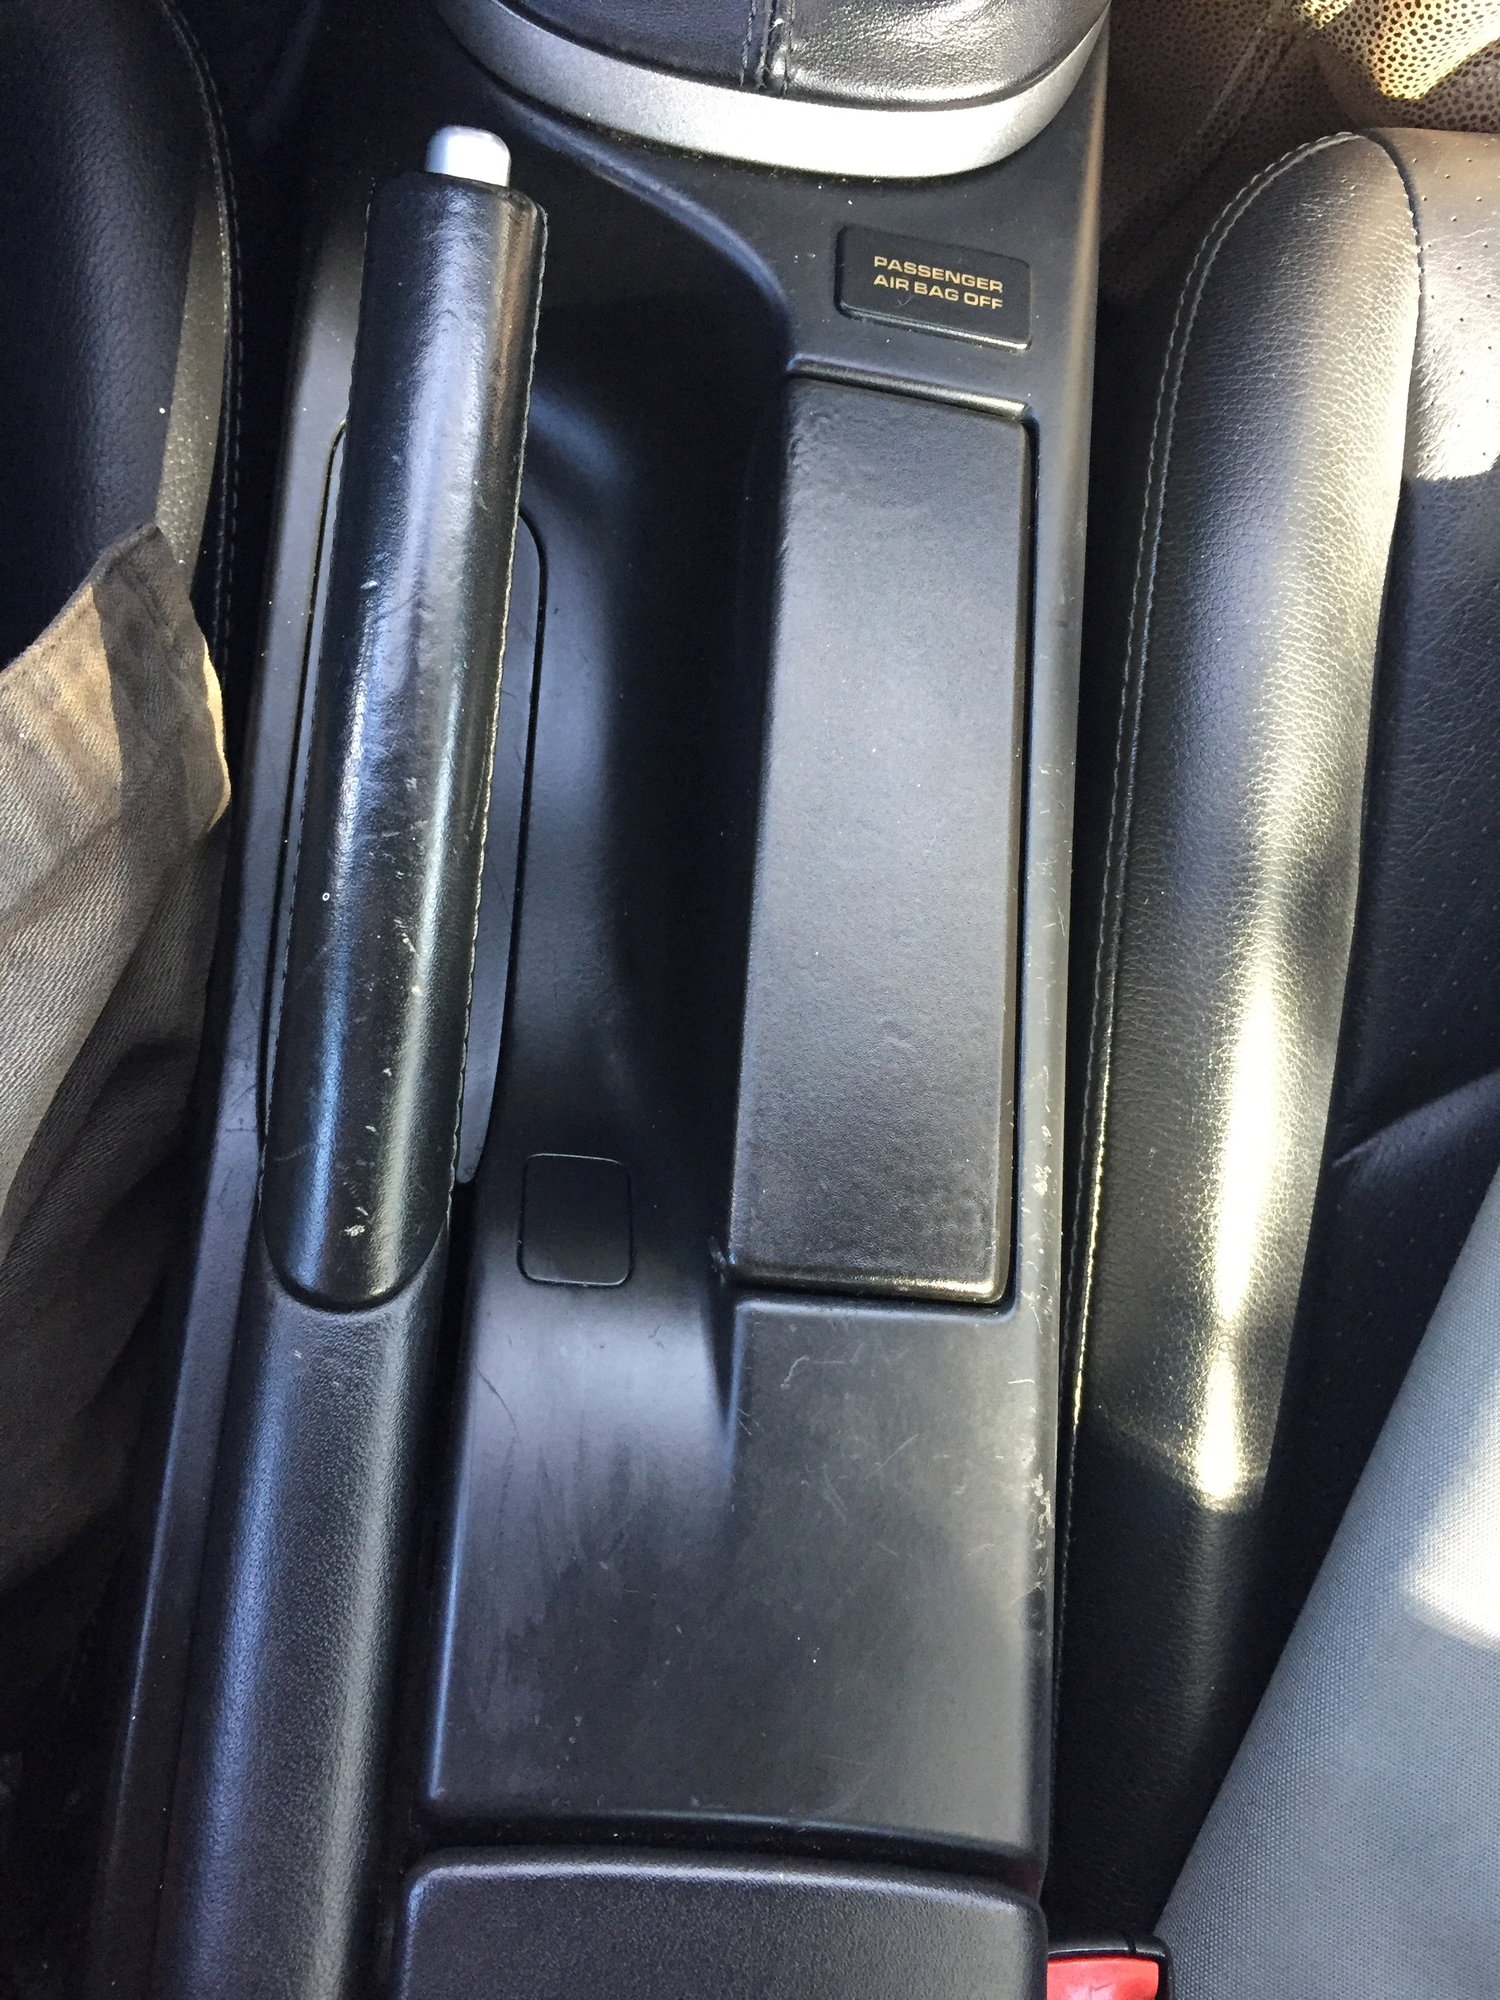
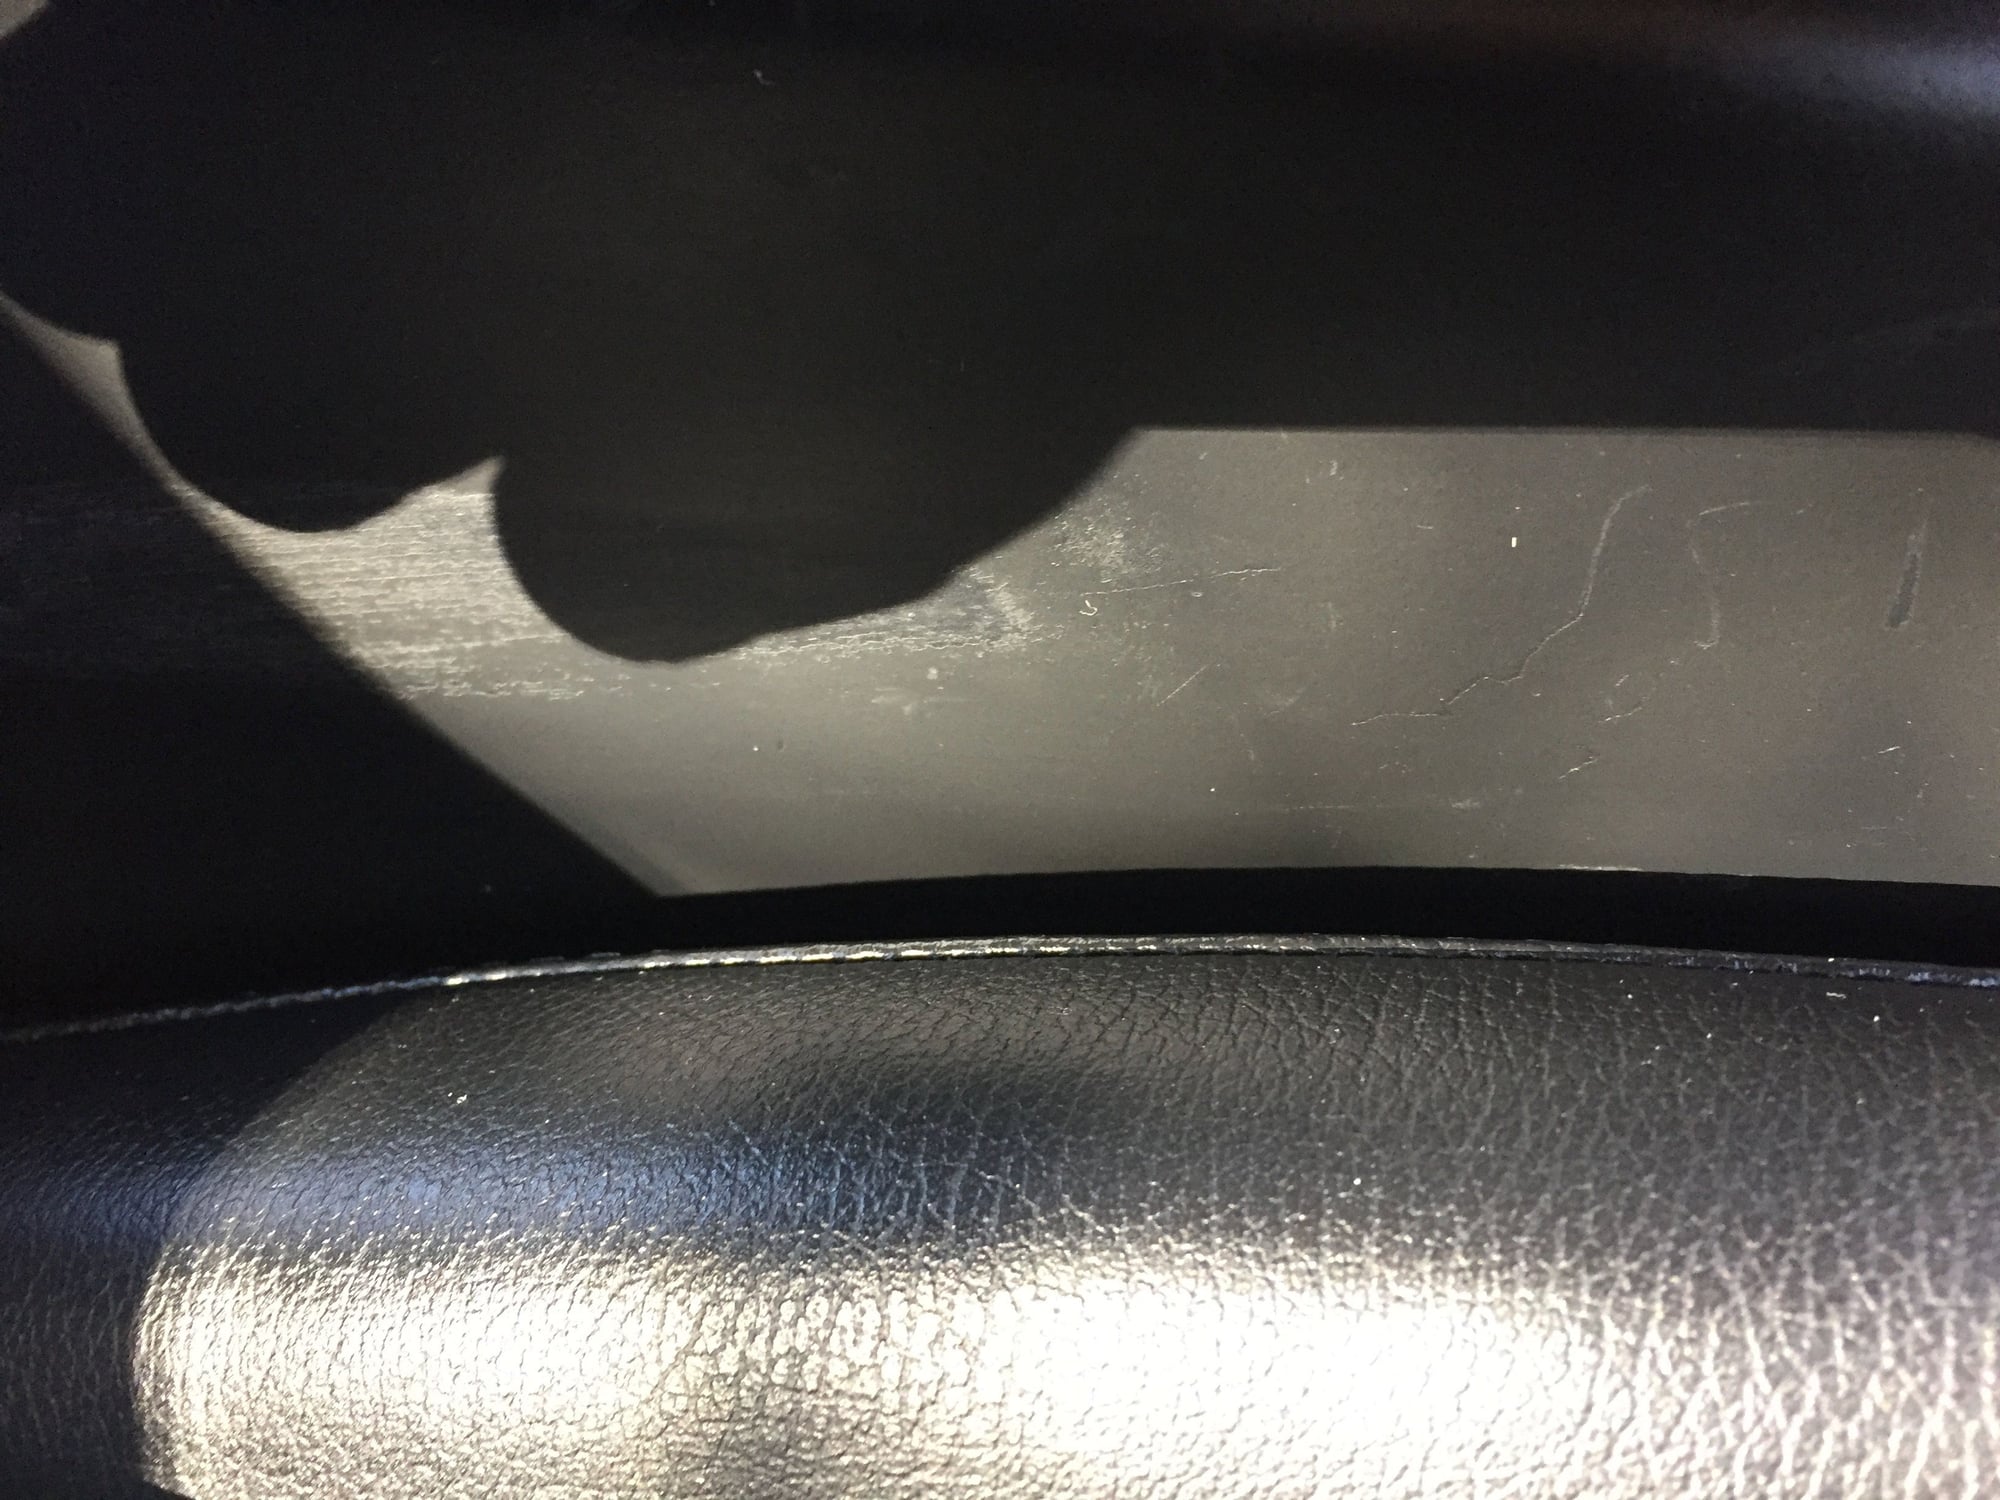
I sprayed some regular household cleaner on the console and wiped it down. One spot became blotchy and I assumed it was some oil or gunk. I sprayed a little more, rubbed a little more…you know how the story ends.
It wasn’t gunk coming up. It was the finish coming off.
So at 7am on a Saturday there was no turning back. I was committed to fixing it by lunchtime or having a new console shipped on Monday. This gave me the courage required to start ripping the car apart.
Supplies & Resources (1hr run to Home Depot and O’reillys)
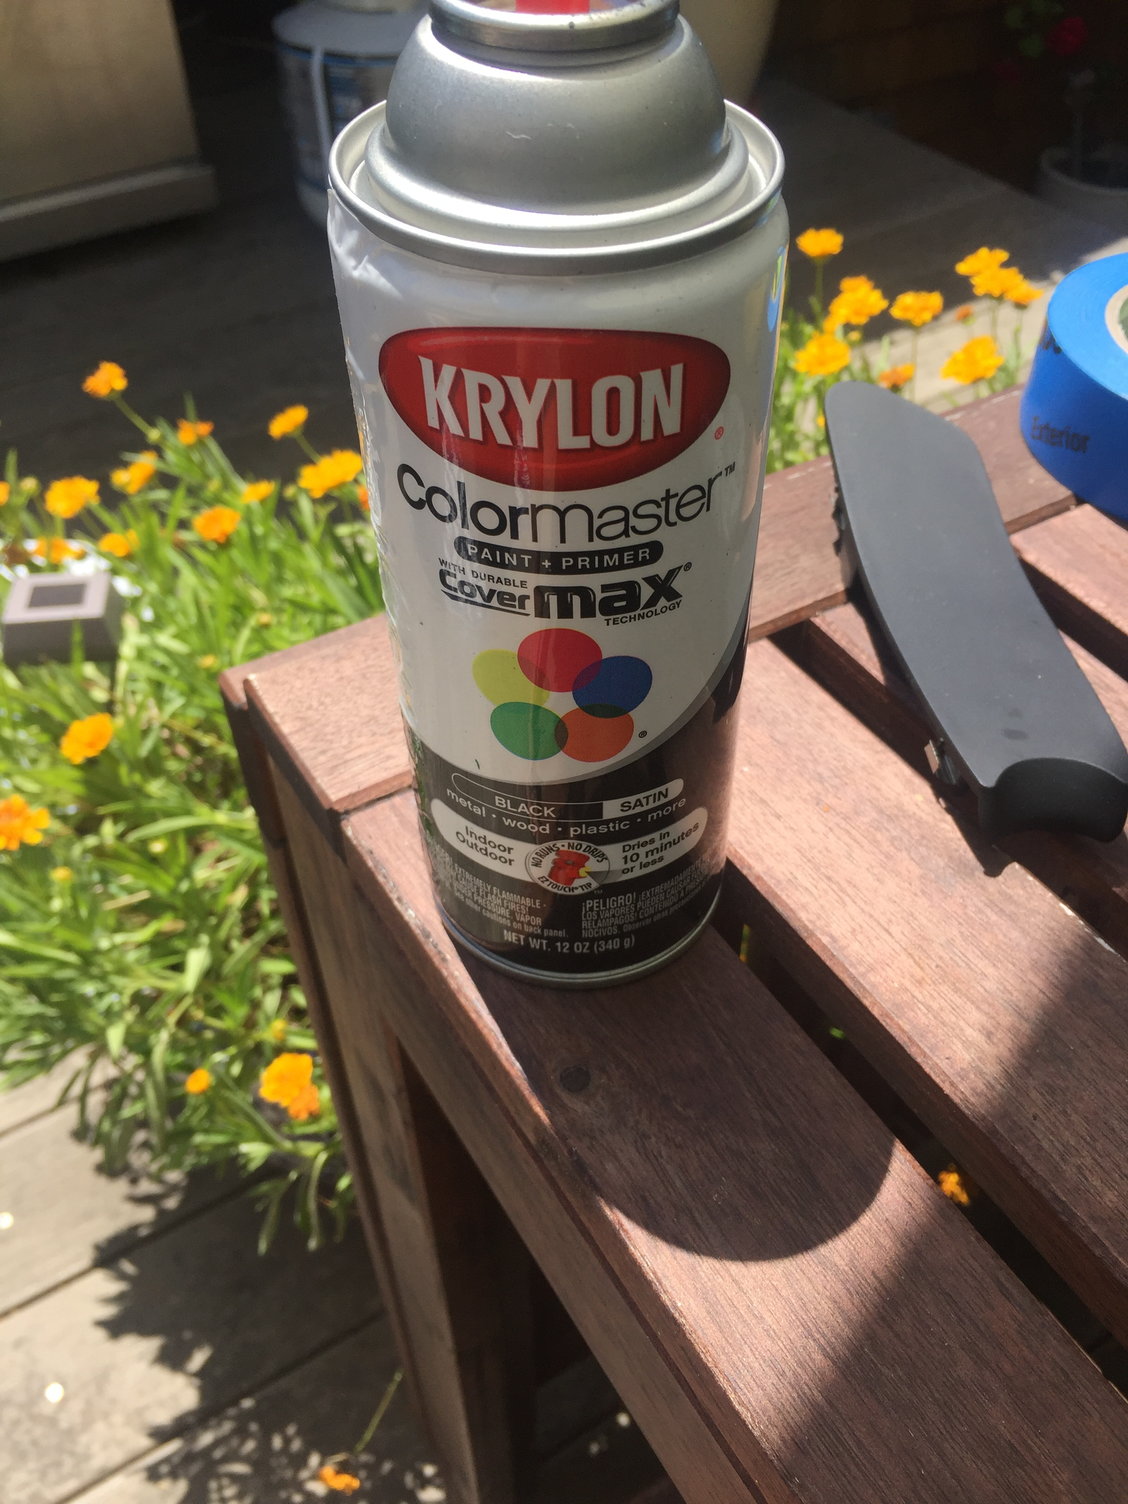
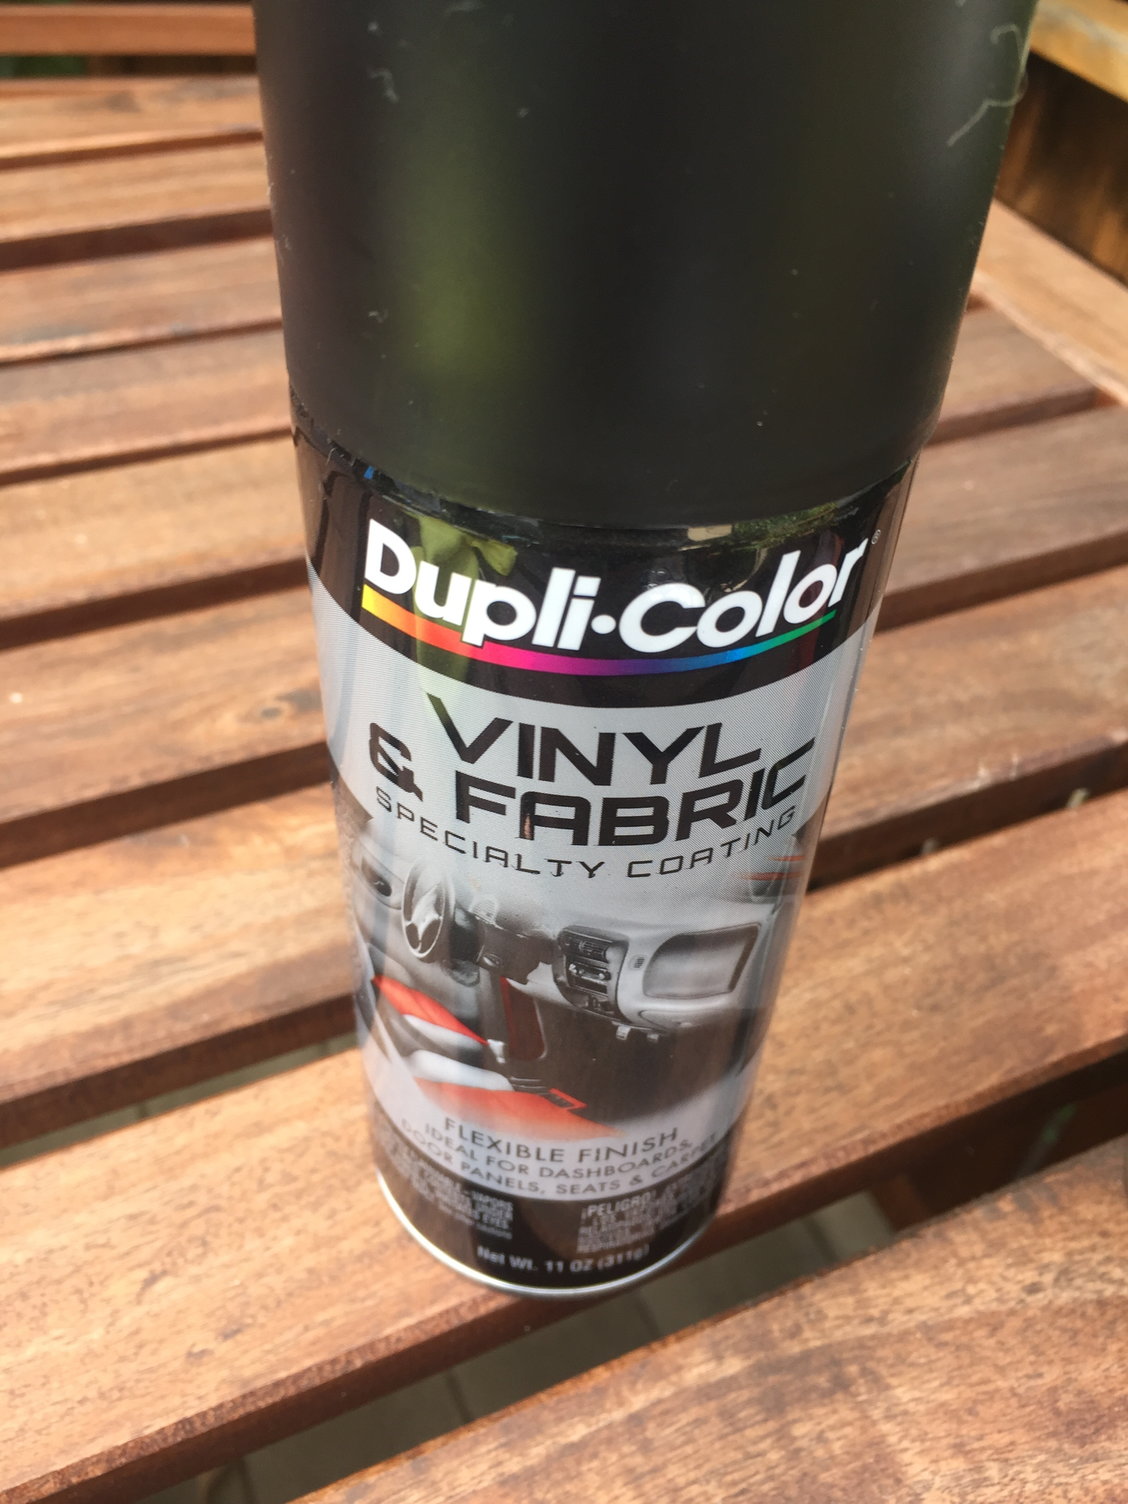
- 1 can Duplicolor Vinyl & Fabric (I read one post recommending this but ultimately went with the Krylon)
- 1 can Duplicolor Prep-spray (DONT BUY. It strips the rubberize paint off and makes a total mess)
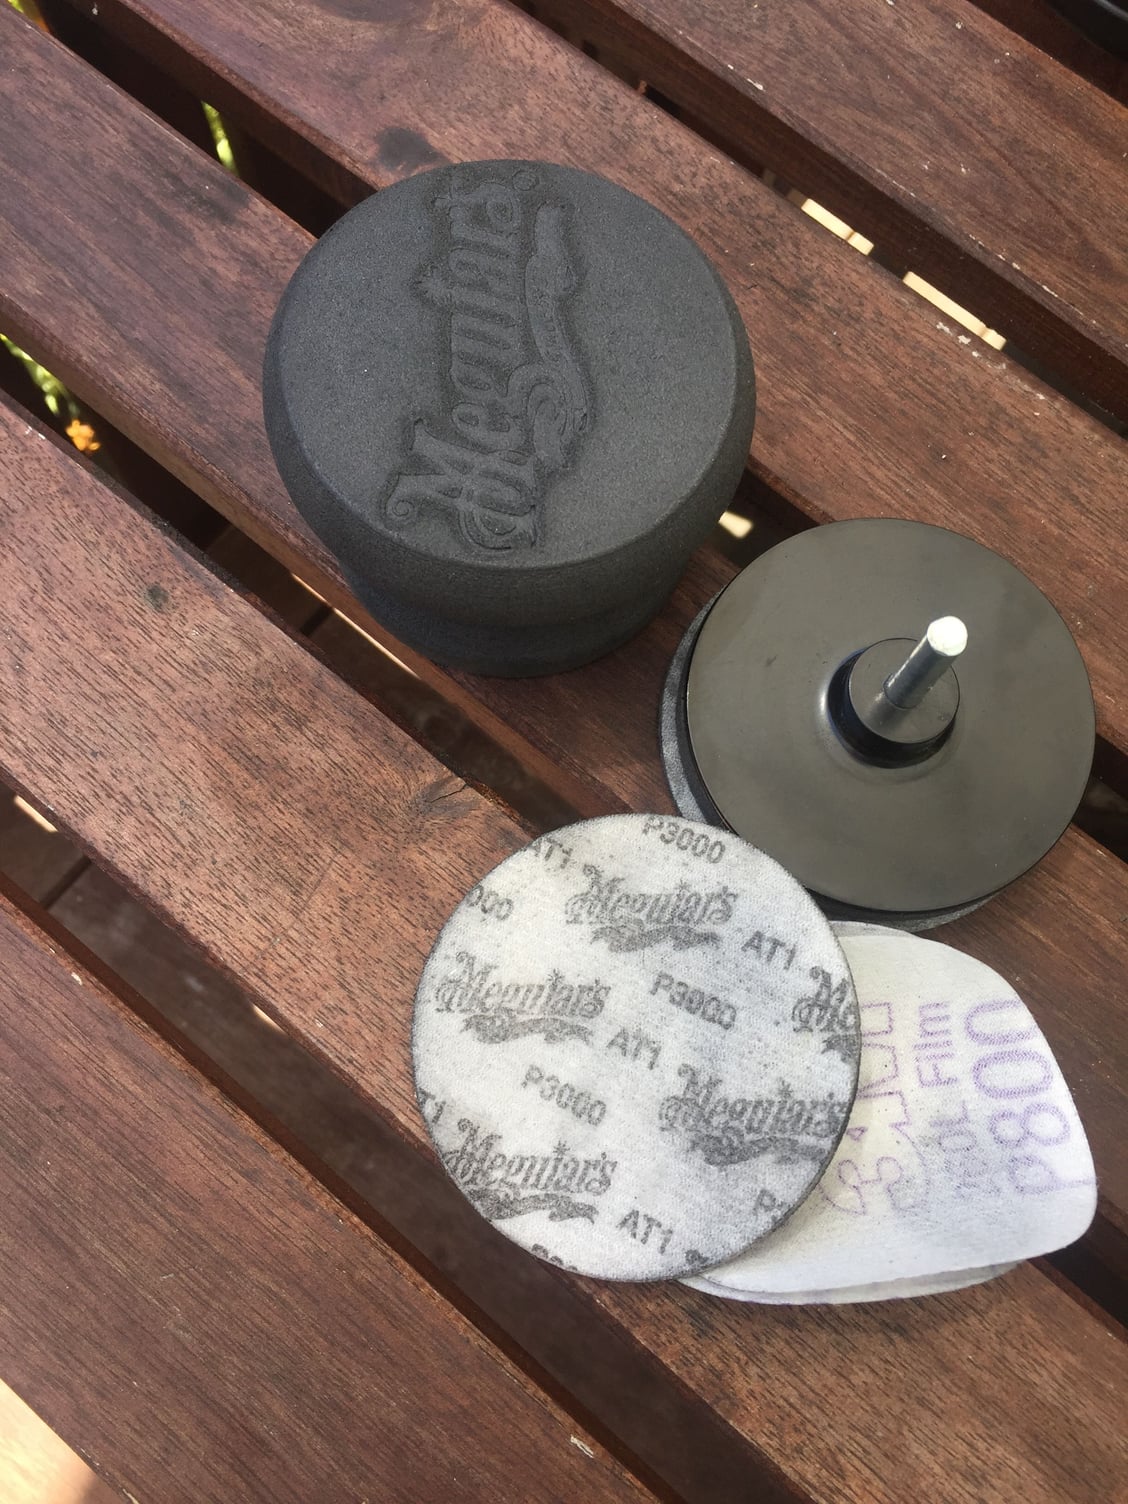
- 500, 800 and 2000 grit sandpaper. Luckily I still had a drill sander and pads from my headlight restoration project. These made the project so much easier)
- Plastic trim removal tools
- Torx bits
- Windex wipes. I had these lying around and they actually were very useful for wipe downs between sanding.
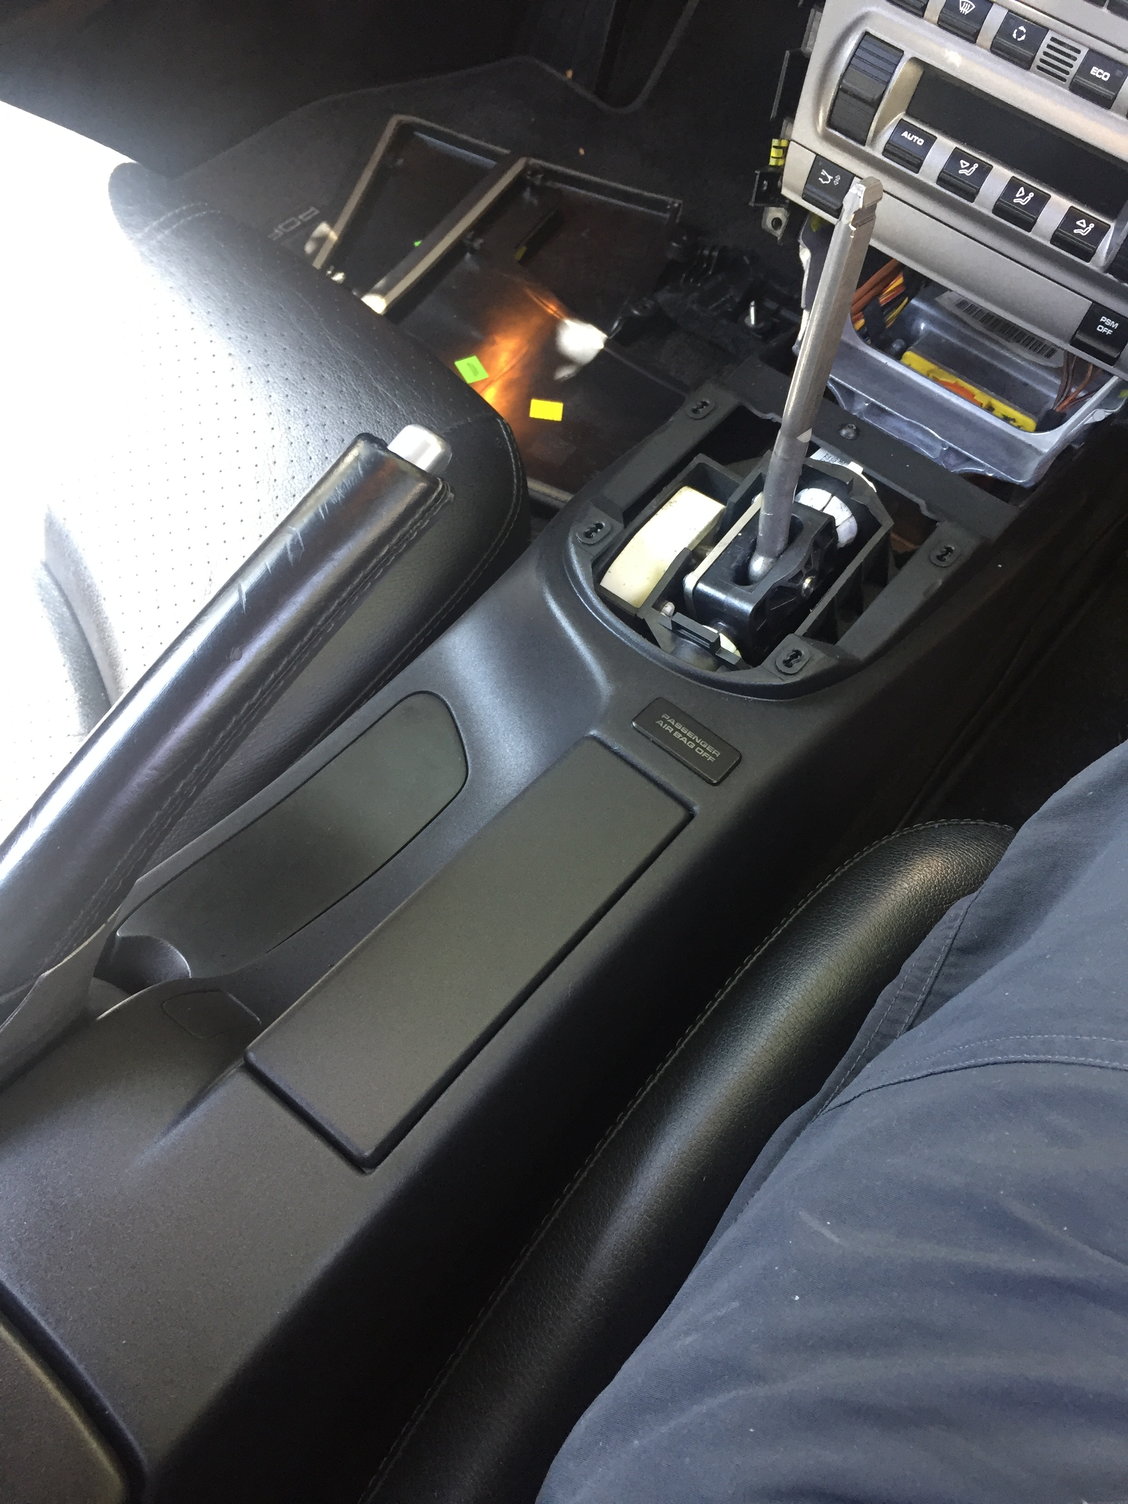
Console Removal (30 minutes)
This was surprisingly easy. Its just 16 torx screws. Key things to know that aren’t in the instructional manual:
1. The wiring harness was not easy to unplug. You can only get access to one side of it and its mounted to a frame so you cant move it. I could get one side unclipped but not the other. After fiddling with it it finally popped off the mounting frame I was able to unplug it.
2. The instructions dont say you need to remove the shift ****. You do. This was easier than I expected. You just twist the plastic cap to unlock position and then pull. After a couple pulls it came off. The side benefit was i was able to slather some Lexol on the leather shift boot and let it sit while i was painting.
Console Prep (2hrs)
To ensure the finish matched I prep’d the console, handbrake “banana”, ashtray, back seat cubby, and center console extension (this was pretty worn from placing my phone on it.)
Steps:
- Remove the leather cover for the console compartment so no overspray gets on it. You dont need to remove the hinge and plastic frame. You wont get paint on them.
- I got painters tape and was planning on masking the console compartment but the tape wouldnt stick to the plastic…so I winged it.
- Remove the coin holder from the console compartment so it doest get overspray
- Remove the back seat storage cubby from main center console by removing 2 screws underneath. This makes it easier to sand.
- I tried to remove the convertible switch delete plug (I have a coupe) but i couldn’t figure out how to remove it. I was worried the seams would get all gunky but luckily they didnt.
- Clean all parts. Mine had 10 yrs of gunk in the cracks and crevices.
- DO NOT use Duplicolor Prep-Spray!!!!!!!!!!! This took the finish off and made a complete mess. I was moments away from ordering a new console after this. However, this forced me to get more aggressive with the sanding which ultimately saved the project.
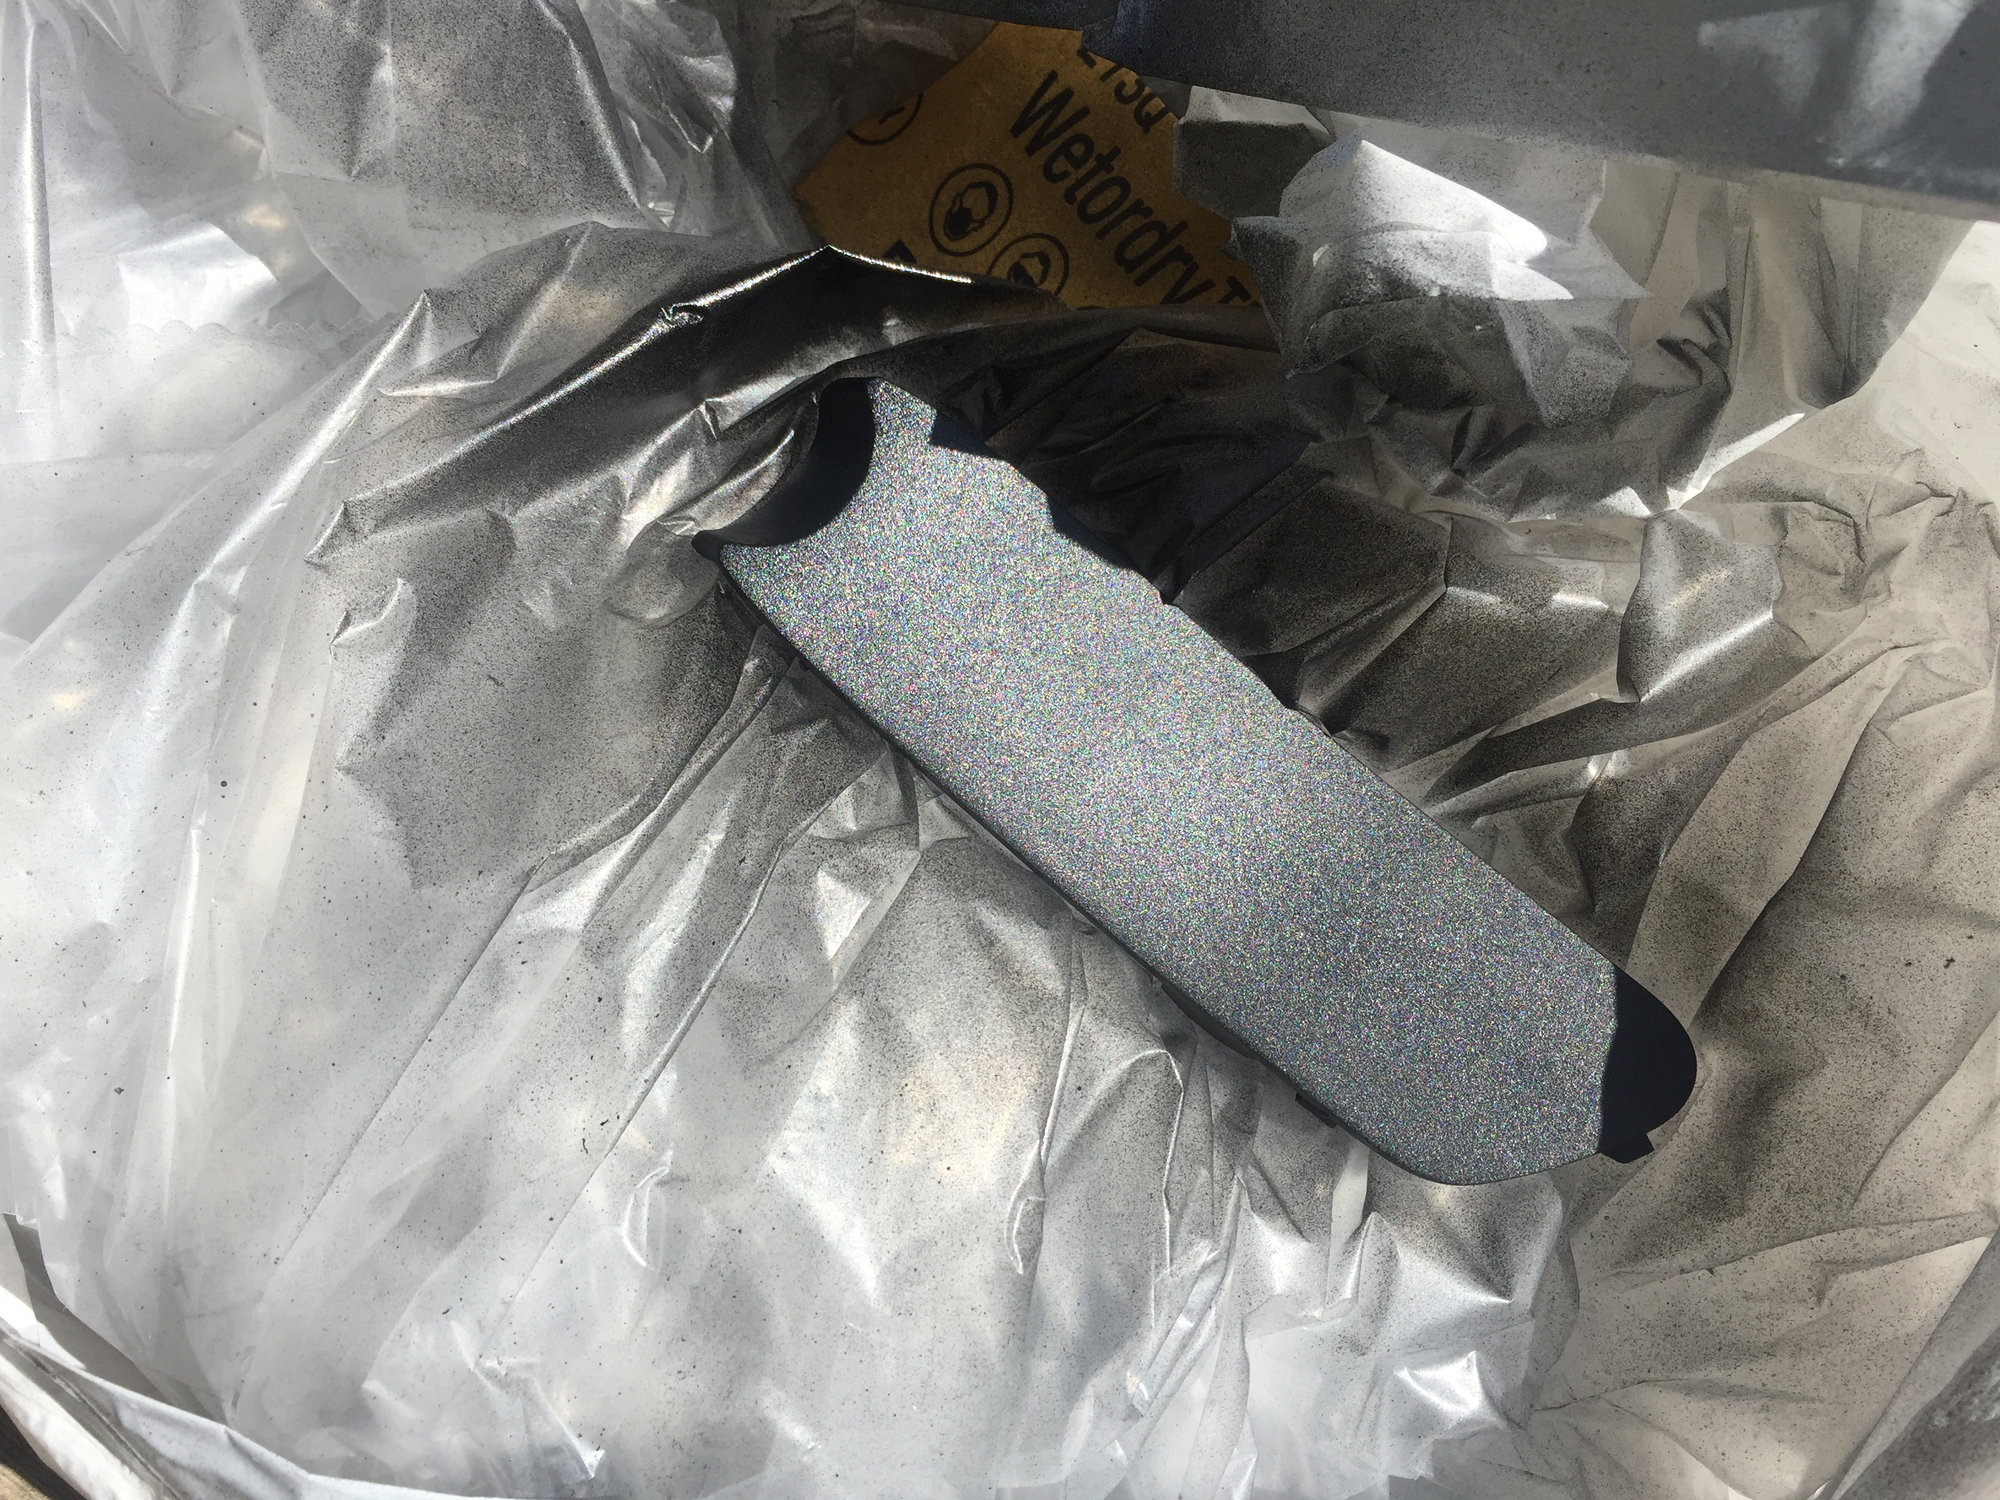
- Sand all parts with 500 grit until you see smooth bare plastic on the parts that are exposed to view and in high traffic areas. This probably took an hour. I gave a lighter sanding to the sides of the console you couldn’t see. I first thought I could give a light sanding but you need to get aggressive with it. The drill attachment did wonders.
- Sand all parts with 800 and then 2000 and wipe down between rounds. This probably took another hour.
- Finally I washed all parts down with warm water and let them dry for a few minutes.
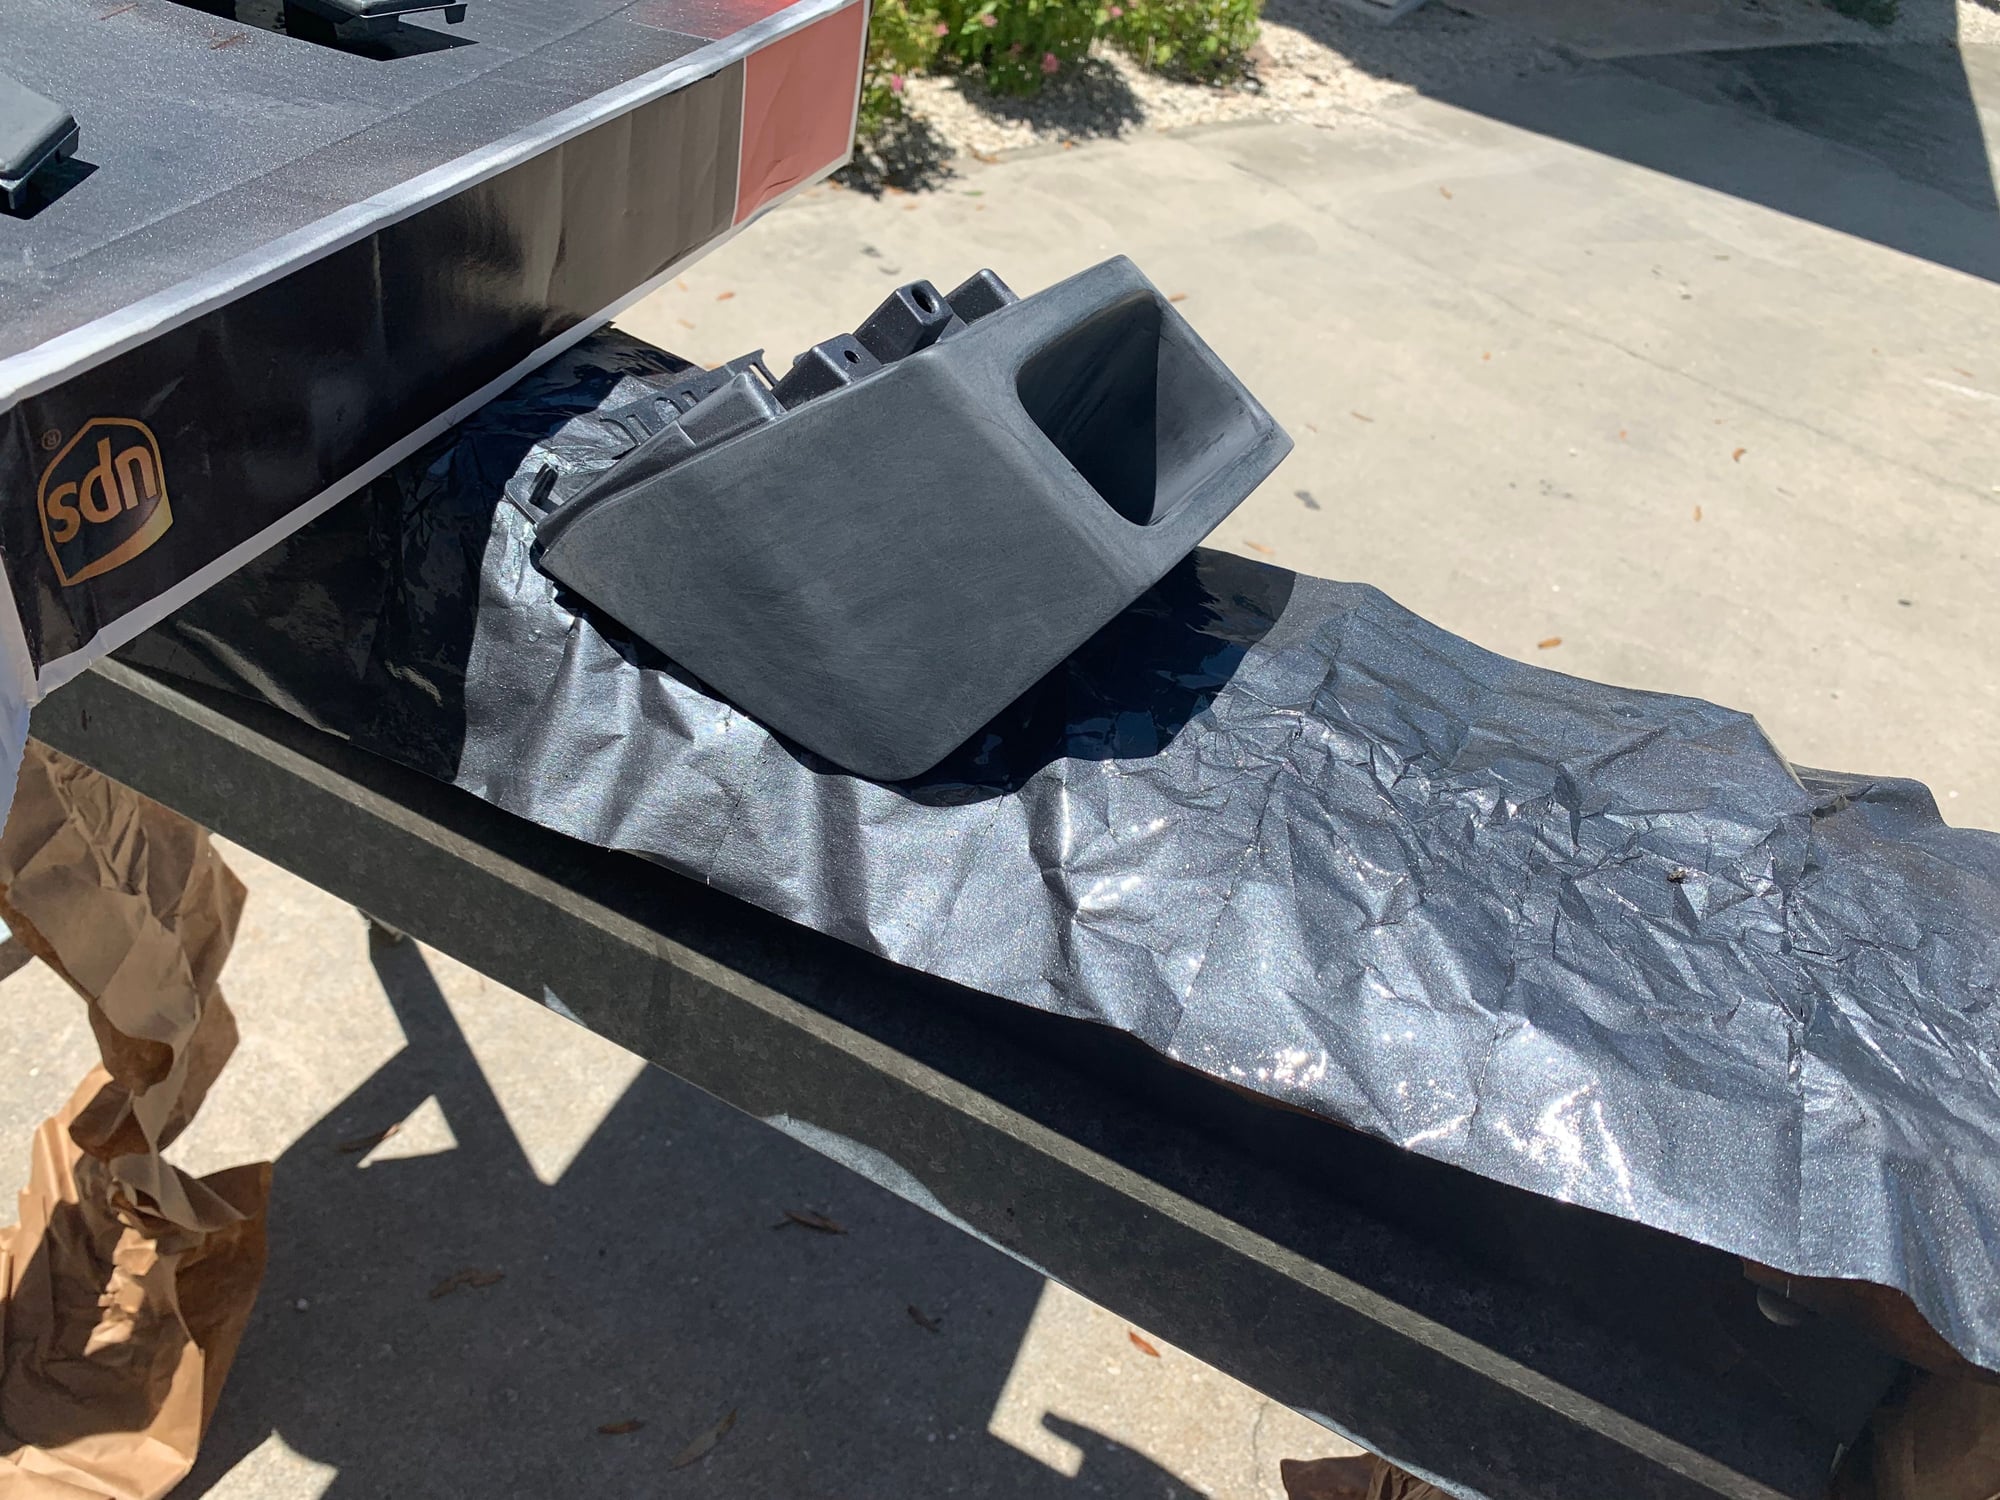
Painting (2hrs)
Be forewarned: I was pretty sure it was going to be a total disaster until the last few coats. So don’t freak out after the first few coats.
I debated between the Duplicolor and Krylon. I ultimately chose Kyrlon after a few test sprays.
I started on the “banana” first to get the technique down. This was a good move as I could sand off any mistakes.
The Krylon has a satin texture to it that requires you spray really light coats and let the texture build up. This was tricky. If you spray it on too heavy you get glossy spots that look terrible and need to be sanded down.
The technique I found to work best:
- Spray really light coats about 8-12 inches away. I found the farther away you were gave it a the best texture. By the last few coats I was just giving it a dusting to build the texture.
- The Krylon dries to the touch really quickly so i would spray a coat on all pieces then come back and sand each piece with 2000 grit and wipe down between spraying the next coat.
- I repeated this process about 10 times sanding down any areas I screwed up.
I really didnt see the results until 6 or 7 coats.
Console Reintall (30 minutes)
I let the parts dry for 30 mins and then reinstalled. The paint dries really fast and I was eager to see the results by lunchtime. I let it fully cure in the garage overnight with the windows open.
Note: the banana looked like a slightly different texture from this angle. I think its because sanded it more between the coats. I pulled it out and put 3 quick coats on it with no sanding in between. It matched perfectly after that.)
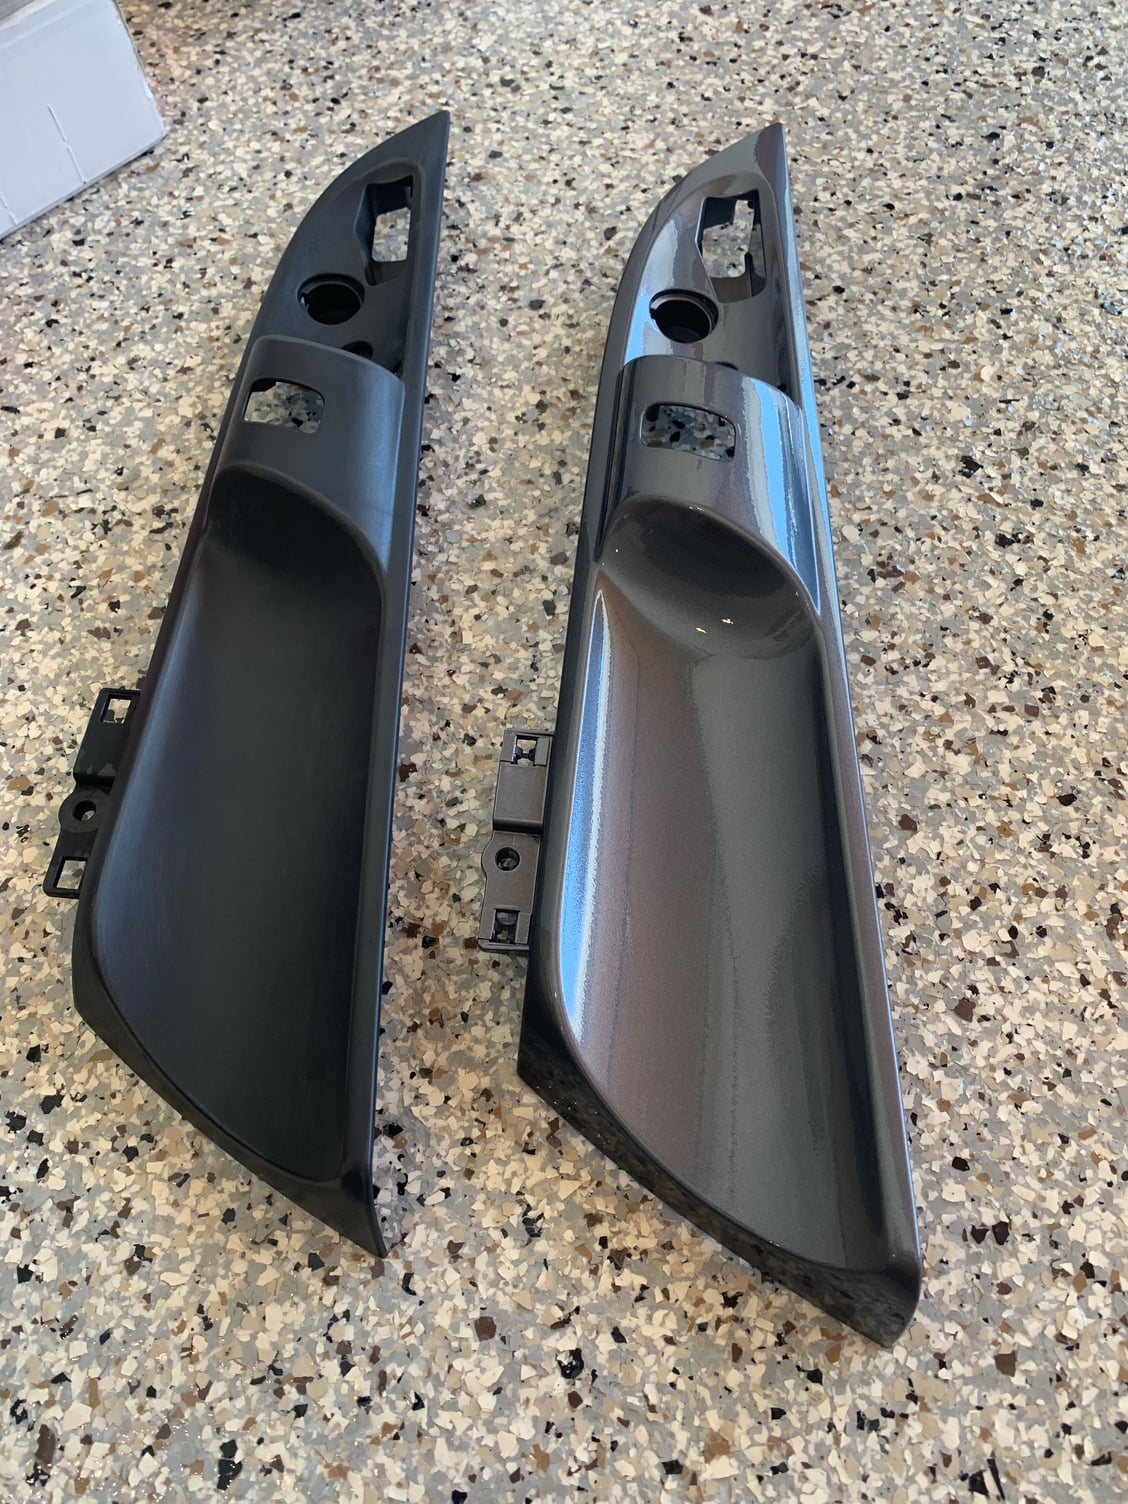
The Result
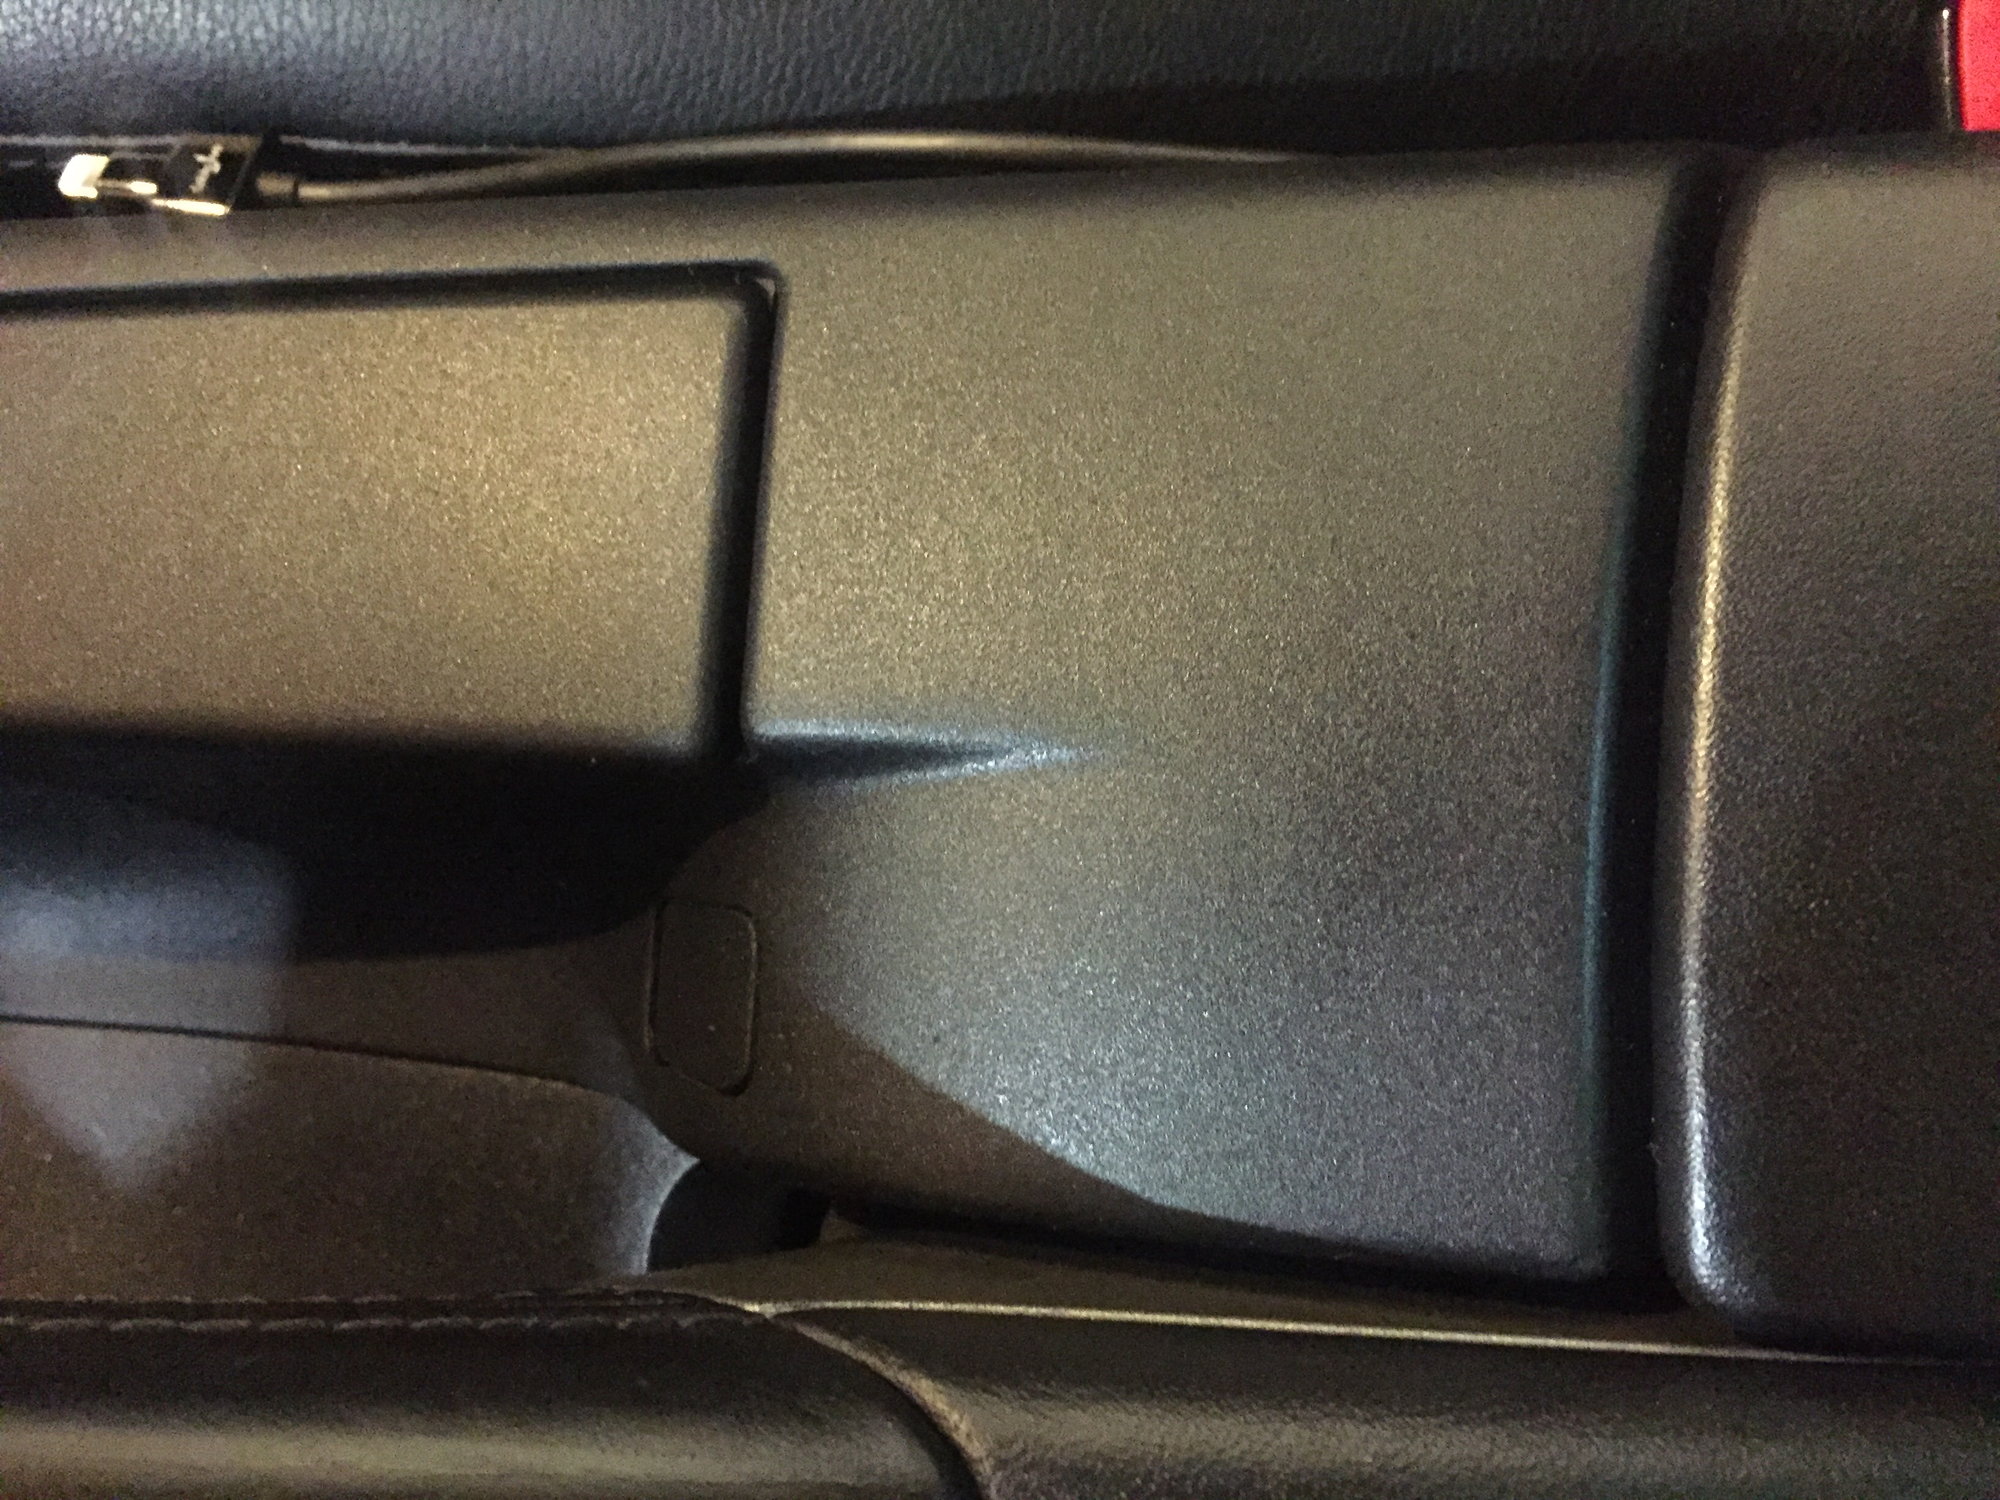
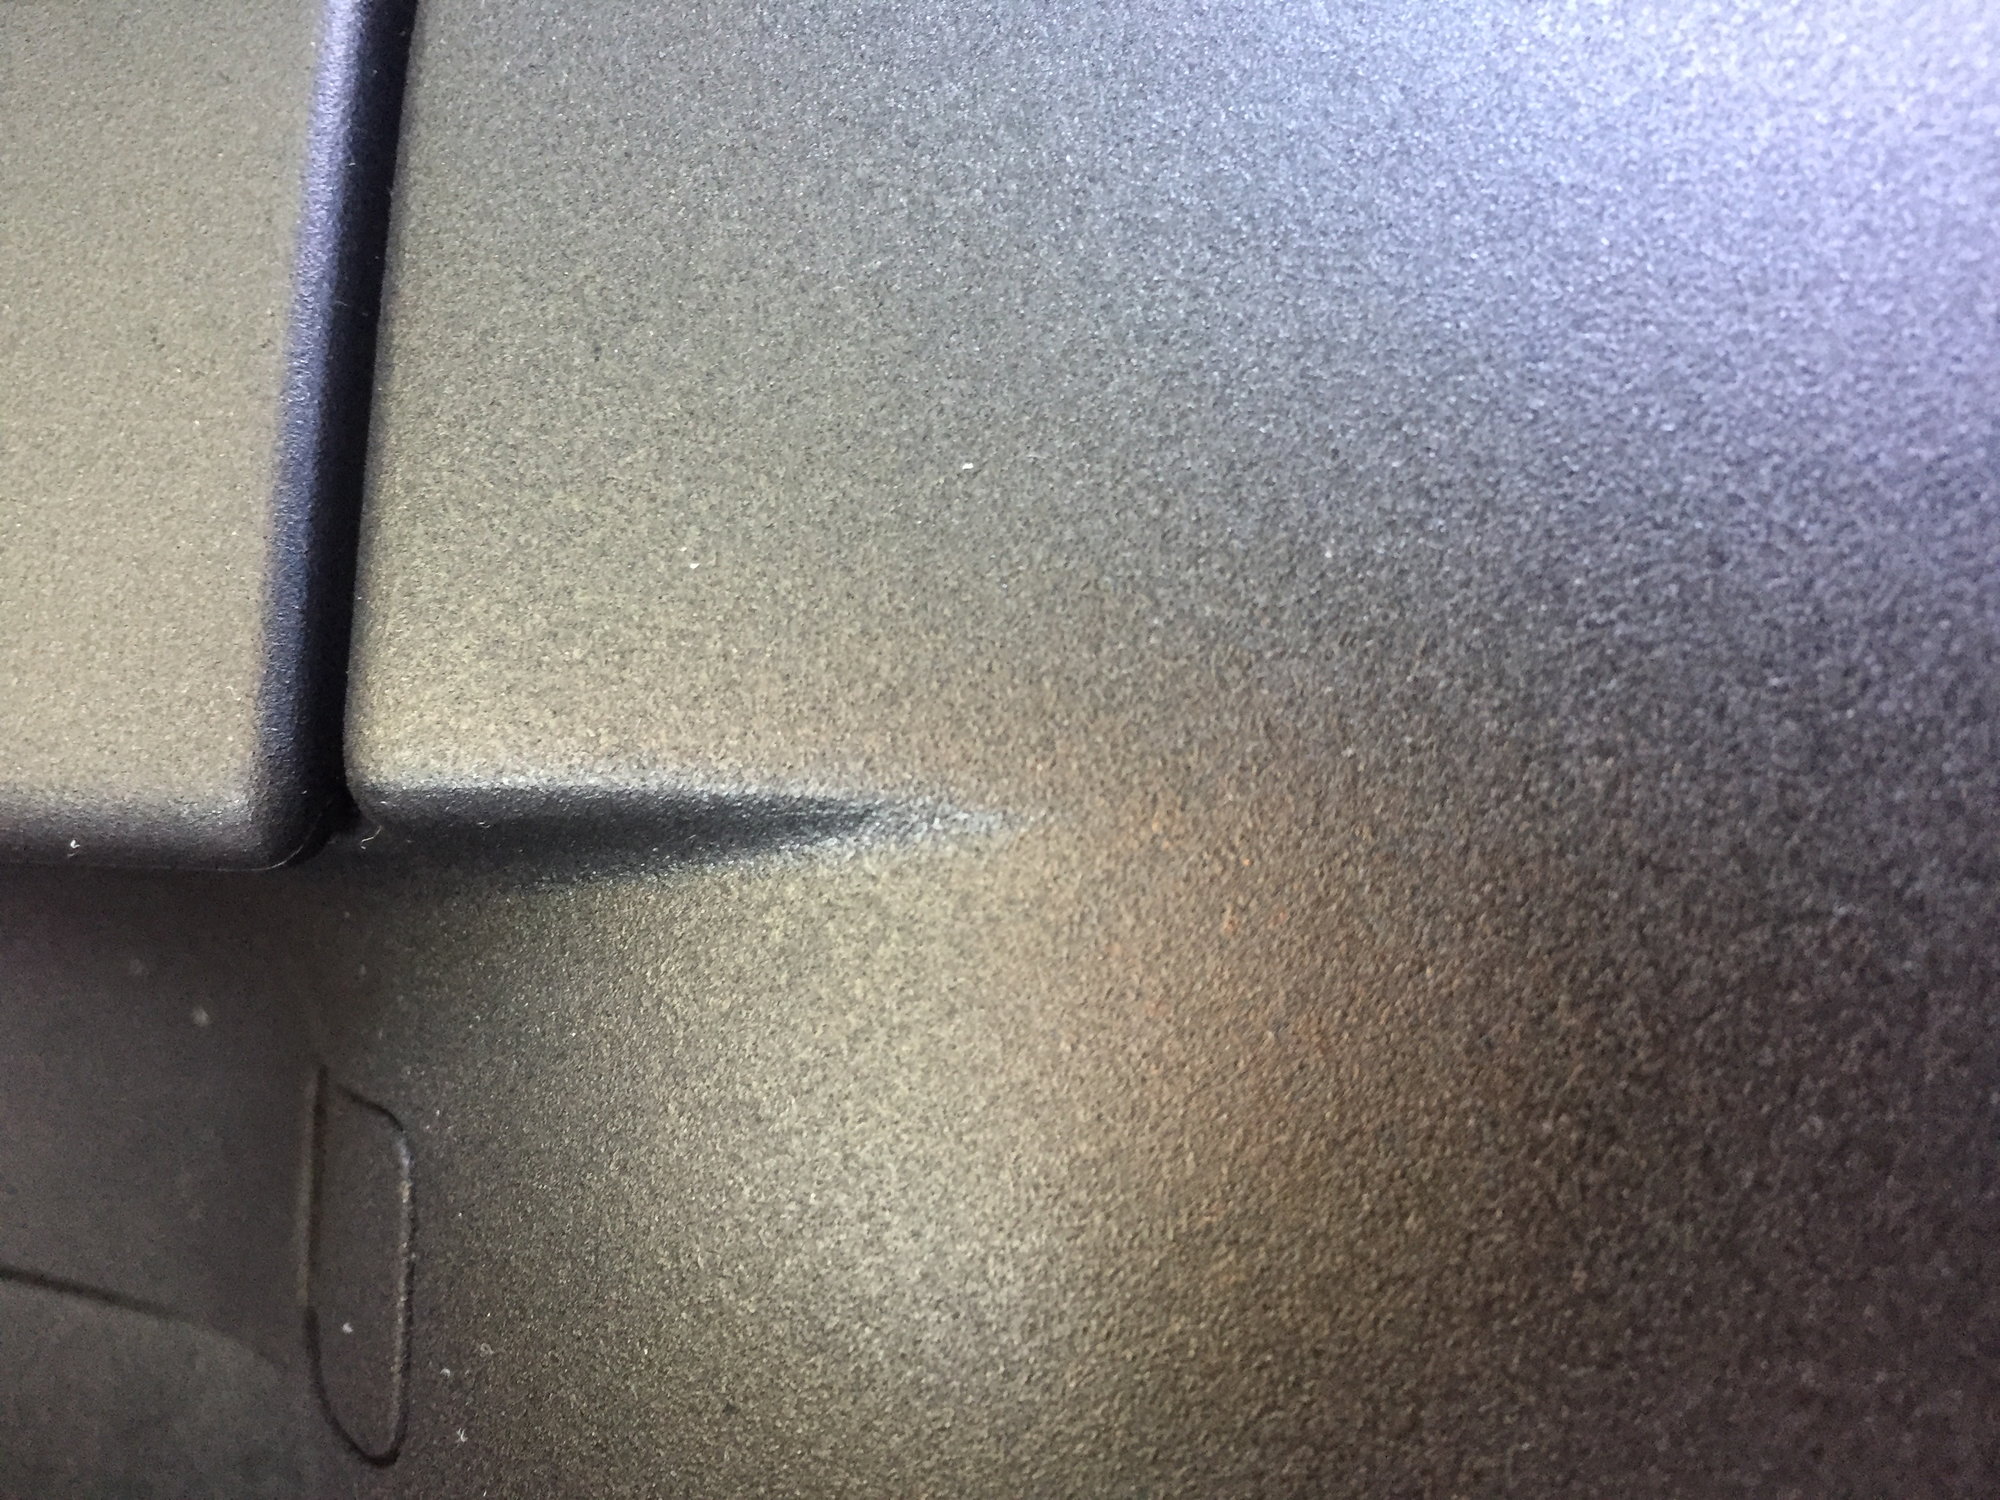
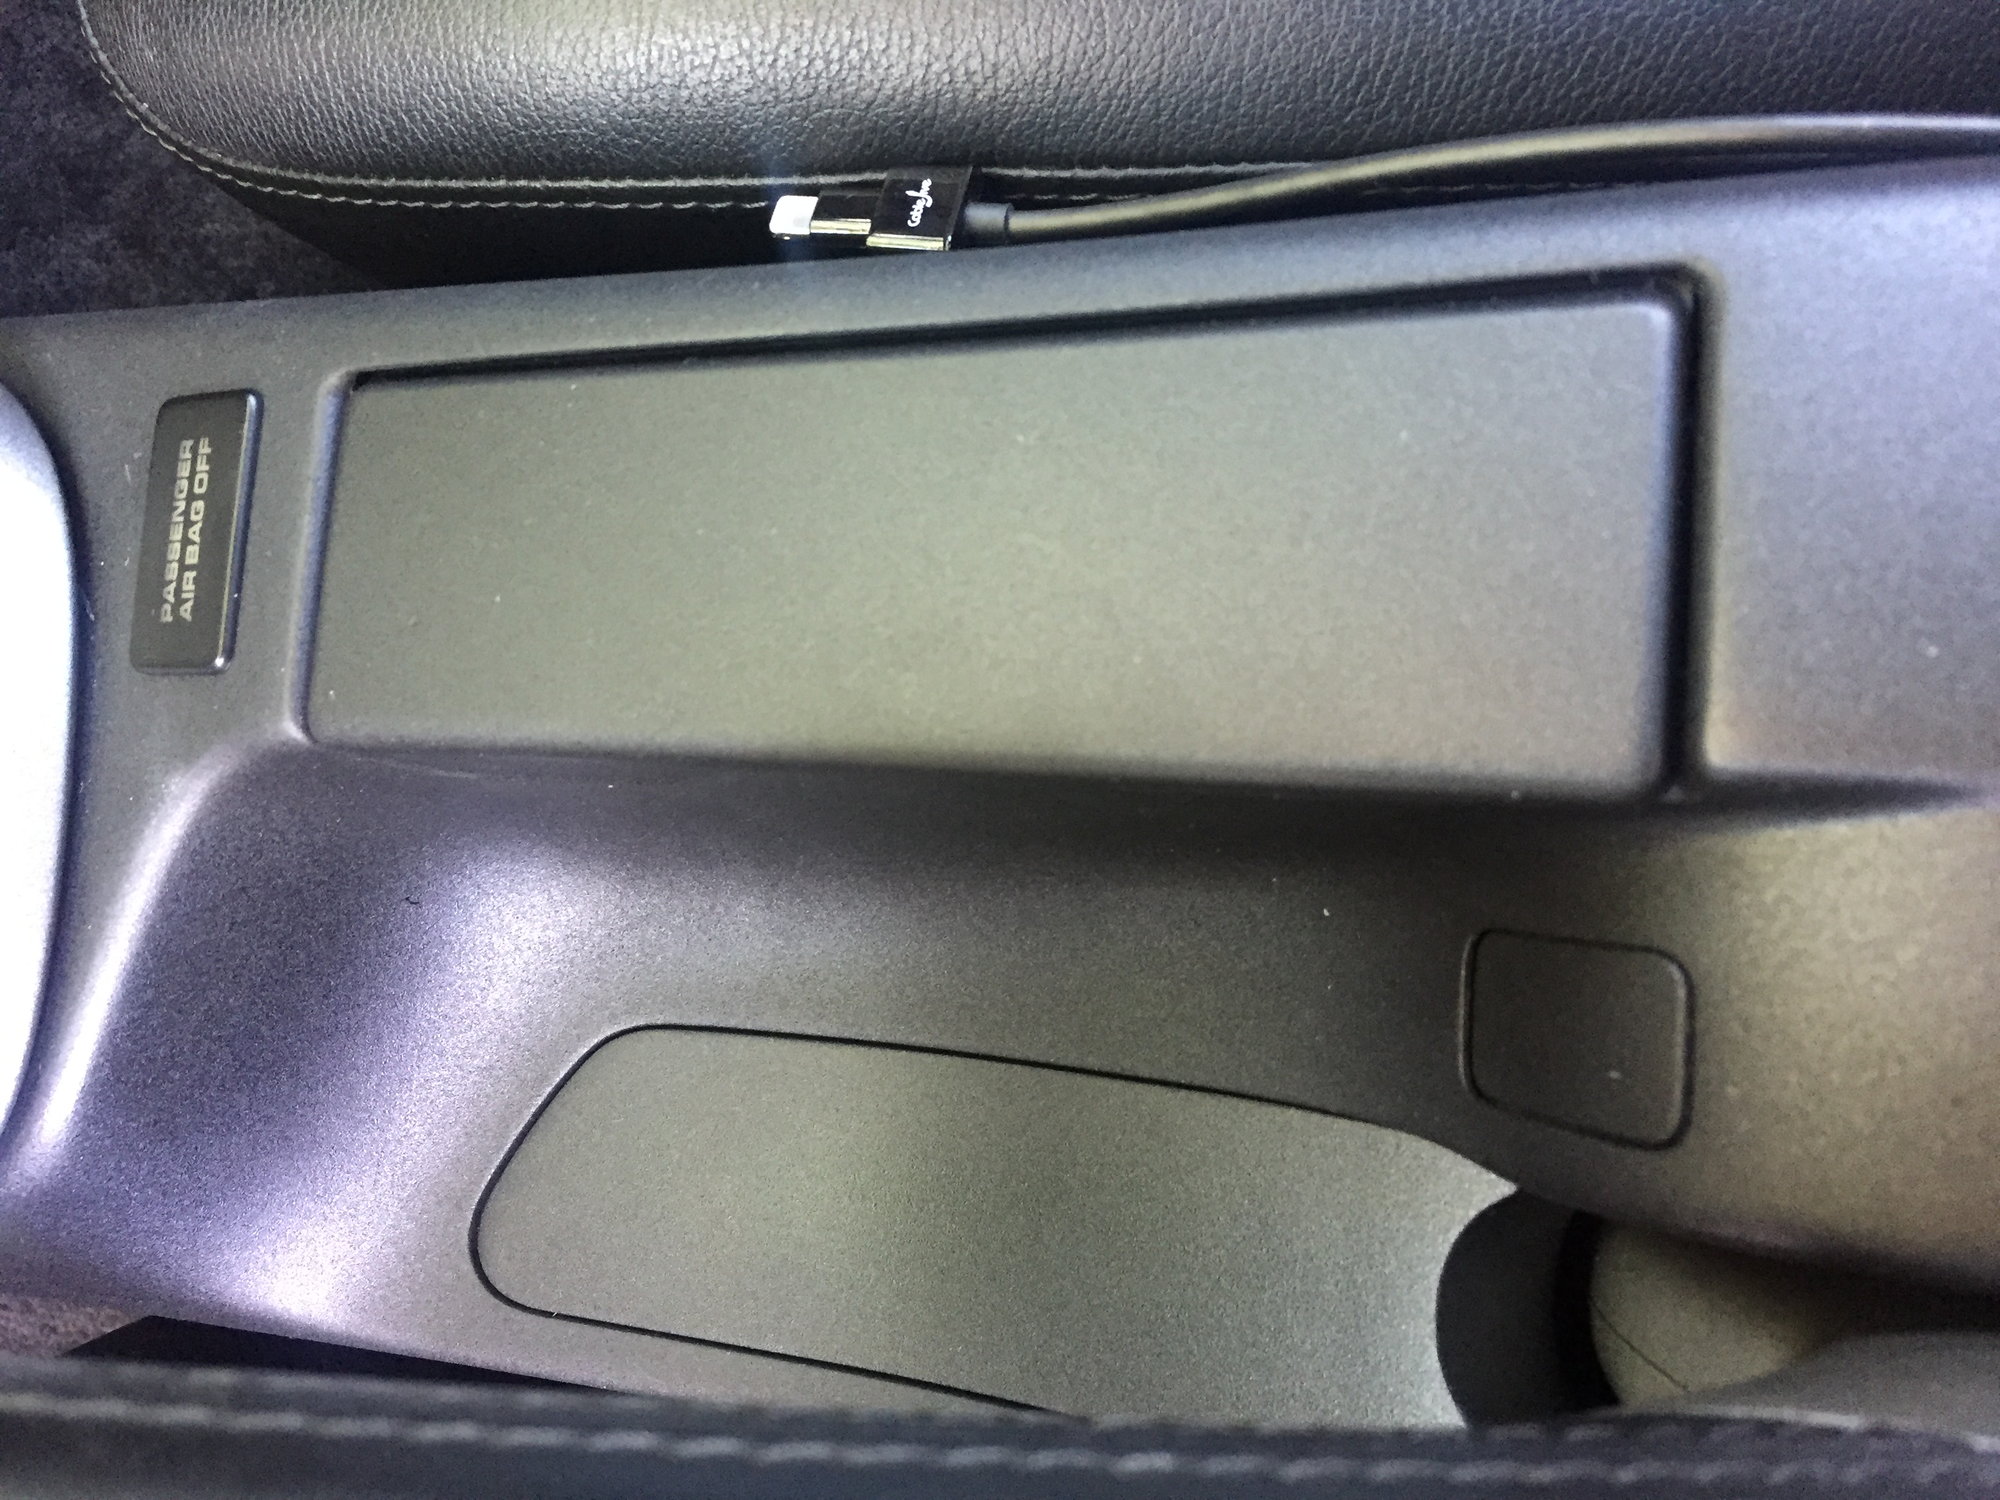
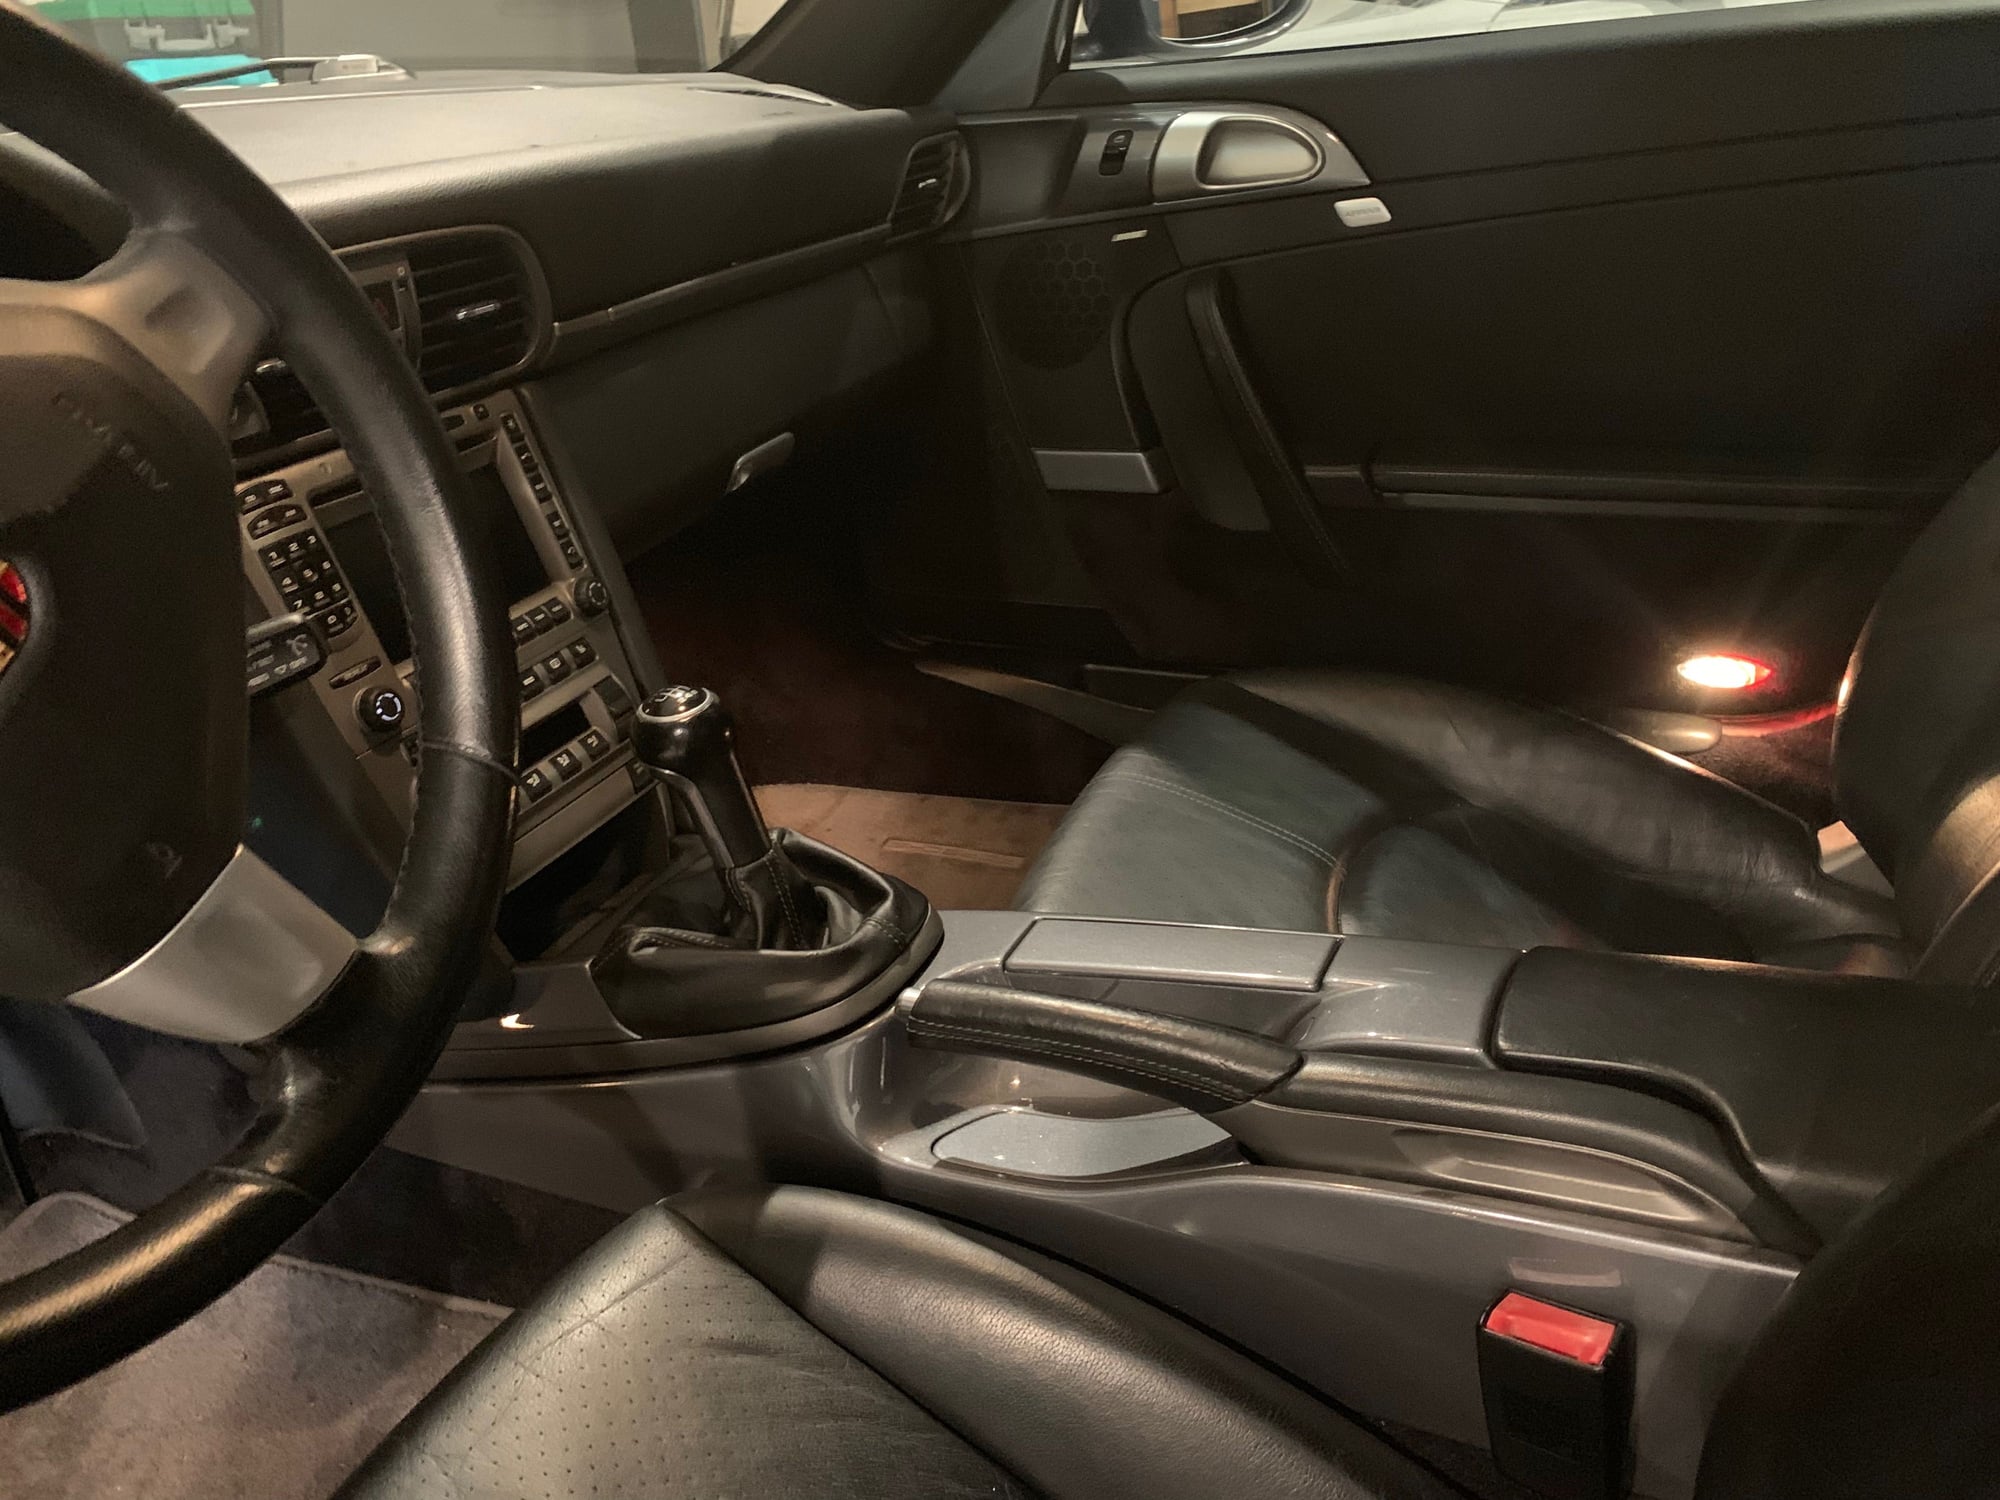
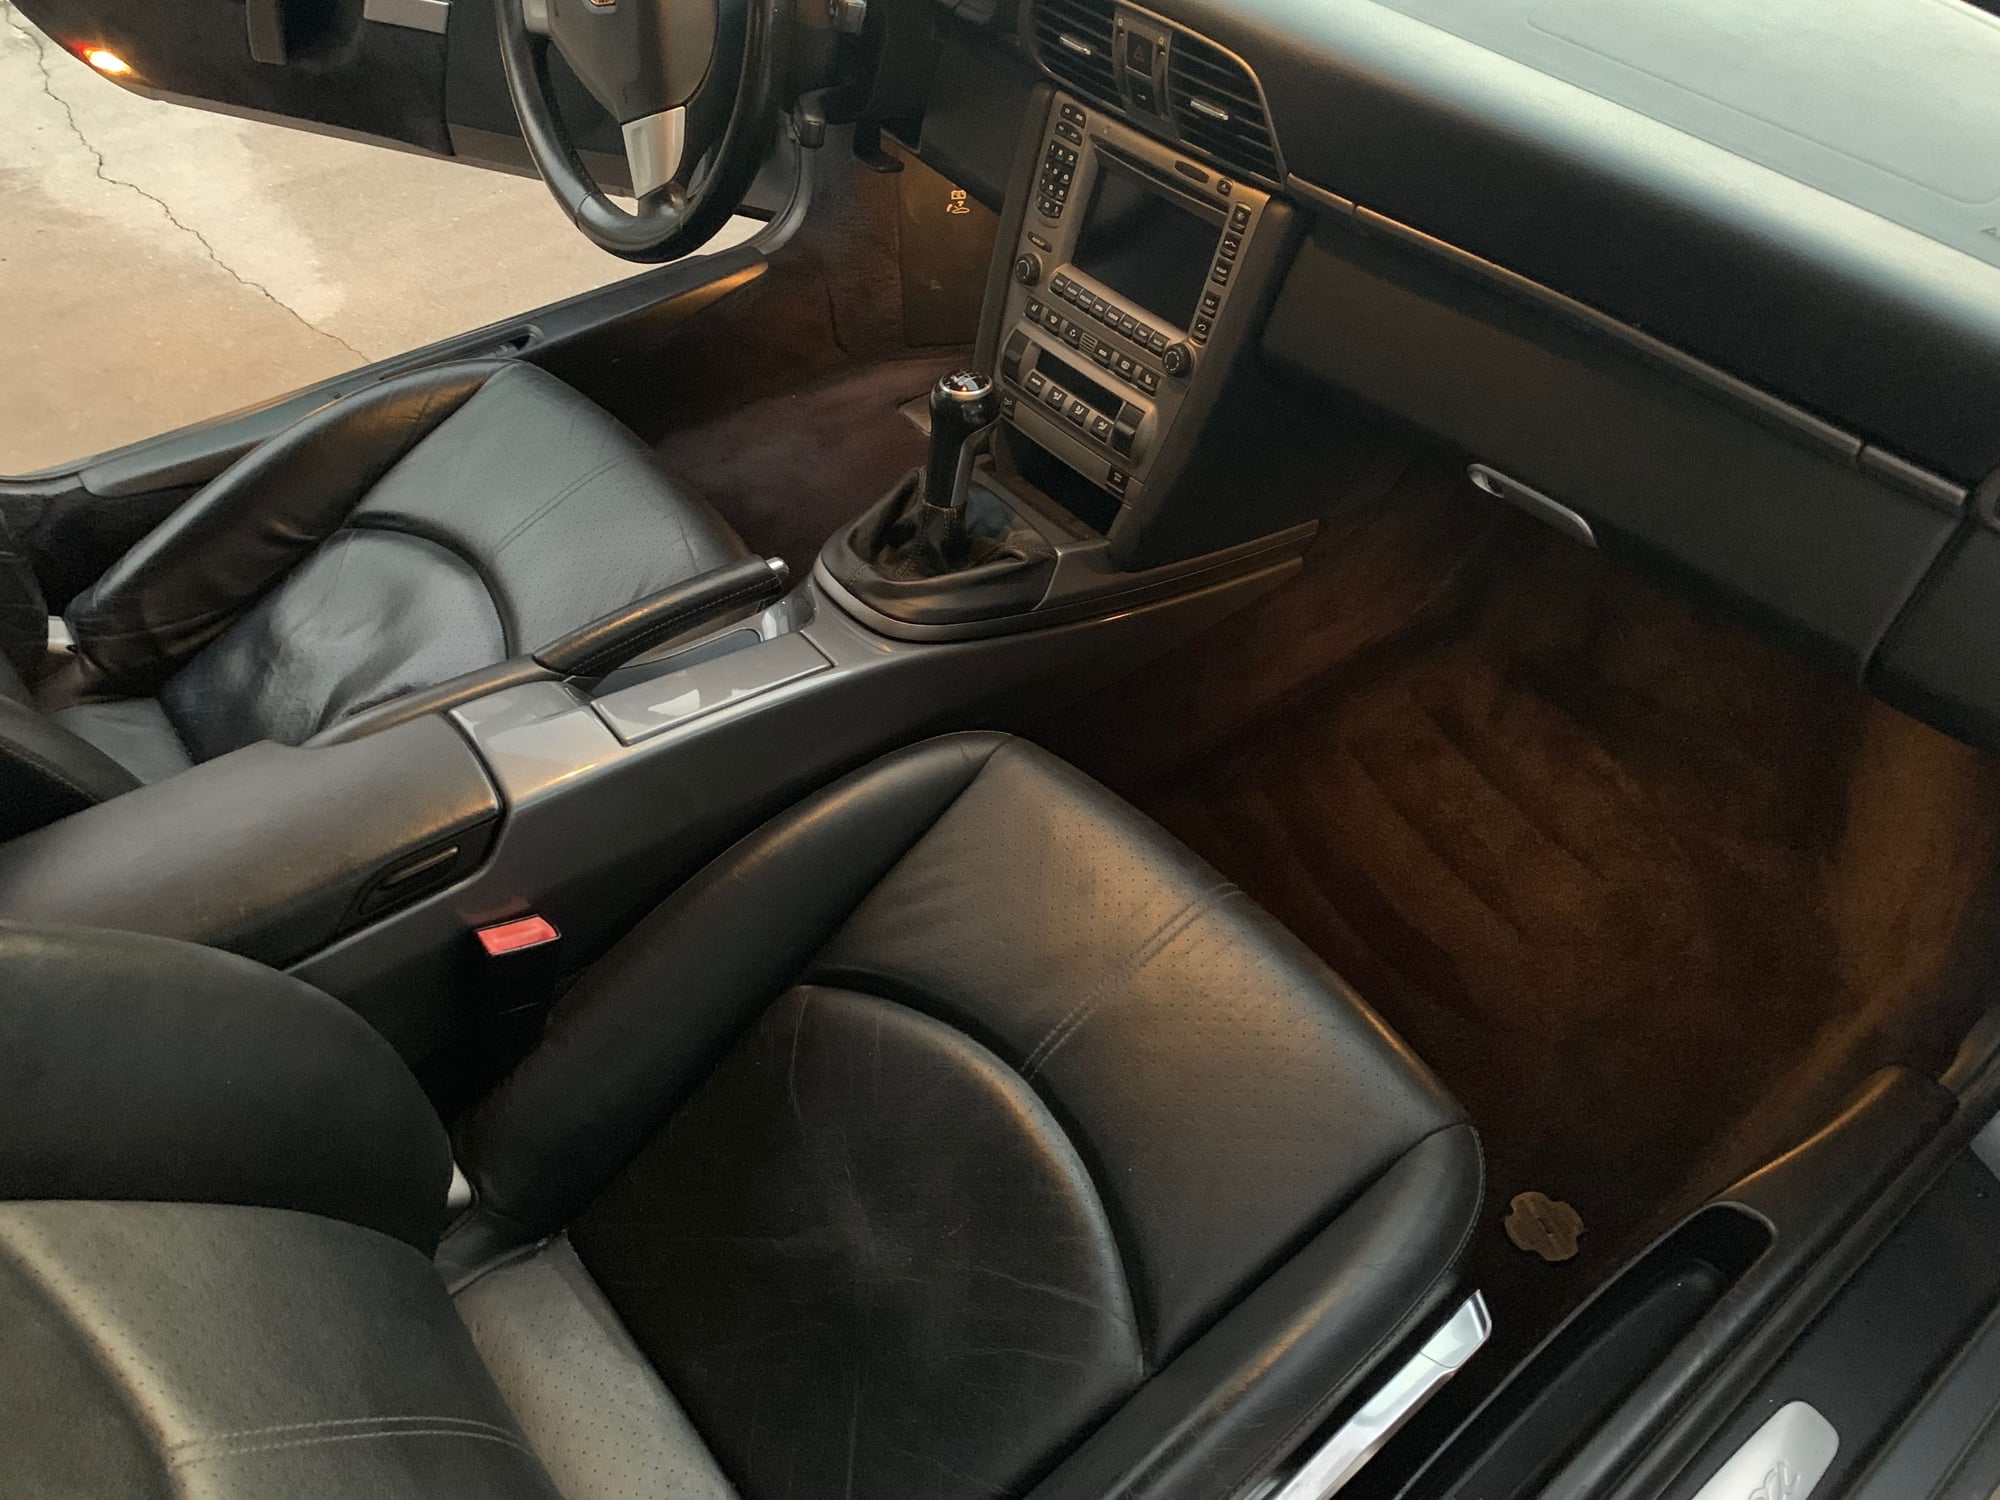
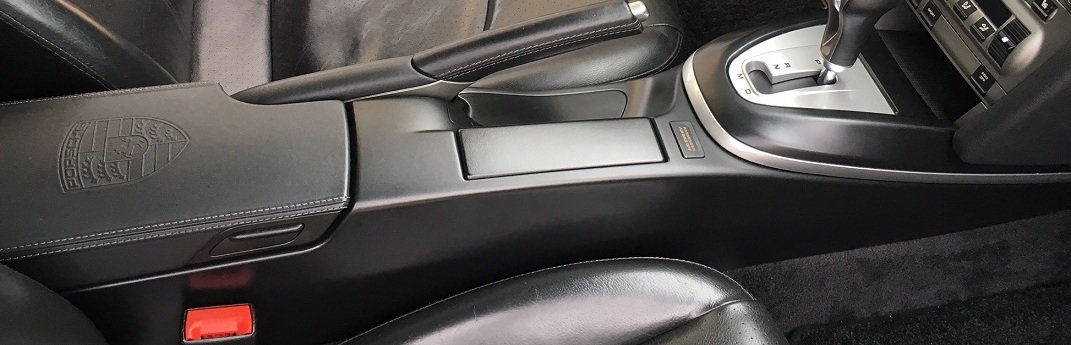
I was truly amazed with my handy work. The satin black finish looks OEM and the texture hides any imperfections or finger prints. It also matches the leather armrest perfectly.
You can see the satin texture in this photo. It matched the leather perfectly.
I will let you know how it holds up over the next few months. If it picks up scratches again I will likely get the Classic9 leather wrap.
The middle console project took me a while, way to long.
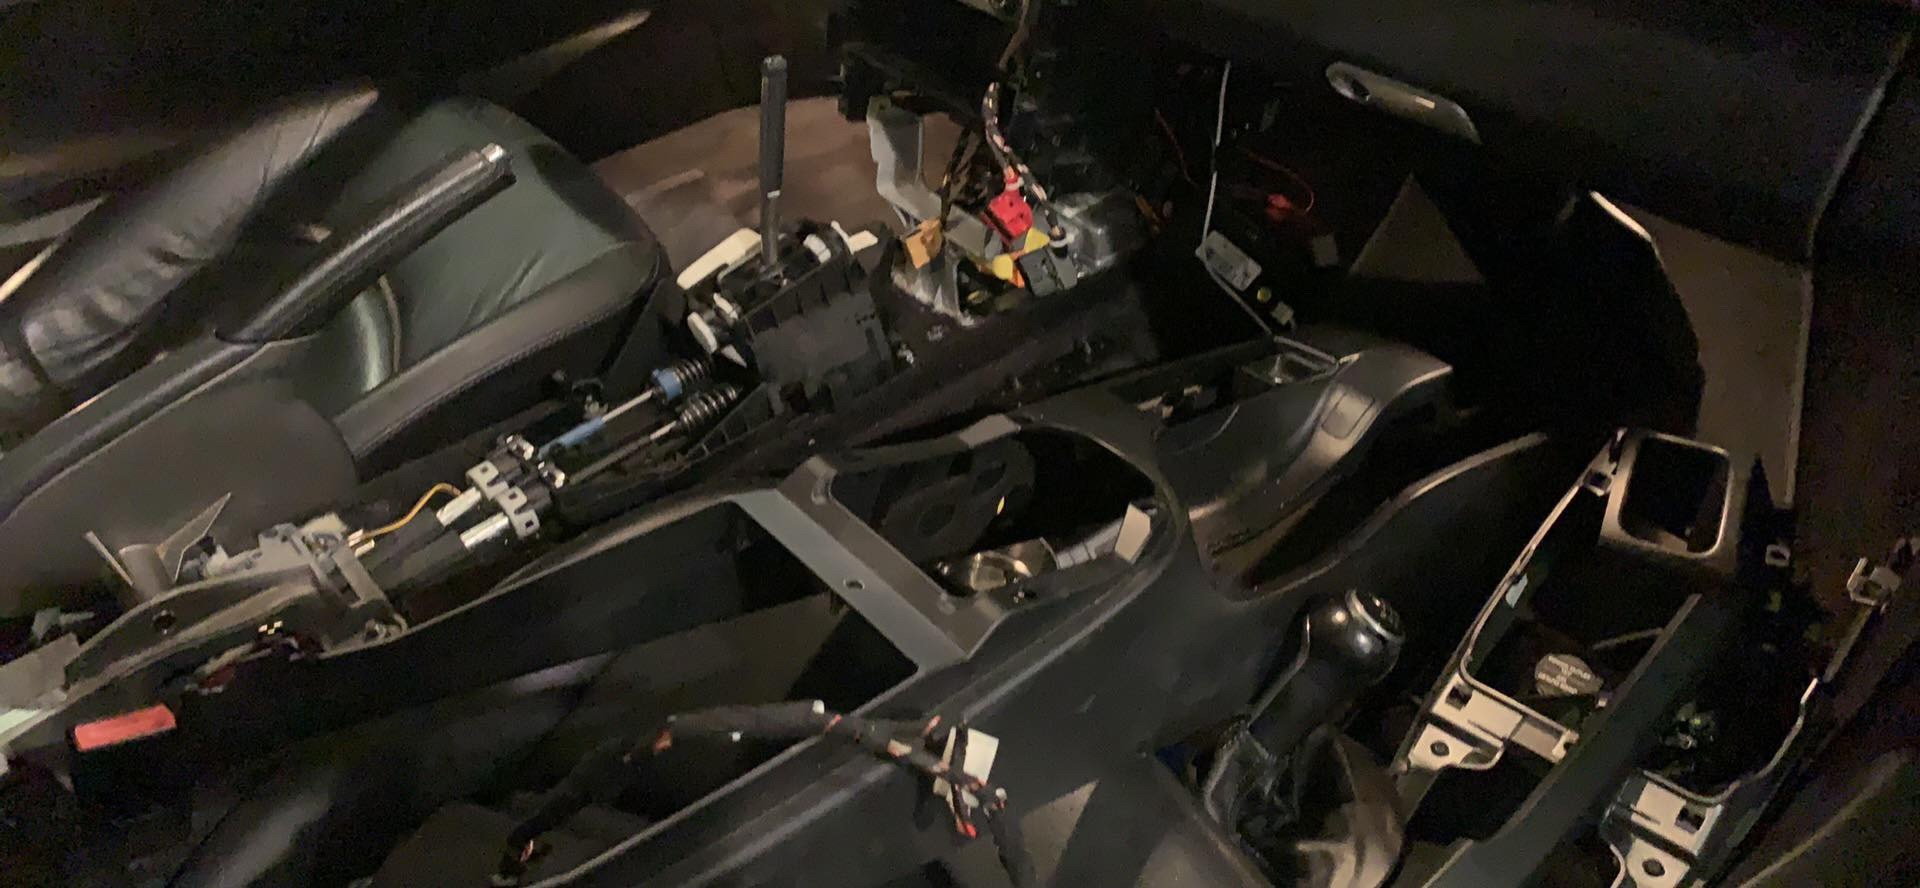
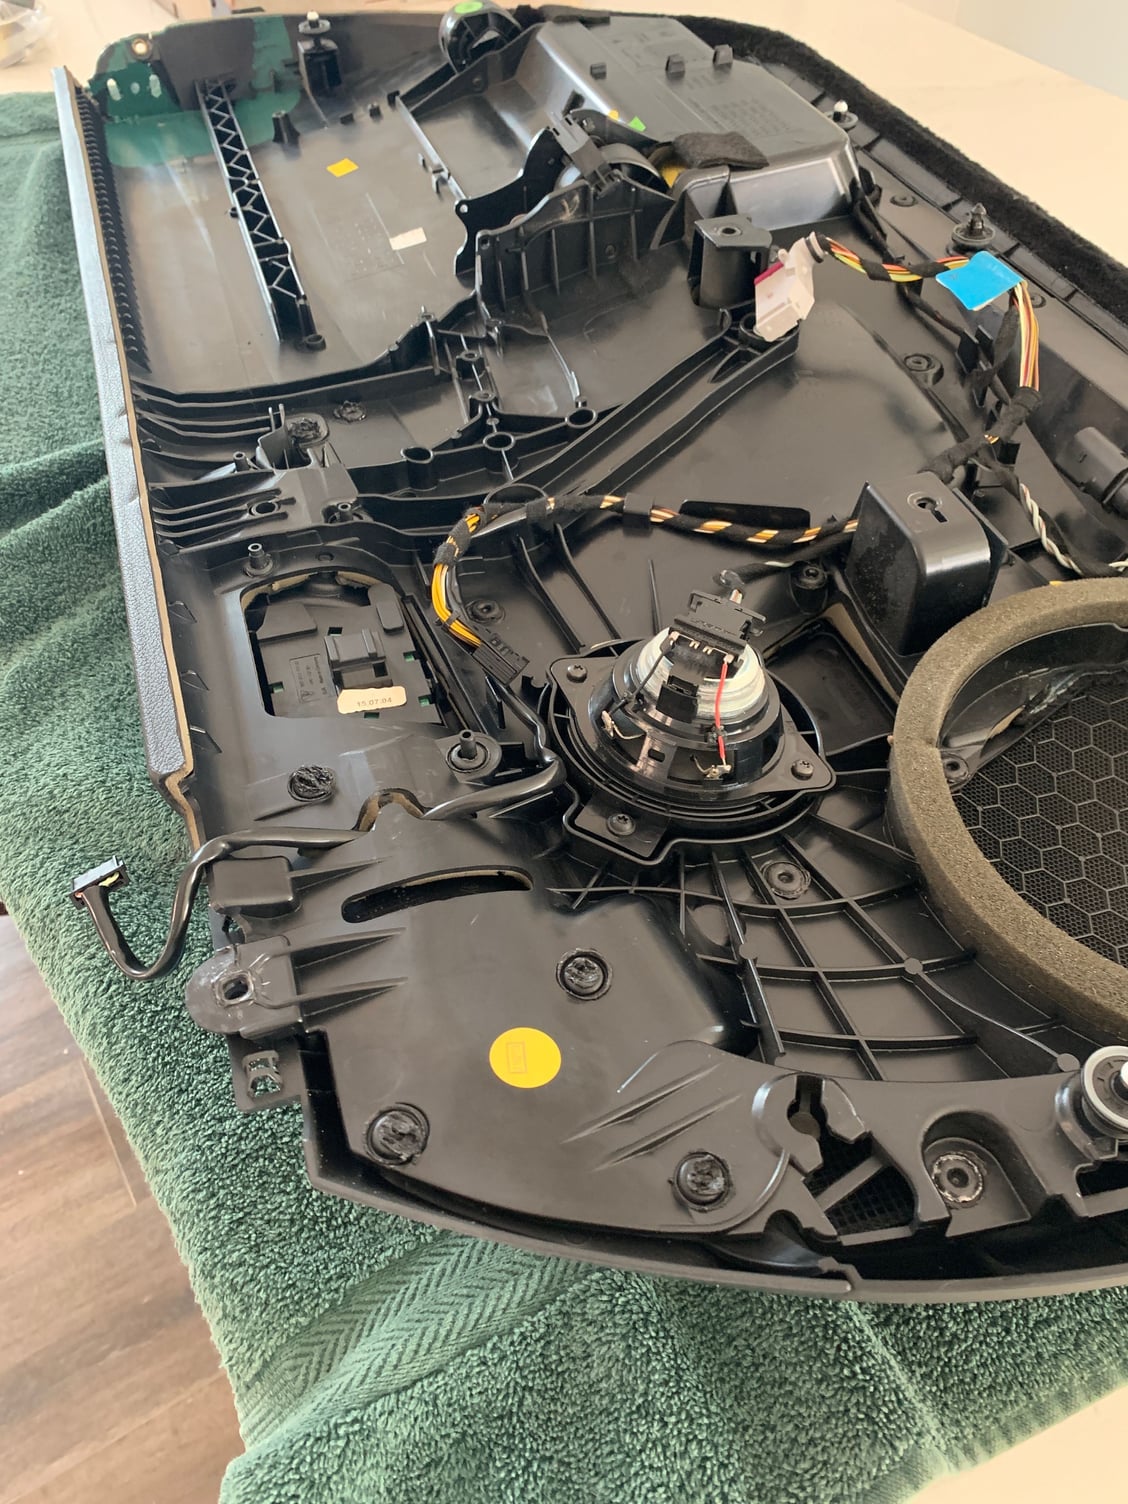
I took my interior apart when I had to replace my shifter cables.
Since I was there, I took all apart and removed the door handle covers as well. How it started, replacing shifter cables
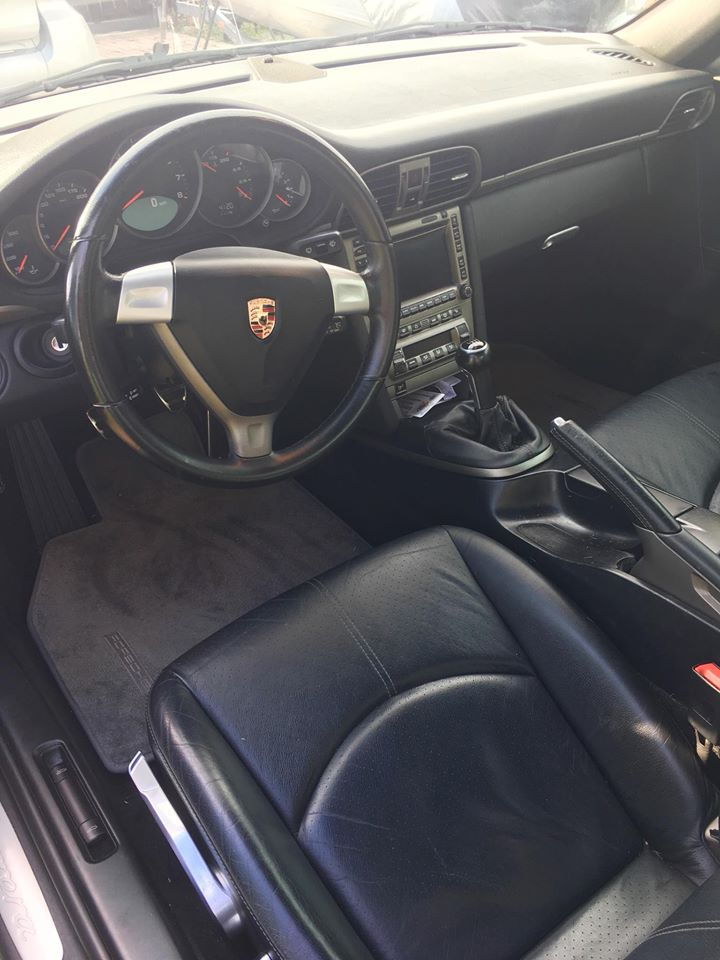
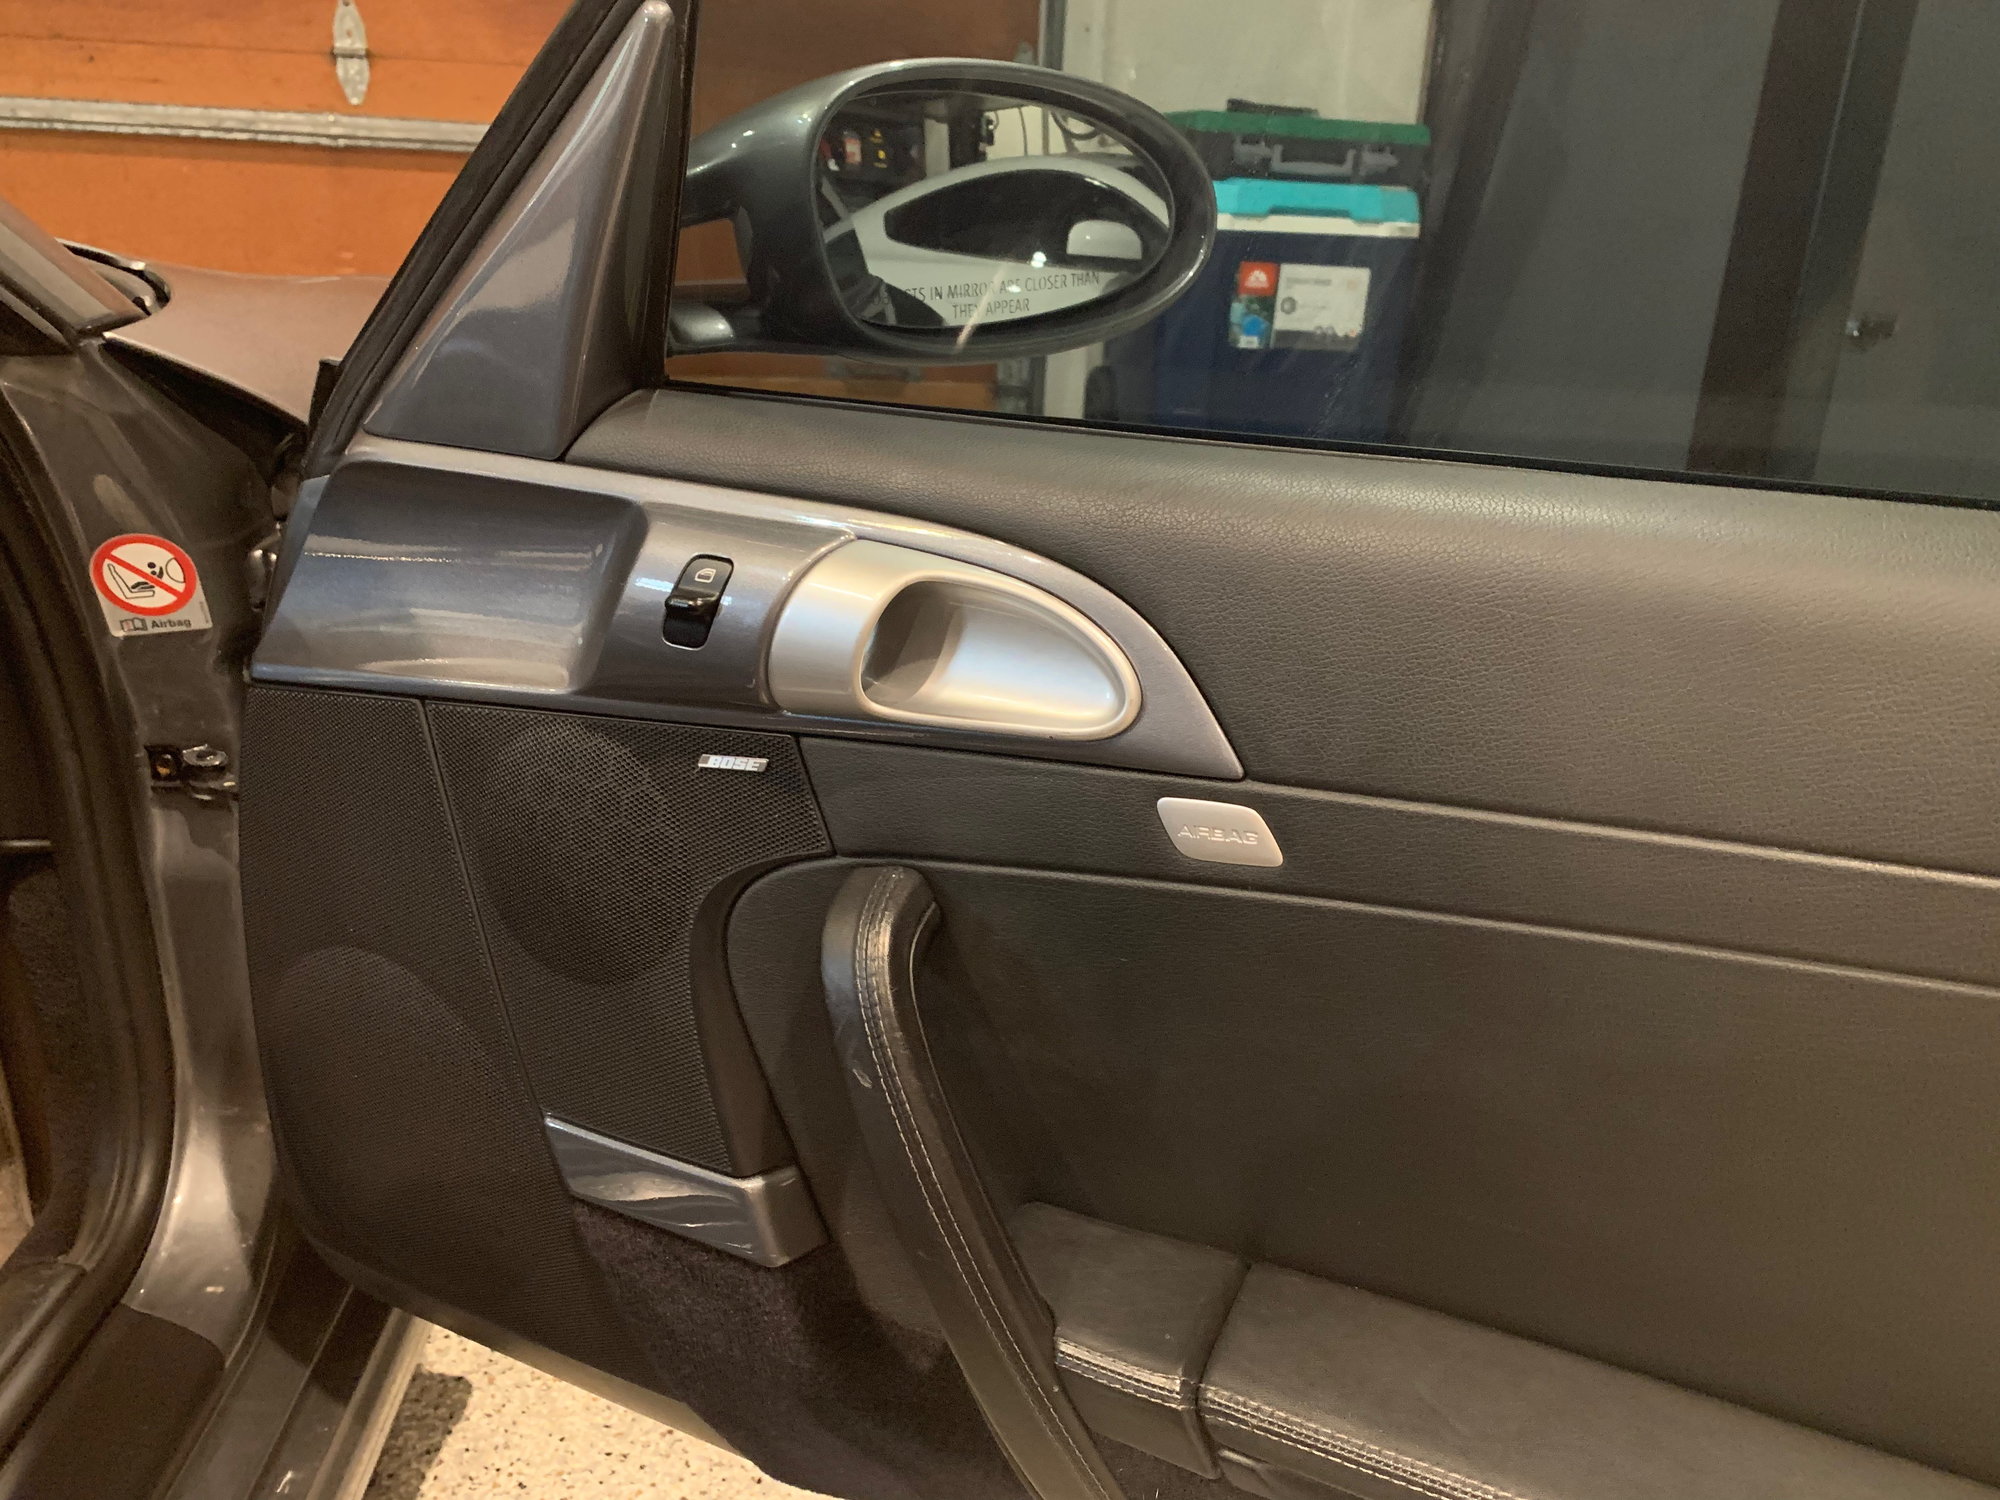
This picture was a purchase picture of the car.
Before picture
Sanding the pieces took me a while, the best way to remove the old paint for me was to take the pieces under water, soak and just rub it off with a towel/ hands. Details had to be sanded by hand.
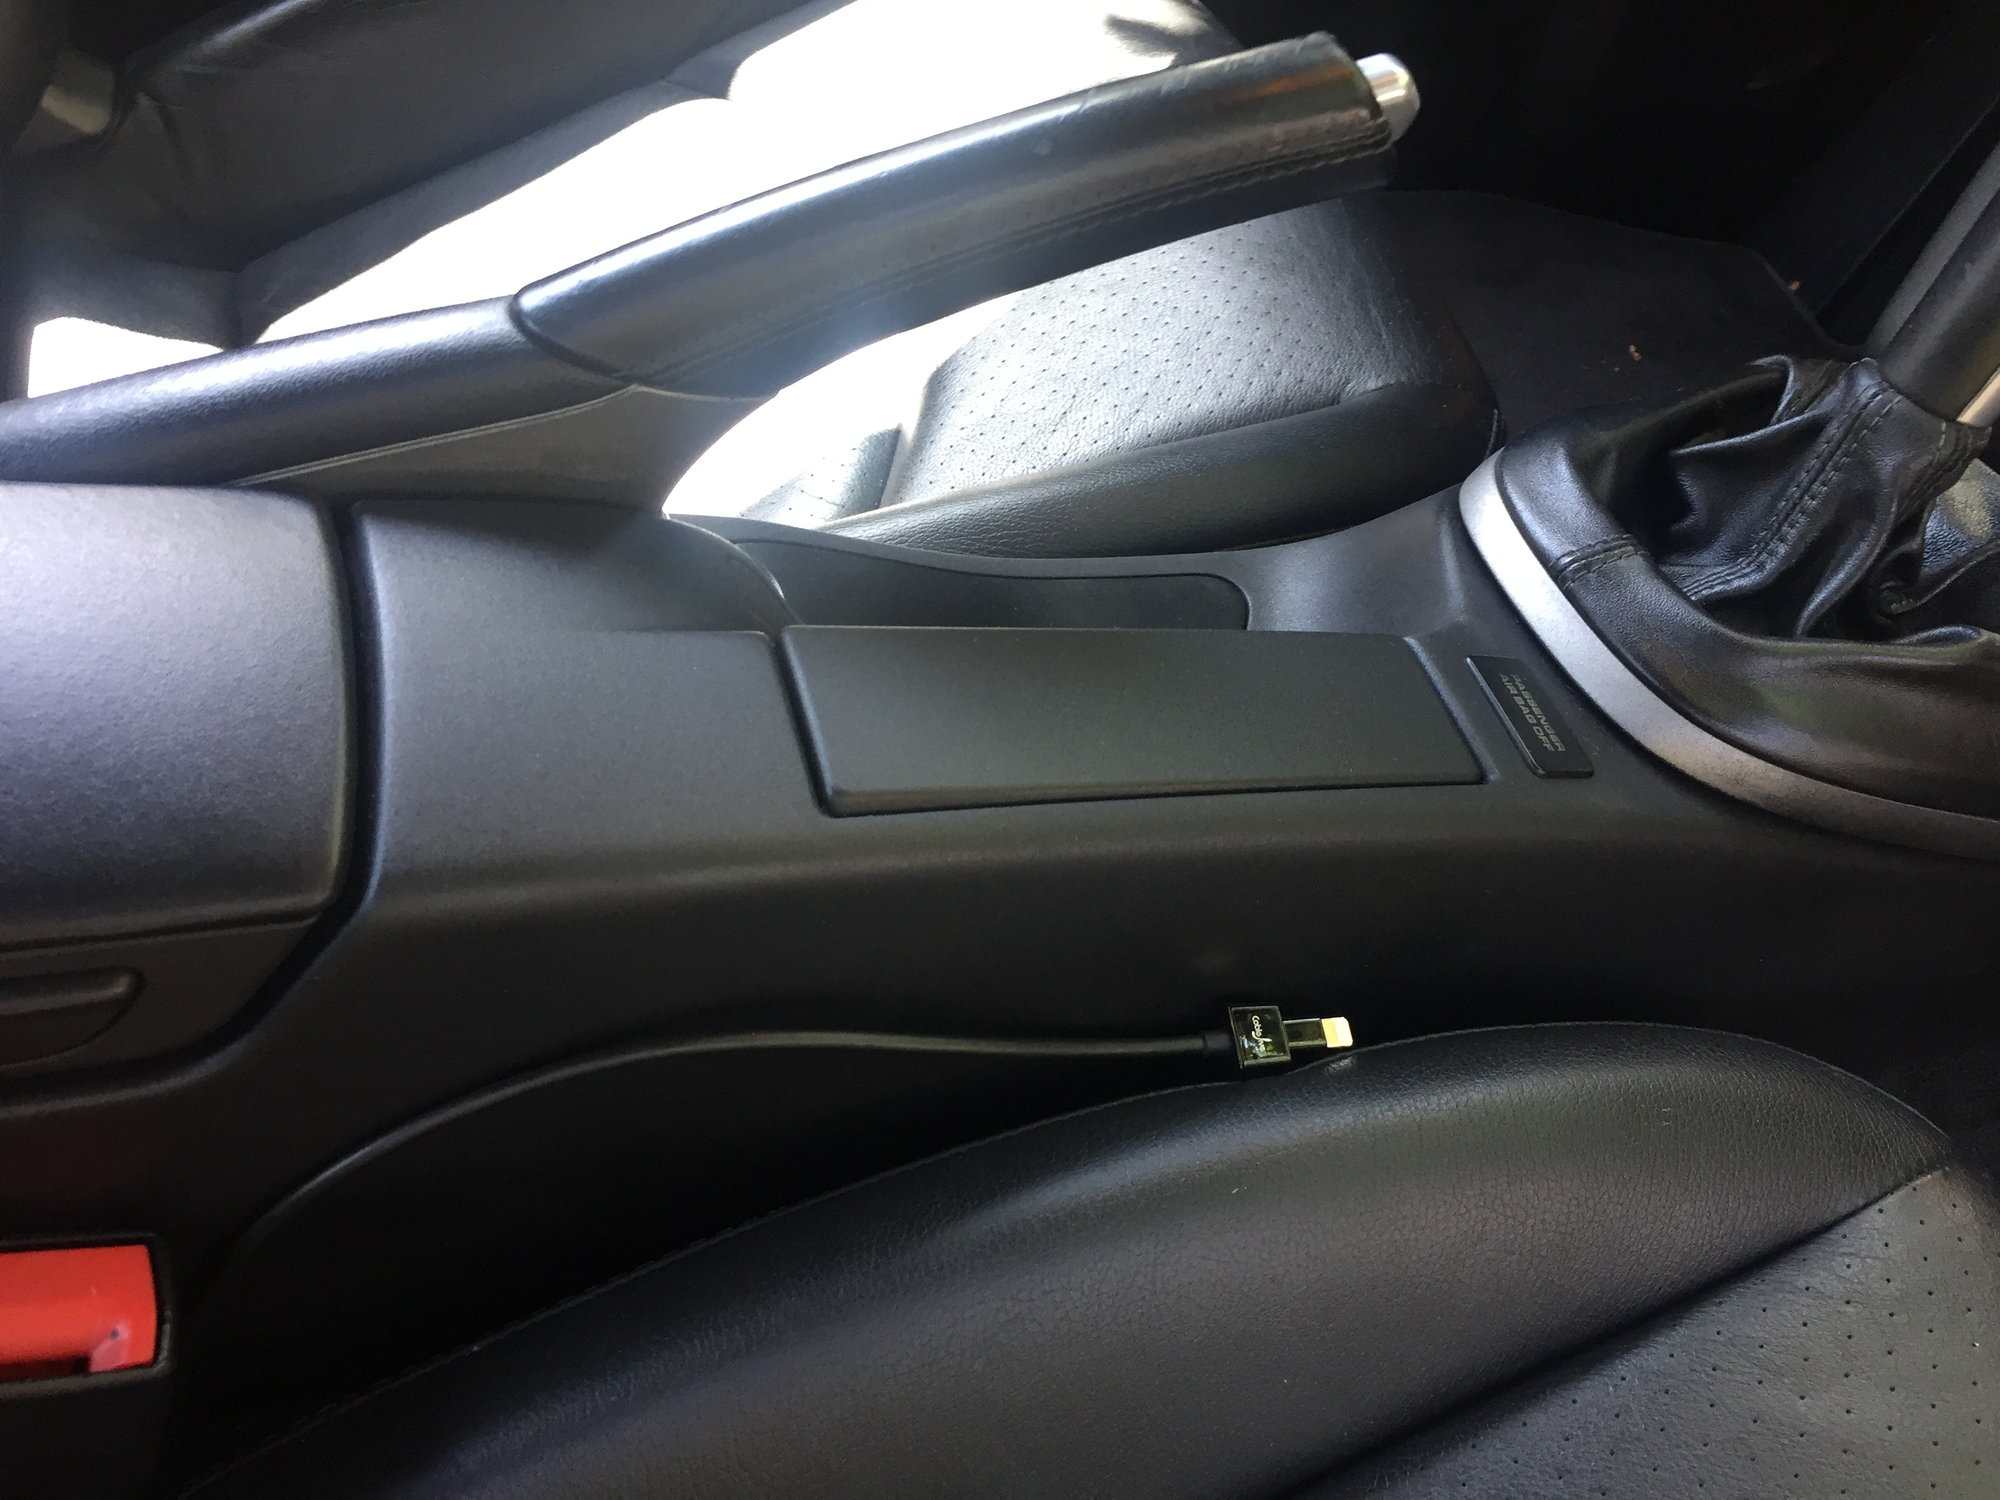
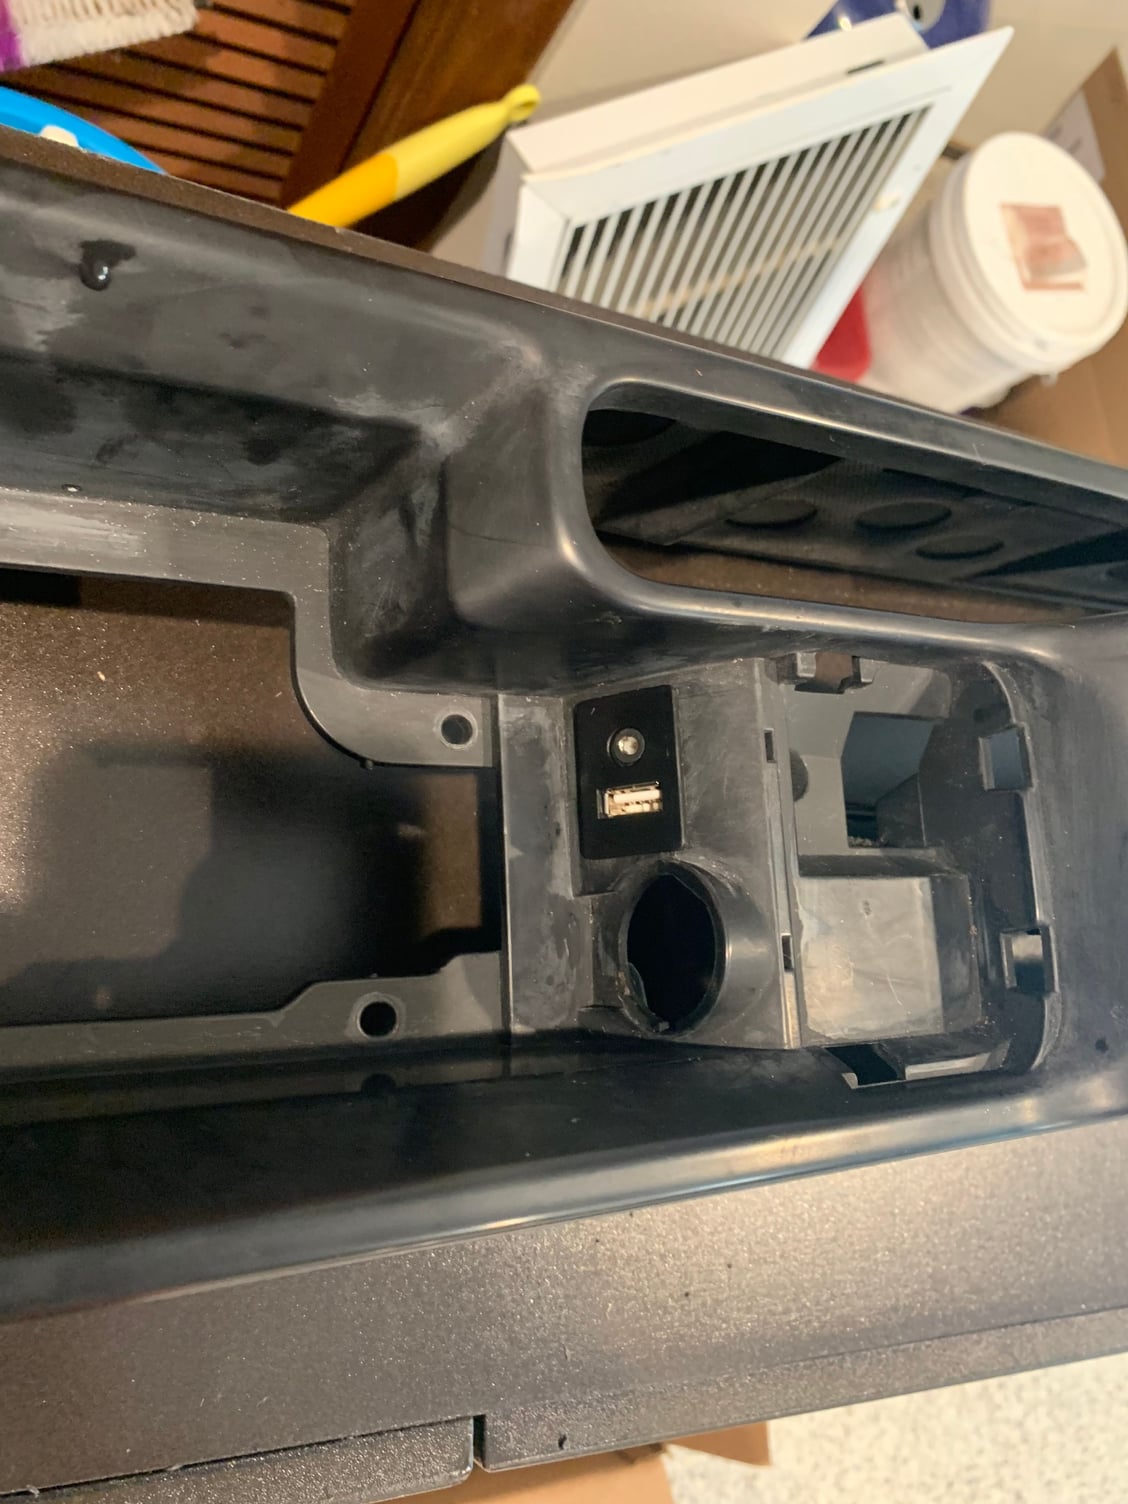
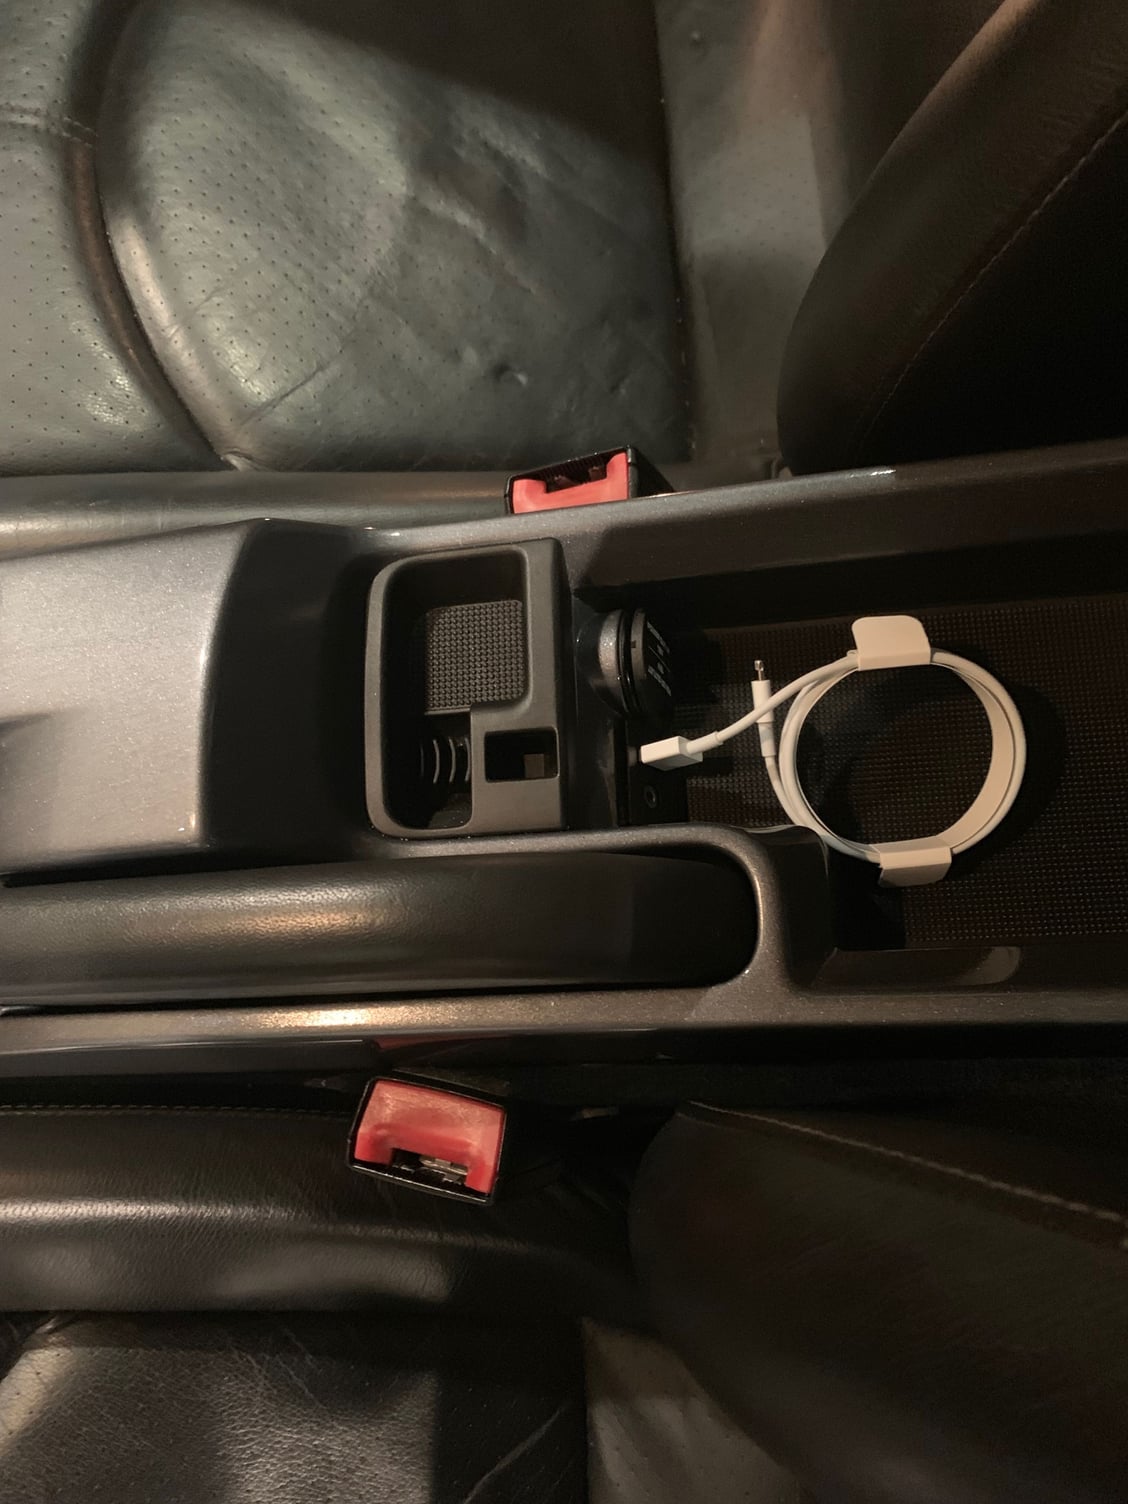
In addition, I cut a USB and AUX port in the middle console cubby for my LaPower unit. I shortened the the housing with a dremmel and saw to flow with the rounded area.
Here the USB / Aux I bought: https://www.ebay.com/itm/323876730275?
You can see the add has a higher housing what looked odd in the console.
Rough in USB/AUX port
I broke too many tabs on the door covers with the melt technique and got new black ones from Suncoast. The drill worked better for me, but I already had few tabs broken.
Finding a paint shop who wants to paint my interior was a terrible experience. From terrible job over not calling back to decline the job, I had it all.
In the end I found a company what mixes rattle cans per order and did the job myself.
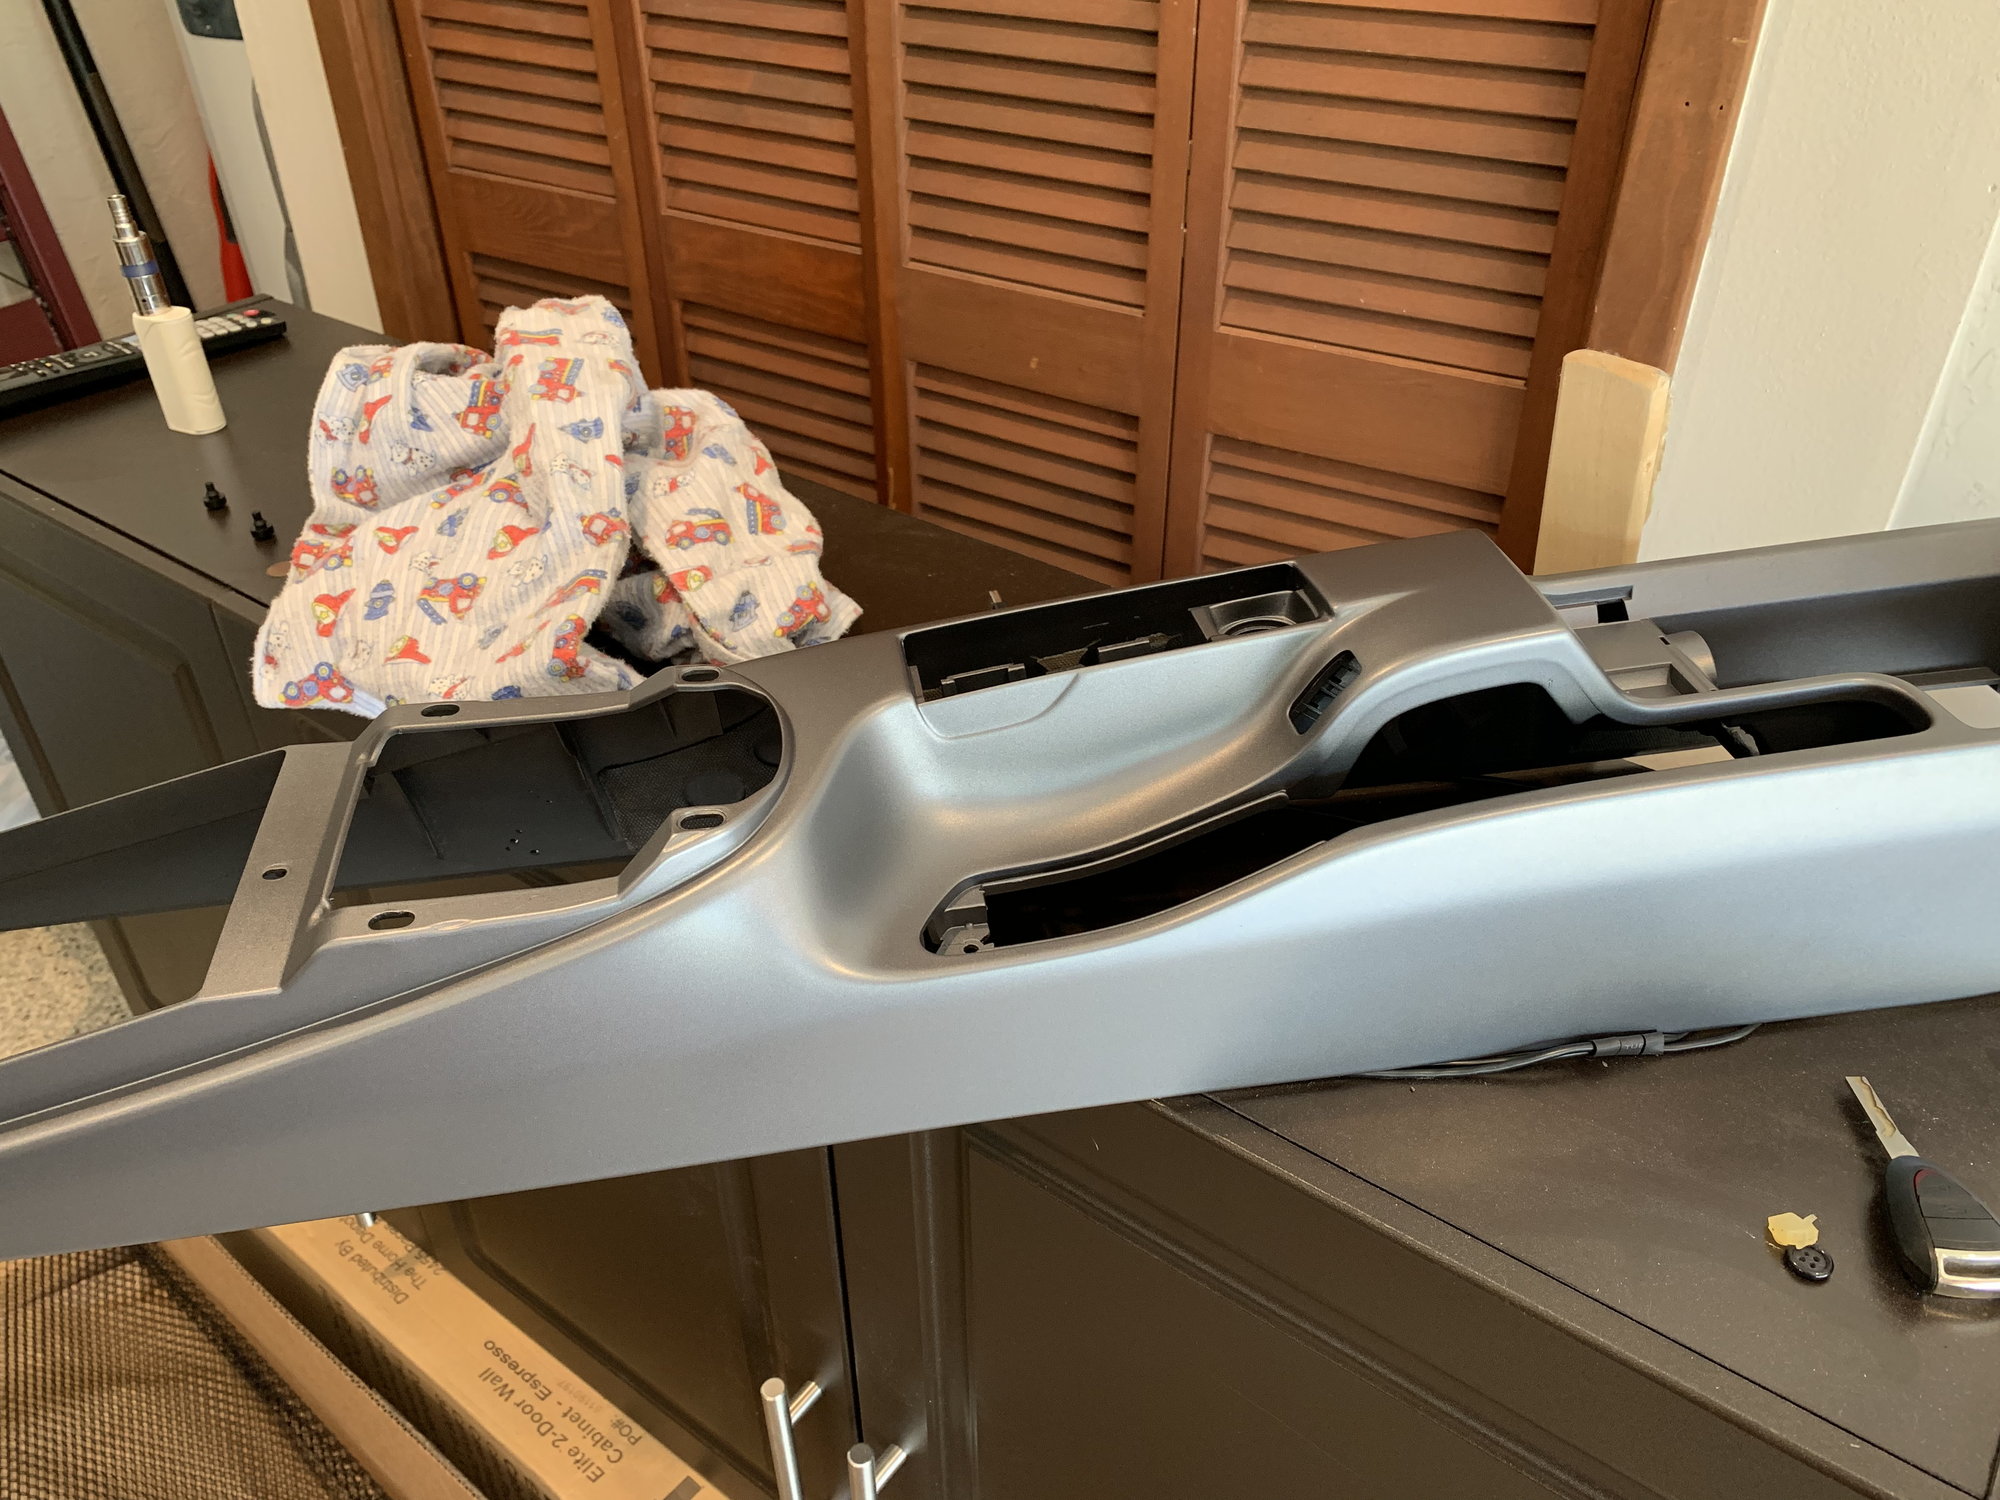
The paint was amazing! I always thought my paint skills are just not good but this rattle cans where phenomenal. Paint and metallic effect look perfect!!! I talked to them on the phone and ordered my body color Seal grey. My order came up with 1 flexible primer, 2 paint seal grey and 2 clear coat.
Great support and the product was amazing!
I can highly recommend the company from my experience. https://www.66autocolor.com/
My process: I sanded the old paint and scratches out. Primer came with seal gray already added what was very nice. I primed, sanded with 1500 grid, primed again and sanded with 1500.
Three layers seal grey and three layers clear coat. The paint had instructions not to sand between coats, what was my initial plan. I'm glad I read the instructions to sand one day later after the last clear coat was applied.
first layer paint
first layer paint console
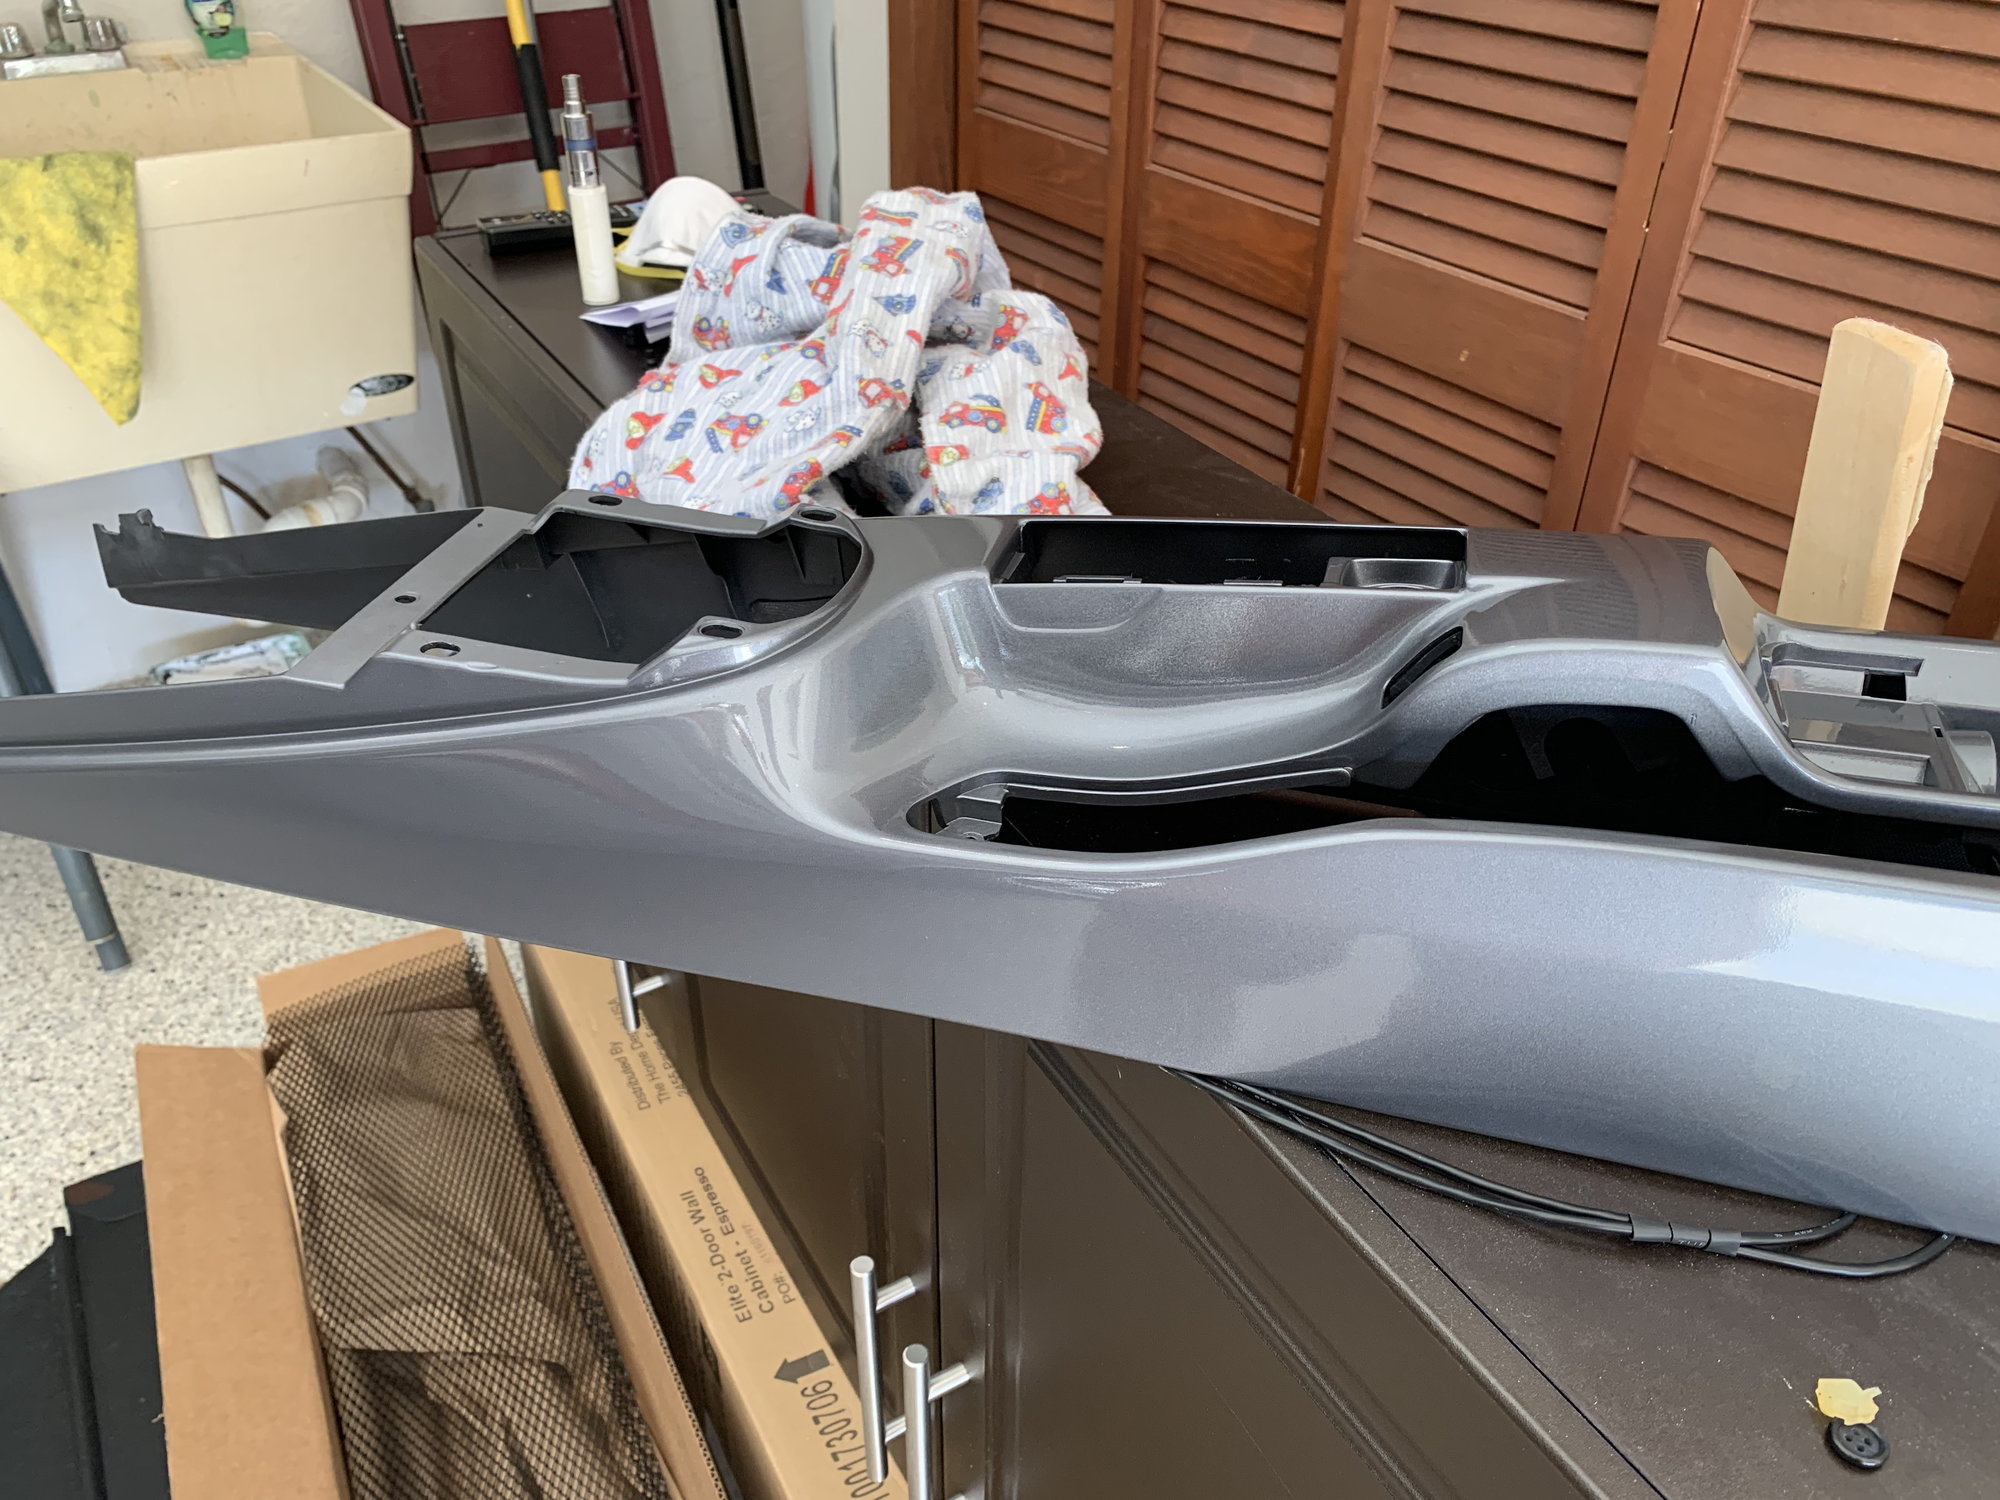
first layer clear coat
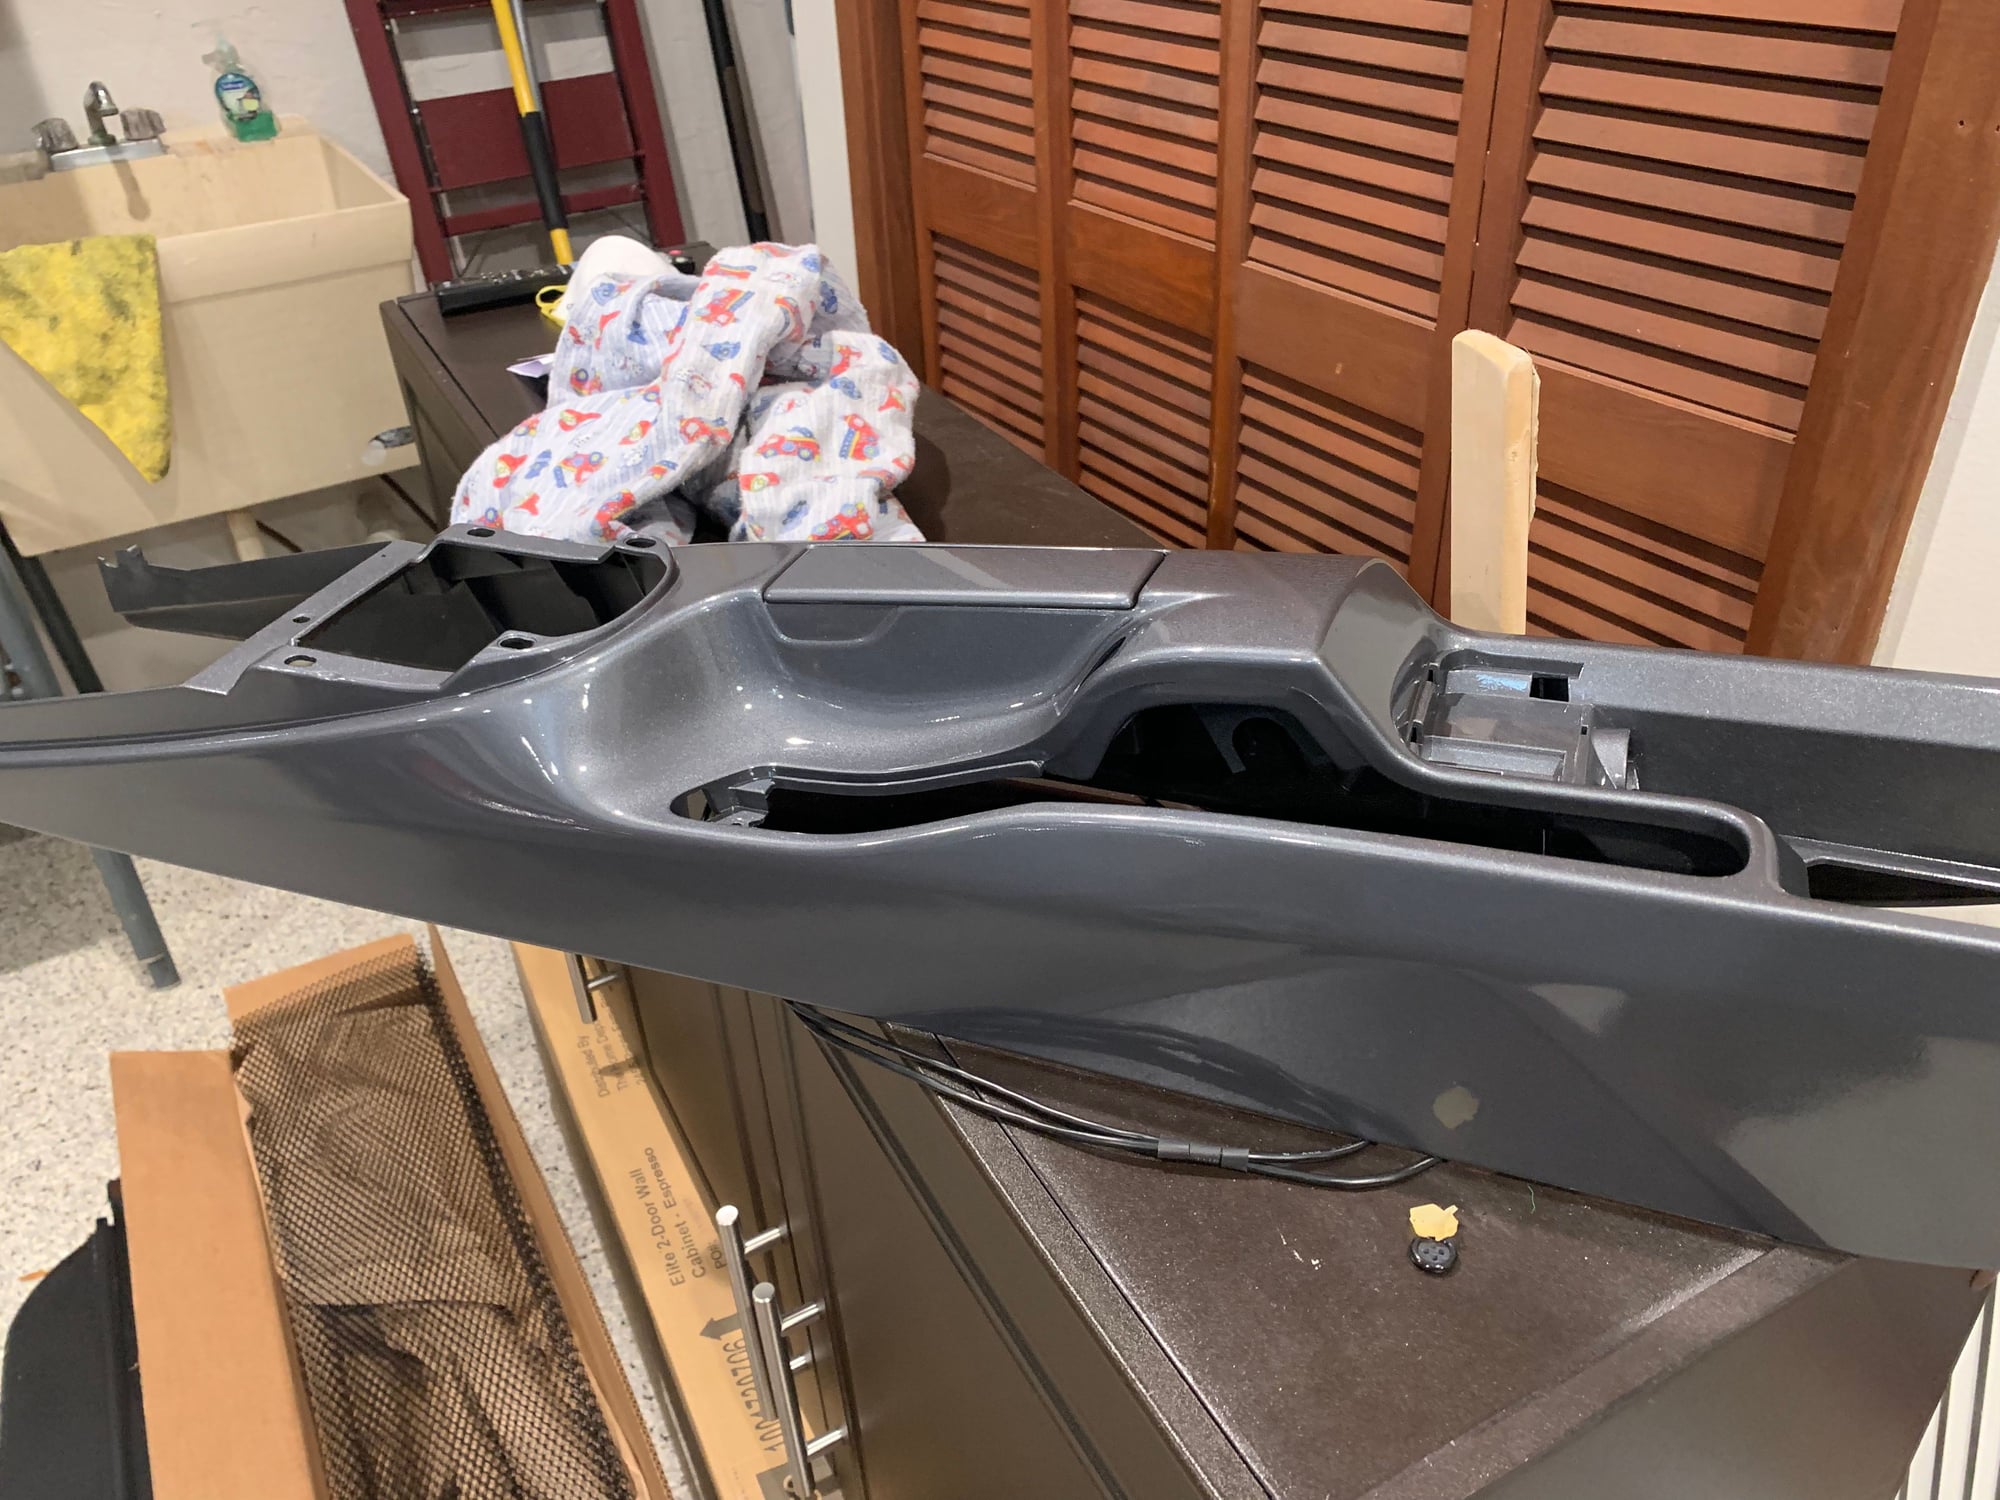
Second layer clear coat
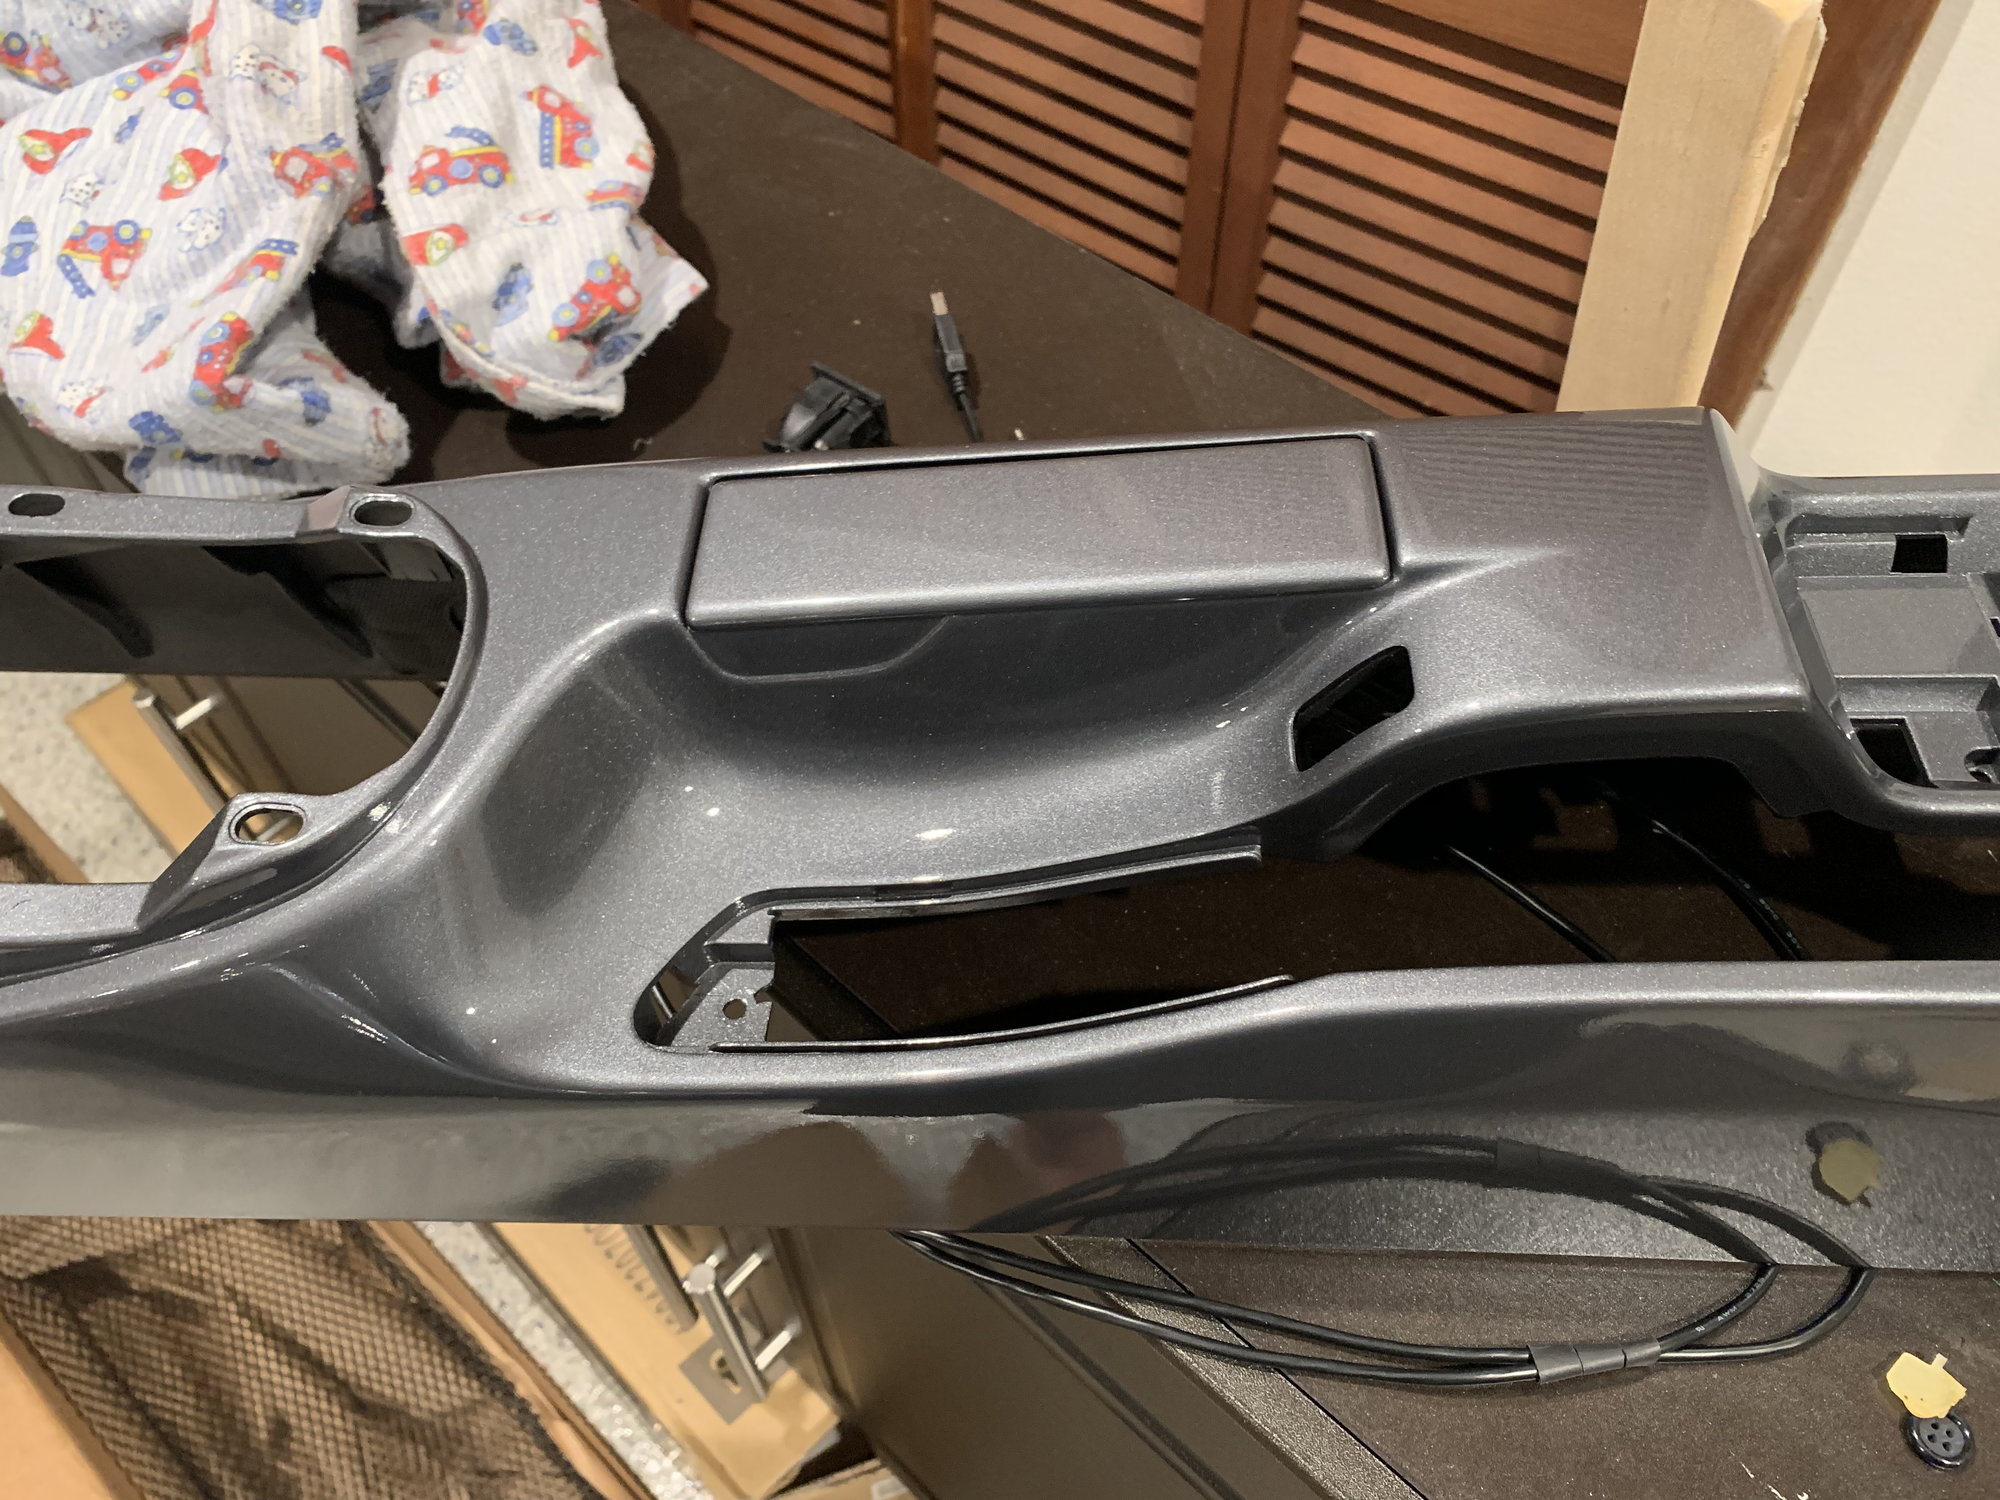
Second layer clear coat detail
first layer clear coat
Messed up back cubby, had to re sand and start over comparison old vs new. Old was already sanded, new one on first layer clear coat First layer clear coat misc pieces
all paint work done, before cut & buff and wax
plastic welding in the new door covers
I wet sanded the pieces and buffed them with 3m (1, 2 and 3) compound. To finalize the work, I was planning to have the pieces PPF protected and hit up my detailer. He dragged his feet for a while till I got fed up.
This is really great! I just ordered some 3M 1080 vinyl to wrap my console in silver. I didn't think it through as I am not sure how I am going to wrap all the crevices near the ash tray and handbrake area.
I've taken off the center console at least 10 times so I know my way around it. I am not contemplating a paint job instead, but my spray painting skills suck for some reason.
@Falcondrivr - if you're driving through SF anytime soon I'd be happy to help ;-)
@alan111 - I spoke to a local shop about doing a vinyl wrap on the console. They quoted me $200 sight unseen but assumed that was going to escalate once they saw it. My biggest concern was if you could get a single sheet big enough that didn't show a seam down the middle...
As for painting, I had zero experience and it really wasn't that hard to have great results. However, I think the satin black paint with slight texture made all the difference. If you are going for a silver gloss finish that might require some next level skills. Good luck and keep us posted.
Ps - 2 days in plus a road trip to Sonoma with the family and results are still looking great. No scuffs or scratches.
Awesome job. Thanks for posting. I have a 997.2 on which the ashtray cover rubbey finish is rubbing off. If I just respray the ashtray cover will that match the rubbery finish on the remainder of the console?
Alternatively I was just going to apply a layer of faux carbon fiber vinyl wrap only on the the ashtray cover.
@thelex - my advice is if you want it done right you need to go all the way and strip everything down. I think if you try to respray just one piece it wont match the others, unless you are a pro and have a spray gun. Even in that case you likely will experience the the same issue I had with my first respray. The guy didn't sand down the rubberized paint so it didn't last last. (I think the interior restoration guys that work for the car dealers dont focus on the long-term. They just do a quick and dirty job to pretty the car up to be sold.)
Your other option is to but a new ashtray from Suncoast or the new Porsche dealer parts site (i find these cheaper than Suncoast). However i think you are going to find the same issue. The new part will likely stick out like a sore thumb from the rest of the console. I had the same issue with my handbrake "banana". I replaced it but it looked worse installing a new one that keeping the original scratched up one.
I added my before pictures for reference below. This was before the first respray.
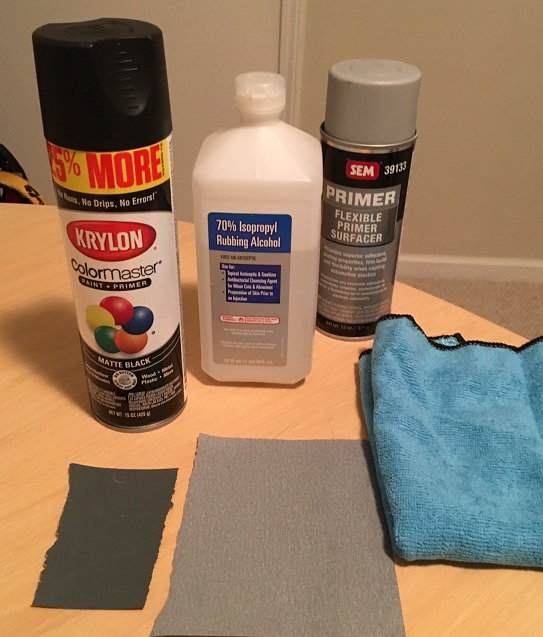
Thank you Bruce. I just completed mine also. Here are my results:
I used the following tools:
Process I followed:
1 - Wet sand 400 grit with alcohol. Wipe frequently. Once it sounds like sandpaper on plastic you know you have taken off the top layer of SoftTouch.
2 - Prime with SEM. Two coats and sand with 1000 grit.
3 - Spray with Matte finish. Sand between coats with 2000 grit.
For removing the console follow these instructions:
@WhipE350 - nice job! That looks like the factory finish. Did you also paint the gear shift trim? Let me know if you do the clear coat. I debated the same. However, knock on wood, the satin black has held up perfectly over the past month. What I like the most is it has a bit of texture so doesn't pick up fingerprints.
My next projects are to figure out how to touch up the silver storage compartment and get some scratches out of the leather handbrake.

 05-29-2017, 02:21 PM