When you click on links to various merchants on this site and make a purchase, this can result in this site earning a commission. Affiliate programs and affiliations include, but are not limited to, the eBay Partner Network.
Yes, I sanded between each coat and wiped down. I used a flat black that had a texture to it and found very light coats with the can about 2ft away gave the best results.
Look forward to seeing how it turns out for you.
Btw - has anyone resprayed their silver trim on either side of storage cubby (in front of the gear shift)? I put my phone in there and its worn the side of it. I ordered a new one from my dealer but was hoping for a simpler touch up method. That silver has a grain to it so seems hard to match.
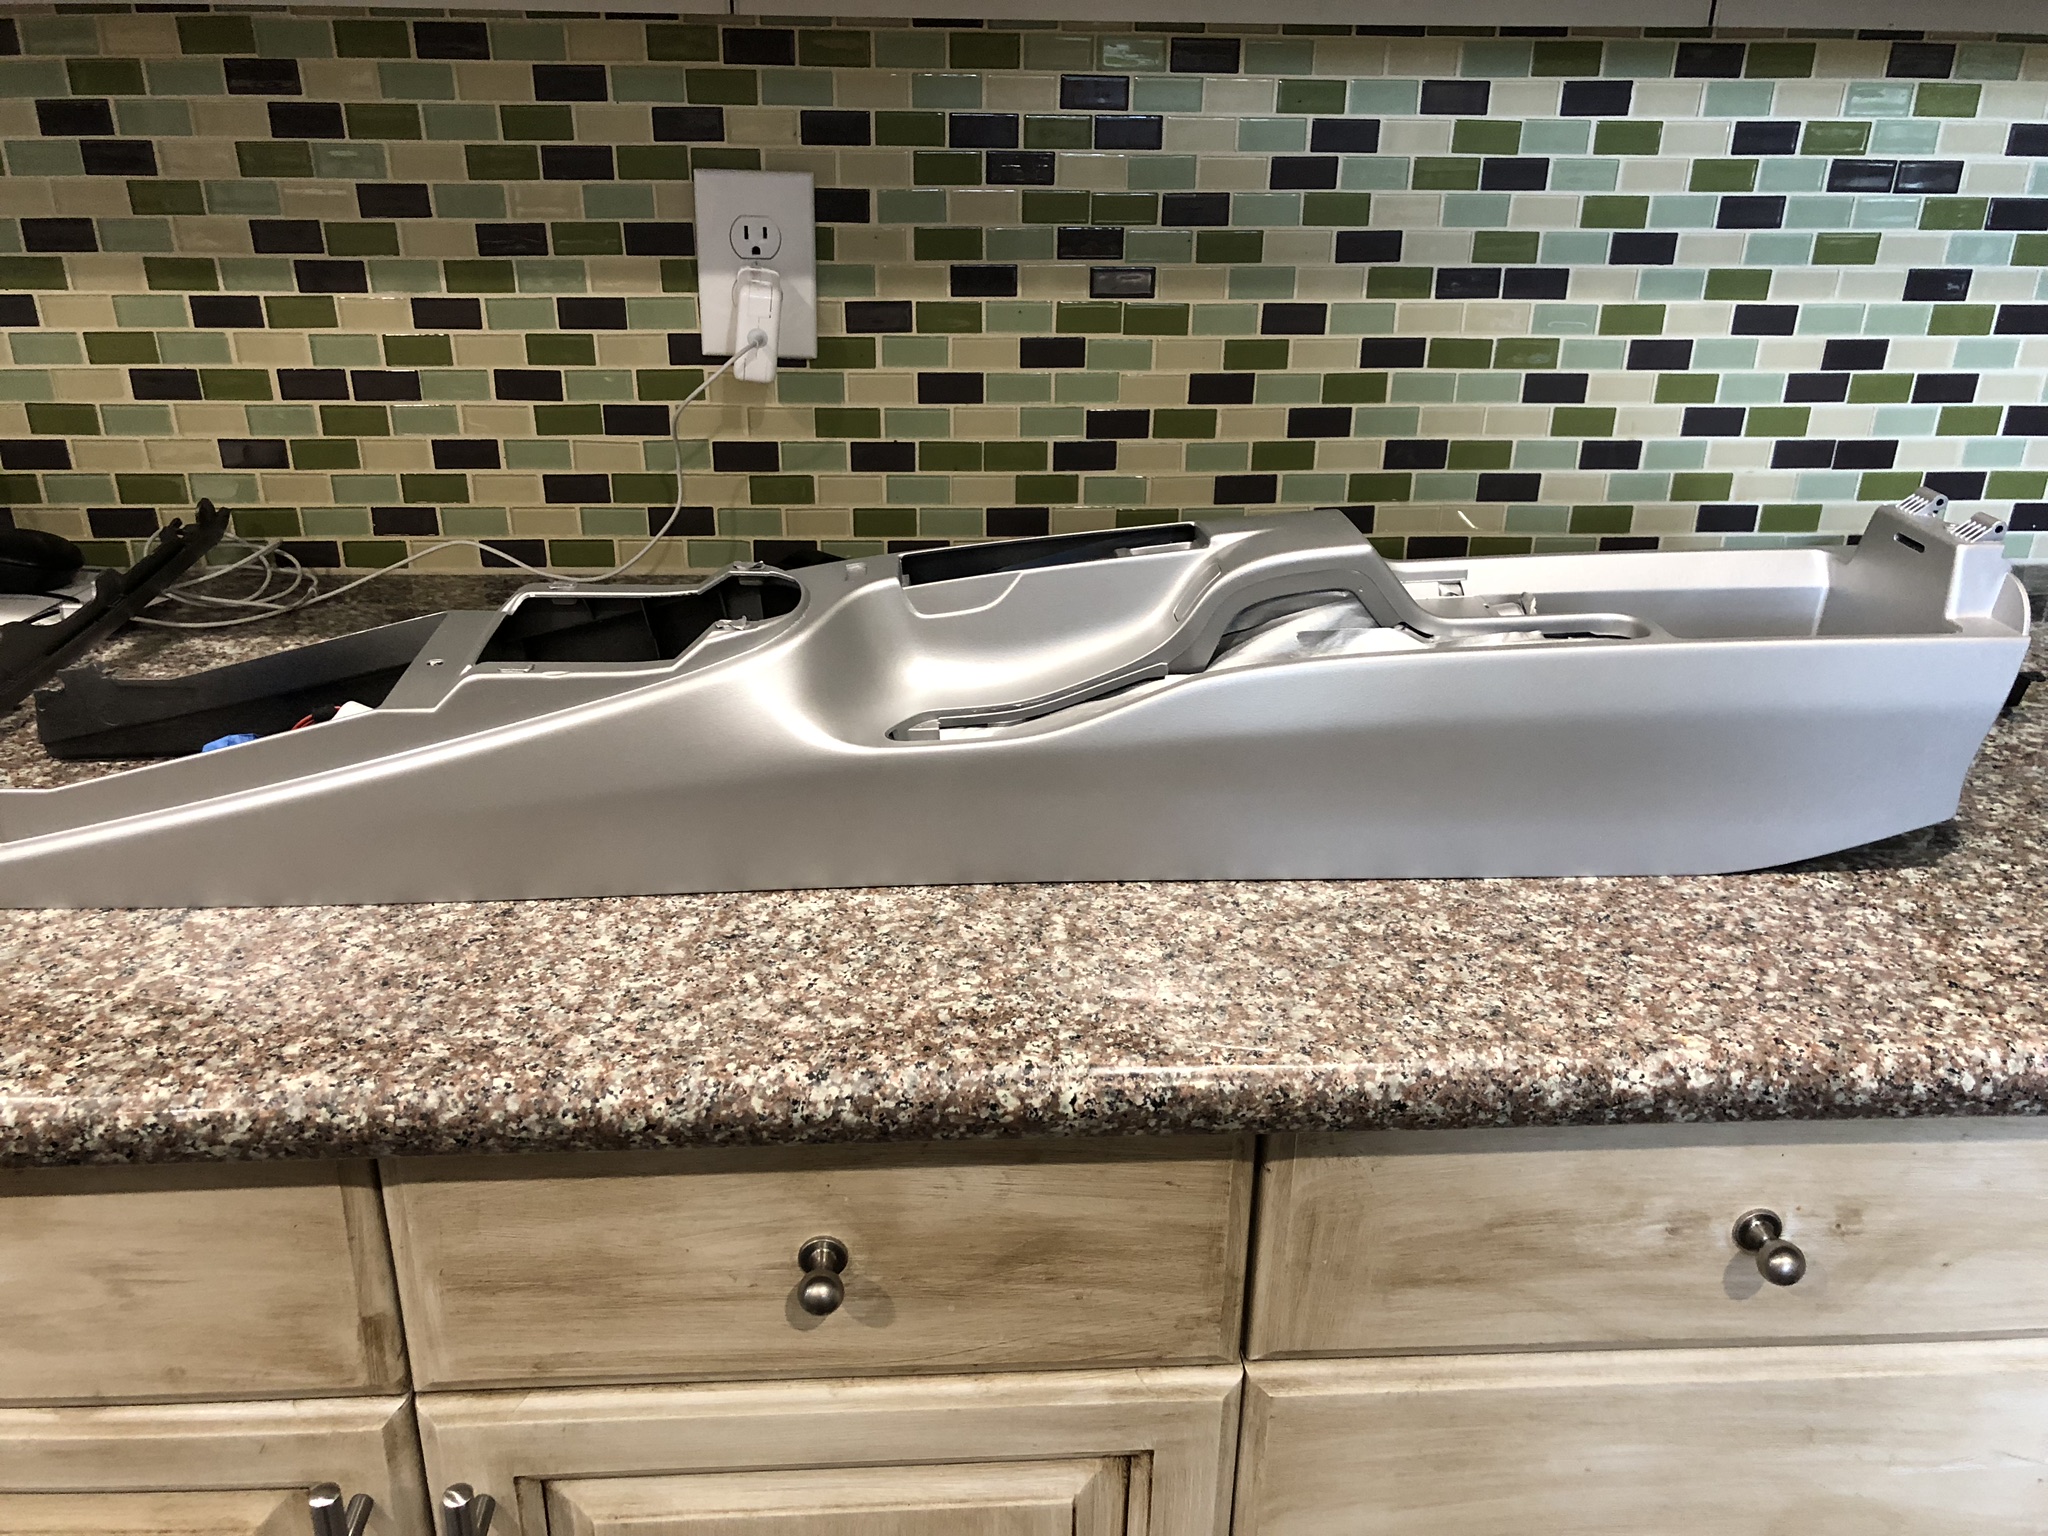
Well, it's done, but it was not fun and it was not easy. I can see why the professionals earn their money doing these jobs. There are minor imperfections that I'm hoping I can live with once I reinstall it. Otherwise, I'll strip the paint and repeat and learn from my mistakes! I oversprayed the trim piece that goes above the shifter, which I'm almost positive I'm just going to buy a new one of those and leave it black.
Well, it's done, but it was not fun and it was not easy. I can see why the professionals earn their money doing these jobs. There are minor imperfections that I'm hoping I can live with once I reinstall it. Otherwise, I'll strip the paint and repeat and learn from my mistakes! I oversprayed the trim piece that goes above the shifter, which I'm almost positive I'm just going to buy a new one of those and leave it black.
any imperfections you should be able to fix once it dries.. just a light sand and spray again.. then use a polish to buff it
any imperfections you should be able to fix once it dries.. just a light sand and spray again.. then use a polish to buff it
Thanks - I touched up a couple areas and thought it looked good enough to install. I used an enamel based paint and I think that may have been a mistake. It looks good now but I don't know how it's going to hold up over time. If I do it again, I'll use base and a separate clear coat.
Now I need to figure out why my shift **** isn't locking into place. Next weekend's problem
Thanks - I touched a couple areas and thought it looked good enough to install. I used an enamel based paint and I think that may have been a mistake. It looks good now but I don't know how it's going to hold up over time. If I do it again, I'll use base and a separate clear coat.
Now I need to figure out why my shift **** isn't locking into place. Next weekend's problem
that looks really good... i want to do mines in a gloss black now..
i used duplicolor from.autozone to black out my side markers and it matched really good.. so maybe i can use that and clear coat with a nice primer
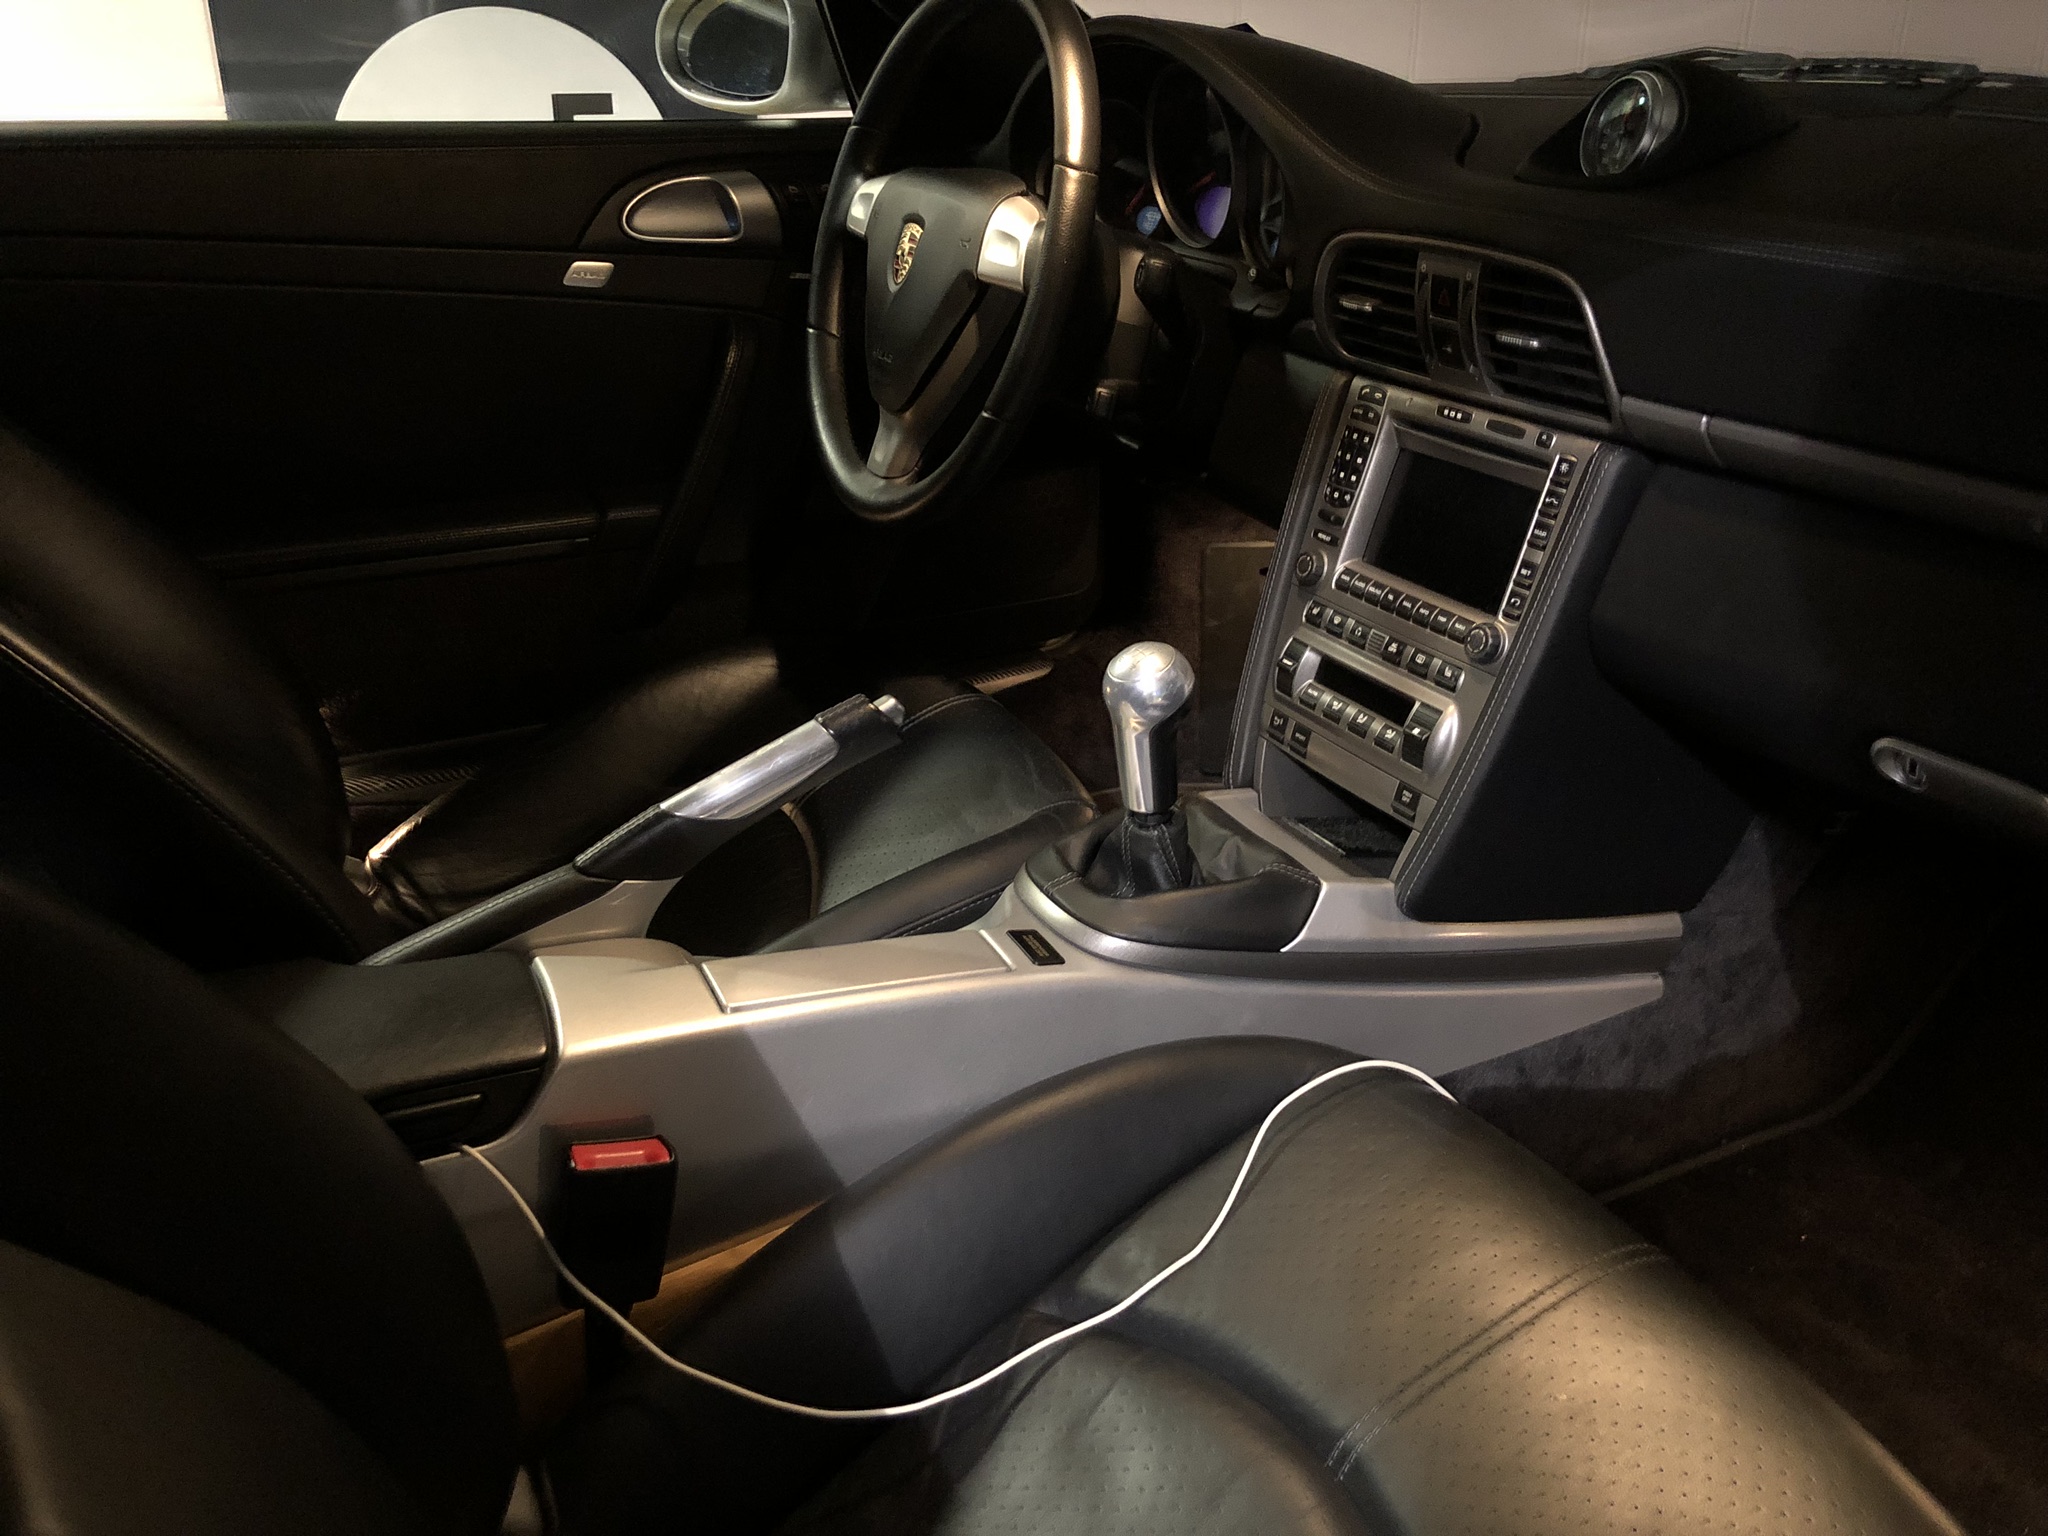
Jeebus31, I think your silver console looks great. I like the contrast for the interior (vs just doing black). Nothing wrong with black, just like how this looks.
Jeebus31, I think your silver console looks great. I like the contrast for the interior (vs just doing black). Nothing wrong with black, just like how this looks.
Nice work on a challenging job to get right.
Thanks very much guys. I appreciate the compliments. I think since the shift **** isn't locked into place, and the center console is slightly misaligned anteriorly, and I have a new vibration, and I chipped a tiny area reinstalling everything, I think I am going to pull it again this weekend, sand it down gently, and put down another coat or two of paint. Then follow it up with several coats of clear in order to get that real glossy look and enhanced wear protection. I'll update with the results. Should look even better.
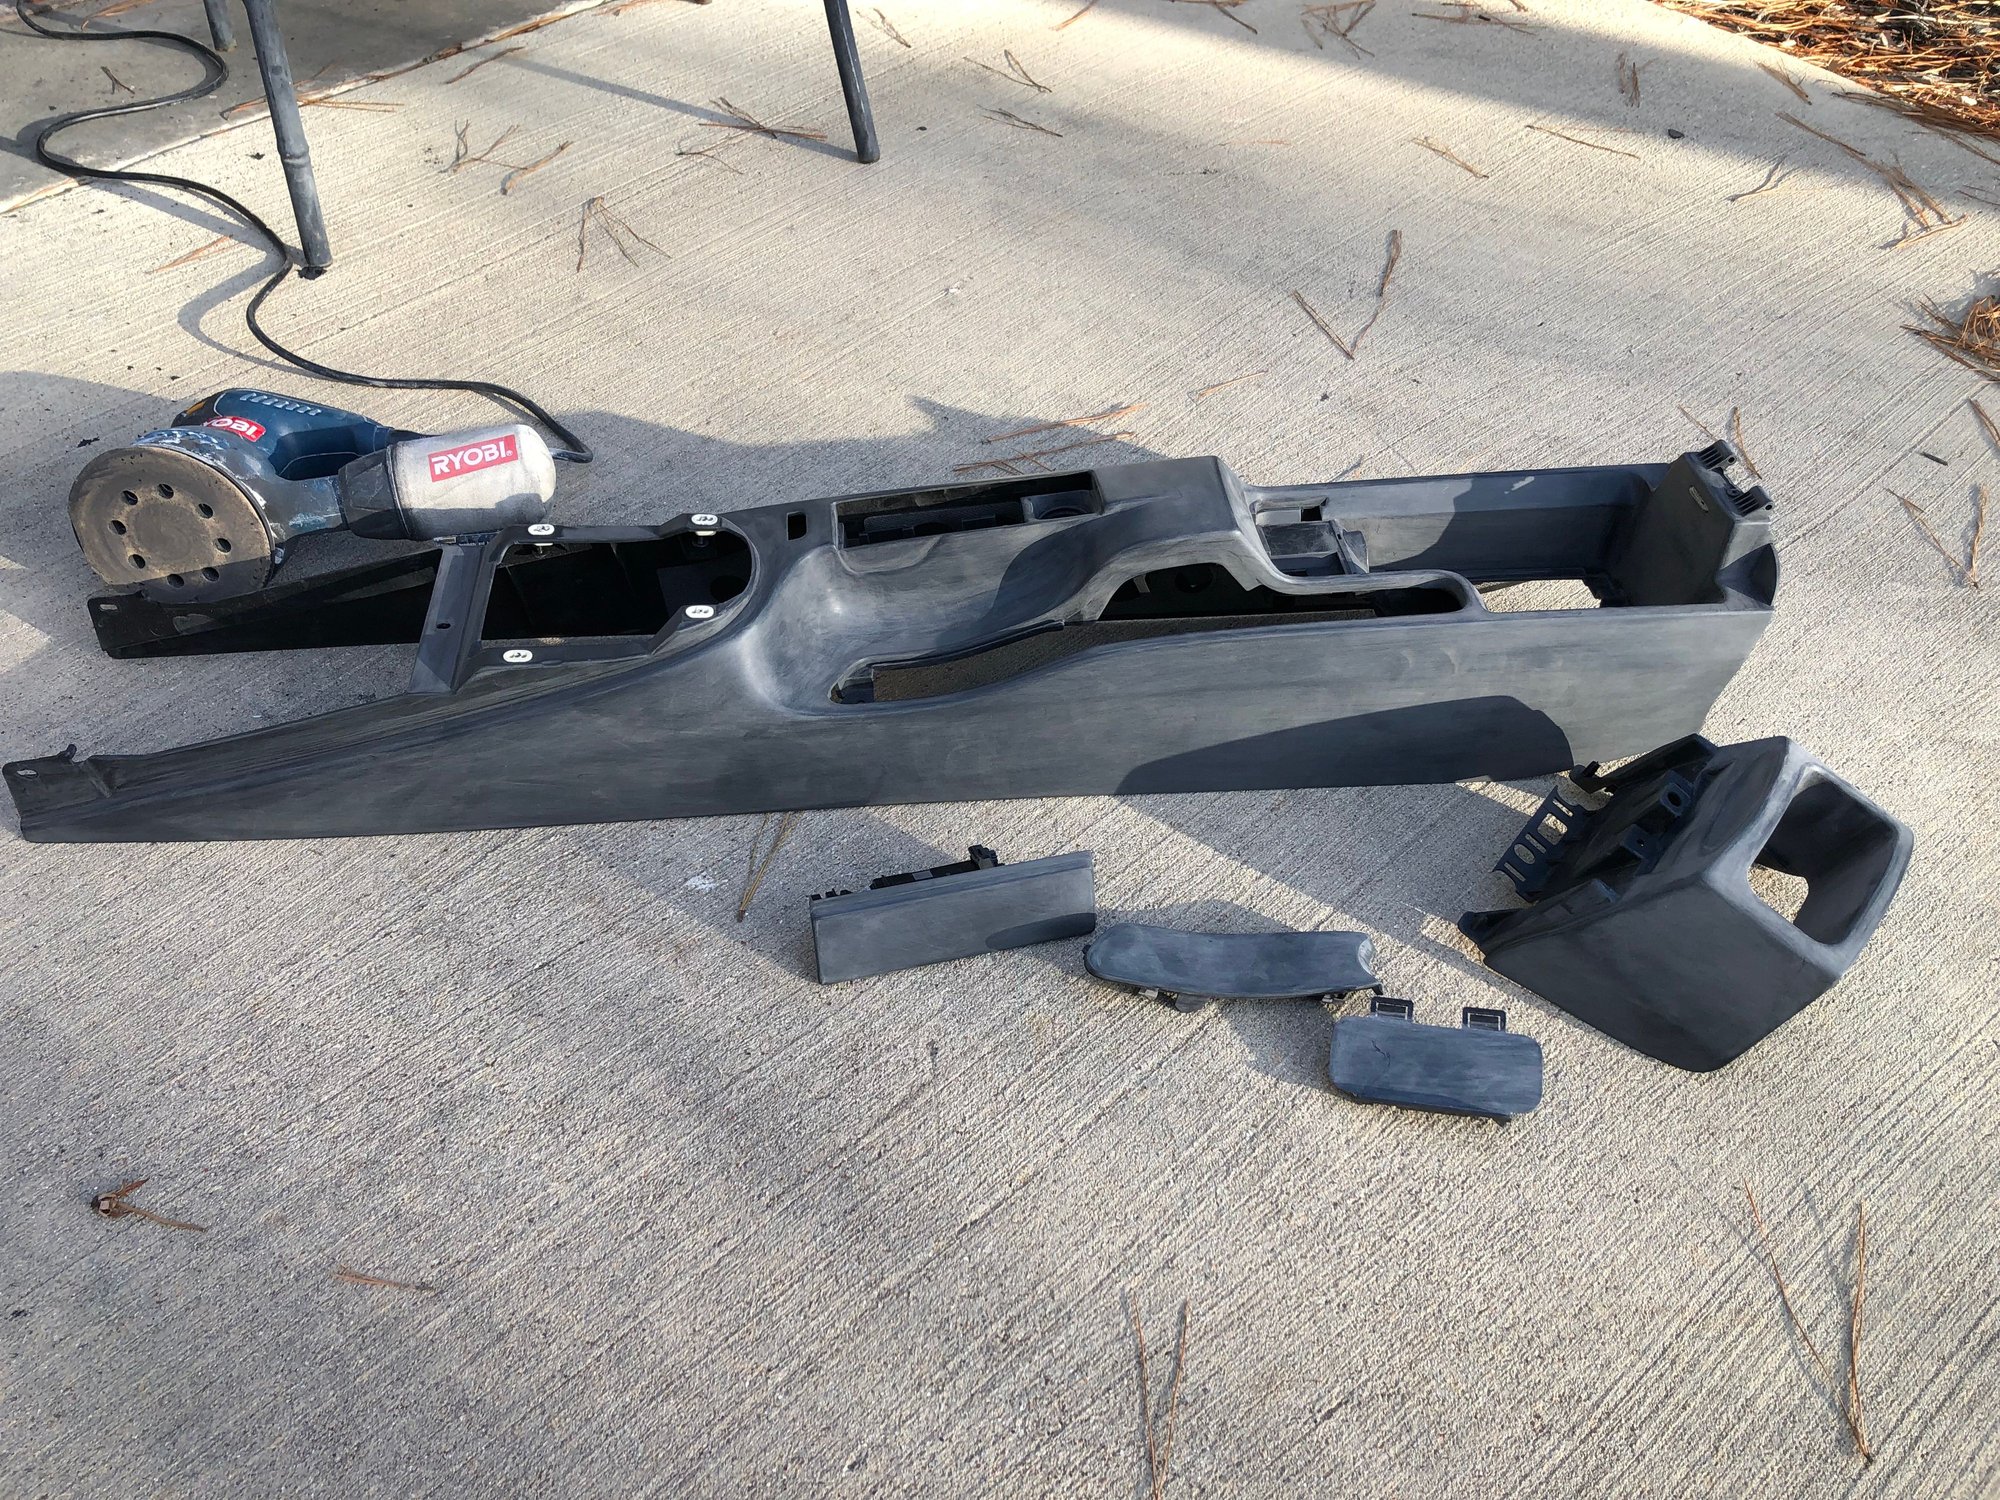
So I sanded everything down with my orbital using 220 then 320. Then I switched to hand sanding using 400, 800, 1200 & 2000. It came out real nice. Thanks to all for the write up.
Hi,
my 997.2 center console need refinishing. How is yours holding up?
Mine is holding up great although it has only been two days since spraying it. LOL. Actually Bruce�s has years on his and he says it is still looking great. It is much more durable than the soft touch paint.

 01-21-2019, 12:23 AM