When you click on links to various merchants on this site and make a purchase, this can result in this site earning a commission. Affiliate programs and affiliations include, but are not limited to, the eBay Partner Network.
Done! I will say the first piece of the how to is DON'T PUT YOUR KEY IN THE IGNITION WITH THE CONSOLE REMOVED/UNPLUGGED! Airbag light now!
So, the Krylon satin works the best! Great thread, great how to and one of the easiest things to do to help out the interior of your Porsche. Thanks!
Ha! That�s sucks but your Indy can fix that.
Console led looks great. Nice job.
Btw - those scuff marks on the hand brake can be taken out too. Ask your local dealer what interior guy they use. Those guys do wonders on leather, carpet, etc. I had a guy redo my steering wheel, e brake handle and the faded rear deck carpet for like $100.
The middle console project took me a while, way to long.
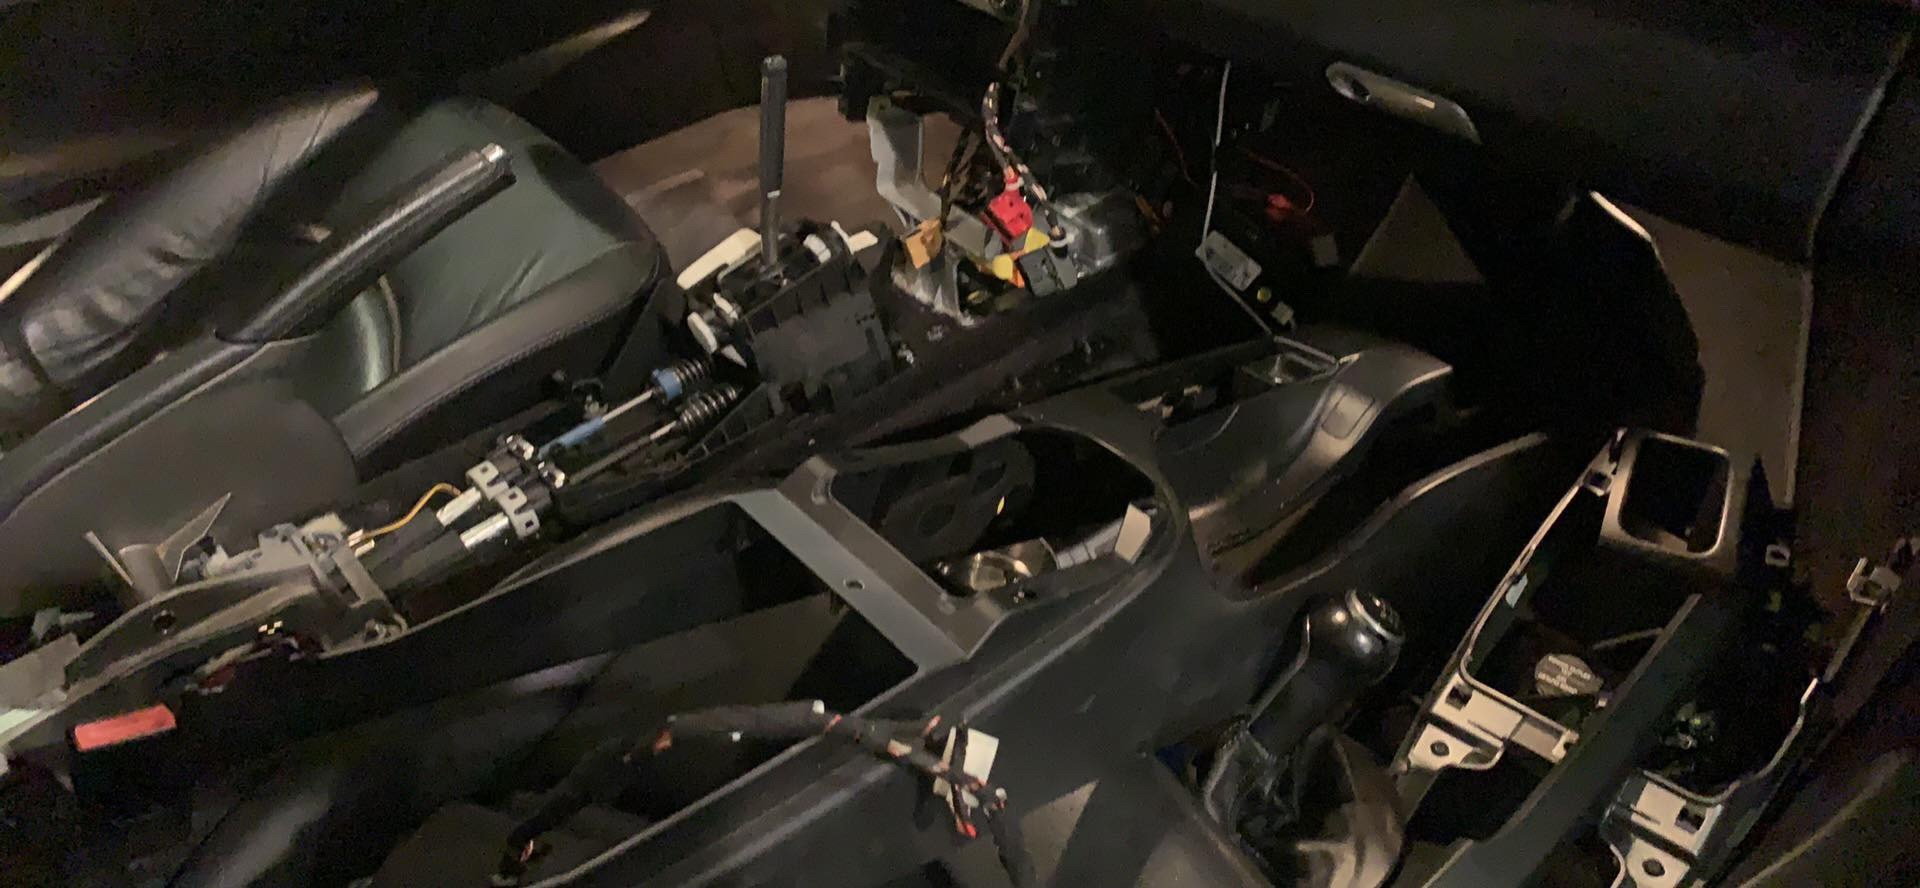
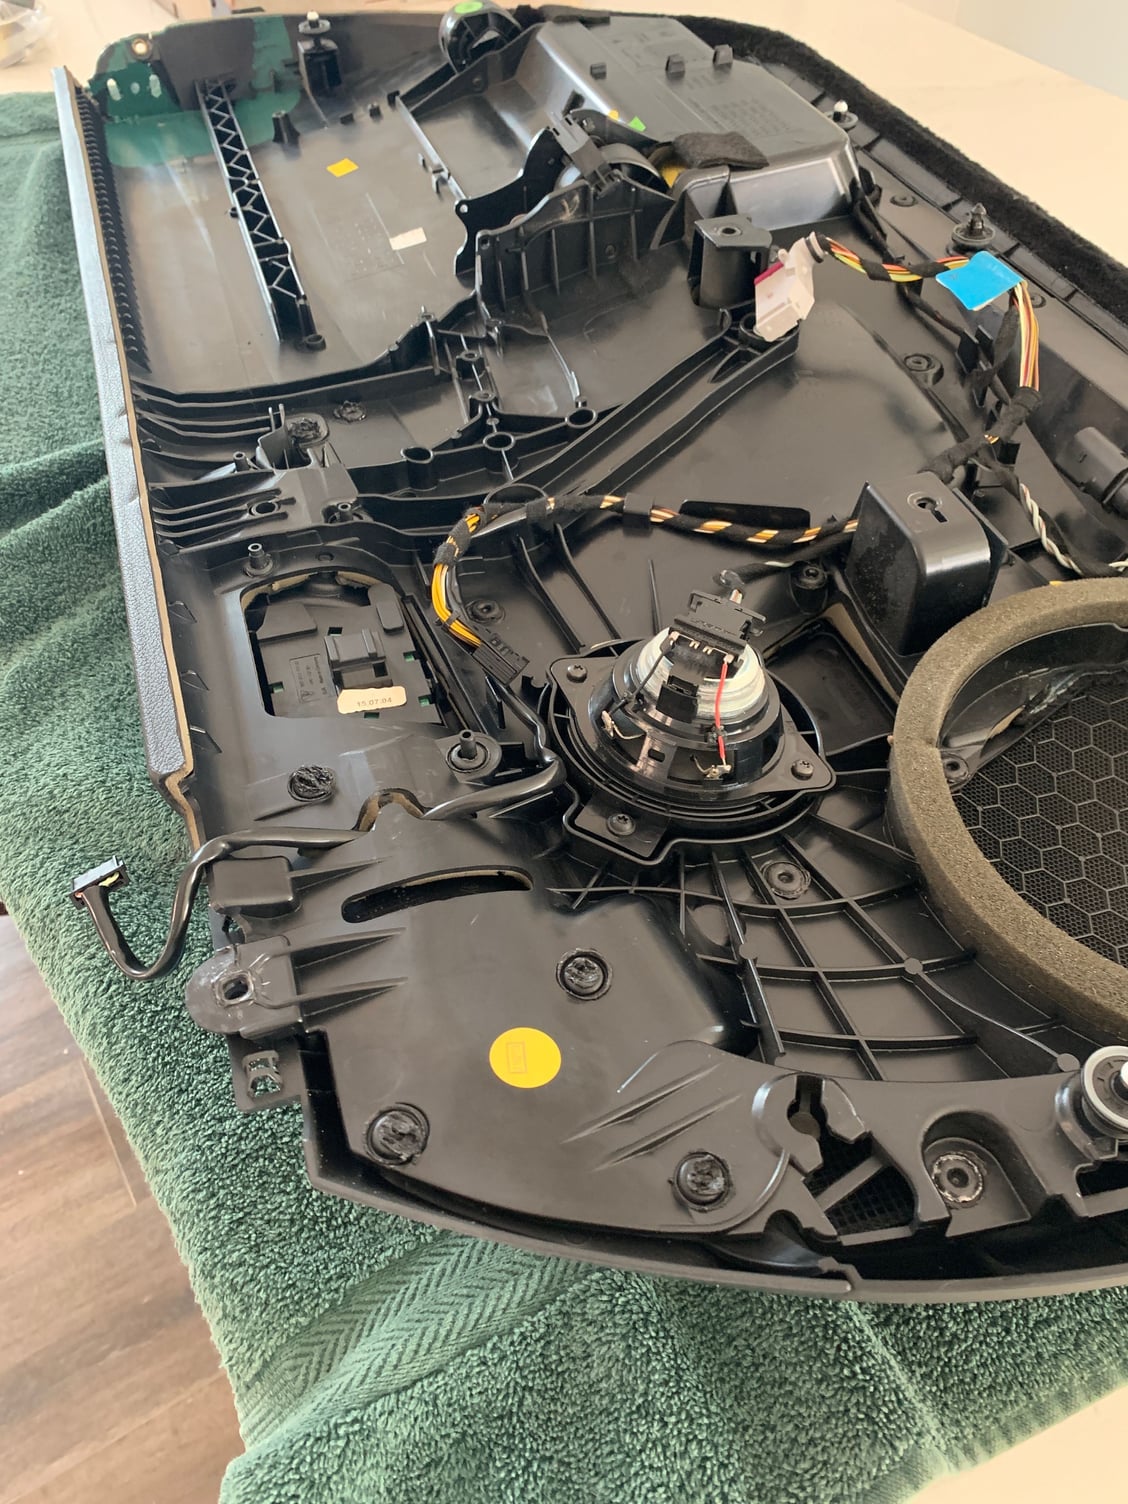
I took my interior apart when I had to replace my shifter cables.
Since I was there, I took all apart and removed the door handle covers as well. How it started, replacing shifter cables
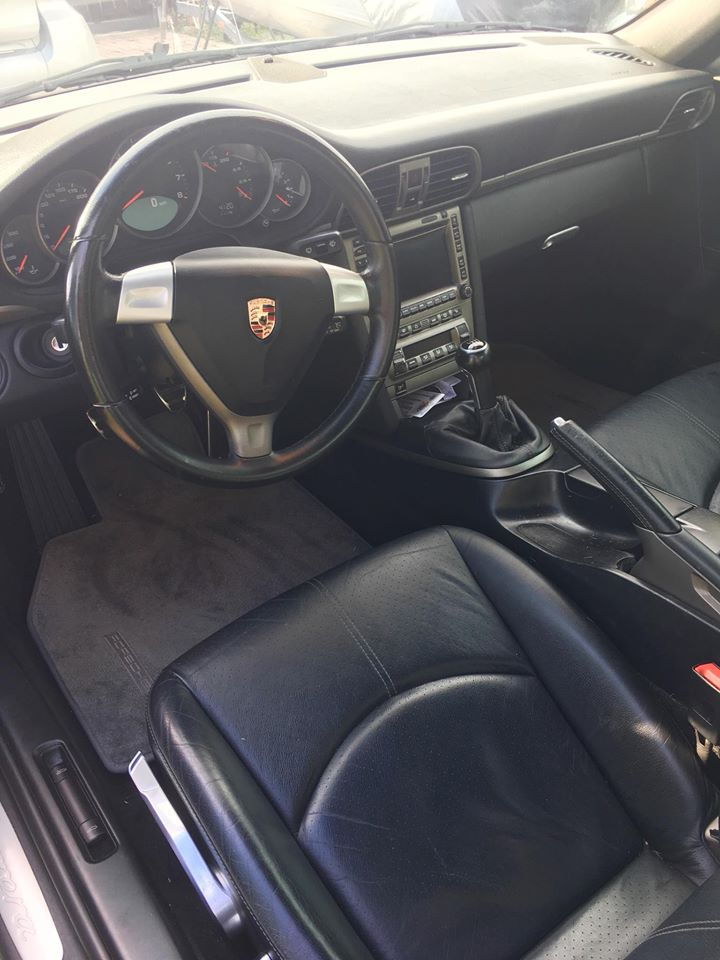
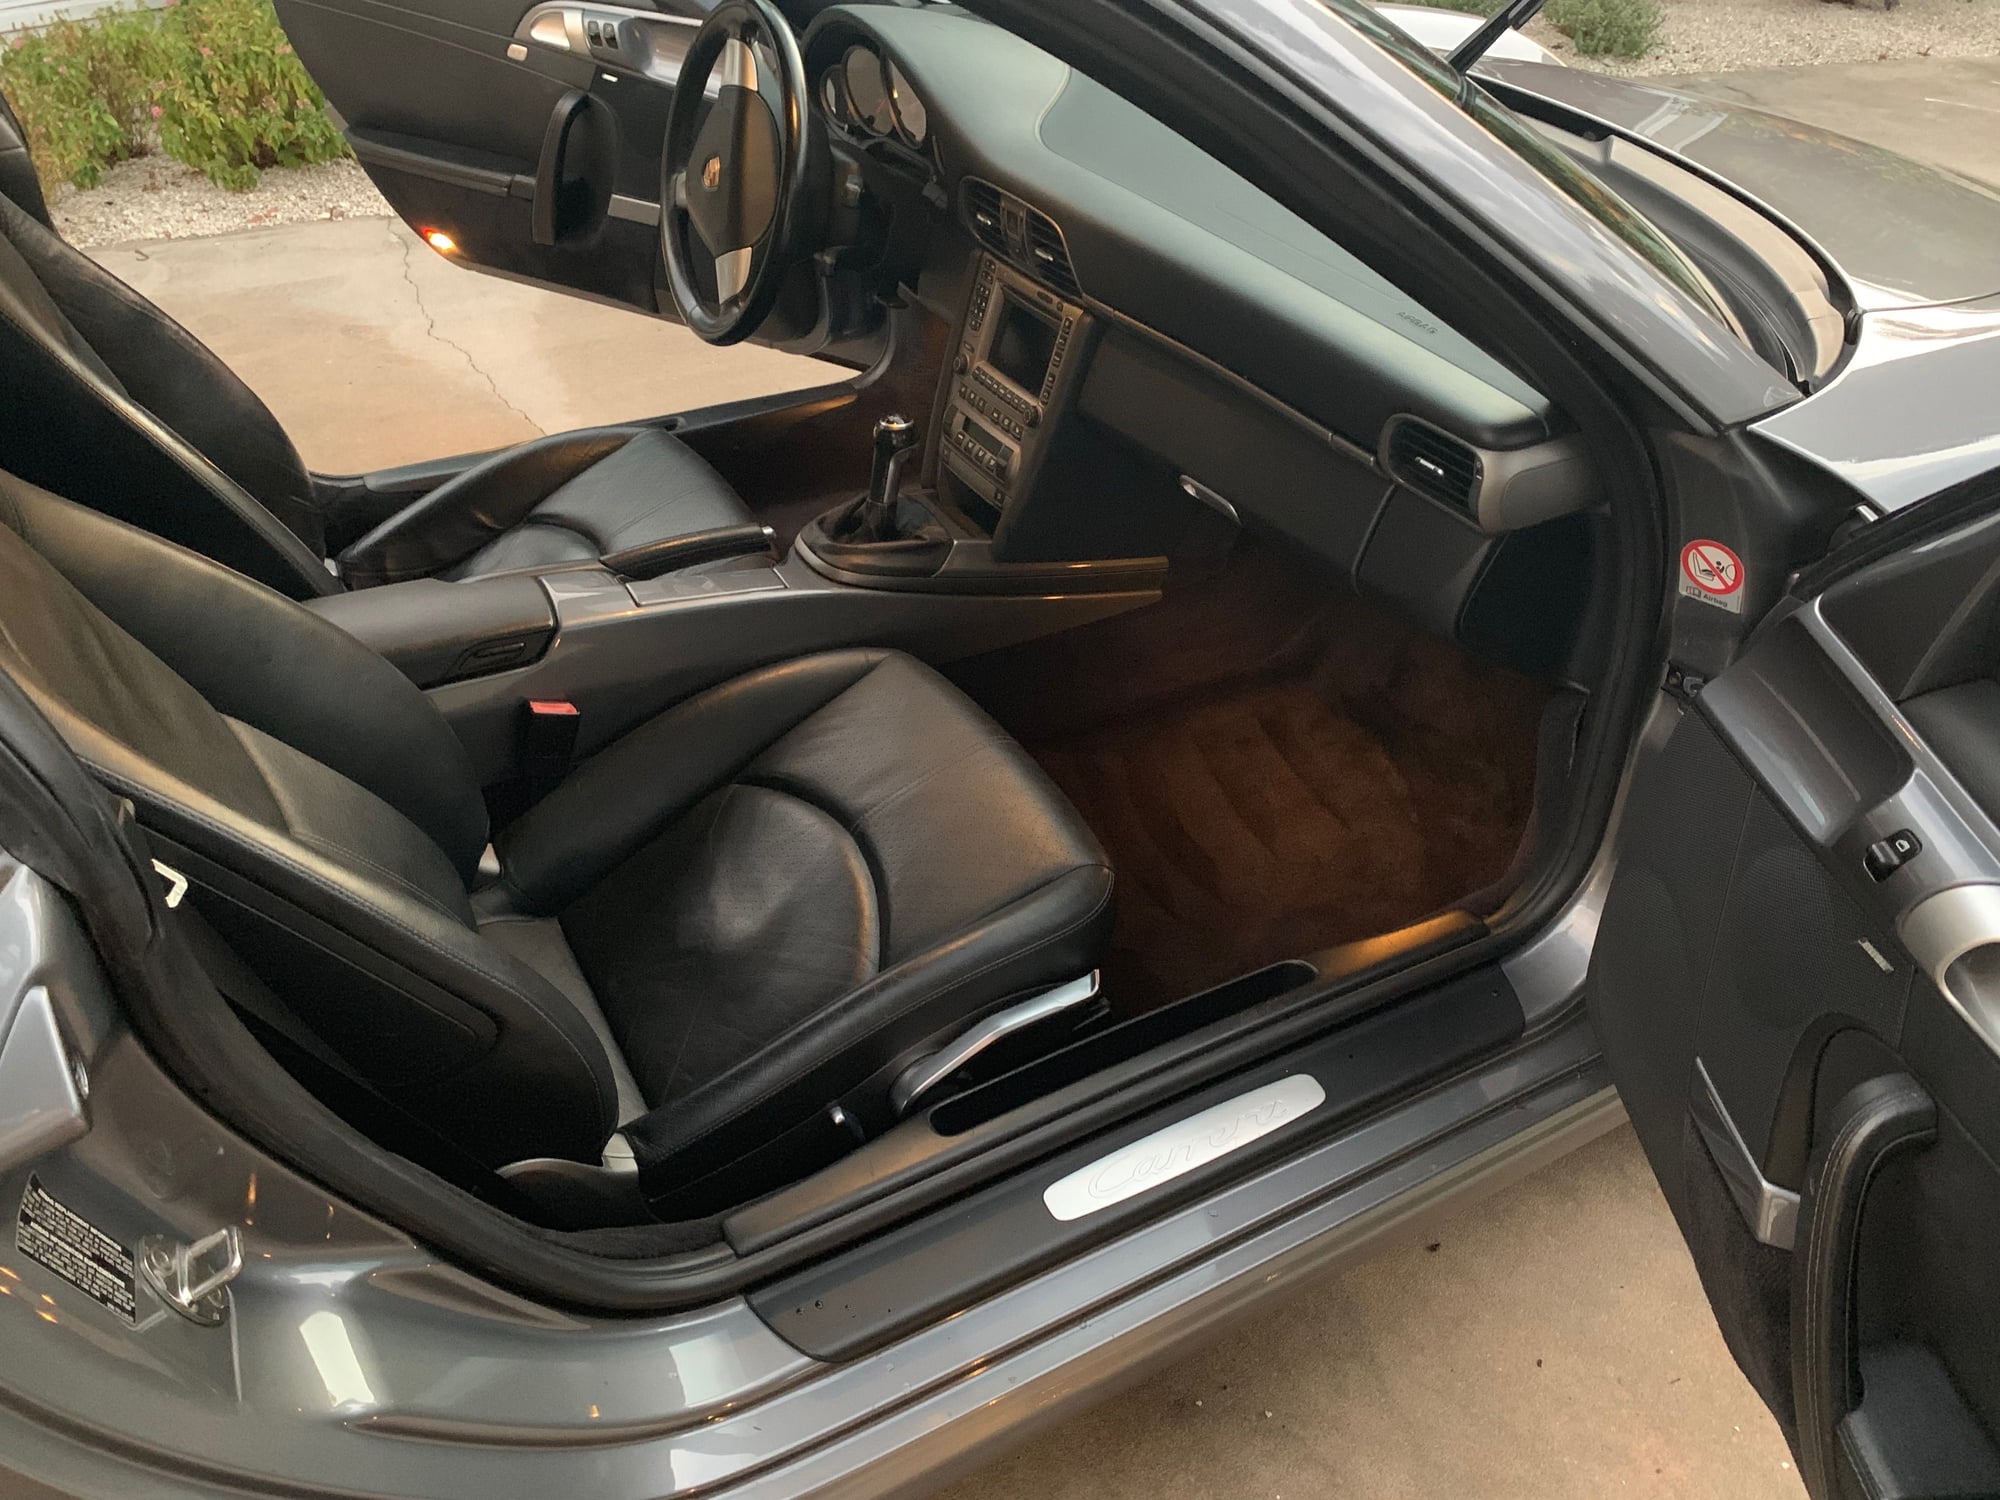
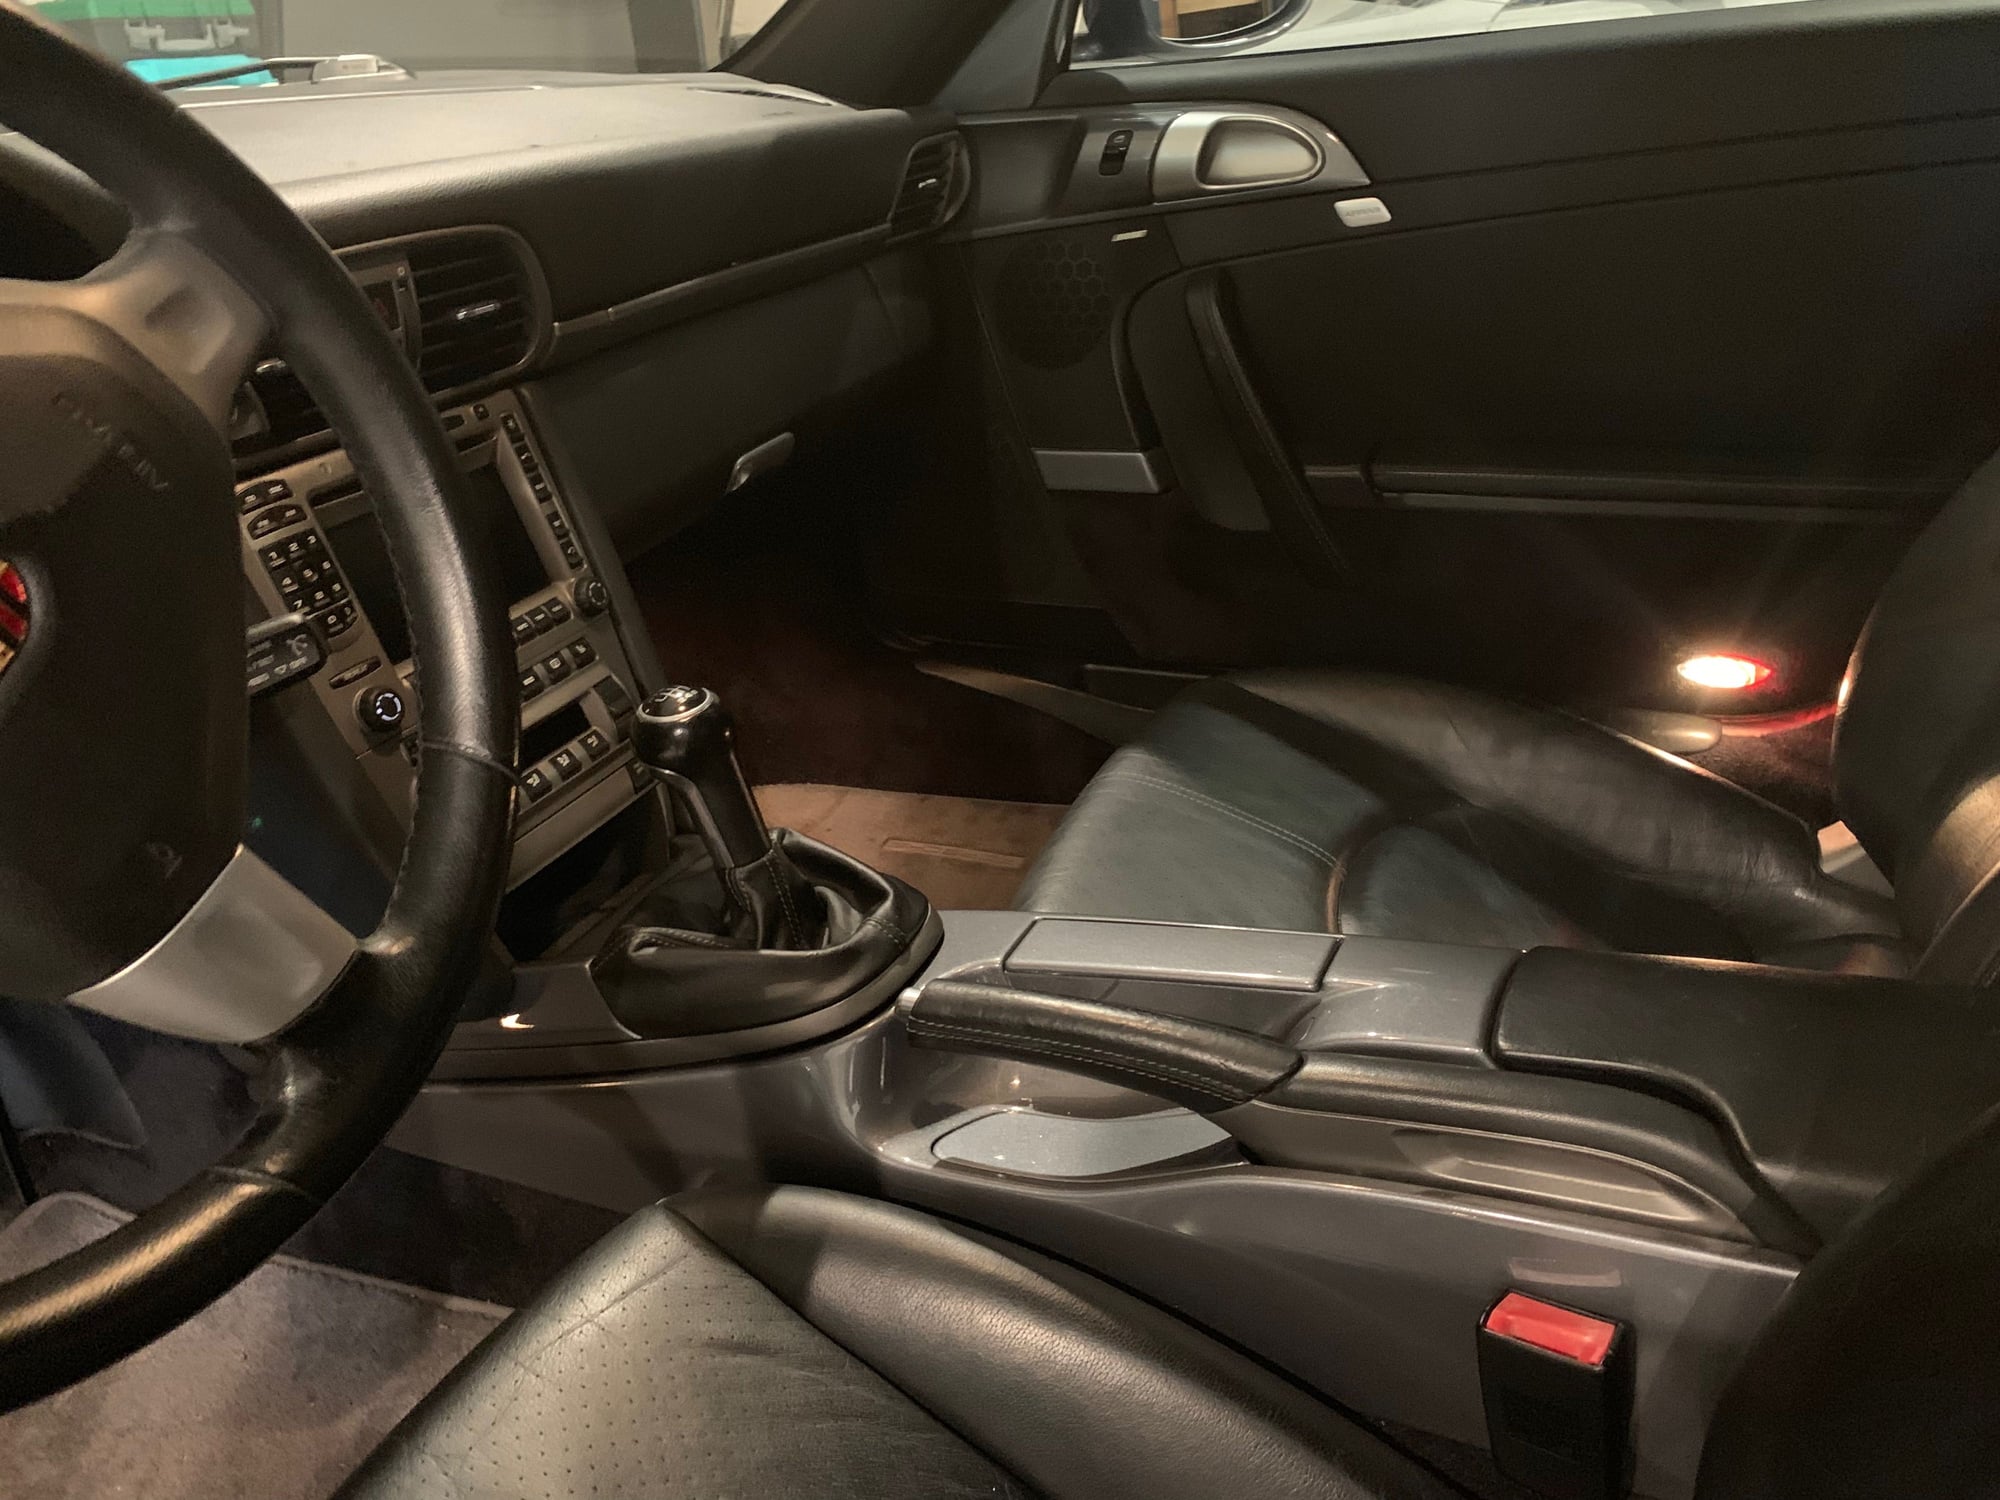
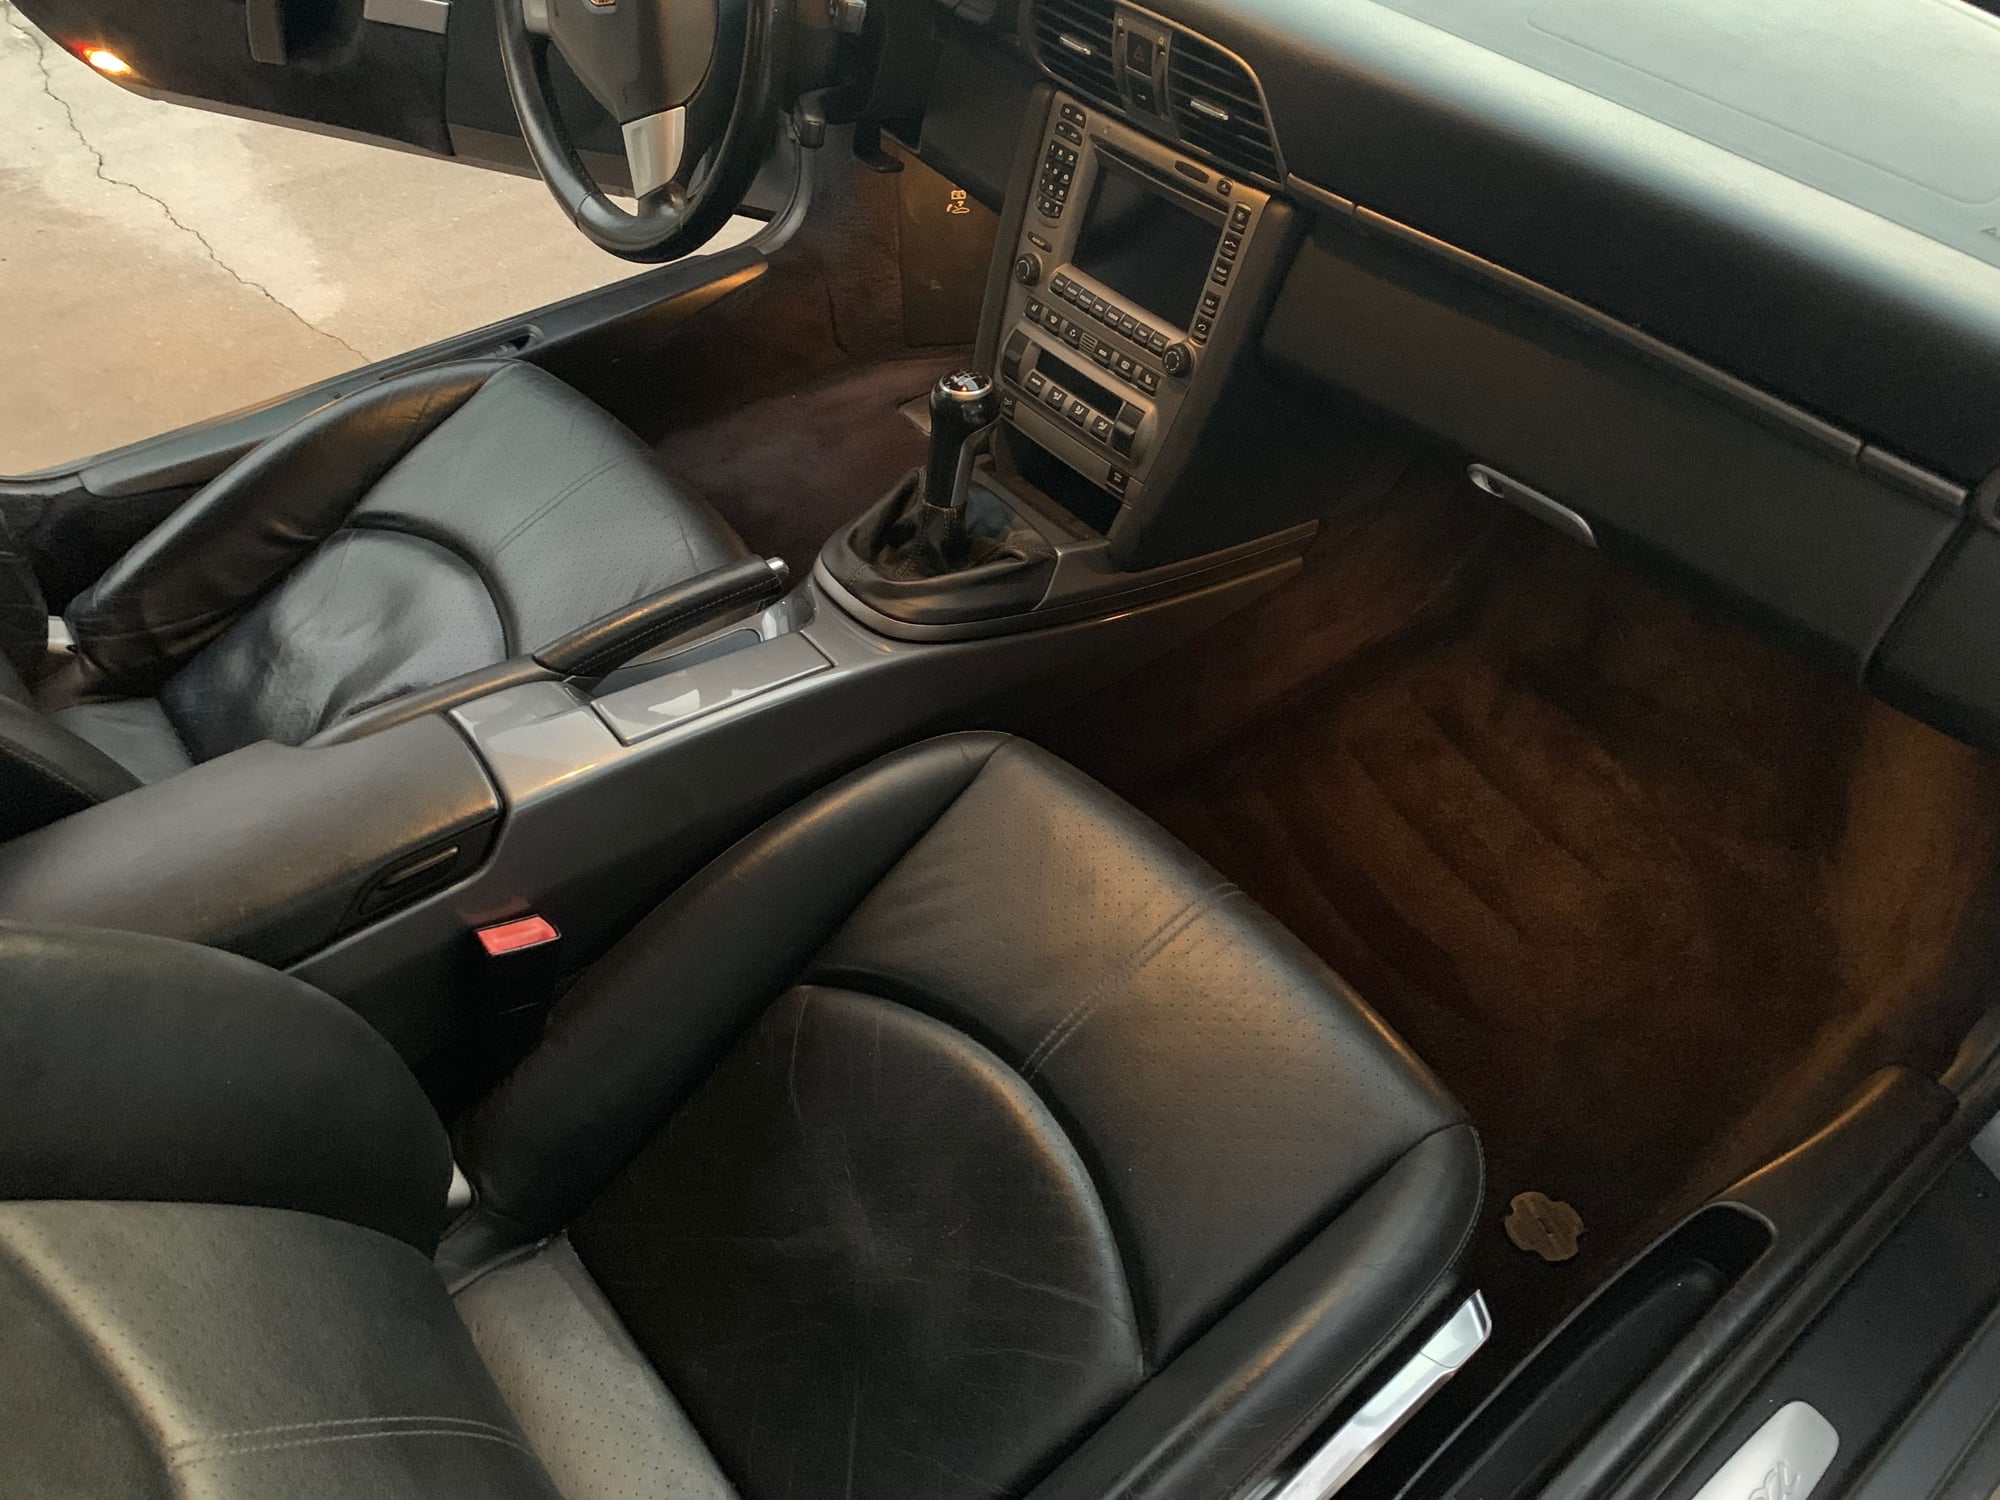
This picture was a purchase picture of the car.
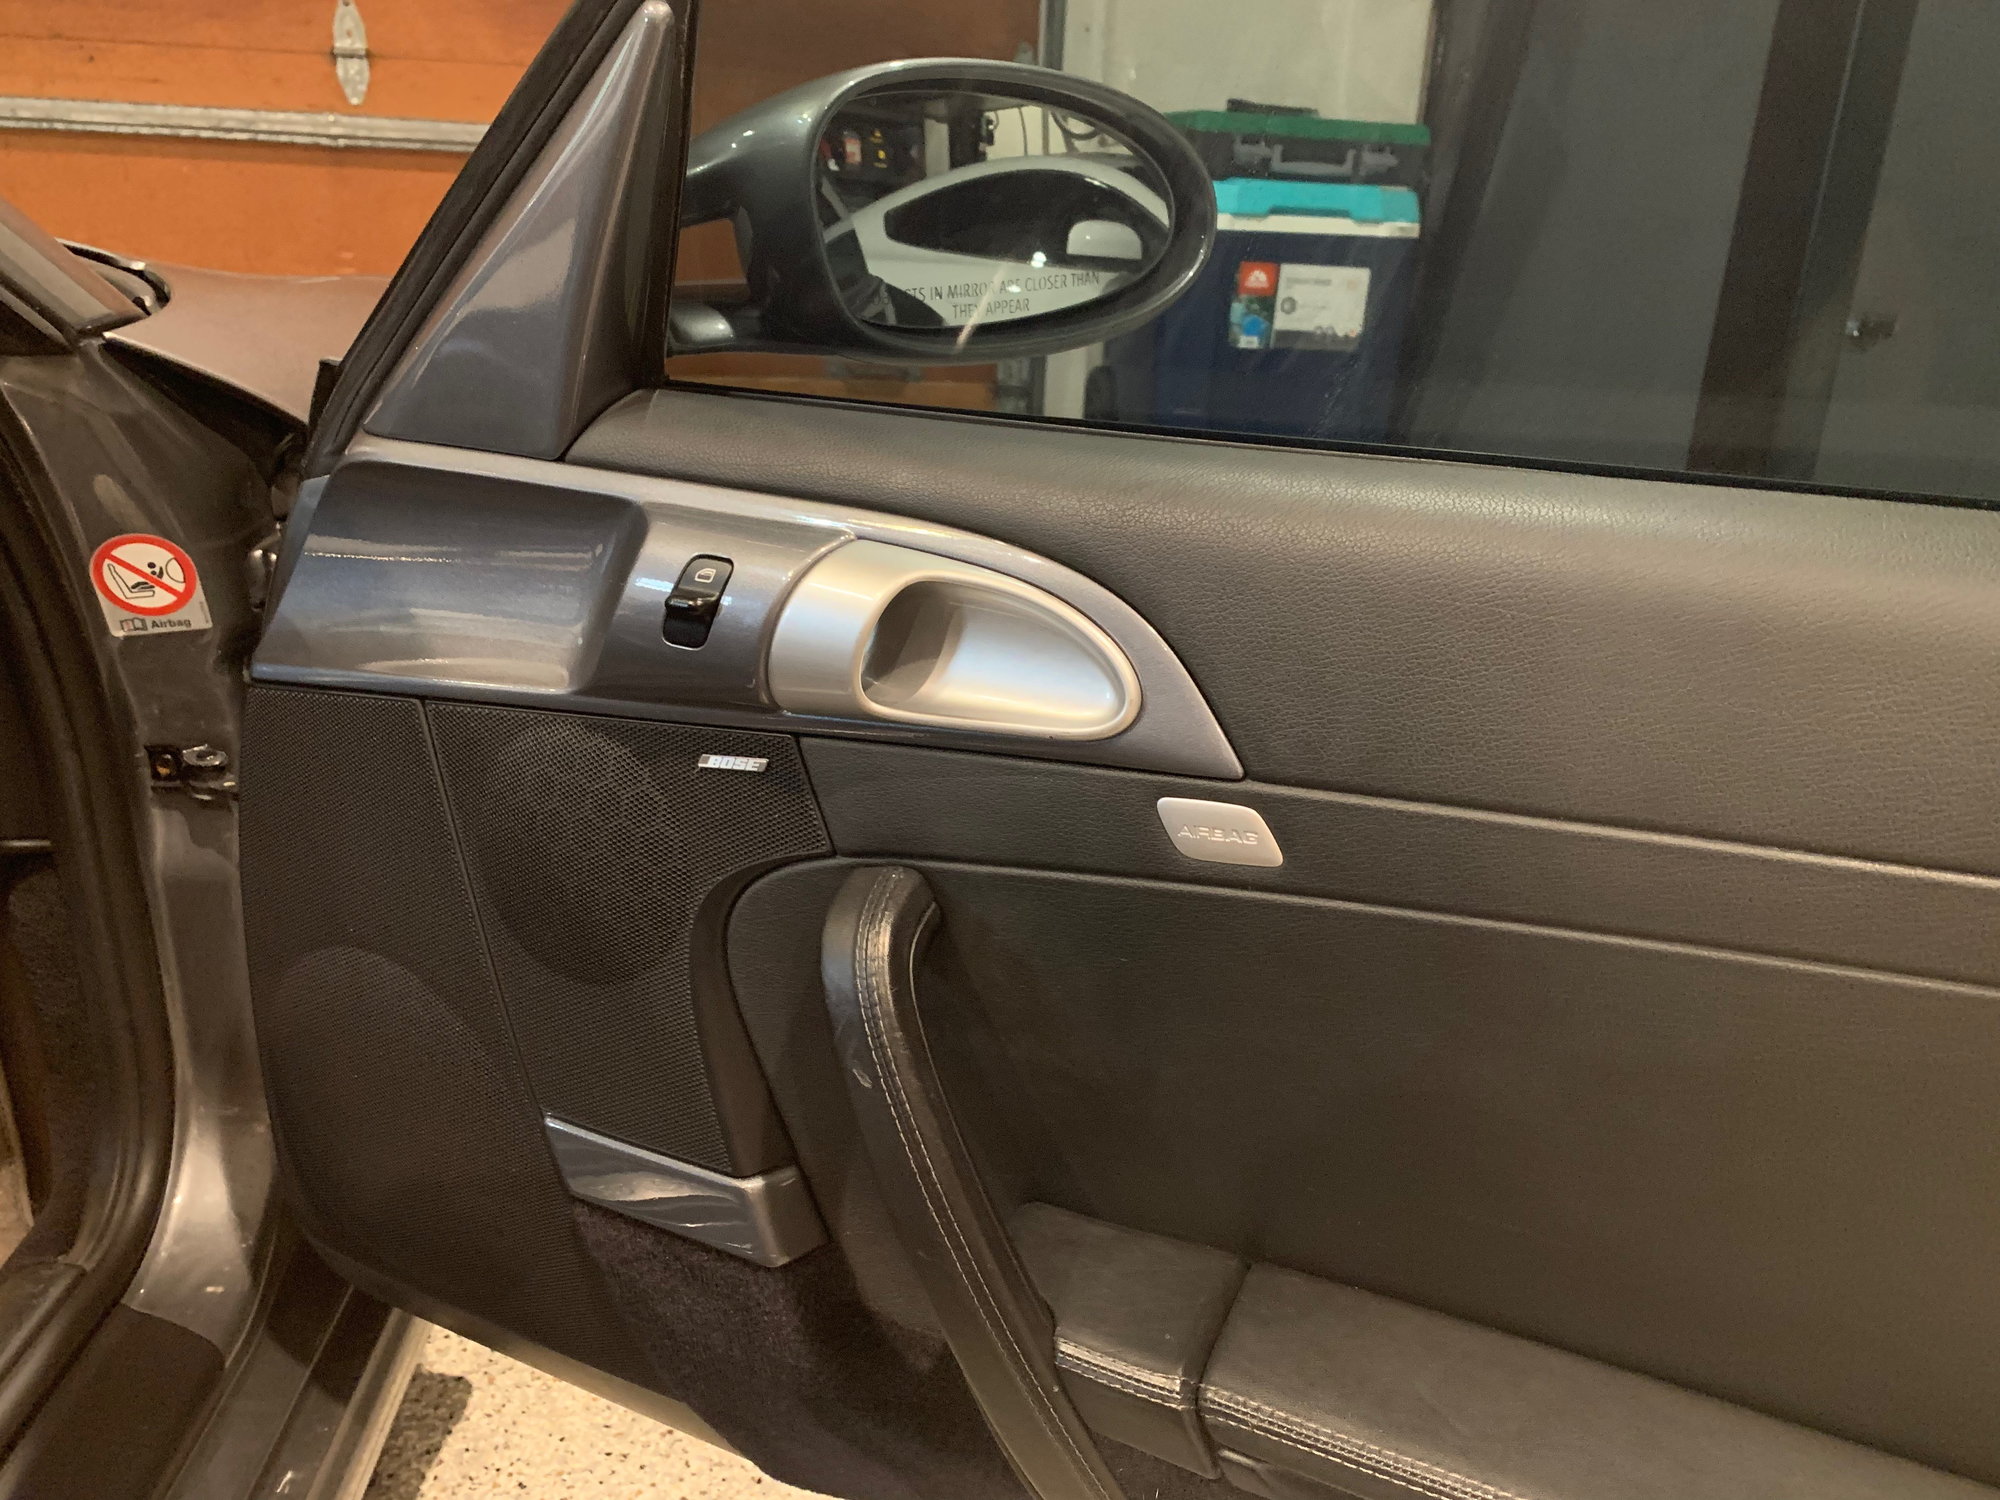
Before picture
Sanding the pieces took me a while, the best way to remove the old paint for me was to take the pieces under water, soak and just rub it off with a towel/ hands. Details had to be sanded by hand.
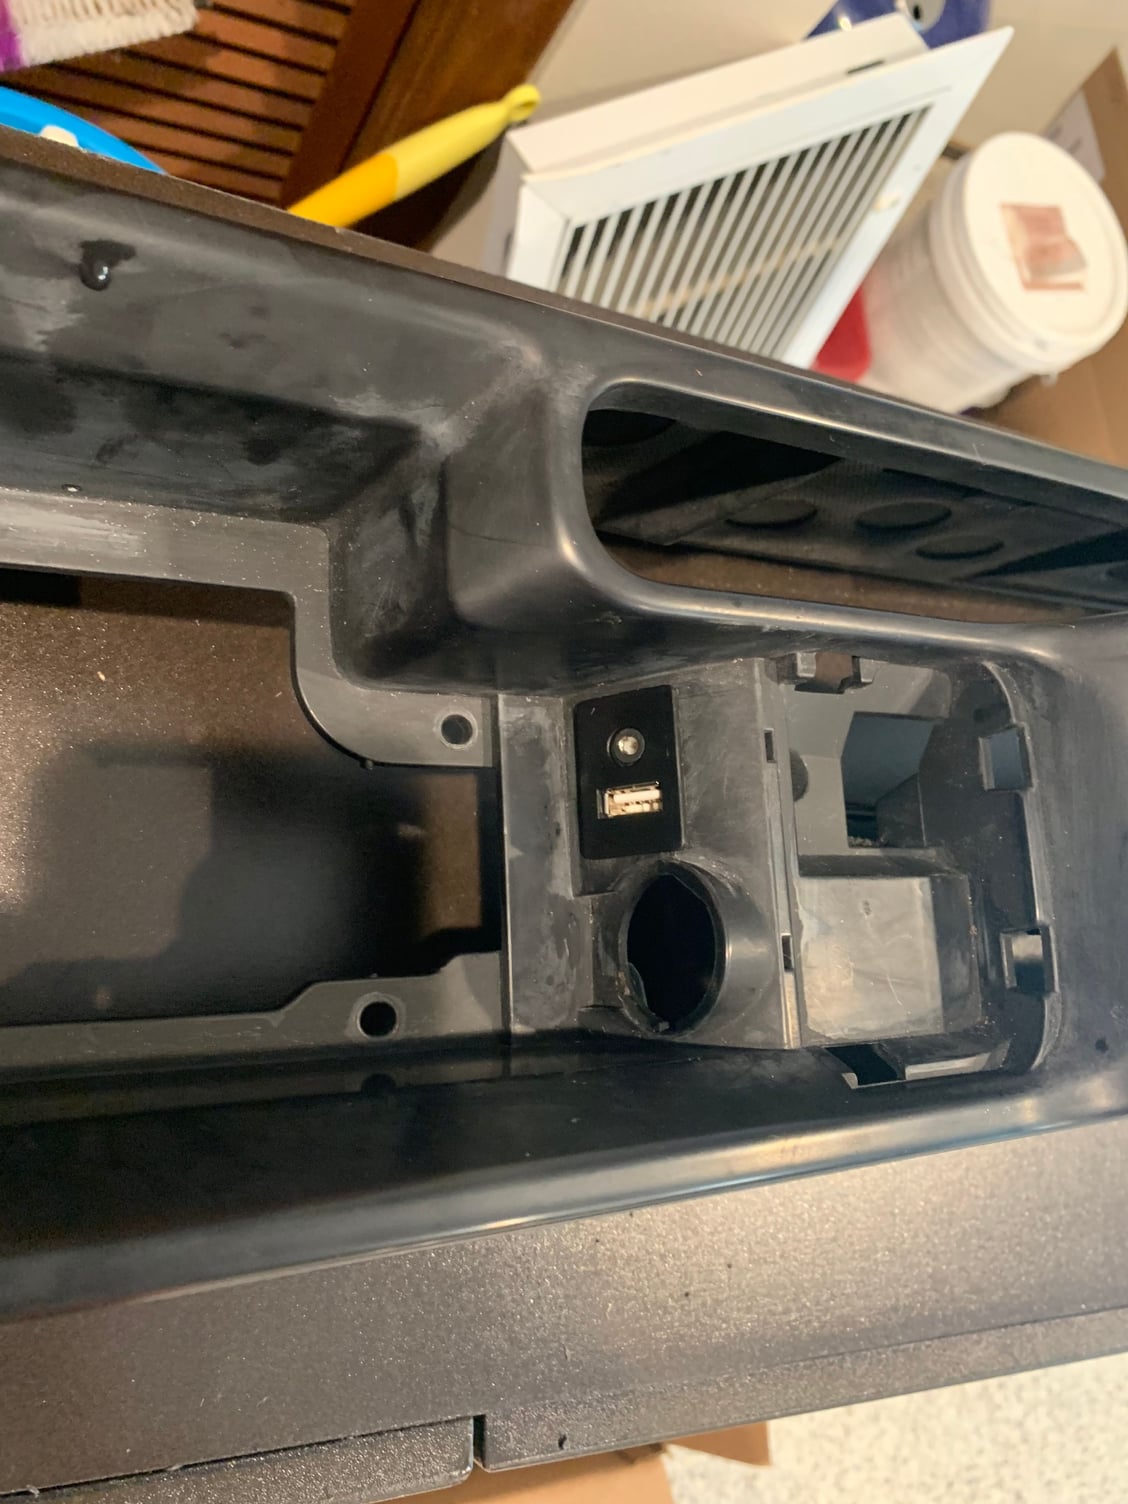
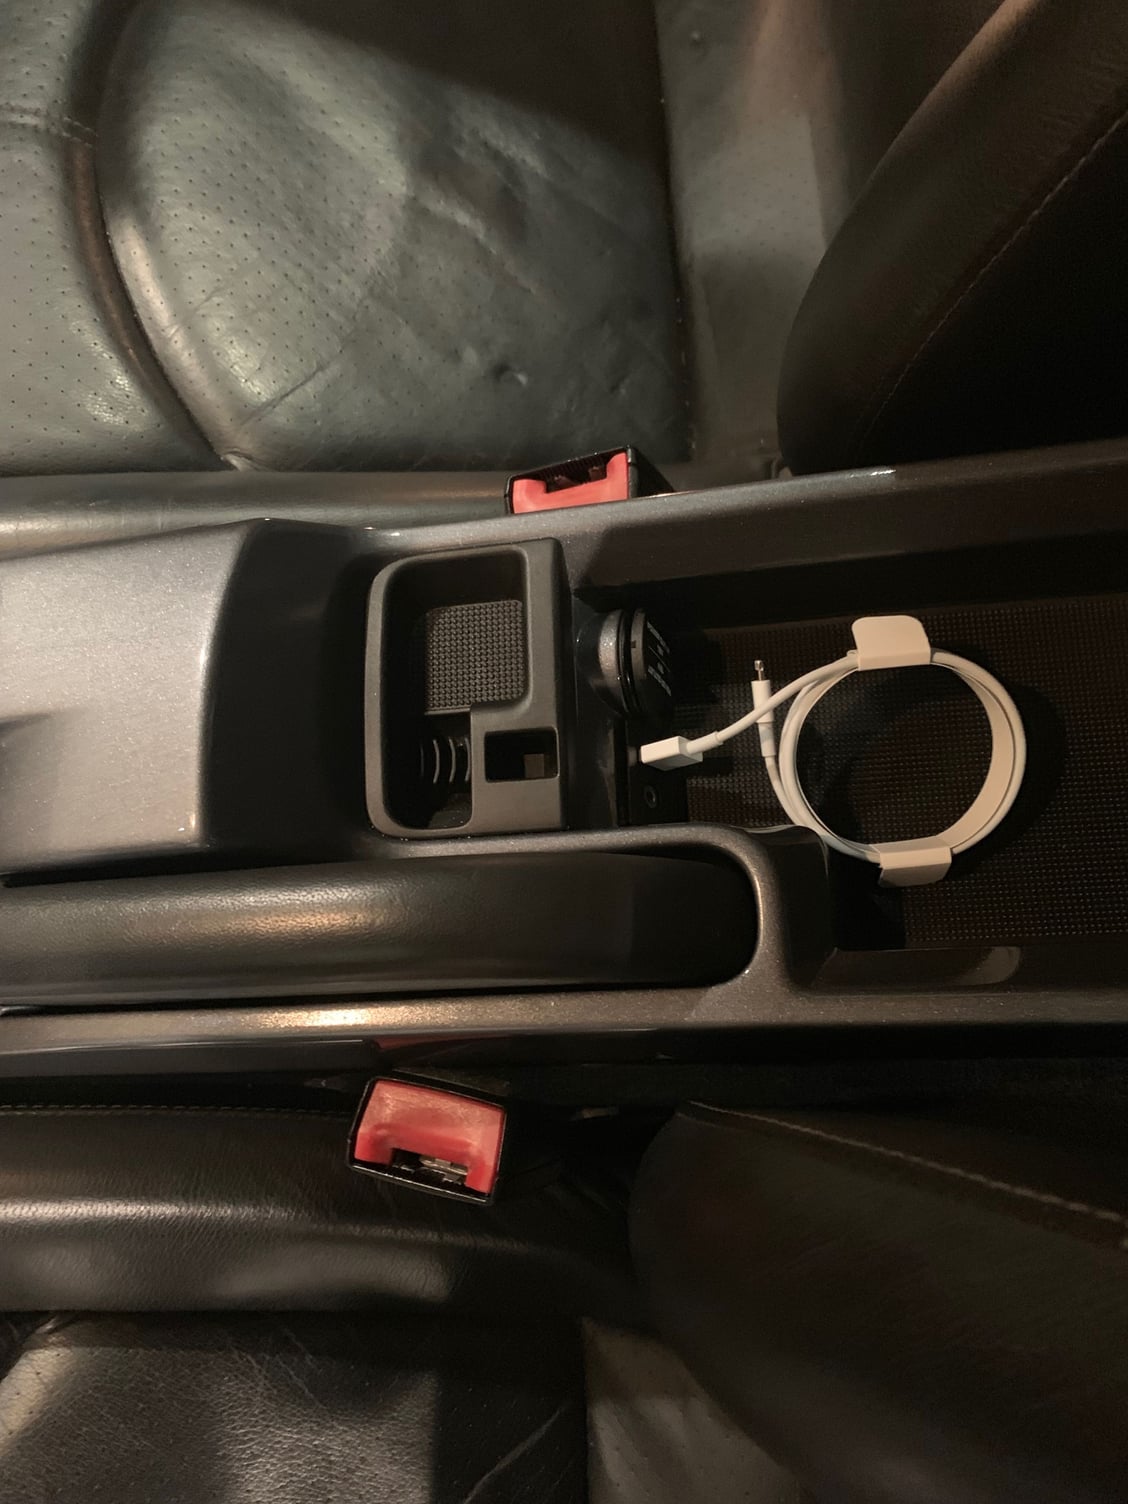
In addition, I cut a USB and AUX port in the middle console cubby for my LaPower unit. I shortened the the housing with a dremmel and saw to flow with the rounded area.
Here the USB / Aux I bought: https://www.ebay.com/itm/323876730275?
You can see the add has a higher housing what looked odd in the console.
Rough in USB/AUX port
I broke too many tabs on the door covers with the melt technique and got new black ones from Suncoast. The drill worked better for me, but I already had few tabs broken.
Finding a paint shop who wants to paint my interior was a terrible experience. From terrible job over not calling back to decline the job, I had it all.
In the end I found a company what mixes rattle cans per order and did the job myself.
The paint was amazing! I always thought my paint skills are just not good but this rattle cans where phenomenal. Paint and metallic effect look perfect!!! I talked to them on the phone and ordered my body color Seal grey. My order came up with 1 flexible primer, 2 paint seal grey and 2 clear coat.
Great support and the product was amazing!
I can highly recommend the company from my experience. https://www.66autocolor.com/
My process: I sanded the old paint and scratches out. Primer came with seal gray already added what was very nice. I primed, sanded with 1500 grid, primed again and sanded with 1500.
Three layers seal grey and three layers clear coat. The paint had instructions not to sand between coats, what was my initial plan. I'm glad I read the instructions to sand one day later after the last clear coat was applied.
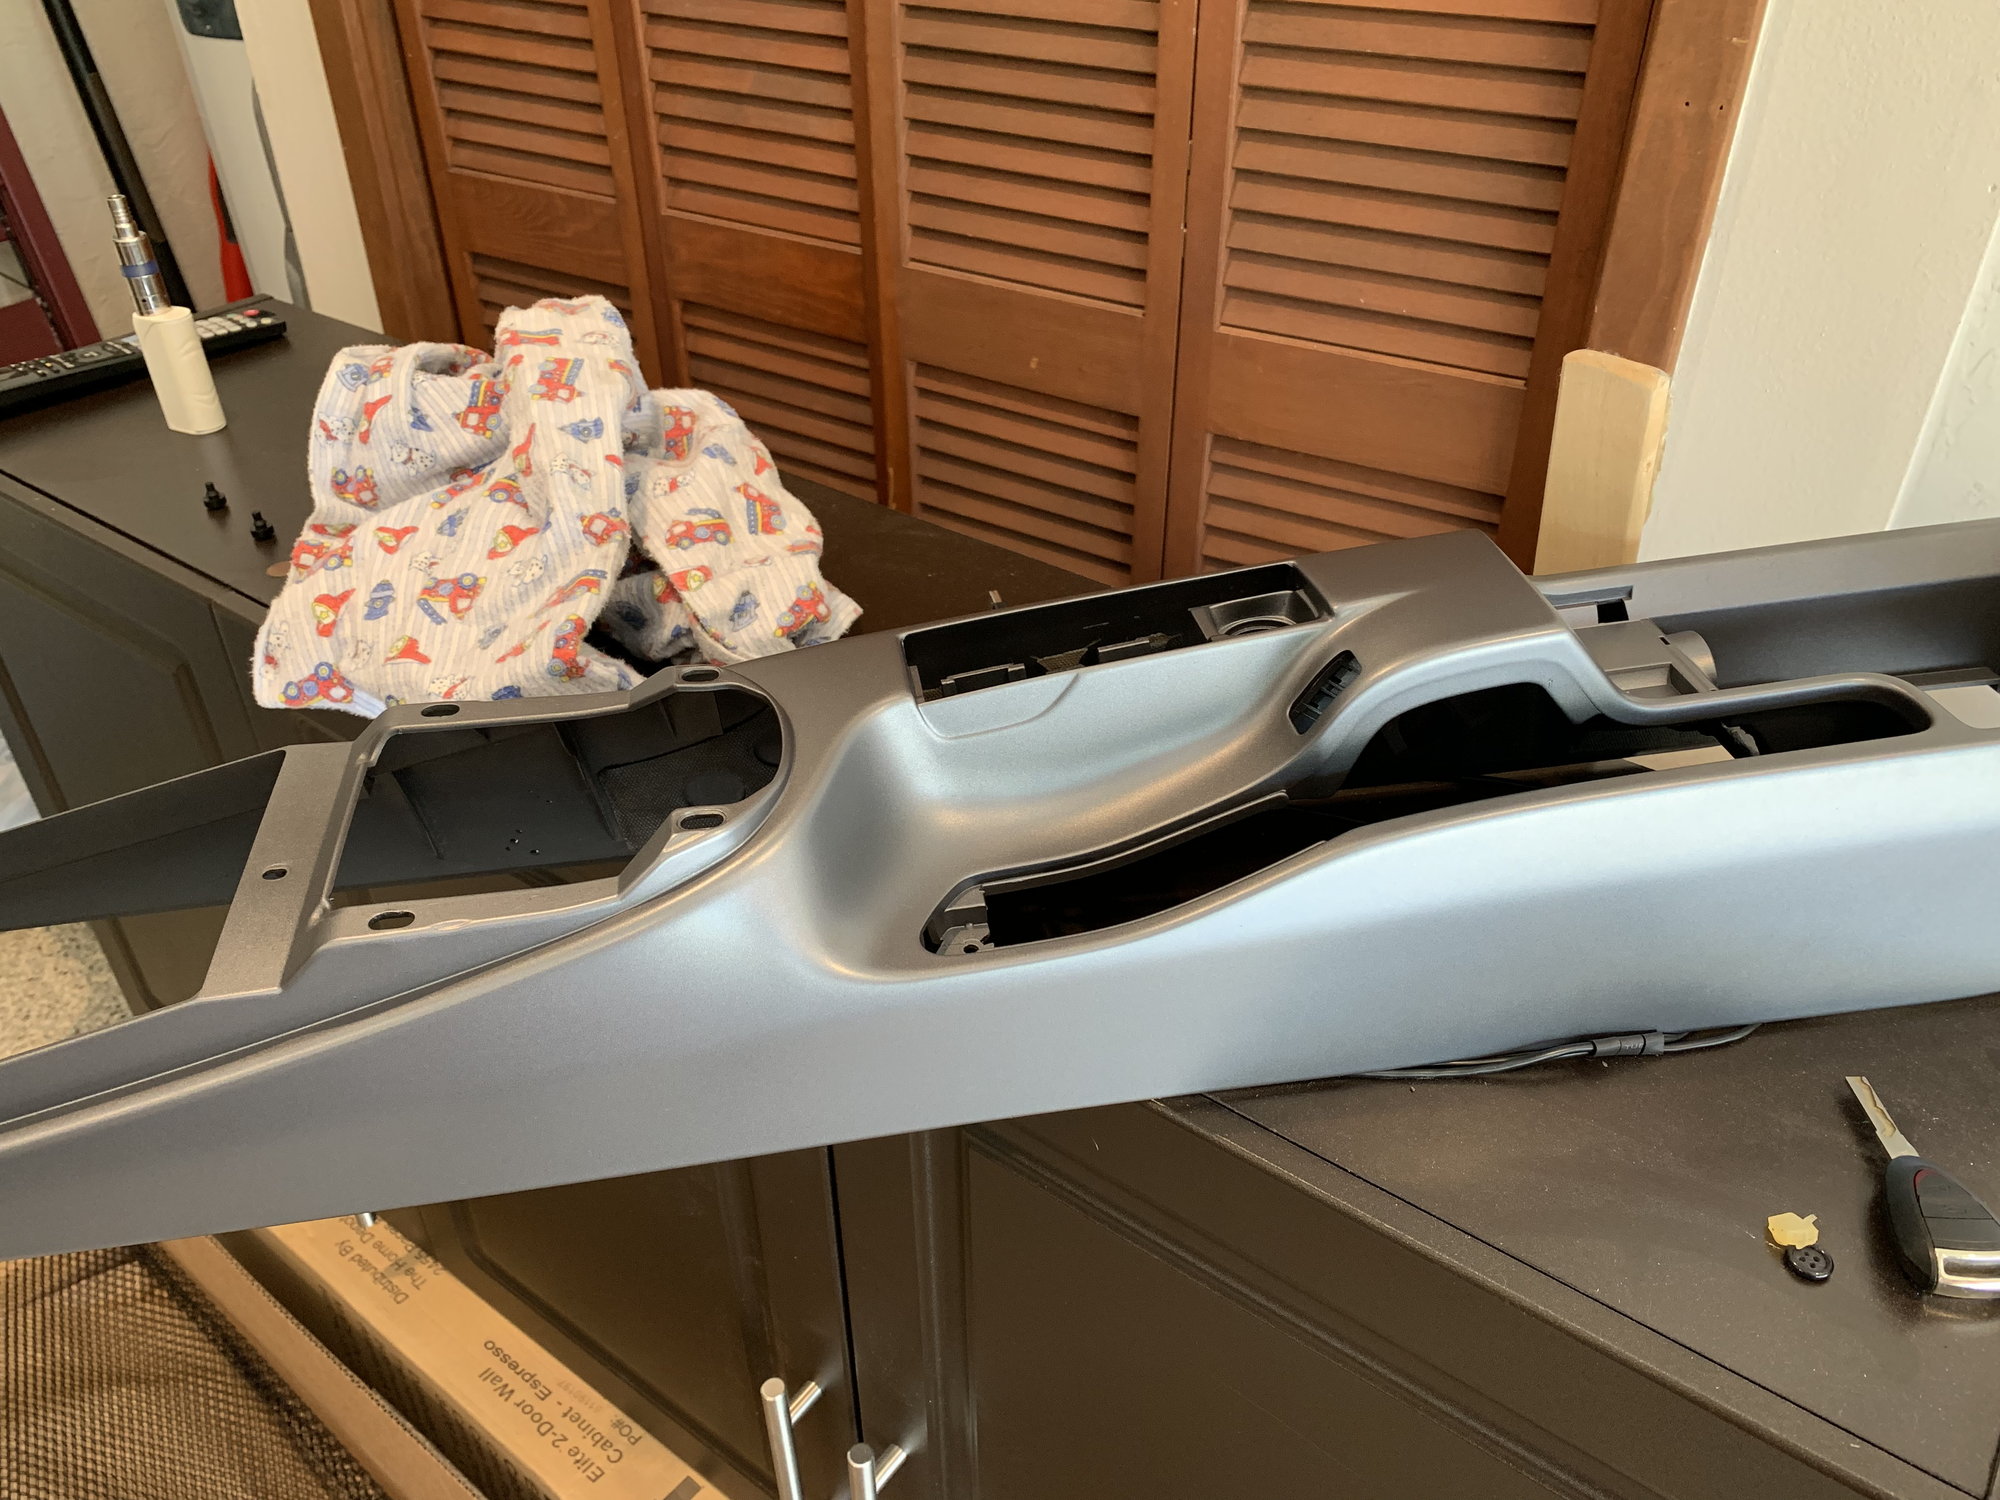
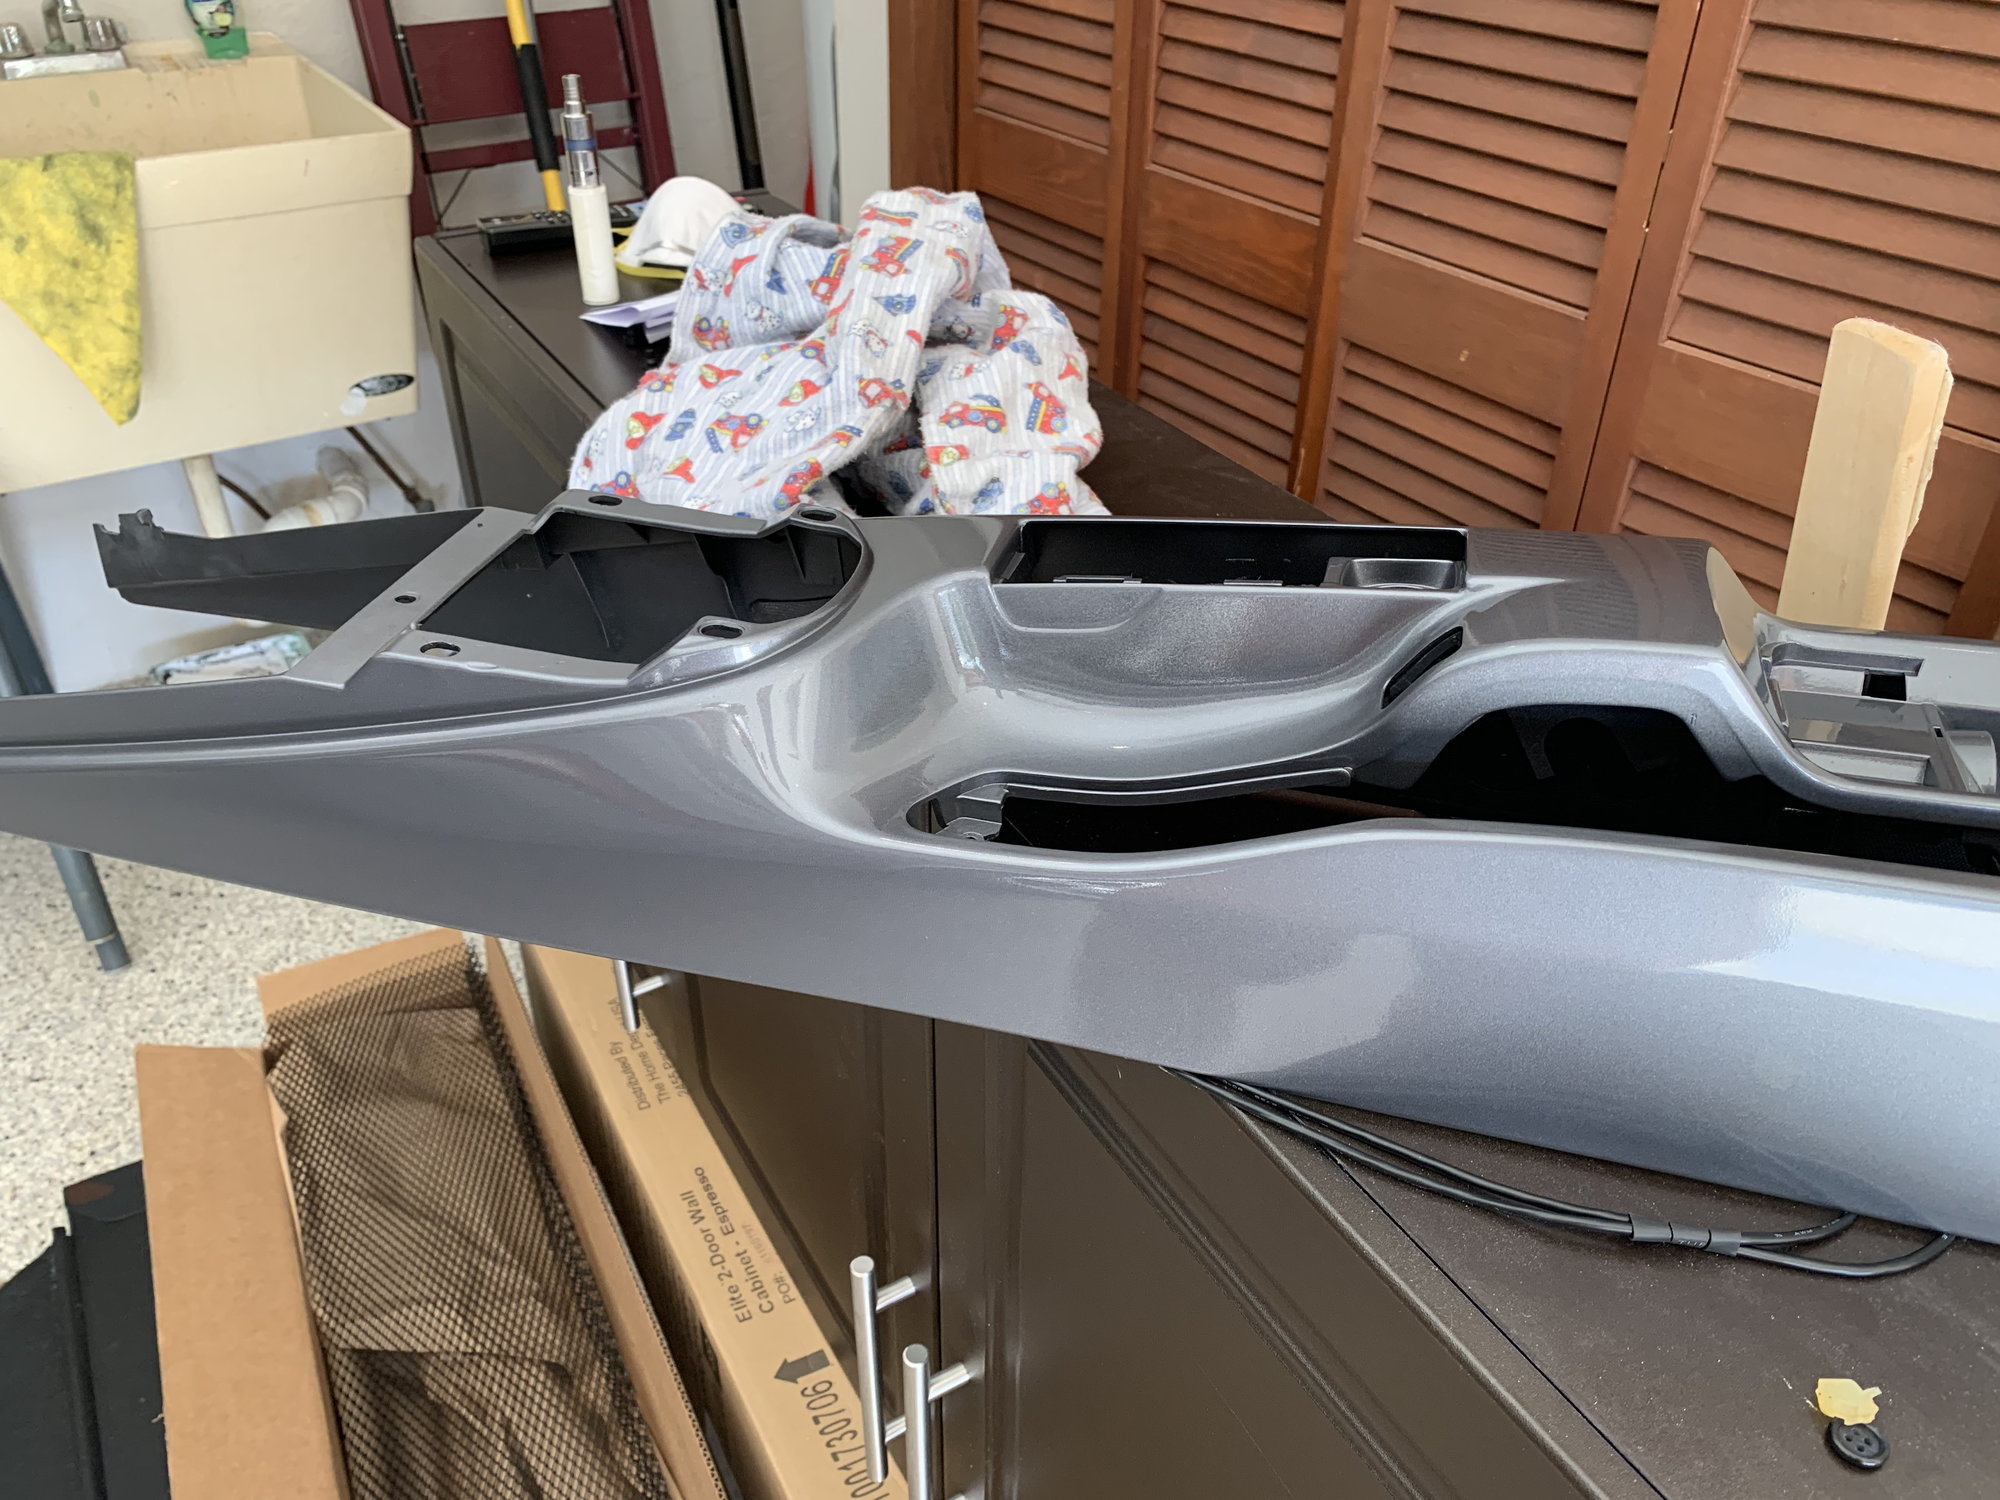
first layer paint
first layer paint console
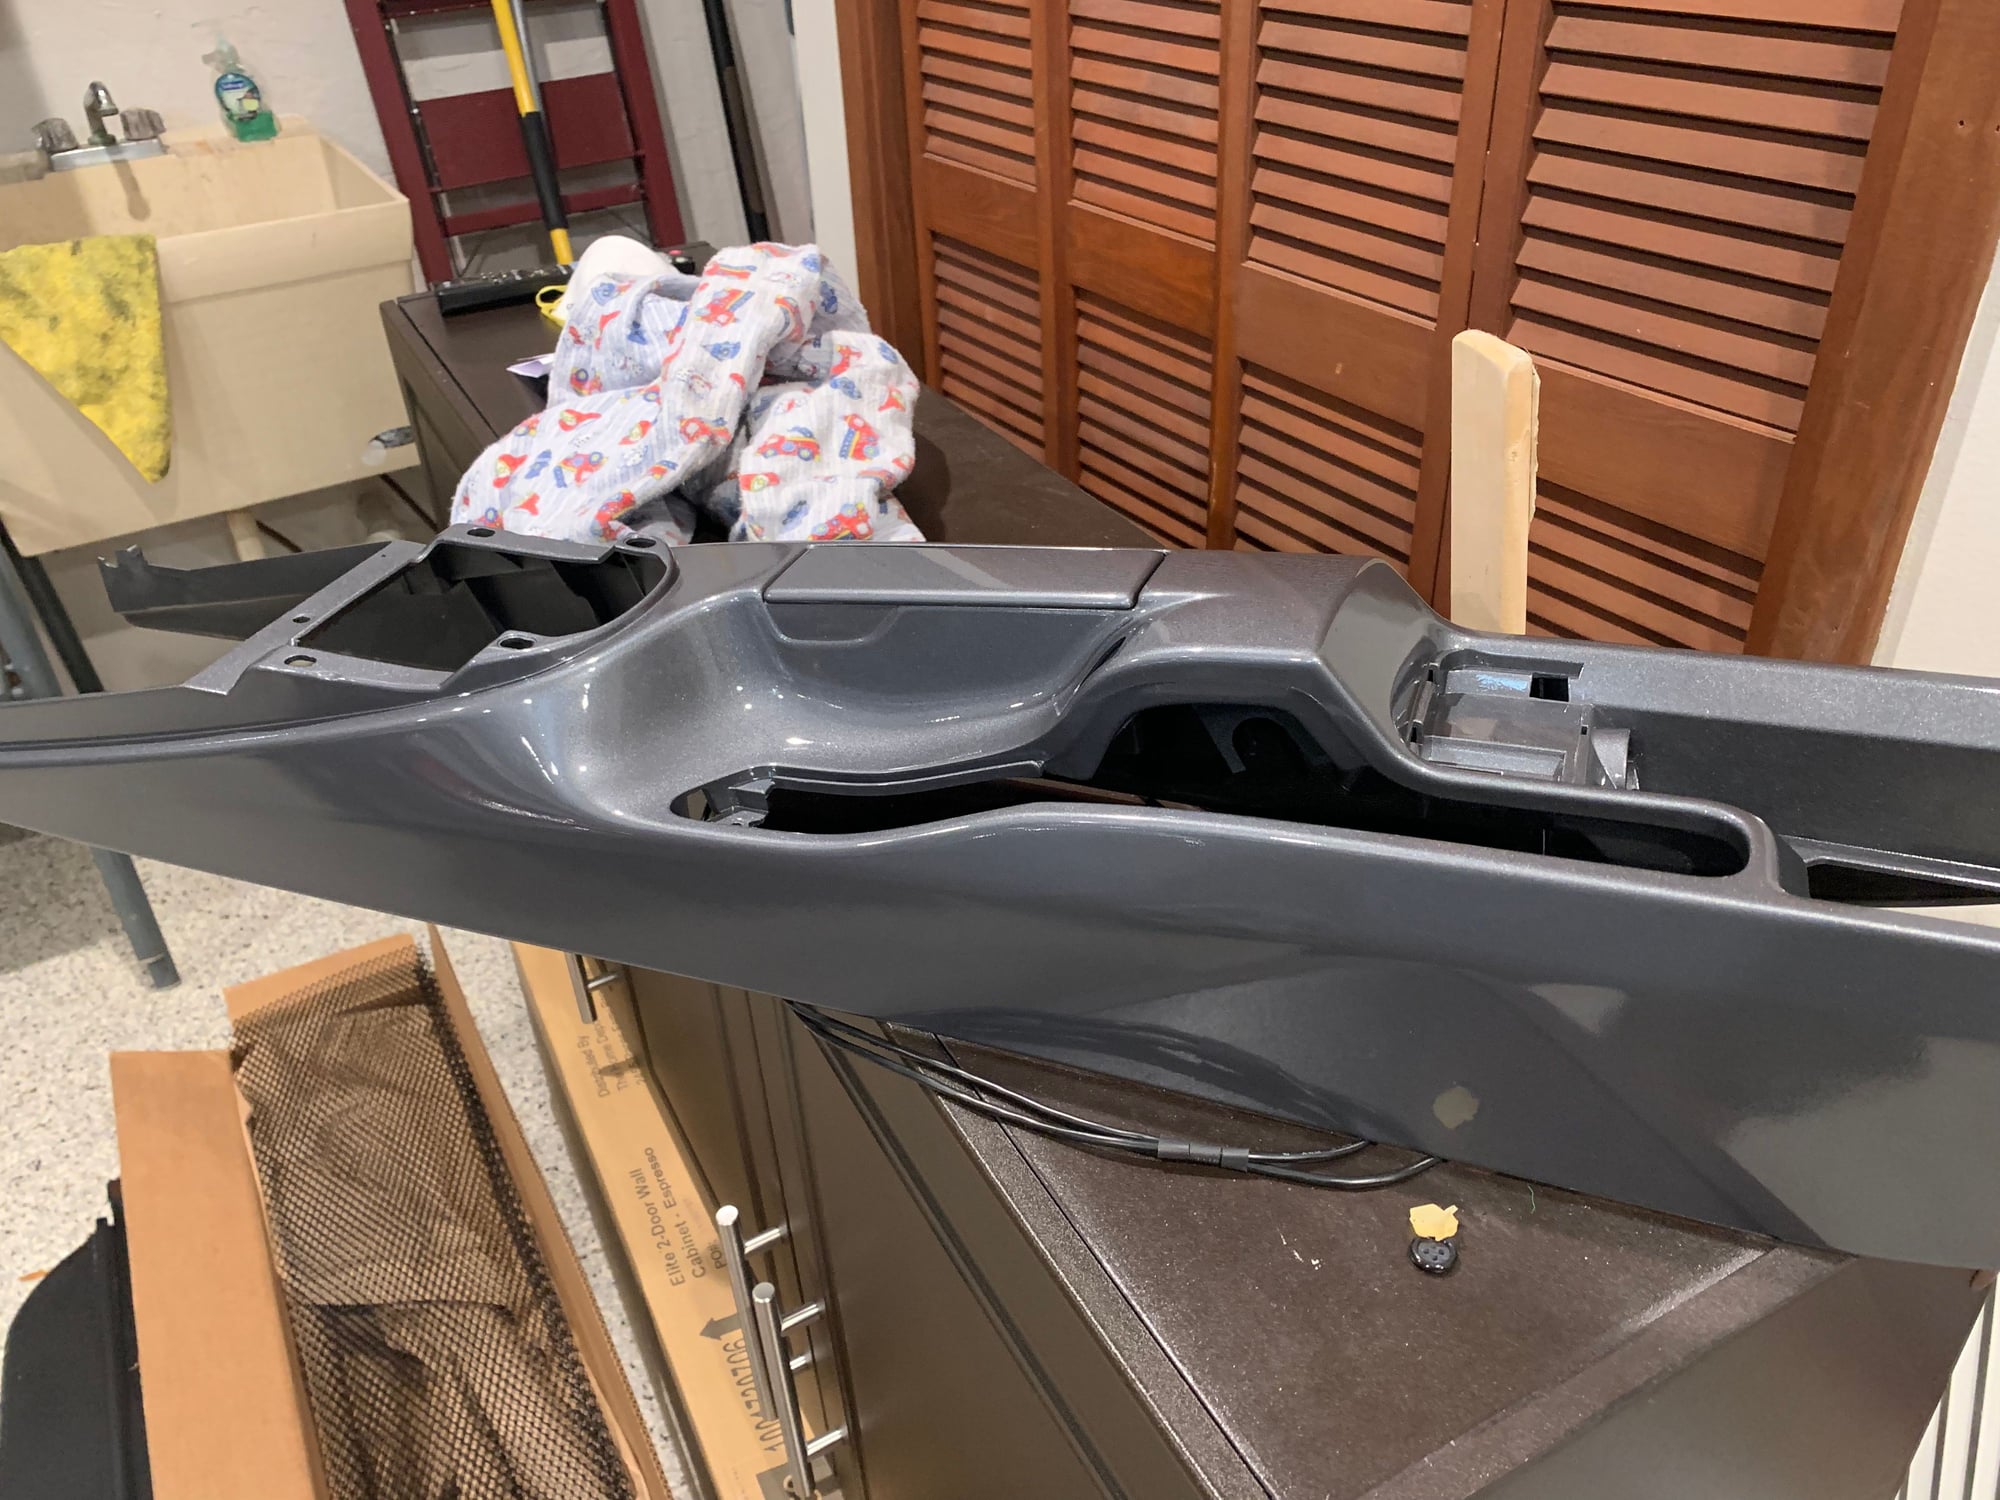
first layer clear coat
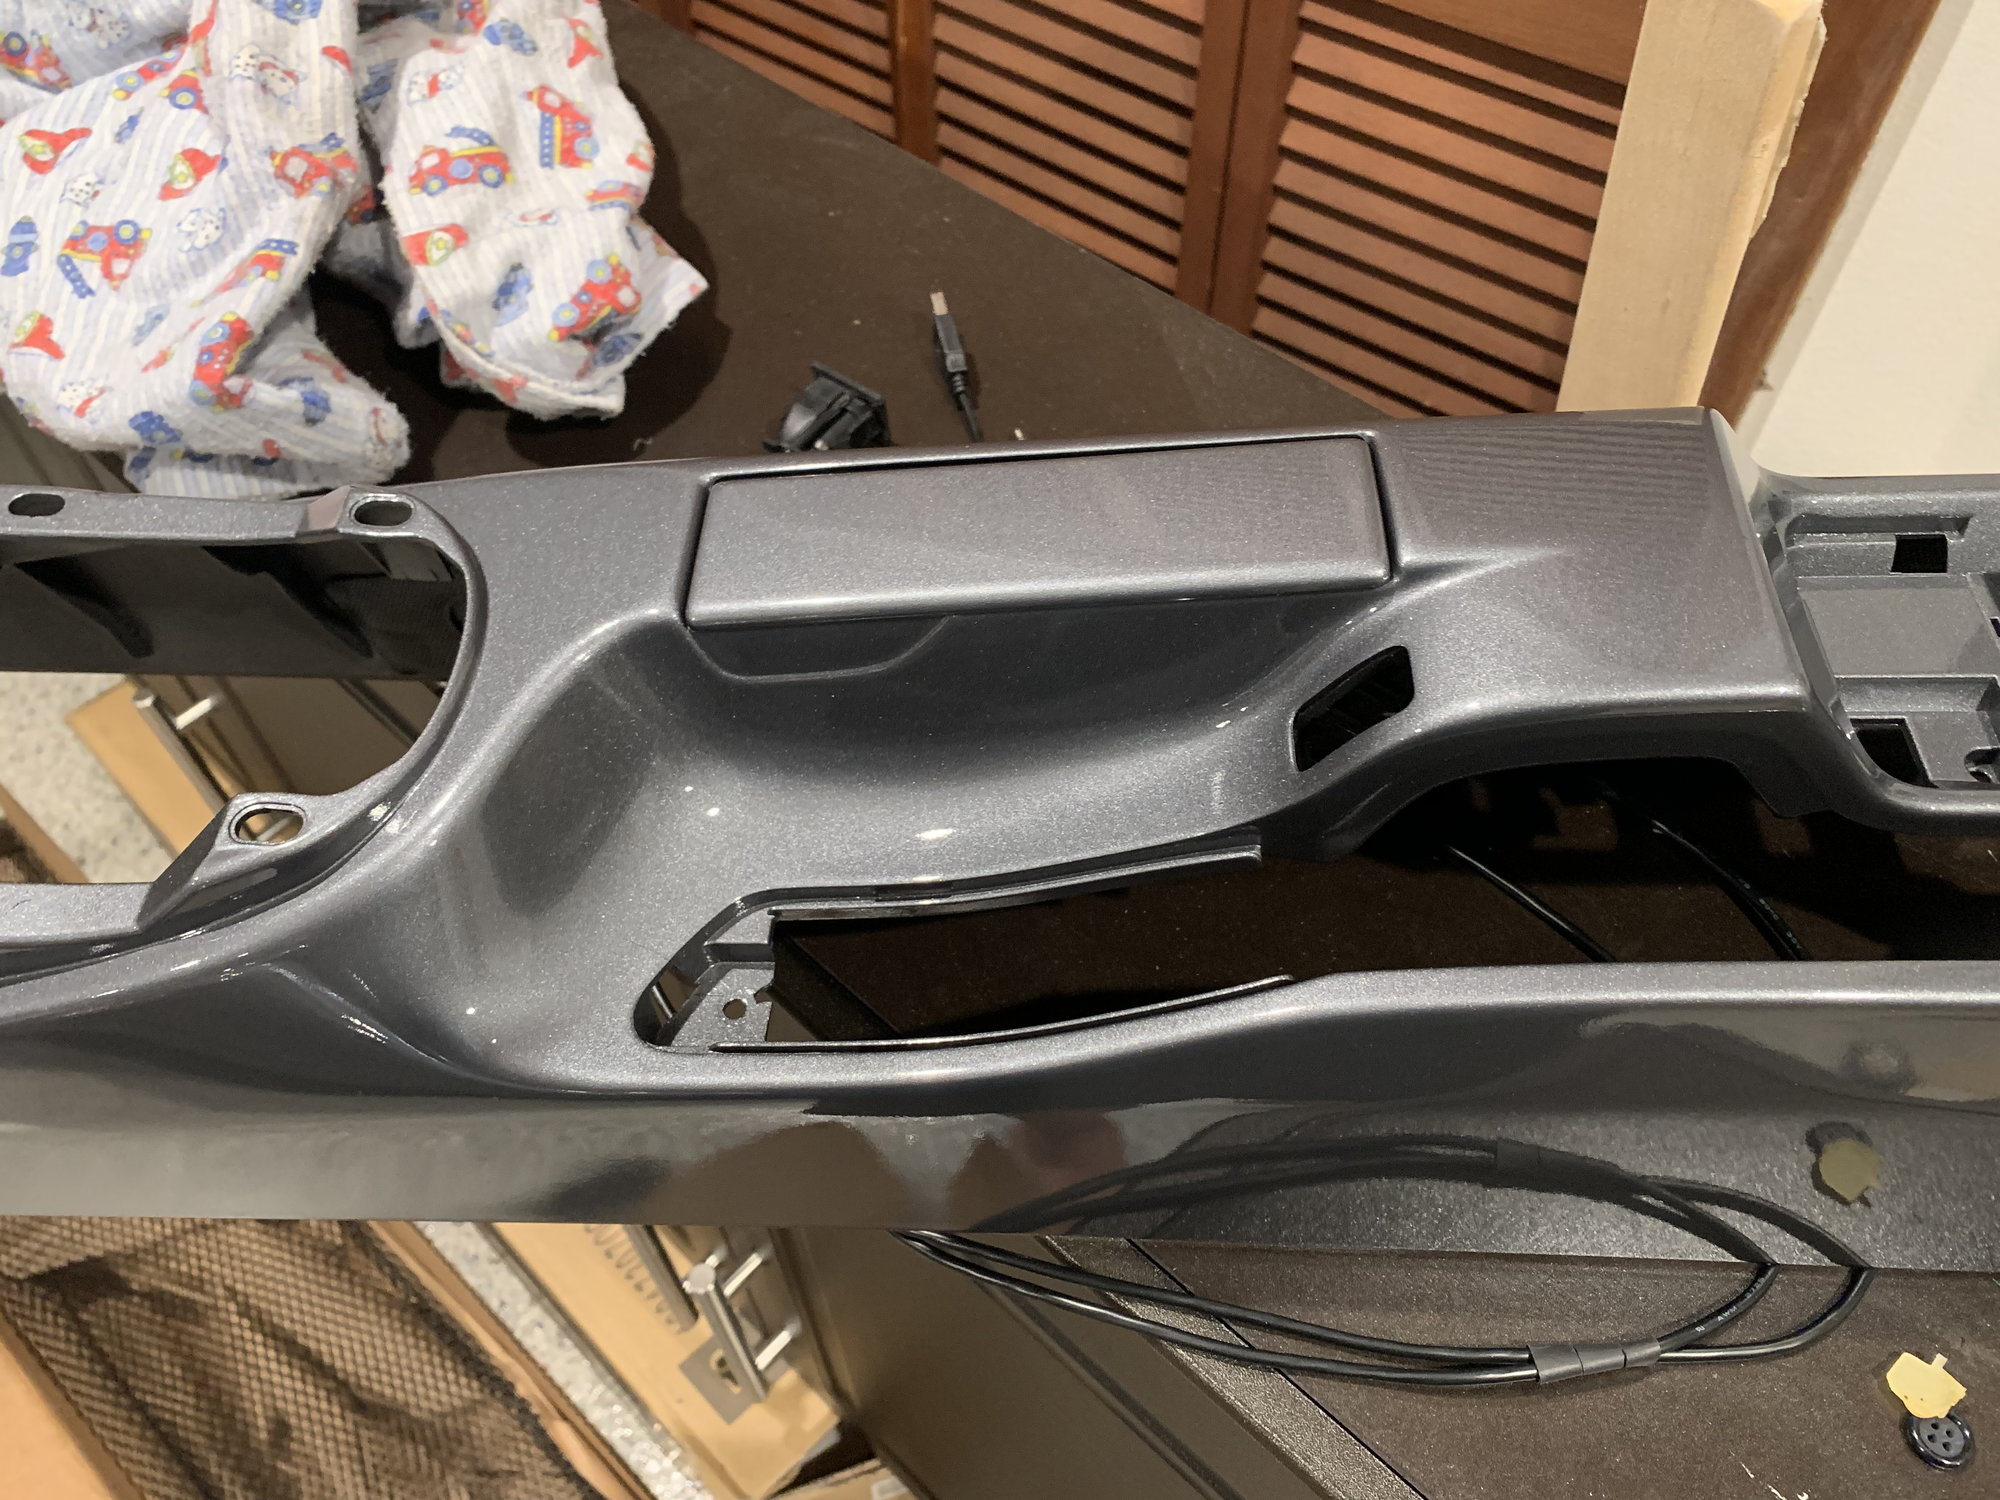
Second layer clear coat
Second layer clear coat detail
first layer clear coat
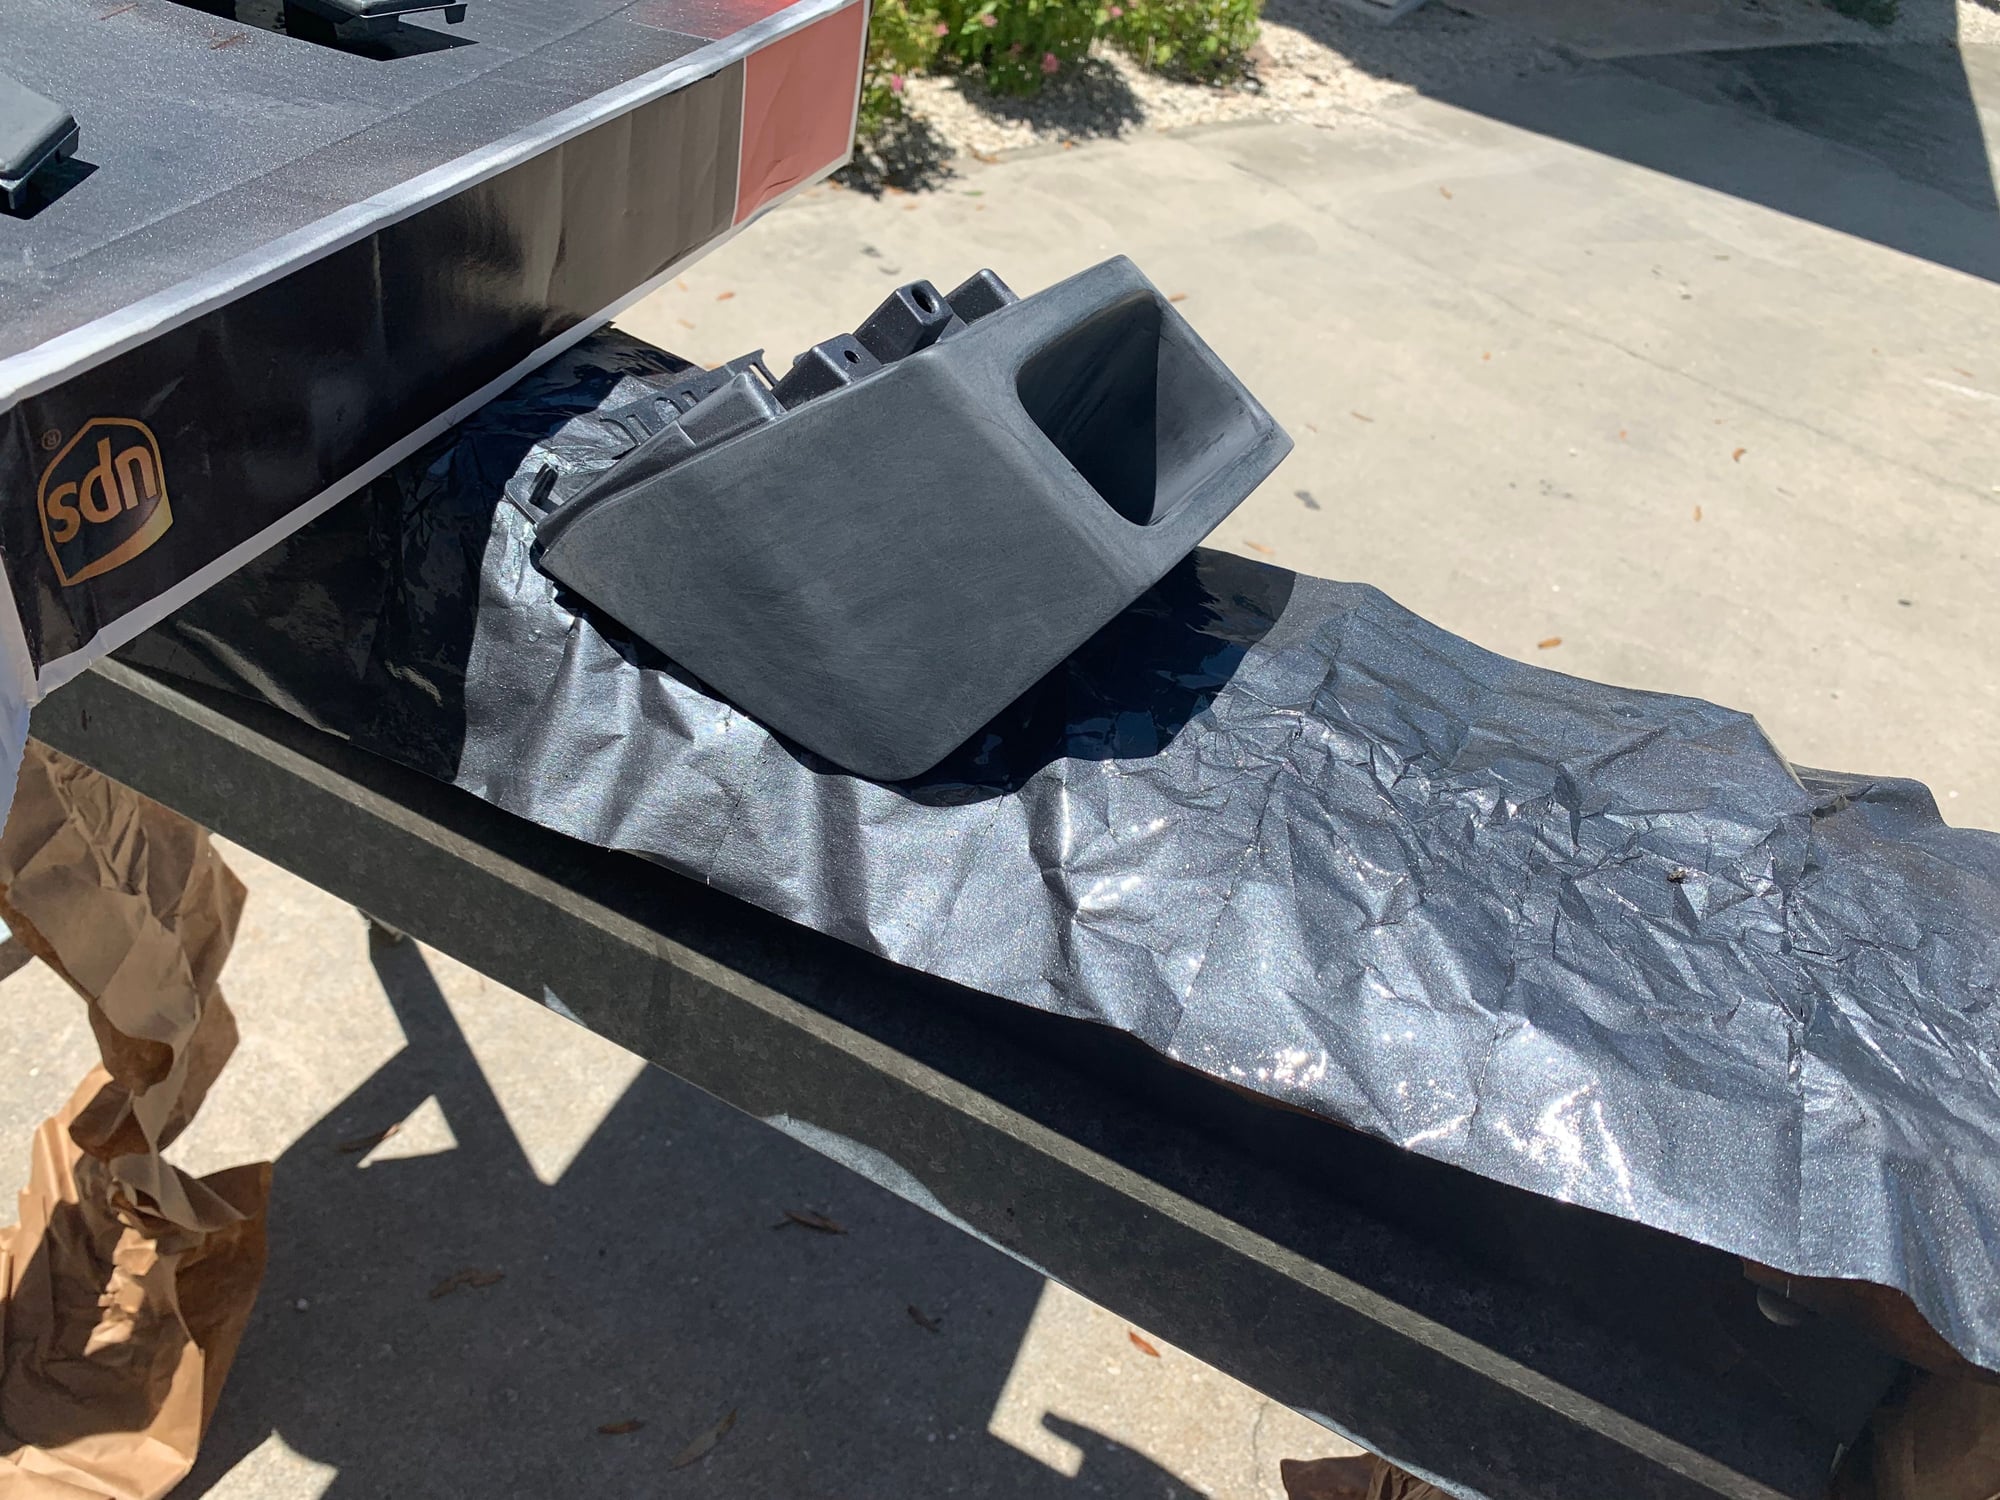
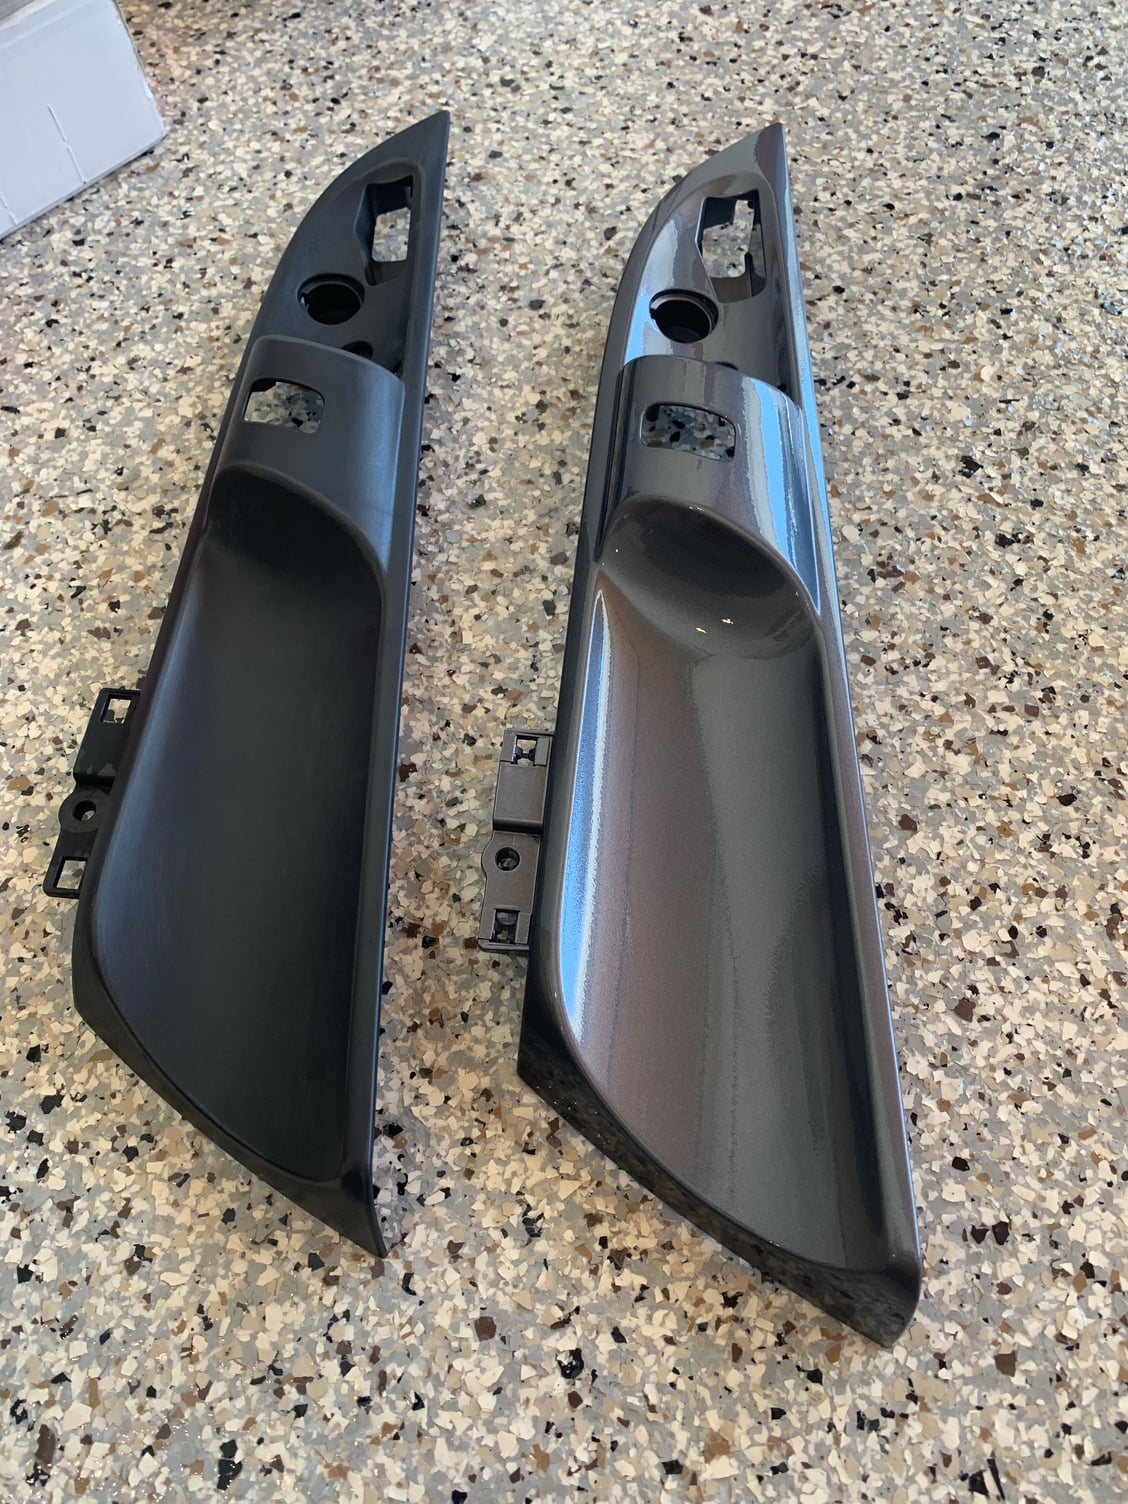
Messed up back cubby, had to re sand and start over comparison old vs new. Old was already sanded, new one on first layer clear coat First layer clear coat misc pieces
all paint work done, before cut & buff and wax
plastic welding in the new door covers
I wet sanded the pieces and buffed them with 3m (1, 2 and 3) compound. To finalize the work, I was planning to have the pieces PPF protected and hit up my detailer. He dragged his feet for a while till I got fed up.
The middle console project took me a while, way to long.
I took my interior apart when I had to replace my shifter cables.
Since I was there, I took all apart and removed the door handle covers as well. How it started, replacing shifter cables
This picture was a purchase picture of the car.
Before picture
Sanding the pieces took me a while, the best way to remove the old paint for me was to take the pieces under water, soak and just rub it off with a towel/ hands. Details had to be sanded by hand.
In addition, I cut a USB and AUX port in the middle console cubby for my LaPower unit. I shortened the the housing with a dremmel and saw to flow with the rounded area.
Here the USB / Aux I bought: https://www.ebay.com/itm/323876730275?
You can see the add has a higher housing what looked odd in the console.
Rough in USB/AUX port
I broke too many tabs on the door covers with the melt technique and got new black ones from Suncoast. The drill worked better for me, but I already had few tabs broken.
Finding a paint shop who wants to paint my interior was a terrible experience. From terrible job over not calling back to decline the job, I had it all.
In the end I found a company what mixes rattle cans per order and did the job myself.
The paint was amazing! I always thought my paint skills are just not good but this rattle cans where phenomenal. Paint and metallic effect look perfect!!! I talked to them on the phone and ordered my body color Seal grey. My order came up with 1 flexible primer, 2 paint seal grey and 2 clear coat.
Great support and the product was amazing!
I can highly recommend the company from my experience. https://www.66autocolor.com/
My process: I sanded the old paint and scratches out. Primer came with seal gray already added what was very nice. I primed, sanded with 1500 grid, primed again and sanded with 1500.
Three layers seal grey and three layers clear coat. The paint had instructions not to sand between coats, what was my initial plan. I'm glad I read the instructions to sand one day later after the last clear coat was applied.
first layer paint
first layer paint console
first layer clear coat
Second layer clear coat
Second layer clear coat detail
first layer clear coat
Messed up back cubby, had to re sand and start over comparison old vs new. Old was already sanded, new one on first layer clear coat First layer clear coat misc pieces
all paint work done, before cut & buff and wax
plastic welding in the new door covers
I wet sanded the pieces and buffed them with 3m (1, 2 and 3) compound. To finalize the work, I was planning to have the pieces PPF protected and hit up my detailer. He dragged his feet for a while till I got fed up.
Quick question......I started with 400gr and the sandpaper loaded up very quickly and seemed to work ok to terribly in some spots. I used it dry with a 3M rubber sanding block. My conclusion was that I should drop down to 320 and use my orbital sander first, then proceed to 400-800-1500-2000. I also think my console has been resprayed previously hence the uneven results.
Should I be wet sanding though for my initial pass?
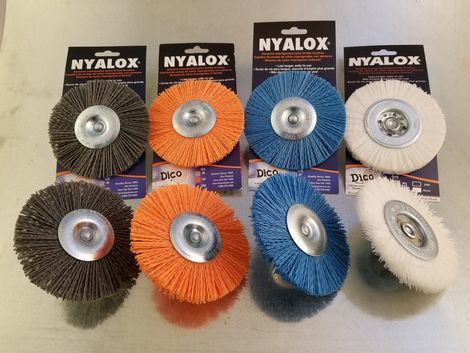
Better yet, head over to the local Ace Hardware store and pick-up a Dico Products 'Nyalox' 4" wheel brush. The orange one is 120 grit, but used judicioudly, will remove the sticky paint and not damage the plastic console. WAAAAy better than solvents, scrubbing, brushing or sanding. Works great!...and much faster.
I've ordered SEM interior paint for my console and inner door sills. They appear to be more 'graphite' than 'matte black'. Has anyone tried the graphite paint?
Man I really hit it with an orbital sander and 320gr today, just the smaller rear compartment for passengers in back and surprise! Took some stank to put a dent in this soft touch. A sander won’t take it right off but interior wear and tear will. Hmmmmm. I’m trying to figure out how to sand all the curves etc. I guess maybe drop back to 220 to really remove the old stuff. I think I’m at bare plastic as it’s whitish all over. Don’t want to over sand either.
I used a combo of hand sanding and a drill attachment from a headlight polishing kit. That worked well to get the curves and I had it lying around from my headlight project. Mine had been resprayed so I took it down to bare plastic, or as close as I could get. I sprayed a bunch of coats and lightly wet sanded between very light coats. Also, if you hold the rattle can farther away it will give you a similar texture as to stock and reduce any drips.
I think it wrote this 2.5 years ago, and my center console still looks perfect. Not a single scratch, or any wearing, after 40k miles with 2 boys jumping in an out of the backseat.
So.... I'm warning everyone that is very impatient, like myself... I used 180 grit originally to get the rubber coating off but grew impatient and used 80 grit. Long story short, don't do this. It creates scratch so deep that I can't even smooth out the scratches with high build filler... Just ordered another center console


 07-14-2019, 11:15 AM