When you click on links to various merchants on this site and make a purchase, this can result in this site earning a commission. Affiliate programs and affiliations include, but are not limited to, the eBay Partner Network.
Took the wife's car to the airport last week and realized it needed some work - steering wheel off-center (no pull though), a little steering wheel shimmy, and some vibration under braking.
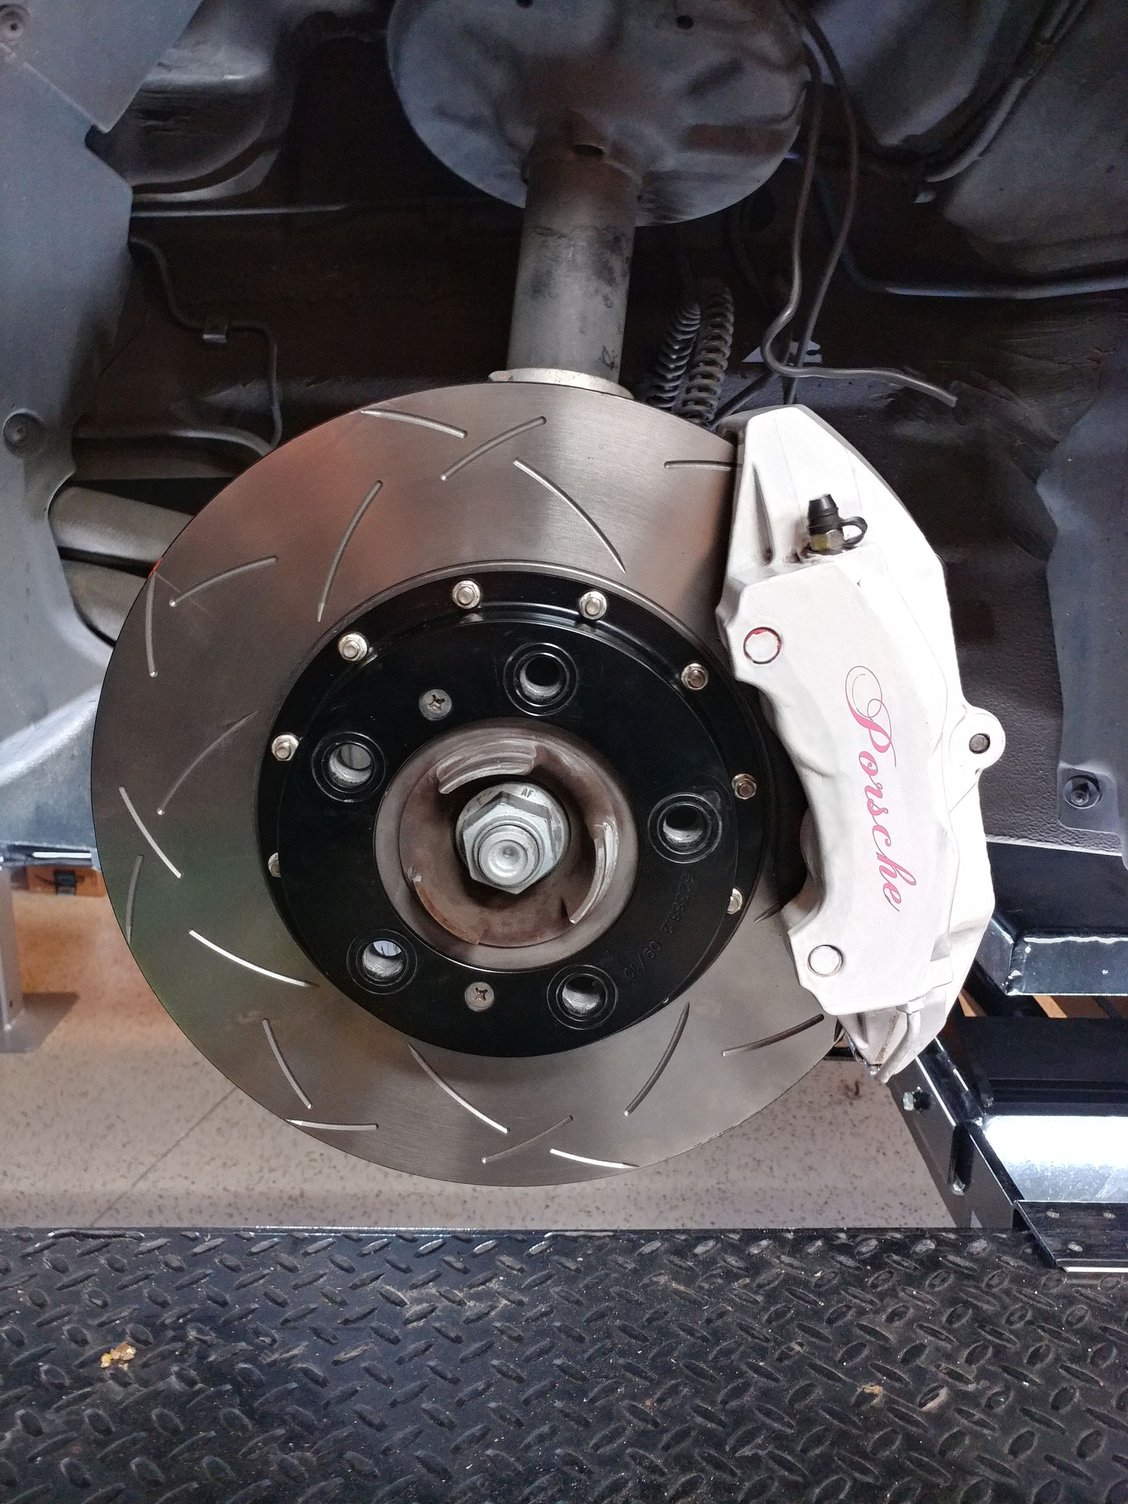
So, today, had the car realigned, had the tires road force balanced, and am replacing the rotors and pads. Had 2-piece slotted already so just bought new rotor rings and swapped them over to the hats with new, single use nuts & new Hawk Ceramic (yellow box) pads.
Fronts are completed and I'll do the rears tomorrow, with an adjustment to the parking brake shoes as well.
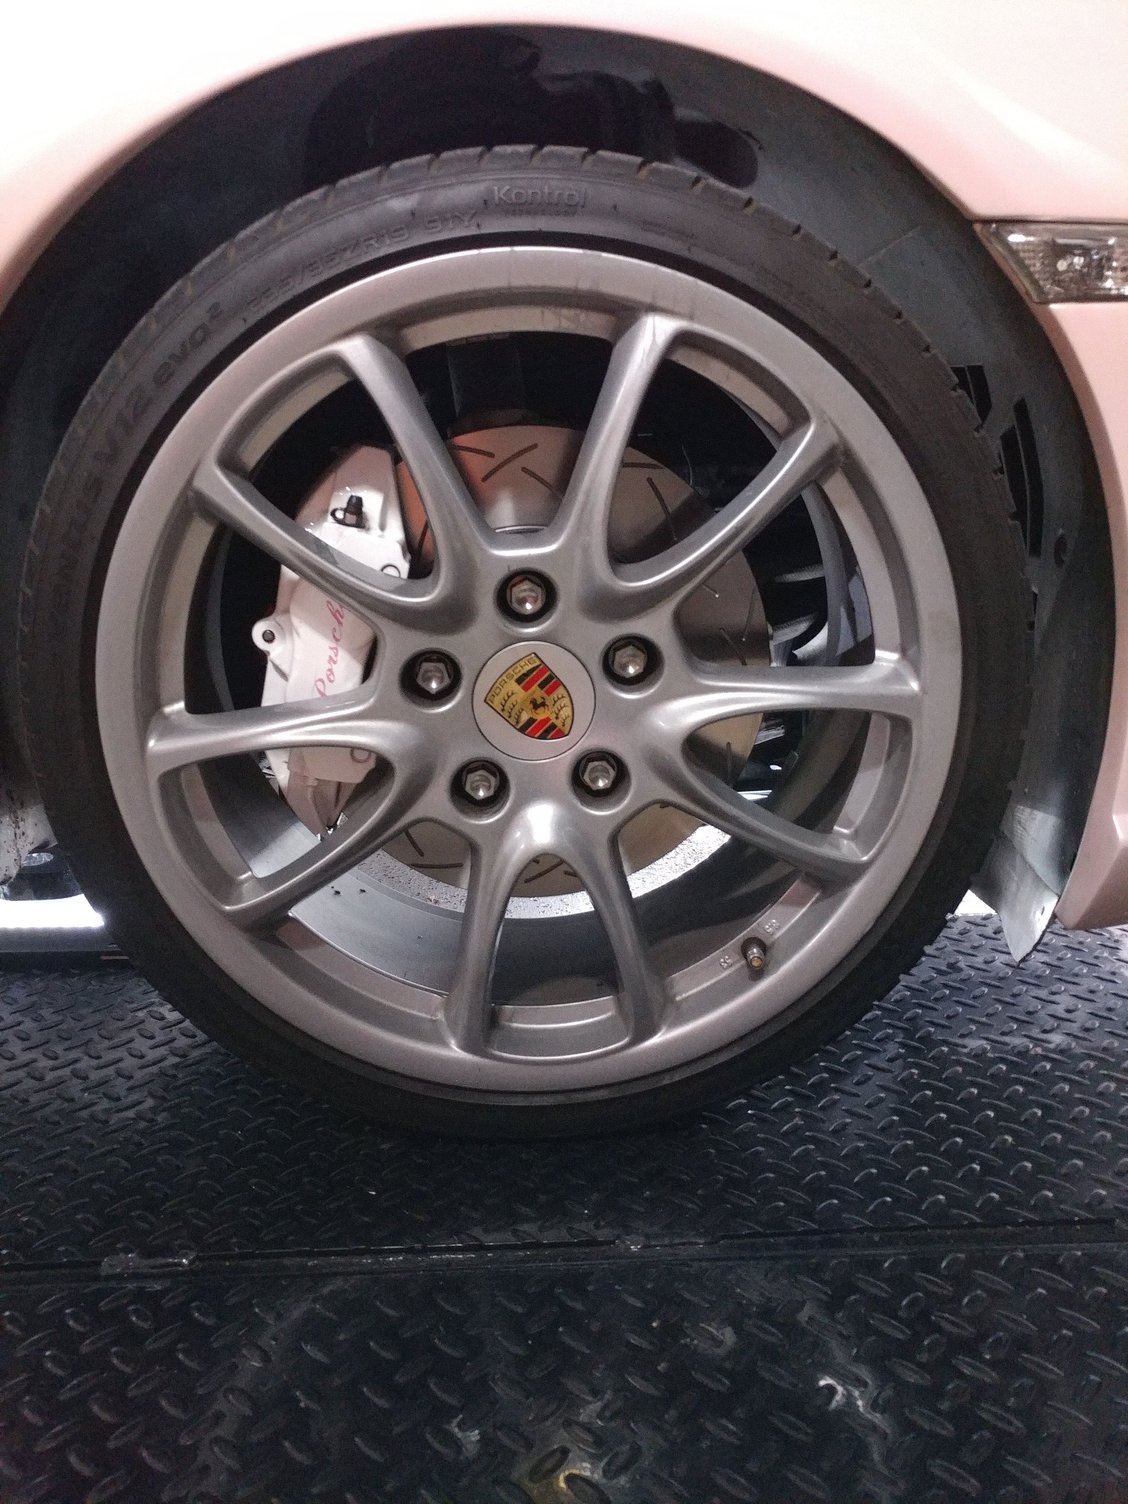
After the bedding-in process today, better initial bite, and smooth as silk stops from high speed again.
Last edited by Petza914; 02-26-2018 at 10:28 PM.
Reason: Added photos of completed rears
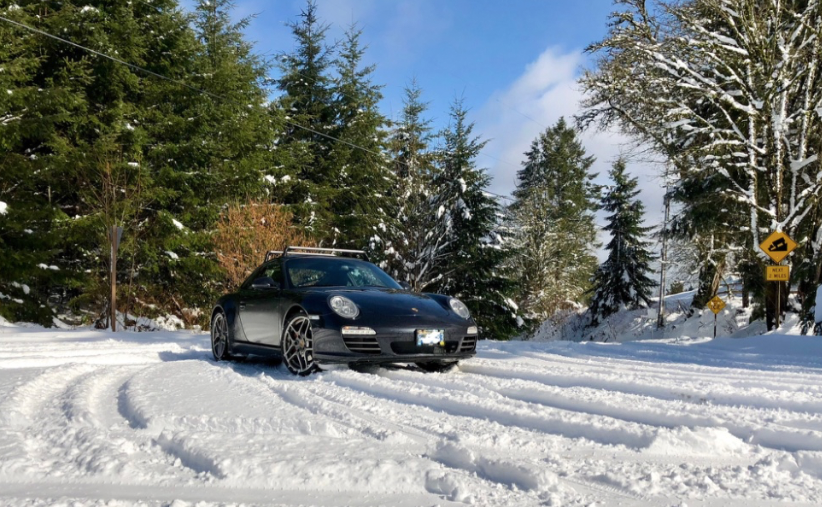
A sunny day after the snowy week. Some great windy roads and good views. Had to leave mine behind as we got higher up and hit thick snow, but my friends 4S is a trooper. Didn't miss a beat.
Took the wife's car to the airport last week and realized it needed some work - steering wheel off-center (no pull though), a little steering wheel shimmy, and some vibration under braking.
So, today, had the car realigned, had the tires road force balanced, and am replacing the rotors and pads. Had 2-piece slotted already so just bought new rotor rings and swapped them over to the hats with new, single use nuts & new Hawk Ceramic (yellow box) pads.
Fronts are completed and I'll do the rears tomorrow, with an adjustment to the parking brake shoes as well.
@Pete - appreciate any quick tips on the parking brake adjustment once you finish. I've been meaning to do mine. I skimmed the workshop manual and it seems like a bit of a dance to get both to engage on the 3rd click.
A sunny day after the snowy week. Some great windy roads and good views. Had to leave mine behind as we got higher up and hit thick snow, but my friends 4S is a trooper. Didn't miss a beat.
Wow. Impressive. Great looking scenery. Where is this?
T
Agency power spacer, made for a 996 but fits 997.1. Spaces out the caliper 10mm. Tarrett brake studs help prevent stripping the hub carrier with frequent brake changes.
Checking fit.
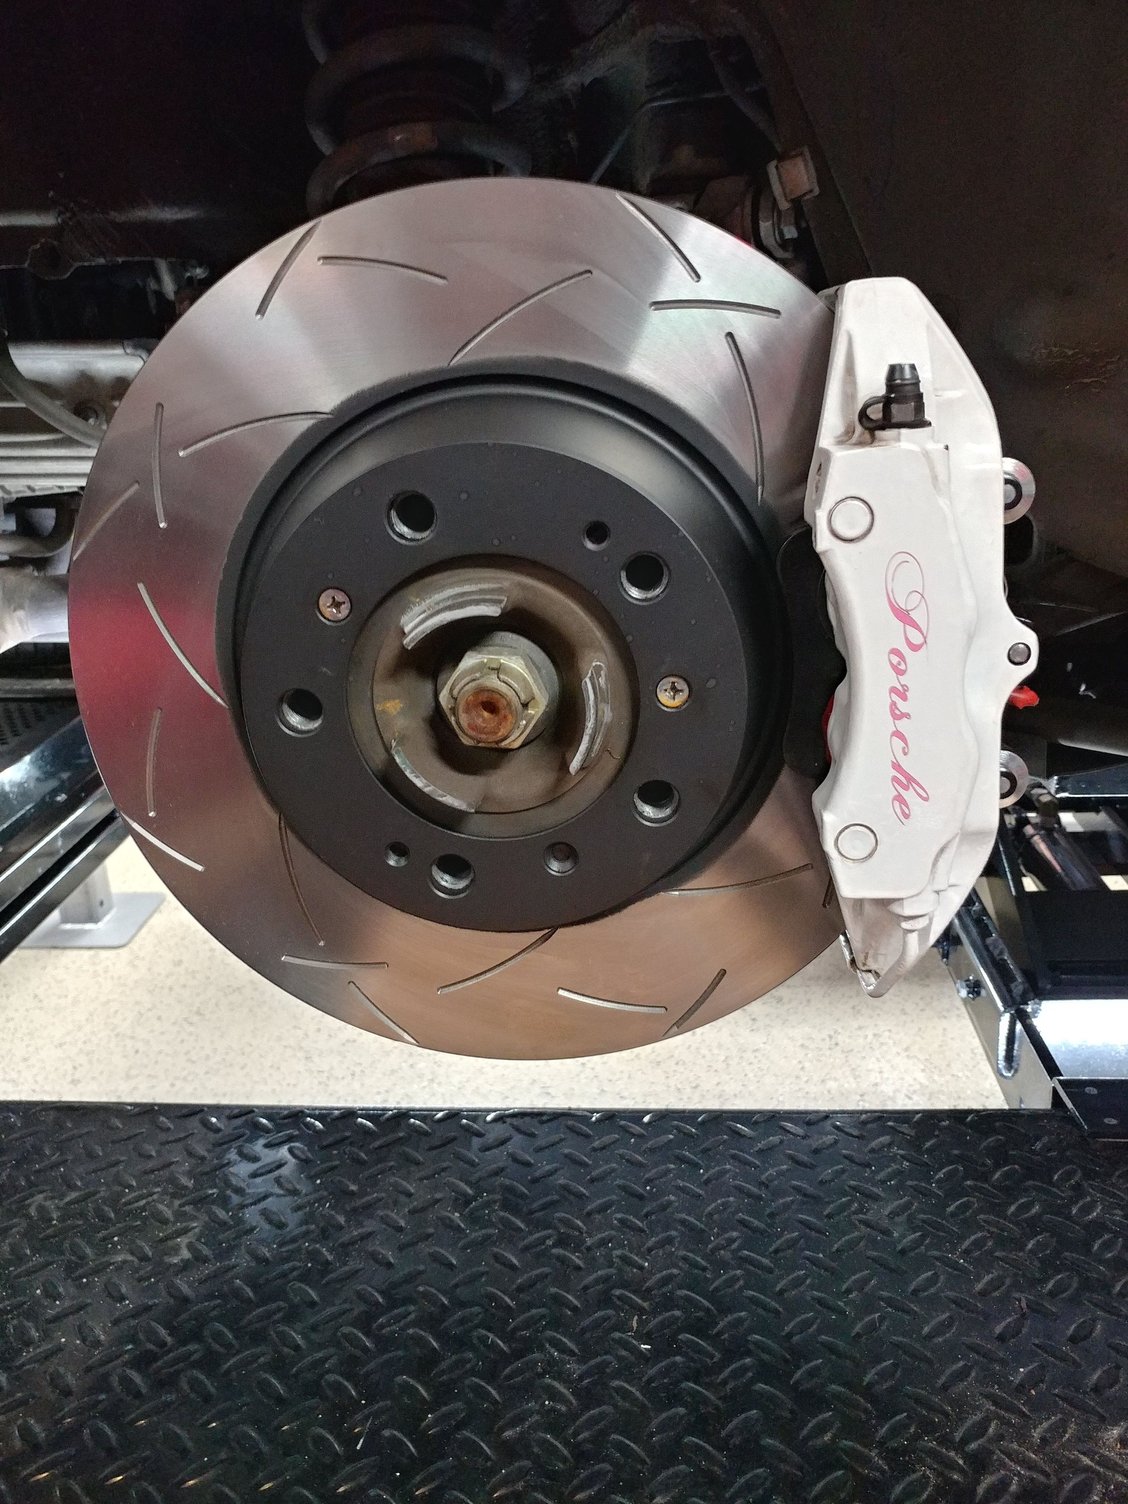
Turbo rotors, 350mm a 20mm increase in size. Should help in heat absorption but mostly increase in brake torque by moving the caliper.
Turbo rotors, 350mm a 20mm increase in size. Should help in heat absorption but mostly increase in brake torque by moving the caliper.
Nice. Did you do all 4 corners, or just the fronts? If you only did the fronts, I have a set of Sebro slotted rotors I just pulled off my wife's 997.1 C2S (changed to dba so the front & rear would match and switched out the fronts to eliminate a brake vibration caused by the front Driver's side rotor) if you or anyone else would be interested. Also have a full set of Hawk HPS Front & Rear pads, with the dampeners installed. Front pads have 11.4mm material remaining and rears have 9.09mm material remaining. Rear rotors are in excellent shape measuring 27.93mm & 27.94mm in thickness out of 28mm when new. I cleaned them in my heated ultrasonic parts washer, then brushed on Eastwood metal wash to prevent them from rusting while they wait for a new home. I'll be putting them up for sale in the Marketplace shortly.
@Pete - appreciate any quick tips on the parking brake adjustment once you finish. I've been meaning to do mine. I skimmed the workshop manual and it seems like a bit of a dance to get both to engage on the 3rd click.
Parking brake adjustment is pretty easy to do, especially if you have a helper who can sit in the car and engage and release the brake a set number of clicks on command, like my 10 year old apprentice.
You can do it with the rotors and calipers installed - just rotate the rotor so one of the wheel bolt holes lines up with the adjuster. You can stick a flat head screwdriver through the hole and roll the adjuster in one direction or the other depending on whether you want it to engage more or less. I adjusted both sides so I could feel decent drag at 2 clicks, significant drag at 3 clicks (could still rotate it with a lot of force), and couldn't budge it at 4 clicks. It would go up to 5 clicks with a lot of force. When released, both wheels would spin freely without any drag. Held fine on a hill today when I checked it.
Here's what I referenced to get an idea of what's involved and how to locate the adjuster.
Not a horrible job once you get through the first side.
Any recommendations on the tools and jacking position? I went to start the car this past weekend after winter hibernation and got a check engine light after a rough idle. I took it for a drive to burn up some old gas and that did not help. I suspect a bad coil somewhere. The car has 52k miles and I was thinking to do my 65k service sooner, replacing the plugs and the bad coil(s) at the same time.
Any recommendations on the tools and jacking position? I went to start the car this past weekend after winter hibernation and got a check engine light after a rough idle. I took it for a drive to burn up some old gas and that did not help. I suspect a bad coil somewhere. The car has 52k miles and I was thinking to do my 65k service sooner, replacing the plugs and the bad coil(s) at the same time.
Did you have fuel stabilizer in the gas during storage? If not and the car ran fine when you put it away, the gas has probably just gone bad, especially if it was an ethanol blend.
If you do change the plugs, it's much easier to use 2 shorter extensions than 1 longer one. You slip the spark plug socket with one extension into the tube and while holding the end of that extension, you add the second one and then the ratchet. Removing the plug once free is the opposite. Do not use anti seize on spark plug threads as it effects the grounding of the plug - just a drop of motor oil is best.
Good luck.
Thank you for the advice. Did you lift the car off the ground to improve access, remove the bumper cover or drop your exhaust? My car is a C4 with no mods.
No, I did not use a fuel stabilizer. This winter, I let the car sit longer than previous ones where I had started the car every three weeks or so. What product do you recommend?

 02-24-2018, 11:11 PM