When you click on links to various merchants on this site and make a purchase, this can result in this site earning a commission. Affiliate programs and affiliations include, but are not limited to, the eBay Partner Network.
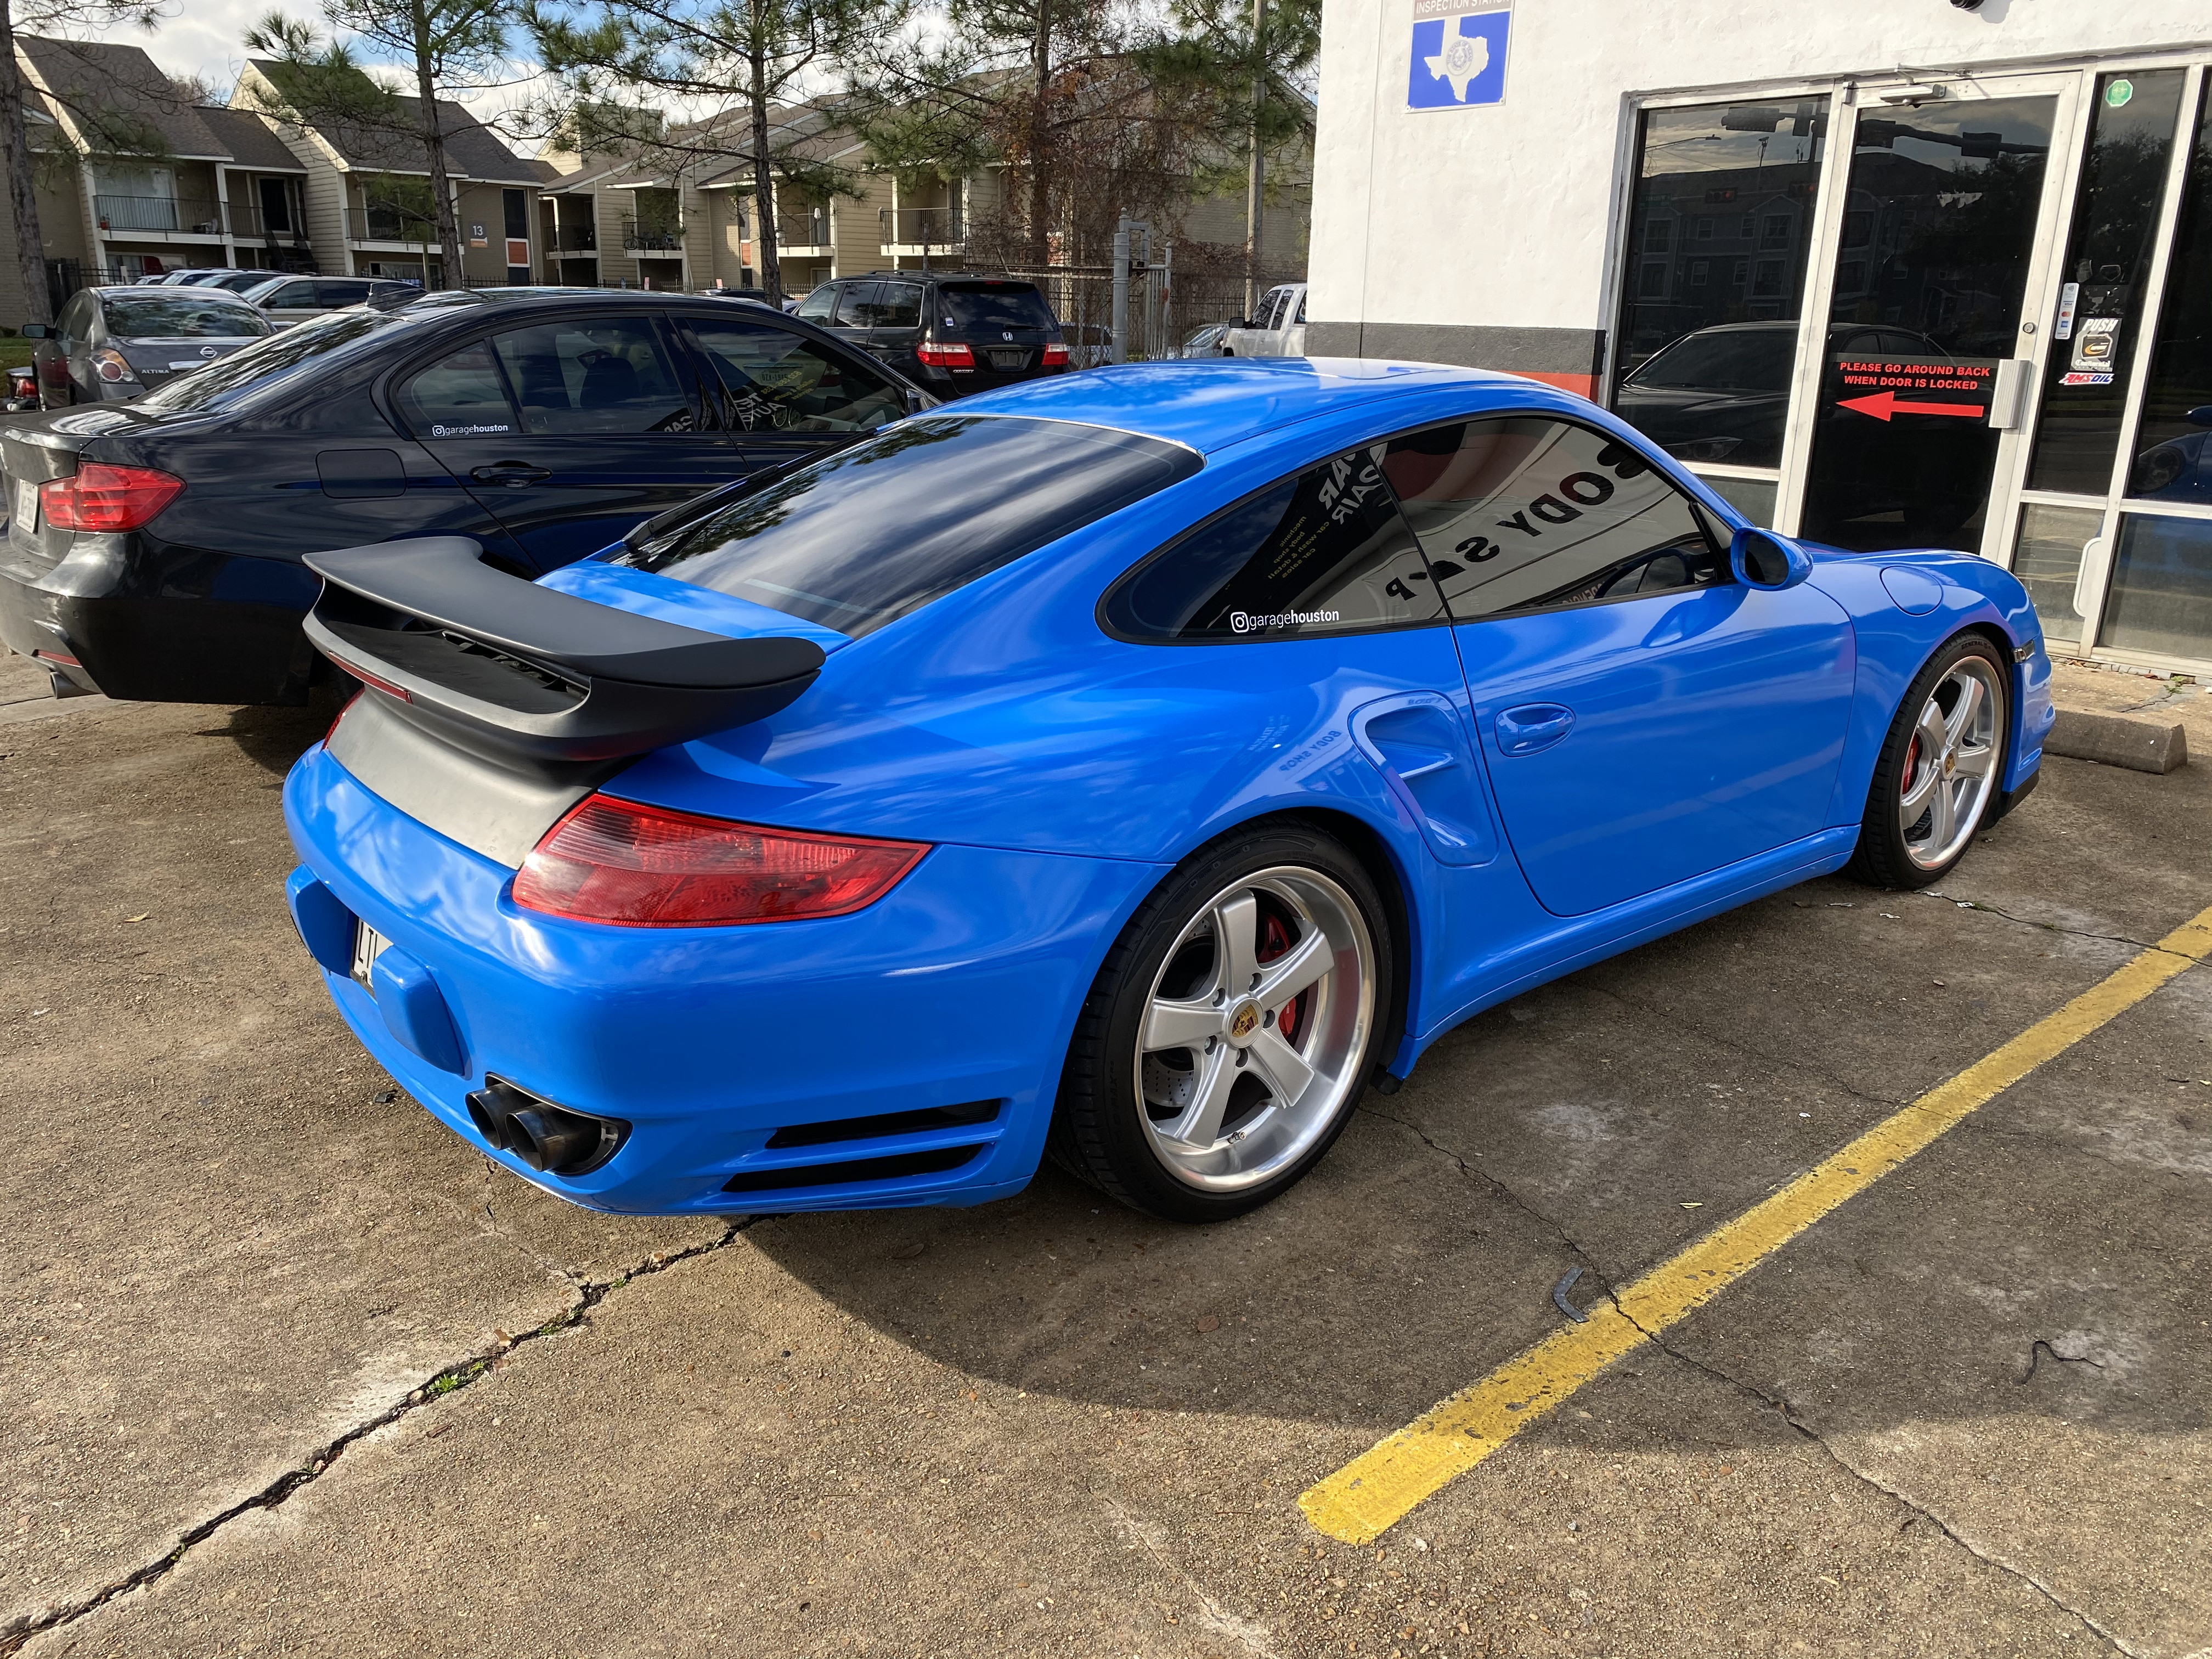
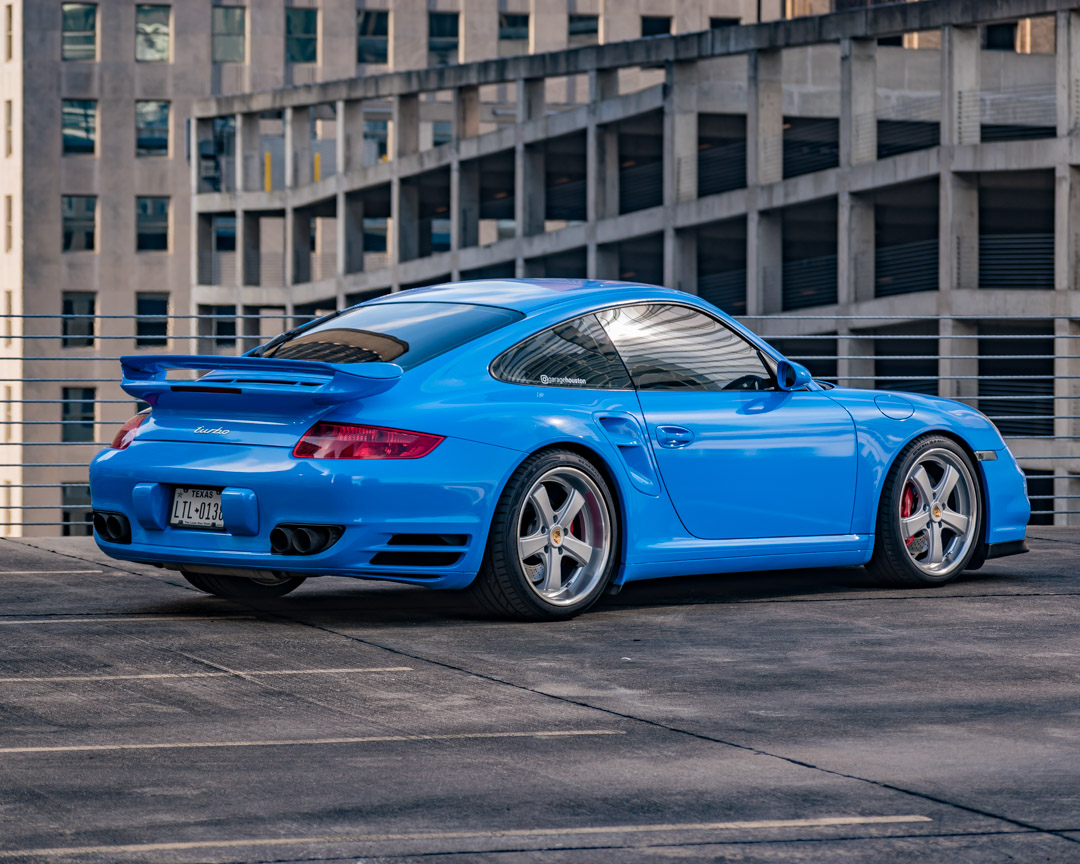
Posted a photo over in the turbo forum, but I gotta say that I'm really pleased with it so far. My installer did a great job prepping the surface for vinyl. Can't go wrong for the price (https://www.design911.co.uk/fu/prod1...a---997-Turbo/). Now I need to code out the active aero into a fixed wing set up.
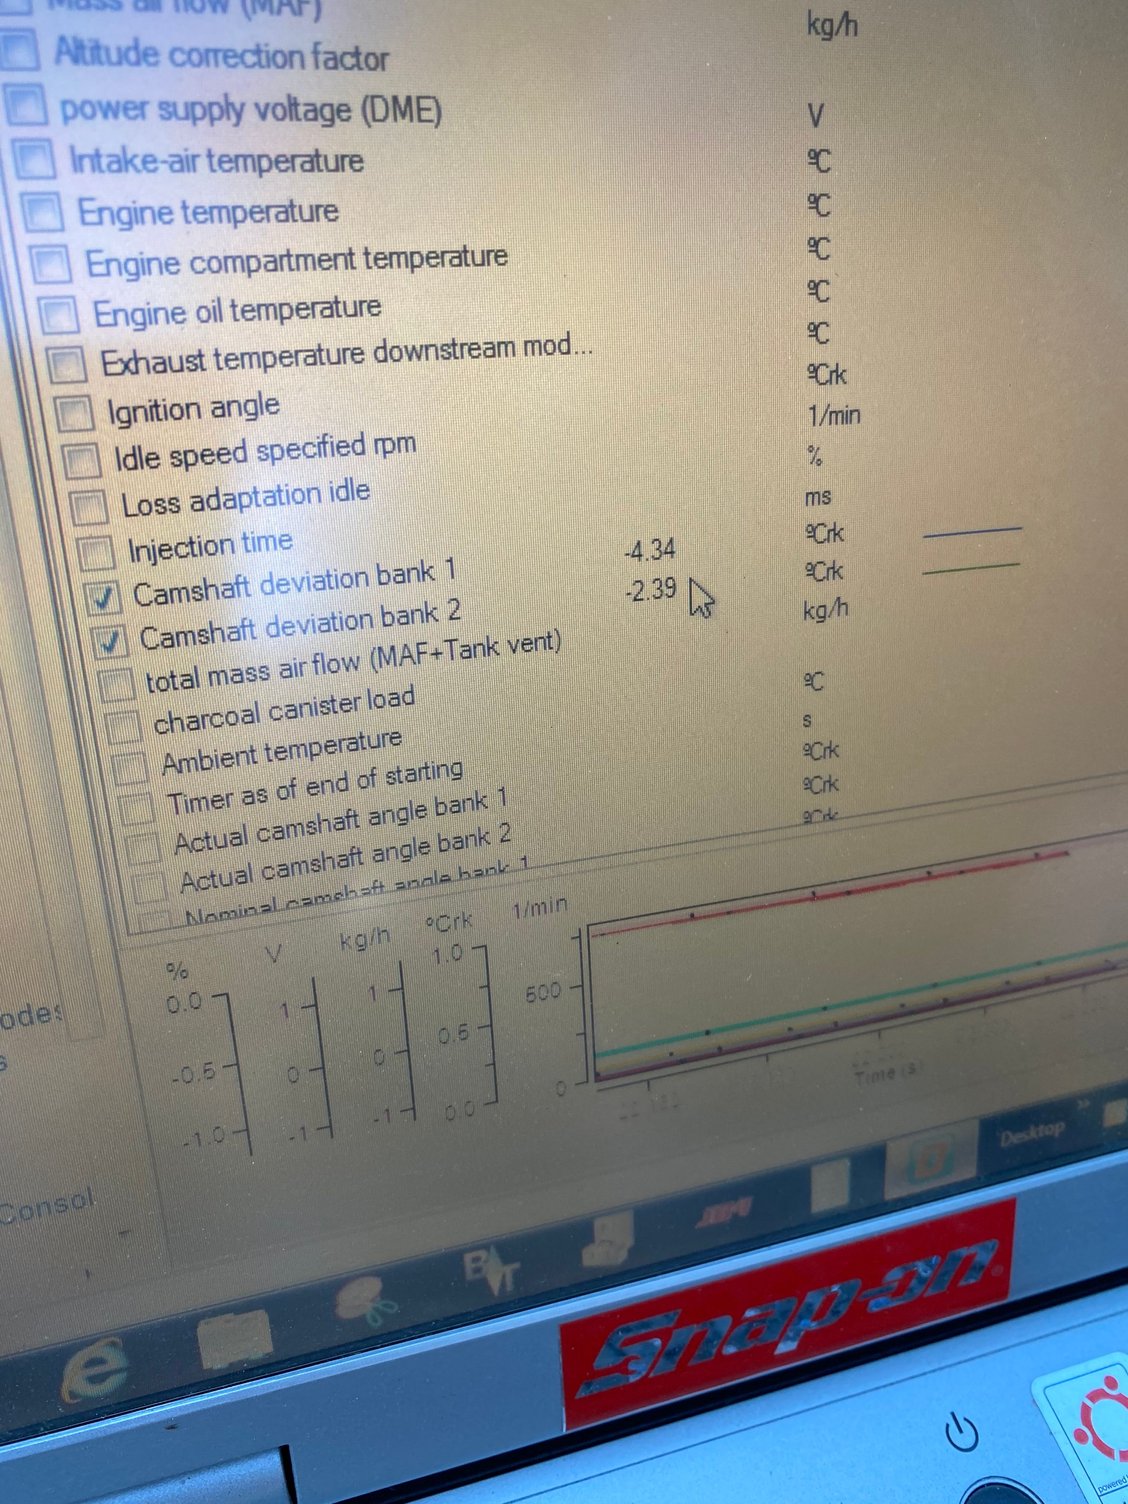
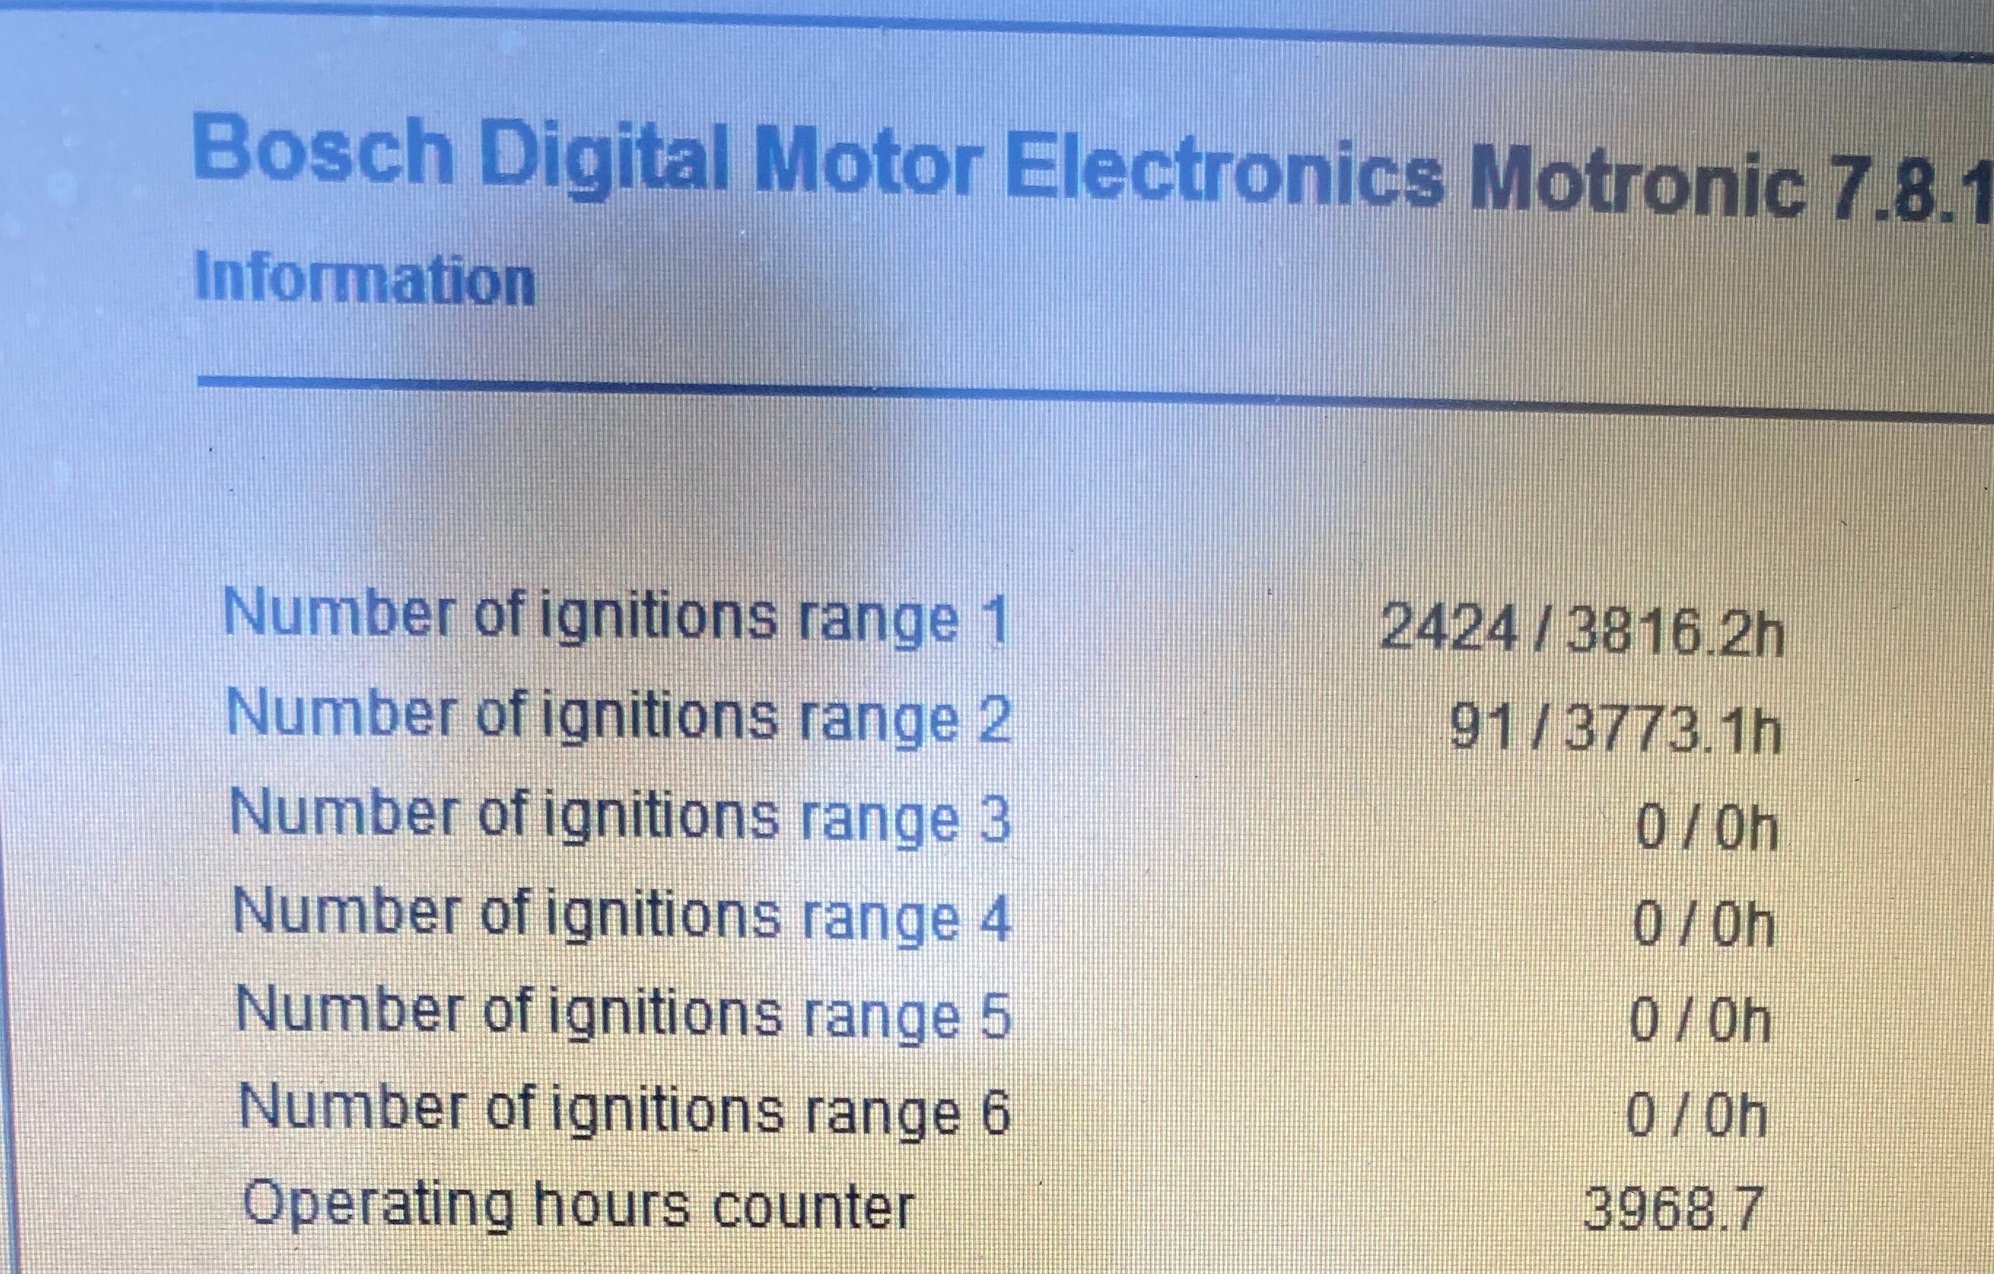
Active aero coded out with durametric. In the meantime I logged my DME which was pristine and also checked the cam deviation which were both within spec.
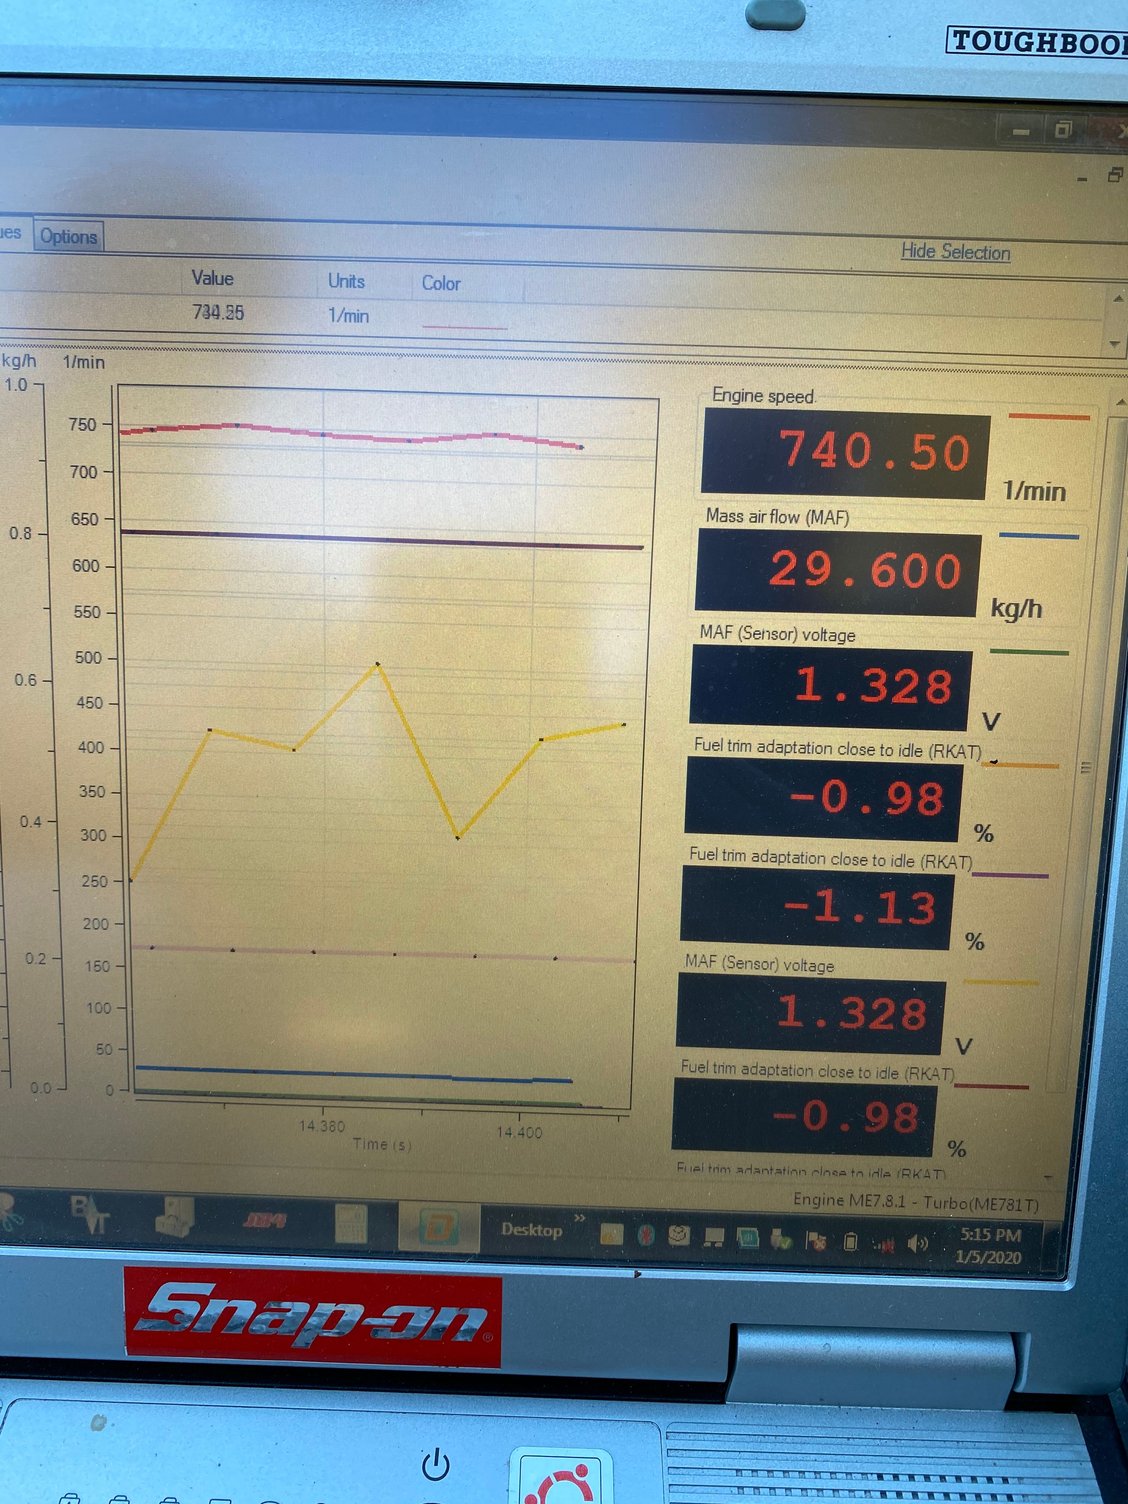
Still chasing the P2188 and P2190 intermittent codes. The MAFs are reading within spec at ~1.3V at idle and the fuel pressure regulator valve is connected. Next I will do a smoke test to see if there are any leaks behind the MAFs. Other possibilities include a dodgy fuel pump or a bad tank vent valve. RKAT seems to be normal but this was after I cleared the codes.
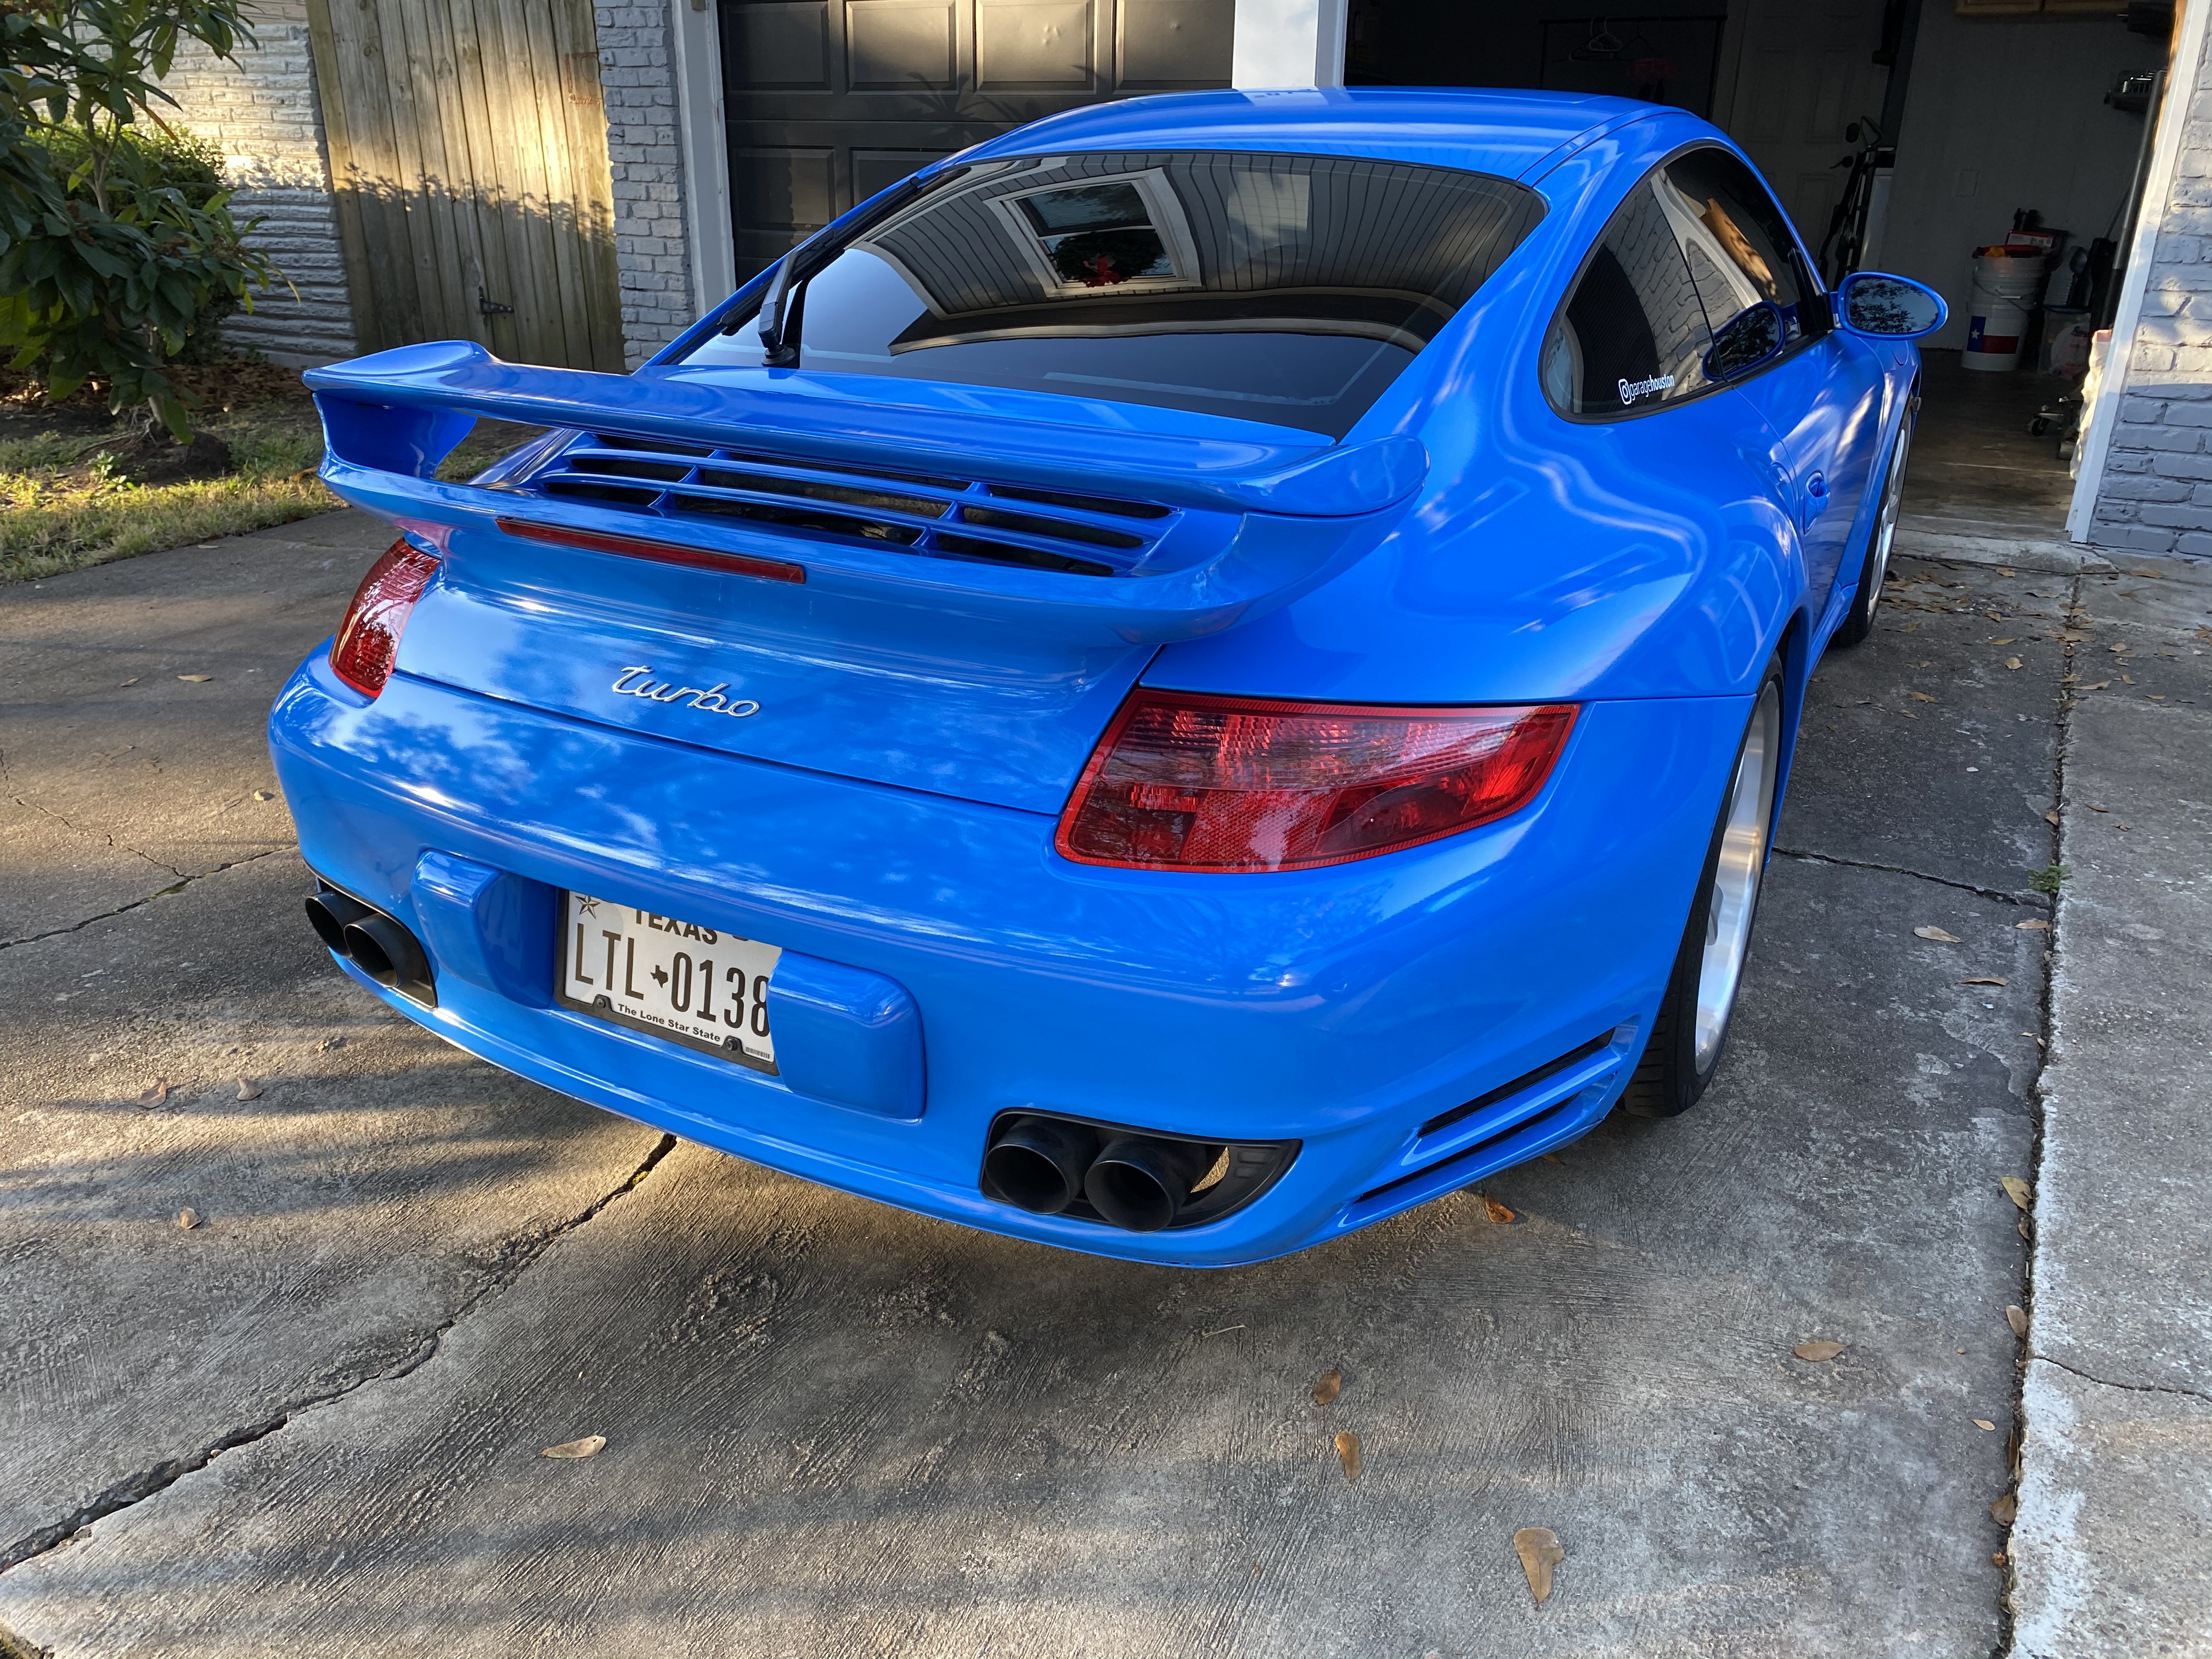
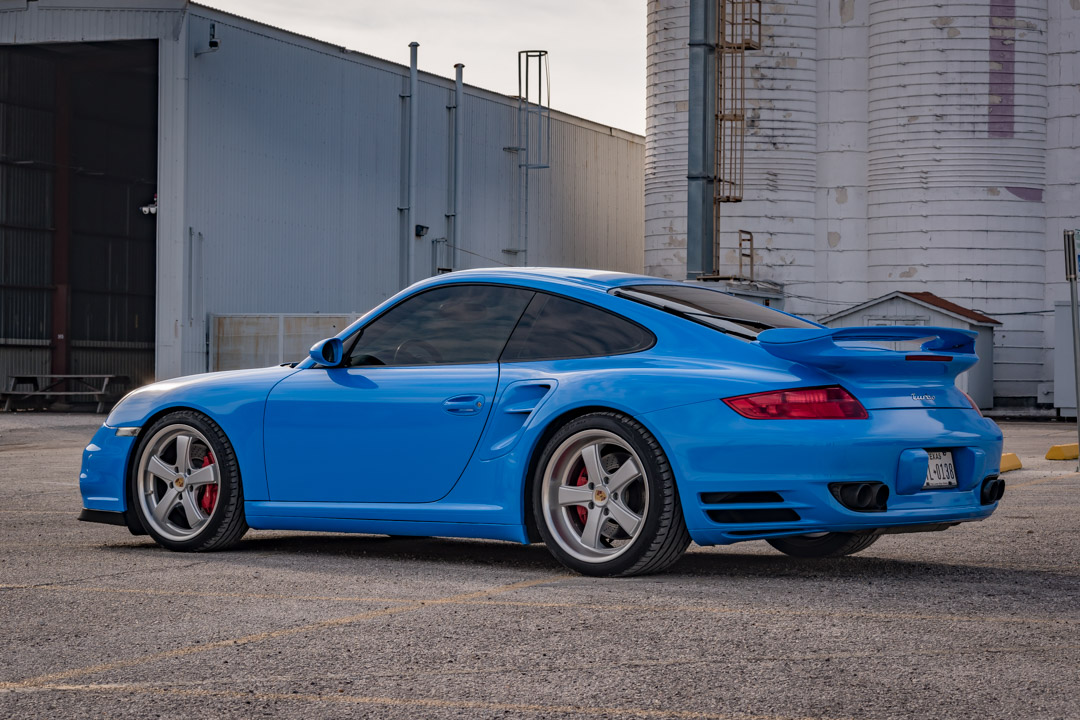
Car looks so much better in Blue - Great work.
I'm being critical but looks to me like the rear fender gap is a bit high and rear wheels possibly need a thin spacer to bring rear wheels out a bit - Is there any way to lower rear small amount?
Car looks so much better in Blue - Great work.
I'm being critical but looks to me like the rear fender gap is a bit high and rear wheels possibly need a thin spacer to bring rear wheels out a bit - Is there any way to lower rear small amount?
Good eye. In that photo I put 7 mm spacers in the front and 15mm in the rear that I had taken off a few months ago in order to chase down vibration at speed (wound up that the wheels just needed rebalancing). I think there was a slight angle to that parking garage - on flat ground I can't see much of a rake.
Here is the type of gland nut wrench that would probably get the job done best. The one I got from amazon is different - it has a handle instead of an attachment site for a ratchet. I ordered that one... we'll see how it goes on the other side.
I have a small garage unfortunately. I thought of every possible way to get a lift in there, but since there was also an addition built onto our home with a staircase occupying a corner of the garage, it's just not possible to squeeze in a lift. Probably the best I can do is get a quickjack at some point.
The guys are working hard getting the wrap completed. What's left are the doors, mirrors, and engine decklid. The front bumper looks great as they really took their time using inlays. I'll have some more photos tomorrow. I think it will be ready for pickup on Monday.
Hah! Someone has read my DIY thread!
I was catching up on this thread after being away from Rennlist for a while and saw the photo of the gland nut wrench and thought it looked familiar. Took me a second to realize it was because I took the photo, lol. I even recognized all the crap in the workbench in the background!
I was catching up on this thread after being away from Rennlist for a while and saw the photo of the gland but wrench and thought it looked familiar. Took me a second to realize it was because I took the photo, lol. I even recognized all the crap in the workbench in the background!
Nice! Thanks for posting that DIY, I would have never figured it out otherwise. That�s what RL is all about! I�m actually going to do the front shocks again very soon.
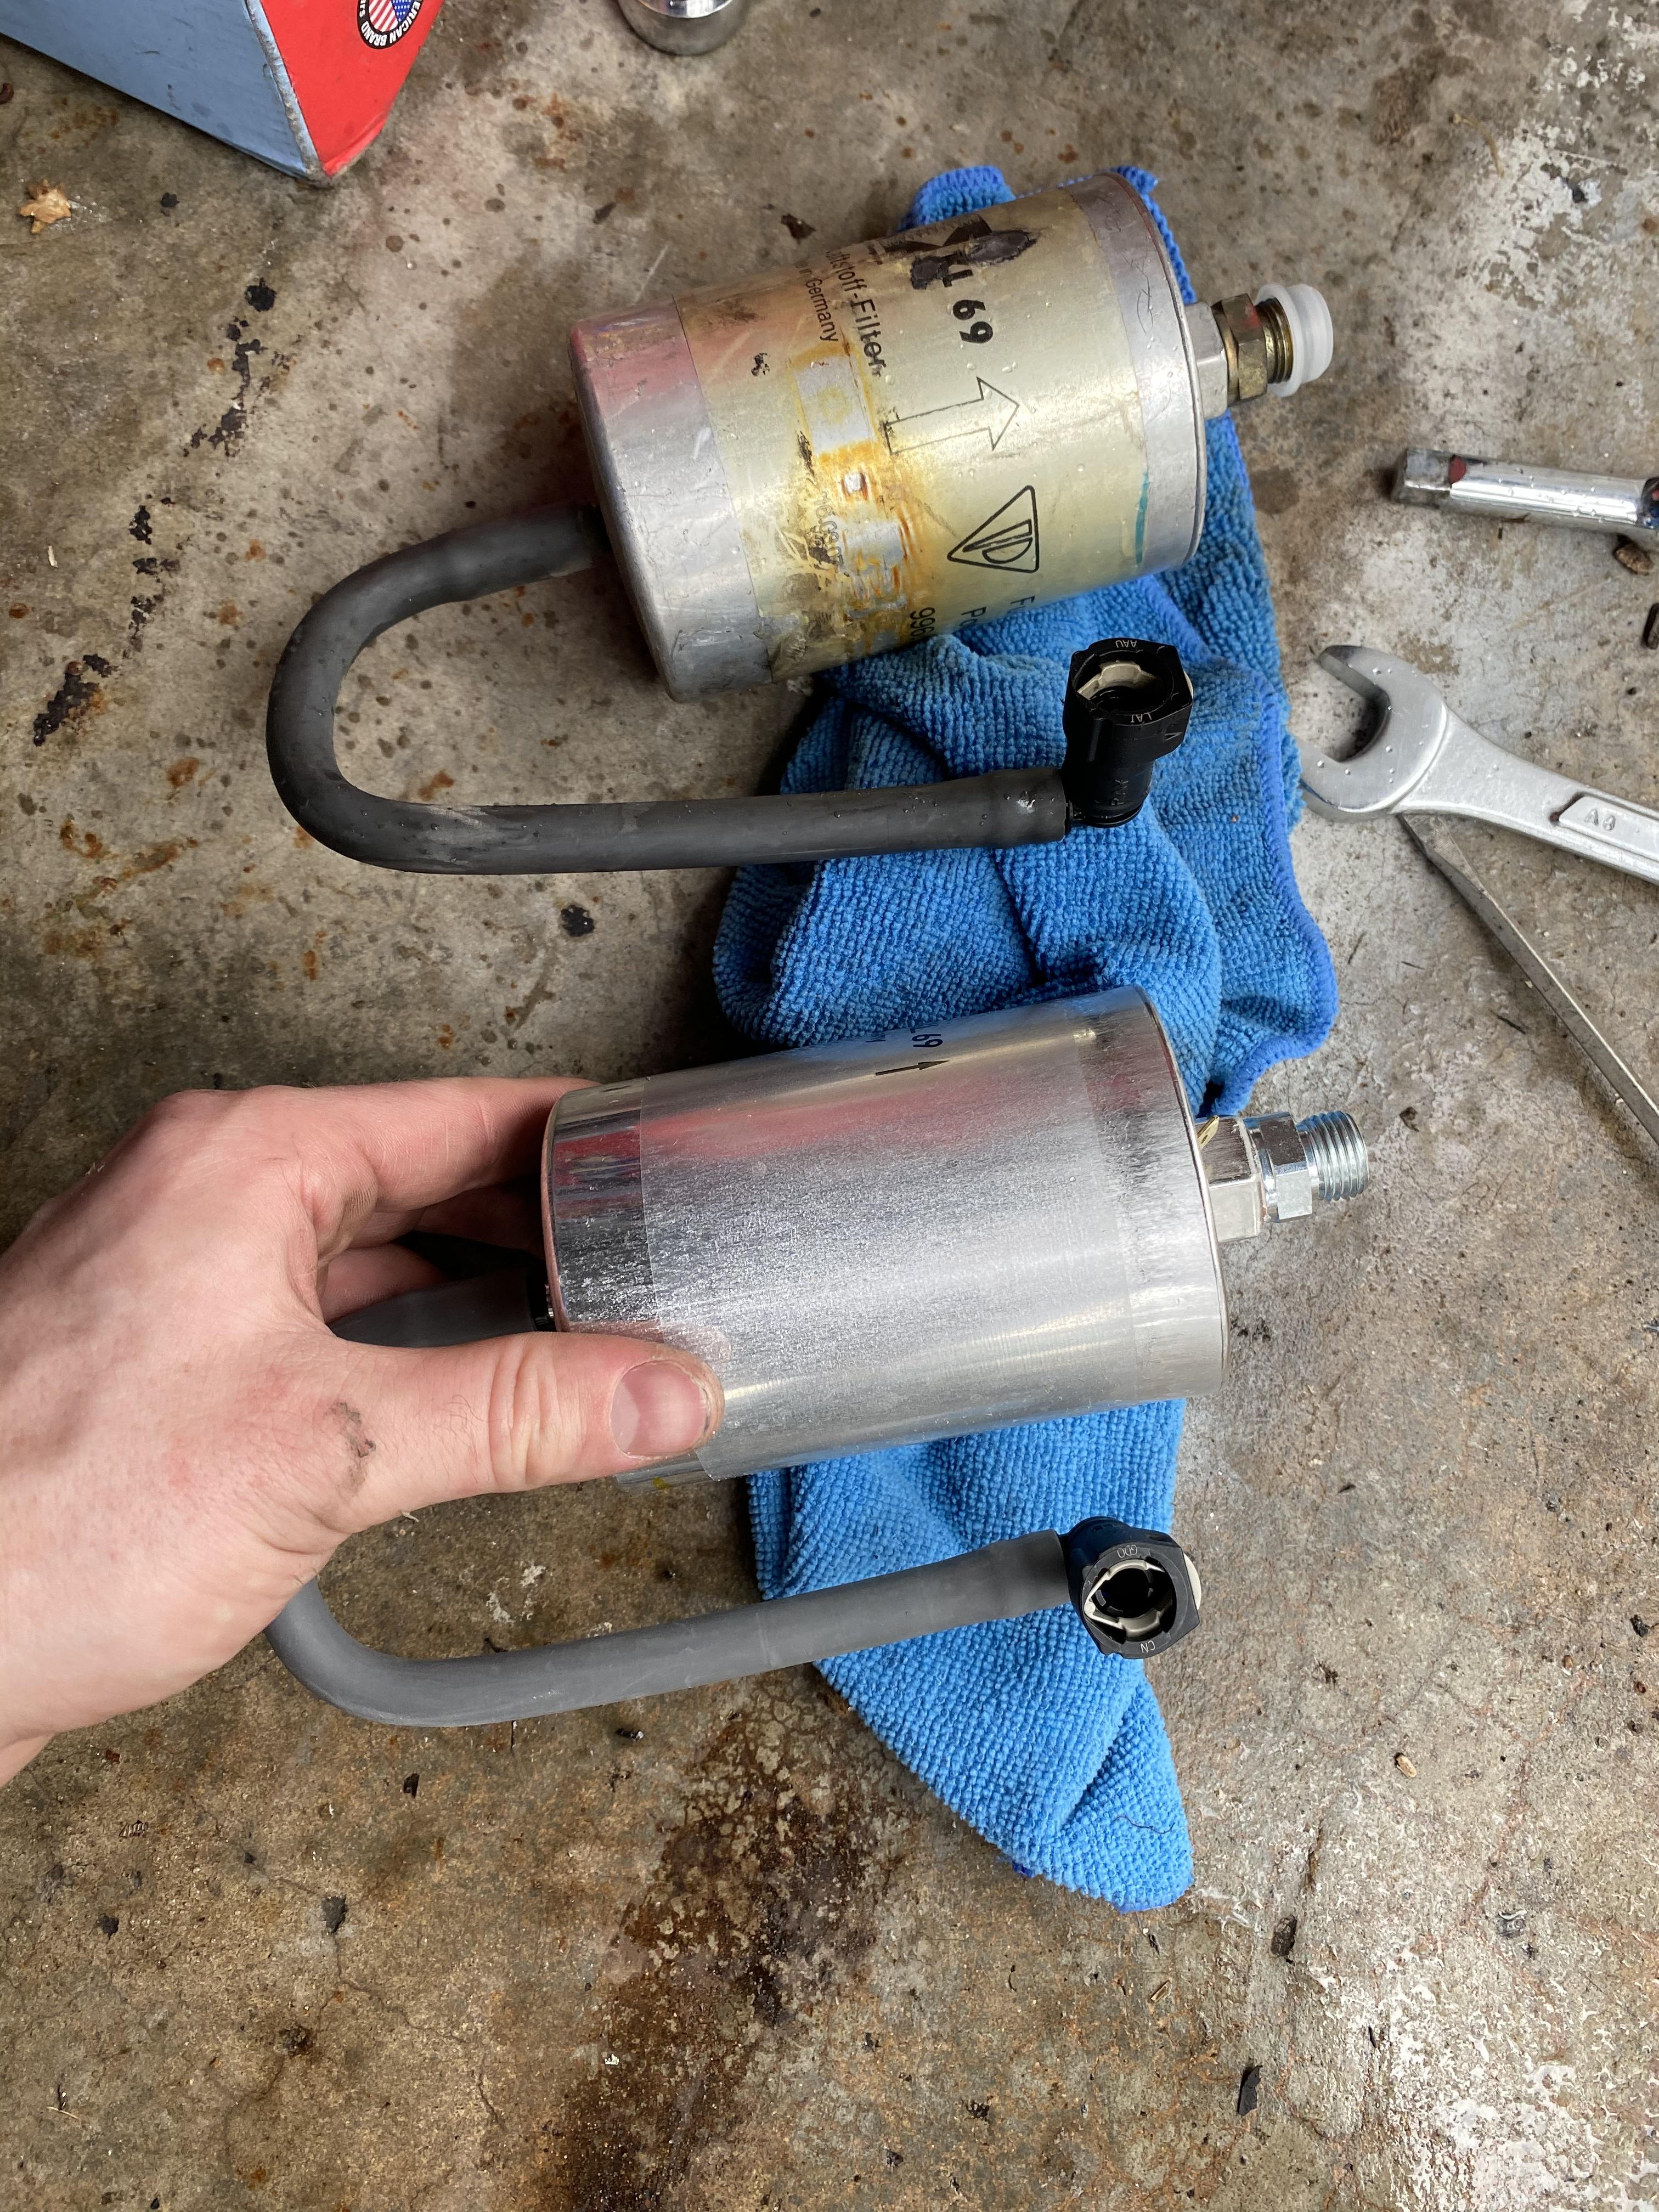
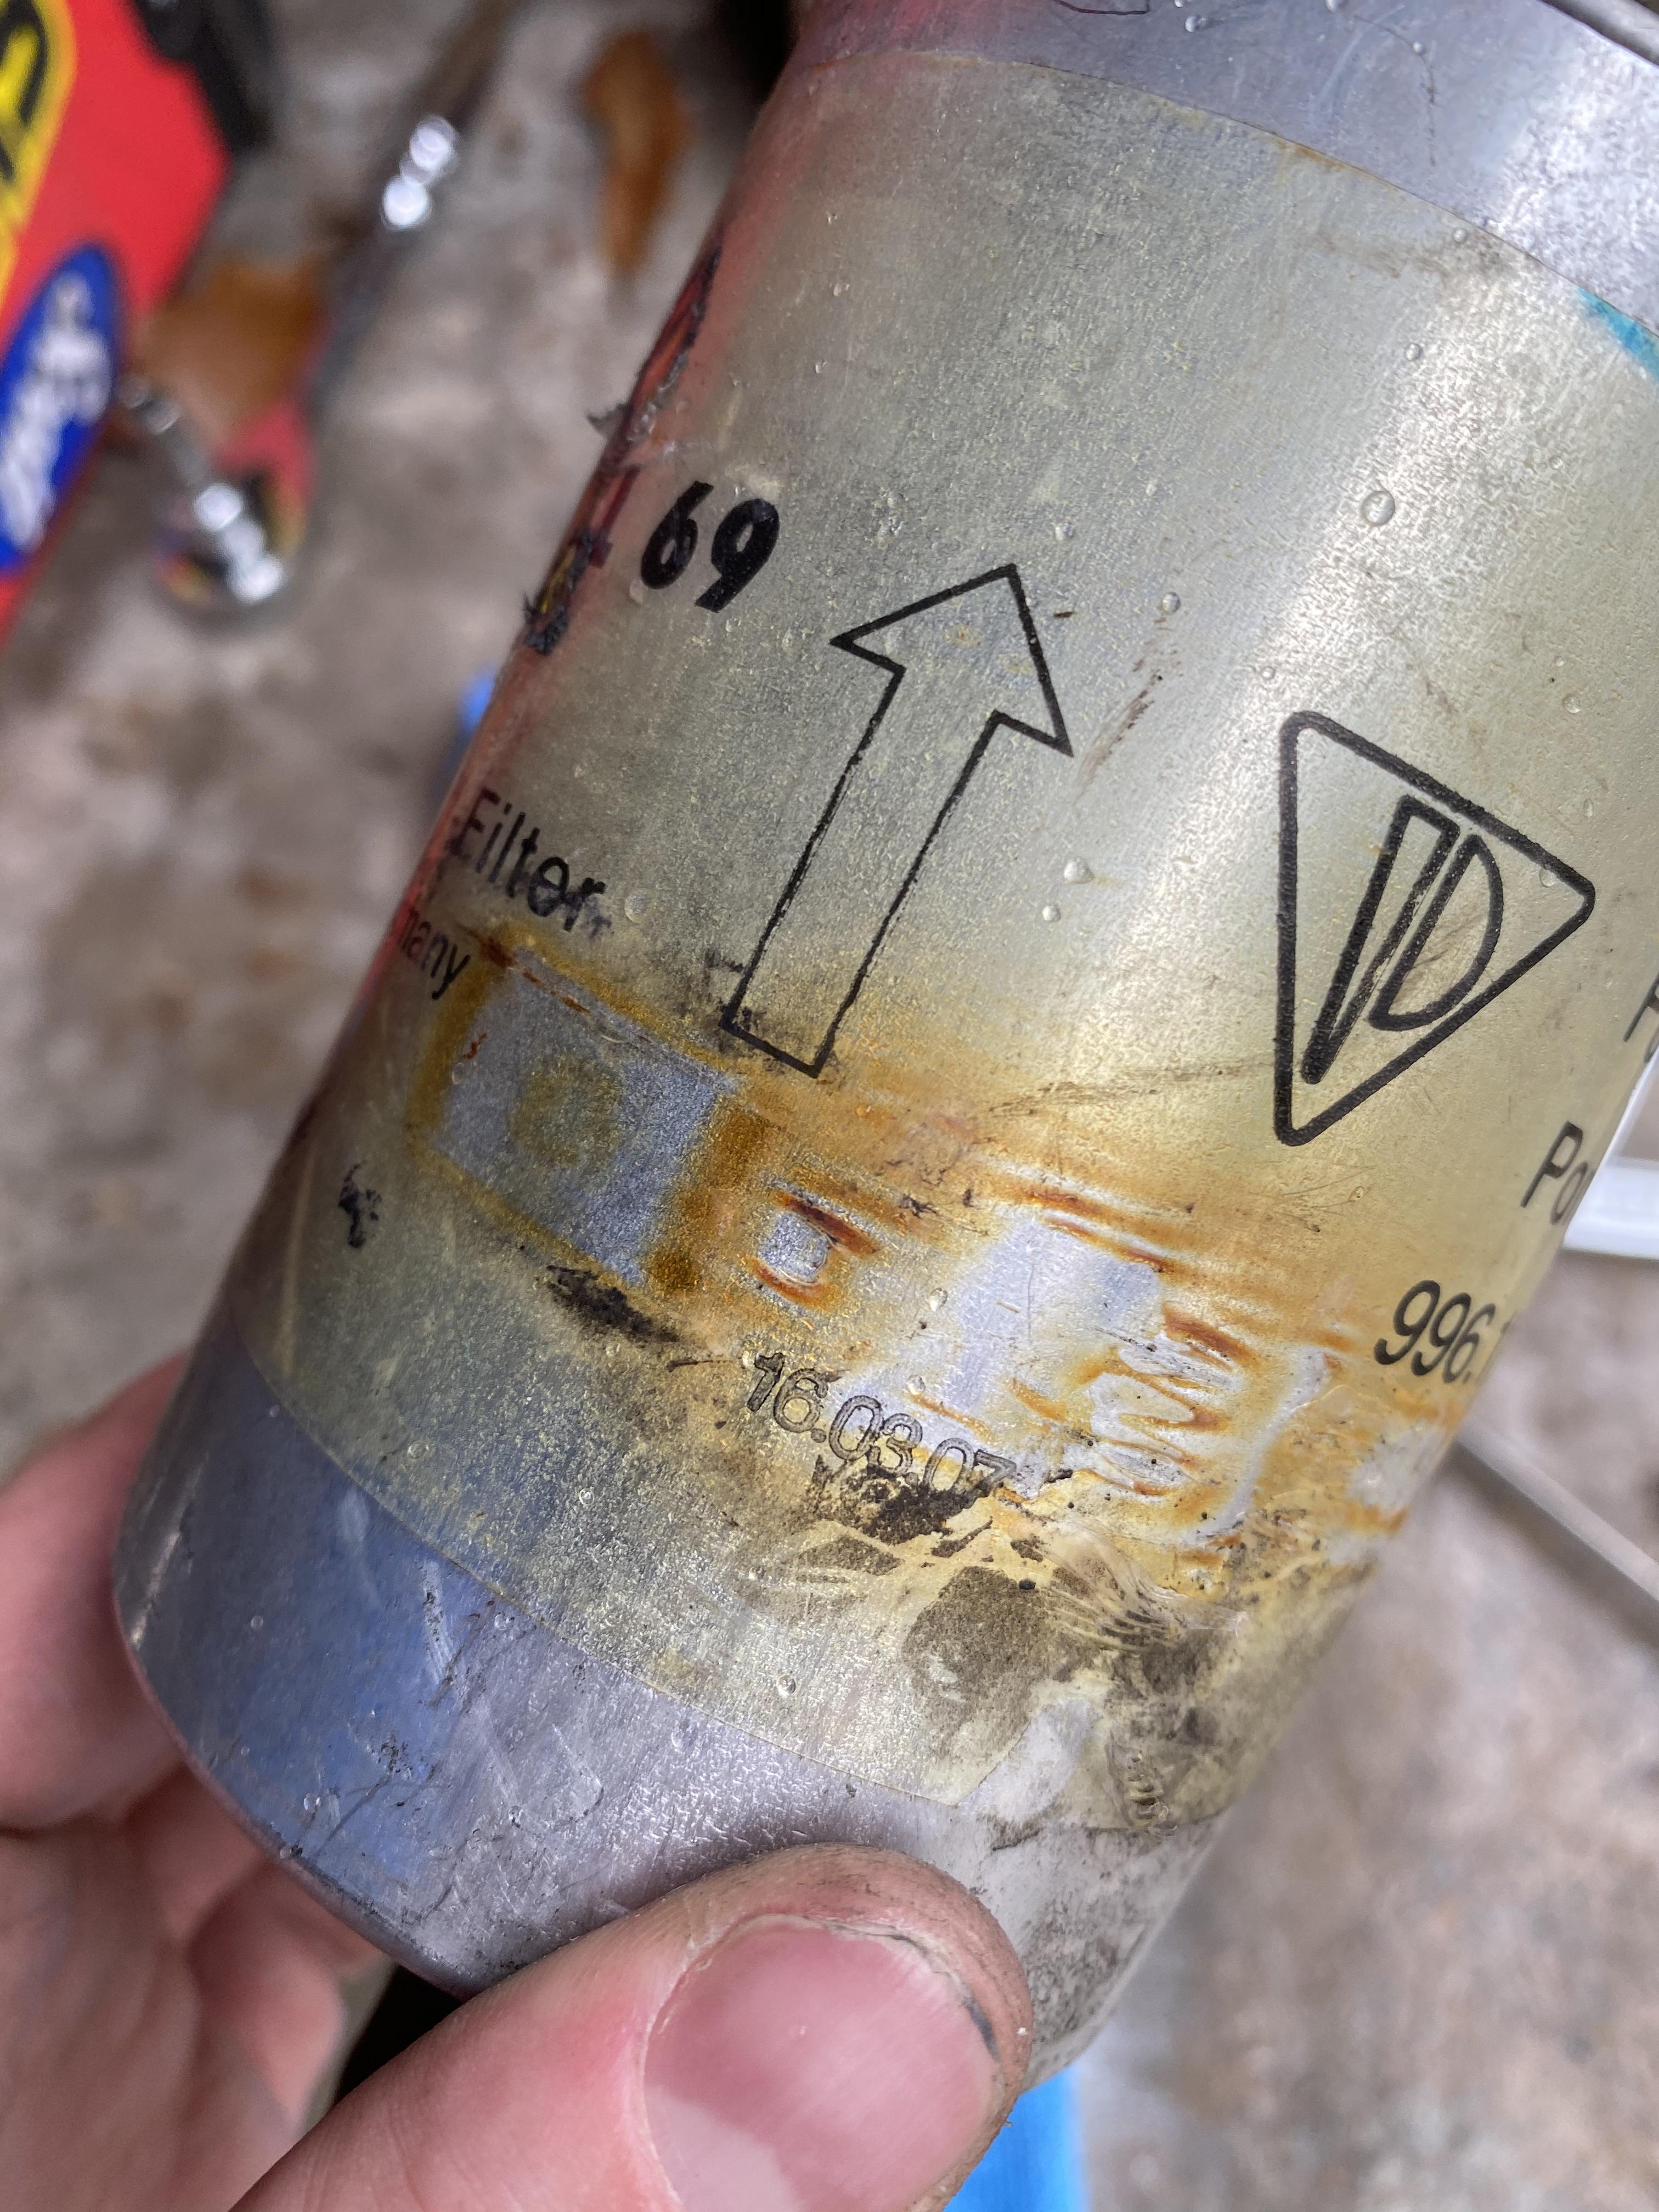
Put in a new fuel filter today. Old one was original
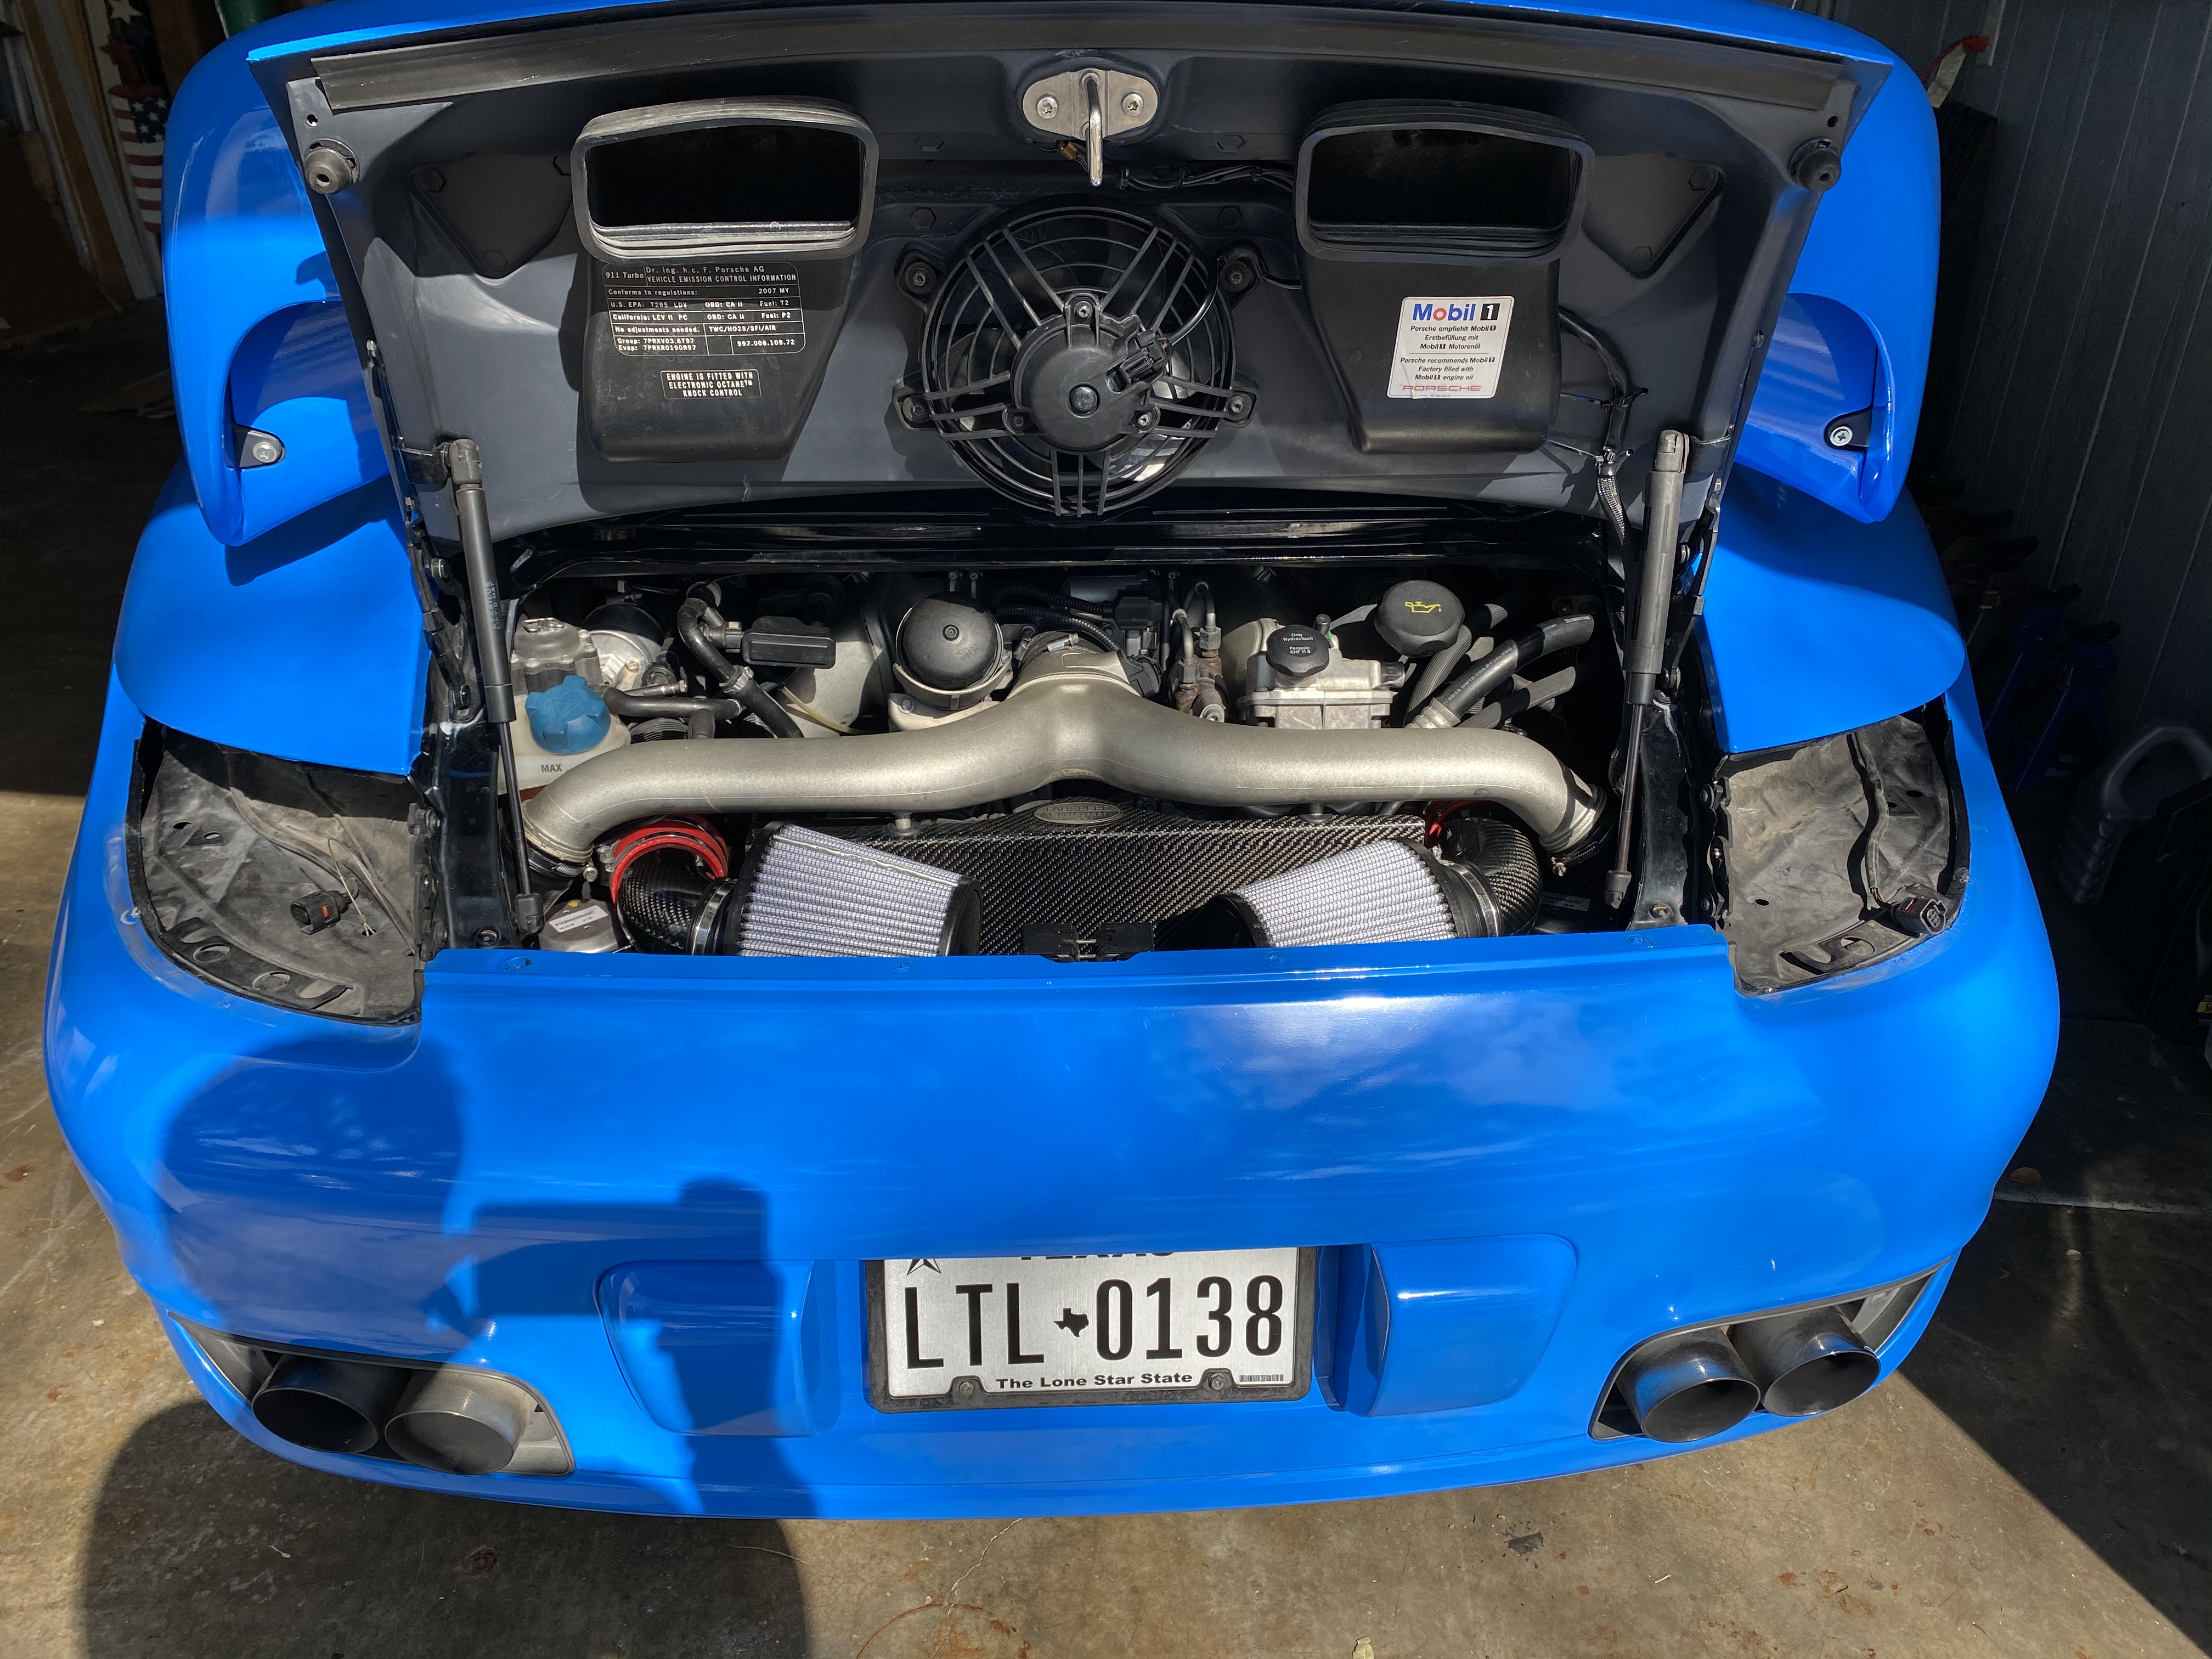
At least the fuel that came out was clean. I think the intermittent error codes are related to a bad MAF after studying the pattern in fuel trims. Going to install new ones on Monday. Checked all the vacuum lines today and they seemed intact but I will do a pressure test once I get all the materials to do that job. Also decided to put the Fabspeed intake back in... I missed the sound! So I cleaned up the filters and got some new mounting hardware and rubber bushings sent over from Fabspeed. I sent them an email asking for the parts on Monday night, they replied Tues morning and it was in my hands today. Great customer service.
Put in a new fuel filter today. Old one was original
At least the fuel that came out was clean. I think the intermittent error codes are related to a bad MAF after studying the pattern in fuel trims. Going to install new ones on Monday. Checked all the vacuum lines today and they seemed intact but I will do a pressure test once I get all the materials to do that job. Also decided to put the Fabspeed intake back in... I missed the sound! So I cleaned up the filters and got some new mounting hardware and rubber bushings sent over from Fabspeed. I sent them an email asking for the parts on Monday night, they replied Tues morning and it was in my hands today. Great customer service.
Nice. I recommend running hydrophobic pre-filters over the air filters. Helps prevent them from getting saturated with water when you drive in the rain. K&N makes them and have a blue pretty close to your wrap color.
F355, interesting. If you go down that road, send me a link to the thread you start on Ferrari chat. I'd like to follow along with the reality of someone capable owning and working on one of those cars vs the rumors and heresy (engine out services every 25,000 miles, etc.)
Another 👍 for Fabspeed. Used a couple of my triangular exhaust gaskets working on a buddy's 928 last weekend and they don't have those on their site separately, just the set of 4 with those and the header gaskets. Sent them a message, heard back the next day, gaskets in hand 2 days later.
Well I decided to hang on to the 997TT (at least a little while longer). F355 pipe dream will wait for now
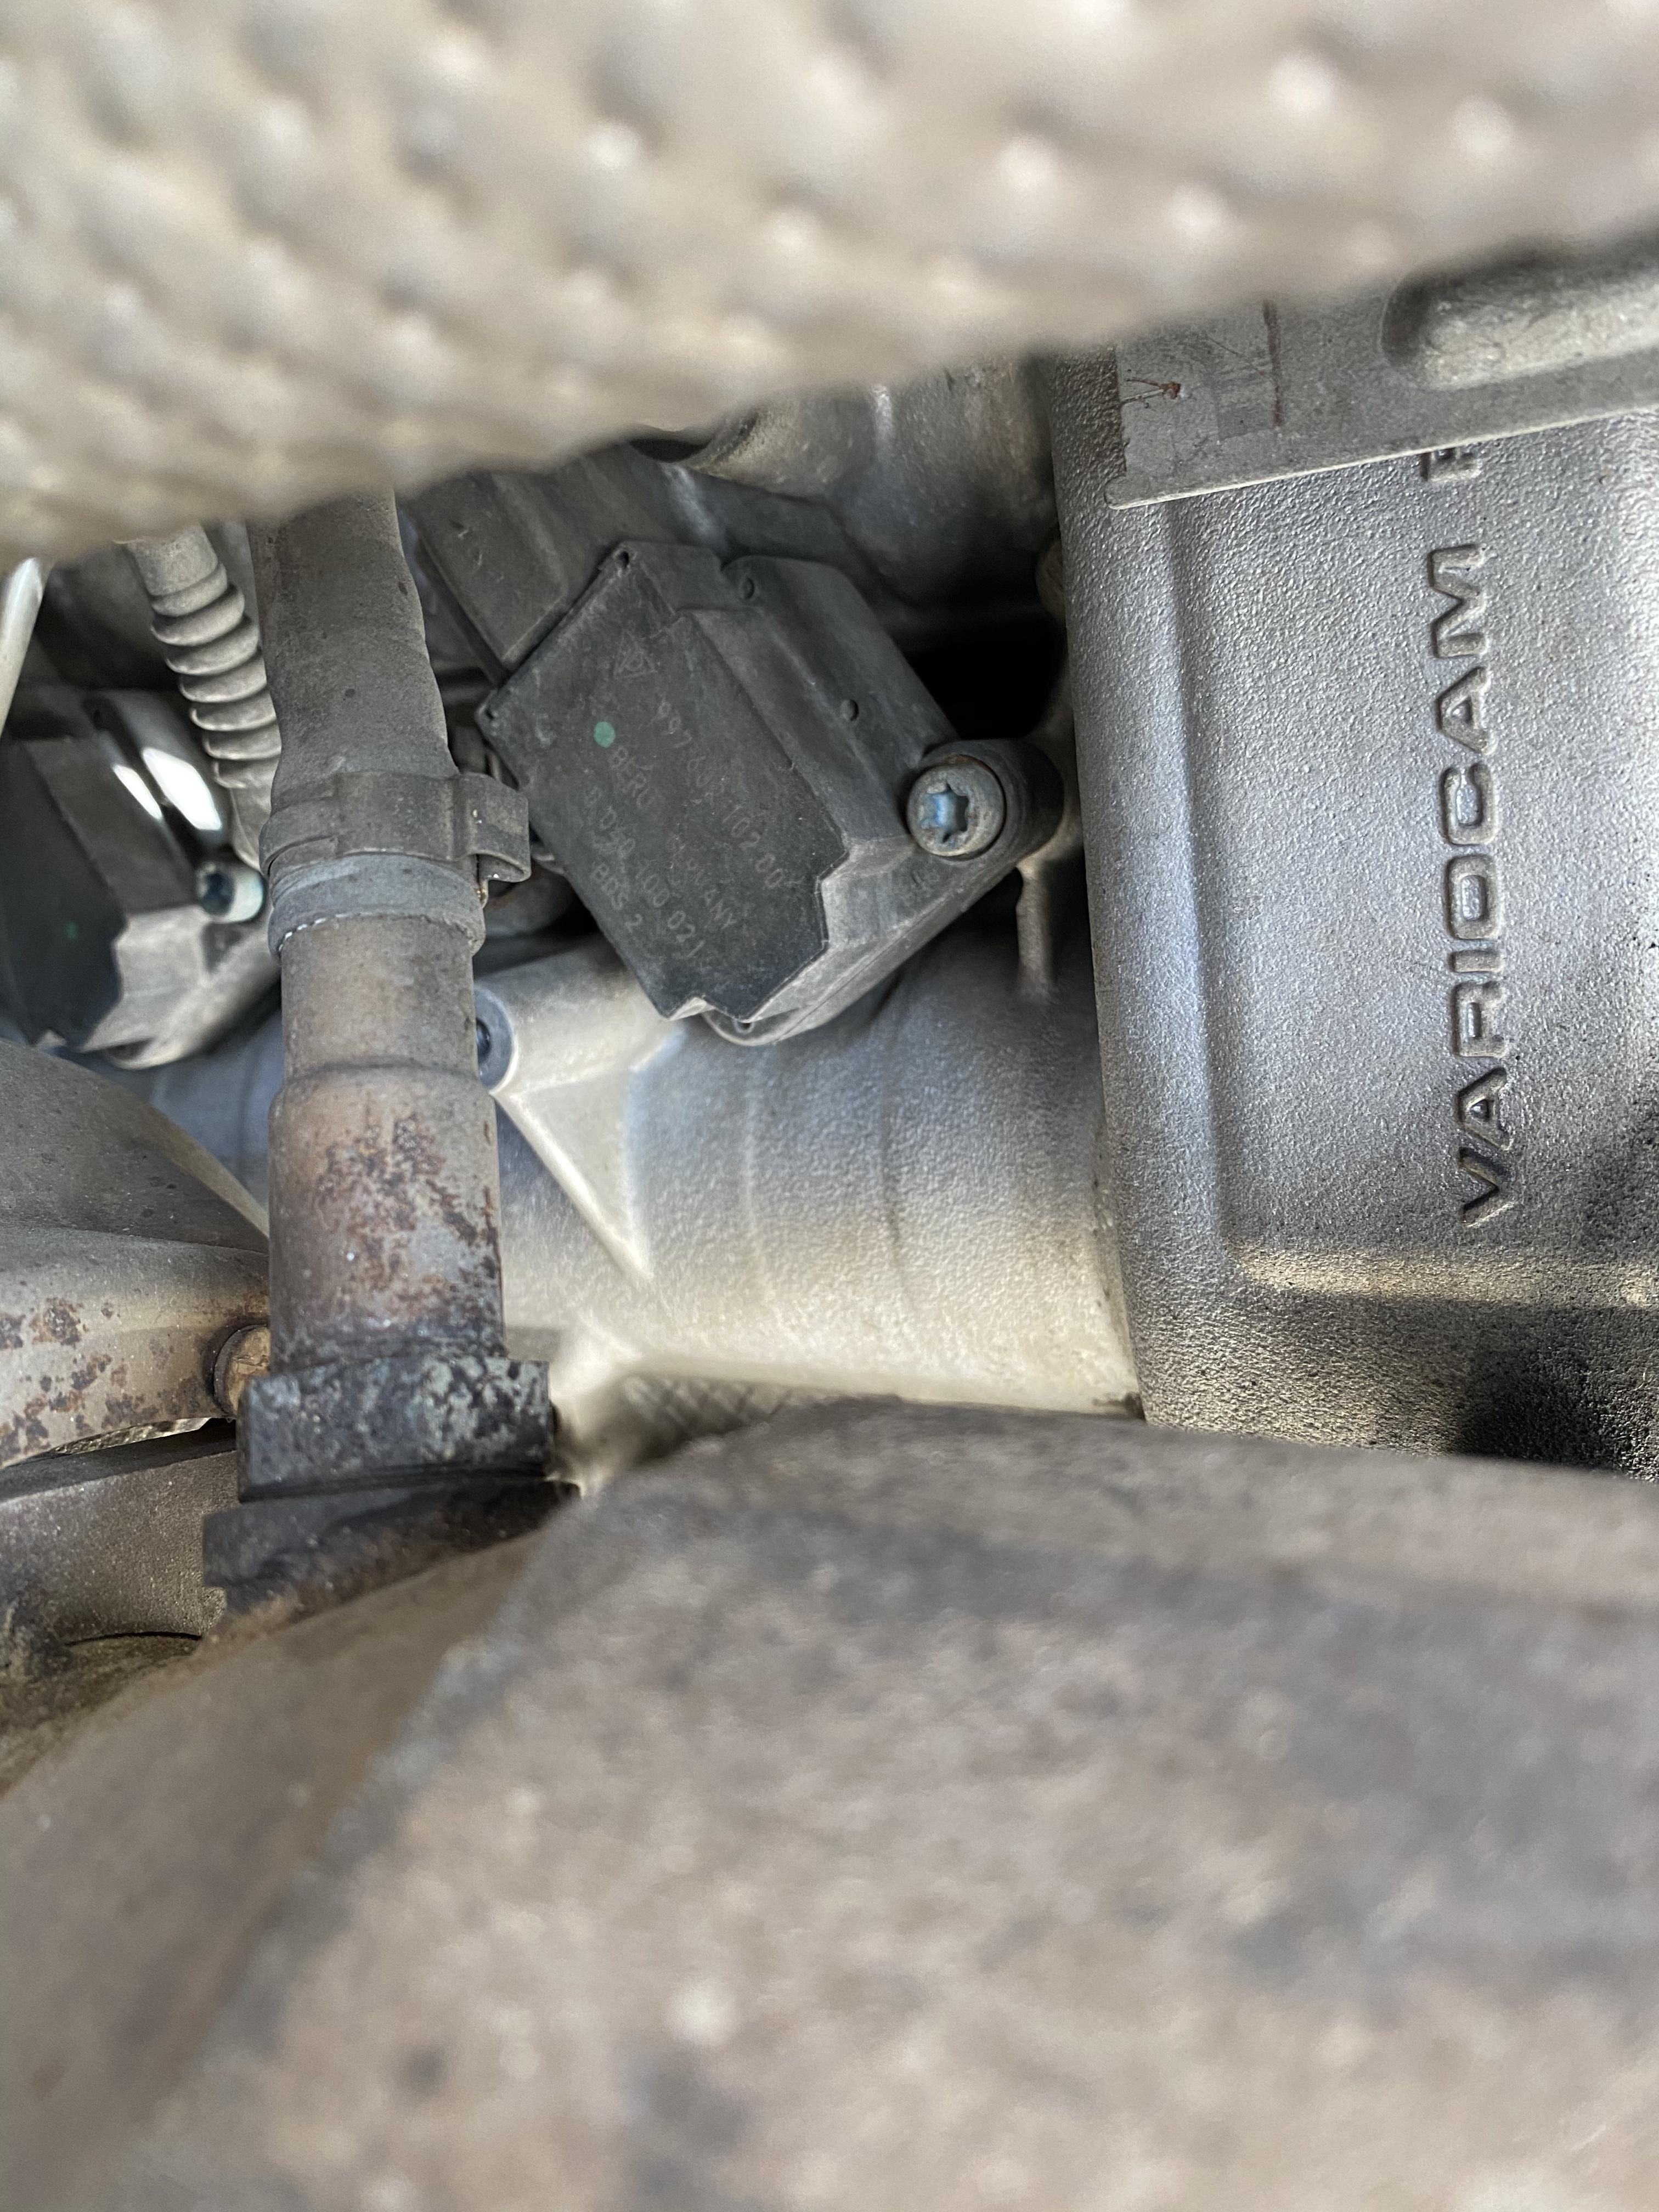
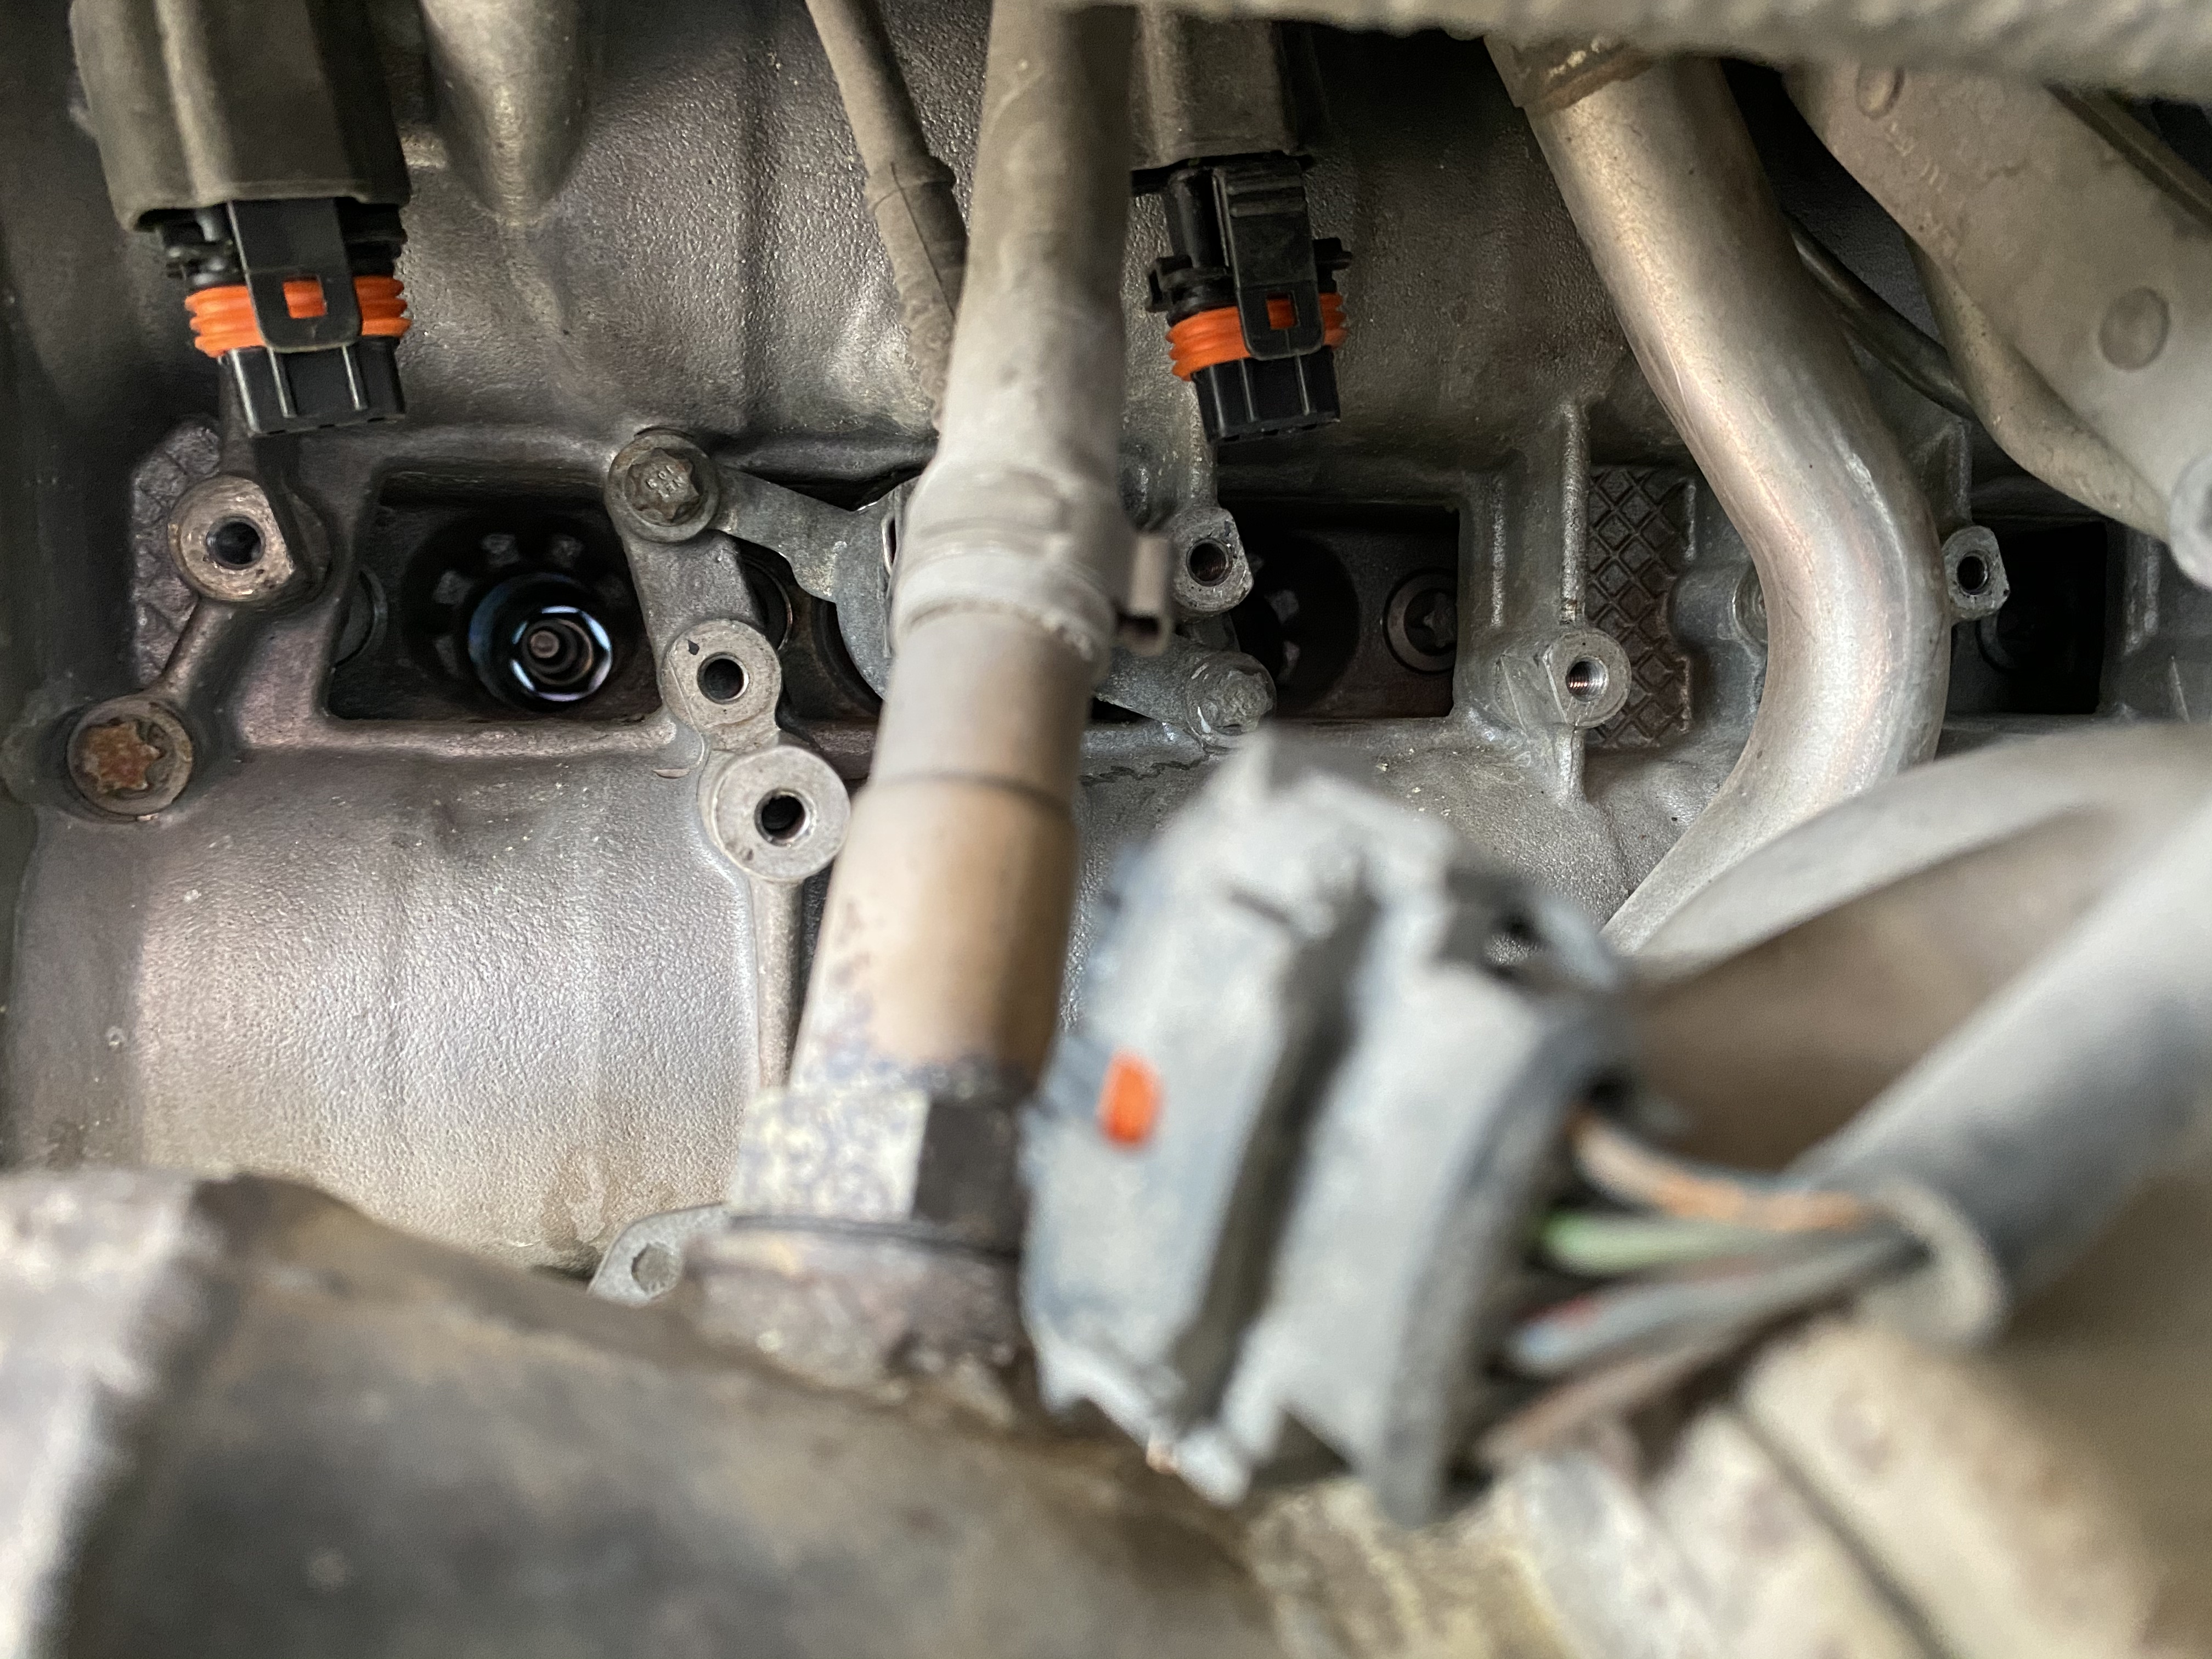
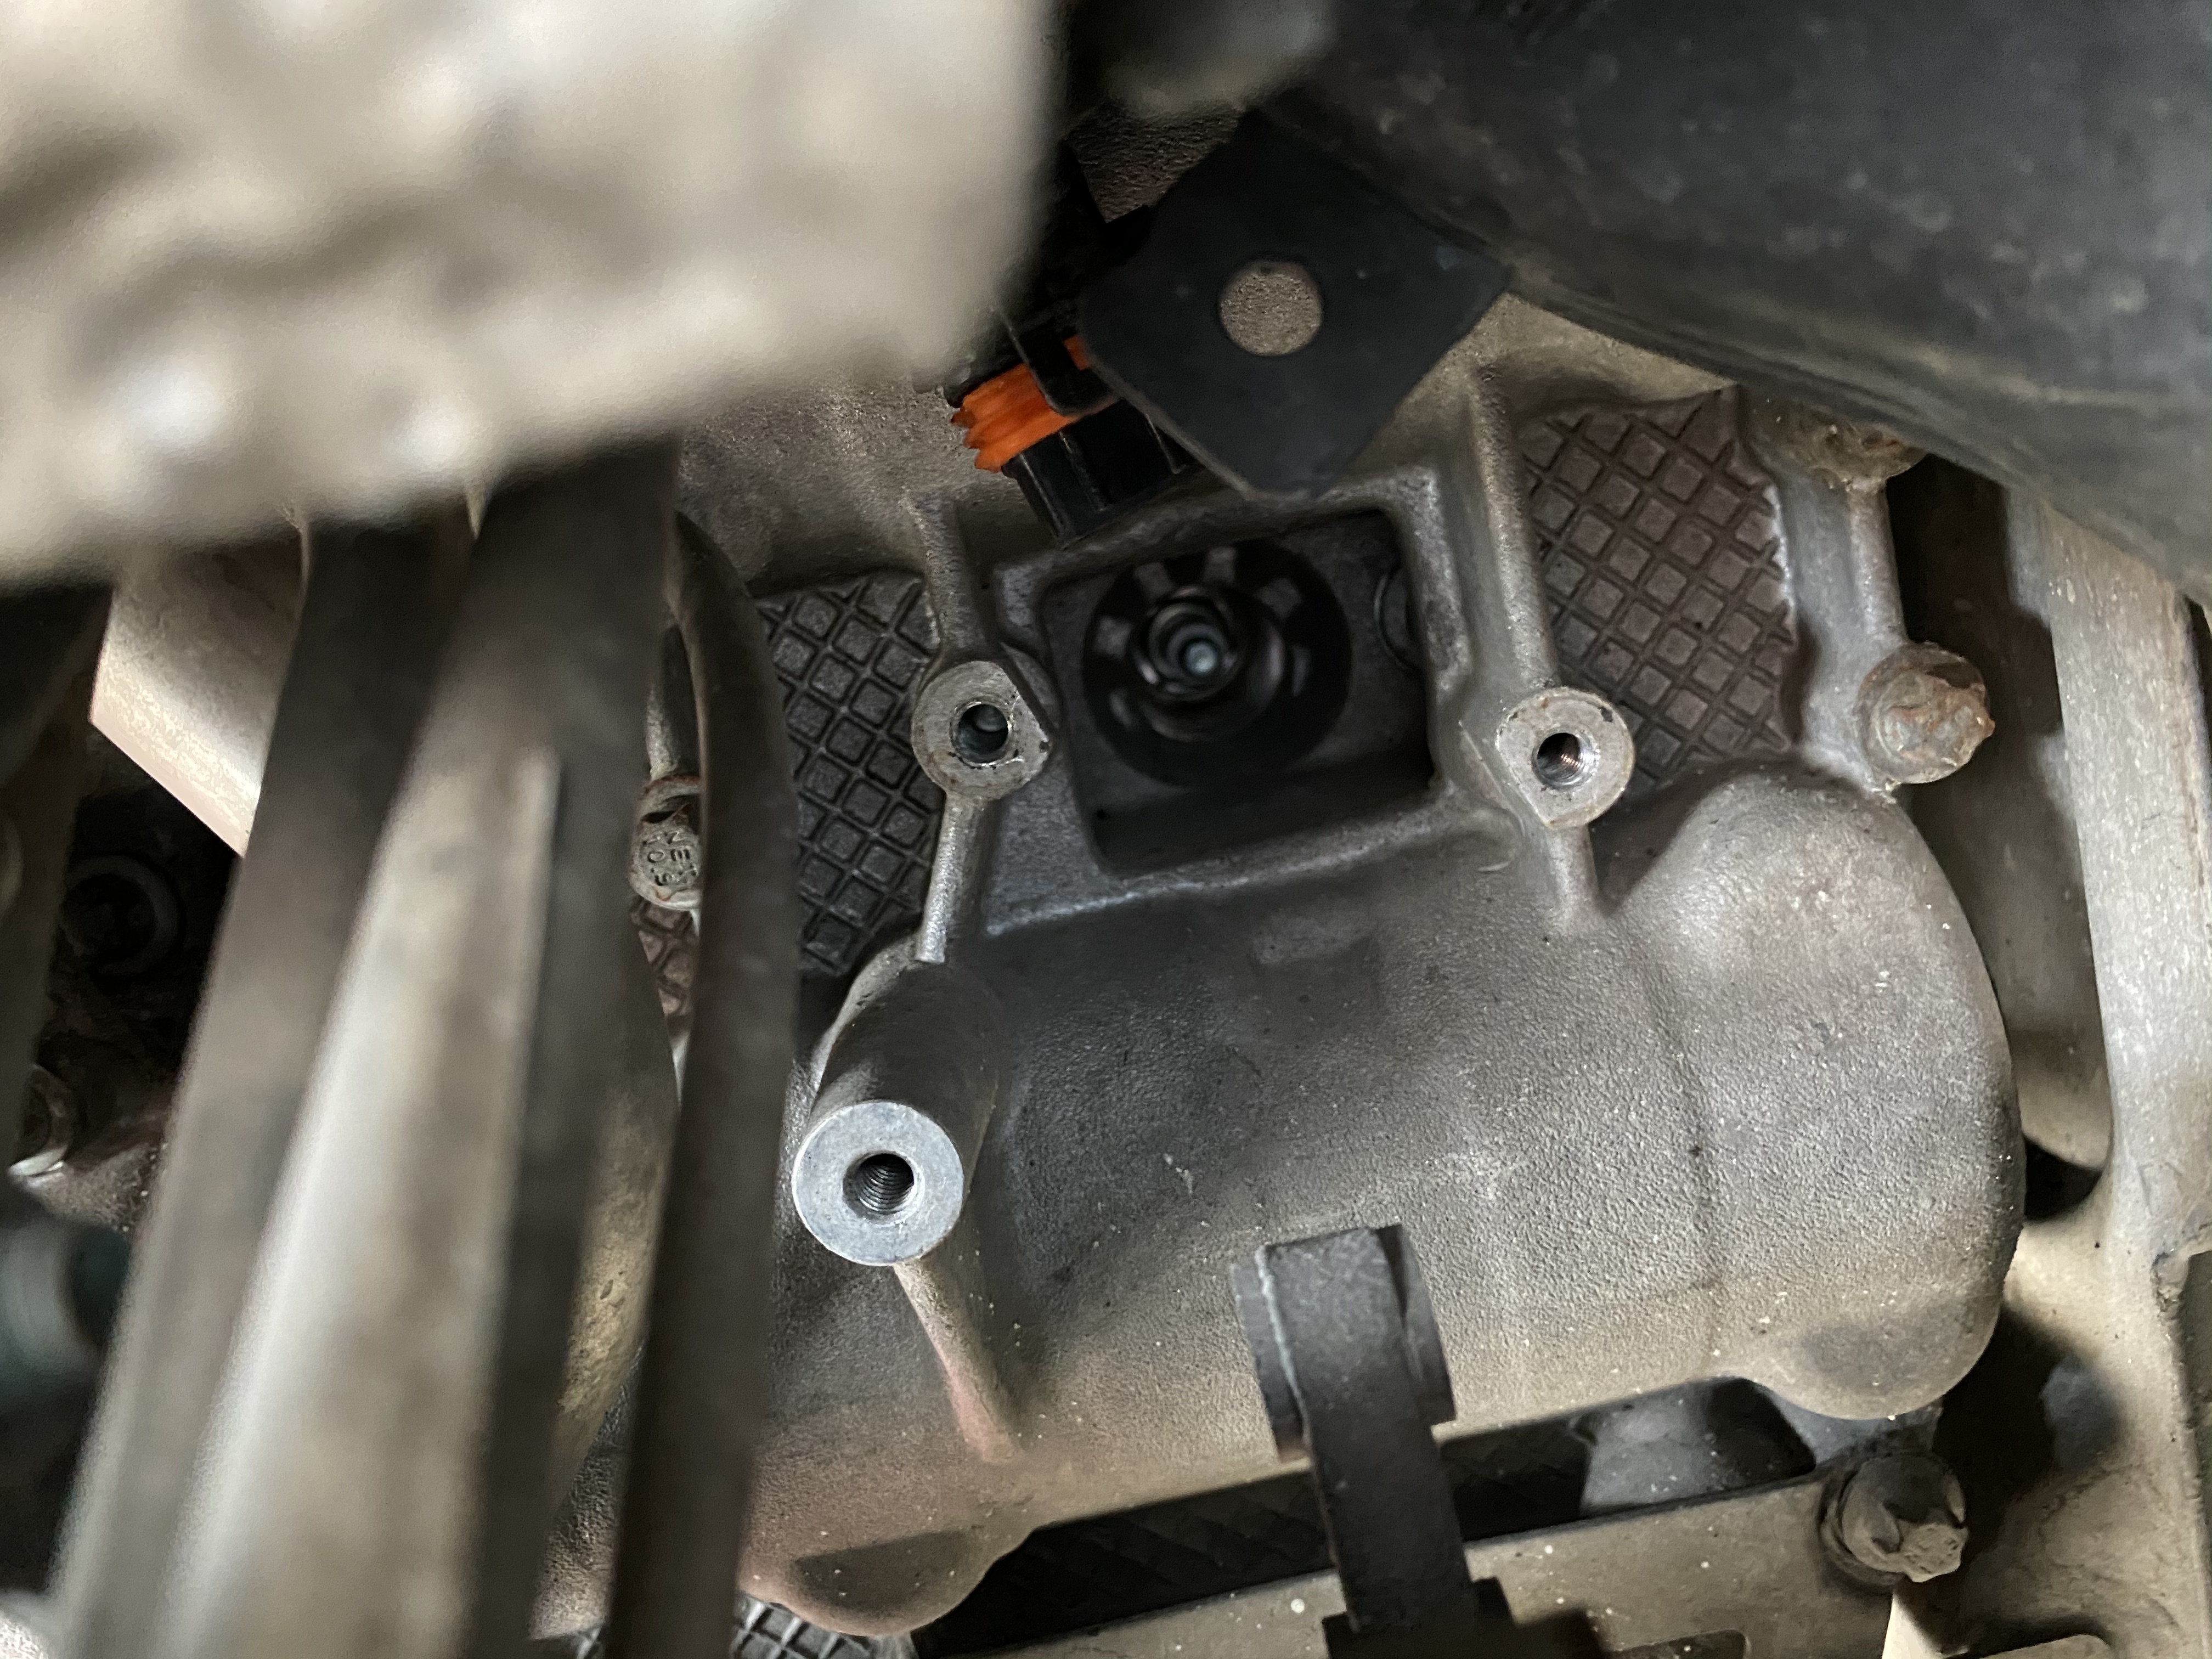
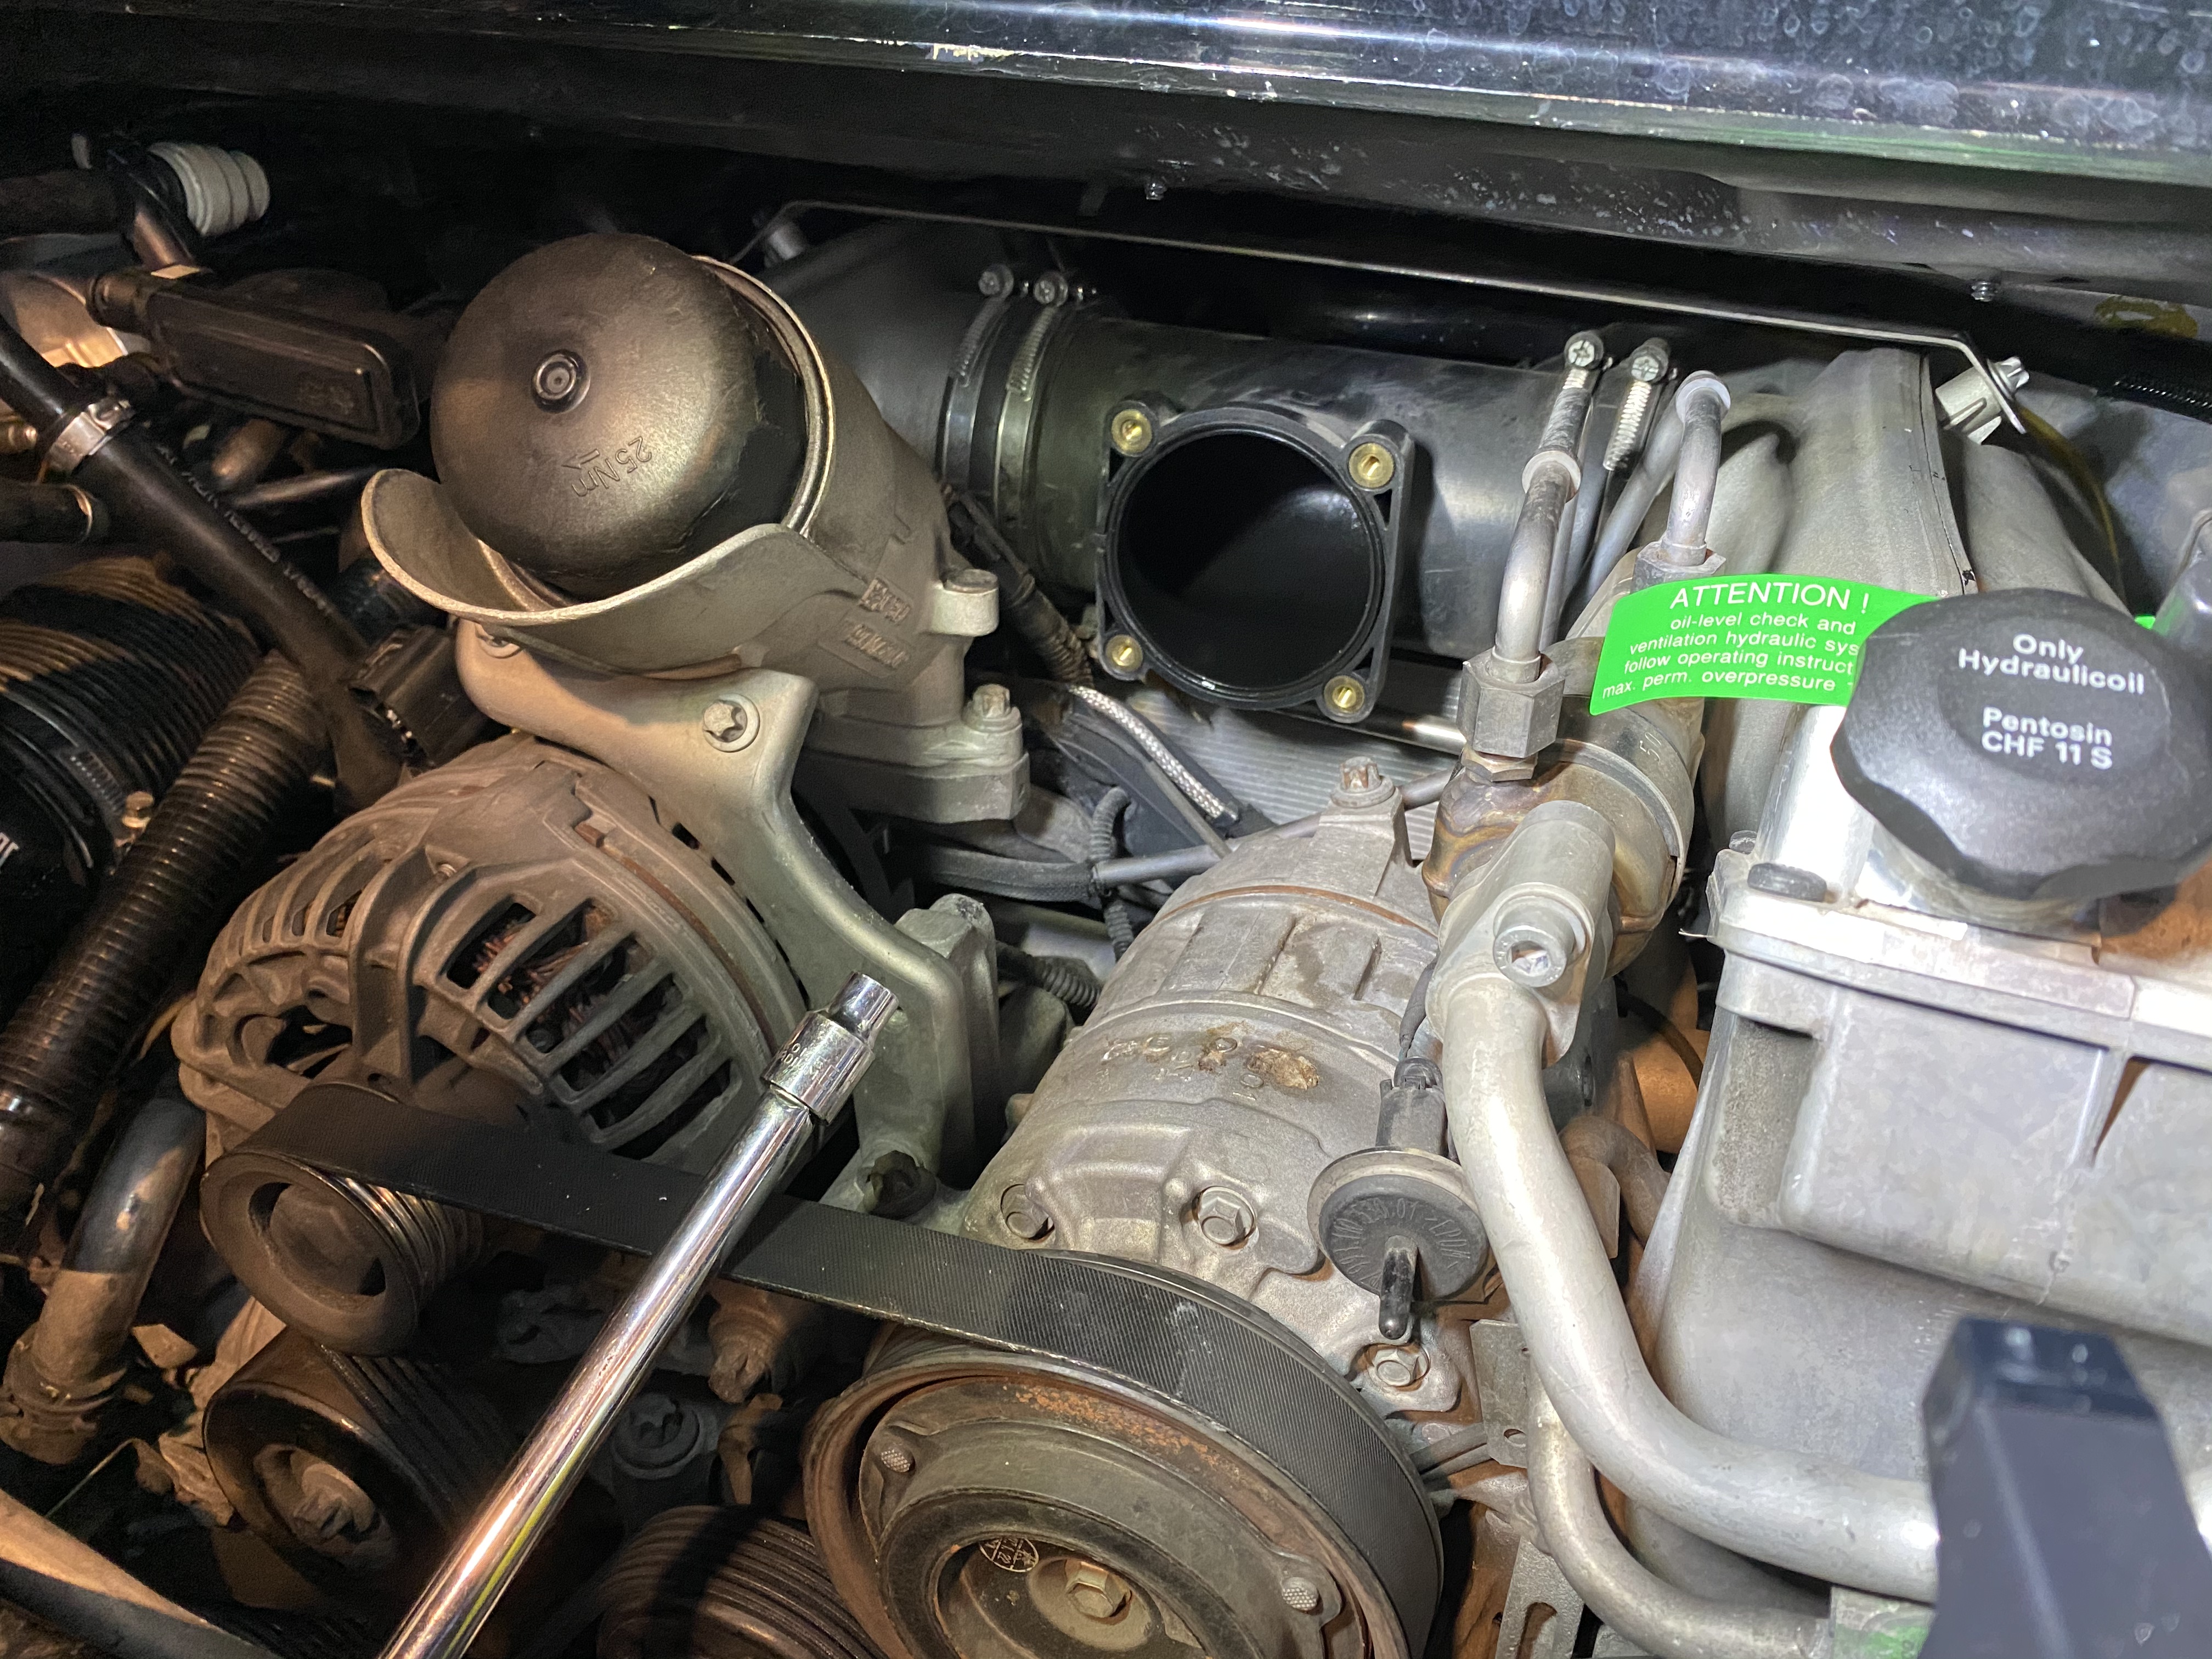
I took on the plugs/coils - this is the biggest pain in the @ss maintenance item. Working through the turbos is miserable BUT doable. The amount of stuff that has to come off to gain access is a little ridiculous.
Gotta remove the actuator on the passenger side to get to the front coil/plug
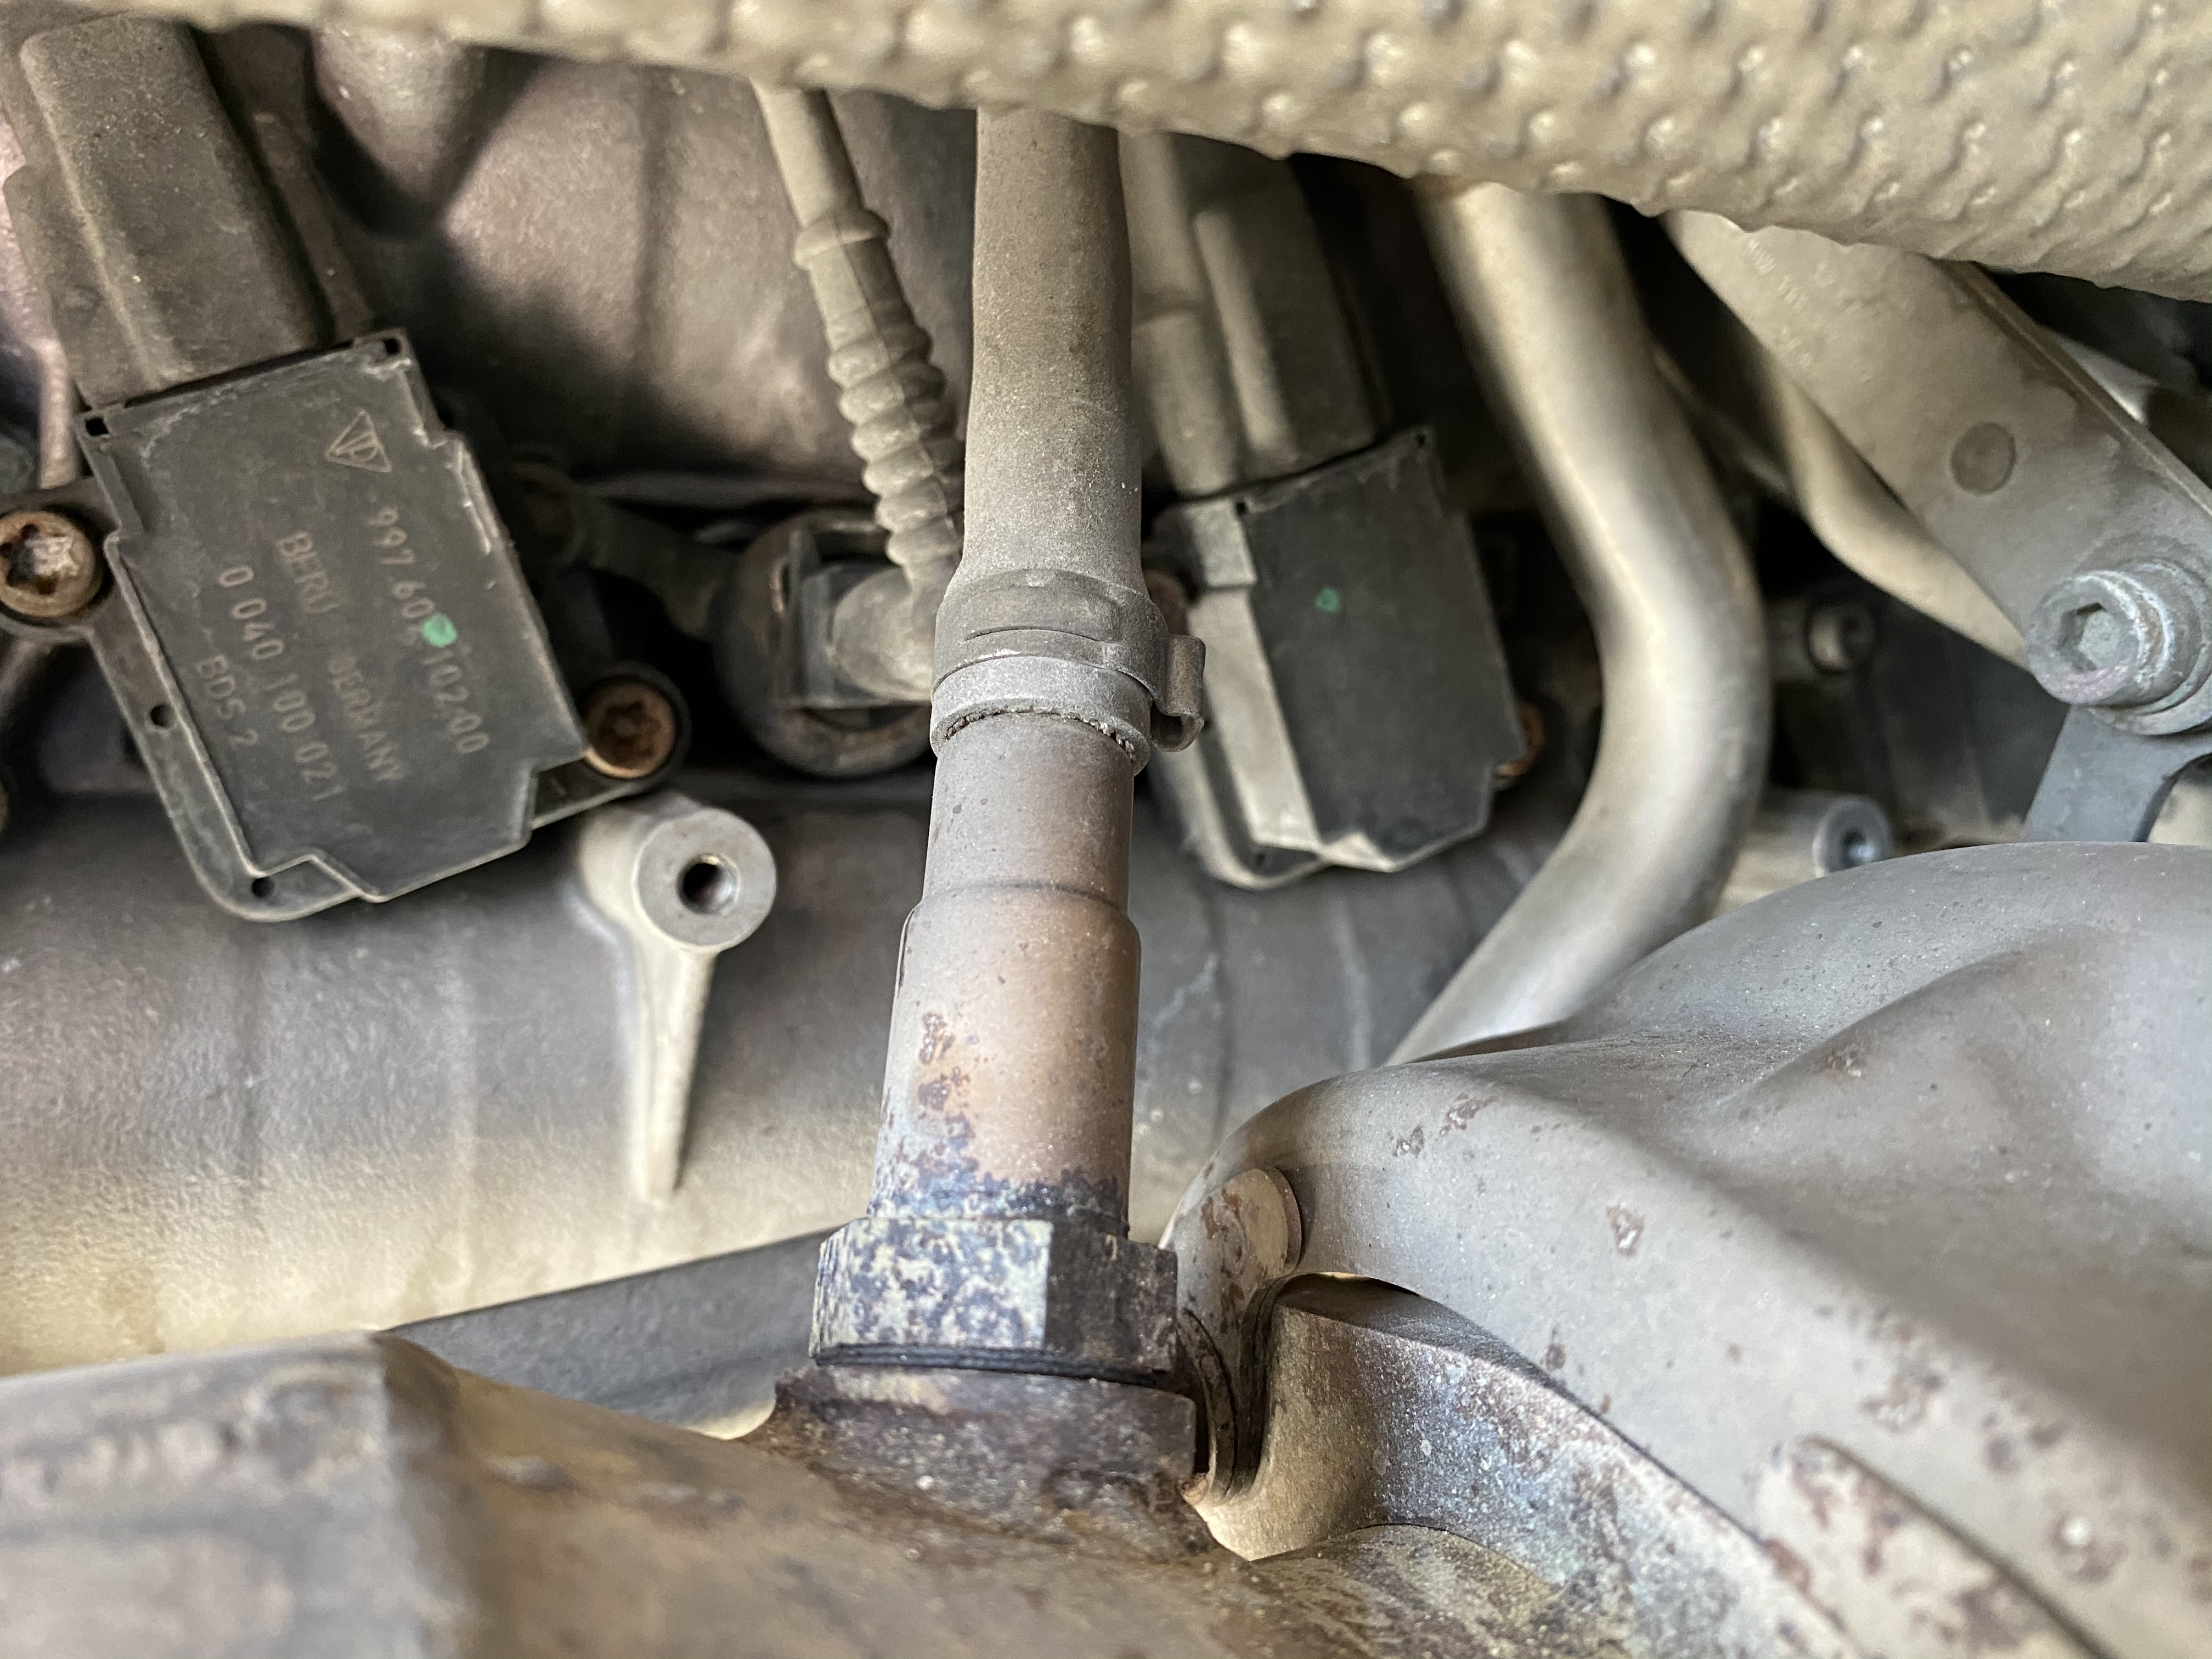
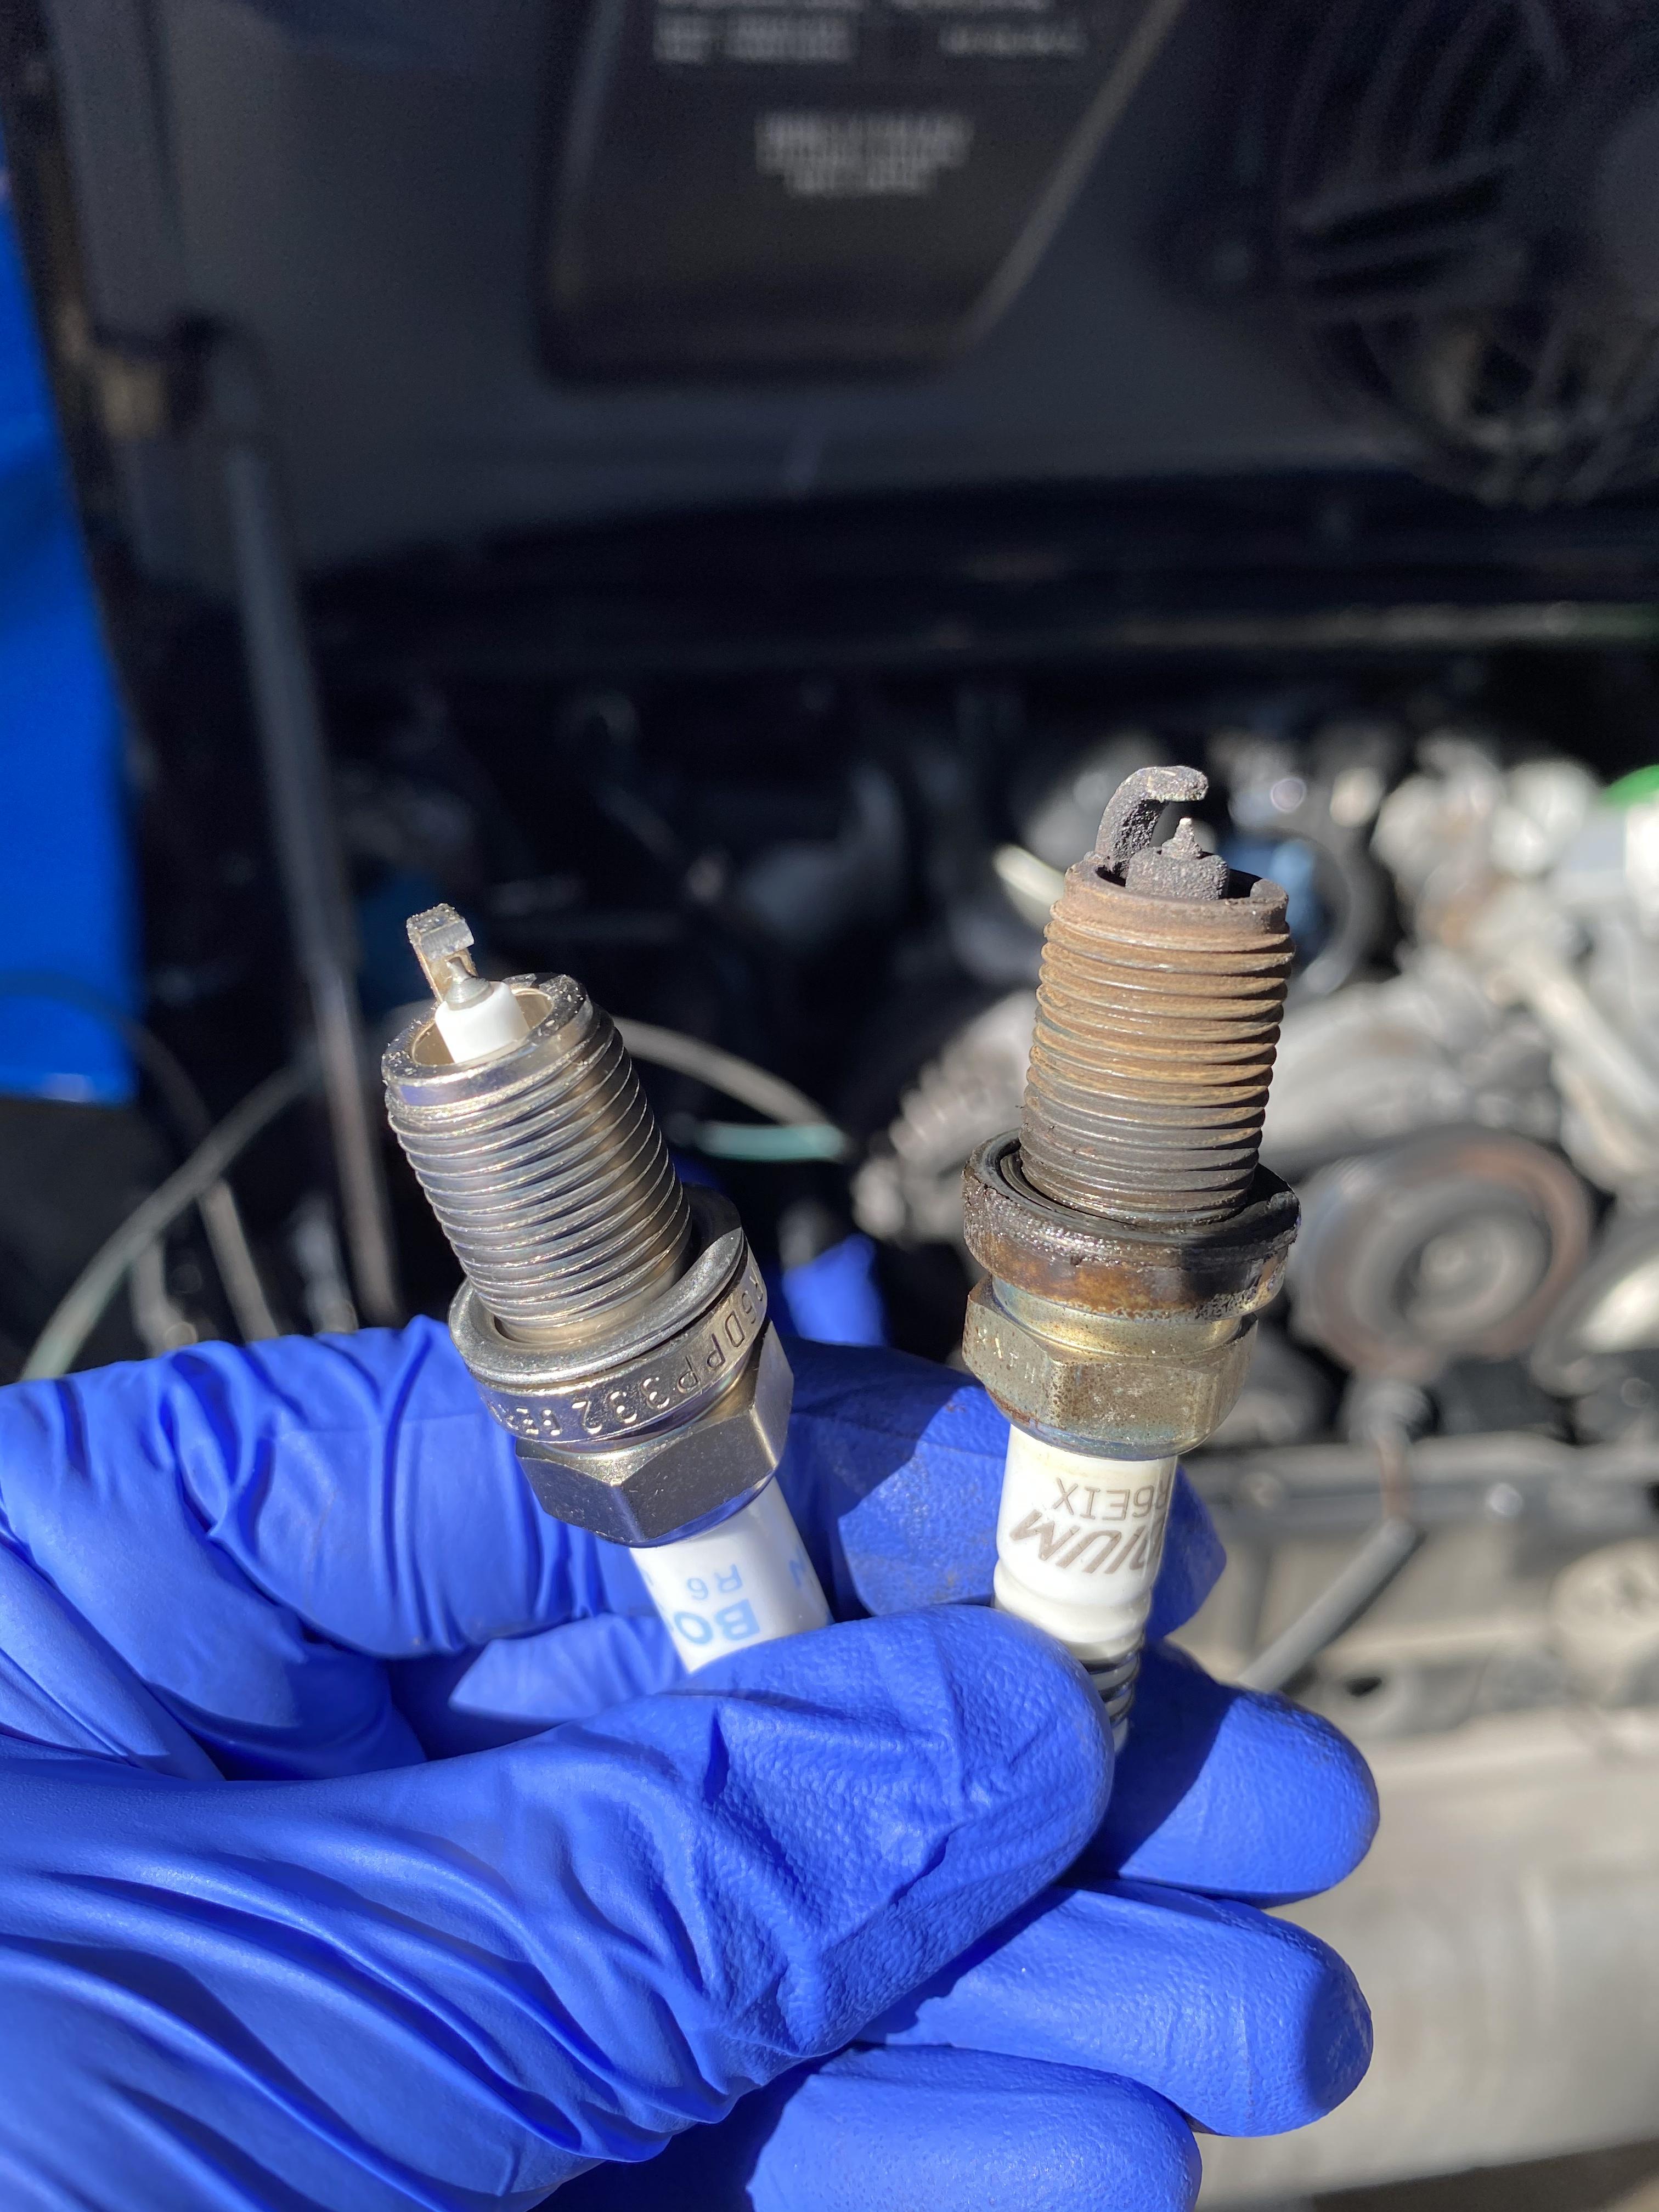
It's been a while since the plugs were last changed
Scoped the cylinders. It looked fine but not much to see from the plugs
Going to button everything up tomorrow - should be fun.
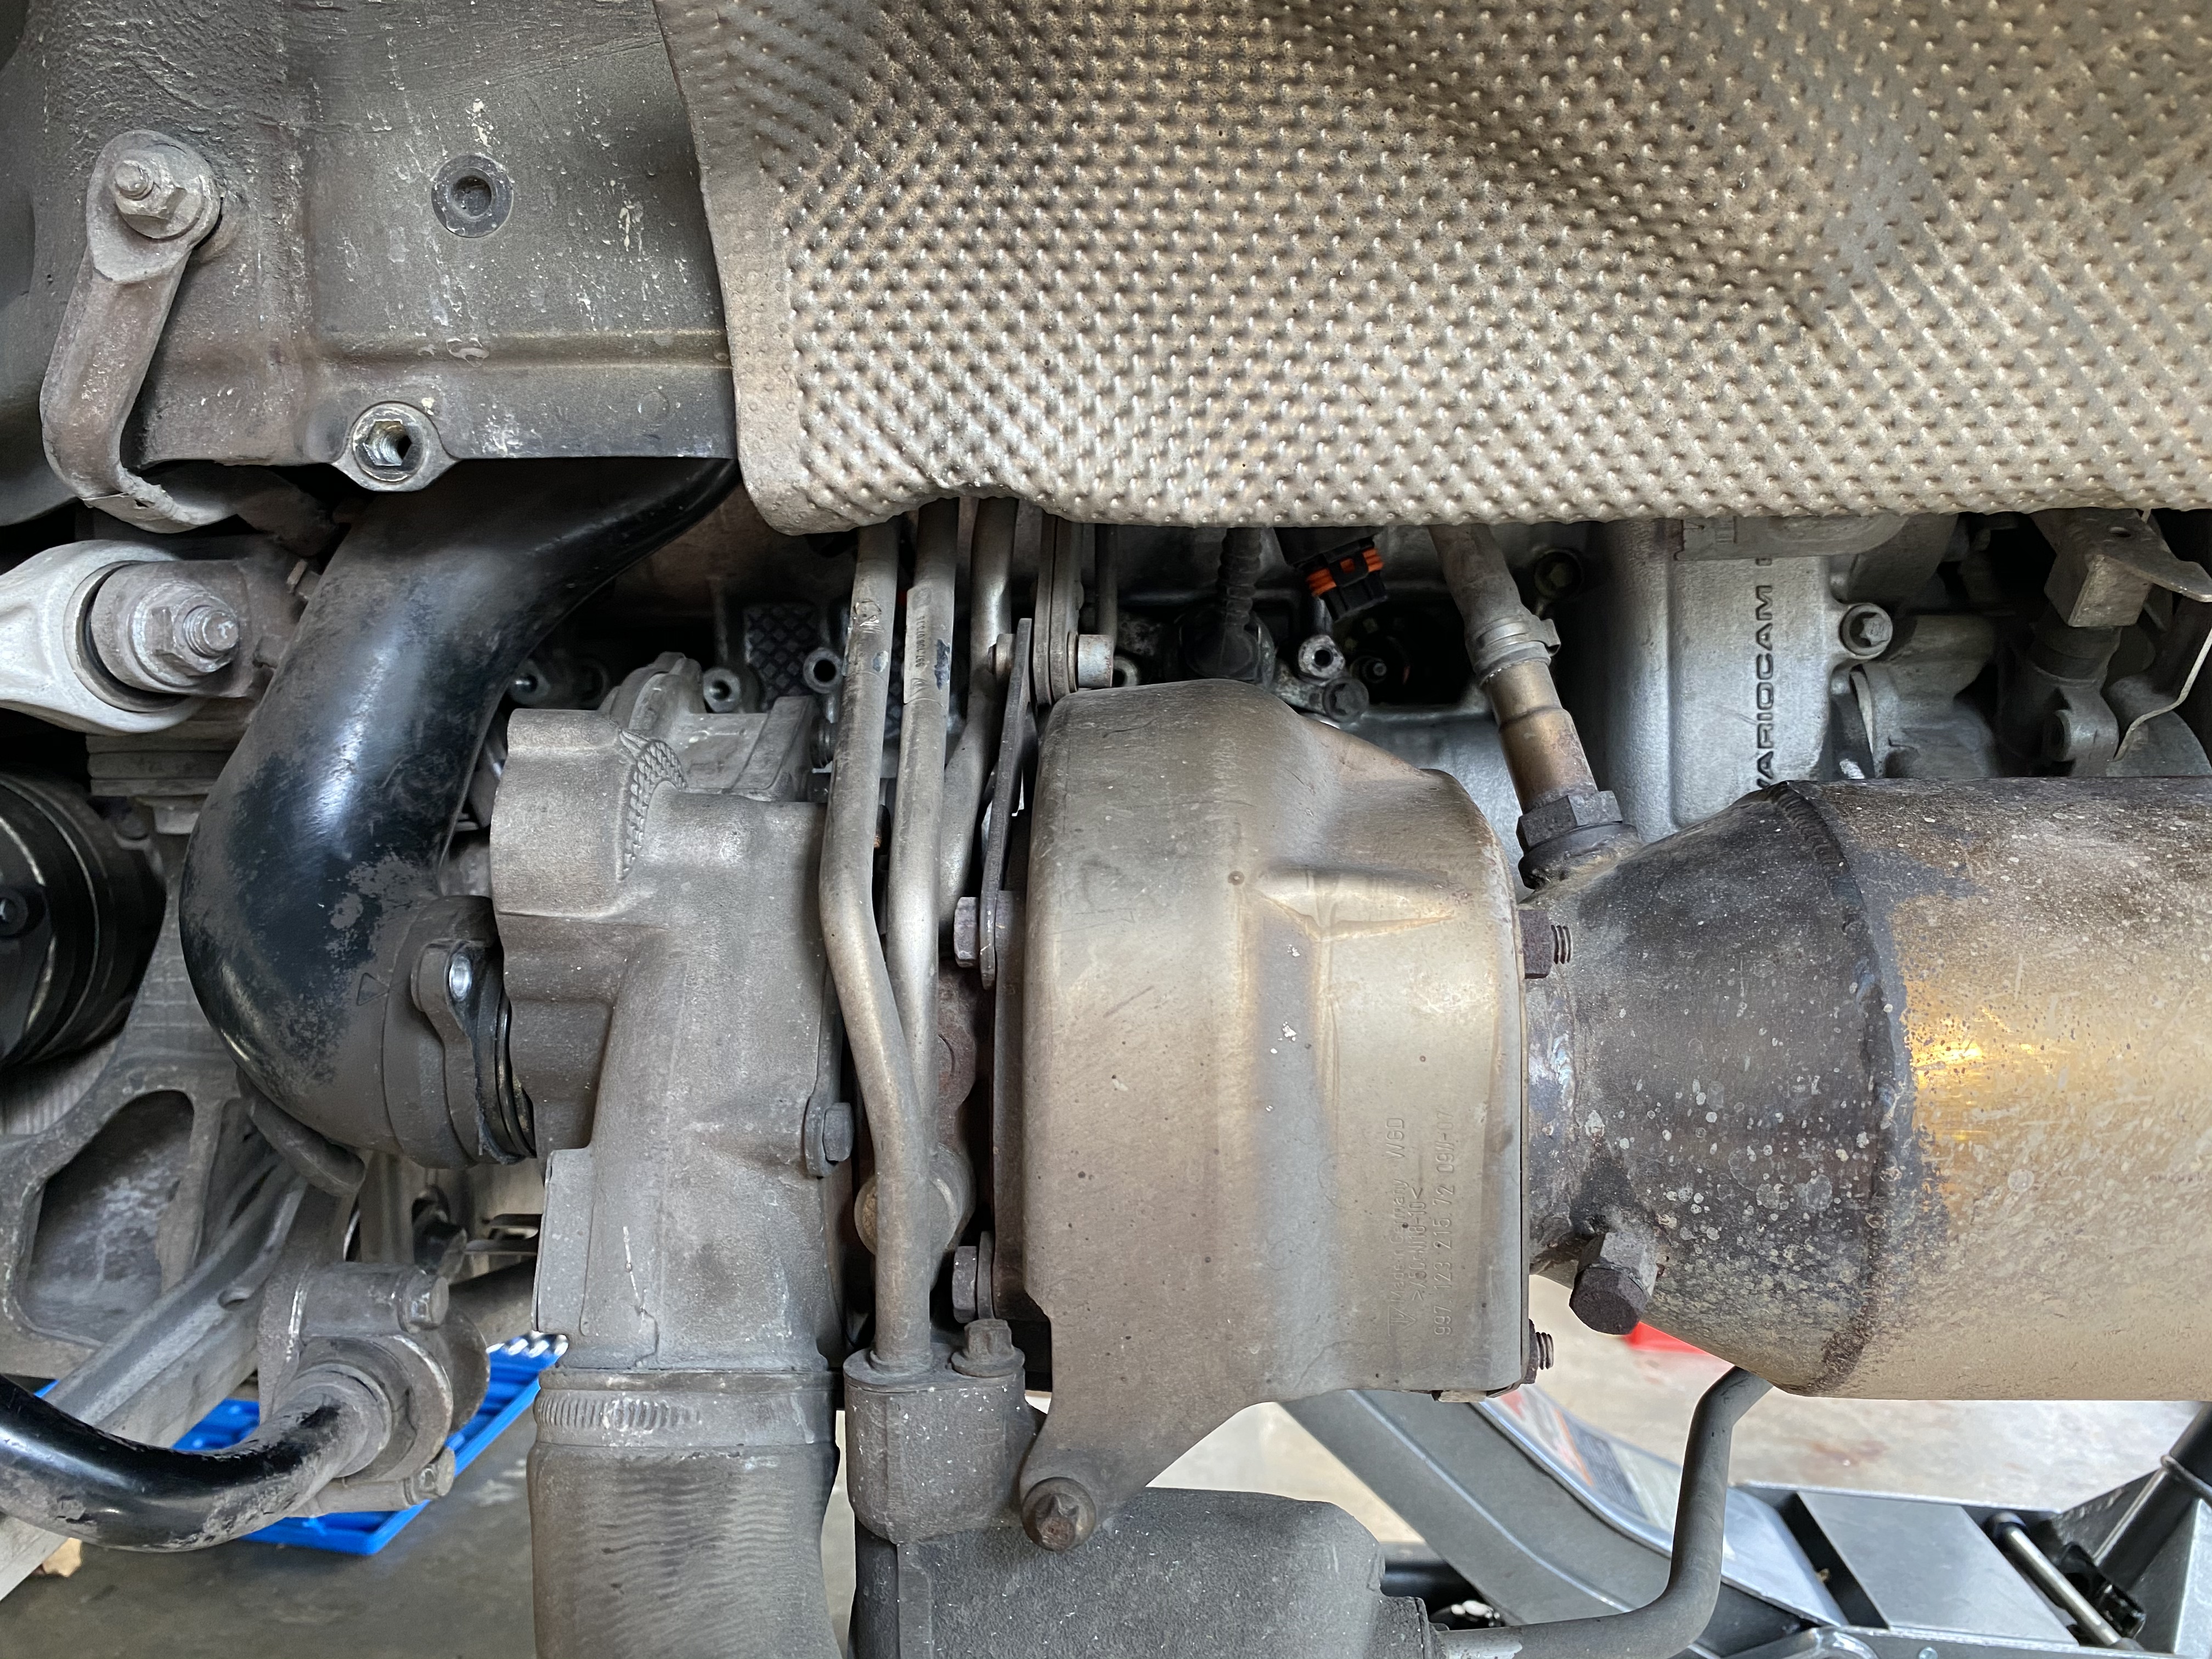
Well after I did the plugs/coils and saw how close the turbos were.... I got some bad thoughts and decided it was a great time to rebuild and upgrade the spools.
I'm still finalizing plans for who to send my turbocharger cores to, but it will be a 63.5 or 65 mm VTG upgrade. Then I picked up 997 GT2RS intercoolers. These will go nicely with the FVD exhaust and 200 cel cats, plus the Fabspeed CF intake. Of course it will be tuned (tuner TBD!)
Pressure tested the system from the lower IC hoses
It held 20 psi briefly, but there was a very faint hiss behind the TB.
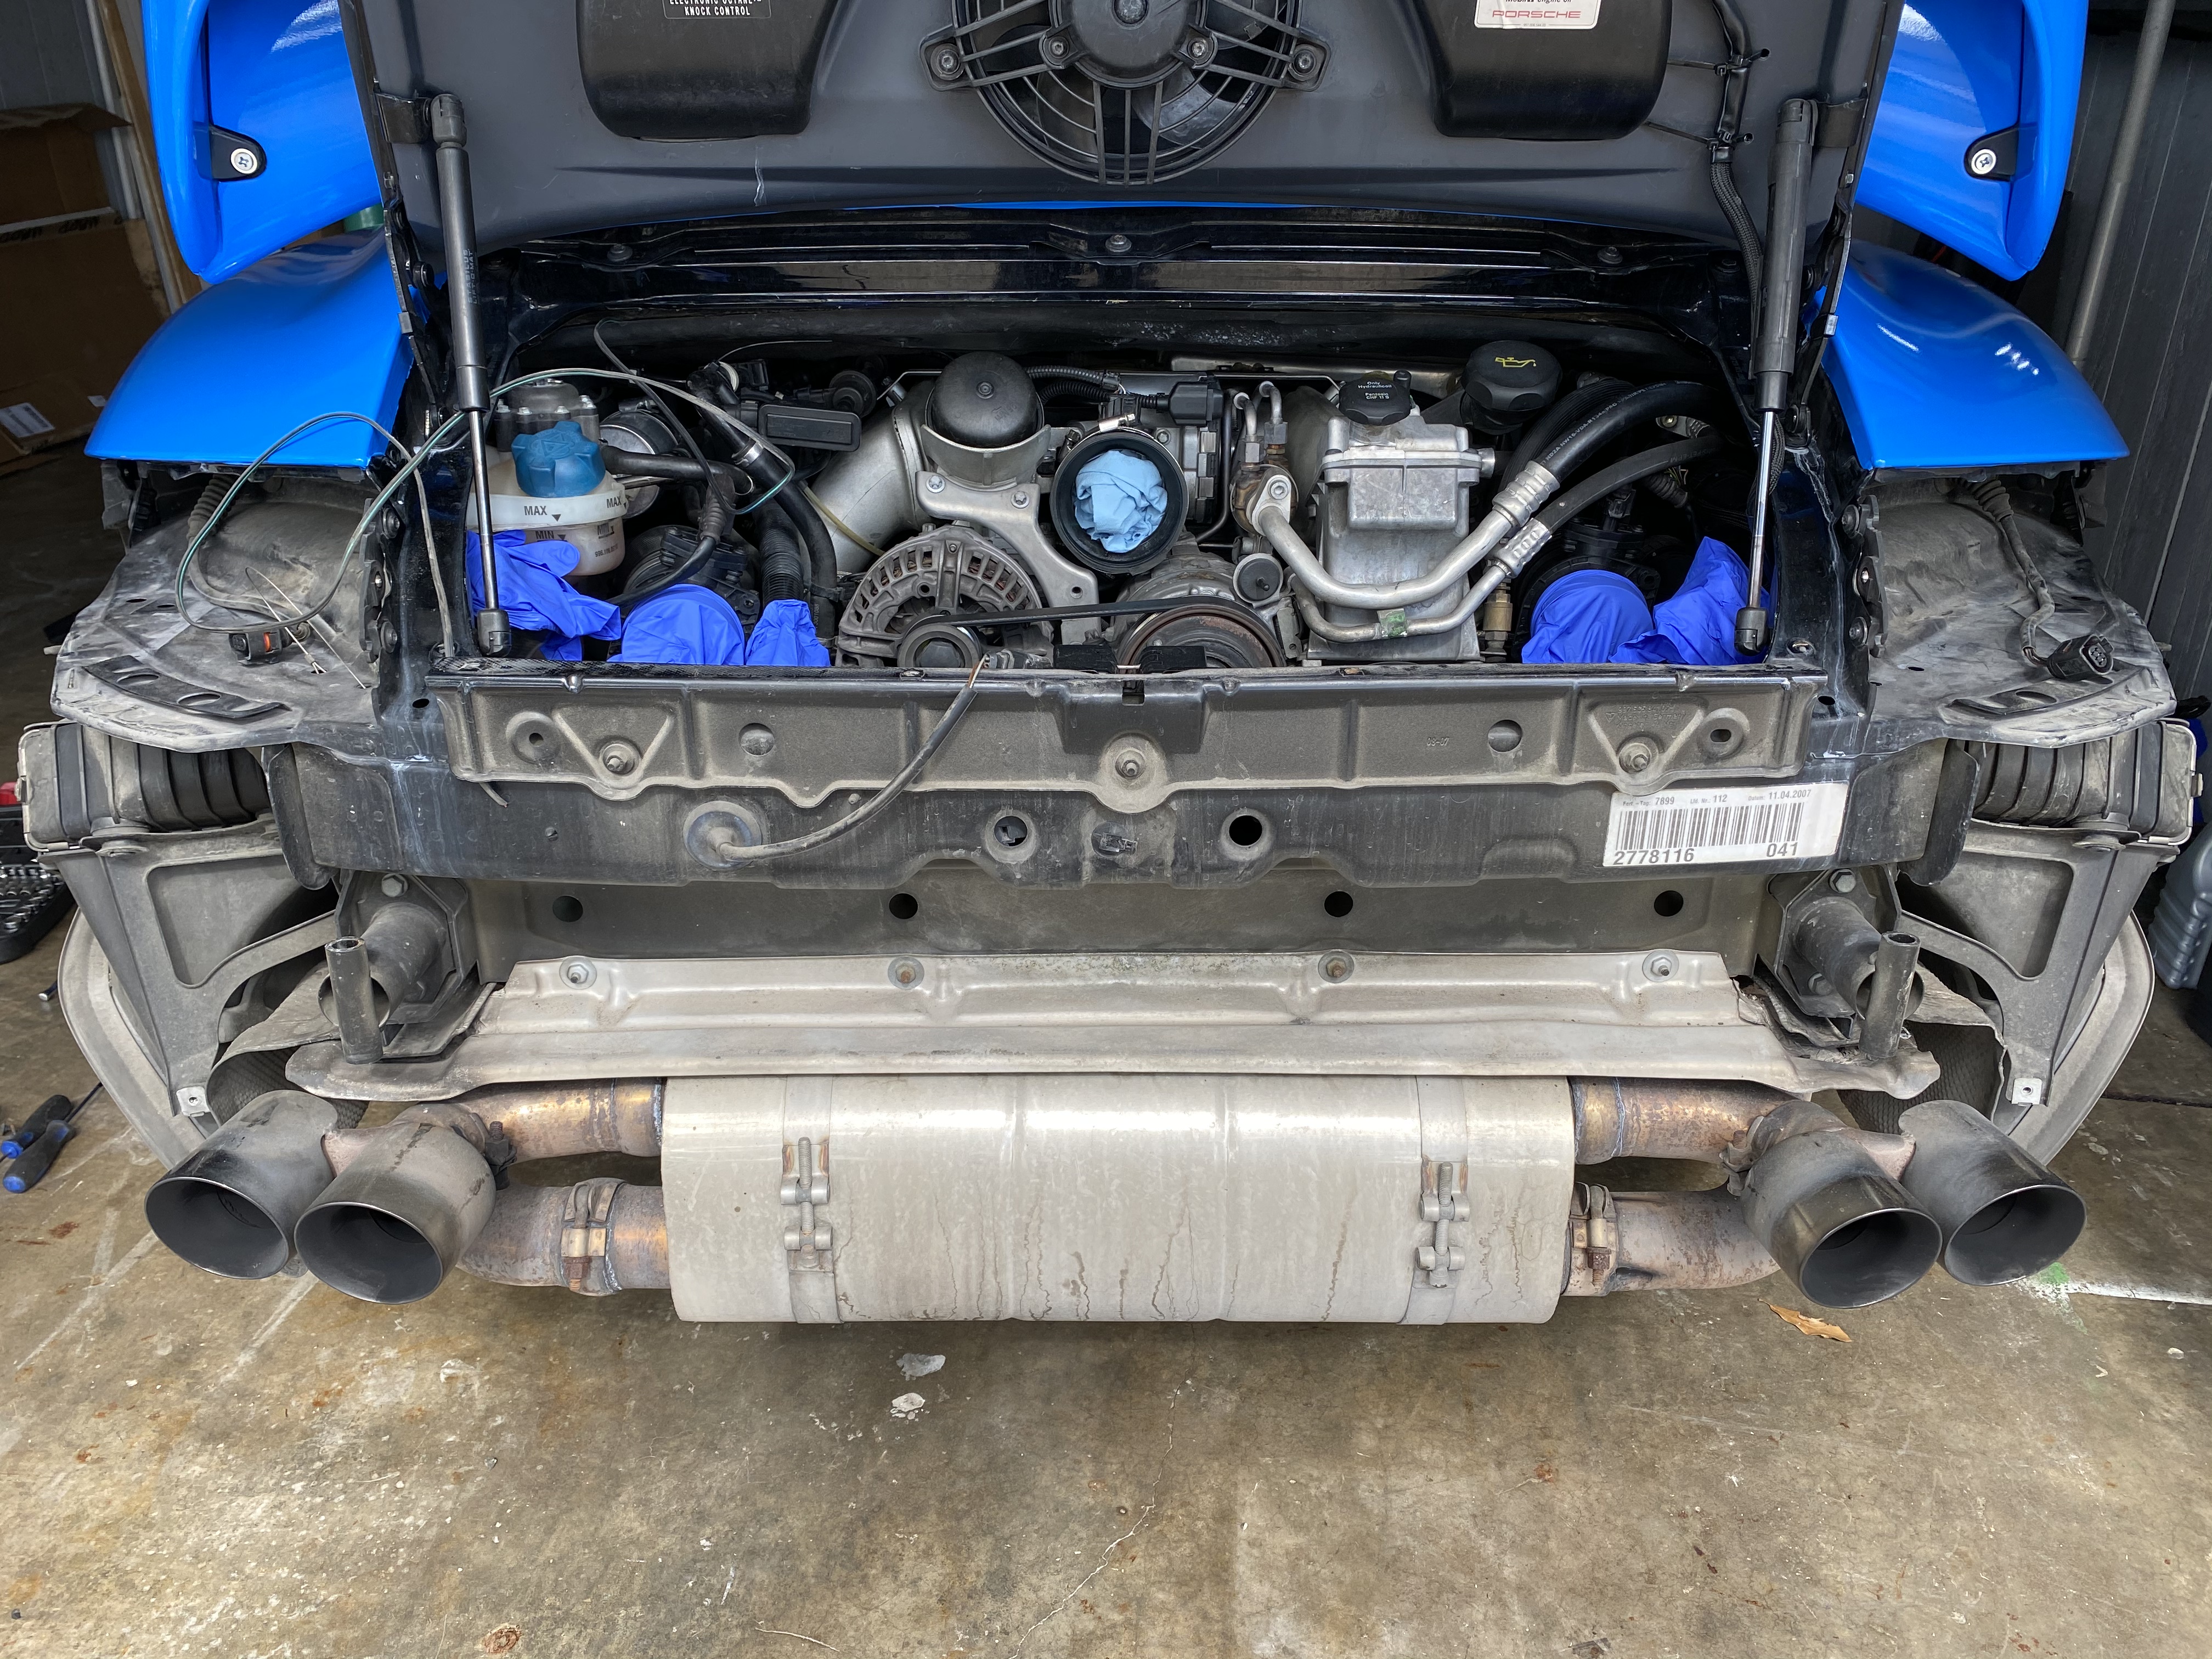
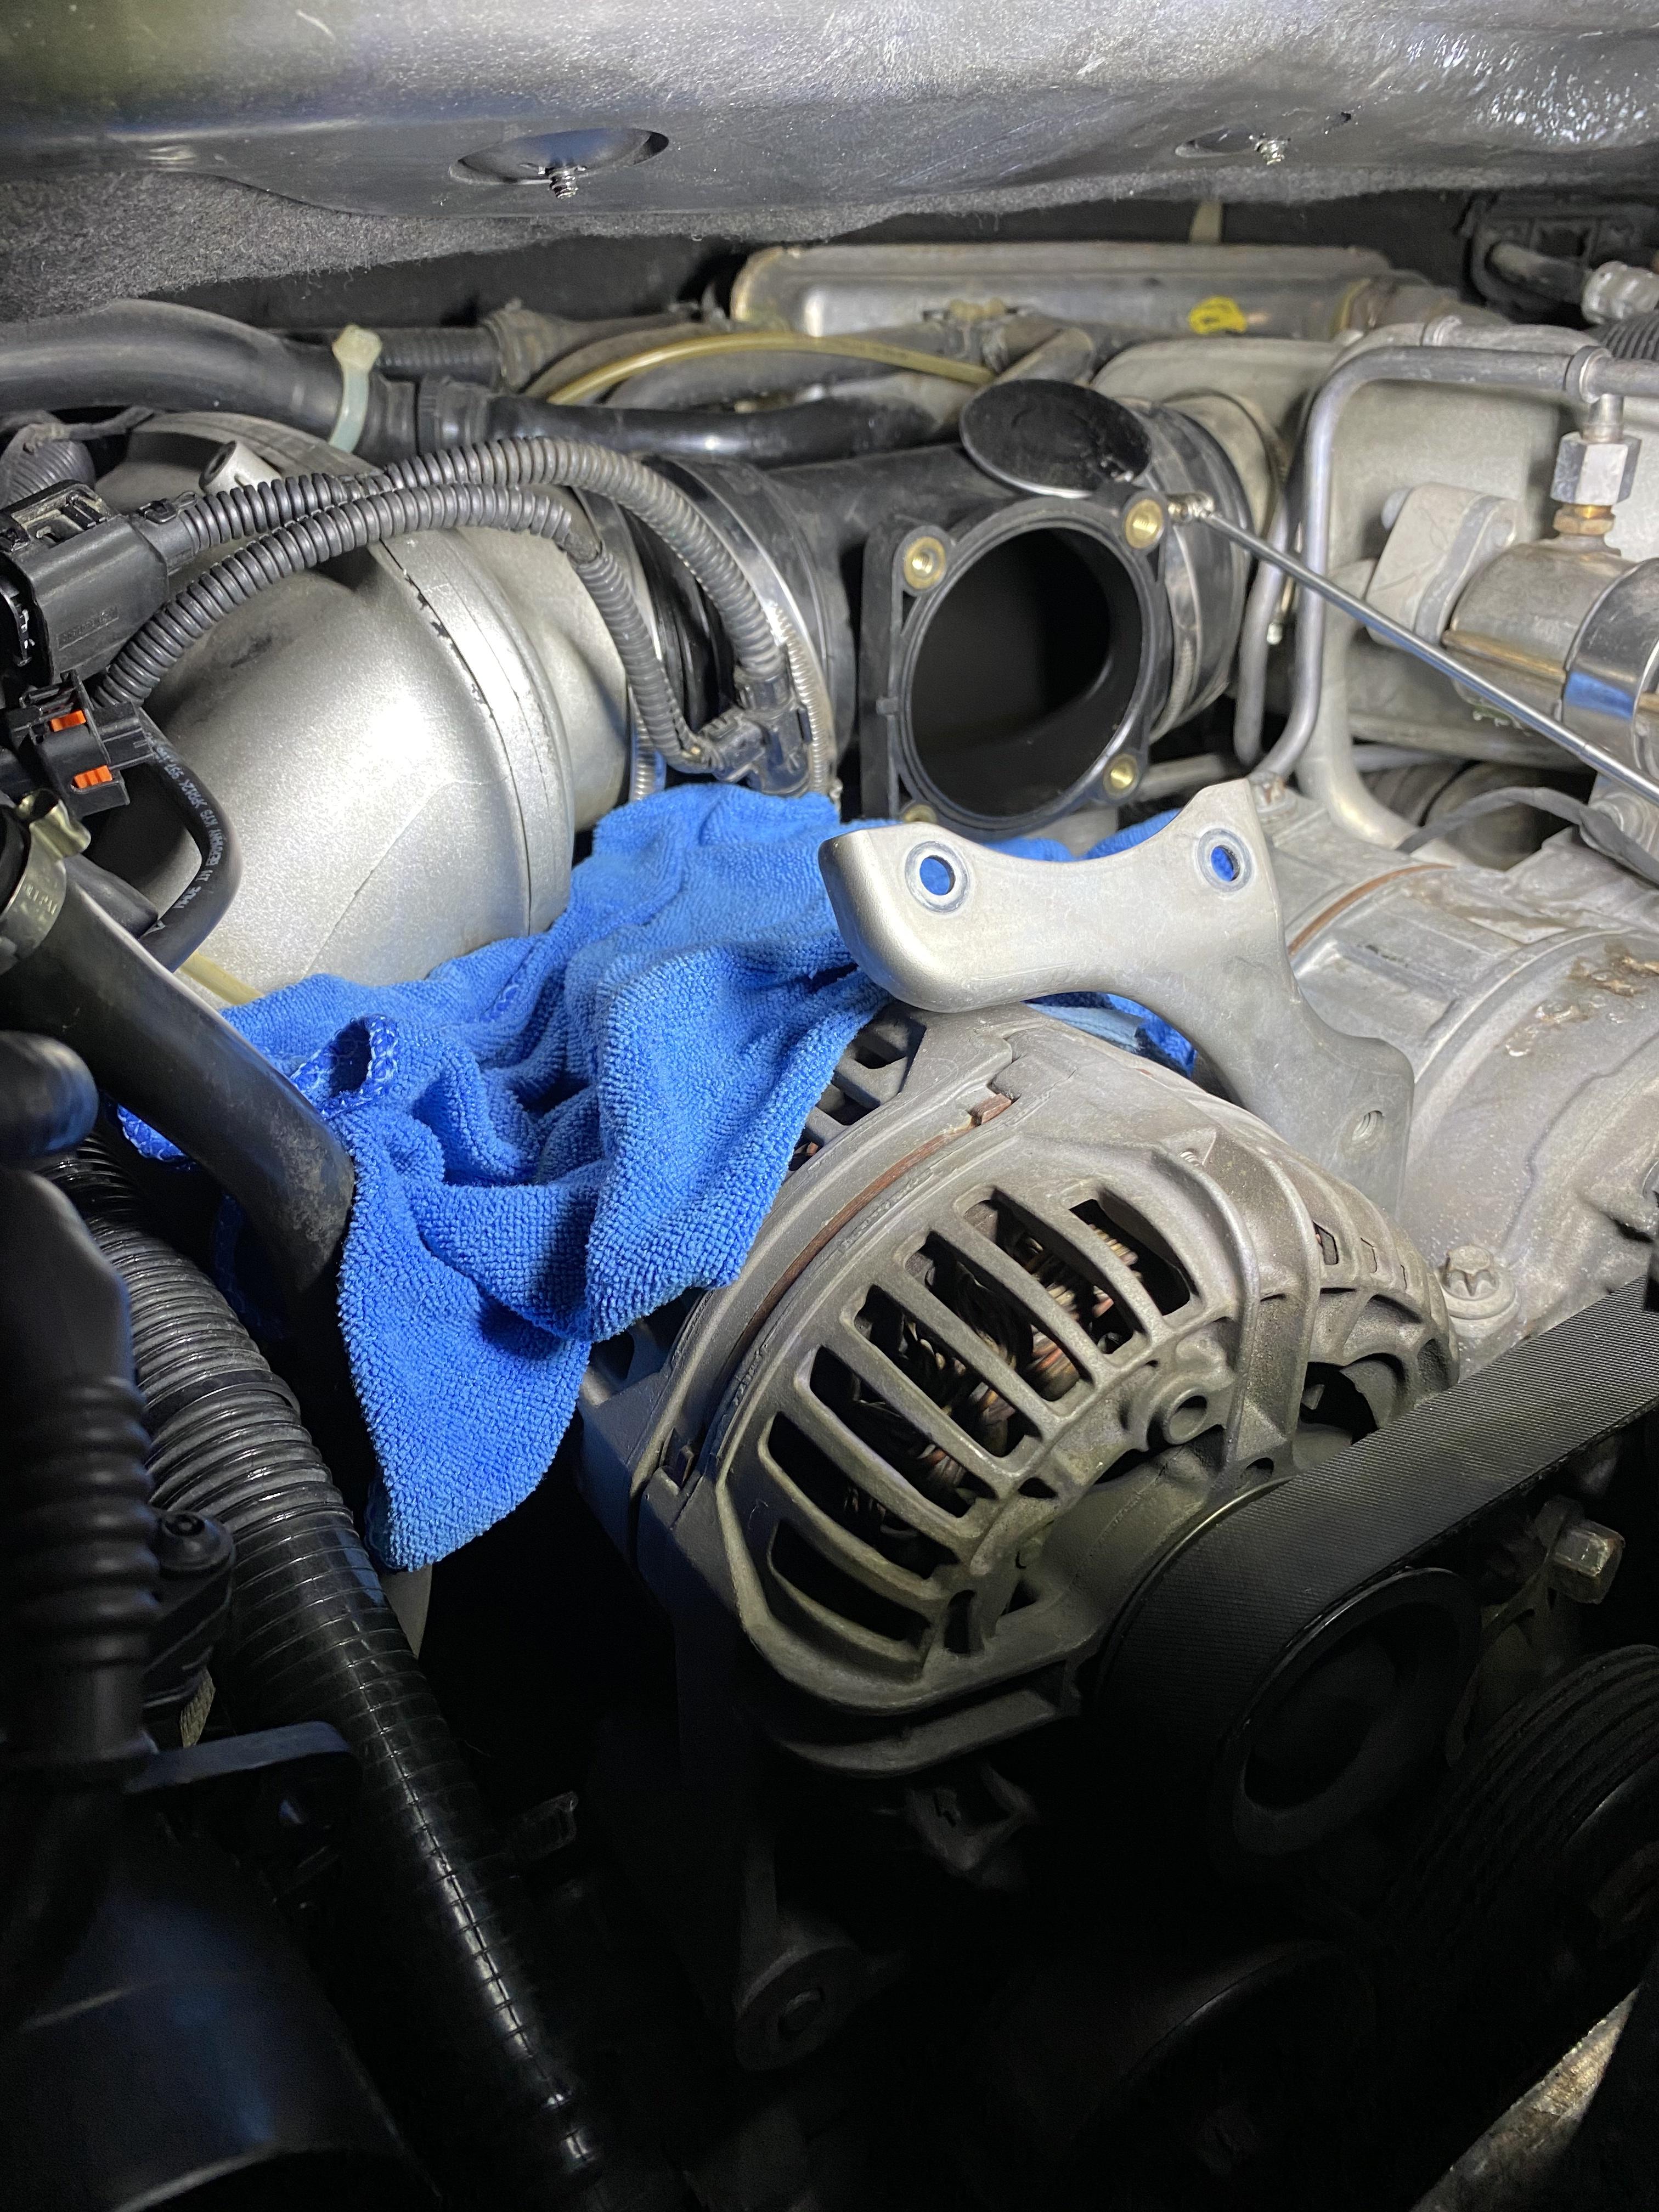
Filters, Y-pipe, TB removed
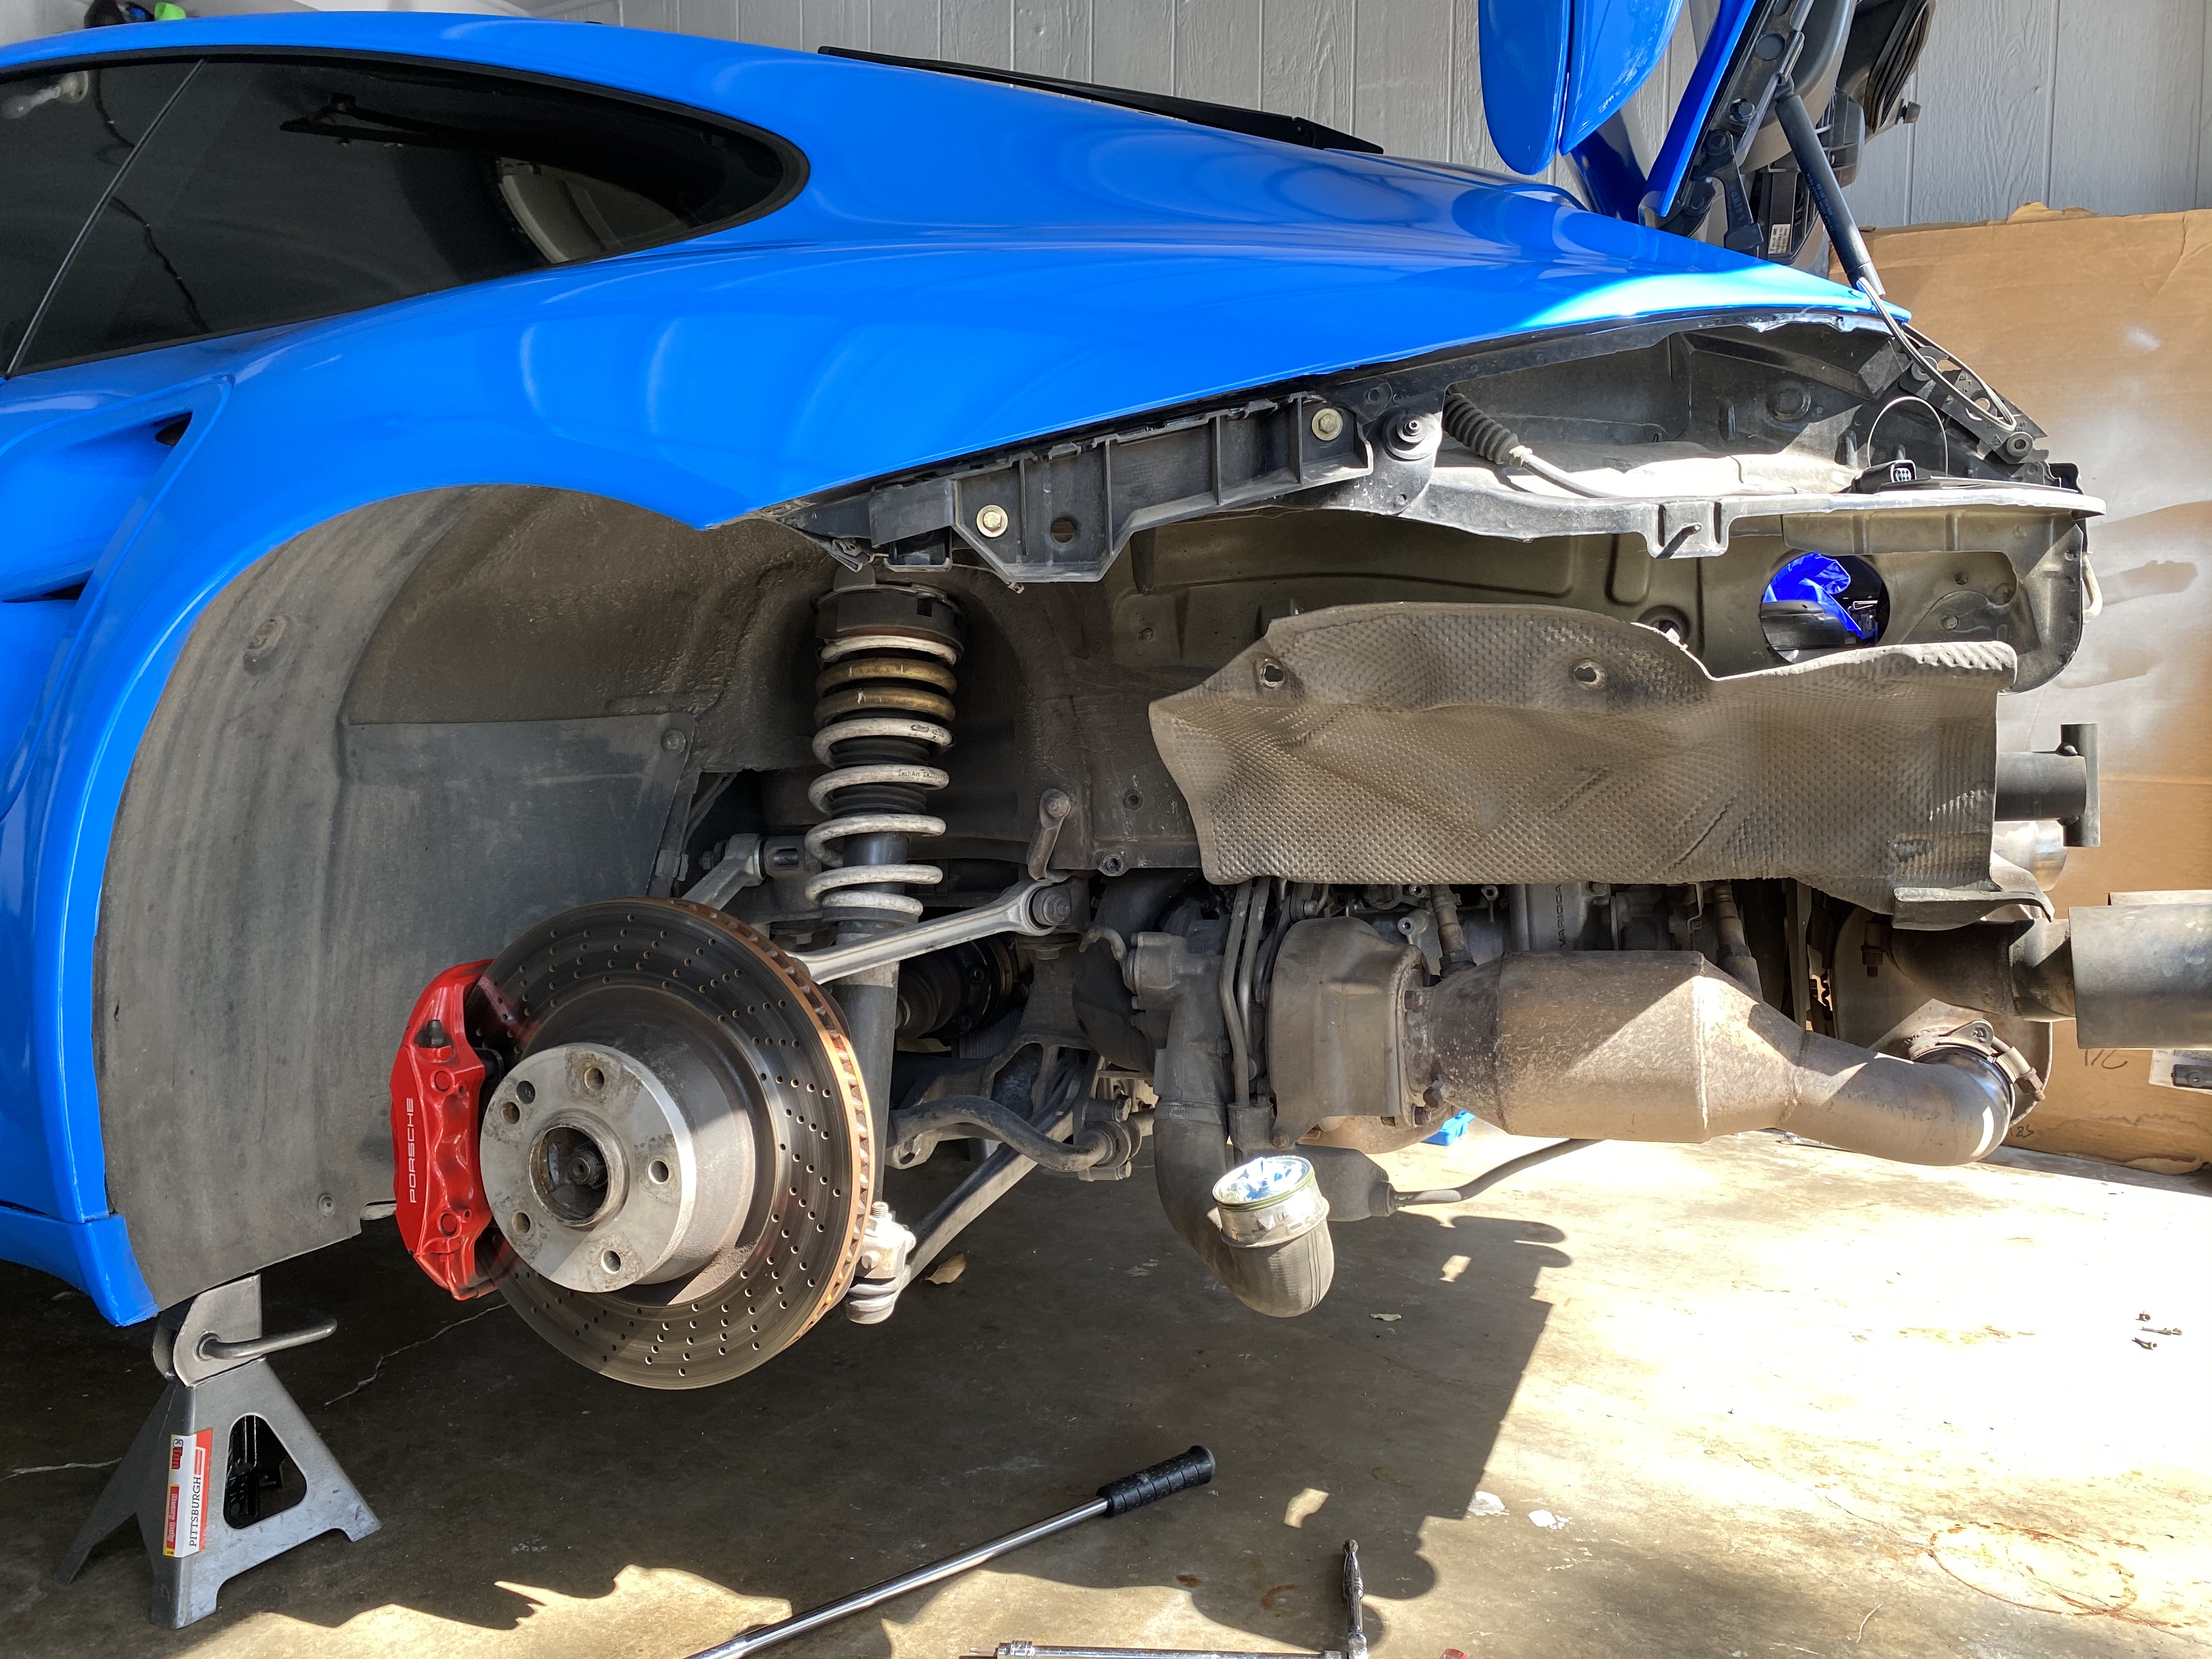
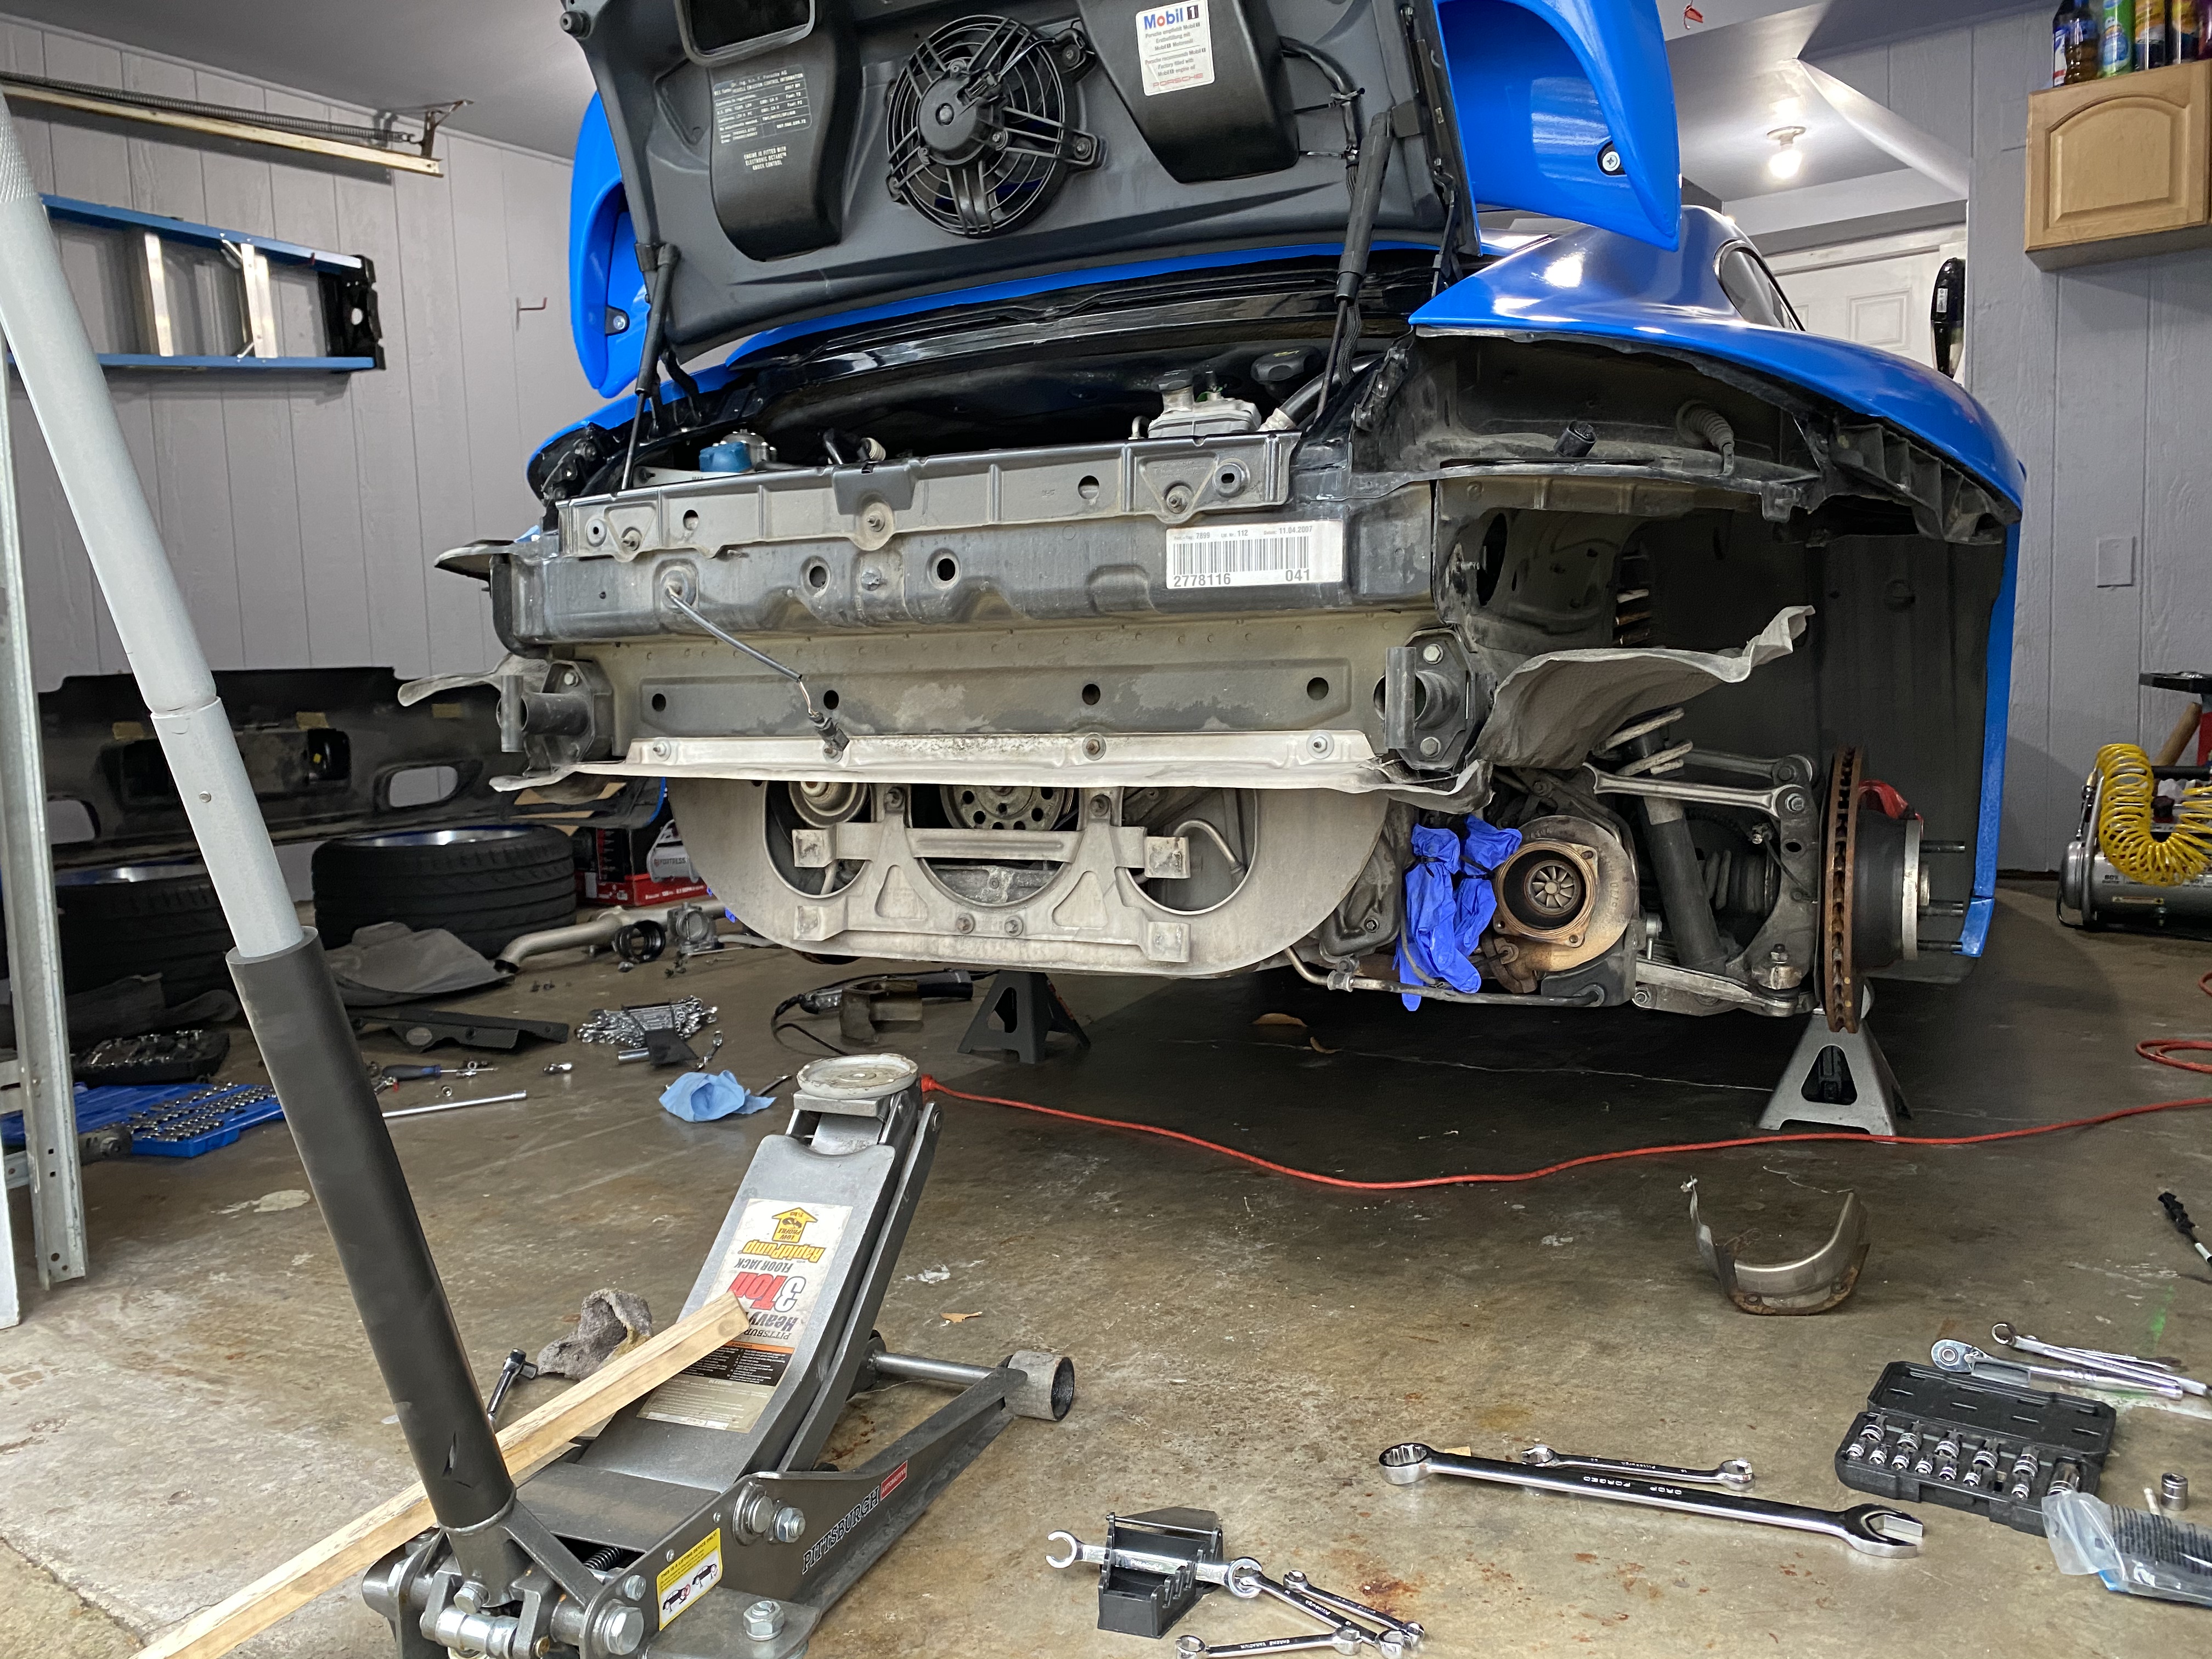
Lowered the engine and also removed the oil filter housing to get more space for my hands
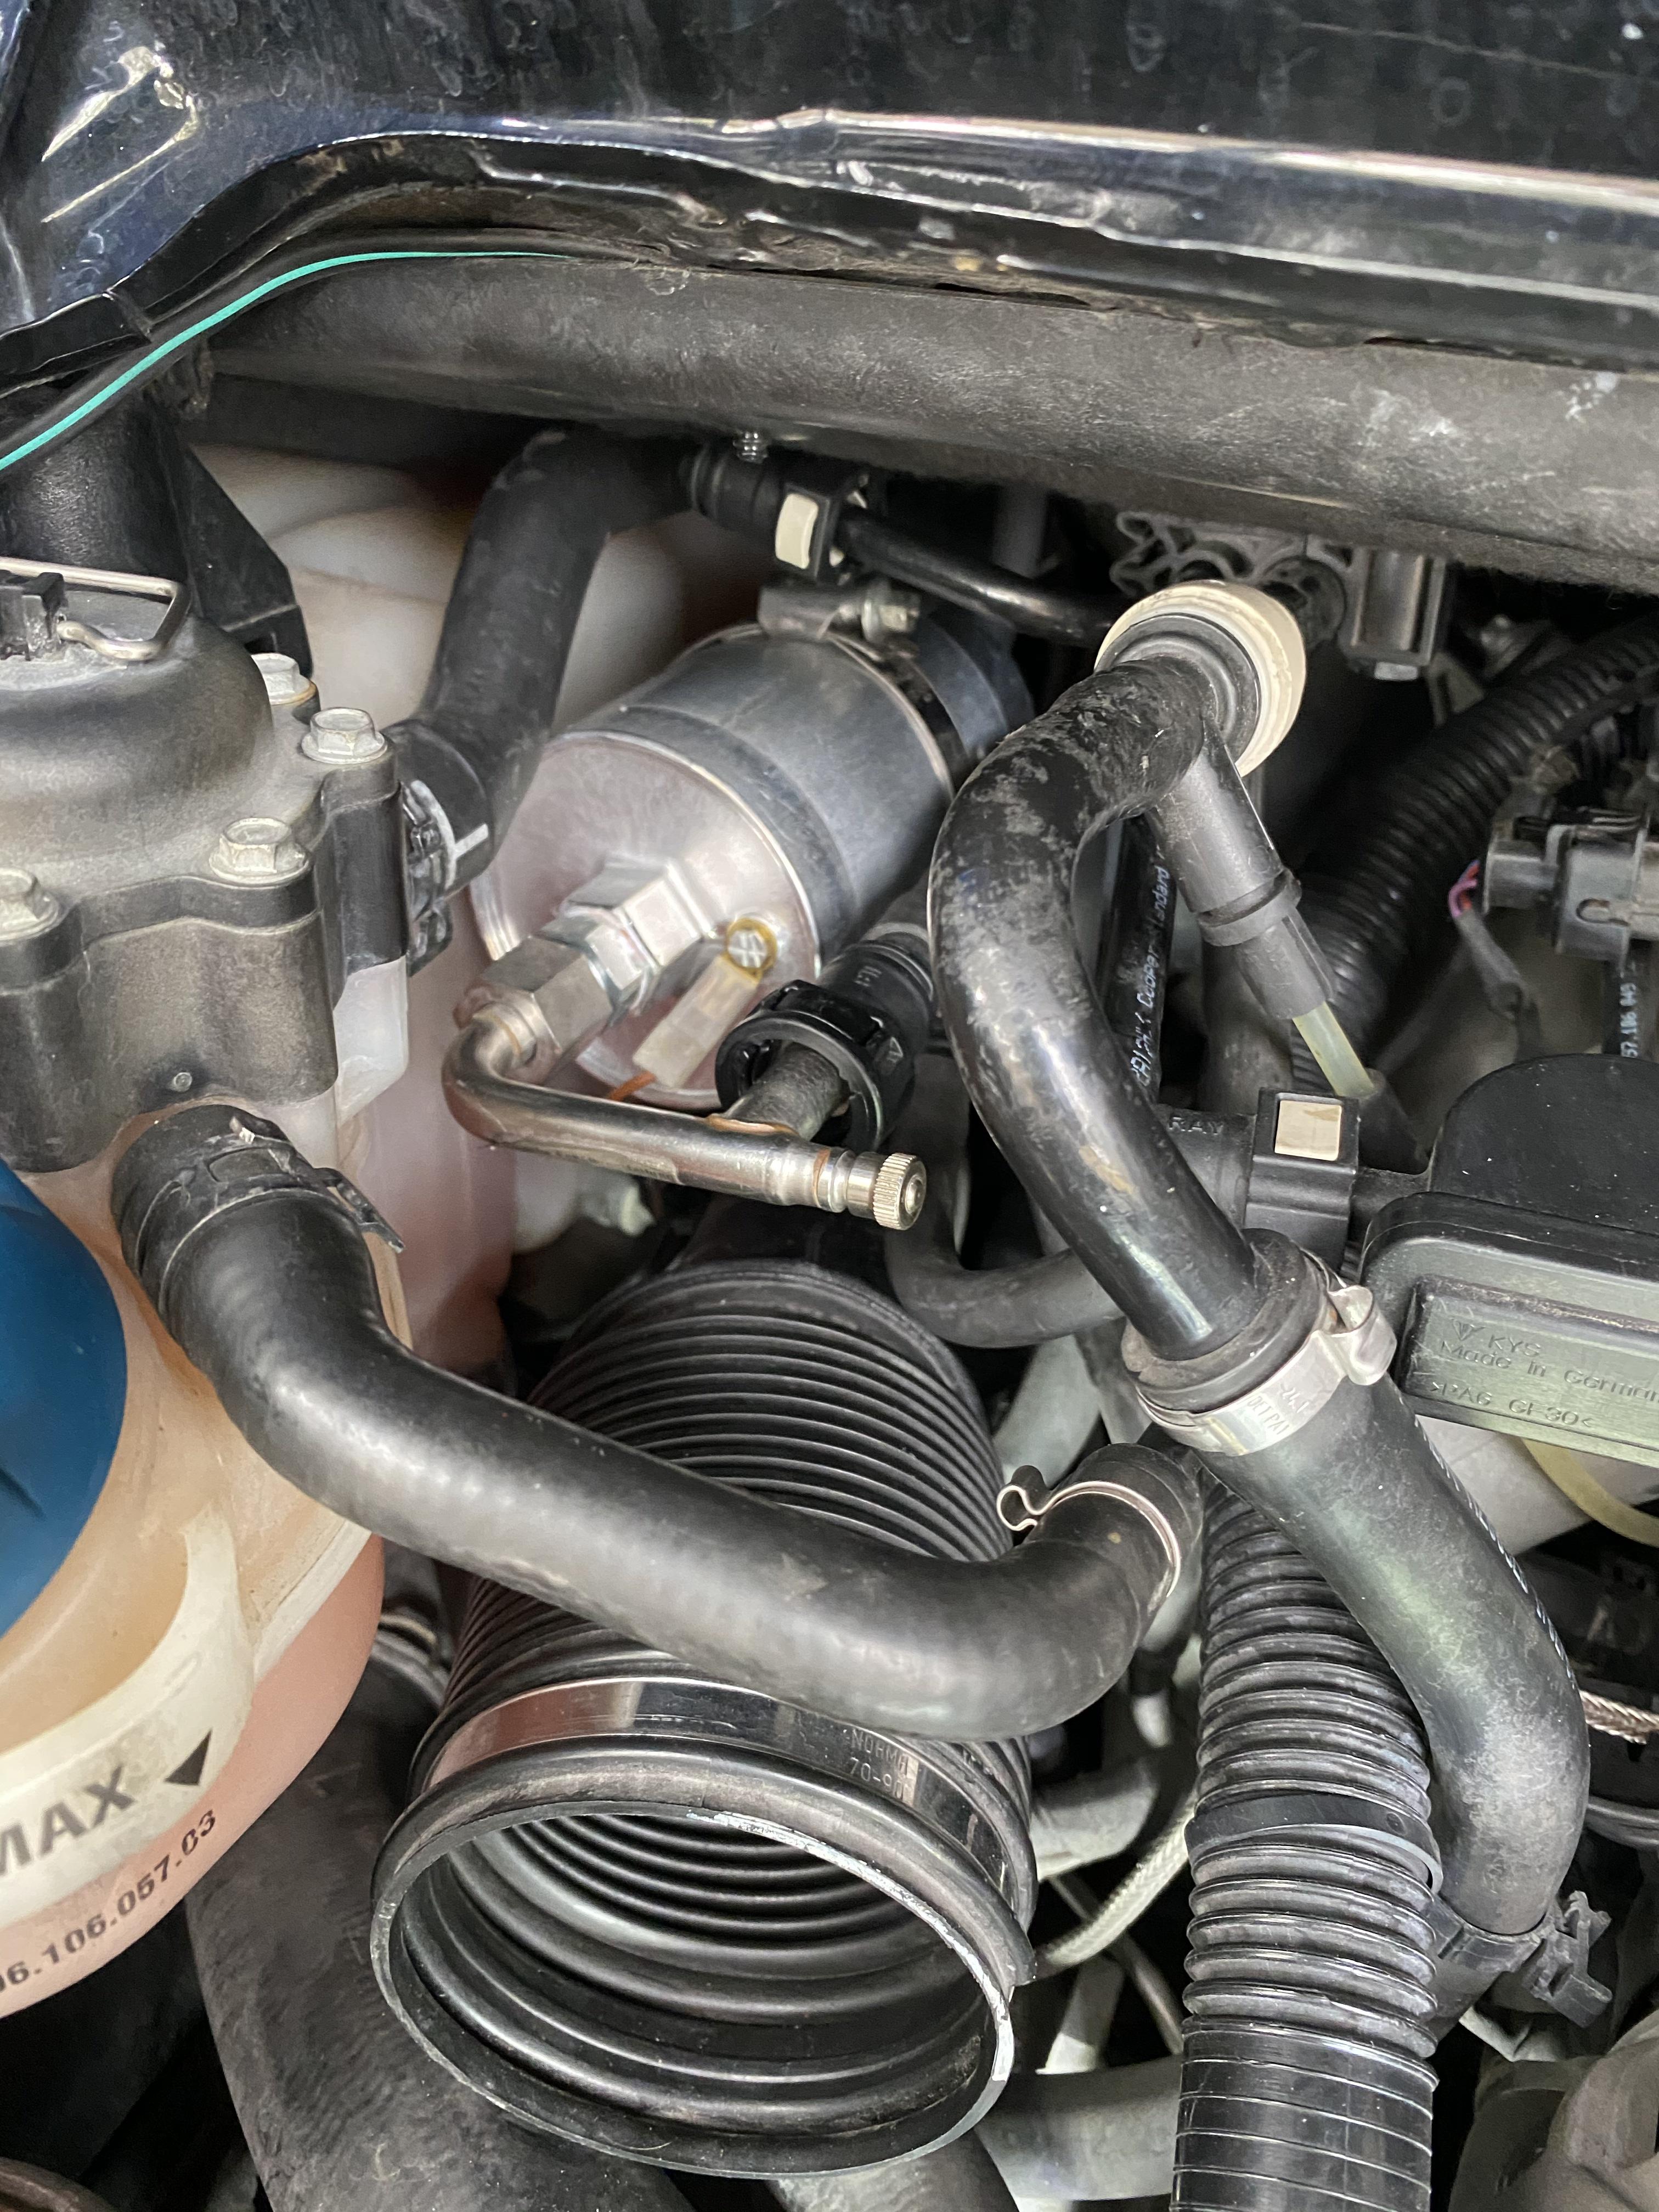
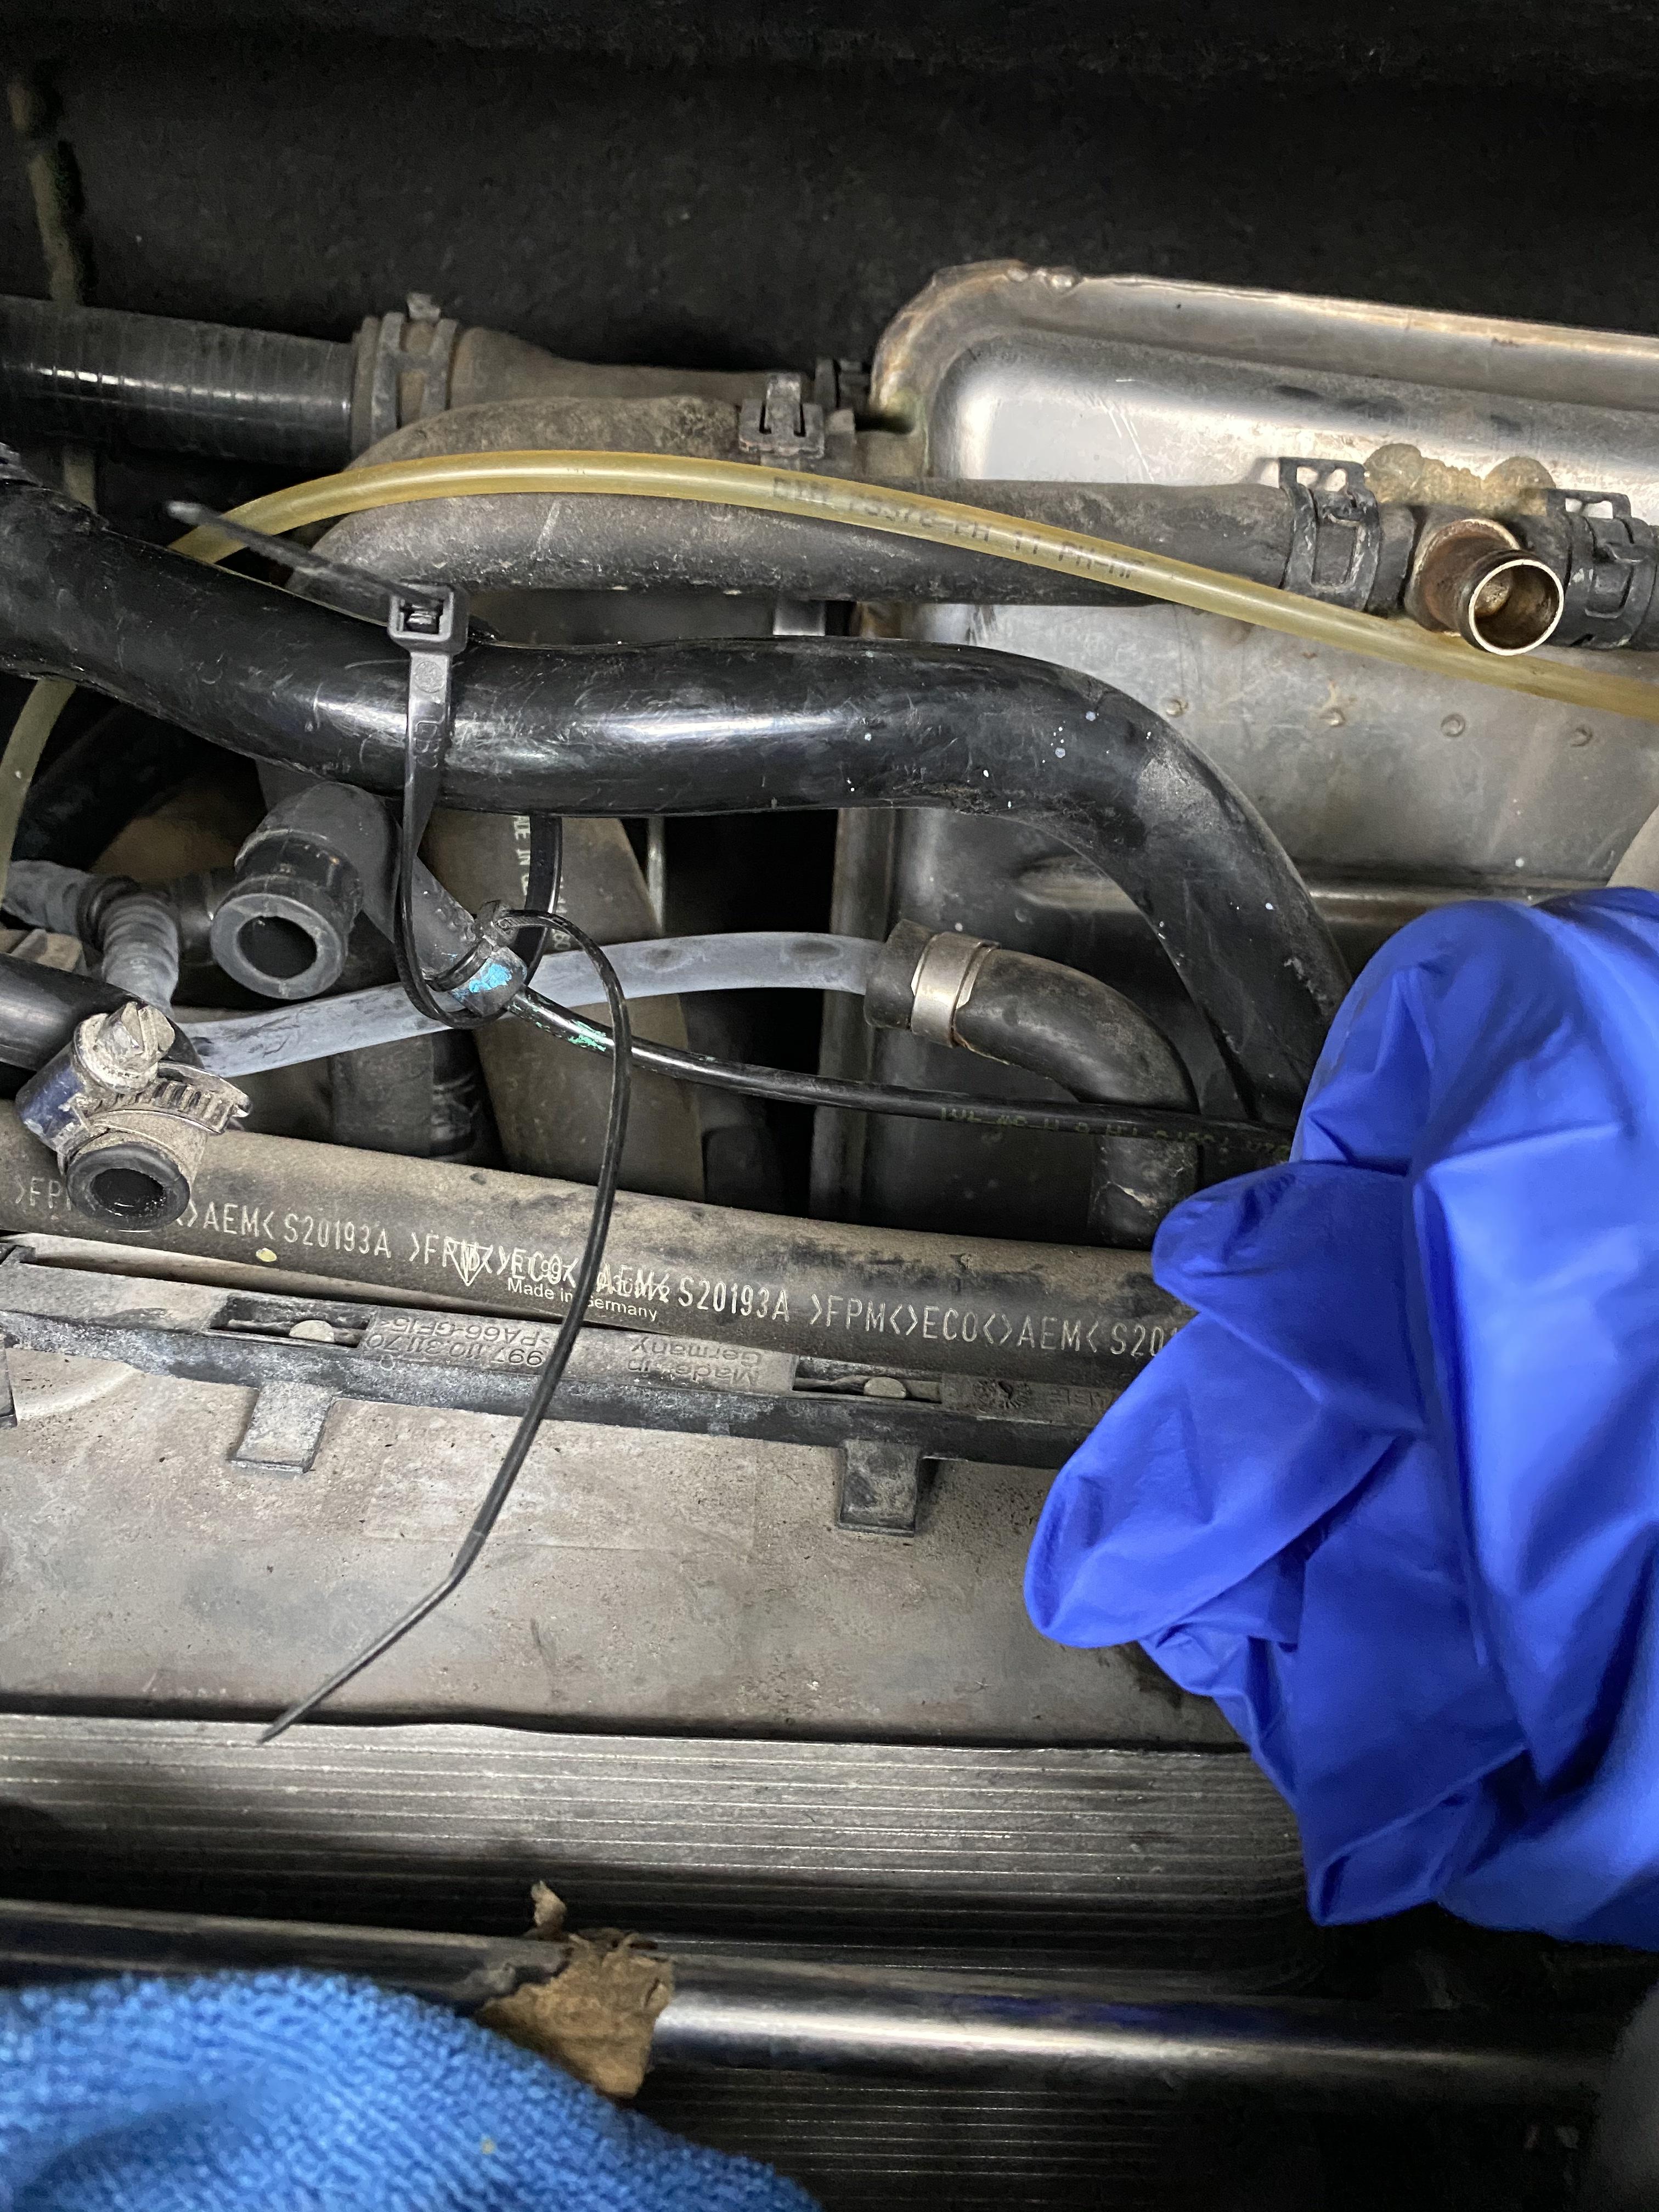
Hoses were actually tied by the PO. Most of them looked new and the rubber looked good. Fuel pressure regulator line was zip tied. I did buy a new plenum bc it looked original and I think this was the source of the tiny leak. That big zip tie in the photo was put in by me to not lose the hose to the FPR.
Wait on a few parts that I wanted to replace in there, including the lower boost hoses which were definitely original and at the end of their useable lives.
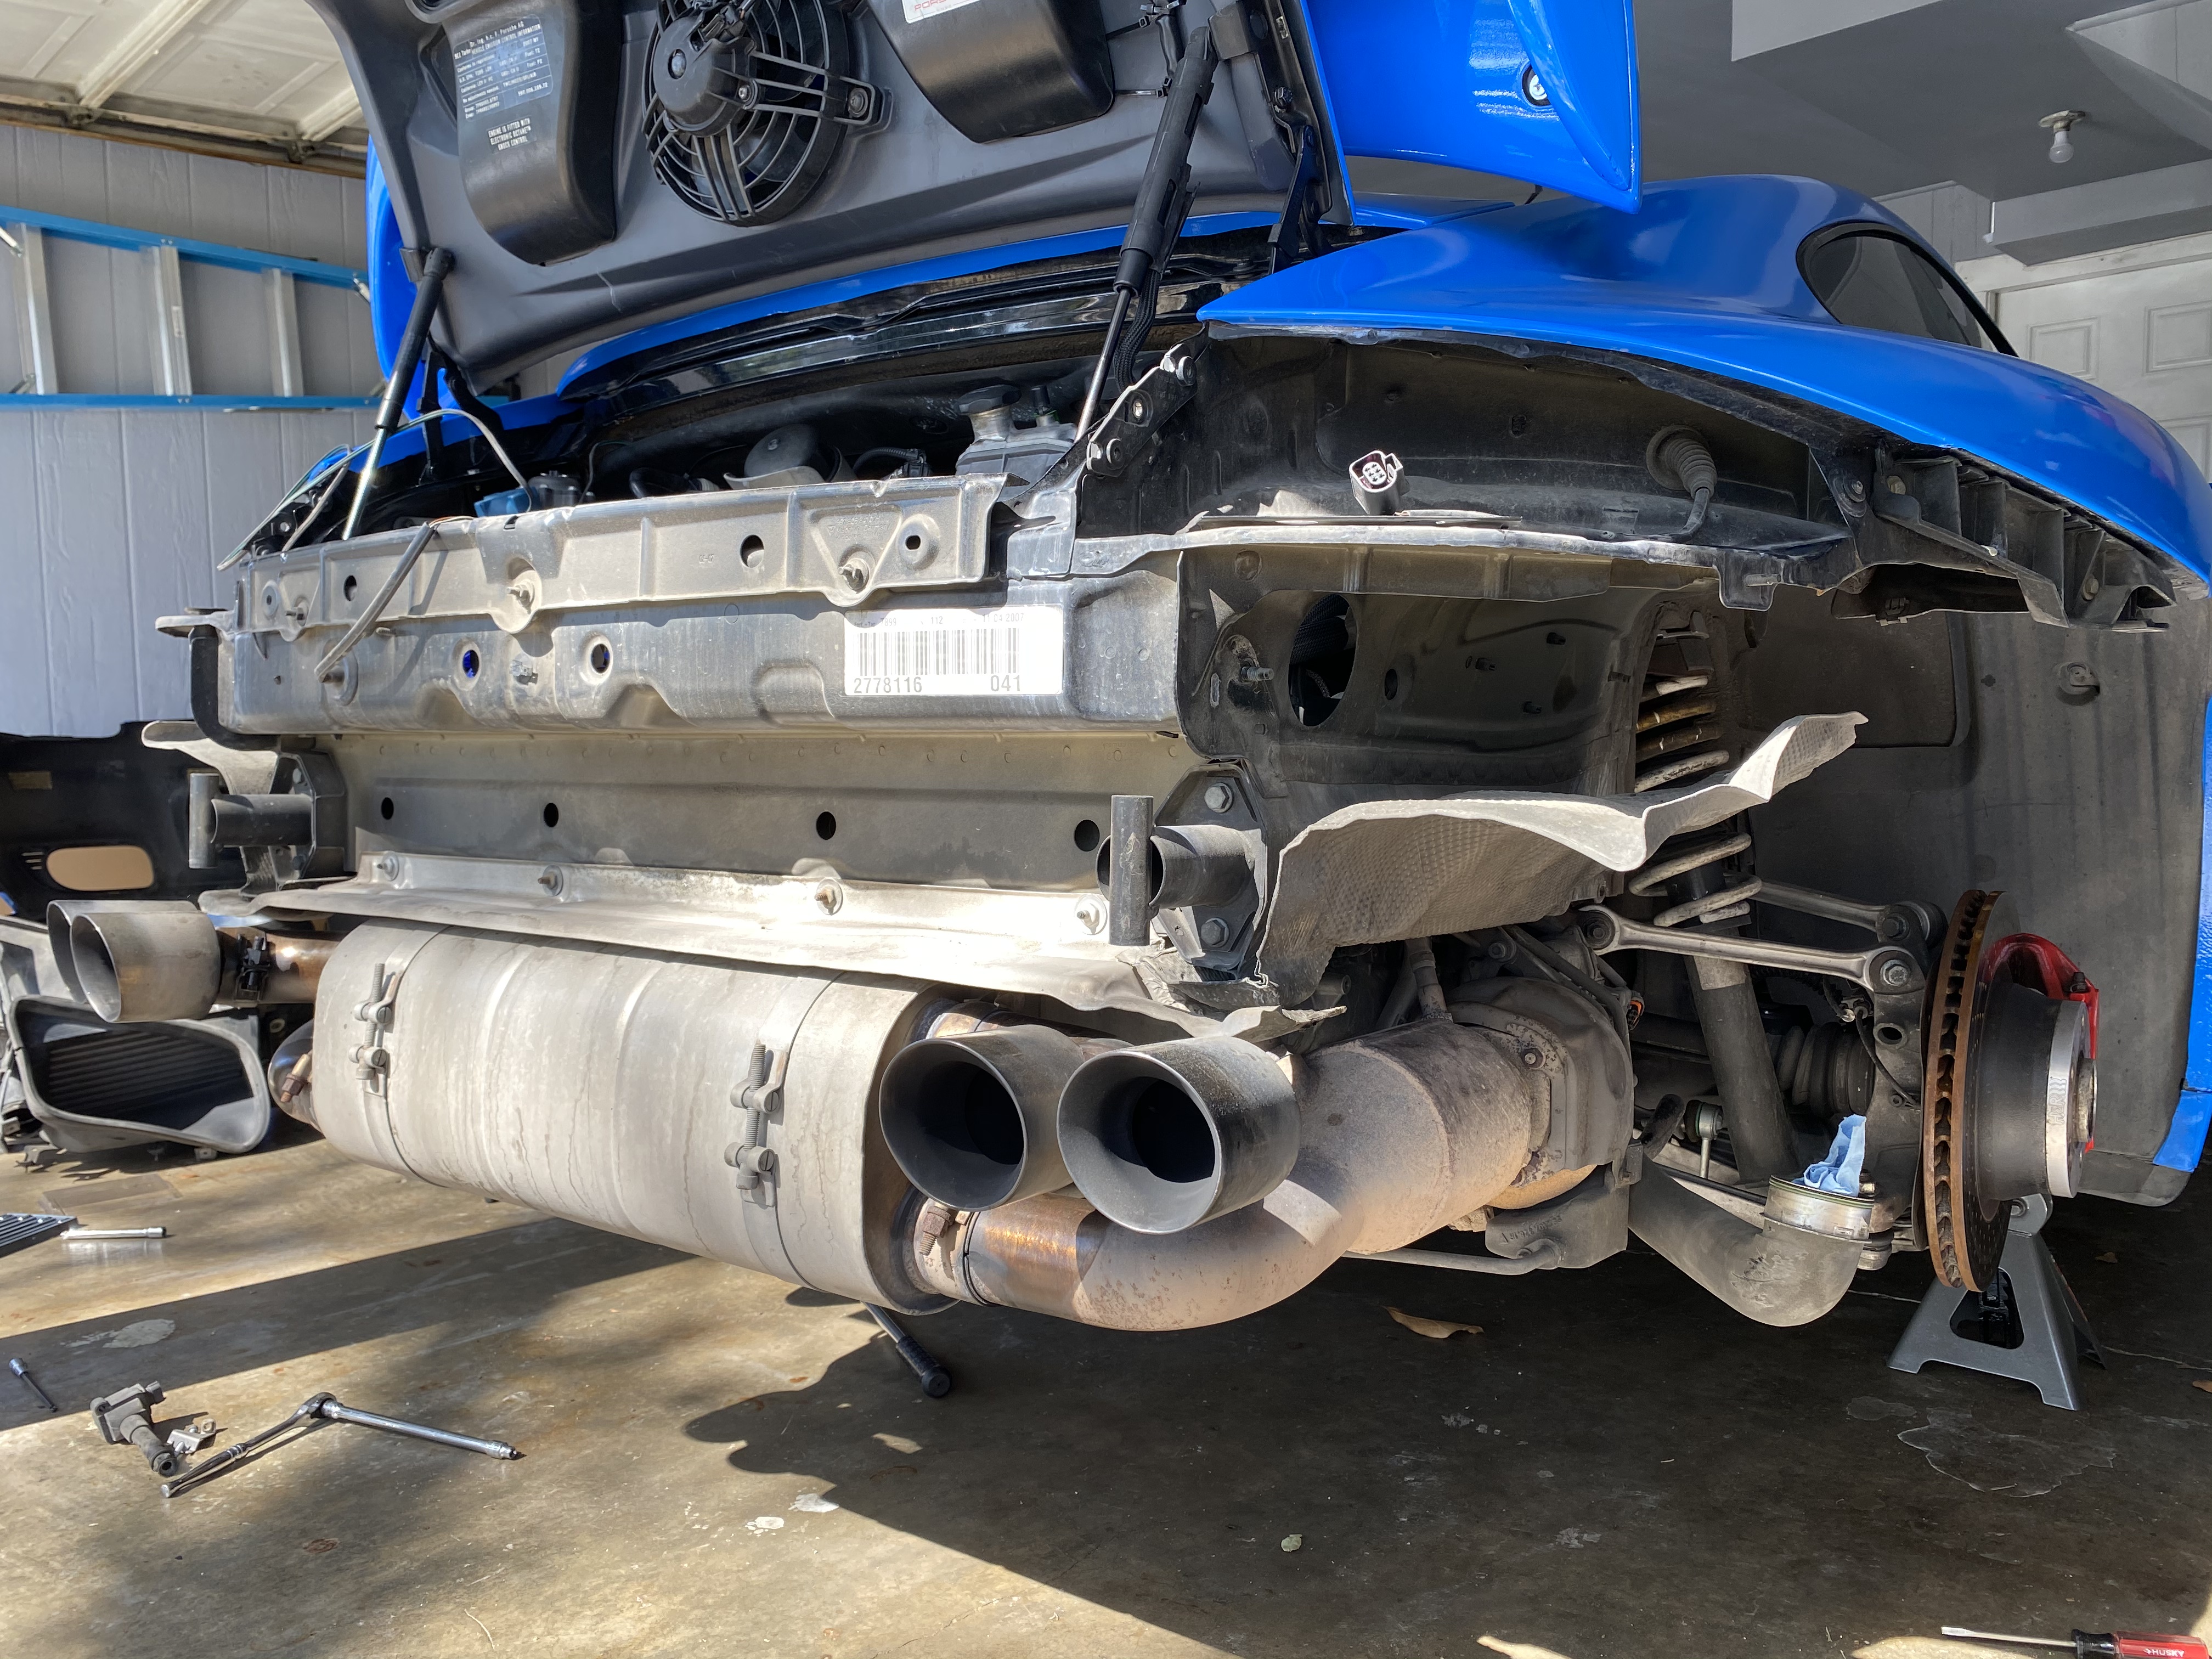
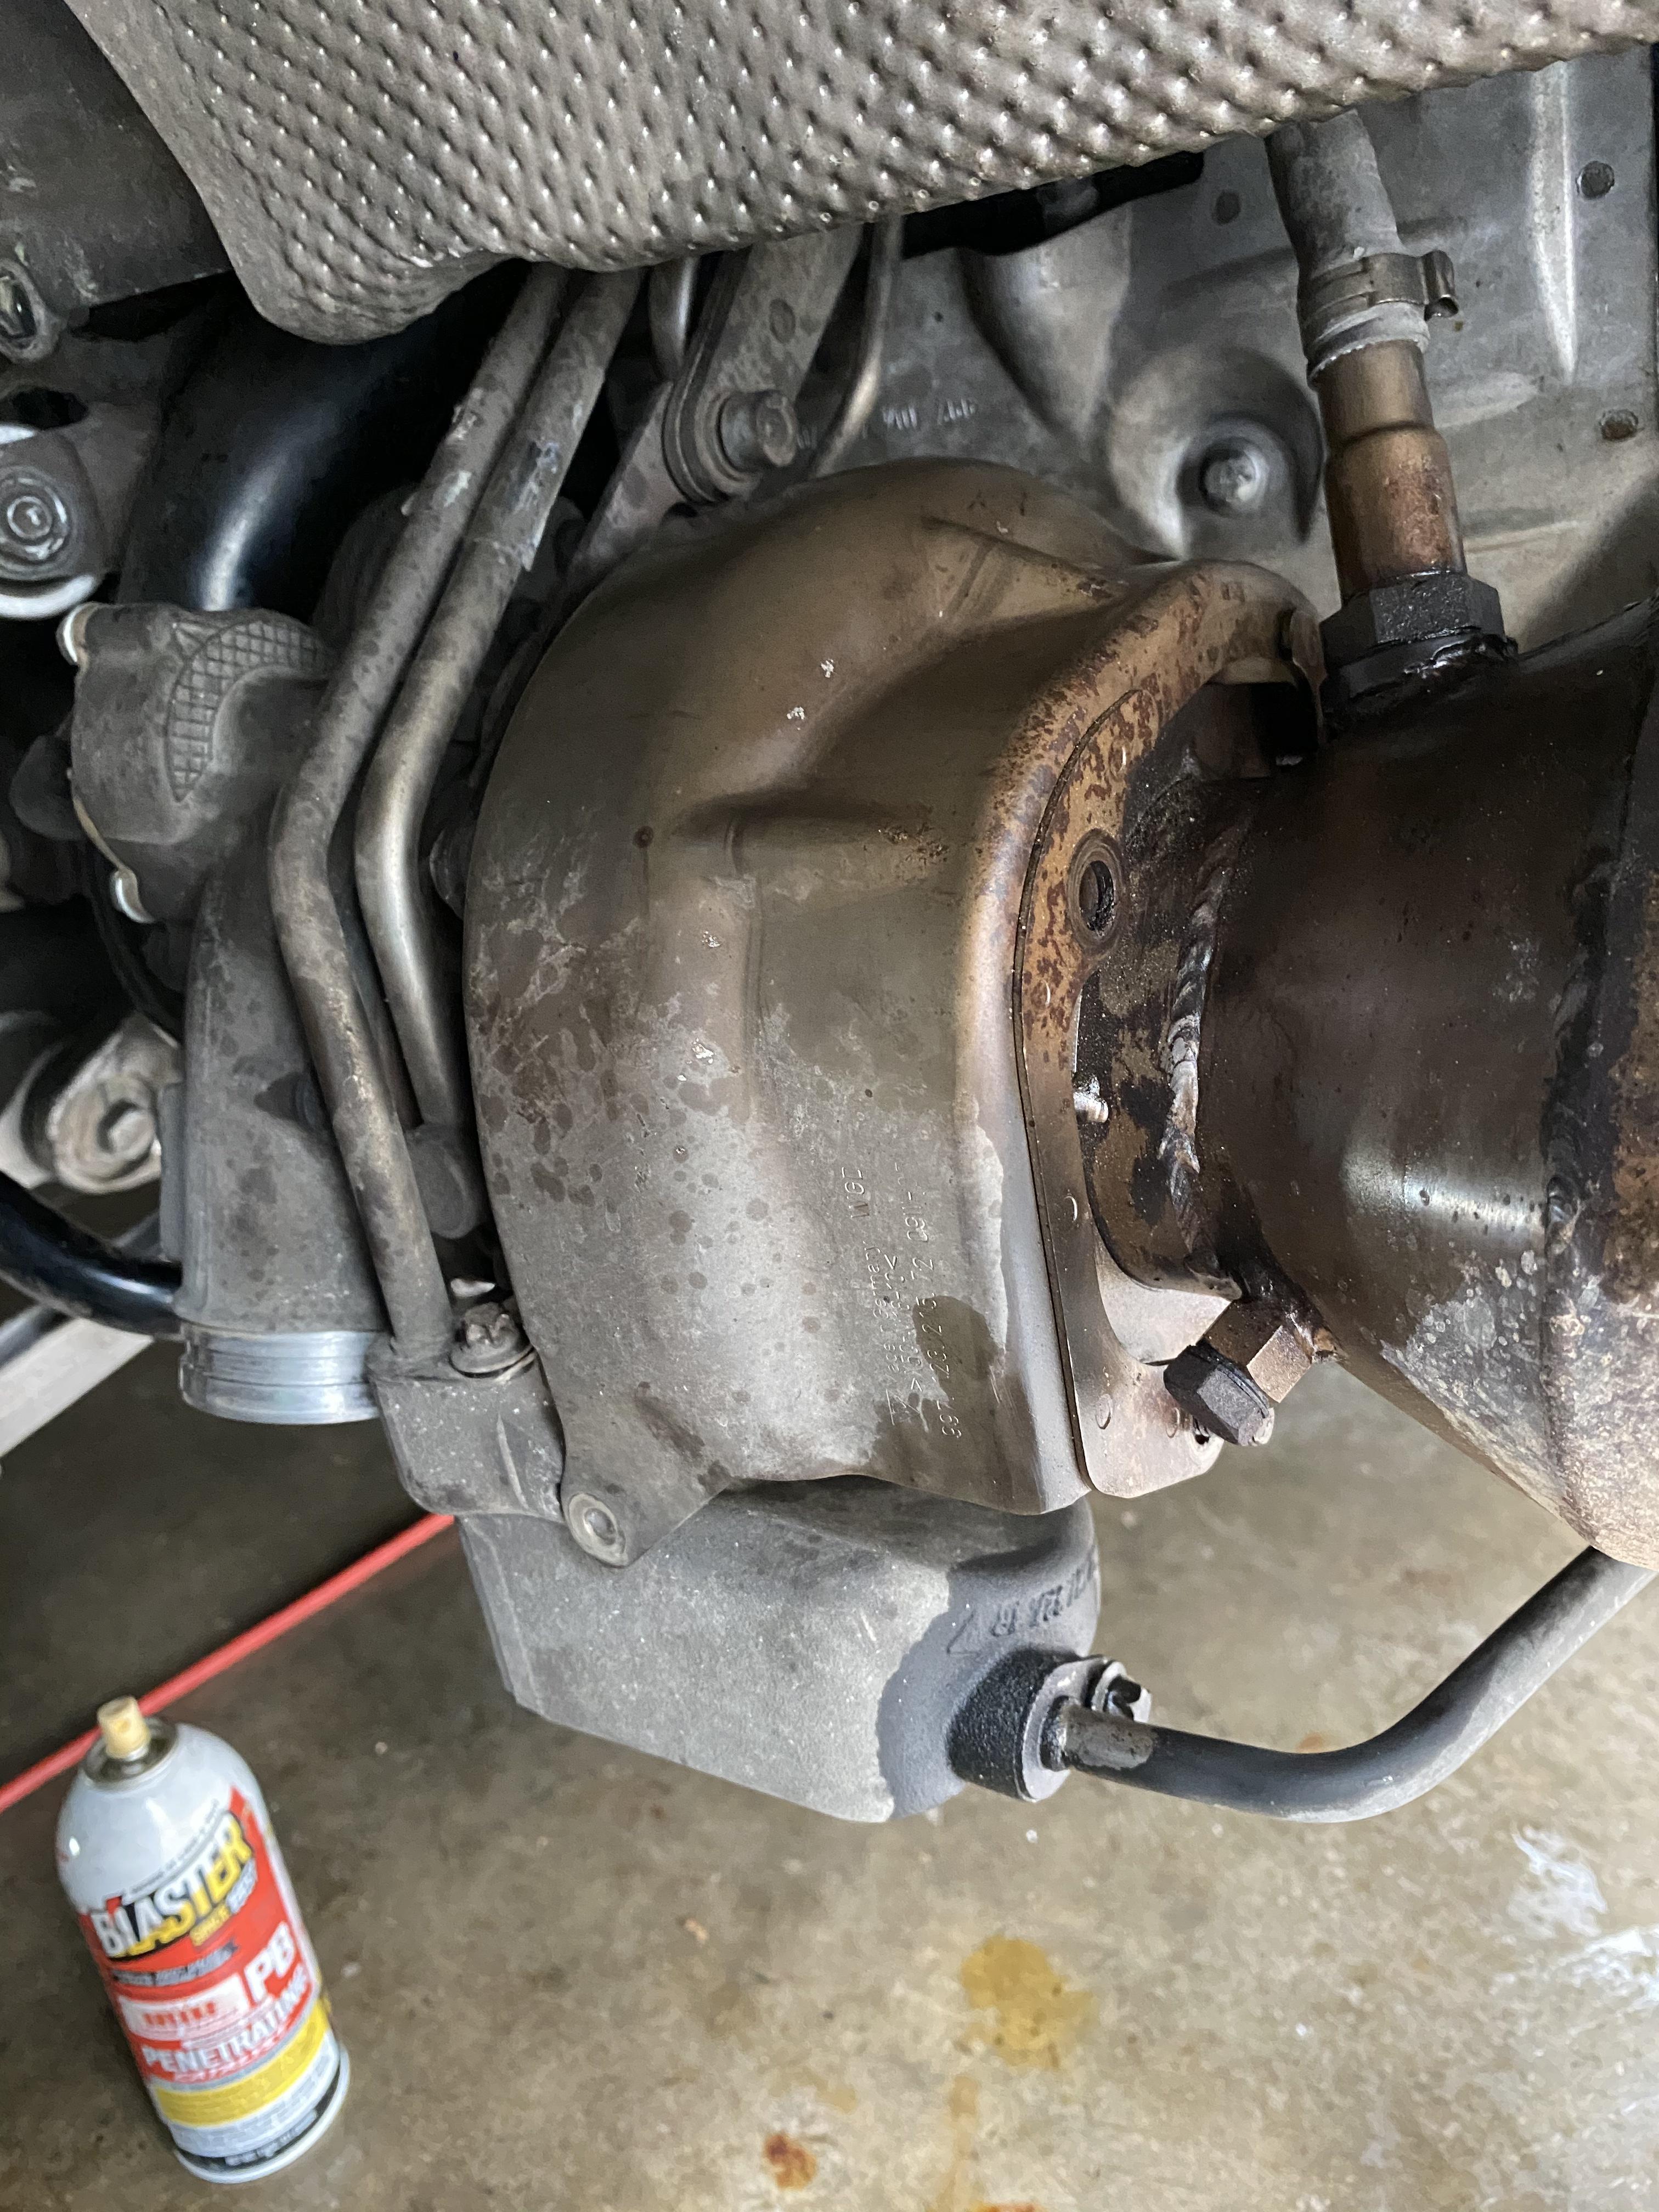
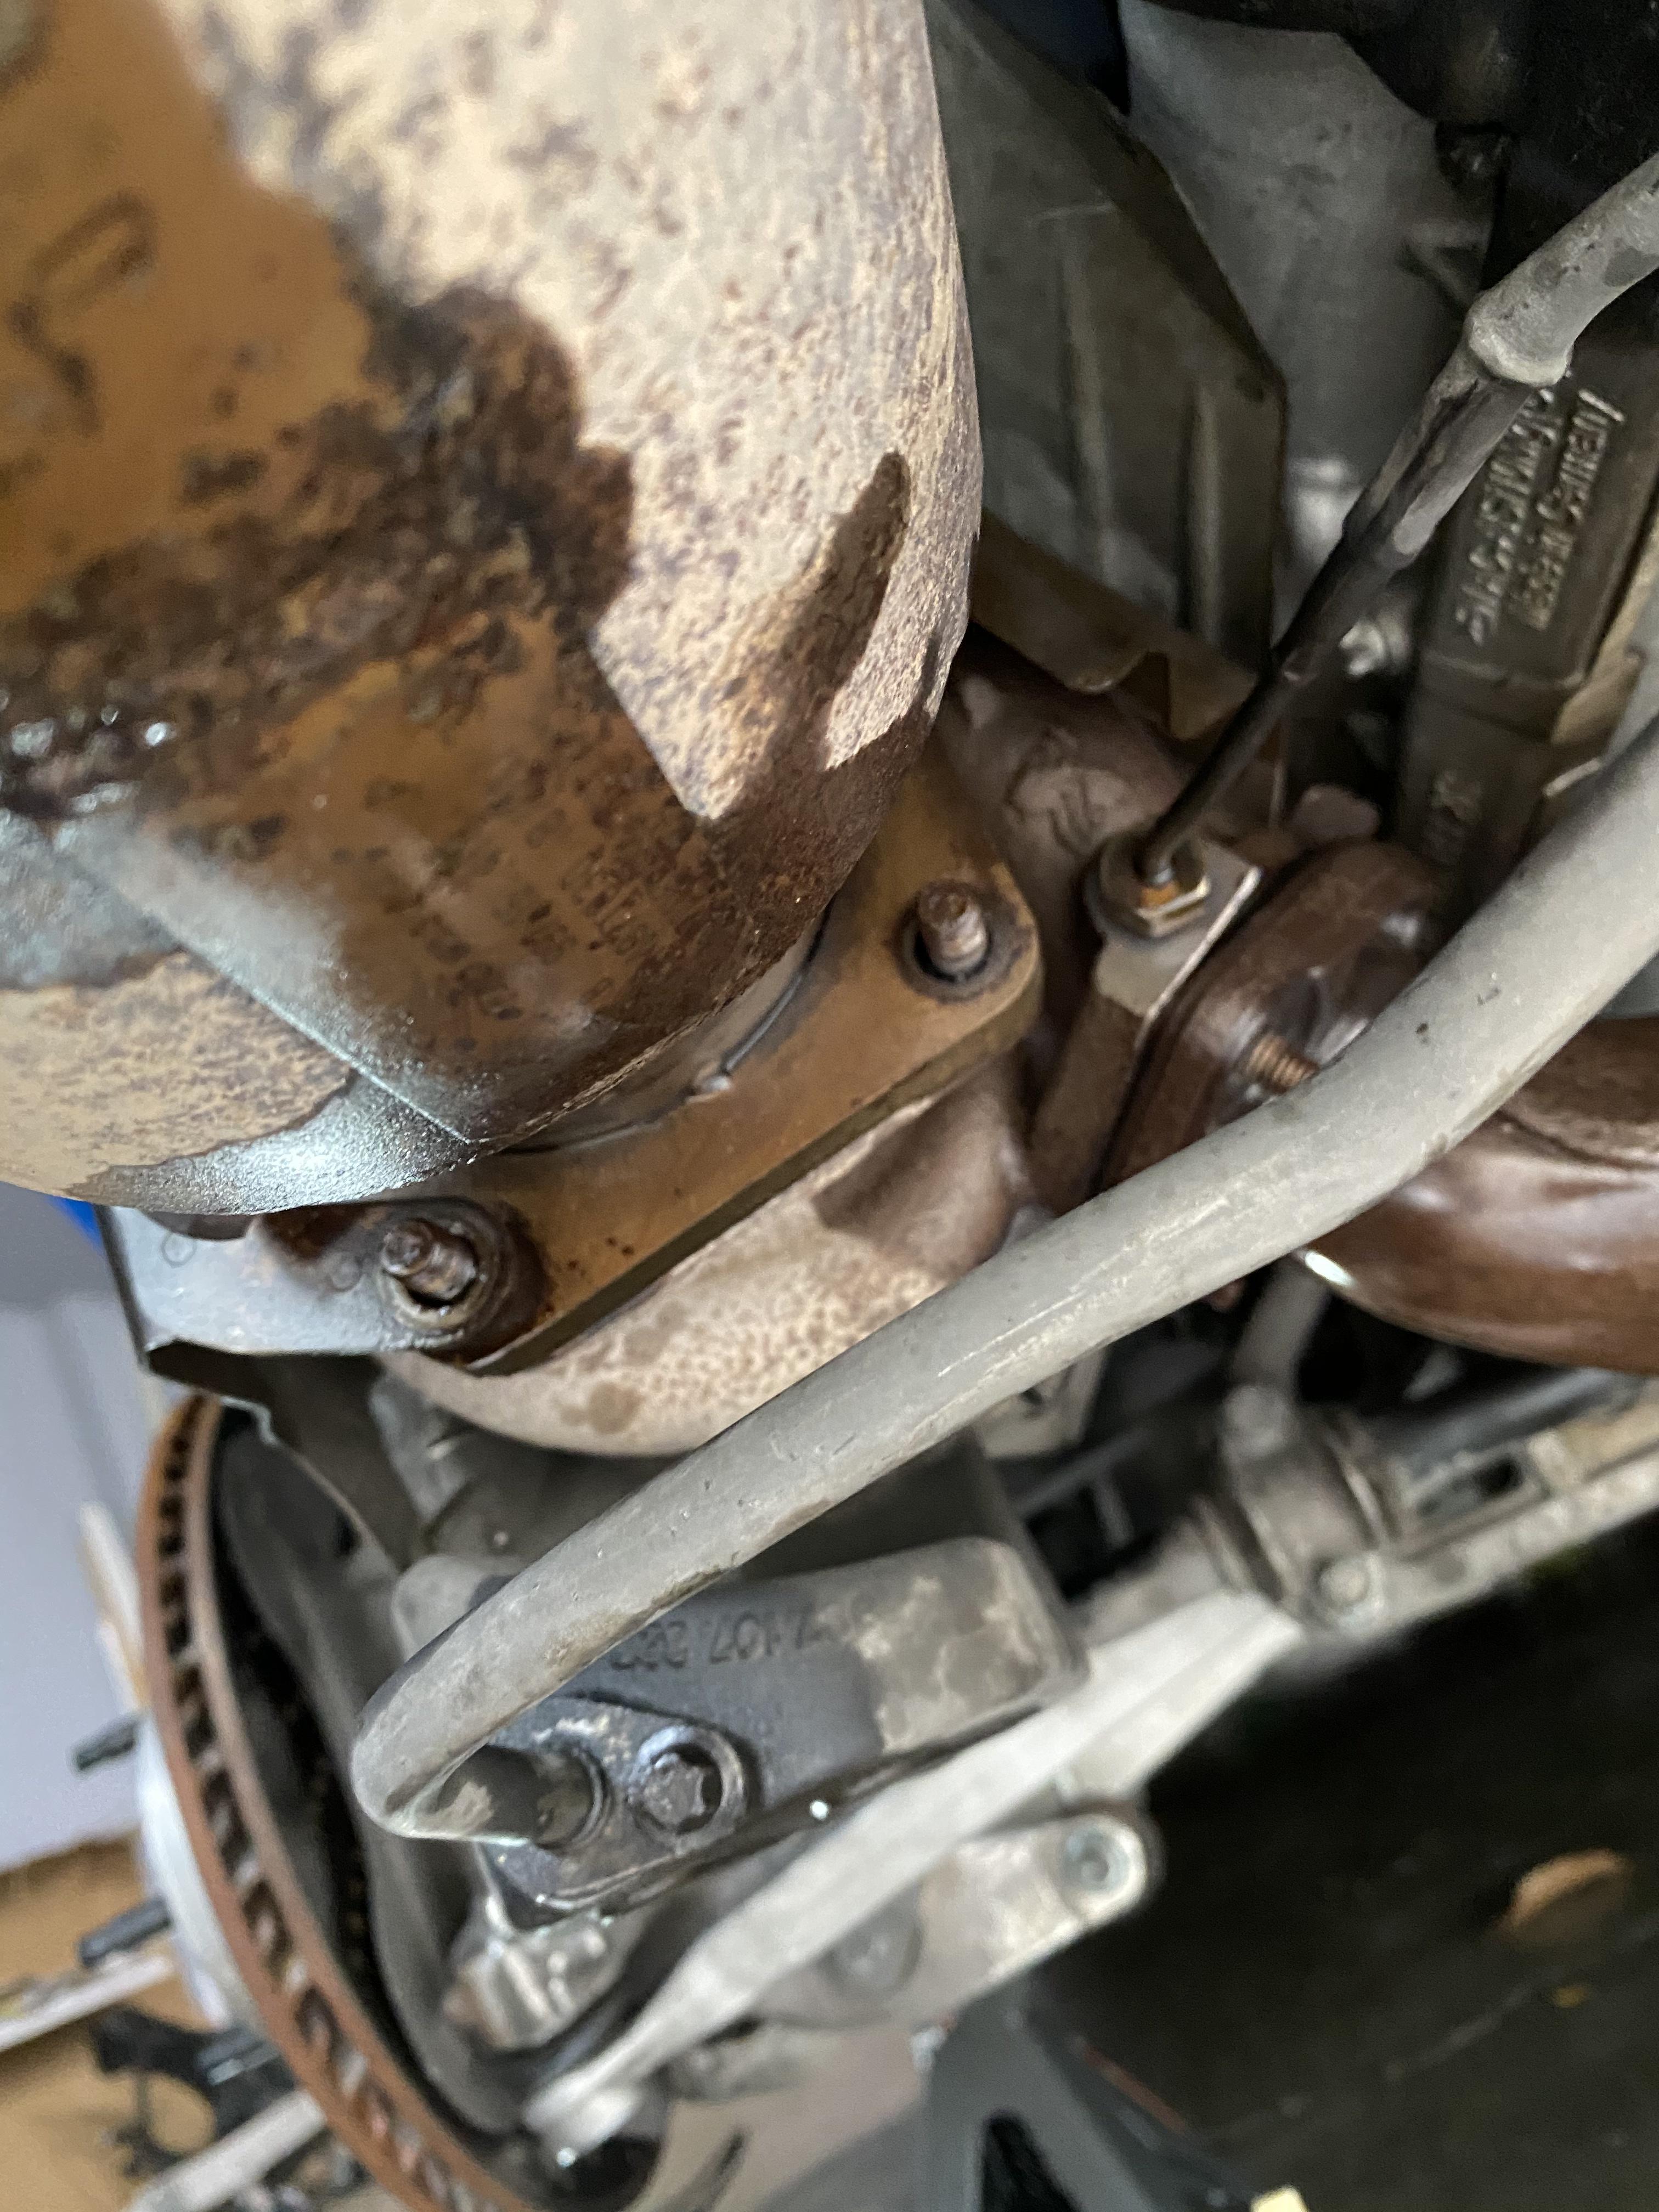
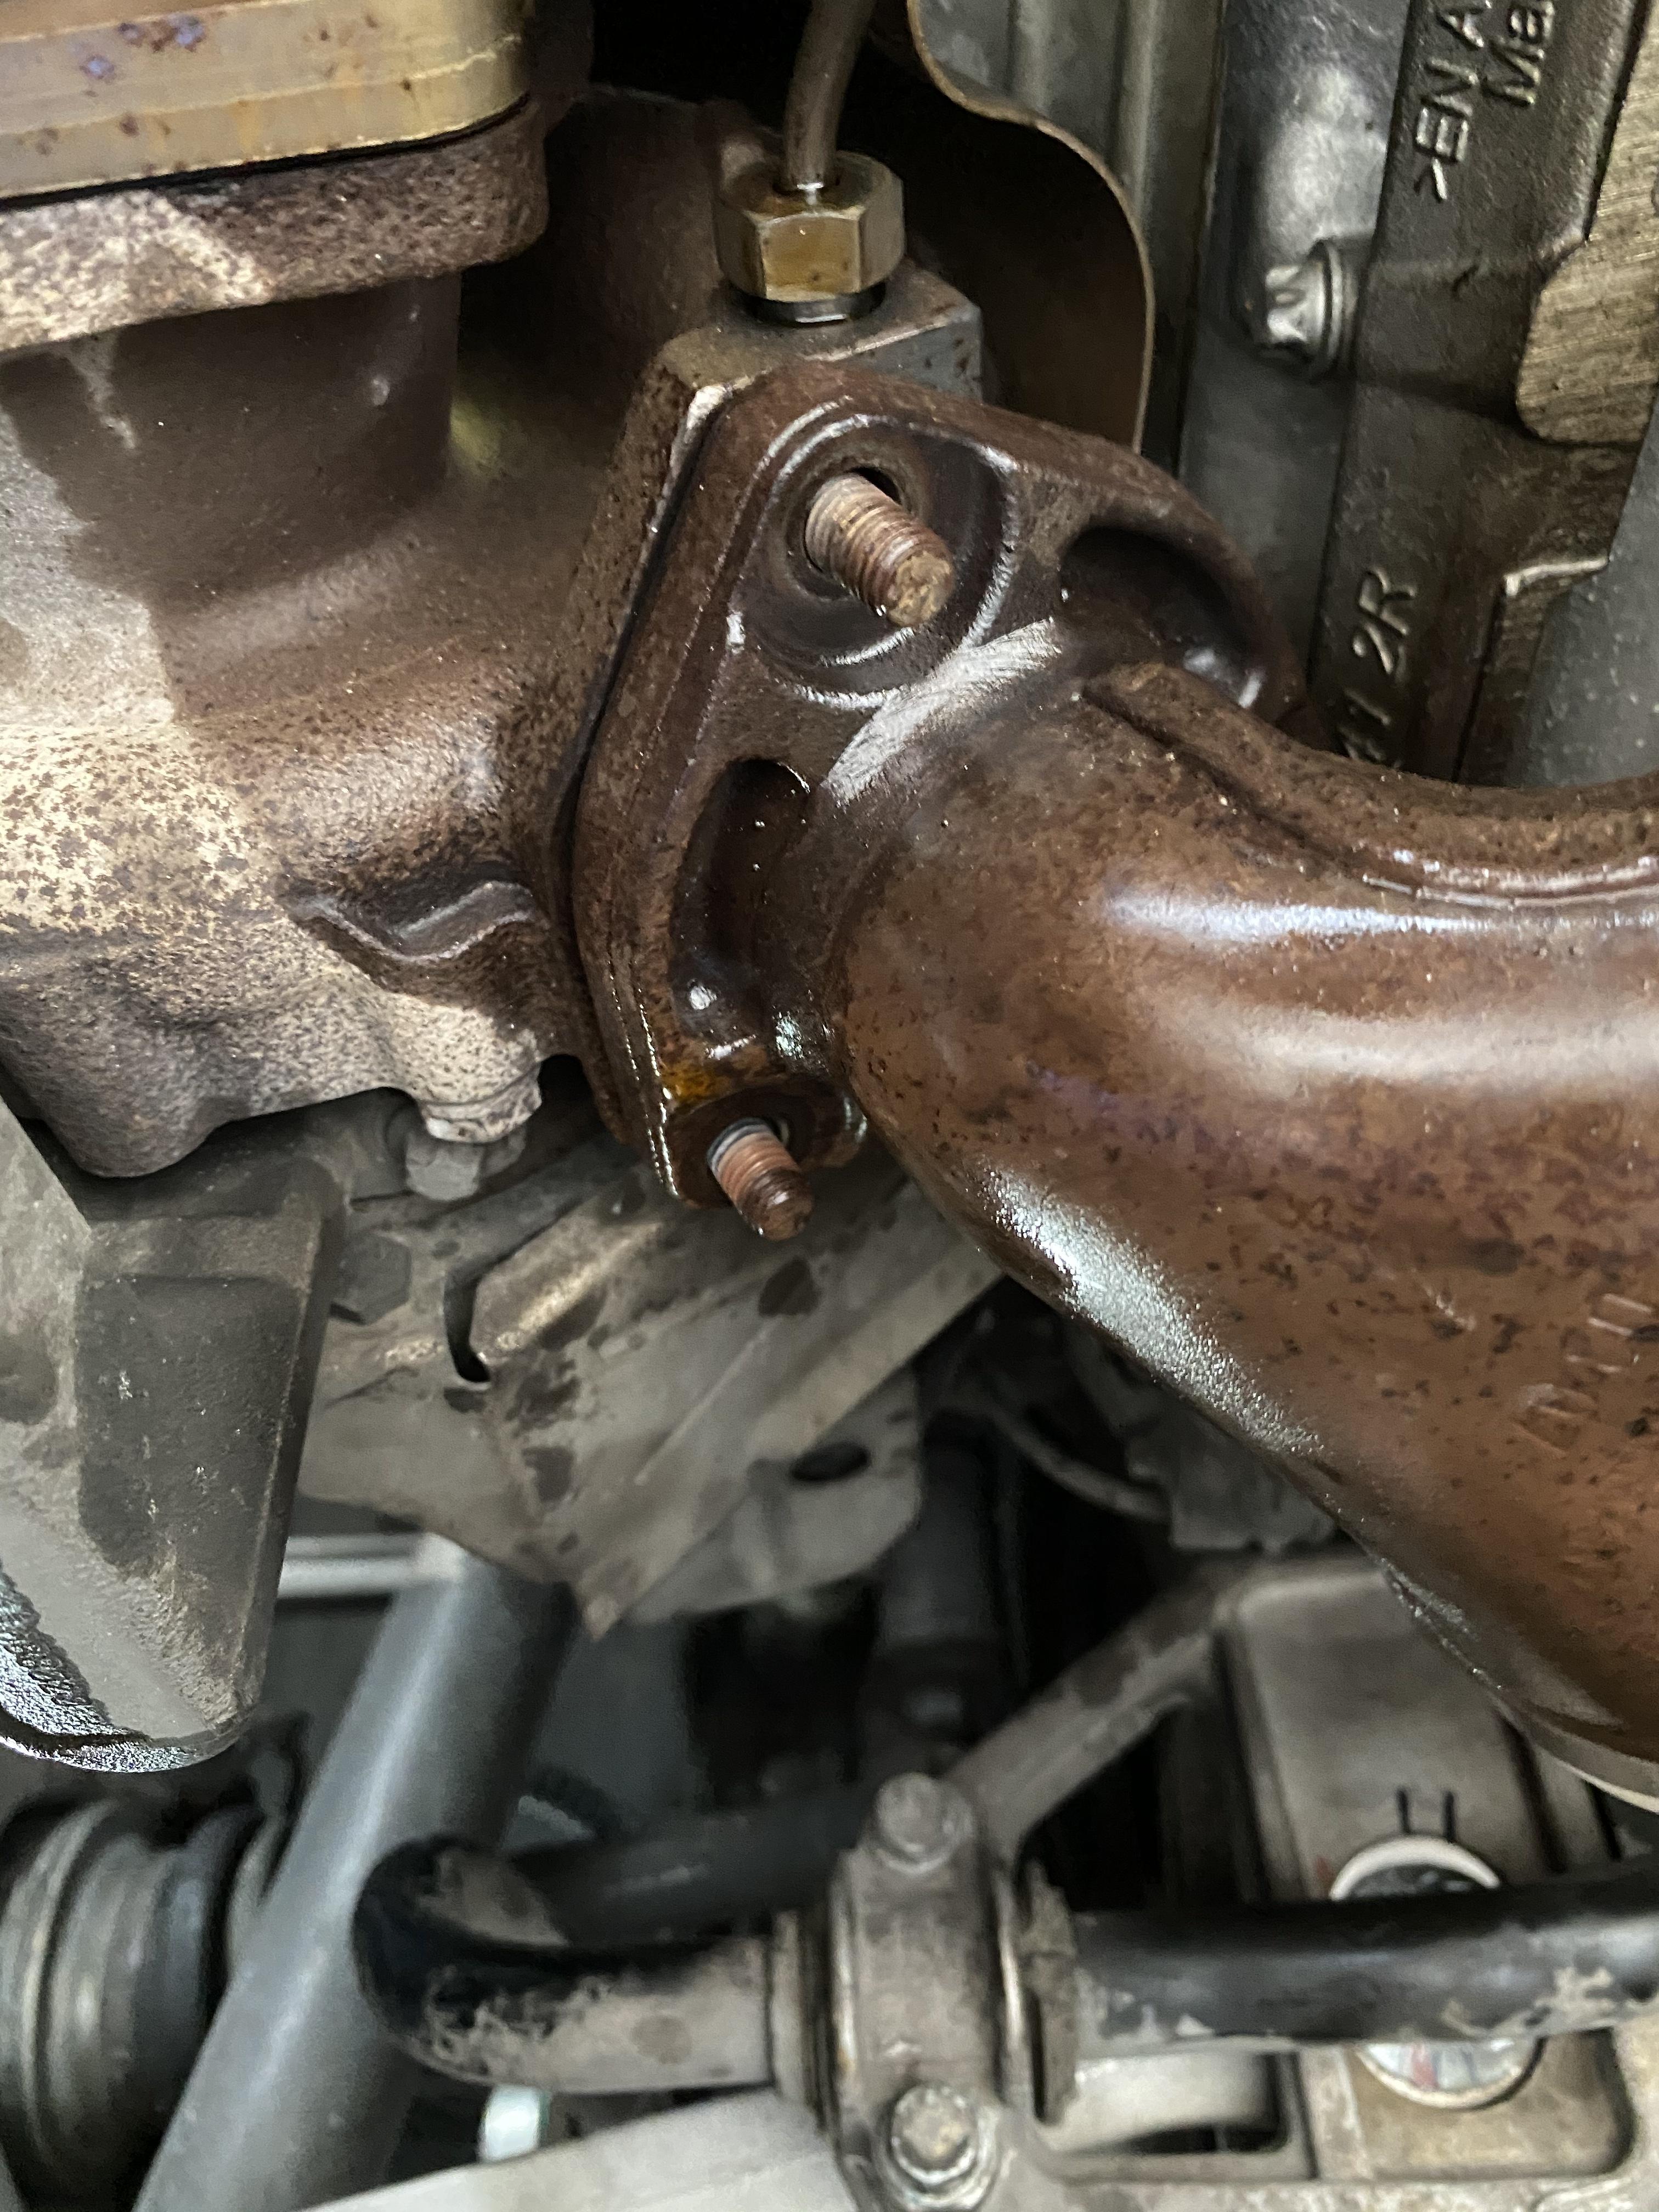
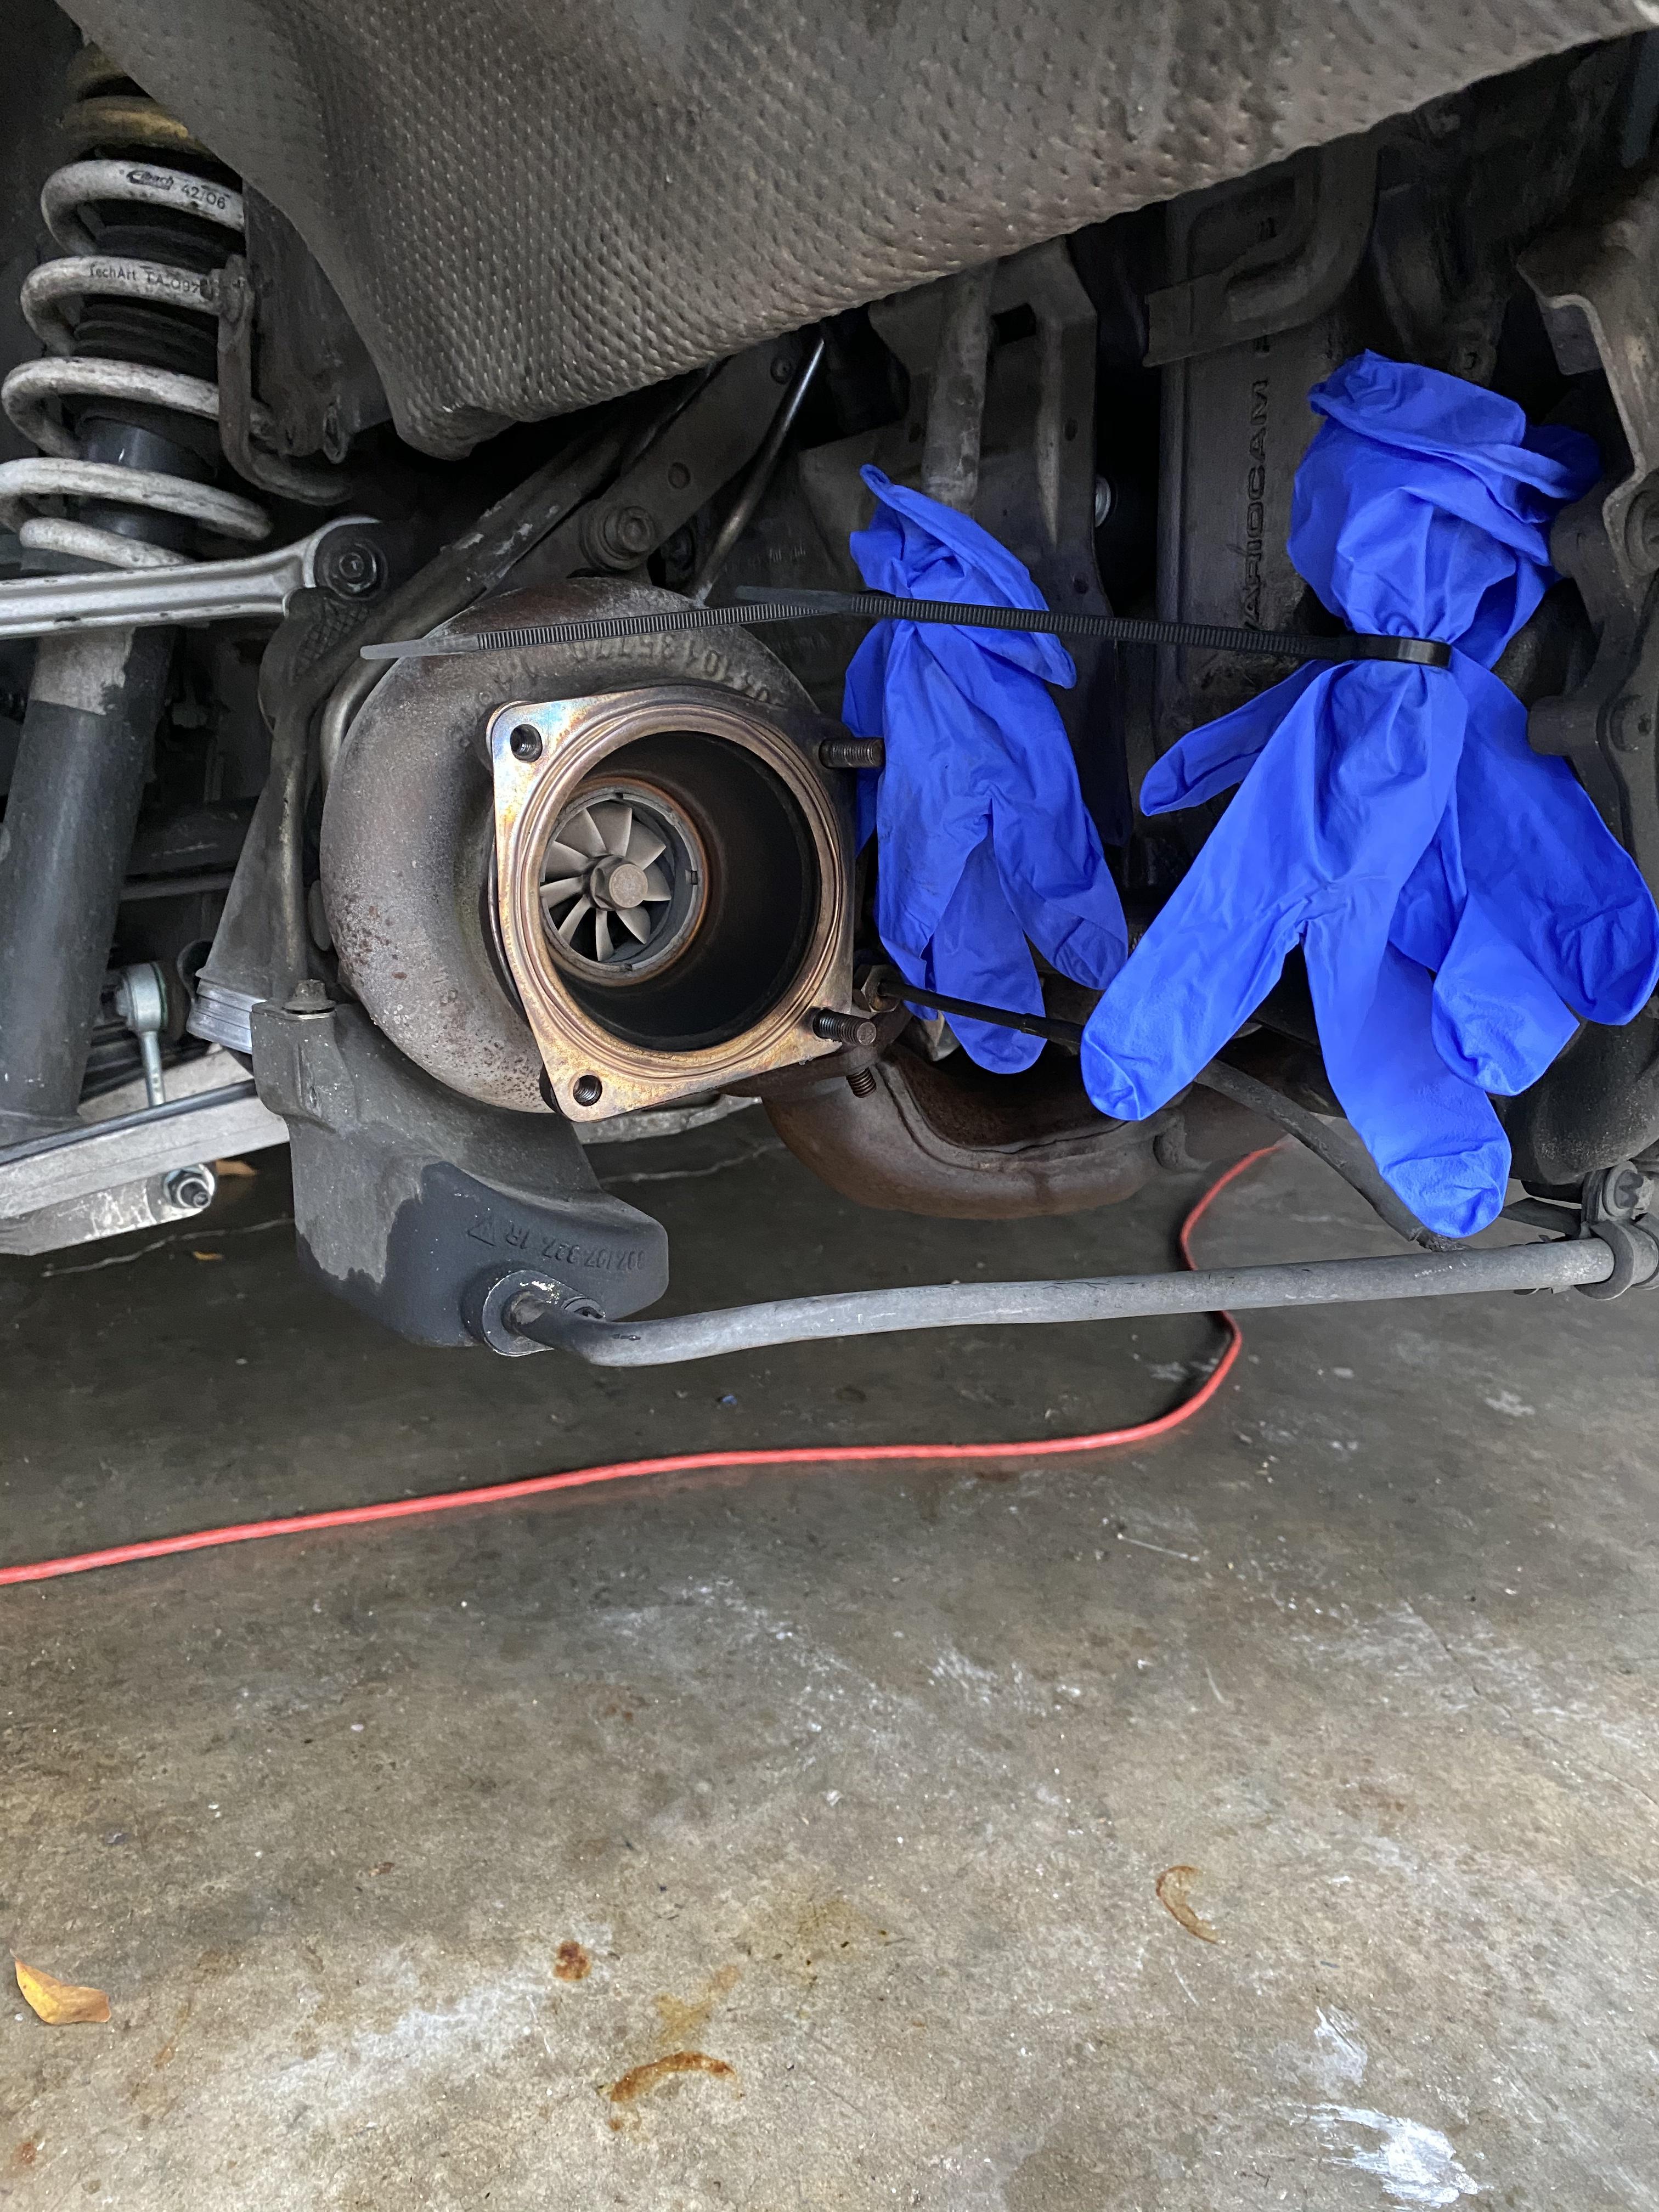
Next up - let's get those turbos out. Lots of PB blaster on the cats and header studs/nuts. But they came off without much trouble. Thankful to have a Texas car.
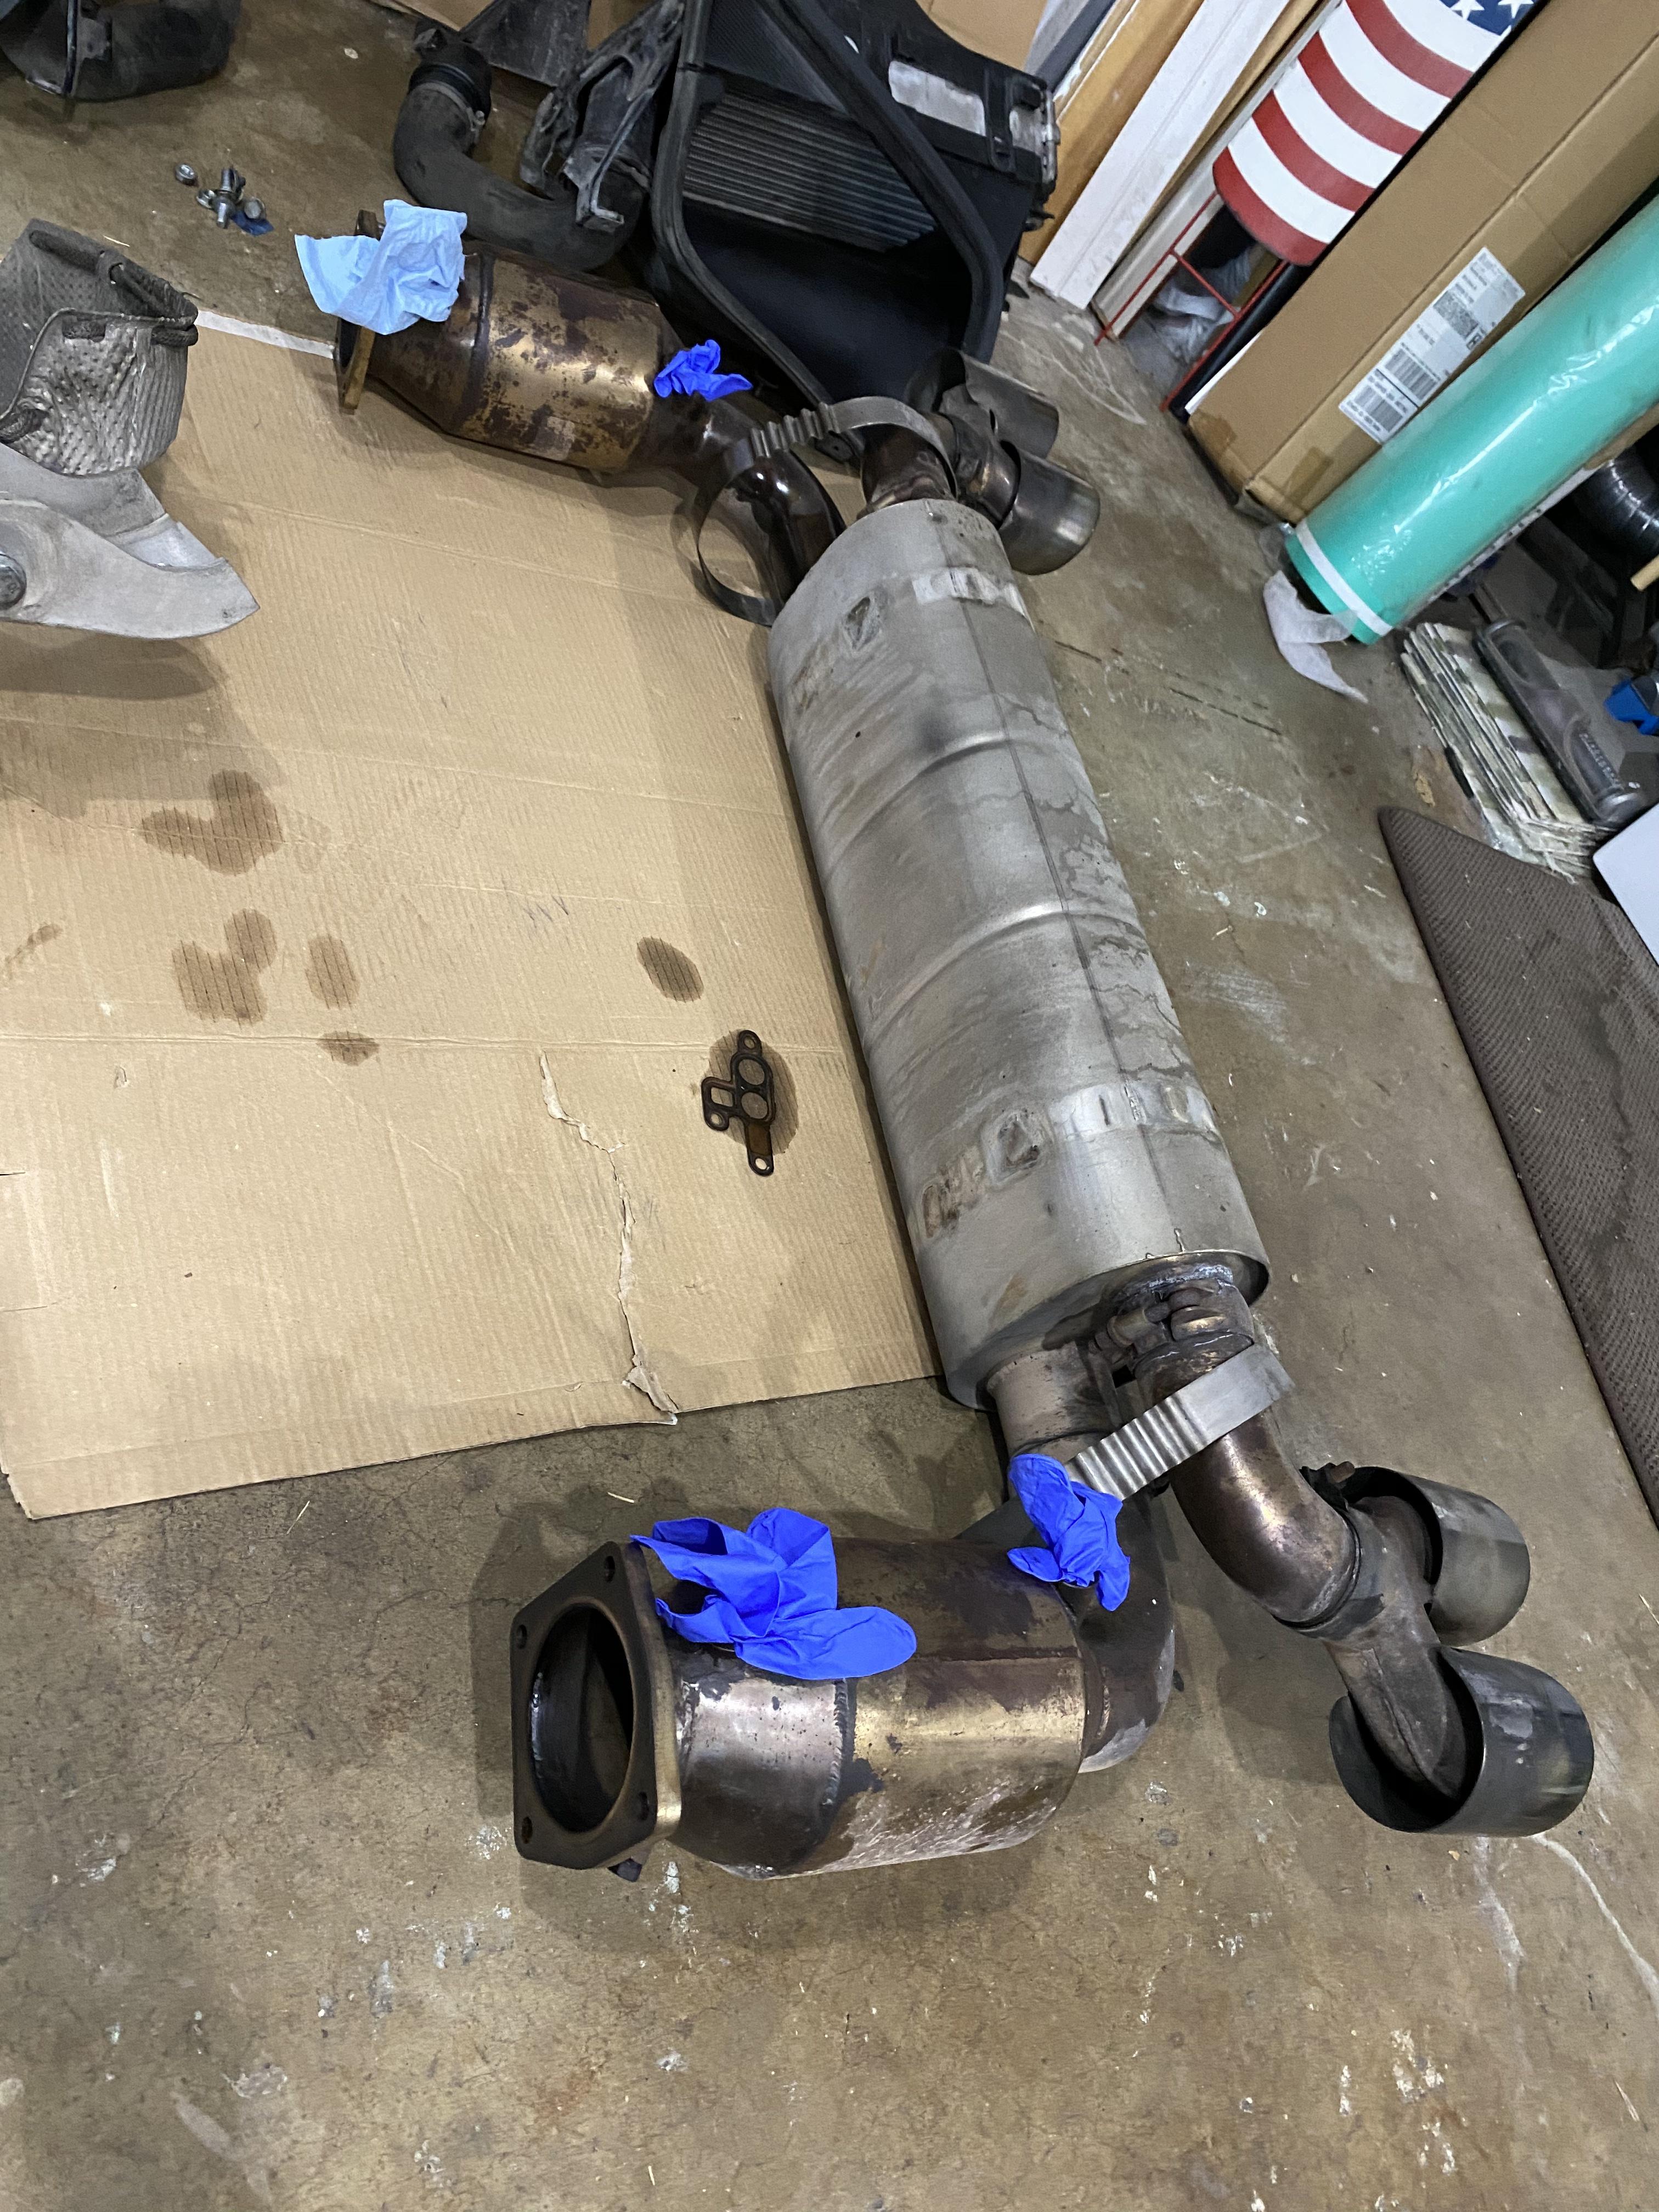
Removing the FVD exhaust was no problem
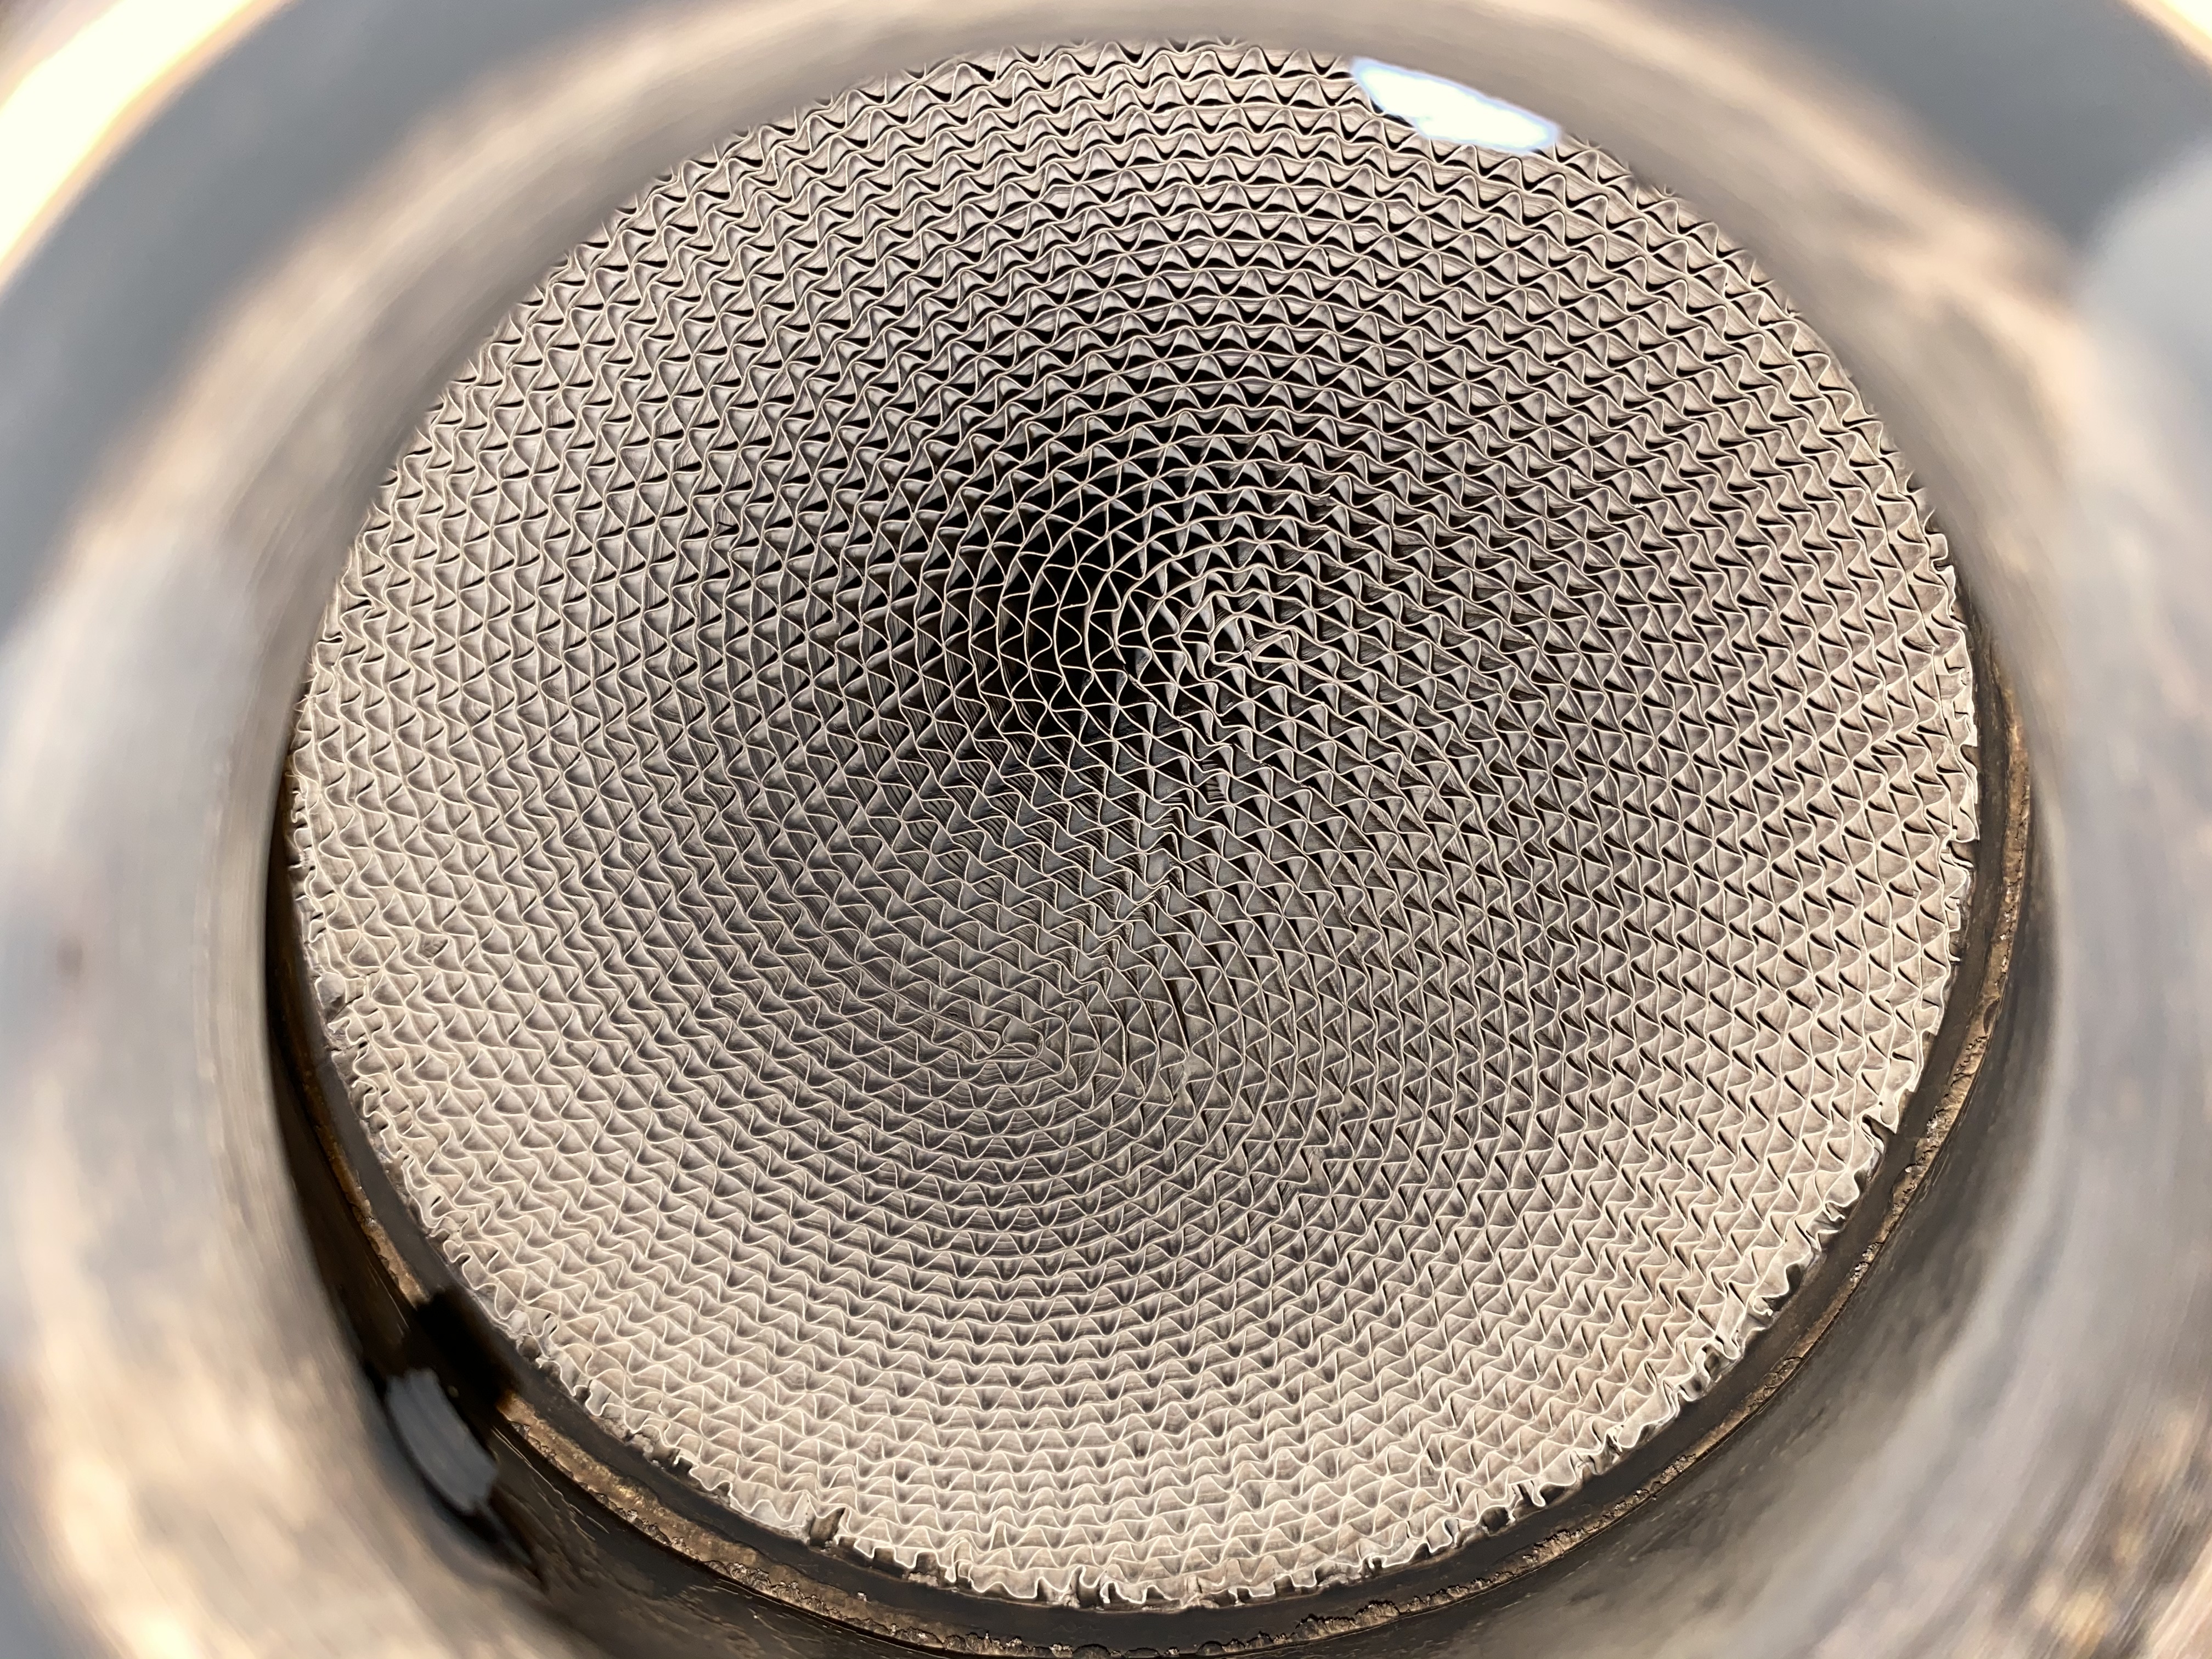
Unclear on the mileage on the exhaust, but 200 cel cats look great
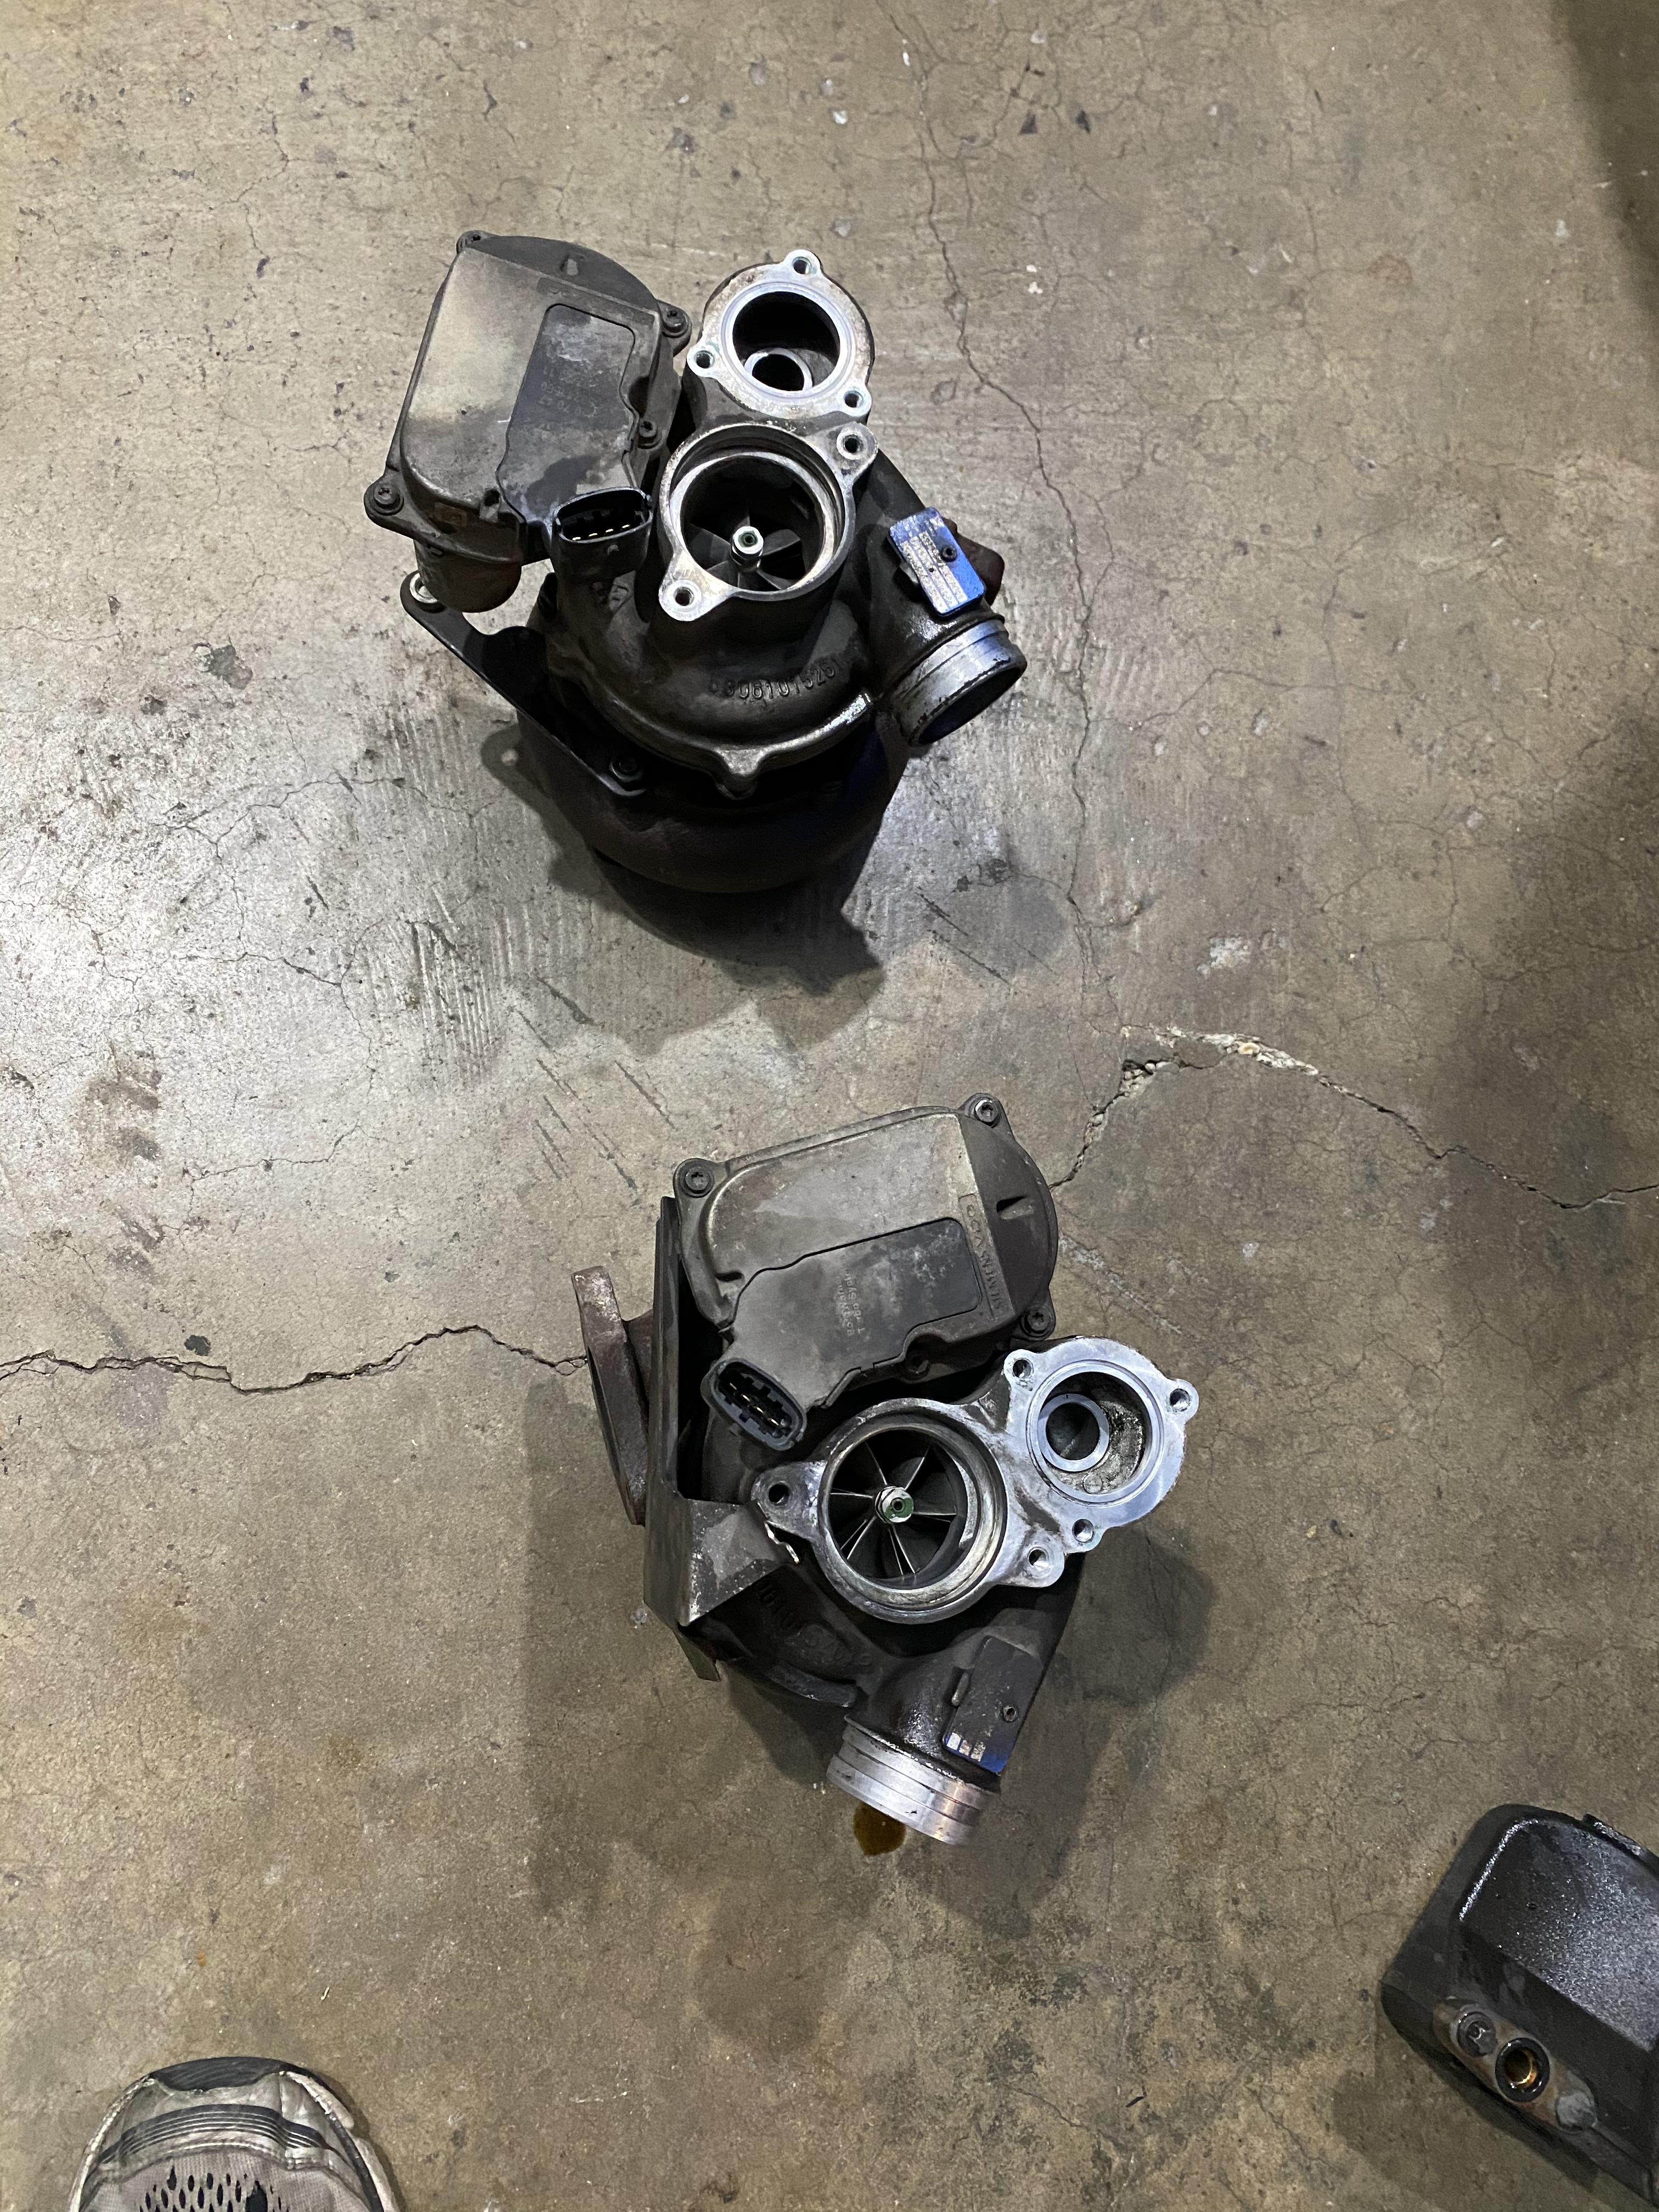
Turbines look good on both sides. O2 sensors protected. 22 mm flare nut wrench took care of those puppies.
Fun times all around
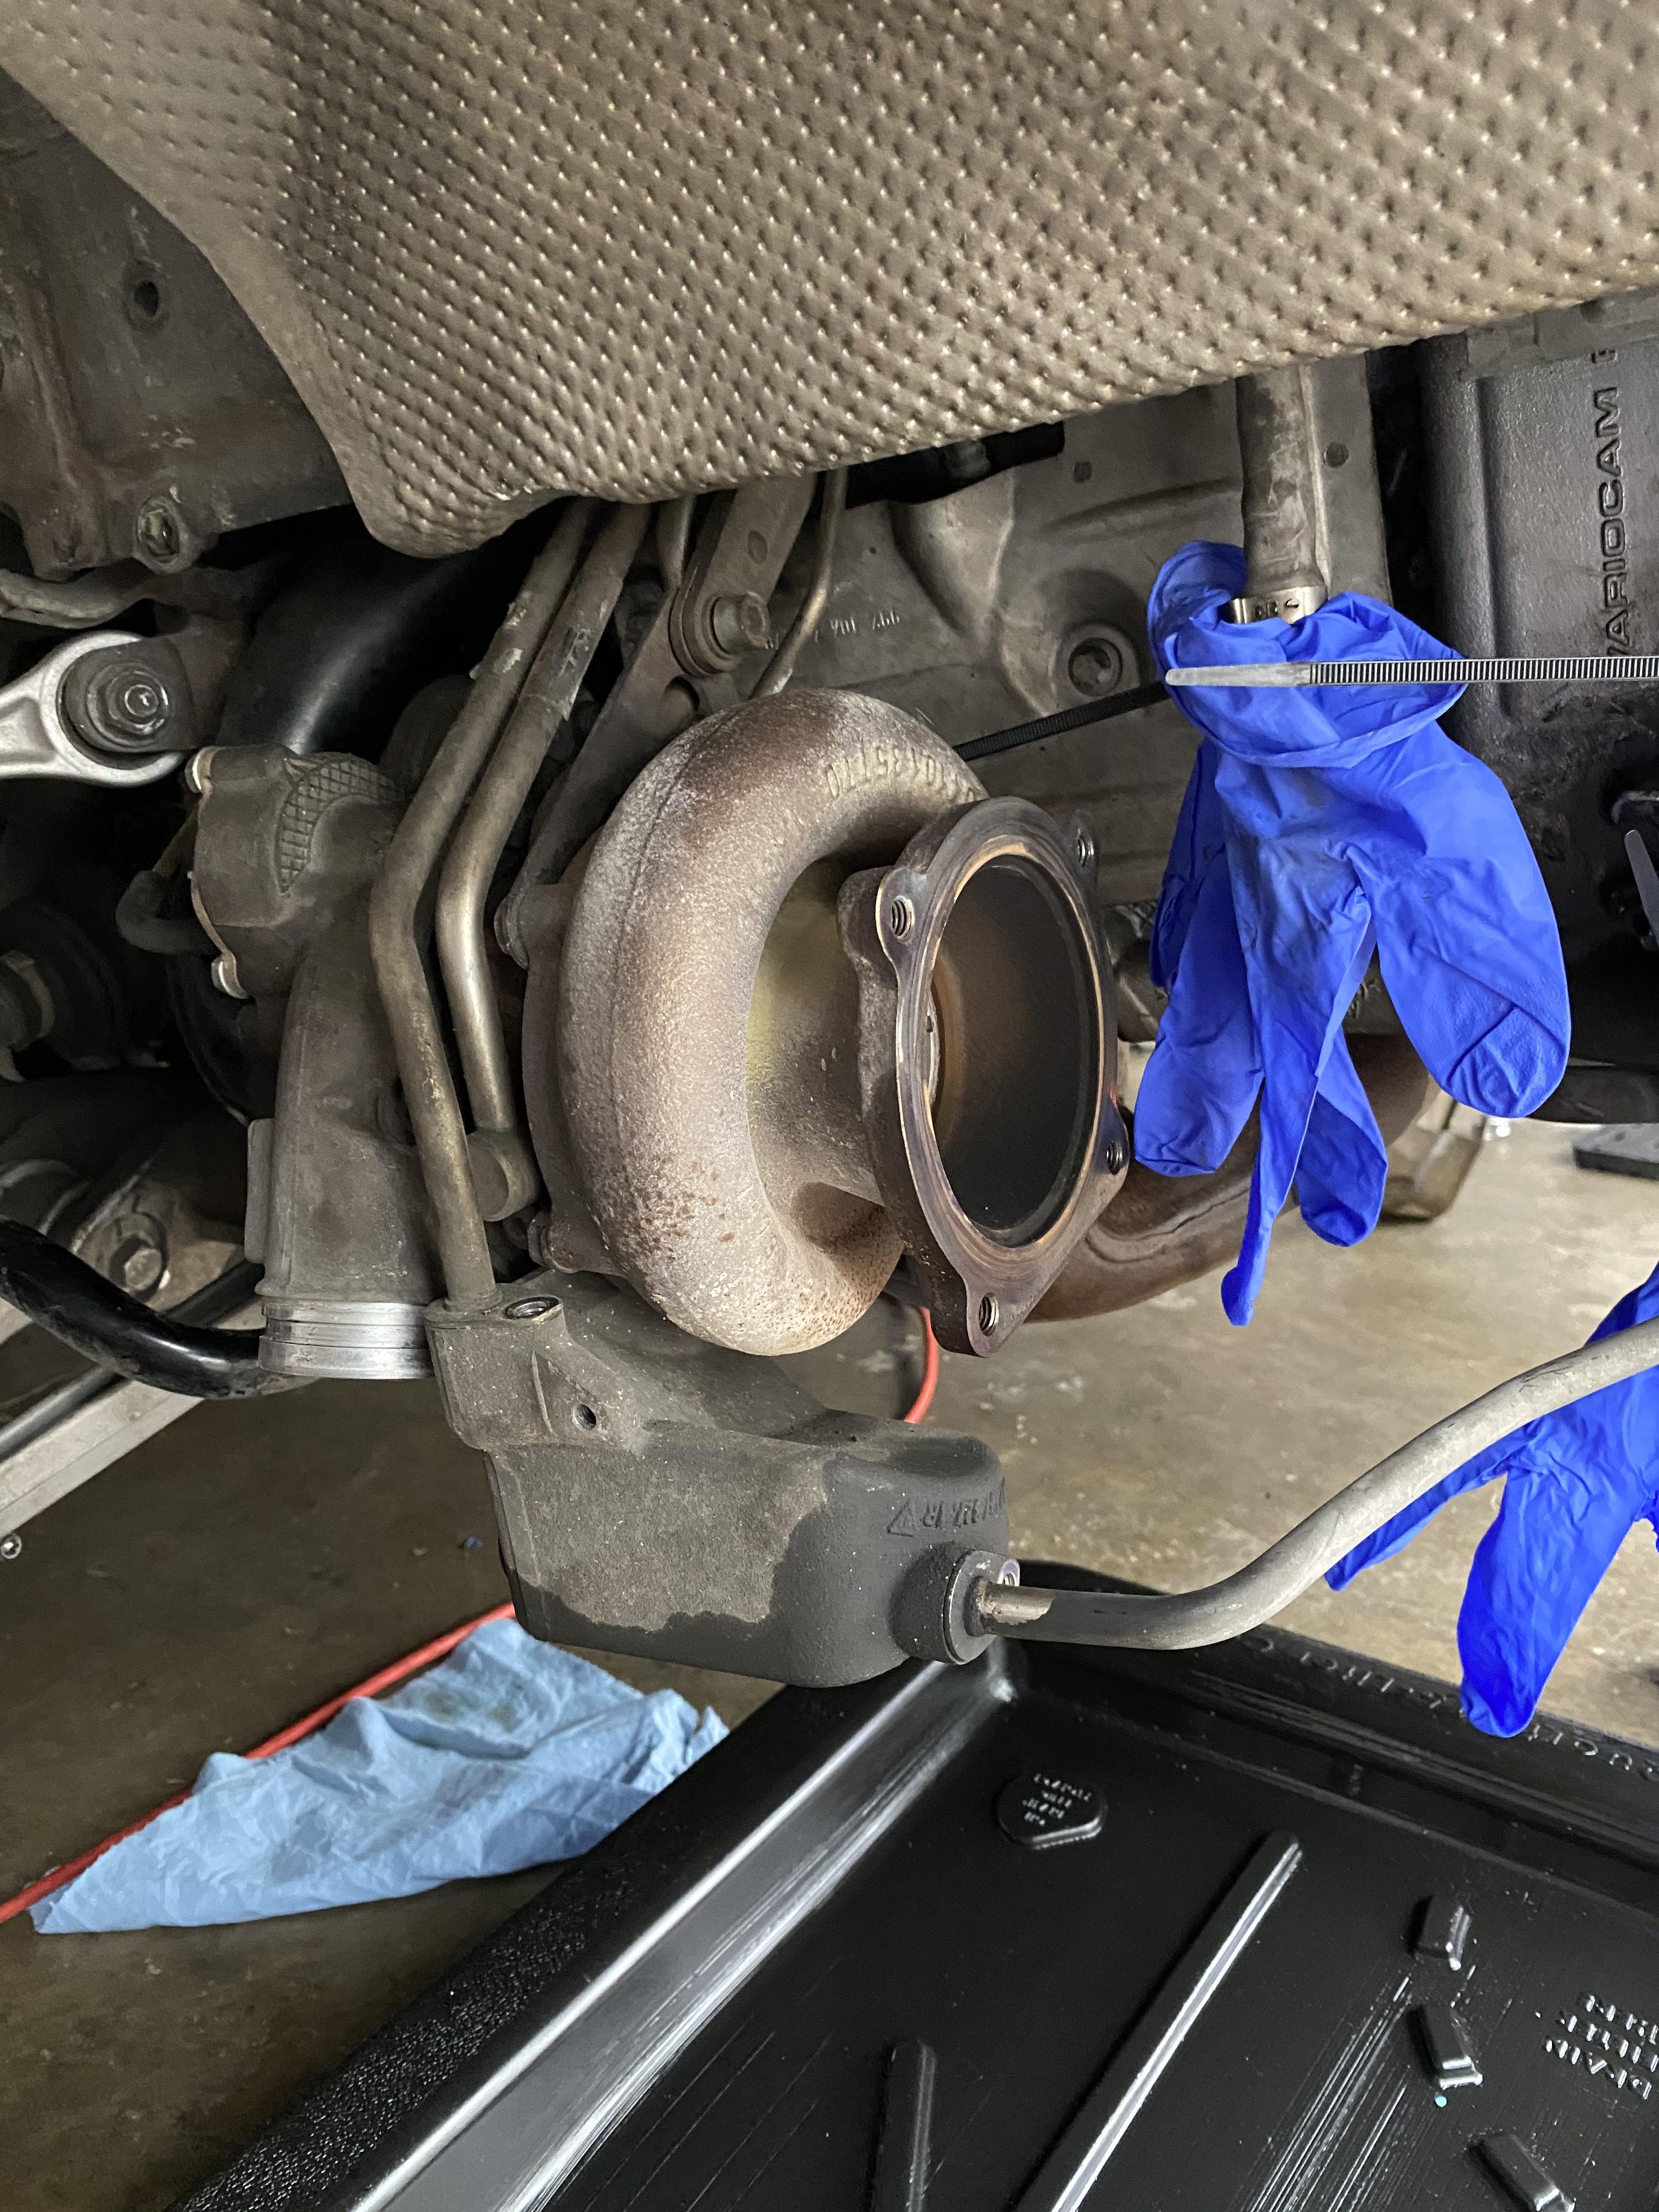
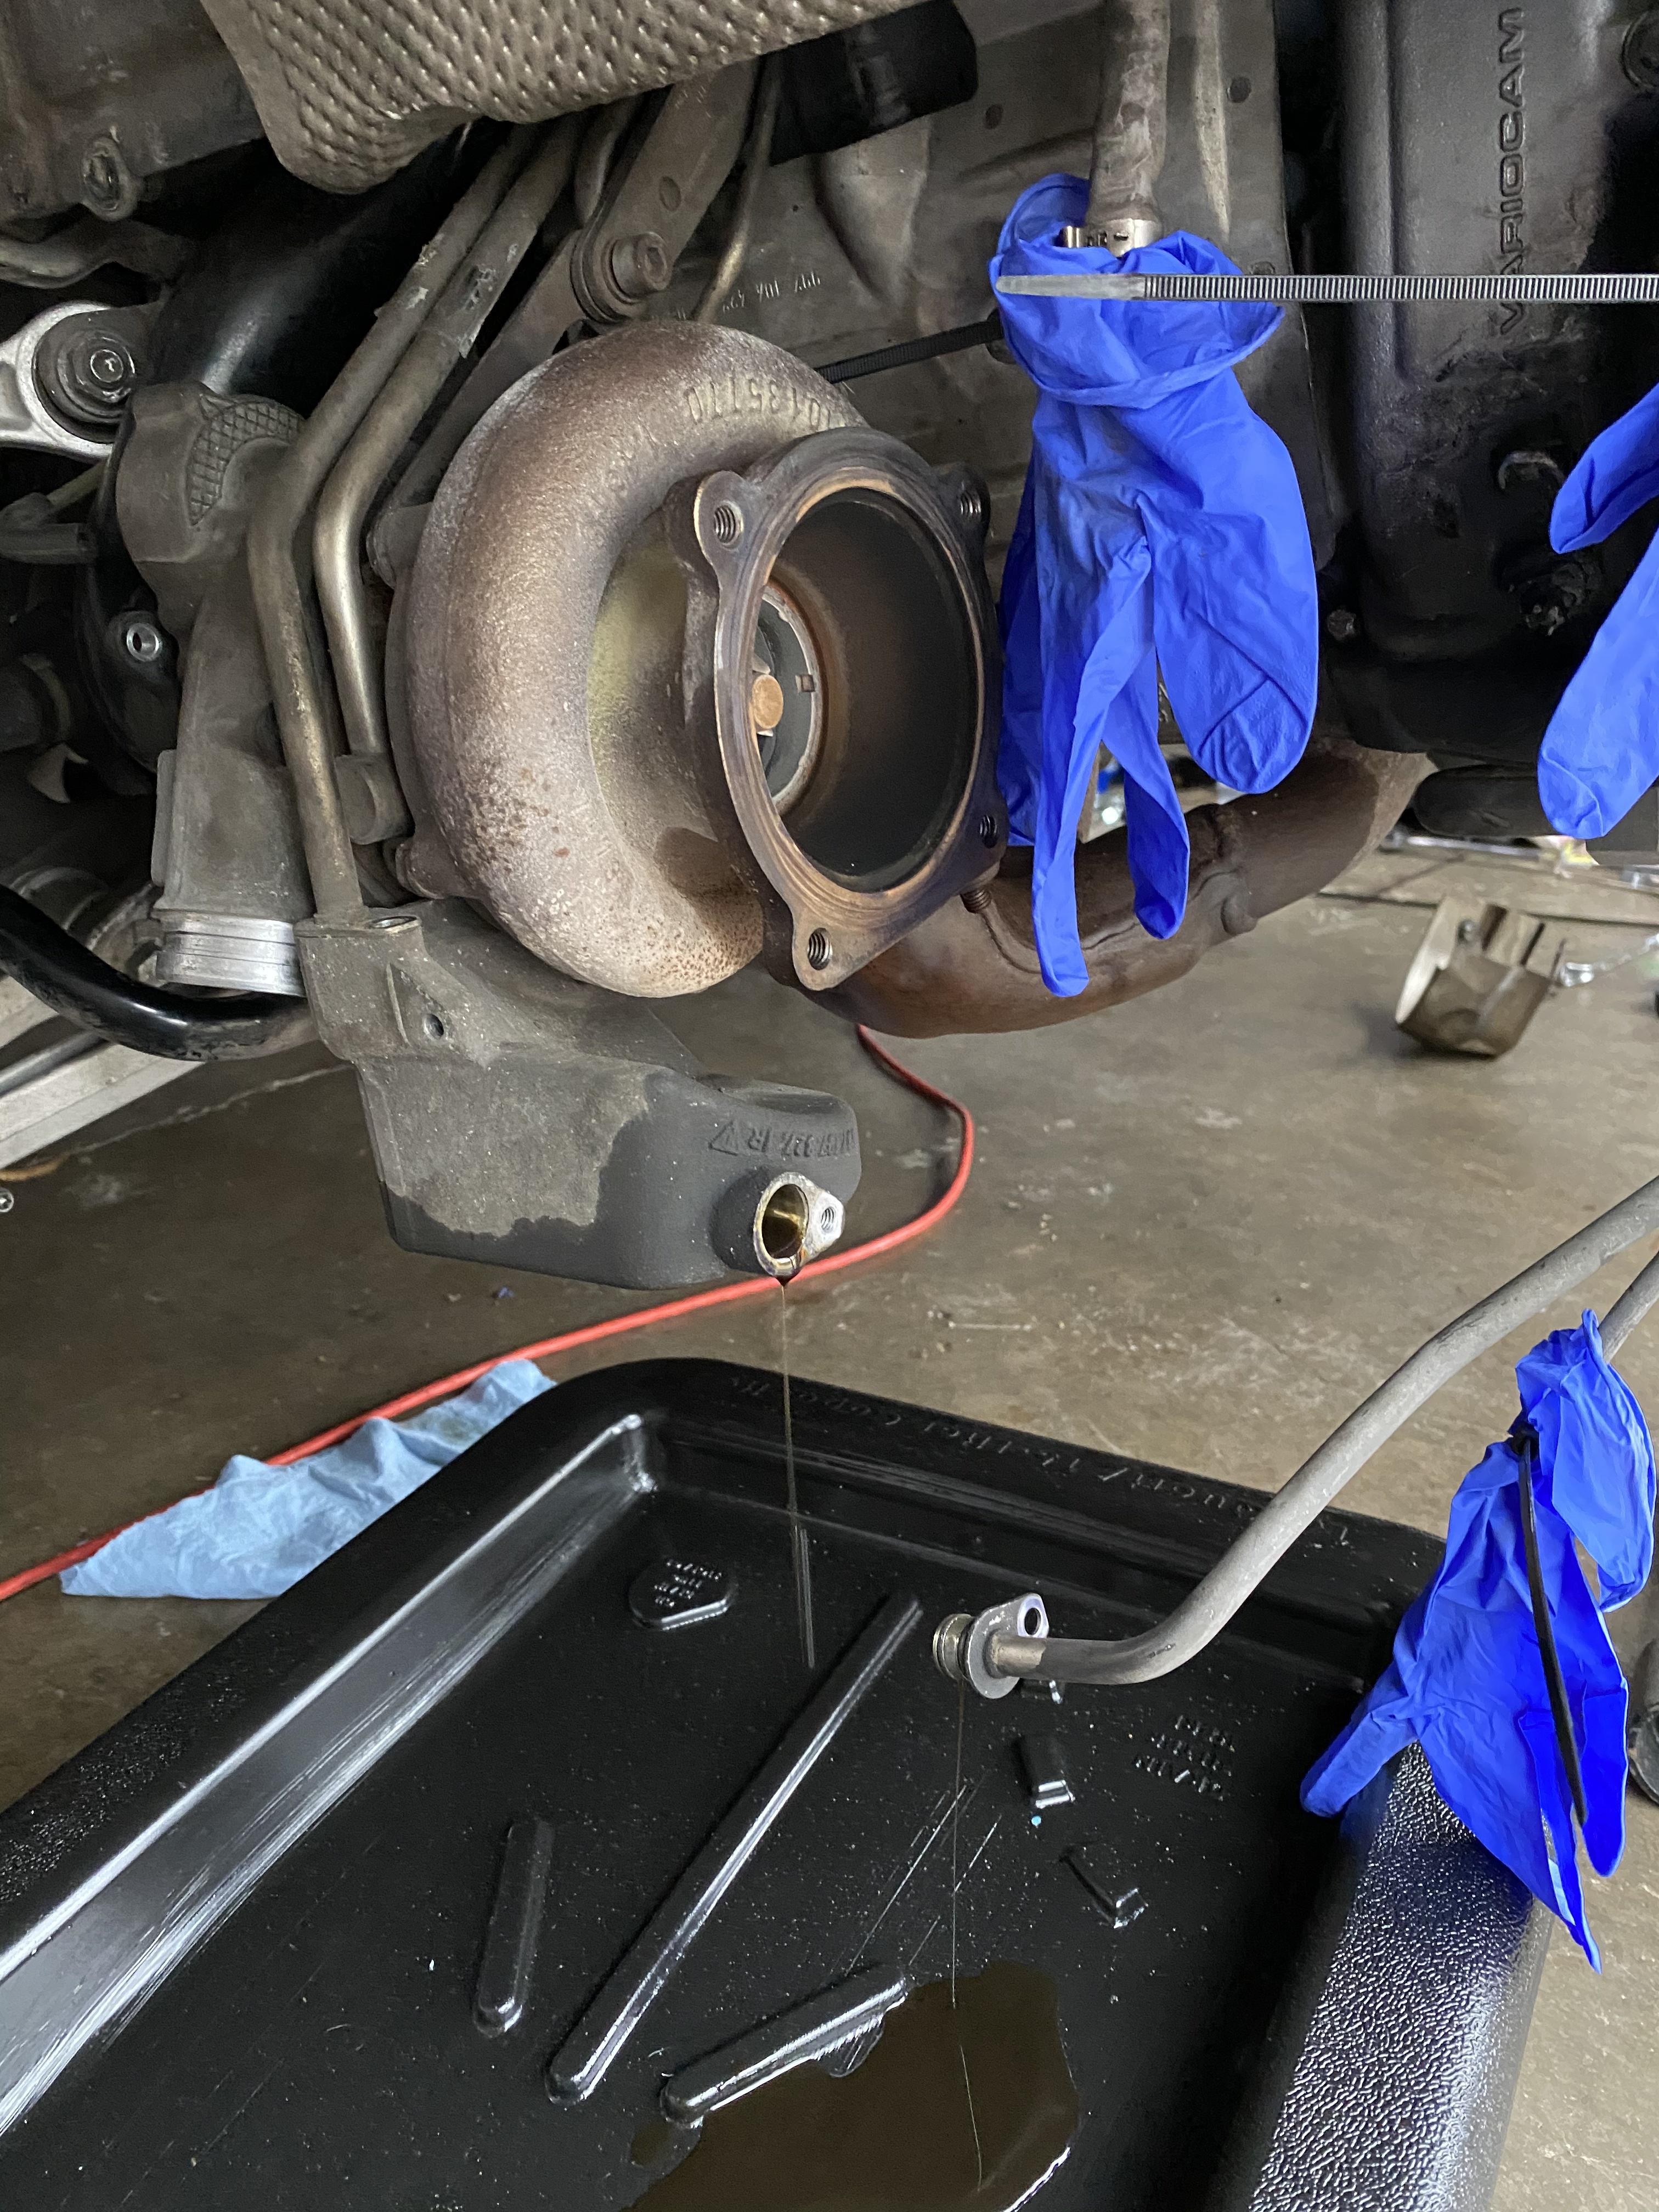
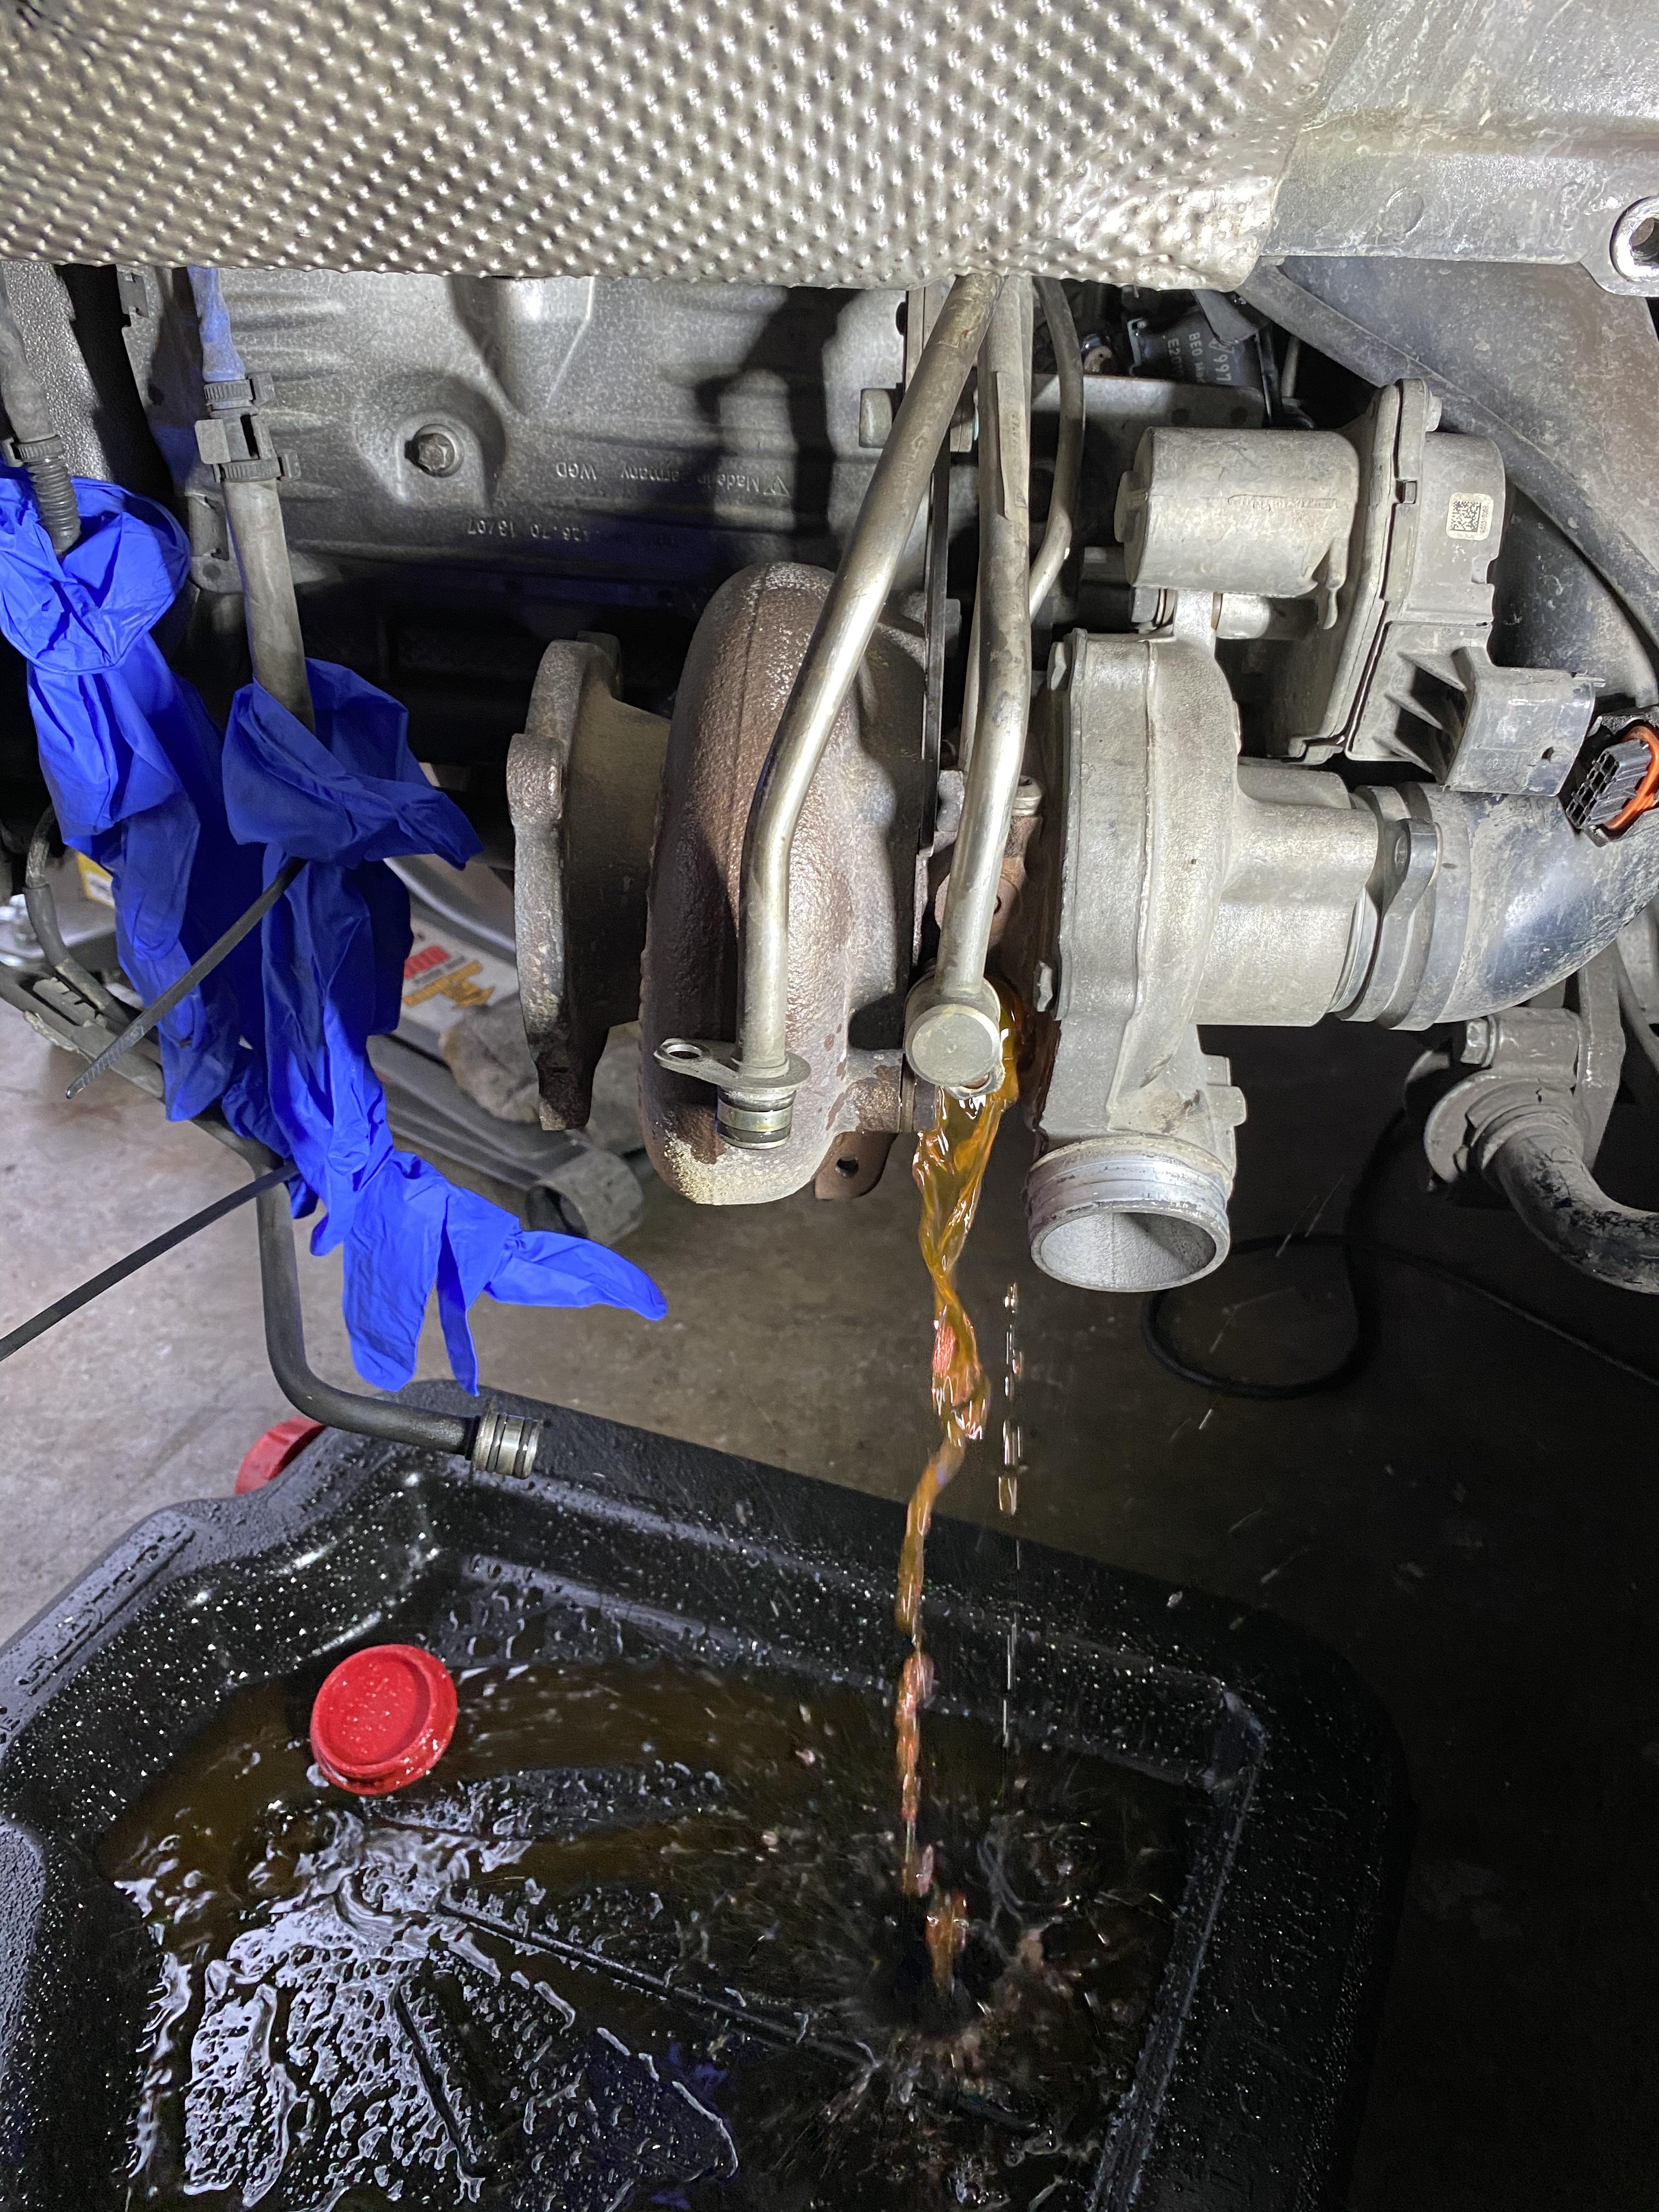
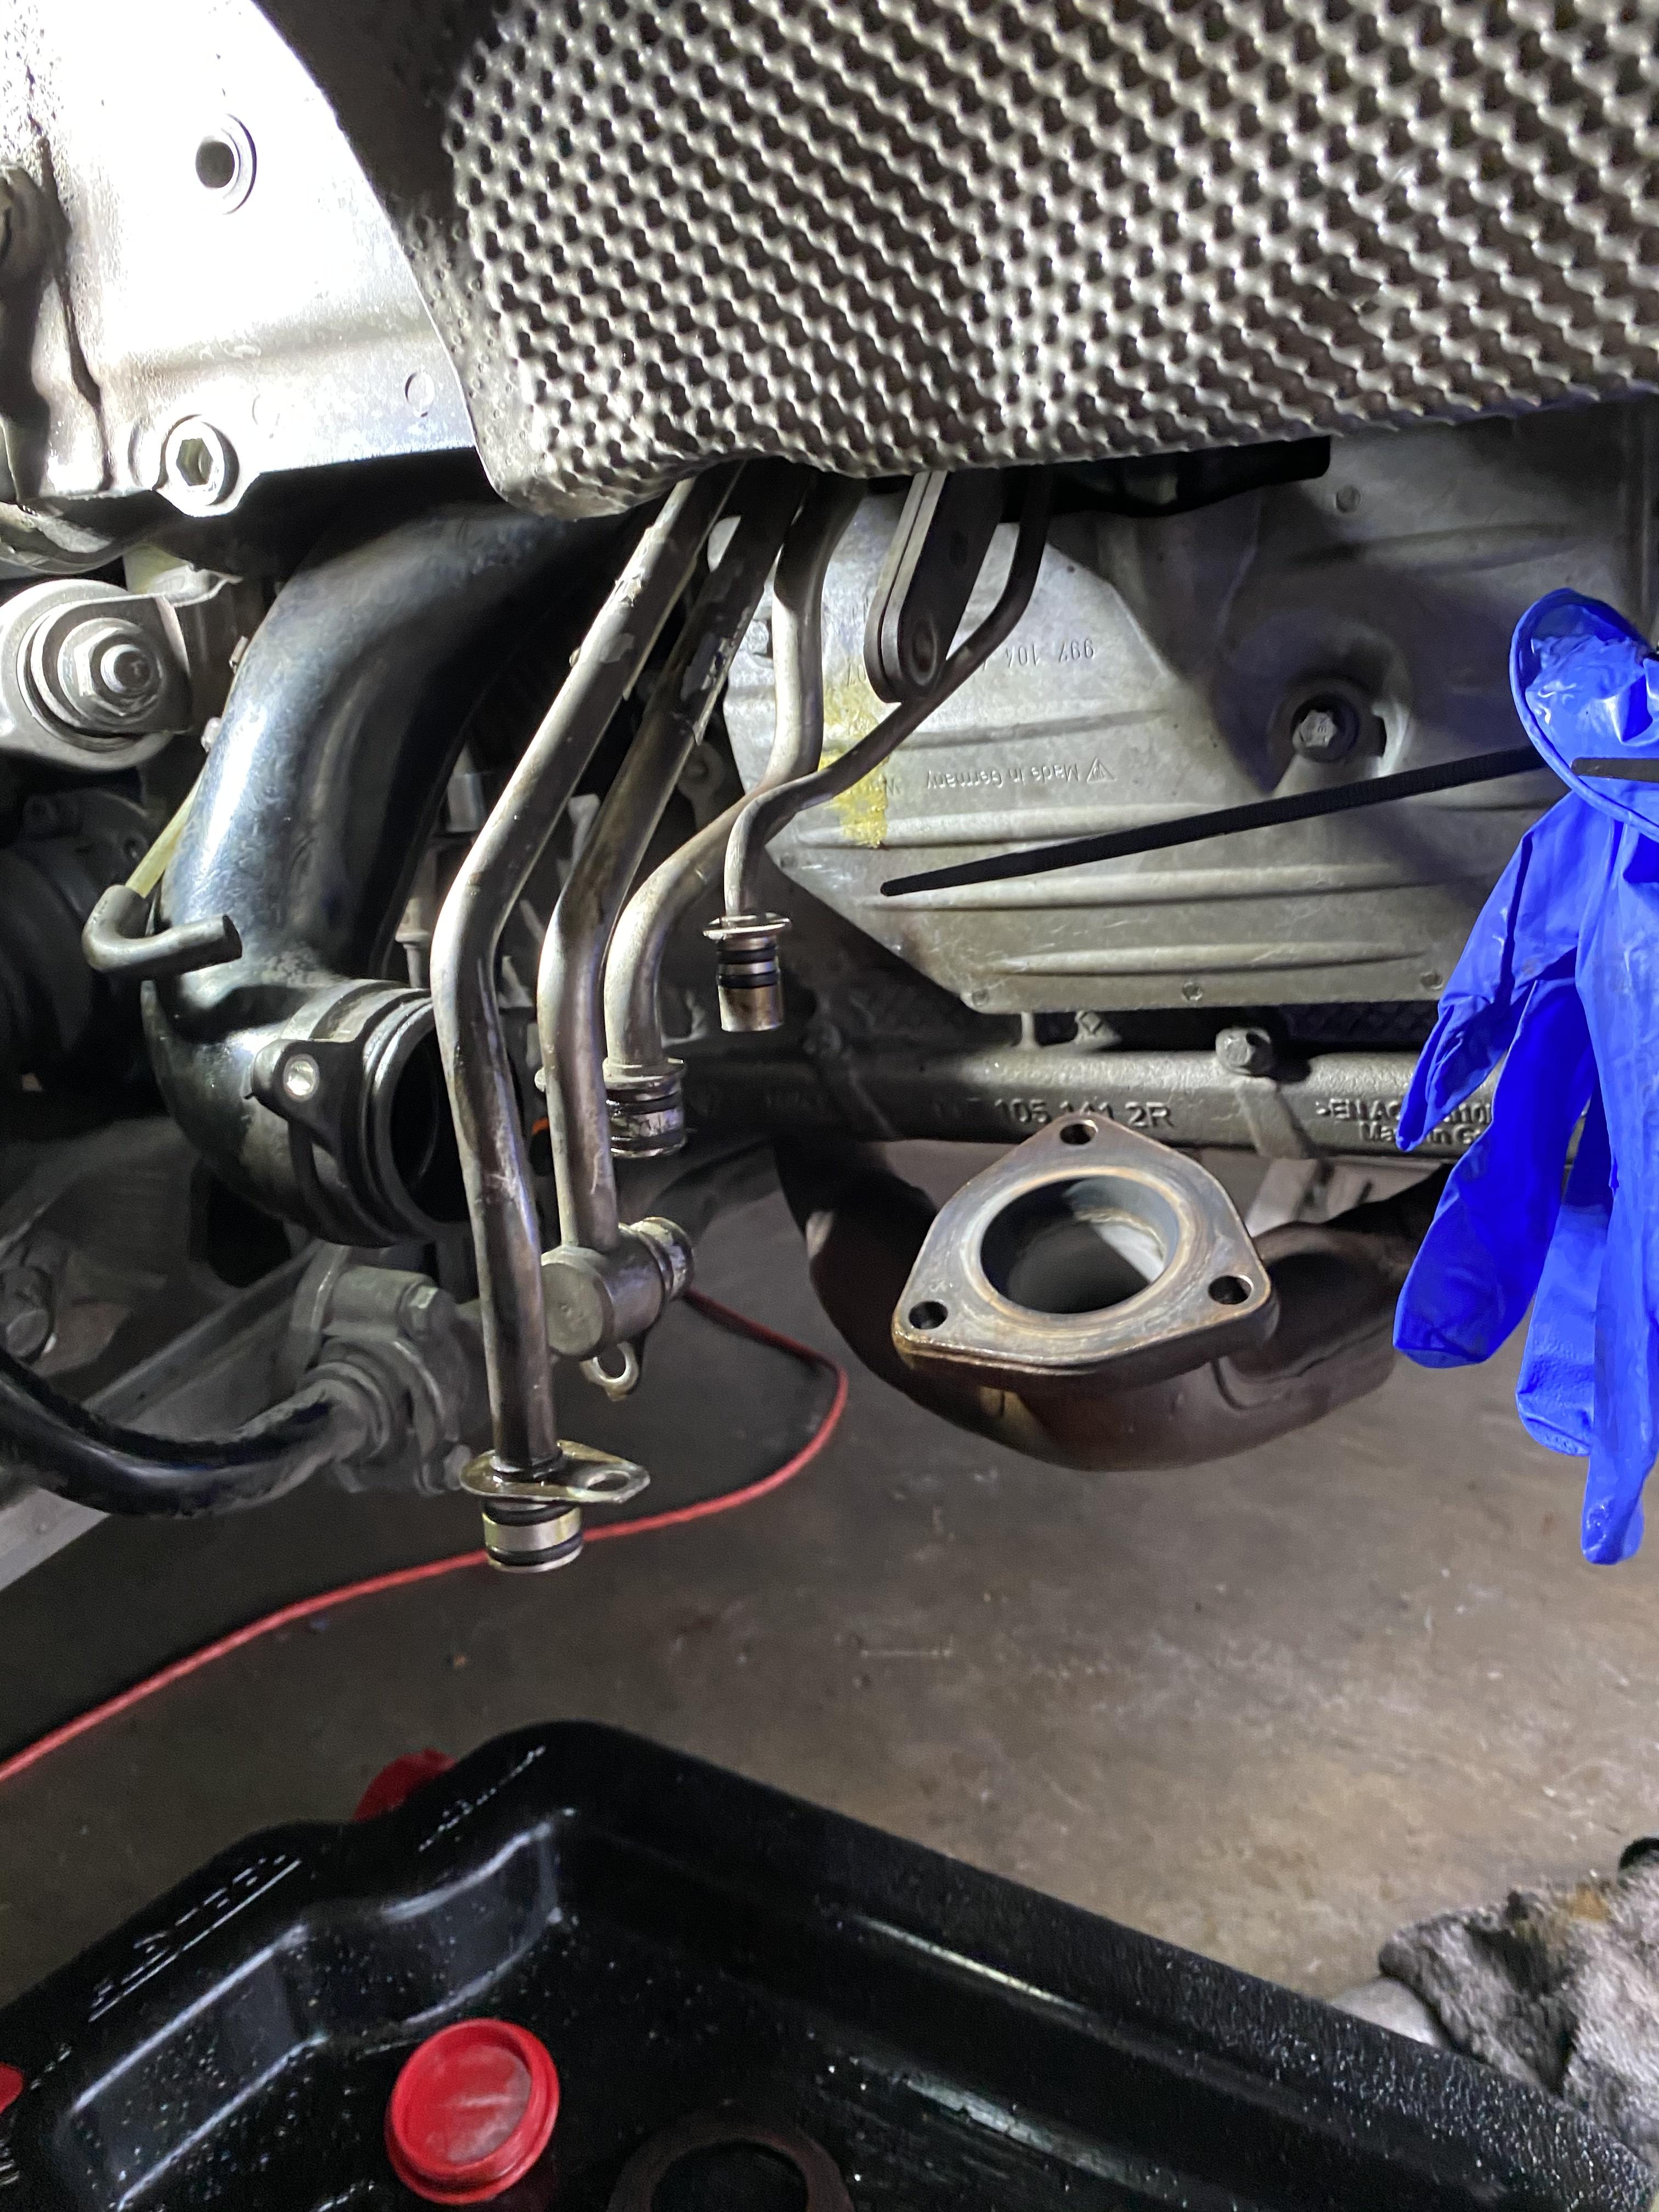
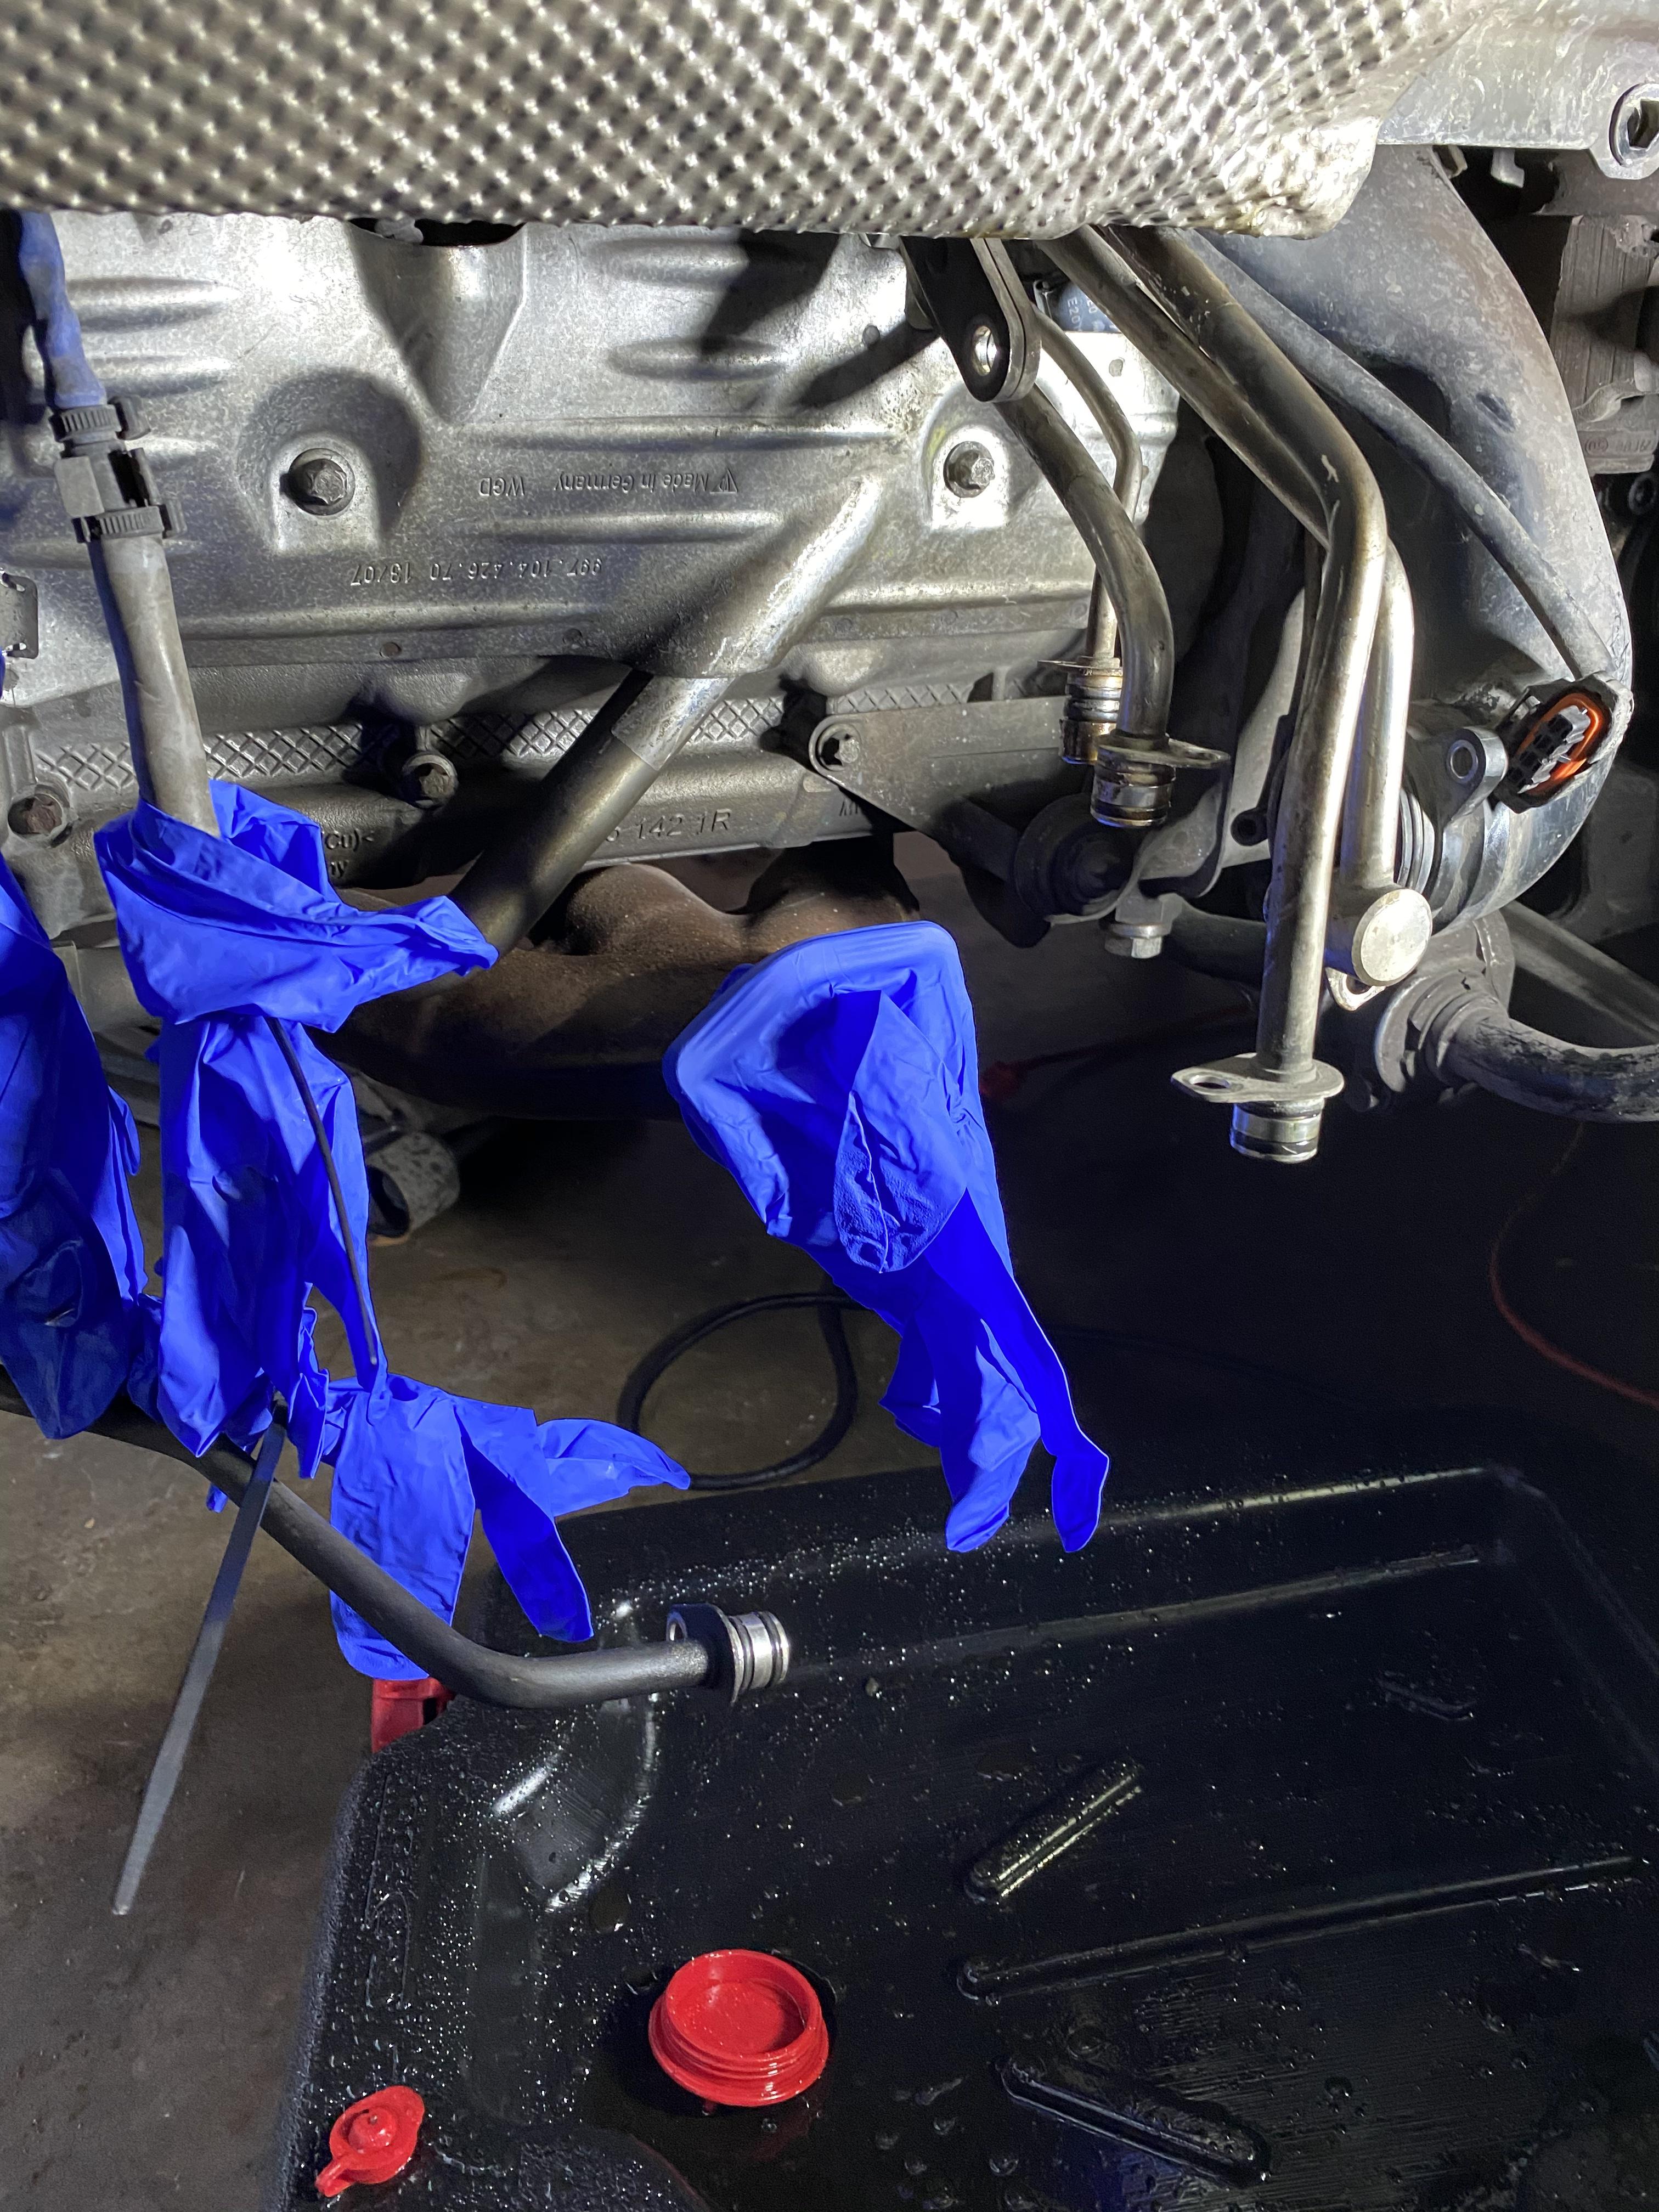
Oil and water lines were next
DS turbo is out
PS turbo is out
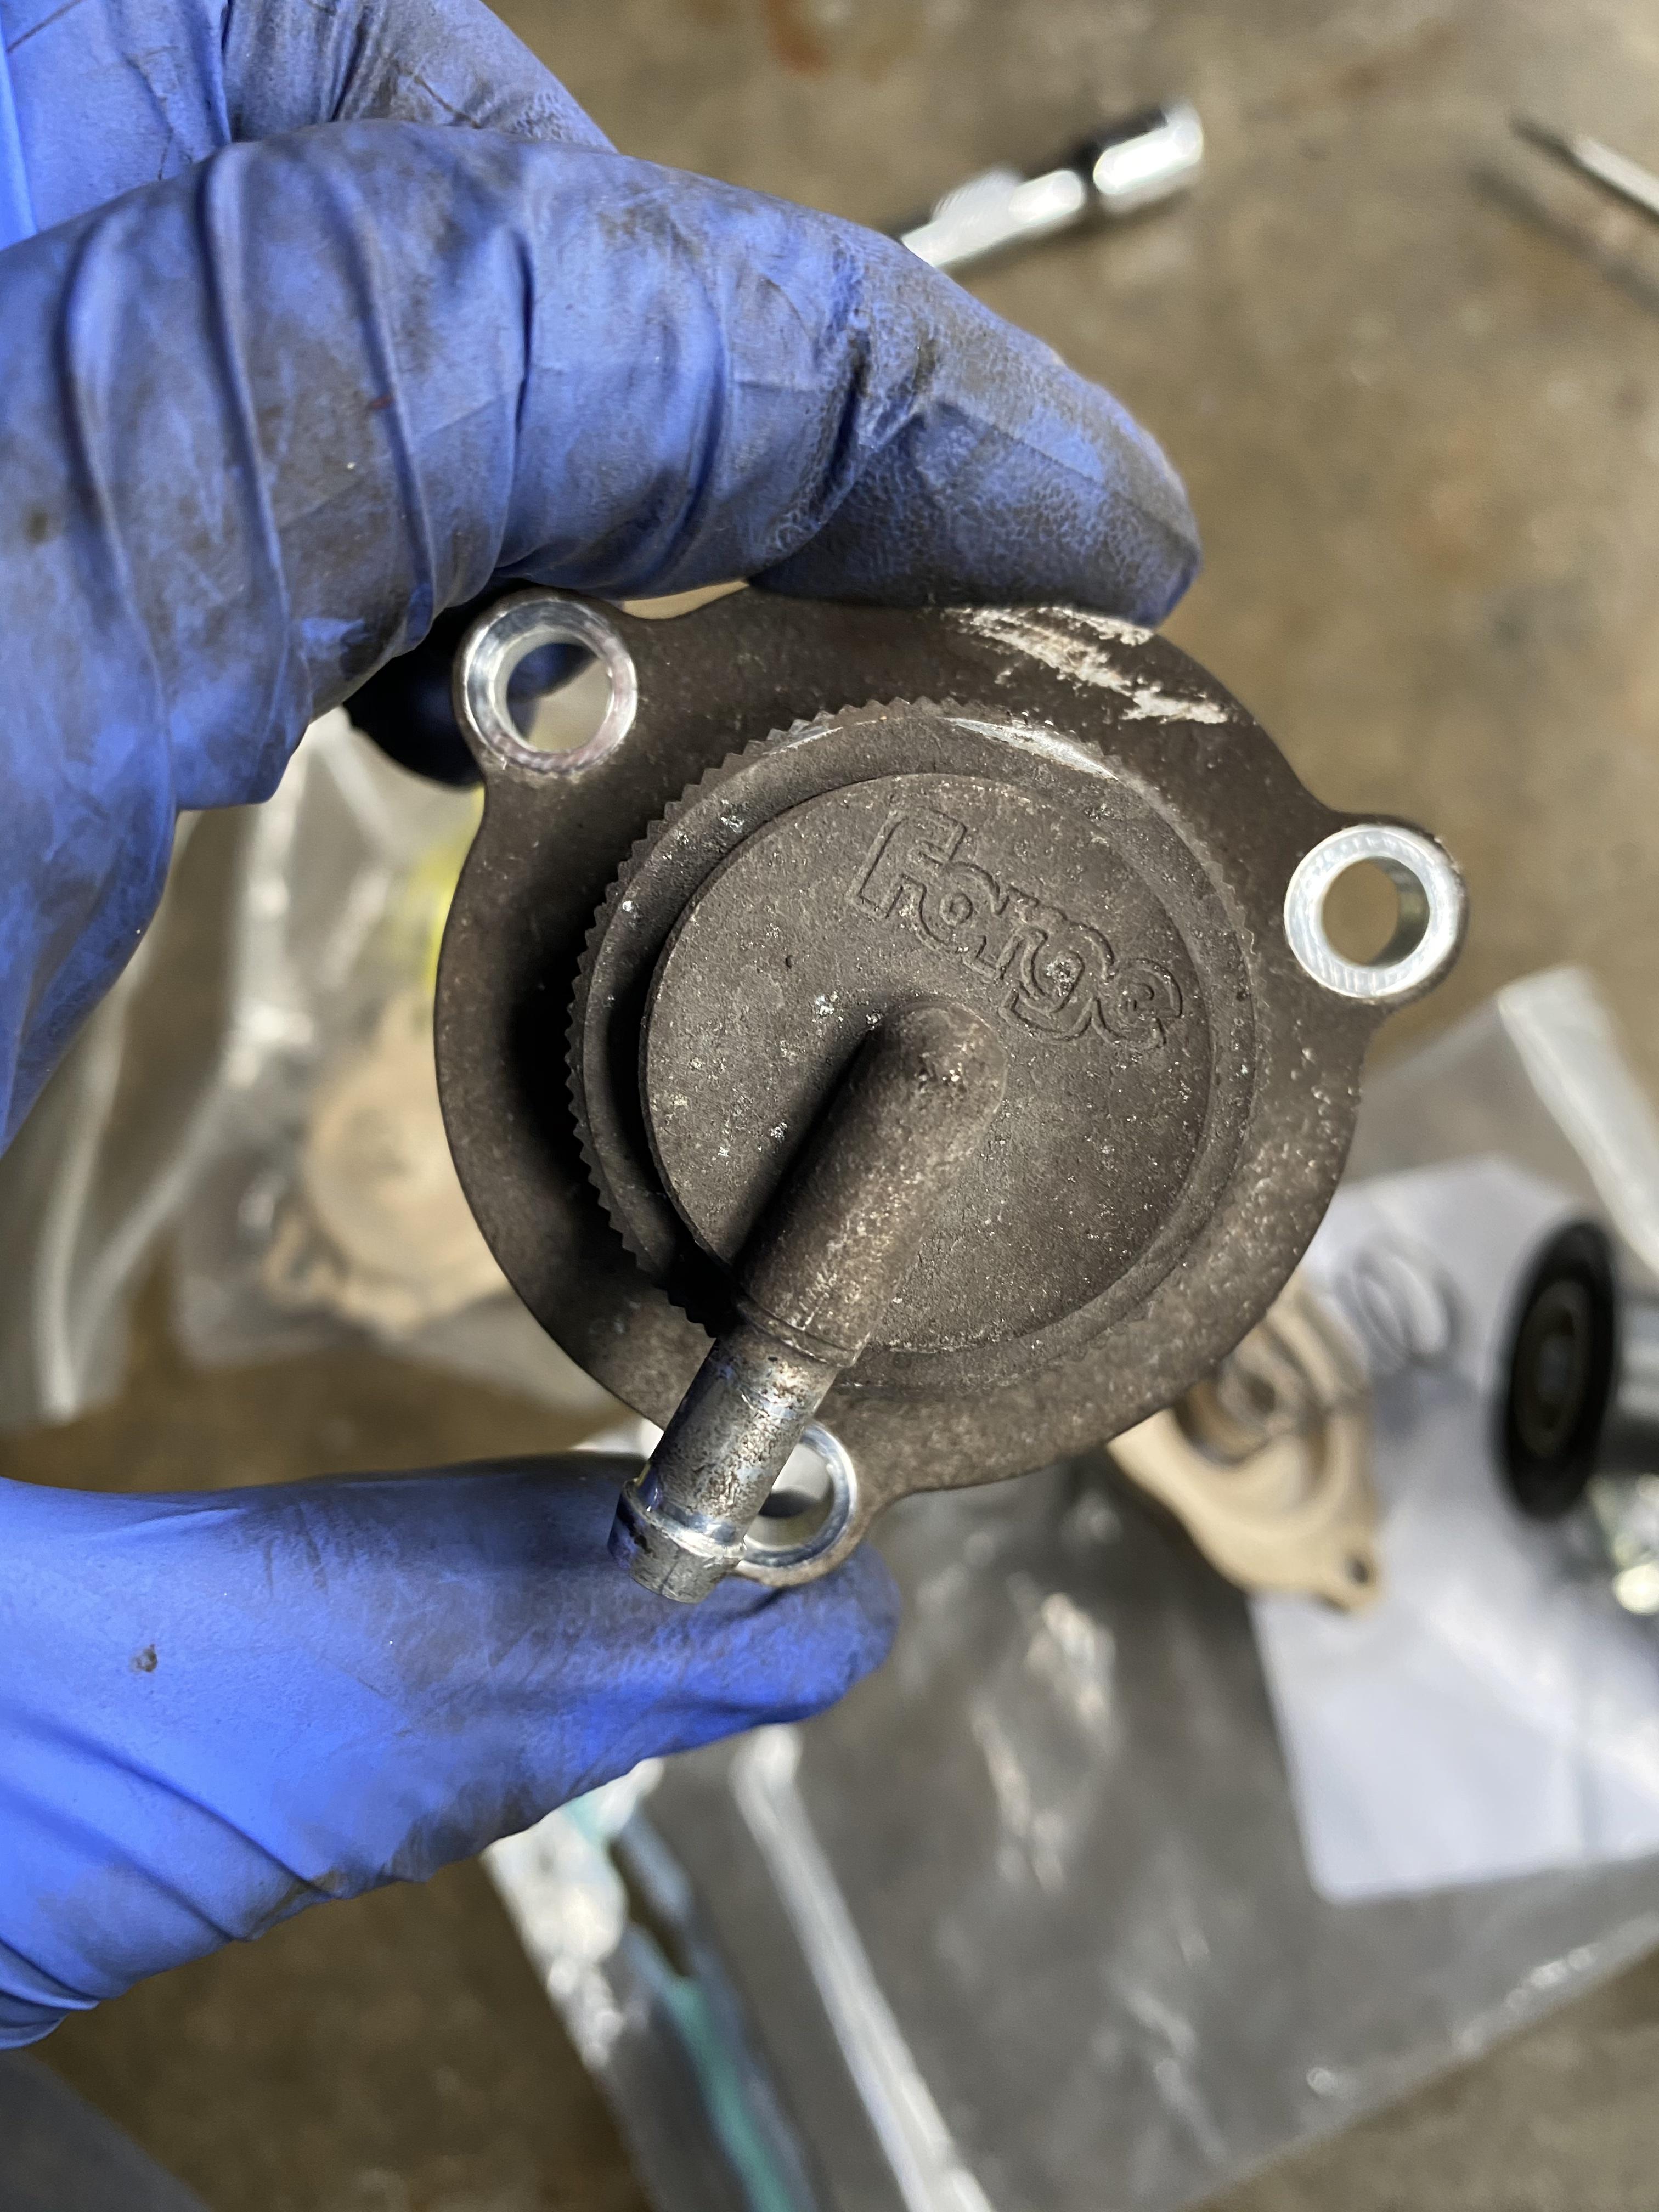
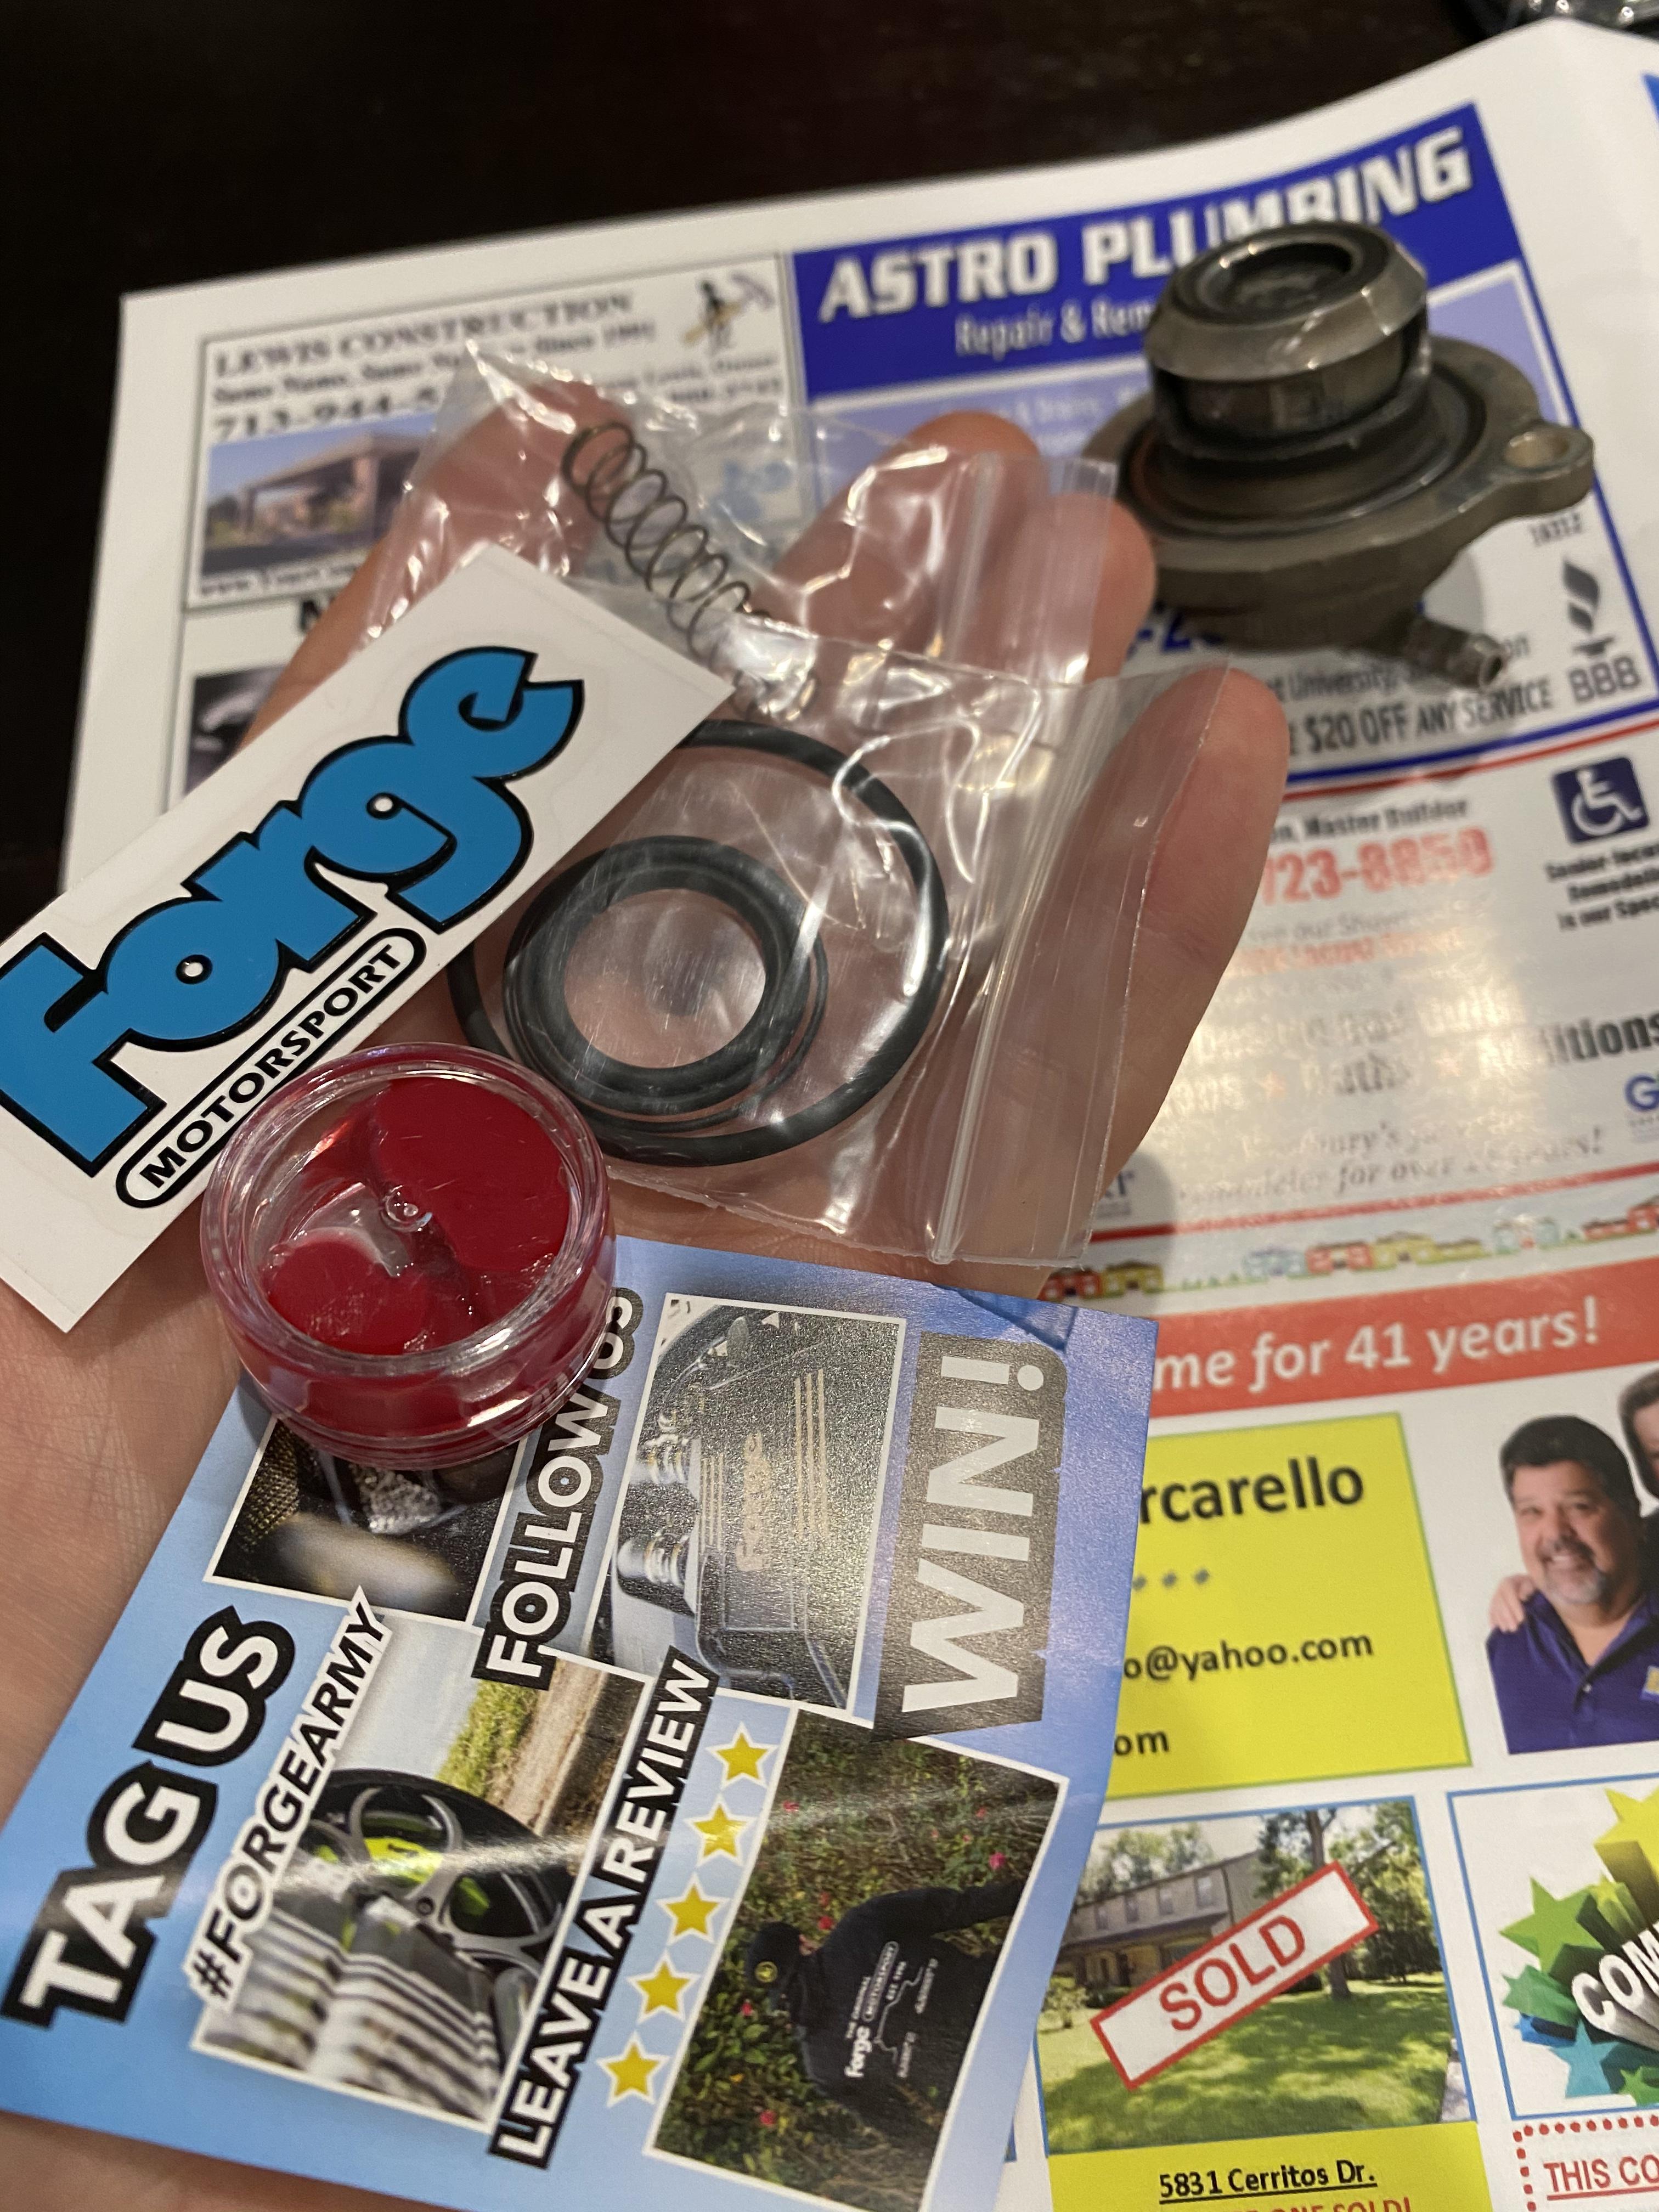
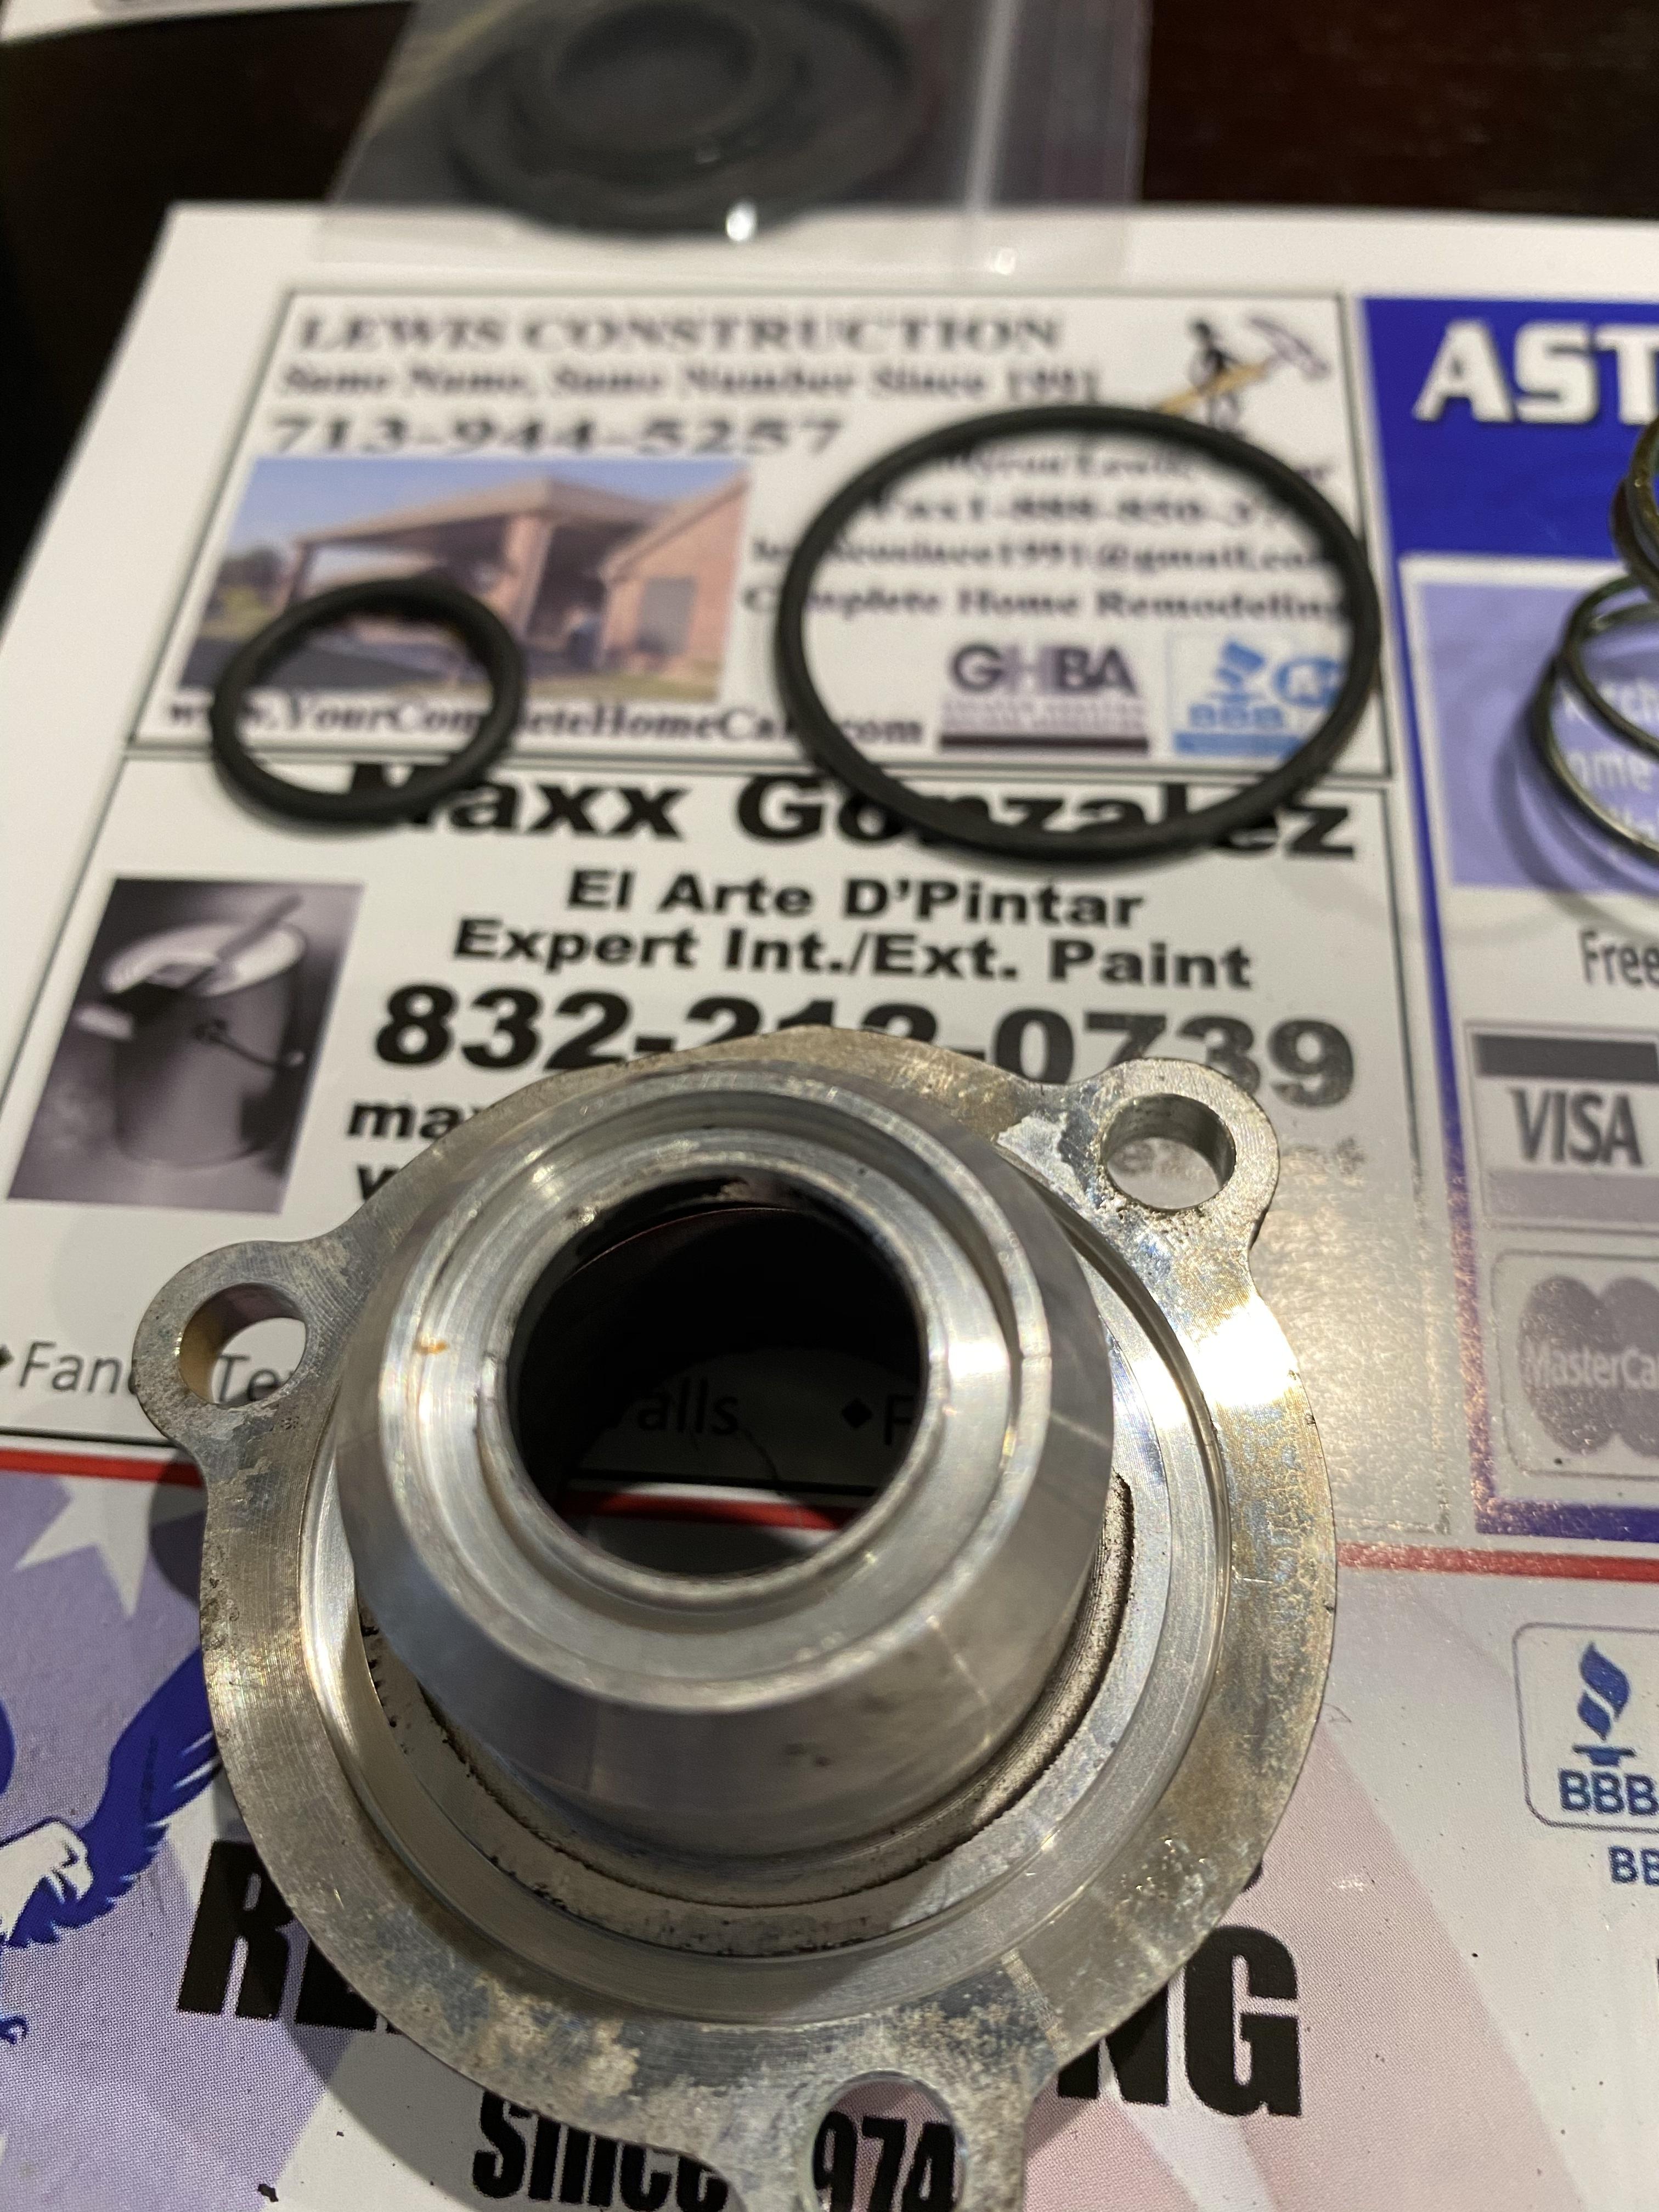
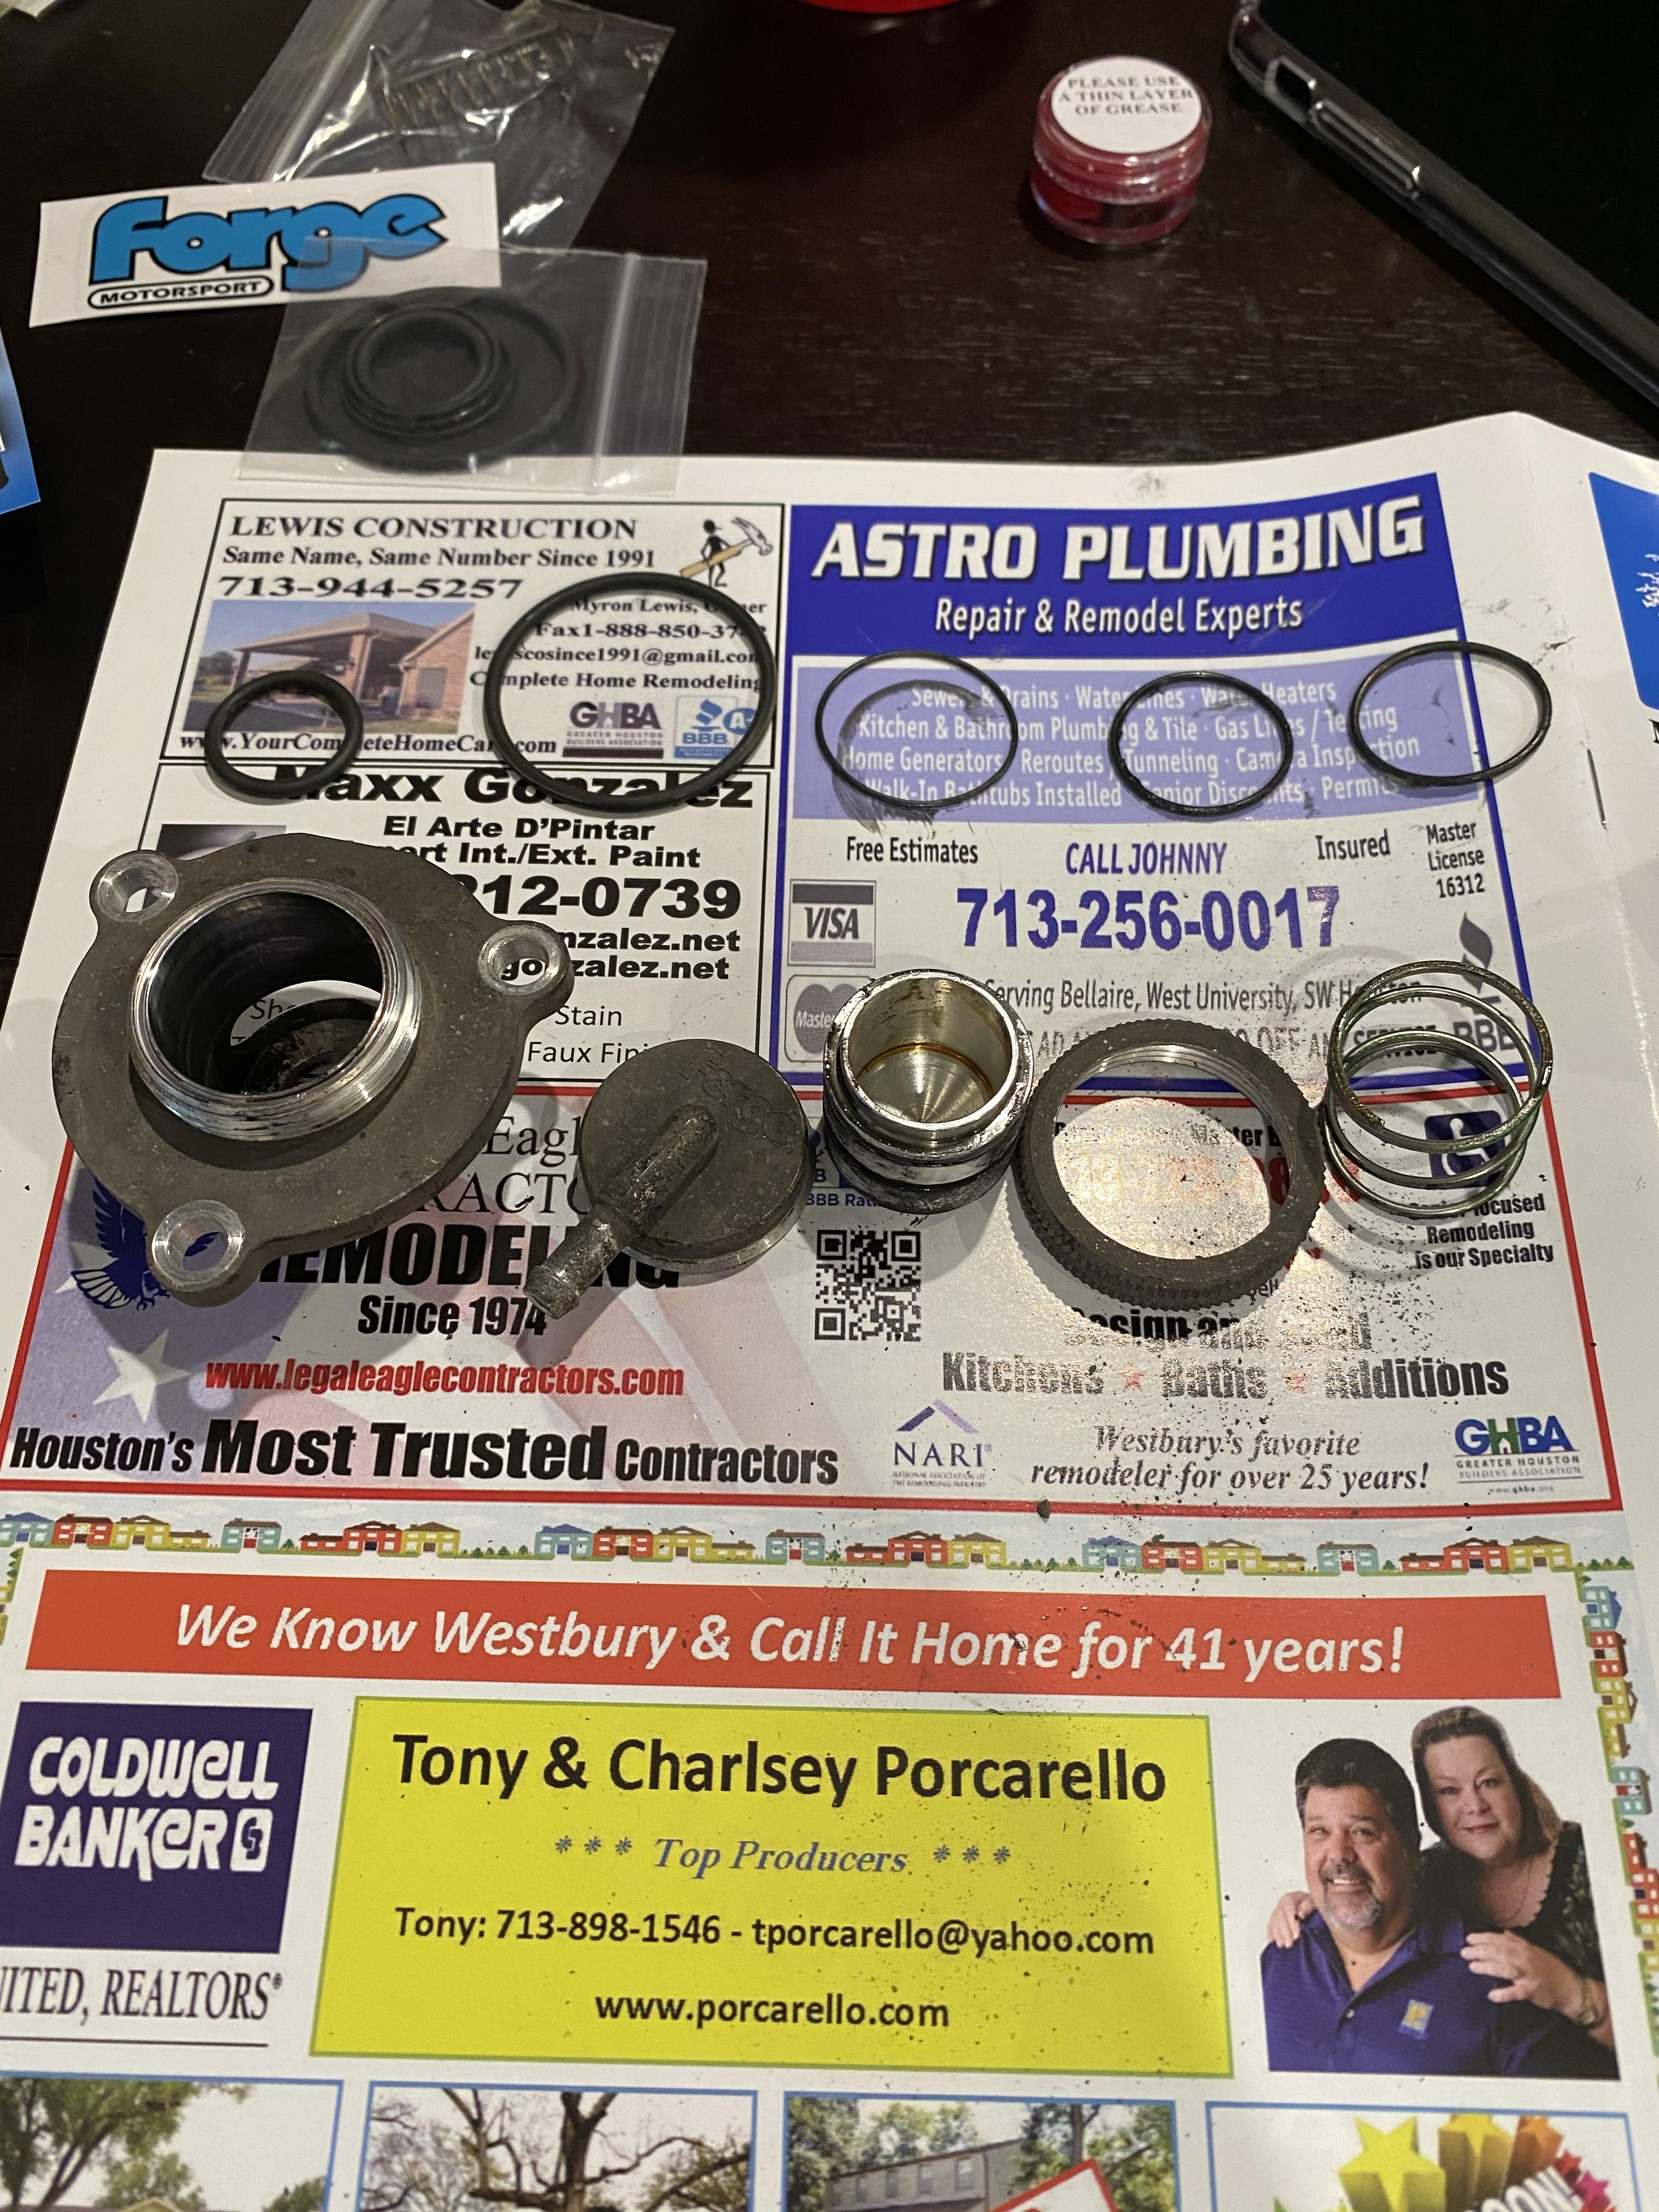
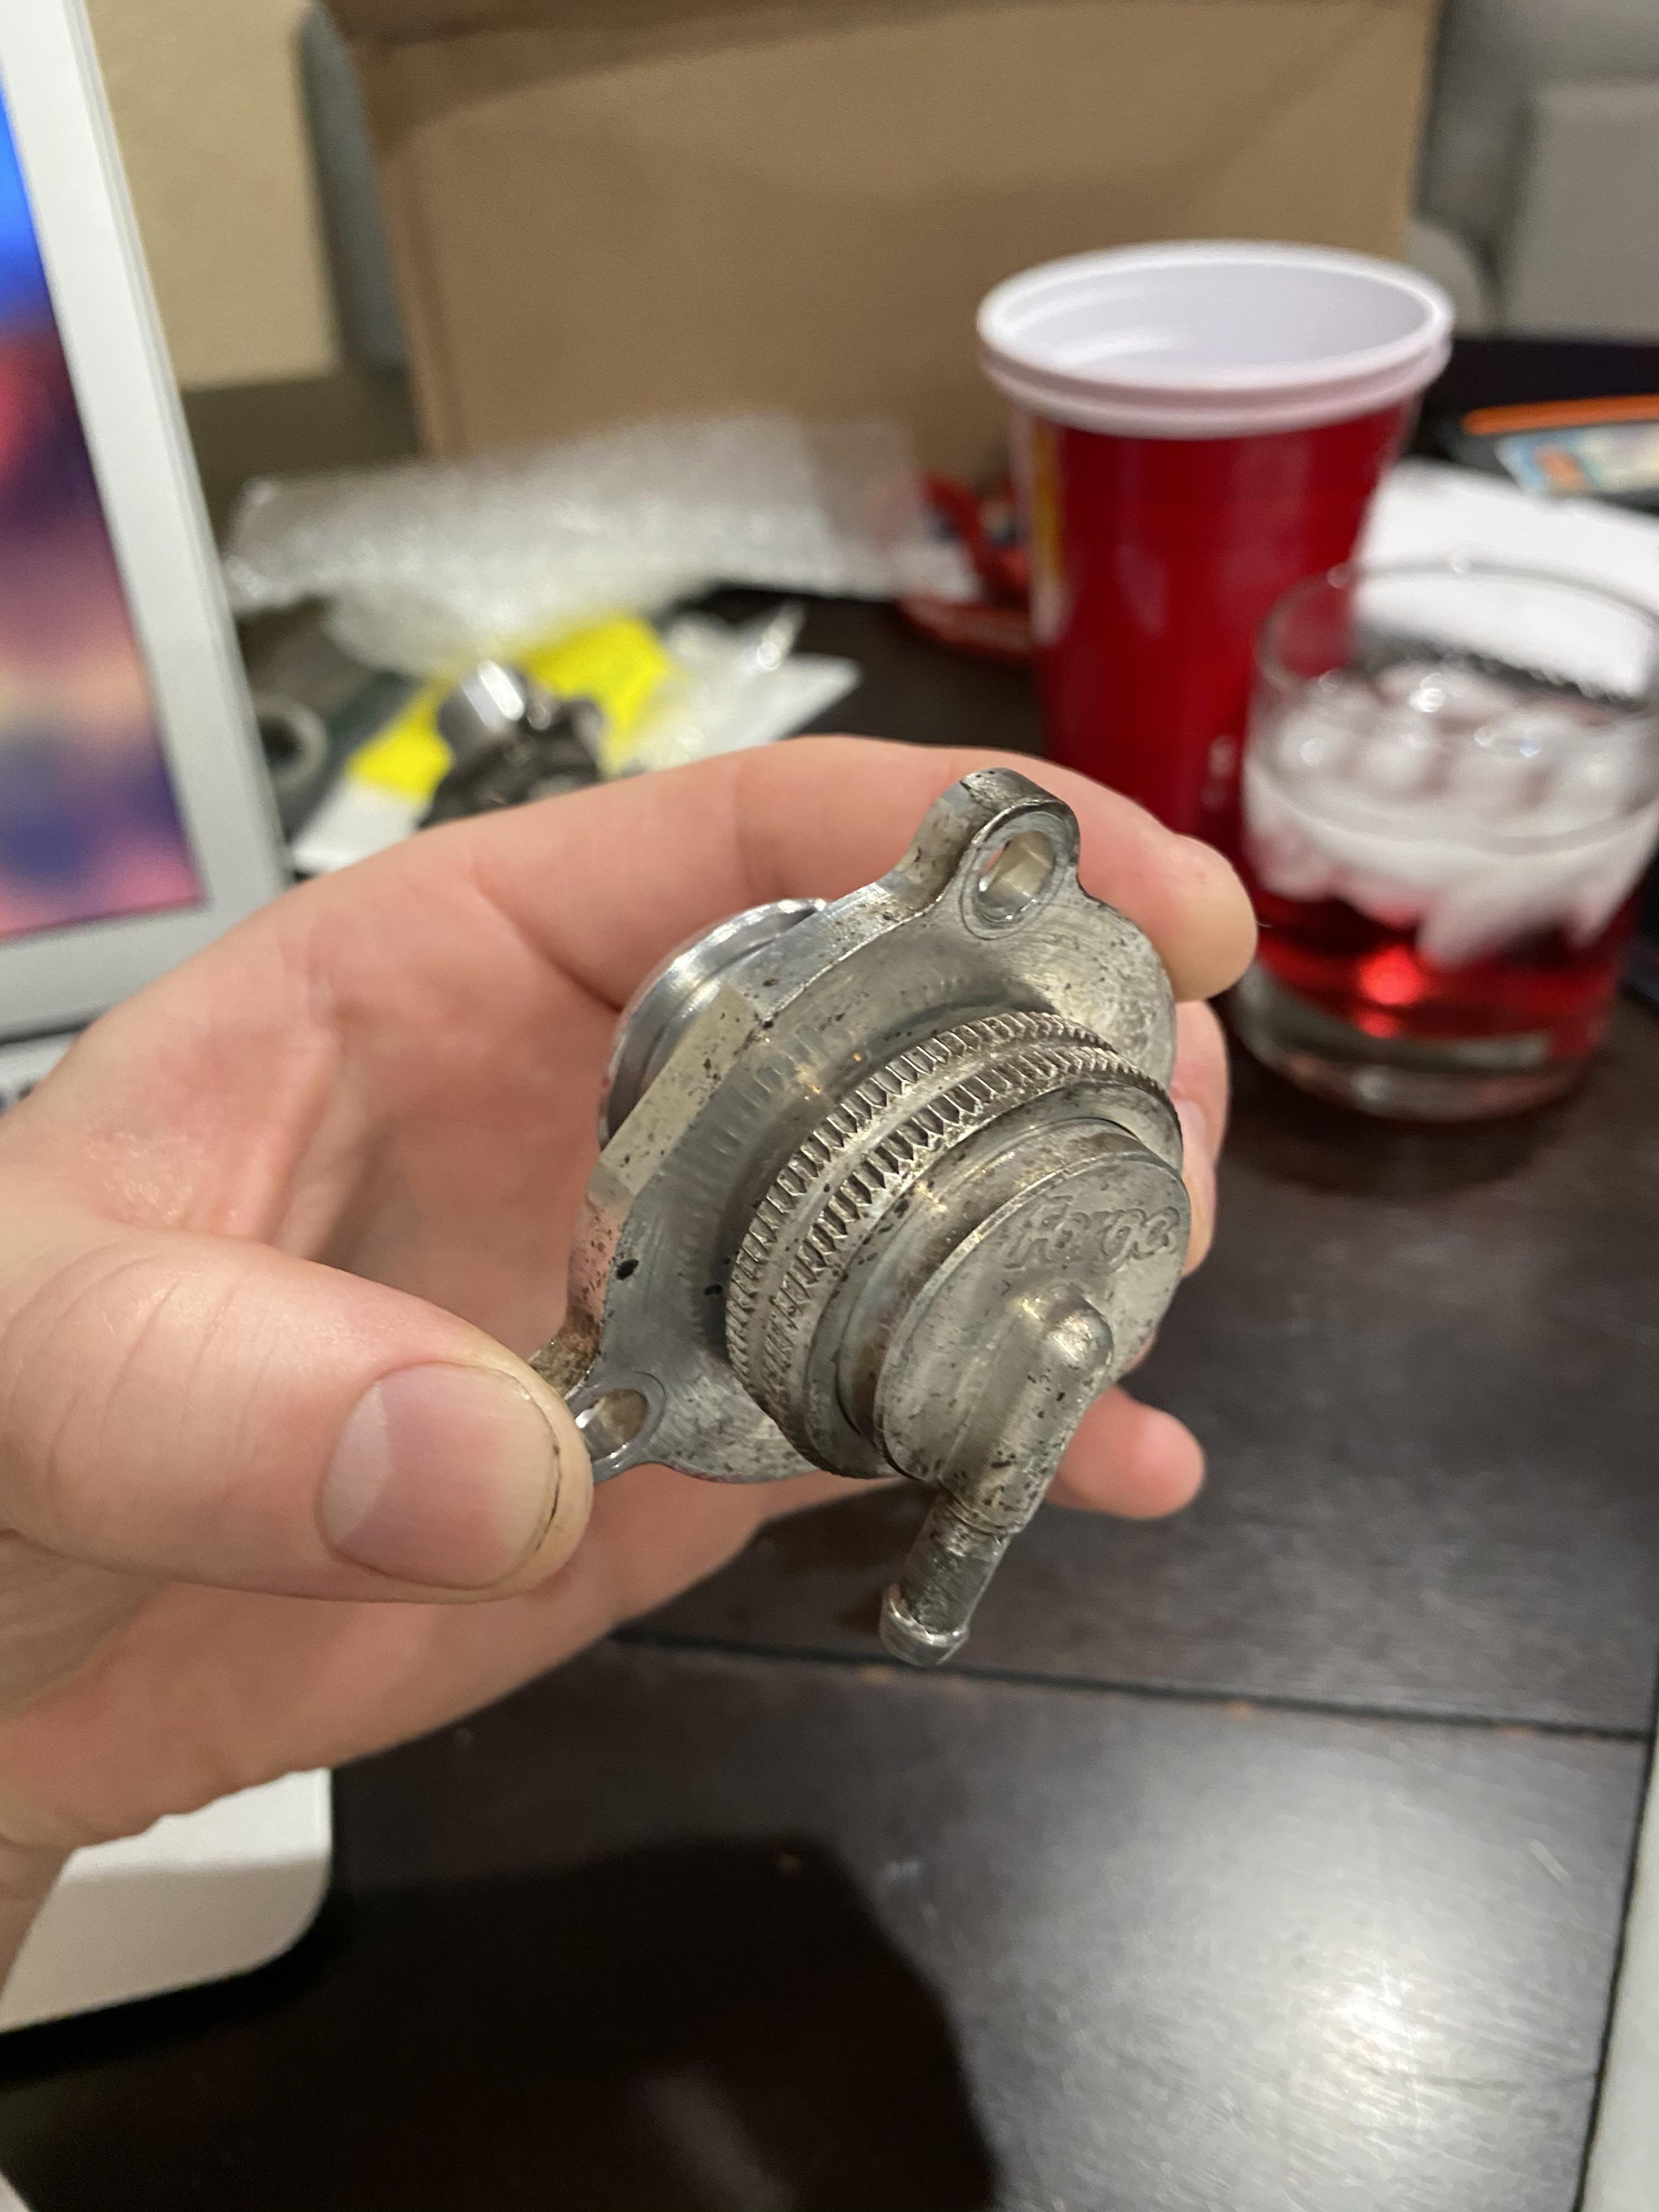
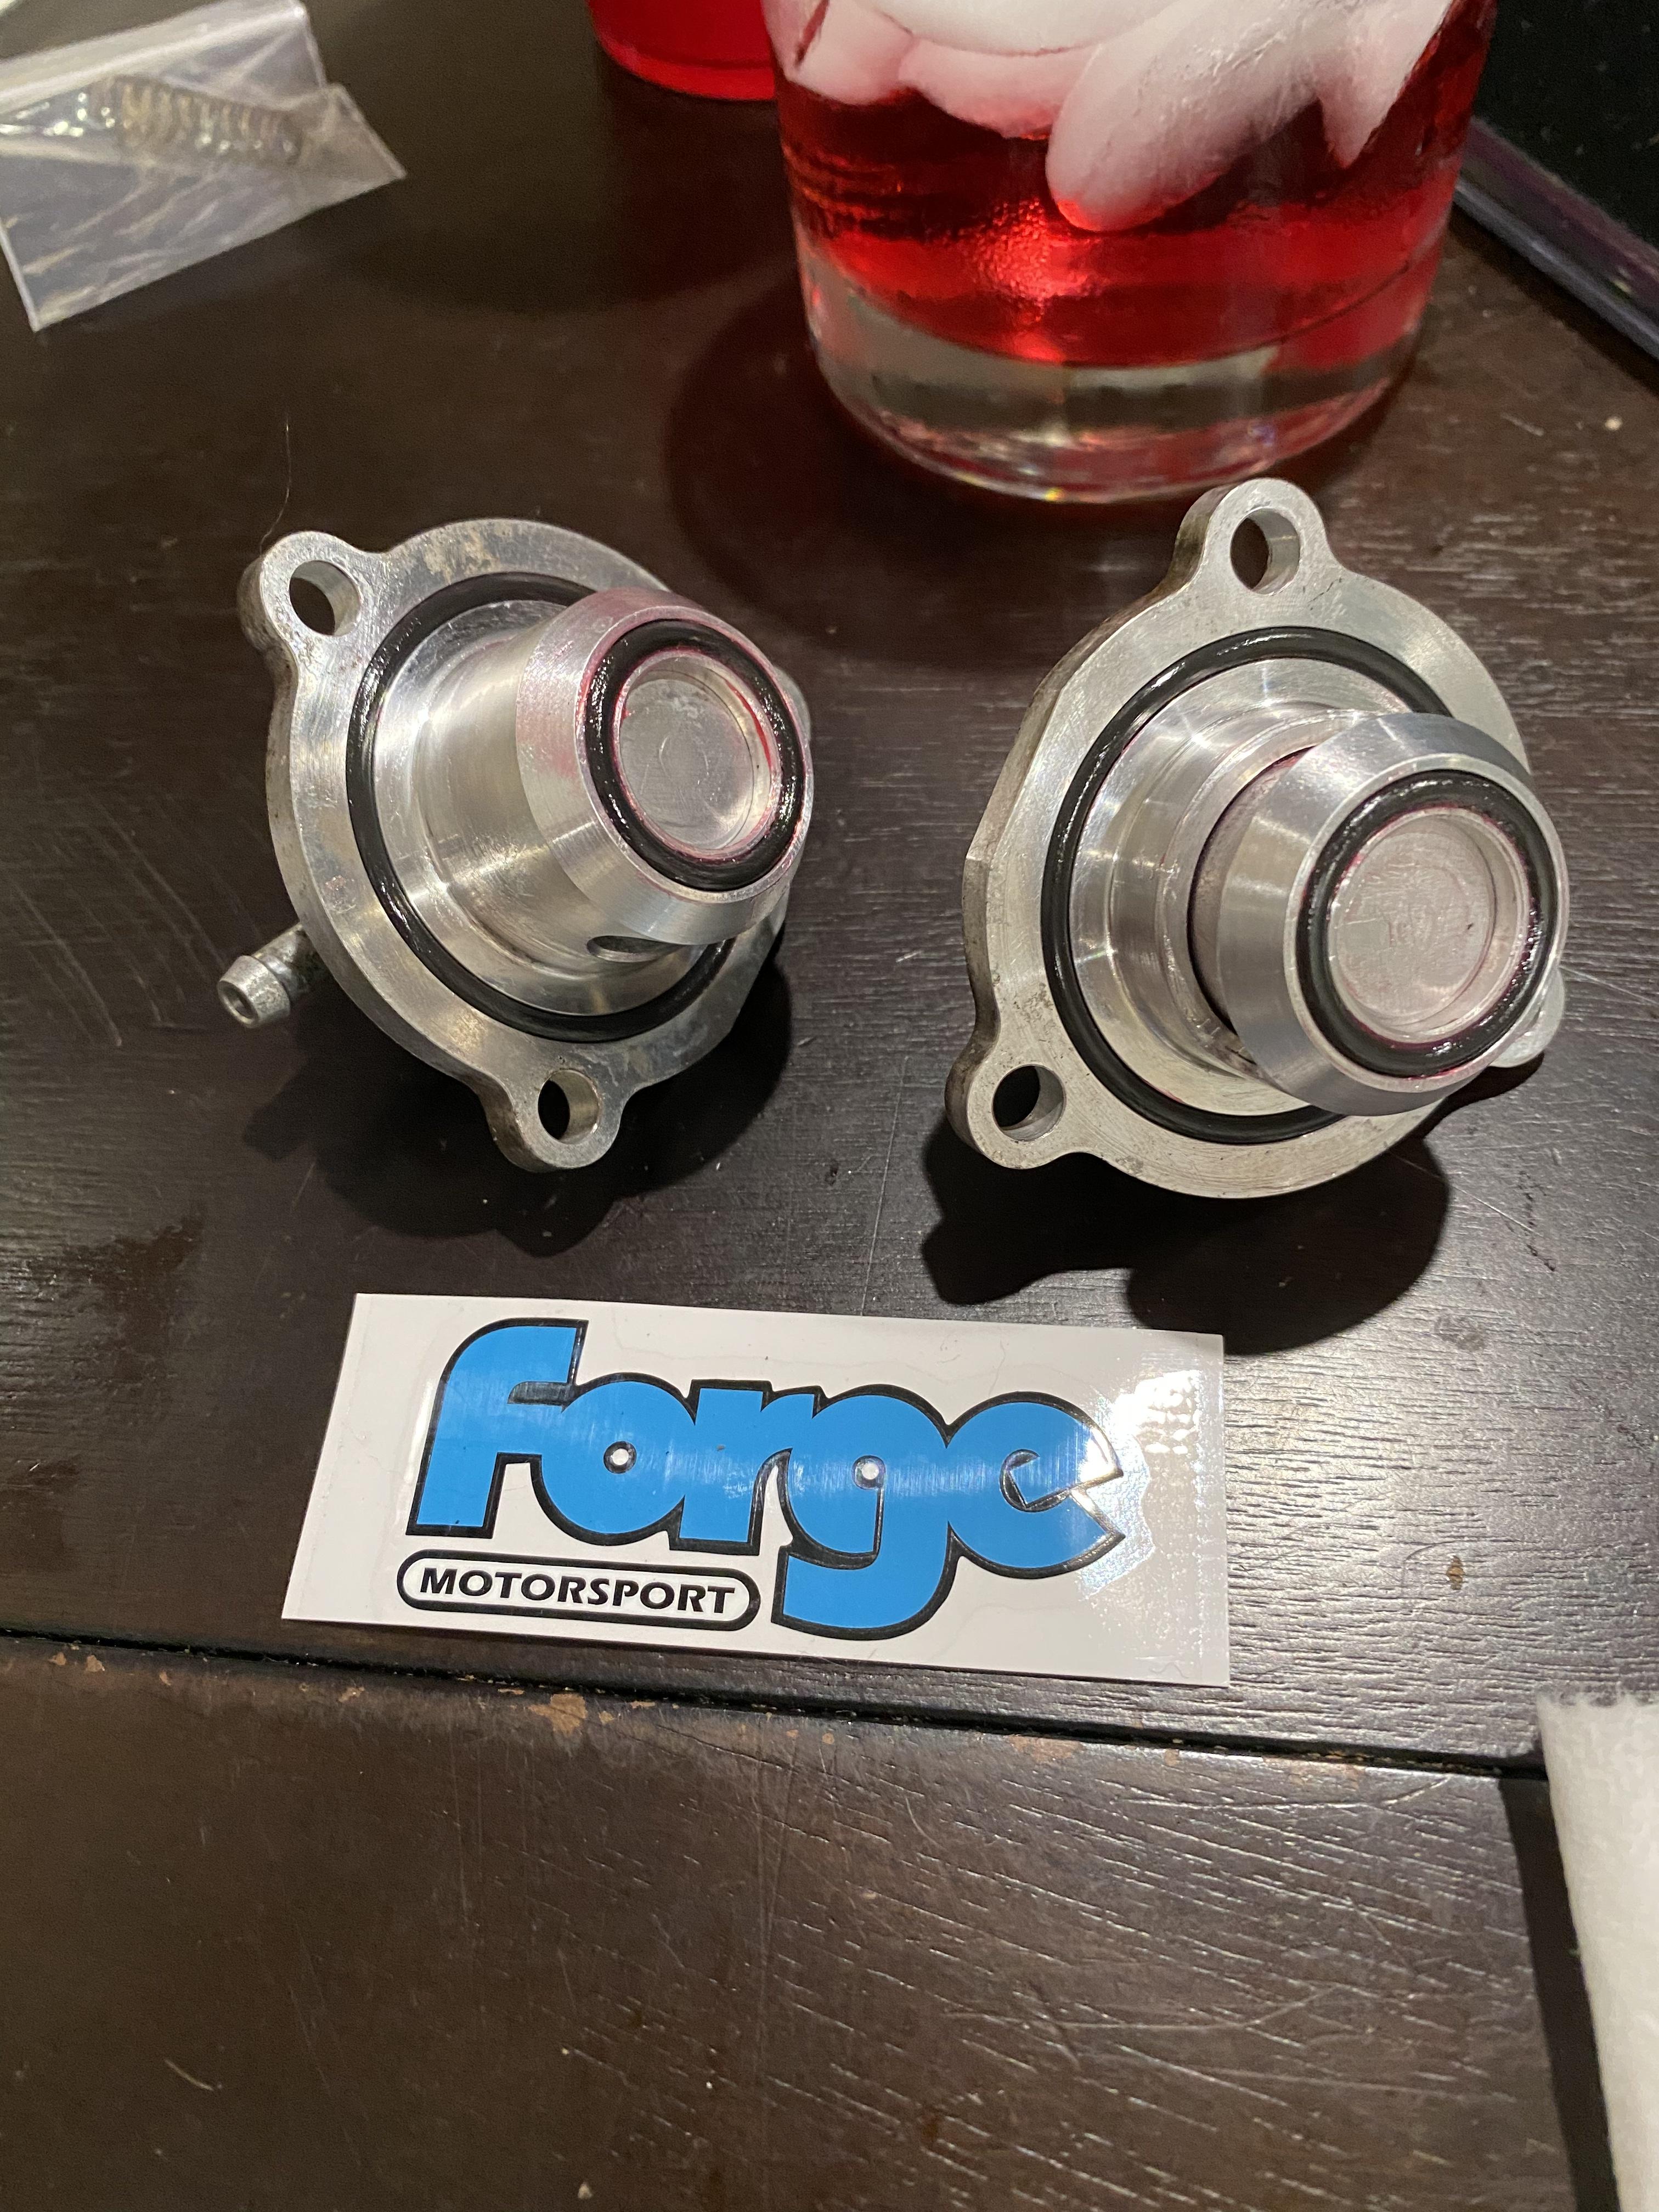
Last thing for today - the car came with Forge motorsport billet BRVs. I had no idea. But I took them off and got a rebuild kit from Forge.
Gnarly
Little bit of oil from the DS turbo. New seals during the rebuild will take care of that.
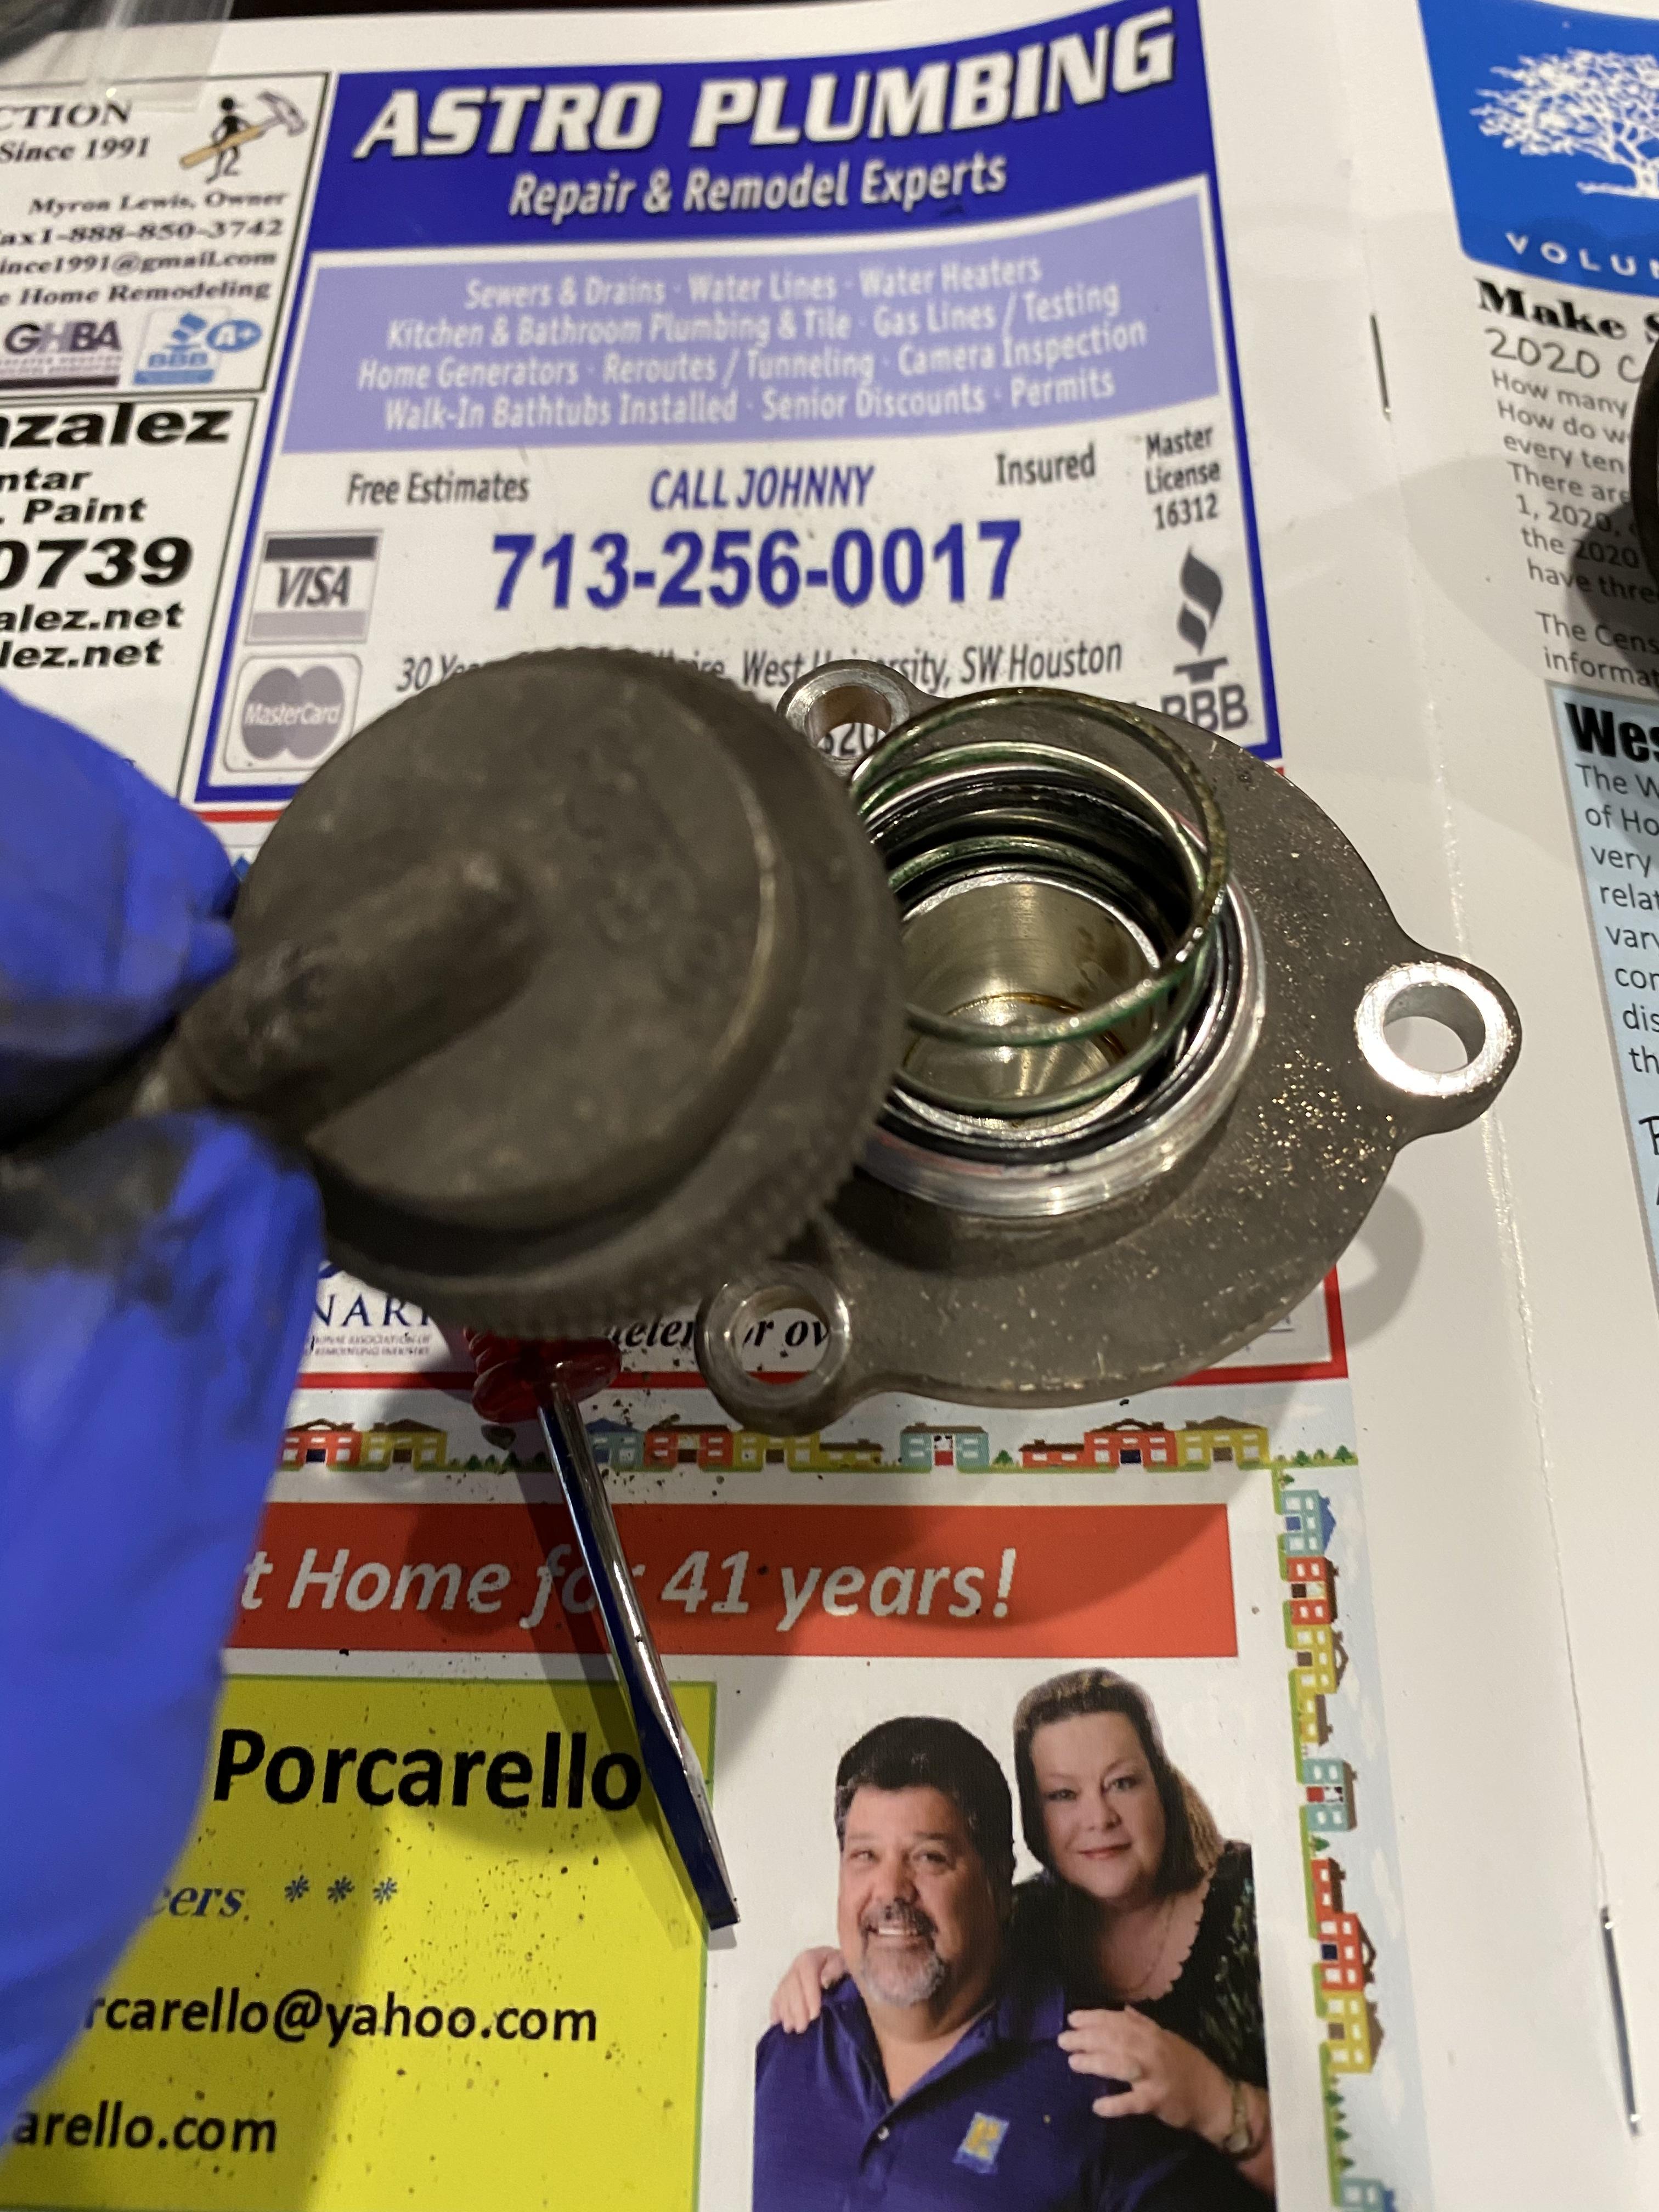
Unpacking the seals
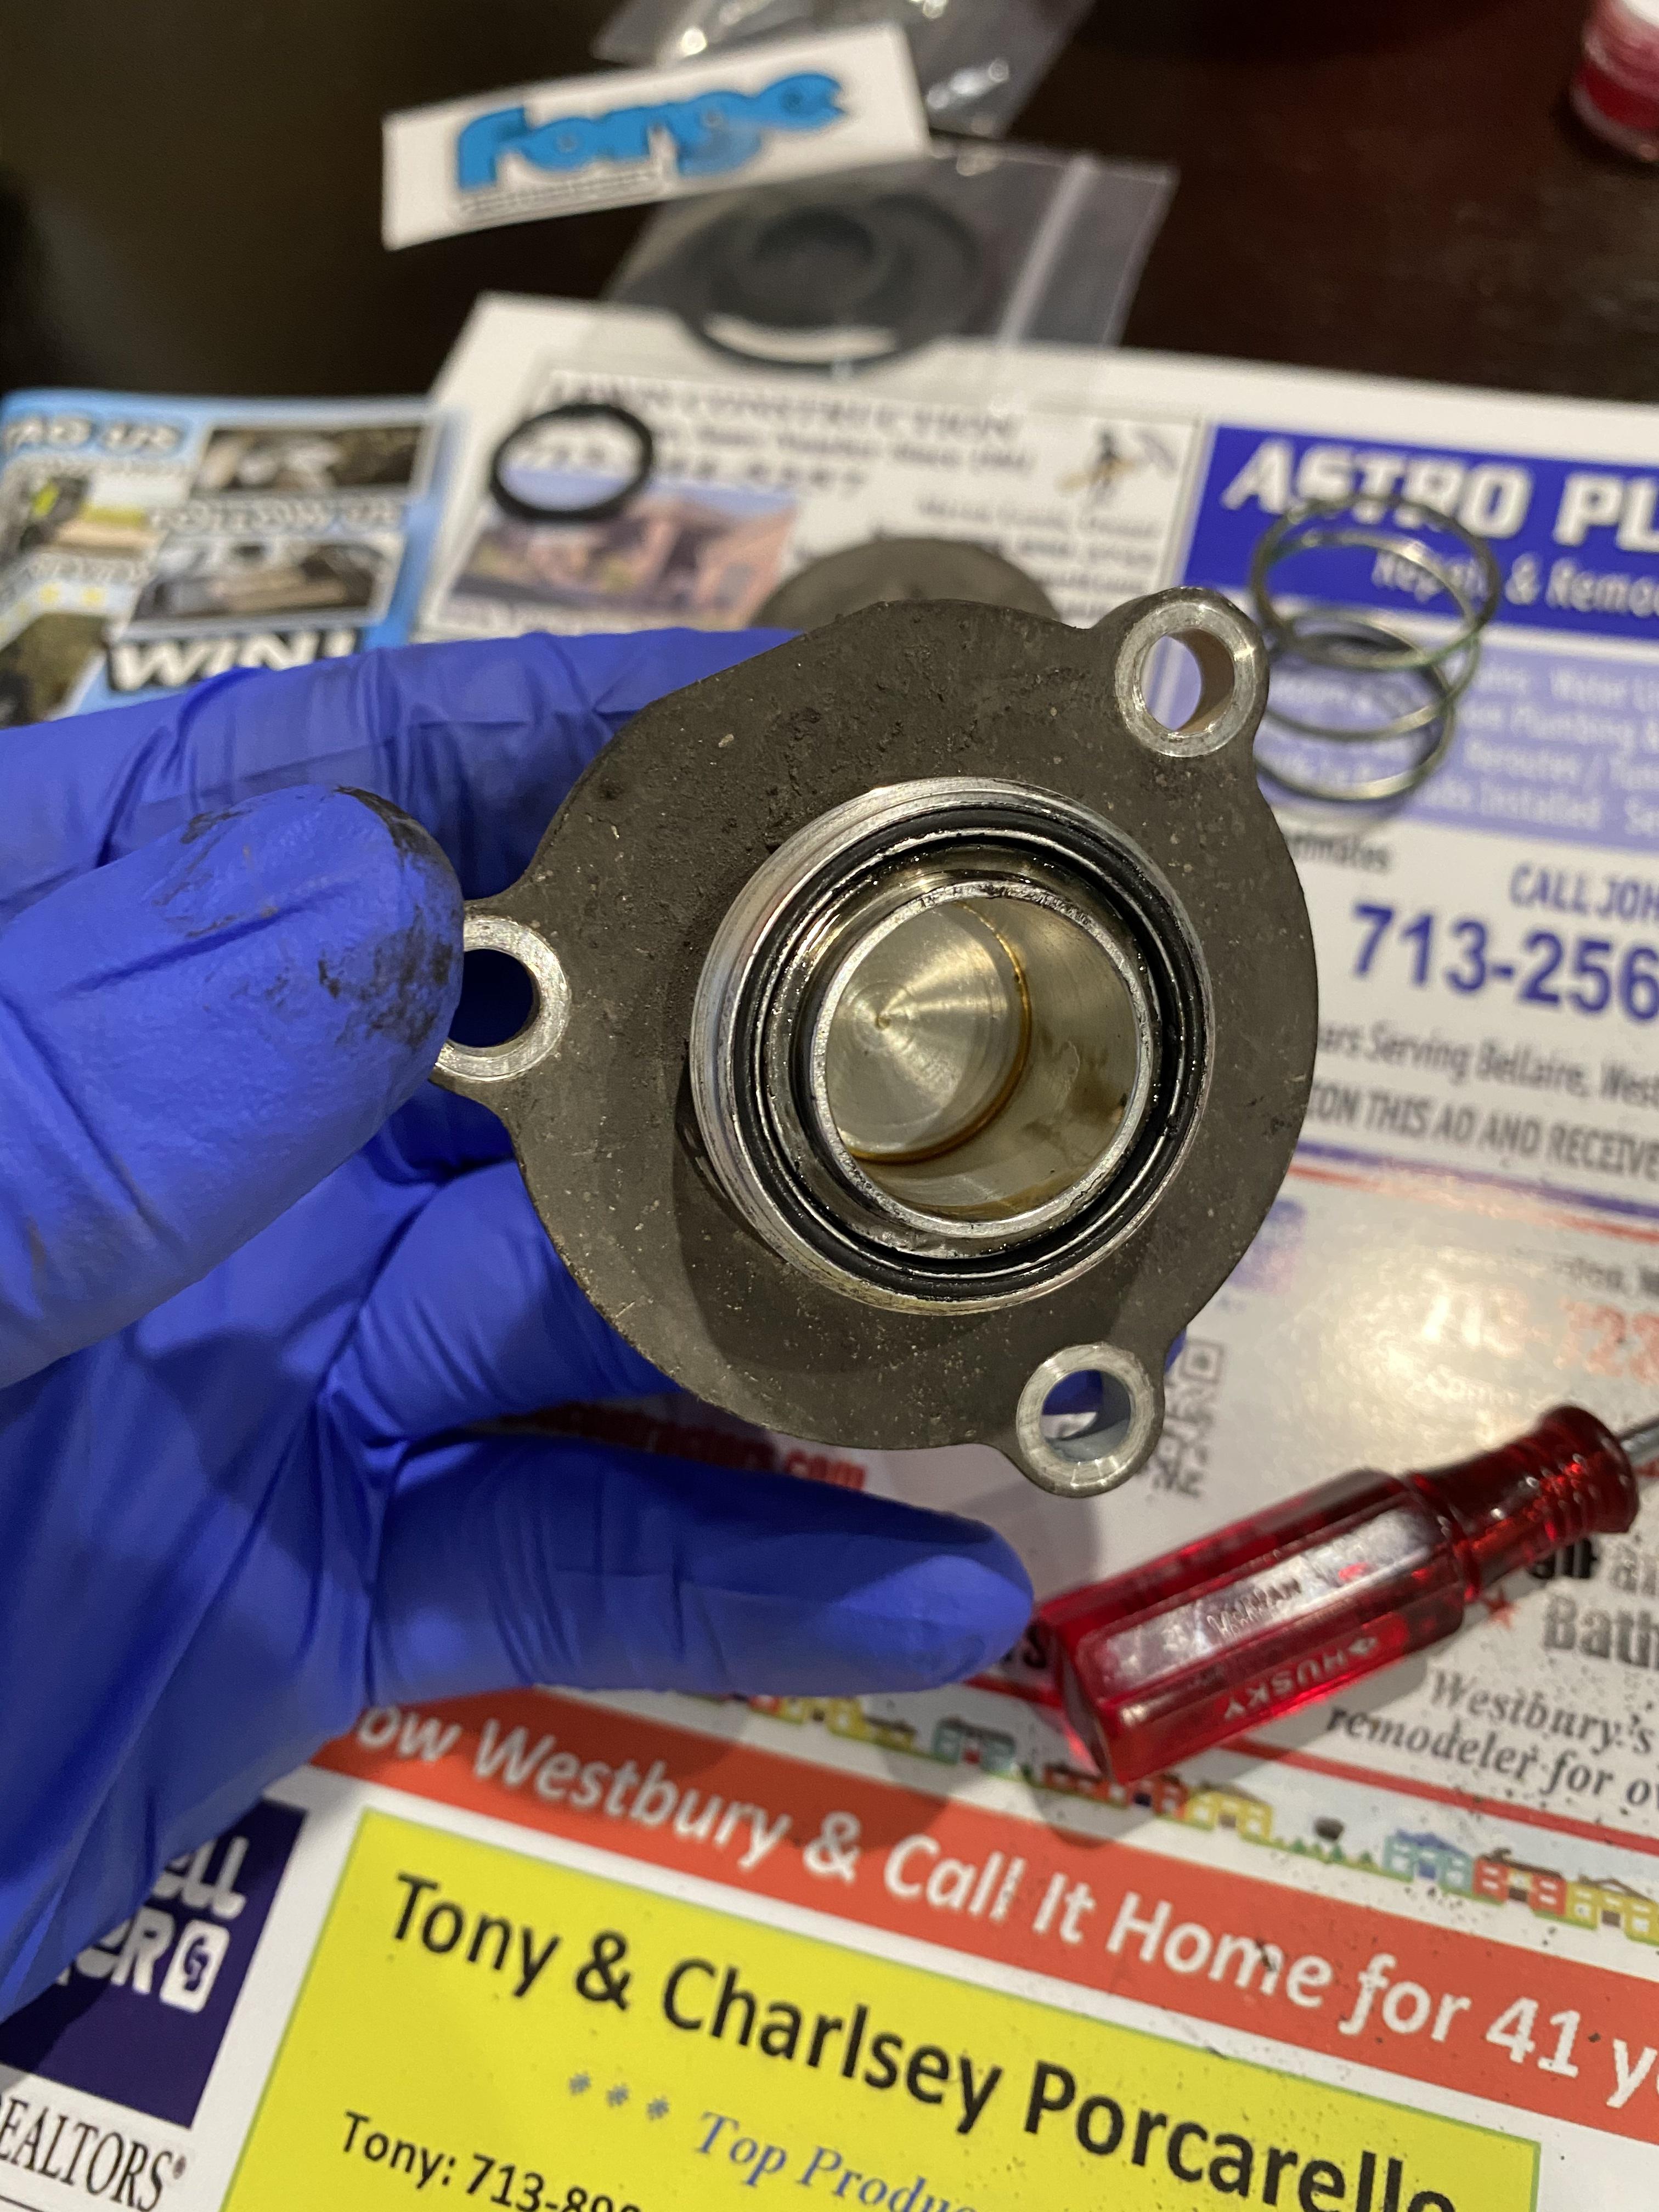
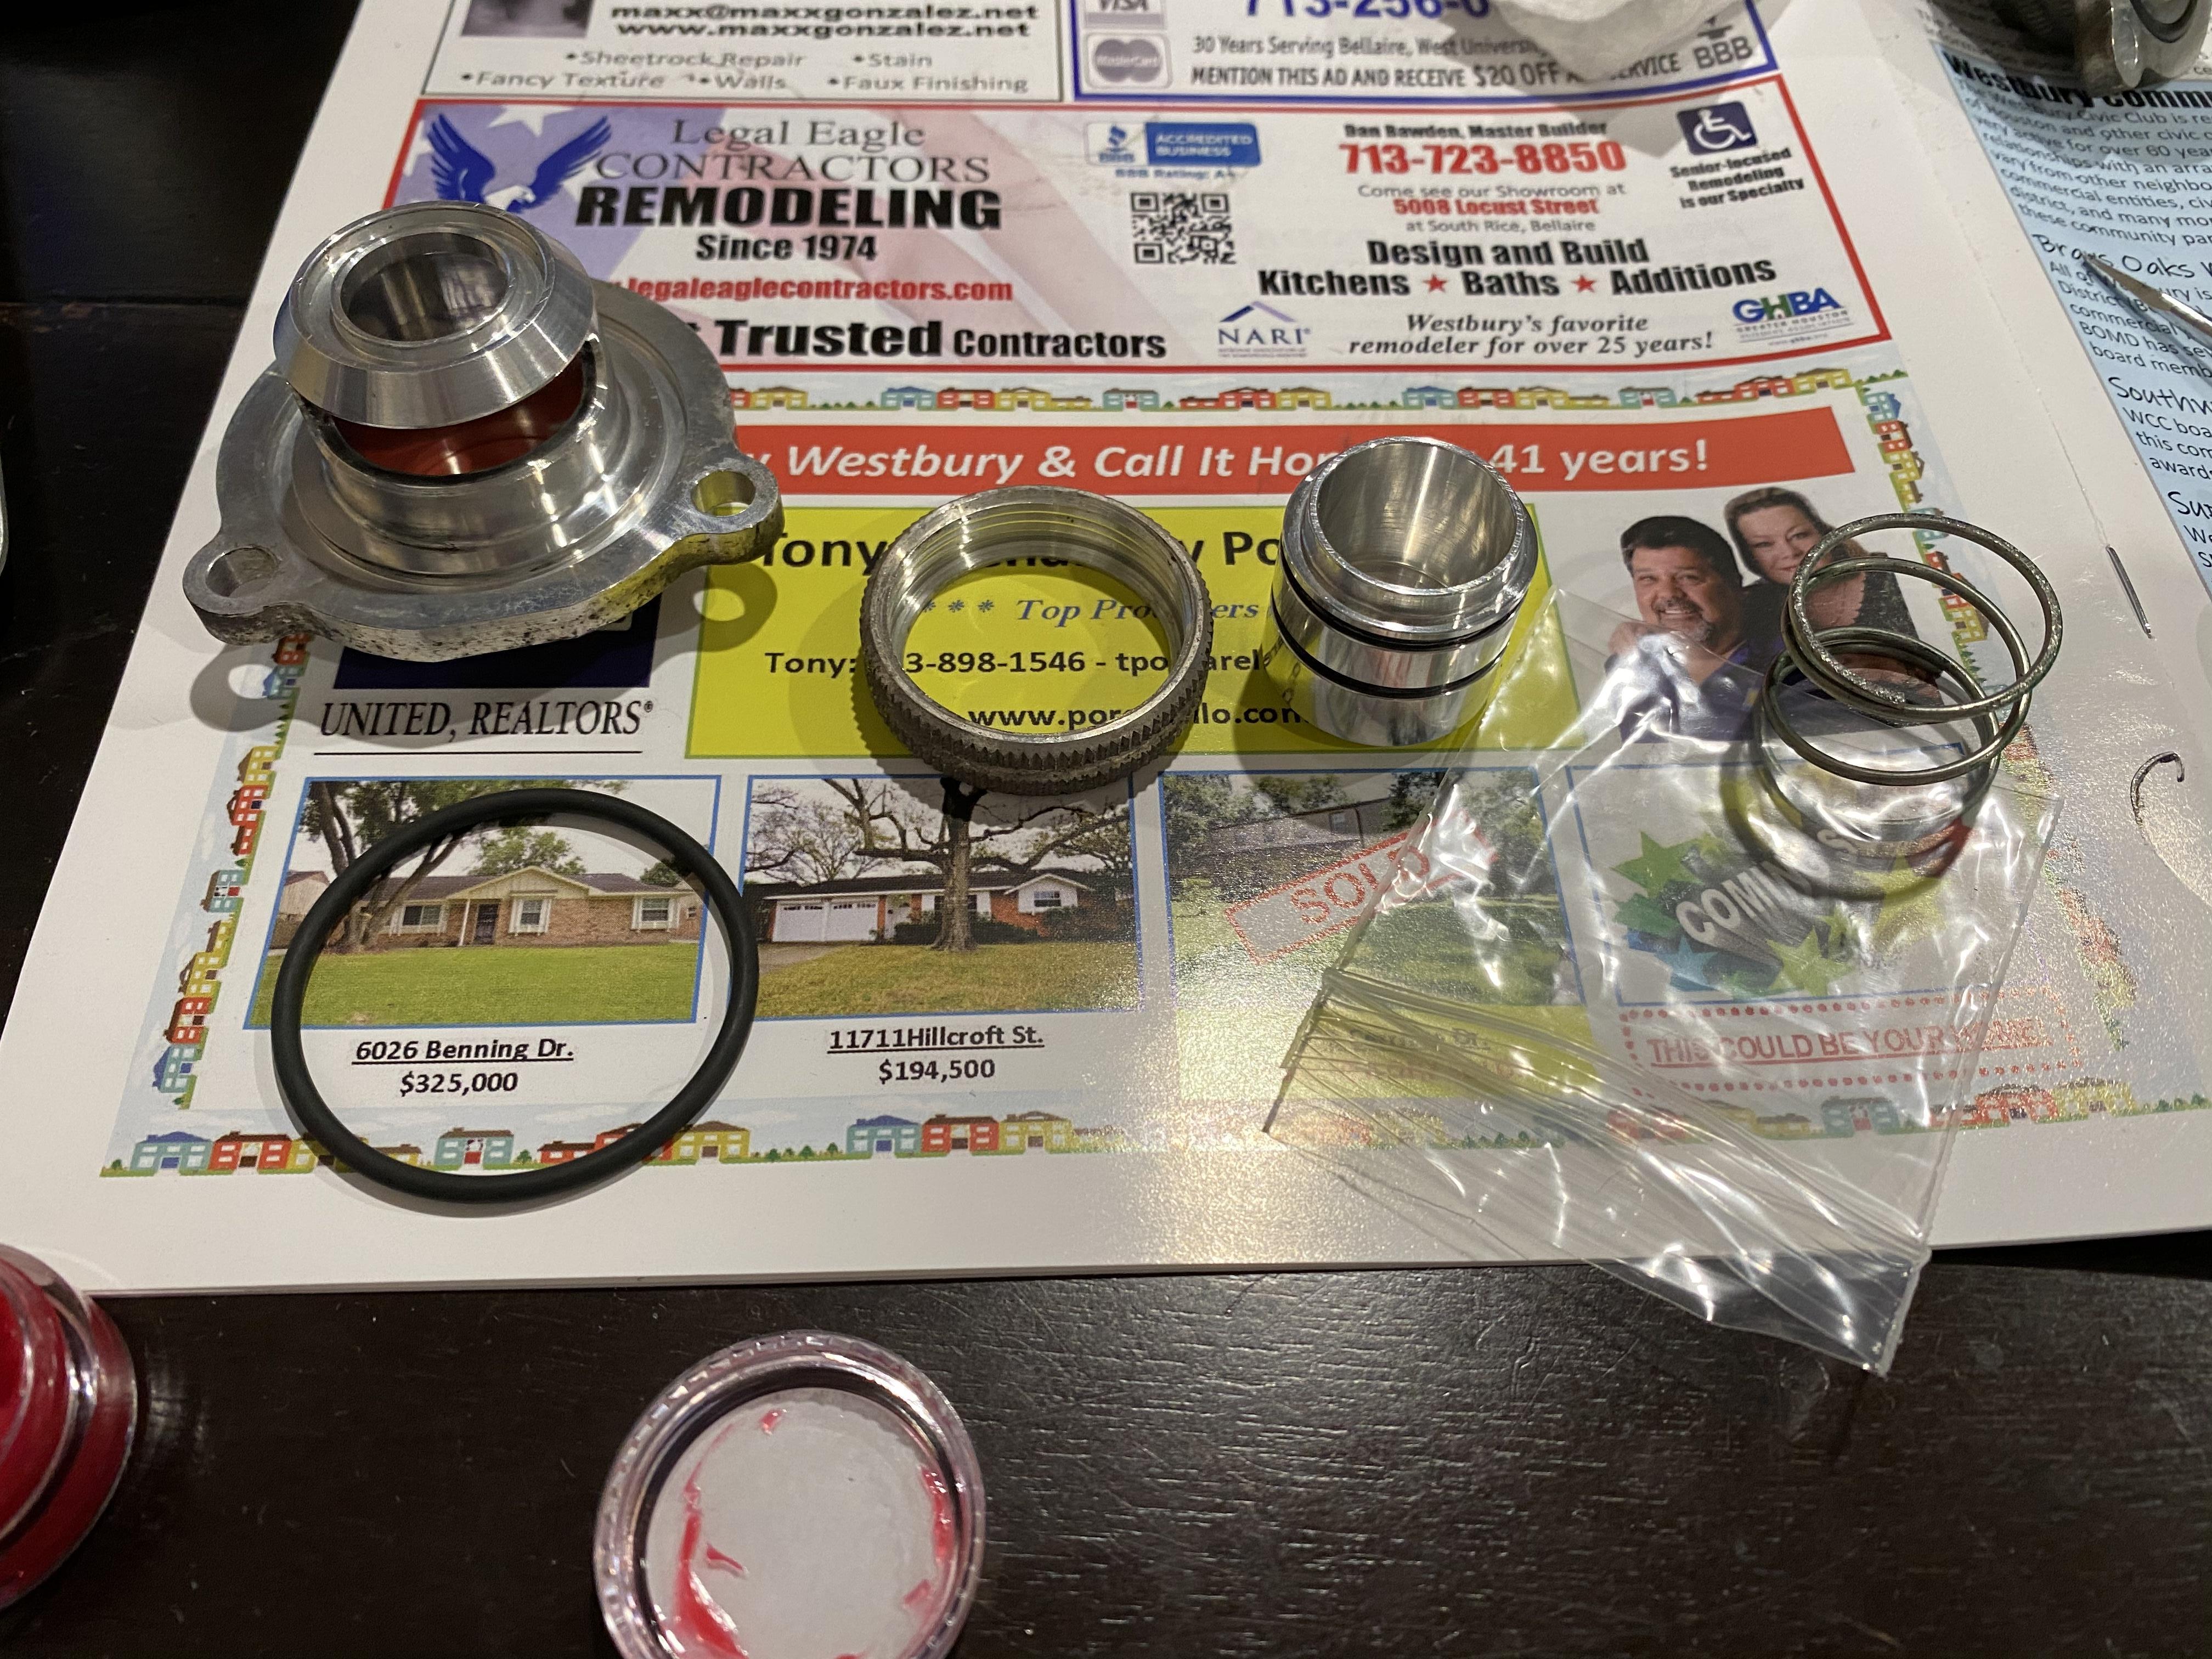
Cleaned up and ready for new seals
Improvement. Just used some gentle soap and water.
Nice work, I debated upgrading turbos about 2 years ago and just decided to keep it as-is but did a bunch of other minor performance mods.. I'd recommend UMW as your tuner.. I got great results with his tune on my slightly modified car on a Mustang dyno.
Yeah, those plugs were toast..
Did you have a post on FB asking where to get them rebuilt?


 01-04-2020 | 07:27 PM